
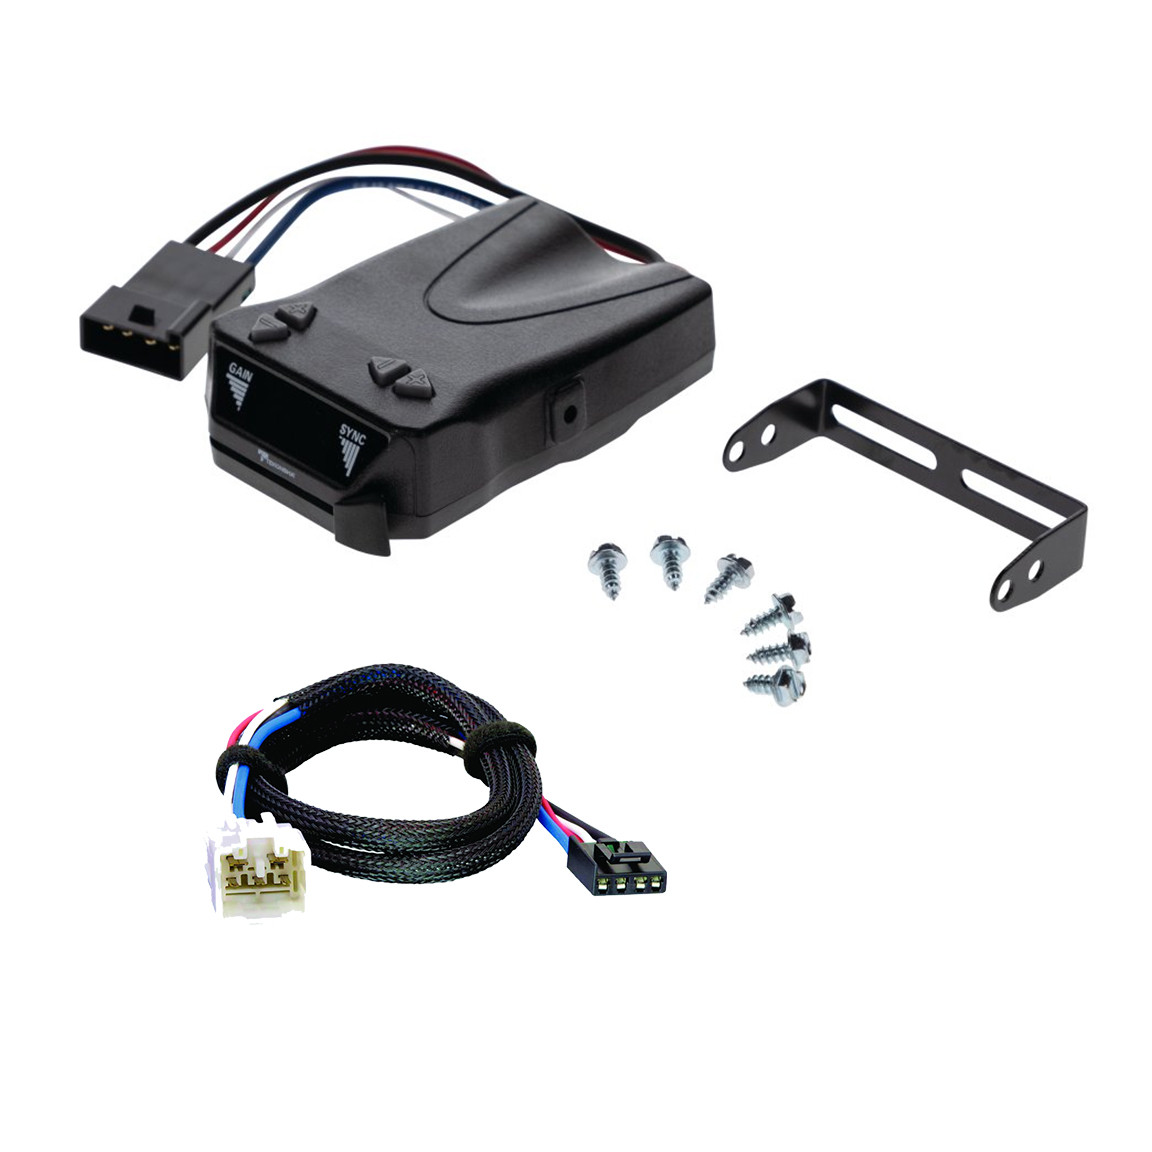
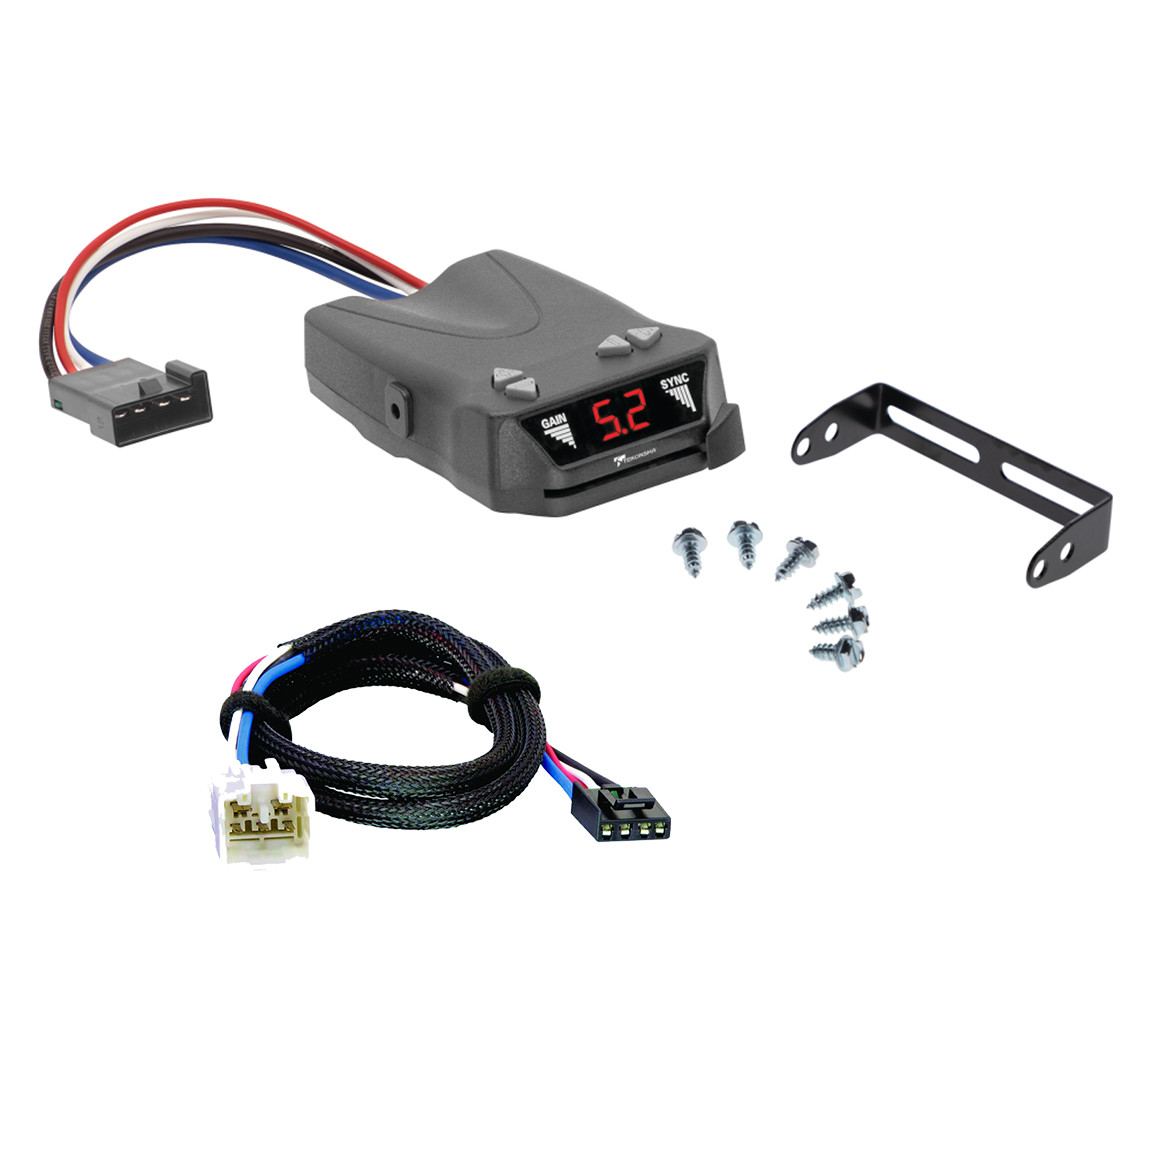
2010-2024 Lexus GX460 Brakeman IV Time?Delay Brake Controller for Trailers with 1?4 Axles, Black 8507111Reese Towpower$79.11Out of Stock
View productOur in-house experts typically reply within one business day.

Tekonsha
Verify Fitment
Select your vehicle to confirm this part fits.
2010 - 2024 Lexus GX460
Confirmed to Fit





Always the correct part
We know our products
Quality Products
Free Shipping!
Always the correct part
We know our products
Quality Products
Free Shipping!

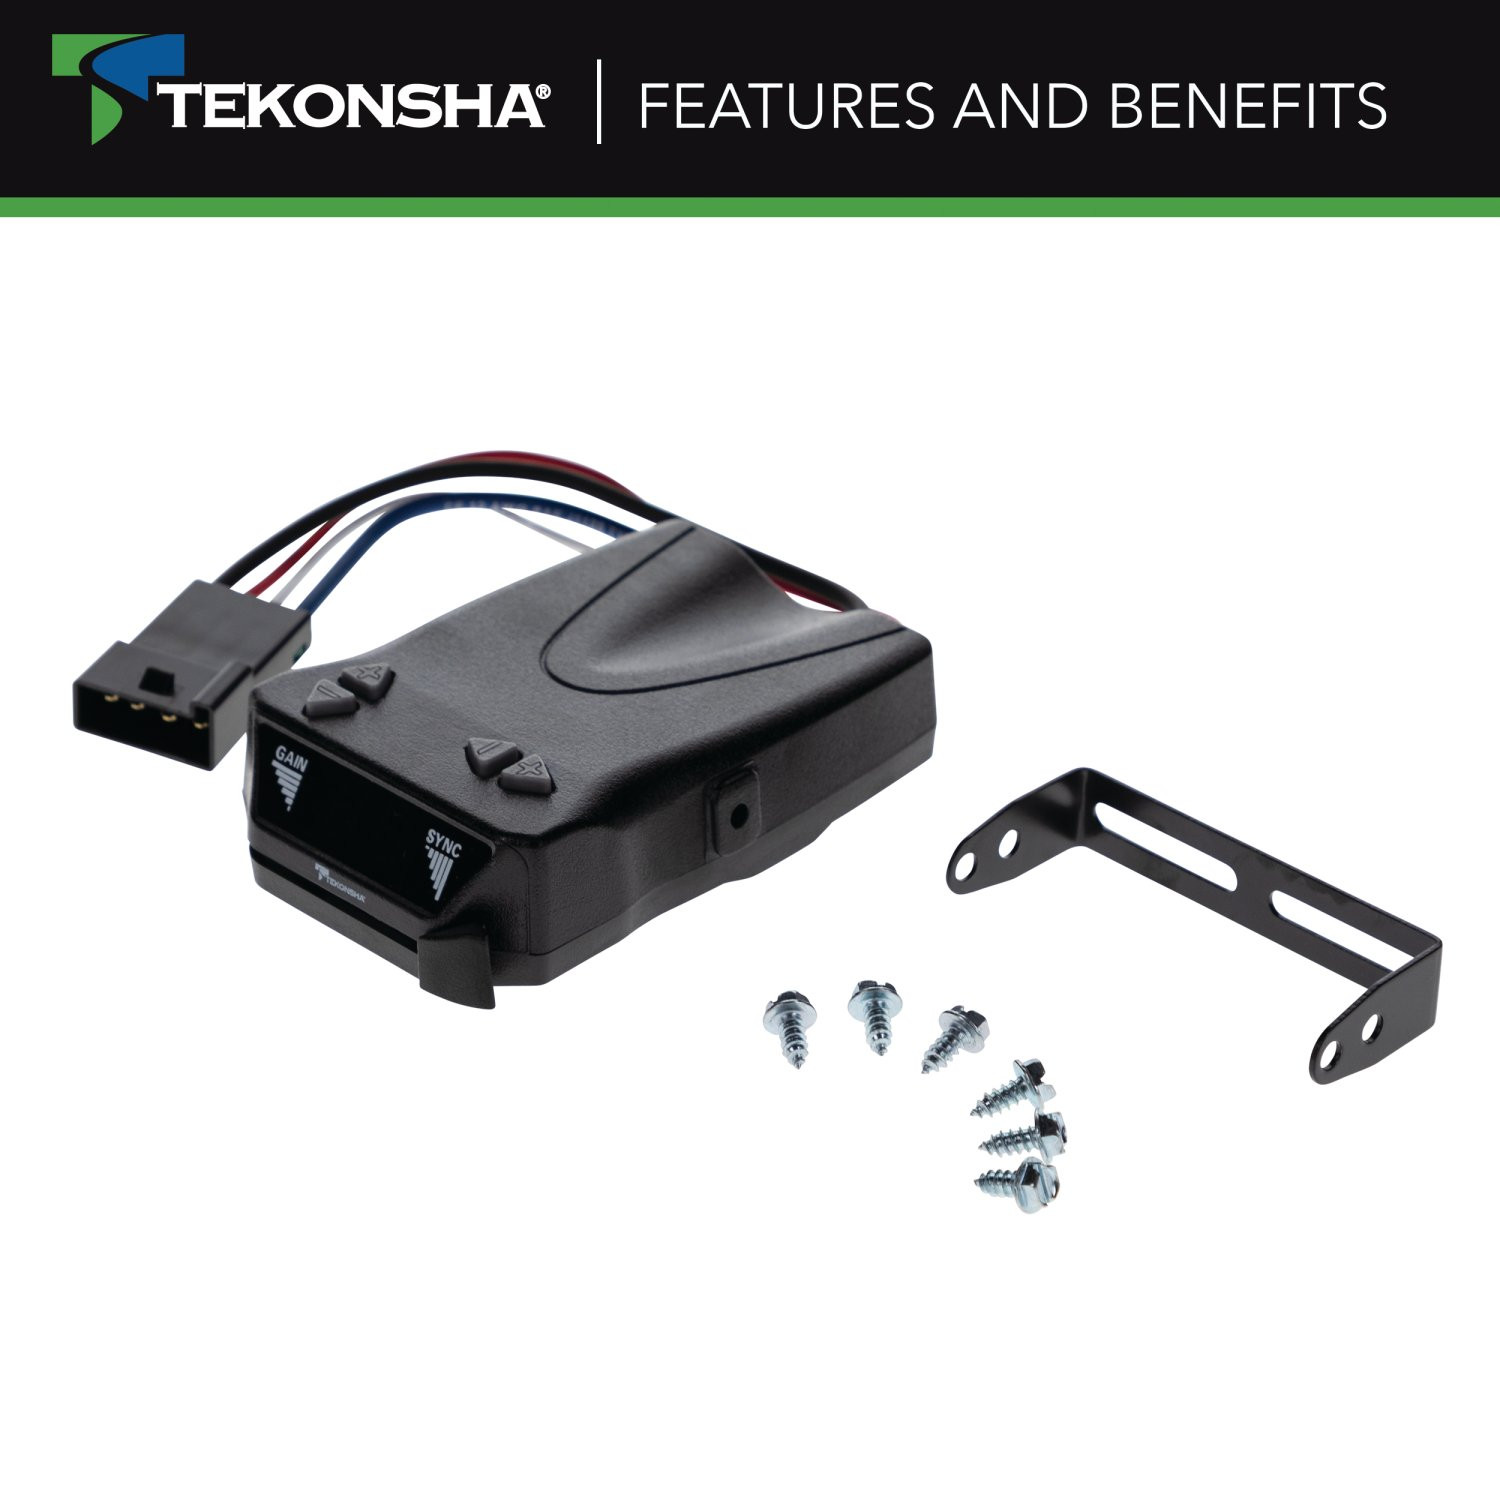
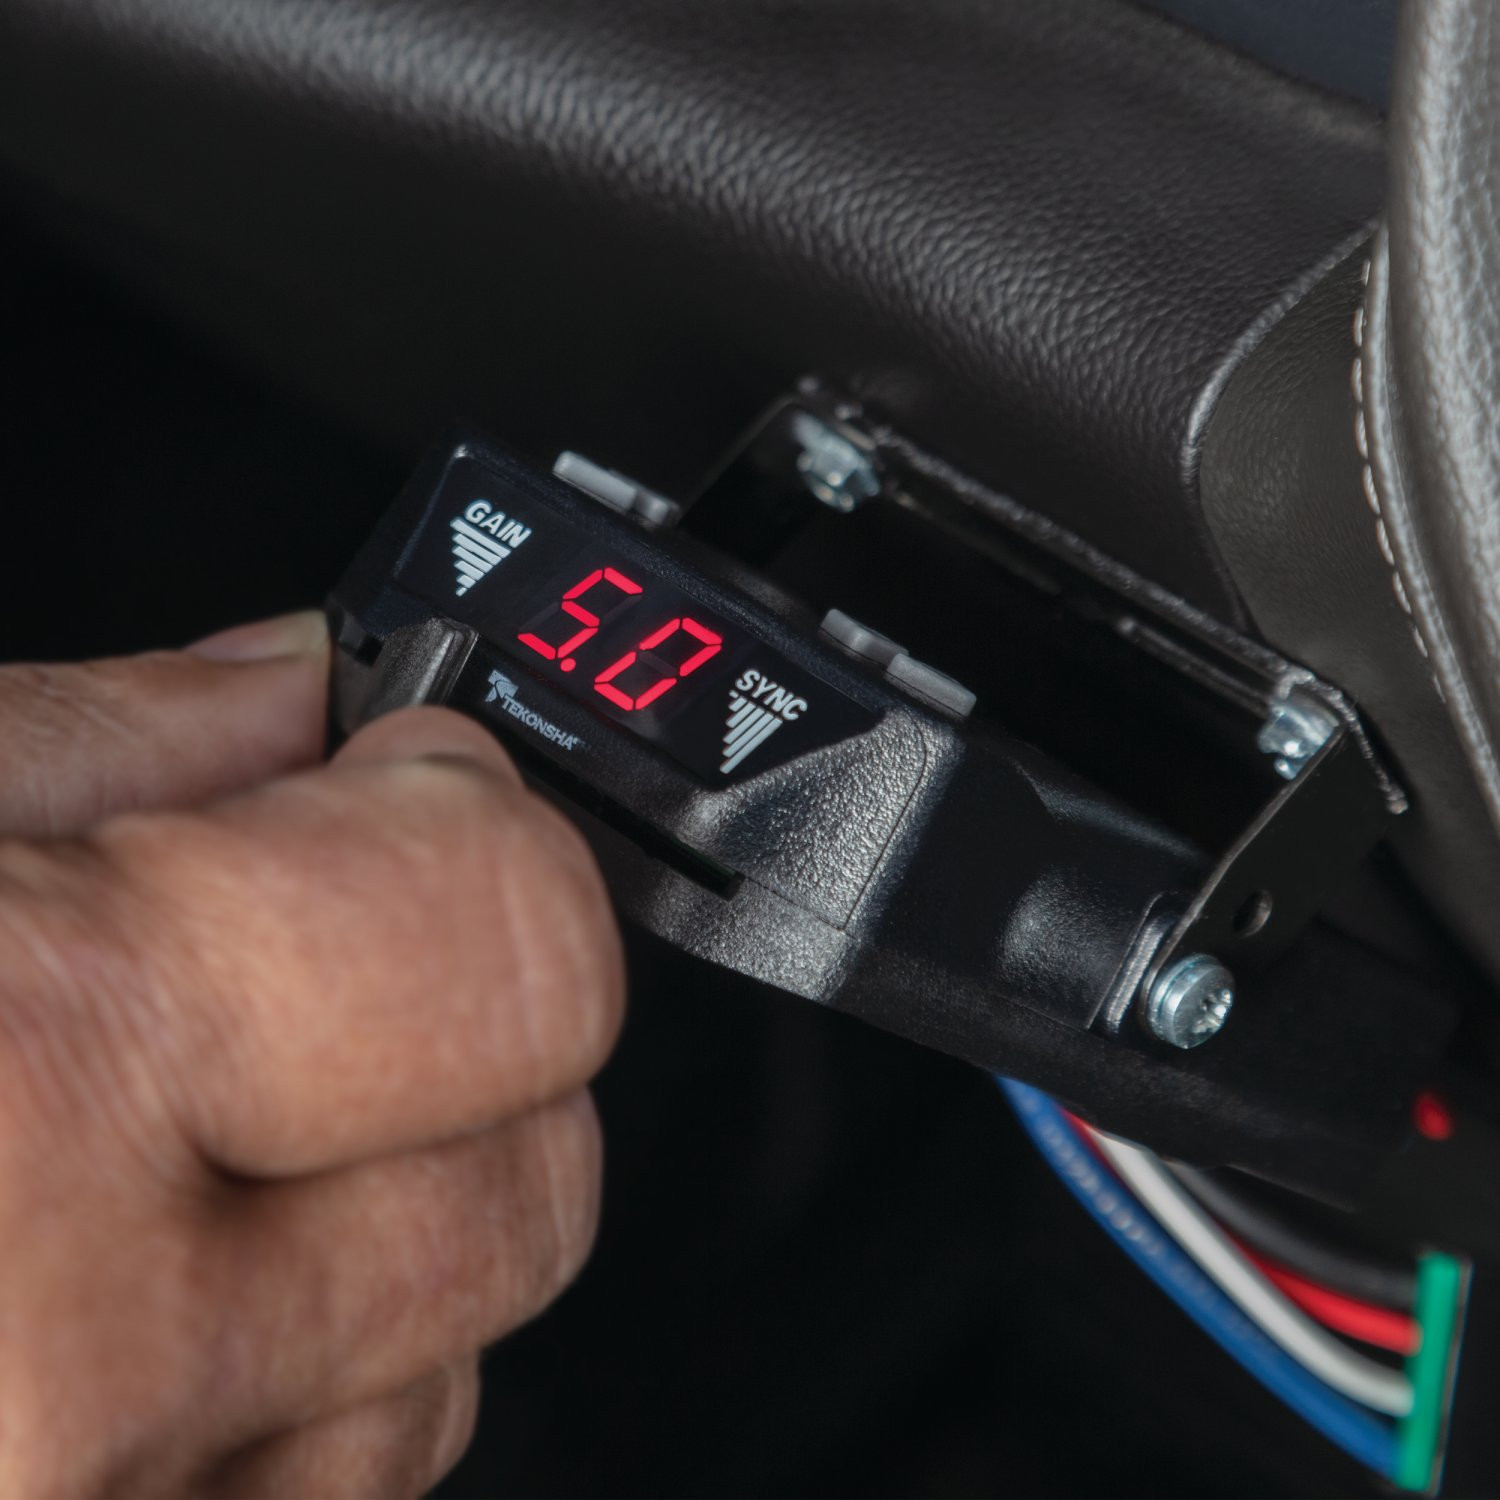
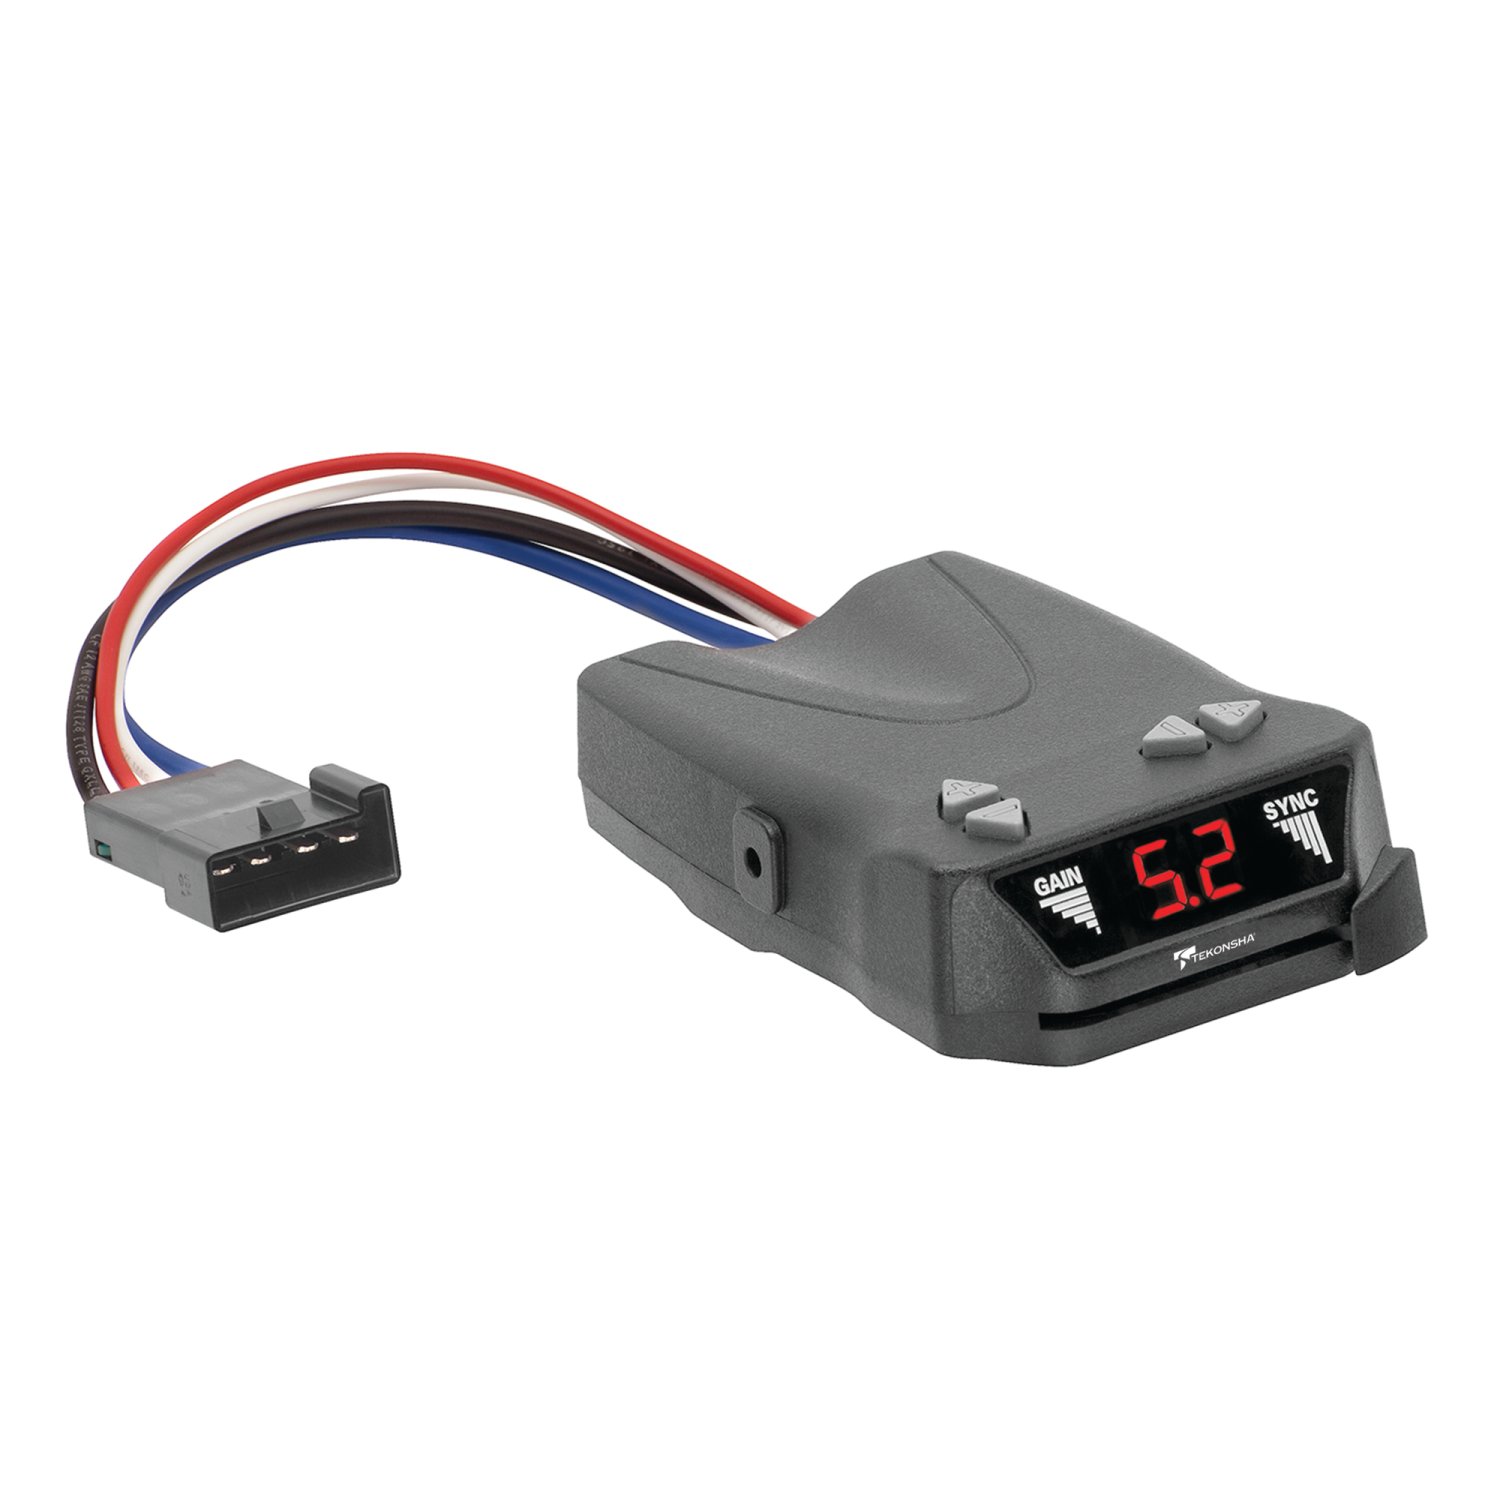
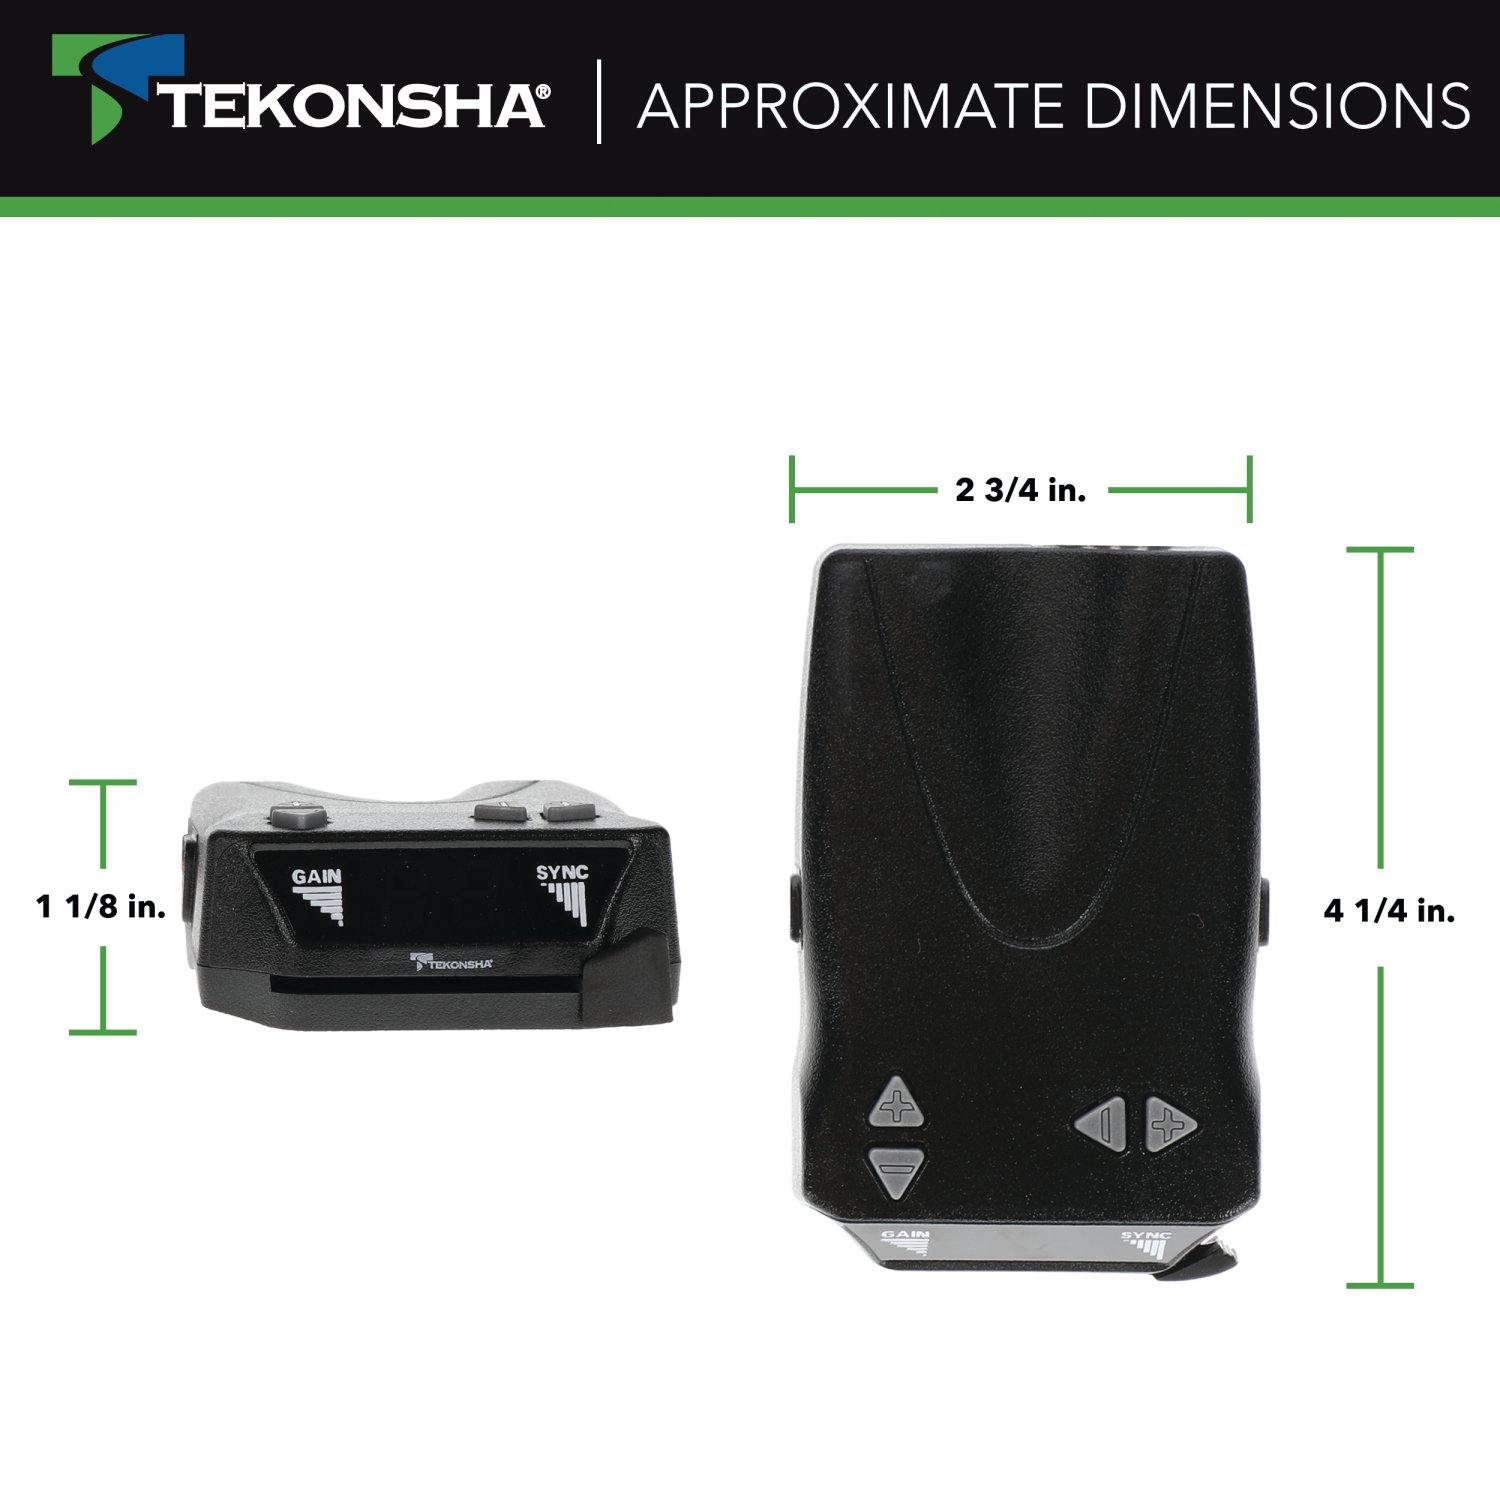
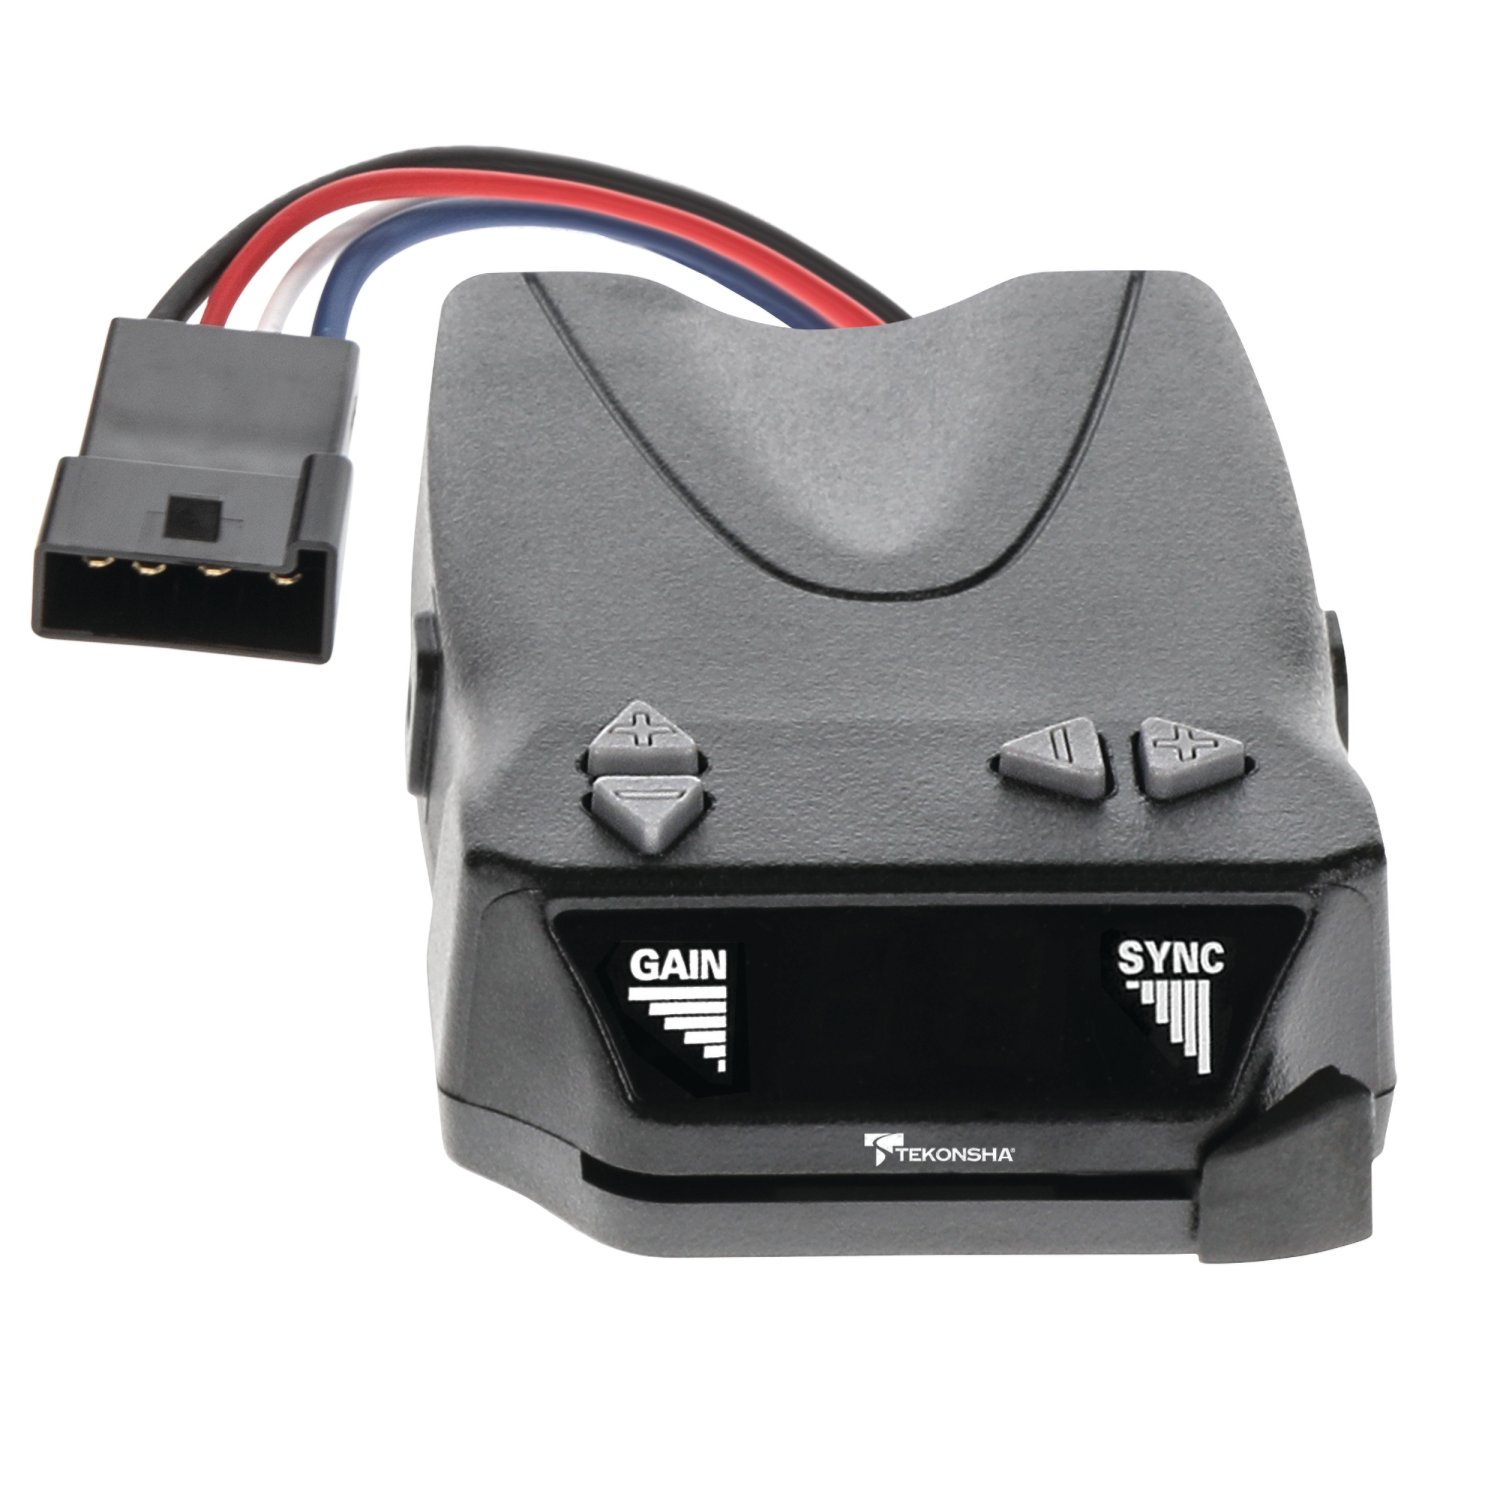
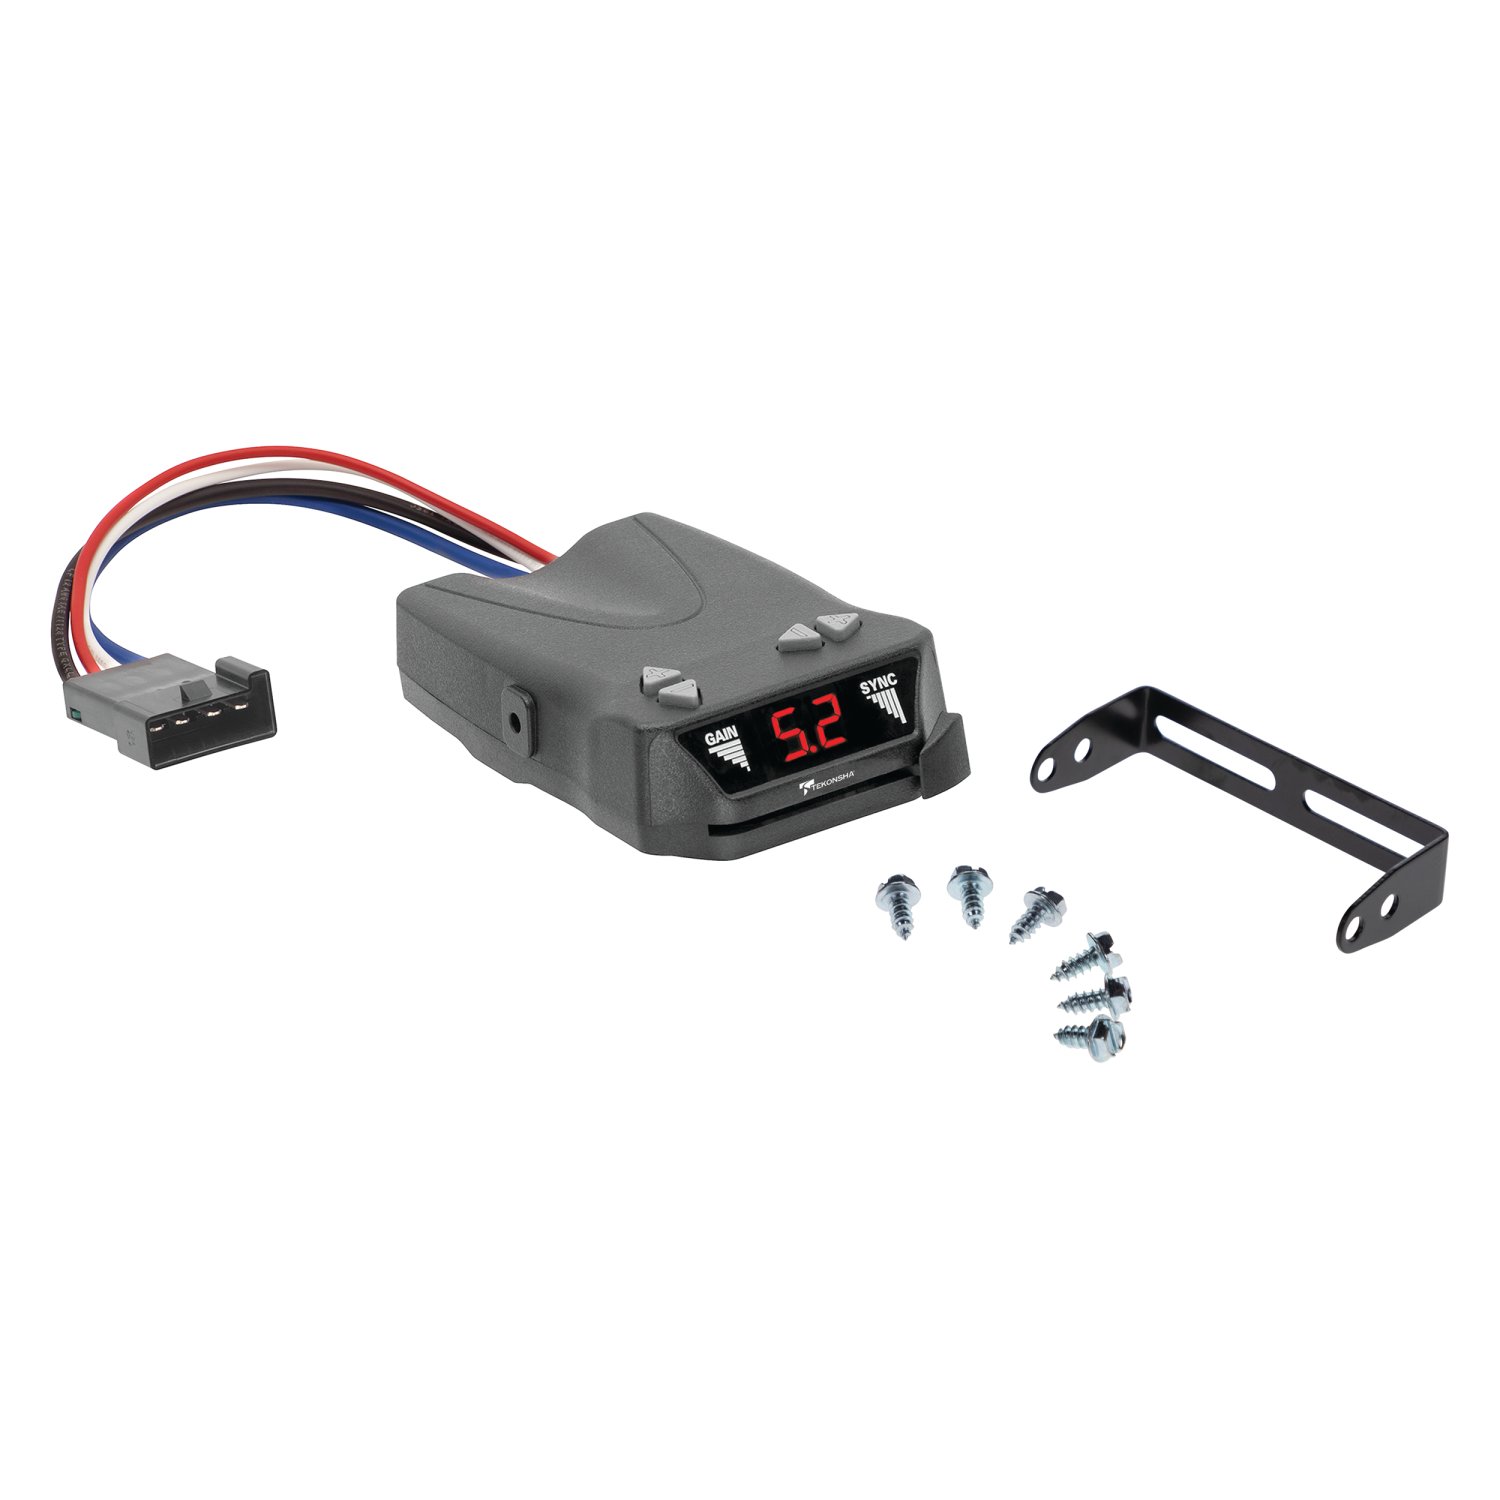
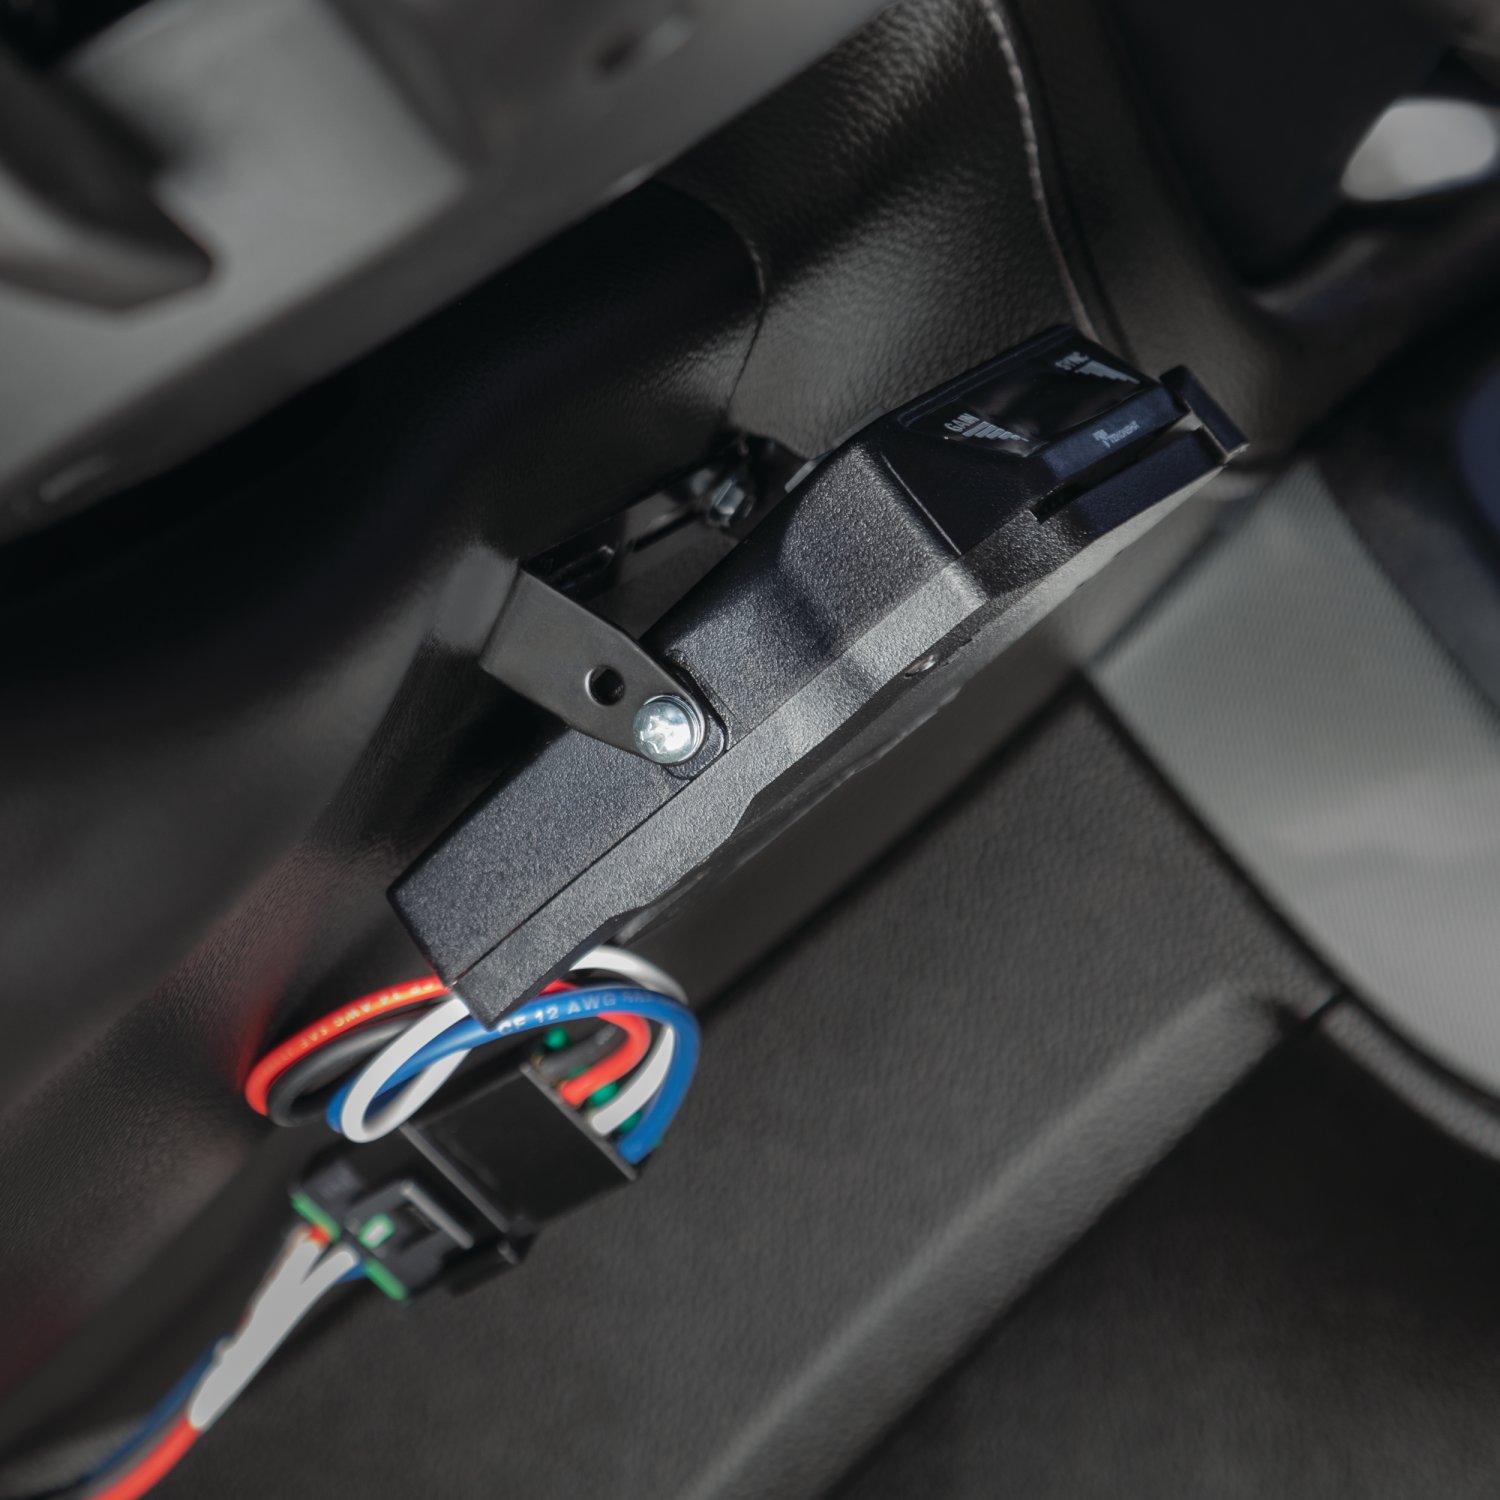
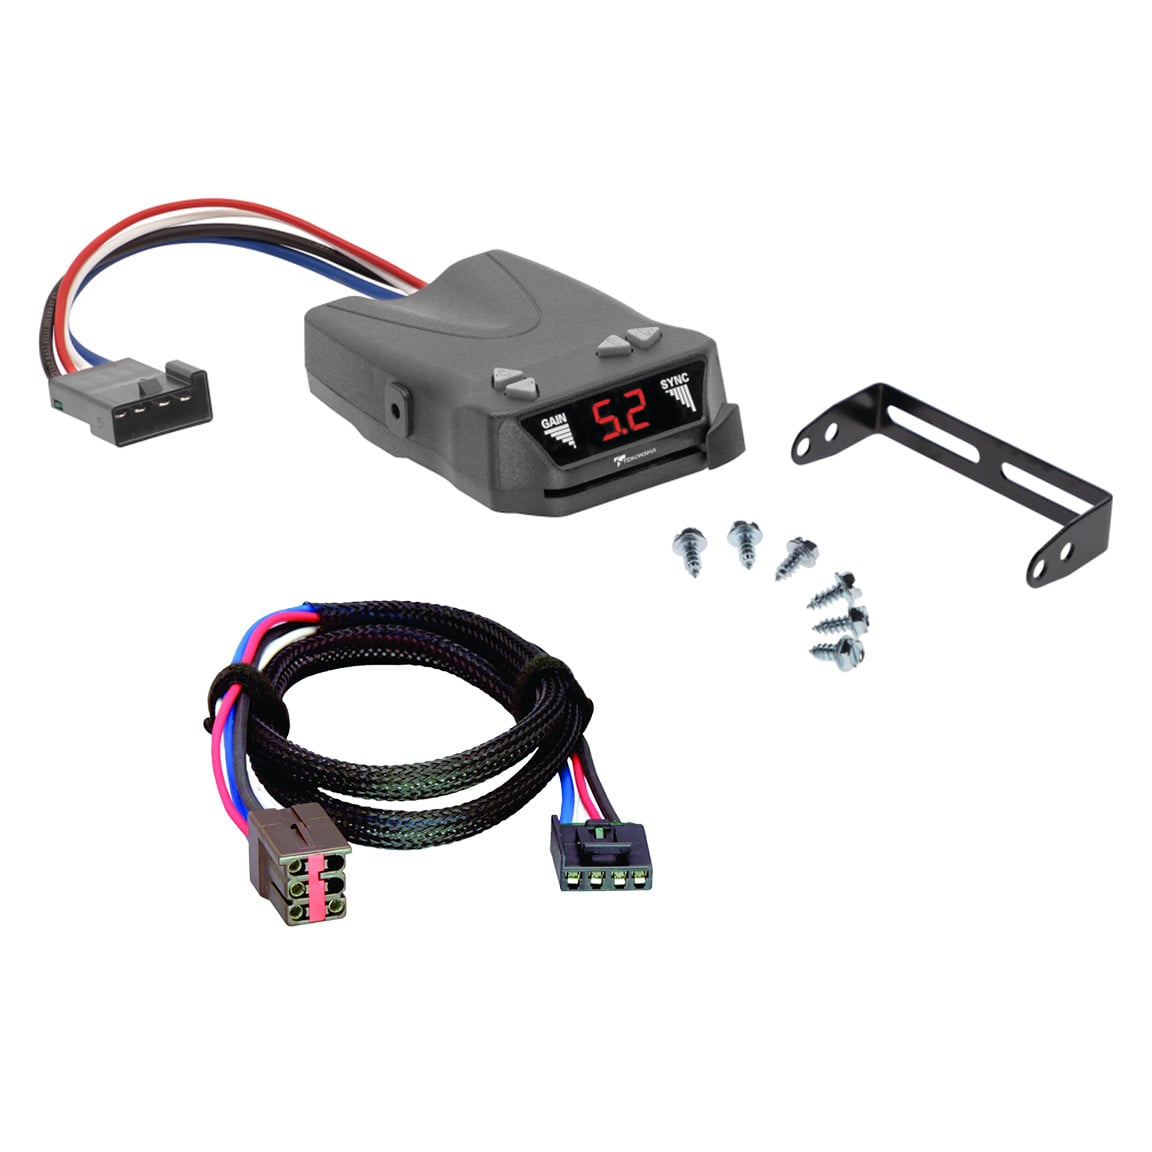
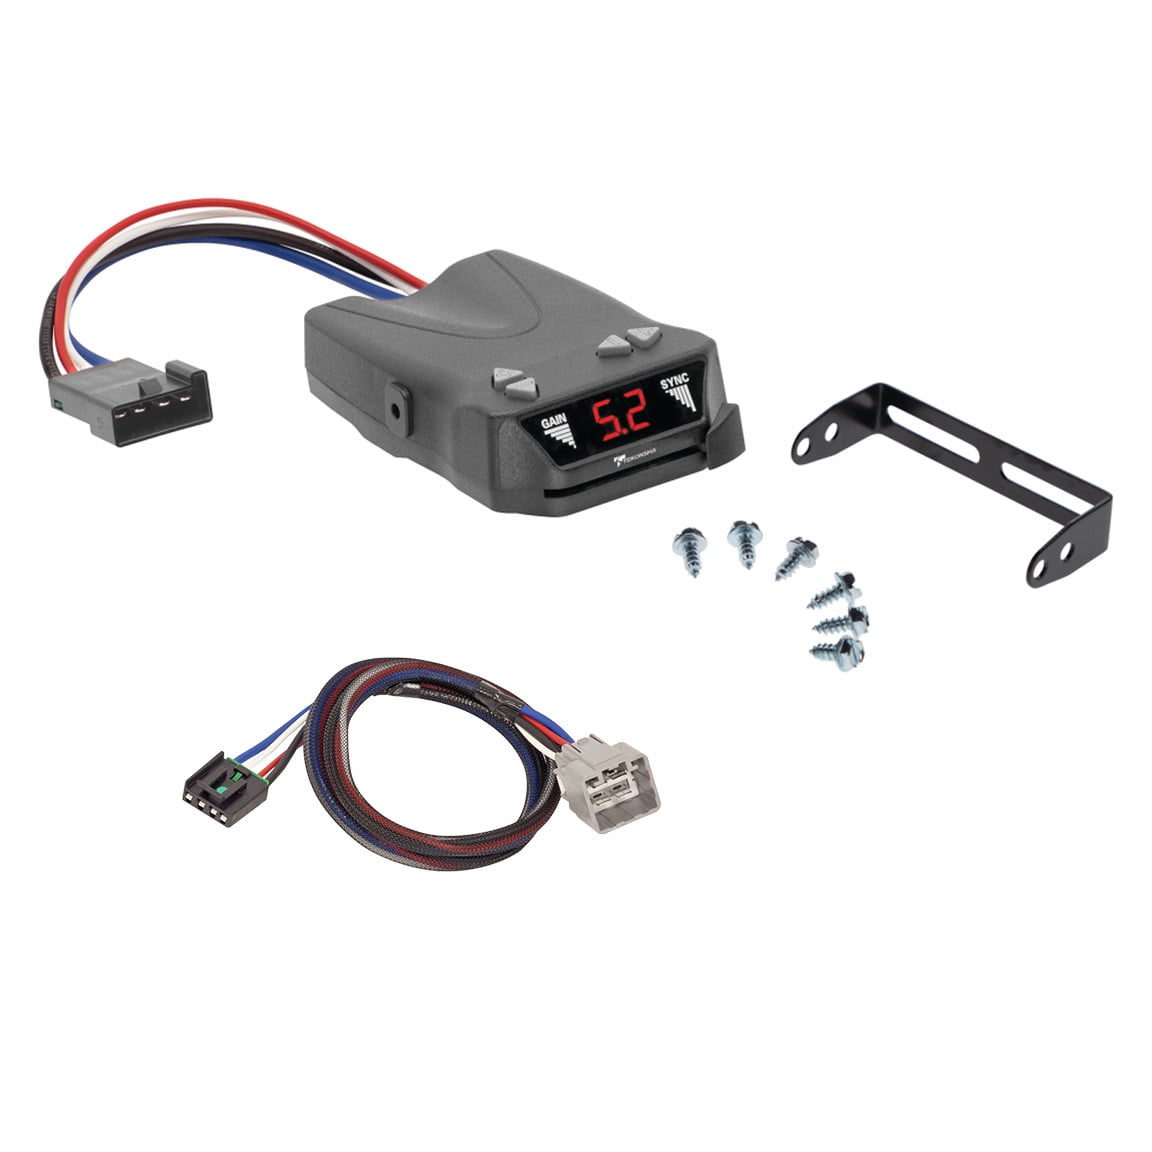
The Tekonsha Brakeman IV digital trailer brake controller provides safety and connection when you need it most. As a time-based controller, the Brakeman IV is a great choice for basic, light-duty towing needs. This compact controller works by electronically connecting your vehicle and your trailer. When you hit the brakes in your tow vehicle, it generates an output signal that ramps up, or increases over a period of time, applying braking power to your trailer at a fixed rate. The Brakeman IV has up-front buttons so you can easily adjust power output, the sync ? or aggressiveness with which the controller applies the brakes, and engage manual override to help you brake safely when an unexpected stop pops up. It also works with electric or electric over hydraulic braking systems, and features advanced internal circuit protection, real time comprehensive diagnostics, and short circuit protection. Because the Brakeman IV is a time-based controller, there?s no requirement that it be positioned in the direction of travel; it can be installed anywhere you like as long as it is within reach of the driver. Plus, the Plug & Play feature allows for quick and easy connection with your vehicle?s wiring. The Brakeman IV trailer brake controller works with1-4 axle trailers, comes with all the mounting hardware needed for installation, and is backed by a limited lifetime warranty.
| BRAND: | TEKONSHA |
| PART NUMBER: | 8507120 |
| WARRANTY: | Limited Lifetime Warranty |
| WEIGHT: | 0.6 LBS |
| MATERIAL: | PLASTIC |
| BRAKE CONTROL TYPE: | TIMED |
| TRAILER BRAKE WHEEL QUANTITY: | UP TO EIGHT WHEELS |
| BRAKE TYPE: | ELECTRIC |
| Diagnostic Capable: | YES |
| DISPLAY TYPE: | DIGITAL OUTPUT |
| HYDRAULIC CONNECTIONS: | NO |
| SOLID STATE CONSTRUCTION: | YES |
| CIRCUIT BREAKER PROTECTED: | NO |
| HOUSING COLOR: | BLACK |
| BRACKET INCLUDED: | YES |

Tekonsha is a leading manufacturer of electronic trailer brake controllers, pioneering the category in the 1970s. The lineup spans proportional units such as the Prodigy P3 and Prodigy iD, time-delayed controllers, the wireless Prodigy RF, plus vehicle-specific wiring harnesses, adapters and trailer brake components engineered for smooth, predictable stopping at any speed.
Tekonsha Engineering Company began in 1964 building RV steps and mirrors. Within a few years it had found its real calling, and by the 1970s Tekonsha was pioneering the manufacture of electronic trailer brake controllers, the product category that still defines the brand. More than half a century later it remains the reference name in trailer braking and is part of the Horizon Global group alongside Reese, Draw-Tite, Fulton, Bulldog and Wesbar.
A brake controller is the component that tells a trailer's electric brakes how hard to work and when, and getting that right is the difference between a controlled stop and a shove from behind. Tekonsha builds both major types. Proportional controllers use an internal accelerometer to sense how quickly the tow vehicle is slowing and apply trailer braking to match, so light braking stays light and hard braking is immediate. Time-delayed controllers ramp to a preset output over a fixed interval, a simpler and more economical approach that suits occasional towing.
The current brake controller range covers most of that ground. The Prodigy iD pairs with a phone through Tekonsha's EDGE technology for setup and monitoring, the P3 offers storable settings for multiple trailers and a trilingual colour LED display, the Prodigy P2 adds a dimmable display and boost mode for heavier loads, and the Voyager keeps operation simple and dependable. The Prodigy RF mounts to the trailer itself and controls wirelessly, which suits rental fleets and drivers who swap tow vehicles.
Installation is supported by vehicle-specific brake control harnesses that plug into a factory connector rather than requiring cut-and-splice wiring, along with mounting brackets and adapters. Matched controller bundles pair a unit with the correct harness. Products are tested to meet and often exceed published industry standards.
Experts available to answer your questions
Call 888-634-94941 compatible vehicles
| Year | Make & Model | Notes |
|---|---|---|
| 2010 - 2024 | Lexus GX460 | — |
The 2010-2024 Lexus GX460 Brakeman IV Time?Delay Brake Controller for Trailers with 1?4 Axles, Black 8507120 (Part #8507120 70316) fits 2010-2024 Lexus GX460 models. The 2024 model year is the last year covered by this part number. For newer models, check for an updated version.
Yes, the 2010-2024 Lexus GX460 Brakeman IV Time?Delay Brake Controller for Trailers with 1?4 Axles, Black 8507120 (Part #8507120 70316) is designed to fit the 2010-2024 Lexus GX460.
The 2010-2024 Lexus GX460 Brakeman IV Time?Delay Brake Controller for Trailers with 1?4 Axles, Black 8507120 (Part #8507120 70316) fits the following vehicles: 2010-2024 Lexus GX460. Always verify your specific year, make, and model before ordering.
The 2010-2024 Lexus GX460 Brakeman IV Time?Delay Brake Controller for Trailers with 1?4 Axles, Black 8507120 (Part #8507120 70316) Refer to the included instructions for installation details. Basic hand tools are typically all you need.
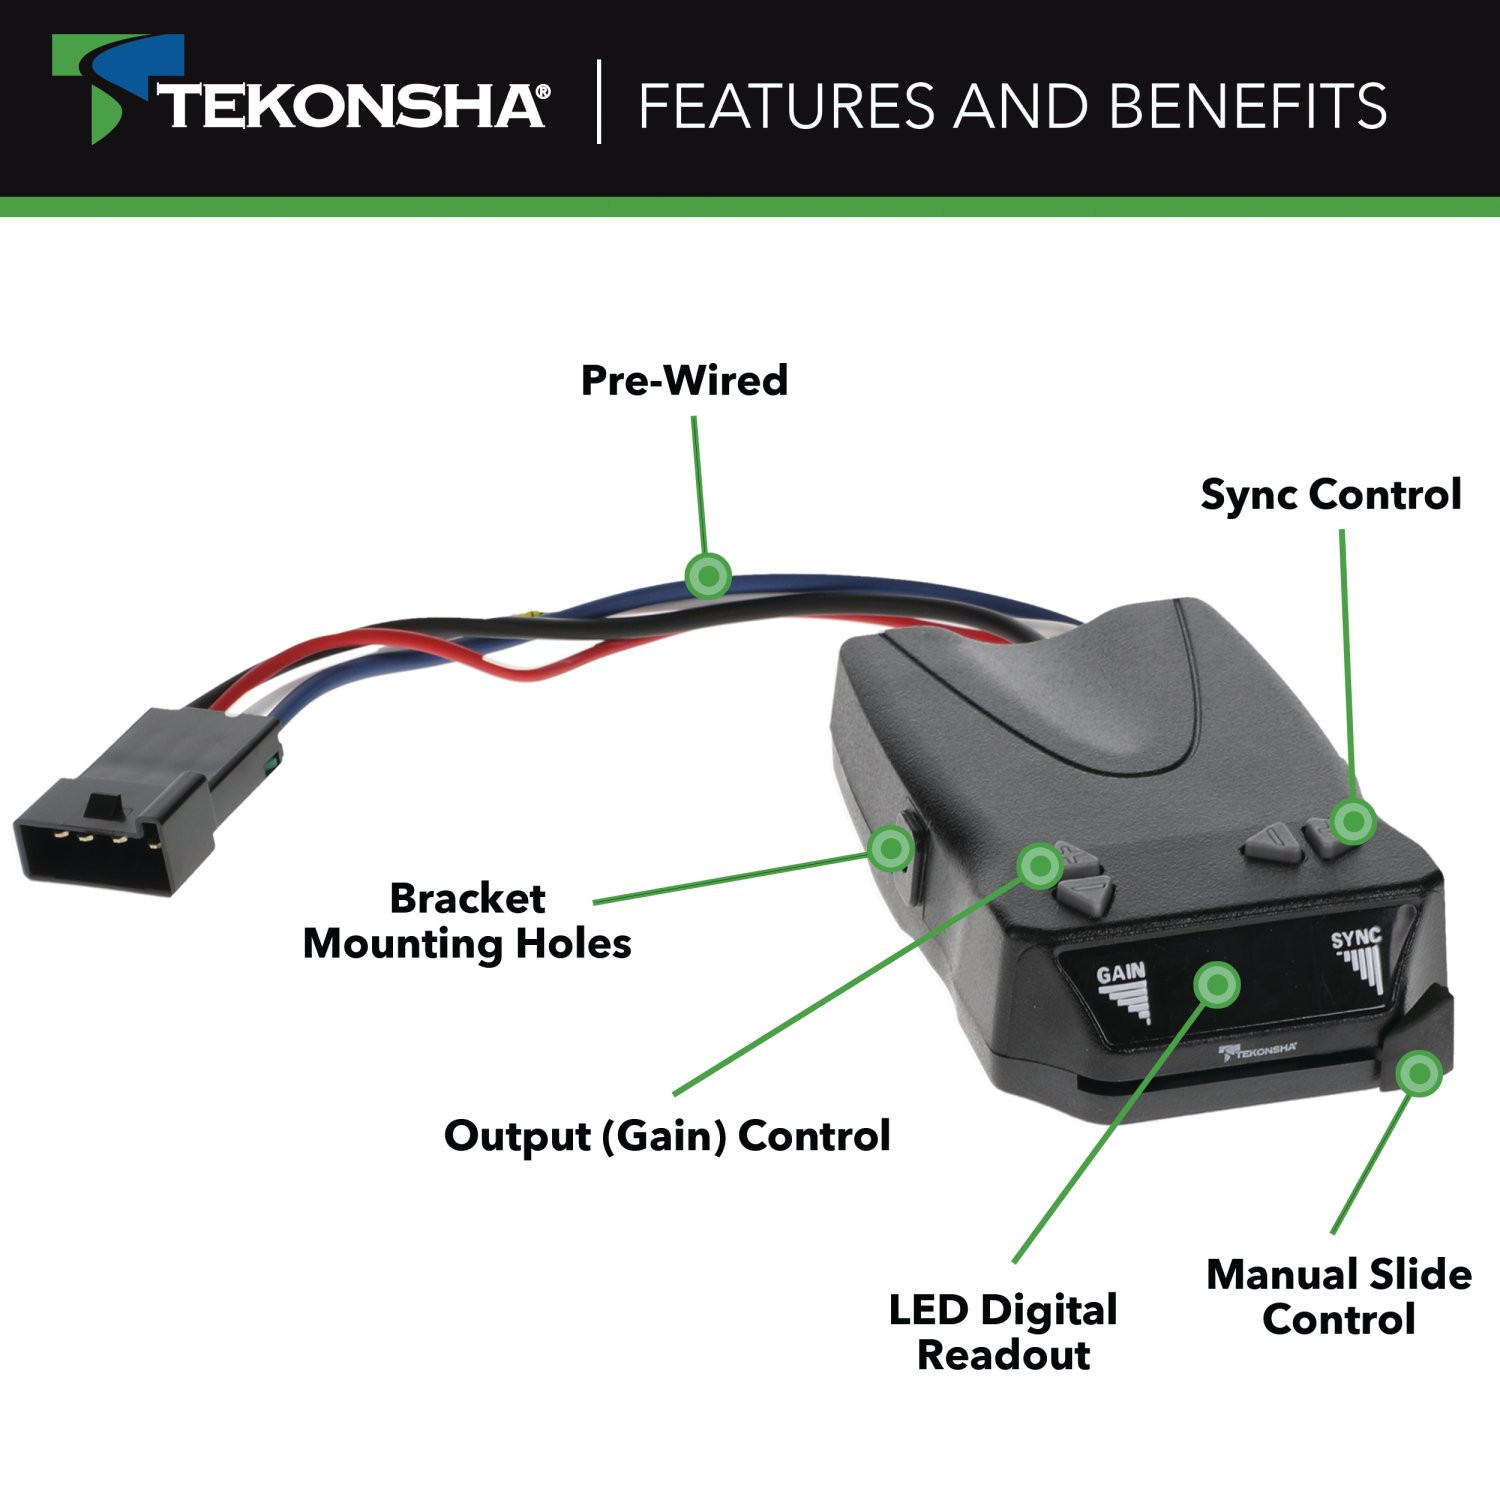
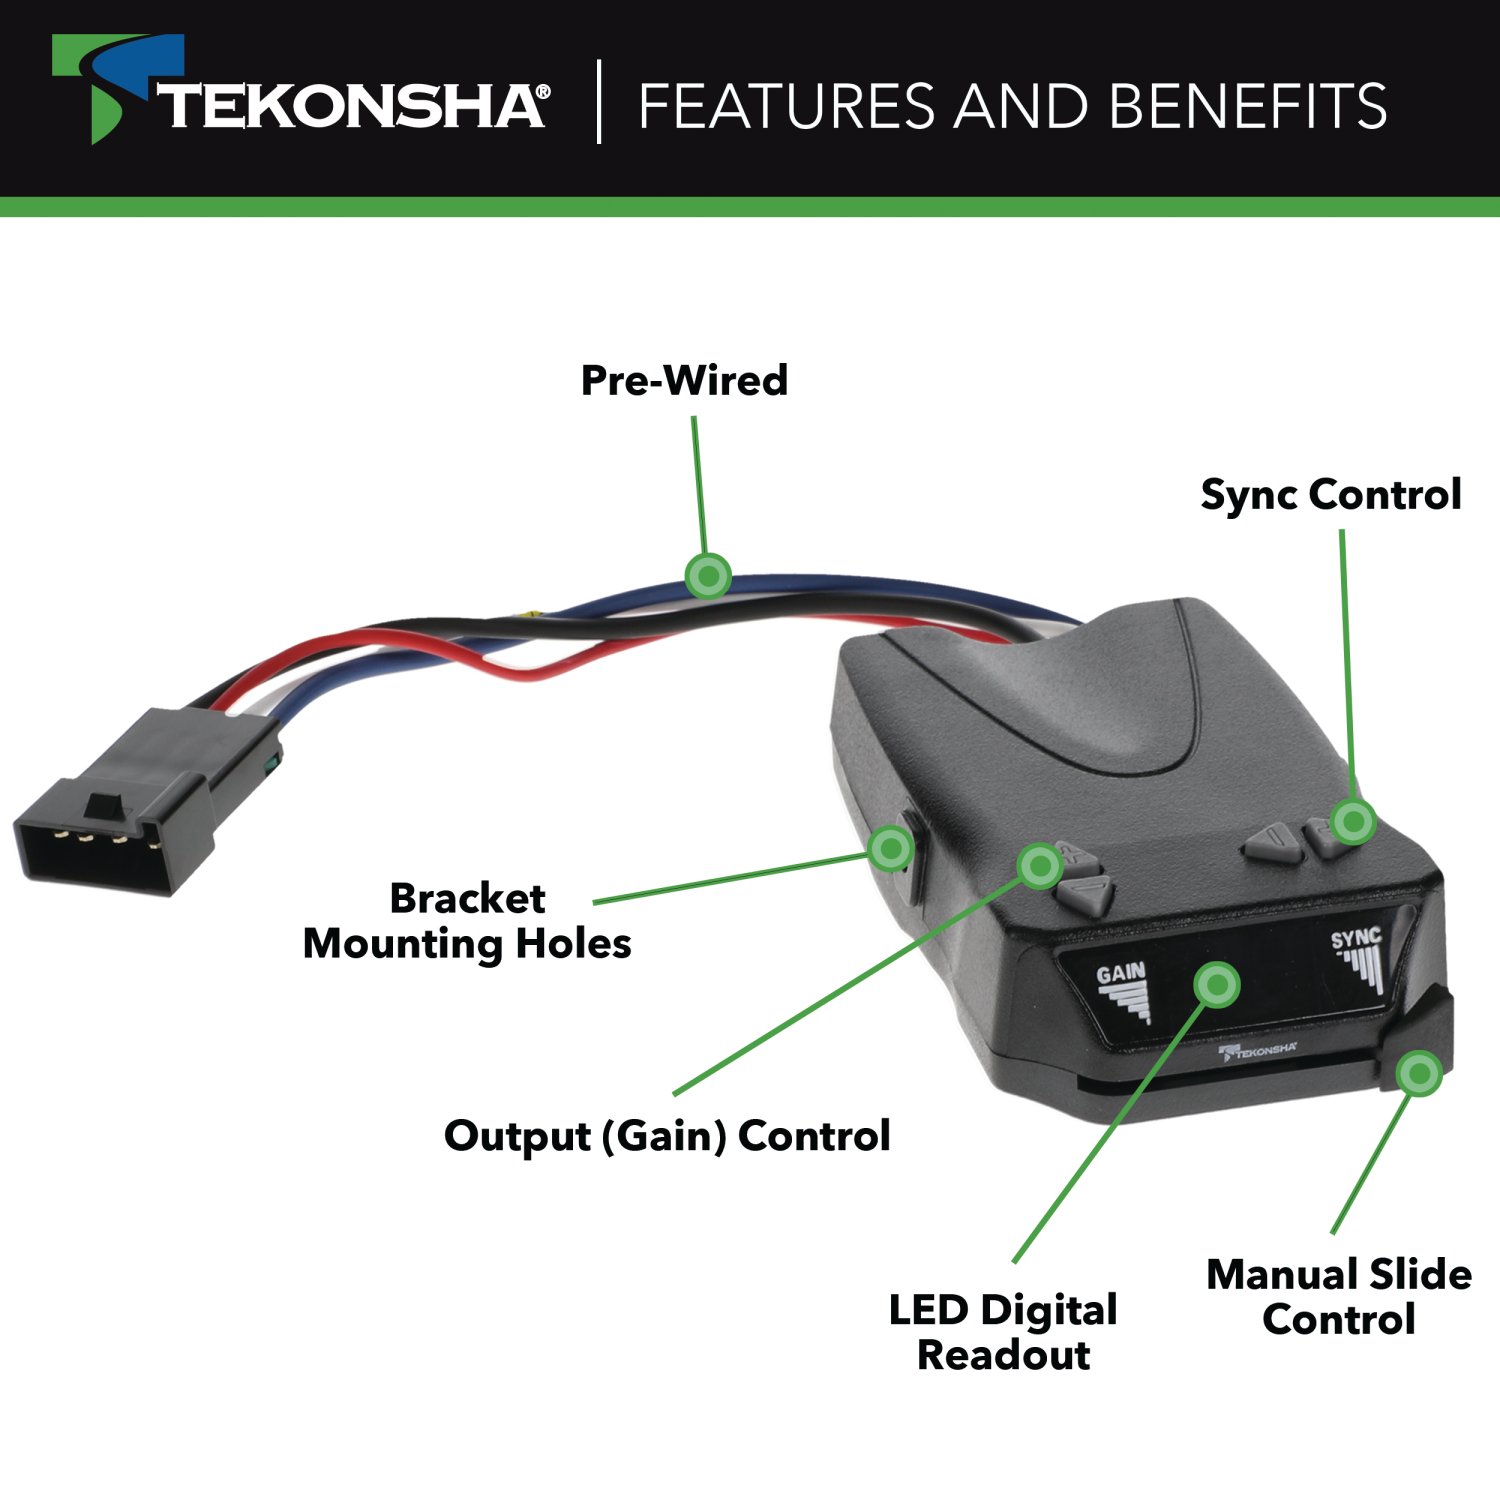
The Tekonsha Electronic Brake Control is an electronic trailer brake controller designed for 2, 4, 6, and 8 brake applications. It allows the driver to control trailer brakes independently from the tow vehicle's brakes using a dashboard-mounted control unit. The system includes an Output (Gain) Control to set maximum brake power, a Sync Control to adjust brake aggressiveness, and a Manual Control slide for independent trailer braking. The digital display shows gain settings and helps with setup and troubleshooting.
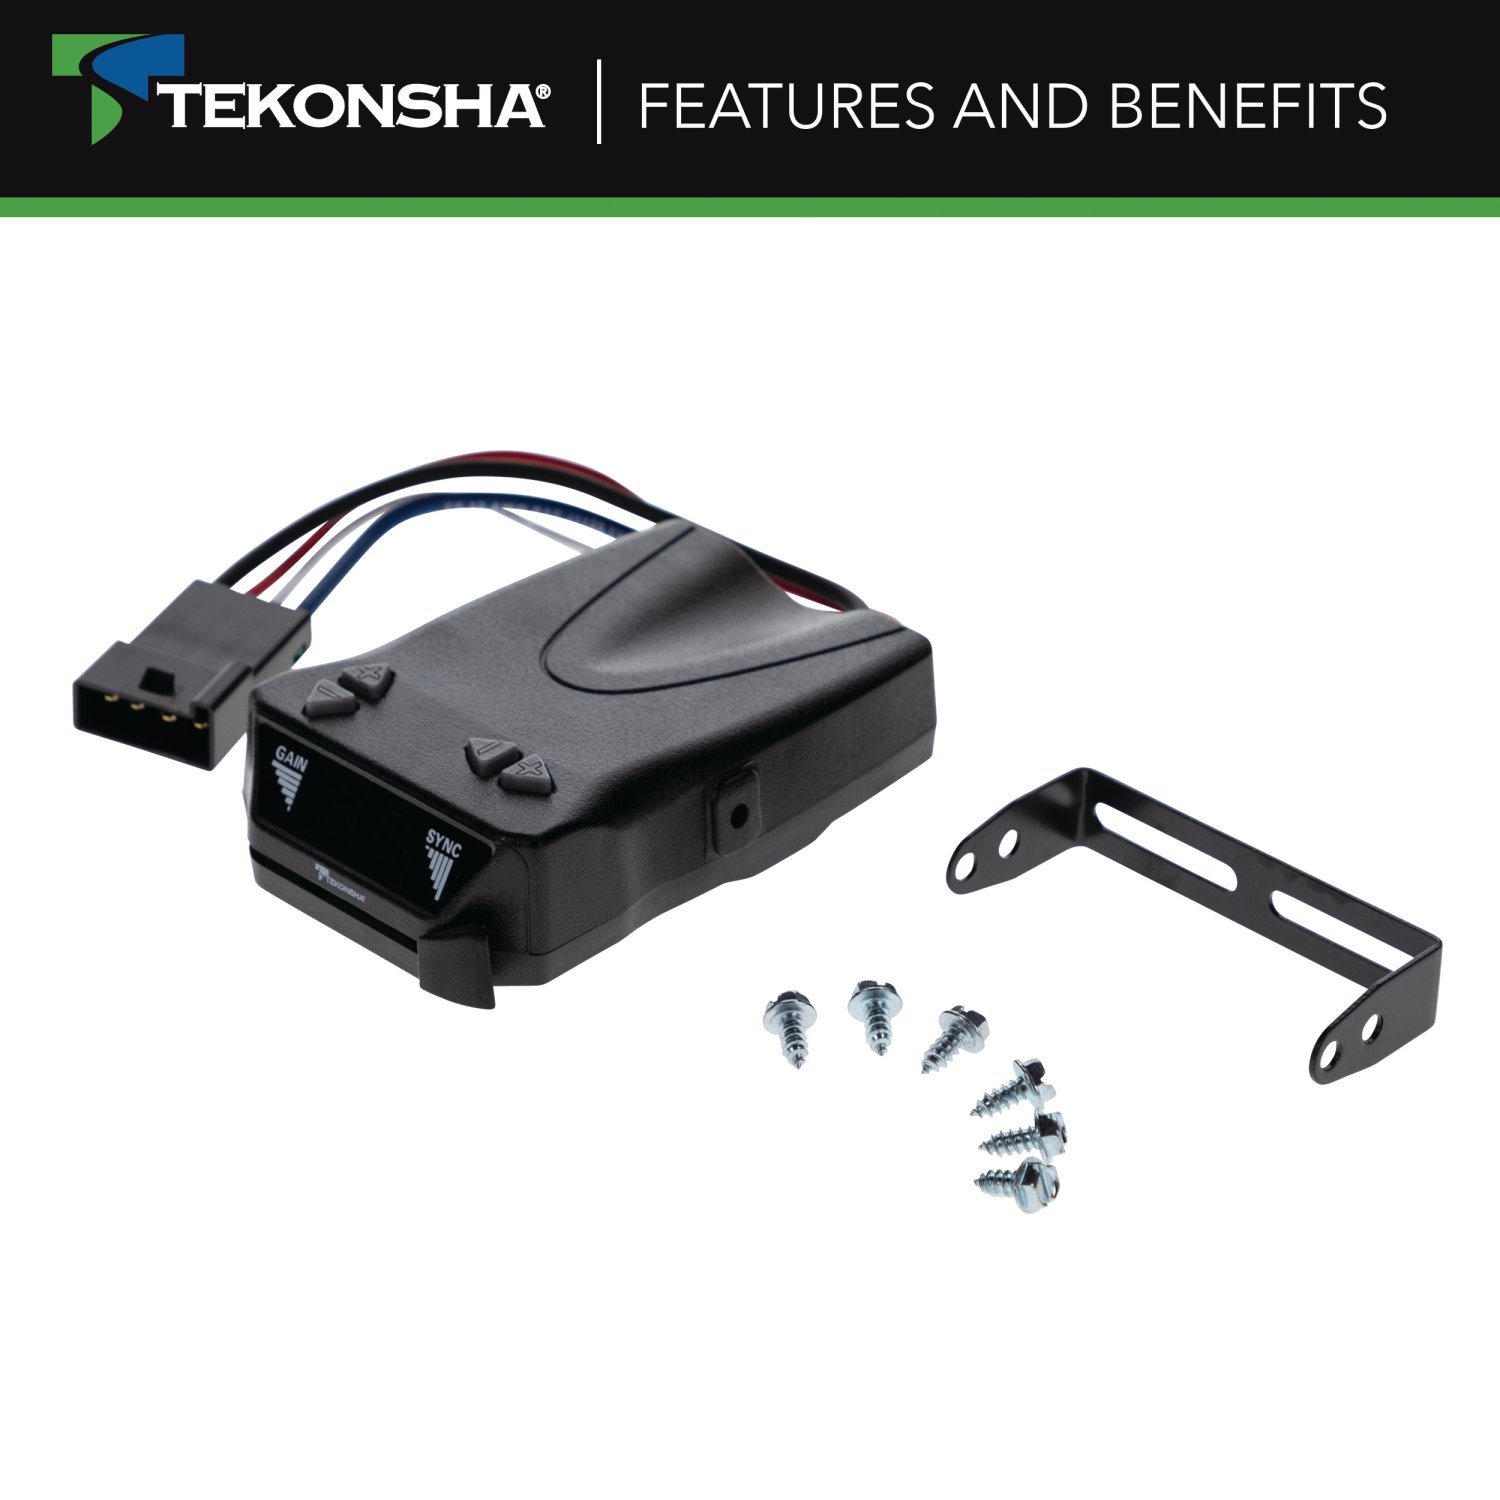
The package includes: (1) Brake Control Unit, (1) Mounting Bracket, (4) Mounting Screws, and (1) Warranty Card. You will need to supply separately: 10 Ga. wire, a 30 Amp auto-reset circuit breaker, assorted ring terminal and butt connectors, and 4" cable ties (6-10 pieces).
The control is designed for 2, 4, 6, and 8 brake applications. The manual does not specify which trailer models or manufacturers are compatible, or any vehicle-specific fitment restrictions. Contact the manufacturer at 1-888-785-5832 or www.tekonsha.com for compatibility with your specific trailer and tow vehicle.
Required tools are: assorted end wrenches, a drill with a 1/8" bit, a wire connector crimp tool, a probe type circuit tester, a wire cutter/stripper, and a screwdriver or 1/4" nut driver. The manual does not specify whether professional installation is recommended or required.
You must use 10 Ga. wire and a 30 Amp auto-reset circuit breaker. These are critical for safe operation and must be supplied separately; they are not included in the package.
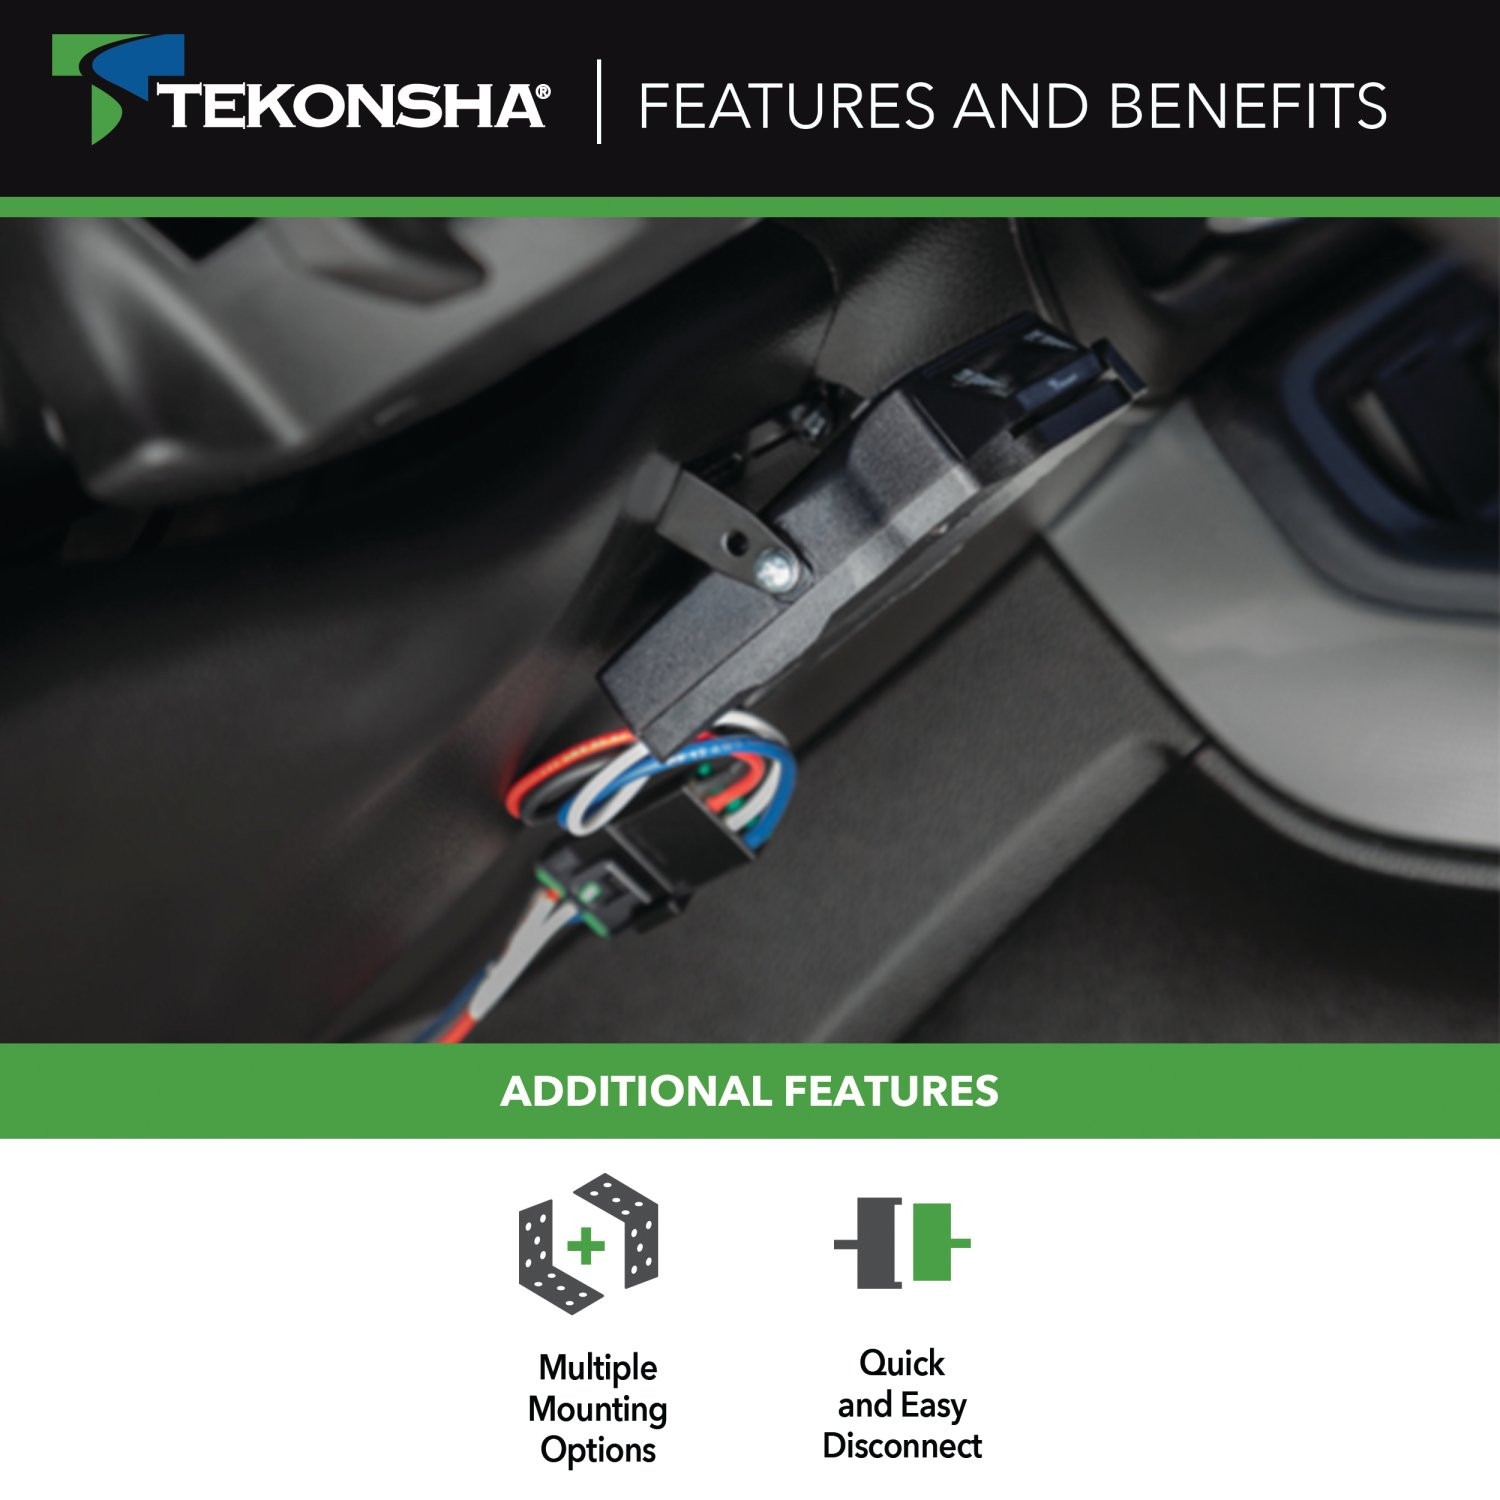
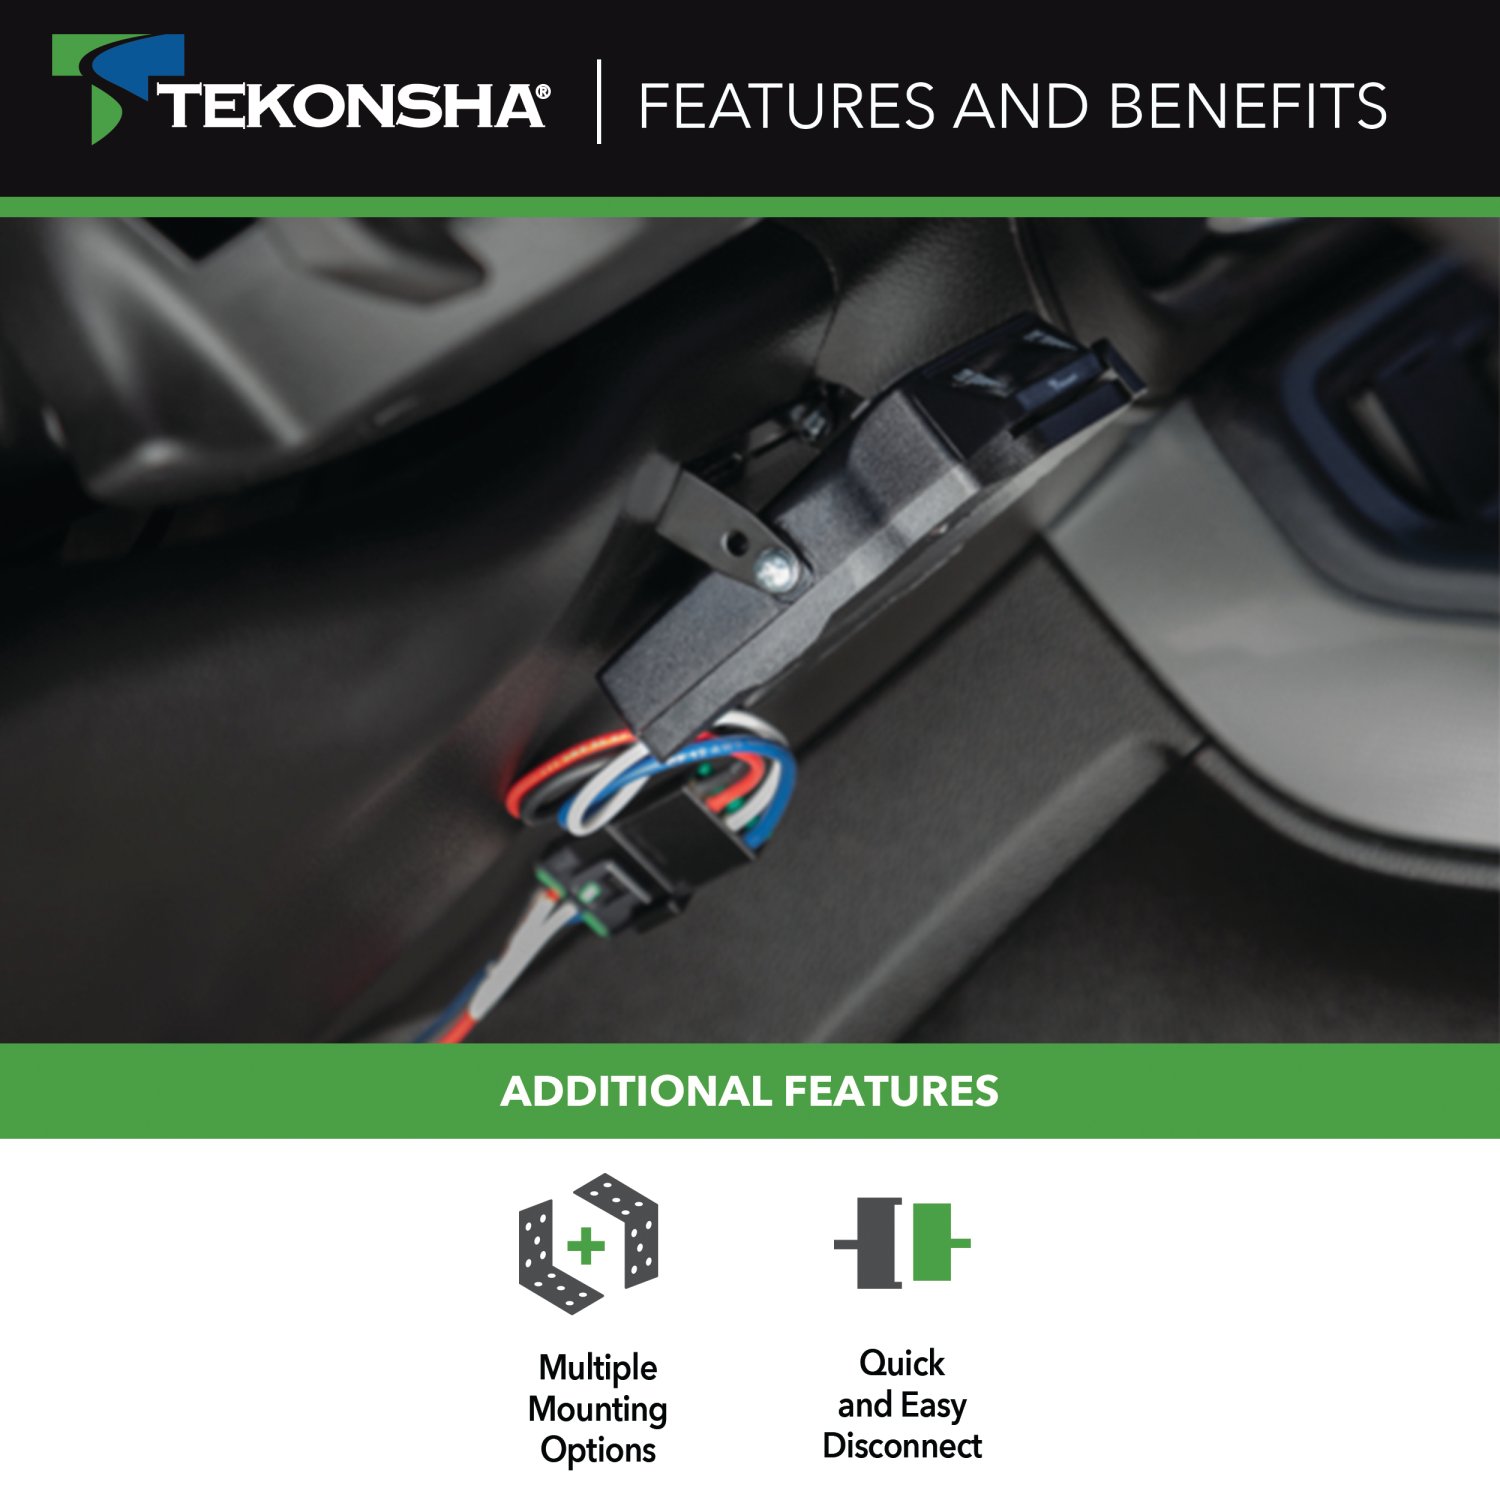
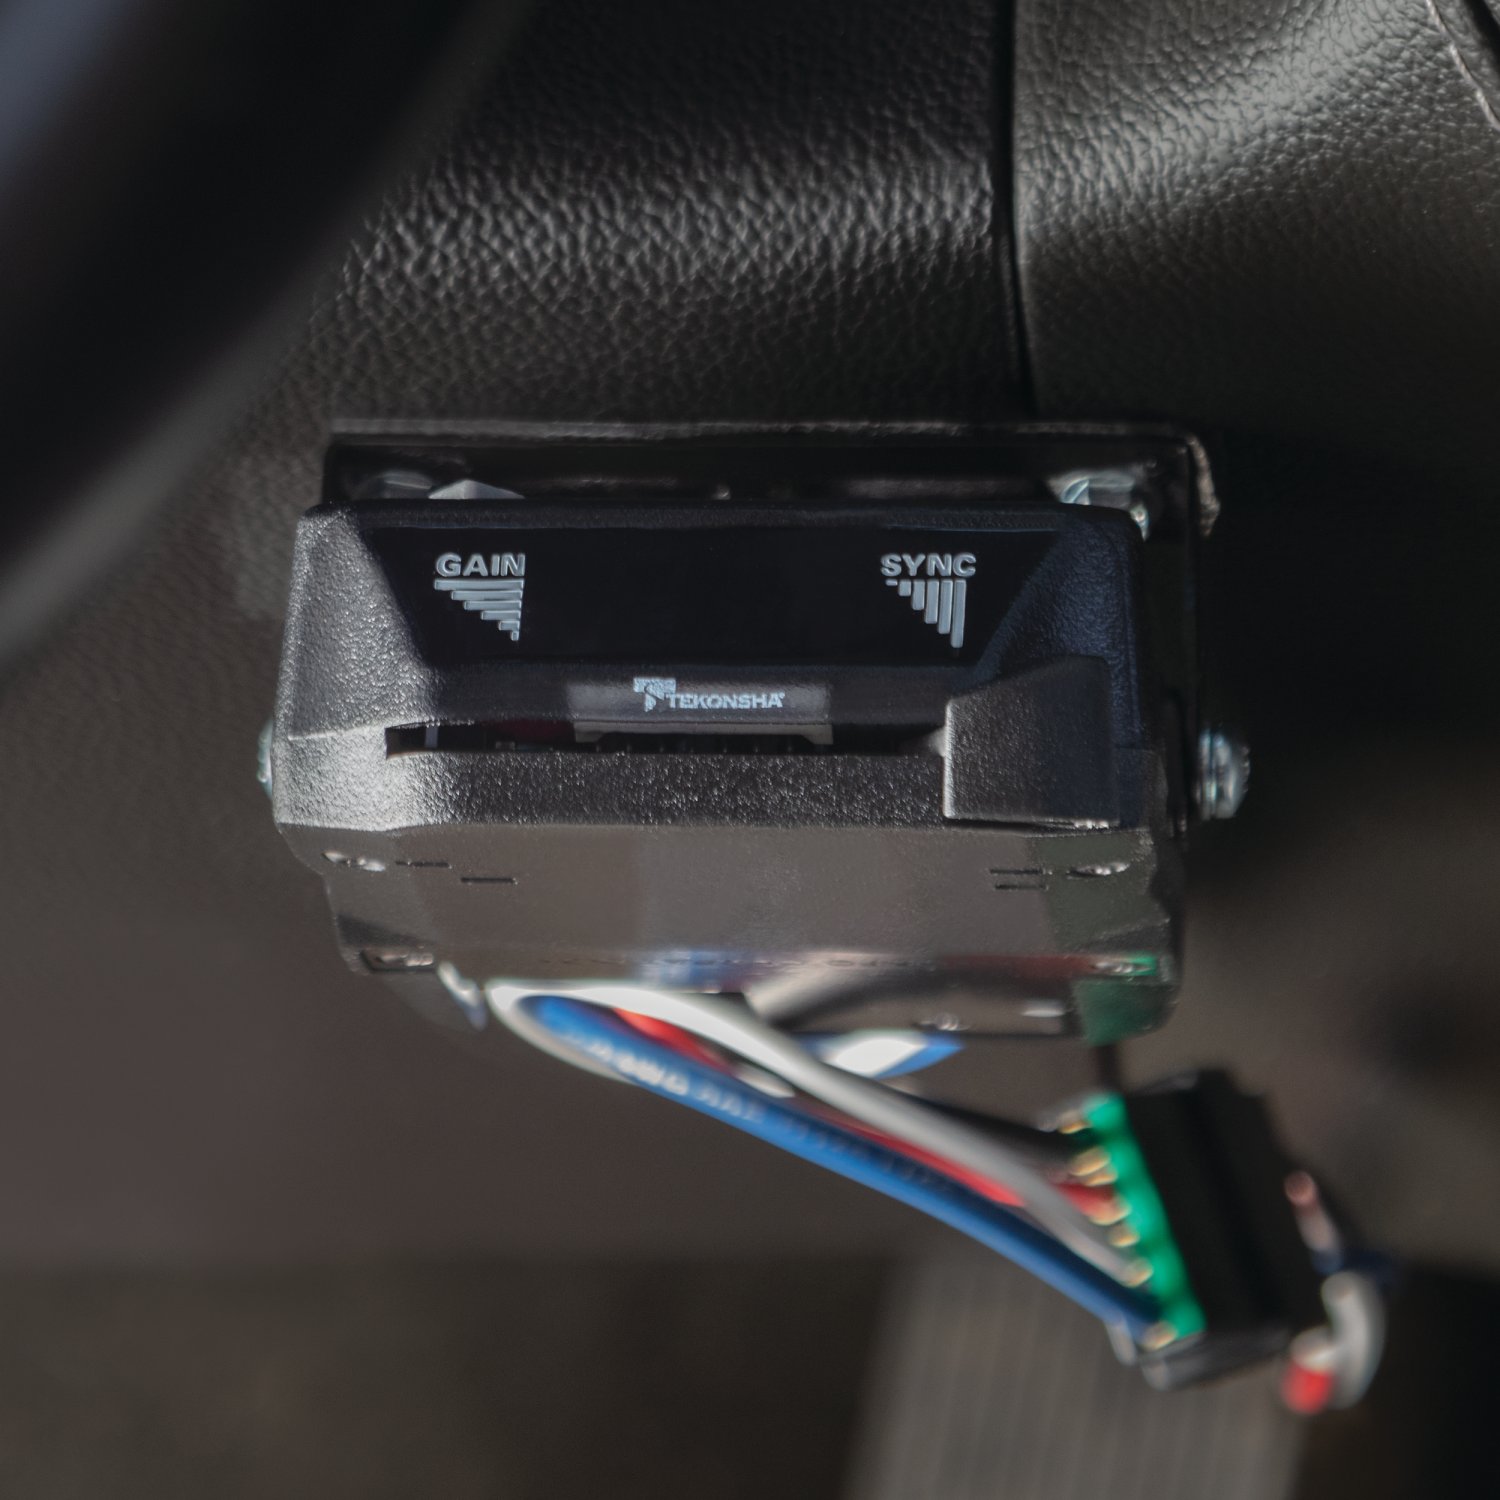
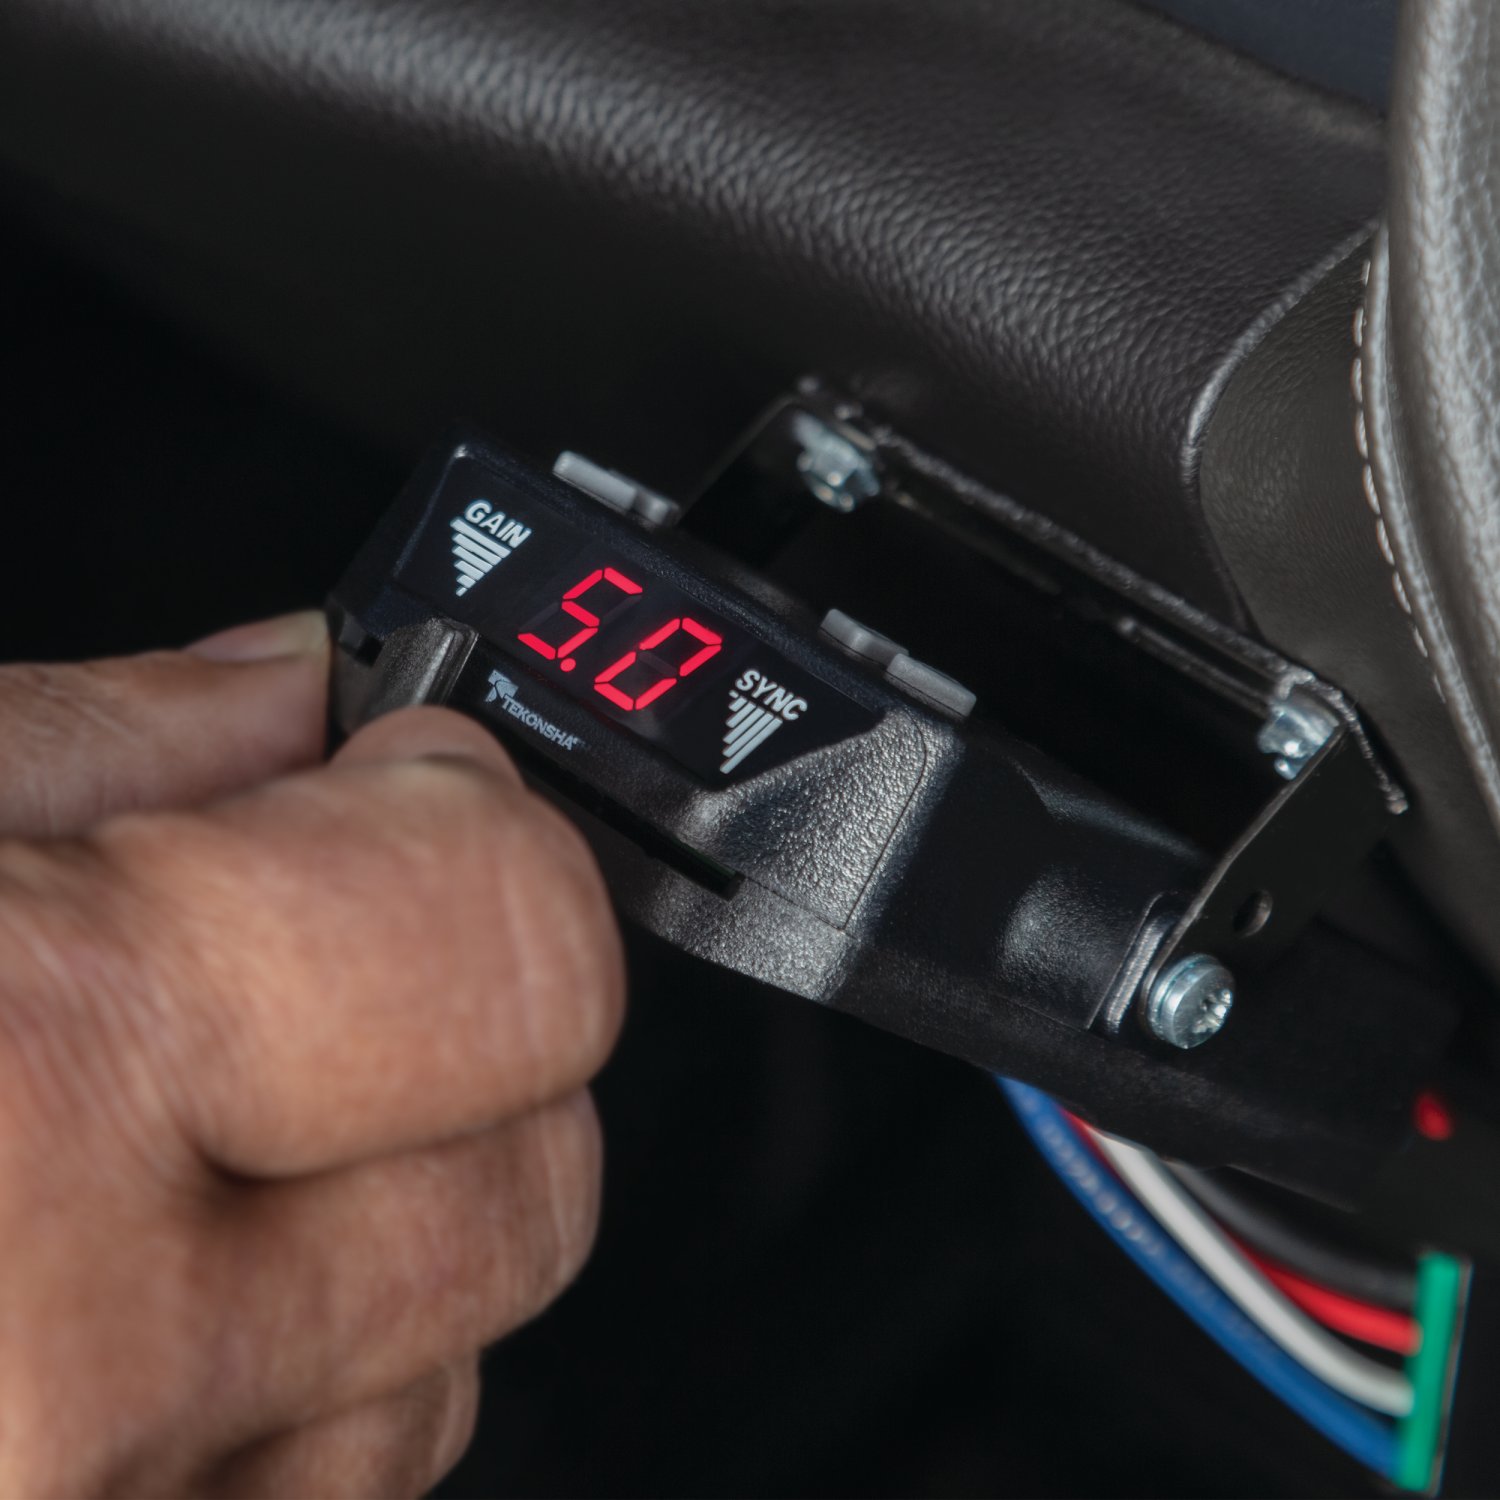
The control must be mounted in a location that meets three criteria: (A) the unit must be mounted securely to a solid surface, (B) the unit must be easily reached by the driver, and (C) the area behind the mounting location must be clear so nothing will be damaged when drilling. The manual shows it can be mounted under the dash, on top of the dash, vertically, or at any angle, but you must verify the area behind is clear before drilling.
1. Determine a suitable mounting location that is solid, easily reached, and has clear space behind it. 2. Hold the mounting bracket in the selected position and mark hole locations through the slots in the bracket. 3. Using a 1/8" diameter drill bit, drill holes at the marked locations. 4. Secure the bracket in place using the 2 self-tapping screws provided with a screwdriver or 1/4" nut driver; be careful not to strip the holes by over-tightening. 5. Mount the brake control unit to the bracket using the remaining 2 self-tapping screws as shown in the illustration.
You must drill 2 holes with a 1/8" diameter (1/8" dia.) bit at the locations marked through the bracket slots. Before drilling, ensure the area behind the panel is completely clear to avoid damaging anything behind the mounting surface.
The brake control uses four wires: Black (Vehicle Power), Red (Stop Light), White (Vehicle Ground), and Blue (Trailer Brakes). The black wire connects to vehicle power, the white wire to vehicle ground, the red wire to the stop light circuit, and the blue wire to the trailer brake circuit. Correct wire identification and connection is essential for proper operation.
A 30 Amp auto-reset circuit breaker is required. This must be installed in the power circuit to protect the system. The circuit breaker is not included and must be supplied separately.
Preliminary setup requires: (1) Connect the trailer and press and hold the brake pedal; the display will show the Gain setting. Adjust to approximately 2.0 by pressing the Gain button up or down. (2) While still holding the brake pedal, press either Sync button; the display will change to Sync setting. Adjust to 4° by pressing the Sync button (+ or –) as necessary. Then perform a test drive in an open area like a large parking lot to fine-tune the settings.
In an open area such as a large parking lot: (1) Drive forward and apply the trailer brakes using the Manual Control. (2) If trailer brakes are weak, adjust the Output (Gain) Control up. If brakes jerk or lock up, adjust it down. Repeat until firm braking is felt without jerking or lockup. (3) Once Gain is set, drive forward and press the brake pedal; the tow vehicle and trailer should make a smooth stop. (4) If the stop seems slow and more aggressive braking is desired, push the Sync Up (+) button while holding the brake pedal. If too aggressive, press Sync Down (–). (5) Make several stops at various speeds and adjust Sync until stops are smooth and firm. Slight adjustment of Output (Gain) may also be desirable.
The Output (Gain) Control establishes the maximum amount of power available to the trailer brakes. As Gain is increased, more power will be available to the brakes when the brake pedal is pressed or the manual control is used. The Gain setting is shown on the digital display as 0 through 10, with 0 being minimum and 10 being maximum. Adjust the Gain during initial setup, when trailer load changes, when different trailers are used, or to adjust for changing road conditions. Increase Gain if brakes are weak; decrease it if brakes jerk or lock up.
The Sync Control adjusts trailer brake aggressiveness. The trailer brakes become more aggressive as the Sync '+' button is pressed. The Sync setting is shown on the display as 0° through 9°, with 0° being the least aggressive and 9° being the most aggressive. To view the Sync setting, press the brake pedal (trailer must be connected) and press either the + or – Sync button. The Sync adjustment has no effect on the Manual Control. Adjust Sync for individual driver preference or changing road conditions. During test drive, if stops seem slow, push Sync Up (+) while holding the brake pedal; if too aggressive, press Sync Down (–).
The Manual Control is located on the front of the Brake Control Unit at the right side. It applies only the trailer brakes and is used during initial setup and in situations where it is desirable to reduce speed slowly. When the Manual Control is moved to the left, it begins to apply the trailer brakes. The further left it is moved, the harder the brakes are applied until the maximum setting by the Output (Gain) Control is reached. The Gain setting will be shown on the display and can be adjusted when using the Manual Control. The Manual Control activates all trailer stoplights. Note: Some tow vehicles' stoplights may also activate.
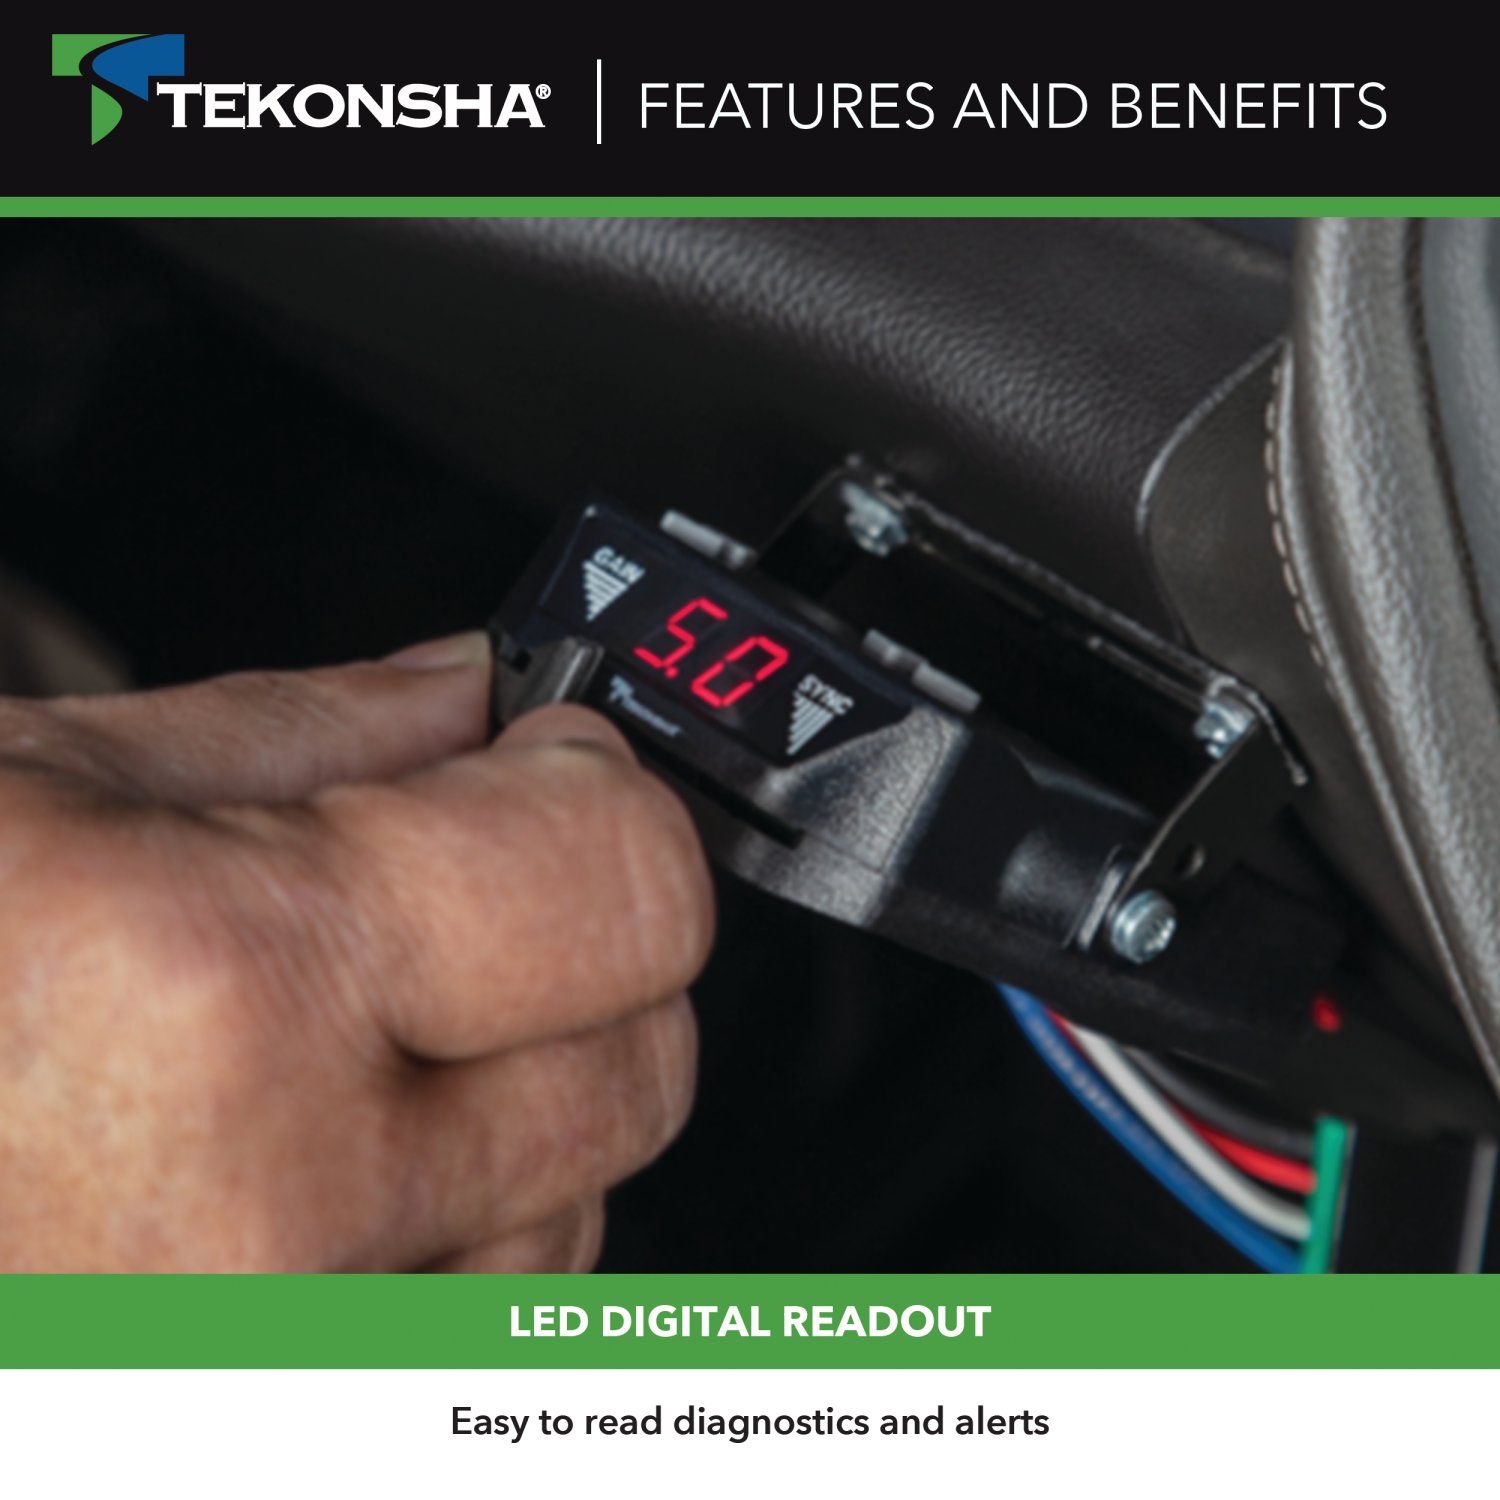
The digital display shows the Gain setting when the control is activated. It is used to setup and monitor the Brake Control and can be used when troubleshooting. The display shows different information depending on the situation: a single decimal point when control is activated with no trailer connected; the Output (Gain) setting when control is activated with trailer connected; and the Sync setting when the brake pedal is pushed with Sync Control activated and trailer connected. The display can also show error codes such as OL (short in blue wire circuit) or Er (internal brake control problem).
Yes. Light pressure on the brake pedal will activate the trailer's brakes with no effect on the tow vehicle's brakes. This is useful for gradual slowing on steep grades or before stops.
On some vehicles, operating the Brake Control's Manual Control will not disengage 'Cruise Control'. If this is a concern with your vehicle, consult your vehicle's manual or the brake control manufacturer at 1-888-785-5832.
When towing with hazard flashers on, the digital display will flash with the hazard flashers. If the brake control is set aggressively, pulsing may be felt in the trailer brakes. Installation of a Pulse Preventor will isolate the brake control from the flashers and eliminate the flash/pulse situation.
Yes. Periodic adjustment of the Sync and Output controls may be necessary to correct for changing road conditions, trailer loading, brake wear, and/or driver preference. Monitor braking performance and adjust as needed to maintain smooth, firm stops.
This indicates no power to the control, no ground, reversed black and white wires, or a blown circuit breaker. Check and repair all connections. Verify that the black wire (vehicle power) and white wire (vehicle ground) are correctly connected and not reversed. Check that the 30 Amp auto-reset circuit breaker has not blown. Refer to the wiring section of the manual.
This indicates no connection or incorrect connection at the stoplight switch, or a blown fuse in the stoplight circuit. Check and repair all connections to the stoplight switch. Verify the red wire (stop light) is correctly connected. Check the stoplight circuit fuse in your vehicle. Refer to the wiring section of the manual.
This indicates the red wire (stop light) is connected to the wrong side of the stoplight switch or to the wrong switch (such as cruise control). Check and repair all connections. Verify the red wire is connected to the correct stoplight switch terminal. Refer to the wiring section of the manual.
This indicates the brake control unit is miswired. Check and repair all connections. Refer to the wiring section of the manual to verify all four wires (black, red, white, and blue) are connected to the correct terminals.
This indicates a short circuit in the blue wire circuit (trailer brakes). Locate and correct the short in the blue wire. Check for damaged insulation, pinched wires, or incorrect connections in the blue wire circuit.
This indicates an internal brake control problem. Return the unit to the dealer for evaluation. Do not attempt to repair the unit yourself.
Several causes are possible: (1) No connection between the brake control and brakes—confirm the blue wire is connected to the trailer connector and check the connector terminal positions. (2) Miswired trailer connector—confirm the trailer connector terminal positions are correct. (3) Short or overload in the trailer brakes—troubleshoot the trailer brake circuit per the brake manufacturer's instructions. (4) Internal brake control problem—return the unit to the dealer for evaluation.
Two causes are likely: (1) Miswired trailer connector—check and correct the connector wire positions. (2) Output (Gain) setting too low—increase the Output (Gain) Control. Start by checking the trailer connector terminal positions, then perform a test drive and increase the Gain setting until firm braking is felt without jerking or lockup.
This indicates the trailer connector is miswired. Check and correct the connector wire positions. Verify that the blue wire (trailer brakes) is connected to the correct terminal on the trailer connector.
The control is designed for 2, 4, 6, and 8 brake applications. The manual does not list specific trailer models or manufacturers. Contact Tekonsha at 1-888-785-5832 or www.tekonsha.com to confirm compatibility with your trailer and tow vehicle.
You must supply: 10 Ga. wire, a 30 Amp auto-reset circuit breaker, assorted ring terminal and butt connectors, and 4" cable ties (6-10 pieces). The bracket, mounting screws, and control unit are included.
Yes. You must drill 2 holes with a 1/8" diameter bit to mount the bracket. Before drilling, ensure the area behind the panel is completely clear to avoid damaging anything behind the mounting surface.
Set the Gain to approximately 2.0 and the Sync to 4° during preliminary setup. Then perform a test drive in an open area and adjust both settings until you achieve smooth, firm braking without jerking or lockup.
Use 10 Ga. wire and a 30 Amp auto-reset circuit breaker. These are critical for safe operation and must be supplied separately.
Yes. Light pressure on the brake pedal will activate only the trailer brakes with no effect on the tow vehicle's brakes. This is useful for gradual slowing on steep grades or before stops.
This occurs when the brake control is set aggressively and hazard flashers are on. Install a Pulse Preventor to isolate the brake control from the flashers and eliminate the pulsing.
The 18285-037 is a wiring adapter that connects an electric trailer brake control to a vehicle's factory electric brake control harness. It allows you to plug a brake control unit into your vehicle's existing 5-pin brake control connector without modification to the vehicle's original wiring.
No. The adapter is designed for vehicles that have an electric brake control harness with a 5-pin connector located underneath and to the left of the steering column, taped to another harness near the emergency brake pedal. Check your vehicle for this harness before purchasing.
The harness is located underneath and to the left of the steering column. It will be taped to another harness near the emergency brake pedal. Look for a 5-pin connector on this harness that matches the one on the adapter.
The adapter includes an eyelet and screw for securing the white ground wire. These are used to attach the ground wire to a grounding point near the brake control harness connector.
The manual does not specify whether the battery must be disconnected. Consult the brake control manufacturer's installation instructions, which you must follow as part of the complete installation process.
First, plug the brake control adapter into the mating receptacle on the backside of the brake control unit. Then attach the adapter to the vehicle's 5-pin electric brake control harness connector. This sequence prevents accidental connection to the wrong connector.
Locate a suitable grounding point near the brake control harness connector, such as an existing ground stud. If no suitable point exists, drill a 3/32" hole and secure the white wire using the eyelet and screw provided. Clean dirt and rustproofing from the area before securing. Do not drill into the vehicle floor or bed.
Drilling is required only if no suitable existing ground stud is available near the brake control harness connector. If drilling is necessary, drill a 3/32" hole for the white ground wire. Do not drill into the vehicle floor or bed. Clean the area of dirt and rustproofing before drilling.
The adapter supports a maximum of 4 axles with 8 brakes (24 amps). Do not exceed the lower of your towing manufacturer's rating or this limit. Exceeding this capacity can cause circuit overload and fire risk.
Wear safety glasses during installation. Read and follow all vehicle warnings and installation instructions before beginning. Follow all brake control manufacturer's installation instructions and perform test procedures as instructed. Do not drill into the vehicle floor or bed. Do not exceed the maximum brake capacity (4 axles, 8 brakes, 24 amps) to prevent fire risk.
After installation, you must perform test procedures as instructed by the brake control manufacturer. The manual requires that you complete the installation per the electric brake control manufacturer's instructions and mount the unit as directed before testing.
The adapter fits vehicles with a 5-pin electric brake control harness located under the steering column, left side, near the emergency brake pedal. Check your vehicle for this connector before purchasing.
Drilling is only required if no existing ground stud is available. If needed, drill a 3/32" hole for the white ground wire. Do not drill into the vehicle floor or bed.
Maximum 4 axles with 8 brakes (24 amps). Do not exceed the lower of your towing manufacturer's rating or this limit to prevent fire risk.
Plug the adapter into the brake control unit first, then connect it to the vehicle's 5-pin harness connector. Ground the white wire to an existing stud or a 3/32" drilled hole.
The adapter includes an eyelet and screw for grounding the white wire to a suitable point near the brake control harness connector.
Free Shipping
Ships free on all orders
 Authorized Dealer

FREE ShippingFREE SHIPPING
Estimated delivery Wed, Sep 23 - Sat, Sep 26
Order before 2 PM EST Monday–Friday for same-day processing
Guaranteed safe & secure checkout
No reviews have been added for this product.