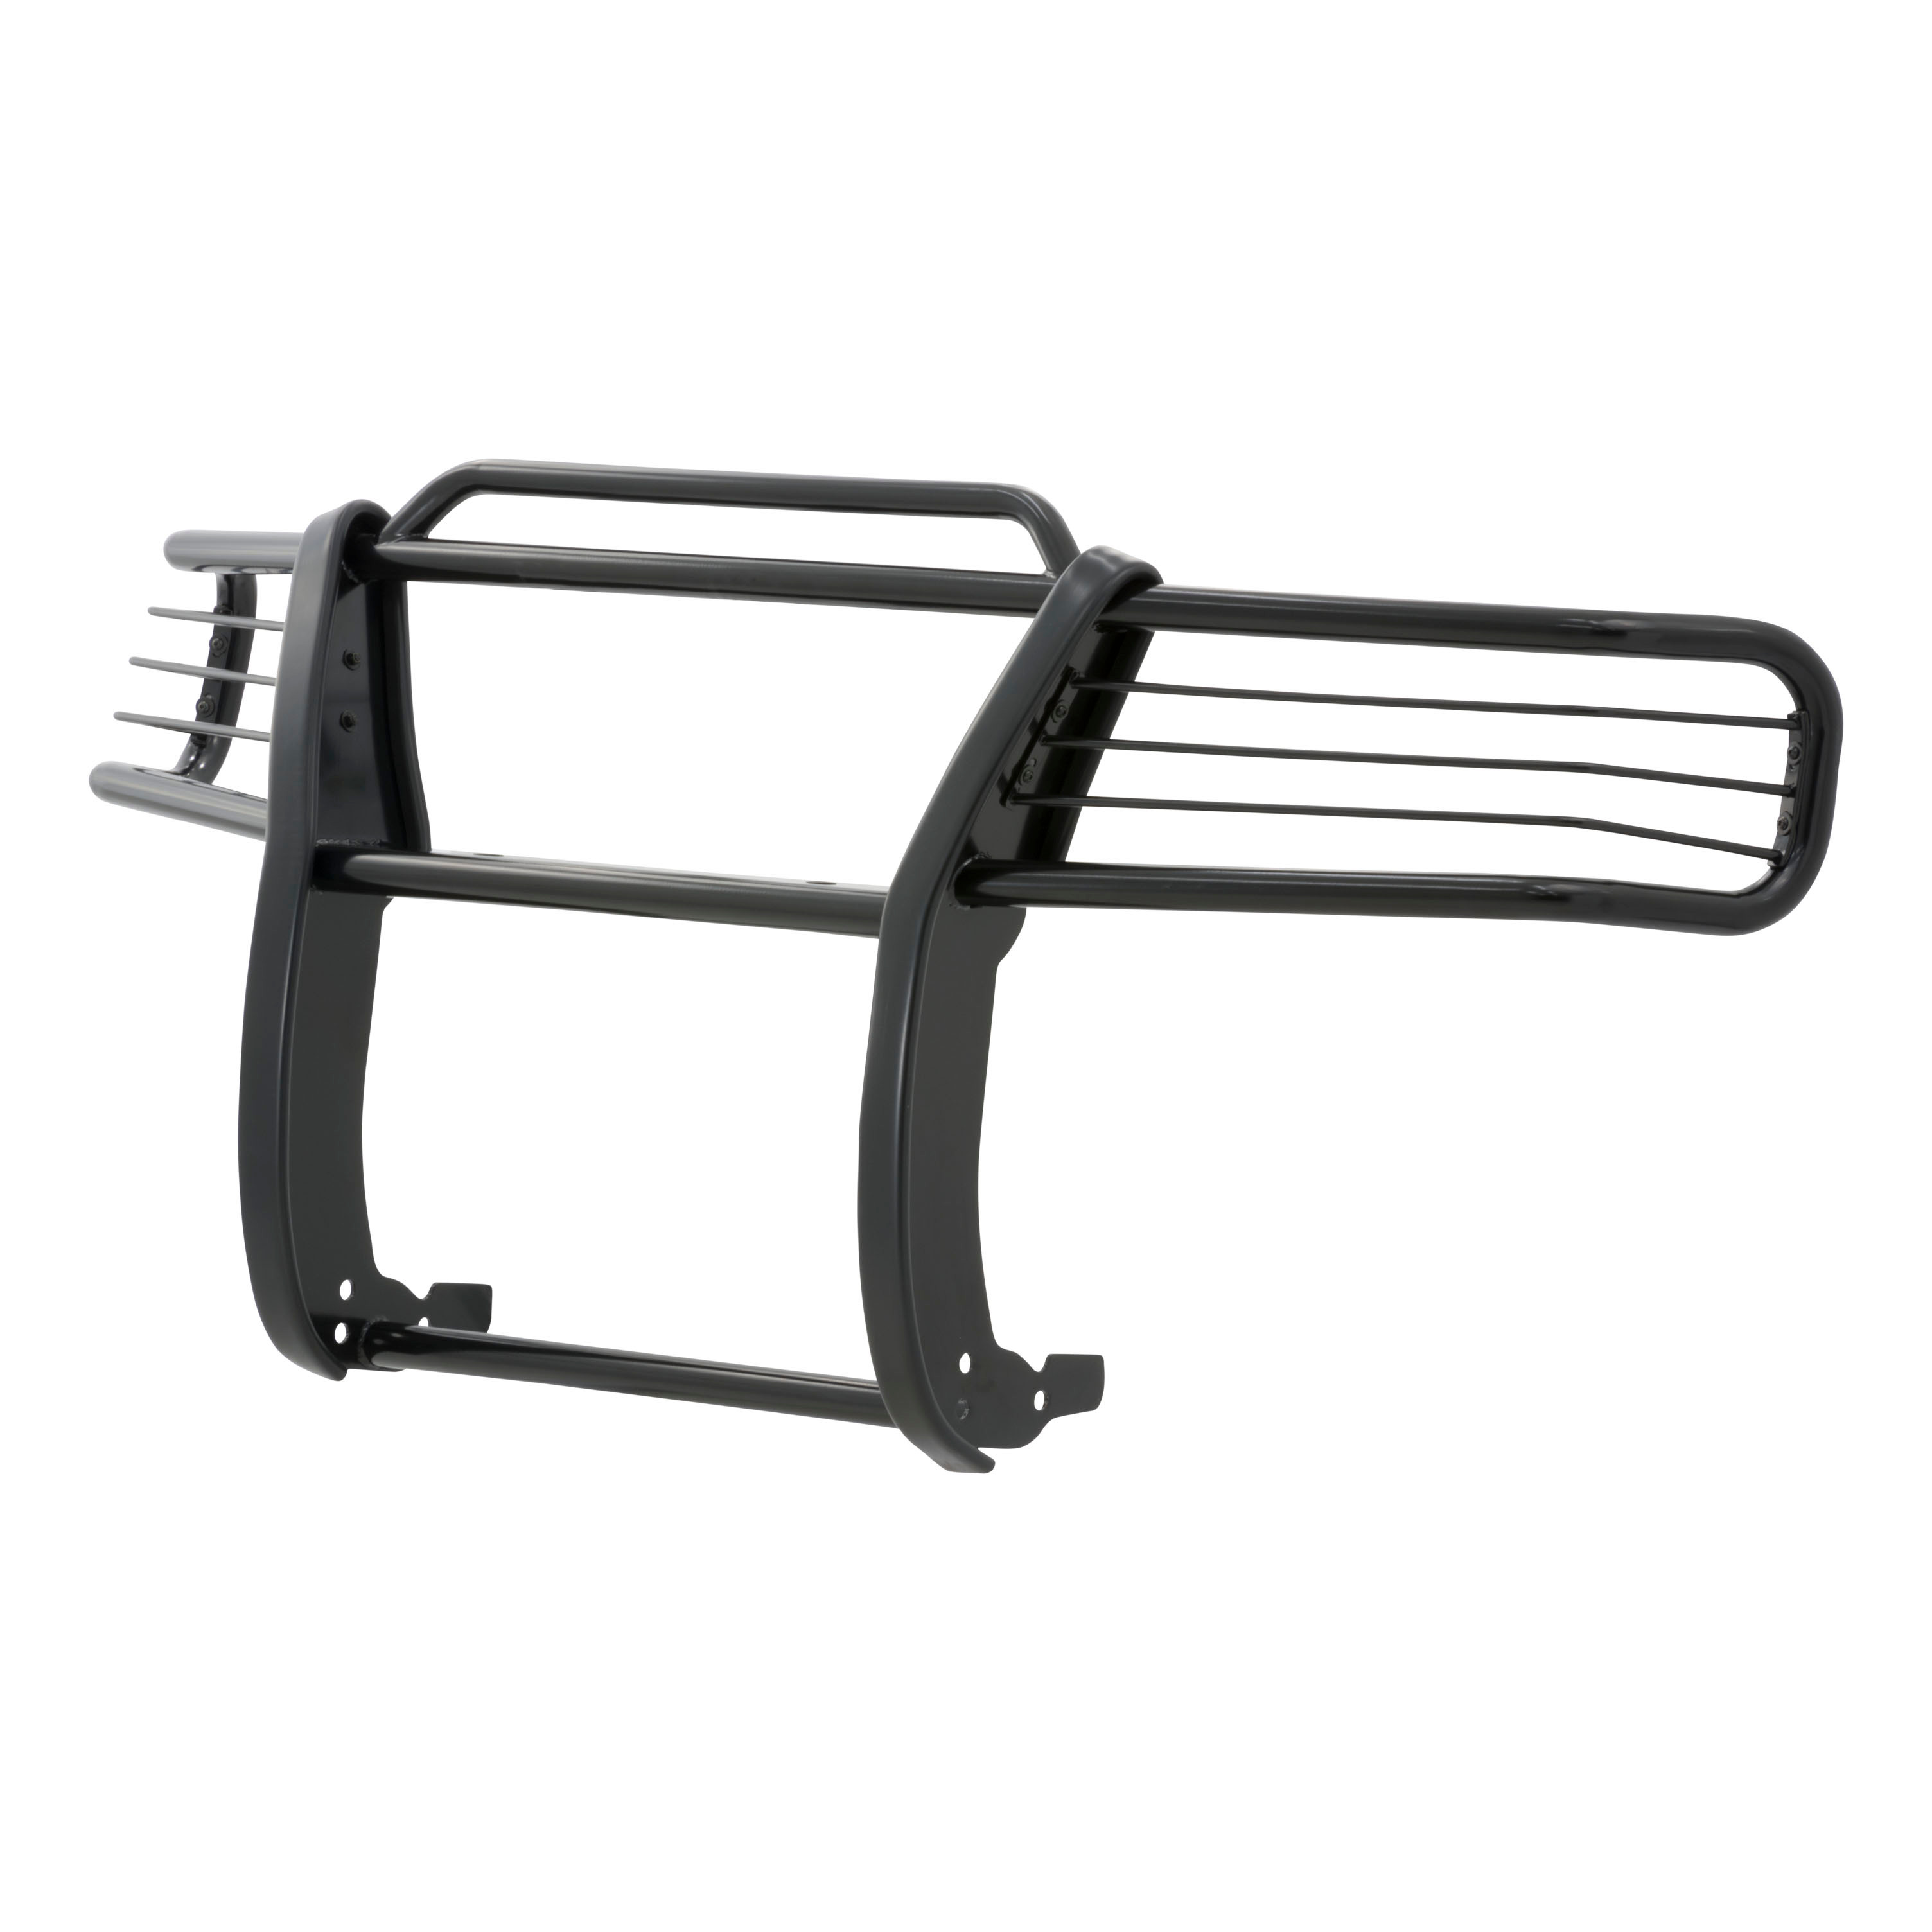
ARIES 3052 1-1/2-Inch Black Steel Grille Guard, No-Drill, Select Ford ExplorerARIESOriginal price was $422.95. Current price is $210.00.Out of Stock
View productOur in-house experts typically reply within one business day.

ARIES
On Sale Today
Original price was $874.95. Current price is $649.99.You save $224.96 (26%)
Free Shipping
Ships free on all orders
 Authorized Dealer
2016 - 2019 Ford Explorer
Confirmed to Fit





Always the correct part
We know our products
Quality Products
Free Shipping!
Always the correct part
We know our products
Quality Products
Free Shipping!
Verify Fitment
Select your vehicle to confirm this part fits.


Quick Ship
In stock and ready to ship — order now!
Shipping from Lancaster, TXFREE SHIPPING
Estimated delivery Thu, Oct 15 - Sat, Oct 17
Order before 2 PM EST Monday–Friday for same-day processing
Guaranteed safe & secure checkout
Includes grille guard and mounting hardware
Grille guard may interfere with forward-facing cameras or sensors

Warranty: Limited Lifetime Warranty (Three-Year Finish, One-Year Parts)
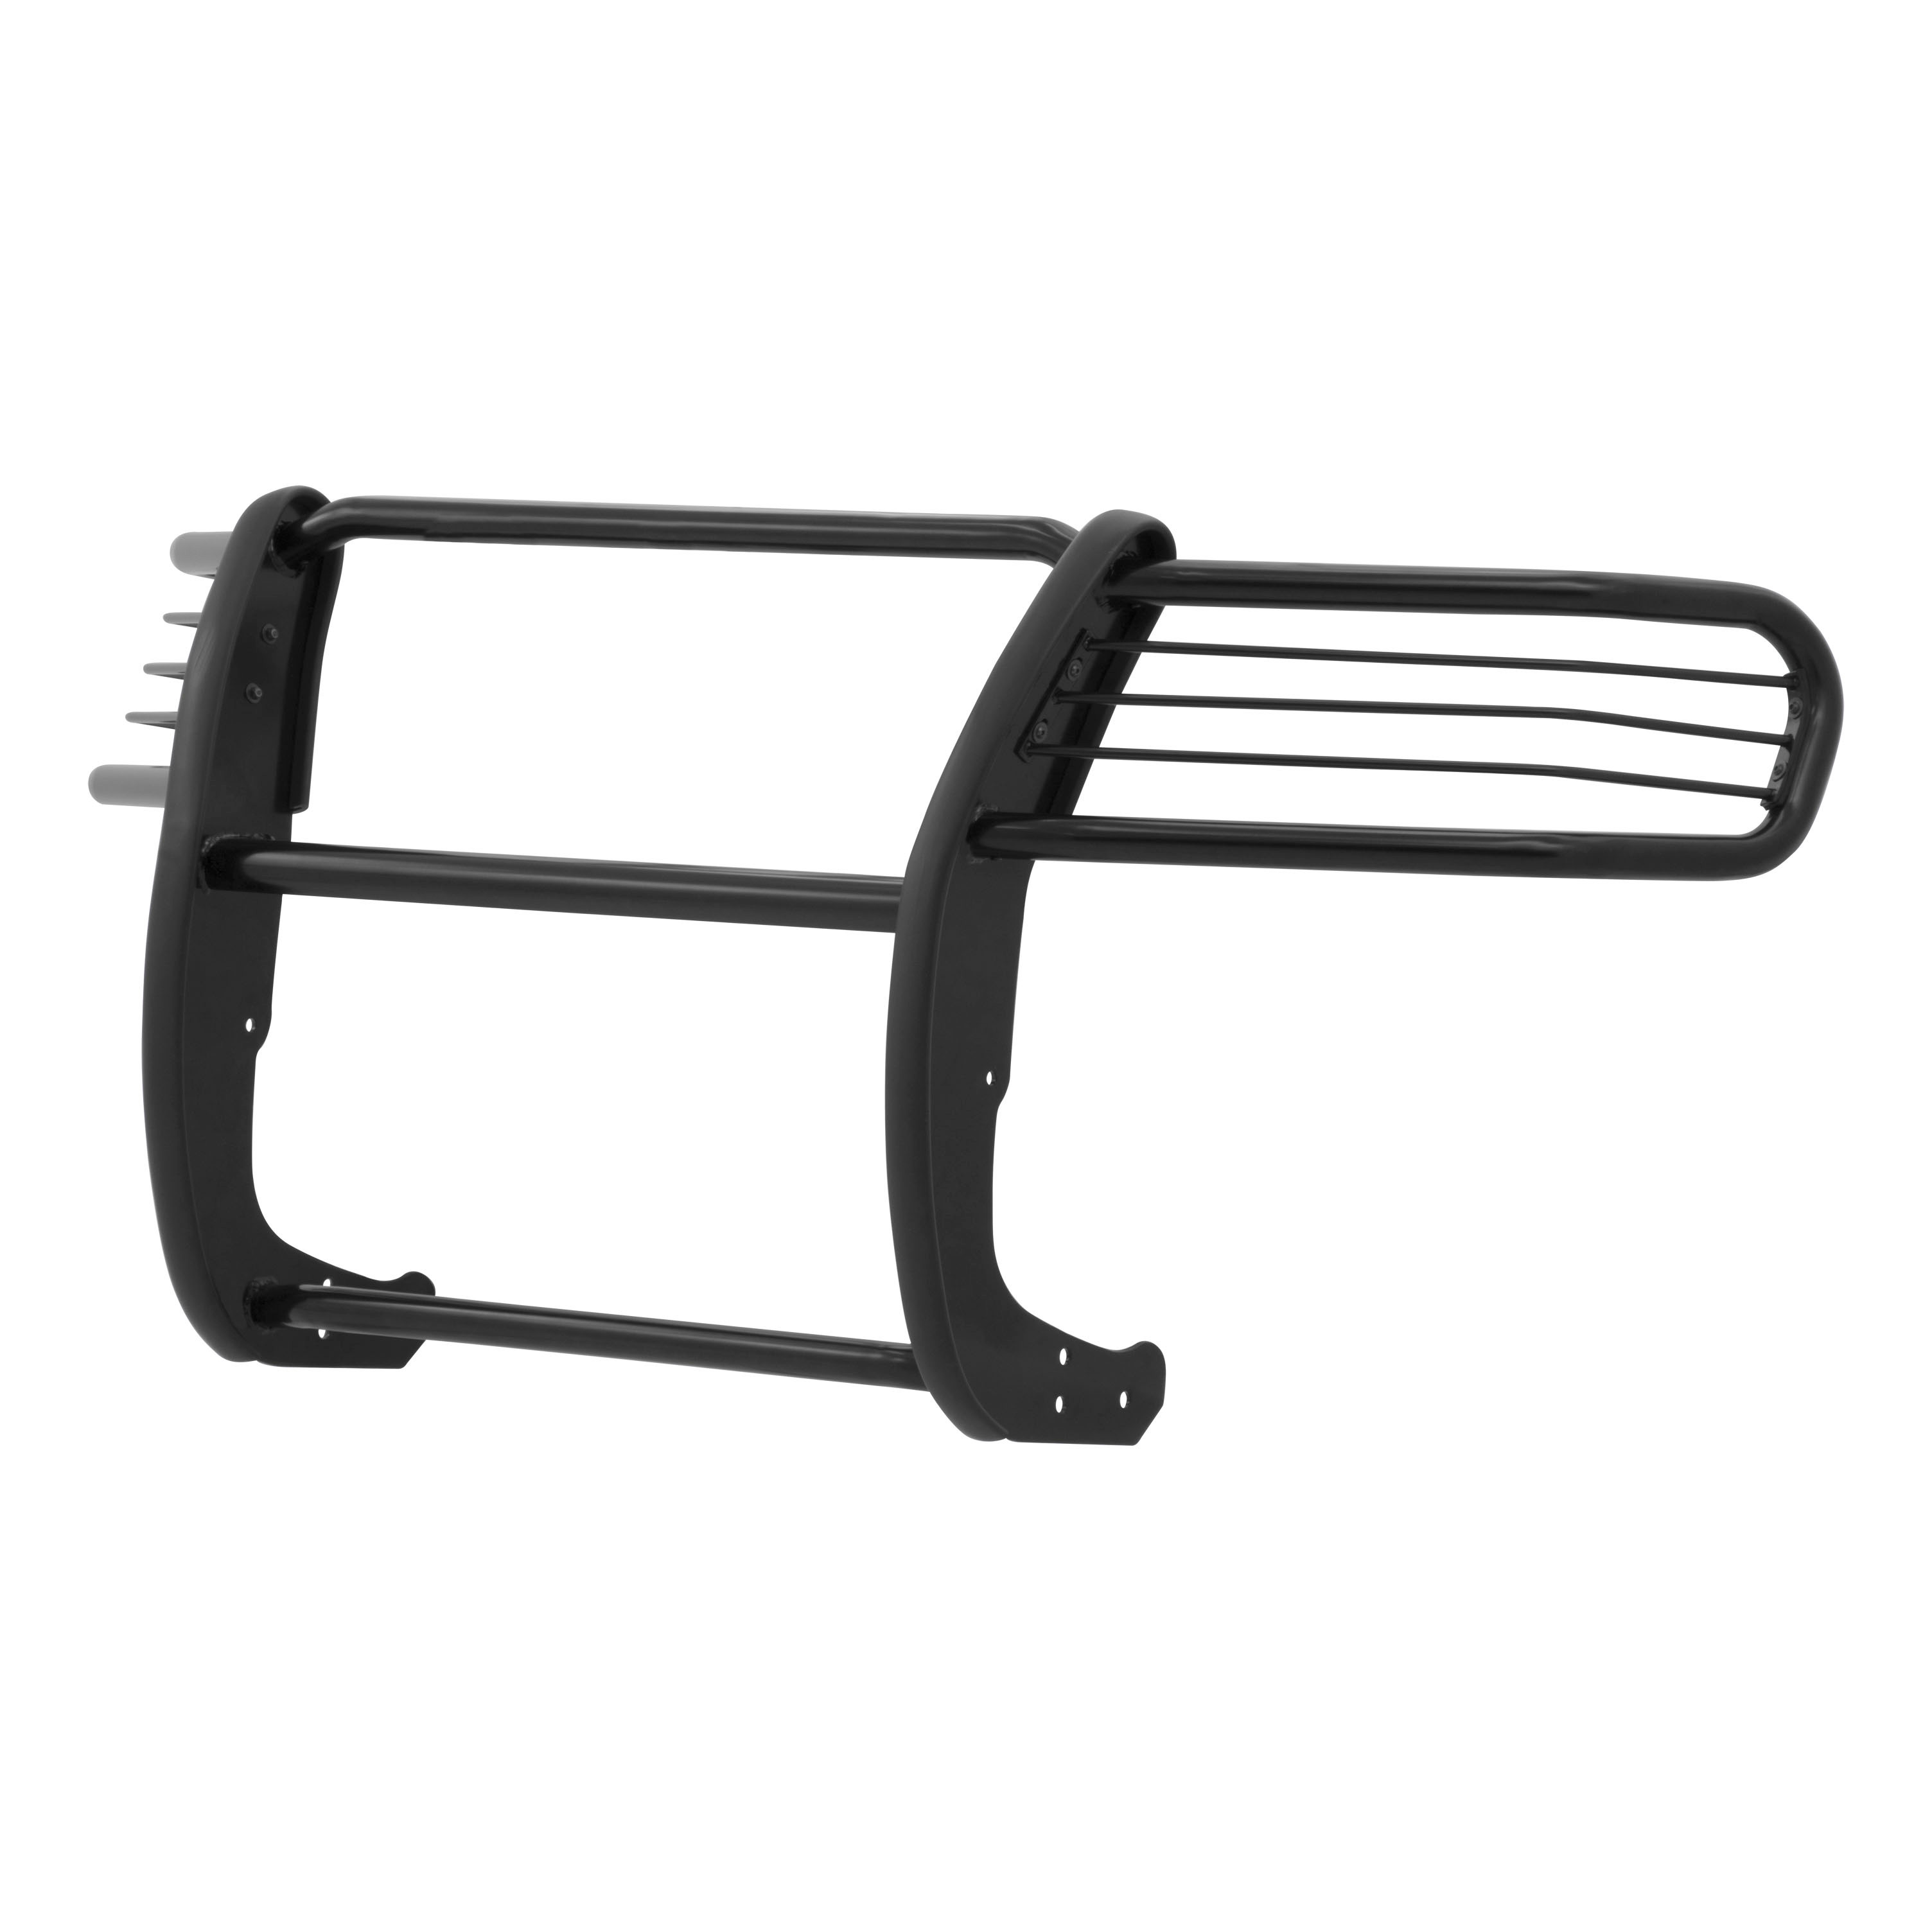
Finish: SEMI-GLOSS BLACK POWDER COAT
Material: Blank
Color: Black
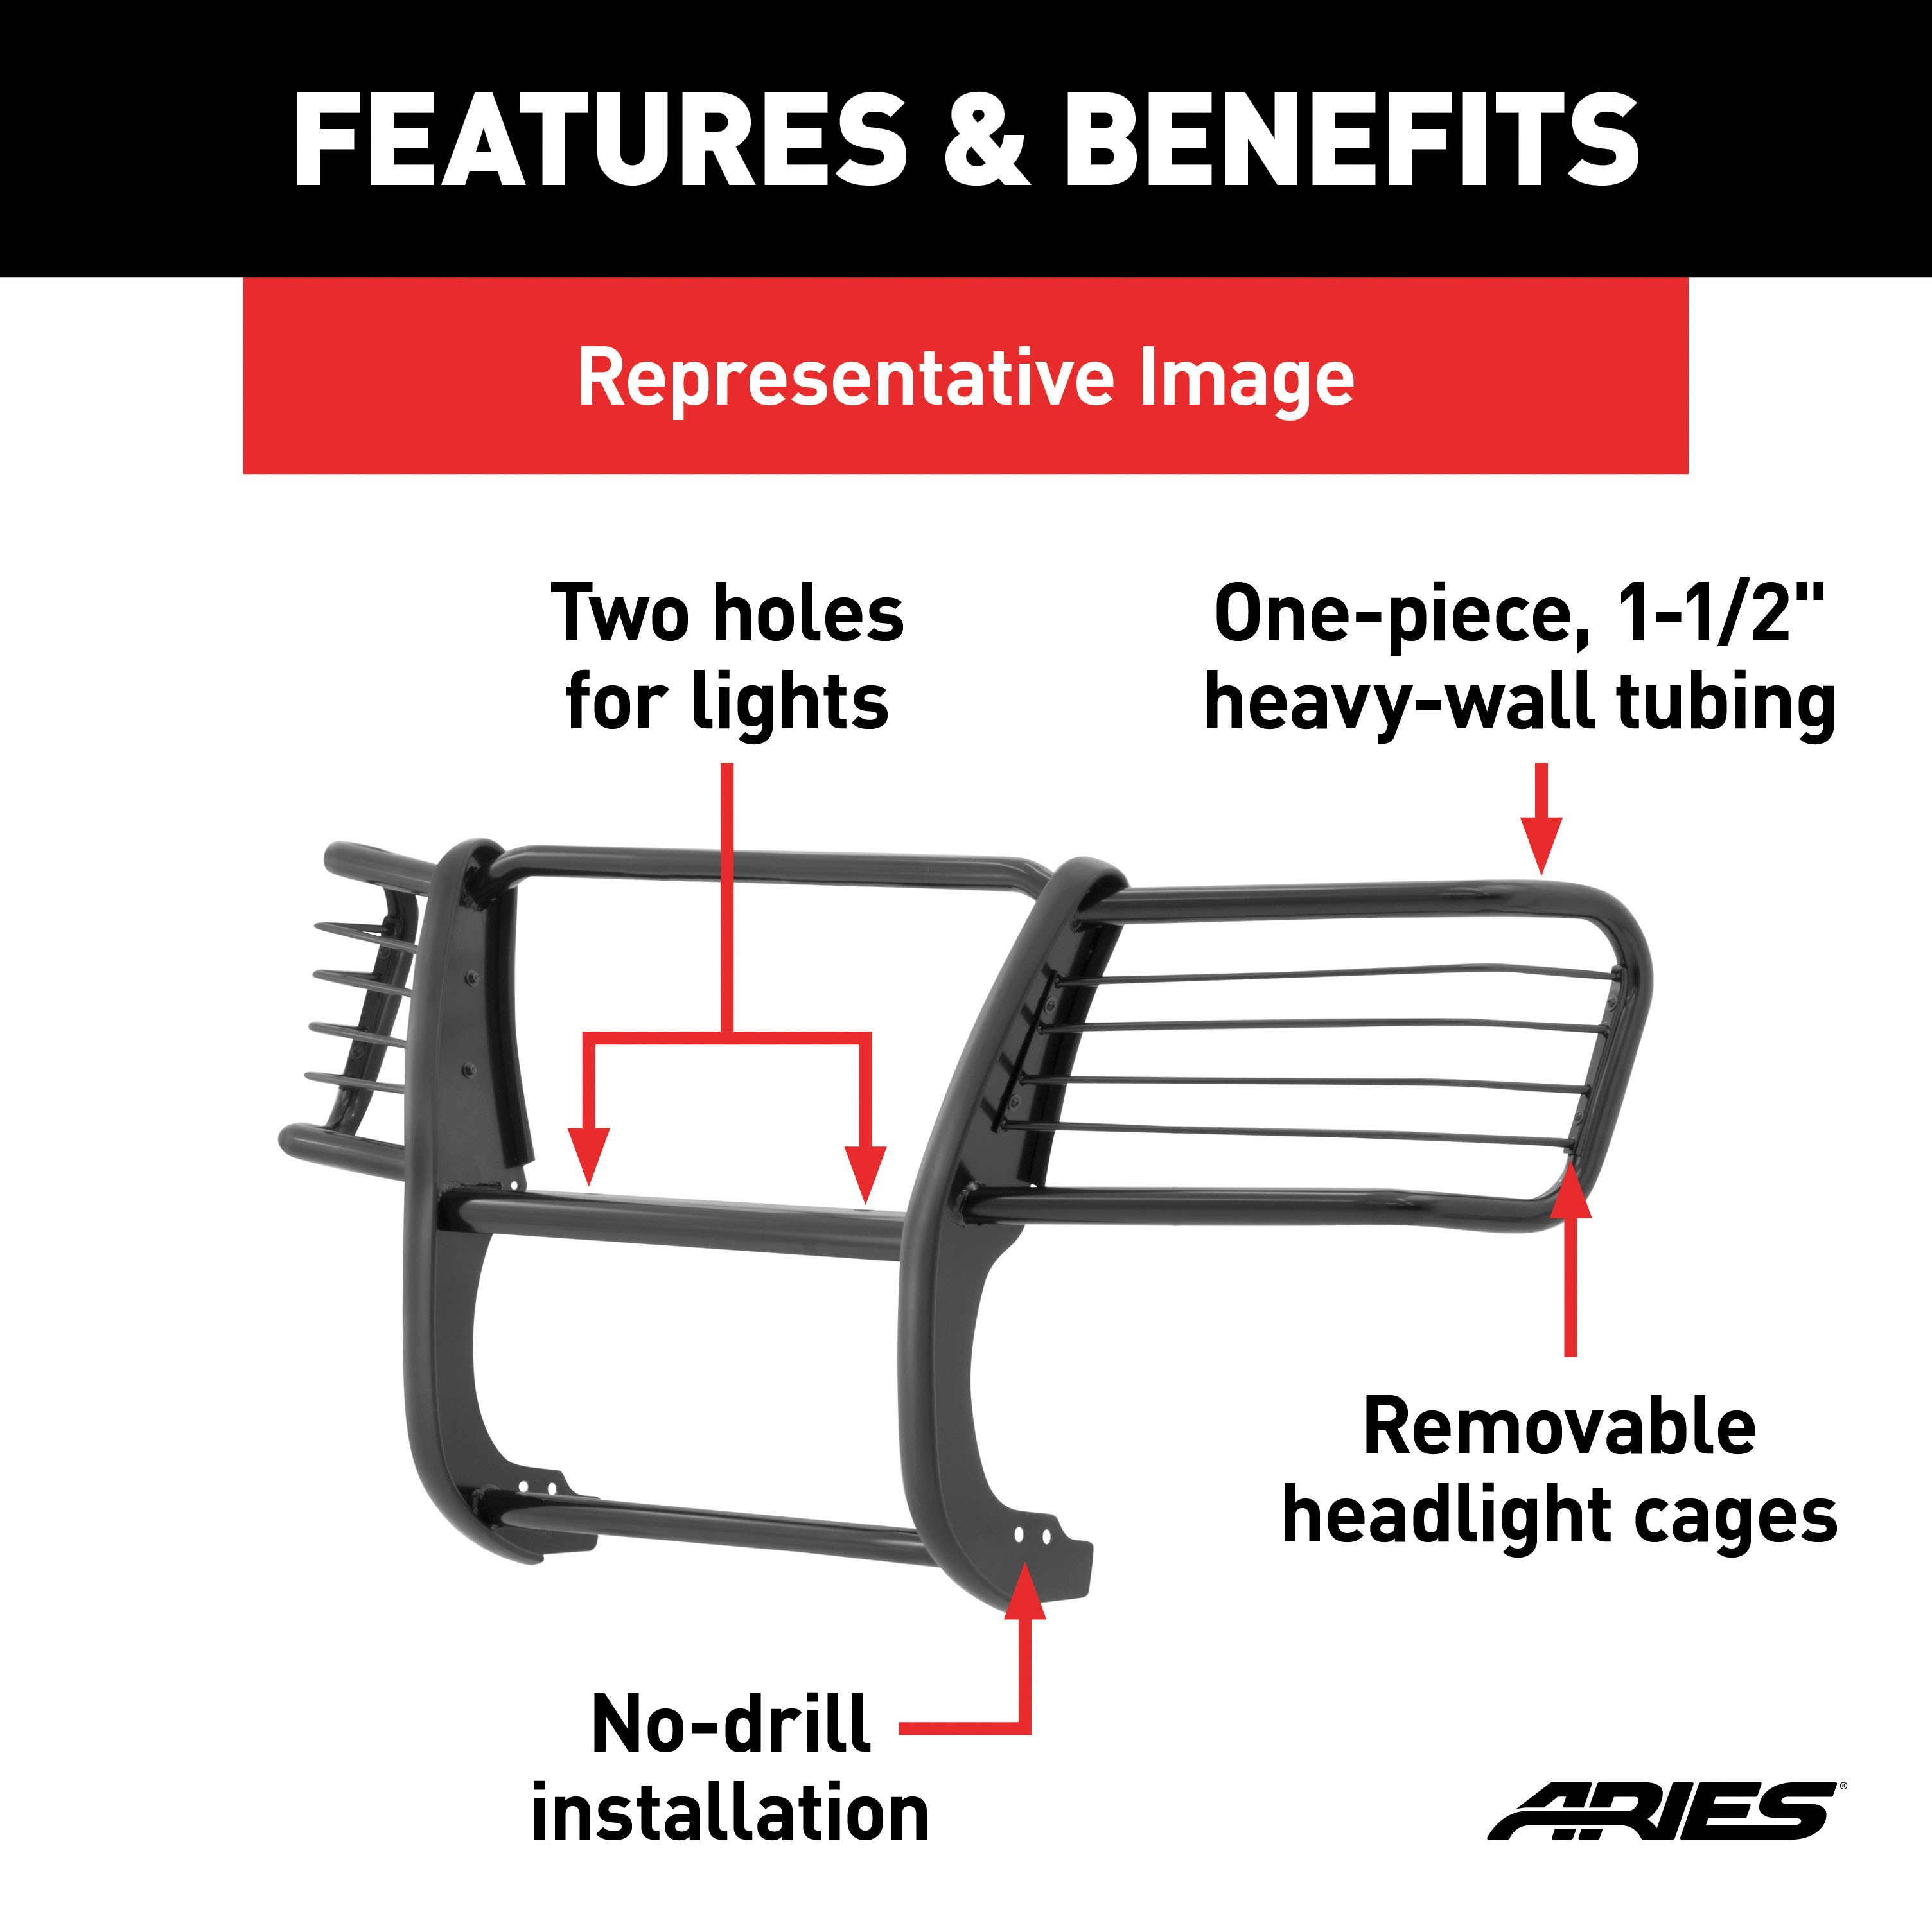
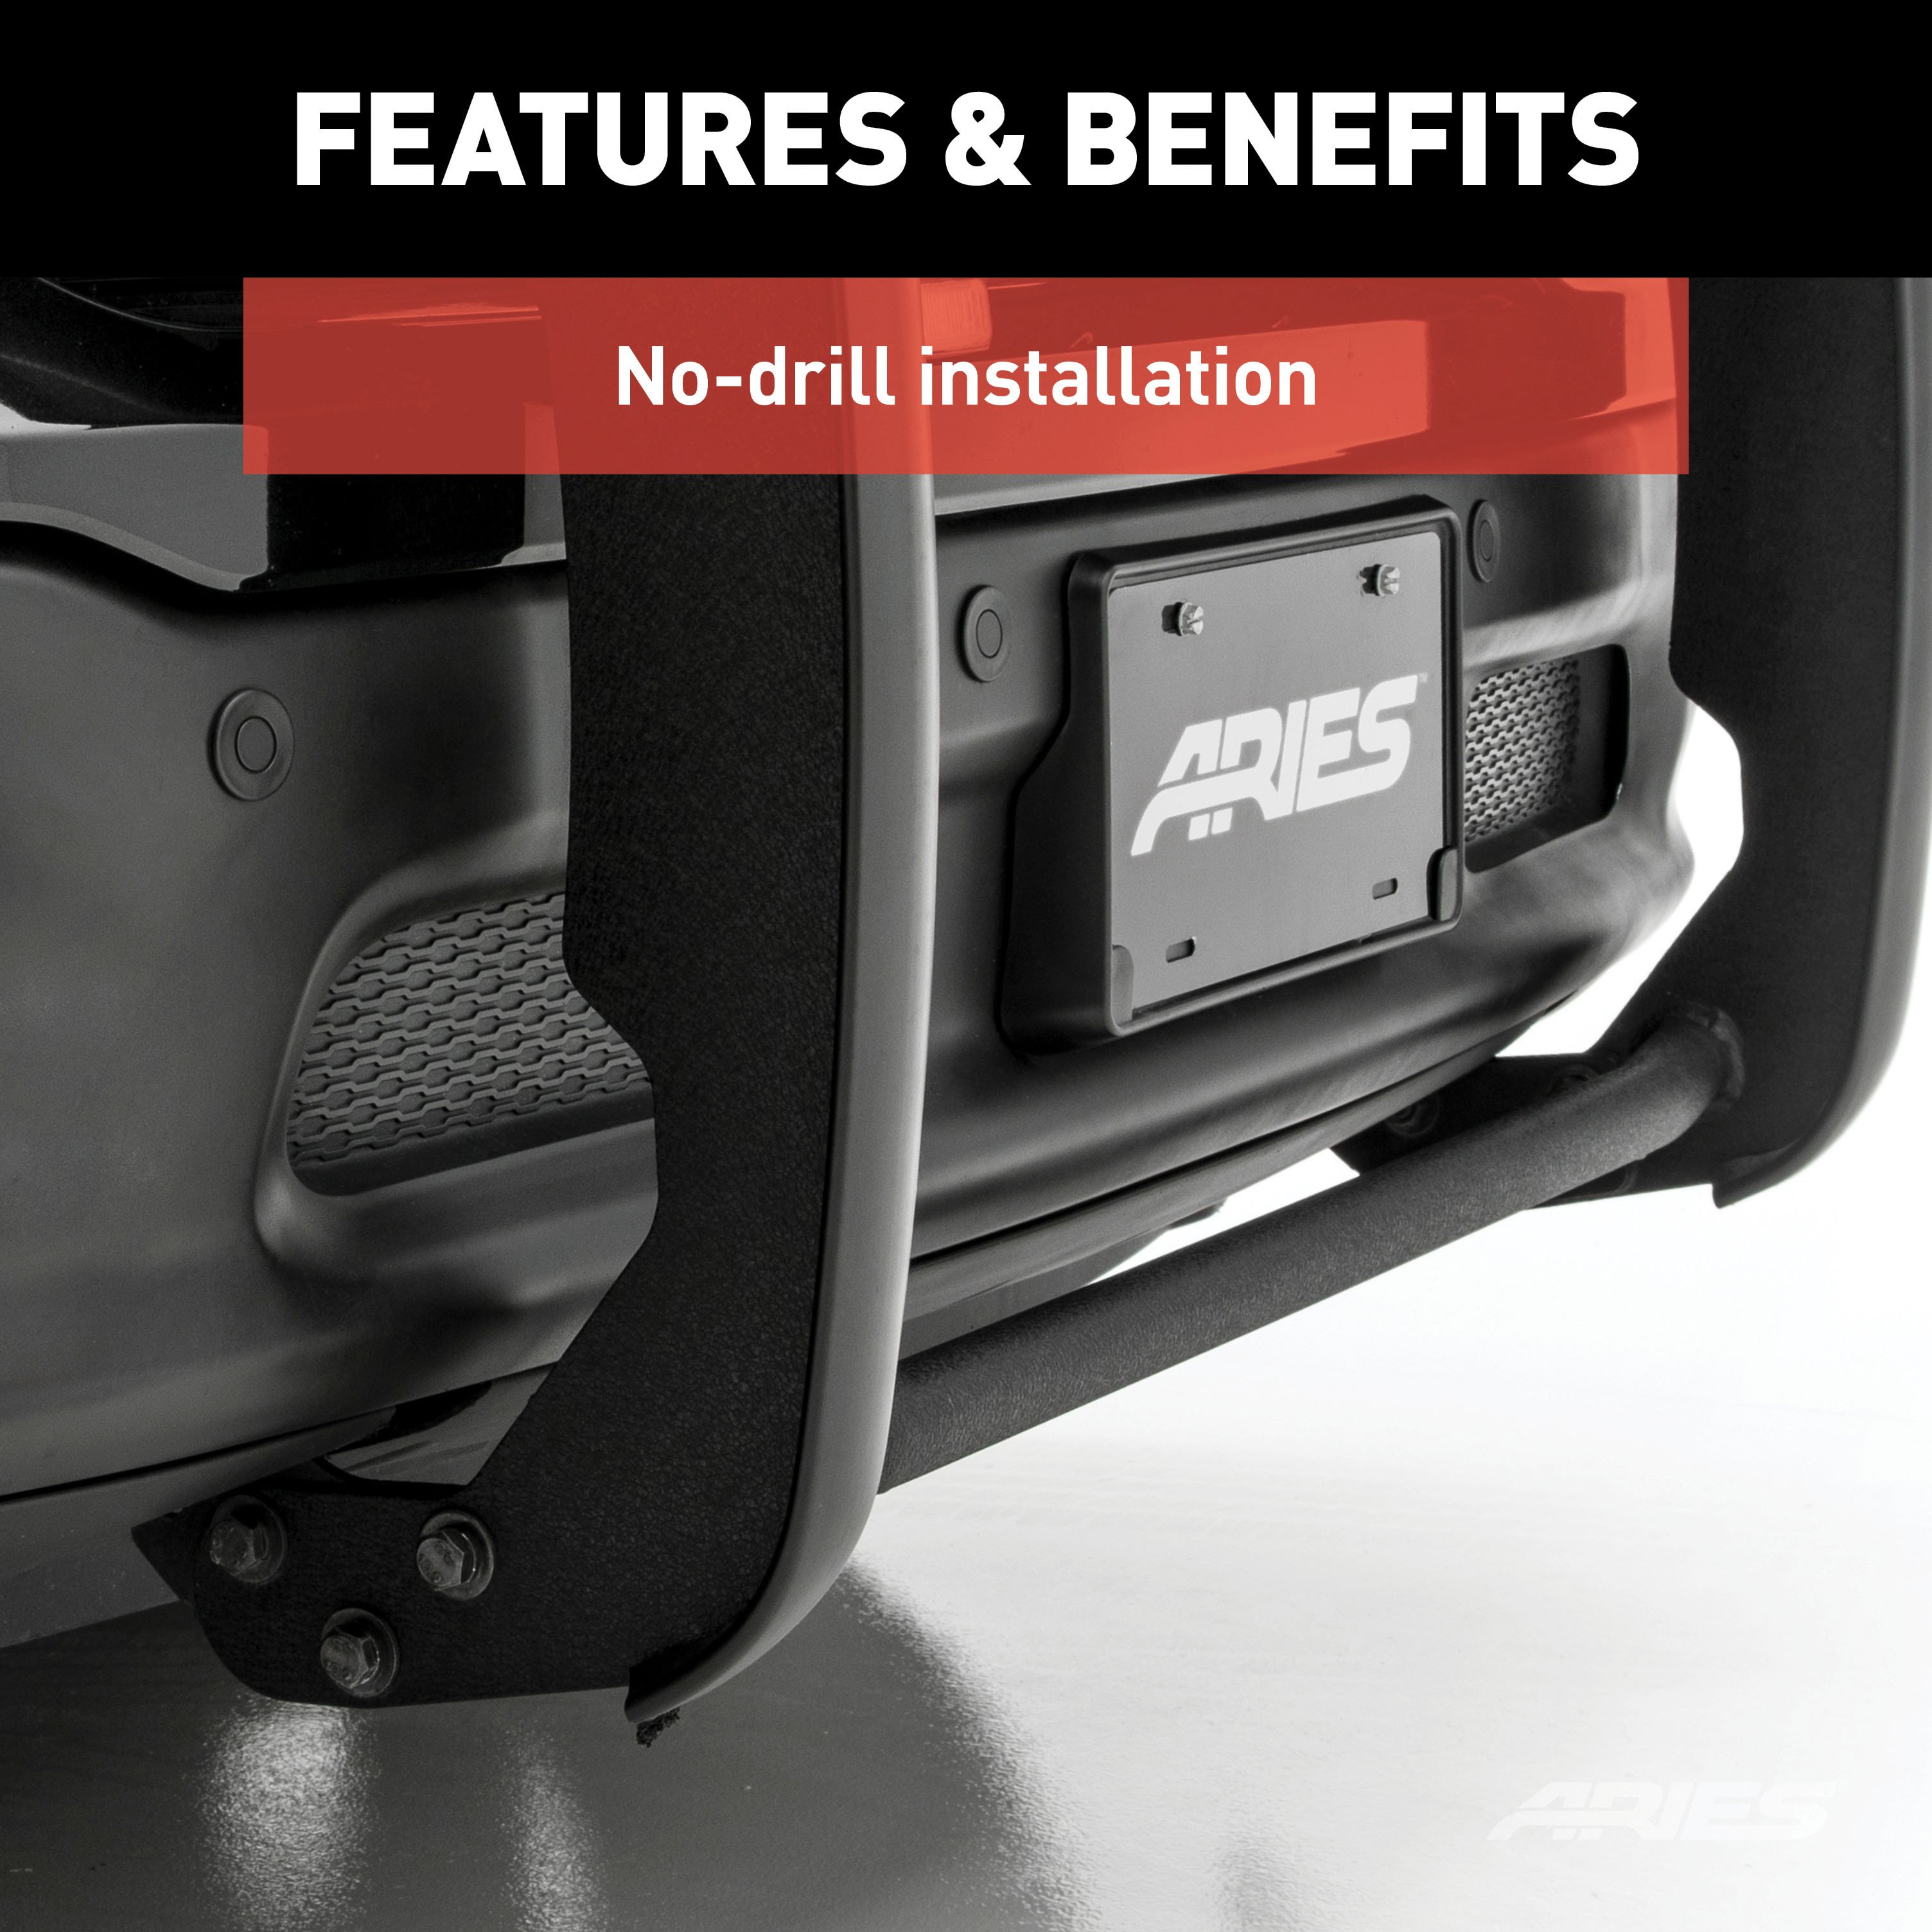
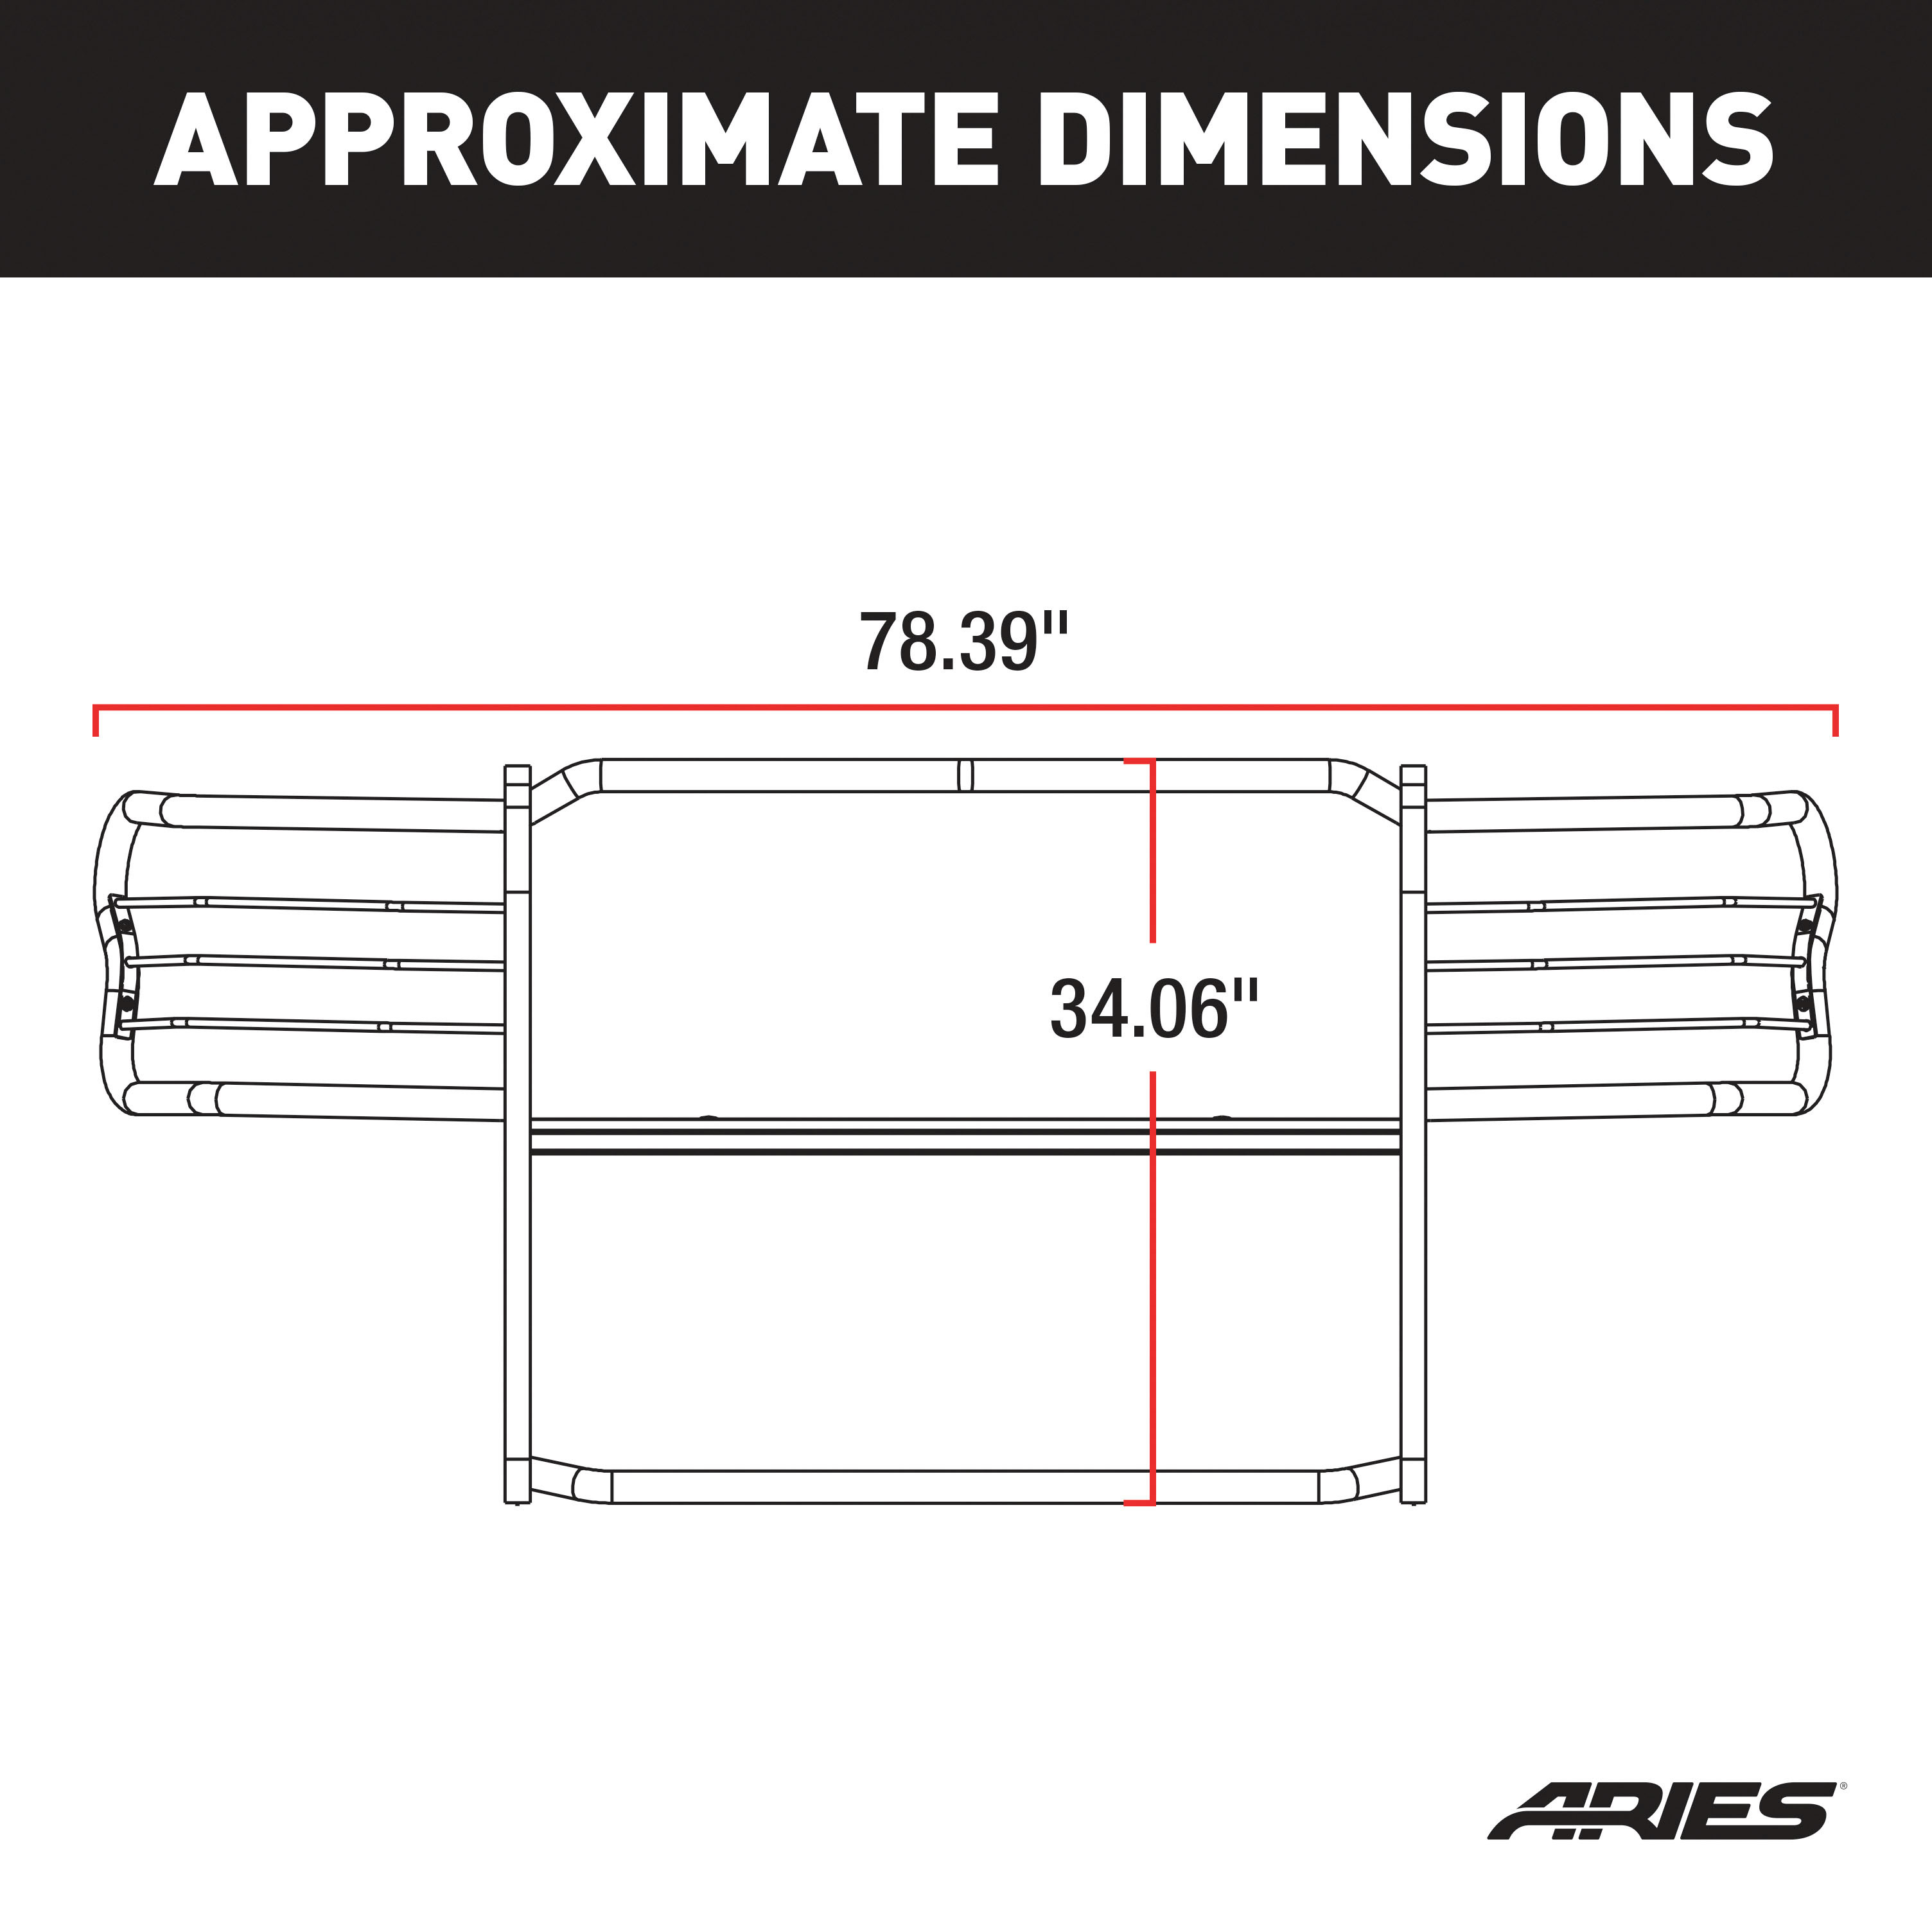
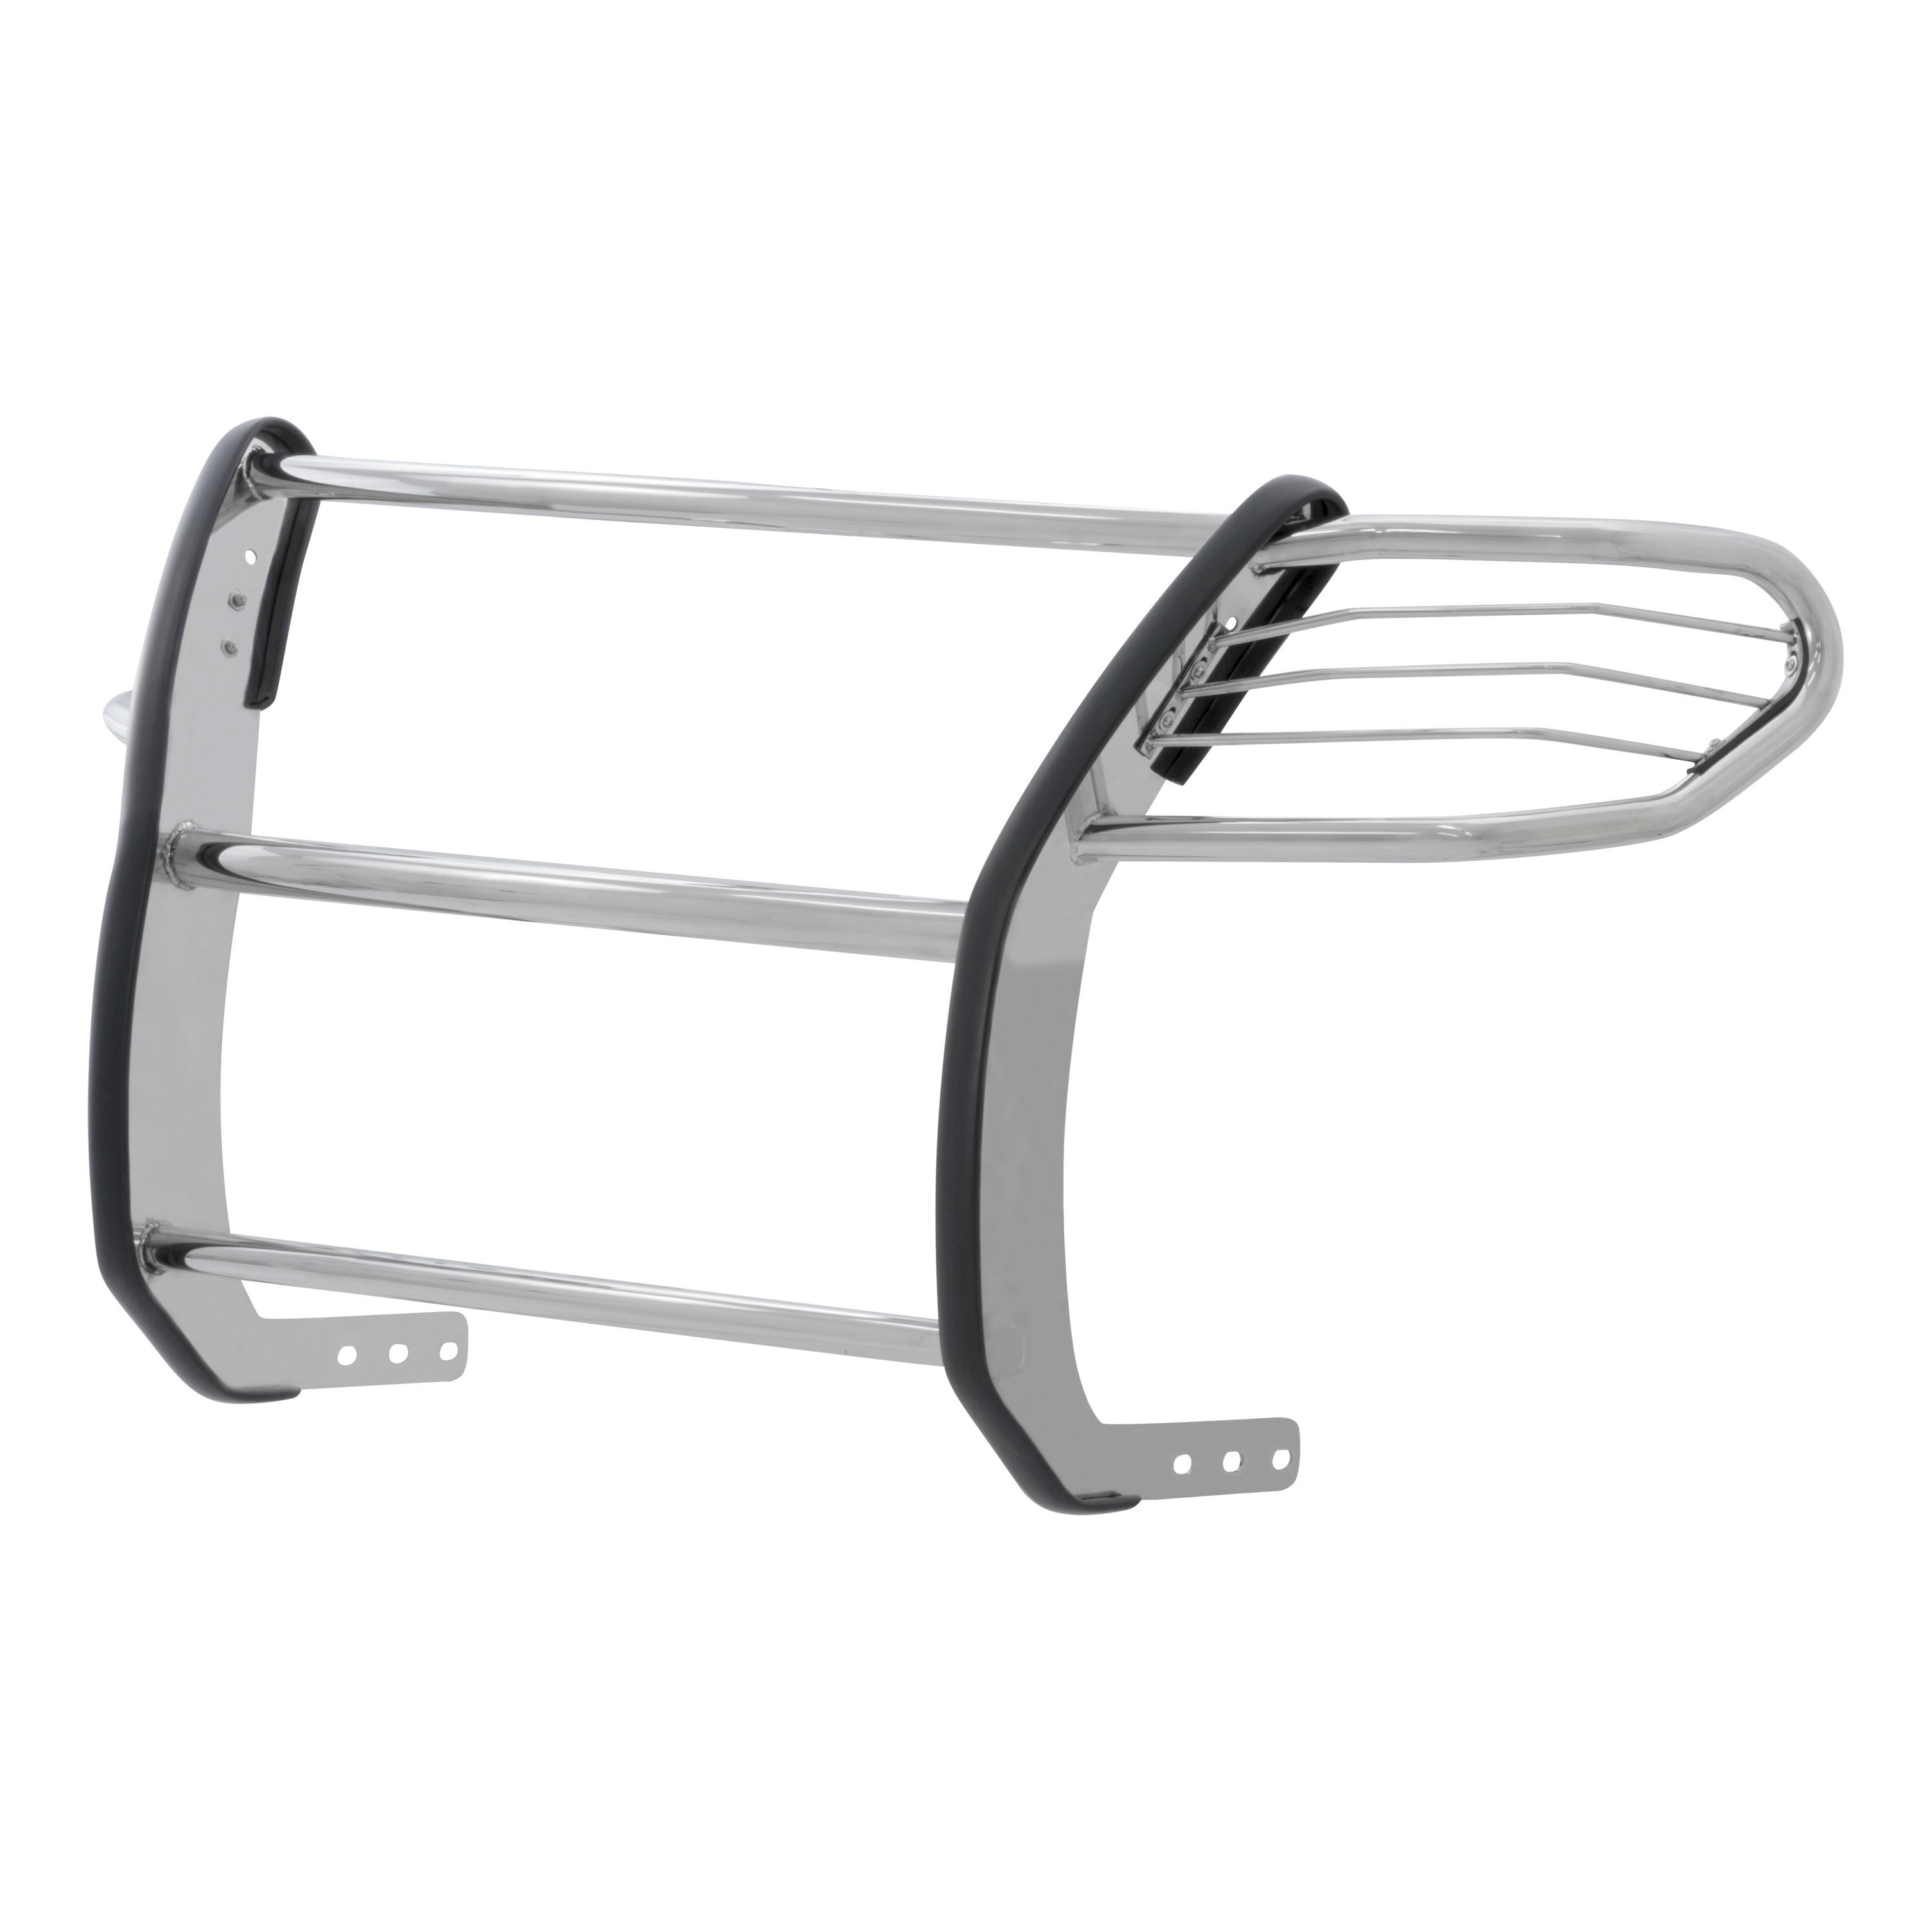
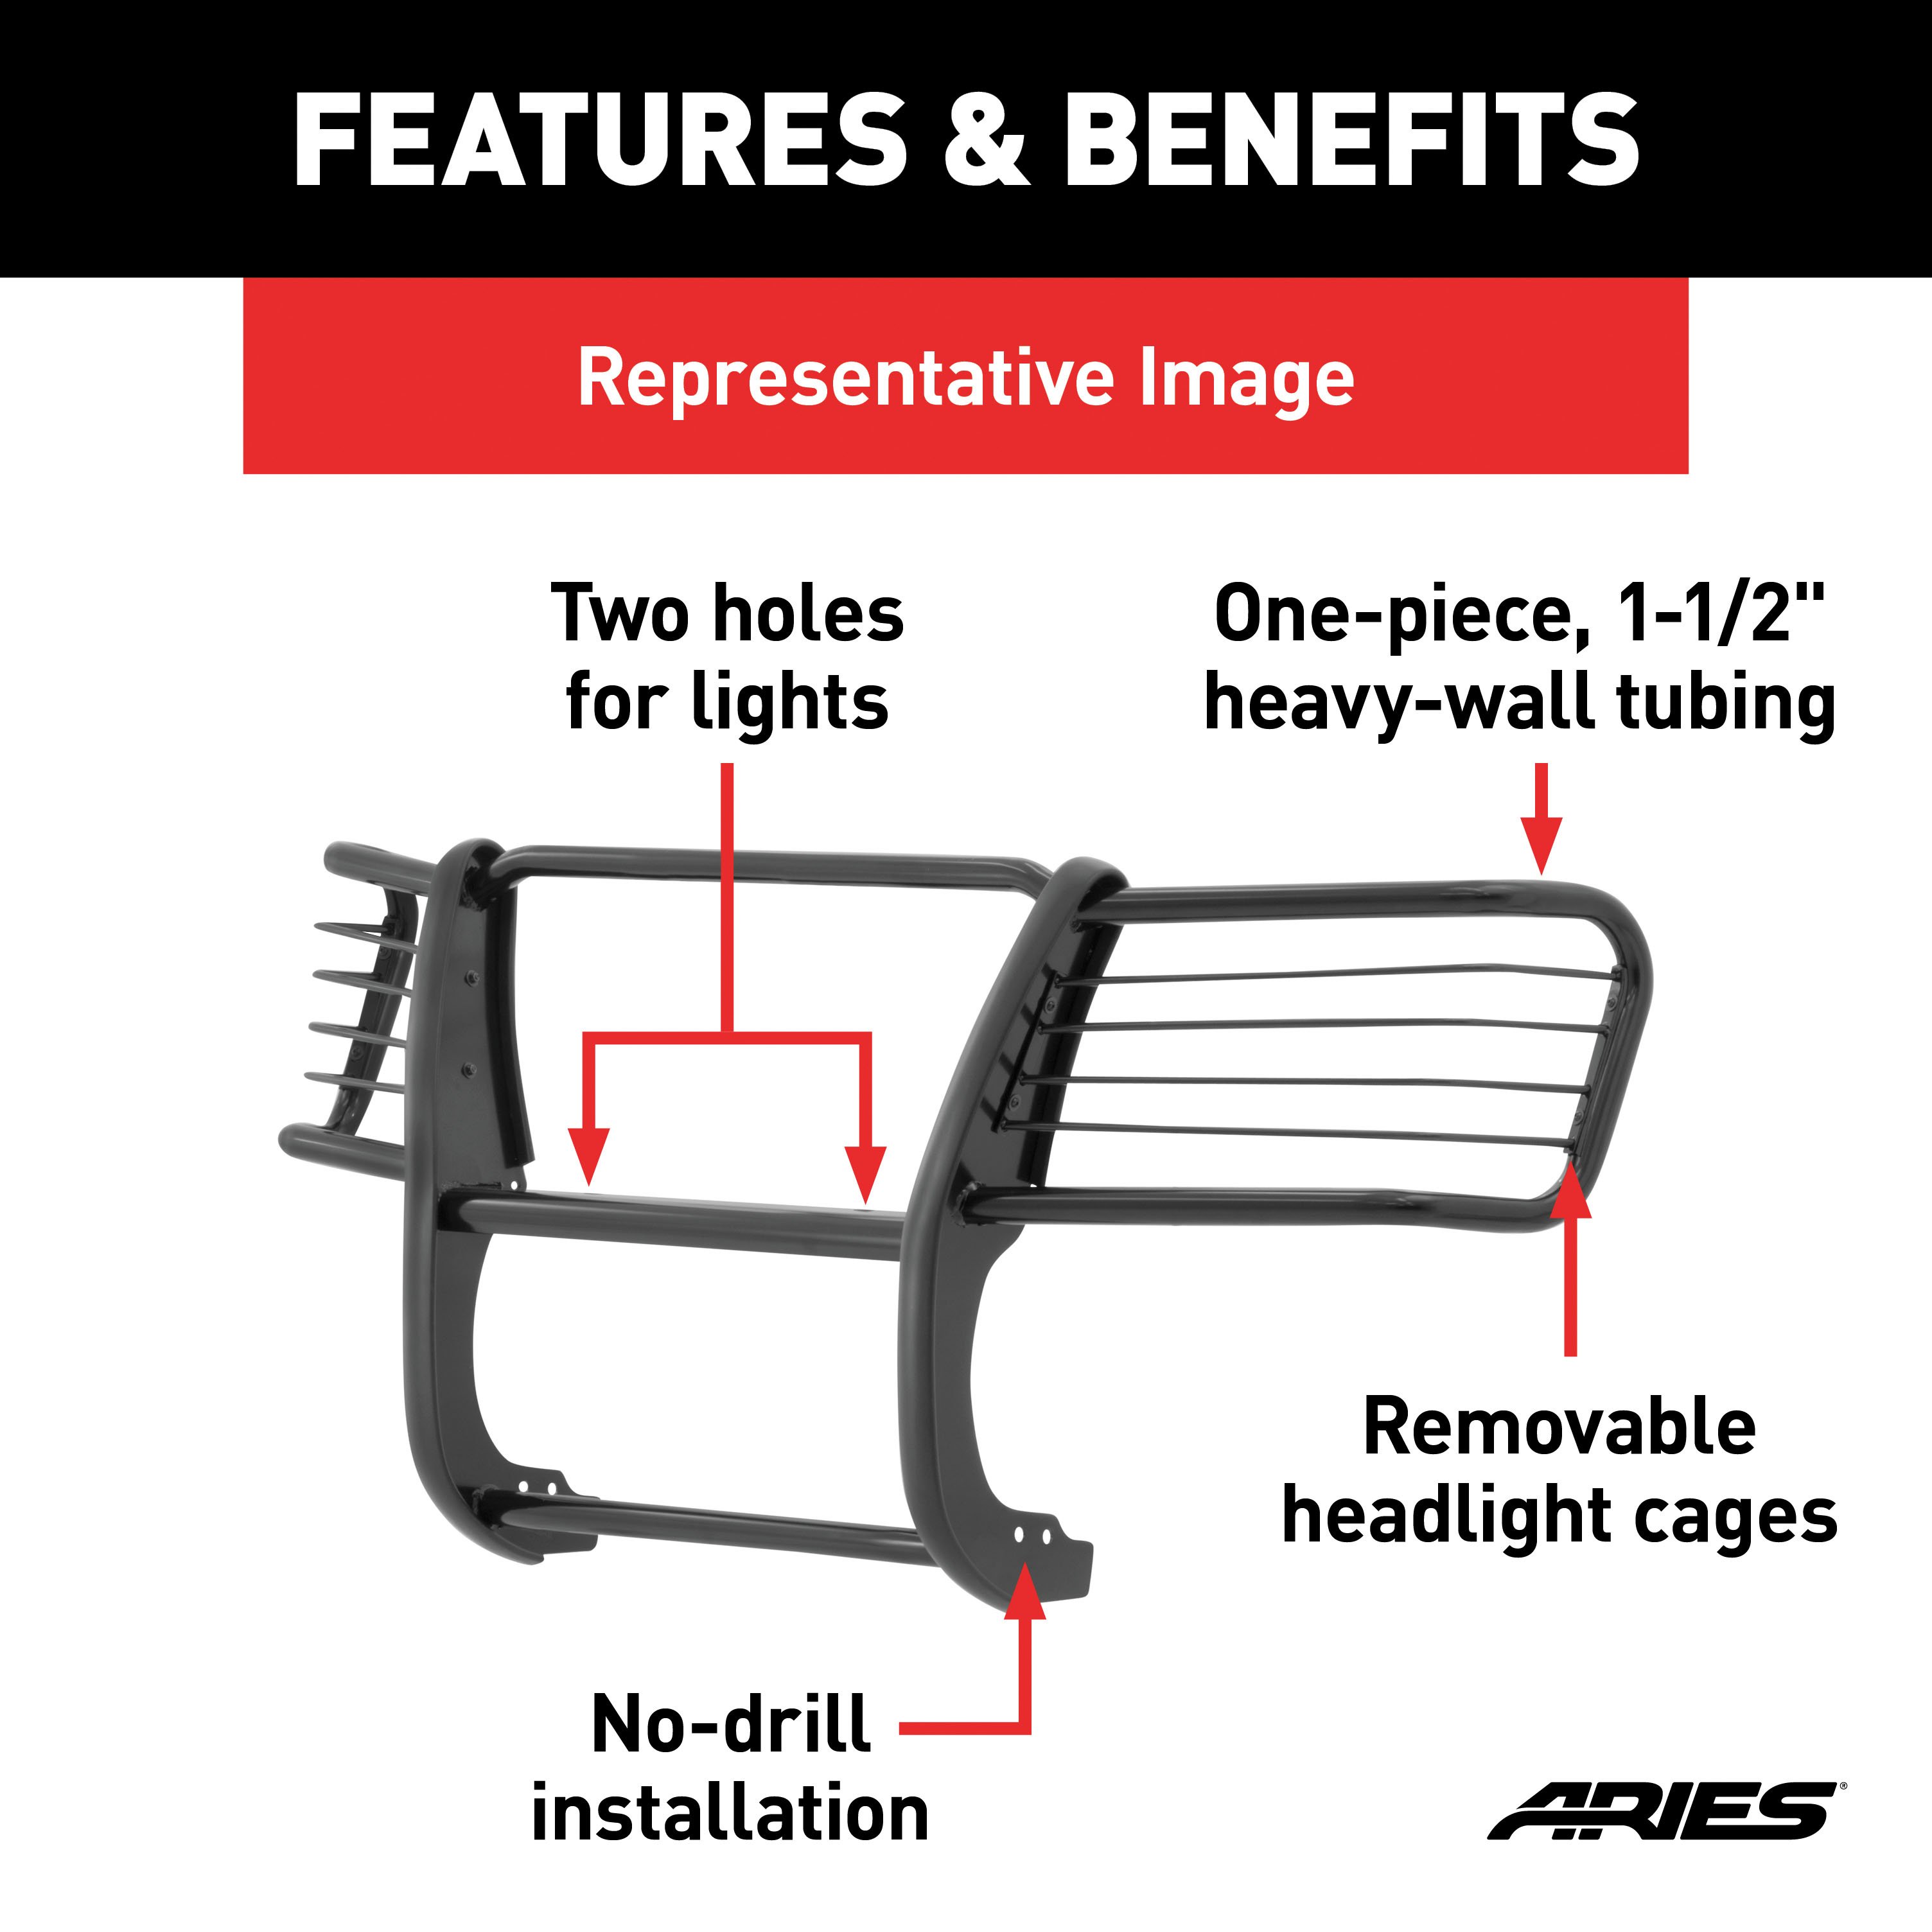
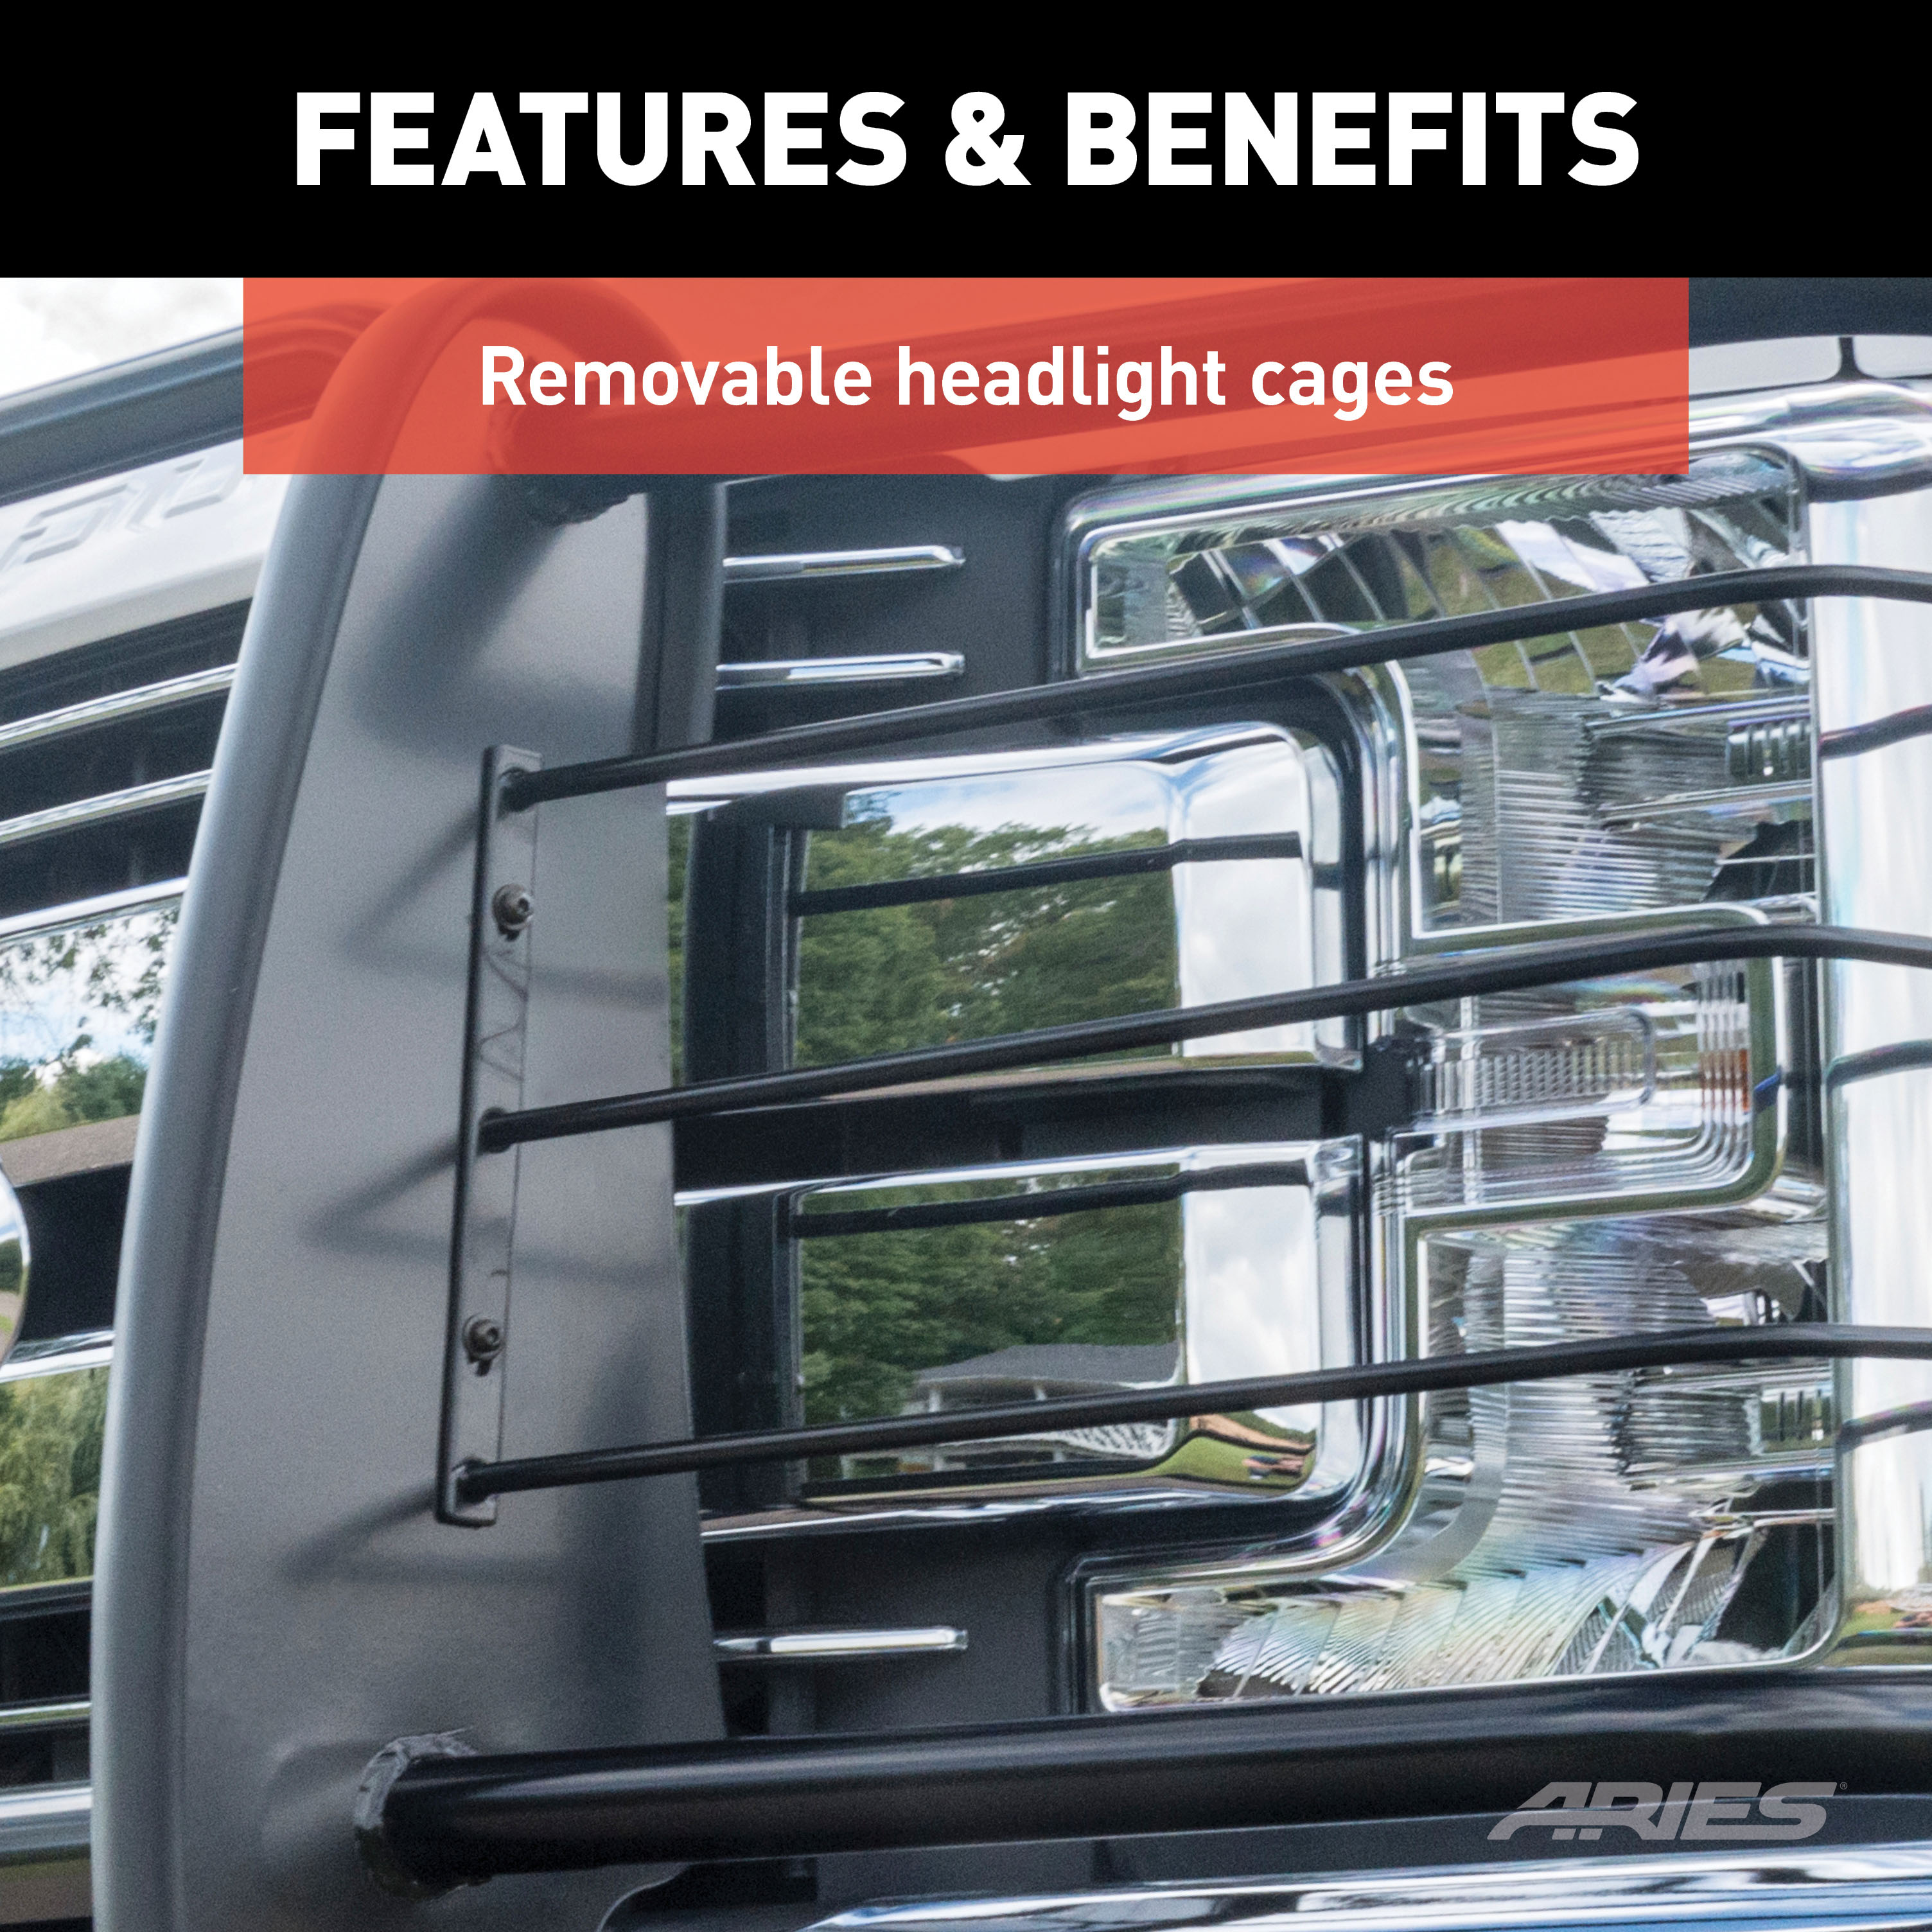
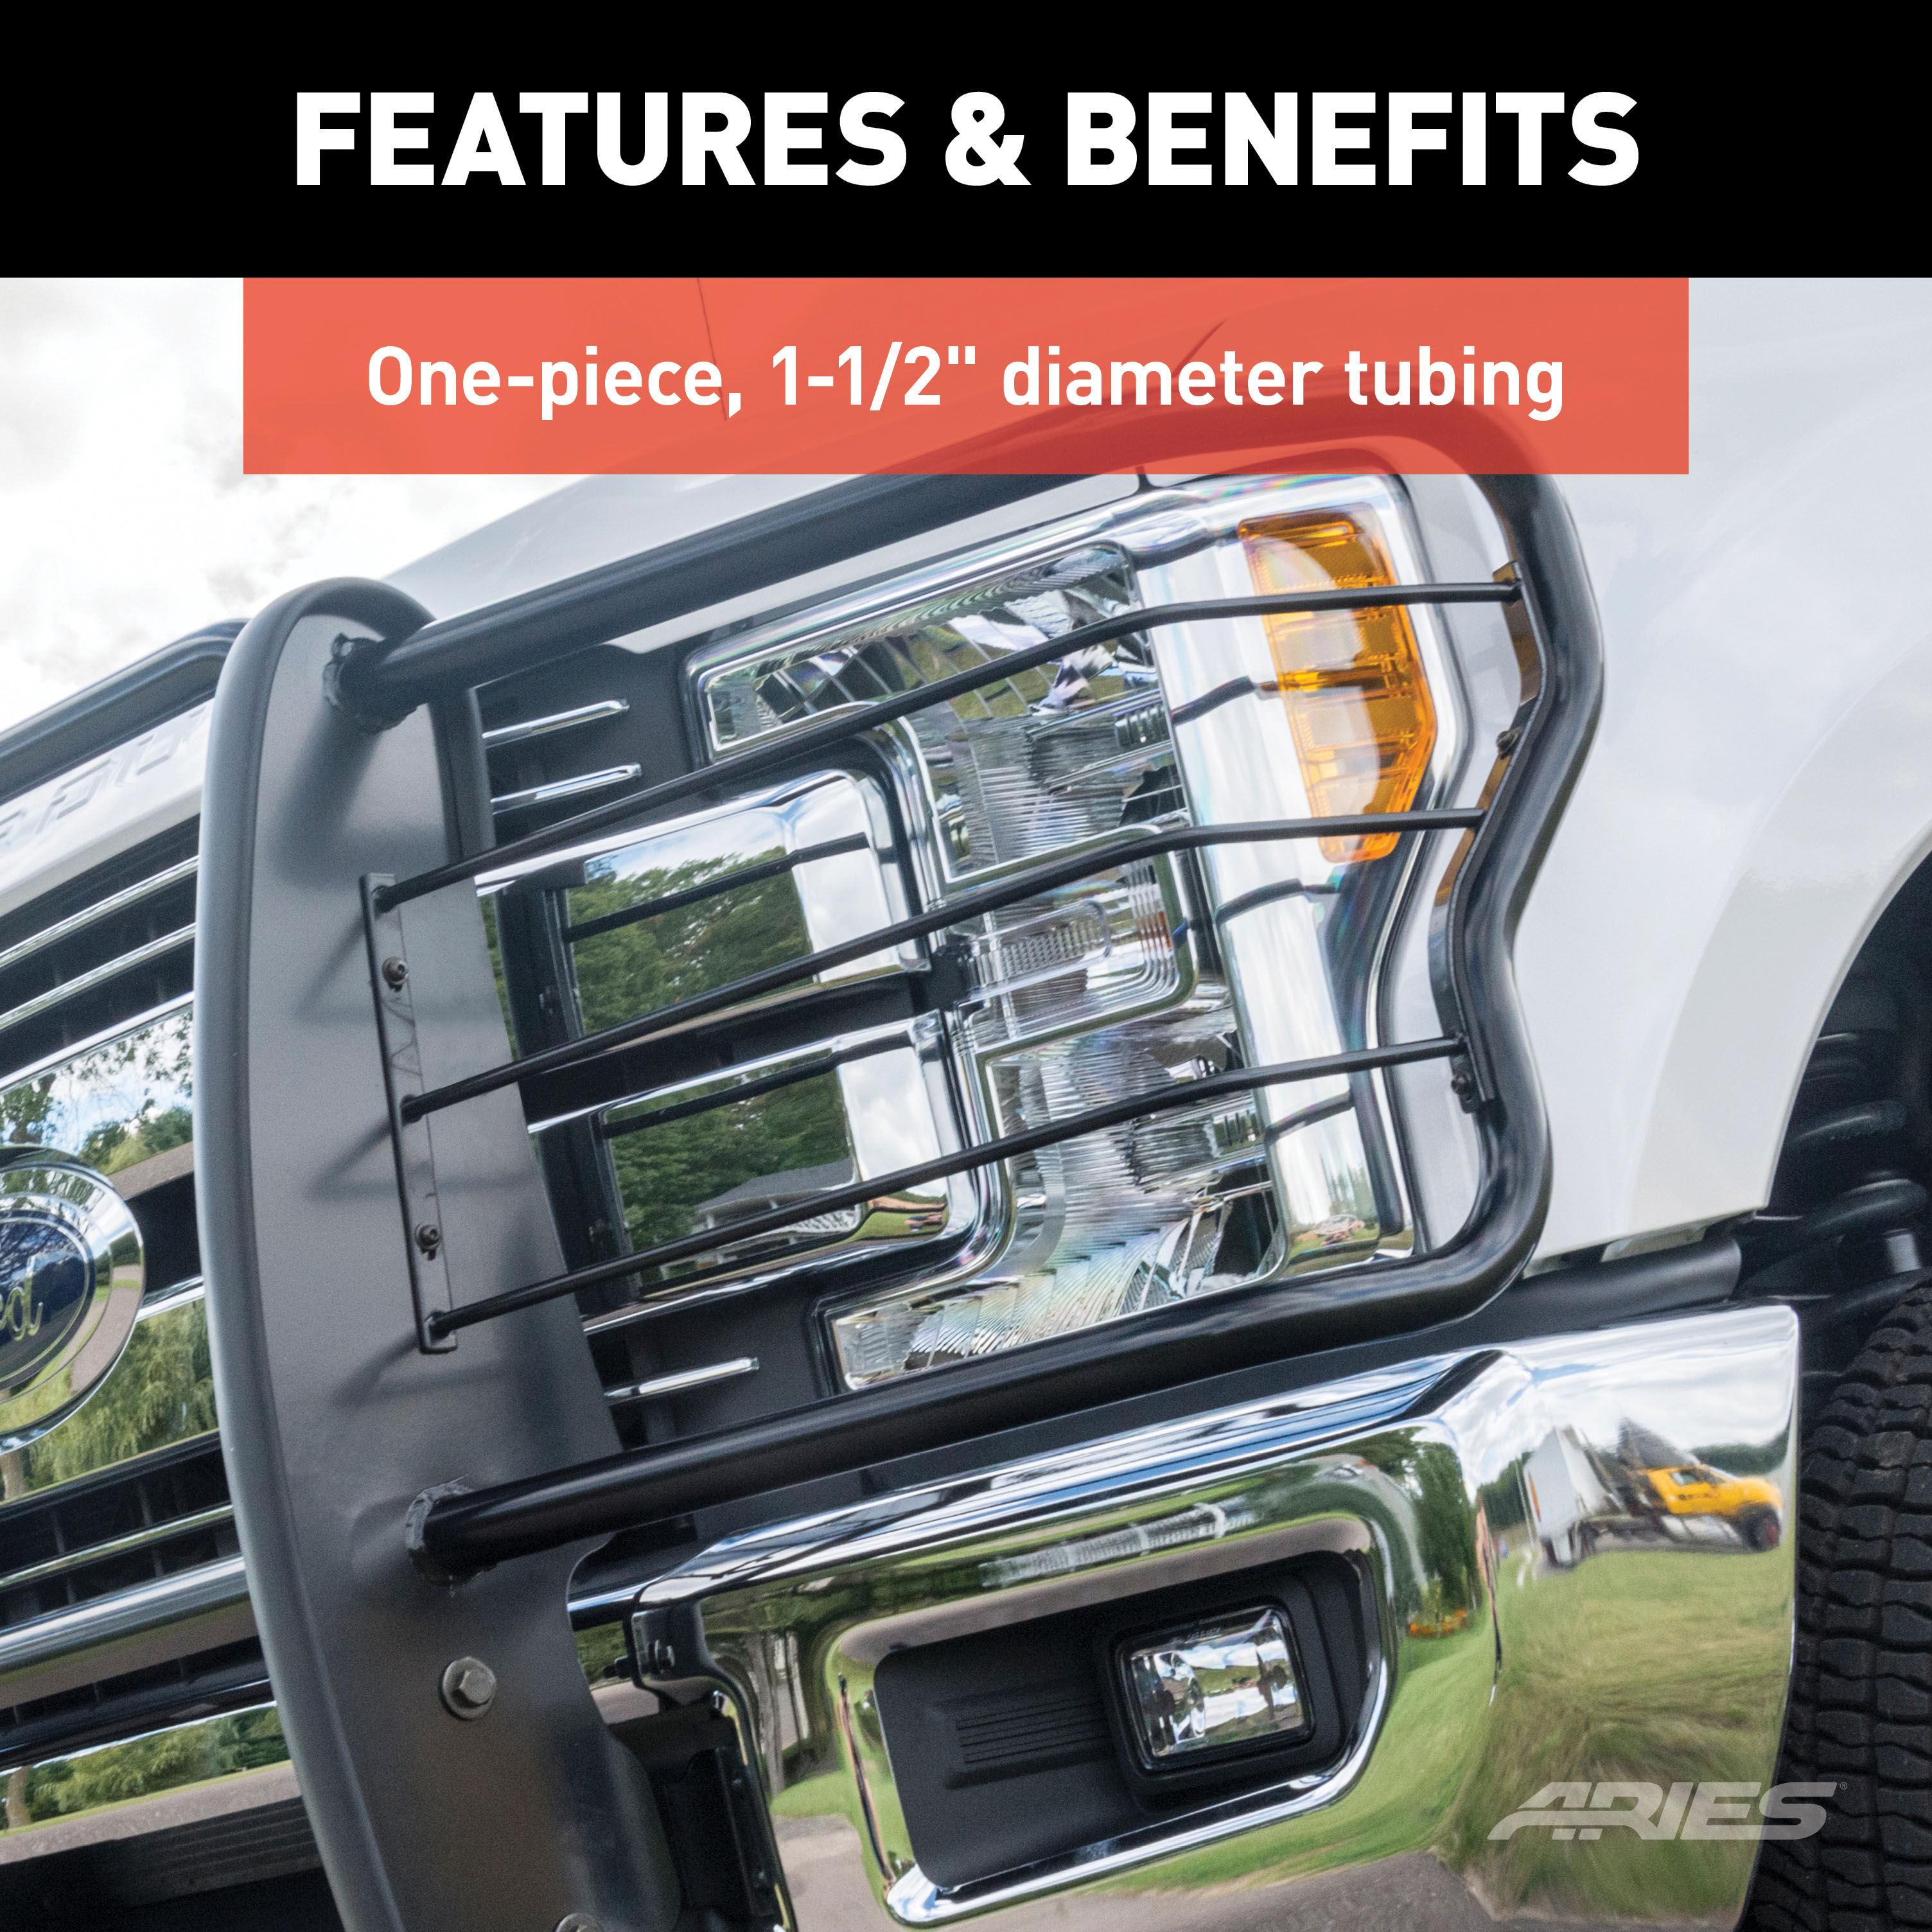
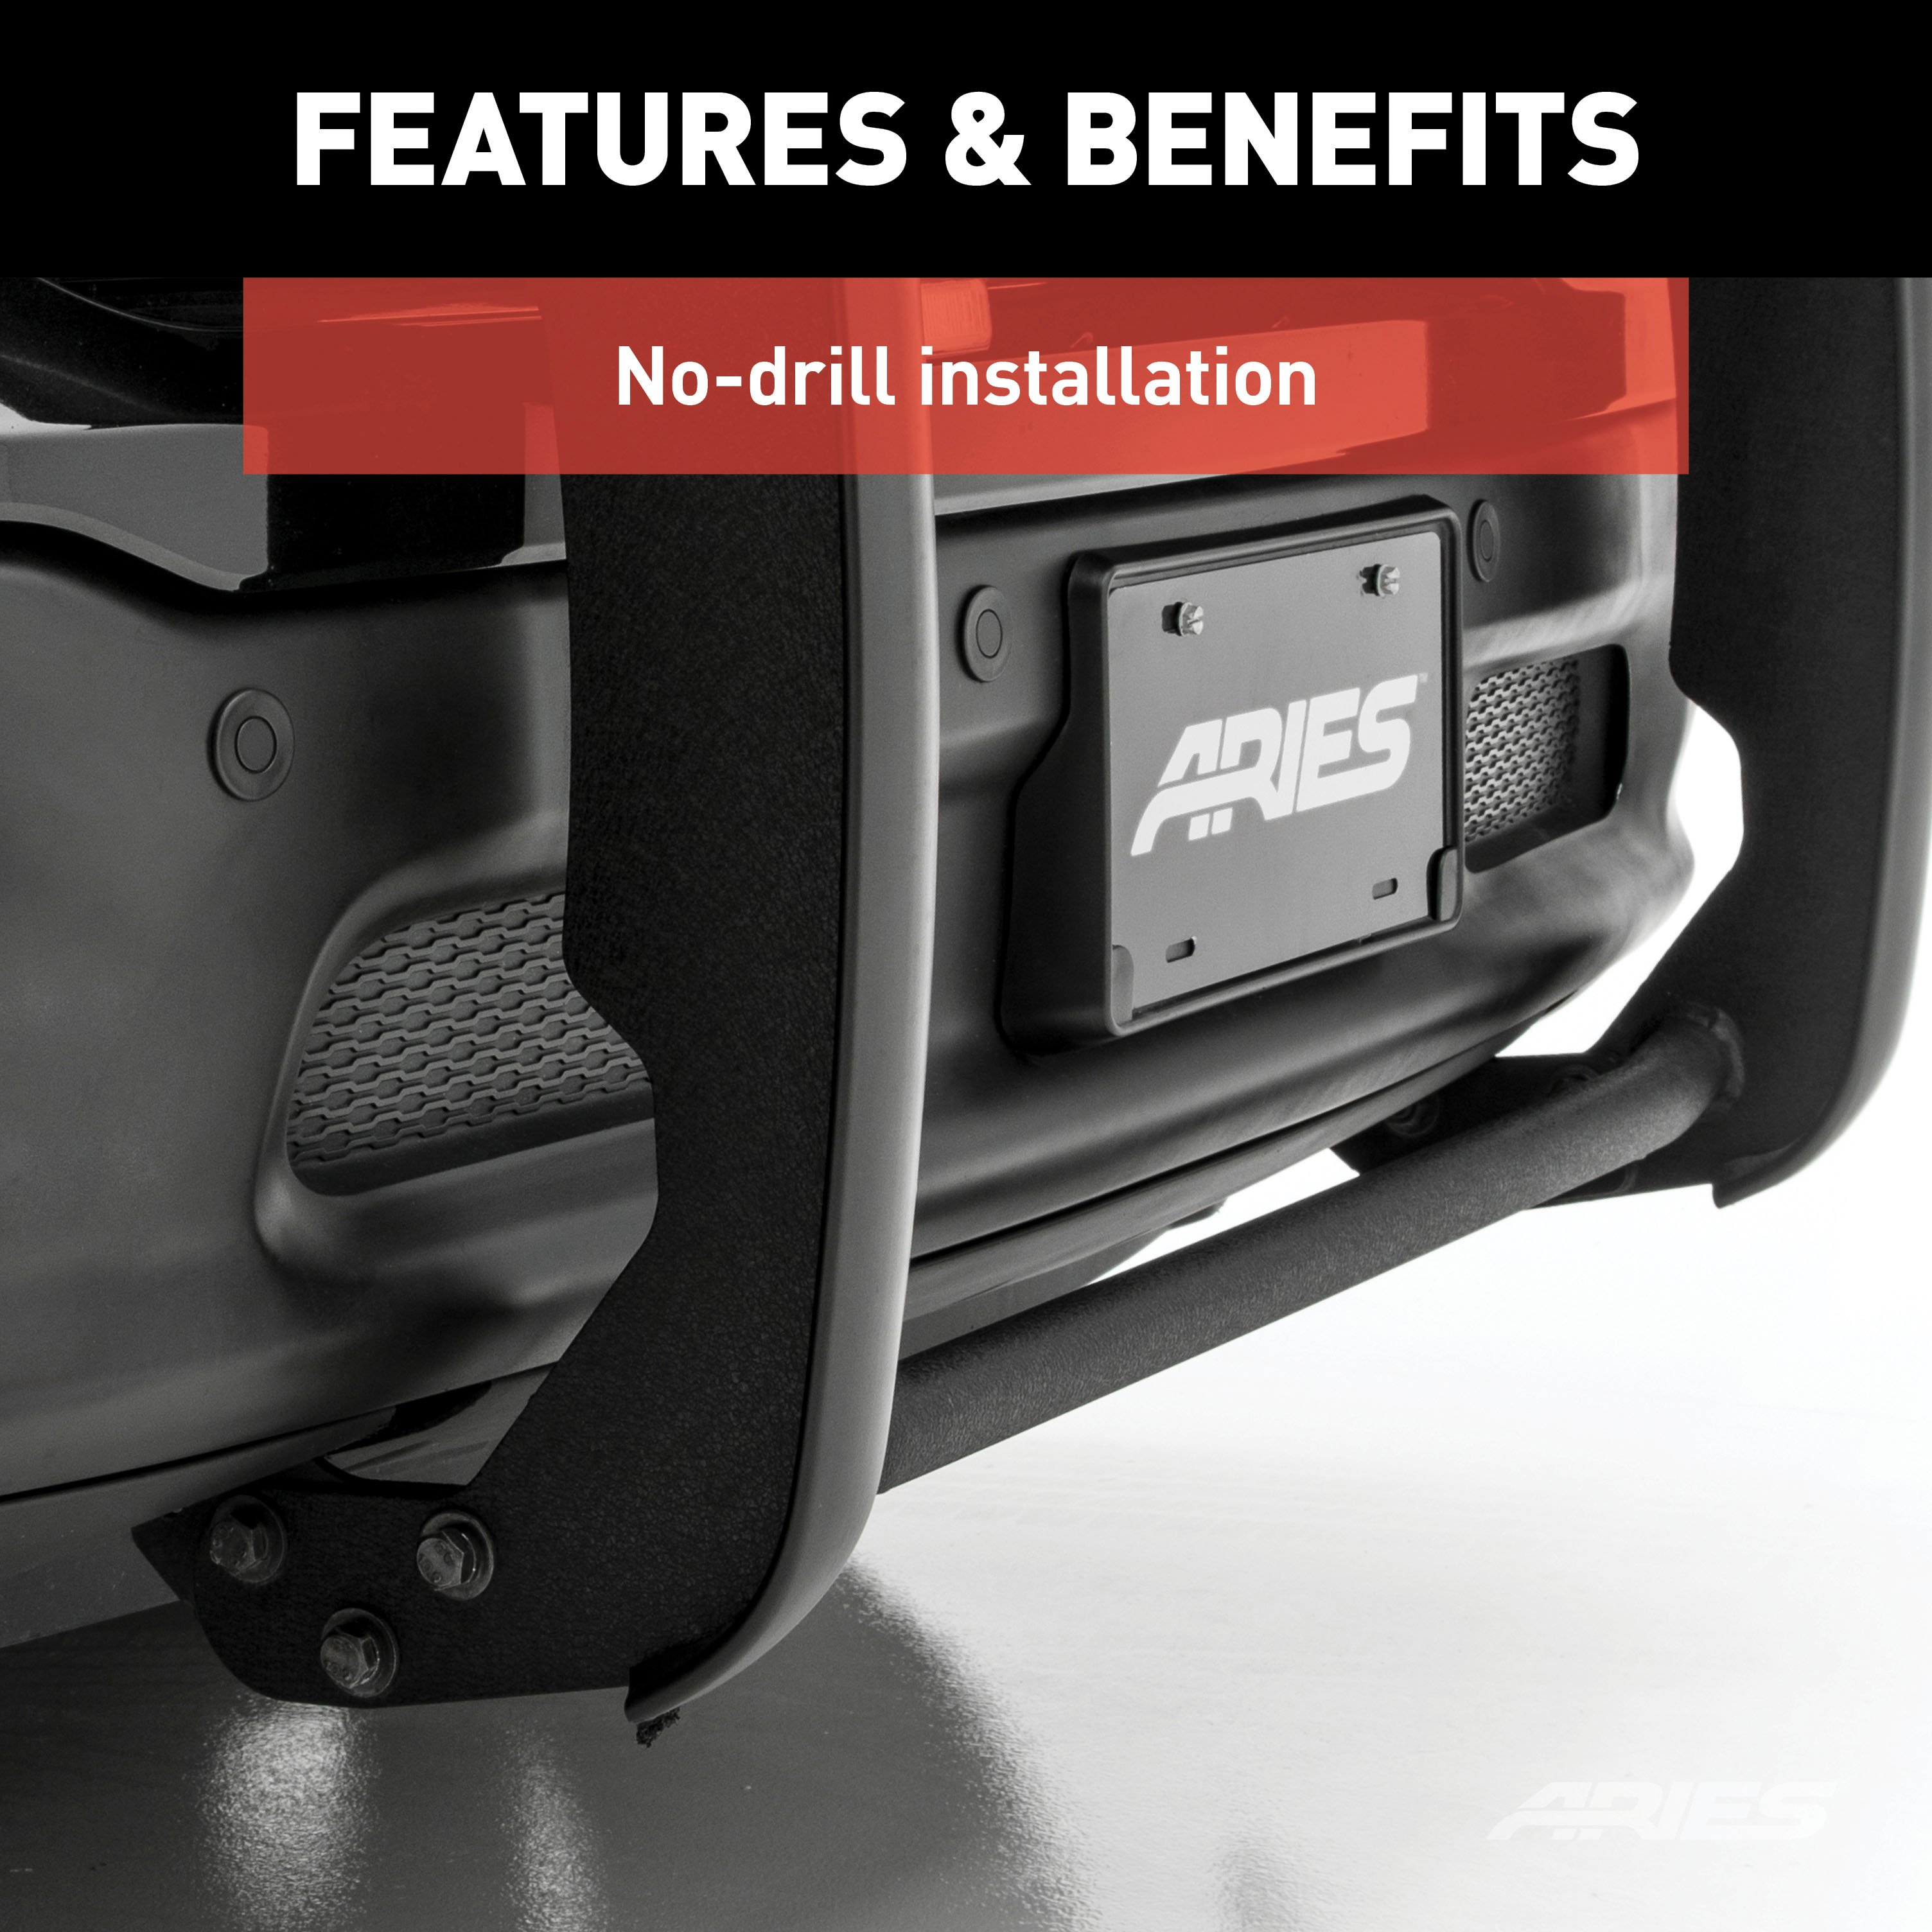
For the conqueror in every truck, Jeep or SUV owner, the ARIES grille guard offers the tough, trail-ready look you demand. It begins with a one-piece frame of 1/4" thick welded plates and 1-1/2" mandrel-bent tubing for a solid build. Each one is made with a vehicle-specific design for a better fit, easier install and more secure mounting. The side brush guards are custom-bent to contour to the profile of your vehicle, while the mounting brackets are positioned for a no-drill application. This means pre-existing factory holes are used to ensure optimum fitment and less vibration. This particular custom grille guard fits specific years of the Ford Explorer (see application info to verify). The ARIES grille guard also makes it easy to customize the look of your vehicle. Not only does the crossbar have two pre-drilled holes for mounting aftermarket LED lights, but many of our grille guards are also available in two finish options -- polished stainless steel or semi-gloss black steel. The stainless steel grille guard is made with 304 stainless, being high in nickel content and truly resistant to rust and corrosion. This option comes with a mirror-like polished finish for a definitive shine. The semi-gloss black grille guard is made with high-strength carbon steel for added strength. It features a tough, dual-layer E-coat and black powder coat finish to protect against rust, scratches and the elements. All ARIES grille guards also come with rubber stripping along the risers to protect the frame against scuffs and scratches.

Explore ARIES products at TowUniverse for top-tier grille guards, side bars, nerf bars, headache racks, and more. Upgrade your vehicle with ARIES today!
ARIES is a fast-paced marketer and innovator of truck, Jeep, SUV and CUV accessories. From automotive enthusiasts to professional builders, our products are built for the champions of individualism, innovation and attitude.
We offer the perfect combination of unique style and durable construction, specializing in custom-fit grille guards, bull bars, side bars and running boards, as well as Jeep Wrangler and Jeep Gladiator accessories.
ARIES products are made vehicle-specific for a custom fit, and they are available for a wide variety of makes and models sold in North America.
Experts available to answer your questions
Call 888-634-9494Limited Lifetime Warranty (Three-Year Finish, One-Year Parts)
1 compatible vehicles
| Year | Make & Model | Notes |
|---|---|---|
| 2016 - 2019 | Ford Explorer | — |
Yes, the ARIES 3068 1-1/2-Inch Black Steel Grille Guard, No-Drill, Select Ford Explorer (Part #BBDR3068) is designed to fit the 2016-2019 Ford Explorer.
The ARIES 3068 1-1/2-Inch Black Steel Grille Guard, No-Drill, Select Ford Explorer (Part #BBDR3068) fits the following vehicles: 2016-2019 Ford Explorer. Always verify your specific year, make, and model before ordering.
The ARIES 3068 1-1/2-Inch Black Steel Grille Guard, No-Drill, Select Ford Explorer (Part #BBDR3068) fits 2016-2019 Ford Explorer models. The 2019 model year is the last year covered by this part number. For newer models, check for an updated version.
The ARIES 3068 1-1/2-Inch Black Steel Grille Guard, No-Drill, Select Ford Explorer (Part #BBDR3068) Refer to the included instructions for installation details. Basic hand tools are typically all you need.
Yes, this grille guard is designed for 2016-17 Ford Explorer models. Verify all parts are present before starting installation by checking against the parts list provided in the manual.
The kit includes: 1 grille guard, 2 frame mounting brackets (driver and passenger side), 2 top support brackets, 2 spacer plates, 2 bolt plates, 2 nut plates, 10 12mm lock washers, 16 12mm flat washers (32mm OD x 3mm), 8 12mm hex nuts, 2 10-1.50mm x 25mm button head bolts, 4 10mm x 20mm x 2mm flat washers, 2 10mm nylon lock nuts, 2 25mm x 20mm x 5mm adhesive-backed foam pads, 1 100mm x 50mm x 1.0mm adhesive-backed foam, 2 6mm x 35mm hex bolts, 2 6mm x 22mm x 2mm flat washers, 2 6mm lock washers, 6 12-1.75mm x 35mm hex bolts, 6 12mm x 35mm hex bolts, 2 12-1.75mm x 50mm hex bolts, 1 5mm x 25mm screw, 2 5mm x 10mm OD x 1mm flat washers, 1 5mm nylon lock nut, and 1 6mm wrench.
A 6mm wrench is included in the kit. You will also need a sharp knife or hacksaw for cutting the bumper cover, a tape measure, masking tape, and safety glasses. A hacksaw is required to cut the fresh air inlet if your vehicle has one.
Yes, assistance is highly recommended. The manual specifically states that assistance is highly recommended, particularly when positioning the grille guard onto the mounting brackets in Step 9.
No, drilling is optional. However, if your vehicle is equipped with a factory fresh air inlet in the plastic bumper cover, you may choose to drill a 1/4" hole through the top and bottom of the scoop to relocate the metal clip, or you can use a hacksaw to cut the required material instead.
Yes, cutting is required. You must cut out sections of the plastic bumper cover to clear the frame mounting brackets and top brackets. The manual specifies cutting 18-1/2" to 19-1/2" from the middle of the bumper cover on each side. If your vehicle has a factory fresh air inlet, you must also cut material from the mounting area on the inlet. Use a sharp knife or hacksaw, and do not cut through the top or bottom edge of the bumper cover.
You must determine this before installation. In Step 4, check whether your vehicle is equipped with a factory-installed fresh air inlet in the plastic bumper cover. If it has one, you must cut material from the mounting area on the inlet and either relocate the metal clip or drill a 1/4" hole and replace the clip with the included 5mm x 25mm screw, 2 5mm flat washers, and 1 5mm nylon lock nut. If your vehicle does not have an air inlet, the passenger side installation is simpler.
If your vehicle has a factory fresh air inlet (scoop), you can drill a 1/4" hole through the top and bottom of the scoop to relocate the metal clip that holds it in place. This is an alternative to moving the clip to the marked location. Once drilled, replace the clip with the included 1 5mm x 25mm screw, 2 5mm flat washers, and 1 5mm nylon lock nut. Do not over-tighten this 5mm hardware.
The manual notes that removing the bumper cover may make cutting easier, but warns that the bumper cover may be held in place with rivets, which makes removal and reinstallation very difficult. Before attempting removal, determine if the bumper is held in place with rivets by looking for them visible from the outside below the fog lights. If rivets are present, it is not recommended to remove the bumper cover.
Start on the driver side. Insert a 12mm nut plate into the large oval opening in the bottom of the frame channel with the flat side down and welded nut up, sliding it forward to line up the threaded hole with the factory hole at the front of the frame. Insert a 12mm bolt plate into the oval opening and center the threaded bolt in the hole. Hold the frame mounting bracket in position over the bolt and secure it with a 12mm flat washer, 12mm lock washer, and 12mm hex nut—leave loose at this time. Slide a spacer plate between the frame channel and bracket. Insert a 12-1.75mm x 50mm hex bolt with a 12mm lock washer and 12mm flat washer through the bracket, spacer plate, and into the nut plate. Snug but do not tighten. Repeat for the passenger side, with modifications if the vehicle has a factory fresh air inlet.
With assistance, position the grille guard onto the outside of the mounting brackets. Attach it using 6 12mm x 35mm hex bolts, 12 12mm flat washers, and 6 12mm nylon lock nuts. Align, level, and adjust the grille guard, but do not completely tighten the hardware at this time. Final tightening occurs after the top brackets are installed.
Open the front hood and cover the top of the grille and plastic cover with removable masking tape to avoid damage. Hold each top bracket in approximate position between the grille guard and the hex bolt on the top cover, and mark the location onto the tape. Remove the cover and note the location of all factory hardware for reinstallation. Apply a 2" x 2" piece of thin adhesive-backed foam tape to the underside of each top bracket where it contacts the plastic grille. Cut out the front edge of the cover and the front side of the indented pocket for the hex bolt to clear the top brackets. Insert the top bracket through the opening and bolt it to the cover with a 6mm x 35mm hex bolt, 6mm flat washer, and 6mm lock washer. Line up the forward end of the bracket with the hole in the upright on the grille guard and bolt it with a 10mm x 25mm button head bolt, 2 10mm x 20mm flat washers, and a 10mm nylon lock nut. Repeat for the passenger side.
Leave all hardware loose during the initial installation steps. After the top brackets are installed and properly positioned, align and adjust the grille guard and then tighten all hardware. This is done in Step 15 after the top brackets are fully installed.
Measure the width across the grille guard from mounting tab to mounting tab (approximately 37" to 37-1/2"). Locate the middle of the plastic bumper cover using a tape measure or by finding the mold mark on the back. On the driver side, draw a vertical line on masking tape 18-1/2" out from the middle of the bumper cover, and a second vertical line 19-1/2" out from the middle. Use the locations of the previously installed frame mounting brackets to determine where to draw the top and bottom horizontal lines. Repeat for the passenger side. Cut only enough material to clear the mounting tabs—do not cut through the top or bottom edge of the bumper cover.
The manual does not provide torque specifications for any fasteners. It specifies only that the 5mm hardware on the fresh air inlet should not be over-tightened. For all other fasteners, follow standard automotive practices or consult the manufacturer directly.
No, this grille guard is a mechanical installation only. There are no electrical connections, wiring, or power requirements.
Safety glasses and equipment are required at all times when cutting. Any cutting tool may break or shatter. Do not cut through the top or bottom edge of the bumper cover. Do not over-tighten the 5mm hardware on the fresh air inlet. Assistance is highly recommended during installation.
After installation, do periodic inspections to ensure that all hardware is secure and tight. Wax the product to protect your investment. Regular waxing is recommended to add a protective layer over the finish. Do not use any type of polish or wax that may contain abrasives that could damage the finish.
Wax the product after installing and regularly thereafter to add a protective layer. Do not use any polish or wax containing abrasives, as these could damage the finish. For stainless steel finishes, aluminum polish may be used to polish small scratches and scuffs, and mild soap may be used to clean. For gloss black finishes, use only mild soap to clean.
Yes, this Curt grille guard is designed specifically for 2016-17 Ford Explorer models.
Yes, cutting is required. You must cut sections of the plastic bumper cover to clear the mounting brackets. Use a sharp knife or hacksaw, and wear safety glasses. Do not cut through the top or bottom edge of the bumper cover.
Yes, assistance is highly recommended, particularly when positioning the grille guard onto the mounting brackets.
Safety glasses and equipment are required at all times when cutting. Any cutting tool may break or shatter. Wear appropriate protective equipment before beginning.
Wax the product after installing and regularly thereafter. Do not use polish or wax containing abrasives. For stainless steel, aluminum polish may be used on small scratches. For gloss black, use mild soap only.
Ensure that the 12mm nut plate is inserted into the large oval opening with the flat side down and welded nut up, and that it is slid forward to line up the threaded hole with the factory hole at the front of the frame. The 12mm bolt plate should be centered in the oval hole. Hold the mounting bracket in position over the threaded bolt on the bolt plate. If alignment is still incorrect, verify that the nut plate and bolt plate are properly positioned before securing the bracket.
The manual states to cut only enough material to clear the mounting tabs and not to cut through the top or bottom edge of the bumper cover. If excessive material has been removed, the bumper cover may not fit properly or may be damaged. The manual notes that it is the installer's responsibility to determine exact cuts required for proper installation. Consult the manufacturer or a professional installer for repair options.
In Step 9, the grille guard is positioned and aligned but hardware is left loose. In Step 15, after the top brackets are installed, align and adjust the grille guard to be level before tightening all hardware. If the guard is still not level after tightening, loosen the hardware, reposition the guard, and retighten.
Do periodic inspections to ensure that all hardware is secure and tight. If hardware is found to be loose, tighten it. The manual does not specify a retorque interval, but regular checks are recommended to maintain the integrity of the installation.
No reviews have been added for this product.