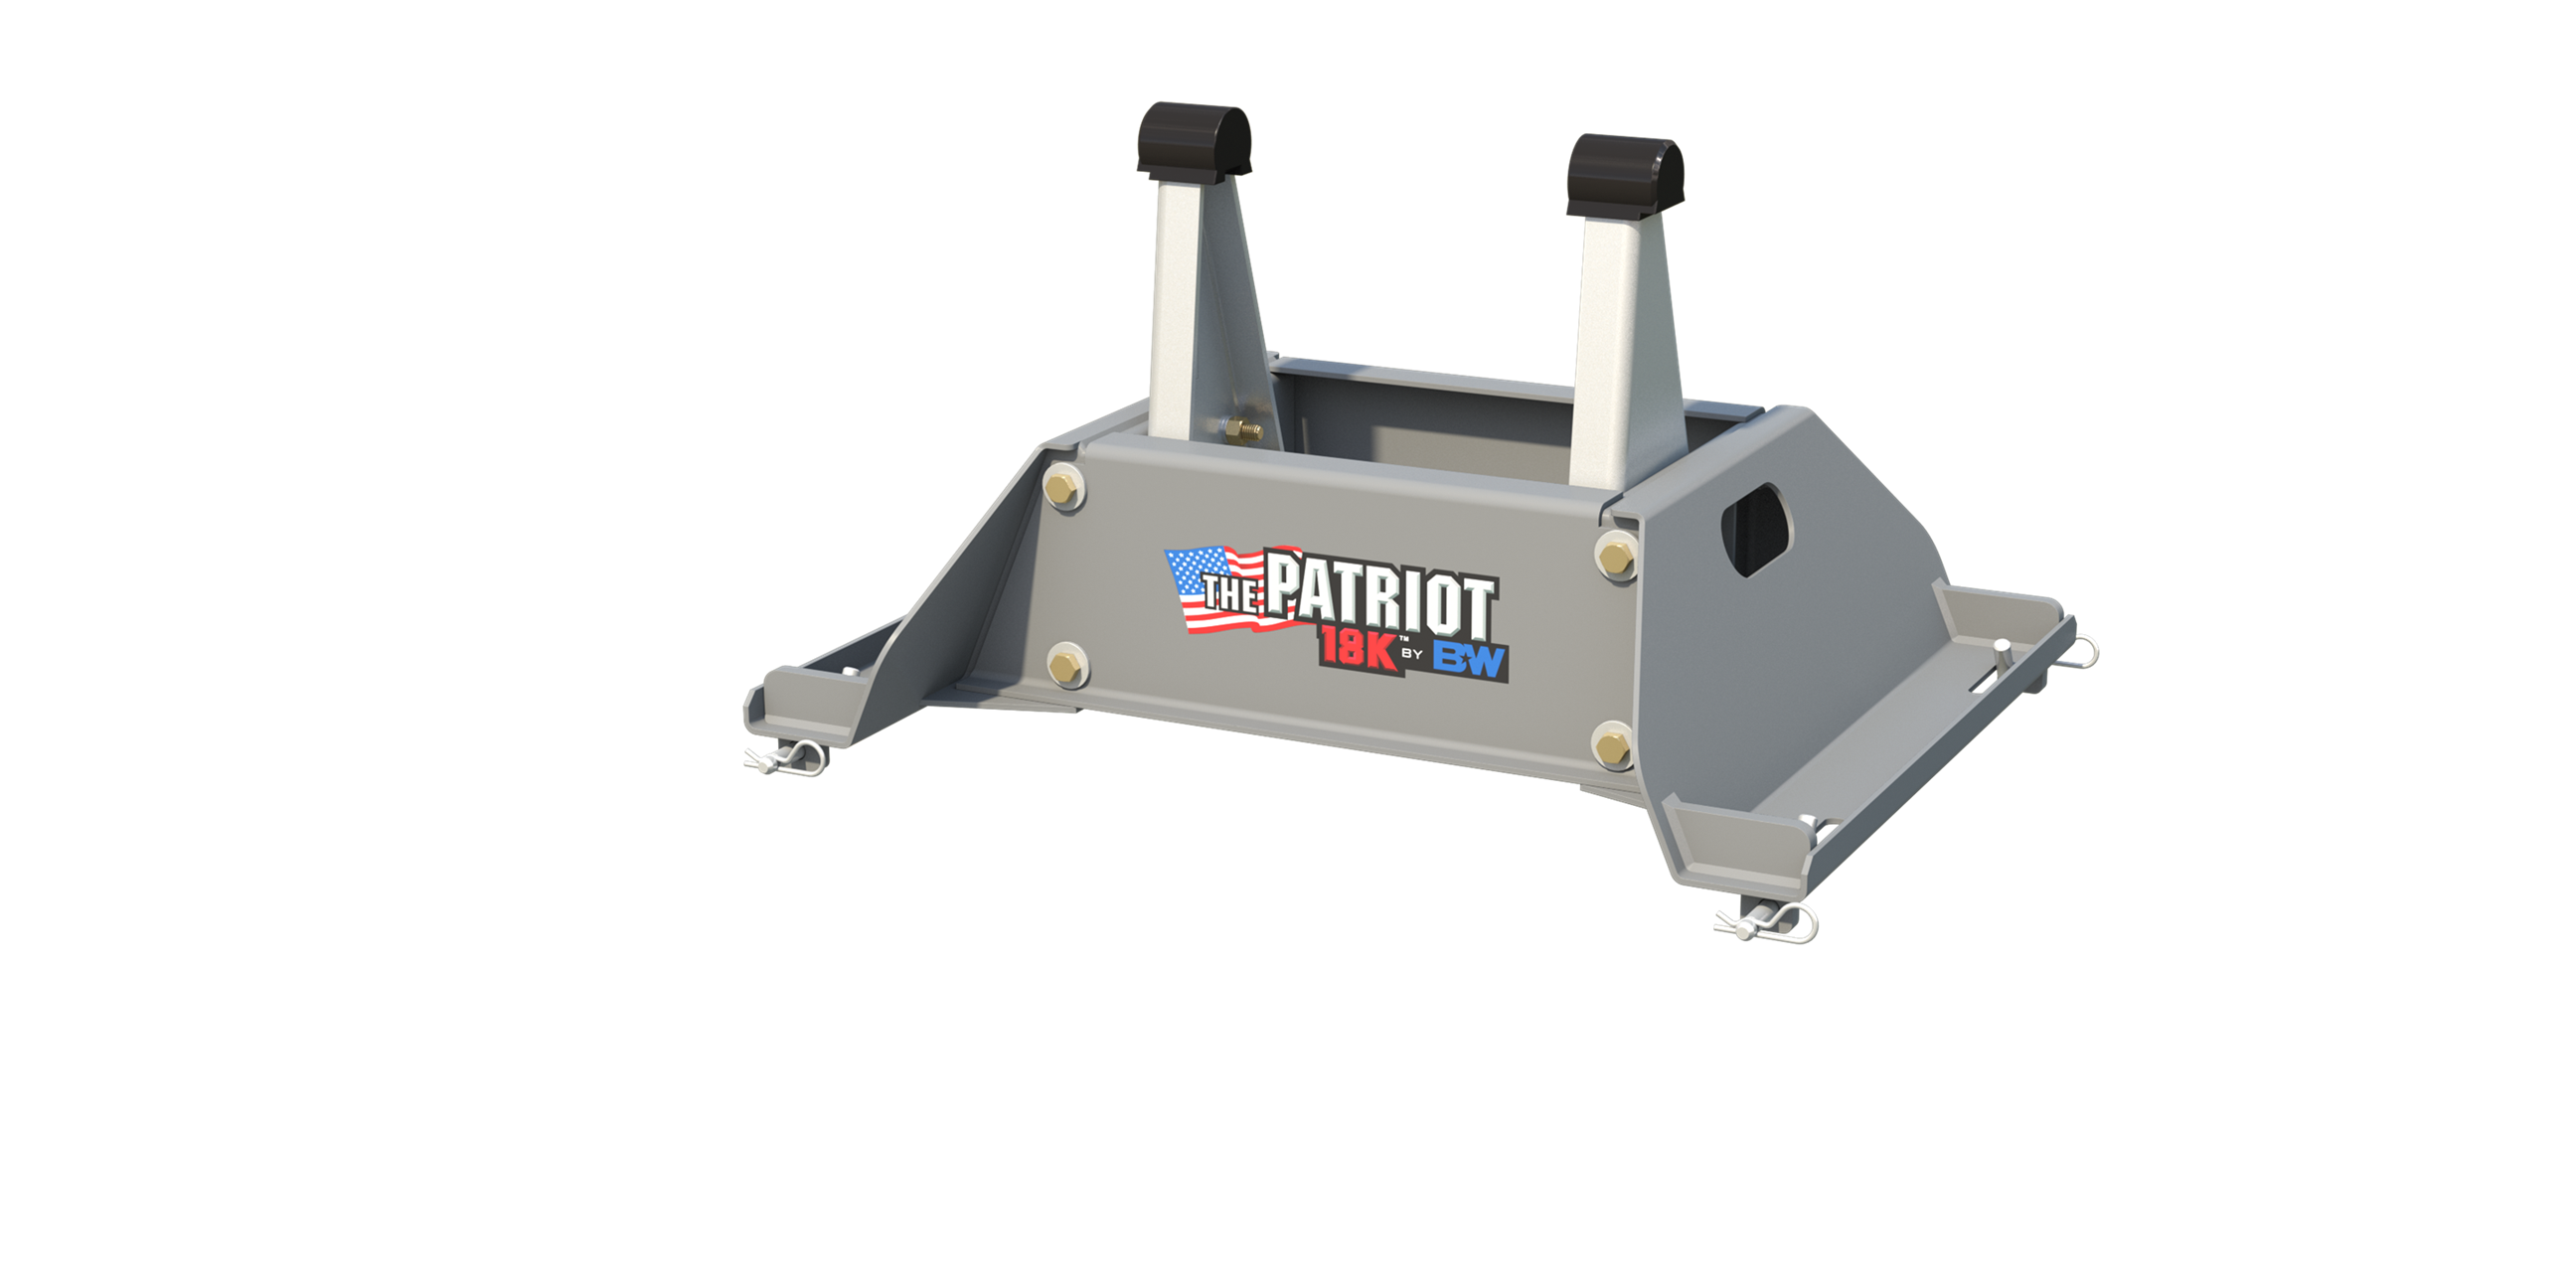
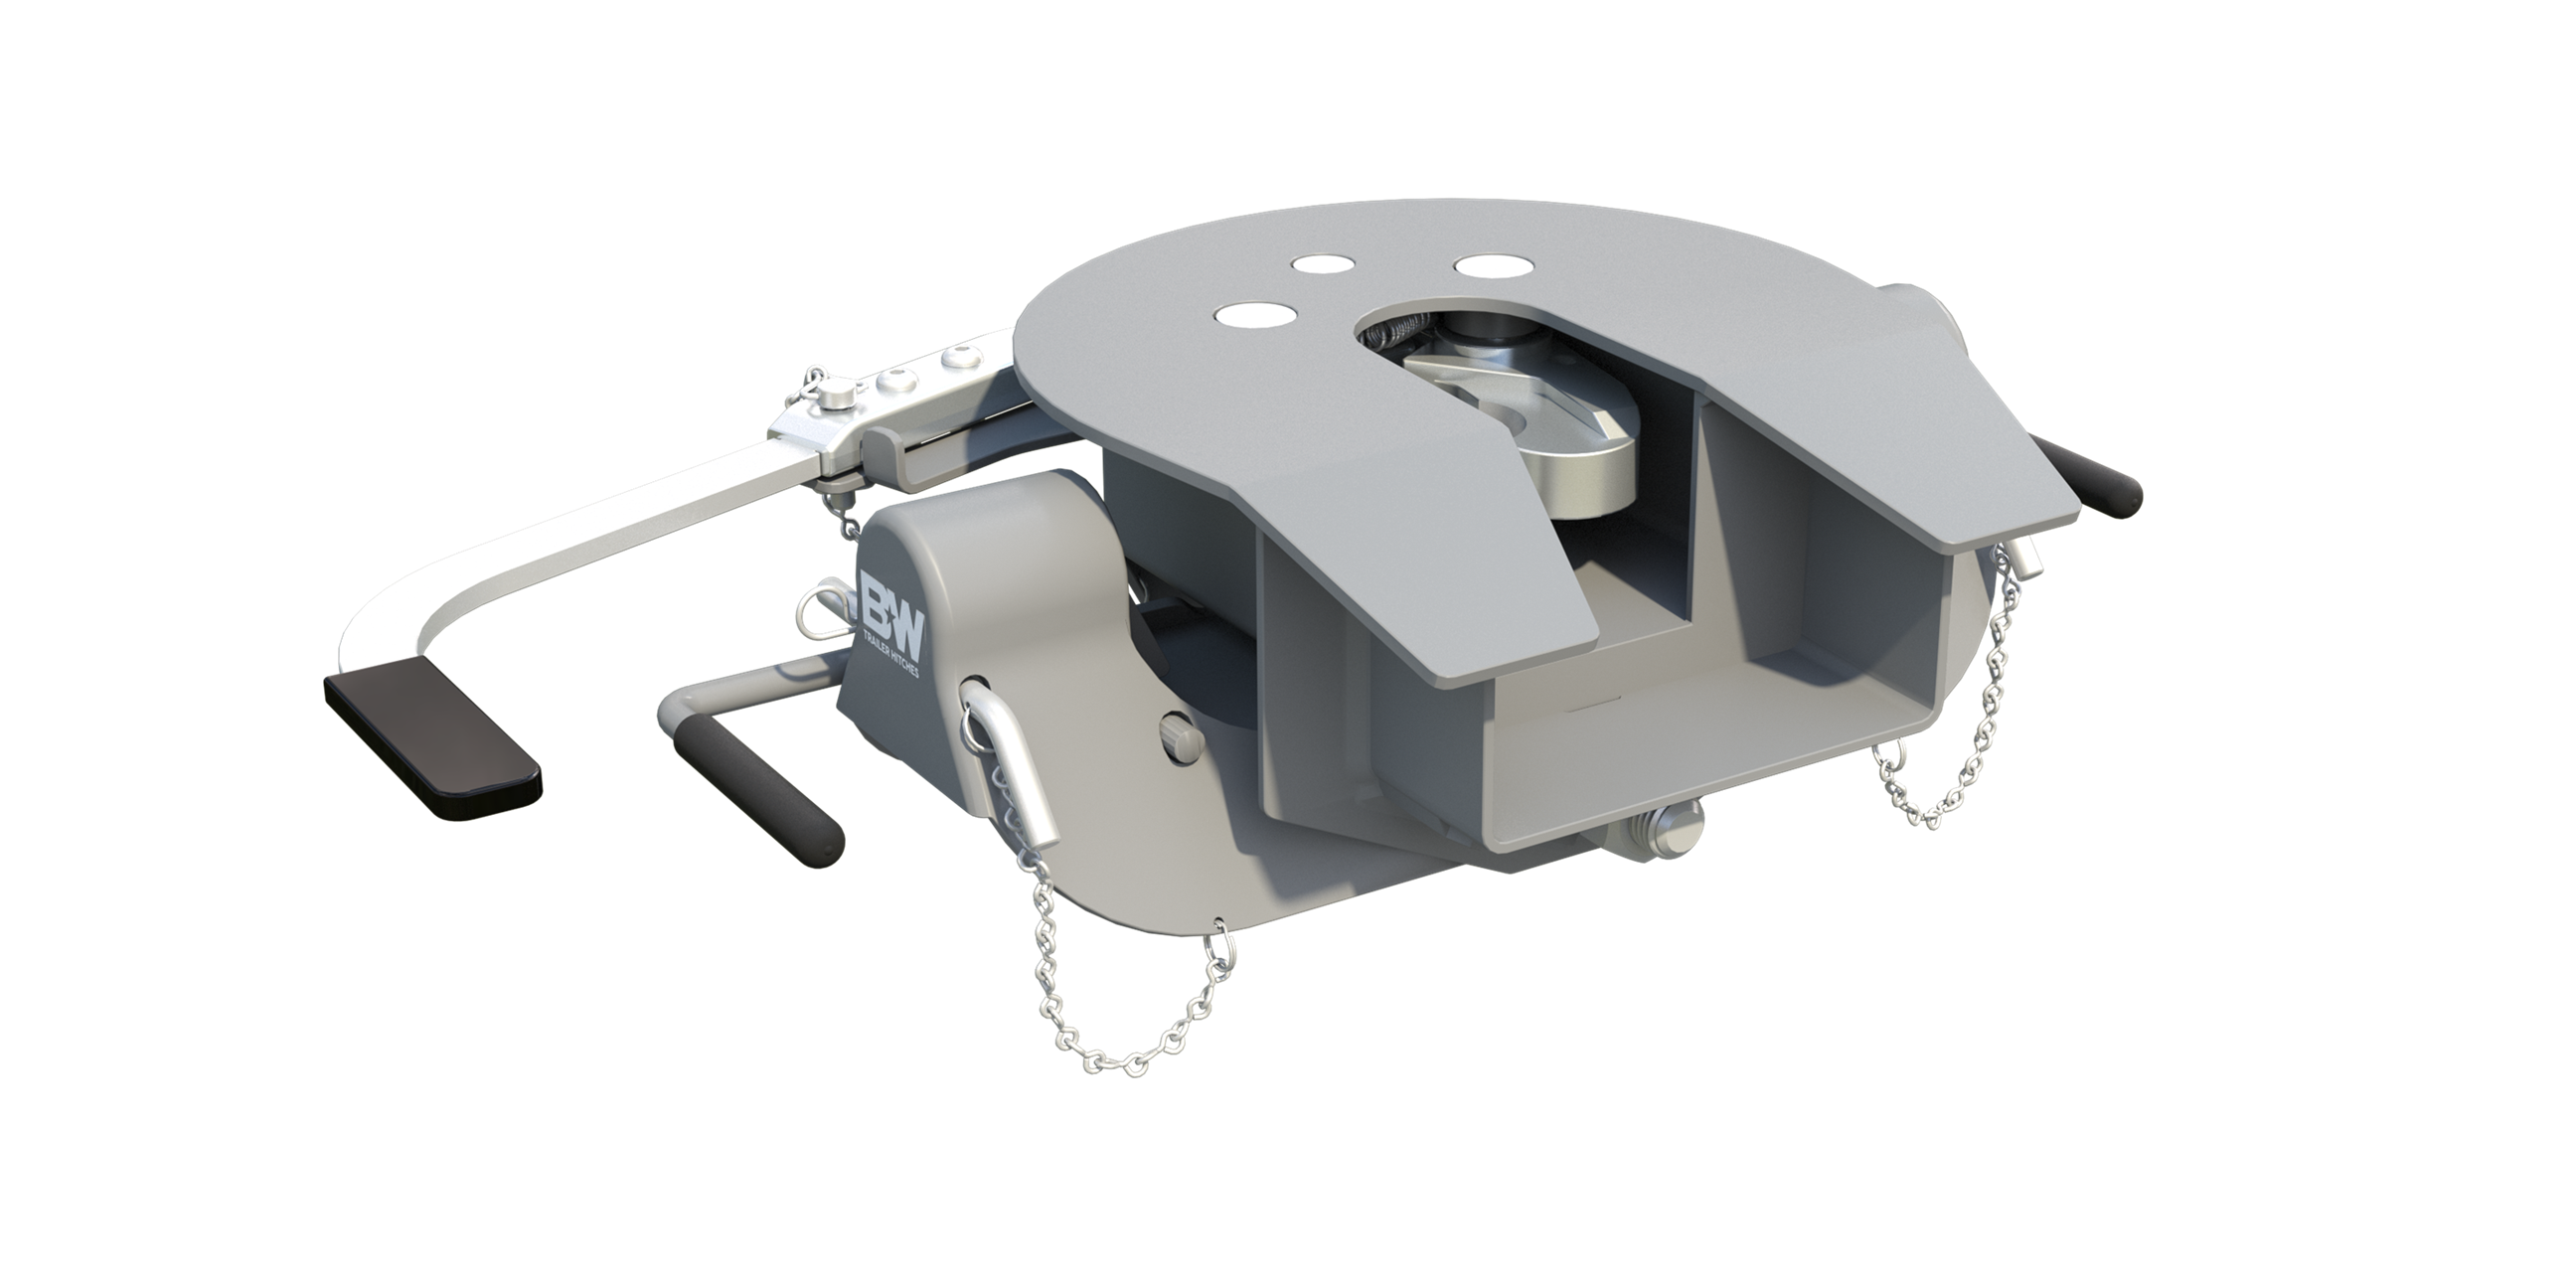
B&W Trailer Hitches Companion 5th Wheel Hitch Base For Turnoverball Fifth Wheel Trailer Hitch Base Assembly RVB3500B&W Trailer Hitches$600.00In Stock
View productOur in-house experts typically reply within one business day.

B&W Trailer Hitches
Free Shipping
Ships free on all orders
 Authorized Dealer



Always the correct part
We know our products
Quality Products
Free Shipping!
Always the correct part
We know our products
Quality Products
Free Shipping!
Quick Ship
In stock and ready to ship — order now!
FREE ShippingFREE SHIPPING
Estimated delivery Sun, Sep 27 - Wed, Sep 30
Order before 2 PM EST Monday–Friday for same-day processing
Guaranteed safe & secure checkout

| GTW | 20,000 lbs |
| PROP 65 WARNING: | WARNING: This product may expose you to chemicals including Nickel (Metallic), which is known to the state of California to cause cancer. For more information, go to www.P54Warnings.ca.gov. |
| VTW | 5,000 lbs |

B&W Trailer Hitches is an American manufacturer known for durable, innovative towing products, including gooseneck hitches, fifth-wheel hitches, receiver hitches, and ball mounts. Built in Kansas by employee-owners, B&W products are engineered for dependable performance, easy installation, and long-lasting quality.
B&W Trailer Hitches is an American manufacturer known for building innovative, dependable towing products designed to make hitching easier and towing more comfortable. The company began in 1987 in Humboldt, Kansas, when founders Roger Baker and Joe Works combined their fabrication experience to build custom truck beds and solve common problems faced by truck owners.
B&W changed the gooseneck hitch industry with the introduction of the Turnoverball Gooseneck Hitch. Its under-bed mounting system and reversible hitch ball allowed truck owners to quickly store the ball beneath the bed, leaving a clean and unobstructed surface when the hitch was not in use. B&W later applied the same practical approach to the Companion Fifth Wheel Hitch, creating a removable fifth-wheel hitch engineered for a quiet, smooth, and secure towing experience.
Today, B&W manufactures gooseneck hitches, fifth-wheel hitches, receiver hitches, ball mounts, and towing accessories at its nearly 600,000-square-foot facility. The company is owned by approximately 500 employee-owners who remain committed to American manufacturing, trusted materials, skilled craftsmanship, and long-lasting product quality.
Whether you are towing a work trailer, livestock trailer, camper, or fifth wheel, B&W Trailer Hitches offers thoughtfully engineered towing equipment built to perform mile after mile.
Experts available to answer your questions
Call 888-634-9494The Companion 25K Hitch is designed to fit B&W Turnoverball™ Mounting System trucks only. It installs into the gooseneck hitch receiver socket in the truck bed. Check with B&W or your truck manufacturer to confirm your truck has a Turnoverball mounting system before purchasing. Using this hitch with any other system will void the warranty.
The Companion 25K Hitch is rated for a maximum trailer weight of 25,000 lbs and a maximum trailer tongue weight of 6,250 lbs. You must not exceed these ratings, the coupler rating, or the tow and weight ratings of your truck or trailer. Check your vehicle and trailer manufacturer information for their specific ratings.
You will need: a large torque wrench capable of measuring 110 ft-lbs, a 3/4" socket, a 7/16" socket, a 9/16" socket or wrench, a 7/32" Allen wrench, and a hammer. The torque wrench is essential because multiple bolts must be torqued to exactly 110 ft-lbs.
The hitch includes two bolt bags: the Base Bolt Bag (RVB3050) contains 2 pivot arms, 2 base legs, 16 1/2" cap screws, 16 1/2" lock washers, 16 1/2" finish nuts, 1 wire torsion spring, 1 mounting clip, 1 1/4" cap screw, and 1 1/4" lock nut. The Coupler Bolt Bag (RVC3006) contains 2 3/8" button head cap screws and 2 3/8" lock nuts. All hardware is included; no additional fasteners are required for installation.
Most bolts on the Companion 25K Hitch must be torqued to 110 ft-lbs. This includes the 1/2" cap screws that attach the base legs and pivot arms to the center section. The draw-down bolt that secures the base into the receiver socket must be torqued to 60 ft-lbs. The 1/4" lock nut on the leveling kit spring should be tightened just enough to keep the spring in place but allow it to rotate if needed.
Yes. Before placing the Companion base into the receiver socket, you must disengage the latch pin handle located under the truck bed, retract it all the way to disengage the pin from the ball, and remove the 2-5/16" ball from the hitch receiver socket. The Companion base will then fit into the now-empty receiver socket.
Locate six 1/2" cap screws, 1/2" lock washers, and 1/2" nuts. Pass three cap screws through the outside of each base leg and hand tighten each with a lock washer and nut. While securely holding each leg against the bottom of the center section, torque each bolt to 110 ft-lbs. This must be done before attaching the pivot arms.
Using ten 1/2" cap screws, 1/2" lock washers, and 1/2" nuts, attach the pivot arms to the base. For each arm: pass four cap screws through the top of the pivot arm down through the base and hand tighten with lock washers and nuts. Then pass a single 1/2" cap screw through the side of the pivot arm and hand tighten with a lock washer and nut. Repeat for the other pivot arm. Torque each bolt to 110 ft-lbs.
The leveling kit consists of a 1/4" cap screw, 1/4" lock nut, wire torsion spring, and mounting clip. Pass the cap screw through the mounting clip and wire spring, then thread the lock nut onto the cap screw and tighten just enough to keep the spring in place but allow it to rotate. Locate the flange on the driver side pivot arm closest to the truck cab. Position the clip so that when the spring's coil aligns with the edge of the arm, there is 1/2" clearance between the bottom of the polyurethane bushing and the top of the spring. Drive the clip securely onto the flange with a hammer.
Clean the truck bed and remove all debris. Carefully lift and position the Companion base into the hitch receiver socket in the back of the truck bed. Using a tape measure, square the base with the sides or cab of the truck to ensure it is centered. Re-engage the latch pin handle under the truck bed. Then tighten the 1/2" x 3-1/2" draw-down bolt to 60 ft-lbs. Do not lubricate the draw-down bolt; the torque value is for dry threads only.
Pull out the coupler arm and pin it with the safety locking pin near the base of the arm. Locate the two 3/8" x 1-1/4" button head cap screws and two 3/8" flanged lock nuts from the coupler bolt bag. Attach the coupler handle to the arm using these screws and nuts, then tighten. Finally, pull out the coupler handle safety pin. Use caution when installing the handle as pulling the arm creates a pinch point.
Lubricate the polyurethane bushings on top of the pivot arms with high-grade lithium grease. Place the coupler over the pivot arms with the saddle handles parallel to the base in the latched position. Place the saddle lock pins through the saddle, then insert hairpins through the holes in the end of the saddle lock pins to secure the coupler to the pivot arms.
Adjust the resting angle of the coupler plate by rotating the spring on the driver side pivot arm. Pulling the top of the spring away from the cab will increase the angle of the coupler plate. Set the angle so that the coupler will tilt away from the cab when coupling. Once the spring orientation is set, tighten the 1/4" nut to lock it in place.
Remove the safety pin from the coupler handle and open it. Adjust the trailer height so the king pin plate is slightly lower than the top of the coupler. Back the truck toward the trailer, centering the trailer's king pin in the coupler, until the king pin engages the jaws. Close the coupler handle and insert the safety pin through the handle and coupler. Connect the brake and lighting systems before towing. Perform a pull test to confirm proper attachment.
The pull test confirms the trailer is properly attached before towing. Ensure the truck is stationary with the emergency brake engaged and tailgate down, trailer wheels chocked, and landing gear down supporting the trailer's weight. Confirm no one is between the truck and trailer. Release the emergency brake and engage the trailer brakes. Gently attempt to pull the trailer forward with the truck. When properly connected, the trailer will prevent the truck from moving. If the truck and trailer are not correctly attached, the trailer will separate from the truck.
Before each tow, perform a visual inspection of the hitch. Check that all pinned connections are secure and all bolted connections are at the correct torque specification. Check for cracks or damage to the hitch. Do not tow if cracks or damage outside of normal wear are found. Also verify that the coupler handle is correctly closed and the safety pin is inserted. Towing with a damaged hitch could result in loss of attachment between the trailer and truck.
No. Do not use the Companion hitch with any device that changes the location of the king pin pivot point, such as a wedge, Reese Sidewinder, or Reese Revolution. The king pin on your trailer must rotate freely in the jaws of the Companion coupler. Preventing the king pin from rotating could result in property damage, serious injury, or death.
When towing a wedge car trailer, additional caution must be used. Keep the center of gravity as low as possible by loading heavy cars over the axles. Never tow with a single car on the front of the trailer. Never exceed speeds that are reasonable for the roadway conditions, such as turns or curves. Failure to account for proper trailer center of gravity and reasonable speeds may cause damage to the truck, trailer, towing components, and loss of attachment between the truck and trailer.
Before towing, determine if there is clearance between your truck and trailer combination. Measure from the center of the coupler to the cab of the truck and from the king pin or pivot point of the trailer to the furthest forward corner of the trailer. Compare these measurements to ensure proper clearance when towing. Also inspect the clearance between the bed sides and the underside of the front of the trailer to ensure there is room for the pitch and roll of the trailer while towing. Towing without adequate clearance may lead to property damage or serious injury.
Grease the saddle through the grease zerk approximately every six months with multi-purpose grease. This allows the coupler to pivot freely. Additionally, grease the jaws with automotive-type chassis grease. Lubricate the top surface of the coupler with automotive-type chassis grease or use a nylon lube plate before each towing session.
All bolted connections should be checked for the correct torque specification regularly. A visual inspection should be performed before each time you tow. The main bolts are torqued to 110 ft-lbs (base legs and pivot arms) and the draw-down bolt to 60 ft-lbs. Ensure all connections remain at their correct torque values to maintain the integrity of the hitch.
Lower the landing gear and chock the trailer wheels. Raise the trailer until the tongue weight is removed from the truck. Unpin the coupler handle and rotate it to the open position to unlatch the jaws. If the jaws do not open, readjust the landing gear to relieve pressure. Use the safety pin to lock the handle in the open position. When you are sure the landing gear will support the trailer, move the truck forward to release the jaws from the king pin. The jaws will always open when the pressure of the trailer is taken off the coupler as the truck pulls away.
To uninstall the Companion hitch, remove the saddle lock pins, grab the saddle handles, and lift to remove the coupler from the pivot arms. To remove the Companion base, loosen the draw-down bolt and retract the Turnoverball gooseneck latch pin handle all the way out. Carefully lift and position the Companion base out of the gooseneck hitch socket.
Approximately 15%-25% of the trailer weight should be on the hitch. The Companion 25K Hitch has a maximum tongue weight rating of 6,250 lbs. Ensure your trailer's tongue weight falls within this range and represents 15%-25% of the total trailer weight for proper weight distribution and towing stability.
Yes. Remove all parts from the packaging and familiarize yourself with all the parts and tools required. Use the parts list on the front page to verify that all parts and hardware are present before beginning assembly.
Yes. Check that the bed of the truck is clean and that all debris is removed before beginning installation. A clean bed ensures proper seating of the base in the receiver socket and prevents interference with the installation process.
The height of the king pin box and pivot arms should be adjusted so that the trailer is approximately level for towing. This ensures proper weight distribution and towing stability. The coupler angle can be adjusted by rotating the spring on the driver side pivot arm to achieve the desired level position.
The Companion 25K Hitch (RVK3050) fits only B&W Turnoverball™ Mounting System trucks. Confirm your truck has a Turnoverball gooseneck receiver socket before purchasing.
Base legs and pivot arms: 110 ft-lbs. Draw-down bolt: 60 ft-lbs. Do not lubricate the draw-down bolt; torque value is for dry threads only.
No. The king pin must rotate freely in the coupler jaws. Do not use wedges, Reese Sidewinder, Reese Revolution, or any device that prevents rotation. This could cause loss of attachment, property damage, or serious injury.
Perform a visual inspection: check all pinned and bolted connections are secure and at correct torque, check for cracks or damage, confirm the coupler handle is closed and safety pin is inserted, and perform a pull test to verify proper attachment.
Open the coupler handle, adjust trailer height so king pin plate is slightly lower than coupler top, back truck to center king pin in coupler jaws, close handle and insert safety pin, connect brake and lighting systems, then perform a pull test.
If the jaws do not open when you rotate the coupler handle to the open position, readjust the landing gear to relieve pressure on the coupler. This pressure relief should allow the jaws to open. Once the jaws open and you have confirmed the landing gear will support the trailer's weight, move the truck forward to release the jaws from the king pin.
Pulling the coupler arm out away from the coupler creates a pinch point. Use caution when installing the handle to avoid injury. Take your time and be aware of your hands and fingers when manipulating the arm and safety pin.
No reviews have been added for this product.