Ask a Question About This Product
Our in-house experts typically reply within one business day.
Our in-house experts typically reply within one business day.

Bak Industries
Verify Fitment
Select your vehicle to confirm this part fits.




Always the correct part
We know our products
Quality Products
Free Shipping!
Always the correct part
We know our products
Quality Products
Free Shipping!
Free Shipping
Ships free on all orders
 Authorized Dealer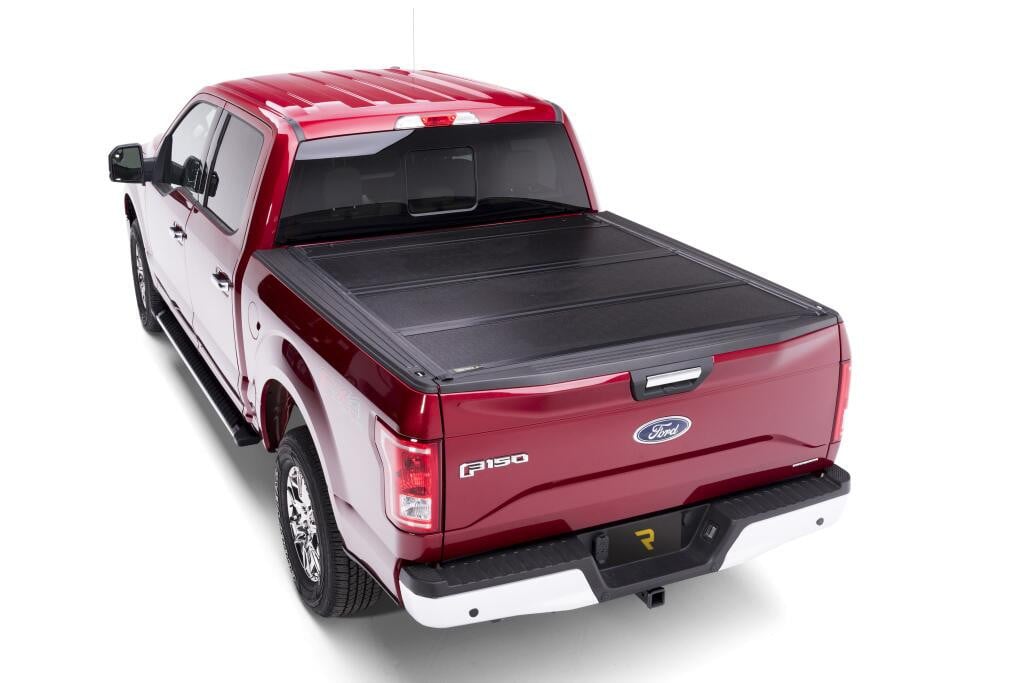

Quick Ship
In stock and ready to ship — order now!
FREE ShippingFREE SHIPPING
Estimated delivery Wed, Oct 21 - Sat, Oct 24
Order before 2 PM EST Monday–Friday for same-day processing
Guaranteed safe & secure checkout
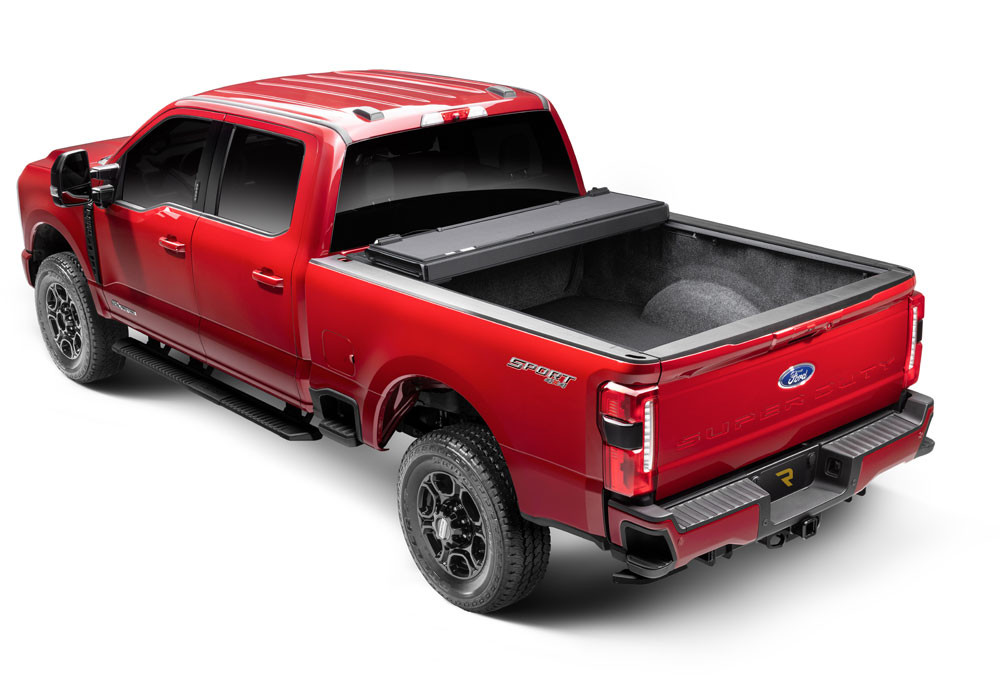
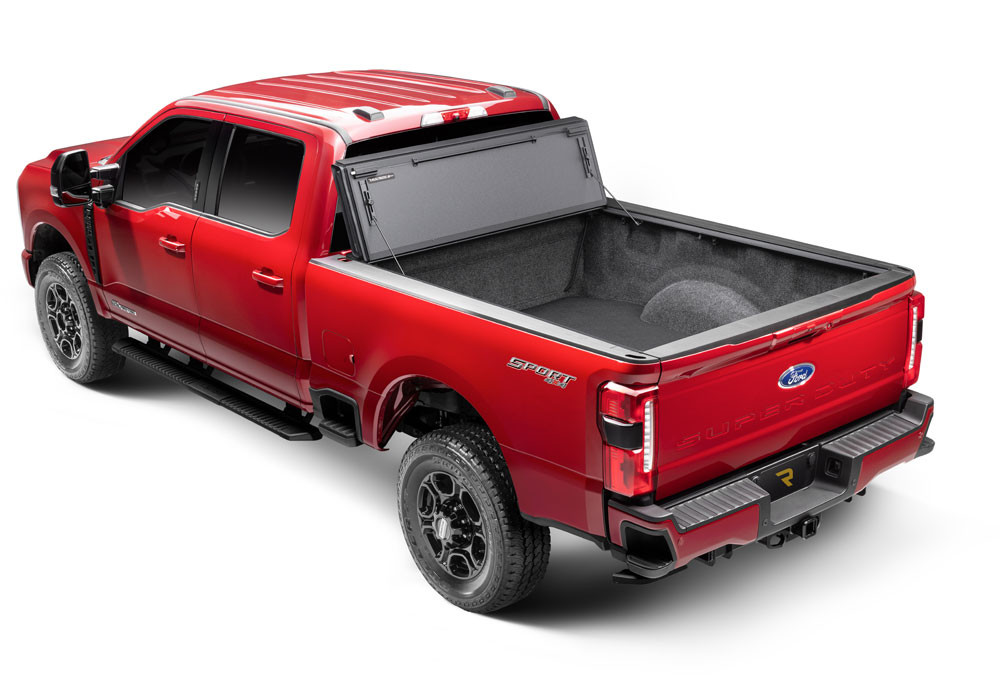
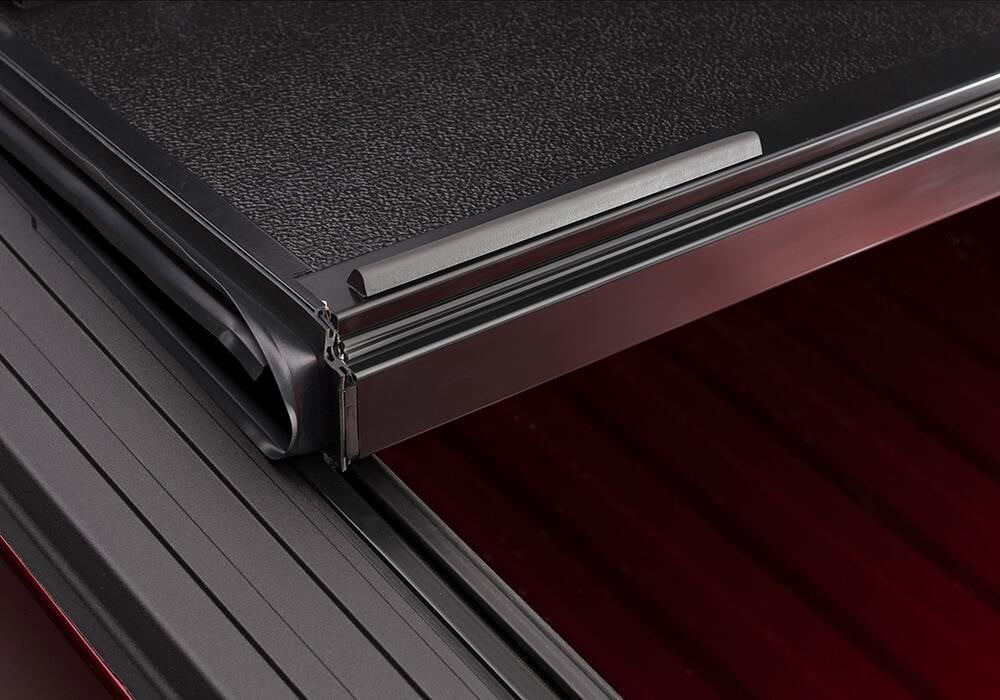
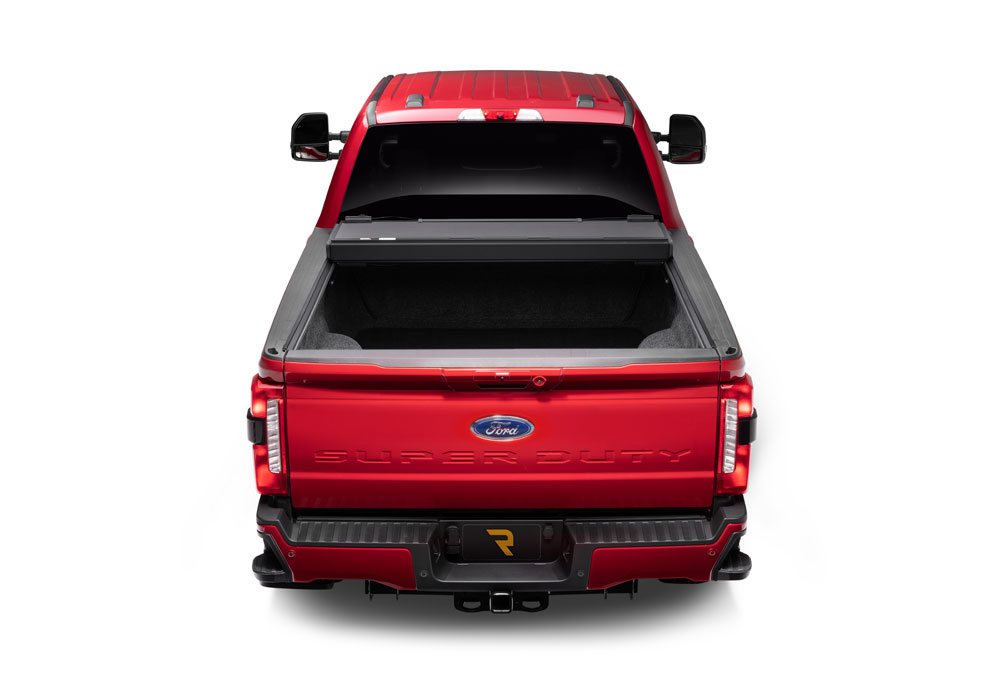
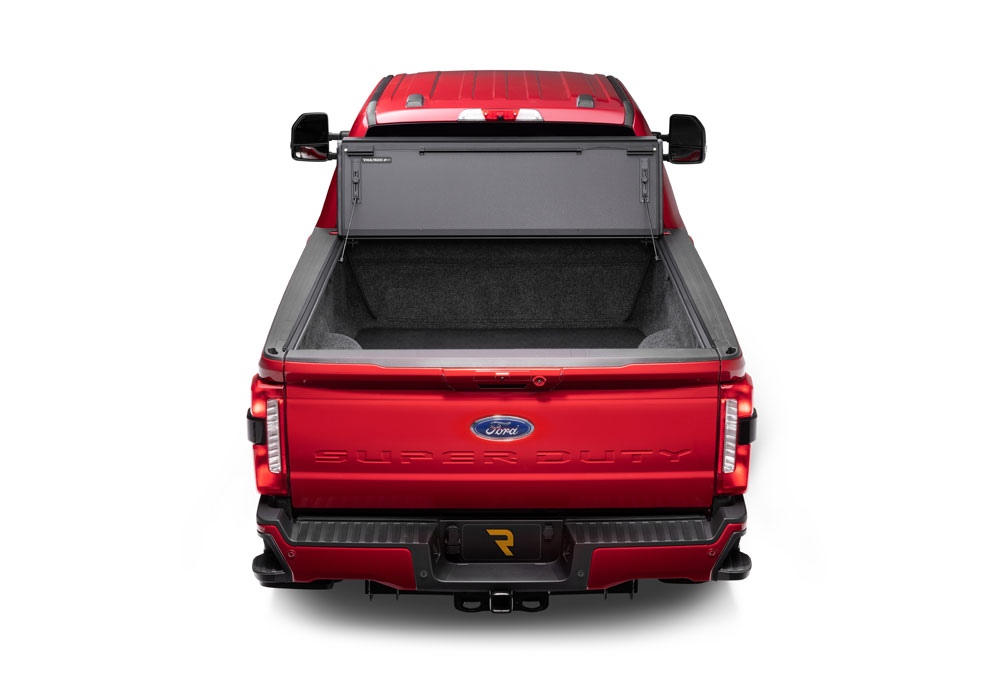
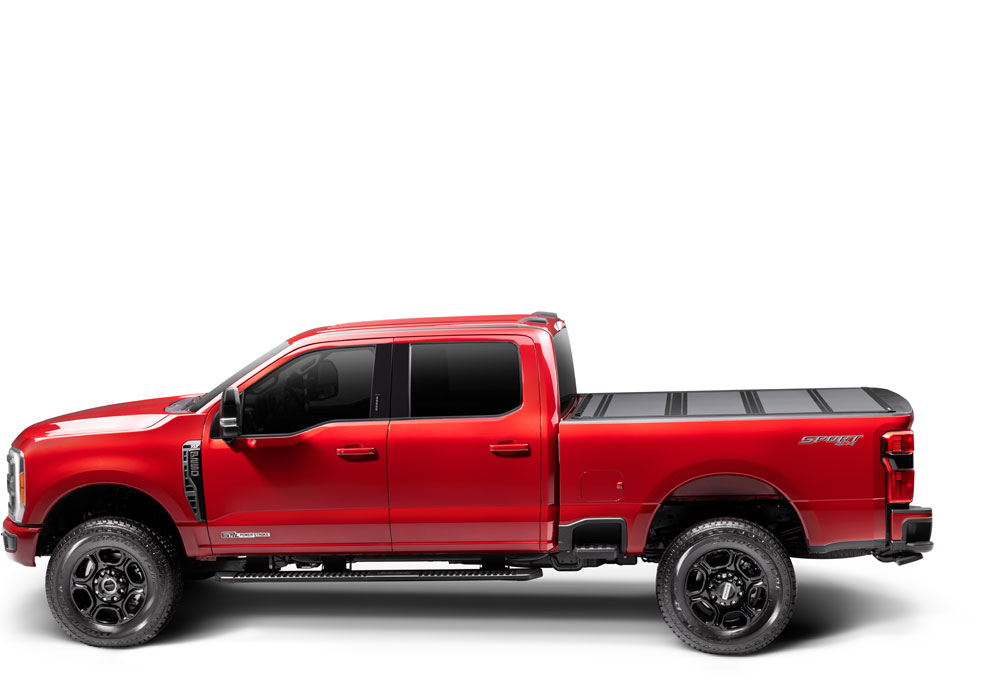
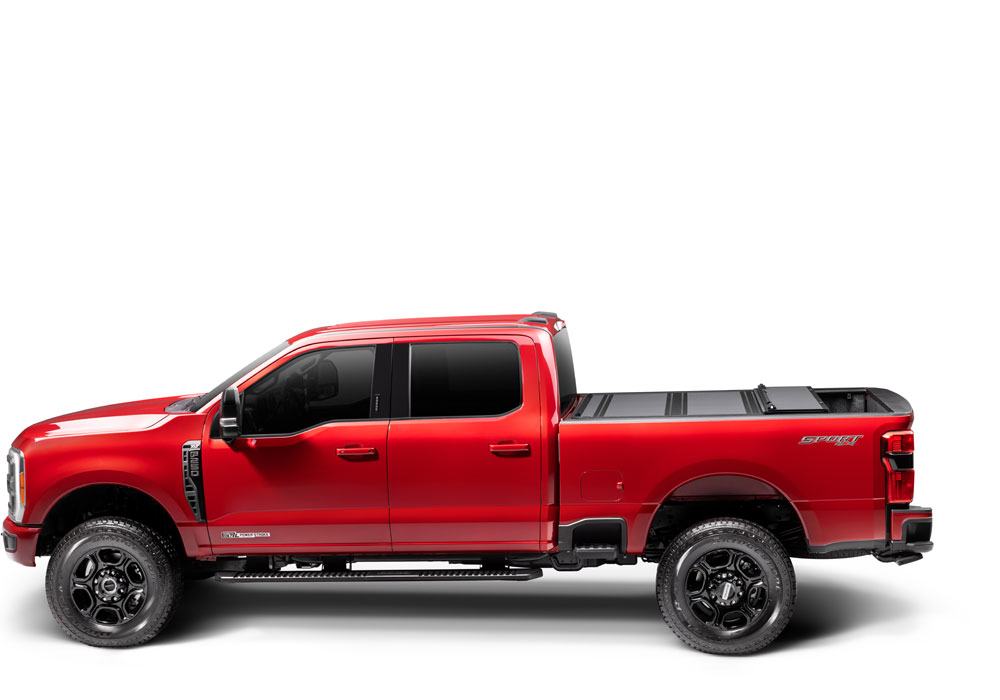
Introducing the BAKFlip MX4, featuring heavy-duty aluminum matte finish panels that offer superior UV and scratch resistance, and an enhanced premium density foam core. The MX4 is the upgrade to the G2 aluminum series, equipped with upgraded latch housing components, and an integrated tailgate seal that allows the cover to be closed with the tailgate in the closed or open position. This heavy-duty, all-season truck bed cover is designed to perform in the most extreme conditions. The MX4???s resilient infrastructure is designed for everyday use, with upgraded components that provide enhanced resistance to the elements without compromising its sleek, low-profile look and feel. The MX4???s solid and robust design is flush mount, and backed by an extended 5-year warranty.
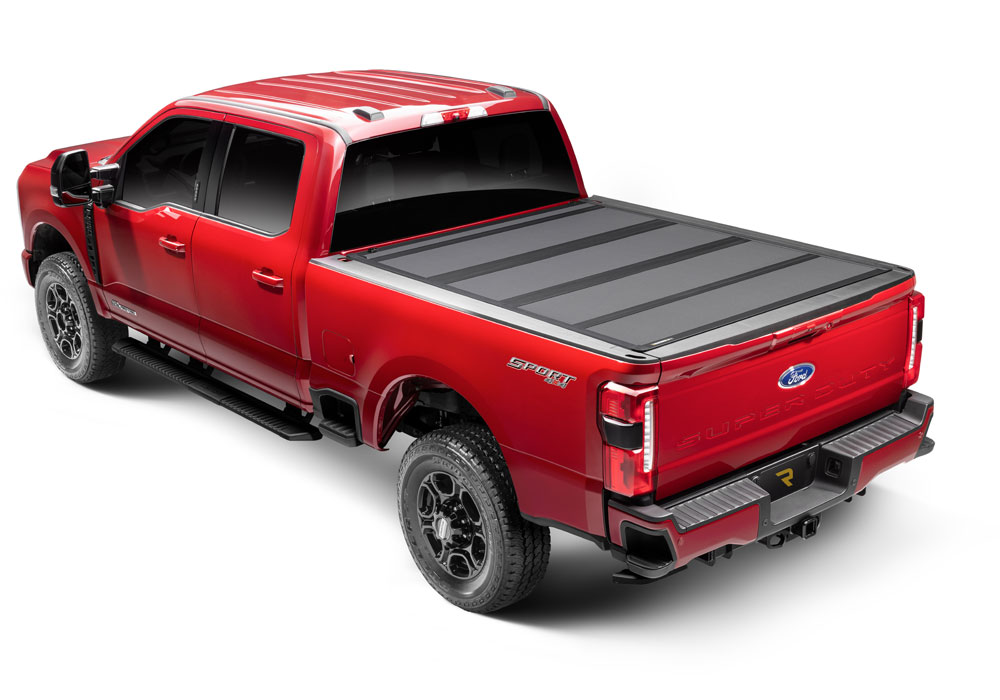
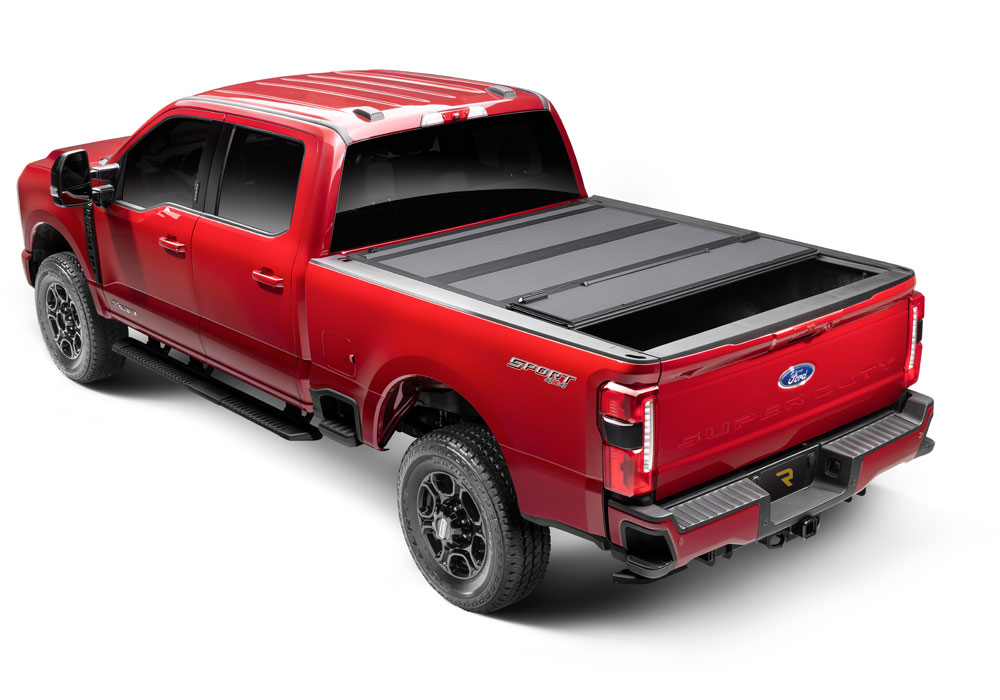
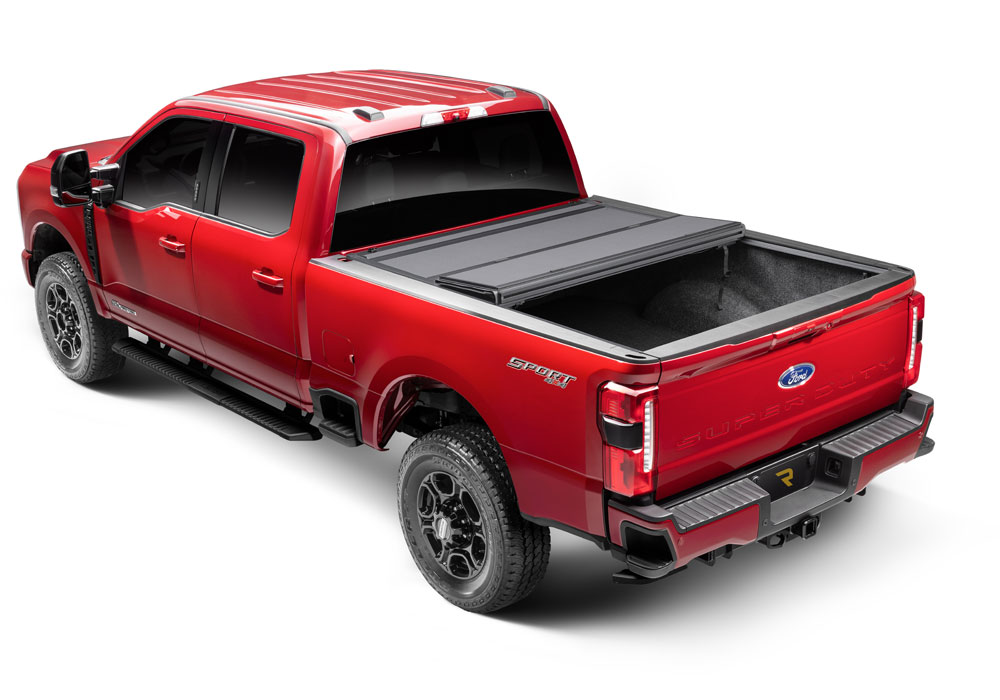
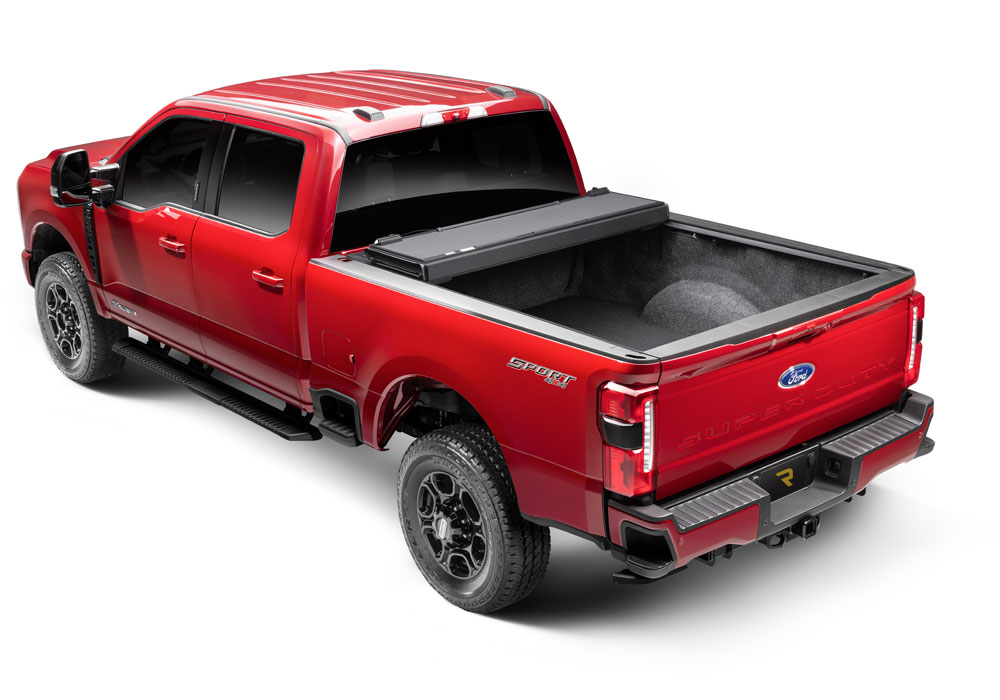
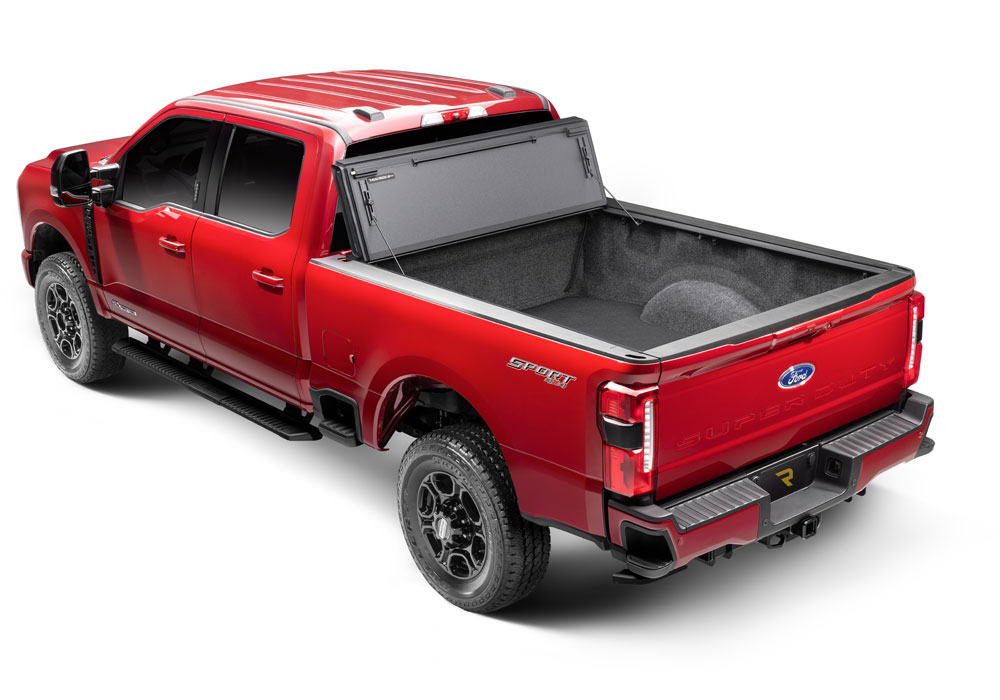
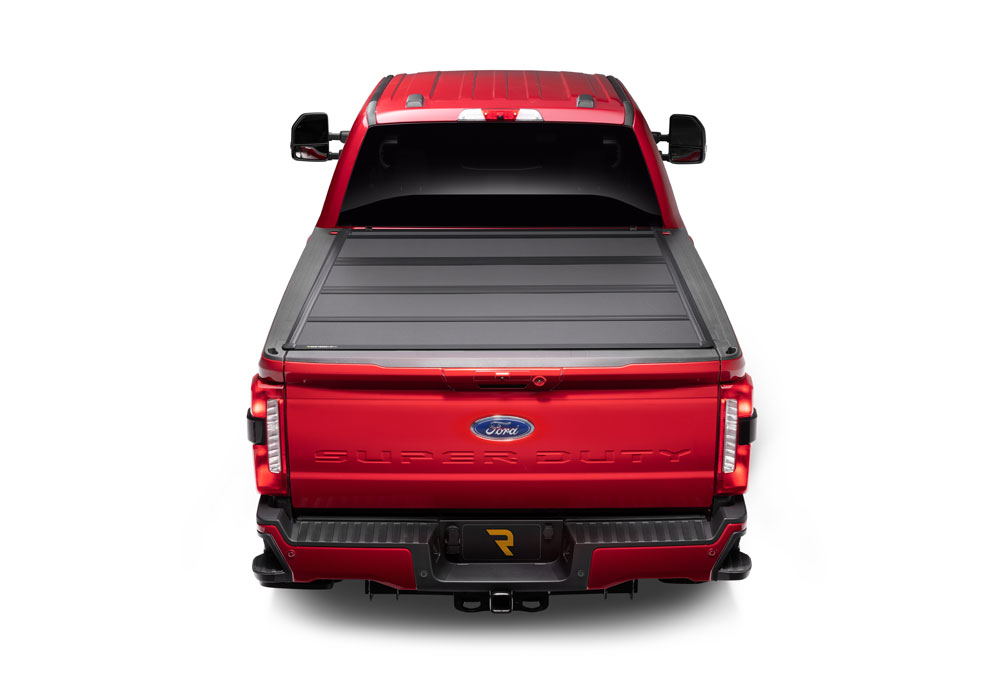
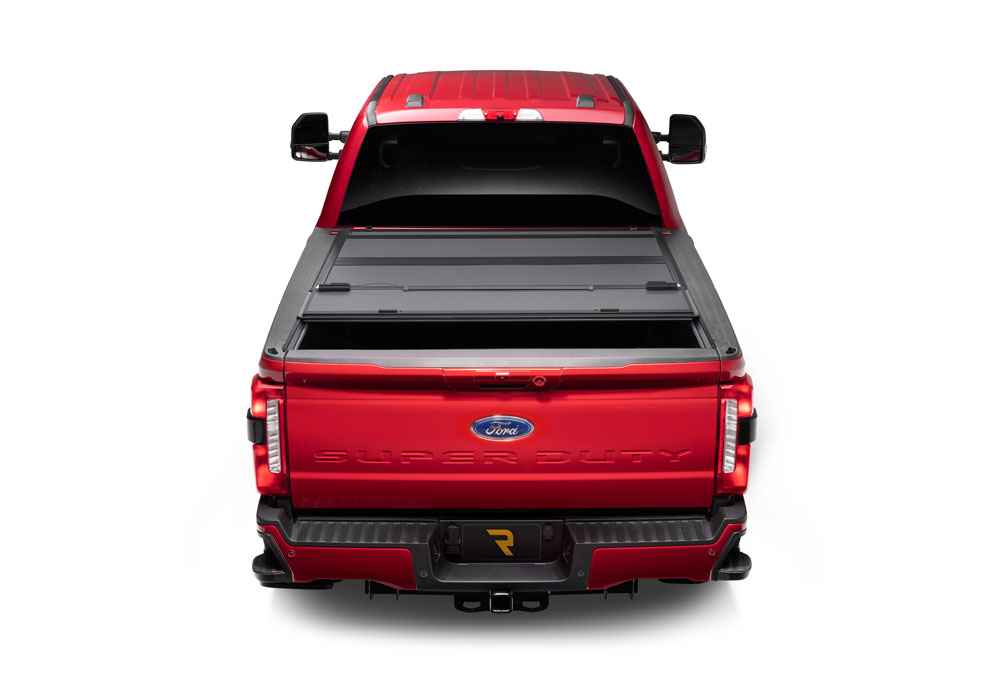
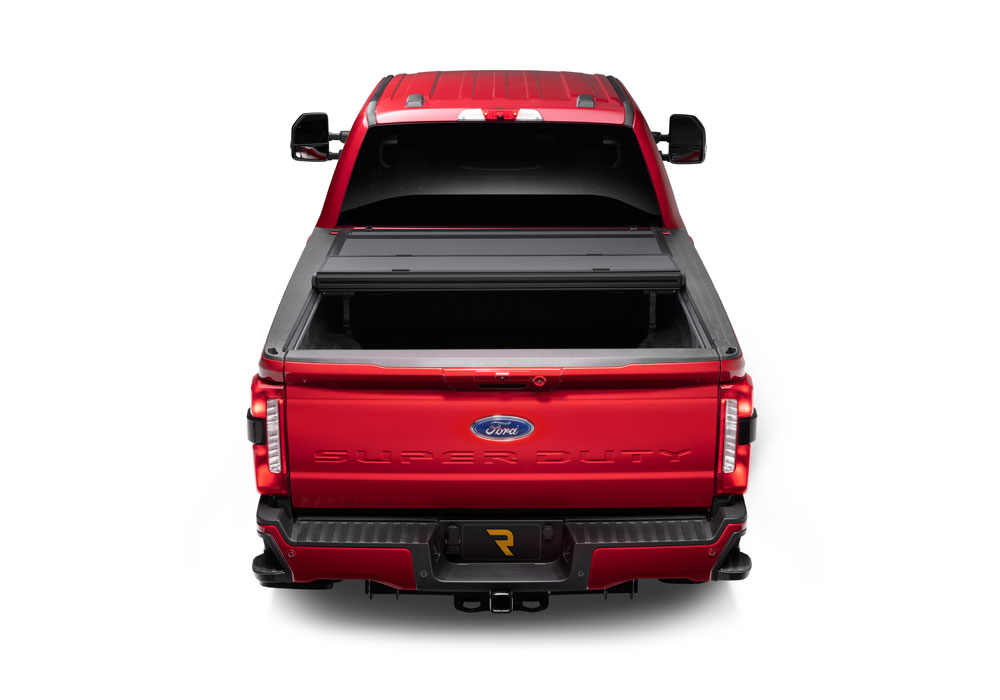
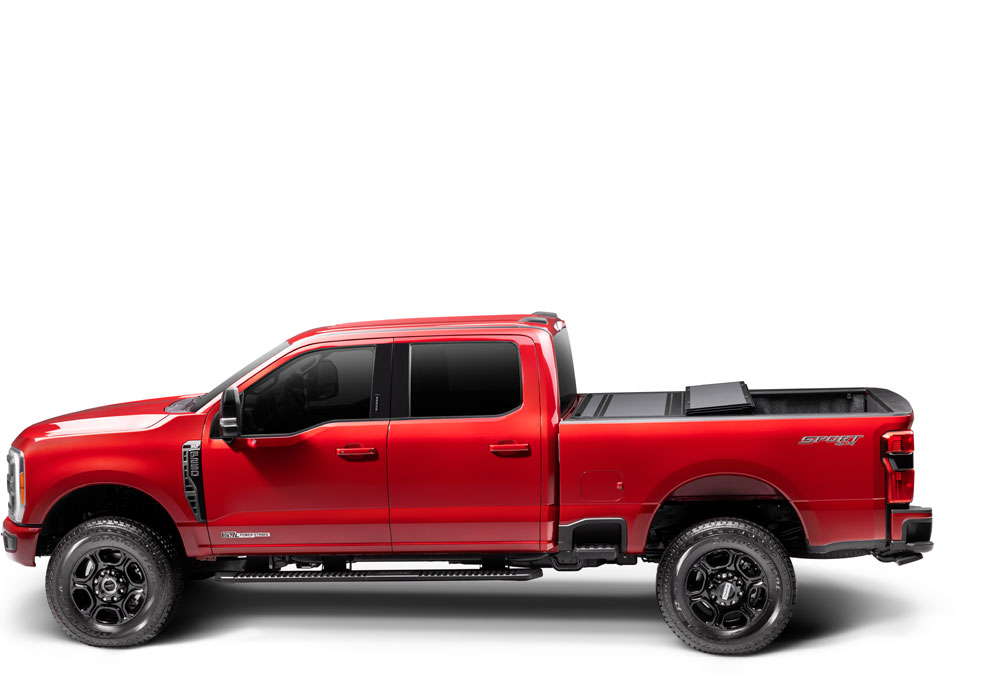
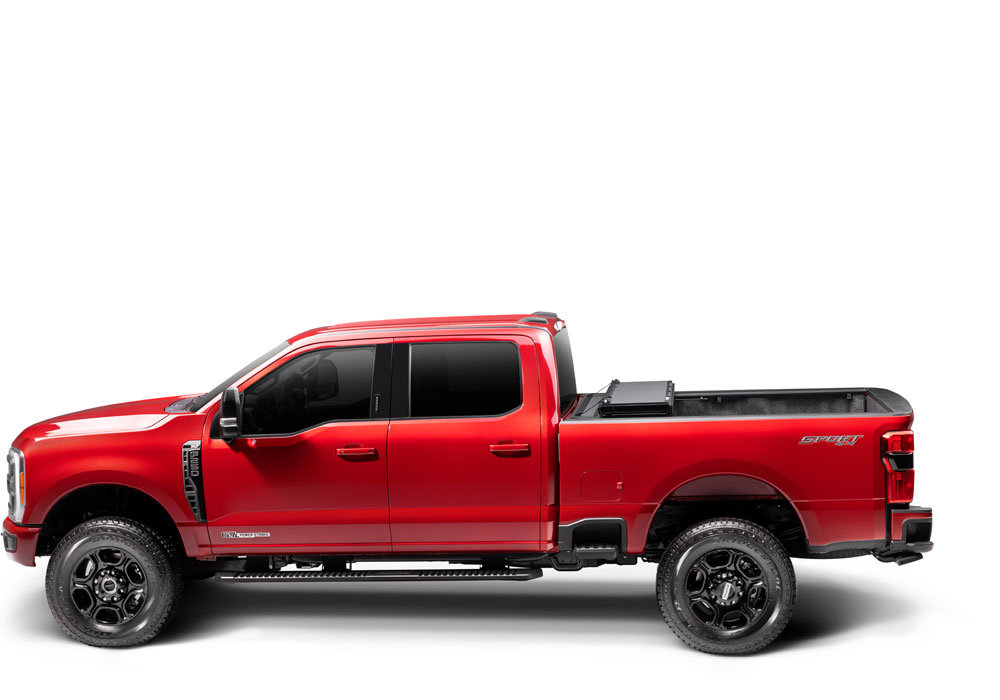
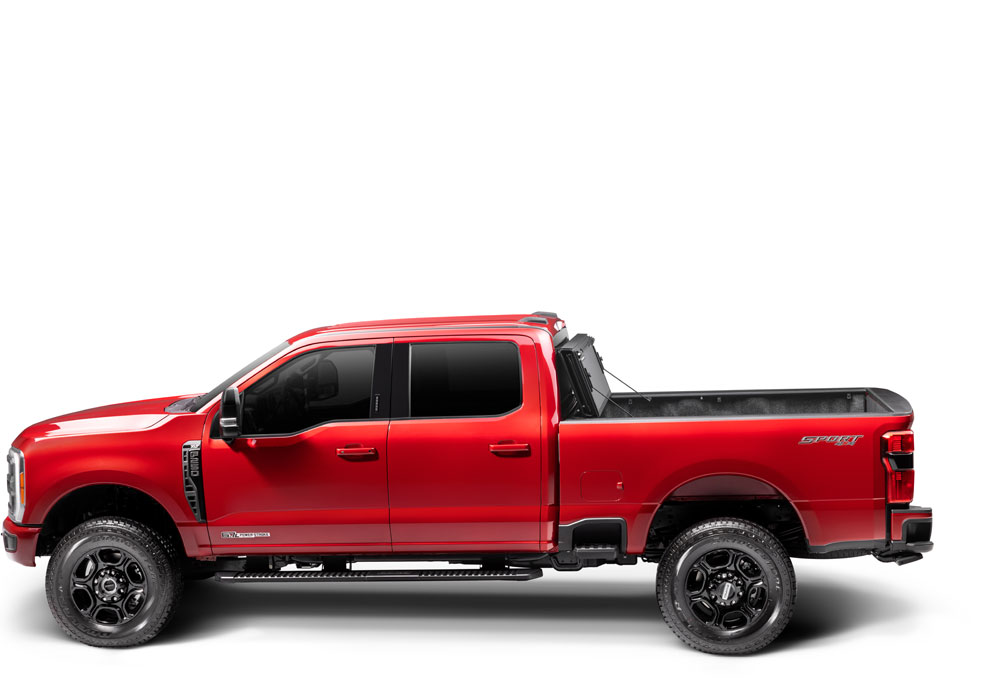
Actual Color: Black
Color: Black
Finish: Matte Black
Front Opening: No
Full Bed Access: Yes
Install Time: 30 Minutes
Key Lockable: No
Low Profile: Yes
Material: Aluminum
Paintable: No
Rails To Install: No
Sits on Truck Rails: No
Style: Hard Folding Cover
Title: BAK BFMX4 17-24 SD 8'2 448331
Works w/Toolbox: Yes

BAK Industries is a leading manufacturer of premium hard-folding and hard-rolling truck bed covers. Known for popular products such as the BAKFlip and Revolver, BAK tonneau covers deliver secure cargo protection, convenient bed access, and a sleek, low-profile appearance.
BAK Industries is a trusted manufacturer of premium tonneau covers designed to improve truck bed security, protection, and versatility. The brand specializes in hard-folding and hard-rolling truck bed covers that combine durable construction with a clean, low-profile appearance.
BAK’s product lineup includes the popular BAKFlip series of hard-folding covers and the Revolver series of hard roll-up covers. Available models include the BAKFlip MX4, G2, F1, FiberMax, and BAK Revolver X4s and X2. Select models are also available with integrated T-slot rails for mounting compatible racks and cargo-management accessories.
BAK tonneau covers are manufactured from durable materials such as aluminum, fiberglass-reinforced polymer, and aluminum with a vinyl-grain surface. Many models provide convenient access to the truck bed while helping shield tools, equipment, luggage, and other cargo from weather and unauthorized access.
Designed for work trucks, daily drivers, and recreational vehicles, BAK truck bed covers offer practical functionality without sacrificing appearance. With vehicle-specific designs and straightforward installation, BAK Industries provides dependable cargo-management solutions for a wide variety of pickup trucks.
Experts available to answer your questions
Call 888-634-94945 Year Limited
2 compatible vehicles
| Year | Make & Model | Bed | Notes |
|---|---|---|---|
| 2017 - 2027 | Ford F-250 Super Duty | 8'2" Bed | Matte Finish BAKFlip MX4 (GEN 3) |
| 2017 - 2027 | Ford F-350 Super Duty | 8'2" Bed | Matte Finish BAKFlip MX4 (GEN 3) |
The BAKFlip Hard Folding MX4 17-24 F250/350/450 8'2" 448331 (Part #BKDA448331) is designed for 8'2" bed trucks. Check the fitment chart for your specific Ford F-250 Super Duty configuration.
The BAKFlip Hard Folding MX4 17-24 F250/350/450 8'2" 448331 (Part #BKDA448331) fits 2017-2026 Ford F-250 Super Duty models. The 2026 model year is the last year covered by this part number. For newer models, check for an updated version.
The BAKFlip Hard Folding MX4 17-24 F250/350/450 8'2" 448331 (Part #BKDA448331) fits the following vehicles: 2017-2026 Ford F-250 Super Duty; 2017-2026 Ford F-350 Super Duty. Always verify your specific year, make, and model before ordering.
Yes, the BAKFlip Hard Folding MX4 17-24 F250/350/450 8'2" 448331 (Part #BKDA448331) is designed to fit the 2017-2026 Ford F-250 Super Duty.
The BAKFlip Hard Folding MX4 17-24 F250/350/450 8'2" 448331 (Part #BKDA448331) Refer to the included instructions for installation details. Basic hand tools are typically all you need.
The kit includes: 1 hard fold cover, 1 driver side rail, 1 passenger side rail, 1 driver side rail extender, 1 passenger side rail extender, 1 bulkhead seal (on selected models), 2 cover retainer clamps, 8 clamps, 2 buckle ends, 2 gaskets, 4 screws, 4 nutserts, 8 rubber filler strips (on selected models), 3 D-shaped cab bumpers, 2 rail connectors, 2 rail couplers, 8 lock washers, 8 screws, and 2 drain tubes.
Required tools are: scissors or utility knife, isopropyl alcohol, 1/2" wrench or socket, Phillips screwdriver, and 5/8" drill bit with drill. A calibrated torque wrench is also essential for tightening fasteners to specification.
Yes, the BAKFlip 318S0077 is designed for 8 ft truck beds. The manual does not specify which vehicle makes and models are compatible; contact RealTruck at 818-365-9000 or support@bakindustries.com to confirm fitment for your specific truck.
Yes. All areas where the bed cover mounts to the truck must be clean and free of debris before installation. For surfaces where adhesive components (bulkhead seal, filler strips, or cab bumpers) will be applied, clean with soap and water to remove dirt and debris, then clean with isopropyl alcohol to remove wax or grease, and allow to dry completely.
The bulkhead seal is included on selected make/models only. If your kit includes a bulkhead seal, it must be installed before the rails. If your truck has a drop-in bedliner, no seal will be needed.
Rubber filler strips are included on selected make/models only. If your kit does not include them, skip the filler strip installation step. If included, they are adhered between the truck plastic bed cap and truck metal rail at four positions: one 6–8 inches from the bulkhead, one as close to the tailgate as possible, and two centered in between.
1. Assemble both rail couplers by installing four screws and four lock washers into each coupler. 2. Slide the assembled rail coupler into the bottom end of the driver side rail section. 3. Attach the rail connector to the tail end of the cover seal, then snap it onto the tail end of the driver side rail. 4. Slide the driver side rail extender onto the tail end of the seal, pushing toward the driver side rail. The bottom end of the extender slides into the rail coupler and then into the rail connector. Repeat all steps on the passenger side.
Place the driver side rail on the truck rail, positioning it flush with the top edge of the truck bed rail. The end with the drain tube goes toward the cab. Repeat on the passenger side. The side rails must be pushed all the way toward the cab and bulkhead, and must be square (90° angle) to the truck bed rails to allow the rear latch to engage properly and the cover to operate correctly.
Four clamps are attached to each side rail. Position them as follows: the front clamp 6–8 inches from the bulkhead, the rear clamp as close to the tailgate as possible, and center the middle two clamps accordingly. Clamps should be evenly spaced along the full length of the rail. The third clamp should be close to where the two rails are joined together.
All clamps must be tightened to 10 ft-lbs (14 Nm) of torque using a 1/2" wrench or socket. Do not overtighten. Use a calibrated torque wrench to ensure proper fit and safe operation. Under- or over-tightening can lead to product failure, vehicle damage, injury, or safety hazards while driving.
Before placing the cover onto the vehicle, slide two cover retainer clamps into the track on the underside of the cover near the cab. Confirm the clamps fit properly into the cover rail for optimum fit. Repeat on the opposite side. Once the cover is positioned on the rails, confirm the retainer clamps are positioned around the side rails correctly, then tighten them by turning clockwise until the lock washer is secure.
1. Peel off the adhesive liner of the gasket and adhere it to the underside of each buckle end. 2. Position the buckle ends with the open side facing the bed cover panel. 3. Use a Phillips screwdriver to install the two buckles into the pre-drilled holes on the front header panel using the provided screws and nutserts inserted from the backside. Tighten by hand only; do not use a screw gun.
Install the three D-shaped cab bumpers along the top edge of the cover where it meets the truck cab. Position them no closer than 1" from the edge of the cover panel. Clean the installation area with soap and water, then isopropyl alcohol, and allow to dry before adhering. Apply pressure to all bumpers to ensure good adhesion.
Unfold the cover toward the tailgate and confirm each panel is centered side to side and front to back on the truck bed. The rear edge of the cover and tailgate seal should rest on top of the tailgate with a 0.5" overlap for proper sealing. If adjustments are needed, loosen the cover retainer clamps and shift the cover until positioned correctly. Once fitment is reached, retighten the cover retainer clamps.
Release each latch to check if they are hitting or not engaging the side rails. If any latches need modifications, refer to the Slam Latch Adjustment section in the manual for adjustment instructions. If your truck has a powered tailgate, ensure it functions properly with the cover closed and adjust the cover toward the truck cab if needed.
Attach the drain tubes to the front of the side rails to divert water out of the truck bed via the rail. The opposite end of the drain tubes can be placed behind a bedliner, through the bed plugs, or by drilling a 5/8" hole in the bulkhead. Repeat on the passenger side rail.
Drilling is optional. The drain tube opposite end can be placed behind a bedliner, through existing bed plugs, or by drilling a 5/8" hole in the bulkhead if neither of those options is available.
During high temperatures or extended sun exposure, surfaces of the cover may become hot to the touch, posing a risk of burns or injury. Use caution when handling the product in hot weather and allow time for it to cool before contact. Always check surface temperature before use to ensure safe handling conditions.
During installation, be mindful of the potential for sharp edges on the product or vehicle. Always wear protective gloves and handle components with care to reduce the risk of injury.
The tonneau cover does not feature a manual release mechanism from inside the truck bed. To prevent the risk of entrapment, never allow anyone to be inside the bed of the truck when the cover is closed. Always ensure the area is clear before closing the cover, and keep the cover securely latched when not in use to avoid accidental closure.
No. Do not attempt to close the tonneau cover over cargo that is taller than the depth of the truck bed. Never force the cover to close improperly. Forcing the cover can prevent it from lying flat and latching securely, damage the cover's hinge and cause it to kink, and damage the rear tail panel causing it to become detached.
Do not place objects on or against the cover or framework. Do not tie cargo to the truck bed cover or framework. Do not operate the vehicle with objects on top of the cover.
No. Never allow children or pets to occupy the truck bed with the cover in the fully closed position.
No. Do not tow your vehicle from the rear with the cover on your vehicle. If towing from the rear is required, the cover must be removed from the vehicle and properly stored.
The tonneau cover may create pinch points when closing or operating near solid surfaces such as the truck bed rails or tailgate. To prevent injury, keep hands, fingers, and other body parts clear of moving parts during operation. Always operate the cover slowly and with caution to ensure safe and proper use.
After installation, check that all clamps and cover retainer clamps are properly tightened and engaged. Verify that all latches are engaged to the side rails. Confirm the side rails are installed flush with the top of the bed rail and are square (90° angle) to the truck bed rails. Ensure the bulkhead seal is in place and the cover is resting on it. Check that the cover is evenly spaced between the rails and the rear edge overlaps the tailgate by 0.5".
Check all clamps and retention mechanisms for tightness after a week of driving following installation or re-installation of the cover, and periodically thereafter. Covers used at high frequency or subject to rough roadways and/or heavy vibration conditions may require adjustment.
Clean the truck bed cover with mild automotive soap and water only. Avoid using abrasive cleaners as they may dull the finish. Do not use chemicals and fluids such as insect repellents, oils, solvents, and lubricants, as they could damage the rubber hinges and seals and void the warranty. Always read the ingredients of any cleaning product to ensure it is safe for use with rubber.
Regularly inspect and service each panel latch. Clean away any excess dirt or grime. Ensure all latches move freely and properly engage the side rail to provide optimal performance and security.
Periodically check that your cover is securely attached to your truck bed and working as intended. Inspect all hardware such as clamps and cover retainer clamps to ensure they are properly installed and working as intended. Covers that are used at high frequency or subject to rough roadways and/or heavy vibration conditions may cause the cover to require adjustment.
No. Truck bed covers will not prevent theft of contents inside the truck bed.
No. The cover is not airtight. Special care is required to keep cargo clean and dry.
To drive with the cover in the folded up position, use the straps and buckles provided with the cover. Attach the buckle at the bulkhead, then pull the strap to take up the slack and secure the cover.
Lower the tailgate and pull the cable on either side. While pulling on the cable, lift the panel up and towards the cab.
Fold the cover open and lift it until it's vertical or past 90 degrees toward the truck cab. Then release the prop rod that is attached to the rail. Fold the prop rod over and position it firmly against the vertical plate on the underside of the cover. Slide the prop rod locks downwards and tighten the knobs to lock it into position. Do this on both sides of the cover. The cover should be firmly in position with little to no movement once the prop rods are locked.
To drive with the cover closed, unhook the buckles and straps from the bulkhead. Stow the straps using the clips on the underside of the folded cover. Fold all panels toward the tailgate making sure that all latches are engaged. Before flipping the cover to the up position, make sure to stow the straps using the clips on the underside of the folded cover.
The truck bed cover carries a limited warranty for three (3) years from the original date of purchase. The warranty is to the initial owner purchasing the truck bed cover and is not transferable to a subsequent end user. Warranty registration must be on file and proof of original purchase (detailed and dated receipt) is required for the warranty to be effective.
Yes, the BAKFlip 318S0077 is designed for 8 ft truck beds. For specific vehicle make and model compatibility, contact RealTruck at 818-365-9000 or support@bakindustries.com.
Required tools: scissors or utility knife, isopropyl alcohol, 1/2" wrench or socket, Phillips screwdriver, 5/8" drill bit with drill, and a calibrated torque wrench.
Drilling is optional. A 5/8" hole may be drilled in the bulkhead for drain tube routing if the tubes cannot be placed behind a bedliner or through existing bed plugs.
All clamps must be tightened to 10 ft-lbs (14 Nm) using a calibrated torque wrench. Do not overtighten.
No. Do not tow from the rear with the cover installed. If rear towing is required, the cover must be removed and properly stored.
Check all clamps and retention mechanisms for tightness after a week of driving following installation, and periodically thereafter.
Clean with mild automotive soap and water only. Avoid abrasive cleaners and chemicals such as insect repellents, oils, solvents, and lubricants, which can damage rubber hinges and seals.
Water intrusion is typically caused by improper clamp engagement or seal positioning. Check that: (1) all retaining clamps are tight and properly engaged to the side rails; (2) the bulkhead seal is in place and the cover is resting on it; (3) all latches are engaged to the side rails (adjust if needed); and (4) the side rails are installed flush with the top of the bed rail.
A sticking latch is usually caused by the cable being pinched in or under the cable guide extrusion. To fix: (1) loosen the three screws on the center cable cover (bar) located in the middle of the panel; (2) slightly lift up on the cable guide extrusion; (3) pull on both sides of the cable to free it.
The seal may be wavy when removed from the box. Allow ample sunlight for the seal to lay flat and relax. This is normal and will resolve with time and sun exposure.
Leaning rails are caused by improper engagement of the clamps. To fix: (1) loosen the clamp nut; (2) adjust the clamp(s) until you have full engagement of sections 1 and 2 (an audible click will be heard when properly engaged); (3) retighten to 10 ft-lbs torque. Do not overtighten the bolt, as this also contributes to tilted rails. If rails are leaning down during installation, have one person stand on the outside of the bed and slightly roll the rails upward while another person slowly snugs the clamps up.
To adjust the slam latch: (1) use a screwdriver to partially pry open the tab on the latch housing (note that on the passenger side, the tab is located on the opposite side of the housing); (2) at the same time, slide the housing away from the latch assembly; (3) with the latch cover removed, loosen the screws and move the latch bracket to adjust; (4) retighten the screws; (5) slide the latch housing back on.
No reviews have been added for this product.

