
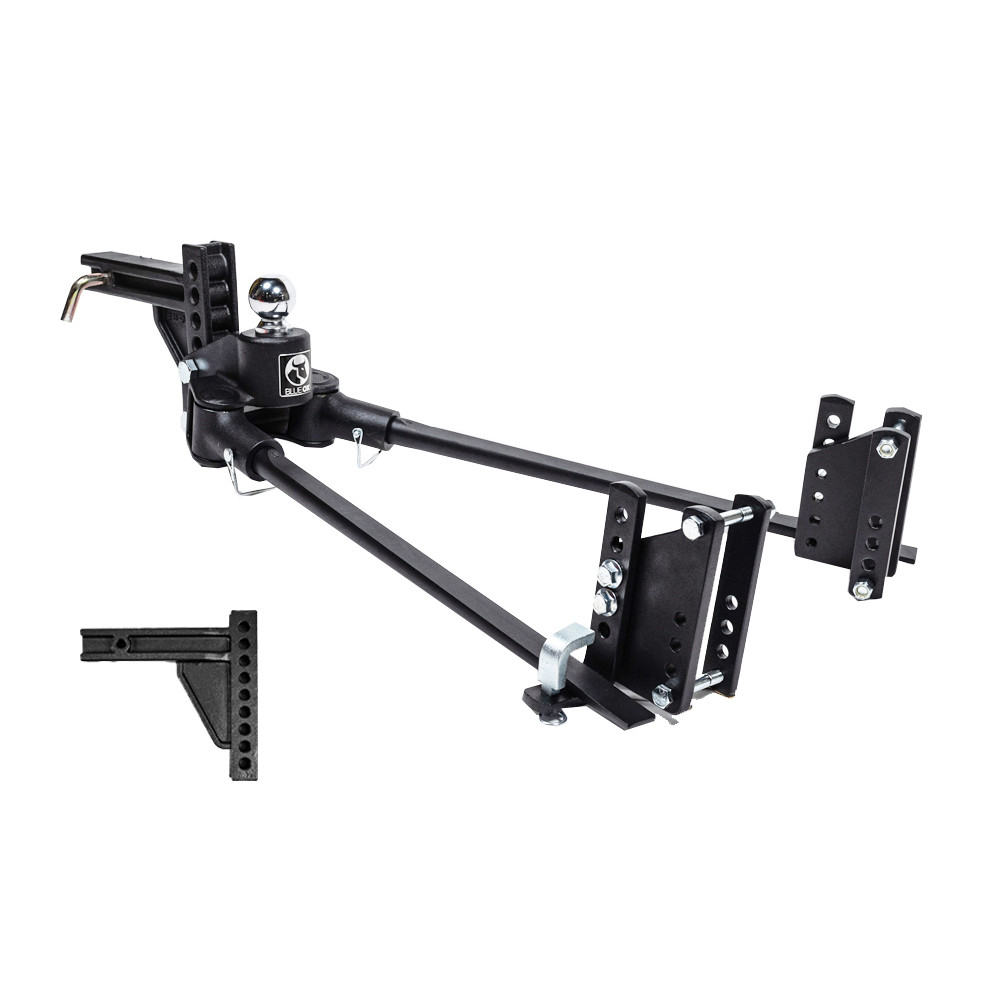
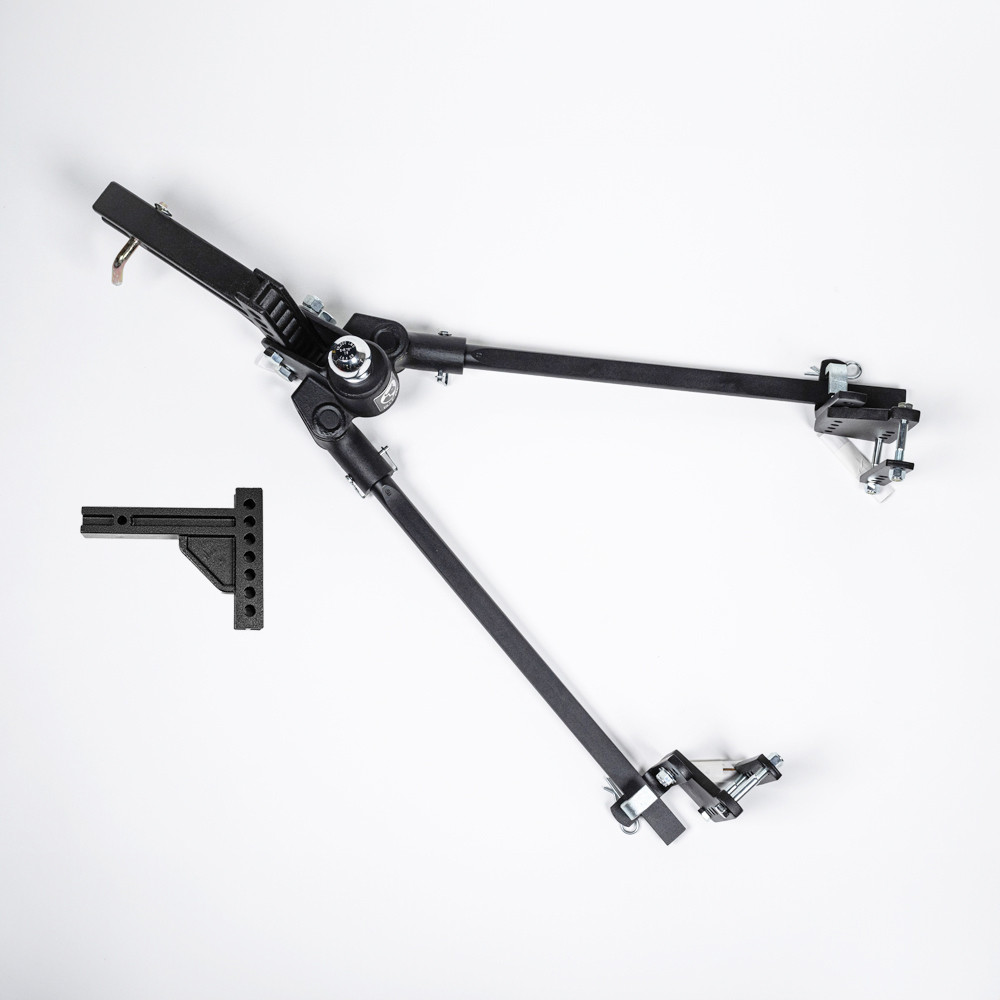
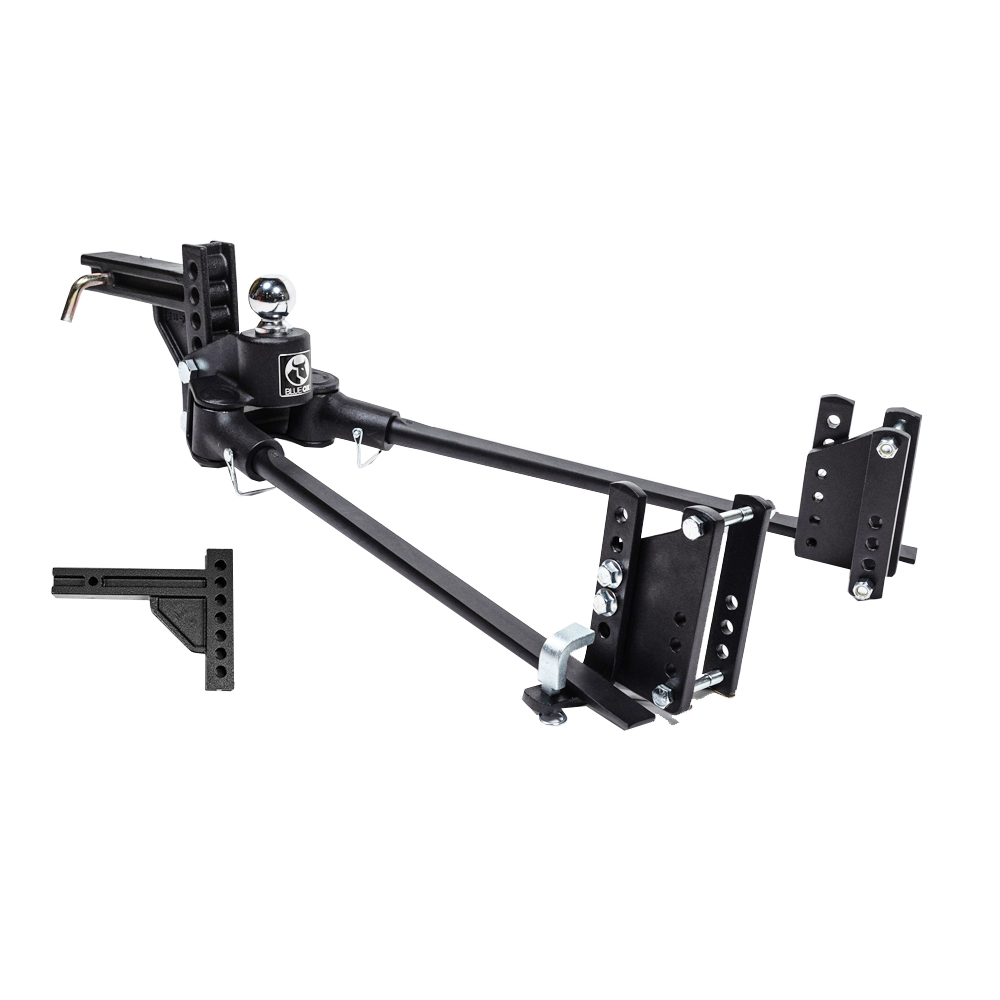
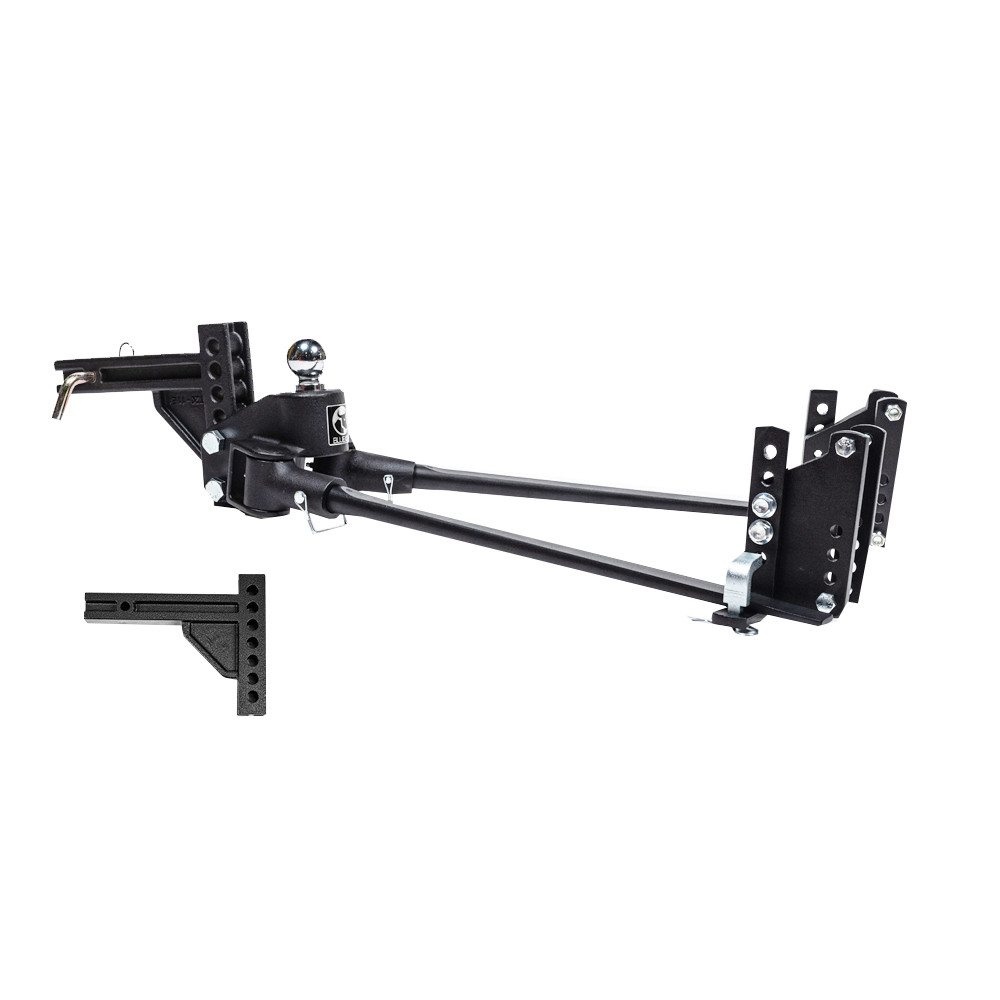
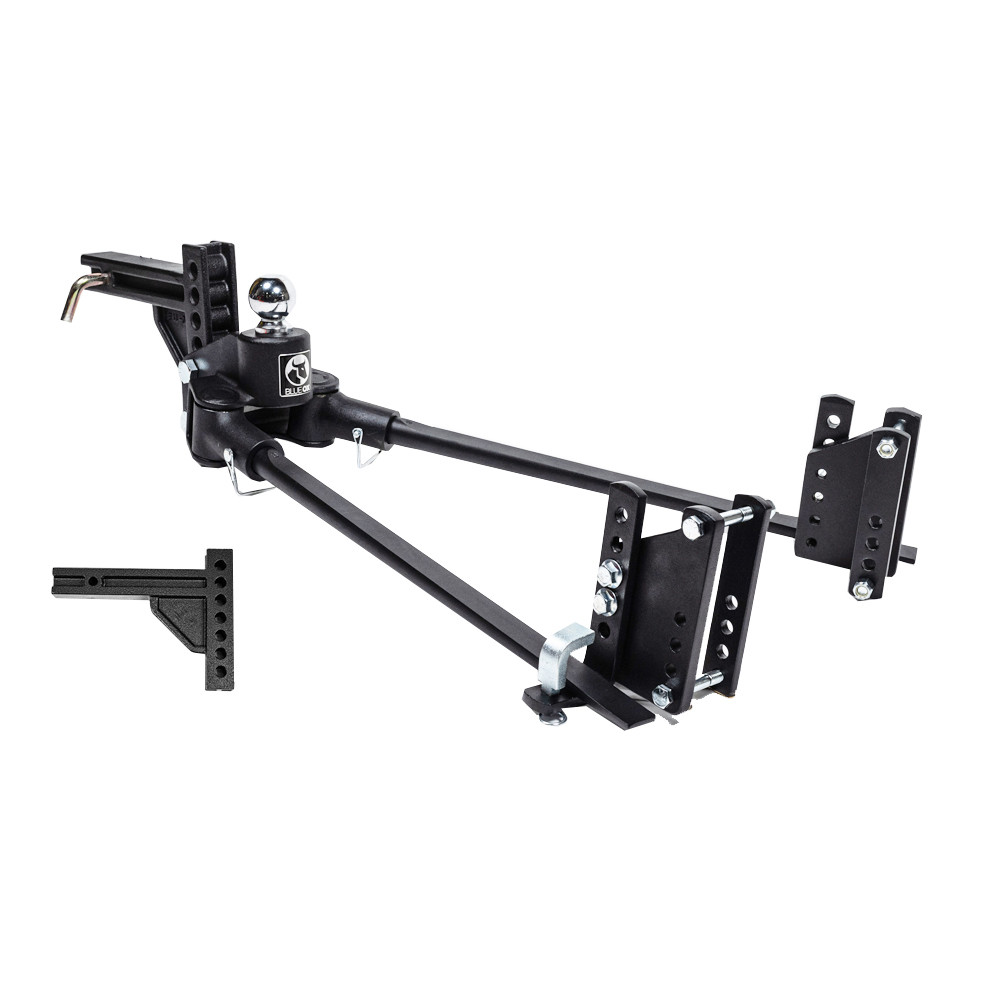
BlueOx 13k, 1.3k lb TW, TrackPro Weight Distribution Hitch, 2" Recievers 9-hole shank BXW1351Blue Ox$779.00In Stock
View productOur in-house experts typically reply within one business day.

Blue Ox


Always the correct part
We know our products
Quality Products
Free Shipping!
Always the correct part
We know our products
Quality Products
Free Shipping!

{'title': 'Weight Distribution System', 'detail': 'Effectively distributes weight over the axles of the tow vehicle and trailer, ensuring a balanced and stable drive.
Finish: Powder Coat
Installation Required Yes/No: Yes
1908: 5
7340: No
Enhance your towing experience with the Blue Ox BXW1350 TrackPro Weight Distribution Hitch. This high-quality hitch is designed to distribute weight evenly over the axles of your tow vehicle and trailer, ensuring a smoother and safer ride. It adeptly manages sway caused by rough roads, wind, and adverse weather conditions, providing you with increased control and stability. The durable powder coat finish promises a long-lasting performance, while its installation requirement offers a secure and reliable setup.

Blue Ox is known internationally for recreational and commercial towing products, manufacturing in Pender, Nebraska since 1925. The line covers tow bars and vehicle-specific baseplates for flat towing behind a motorhome, sway control and weight distributing hitches, supplemental braking accessories and towing wiring, backed by patented designs and long-standing customer service.
Blue Ox has manufactured since 1925 and is recognised internationally for towing products and customer service. The company operates from Pender, Nebraska, where it grew out of Automatic Manufacturing Co., a business that started with cattle oilers and developed into agricultural equipment, tractor accessories and trailer towing hardware. That agricultural engineering heritage still shows in how the towing products are built, and the company holds patents across weight distribution, fifth wheel and tow bar designs.
Flat towing is the discipline Blue Ox is best known for. Towing a car with all four wheels on the ground behind a motorhome demands a system that stays rigid under braking, articulates properly over uneven ground, and connects to the towed vehicle at points strong enough to take the load. Blue Ox tow bars handle the first two, with self-aligning arms that latch under tension and release without a struggle when the load is off them. Vehicle-specific baseplates handle the third, engineered per make and model to tie into structural mounting points behind the fascia.
The wider flat towing range covers supplemental braking systems, safety cables and the accessories that make a complete legal setup, along with baseplate wiring and dinghy towing harnesses that pass lighting signals to the towed vehicle without back-feeding its electrical system.
For conventional trailer towing, Blue Ox weight distributing hitches with integrated sway control transfer tongue load onto the tow vehicle's front axle and resist the yaw that crosswinds and passing trucks induce.
The company describes its foundation as customer service, designing around what owners actually ask for, and it runs an RV park adjacent to the factory where customers can stay. Sister operations at the same Nebraska site include Automatic grain roller mills and MAD-RAMPS pivoting ramp systems.
Experts available to answer your questions
Call 888-634-9494Limited Lifetime
The TrackPro™ fits on trailer frames that are 3–6" tall.
The TrackPro™ accepts any 1-1/4" ball shanks. It comes with a pre-installed 2-5/16" x 13K rated chrome plated hitch ball.
BXW0650: 600 lbs; BXW0850: 800 lbs; BXW1050: 1000 lbs; BXW1350: 1300 lbs.
Torque wrench, tape measure, 3/4" socket and wrench, and 1-1/8" socket and wrench (items 1–4 depend on your TrackPro™ model). The Spring Bar Lift Tool is included.
Torque the 3/4"-10 bolts to 250 ft/lbs.
Apply Blue Loctite to the threads and torque the 1/2" whiz flange bolts to 78 ft/lbs.
The manual does not require battery disconnection for TrackPro™ installation.
The manual does not mention drilling as a required installation step.
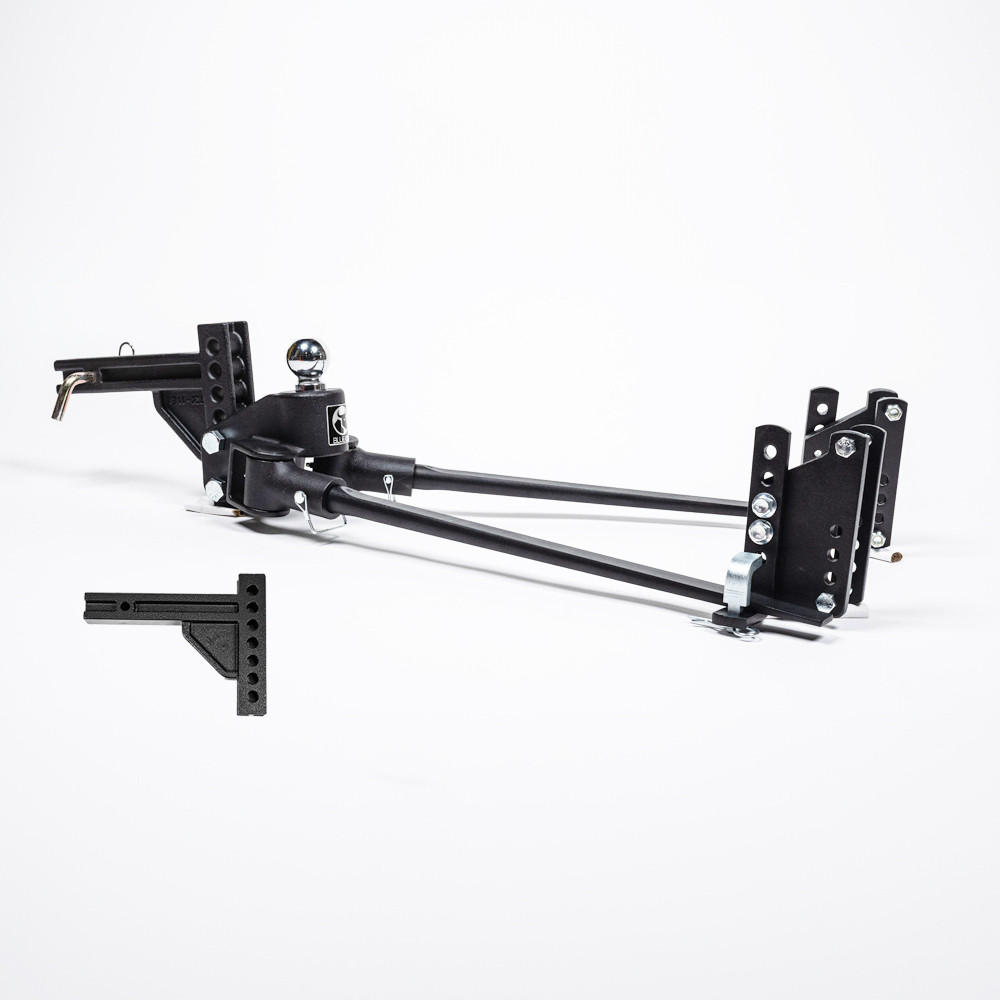
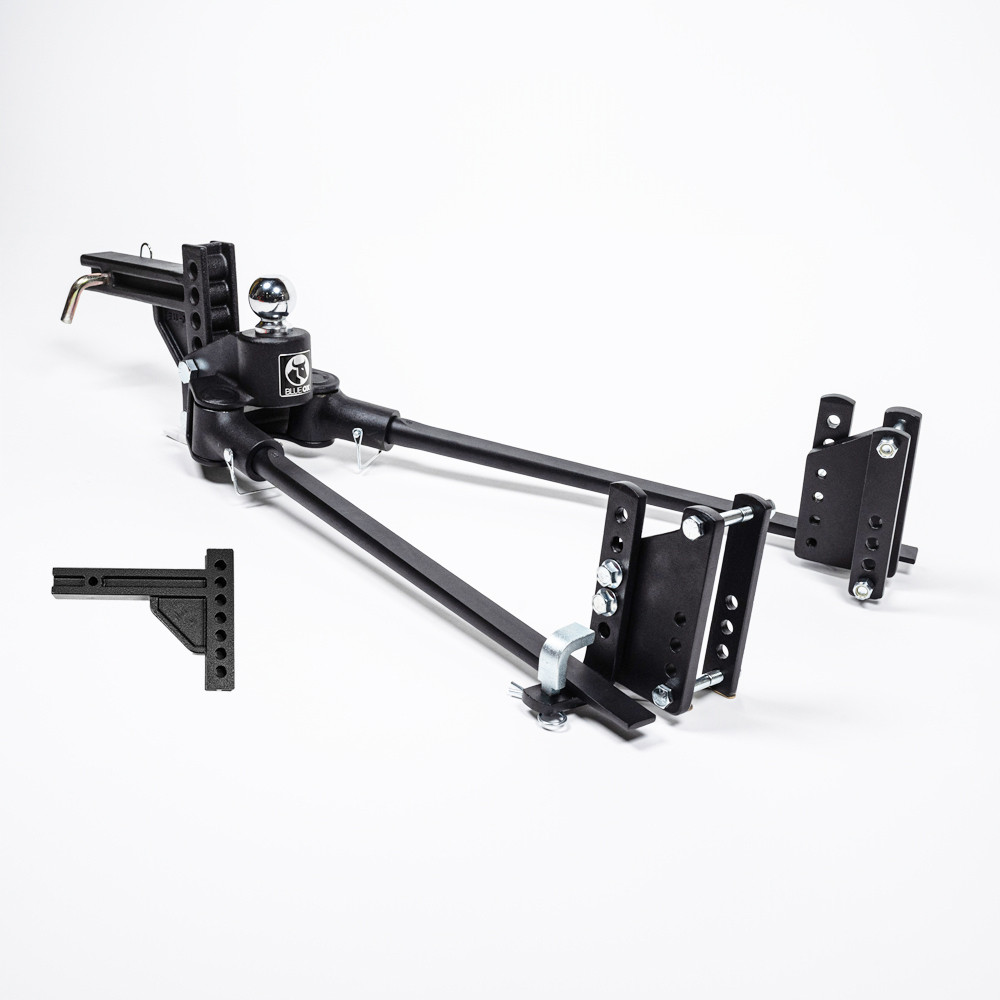
The TrackPro™ is a weight distribution and sway control hitch system. It uses loaded spring bars, friction L brackets, and an integrated hitch head. As the trailer tries to sway, the spring bars pivot on the hitch head and balance the load with the friction L brackets to prevent and control trailer sway. It also distributes weight to put more load on the towing vehicle's front tires, increasing steering control and braking.
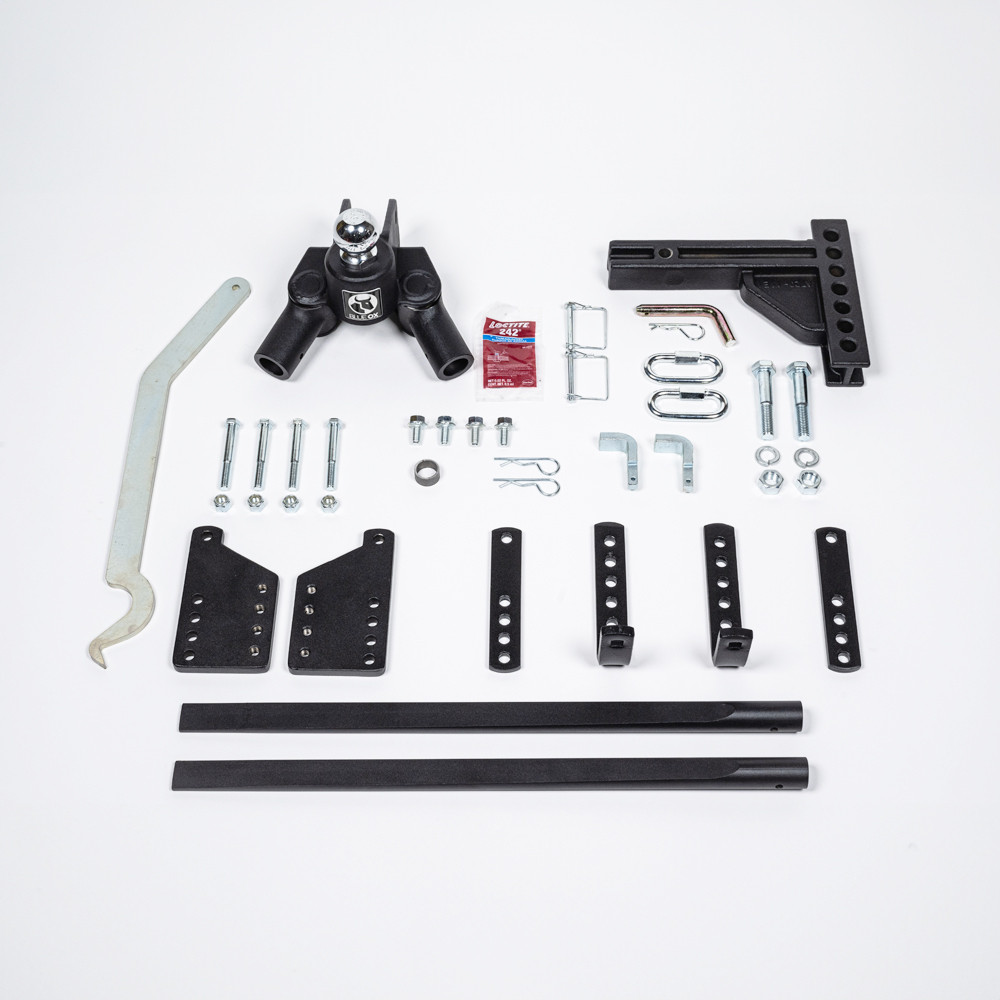
Each TrackPro™ kit includes a 2-5/16" x 13K rated chrome plated hitch ball (pre-installed), spring bars (rated by model), L brackets, backing plates, hitch head assembly, receiver hitch mount, Spring Bar Lift Tool, locking pins, fasteners, and a Blue Ox embossed aluminum decal.
No. Due to the preset pitch of the hitch head, there are no additional adjustments needed after initial product set-up. Sway prevention is built into the TrackPro™ system and requires no adjustments.
No. The TrackPro™ has greaseless bars—grease is captured inside the bar pivots, so there are no messy bars to deal with. However, you should check and grease the zerk on the front of both bar pivots before each use with molybdenum grease (a couple of pumps on each bar pivot at least twice a year).
Ram Truck owners should reference the Trailer Towing section of their vehicle owner's manual for proper hitch set-up instructions before installing the TrackPro™.
Yes, but for vehicles manufactured with integrated sway control, you should reference the Trailer Towing section of your vehicle owner's manual on how to disable this system. For optimal performance of the Blue Ox® TrackPro™, it is suggested that factory sway control be disabled.
Park the towing vehicle and trailer in a straight line on firm, level ground before beginning installation.
Yes. Remove the existing receiver hitch before installing the TrackPro™ receiver mount.
For vehicles with automatic leveling systems or air-ride suspension, refer to your vehicle's owner's manual for proper towing set-up prior to TrackPro™ installation.
Level the trailer and measure the coupler height. Install the hitch head onto the receiver shank using the 3/4"-10 bolts, 3/4" lock washers, and 3/4"-10 hex nuts. Measure the hitch head ball height. The ball height needs to be the same or 1" higher than the trailer coupler height; adjust as necessary. It is recommended for optimal towing performance to set the ball height 2" higher than the top of the trailer coupler. Torque the 3/4"-10 bolts to 250 ft/lbs.
Measure 20"–25" back from the center of the ball coupler and mark this point on the trailer tongue frame on both sides. Center the L bracket mounting holes on the backing plate over the marked area so that the offset is towards the front of the trailer on each side. Both backing plates should be an equal distance from the ball coupler. The end of the spring bar should be a minimum of 4" from the center of the L bracket backing plate to the open end of the bar.
Insert the spring bars into the pivoting trunnion so that the lines indicating the spring bar size are facing upward. Then insert locking pins from the inside of the bar towards the outside.
Install L brackets onto the backing plate by inserting two 1/2" whiz flange bolts, leaving the top hole open on the L bracket. Apply Blue Loctite to the threads and torque bolts to 78 ft/lbs. The above L bracket instructions are the recommended starting placement; adjustment up or down to the L bracket may be needed depending on frame height and individual hitch set-up.
Use only genuine factory replacement parts. If a bolt is lost or needs replacement, use a replacement bolt of the same grade (in most cases Grade 5). Replacement parts may be ordered through your nearest Blue Ox® Dealer or Distributor. Do not substitute homemade or non-typical parts.
No. Finger tighten the bolts on the backing plates initially (step 5). After verifying that the L brackets are 20"–25" from the center of the coupler, fully tighten the 1/2" hex head bolts against the trailer tongue framework (step 7).
The bars are marked with a line system on the shank end to identify the weight rating: 600 lb bar = 1 line; 800 lb bar = 2 lines; 1000 lb bar = 3 lines; 1300 lb bar = 4 lines.
Yes. The spring bars are designed to deflect 2"–3" on a properly set system. This creates the necessary load on the spring bars to achieve an enjoyable ride. The spring bars will always return back to straight and will not stay bent.
Yes. It is normal to see some wear on the L bracket where the spring bar sits during towing as this is a natural wear point.
Gross trailer weight is the weight of the trailer (dry) plus liquids (water, propane, sewage) plus cargo. Measure gross trailer weight with a fully loaded trailer on a level surface, preferably on a public truck scale.
Tongue weight is the downward force exerted on the hitch ball by the trailer ball coupler. Measure tongue weight with a fully loaded trailer on a level surface with the trailer ball coupler at tow height.
The tongue weight should be 10–15 percent of gross trailer weight. Proper cargo loading and distribution greatly improve handling and control of your towing vehicle and trailer.
Before each tow, confirm that all brackets are tightened to specified torque specs. Check the grease zerk on the front of both bar pivots to ensure they are not dry.
Always use safety chains while towing. Cross chains under the coupler for proper installation and to prevent the tongue from dropping to the ground. Only allow enough slack in chains for tight turns; the chains should not drag on the ground. To alleviate slack, twist chains equally from the hook end. Safety chains should be rated at equal to or greater than twice the maximum gross trailer weight rating (GTWR).
The towing vehicle's loaded ball height should never be greater than its uncoupled height. Front wheel overload and loss of rear wheel traction can occur and can lead to unstable handling, reduced braking ability, and a tendency to jackknife when turning and braking at the same time.
No. Do not attempt to tow any type of trailer behind another trailer. Towing multiple trailers may cause severe instability, loss of control, and/or structural failures.
If the TrackPro™ hitch is in an accident, it must be replaced. Do not use it again. An accident can cause unseen damage and using it again could result in more damage or serious injury. Do not use the hitch if it is damaged or missing parts.
It is recommended that tow vehicle tires be inflated to 90% of the maximum inflation state shown on the tire sidewall.
Check the grease zerk on the front of both bar pivots before each use to ensure they are not dry. Use a couple of pumps of molybdenum grease on each bar pivot at least twice a year. Wipe away excess grease after application. Periodically grease the hitch ball with molybdenum grease.
Use molybdenum grease on the bar pivots and hitch ball.
The TrackPro™ is backed by a limited lifetime warranty. The warranty covers defects in material and workmanship under normal use and service for as long as the original retail purchaser owns the product. The warranty is non-transferable and requires the customer warranty card to be returned within 30 days of purchase. The warranty does not cover improper installation, improper use, modification, neglect, failure to maintain, misuse, accident, normal wear and tear, paint, or rust.
Unauthorized modifications to the TrackPro™ void the warranty. The warranty is also voided by improper installation, improper use, modification, neglect of product, failure to properly service and maintain, misuse, accident, or failure to follow guidelines in the instructional material. Failing to follow and/or altering these installation instructions in either installation or required equipment will void the manufacturer's warranty.
Visit http://blueox.com/warranty/ to register your warranty. The customer warranty card must be returned within 30 days of purchase for coverage to be valid.
The TrackPro™ has a powder coat finish that provides a professional appearance, aids in rust prevention, and prolongs the life of the product.
1. Park the towing vehicle and trailer in a straight line on firm, level ground. 2. Support the trailer tongue weight with the trailer jack to ease tension on the spring bars. Remove the locking pin from the L bracket. Ensure you are not in the path of the spring bar. Hold the Spring Bar Lift Tool horizontal with hook inward and slide it under the spring bar in a forward motion. The hook will press against the L bracket. Hold the tool firmly and pull outward—this removes the spring bar from the L bracket. Repeat on both sides. 3. Disconnect the spring bars from the hitch head by removing locking pins from each side and removing spring bars from pivot tubes. 4. Unhook the trailer coupler from the hitch head. 5. Remove the hitch pin and clip from the hitch receiver. 6. Remove the hitch head/receiver mount assembly from the receiver tube.
1. Park the towing vehicle and trailer in a straight line on firm, level ground. 2. Install the hitch head/receiver mount assembly into the towing vehicle receiver tube and secure with the 5/8" x 3" pin and clip. 3. Couple the trailer to the hitch head. 4. Install both spring bars into the pivot tubes and install locking pins per installation instructions. 5. Confirm that both L brackets are secure against the trailer frame. 6. Support the trailer tongue weight with the trailer jack. Place the spring bar into the dip on the lift tool, then place the hook end into the square hole in the L bracket. Raise the lift tool upward until the spring bar securely snaps into place. Place the bar locking pin into the square hole on the L bracket and secure with a hair pin. Repeat on both sides.
Remove or relocate any obstructions on the trailer tongue framework if necessary to allow proper placement of the backing plates.
The bottom bolt should be inserted in the hole closest to the bottom of the trailer frame.
Caution must be used when unhooking due to the potential of injury caused by tension on the spring bars. Ensure that you are not in the path of the spring bar as it is removed; stand rearward or behind the end of the spring bar. Hold the lift tool firmly as you release the spring bar from the L bracket. Apply outward pressure to the lift tool in a slow and steady manner.
Verify that the ball height and coupler height are matched. The ball height needs to be the same or 1" higher than the trailer coupler height.
Adjust the hitch mount receiver higher. Each adjustment up or down equals 1-1/4".
Excessive sway may indicate that the trailer is improperly loaded. As a guideline, the tongue weight should be 10–15 percent of gross trailer weight. If it is not, redistribute the weight accordingly. If you encounter continuous sway or swaying that does not dissipate quickly, adjust the load. For all truck models with factory sway control, it is suggested that the sway control be disabled for the best performance of the Blue Ox® TrackPro™.
Verify that the spring bars are properly rated for your tongue weight. Using spring bars with an insufficient weight rating will result in a rough ride.
It is recommended that the tow vehicle tires be inflated to 90% of the maximum inflation state shown on the tire sidewall. Do not exceed the vehicle manufacturer's specification for tire pressure.


Free Shipping
Ships free on all orders
 Authorized Dealer
Quick Ship
In stock and ready to ship — order now!
FREE ShippingFREE SHIPPING
Estimated delivery Sat, Sep 26 - Tue, Sep 29
Order before 2 PM EST Monday–Friday for same-day processing
Guaranteed safe & secure checkout
No reviews have been added for this product.