
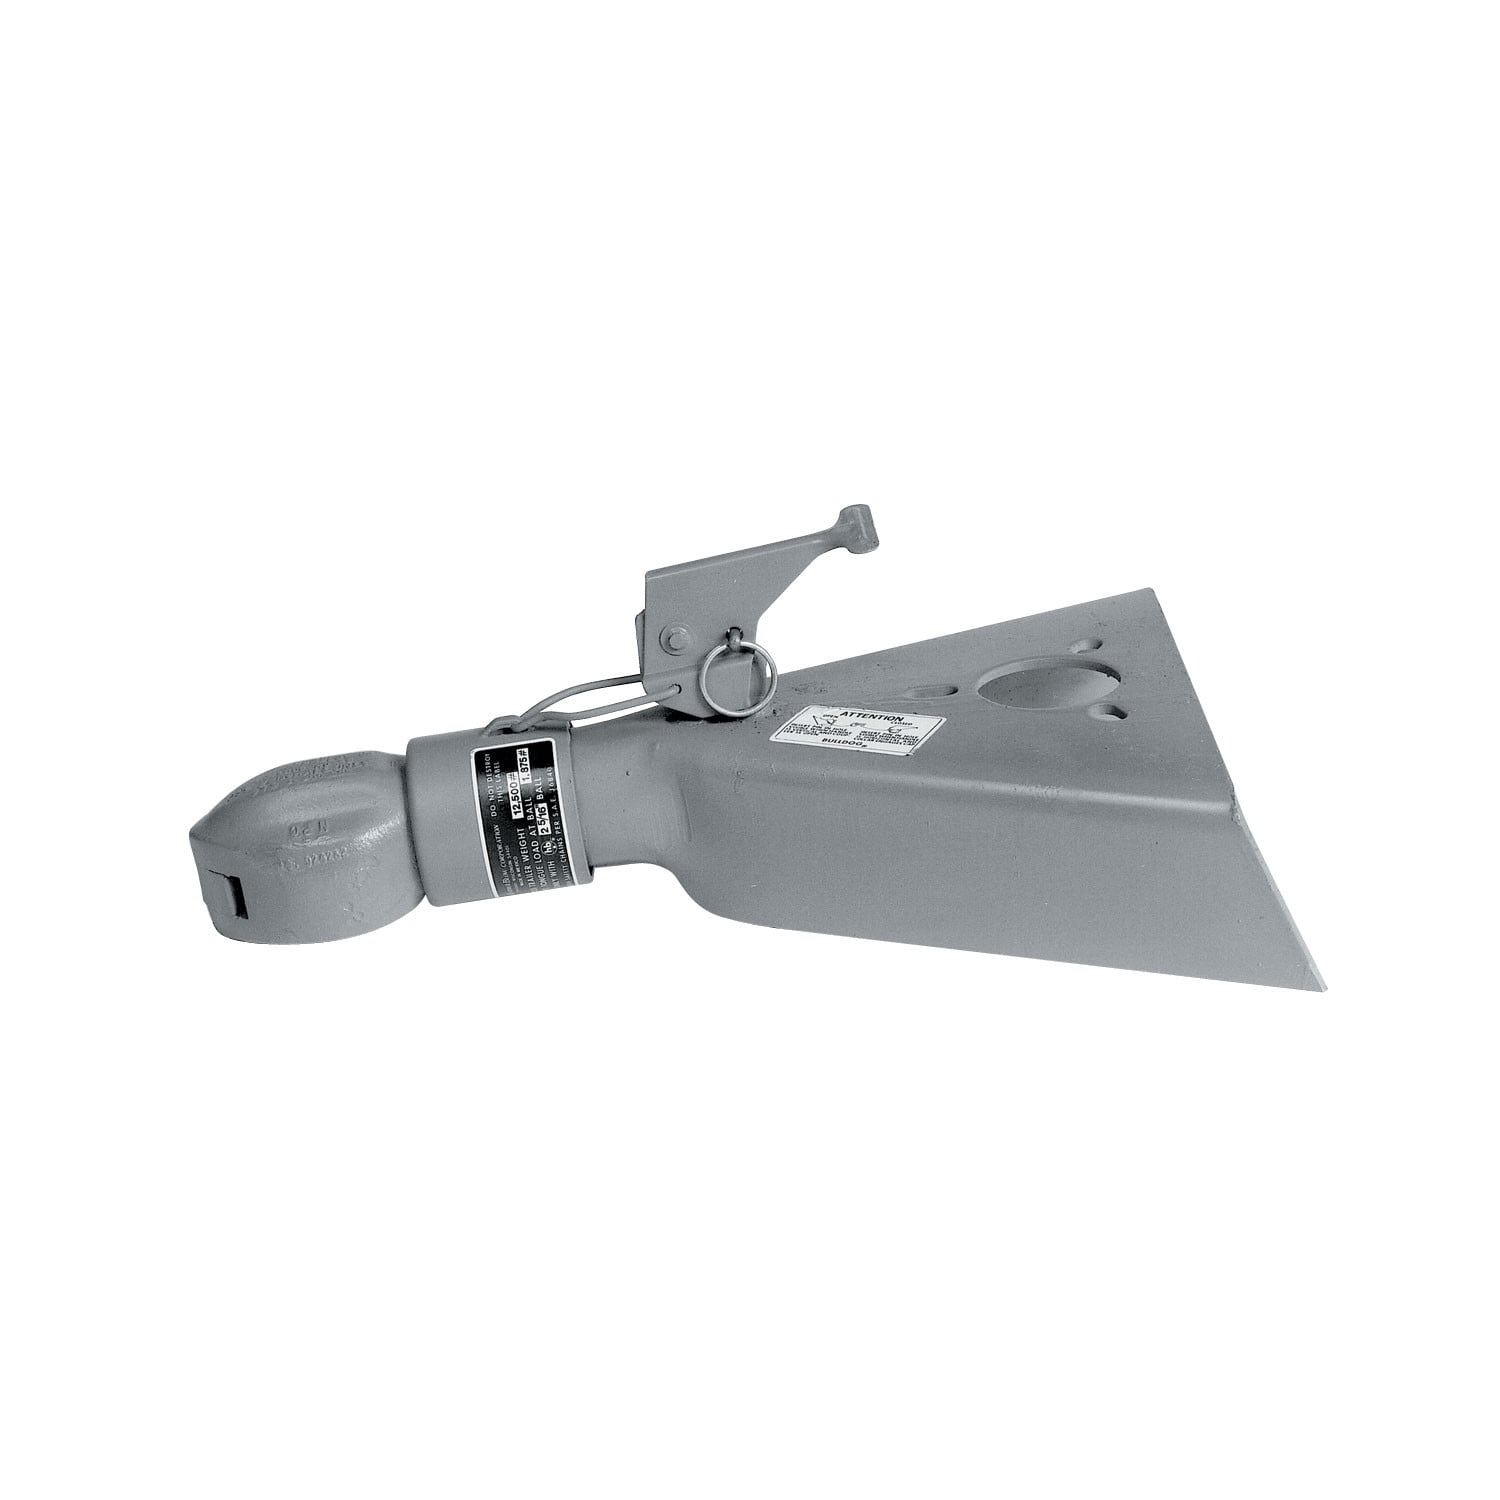
Bulldog 12,500 lbs Collar-Lok A-Frame Coupler, 2-5/16 in. Diameter BD028463BulldogOriginal price was $162.50. Current price is $149.29.Out of Stock
View productOur in-house experts typically reply within one business day.

Bulldog


Always the correct part
We know our products
Quality Products
Free Shipping!
Always the correct part
We know our products
Quality Products
Free Shipping!

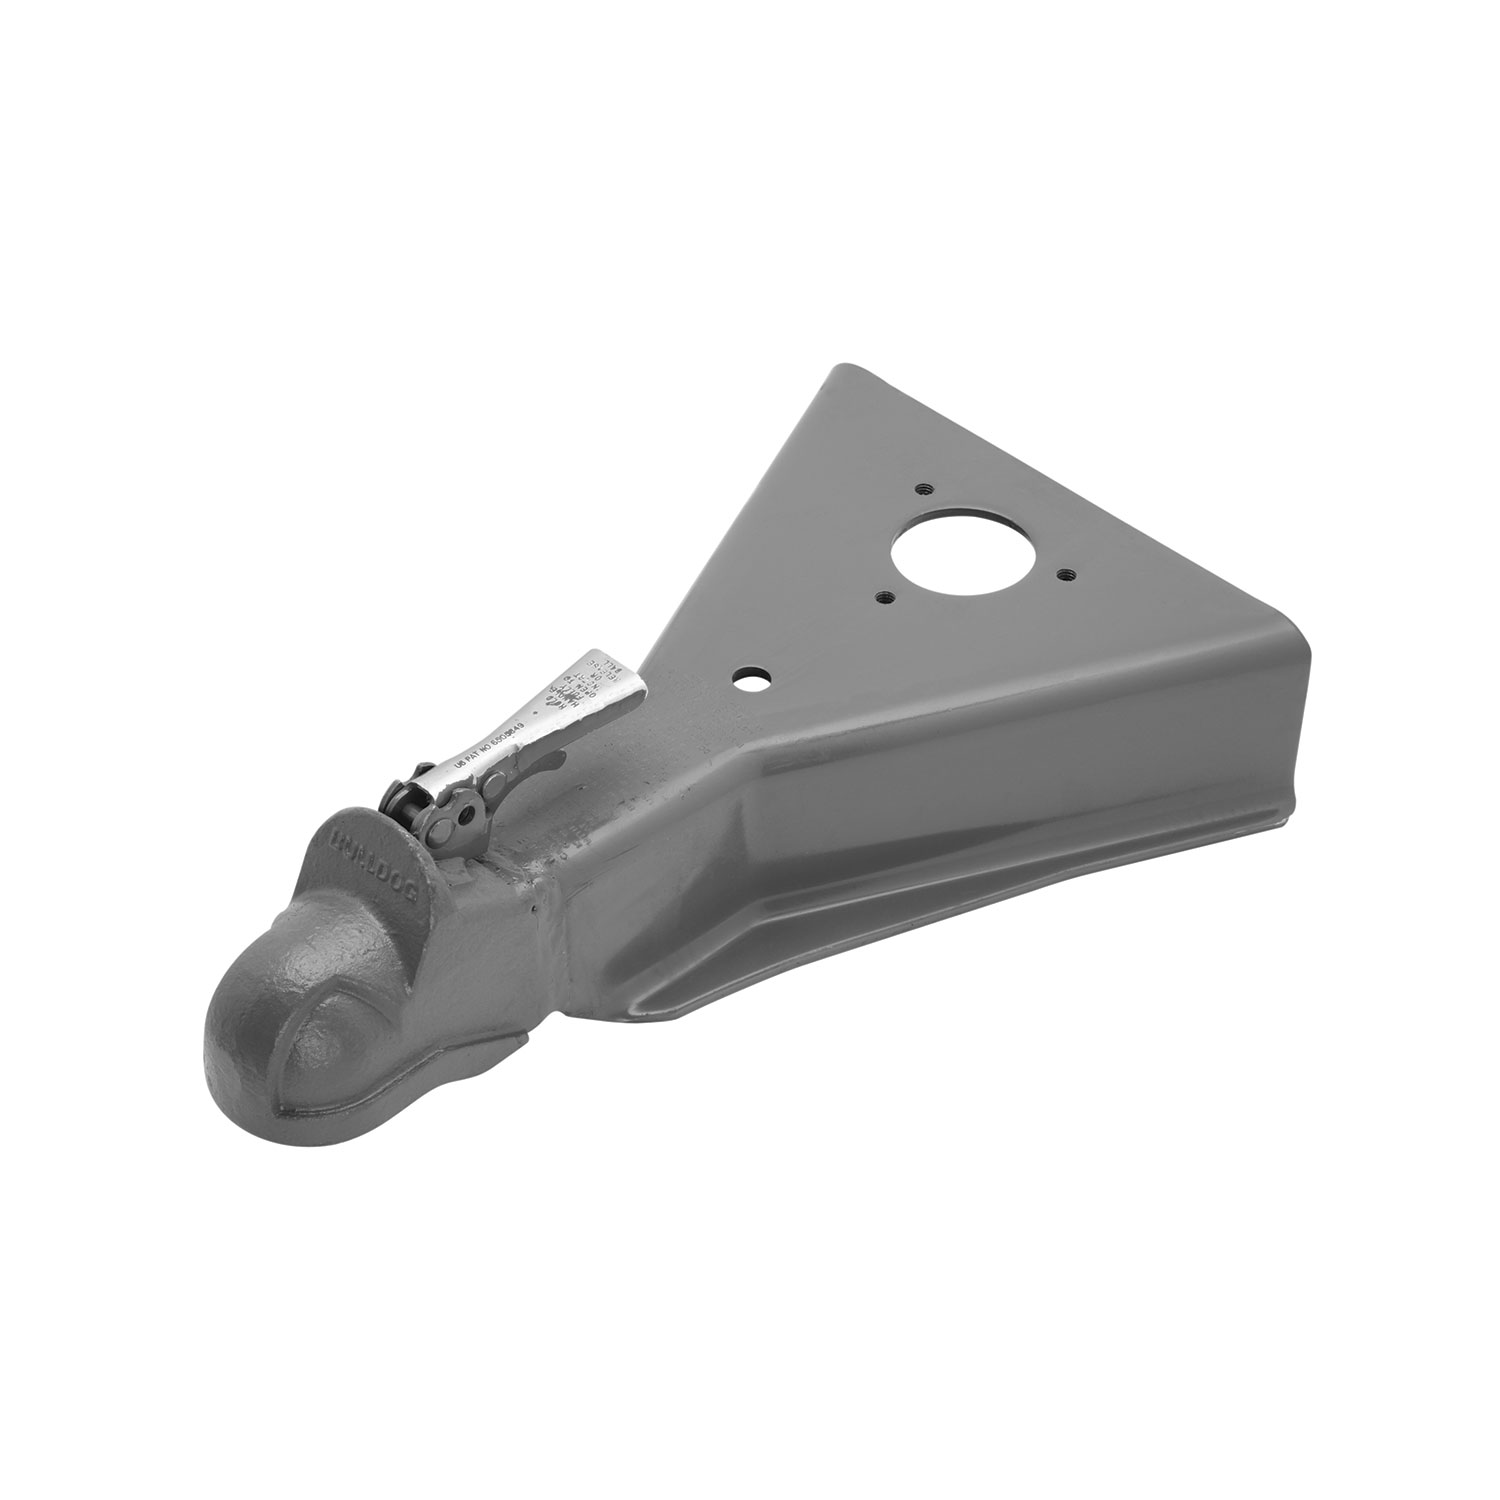

Founded in 1920, Bulldog has become the standard for heavy-duty trailer connection hardware in agricultural, military and utility service. The line covers gooseneck hitches and couplers, A-frame and channel-mount trailer couplers with the Wedge-Latch mechanism, and heavy-duty jacks, built for unmatched strength, reliability and safety under demanding loads.
Bulldog was founded in 1920 and has spent more than a century supplying the connection hardware that heavy trailers depend on. Its market has always been the demanding end: agricultural, military and utility applications where a coupler failure is not an inconvenience but a serious incident. The brand summarises its position as Tough and Tested, and it sits within the Horizon Global towing group alongside Reese, Draw-Tite, Fulton, Tekonsha, Bargman and Wesbar.
Gooseneck equipment is the brand's signature. Gooseneck hitches mount in the truck bed over the rear axle, which places the load where the chassis can carry it properly and allows far tighter turning than a receiver hitch permits. Matching gooseneck couplers attach at the trailer end, in round tube and square configurations across the capacity range used by livestock, equipment and flatbed trailers.
The conventional trailer coupler range is built around the Wedge-Latch mechanism, which uses a wedge to take up wear between coupler and ball rather than relying on a fixed clamp that loosens over time. That matters on a trailer accumulating hard miles, where slack in the coupling shows up as noise and shock loading. Couplers are offered in A-frame form for standard tongues and in channel-mount form for straight tongue and fabricated frames, with adjustable channel versions that let a coupler be positioned to suit the tongue height.
Heavy-duty jacks complete the line, sized for the tongue weights that gooseneck and equipment trailers generate. Across the range the emphasis is consistent: forged and heavy-section components, load ratings backed by testing, and hardware specified for agricultural, military and heavy-duty commercial use rather than occasional recreational towing.
Experts available to answer your questions
Call 888-634-94945 Years
The Wedge-Latch coupler is designed exclusively for 50 degree trailer tongues. It cannot be used with other tongue angles.
A minimum coupler/tongue overlap of 6.5" is required for proper installation and maximum load capacity.
Only grade 5 hardware must be used. Grade 5 bolts and locknuts are required for all bolt-on installations.
Yes. All welding must be performed by an AWS certified welder. This is a mandatory requirement stated multiple times in the manual.
Torque specifications are: 3/8" bolts to 23 ft.lbs., 1/2" bolts to 55 ft.lbs., and 5/8" bolts to 110 ft.lbs. Flat-Mount couplers use four 5/8" bolts torqued to 150 ft.lbs. Adjustable Height Channel mounting bracket uses two 5/8" x 5" bolts torqued to 100-110 ft.lbs.
Before towing, verify: the hitch ball is fully seated in the ball pocket, the coupler is closed and latched, the locking lever operates freely, the mounting bracket hardware is tight, the ball matches the coupler specification, safety chains are properly connected per SAE J684, and all trailer lighting works. Do not tow if the ball is not fully seated or the coupler is not closed.
Maintenance procedures should be performed at least annually: check set screw torque, grease the ball pocket, oil pivot points with SAE 30 wt. motor oil, and inspect and replace the retaining pin if necessary.
The Wedge-Latch coupler is a trailer coupling device designed to connect a trailer to a towing vehicle. It uses a locking lever mechanism to secure the hitch ball and is available in A-Frame and Flat-Mount configurations. The coupler must be rigidly attached to the trailer and is designed to support maximum rated loads according to SAE J684 standards.
No. You must use only the proper ball size for your specific coupler as indicated on the coupler body. If you are uncertain which ball size is correct, contact Cequent Performance Products at 1-800-632-3290 or visit www.cequentgroup.com.
Yes. Before installing, you must confirm there will be no interference from the tow vehicle, tongue, ground, or any other mounted accessories while stationary or in motion. Check for interference in both open and closed positions before installation, and verify again after installation is complete.
The coupler internal stop must be butted against the end of the trailer tongue to ensure maximum overlap before securing. This positioning is critical for proper installation and load capacity. The minimum required overlap is 6.5 inches.
For weld-on installations, no drilling is required—the coupler is welded directly to the trailer tongue. For bolt-on A-Frame installations, the number and size of fasteners and any drilling required must be specified by the trailer manufacturer. For Flat-Mount installations, four 5/8" holes are needed for the bolts.
For weld-on installations, a minimum 3/16" fillet weld must be applied on both sides and the top of the coupler. For Adjustable Height Channel mounting brackets with tongues 6" or less, a minimum 1/4" fillet weld is required all around. All welding must be performed by an AWS certified welder.
Gussets are required if the trailer tongue height is 6" or less. When gussets are needed, the mounting bracket must be centered on the tongue and remain vertical after installation, with a 1/4" minimum fillet weld required all around.
If the coupler is to be primed or painted after installation, you must remove all excess paint or primer buildup from the ball pocket and latching mechanism. This buildup can impair coupler operation.
1) Block the trailer wheels. 2) Align the hitch ball beneath the coupler. 3) Open the coupler locking lever and, while holding it open, lower the coupler over the hitch ball until the ball is fully seated in the ball pocket. 4) Remove any hold-open pin, move the locking lever to the closed position, and verify the latch is engaged by lifting up on the back of the lever. Confirm the ball is fully seated and the ball clamp is below the ball. 5) Optionally, place a 5/16" pin or lock in the hole provided. Do not tow if the ball is not fully seated or the latch is not engaged.
1) Block the trailer wheels. 2) Open the locking lever. While holding the locking lever fully open, raise the trailer off the hitch ball. A 5/16" diameter pin can be used to hold the locking lever open. 3) Return the handle to the closed position. Use caution as the tongue may rise suddenly due to negative tongue load.
Do not exceed the lesser of the weight ratings for the mounting bracket, coupler, hitch, vehicle, hitch ball, or trailer (including load). You must weigh your trailer plus any added load and ensure the total does not exceed the lowest rated capacity of any component in the towing system.
Always block the trailer wheels before latching or unlatching the coupler. Never position any part of your body under the coupler or the load being supported. Use caution when uncoupling as the tongue may rise suddenly due to negative tongue load. Do not allow children to play on or around the coupler or load.
Do not use the coupler if its operation has been impaired in any way. If the coupler handle does not open and close freely, or if the coupler or mounting bracket is deformed or damaged, replace the complete coupler and mounting bracket. Do not attempt to tow with a damaged or malfunctioning coupler.
When parking or storing your trailer, keep the coupler off the ground so dirt and other foreign material will not build up in the coupler ball pocket. Keep the ball pocket and mechanism clean at all times.
Oil the pivot points with SAE 30 wt. motor oil. Grease the ball pocket. These maintenance tasks should be performed at least annually.
1) Ensure the coupler internal stop is butted against the end of the trailer tongue for maximum overlap. 2) Using the available mounting holes in the coupler housing, bolt the coupler to the tongue members using grade 5 hardware with locknuts. 3) Torque grade 5 bolts with locknuts to appropriate SAE proof load specifications: 3/8" to 23 ft.lbs., 1/2" to 55 ft.lbs., or 5/8" to 110 ft.lbs. 4) Ensure no deformation of the trailer tongue end occurs. The number and size of fasteners required must be specified by the trailer manufacturer.
Insert four (4) 5/8" grade 5 bolts through the coupler and mount plate. Tighten all four bolts to 150 ft.lbs.
1) Ensure the coupler internal stop is butted against the end of the trailer tongue for maximum overlap. 2) Center the mounting bracket on the tongue and ensure it remains vertical after installation. 3) Insert two (2) 5/8" x 5" grade 5 bolts through the desired mounting bracket holes and the coupler holes. 4) Tighten the locknuts to 100-110 ft.lbs. If the tongue height is 6" or less, gussets are required with a 1/4" minimum fillet weld all around.
If the latch is not engaged, the coupler is not properly secured to the hitch ball. Do not tow. Verify the latch is engaged by lifting up on the back of the locking lever while the lever is in the closed position. If the latch does not engage, repeat the coupling steps.
If the hitch ball is not fully seated in the ball pocket, the coupler is not properly secured. Do not tow. The ball must be fully seated and the ball clamp must be below the ball. If the ball does not seat with the lever in the closed position and latch engaged, repeat the coupling steps.
Check the mounting bracket hardware for signs of wear and proper tightness. Replace any bent, broken, or worn hardware. Tighten all hardware to appropriate SAE proof load specifications: 3/8" bolts to 23 ft.lbs., 1/2" bolts to 55 ft.lbs., or 5/8" bolts to 110 ft.lbs. Use only grade 5 hardware.
Yes. Make sure that the trailer safety chains are properly connected to the towing vehicle and trailer according to SAE J684 standards. This is a required safety check before towing.
Yes. Make sure that all trailer lighting is hooked up and working properly before towing. This is a required safety check.
Cequent Performance Products warrants the Wedge-Latch coupler to be free from defects in material and workmanship for five years from the date of purchase, provided installation and use are in accordance with the product instructions. The warranty covers the original consumer purchaser only and is not transferable. The warranty does not cover normal wear and tear, damage from abuse, misuse, improper installation, overloading, or product alterations made by anyone other than the manufacturer.
Replacement parts are available through Cequent Performance Products' Customer Service Department at 1-800-632-3290. Use only Cequent Performance Products' parts or parts of equal quality for repair. Please specify the product model number when ordering.
Contact Cequent Performance Products at 1-800-632-3290 or visit www.cequentgroup.com. The correct ball size is indicated on the coupler body, but if you are uncertain, customer service can help you identify the proper ball for your specific coupler.
No. The purchaser/owner must not alter or modify the product in any way. Any modifications made by anyone other than the manufacturer will void the warranty and may impair the coupler's ability to support its rated load safely.
A 5/16" diameter pin can be used to hold the locking lever open during coupling or uncoupling operations. This is optional and helps keep the lever in the open position while you are positioning the trailer. The pin is inserted in the hole shown in the operation figures.
Yes. Optionally, you can place a 5/16" pin or lock in the hole provided to secure the locking lever in the closed position when the coupler is not in use.
If the coupler handle does not open and close freely, this indicates a problem with coupler operation. Do not use the coupler. Check the coupler and mounting bracket for signs of deformation or damage. If either is deformed or damaged, replace the complete coupler and mounting bracket. If the lever is stuck due to dirt or corrosion, clean the mechanism thoroughly and apply SAE 30 wt. motor oil to the pivot points.
If the hitch ball does not fully seat in the ball pocket with the locking lever in the closed position and latch engaged, do not tow. Repeat the coupling steps: block the trailer wheels, align the hitch ball beneath the coupler, open the locking lever fully, lower the coupler over the ball until it seats completely, close the lever, and verify the latch is engaged. If the ball still does not seat, check that you are using the correct ball size for your coupler (indicated on the coupler body) and that the ball pocket is clean and free of dirt or debris.
If the latch will not engage when the locking lever is in the closed position, do not tow. Repeat the coupling steps: block the trailer wheels, align the hitch ball beneath the coupler, open the locking lever fully, lower the coupler over the ball until it seats completely, close the lever, and verify the latch engages by lifting up on the back of the lever. If the latch still does not engage, check that the ball is fully seated and that the ball pocket is clean. If the problem persists, the coupler may be damaged and should be replaced.
Keep the ball pocket and mechanism clean. When parking or storing your trailer, keep the coupler off the ground so dirt and other foreign material will not build up in the coupler ball pocket. If dirt has accumulated, clean the ball pocket thoroughly before coupling. Perform this cleaning as part of your annual maintenance routine.
Check the mounting bracket hardware for proper tightness before each towing trip. If hardware is loose, tighten it to the appropriate SAE proof load specifications: 3/8" bolts to 23 ft.lbs., 1/2" bolts to 55 ft.lbs., 5/8" bolts to 110 ft.lbs., or Flat-Mount bolts to 150 ft.lbs. If hardware is bent, broken, or worn, replace it with grade 5 hardware of the same size. Check set screw torque at least annually as part of routine maintenance.
If the coupler or mounting bracket is deformed or damaged, do not use it. Replace the complete coupler and mounting bracket. Do not attempt to repair a damaged coupler, as this may impair its ability to support the rated load safely.
On Sale Today
Original price was $168.75. Current price is $131.74.You save $37.01 (22%)
Free Shipping
Ships free on all orders
 Authorized Dealer

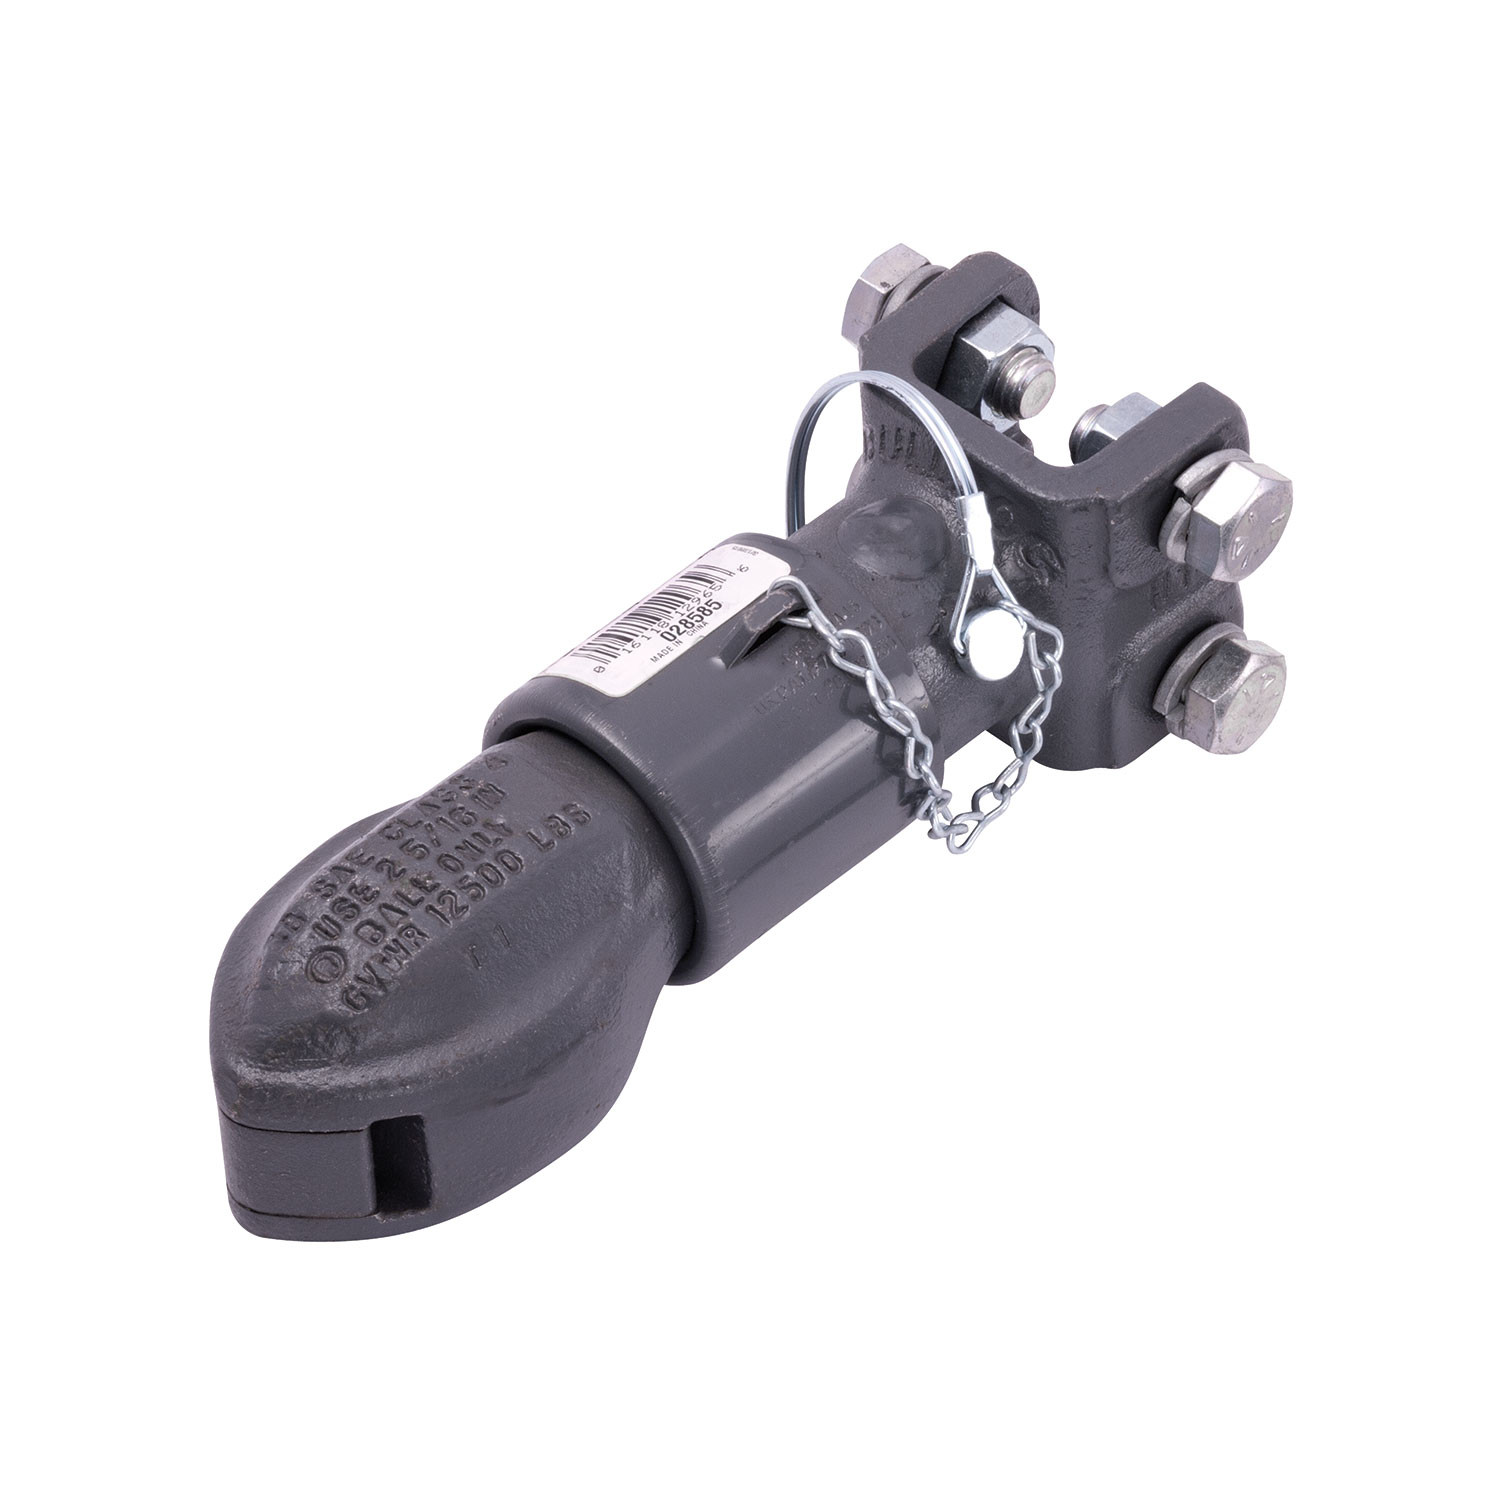
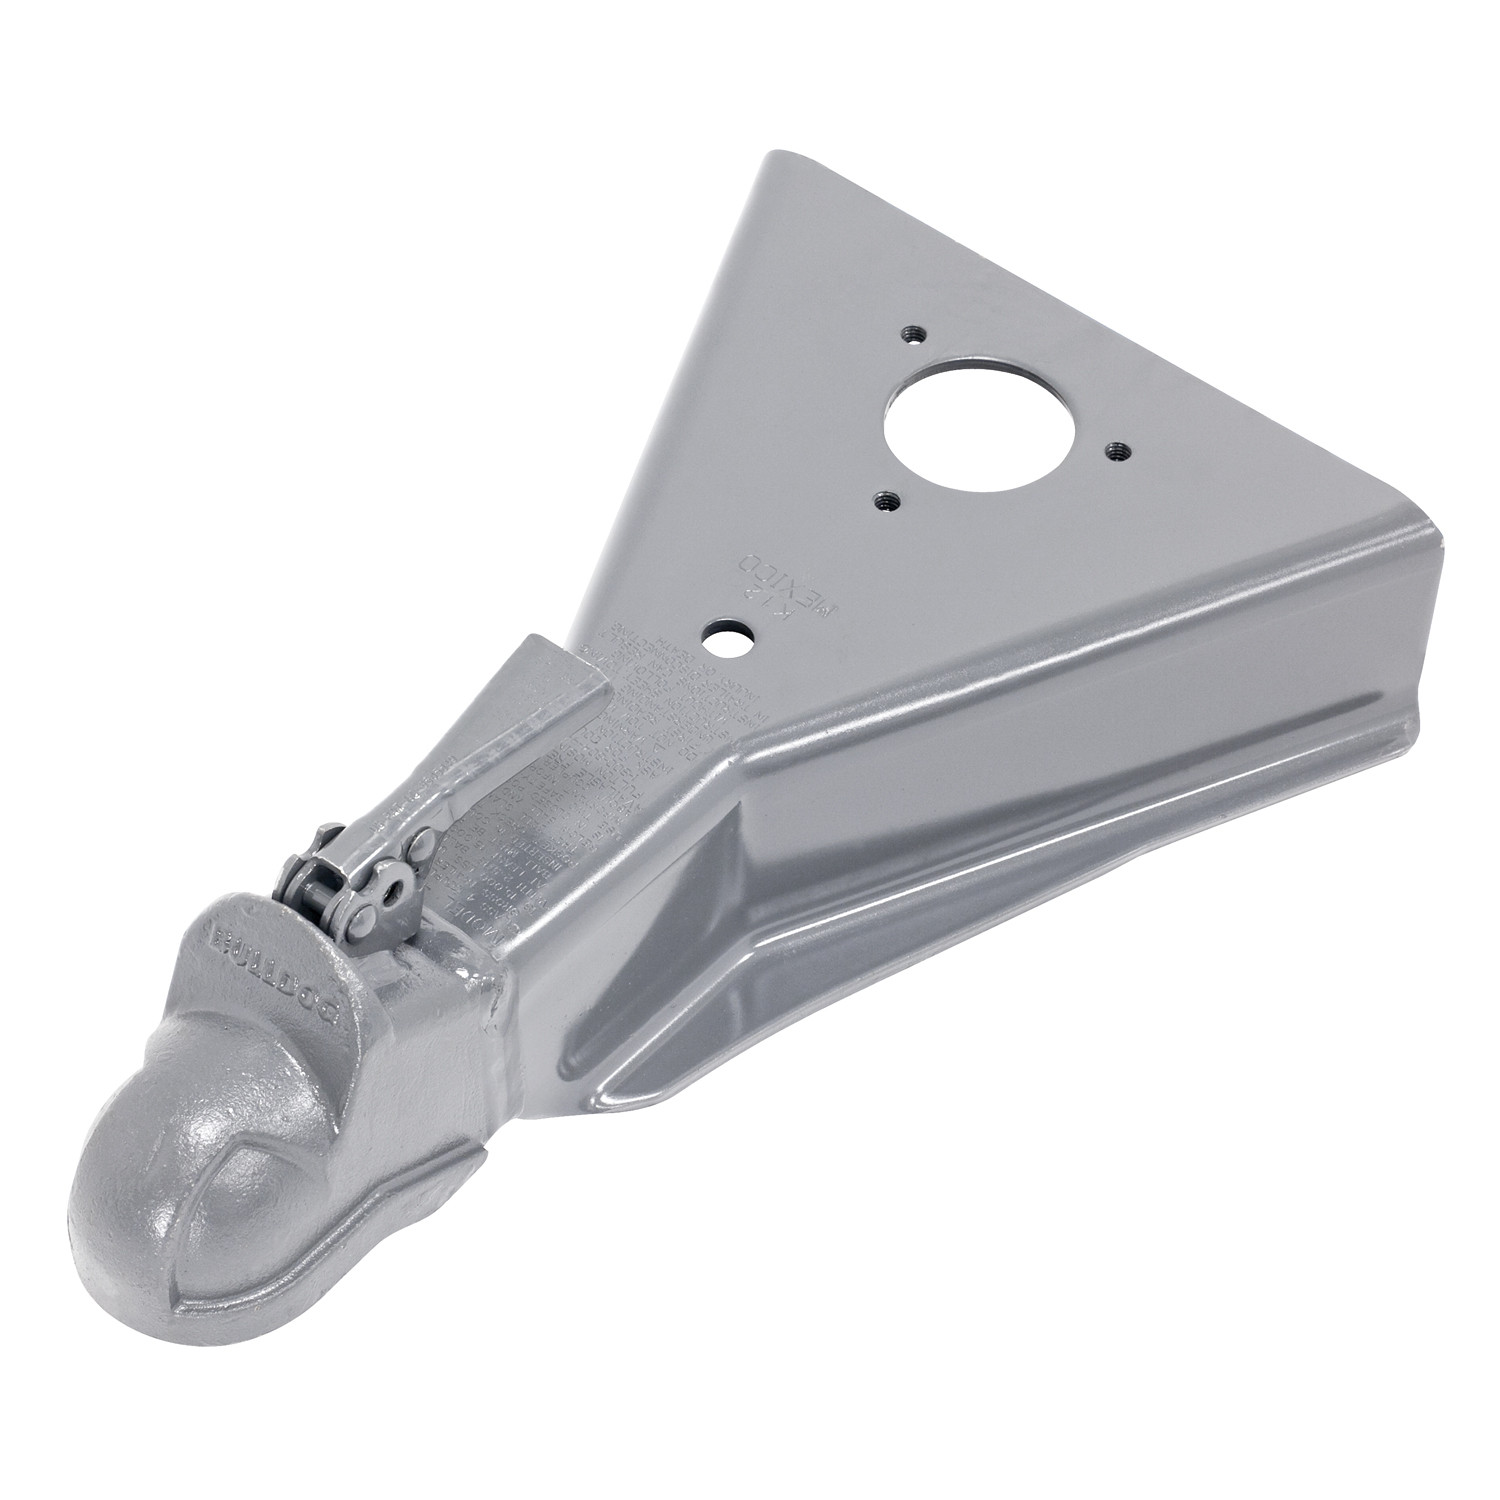
FREE ShippingFREE SHIPPING
Estimated delivery Sun, Sep 27 - Wed, Sep 30
Order before 2 PM EST Monday–Friday for same-day processing
Guaranteed safe & secure checkout
Ann
Ordered online. Shipment arrived on time and with all the correct parts. Great customer service and friendly staff. Also, pricing was great!
May 22, 2023