
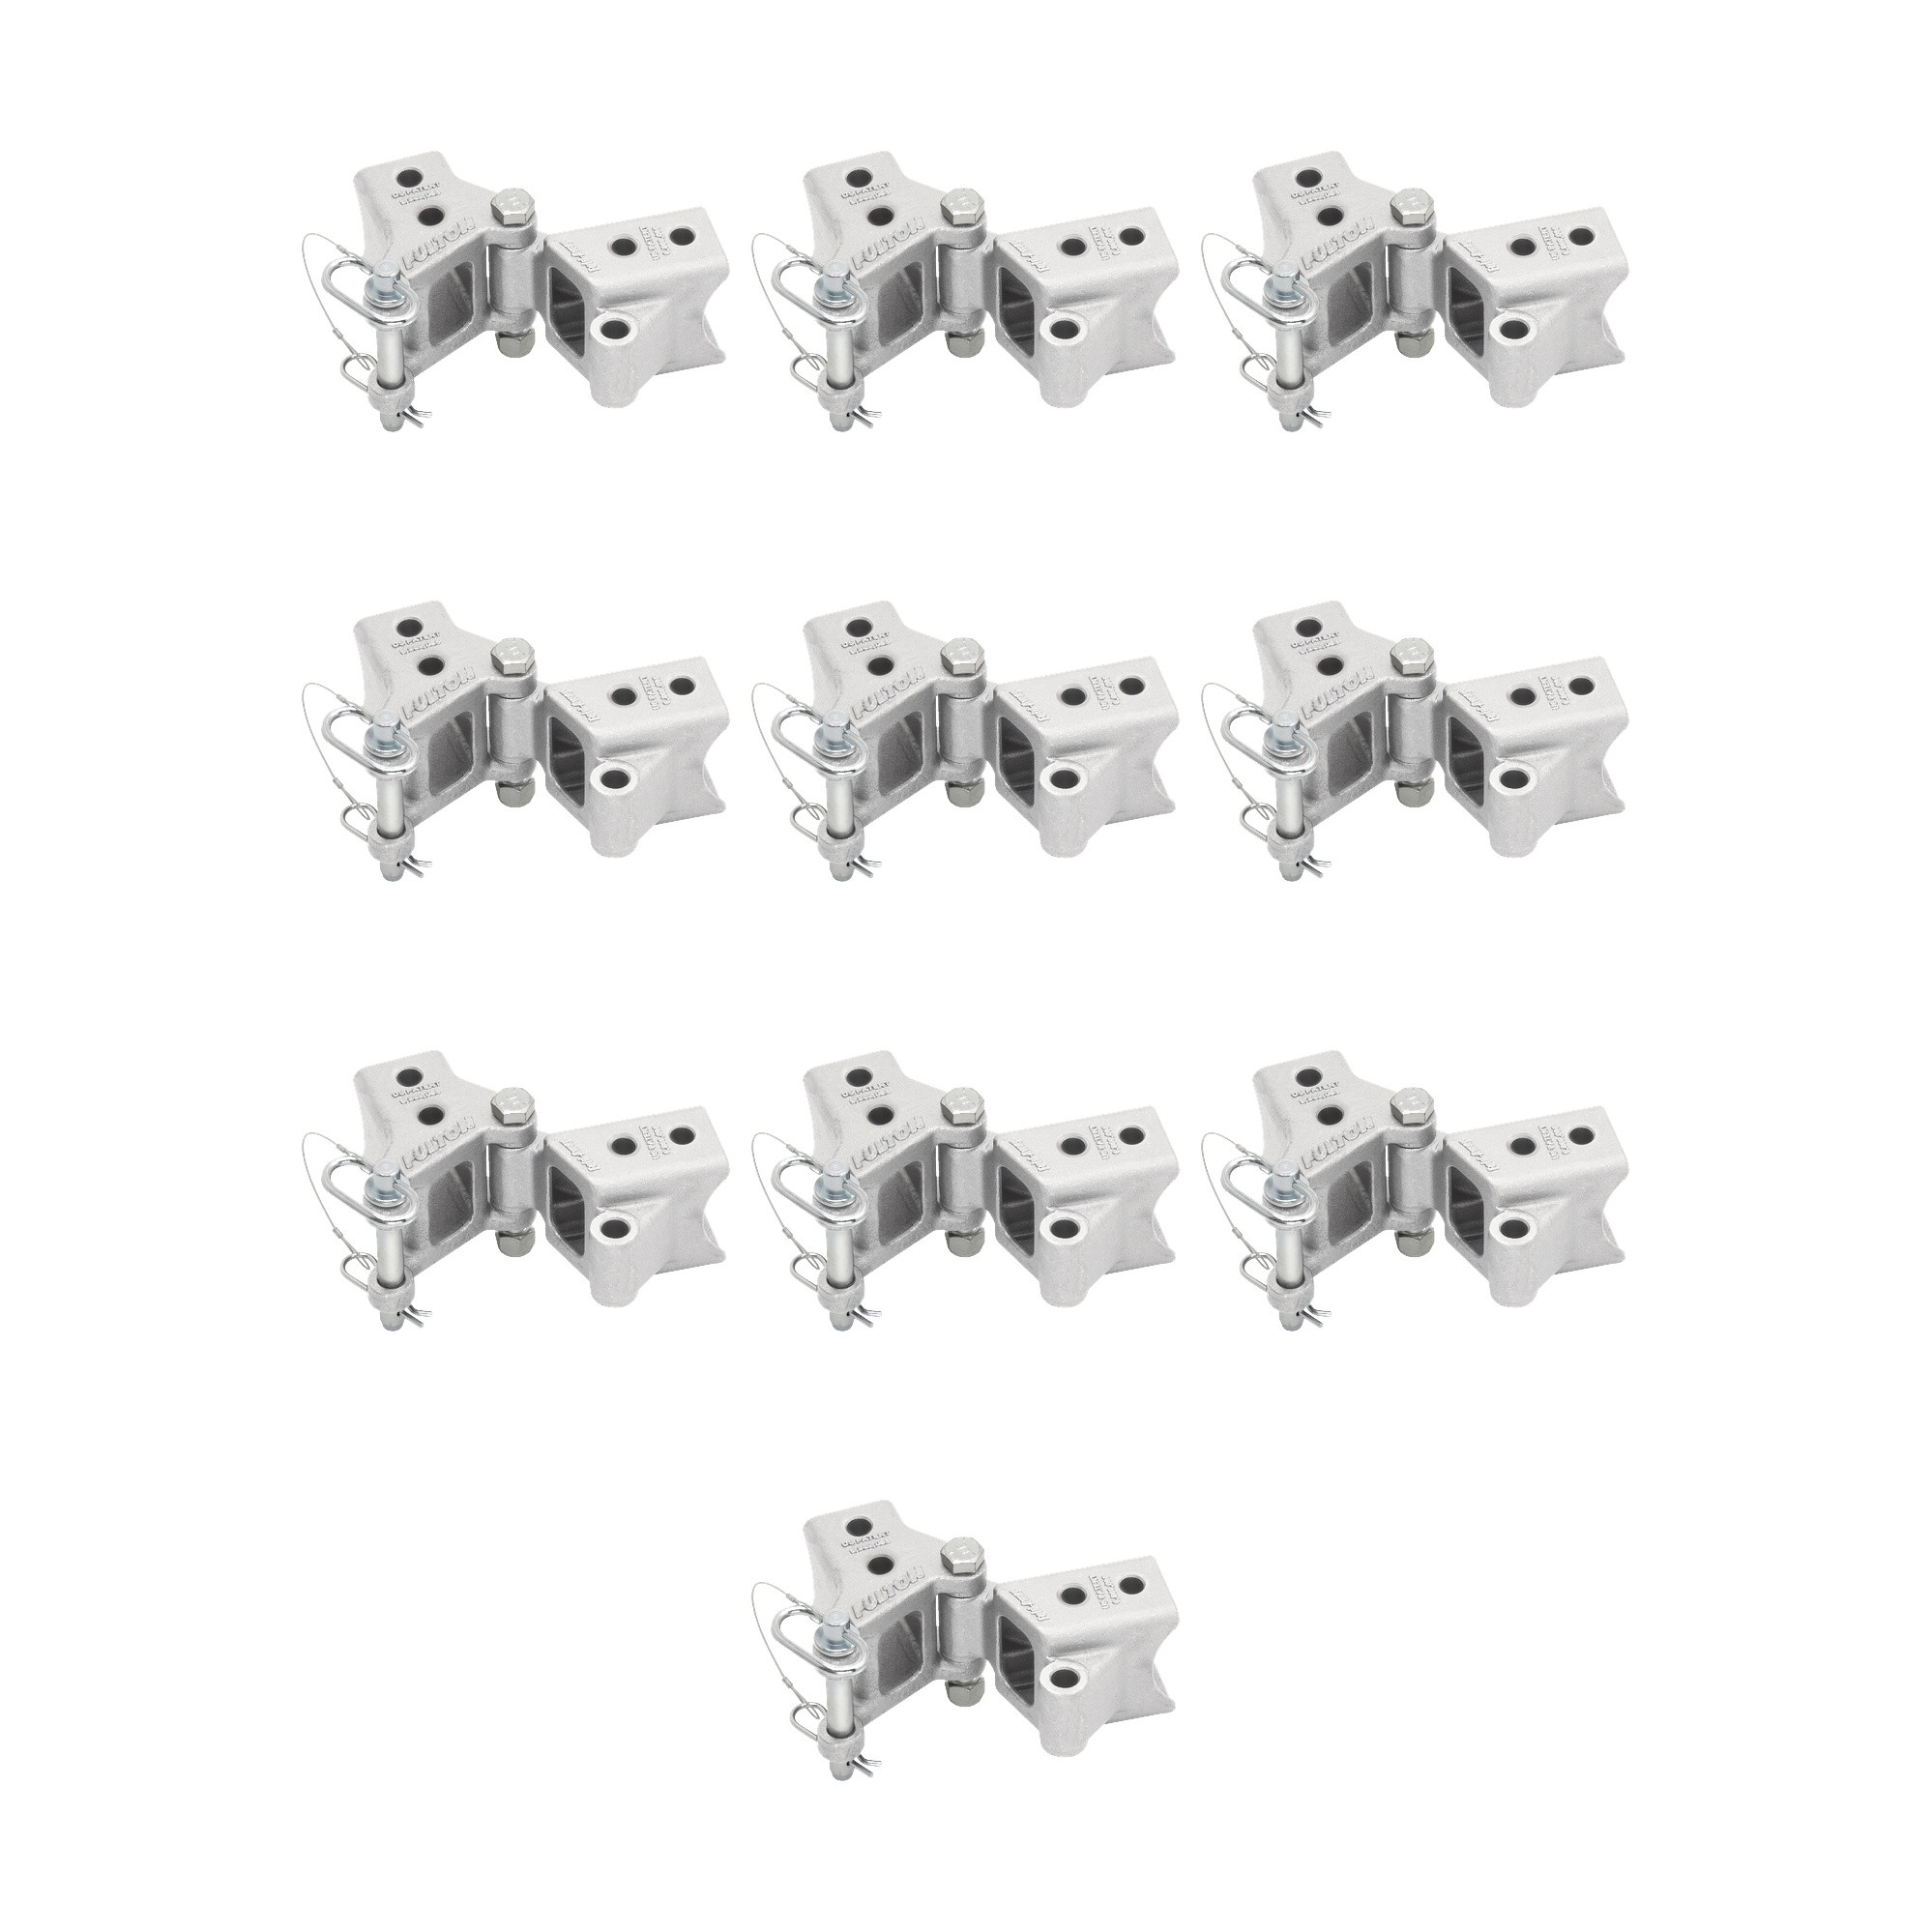
Fulton (10-Pack) Fold-Away Hinge Kit, Bolt On, 5,000 lbs. Capacity, 2 Inch x 3 Inch, SilverFultonOriginal price was $1,500.00. Current price is $1,289.80.Out of Stock
View productOur in-house experts typically reply within one business day.

Fulton


Always the correct part
We know our products
Quality Products
Free Shipping!
Always the correct part
We know our products
Quality Products
Free Shipping!
Complete kit bundle containing all necessary components for your project. Professional-grade components designed for reliable performance and long-lasting durability.

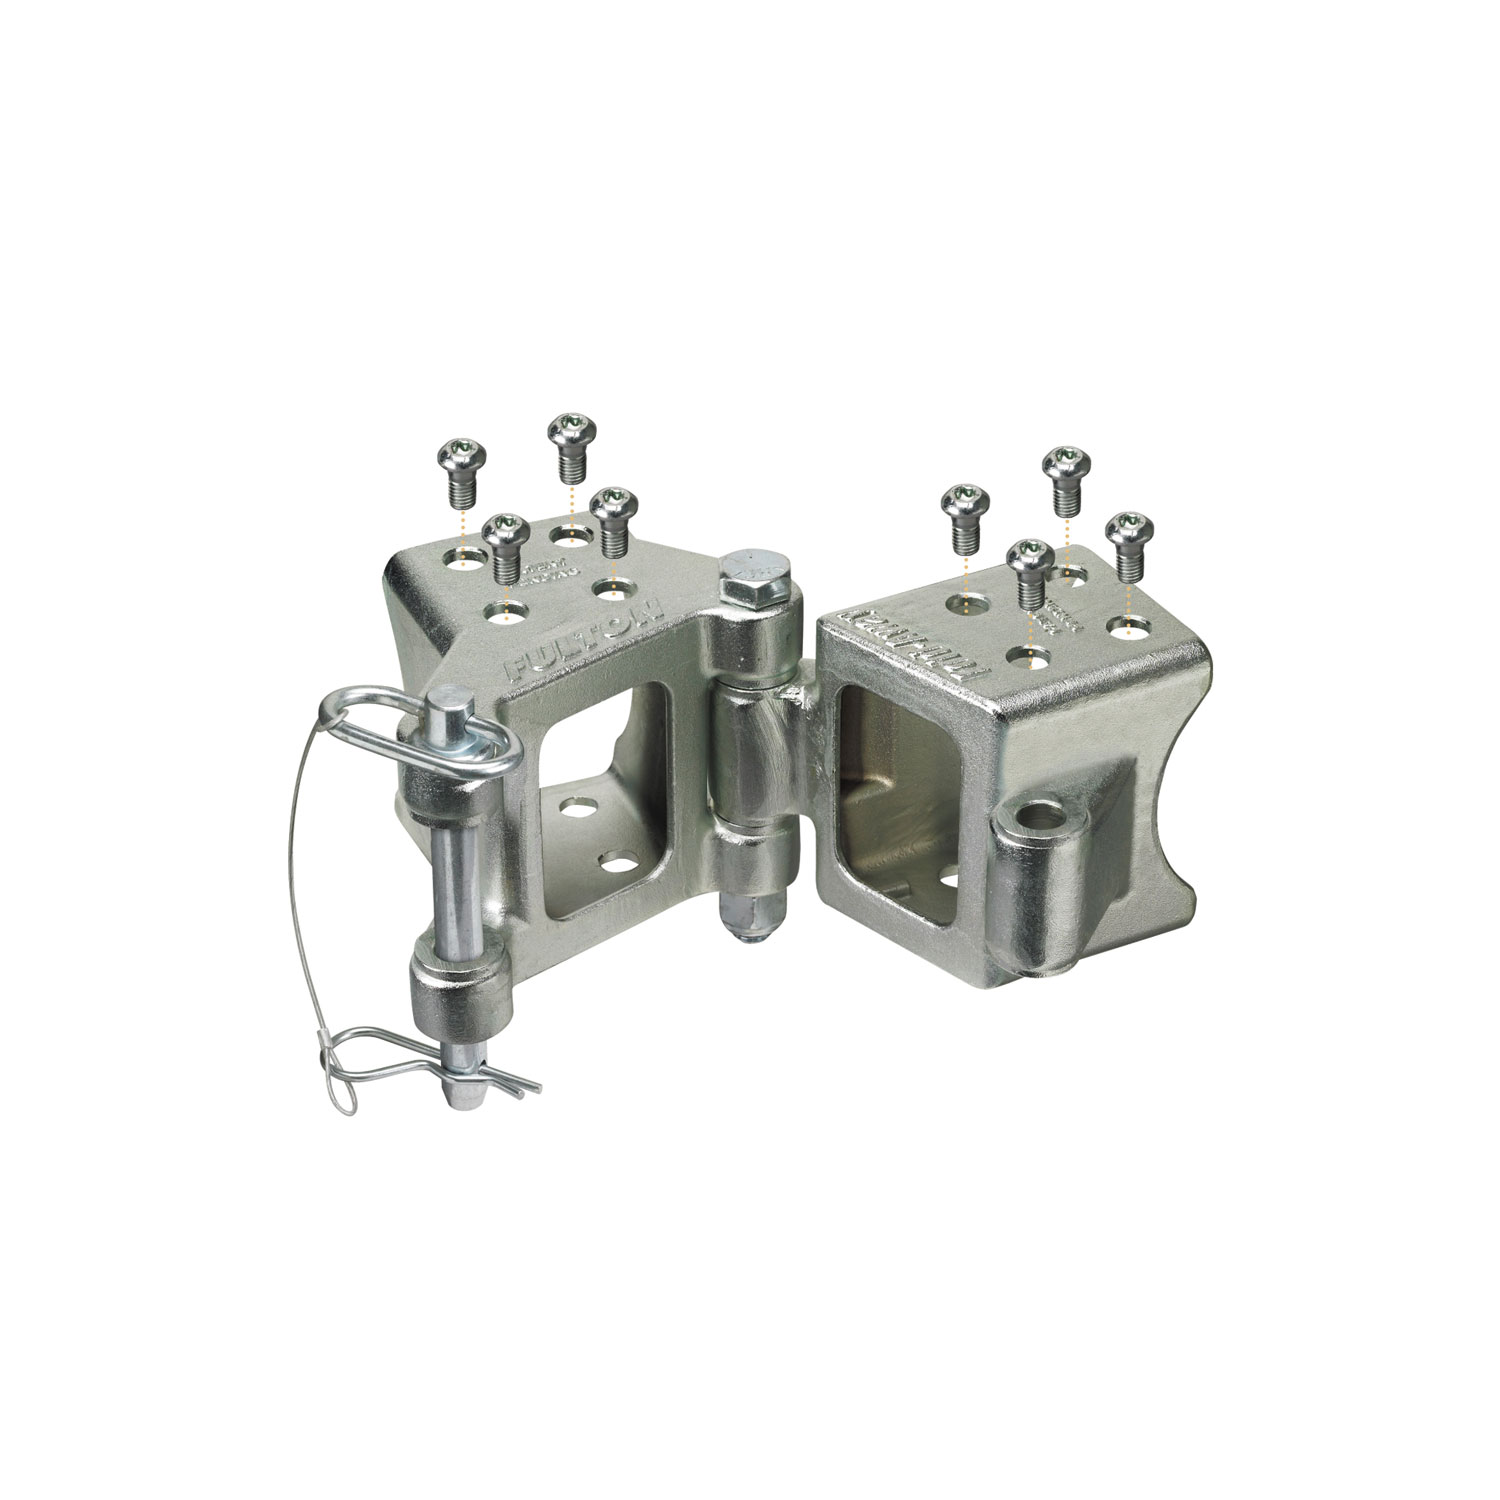
Keywords: FLHDPB330101-10PK bundle kit, complete kit, professional components, industrial kit, FLHDPB330101, Fulton

Fulton has produced marine and utility trailer hardware for more than a century, and its jacks, winches and couplers are a standard for light and medium-duty trailering. The XLT and F2 series cover swivel and fixed jacks, hand and powered winches from 1,500 to 3,200 pounds, and couplers built to keep working in wet, salty conditions.
With more than a hundred years of production behind it, Fulton has become the reference point for light and medium-duty trailer hardware, particularly on the marine side. That environment is the toughest test a trailer component faces. A boat trailer is reversed into fresh or salt water on every launch and left to sit wet, which finds every weakness in plating, sealing and material choice. Fulton's stated position is that the brand performs best when the weather is at its worst, and its product engineering reflects that. It sits within the Horizon Global towing group alongside Reese, Draw-Tite, Bulldog, Tekonsha and Wesbar.
Marine and utility jacks anchor the line. The XLT Series marine jack uses a bolt-through swivel mount built from three-dimensionally formed heavy-gauge steel stampings with a proprietary bushing material, a combination chosen to minimise deflection under tongue load while keeping the swivel action working after years of exposure. The F2 Series takes corrosion resistance further as the industry's only extruded aluminium marine jack with an anodised finish, which removes the rust problem at its source rather than coating over it. The wider trailer jack range covers topwind, sidewind and drop-leg configurations.
Trailer winches pull boats onto bunks and rollers. XLT Series winches use efficient gear ratios, full-length drum bearings, oil-impregnated shaft bushings and a Comfort Grip handle that makes the last few turns under load bearable, in 1,500 and 1,800 pound capacities. F2 Series winches use an enclosed frame for a cleaner look and added protection, in 1,600, 2,000 and 3,200 pound models, including two-speed options that trade line speed for cranking effort.
Couplers complete the range, including A-frame couplers matched to common tongue sizes and load ratings, serving boat owners, utility trailer users and trailer manufacturers.
Experts available to answer your questions
Call 888-634-94945 Years
The F3510 is a fold-away coupler and bracket system that allows a trailer tongue to pivot and fold away when not in use. It is available in three models: HDPB (bolt-on pivot brackets only), HDPW (weld-on pivot brackets only), and HPB (coupler and tube pivot kit). The system includes castings, pivot bolts, hinge pins, and hardware for mounting to steel trailer tongues.
The F3510 fits trailer tongues made of steel only, with outside dimensions of 2"x3", 3"x3", 3"x4", or 3"x5" and material thickness between .188" and .120". Trailer tongues made of materials other than steel are not compatible.
For a 2"x3" trailer tongue with a 5,000 lbs Gross Trailer Weight Rating, the maximum pivot length is 24 inches from the center of the coupler ball pocket. The maximum tongue load is 500 lbs. Longer pivot lengths reduce the maximum GTWR and tongue load capacity.
For a 3"x5" trailer tongue, the maximum pivot length is 48 inches at a 5,000 lbs GTWR with a 500 lbs maximum tongue load. At shorter pivot lengths, the GTWR and tongue load capacity increase: for example, at 27 inches pivot length, the GTWR is 9,000 lbs with a 900 lbs tongue load.
No. The manual explicitly states that Fold-Away products must be mounted to trailer tongues made of steel only. Aluminum, composite, or other materials are not compatible.
Required tools include: 1/2" drive ratchet, 15/16" and 3/4" open end wrenches and sockets, 7/16" socket for Torx bit, metal cutting saw, 1/2" chuck drill, drill bits (1/8", 1/4", 3/8", 1/2"), torque wrench capable of 80 ft-lbs, tape measure, safety glasses, gloves, centerpunch, clamp, square, hammer, jack stand, and wheel chocks.
The manual does not provide a complete list of included hardware. However, it references special shoulder bolts, flange nuts, 5/8" pivot bolts with locknuts, hinge pins, hairpin cotter pins, 1/2" bolts and locknuts for safety chains, and coupler mounting bolts. For a complete parts list, contact Cequent Trailer Products Customer Service at 1-800-604-9466.
Before installation, you must: read and follow all tool manufacturer safety instructions; always wear safety glasses and protective gloves; use a jack stand (not the trailer jack) to support the tongue; chock all tires/wheels to ensure stable working conditions; do not mount any accessories to the Fold-Away tongue (jack, spare tire carrier, winch stand); and remove all wiring and brake lines from the trailer tongue before cutting or drilling.
Measure from the center of the coupler ball pocket the desired swing length back and mark the cut location. Refer to the pivot bracket capacity table for your tongue size to determine the maximum pivot length. Ensure the mark is at least 5" from any obstruction (winch stand, jack bracket, etc.). Using a square, scribe a line around the trailer tongue to indicate the cut location. Verify all measurements before cutting.
1. Place the male casting on the trailer tongue until the tube meets the stops inside the casting, ensuring it is straight. Temporarily secure with a clamp. 2. Using a transfer punch, mark hole locations on the tongue, top and bottom. 3. Expand locator marks with a centerpunch. 4. Remove the casting and drill 1/8" holes at centermarks, drilling square to the tongue and only through one side at a time. 5. Increase 1/8" holes to 1/4", then to 3/8", then to 1/2". 6. Carefully remove metal shavings and burrs.
After drilling the holes to 1/2" diameter, replace the male casting over the trailer tongue and loosely attach the special shoulder bolts and flange nuts. Tighten all eight fasteners using a 3/4" box end wrench and T55 Torx bit, torquing each to 75 ft-lbs.
Attach the swing tongue to the trailer tongue by mating the castings together. Apply light grease to the 5/8" pivot bolt. Secure through the castings with a 5/8" locknut and torque to 50 ft-lbs. Then insert a lightly greased hinge pin through the top of the castings and secure it with a hairpin cotter pin.
Along each side of the trailer tongue, measure 4" from the cut end and mark. Measure 1" up from the bottom and mark. At the line intersections, use a centerpunch to mark drill locations. Drill to 1/2" diameter. Secure safety chains using two separate 1/2" bolts and locknuts for each side, torquing to 45 ft-lbs. Safety chains must be attached behind the castings on the trailer tongue, not to the coupler or swing tongue.
Pull trailer wiring back through the trailer section and into the swing tongue. Make sure to reattach any ground wires that may have been removed during installation. Route wiring through the swing tongue in a way to prevent it from rubbing on sharp edges. A wire grommet is included on HPB models. When closing the swing tongue, ensure wiring is not pinched between hinges.
Place the coupler over the swing tongue and secure it. Use one 1/2-13 x 4.00" hex bolt through the rear holes of the coupler and 1/2-13 x 1.25" hex bolts for the forward holes. Secure with 1/2" locknuts and torque to 75 ft-lbs. Refer to the Fulton Coupler Owner's Manual F1937 for coupler-specific warnings and instructions.
Route safety chains through the guide on the bottom of the swing tongue. Check that safety chains are long enough to reach a tow vehicle and will not bind or drag during normal towing conditions.
Yes. The installation process requires cutting the trailer tongue to the desired swing length using a metal cutting saw. This is a permanent modification that cannot be reversed. Ensure you measure carefully and verify all measurements before cutting, as the cut location must be at least 5" from any obstruction.
It depends on your kit model. HDPB models use bolt-on castings (drilled and bolted). HDPW models require welding. If welding is required, all welding must be performed by a certified AWS welder. The weld must be a 3/16" minimum fillet weld on all four sides of the casting.
The 1/2" bolts and locknuts used to secure safety chains must be torqued to 45 ft-lbs.
The special shoulder bolts and flange nuts securing the male and female castings must be torqued to 75 ft-lbs using a 3/4" box end wrench and T55 Torx bit.
The 5/8" pivot bolt with locknut must be torqued to 50 ft-lbs.
The coupler mounting bolts (1/2-13 x 4.00" for rear holes and 1/2-13 x 1.25" for forward holes) must be torqued to 75 ft-lbs with 1/2" locknuts.
The optional in-line actuator end casting uses 1/2" diameter grade-5 bolts and lock washers, torqued to 75 ft-lbs.
You will need drill bits in the following sizes: 1/8", 1/4", 3/8", and 1/2". The installation process requires drilling holes progressively larger, starting at 1/8" and increasing to 1/2" for the casting and safety chain bolts.
The maximum rated capacity depends on your trailer tongue size and desired pivot length. Refer to the pivot bracket capacity tables in the manual for your specific tongue size (2"x3", 3"x3", 3"x4", or 3"x5"). Never exceed the lesser of the coupler, hitch, hitch ball, vehicle, or trailer weight ratings. The rated capacity is also stamped on the coupler and actuator decals.
No. The manual explicitly states: "Do not mount any accessories to Fold-Away tongue (i.e. jack, spare tire carrier, winch stand)." Mounting such accessories may compromise the structural integrity and safety of the system.
Safety chains must be attached behind the castings on the trailer tongue. Do not attach safety chains to the coupler, swing tongue, or their existing hardware. Safety chains must be long enough for tight turns but not dragging, and must be properly connected to the towing vehicle and trailer (crossed, right to left and left to right).
Before towing, you must: check the swing tongue for signs of wear or damage and refer to installation instructions for proper torque; ensure safety chains are long enough for tight turns but not dragging and are properly connected (crossed); ensure all trailer lighting is hooked up and working correctly; check that wiring is properly connected but loose enough to make turns without disconnecting or damage, and is not dragging or near safety chains; when pivoting the coupler, ensure wiring and brake lines are not pinched between hinges; ensure the pivot bolt/locknut and hinge pin/hairpin cotter pin are installed and secured with the coupler in the towing position.
After installing the pivot bolt and hinge pin, remove the hinge pin and pivot the swing tongue to verify that the system works correctly. If the product is to be primed, painted, or galvanized, remove any excess buildup. Make sure operation has not been impaired. Then check that all trailer lighting is working correctly and that wiring is not pinched when the coupler is pivoted.
After closing the swing tongue, ensure that: the hinge pin is locked into place with the hairpin cotter pin; wiring is not pinched between hinges; all trailer lighting is working correctly; safety chains are properly routed and will not bind or drag during towing; and the coupler is in the towing position with the pivot bolt/locknut and hinge pin/hairpin cotter pin installed and secured.
The manual recommends checking the swing tongue for signs of wear or damage before towing and referring to installation instructions for proper torque. Replace any worn or damaged components with Fulton components. The manual does not specify a retorque interval or other routine maintenance procedures. For replacement components, contact Cequent Trailer Products Customer Service at 1-800-604-9466.
Yes. The manual specifies applying light grease to the 5/8" pivot bolt before securing it with the locknut, and applying light grease to the hinge pin before inserting it through the castings.
The F3510 fits steel trailer tongues with outside dimensions of 2"x3", 3"x3", 3"x4", or 3"x5" and material thickness between .188" and .120". It will not fit aluminum, composite, or other non-steel materials. Check your trailer tongue size and material before purchasing.
You will need a 1/2" drive ratchet, 15/16" and 3/4" wrenches and sockets, 7/16" socket for Torx bit, metal cutting saw, 1/2" drill with bits (1/8", 1/4", 3/8", 1/2"), torque wrench (80 ft-lbs capacity), tape measure, safety glasses, gloves, centerpunch, clamp, square, hammer, jack stand, and wheel chocks.
Yes. You must remove all wiring and brake lines from the trailer tongue before cutting or drilling to prevent damage. After installation, all wiring and brake lines must be properly re-routed and connected.
Yes. The HDPB bolt-on model requires drilling the trailer tongue to 1/2" diameter for the castings (eight holes) and safety chains (four holes). The holes are drilled progressively from 1/8" to 1/2". The HDPW weld-on model requires welding by a certified AWS welder instead of drilling.
Safety chain bolts: 45 ft-lbs. Casting fasteners: 75 ft-lbs. Pivot bolt: 50 ft-lbs. Coupler mounting bolts: 75 ft-lbs. Optional actuator casting: 75 ft-lbs. Use a torque wrench capable of 80 ft-lbs.
No. Safety chains must be attached behind the castings on the trailer tongue only. Do not attach them to the coupler, swing tongue, or their existing hardware.
Check the swing tongue for wear or damage, ensure safety chains are properly connected and not dragging, verify all trailer lighting works, confirm wiring is not pinched or dragging, and ensure the pivot bolt/locknut and hinge pin/hairpin cotter pin are installed and secured with the coupler in the towing position.
Remove the hinge pin and manually pivot the swing tongue to verify the system works correctly. If the product has been primed, painted, or galvanized, excess buildup may impair operation—remove any buildup. Ensure the pivot bolt is torqued to 50 ft-lbs and the hinge pin is properly inserted and secured with the hairpin cotter pin. If operation is still impaired, contact Cequent Trailer Products Customer Service at 1-800-604-9466.
Stop using the product immediately. Pinching can damage wiring and brake lines. Remove the hinge pin and open the swing tongue. Re-route the wiring through the swing tongue to prevent rubbing on sharp edges. Ensure wiring is not pinched between hinges when closing the swing tongue. A wire grommet is included on HPB models to help protect wiring. If damage has occurred, contact Cequent Trailer Products at 1-800-604-9466 for replacement components.
Verify that all trailer lighting is hooked up and working correctly. Check that wiring has been properly re-routed through the swing tongue and is not pinched or damaged. Ensure all ground wires that were removed during installation have been reattached. Check that wiring is not dragging or near safety chains. If lighting still does not work, there may be a wiring connection issue—consult your trailer manufacturer or a qualified technician.
Stop towing immediately. Remove the hinge pin and open the swing tongue. Re-route the safety chains through the guide on the bottom of the swing tongue. Ensure the chains are long enough to reach the tow vehicle but will not bind or drag during normal towing conditions. If the chains are too short, they must be replaced with longer chains. Close the swing tongue and verify chains are properly routed before resuming towing.
On Sale Today
Original price was $1,700.00. Current price is $1,499.90.You save $200.10 (12%)
Free Shipping
Ships free on all orders
 Authorized Dealer

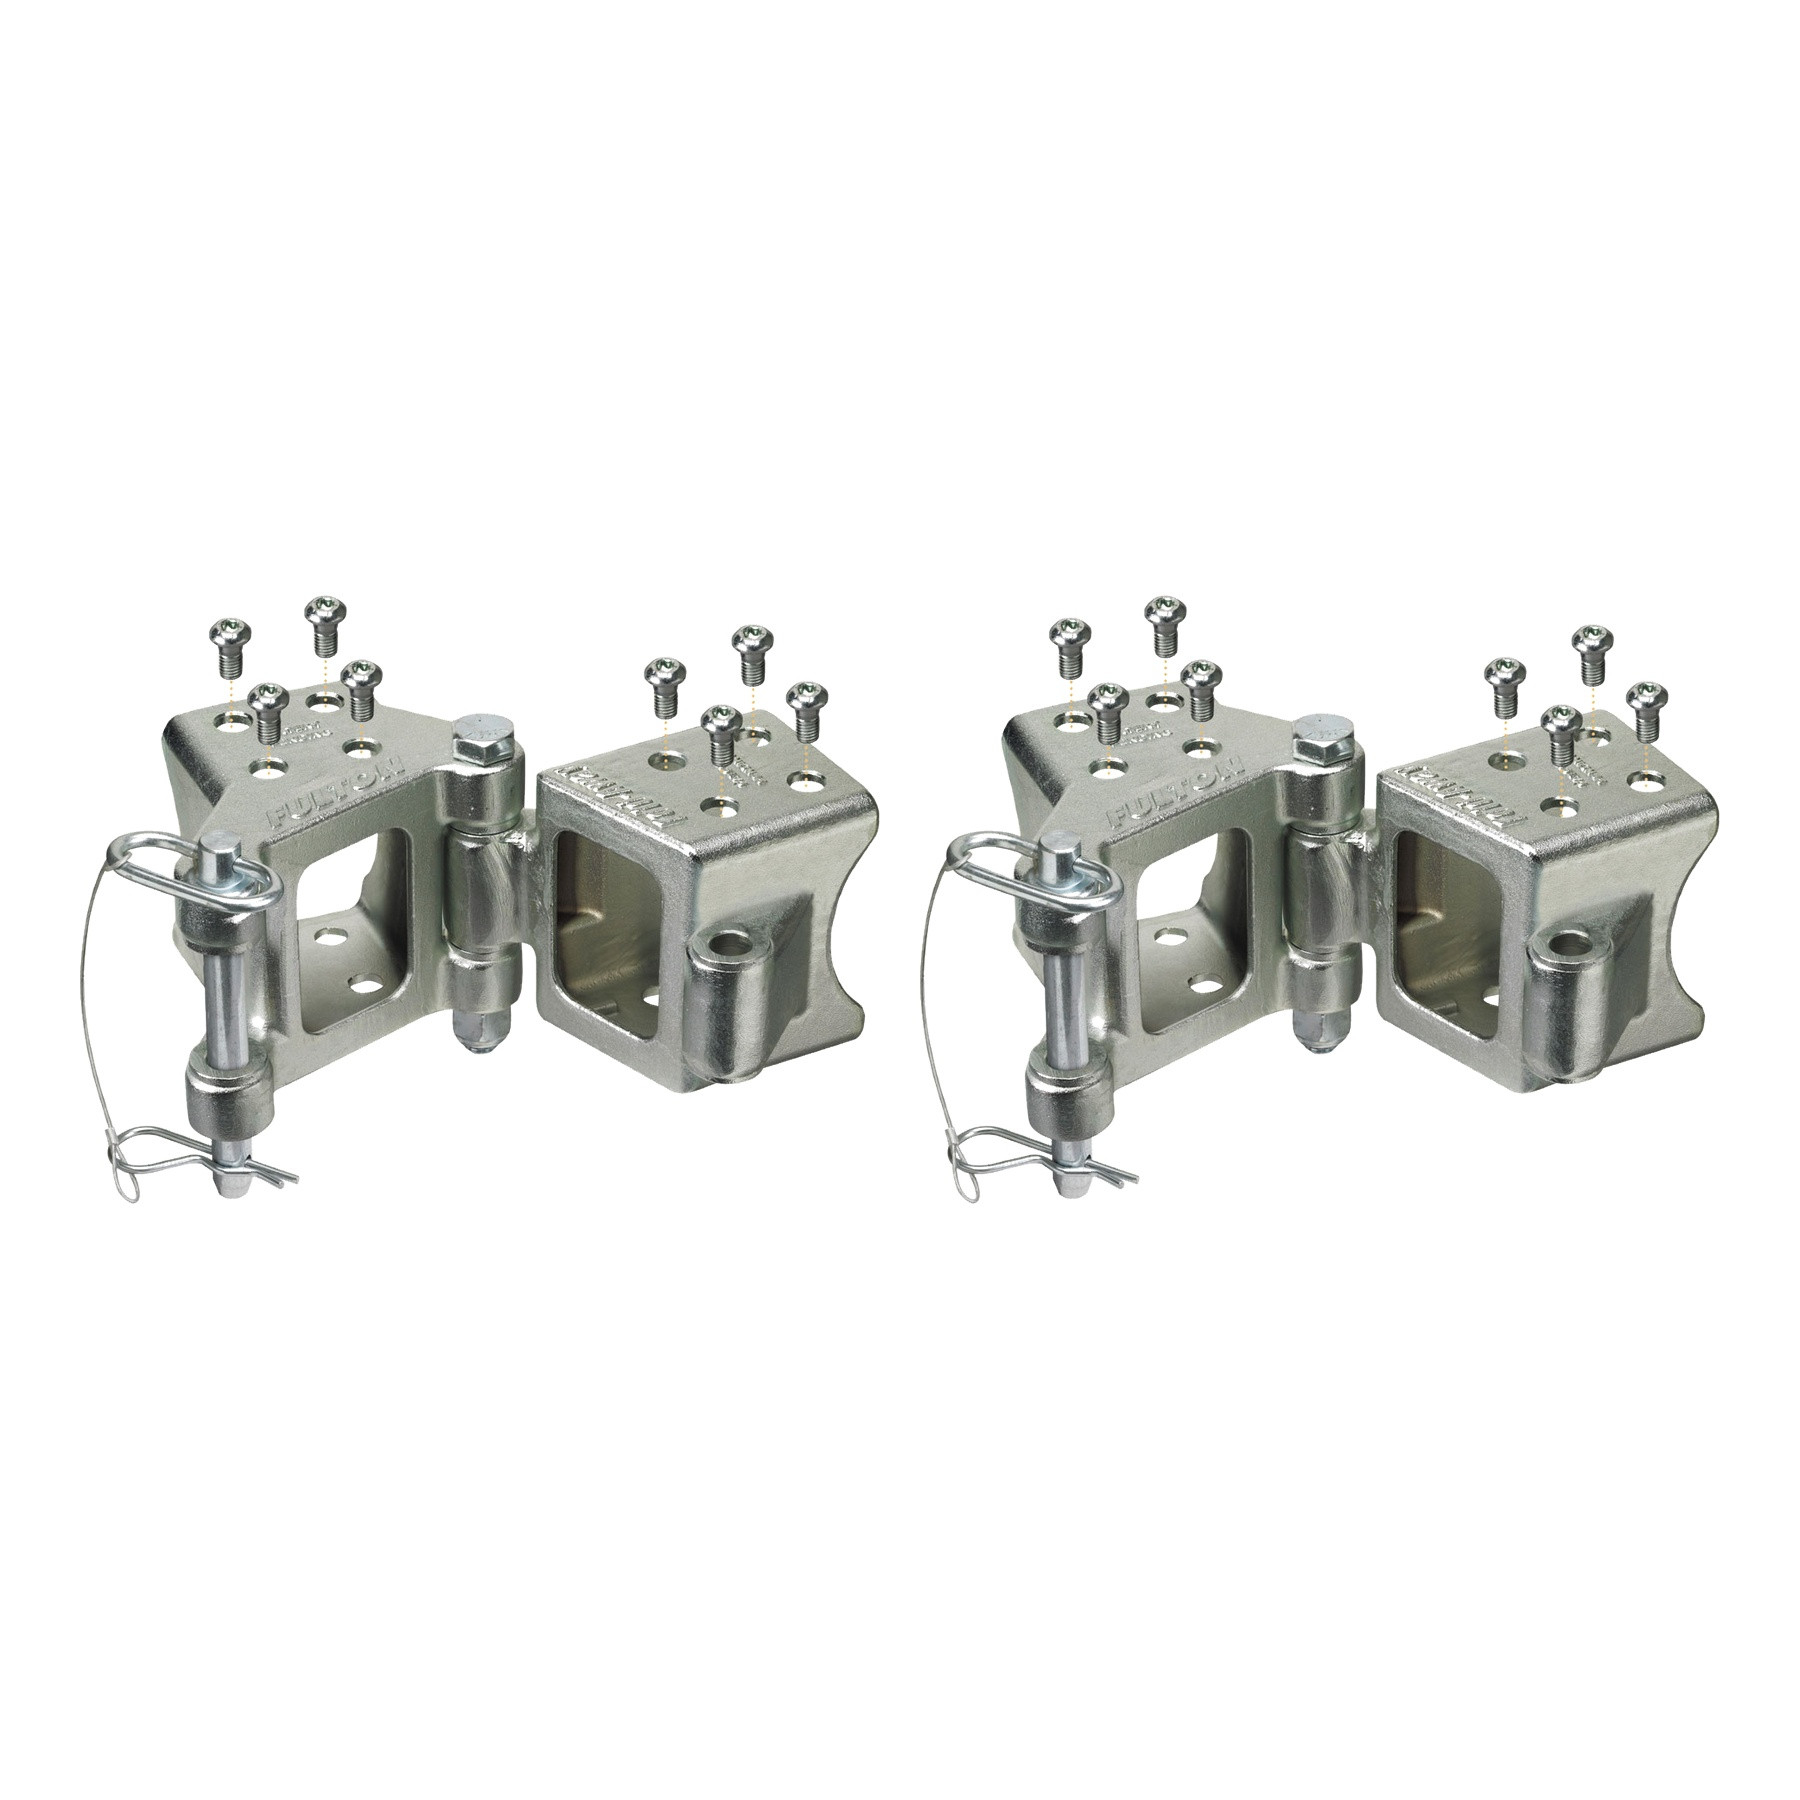
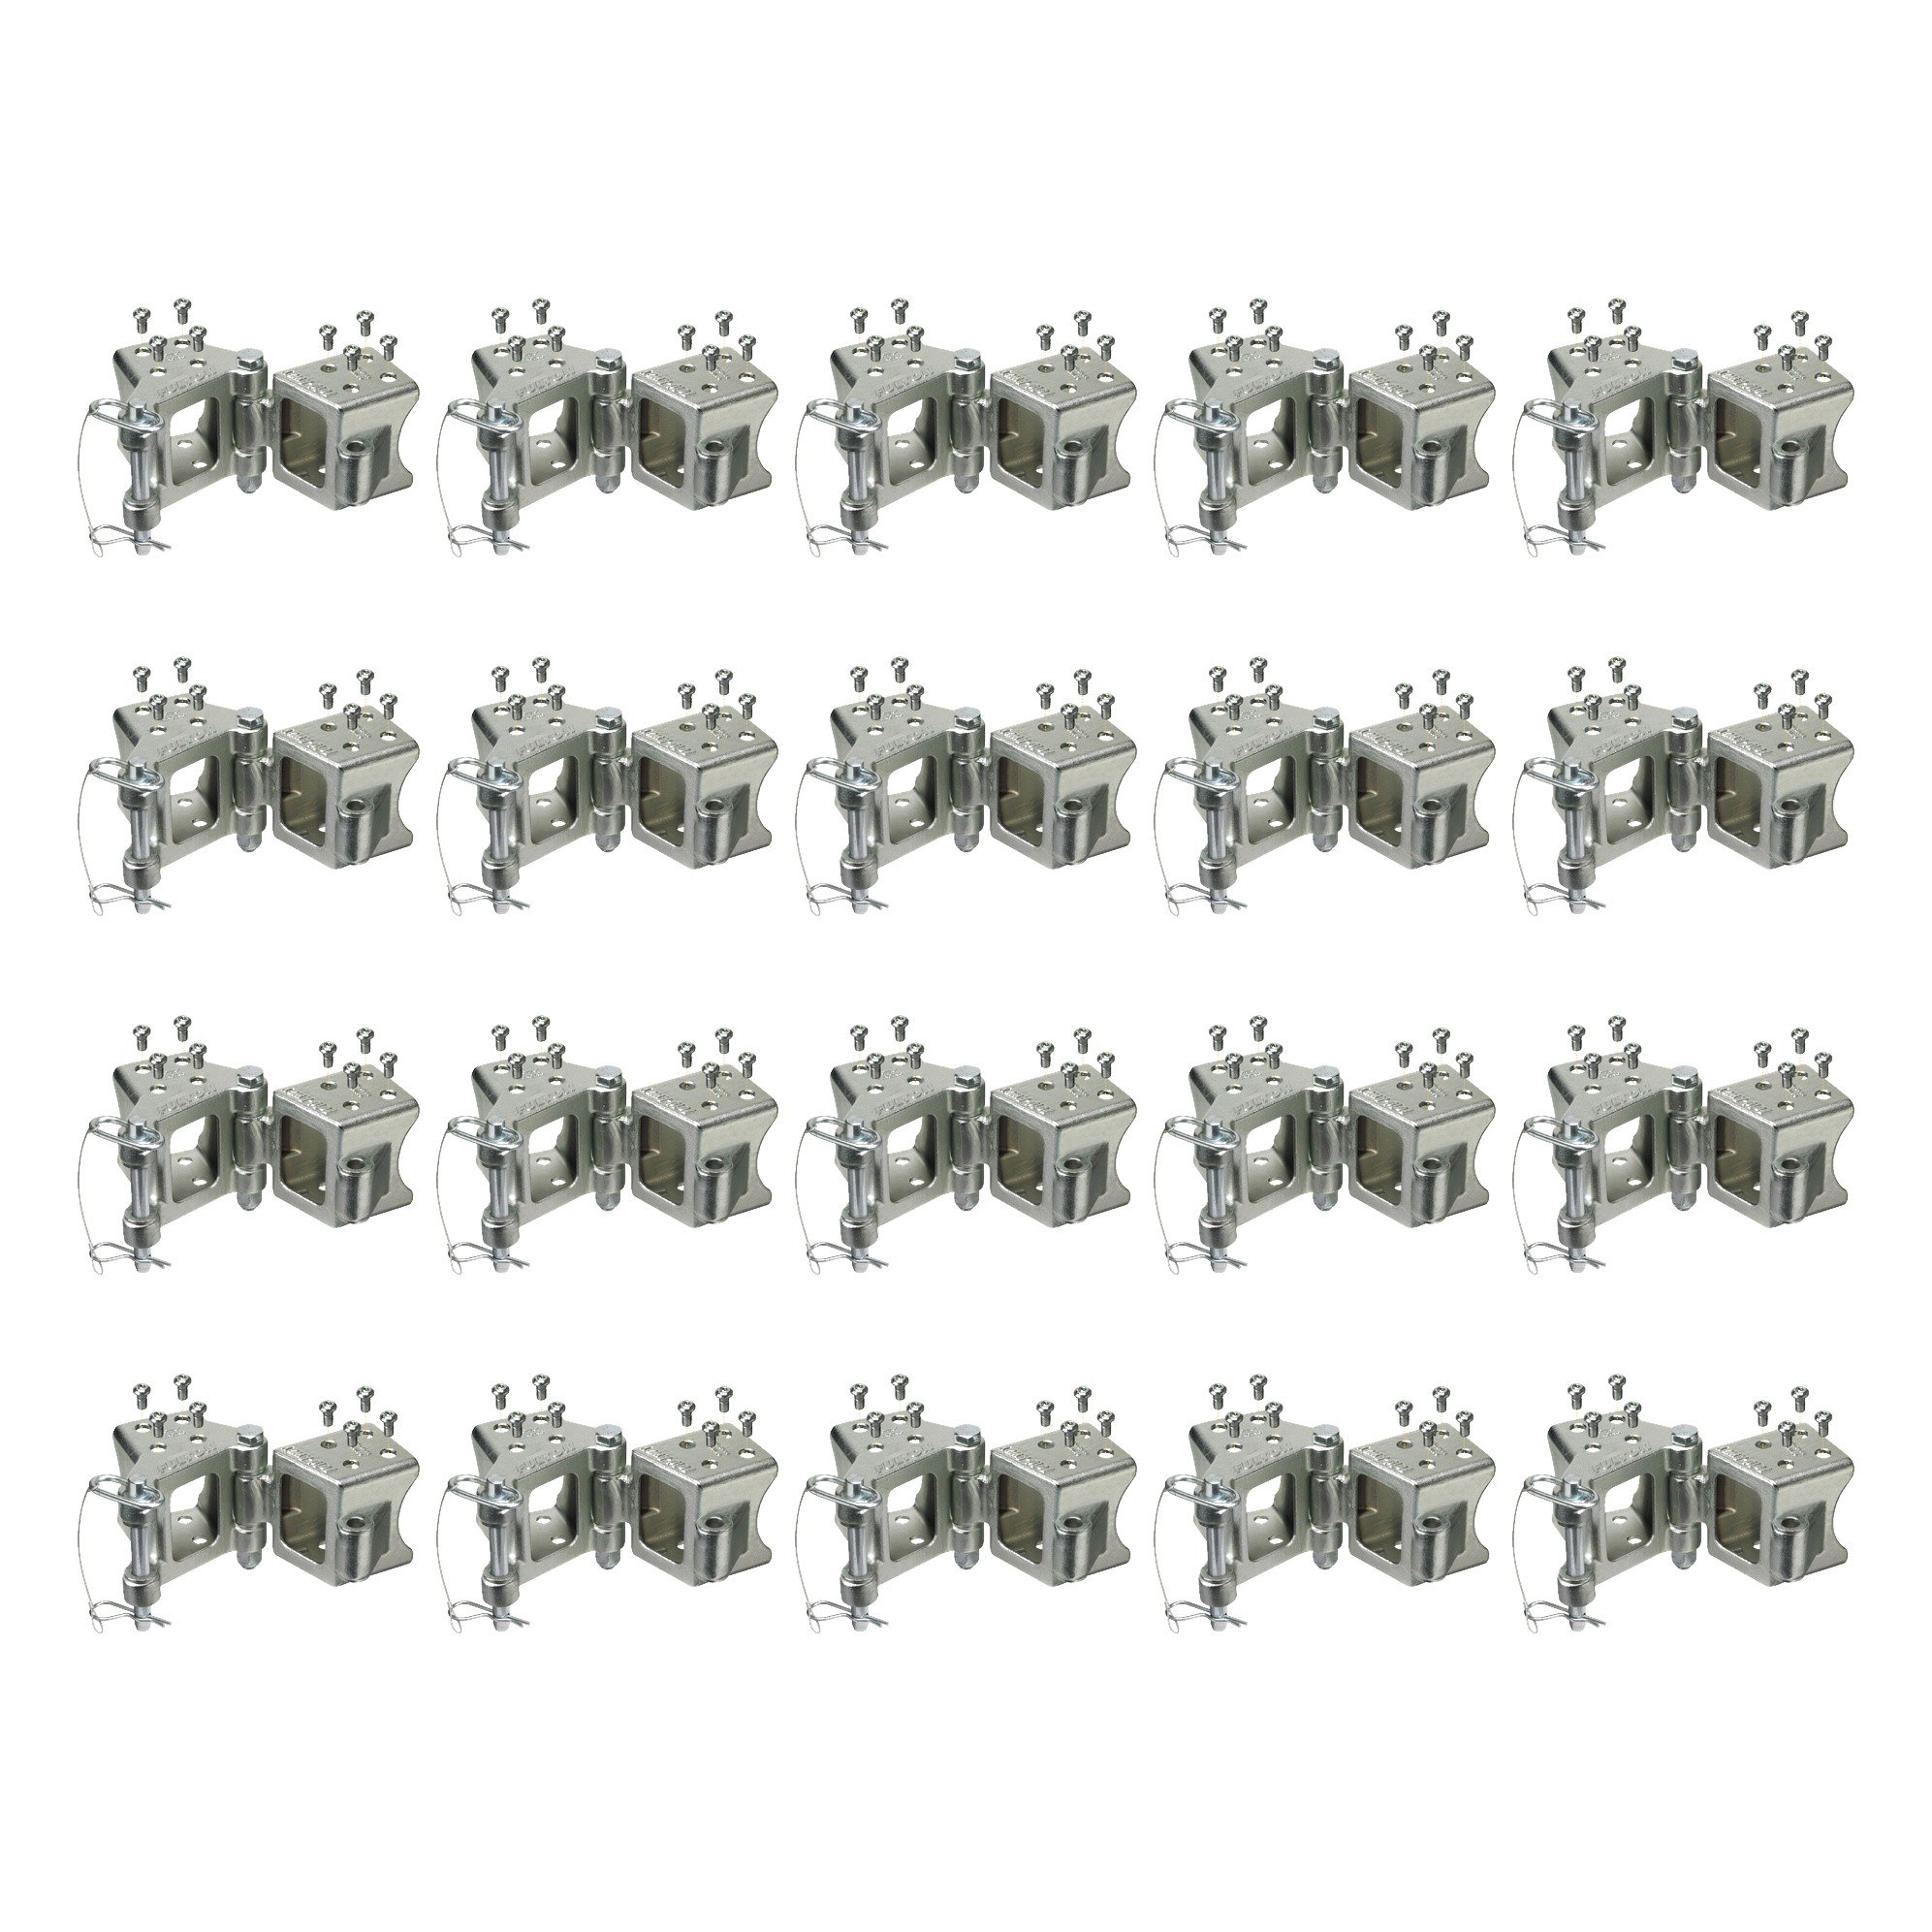
FREE ShippingFREE SHIPPING
Estimated delivery Sat, Oct 17 - Tue, Oct 20
Order before 2 PM EST Monday–Friday for same-day processing
Guaranteed safe & secure checkout
No reviews have been added for this product.