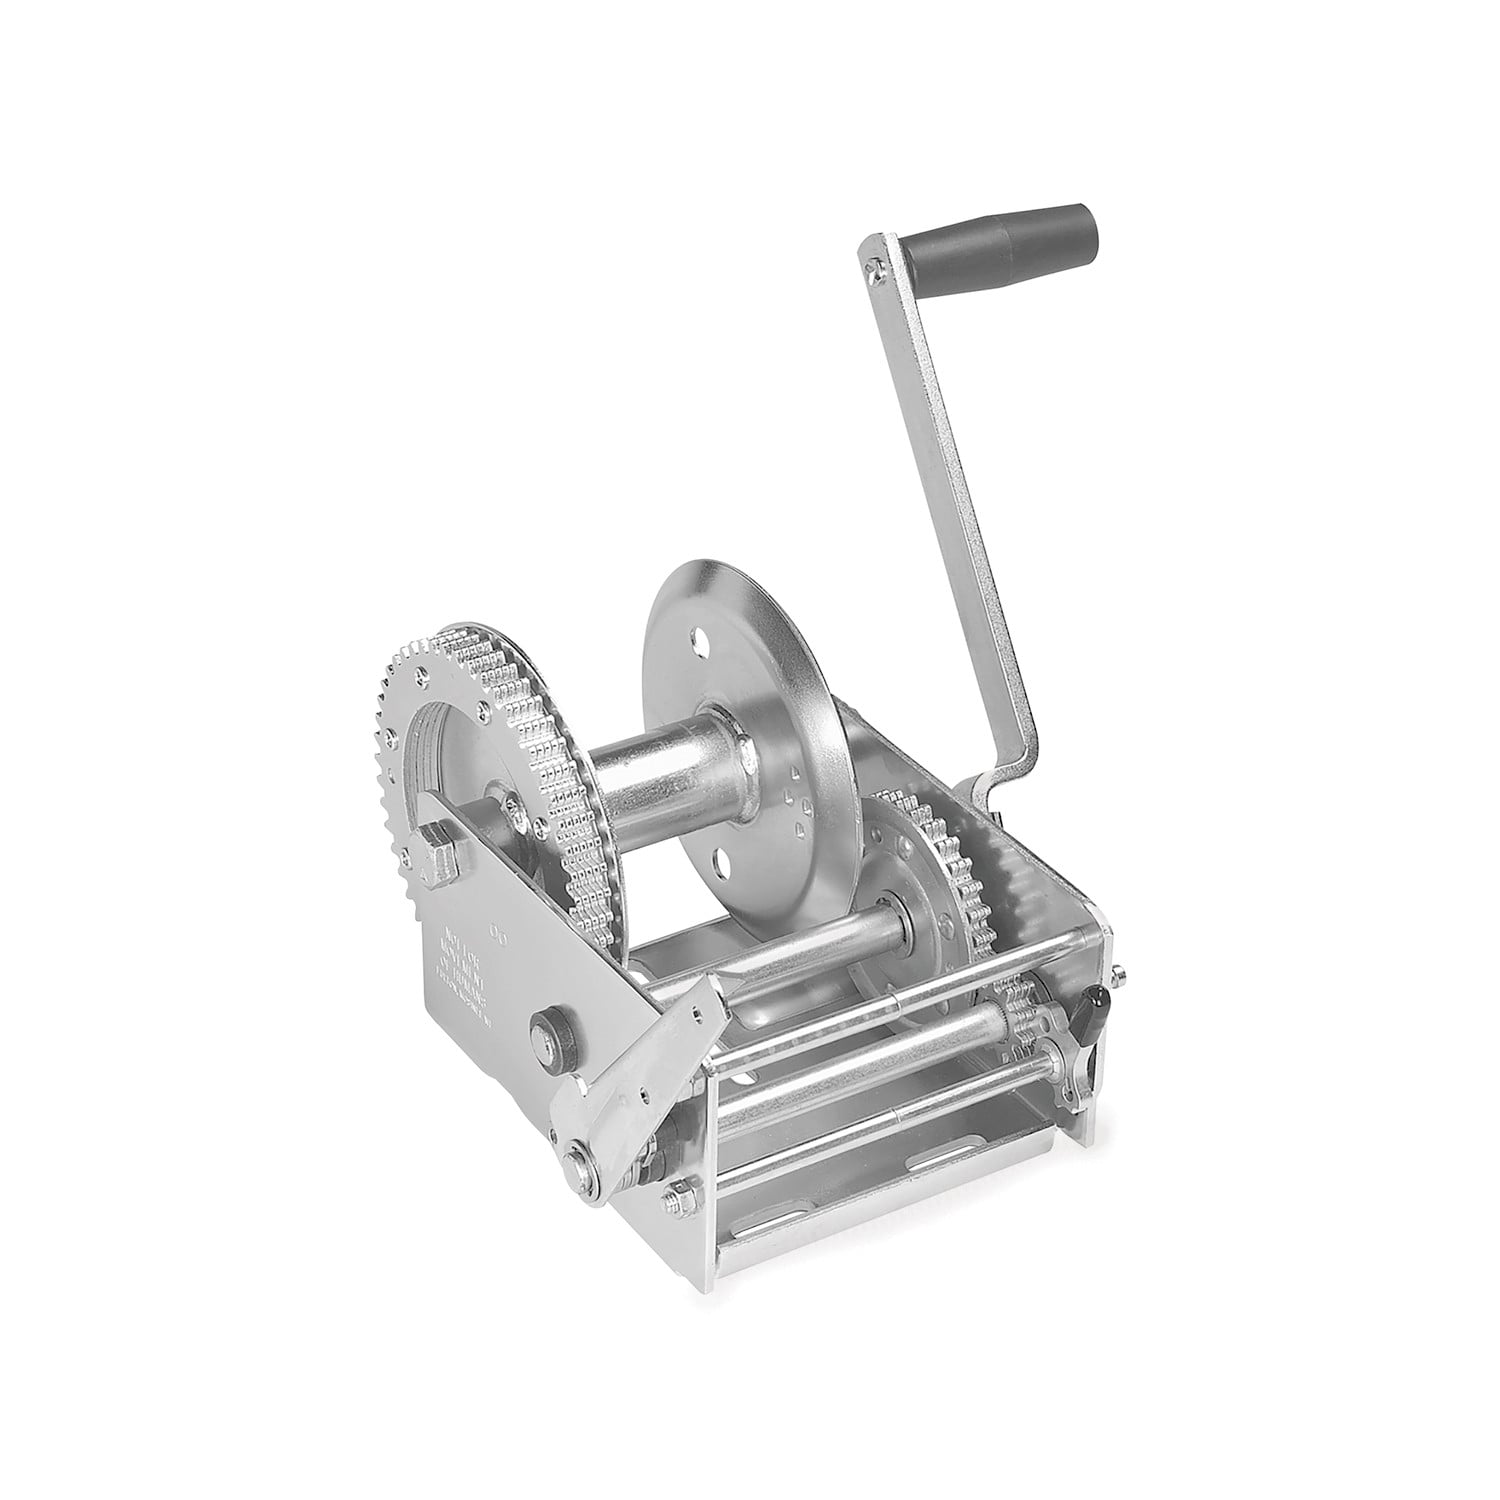
Fulton Trailer Winch, Two-Speed, 3,700 lbs. Capacity, No StrapFultonOriginal price was $448.75. Current price is $354.34.Out of Stock
View productOur in-house experts typically reply within one business day.

Fulton
On Sale Today
Original price was $897.50. Current price is $708.68.You save $188.82 (21%)
Free Shipping
Ships free on all orders
 Authorized Dealer


Always the correct part
We know our products
Quality Products
Free Shipping!
Always the correct part
We know our products
Quality Products
Free Shipping!
FREE ShippingFREE SHIPPING
Estimated delivery Sat, Sep 26 - Tue, Sep 29
Order before 2 PM EST Monday–Friday for same-day processing
Guaranteed safe & secure checkout
Complete kit bundle containing all necessary components for your project. Professional-grade components designed for reliable performance and long-lasting durability.

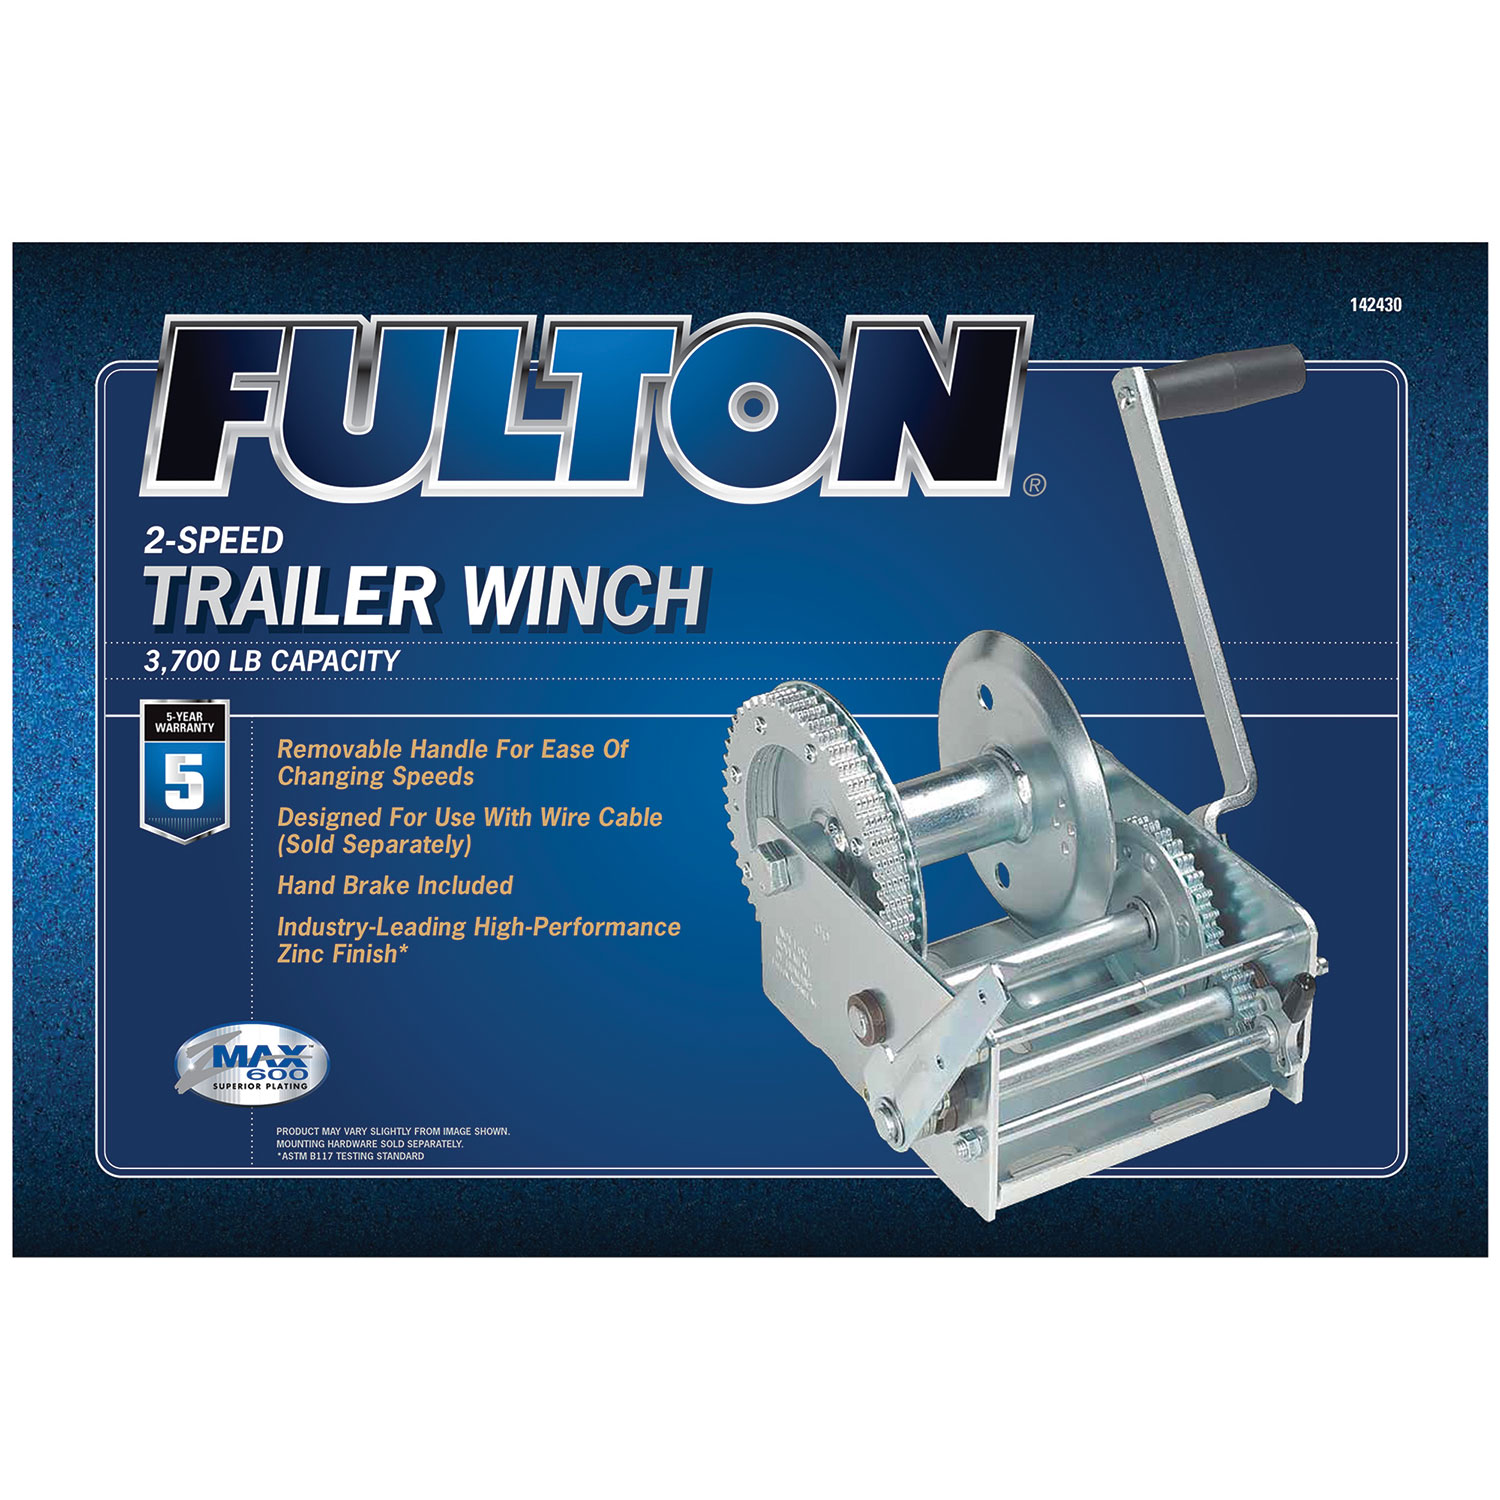
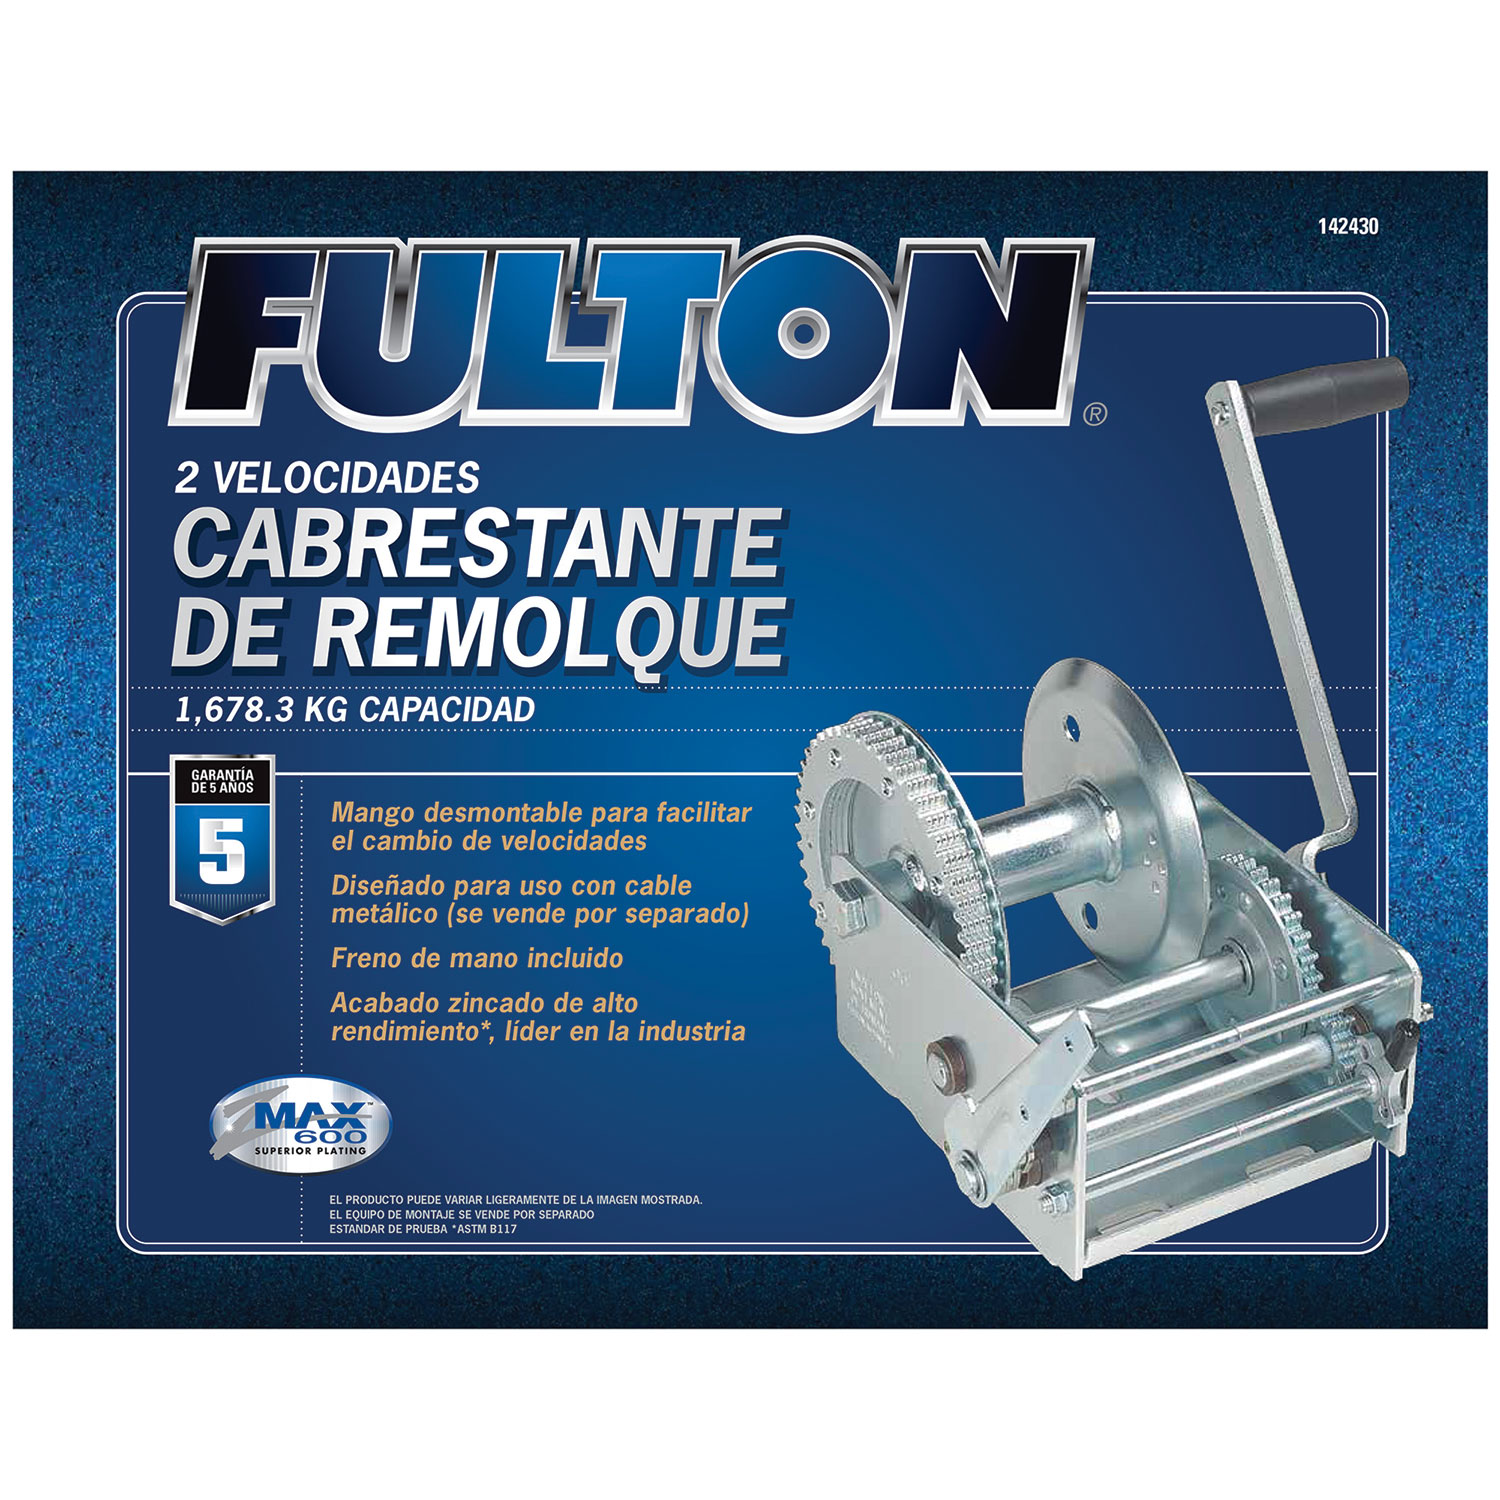
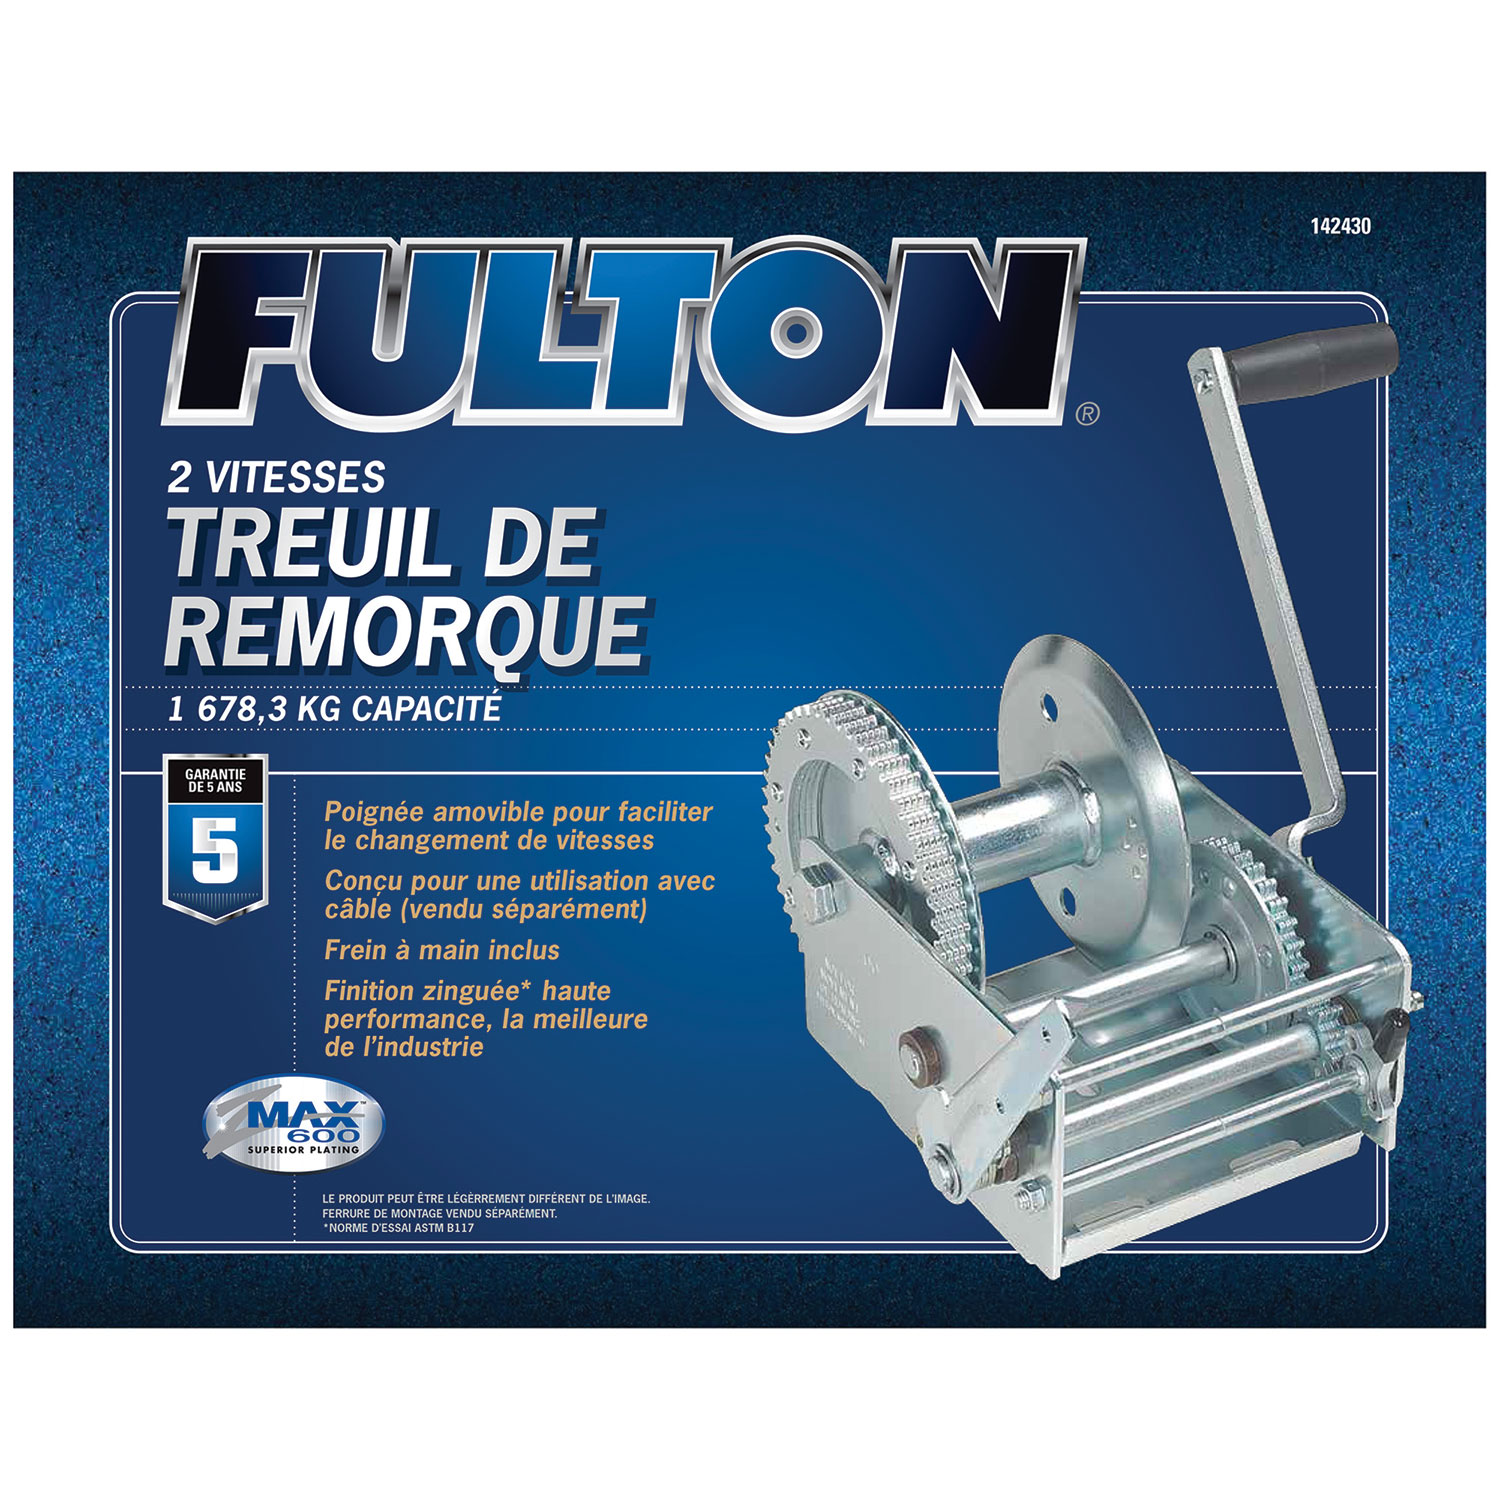
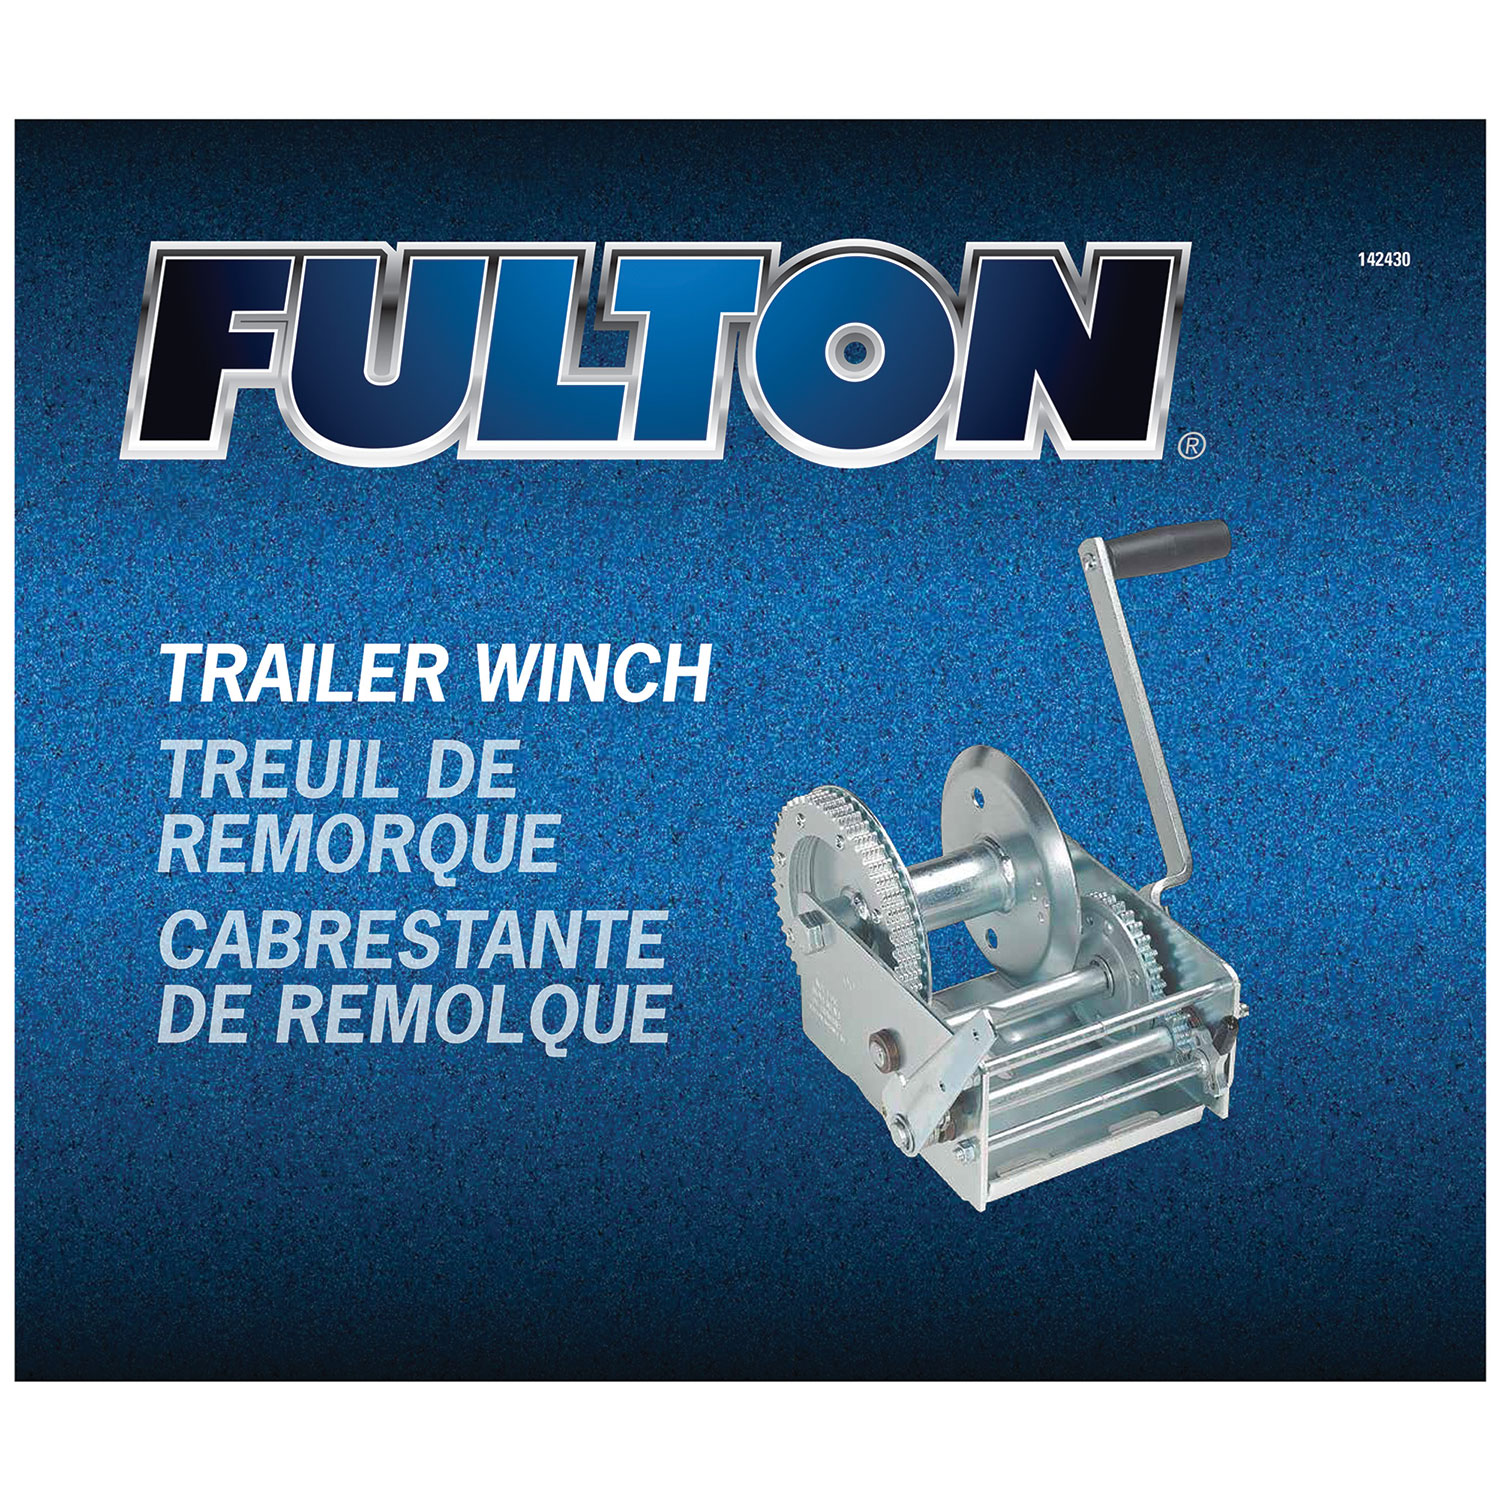
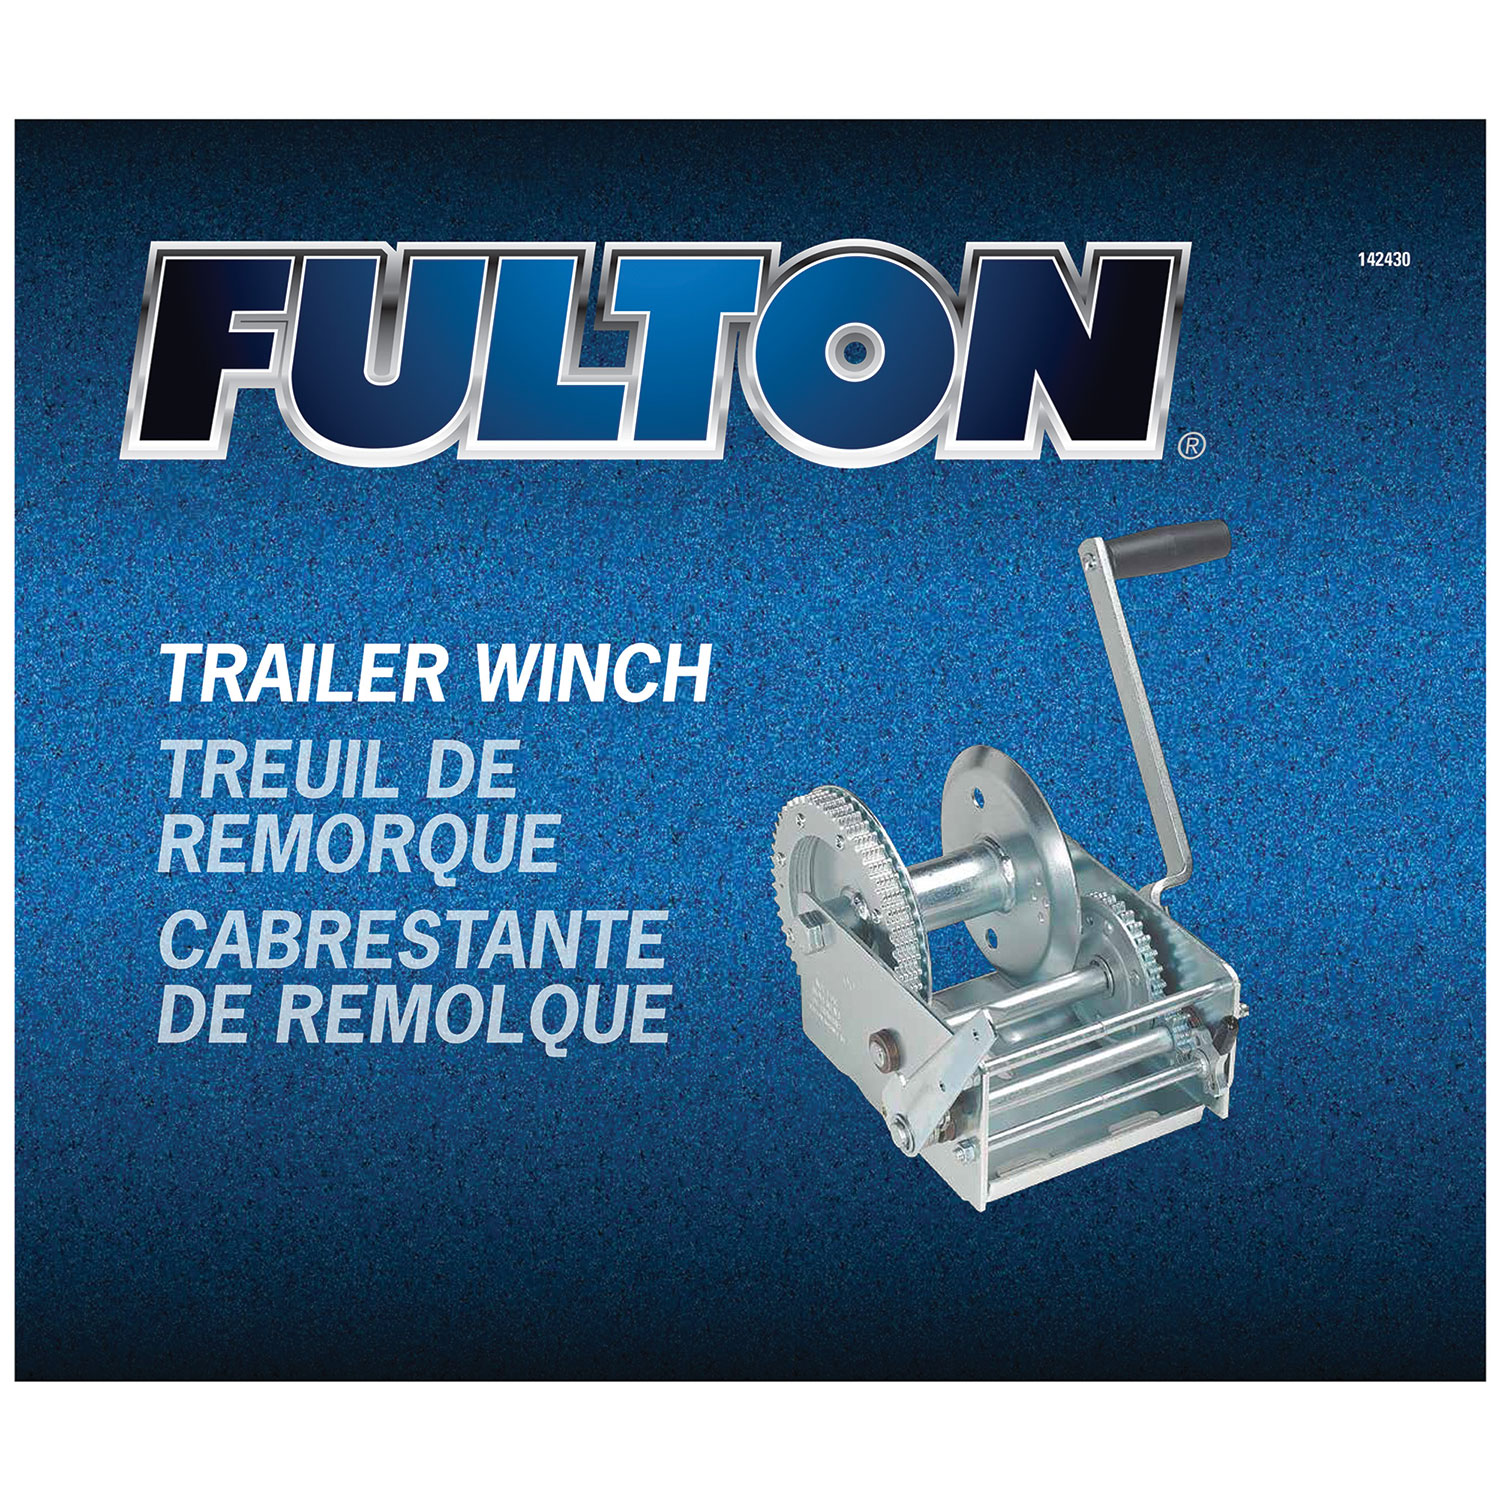
Fulton two speed trailer winches are designed to make light work of heavy loads. Featuring one fast speed for quick pull-in, and a second low speed for increased mechanical advantage, these winches also include a shift lock design which allows changing gears without moving the crank handle from shaft to shaft. Simply lift the shift lock and slide the shaft into the desired position to hold the shaft in gear.
| BRAND: | FULTON |
| PART NUMBER: | 142430 |
| WARRANTY: | LIMITED 5 YEAR WARRANTY |
| WEIGHT: | 24.05 LBS |
| CAPACITY: | 3,700 LBS. |
| UNIVERSAL OR SPECIFIC FIT: | UNIVERSAL |
| LENGTH: | 140 FT. |
| TYPE: | BRAKE |
| WATERPROOF: | YES |
| HOOK INCLUDED: | YES |
| BRAKE ACTIVATION: | MANUAL |
| RATED LINE PULL: | 3,700 LBS. |
| MATERIAL: | STEEL |
| FREE SPOOLING: | YES |
| HARDWARE INCLUDED: | NO |
| FRAME MATERIAL: | STEEL |
| COLOR: | SILVER |
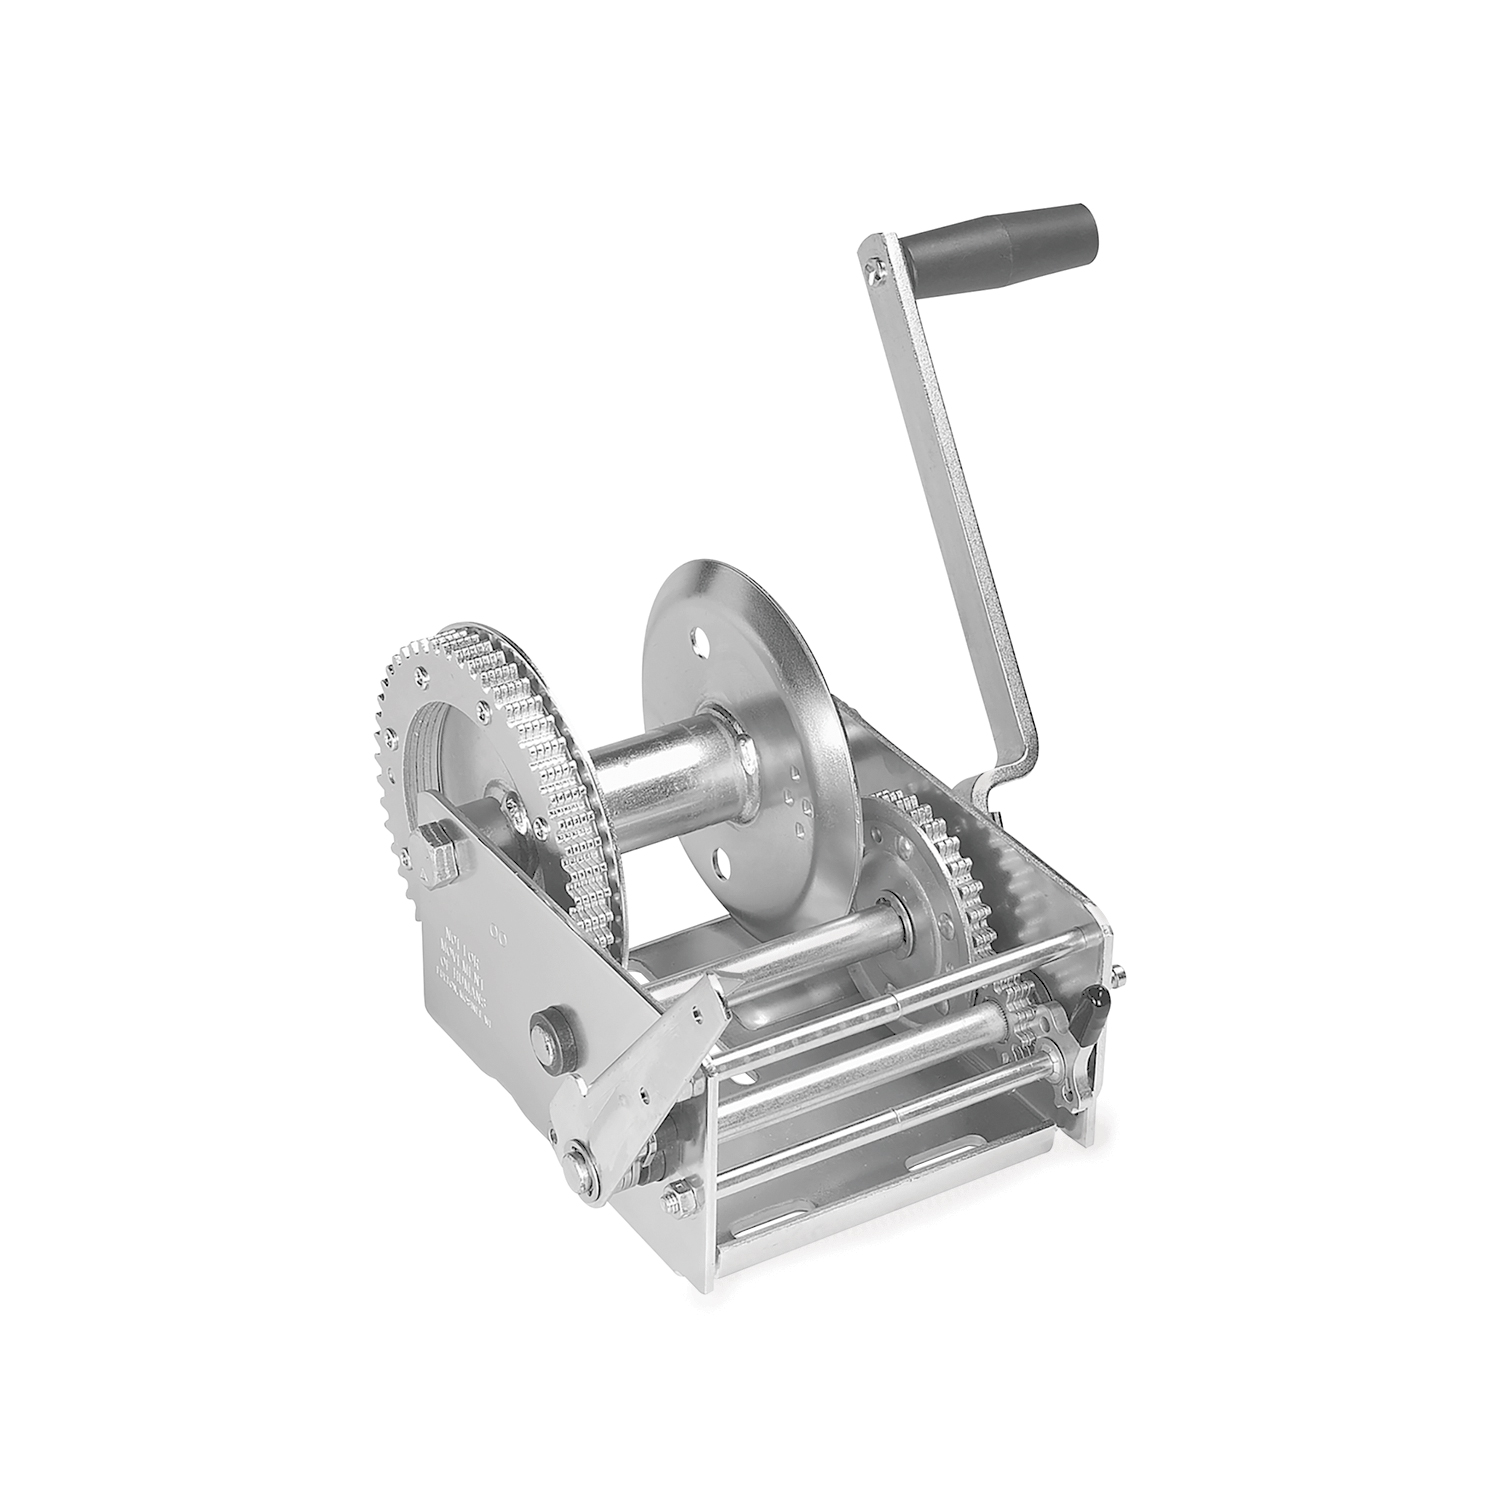
Keywords: FL142430-2PK bundle kit, complete kit, professional components, industrial kit, FL142430, Fulton

Fulton has produced marine and utility trailer hardware for more than a century, and its jacks, winches and couplers are a standard for light and medium-duty trailering. The XLT and F2 series cover swivel and fixed jacks, hand and powered winches from 1,500 to 3,200 pounds, and couplers built to keep working in wet, salty conditions.
With more than a hundred years of production behind it, Fulton has become the reference point for light and medium-duty trailer hardware, particularly on the marine side. That environment is the toughest test a trailer component faces. A boat trailer is reversed into fresh or salt water on every launch and left to sit wet, which finds every weakness in plating, sealing and material choice. Fulton's stated position is that the brand performs best when the weather is at its worst, and its product engineering reflects that. It sits within the Horizon Global towing group alongside Reese, Draw-Tite, Bulldog, Tekonsha and Wesbar.
Marine and utility jacks anchor the line. The XLT Series marine jack uses a bolt-through swivel mount built from three-dimensionally formed heavy-gauge steel stampings with a proprietary bushing material, a combination chosen to minimise deflection under tongue load while keeping the swivel action working after years of exposure. The F2 Series takes corrosion resistance further as the industry's only extruded aluminium marine jack with an anodised finish, which removes the rust problem at its source rather than coating over it. The wider trailer jack range covers topwind, sidewind and drop-leg configurations.
Trailer winches pull boats onto bunks and rollers. XLT Series winches use efficient gear ratios, full-length drum bearings, oil-impregnated shaft bushings and a Comfort Grip handle that makes the last few turns under load bearable, in 1,500 and 1,800 pound capacities. F2 Series winches use an enclosed frame for a cleaner look and added protection, in 1,600, 2,000 and 3,200 pound models, including two-speed options that trade line speed for cranking effort.
Couplers complete the range, including A-frame couplers matched to common tongue sizes and load ratings, serving boat owners, utility trailer users and trailer manufacturers.
Experts available to answer your questions
Call 888-634-94945 Years
Cequent trailer winches are available in single-speed and two-speed models ranging from 900 lbs to 3700 lbs rated capacity. The specific capacity of your winch is stamped or marked on the product decals. Refer to the Winch Information Chart in the manual for your model's exact capacity. If uncertain, contact Cequent Performance Products at 1-800-632-3290 or www.cequentgroup.com.
This winch is designed for manual operation only. The load rating is based on an intermittent duty cycle. Do not attempt to power or motorize the winch.
No. Only winches with a hub diameter of 1 3/4" can accommodate steel cable. Winches designed for steel cable have a larger drum hub to reduce bending fatigue and extend cable life. Check the Winch Information Chart to confirm your model supports steel cable; models showing 'N/A' in the Steel Cable column cannot use steel cable. Neatly wrapping the cable is necessary to reduce the chance of kinking or fraying.
Your winch can accommodate rope, strap, or steel cable, depending on its design. Refer to the Winch Information Chart to see which line types your specific model supports. Rope requires no bolts or clamps. Strap requires a grade-5 cross bolt through the drum. Steel cable requires a 1 3/4" hub diameter and is secured with a clamp. The manual provides specific attachment instructions for each type.
Three 3/8" diameter grade-5 bolts are required. Mounting bolts vary in length for each application, so you must determine the correct length for your specific mounting surface. The bolts are not supplied with the winch. The winch stand must be capable of supporting at least five times the rated capacity of the winch, and the mounting surface must be equal to or greater than the footprint of the winch frame.
A grade-5 bolt of the largest possible diameter is required for strap mounting. Refer to the Winch Information Chart for your specific model's strap bolt size. For single-speed winches, sizes range from M6 x 65mm (metric) or 1/4" x 2-3/4" (standard) up to 3/8" x 2-3/4" for two-speed models. Do not over-tighten the locknut, as this can deform the drum.
Yes, if attaching a strap without a strap anchor to a plastic-covered winch, you must remove the drum bolt and gently separate the plastic cover to allow the winch drum to be removed. Install the strap according to the instructions, then re-install the winch drum as it was before. This is not necessary if your winch includes a strap anchor, which allows the strap loop to pass under the cross bolt without drum removal.
Attaching a rope requires no bolts, nuts, or clamps. The rope must weave through the drum outer wall and be secured beneath itself, as shown in the illustration in the manual. Always maintain a minimum of three complete wraps of rope on the drum.
Pass the cable from the inside of the drum through one of the dimpled holes in the outer plate. Loop the cable around the drum bearing, under itself, and leave 1" of cable extending past the clamp location. Tighten the clamp nuts to approximately 2 ft-lbs. Always maintain a minimum of three complete wraps of cable on the drum. Neatly wrap the cable to reduce the chance of kinking or fraying.
Assemble the handle onto the flatted input shaft end. Tighten the 1/2" - 13 locknut against the handle and torque to 22-25 ft-lbs. Do not over-torque, as this can damage the handle assembly.
Torque the 1/2" - 13 handle locknut to 22-25 ft-lbs. Do not over-torque.
On single-speed winches, torque the drum locknut to 9-10 ft-lbs. Be sure not to over-tighten, as this may crush the spacer between the frame and keep the drum from turning.
On two-speed winches, torque the drum locknut to 24 ft-lbs. Be sure not to over-tighten, as this may crush the spacer between the frame and keep the drum from turning.
When attaching the winch to the mounting structure, use three 3/8" diameter grade-5 bolts and torque to 28-30 ft-lbs. Mounting bolt lengths vary by application, so verify the correct length for your specific installation.
Tighten the clamp nuts securing the steel cable to approximately 2 ft-lbs.
Drum hub diameter varies by model and capacity. Refer to the Winch Information Chart in the manual for your specific model. Single-speed winches range from 0.64" to 1.00" hub diameter. Two-speed winches range from 1.00" to 1.75" hub diameter. Only winches with a 1 3/4" (1.75") hub diameter can accommodate steel cable.
Handle length varies by model and capacity. Refer to the Winch Information Chart in the manual for your specific model. Single-speed winches have handle lengths of 7" or 8". Two-speed winches have handle lengths of 10".
Gear ratio varies by model and capacity. Refer to the Winch Information Chart in the manual for your specific model. Single-speed winches range from 3.25:1 to 4.1:1. Two-speed winches offer dual ratios such as 4.1:1 & 9.8:1, 5.1:1 & 12.2:1, or cable-only models with 5.1:1 & 12.2:1.
Drum storage capacity varies by model and line type. Refer to the Winch Information Chart in the manual for your specific model. For example, a 900 lb single-speed winch holds 36' x 1/4" rope or 15' x 2" strap. Capacity is based on direct line pull on the first layer of line on the drum. Capacity is reduced as line builds up on the drum as defined on the frame.
Winches require a maximum of 45 lbs of handle force to pull their rated load. If you cannot crank the winch with one hand, you are potentially overloading the winch. Excessive force in turning the winch handle may indicate overload. Never attempt to exceed the rated capacity.
A loud clicking sound from the ratchet must be heard when lifting the load. This indicates the ratchet pawl is properly engaged. If a loud clicking sound is not heard, do not use the winch and replace ratchet components immediately.
No. Winches are not designed to secure boats to trailers while towing. Boat tie-downs should be used for this purpose.
Before use, perform these checks: (1) Inspect rope, strap or cable and replace if damaged. (2) Check mounting hardware for proper tightness and tighten if necessary. (3) Apply a drop or two of #30 weight engine oil to each bushing I.D. and to the ratchet pawl pivot points. Maintain a thin layer of chassis grease on the gear teeth.
Before turning the handle, firmly grip the winch handle and disengage the ratchet pawl or engage it in the reverse direction. You may have to take in a small amount of line to allow the ratchet pawl to unload. With a firm grip on the winch handle, slowly let out line. If you must stop before the load is fully out, be sure the ratchet pawl is engaged in the forward or loading position and gradually release the winch handle to be sure the ratchet pawl is holding the load.
Be sure the ratchet pawl is engaged in the forward or loading position. As you turn the handle, make sure the cable, strap, or rope is winding onto the drum properly. If you must stop before the load is fully in, be sure the ratchet pawl is engaged and gradually release the winch handle to be sure the ratchet pawl is holding the load.
Apply the brake to help control the load by pressing down on the hand brake lever. Do not let go of the winch handle while letting line out, and do not attempt to stop a spinning winch handle.
Make sure that the ratchet pawl is properly engaged and holding the load before attempting to change gears. For 3700 lb. winches, change gears by relocating the winch handle onto a different input shaft. For other two-speed winches, shift by disengaging the shift lock lever, sliding the input shaft, and reengaging the shift lock lever. The shift lock lever must be firmly in place in an inner or outer groove on the input shaft during winch operation. Inner and outer grooves engage the drive gear; the center groove is neutral.
Check final installation and make sure the winch is secure to the mounting structure. Verify that all mounting bolts are torqued to 28-30 ft-lbs and that the winch stand is capable of supporting at least five times the rated capacity of the winch. Ensure the mounting surface is equal to or greater than the footprint of the winch frame.
Periodically check mounting hardware for proper torque and tighten if necessary. Before each use, inspect the cable, strap or rope and its attachment to make sure they are not damaged. Never use them if they are worn, kinked, or frayed. Always replace bent, broken, or worn parts before using the product.
Apply a drop or two of #30 weight engine oil to each bushing I.D. and to the ratchet pawl pivot points. Maintain a thin layer of chassis grease on the gear teeth. This should be done before initial use and periodically during operation.
Always inspect the cable, strap or rope and its attachment before each use to make sure they are not damaged. Never use them if they are worn, kinked, or frayed. If the cable or attachment breaks, the cable will whip violently, causing property damage, serious bodily injury, and/or death. Replace damaged line immediately before using the winch.
A loud clicking sound from the ratchet is normal and indicates the ratchet pawl is properly engaged and holding the load safely. This is the expected sound during operation.
If a loud clicking sound is not heard when lifting the load, do not use the winch. Replace ratchet components immediately. The ratchet pawl may not be properly engaged, which creates an unsafe condition.
Excessive force in turning the winch handle may indicate overload. Winches require a maximum of 45 lbs of handle force to pull their rated load. If you cannot crank the winch with one hand, you are potentially overloading the winch. Reduce the load immediately.
Over-tightening the drum locknut can crush the spacer between the frame and prevent the drum from turning. On single-speed winches, torque the drum locknut to only 9-10 ft-lbs. On two-speed winches, torque to 24 ft-lbs. Loosen the locknut slightly and verify the drum rotates freely.
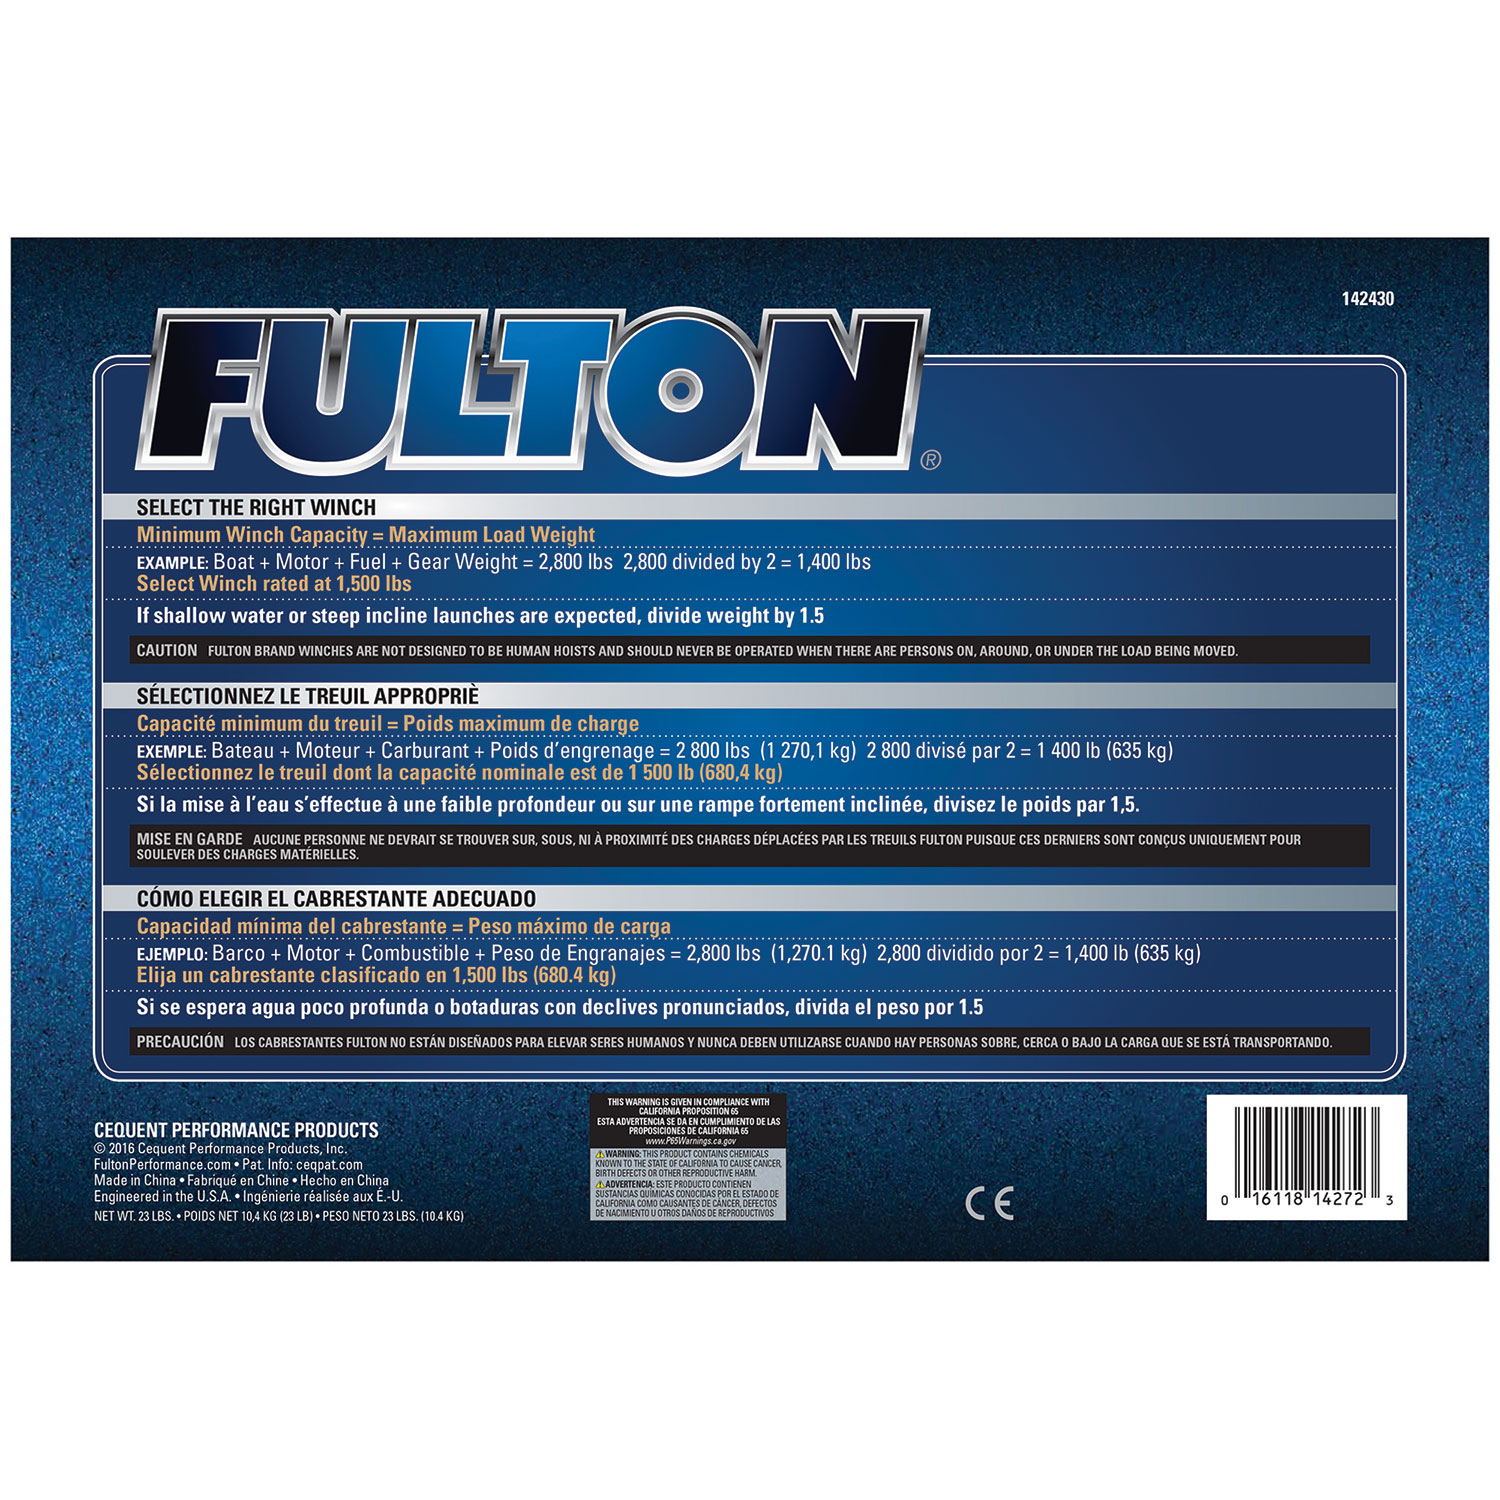
The winch stand must support at least 5 times the rated capacity, and the mounting surface must equal or exceed the winch frame footprint. Mounting bolts vary in length by application. Verify your trailer's mounting structure meets these requirements and consult the manual's Winch Information Chart for your model's specifications.
Three 3/8" diameter grade-5 bolts (not supplied) are required, torqued to 28-30 ft-lbs. Bolt lengths vary by application. The mounting surface must equal or exceed the winch frame footprint, and the stand must support at least 5 times the winch's rated capacity.
The manual does not specify whether drilling is required. This depends on your trailer's existing mounting structure. Consult your trailer manufacturer or a professional installer to determine if drilling is necessary for your specific application.
Torque the 1/2" - 13 handle locknut to 22-25 ft-lbs. Do not over-torque.
Use a maximum of 45 lbs of handle force to pull the rated load. If you cannot crank with one hand, you are overloading the winch. Never exceed the maximum rated capacity stamped on the product.
Always maintain a minimum of three complete wraps of rope, strap, or cable on the drum. Never let the line completely unwind.
Apply #30 weight engine oil (one or two drops) to each bushing I.D. and ratchet pawl pivot points. Maintain a thin layer of chassis grease on the gear teeth.
No reviews have been added for this product.
