Ask a Question About This Product
Our in-house experts typically reply within one business day.
Our in-house experts typically reply within one business day.

Husky Towing


Always the correct part
We know our products
Quality Products
Free Shipping!
Always the correct part
We know our products
Quality Products
Free Shipping!
Free Shipping
Ships free on all orders
 Authorized Dealer
Quick Ship
In stock and ready to ship — order now!
FREE ShippingFREE SHIPPING
Estimated delivery Tue, Oct 13 - Fri, Oct 16
Order before 2 PM EST Monday–Friday for same-day processing
Guaranteed safe & secure checkout
| Recommended Use | Stabilizes 5th Wheel And Travel Trailer |
| Type | Scissor |
| Shape | Scissor Type |
| Operation Type | Manual |
| Weight Capacity | 7500 Pound |
| Maximum Lift | 24 Inch |
| Minimum Lift | 4-5/16 Inch |
| Material | Steel |
| With Motor | No |
| With Crank Handle | Yes |
| Return Type | External |
| Quantity | Set Of 2 |
| Estimated Install Time (Hours) | 1 |
Experts available to answer your questions
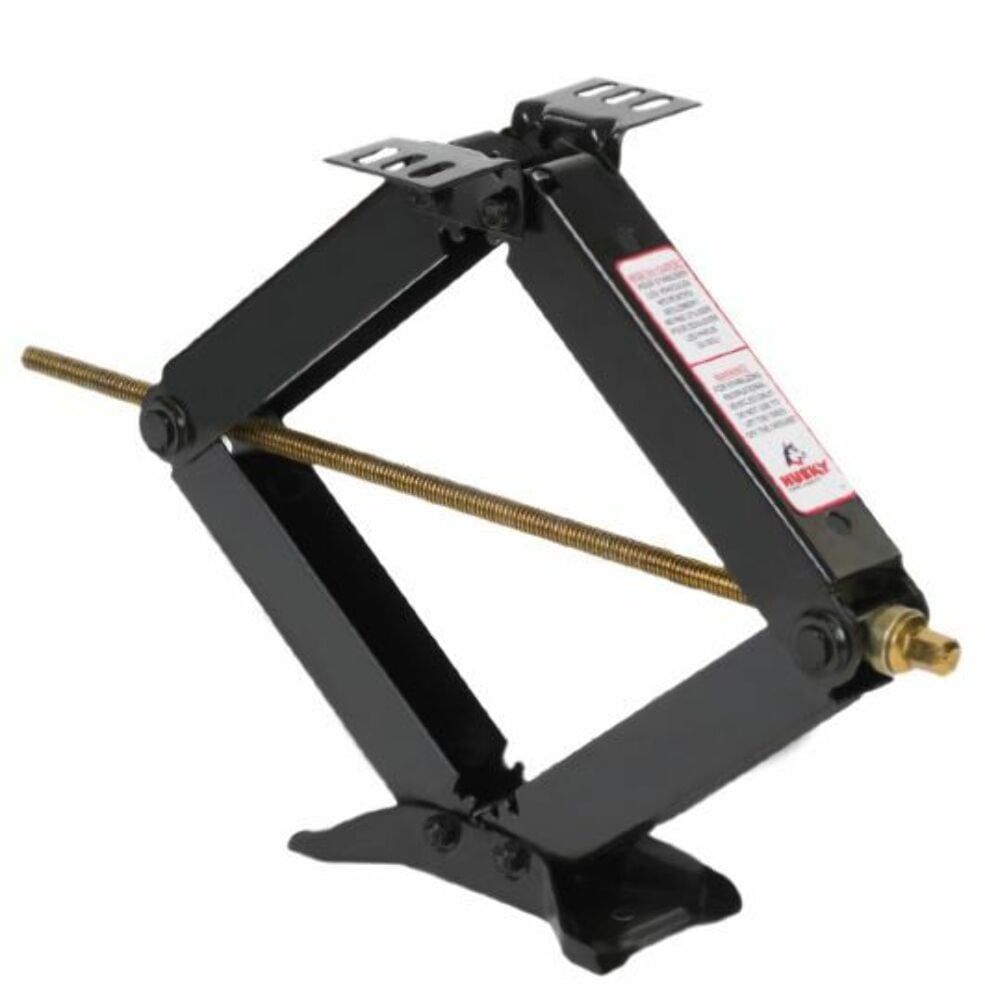
Call 888-634-9494Husky Scissor Jacks are available in three models. The 20 in. model has a maximum lift capacity of 5000 lbs. and a retracted height of 4-5/16 in. The 24 in. model also has a 5000 lbs. capacity and 4-5/16 in. retracted height. The 7500 lbs. capacity model has a 4-5/16 in. retracted height. All models have a foot pad area of 26 in.² and are sold as a set of 2 jacks.
Yes. Front installation is supported. Position the jacks 6–8 feet behind the coupler on each side of the trailer frame. Ensure the hex drive is accessible and there is adequate ground clearance.
Position the jacks approximately halfway between the rear axle and the end of the trailer on each side. Use a 10–15 ft. string from the bottom of the rear wheel to the back end of the trailer frame to visualize available installation space and ensure adequate ground clearance. The hex drive must be accessible.
Required tools are: marker, 1/8 in. and 11/32 in. drill bits, 10–15 ft. string, center punch, drill, safety goggles, 9/16 in. wrench, and hammer.
Each jack comes with four self-tapping 3/8 in. × 1 in. screws for mounting to the trailer frame.
Park the trailer on a level surface and block the wheels. This ensures safe positioning and prevents movement during installation.
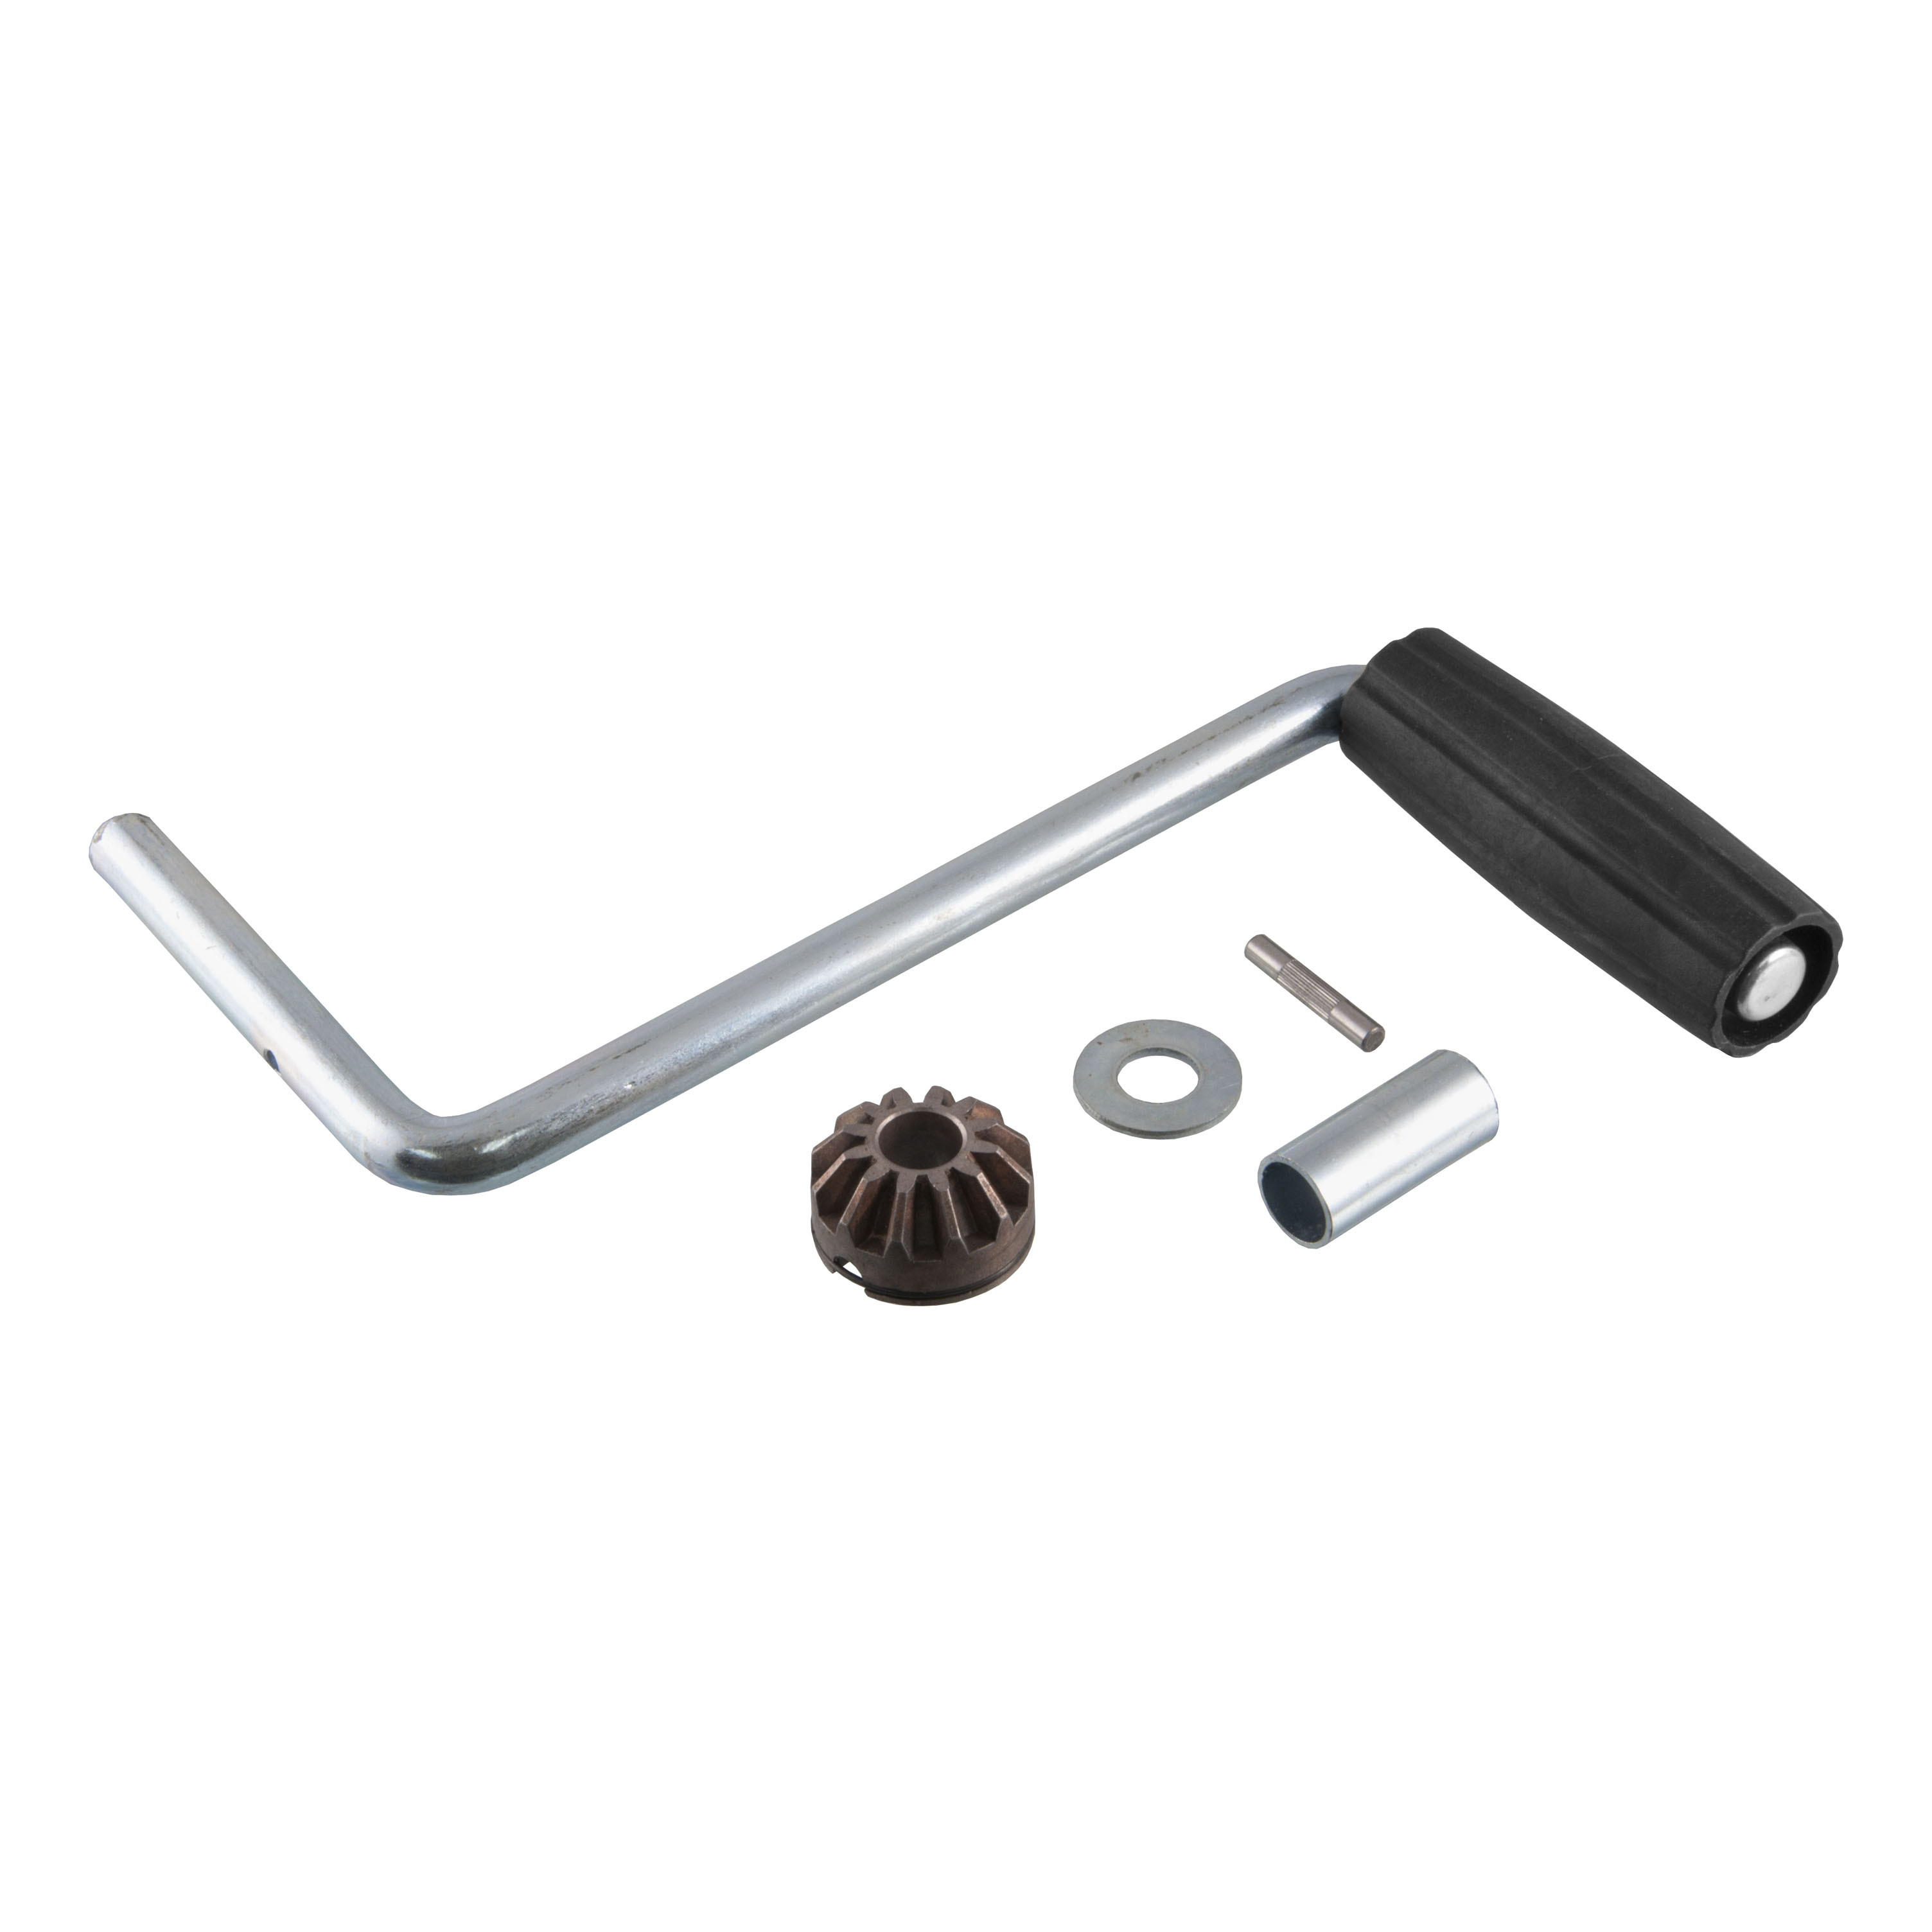
Place each jack under the trailer frame at the chosen location (front or rear). Slide the socket end of the crank onto the hex head on the jack. Turn the crank clockwise just until the jack begins to lift the trailer, then stop. Do not over-extend at this stage.
With each jack in position and extended to contact the trailer frame, use the pre-punched holes on the mounting plate as a template. Mark 2 screw locations on each side of the jack (4 screws total per jack) using a marker.
Yes. Drilling is required. You must drill a pilot hole using a 1/8 in. drill bit, then enlarge it to final size using an 11/32 in. drill bit. Four holes per jack are needed (8 total for a pair).
Wear safety goggles to prevent metal particles from entering your eyes. Do not remove goggles without first cleaning particles from your face and hair. Wear gloves to protect your hands. Before drilling, ensure the drill will not damage objects installed on or within the trailer frame.
First, center punch the hole locations. Then drill a pilot hole through the center punch using a 1/8 in. drill bit. Finally, drill to final size using an 11/32 in. drill bit.
Reposition the jack and install the four self-tapping 3/8 in. × 1 in. screws through the mounting plate into the drilled holes. Turn screws until they seat and are tight. Repeat for the second jack.
No. Do not use any scissor jack to lift the trailer off the ground. Trailers are not designed to be raised off the ground in this manner. Scissor jacks are for leveling only, not for full suspension.
The maximum vertical height is 20 in. for the standard model or 24 in. for the extended model. Do not raise the corners or extreme ends of the trailer to excessive height, as this can cause damage to the trailer.
Before unhitching, obtain the most level position ground conditions allow. Some sites may require wheel ramps or planking under the tire on the low side. After unhitching, use the tongue jack to level the trailer front to back. Beginning on the lowest side, extend the jack until it makes contact with the ground, then extend until the trailer is level. On the opposite side, extend the jack until it makes firm contact with the ground for stability. Always use wheel chocks when parking.
Retract the jacks and ensure the wheels are as level as possible before starting over and extending the jacks again. Uneven leveling can cause door binding.
Lubricate the drive screws with grease twice a year. Once a year, clean the drive screw joints and threads to remove dirt or debris, then re-lubricate.
The warranty period is 2 years from the date of original retail purchase. It covers failure caused by faulty manufacturing or material defects, but does not cover rust, weather damage, fading colors, commercial use, or abuse/misuse. Warranty is limited to replacement of parts or the unit at the manufacturer's discretion. Contact warranty@lkqspg.com or (855) 242-8922 for warranty assistance.
Husky Scissor Jacks are designed for trailers and can be installed front (6–8 ft. behind coupler) or rear (halfway between rear axle and trailer end). Ensure adequate ground clearance and accessible hex drive at your chosen location.
No. Scissor jacks are for leveling only, not for lifting the trailer completely off the ground. Trailers are not designed to be suspended this way.
Lubricate drive screws with grease twice yearly. Once yearly, clean drive screw joints and threads to remove dirt and debris, then re-lubricate.
The 20 in. and 24 in. models support 5000 lbs. each. The 7500 lbs. capacity model is also available. All models have a retracted height of 4-5/16 in.
No reviews have been added for this product.