Ask a Question About This Product
Our in-house experts typically reply within one business day.
Our in-house experts typically reply within one business day.

Reese

Always the correct part
We know our products
Quality Products
Free Shipping!
Always the correct part
We know our products
Quality Products
Free Shipping!

Towing and trailering require the right equipment, and sometimes that equipment requires accessories. Thankfully, REESE has all the 'things' to make pulling your fifth wheel easier and safer than ever before. From fifth wheel covers, lube plates, and kits of all kinds to mounting rails, gooseneck hitches, and everything in between, REESE's extensive line of accessories is your one-stop-shop. Providing quick and easy installation, unmatched safety, reliability, and performance have made REESE the brand of choice among novice and professional towers alike for nearly 70 years! Towing is an adventure which is why REESE wants you to have everything you need to enjoy the journey as much as the destination.
| BRAND: | REESE |
| PART NUMBER: | 30845 |
| WARRANTY: | LIMITED LIFETIME WARRANTY |
| WEIGHT: | 66 LBS |
| CAPACITY: | 25,000 LBS. |
| COLOR: | BLACK |
| LOCKABLE: | NO |
| MOUNTING HARDWARE INCLUDED: | NO |
| MATERIAL: | STEEL |
| FINISH: | BLACK POWDER COAT |
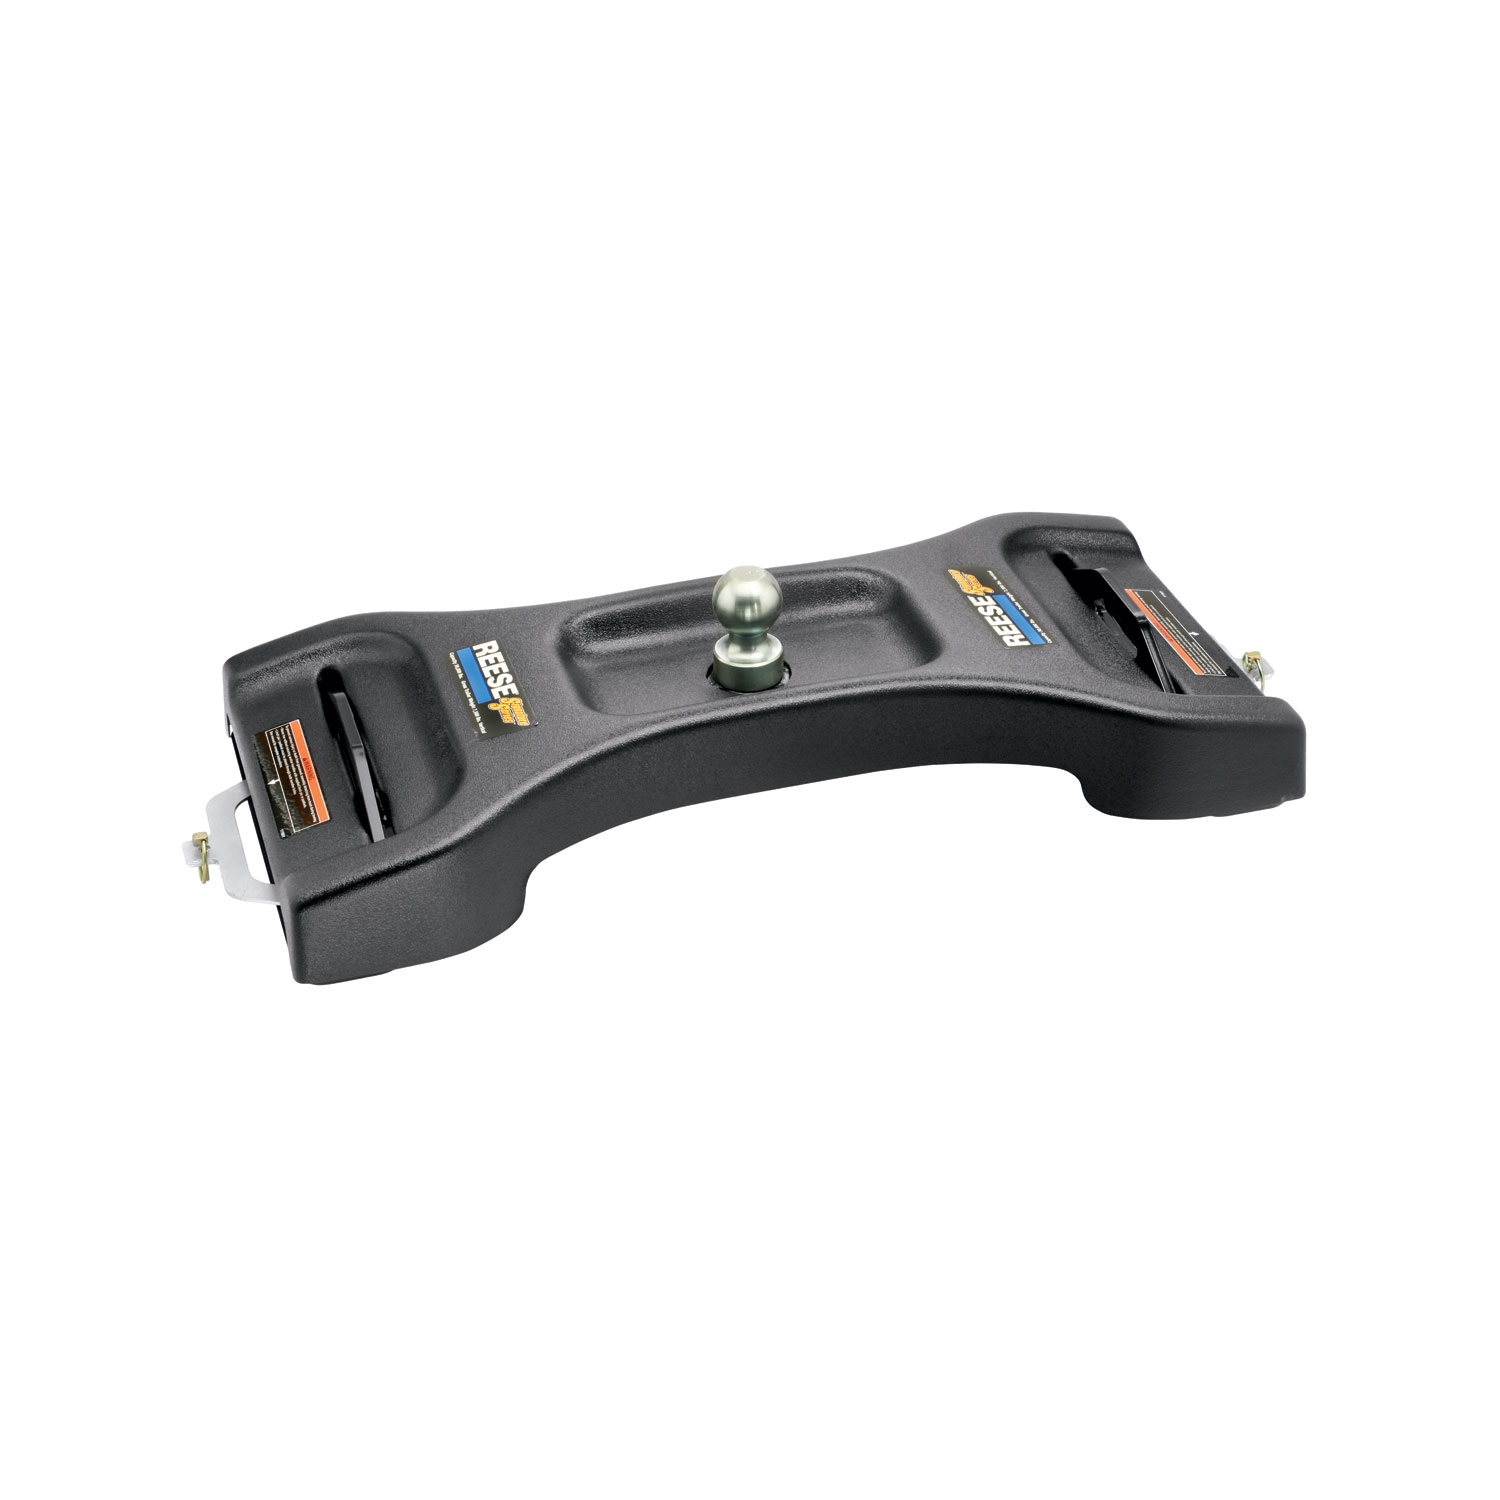
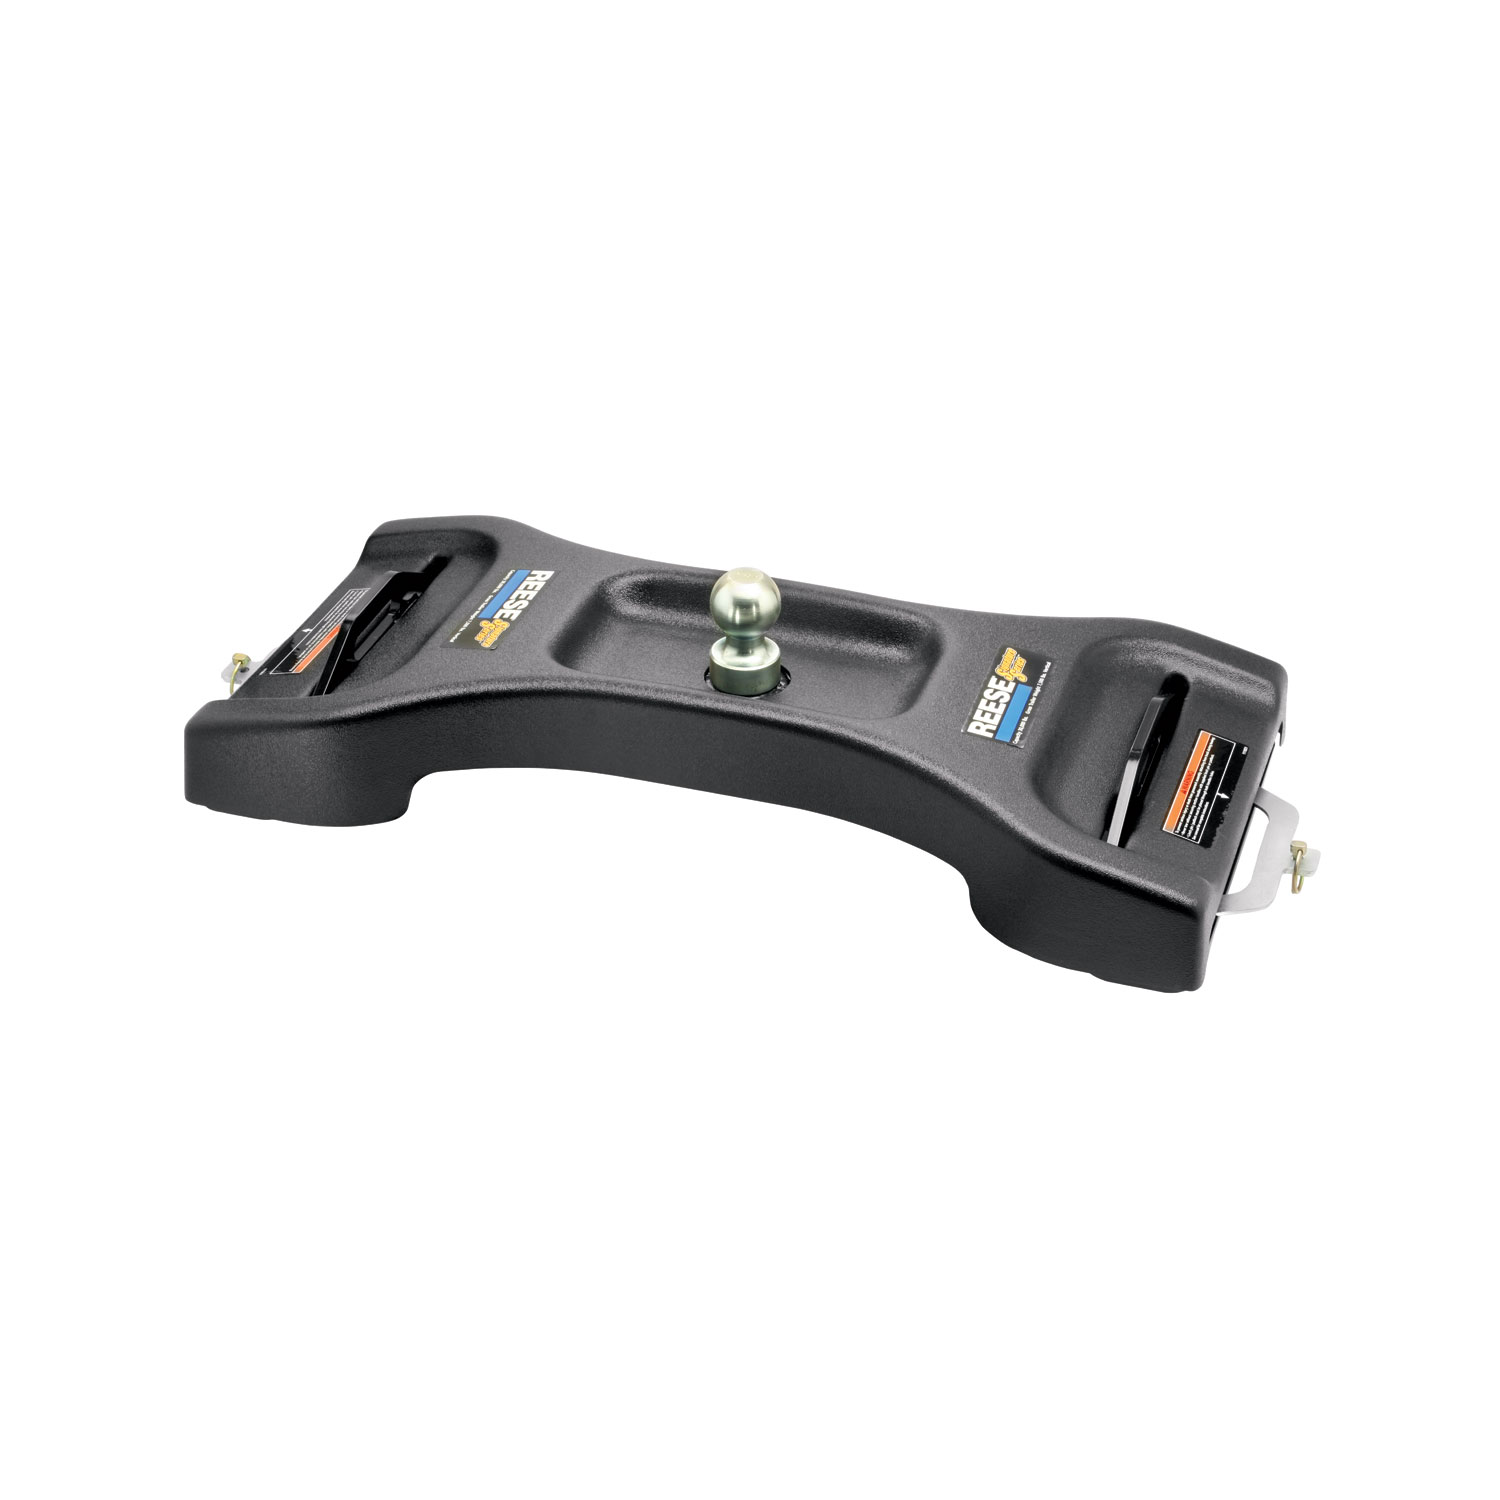
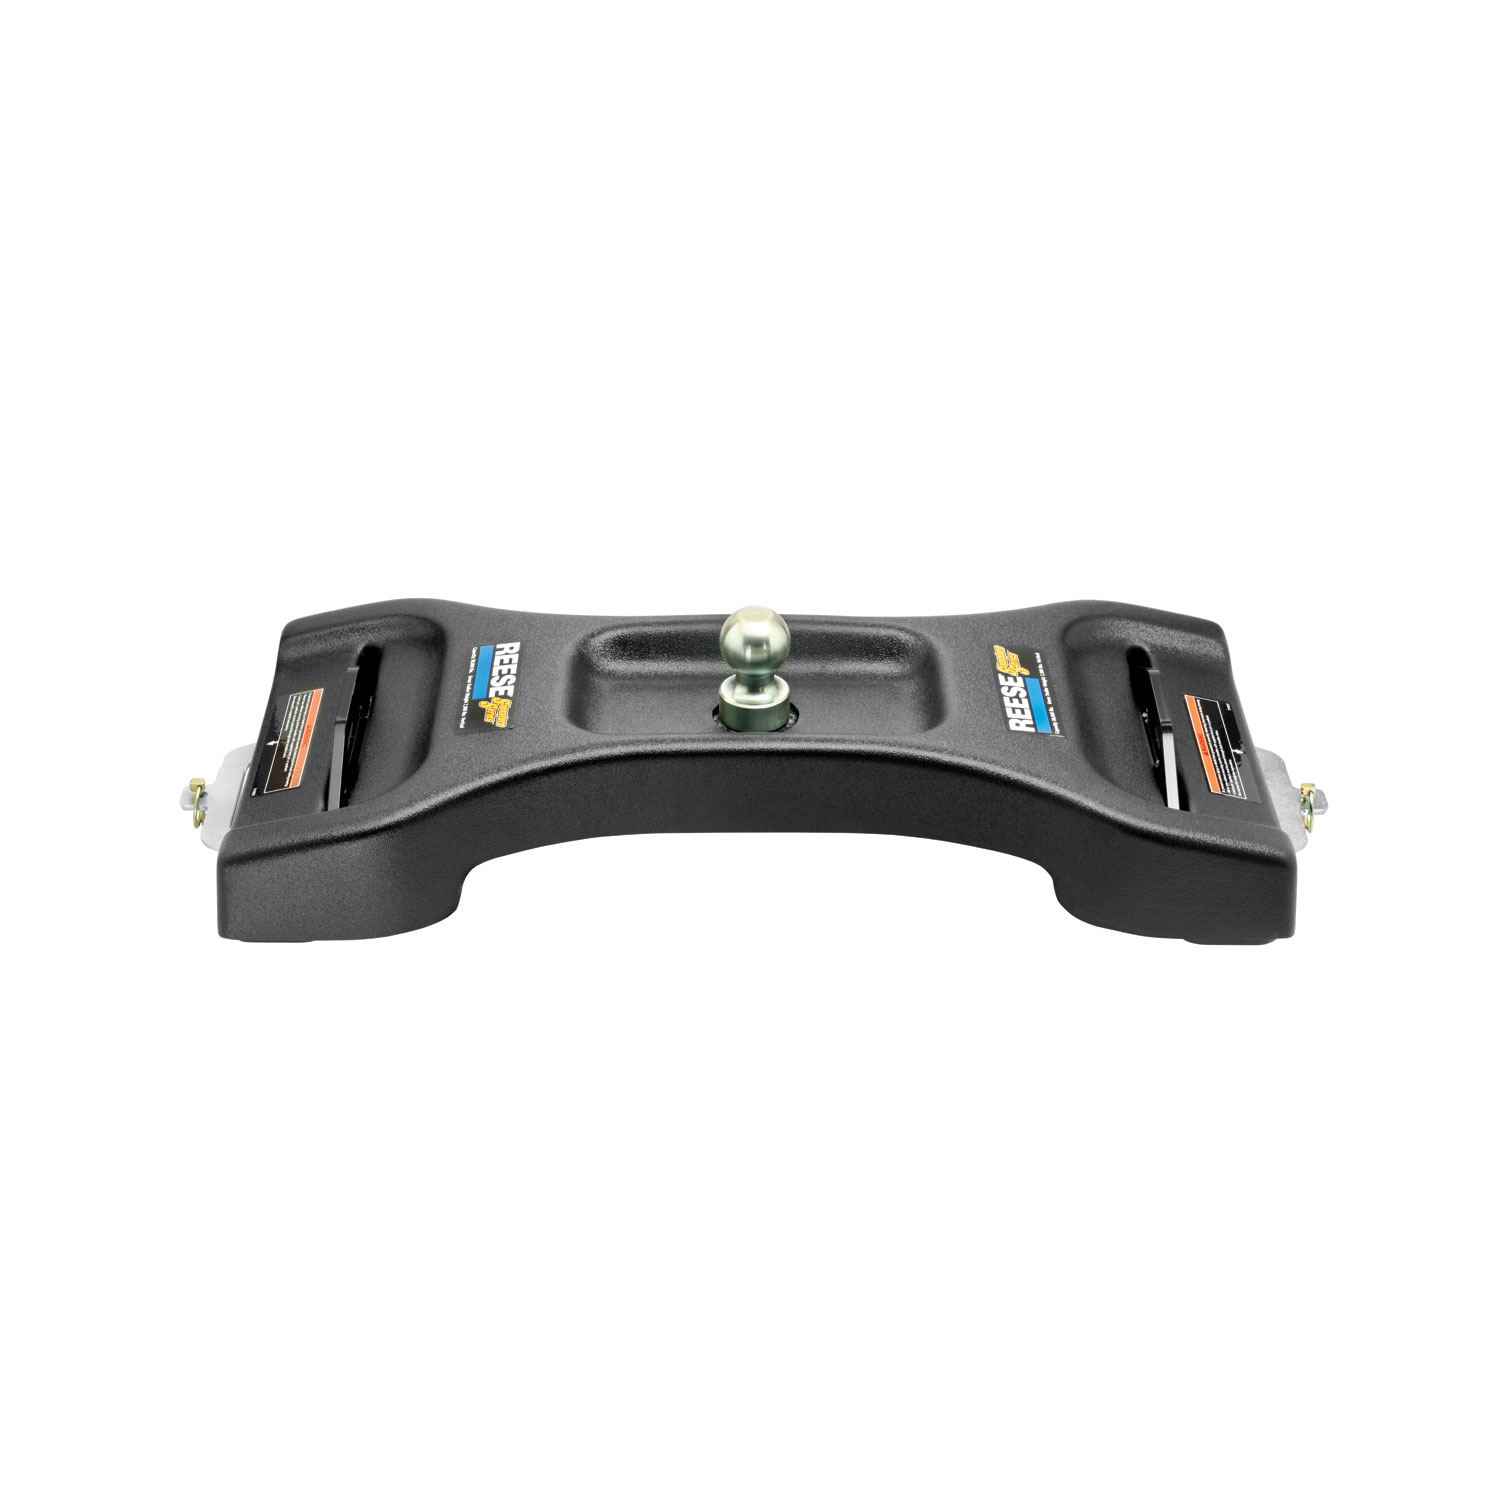

Reese has designed towing equipment since 1952 and remains a benchmark for heavy-duty towing. The line covers fifth wheel hitches such as the modular M5, gooseneck couplers including the Goose Box, air-ride and short-bed pin boxes, weight distribution systems with active sway control, and the accessories that connect them, all built to exceed published industry standards.
Reese has been pioneering towing performance since 1952, when Margaret Reese asked her husband TJ to stop travel trailers rocking every time somebody walked through them. His answer, the first pair of stabilising jacks, was simple and effective enough to change the RV industry. From that starting point Reese grew into a designer and manufacturer of complete towing systems, and today it anchors the heavy-duty end of the Horizon Global towing portfolio.
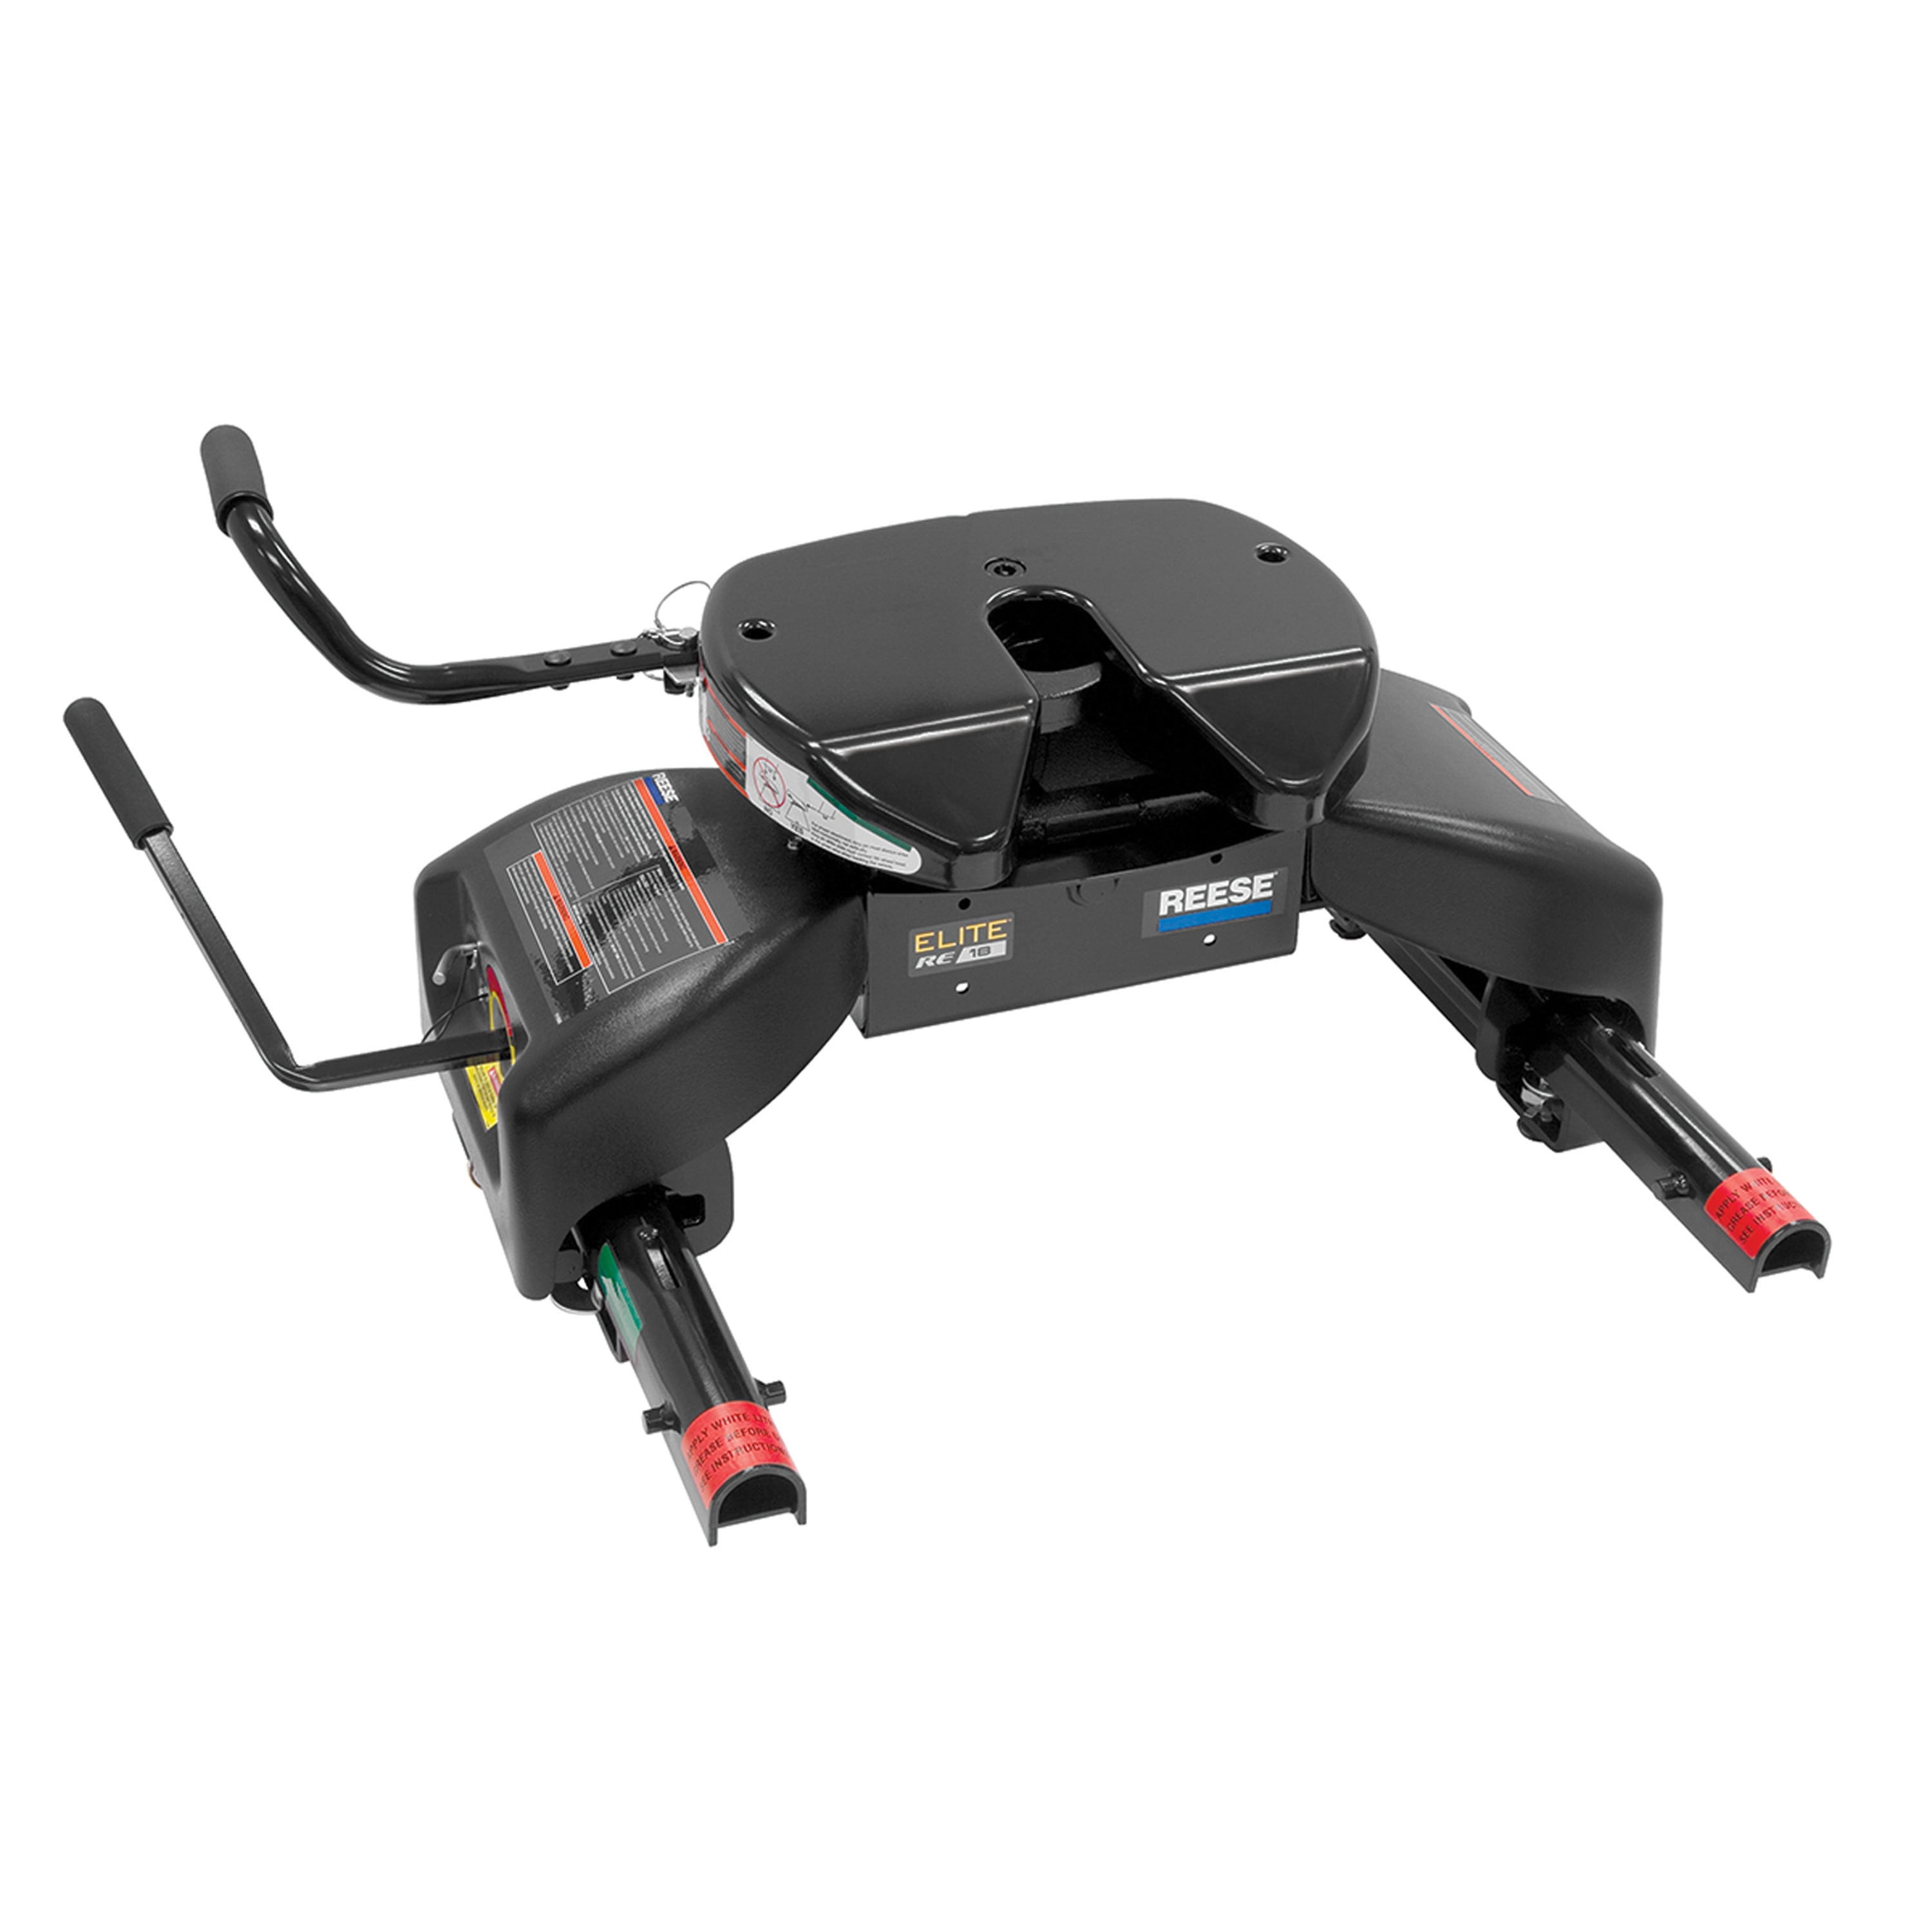
Fifth wheel towing is where the brand's engineering is most visible. The M5 fifth wheel hitch uses a modular design that breaks into manageable sections for assembly, with a wider stance, tighter tolerances and a shock absorption system aimed at the jolts that travel up through a truck bed. For owners who would rather tow from a gooseneck coupler and keep the bed clear, the Goose Box 20K replaces the trailer's king pin with a gooseneck connection carrying its own air-ride cushioning.
Pin boxes are a Reese speciality. The 5th Airborne uses air-ride technology to dampen road shock and reduce the chucking motion that makes fifth wheel towing tiring, while the Sidewinder was designed for short-bed pickups, pivoting the connection point so the trailer can turn sharply without the front cap meeting the cab.
For conventional towing, Reese weight distribution systems restore load to the tow vehicle's front axle and control sway. The Pro Round Bar distributes weight evenly while damping sway, and the Pro Dual Cam II uses active cam-based sway control that works harder the stronger the sway force becomes. Complete kits pair bars, head and shank to a rated tongue weight, and dedicated sway control kits can be added to existing setups. The products suit RV owners, horse and livestock haulers and anyone towing near the upper end of a vehicle's rating.
Experts available to answer your questions
Call 888-634-9494Lifetime
Installing a Reese® Elite™ Fifth Wheel and Gooseneck Hitch in a Ford Super Duty
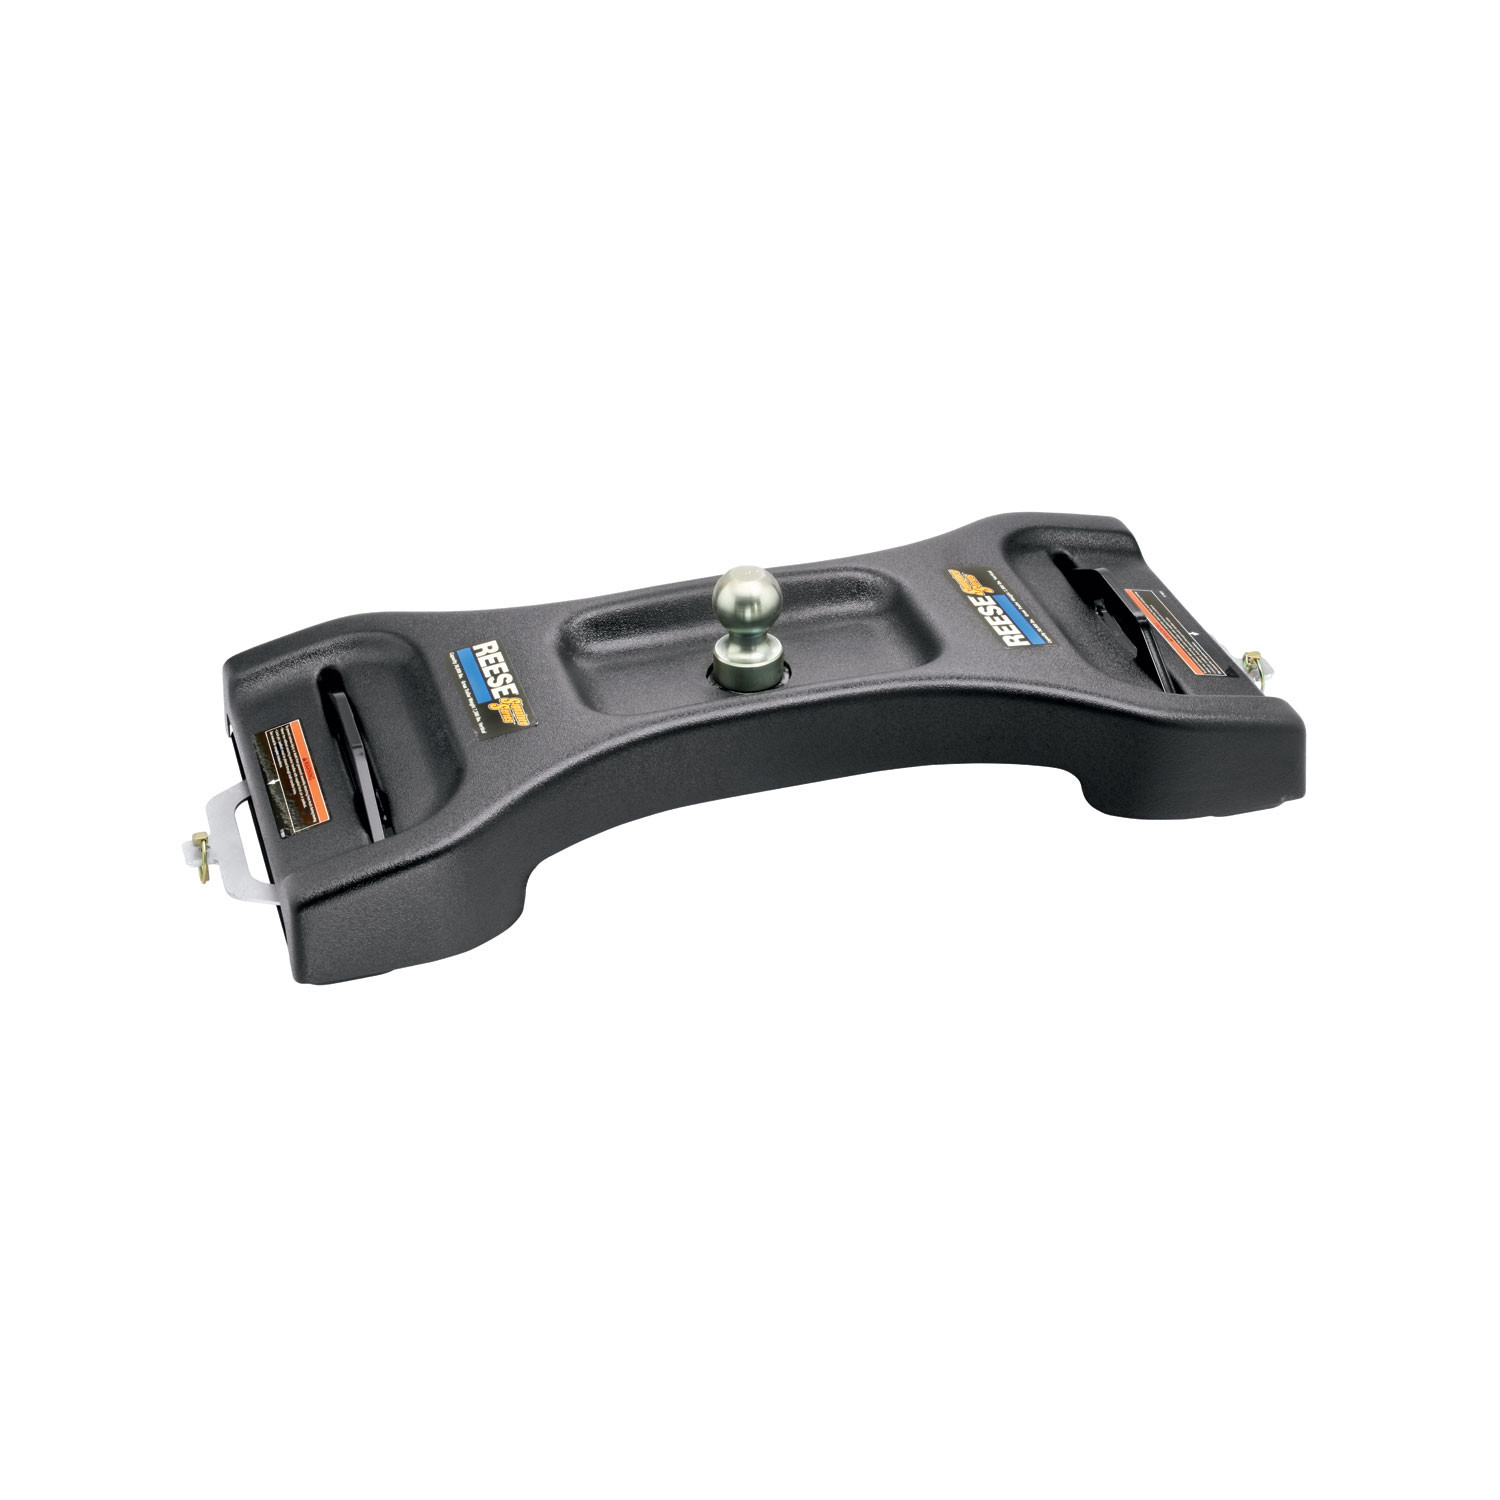
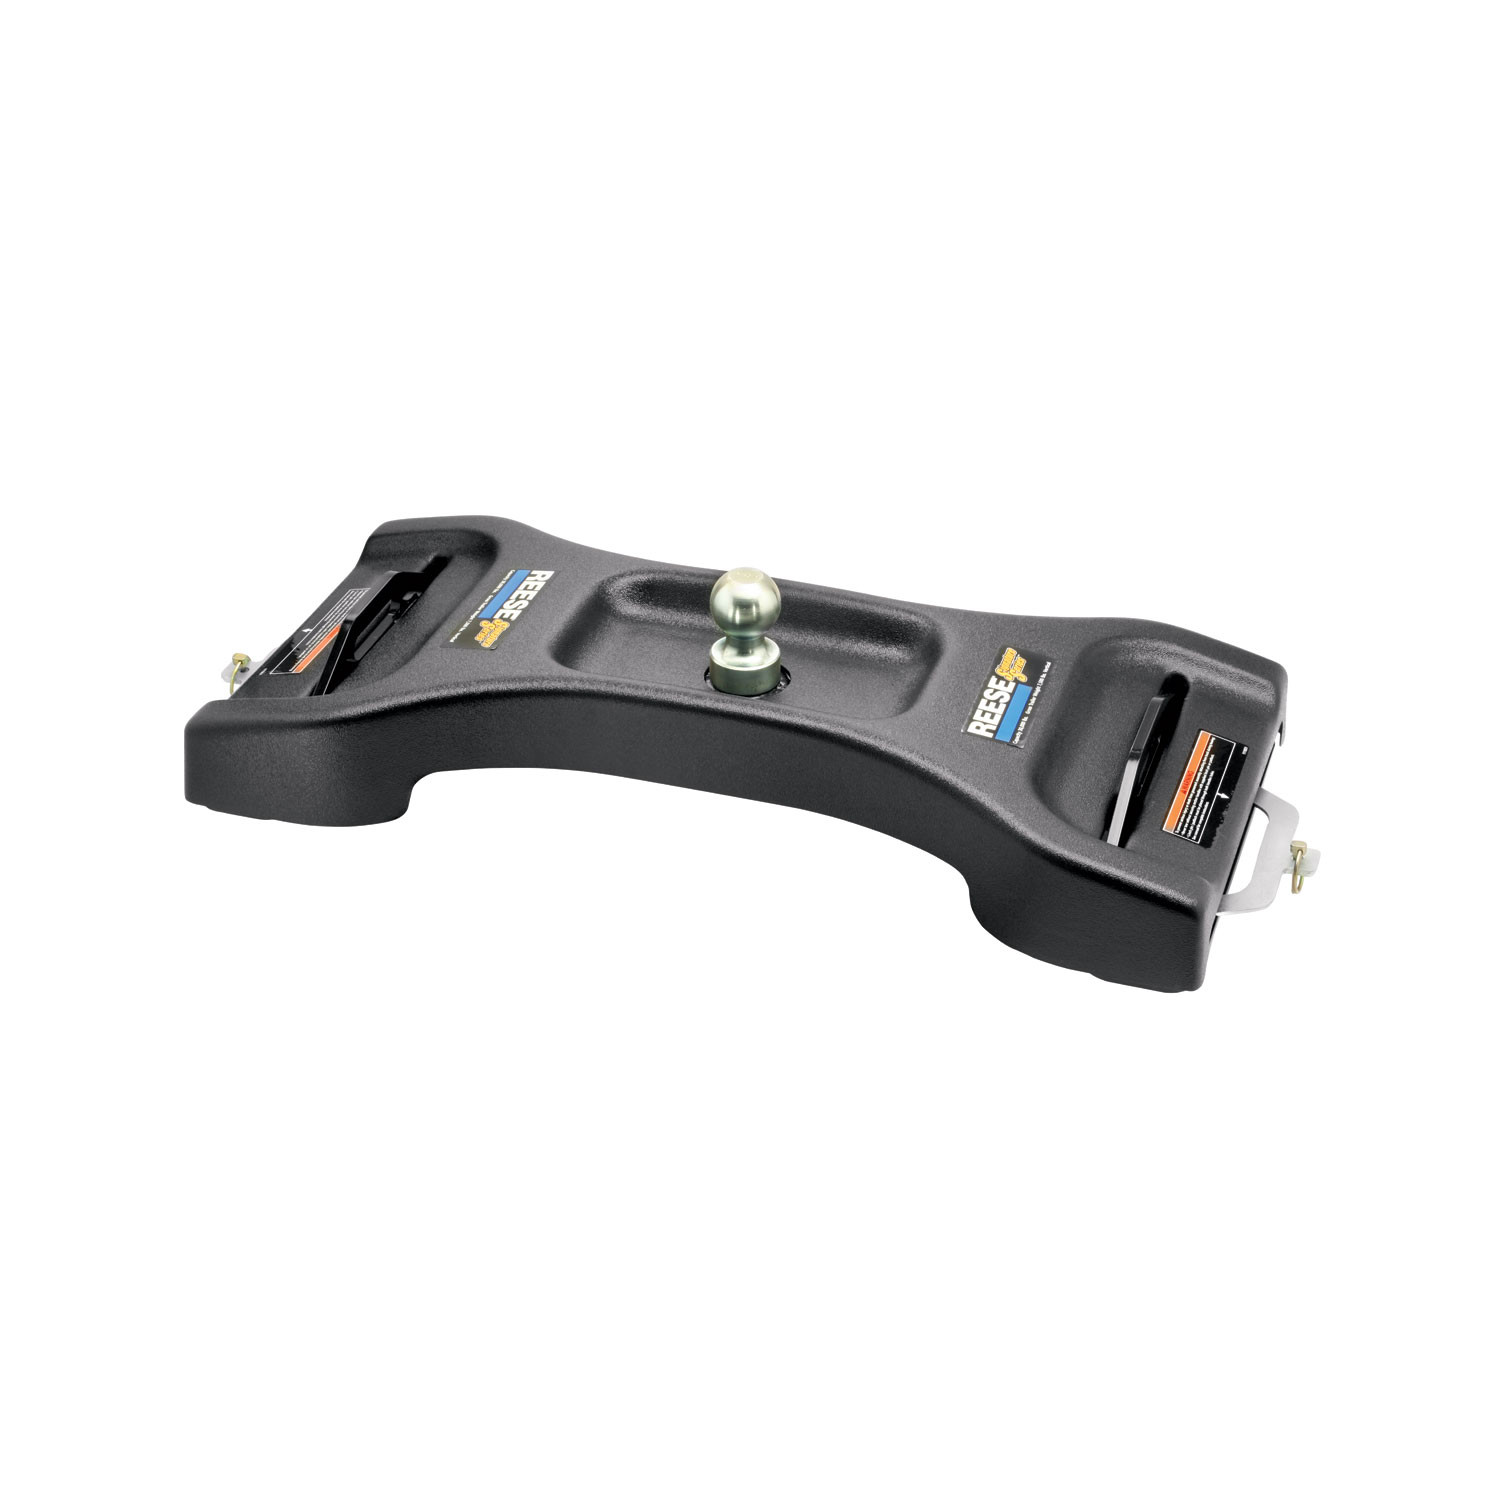
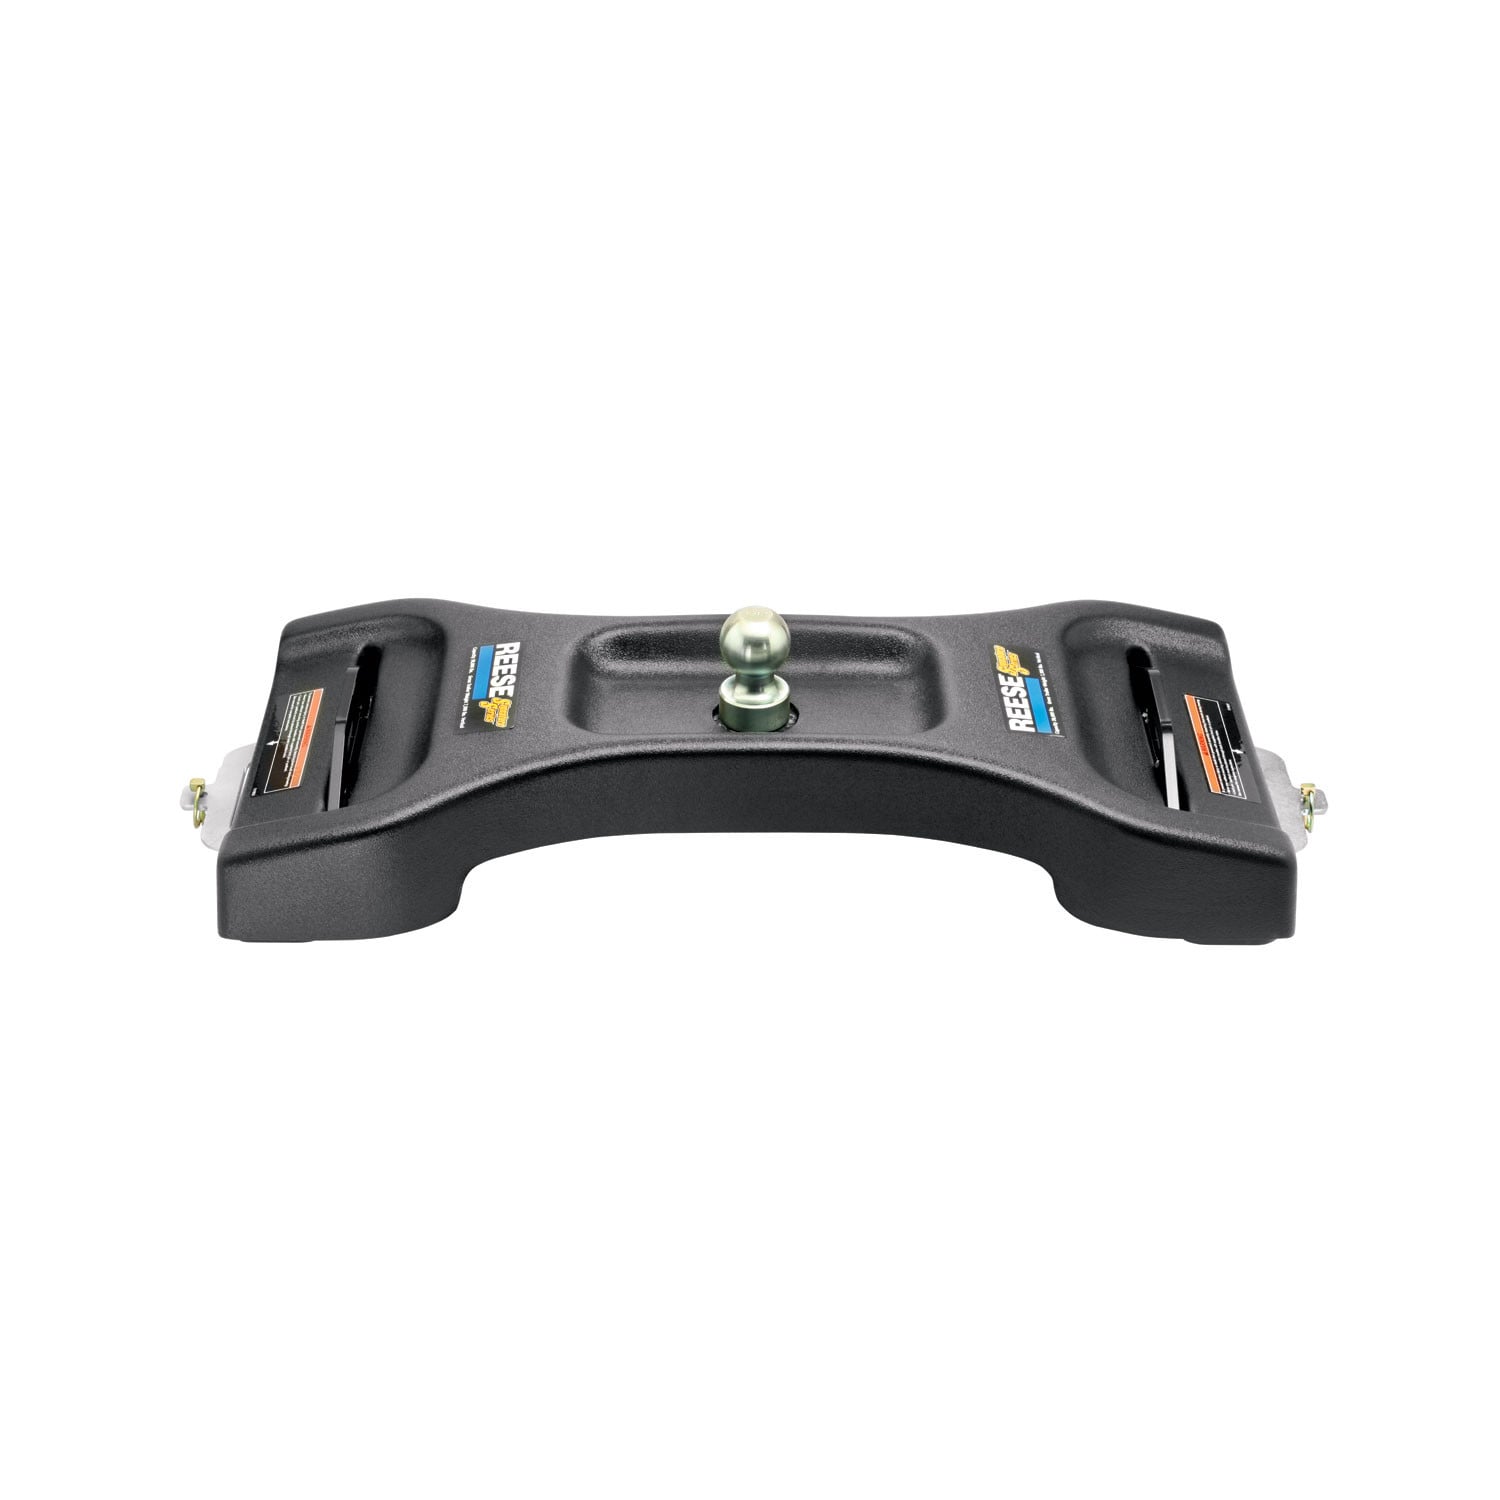
The Signature Series Gooseneck Hitch (kits 30845, 40845, 50845) is designed for light trucks such as Ford F-Series, Chevy Silverado, and Dodge Ram. Your truck must have a bed length of at least 6 feet; an 8-foot bed is recommended for best turning clearance. The hitch requires pre-installed mounting pucks in the truck bed via a Signature Series Mounting Kit. Consult the Mounting Kit Instructions to confirm your truck is compatible.
No. Do not install this hitch on a pickup truck with a bed shorter than 6 feet. The manual explicitly warns against this due to turning clearance and safety concerns.
Use only a SAE 2-inch kingpin with your Signature Series Gooseneck Hitch.
Gross trailer weight must not exceed 25,000 pounds. Pin weight (the downward force on the hitch) must not exceed 6,250 pounds. Approximately 15–25% of the trailer's gross weight should be on the hitch pin. The towing vehicle's manufacturer-rated towing capacity must equal or exceed the gross trailer weight. If in doubt, have pin weight measured by a qualified facility.
No. Cequent Performance Products hitches are designed for use with recreational gooseneck trailers only. Hitch applications other than recreational gooseneck trailers must be approved in writing by Cequent Performance Products' Engineering Department.
The kit includes: 1 base assembly, 1 plastic cover, 2 Handle "A" units, 2 Handle "B" units, 4 × 1" jam nuts, 4 tab washers, 6 × 3/16" linch pins, 4 anchor bushings, 4 anchor tee pins, and 1 primer container.
Required tools are: safety glasses, chisel, impact wrench, hammer, 1-1/2" box or end wrenches or socket, and white lithium grease.
The manual does not state whether white lithium grease is included in the kit. You will need white lithium grease to lubricate all 4 anchor bushings before assembly. Confirm with your dealer whether it is included or must be purchased separately.
Yes. The hitch must be installed onto mounting pucks that are pre-installed in the truck bed. These pucks are installed via a separate Signature Series Mounting Kit. Refer to the Mounting Kit Instructions for installation of the pucks.
With the trailer leveled and on level ground, measure dimension "A" (ground to coupler) and dimension "B" (inside of truck bed to ground). Use this formula: Hitch Height = A – B + 2". The 2" accounts for suspension compression due to kingpin weight, which could range 1–5" depending on the truck and trailer. The coupler should be adjusted so the trailer is approximately level during towing, with approximately 6 inches clearance between the top of the pickup walls and the underside of the front of the trailer. Allow more clearance for off-road use.
Allow approximately 6 inches clearance between the top of the pickup walls and the underside of the front of the trailer for pitch and roll during towing. Allow more clearance for off-road use. If your measurements are close to these numbers, re-check clearances. If the vehicle or trailer has added bed vicinity accessories (fairings, air dams, ground effects, bed rails, etc.), additional dimensioning and clearance checks must be made.
An 8-foot long bed is recommended for the best combination of truck-trailer turning clearance. As a rule of thumb, the distance from the back of the truck cab to the center of the rear truck axle should be approximately 4 inches greater than one-half the trailer width.
1. Check all components against the parts list. 2. Lubricate all 4 anchor bushings with white lithium grease. 3. Loosely assemble the four anchor bushings to the hitch base using 1" jam nuts and tab washers. 4. Place the hitch into the truck bed mounting pucks. 5. Snug tight all four 1" jam nuts using a 1-1/2" box end wrench or impact wrench, then turn each nut 1/4 turn more. 6. Bend one tab on each tab washer up against the flat of the jam nut using a chisel and hammer. 7. Remove the hitch from the truck bed and install the anchor tee pins, anchor handles, and 3/16" linch pins. 8. Apply primer to designated areas. 9. Install the plastic cover using the double-sided tape and let it set for 45 minutes before use.
Remove the hitch from the truck bed. Insert each anchor tee pin up through an anchor bushing and thread it into an anchor handle. Each side of the hitch gets one Handle "A" and one Handle "B". Thread the tee pin as far as it will go into the handle. The hole in the tee pin will probably not align with the slot in the handle nut initially. Turn the tee pin back slowly until they are inline. Once aligned, rotate the tee pin 540 degrees (1½ times) counter-clockwise until the hole and slot re-align. Then insert the 3/16" linch pin into the hole. Refer to Figures 13A–13E for detailed orientation.
Anchor handles are locked when they are parallel to the hitch. Anchor handles are unlocked when rotated 90 degrees (perpendicular to the hitch). When properly installed and locked, all four anchor handles should be parallel to the hitch. Both lynch pins must be installed through the holes in the anchor handles for the hitch to be properly locked.
1. Rotate the anchor handles into the unlocked position (perpendicular to the hitch) until the hitch drops into the pucks on all four corners. 2. Rotate the four anchor handles into the locked position (parallel to the hitch). 3. Install the linch pins into the anchor handle holes. The hitch is now secure and cannot be lifted out unless the handles are unpinned and rotated to the unlocked position. If handles do not rotate into the locked position, check for obstructions in the pucks and ensure the anchor bushings line up and fit into the pucks. If bushings do not line up, remove the hitch and repeat assembly steps 4–6.
First, ensure there are no obstructions in the mounting pucks and that the anchor bushings line up and fit into the pucks. If the bushings do not line up, remove the hitch and repeat assembly steps 4–6. If the bushings do line up but handles still do not rotate into the locked position, remove the hitch from the truck bed, remove the appropriate linch pin, and rotate the anchor tee pin another ½ turn counter-clockwise. Repeat until all four anchor handles rotate into the locked position.
Remove the hitch from the truck bed, remove the appropriate linch pin, and rotate the anchor tee pin another ½ turn clockwise. Repeat this process until all four anchor handles rotate into the locked position with no excessive vertical movement.
After removing the backing from the double-sided tape and installing the plastic cover on the hitch, let the tape set for 45 minutes before using the hitch.
1. Remove the lynch pins from the anchor handle holes on each side of the hitch. 2. Rotate all four handles into the unlocked position (perpendicular to the hitch). 3. Lift each side of the hitch out of the pucks separately; handles may need to be jiggled slightly to align anchors with puck holes. 4. Store the hitch in a dry place where dirt and debris will not get into the anchor assemblies.
When the hitch is removed from the truck bed, press the puck plugs (packed with the mounting kit) into all four pucks in the truck bed to keep debris out of the pucks.
The manual specifies to snug tight all four 1" jam nuts using a 1-1/2" box end wrench or impact wrench, then finish tightening each jam nut by turning the nut 1/4 turn more to achieve the required torque. However, a specific torque value in foot-pounds is not provided in the manual.
Use a 1-1/2" box end wrench or socket with an impact wrench to tighten the 1" jam nuts.
Before towing, connect the trailer following the coupler manufacturer's operating instructions. Adjust the coupler to provide about 6" clearance between the bottom of the trailer nose and the top of the pickup bed sides. Slowly back the trailer to a jackknifed position while checking for adequate clearance between the gooseneck trailer and the rear of the vehicle. Check clearance between the forward corners of the gooseneck trailer and the truck cab. Slowly jackknife the truck and trailer in the opposite direction and check clearances to the end of the truck and cab. All 6 linch pins must be installed in their proper locations and locked. All 4 anchor handles must be in the locked position with a linch pin installed and locked. Make safety-critical connections for trailer lights, turn signals, electric and breakaway switch every time you tow, and check operation before getting on the road.
If you must place any part of your body under the trailer or between the truck and trailer, you MUST perform ALL of the following steps: (1) Check that the truck transmission is in park. (2) Check that the emergency brake is on. (3) Block in front of and behind all trailer tires. (4) Check that the trailer landing gear are resting on firm ground.
The connection for trailer wiring must be located at the side of the truck bed between the driver's seat and the rear wheel to prevent operators from working between the truck and trailer.
Yes. Both lynch pins must be installed through the holes in the anchor handles for the hitch to be properly locked before towing. Failure to properly install both lynch pins could result in serious damage to the truck and/or persons.
No. Never allow people in the trailer while towing, under any circumstances.
Place heavy objects on the floor ahead of the axle and balance the load side-to-side. Secure the load to prevent shifting. Never load the trailer rear-heavy. Load the trailer heavier in the front, but not greater than the tongue weight rating of the hitch.
Stop and make a thorough inspection if any part of your towing system strikes the road. Correct any problems before resuming travel.
No. Do not tow one trailer behind another, which may cause loss of control.
Lubricate the hitch ball monthly or as needed with heavy grease.
Keep the assembly free of dirt and debris. Lubricate the hitch ball monthly or as needed with heavy grease. Check equipment before towing for worn or damaged parts. Replace worn or damaged parts immediately.
Check the ball, coupler, chains, and all other connections every time you tow. Re-check at fuel and rest stops.
Store the hitch in a dry place where dirt and debris will not get into the anchor assemblies.
Cequent Performance Products warrants the Signature Series Gooseneck Hitch for 7 years from the date of purchase against defects in material and workmanship under normal use and service, ordinary wear and tear excepted, to the original consumer purchaser when a Cequent Performance Products mounting kit is used. Cequent will replace any defective part free of charge when presented to a dealer, warehouse, or returned to the factory with transportation charges prepaid. This warranty covers defective parts replacement only; labor charges, damage incurred in installation or replacement, and incidental and consequential damages are excluded. Damage resulting from misuse, abuse, neglect, accident, improper installation, or use violative of instructions will void the warranty.
For installation assistance or technical help, call 1-800-758-0869.
Gross trailer weight must not exceed 25,000 pounds; pin weight must not exceed 6,250 pounds. Your towing vehicle's manufacturer-rated capacity must equal or exceed the gross trailer weight.
Yes. Mounting pucks must be pre-installed in the truck bed via a Signature Series Mounting Kit before the hitch can be installed.
Yes. Both lynch pins must be installed through the anchor handle holes for the hitch to be properly locked before towing.
First, check that there are no obstructions in the mounting pucks and that the anchor bushings line up and fit into the pucks. If the bushings do not line up, remove the hitch and repeat assembly steps 4–6. If the bushings do line up but the handles still do not rotate into the locked position, remove the hitch from the truck bed, remove the appropriate linch pin, and rotate the anchor tee pin another ½ turn counter-clockwise. Repeat this process until all four anchor handles rotate into the locked position.
Remove the hitch from the truck bed, remove the appropriate linch pin, and rotate the anchor tee pin another ½ turn clockwise. Repeat this process until all four anchor handles rotate into the locked position with no excessive vertical movement.
Sam
The staff was able to quickly assist me with locating the correct product I needed. Shipping was really fast. Item arrived in 2 days. Will be using TowUniverse again!!
May 22, 2023
On Sale Today
Original price was $865.00. Current price is $622.75.You save $242.25 (28%)
Free Shipping
Ships free on all orders
 Authorized Dealer


FREE ShippingFREE SHIPPING
Estimated delivery Tue, Oct 6 - Fri, Oct 9
Order before 2 PM EST Monday–Friday for same-day processing
Guaranteed safe & secure checkout