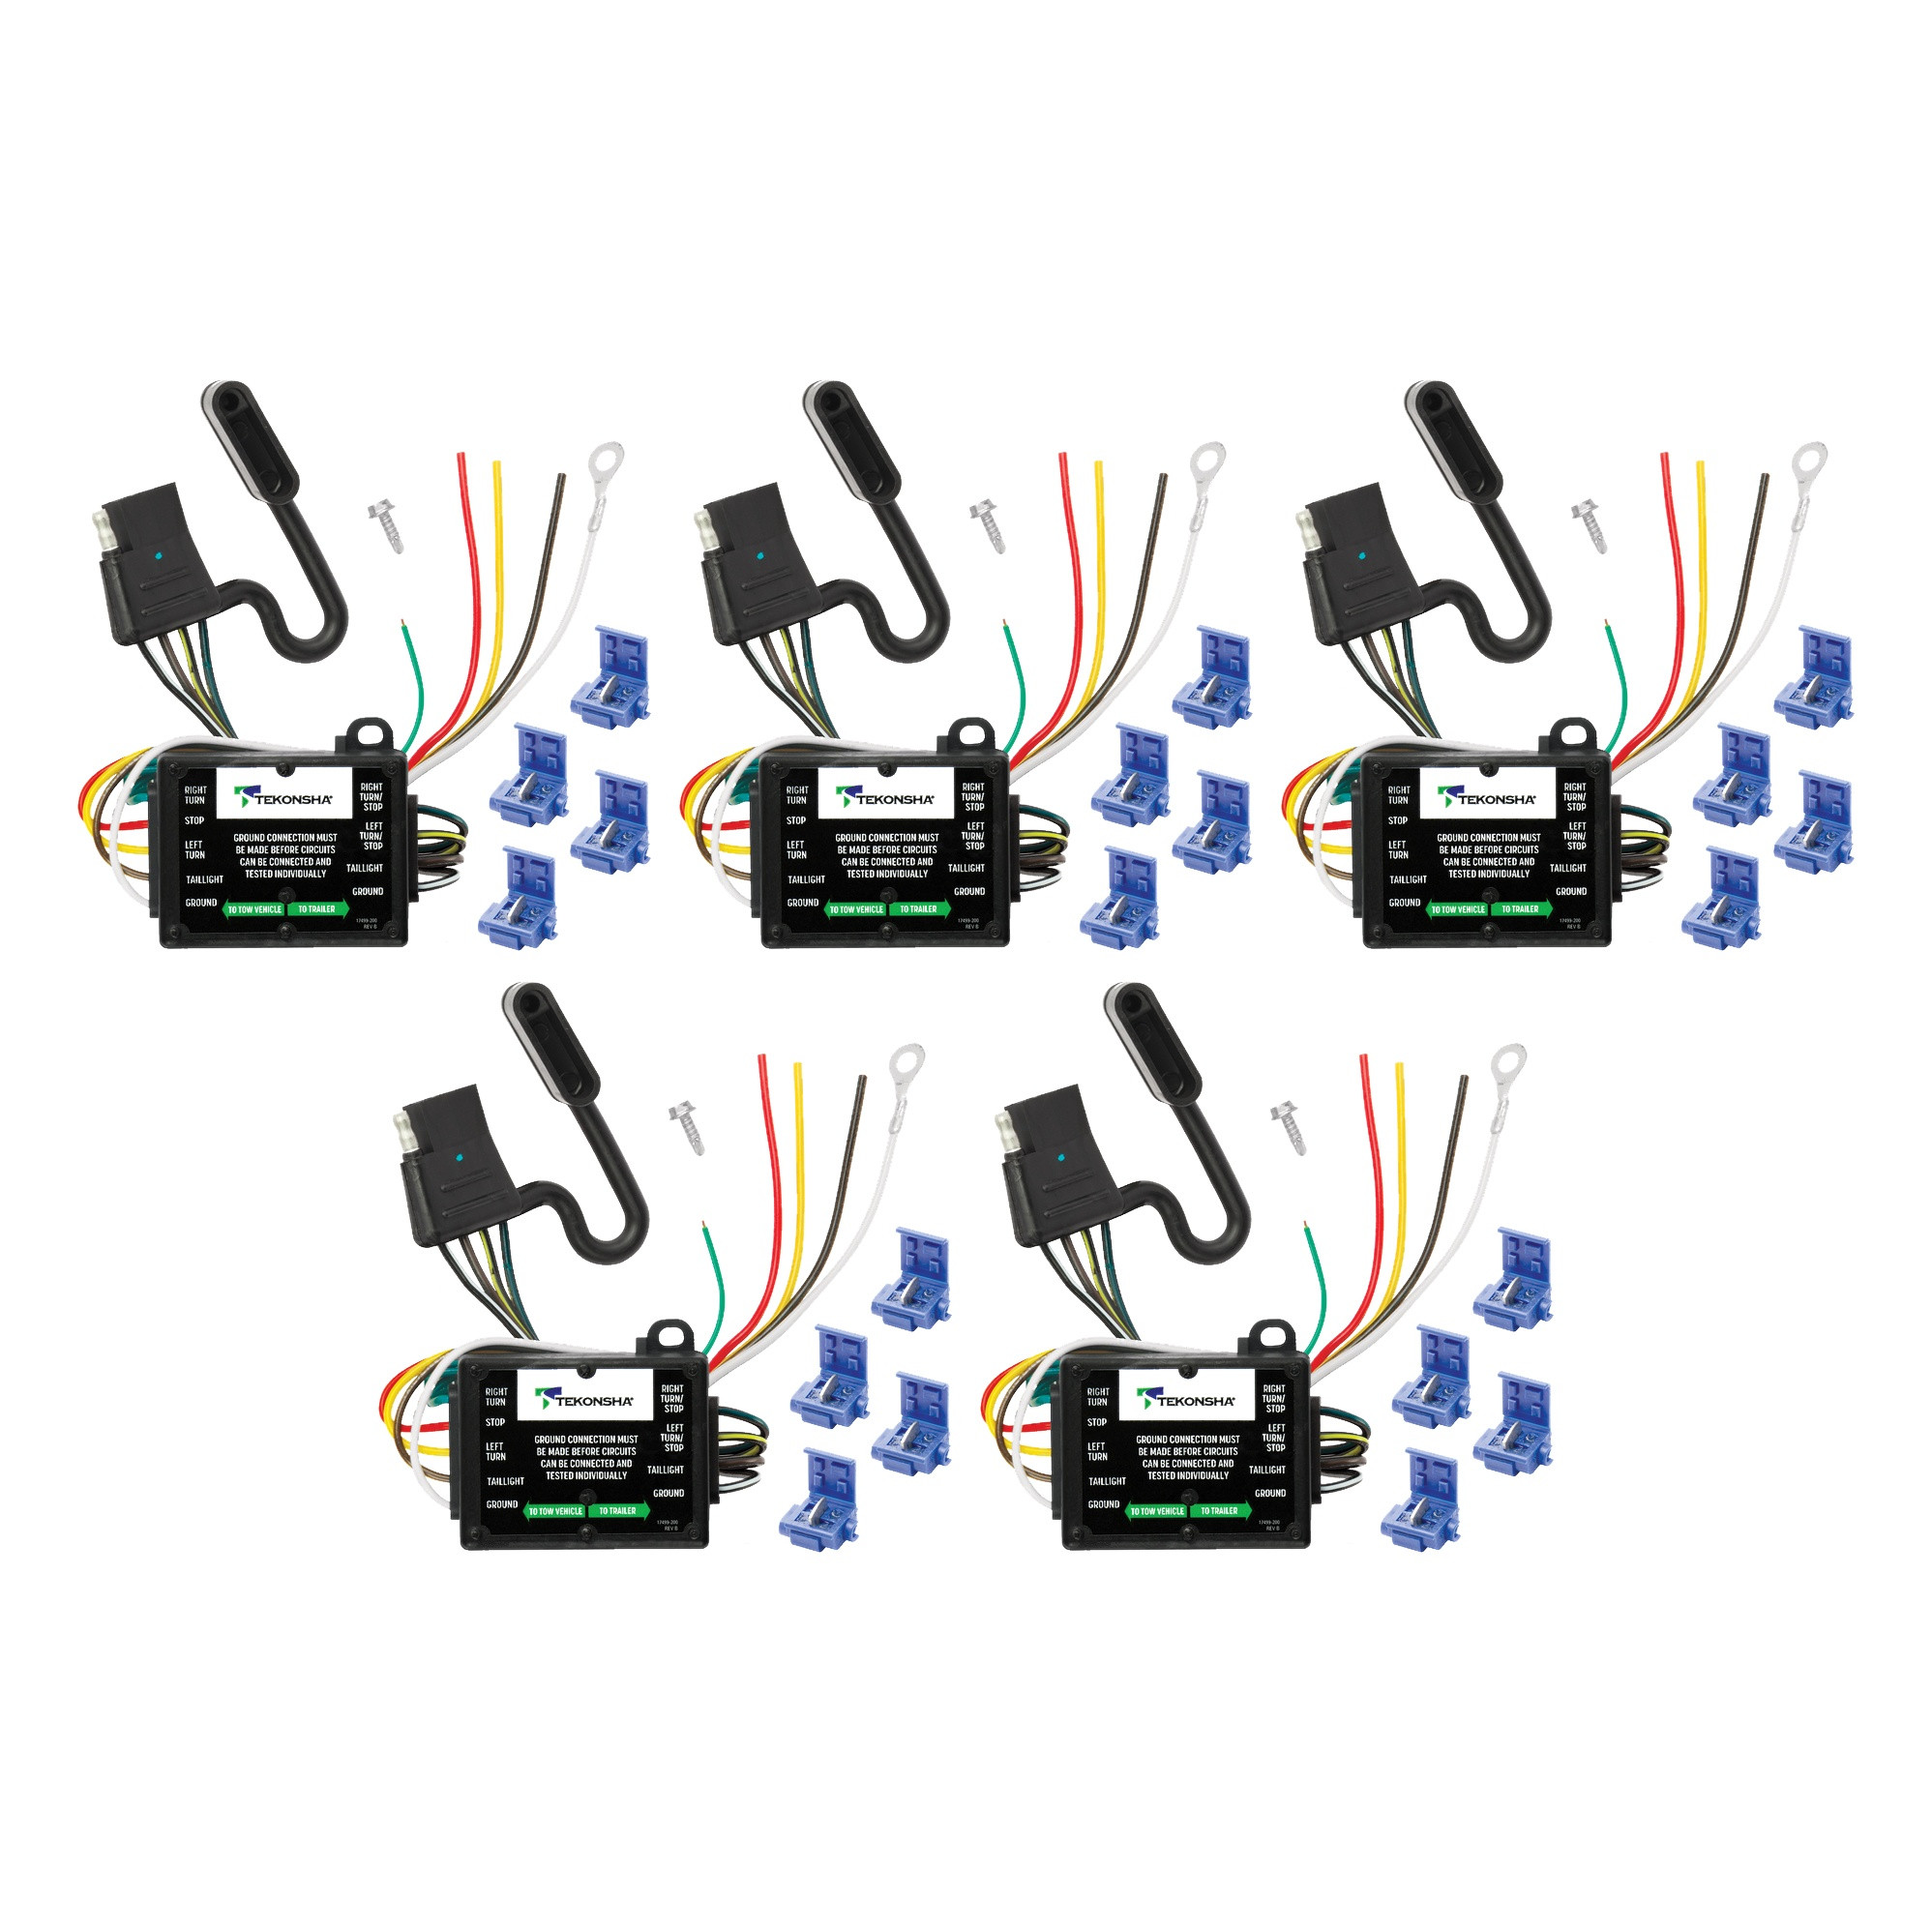
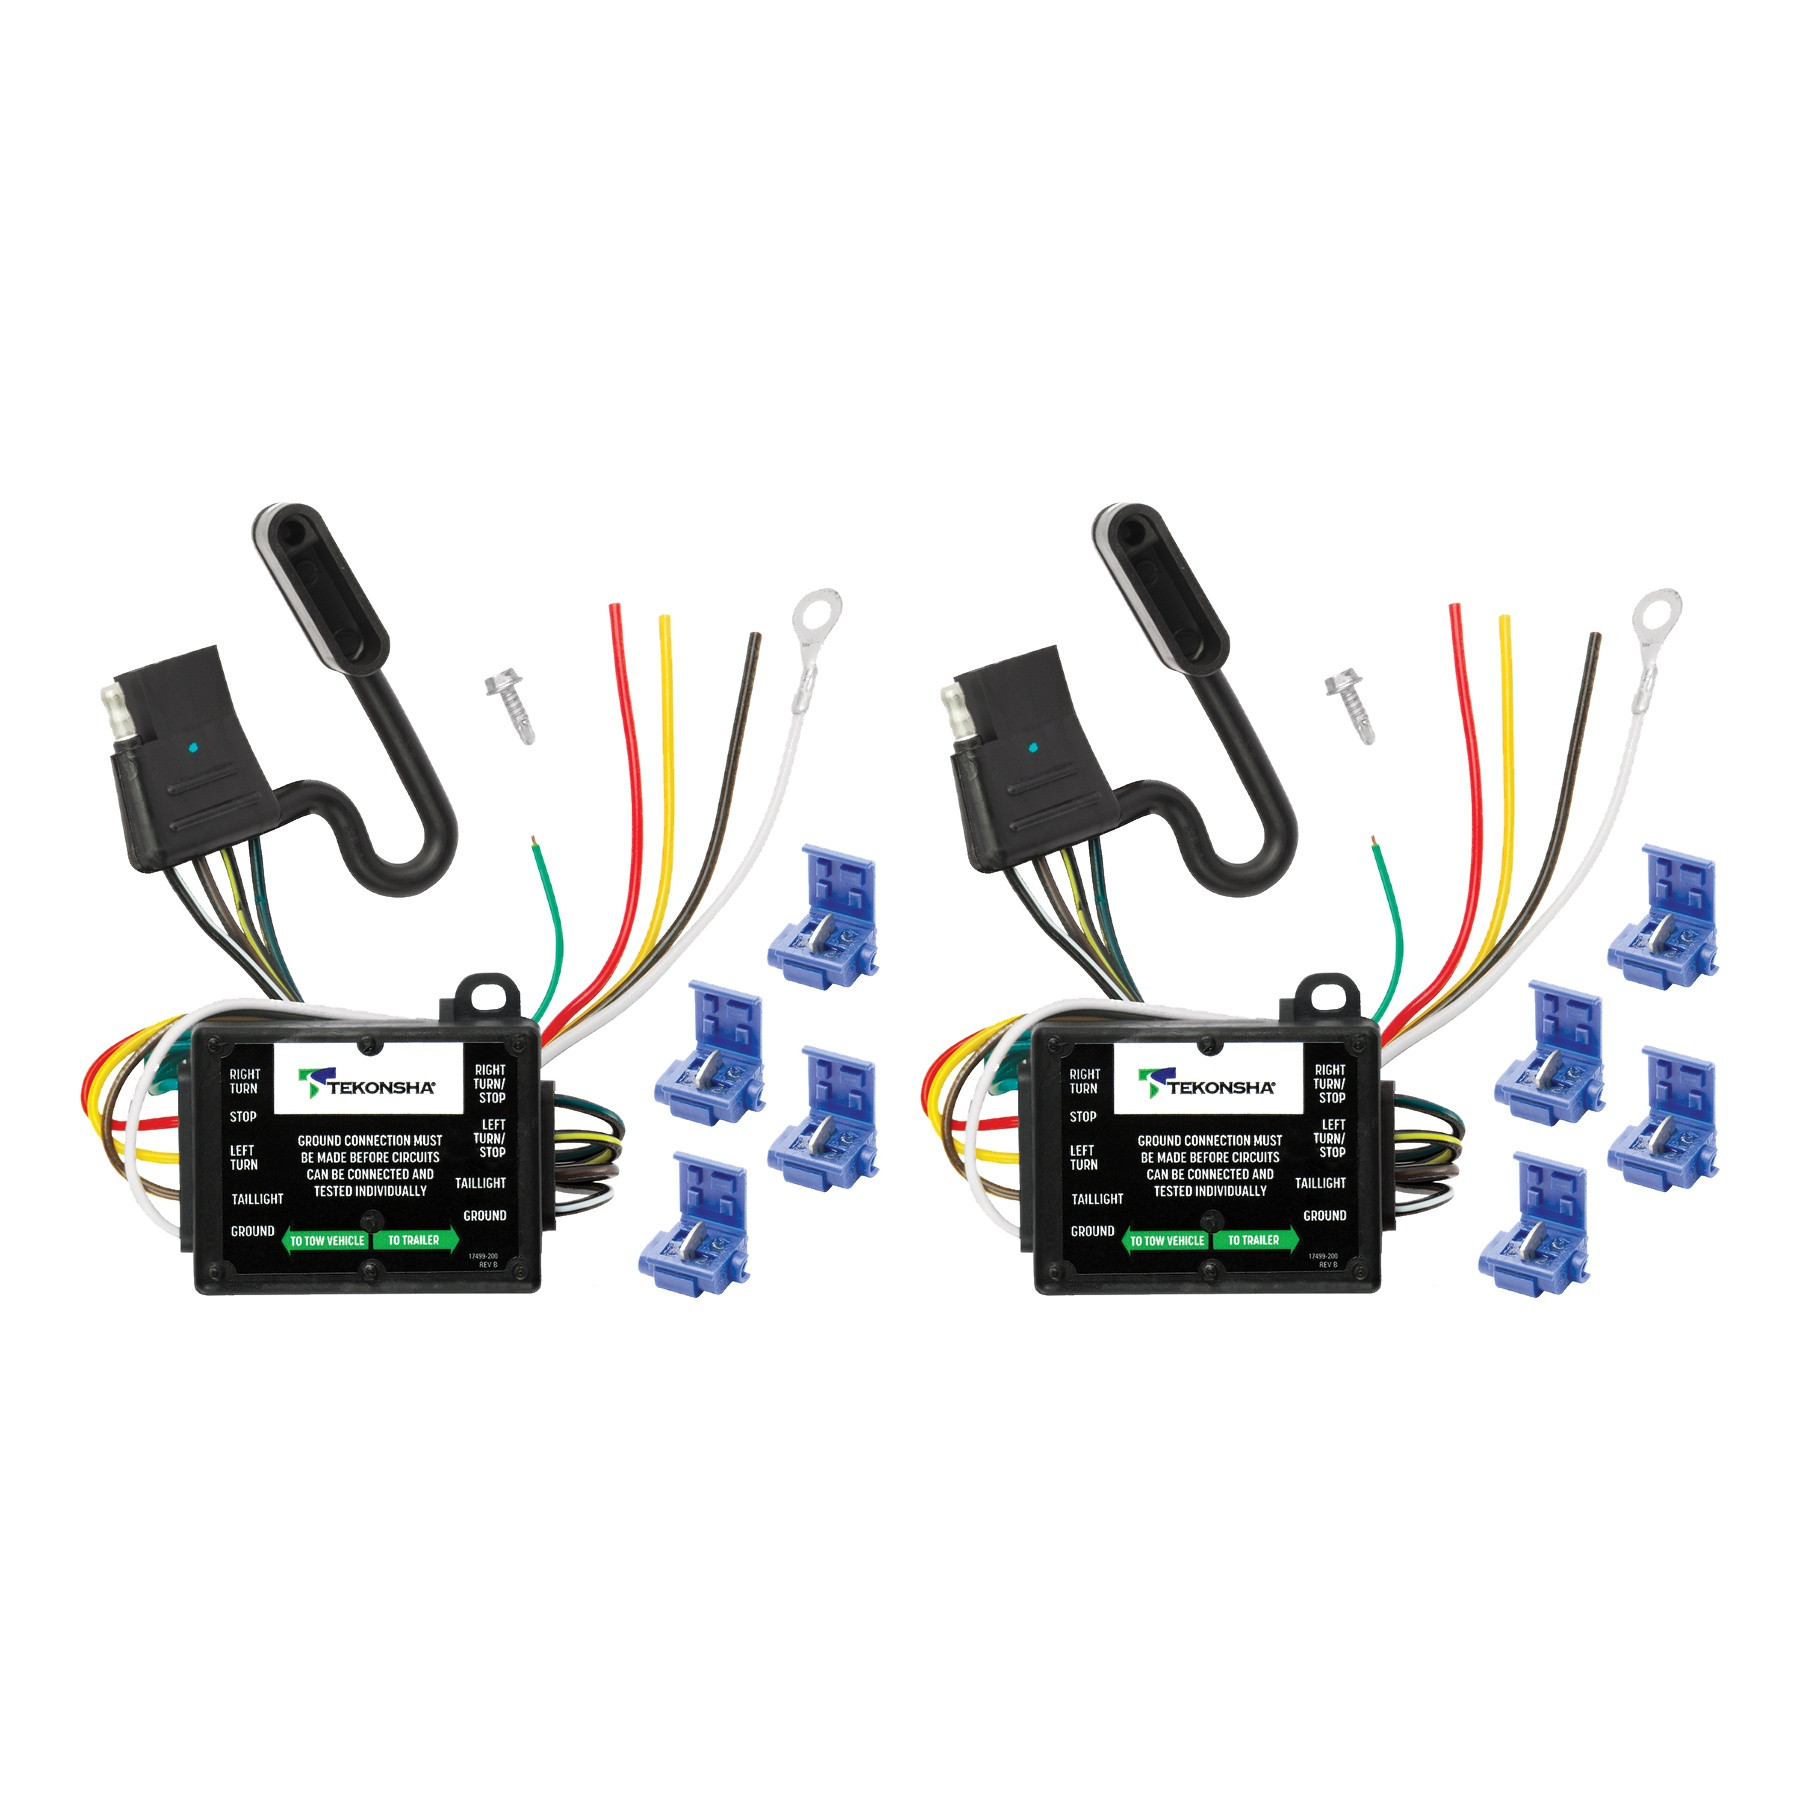
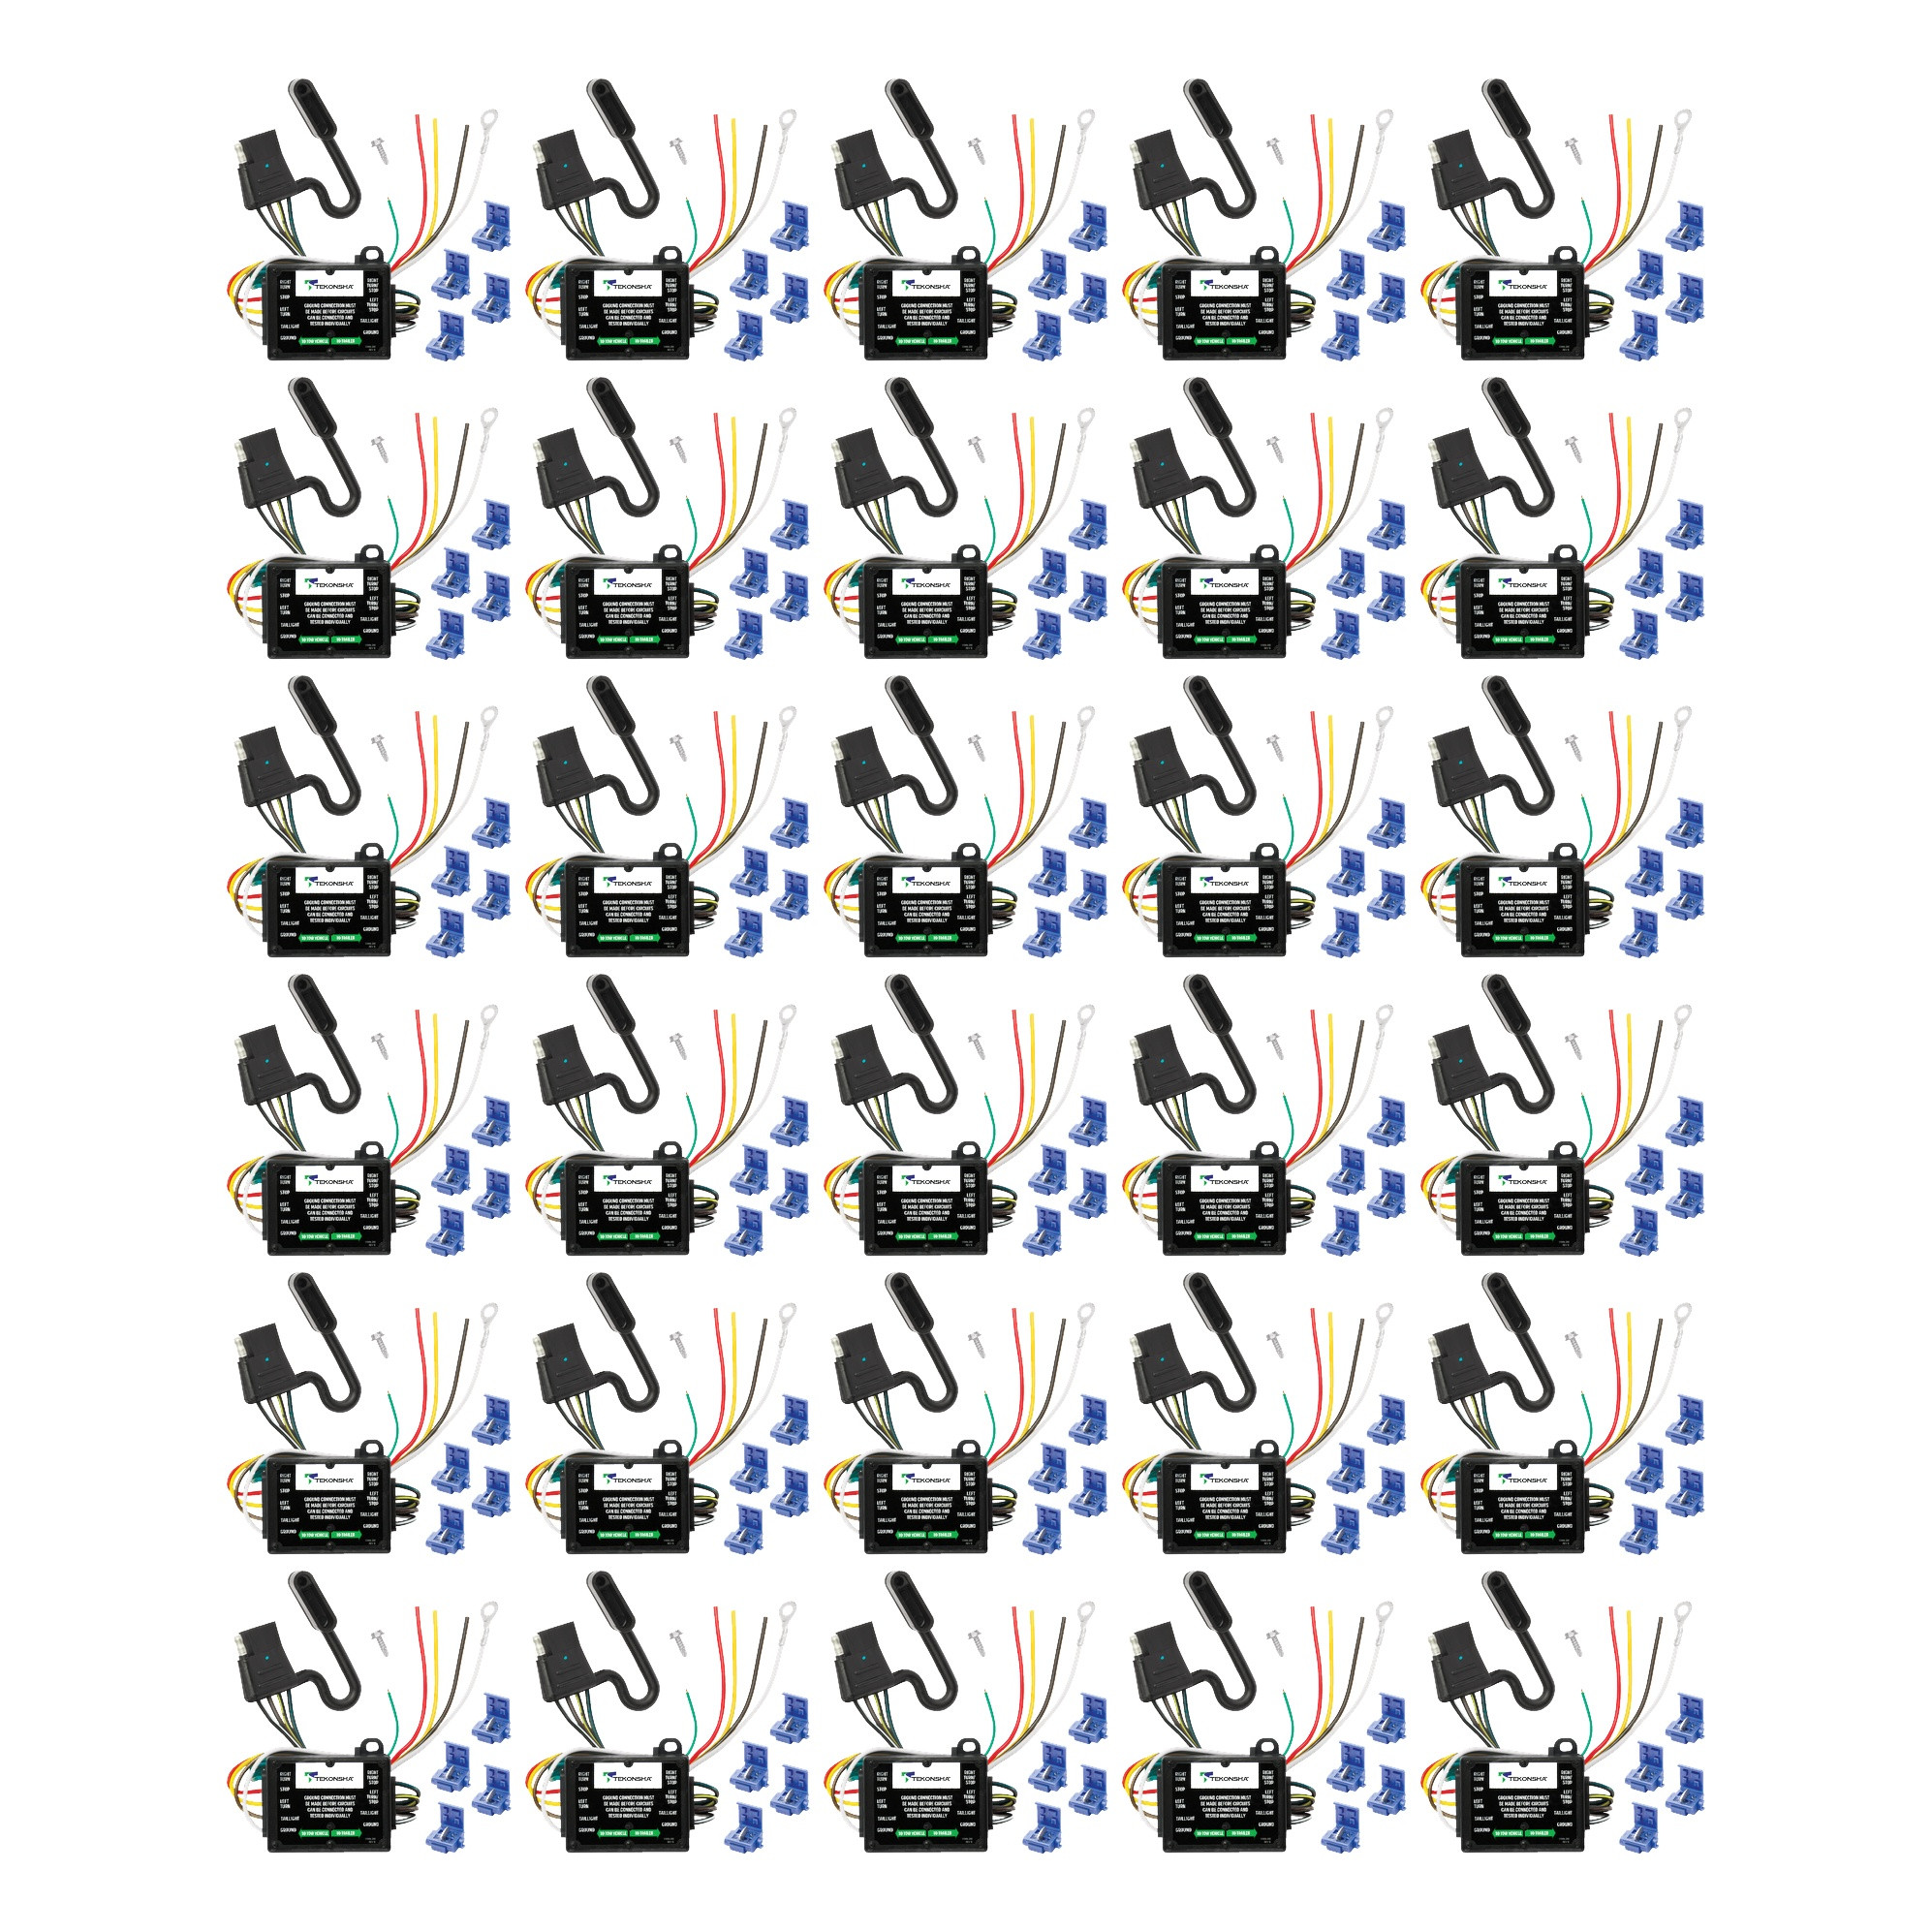
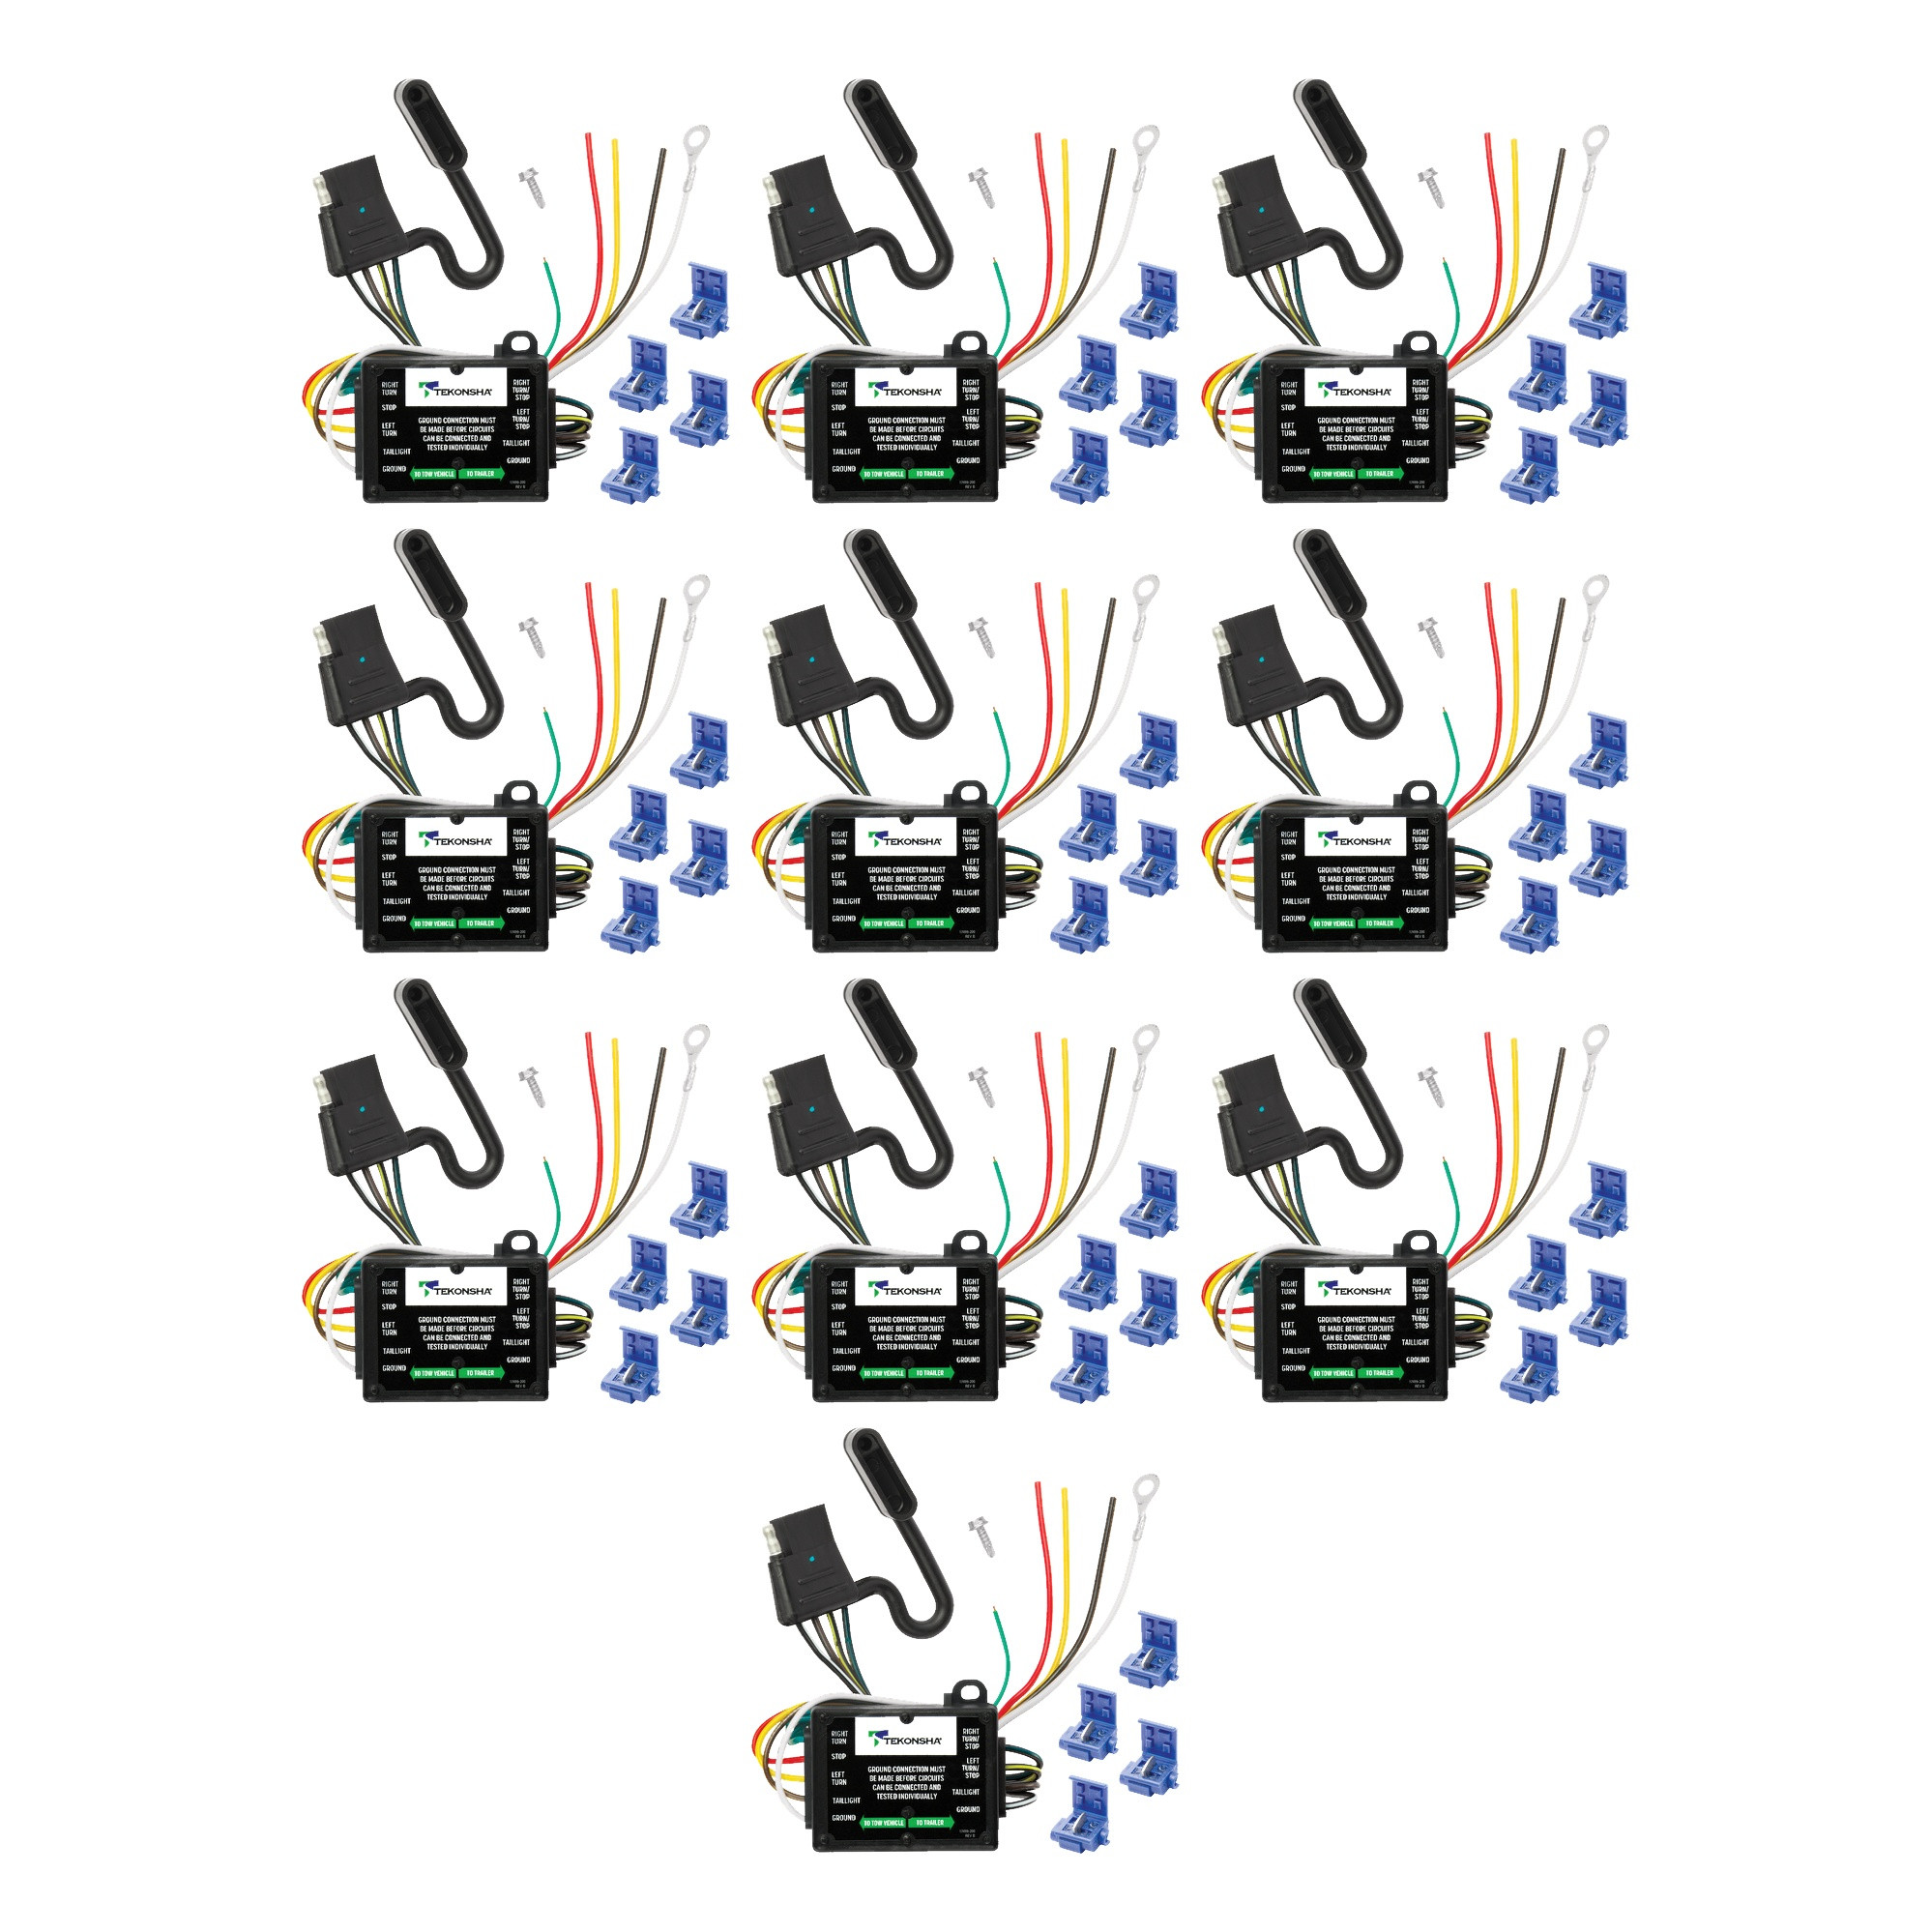
Tekonsha (5-Pack) Taillight Converter w/12 Inch Leads and 60 Inch 4-Flat Car End ConnectorTekonsha$346.00In Stock
View productOur in-house experts typically reply within one business day.

Tekonsha

Always the correct part
We know our products
Quality Products
Free Shipping!
Always the correct part
We know our products
Quality Products
Free Shipping!
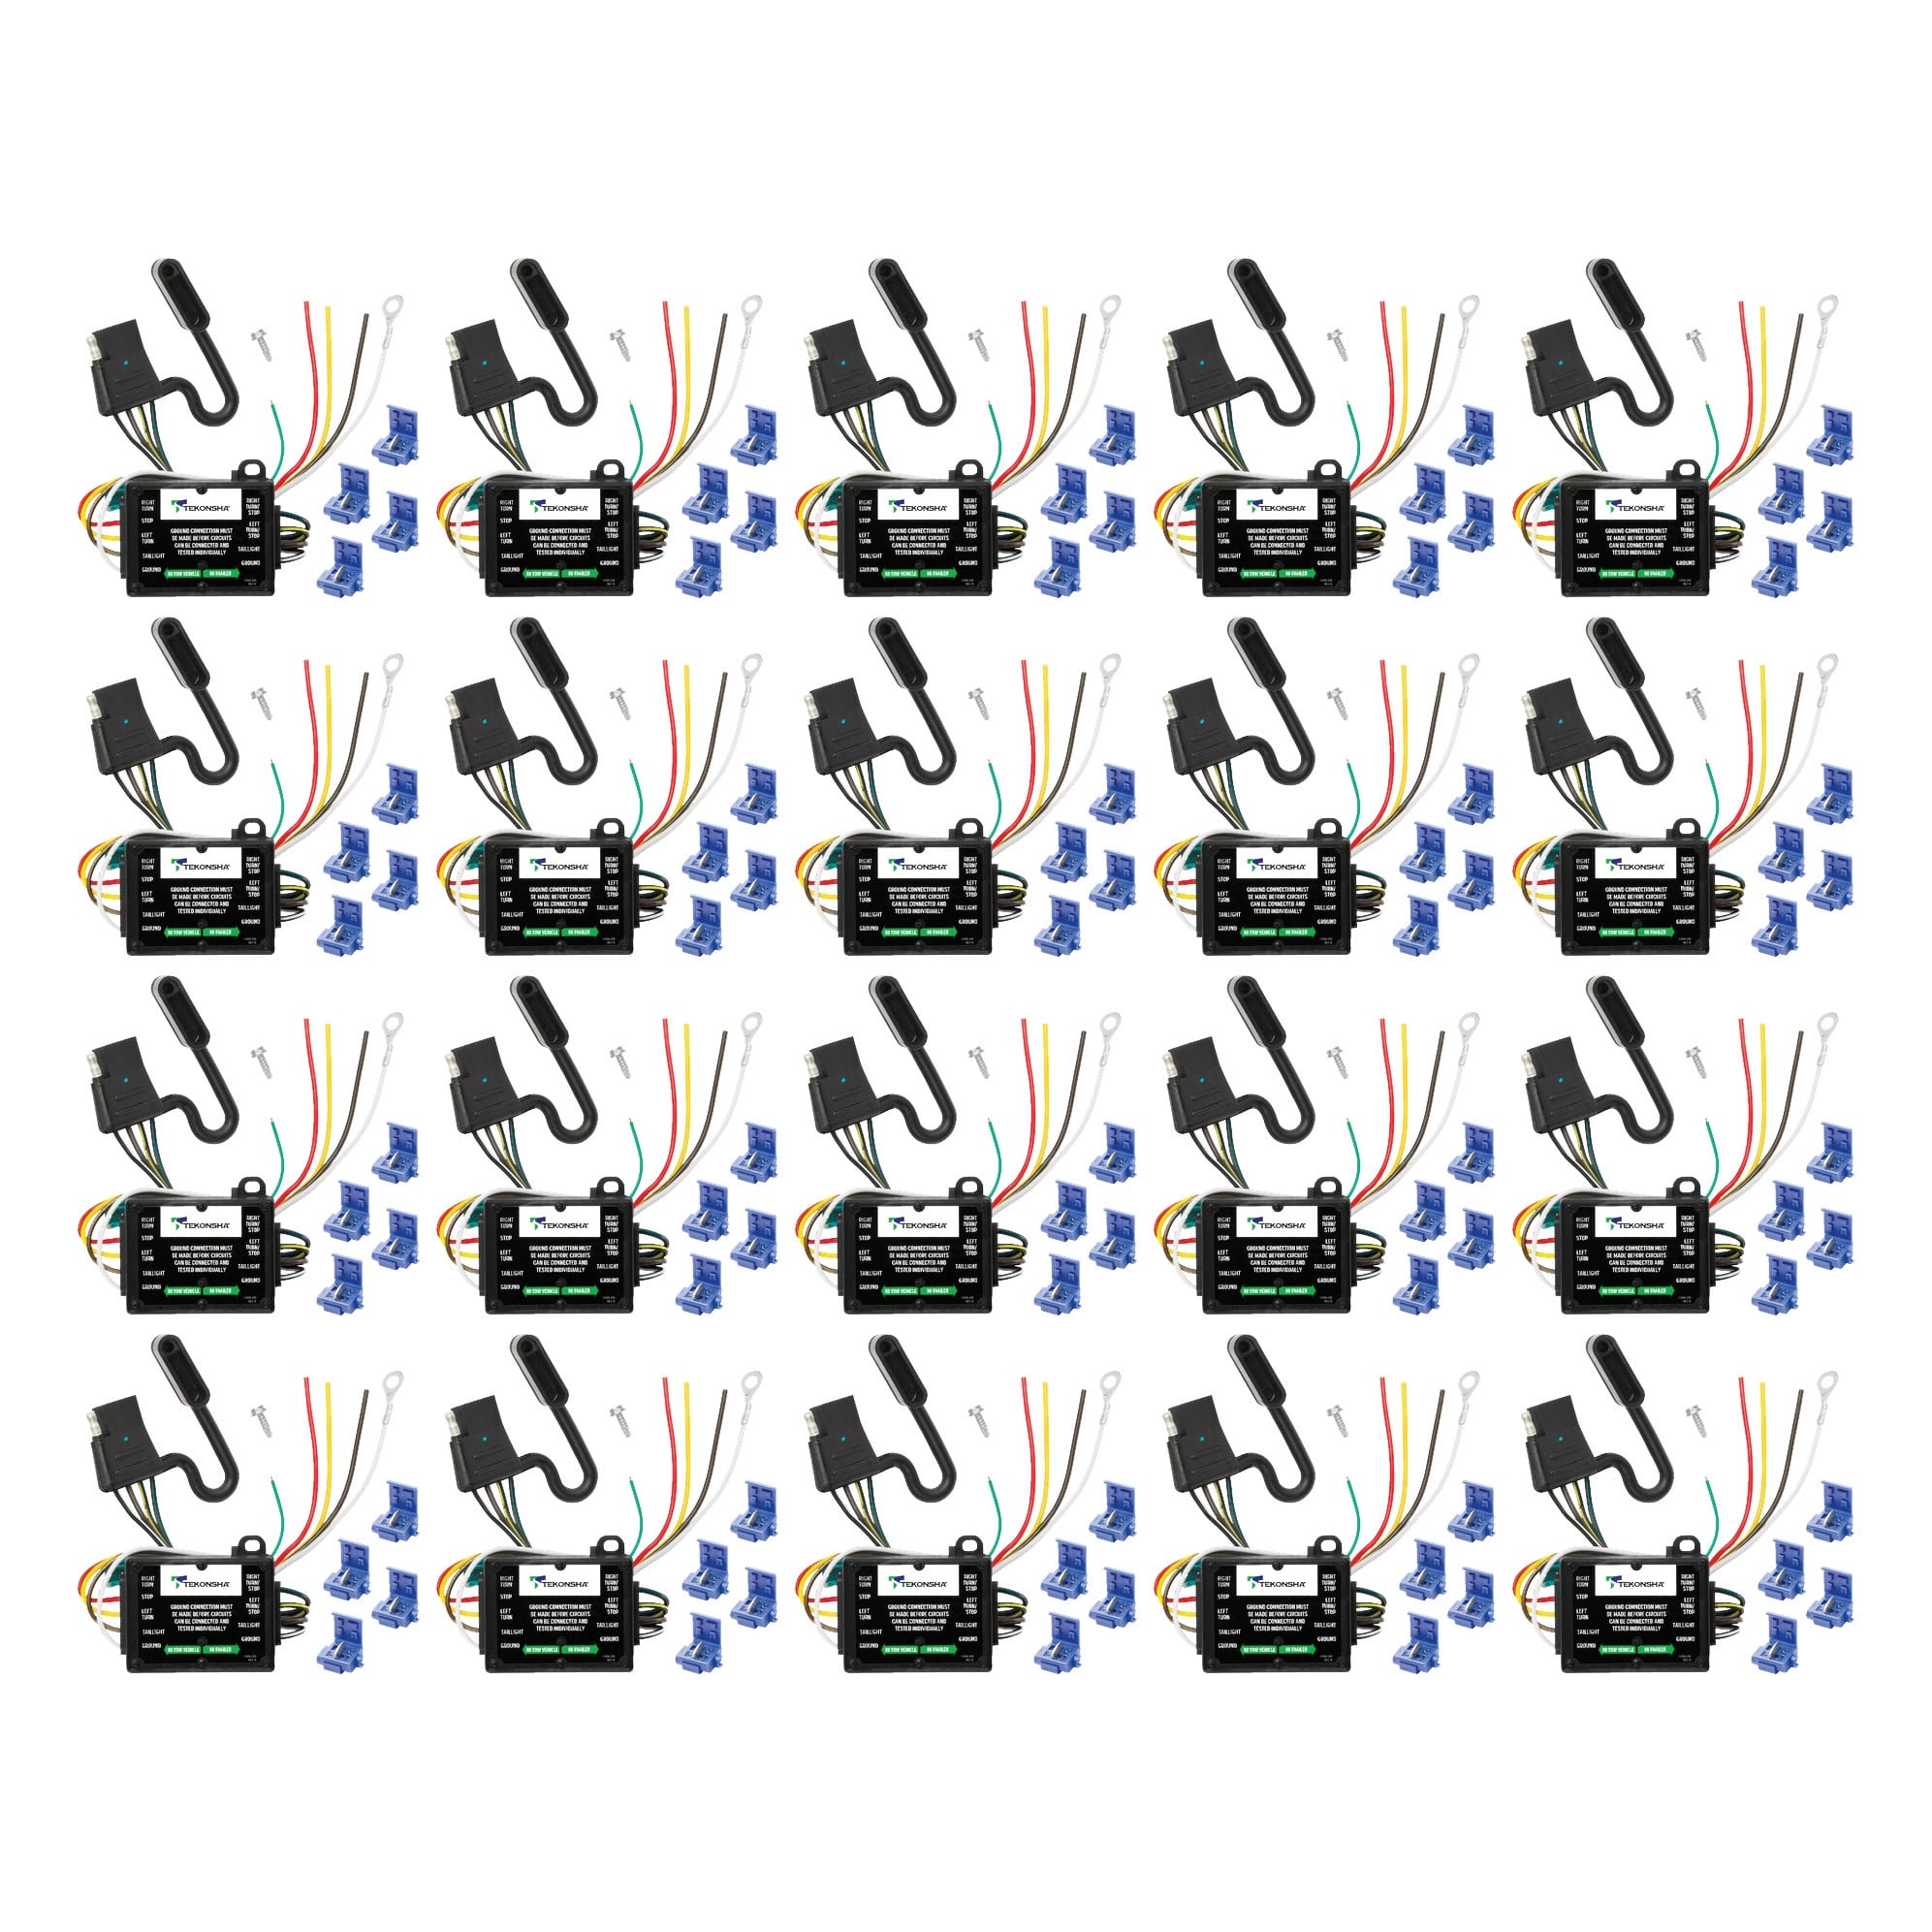
Complete kit bundle containing all necessary components for your project. Professional-grade components designed for reliable performance and long-lasting durability.

| BRAND: | TEKONSHA |
| PART NUMBER: | 119130 |
| WARRANTY: | LIMITED 1 YEAR WARRANTY |
| WEIGHT: | 0.55 LBS |


Keywords: TK119130-20PK bundle kit, complete kit, professional components, industrial kit, TK119130, Tekonsha

Tekonsha is a leading manufacturer of electronic trailer brake controllers, pioneering the category in the 1970s. The lineup spans proportional units such as the Prodigy P3 and Prodigy iD, time-delayed controllers, the wireless Prodigy RF, plus vehicle-specific wiring harnesses, adapters and trailer brake components engineered for smooth, predictable stopping at any speed.
Tekonsha Engineering Company began in 1964 building RV steps and mirrors. Within a few years it had found its real calling, and by the 1970s Tekonsha was pioneering the manufacture of electronic trailer brake controllers, the product category that still defines the brand. More than half a century later it remains the reference name in trailer braking and is part of the Horizon Global group alongside Reese, Draw-Tite, Fulton, Bulldog and Wesbar.
A brake controller is the component that tells a trailer's electric brakes how hard to work and when, and getting that right is the difference between a controlled stop and a shove from behind. Tekonsha builds both major types. Proportional controllers use an internal accelerometer to sense how quickly the tow vehicle is slowing and apply trailer braking to match, so light braking stays light and hard braking is immediate. Time-delayed controllers ramp to a preset output over a fixed interval, a simpler and more economical approach that suits occasional towing.
The current brake controller range covers most of that ground. The Prodigy iD pairs with a phone through Tekonsha's EDGE technology for setup and monitoring, the P3 offers storable settings for multiple trailers and a trilingual colour LED display, the Prodigy P2 adds a dimmable display and boost mode for heavier loads, and the Voyager keeps operation simple and dependable. The Prodigy RF mounts to the trailer itself and controls wirelessly, which suits rental fleets and drivers who swap tow vehicles.
Installation is supported by vehicle-specific brake control harnesses that plug into a factory connector rather than requiring cut-and-splice wiring, along with mounting brackets and adapters. Matched controller bundles pair a unit with the correct harness. Products are tested to meet and often exceed published industry standards.
Experts available to answer your questions
Call 888-634-94941 Year
The 119130-037 is a tail light converter designed for vehicles with separate turn/stop lights and no factory wiring harness. It converts vehicle lighting circuits to work with a 4-flat trailer connector by matching color-coded wires from the converter to the appropriate vehicle lighting circuits (left turn, right turn, stop lights, tail lights, and ground).
No. The 119130-037 is specifically designed for vehicles with separate turn/stop lights and NO factory wiring harness. If your vehicle has a factory wiring harness, this converter is not the correct product.
You will need: a drill with a 3/32" drill bit, a Philips head screwdriver, wire crimpers, and a circuit tester (test-probe). The circuit tester is essential for identifying each vehicle lighting circuit before making connections.
Yes. An eyelet and screw are provided with the converter for securing the white ground wire. These are used if you need to drill a 3/32" hole to create a grounding point, rather than using an existing ground stud.
The color-coded wires are: Green = Right Turn, Red = Stop Lights, Yellow = Left Turn, Brown = Tail Lights, White = Ground (Vehicle Structure). Always use a circuit tester to identify each vehicle lighting circuit before connecting the converter wires.
A circuit tester is required to identify each of the vehicle's lighting circuits before making connections. This ensures you connect the correct converter wire (green, red, yellow, brown) to the correct vehicle wire. Connecting to the wrong circuit will cause lights to malfunction.
When using a circuit tester, carefully probe one wire at a time. Do not probe across two wires or across a wire and vehicle structure, as this can damage electronic components. Always probe individual wires to identify the correct circuits.
The converter unit must be permanently mounted in a spot where it will not be damaged. The manual does not specify a particular location, but the mounting point should protect the unit from impact, moisture, and heat.
Drilling may be required for the grounding connection. If a suitable existing ground stud is not available near the converter, you will need to drill a 3/32" hole to secure the white ground wire using the provided eyelet and screw. Do not drill into the vehicle floor or bed, and verify what is behind any surface before drilling to avoid damage to the vehicle or personal injury.
A 3/32" drill bit is required. This hole is used to secure the white ground wire with the provided eyelet and screw.
No. The manual explicitly states: "Do not drill into vehicle floor or bed." When creating a grounding point, drill only into suitable surfaces away from the floor or bed. Always verify what is behind any surface before drilling.
Yes. Before securing the white ground wire, clean dirt and rustproofing from the grounding area. This ensures a good electrical connection.
The maximum is 1 stop/turn light per side at 2.1 amps. Do not exceed this limit. Overloading the circuit can cause fires.
The maximum is 7.5 amps for tail lights. Do not exceed this limit. Overloading the circuit can cause fires. Also respect the lower of your towing manufacturer's rating or these limits.
Wear safety glasses during installation. Read and follow all vehicle warnings and installation instructions before beginning. When using a circuit tester, probe one wire at a time and do not probe across two wires or between a wire and vehicle structure. Before drilling, verify what is behind any surface to avoid damage to the vehicle or personal injury. Do not drill into exposed surfaces.
With the ground wire connected and all other circuits attached, attach the ground lead of a circuit tester to the exposed ground terminal of the 4-flat end. Activate the tow vehicle's left turn, right turn, tail, and stop lights one at a time. Probe the three receptacles of the 4-flat end to confirm proper function. If testing with a trailer, make the proper connections and test the trailer lights the same way. If a trailer light function does not work, disconnect the trailer lights, turn vehicle functions off, and recheck with the circuit tester to isolate whether the problem is in the converter or the trailer.
First, disconnect the trailer lights and turn the vehicle functions off. Recheck the function with a circuit tester connected to the converter unit. If the converter functions correctly with the tester, the problem is in the trailer. If the converter does not function correctly, there may be an issue with the converter installation or the vehicle circuit connection.
No. This converter is for vehicles with separate turn/stop lights and NO factory wiring harness only.
Drill with 3/32" bit, Philips head screwdriver, wire crimpers, and a circuit tester (test-probe). The circuit tester is essential for identifying vehicle lighting circuits.
Drilling may be required if no existing ground stud is available. You may need to drill a 3/32" hole for the ground wire, but do not drill into the vehicle floor or bed.
Maximum 1 stop/turn light per side (2.1 amps) and maximum 7.5 amps for tail lights. Do not exceed these limits or the lower of your towing manufacturer's rating—overloading can cause fires.
Green = Right Turn, Red = Stop Lights, Yellow = Left Turn, Brown = Tail Lights, White = Ground. Always use a circuit tester to identify each vehicle circuit before connecting.
Connect the circuit tester ground lead to the 4-flat end ground terminal. Activate each vehicle light (left turn, right turn, tail, stop) one at a time and probe the three receptacles to confirm proper function.
Free Shipping
Ships free on all orders
 Authorized Dealer

FREE ShippingFREE SHIPPING
Estimated delivery Sat, Nov 14 - Tue, Nov 17
Order before 2 PM EST Monday–Friday for same-day processing
Guaranteed safe & secure checkout
No reviews have been added for this product.