
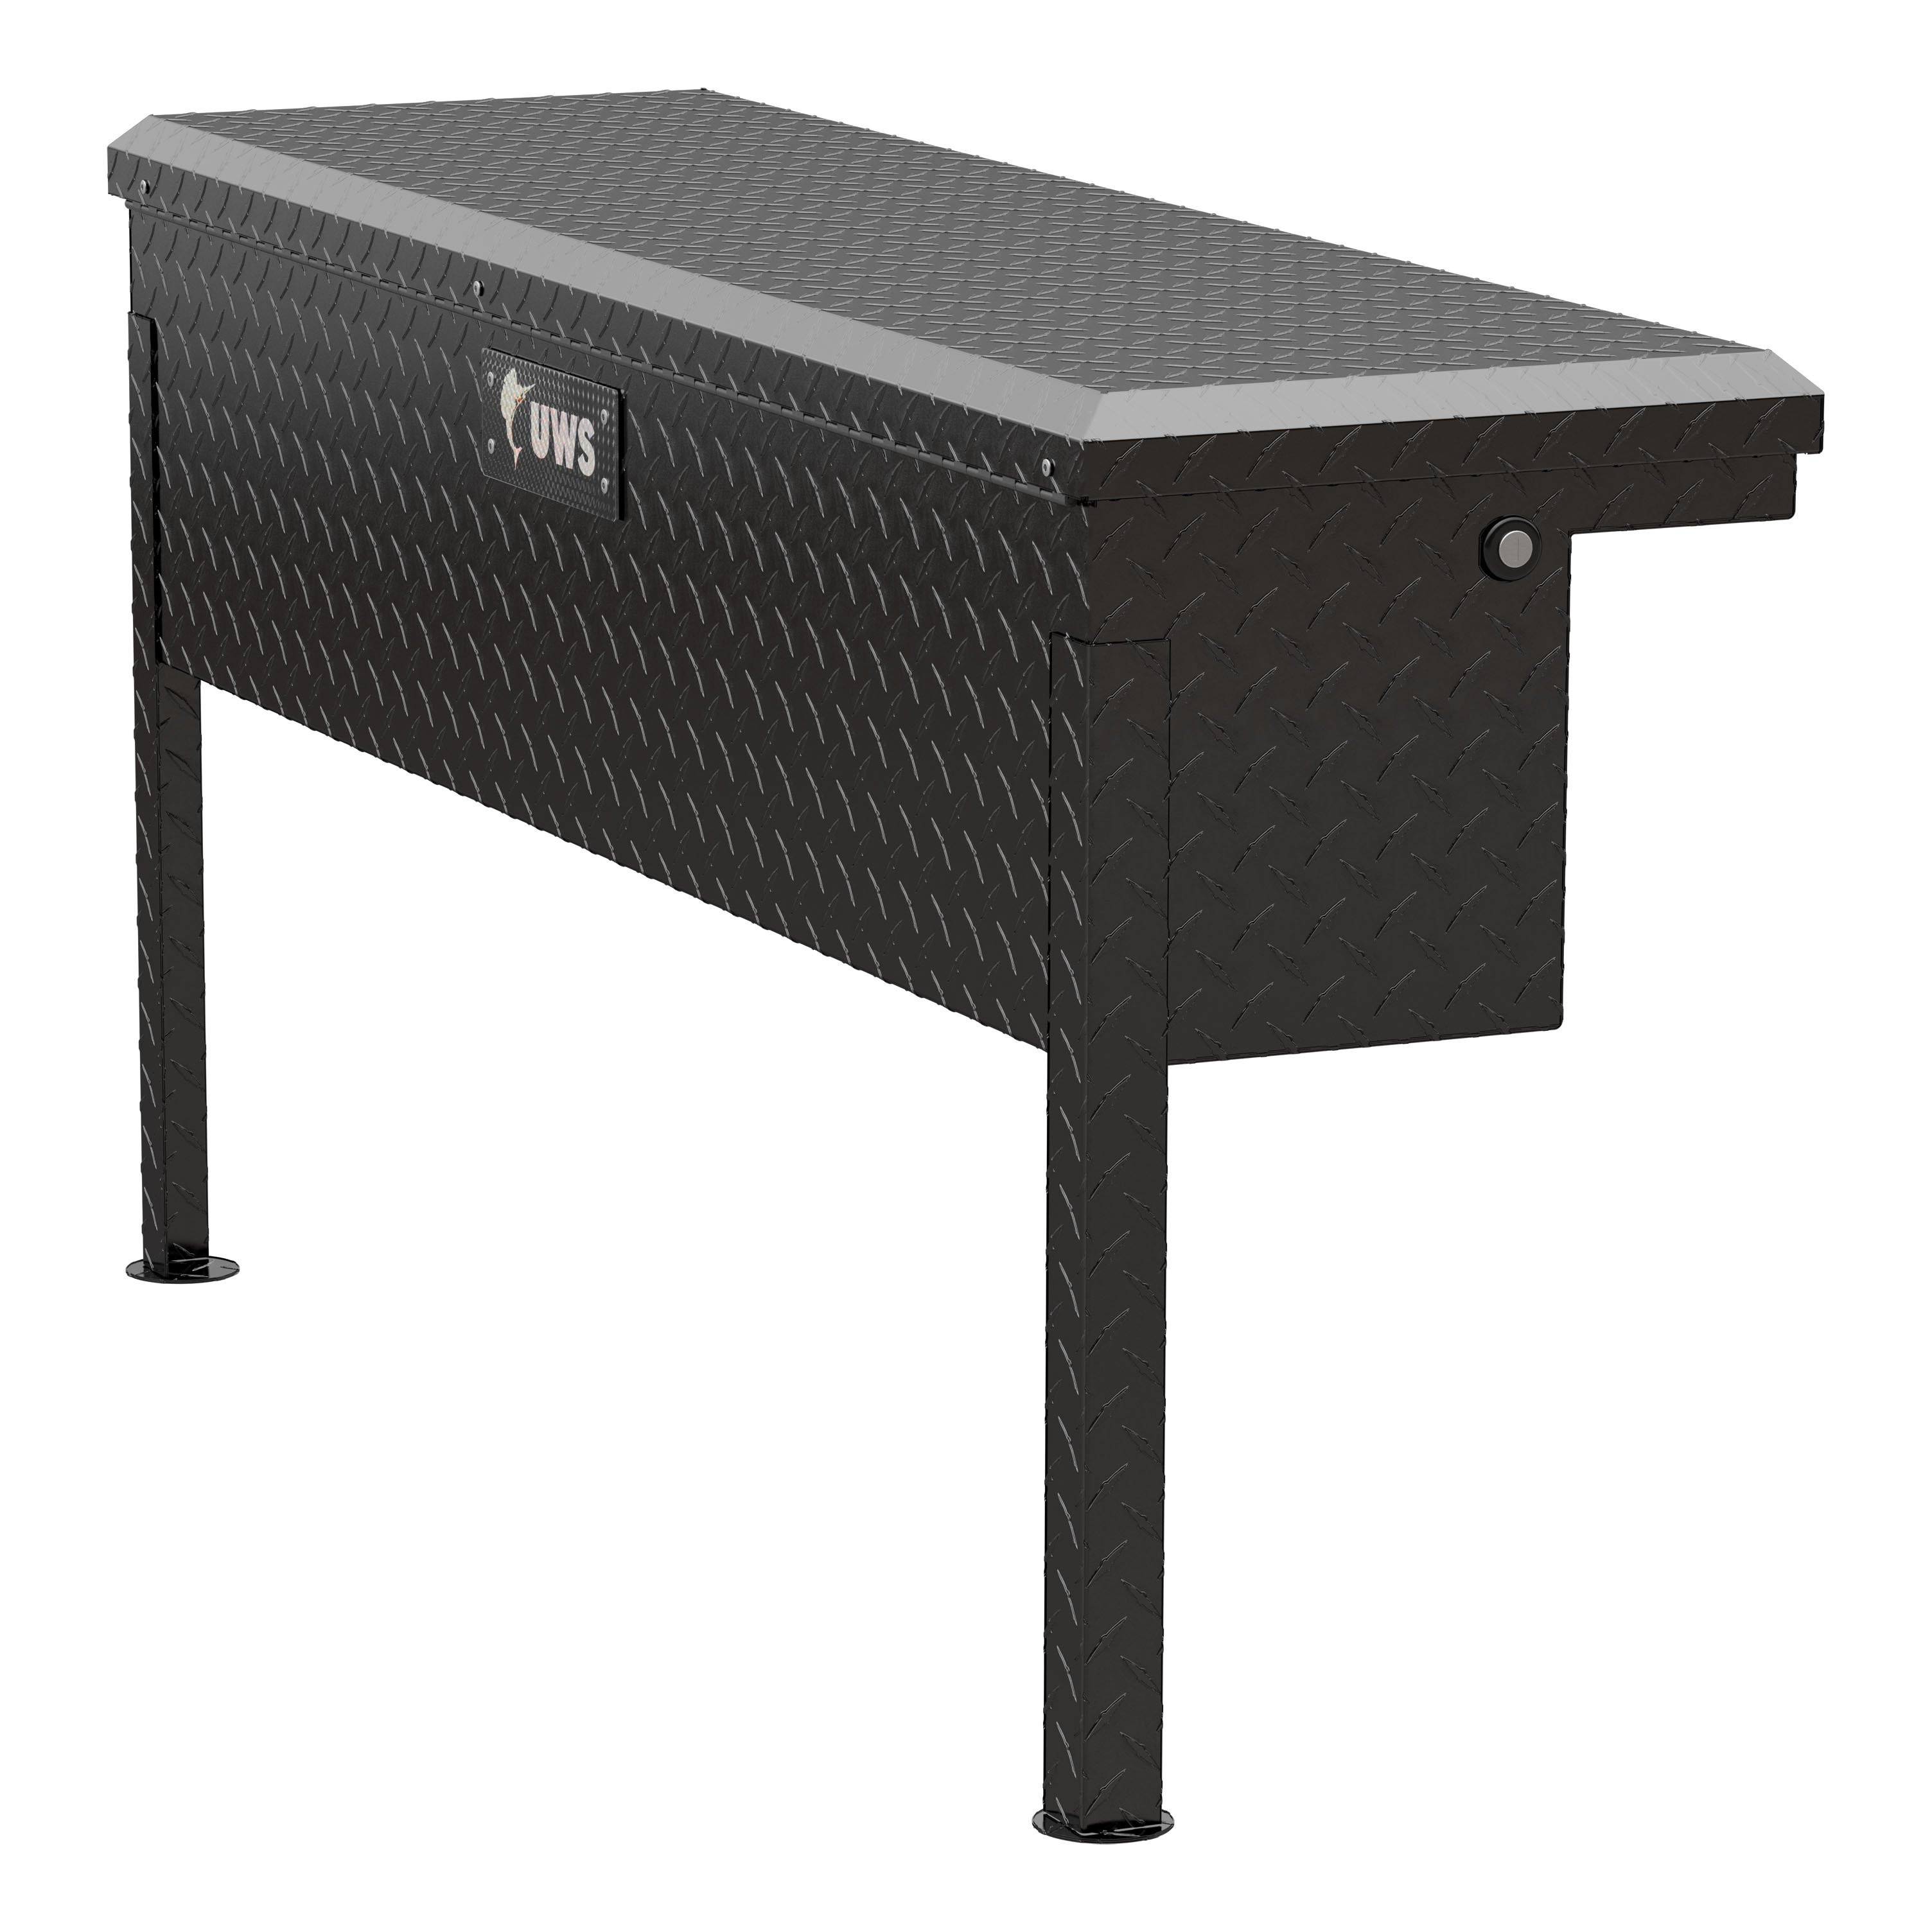
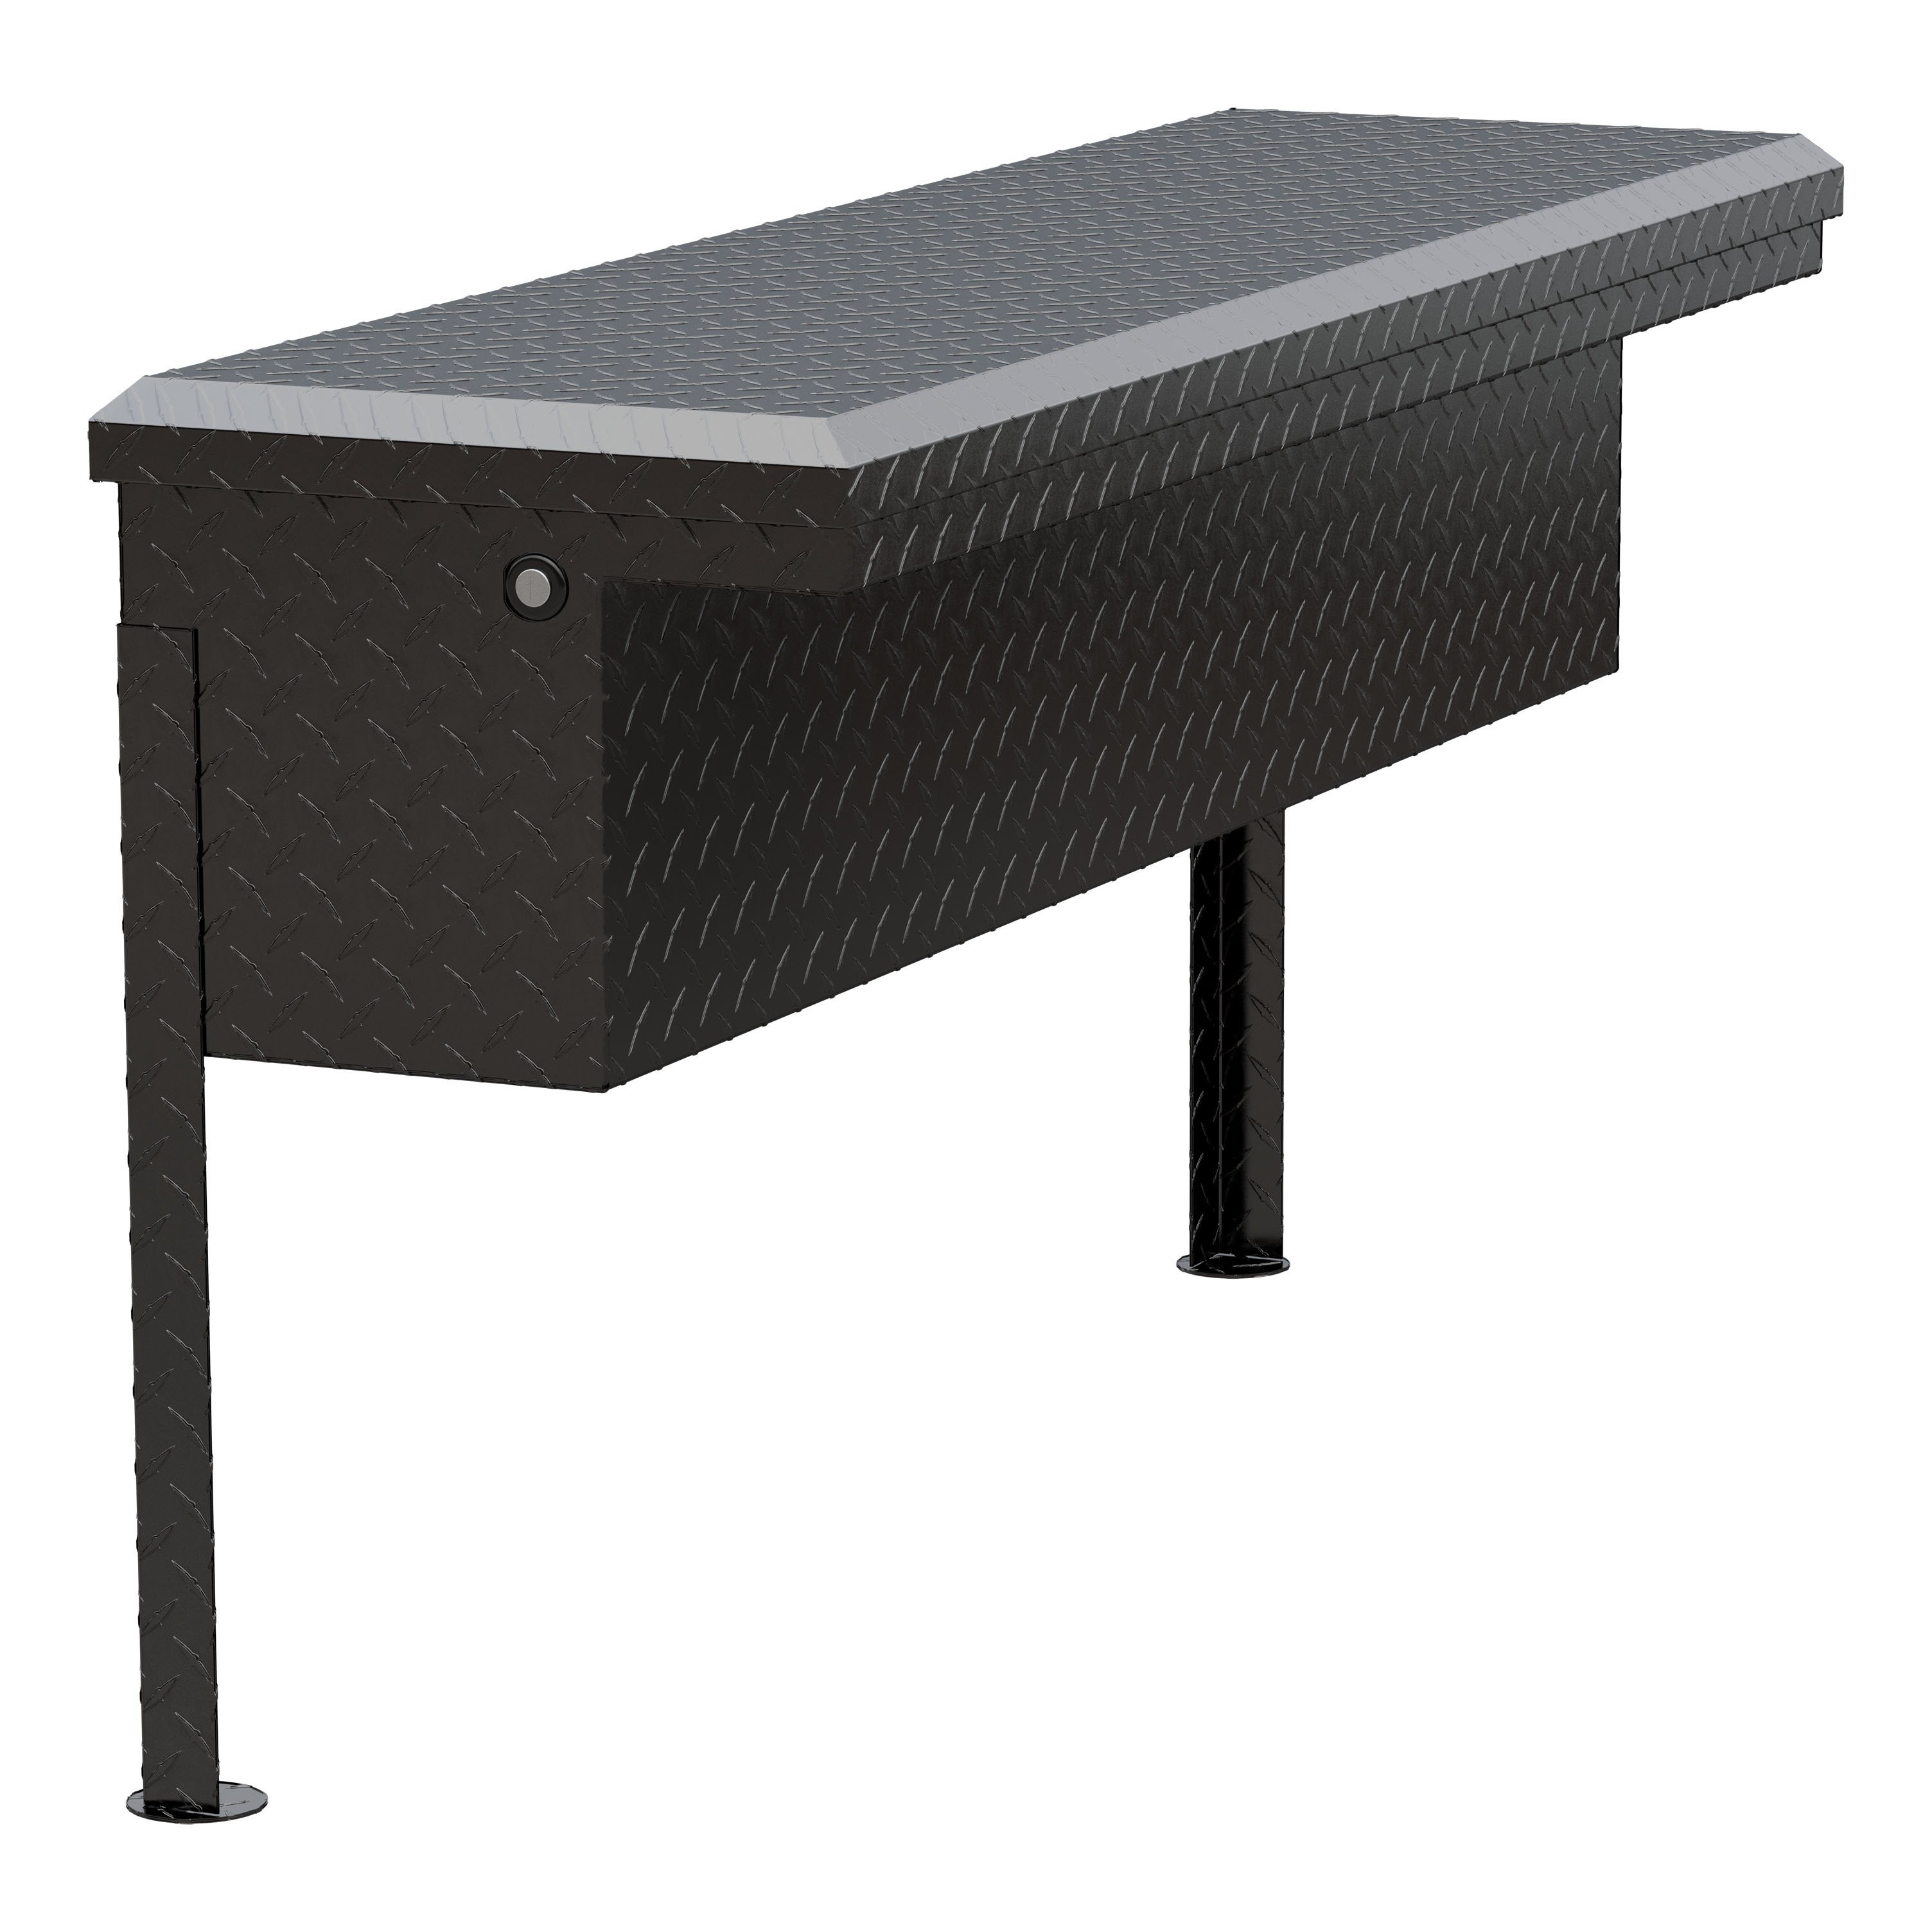
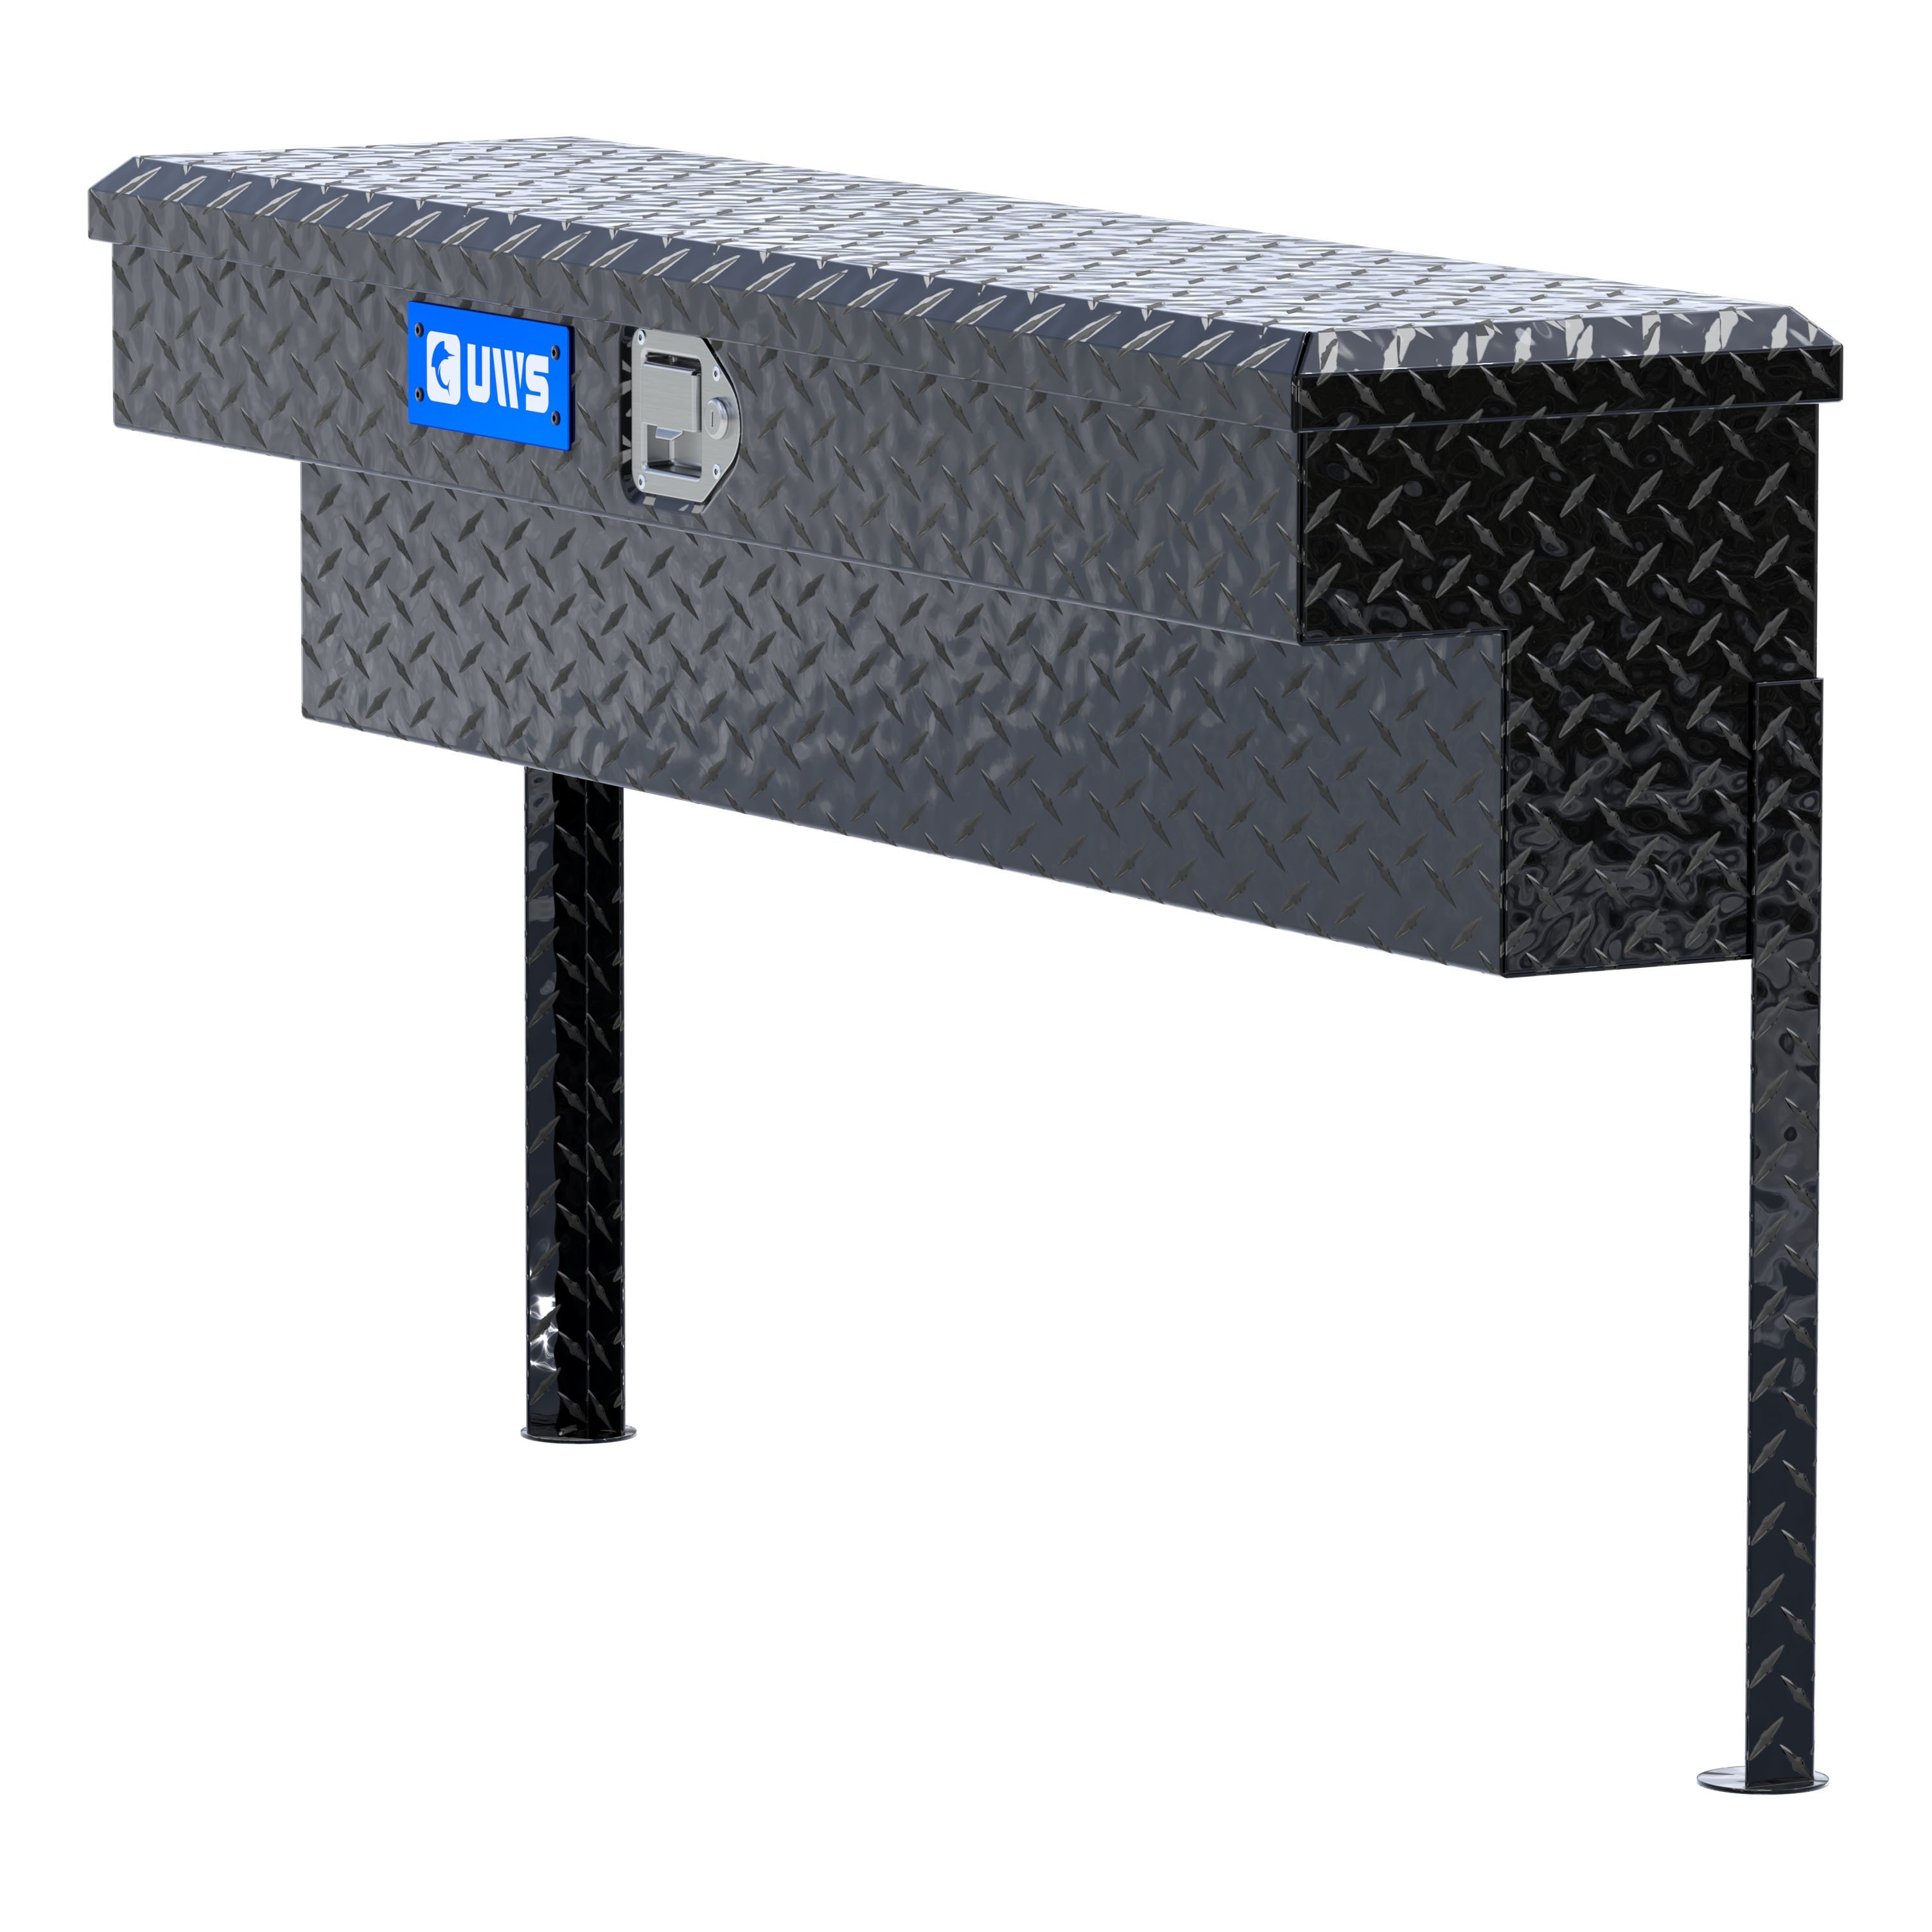
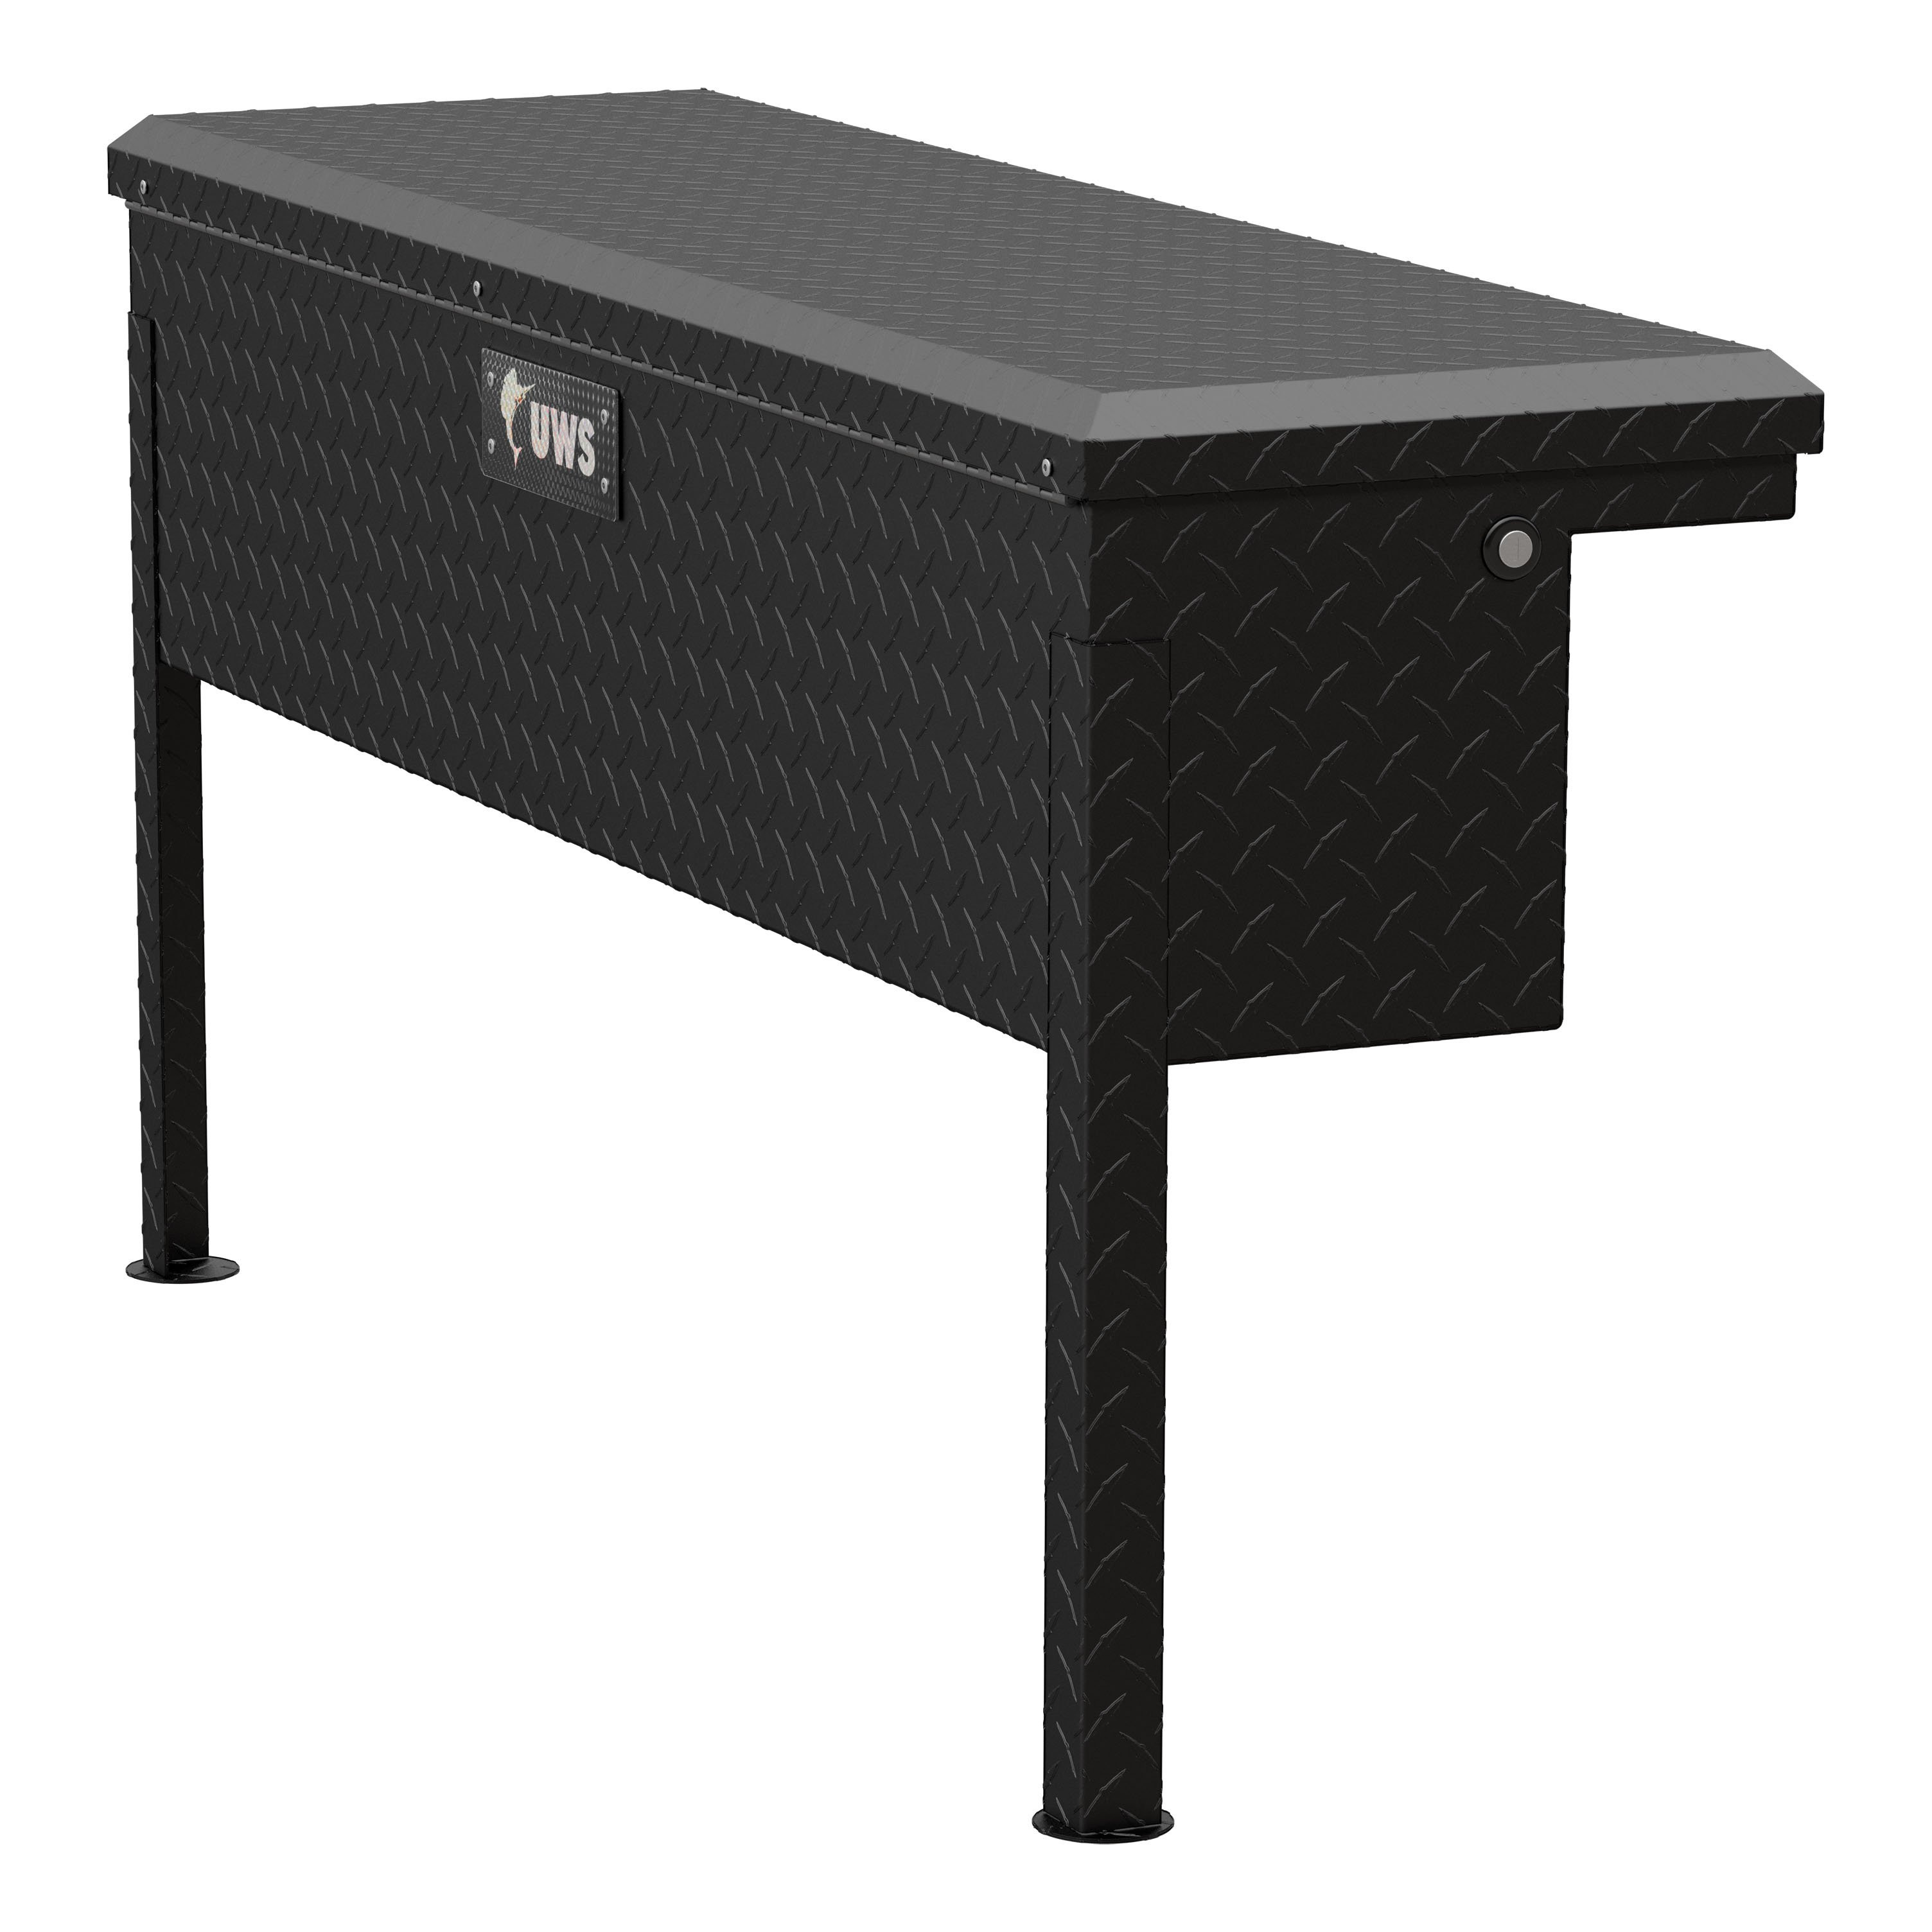
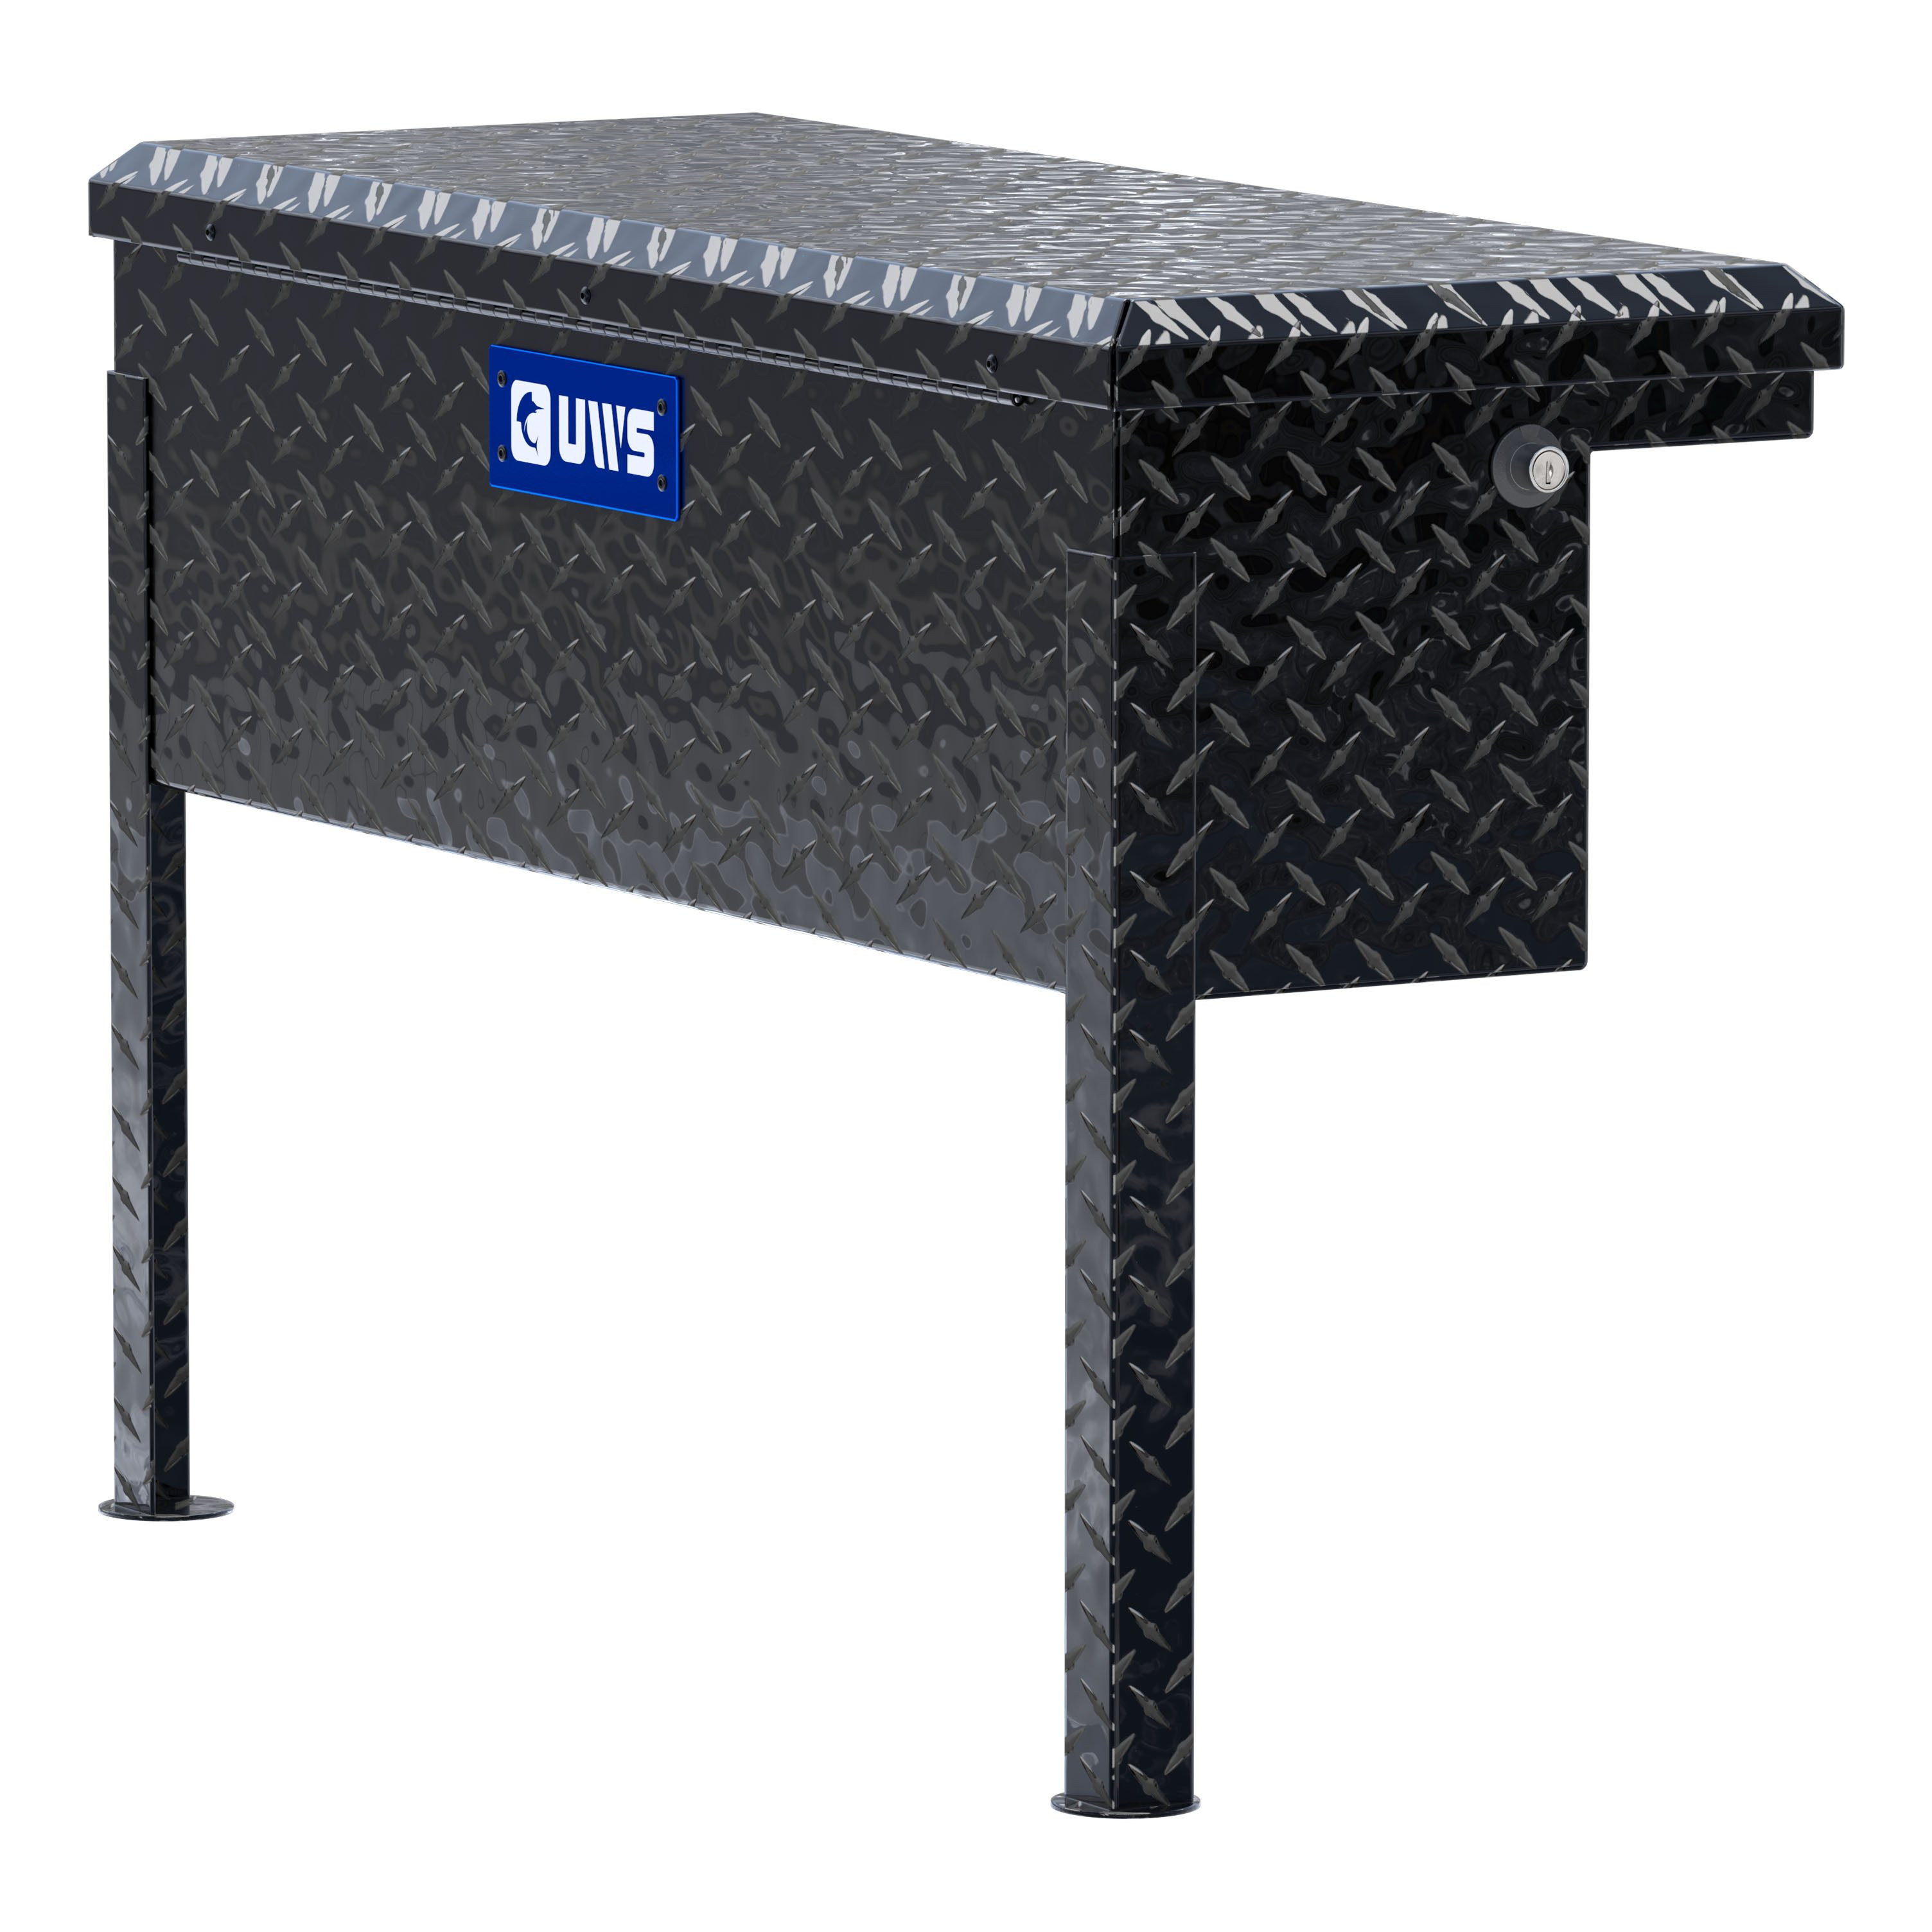
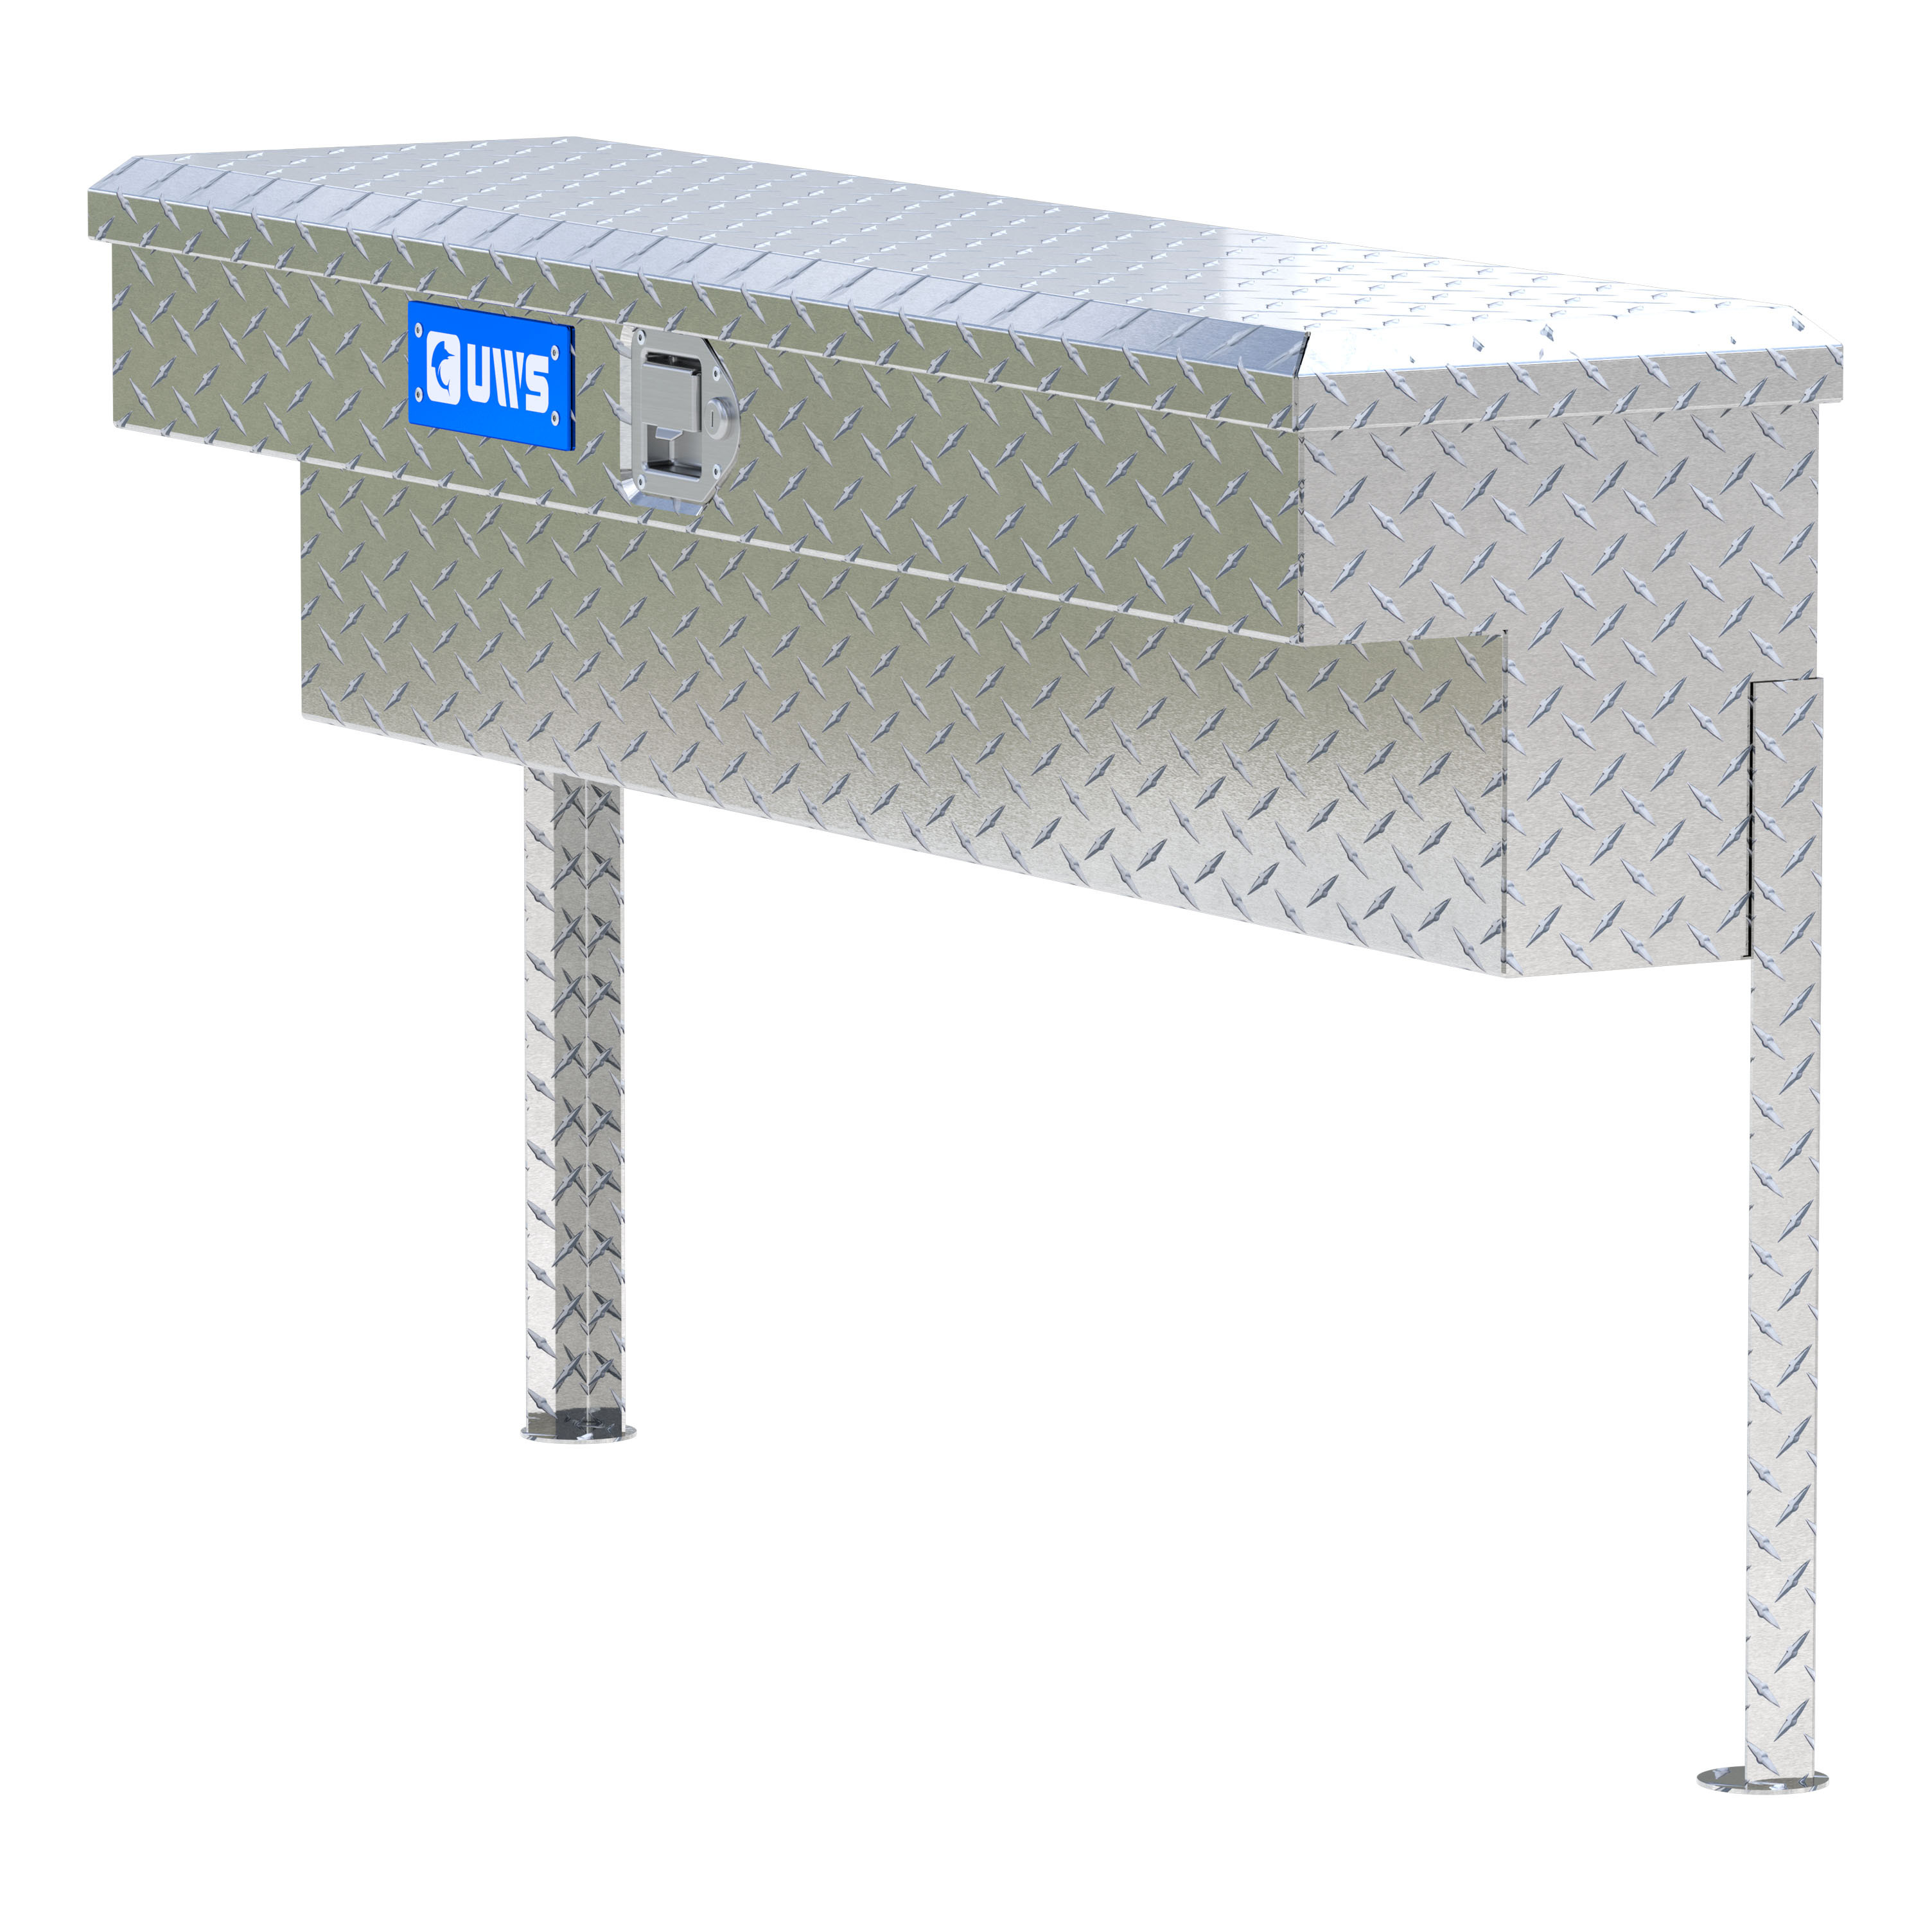
UWS Bright Aluminum 48" Truck Side Tool Box with Low Profile TBSM-48-LPUWSOriginal price was $867.93. Current price is $652.95.In Stock
View productOur in-house experts typically reply within one business day.

UWS
Profile
Finish



Always the correct part
We know our products
Quality Products
Free Shipping!
Always the correct part
We know our products
Quality Products
Free Shipping!
Free Shipping

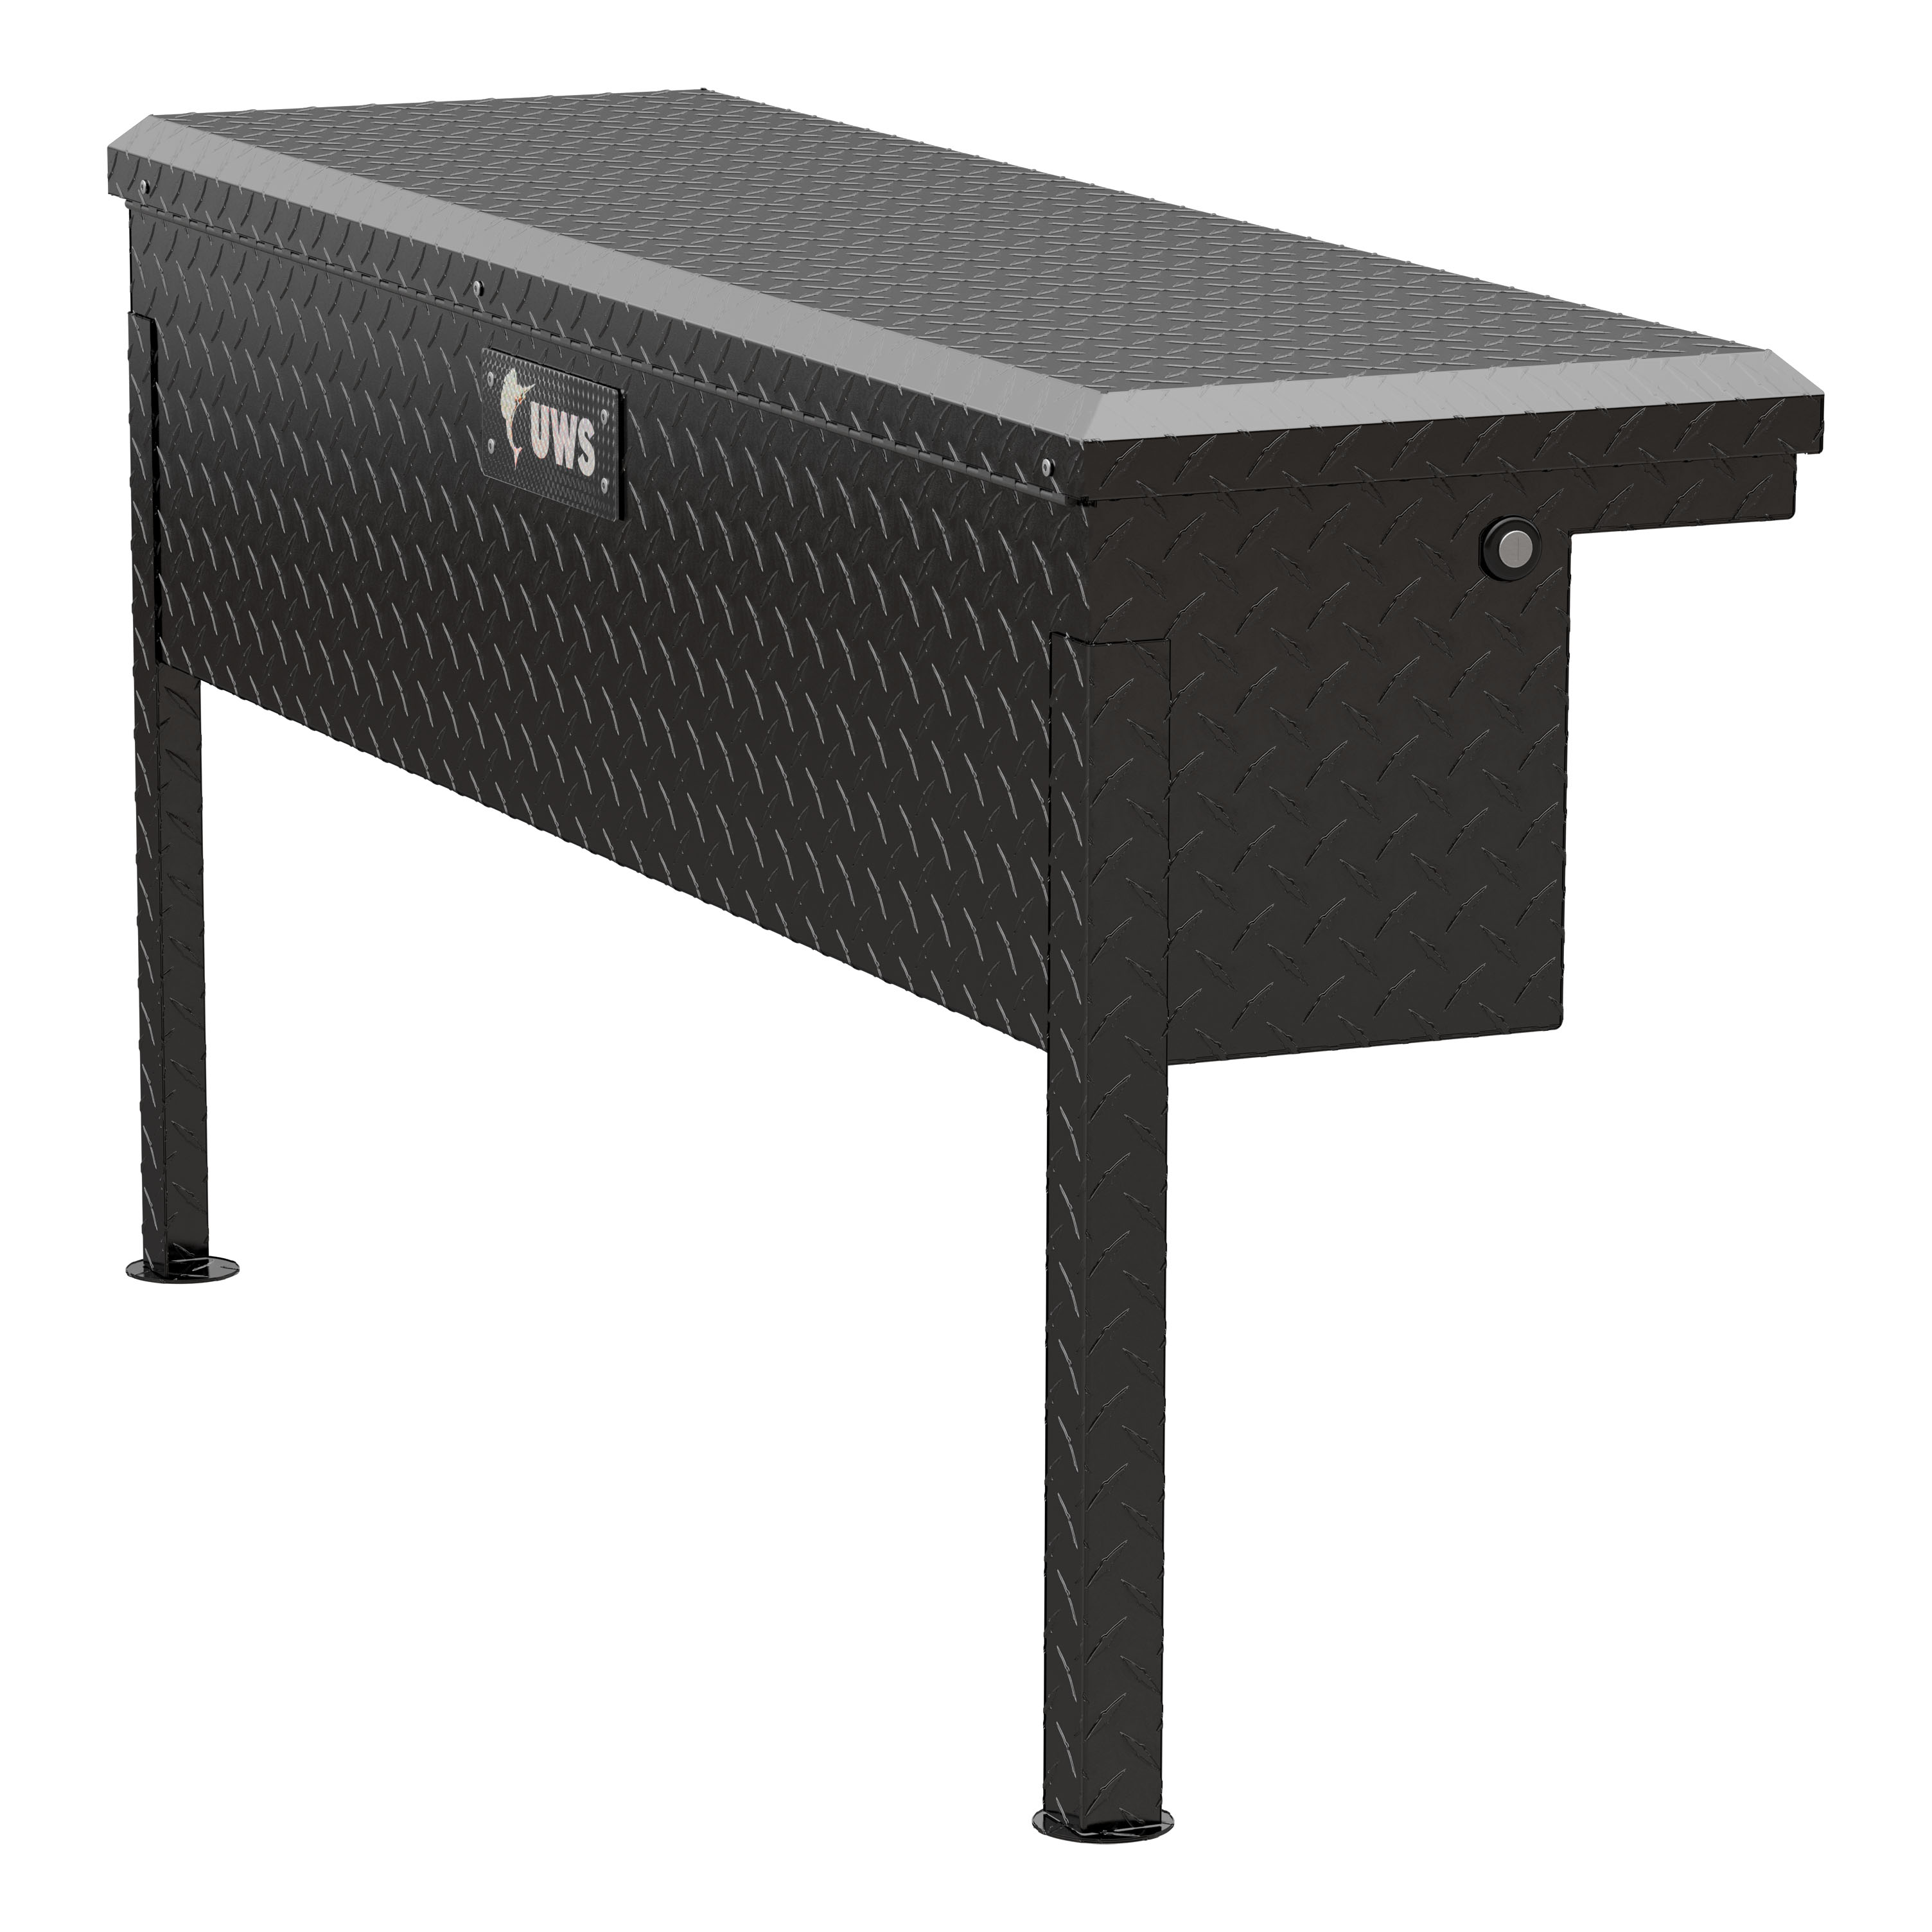
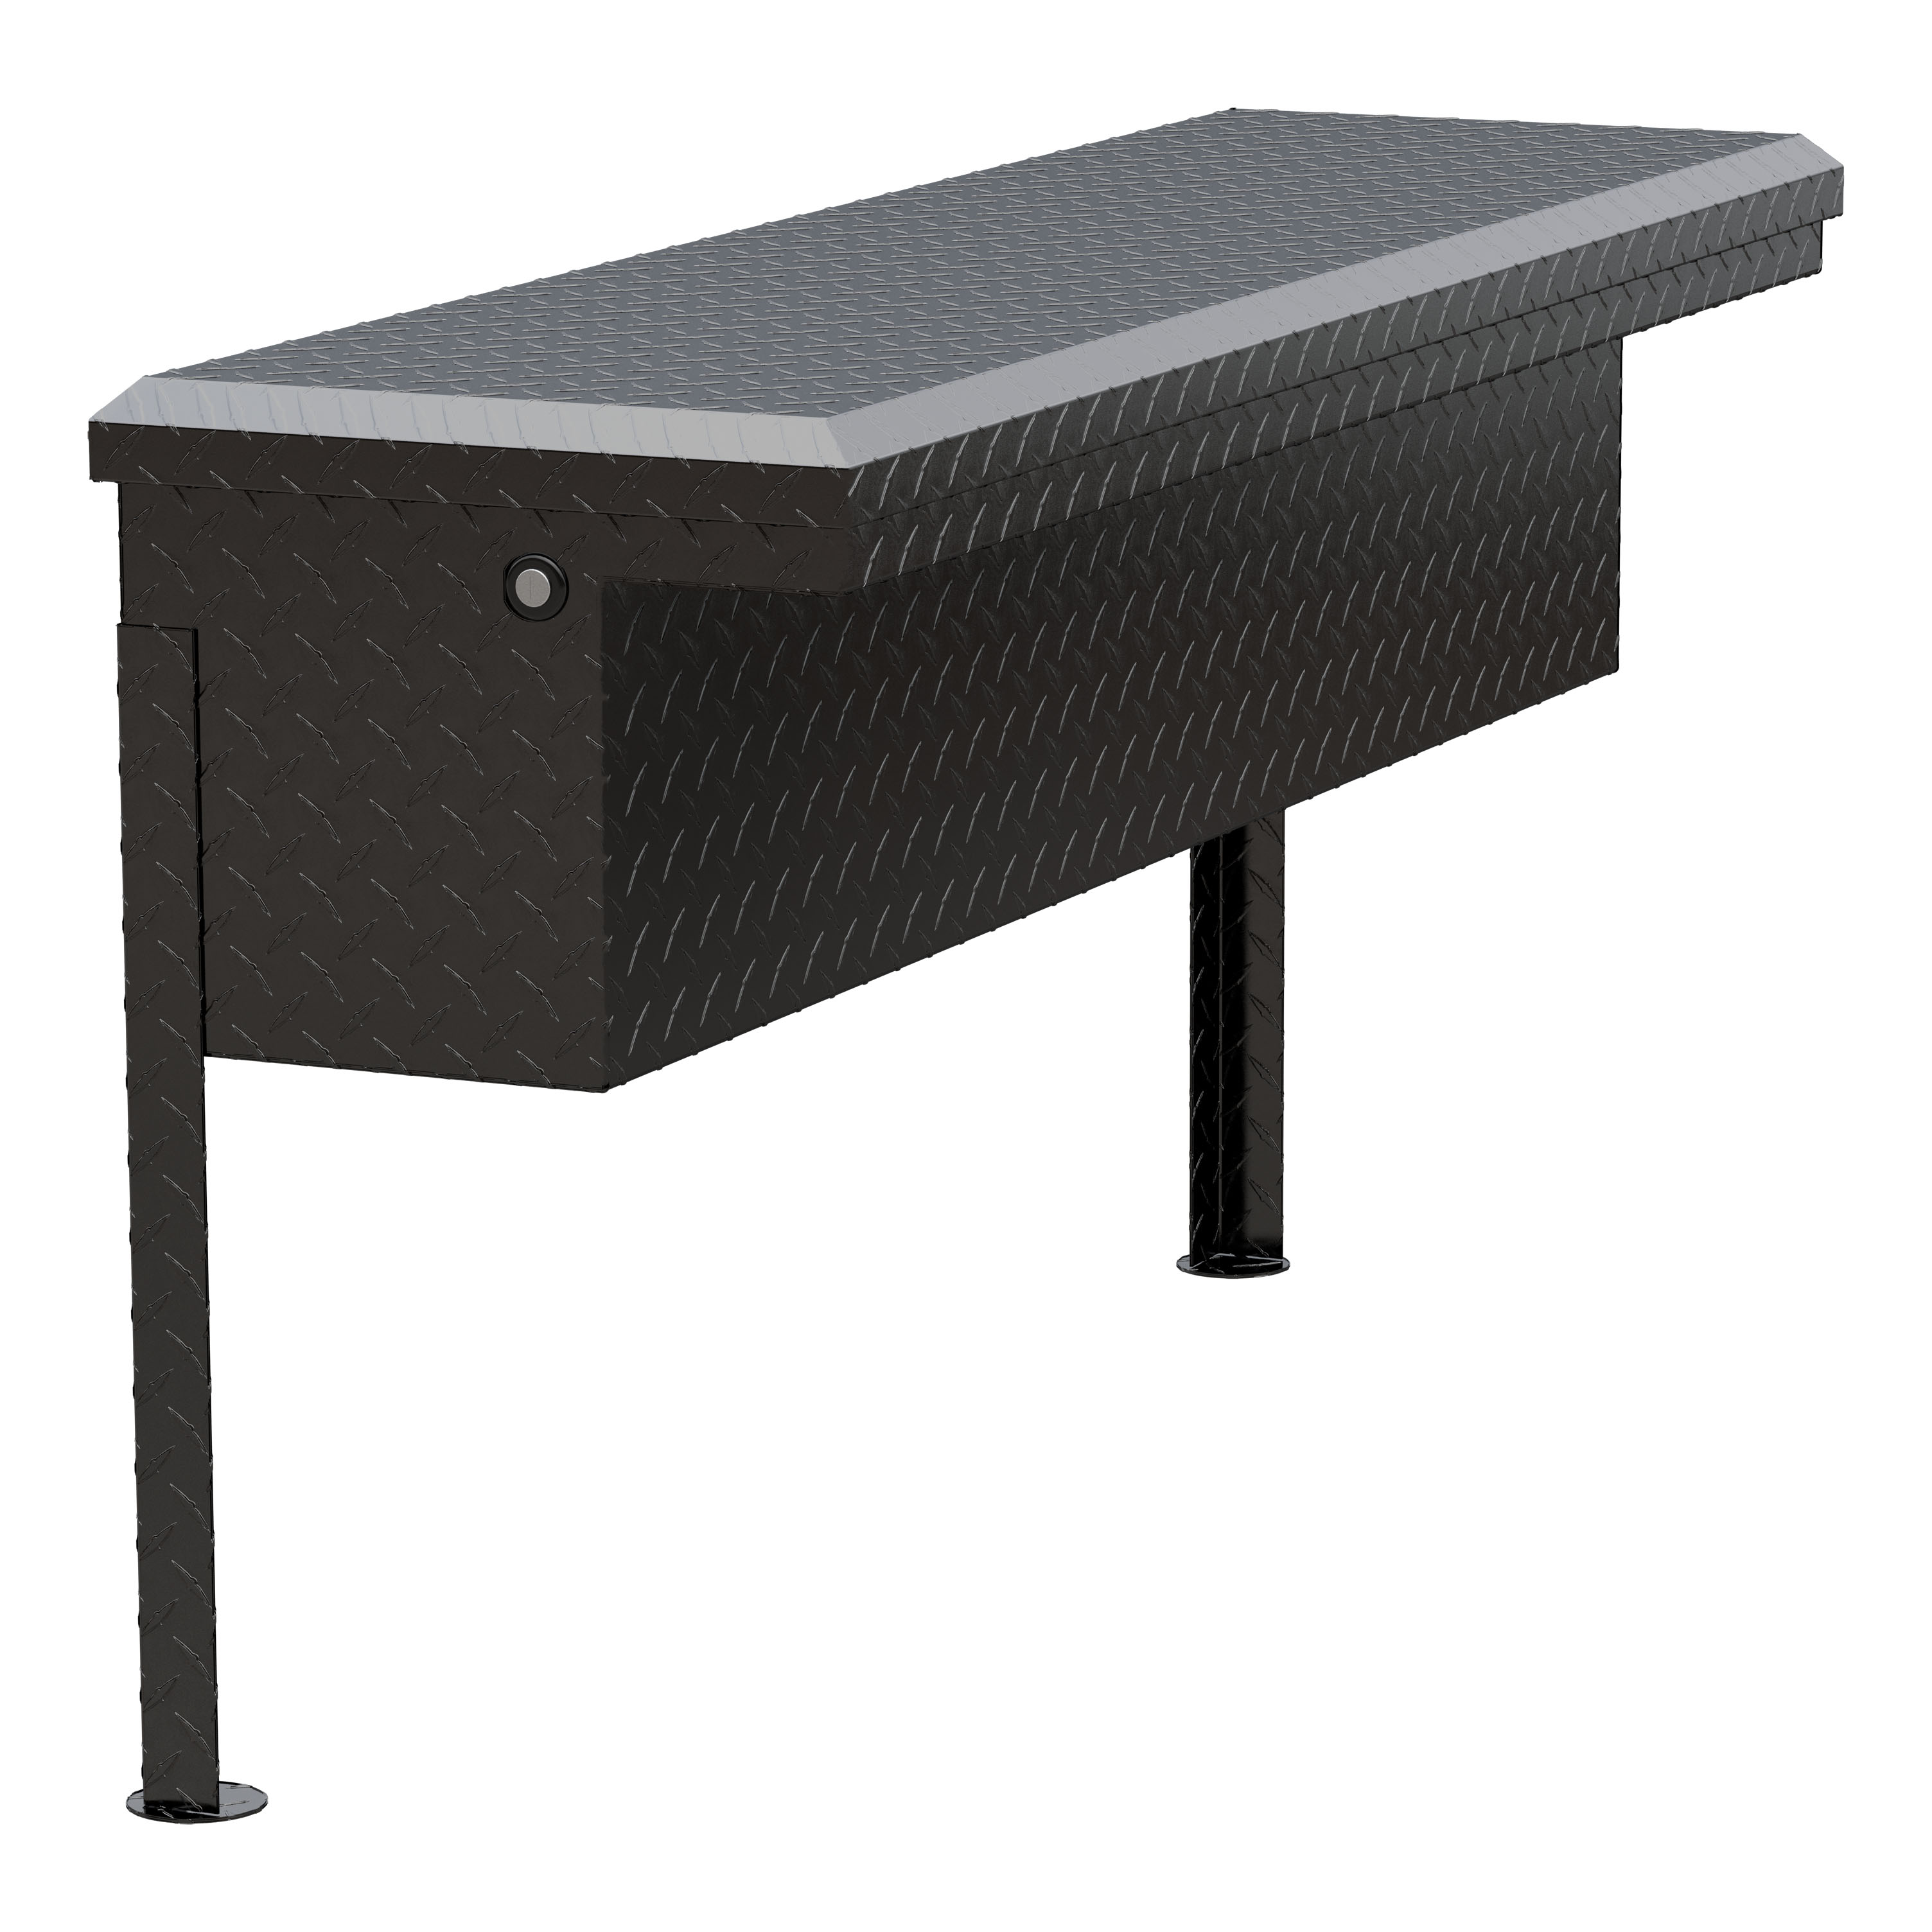
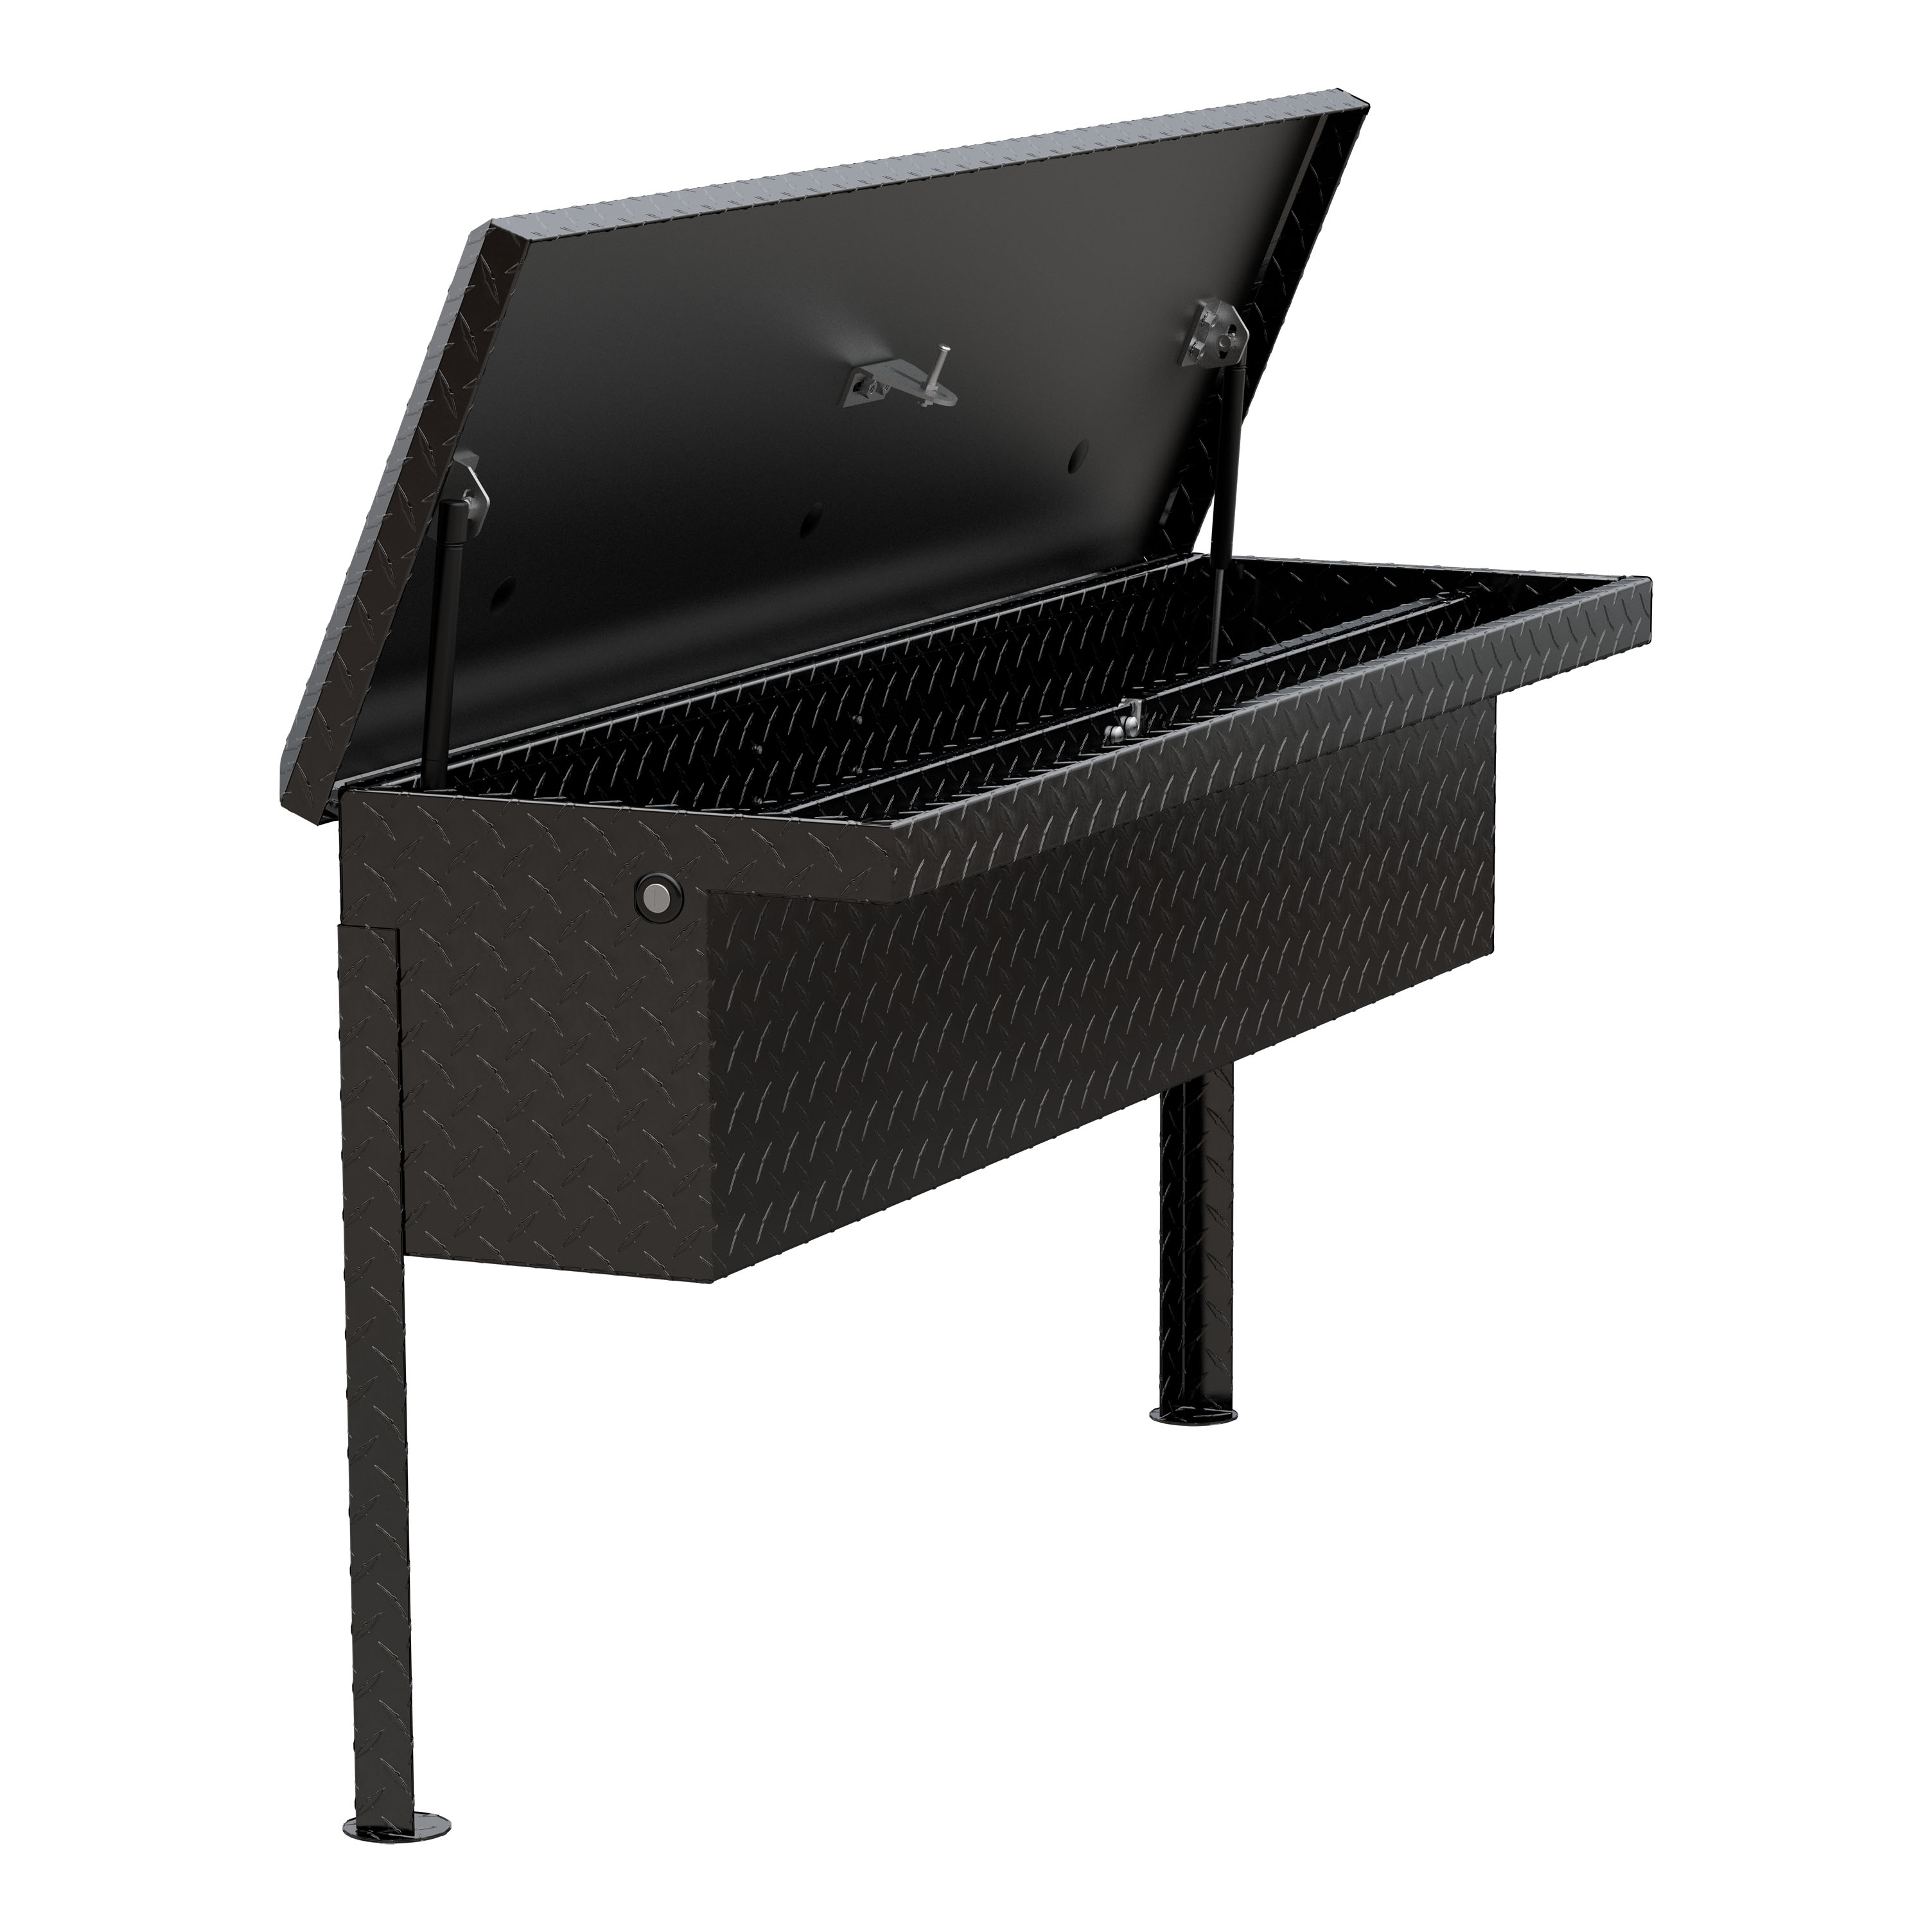
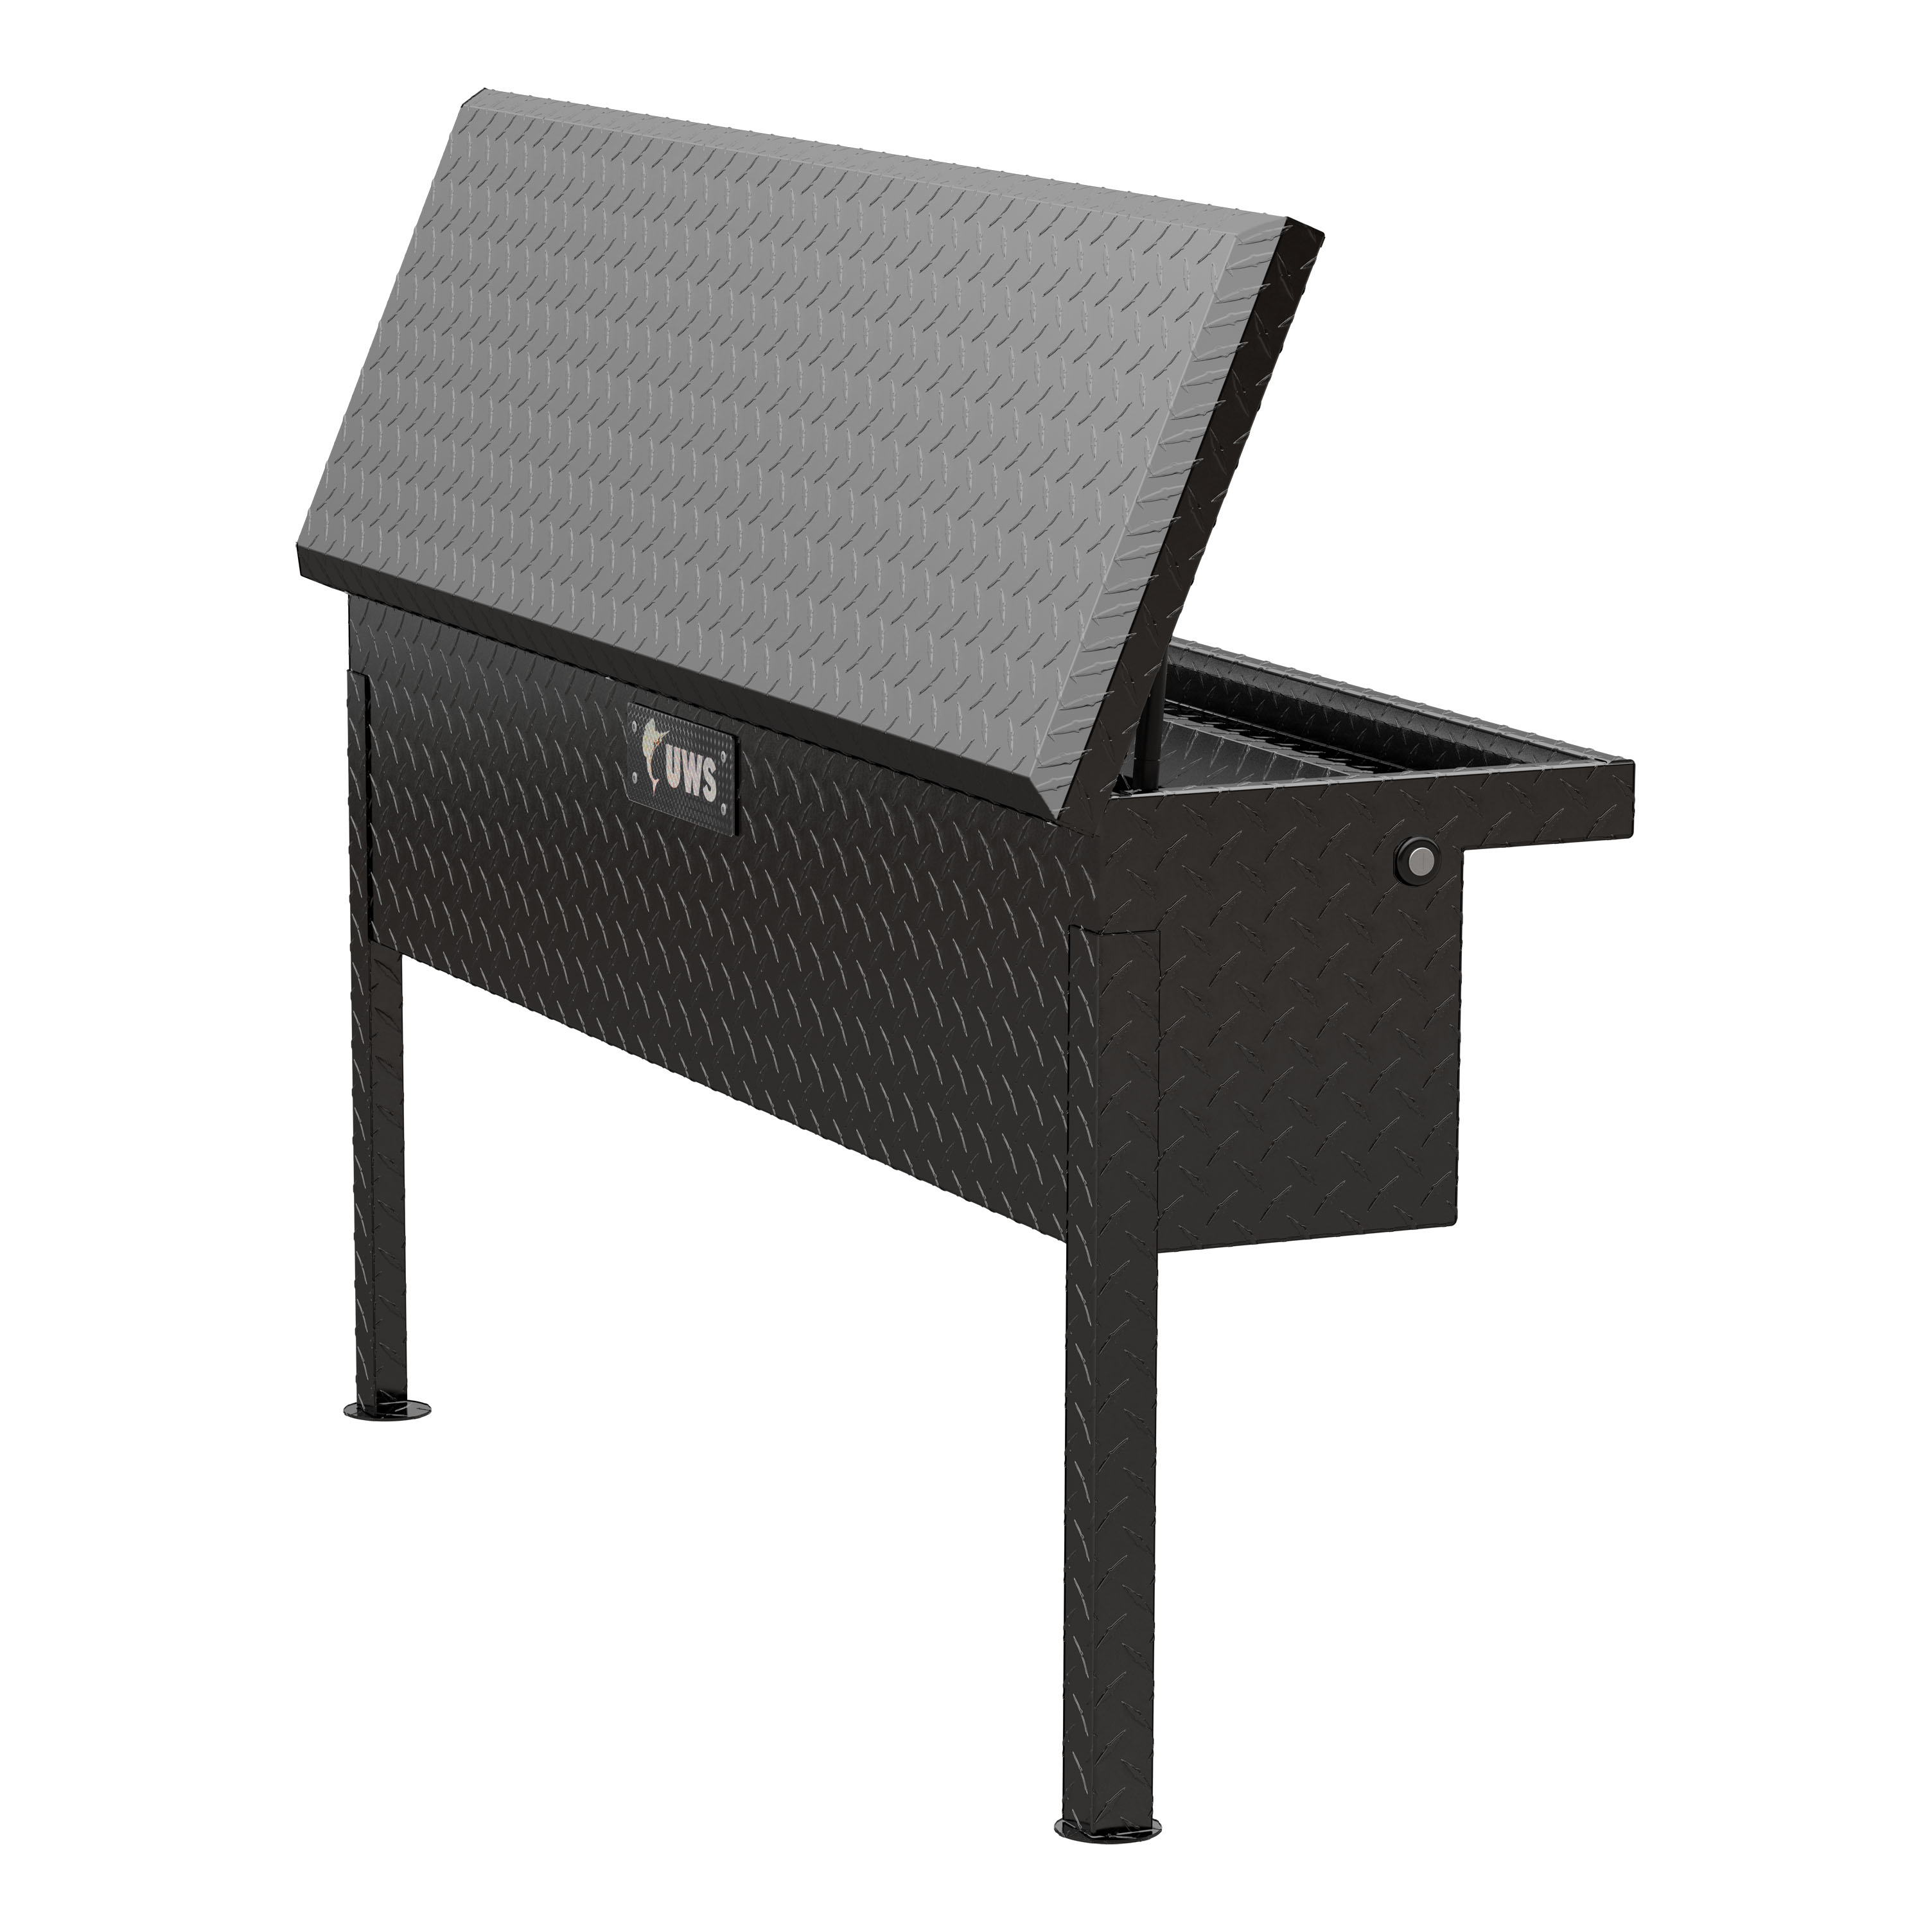

Warranty: Limited Lifetime Warranty (One-Year Finish, One-Year Parts)
Finish: GLOSS BLACK POWDER COAT
Material: Aluminum
Part Type: SIDE MOUNT
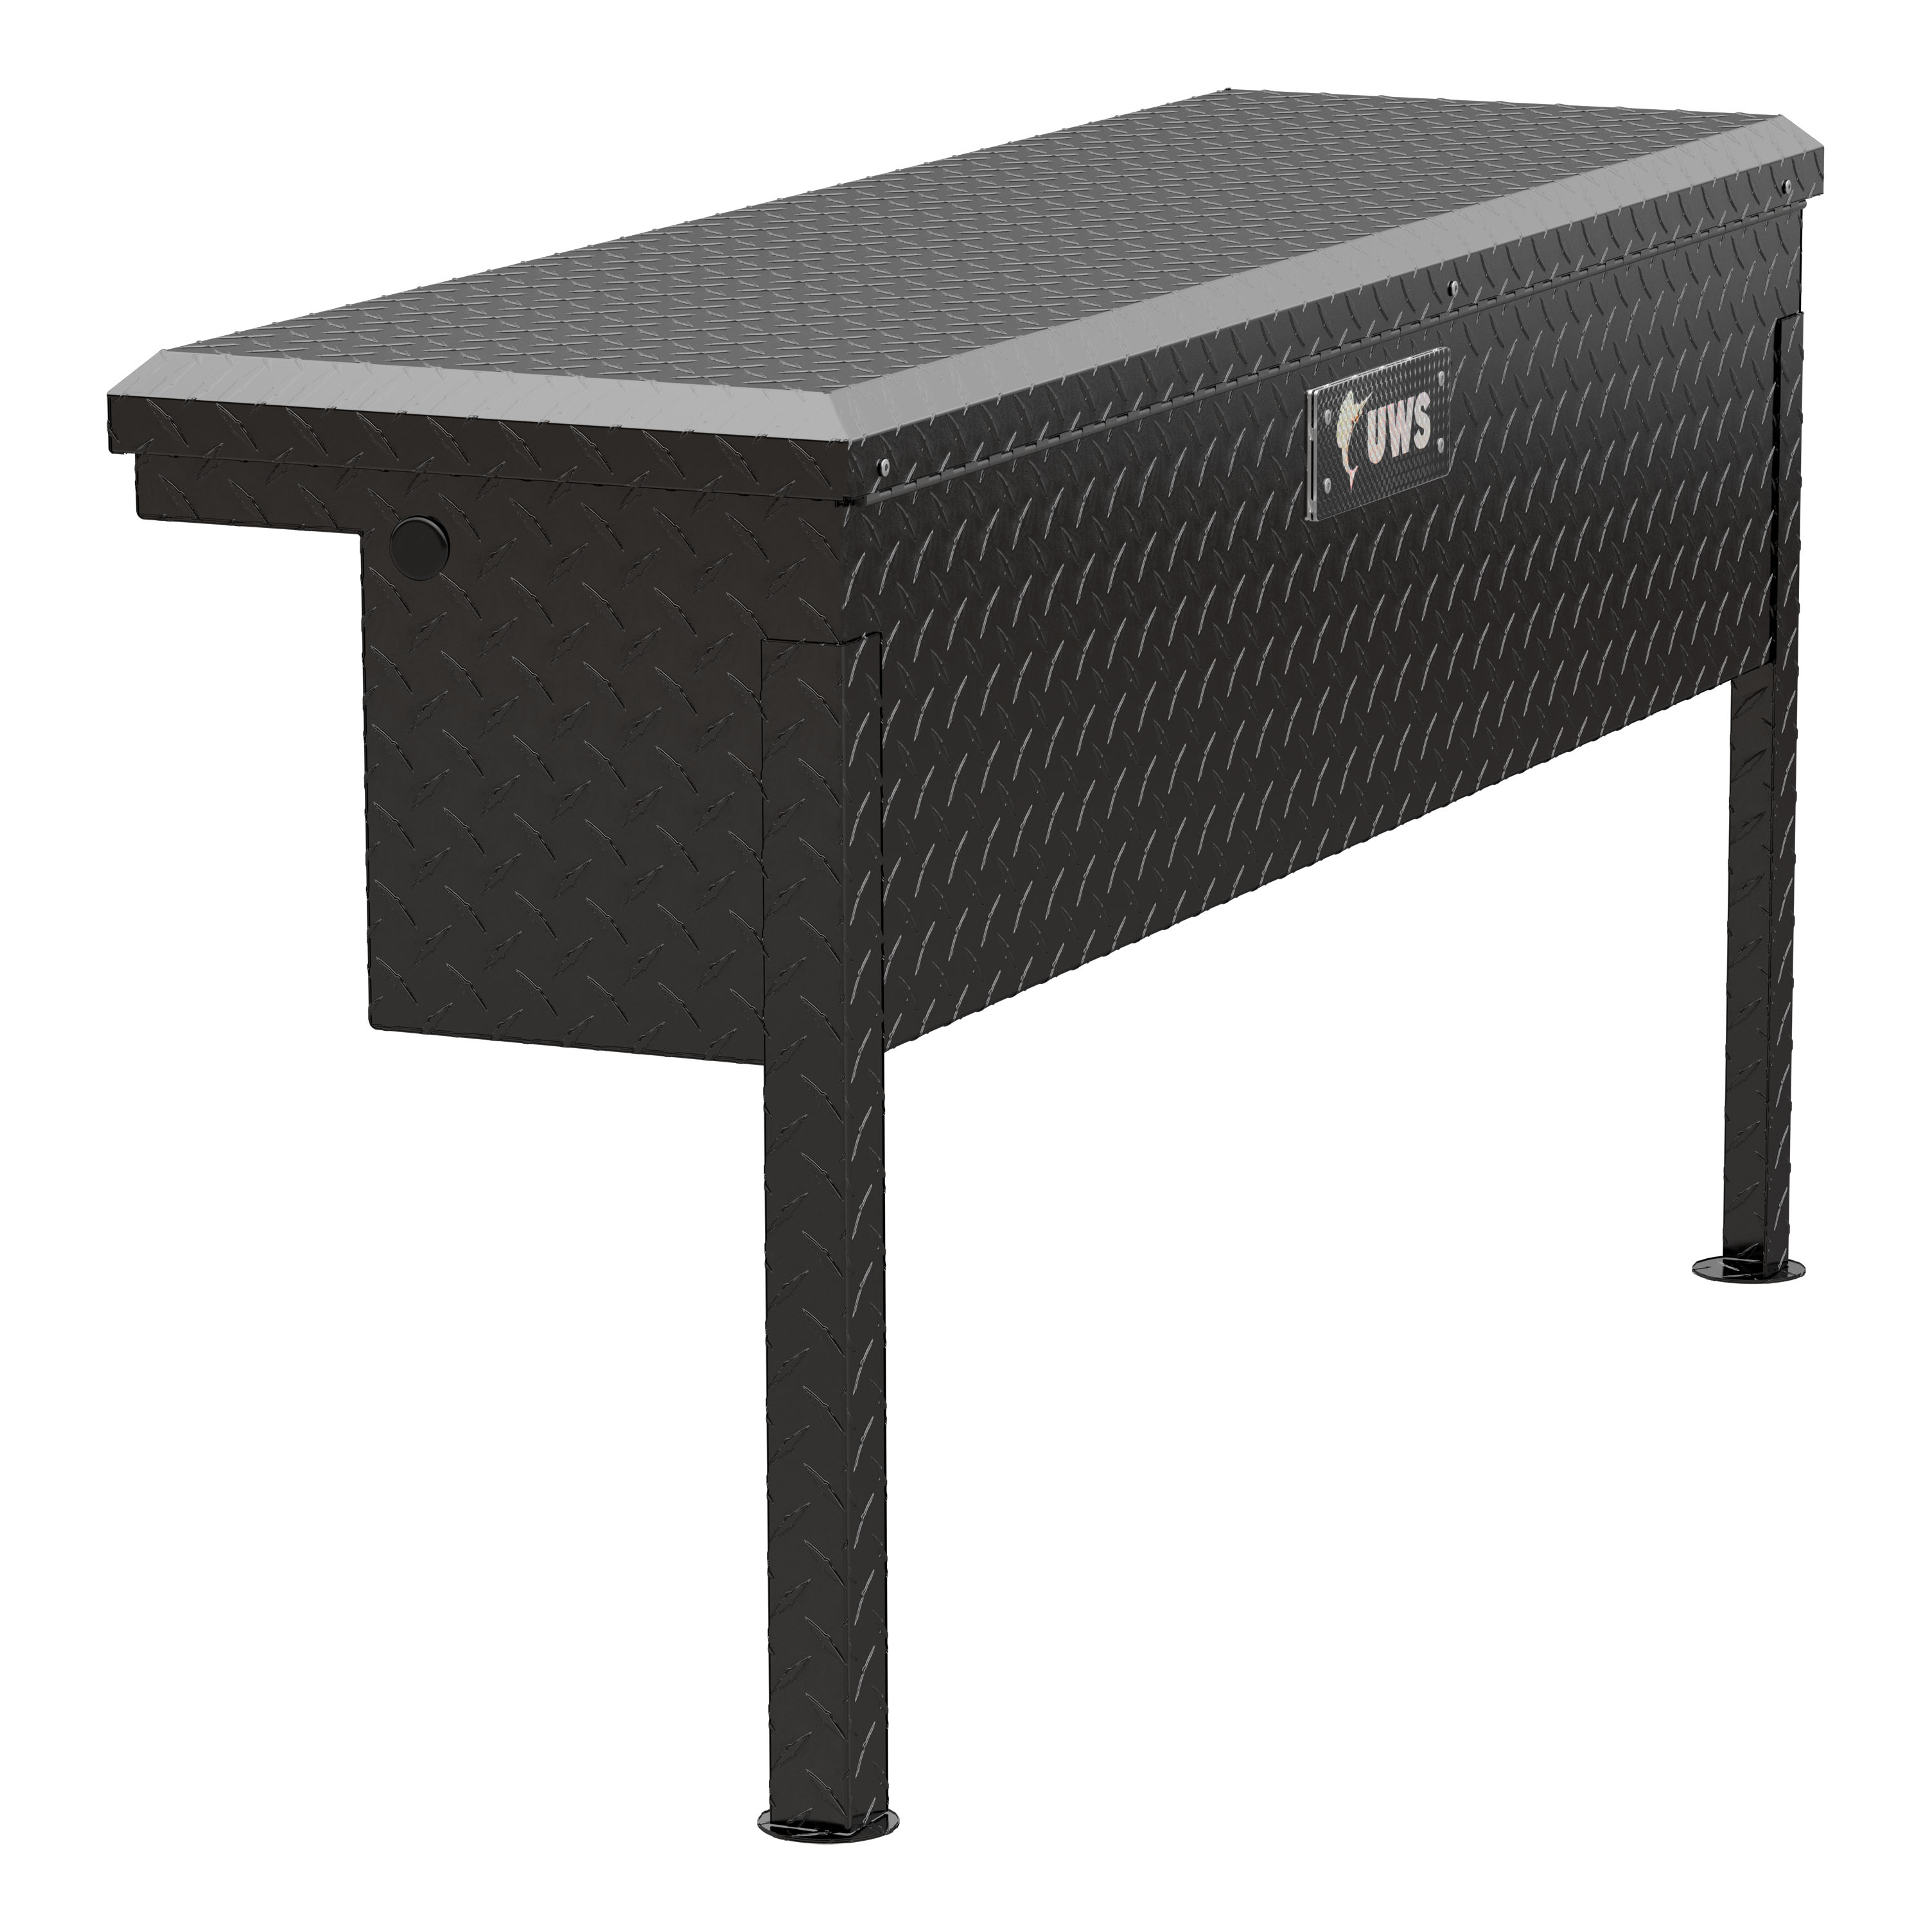
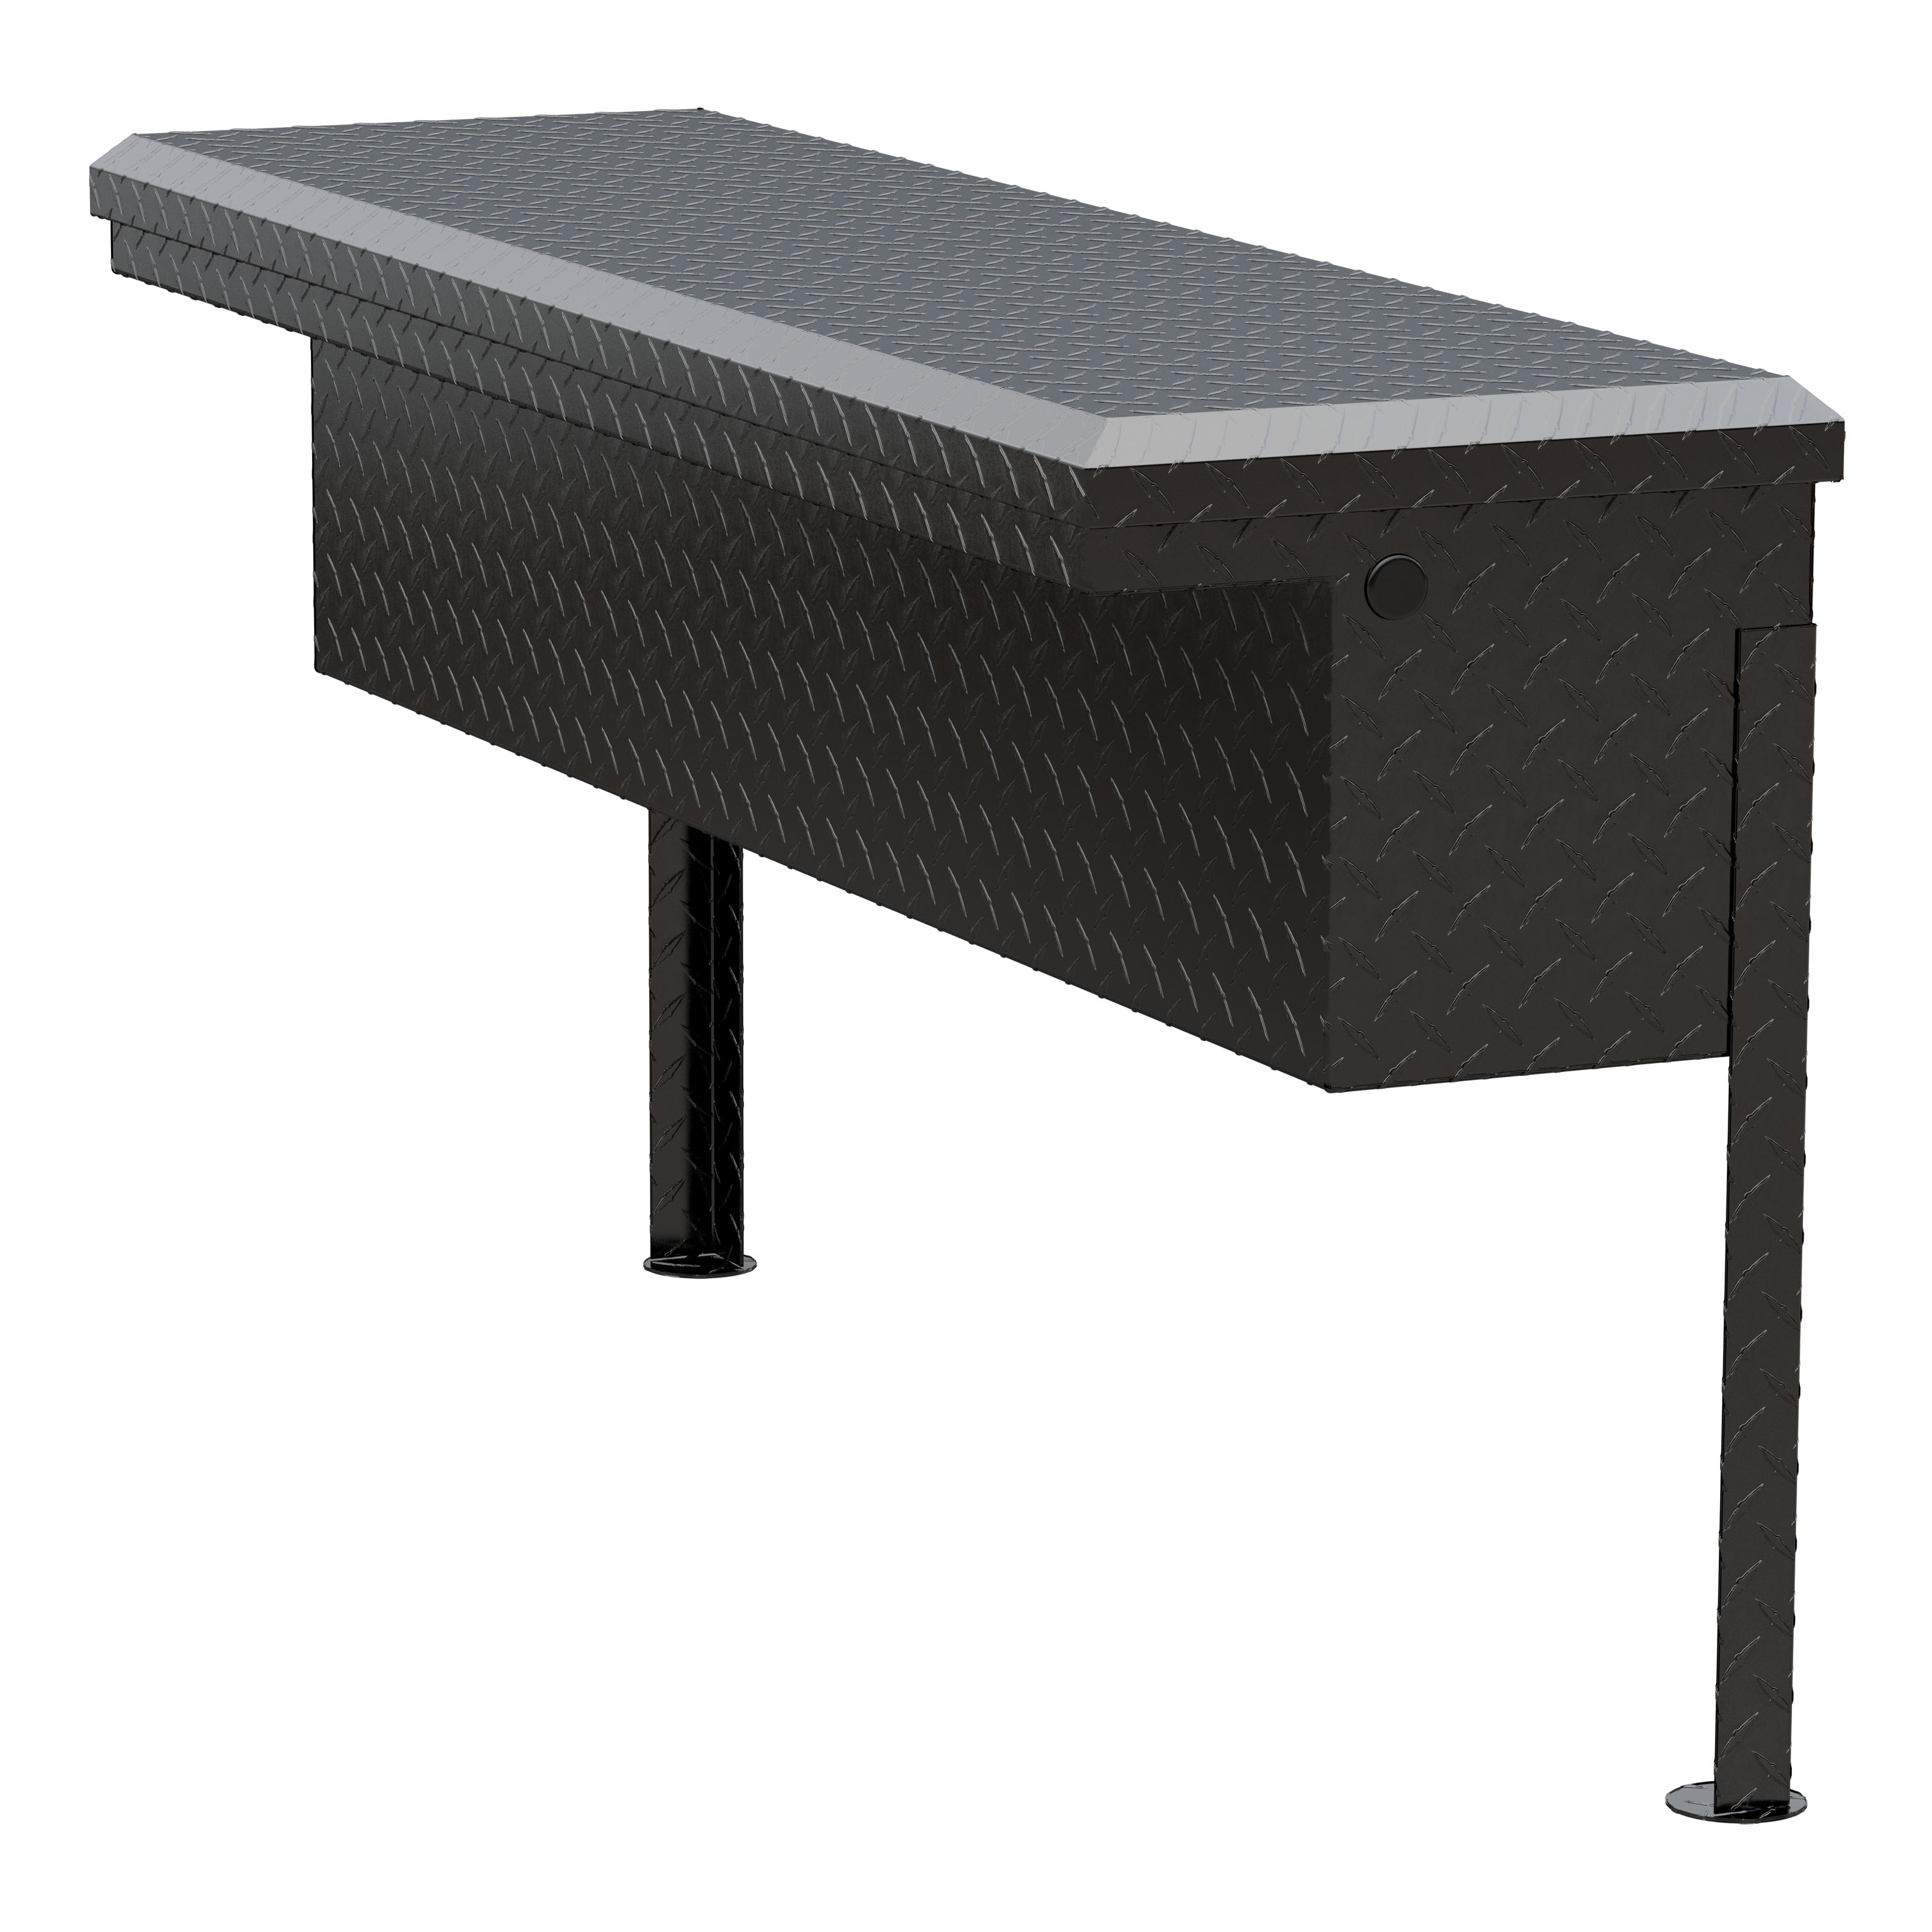
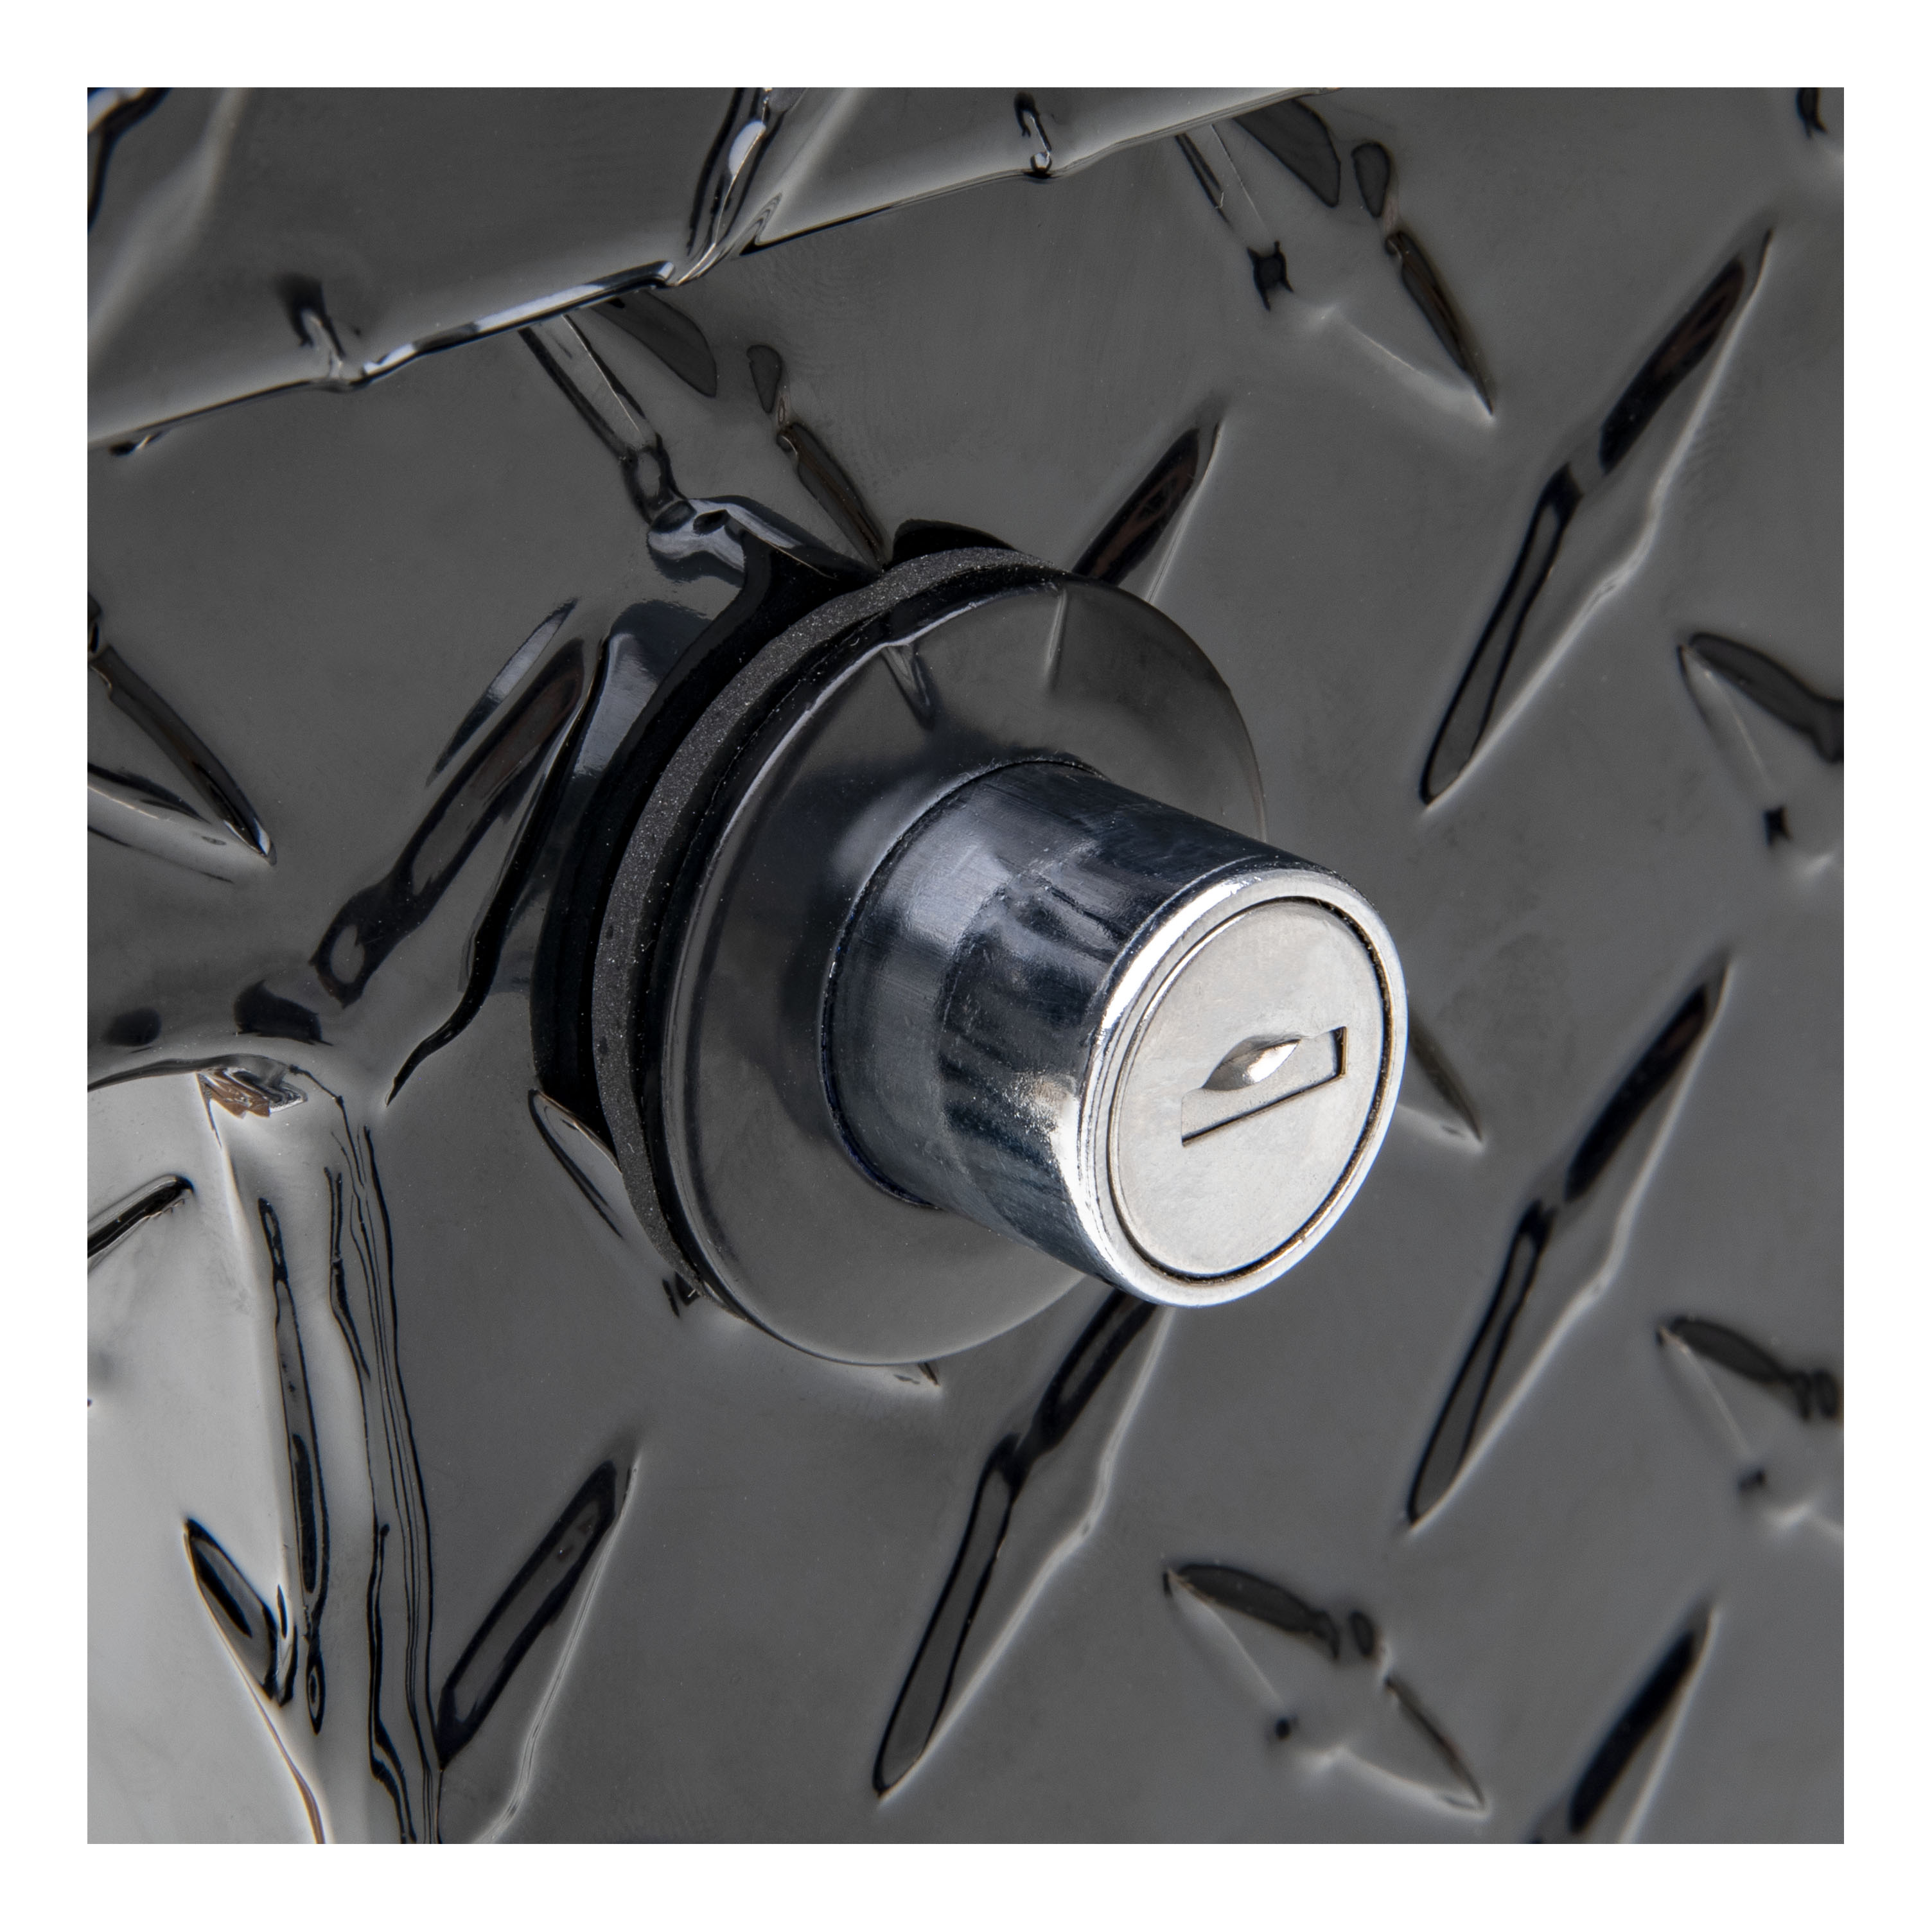
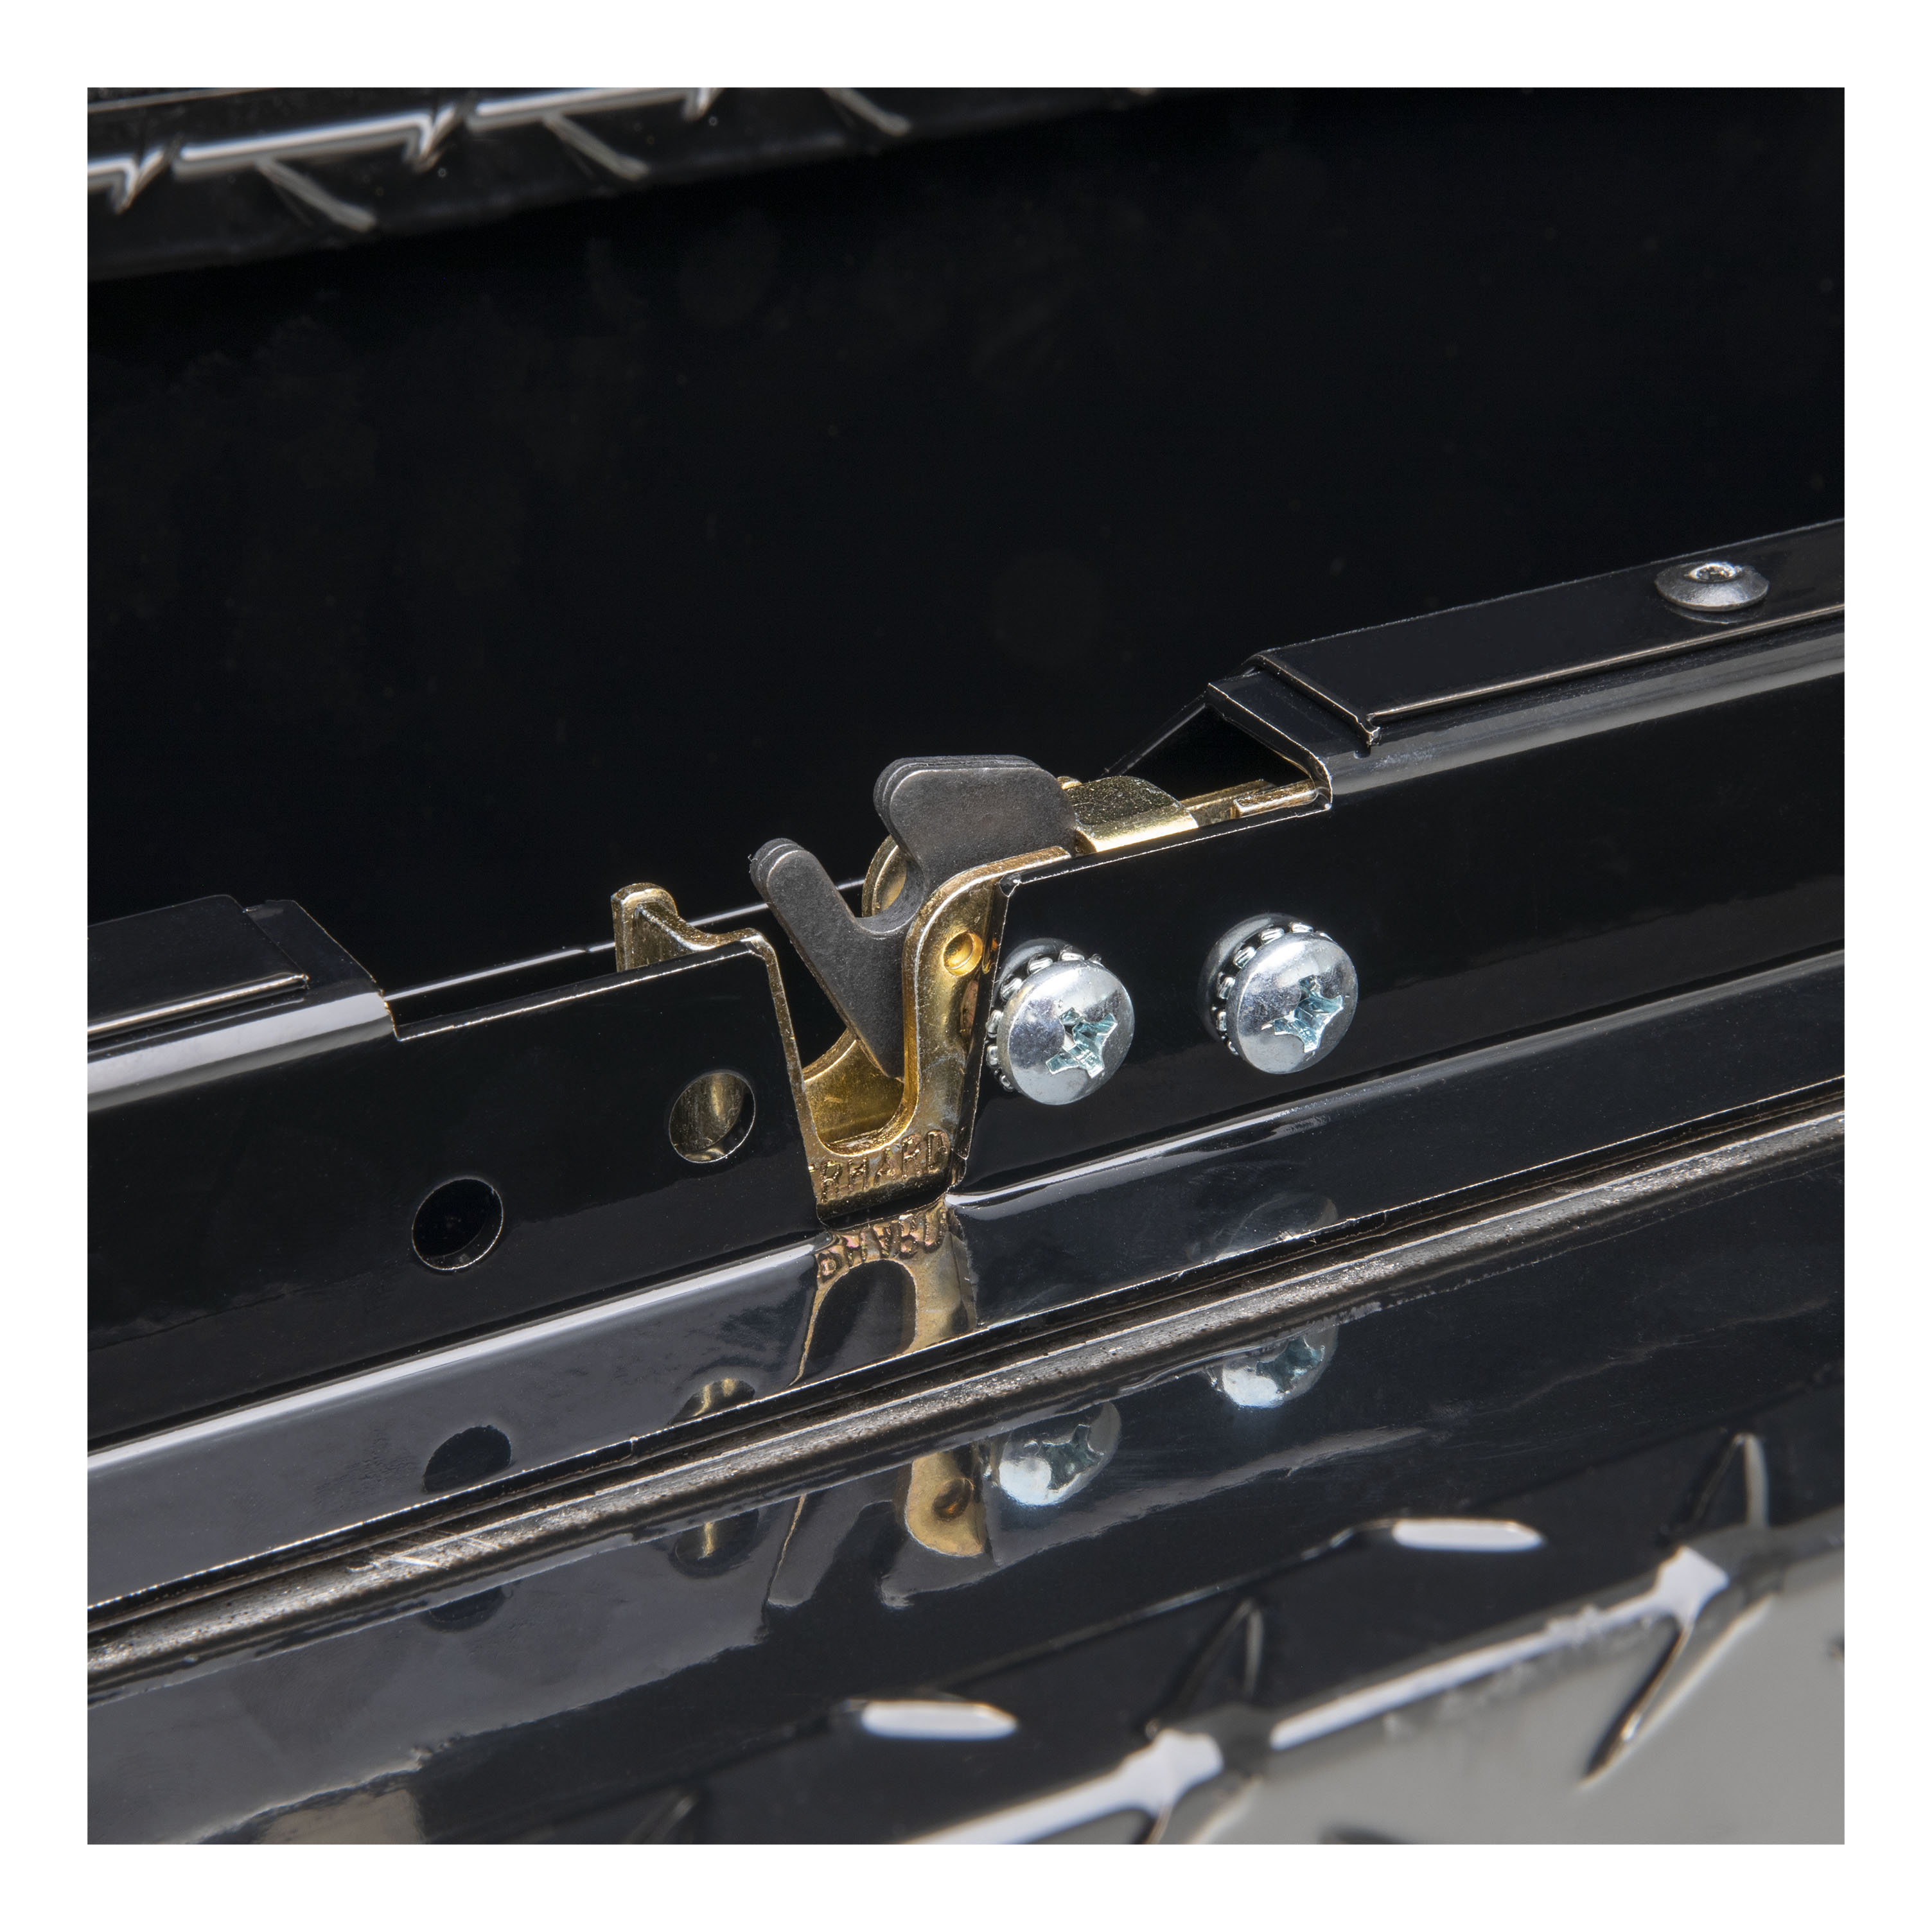
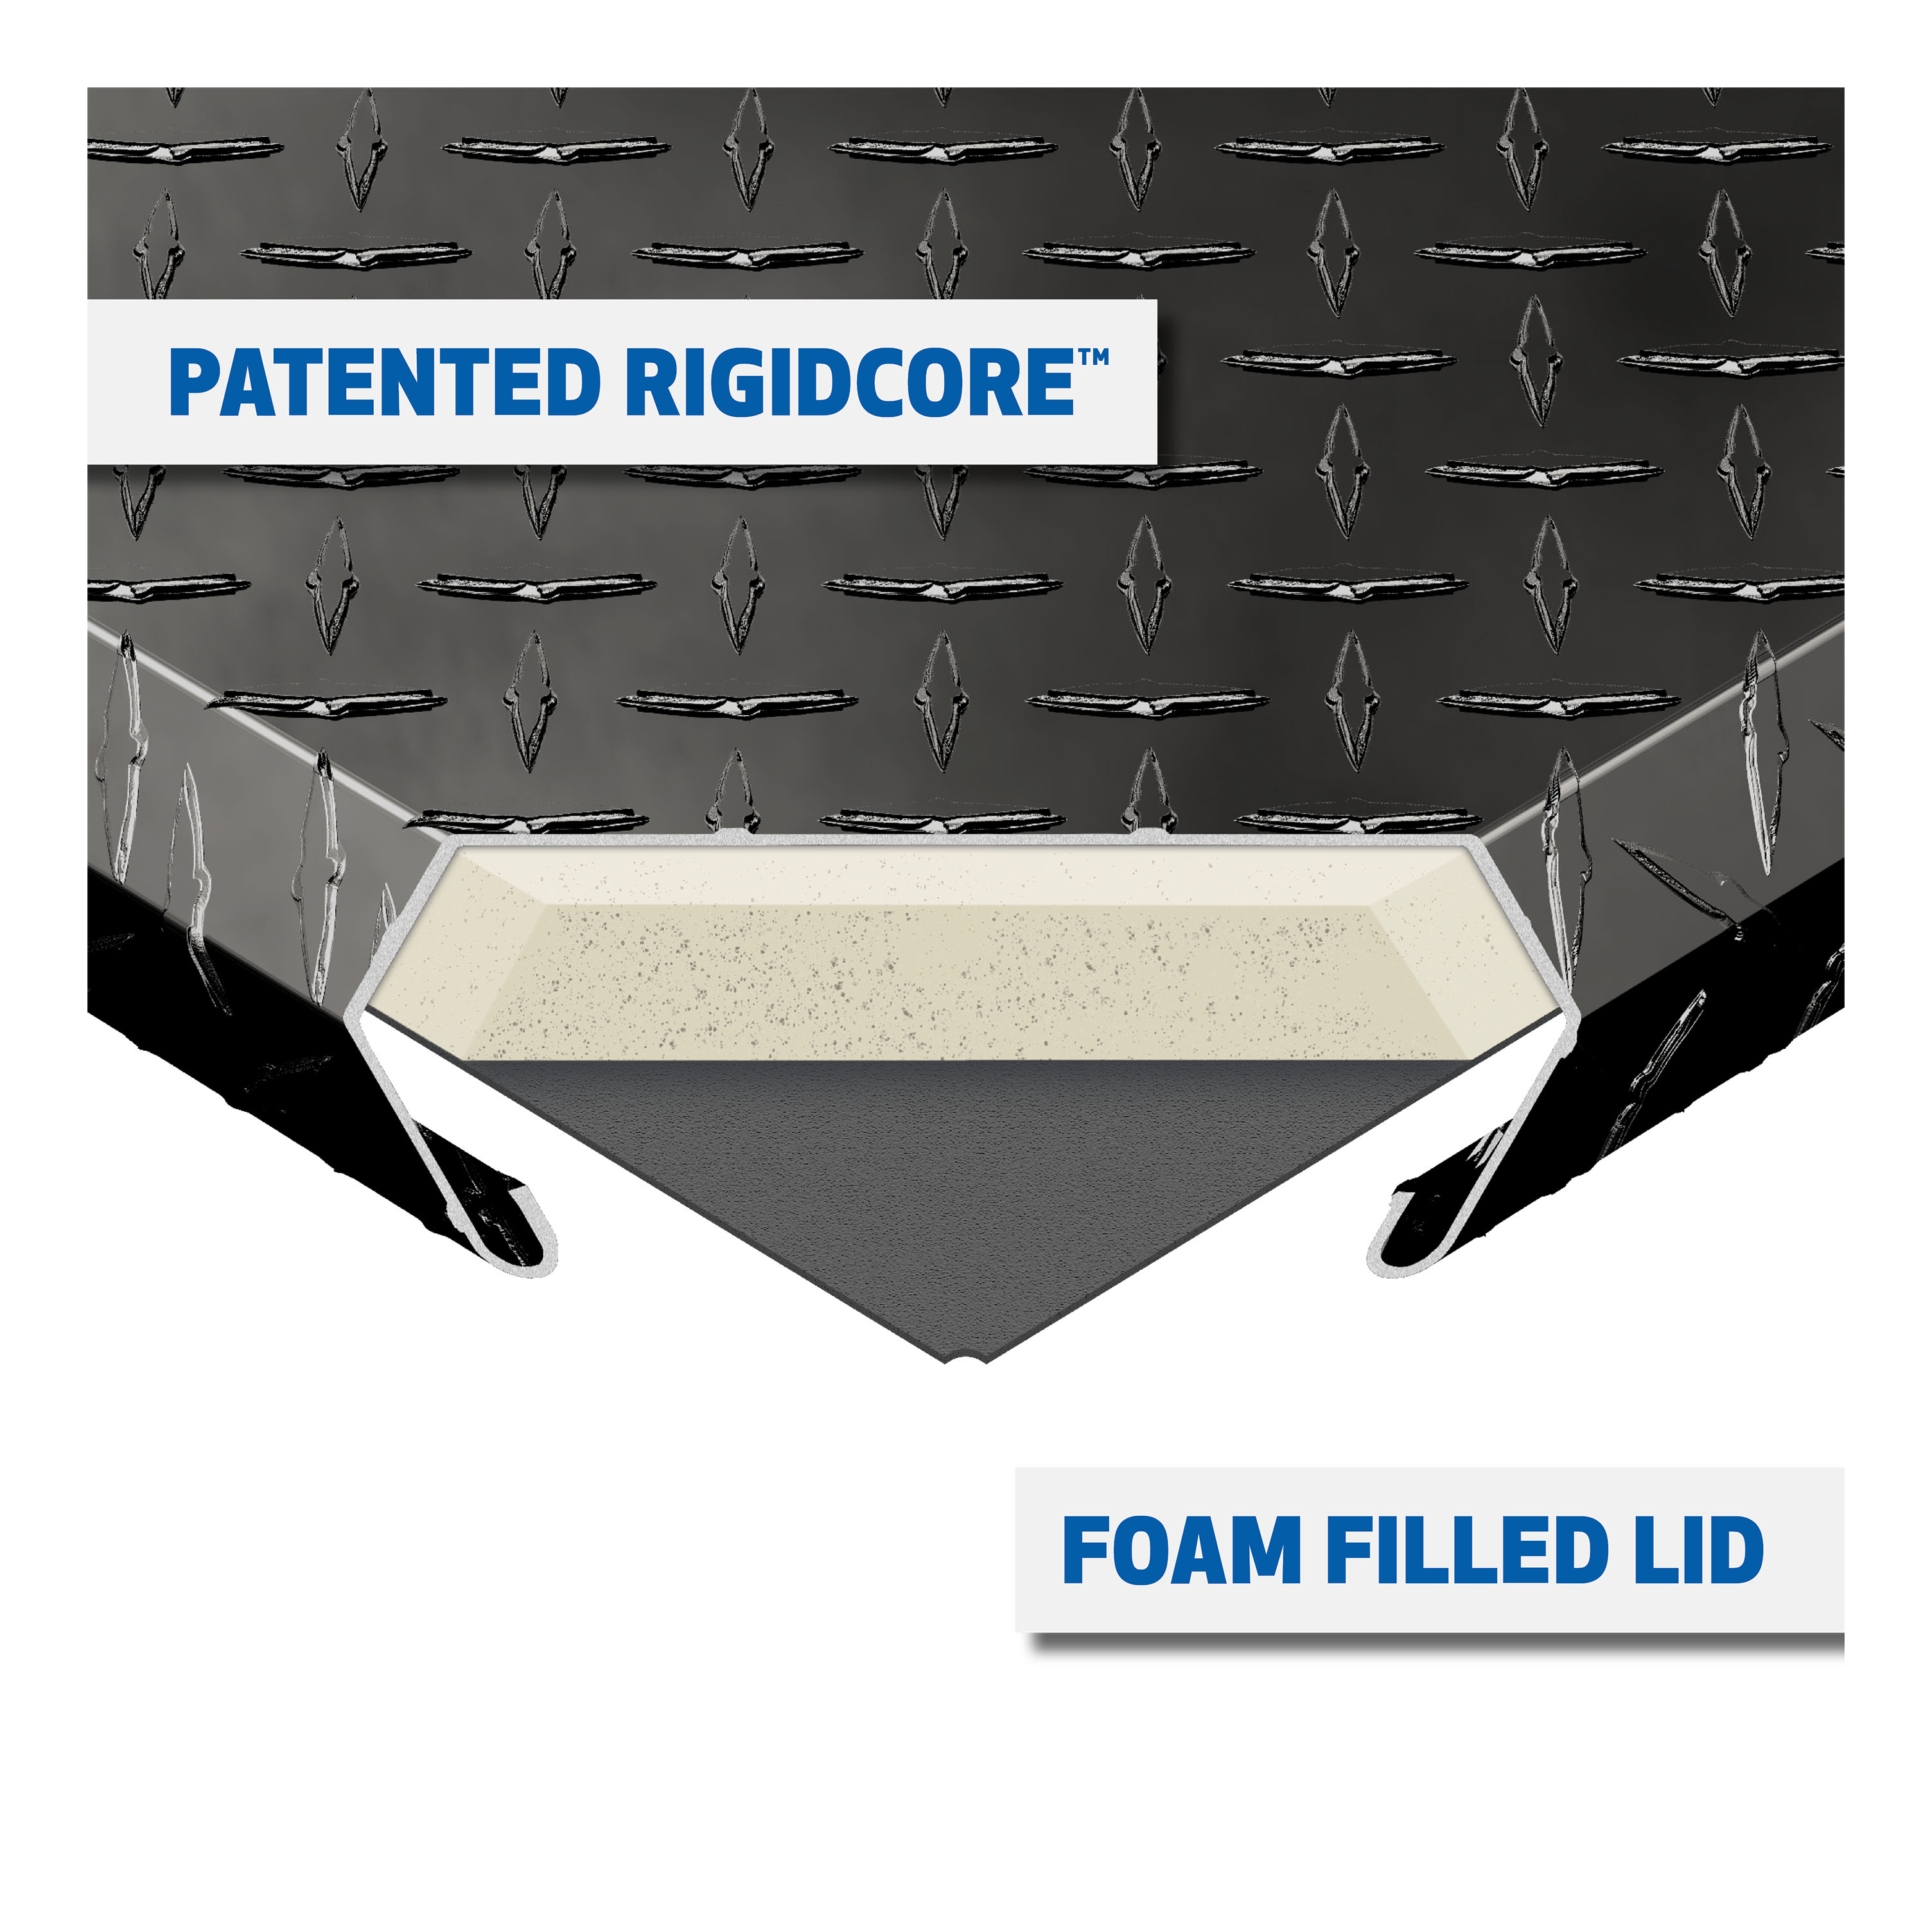
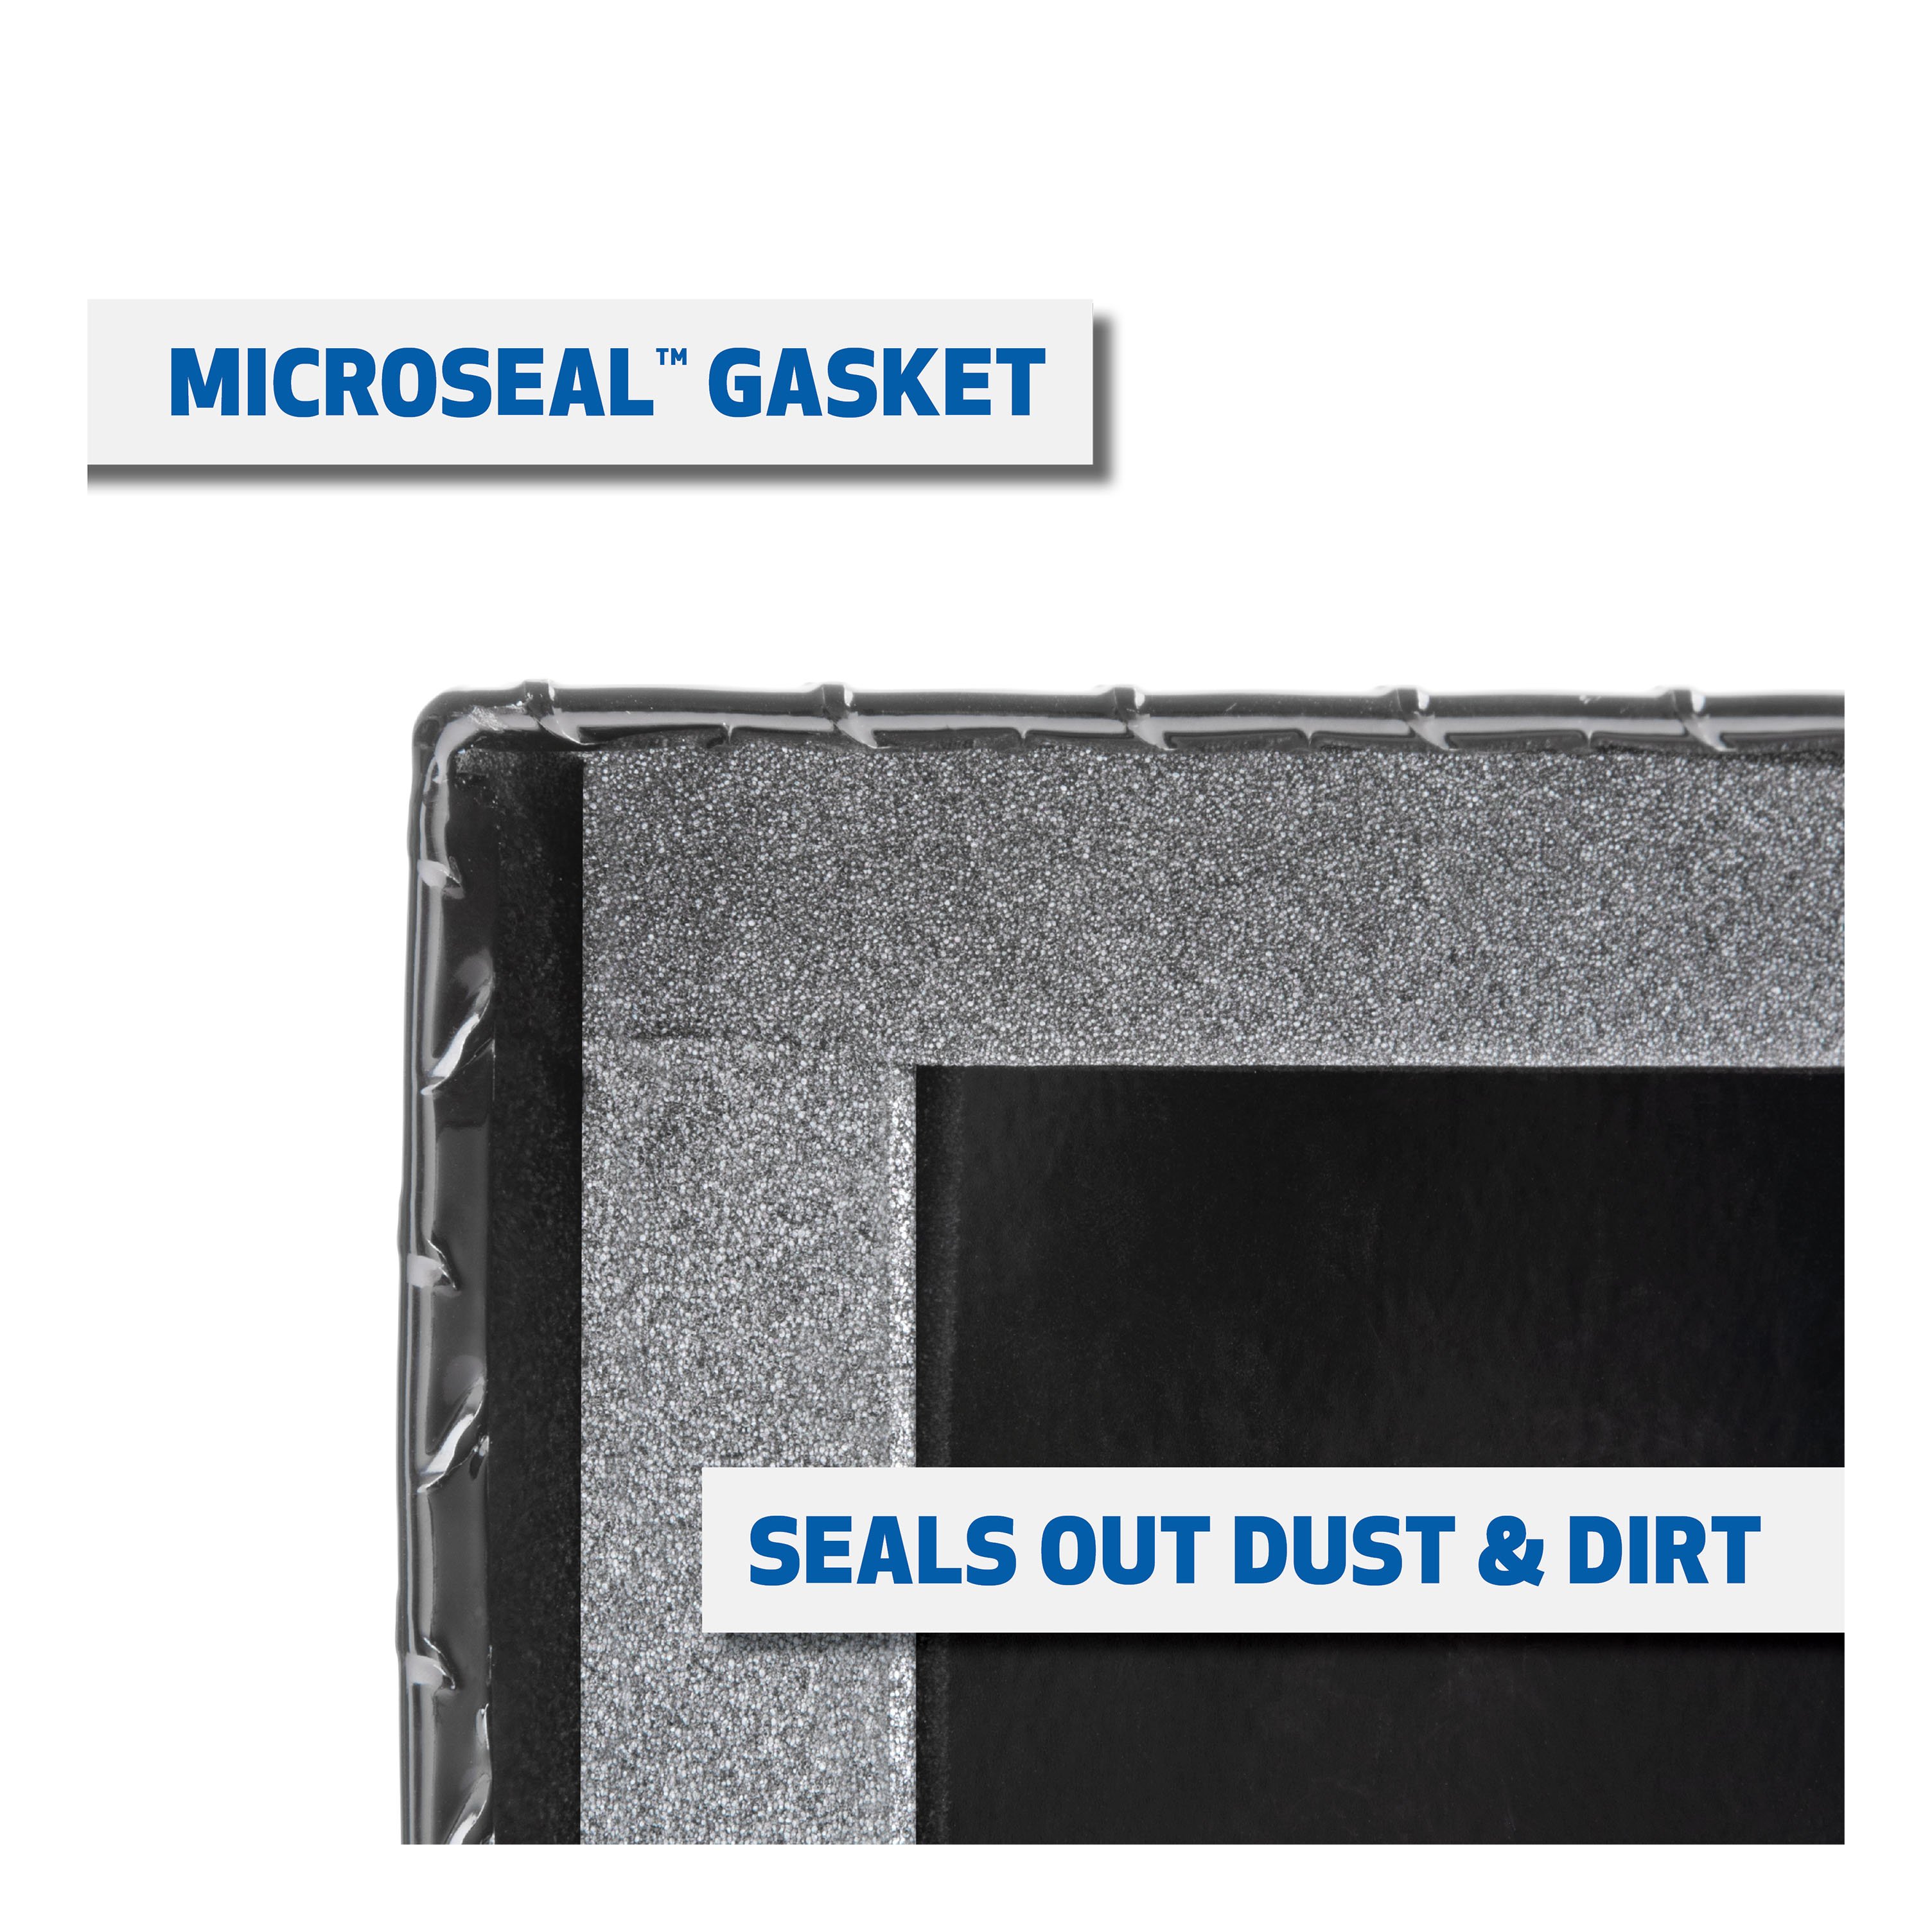
UWS truck side tool boxes provide unbeatable storage and security for your items in the bed of your truck. Each box features a corrosion-resistant aluminum construction, a highly secure stainless steel push-button locking system and a patented RigidCore foam-filled lid -- all to keep your equipment and valuables safe, well-organized and easily accessible whenever needed. Each UWS truck tool box is constructed from extra-thick aluminum for increased structural strength. The tub is welded together into a single piece for weather resistance and to easily hold heavy tools and other items. The lid features a patented RigidCore foam-filled design, sandwiched between two aluminum plates. This greatly increases the strength of the lid and helps prevent bending and warping, making operation very smooth. This particular truck tool box features a low profile for a more streamlined look and to match UWS low-profile crossover tool boxes. The locking mechanism of the UWS truck side tool box provides excellent security for your items, featuring a stainless steel, key-operated push-button for long-lasting corrosion resistance. For solid protection against the elements, the lid also has a MicroSeal gasket, blocking moisture, dust and insects from getting inside and damaging your valuables. The lid also opens to nearly 90 degrees for easier access, and it is equipped with self-opening struts for convenient operation when your hands are full. UWS truck tool boxes are available in multiple sizes to accommodate any storage need. Like all UWS products, each one is proudly assembled right here in the USA for style and long-lasting dependability.

UWS designs and builds heavy-duty truck tool boxes and storage for tradespeople and truck owners. The line covers crossover and side-mount boxes, chest boxes, underbody boxes, transfer tanks and dog boxes. Every aluminum box is designed, fabricated and welded in Perry, Florida, with construction aimed at job-site abuse, road vibration and daily use.
UWS is a leading manufacturer and designer of truck tool boxes and truck accessories, and a Lippert brand. The company's focus is narrow and deliberate: storage that stands up to being opened and slammed shut dozens of times a day, loaded past what looks reasonable, and left outdoors in whatever weather the job brings. Its customers are electricians, plumbers, contractors, farmers, outdoorsmen and truck owners who treat a pickup as a working tool rather than transport.
The catalog covers the full range of bed storage. Crossover boxes sit across the bed behind the cab in single-lid, gull-wing, secure-lock and low-profile styles, so there is a fit whether the priority is capacity, rear visibility or working under a tonneau. Side-mount boxes mount along the bed rails and keep the bed floor free for cargo, while underbody boxes tuck beneath the frame rails of service bodies and flatbeds.
Beyond the bed, UWS makes portable chest boxes that move between vehicles and the shop, transfer tanks and combination tank-and-toolbox units for crews working away from fuel supply, and insulated, ventilated dog boxes for hunters and handlers.
Manufacturing sits at the centre of the brand's identity. Every UWS aluminum tool box is designed, fabricated and welded in Perry, Florida, by tradespeople with decades of experience, and the company's Rooted in Trades initiative is built around that connection to skilled manual work. Boxes use heavy-gauge aluminum, continuous welds at the seams, weather stripping to seal against rain and dust, and locking systems intended to resist tampering. The practical result is storage that keeps tools dry, organized and where they were left.
Experts available to answer your questions
Call 888-634-9494Limited Lifetime Warranty (One-Year Finish, One-Year Parts)
The package includes one truck side tool box, two legs, and two keys. Hardware such as bolts, washers, and lock nuts are not included and must be purchased separately.
You will need: ratchet, socket set, wrench set, screwdriver, drill, drill bit set, pliers, tape measure, square, marker, and level.
The manual does not specify which vehicles or truck bed styles this tool box fits. Contact CURT Group at 833.387.7720 or consult your dealer for fitment information for your specific vehicle.
Yes. Hardware is not included with the tool box. You must purchase your own bolts, washers, and lock nuts to complete the installation.
Before drilling, check under your vehicle to ensure the drill location does not puncture, cut, or obstruct any brake fluid lines, fuel lines, electrical wires, fuel tanks, or other components. Take precaution that fasteners near the fuel tank do not create the possibility of fuel tank puncture or damage during a collision.
You must drill a minimum of two holes through the tool box and bed rail to secure the main body. Additionally, drill a minimum of two holes per leg (one bolt on each side of the legs) to secure the legs to the tool box or truck bed.
1. Place the tool box on the bed rails and determine the best location. 2. Drill a minimum of two holes through the tool box and bed rail, then secure with bolts, washers, and lock nuts. 3. Place the supplied legs on the corners of the tool box that are fully inside the truck bed, using a square to ensure they are vertical. 4. Drill a minimum of two holes per leg and secure the legs using one bolt, two washers, and one lock nut in each drill location. The legs may also be bolted to the truck bed for added security. 5. If desired, relocate the lock to the opposite end (Steps 5–10). 6. Perform final checks and inspections.
Place a flat washer and bolt through each of the minimum two drill holes. Secure using a washer and lock nut under the bed rail. Fully tighten the hardware according to the torque specifications for your bolt size.
Secure the legs to the tool box using one bolt, two washers, and one lock nut in each drill location. A minimum of two holes per leg must be drilled, with a minimum of one bolt on each side of the legs. For added security, the legs may also be bolted to the truck bed.
Use a square to ensure the legs are vertical and at the appropriate height so they rest on the truck bed. The legs should be placed on the corners of the tool box that are fully inside the truck bed.
Yes. You must drill a minimum of two holes through the tool box and bed rail to secure the main body, and a minimum of two holes per leg to secure the legs. Before drilling, check under your vehicle to ensure drill locations do not puncture fuel lines, brake lines, electrical wires, or fuel tanks.
Do not drill in the gas spring mount location. Locate the gas spring prior to drilling into the tool box.
General torque guidelines are: M6 or 1/4" bolt: 3 ft-lbs.; M8 or 5/16" bolt: 7 ft-lbs.; M10 or 3/8" bolt: 16 ft-lbs.; M12 or 7/16" bolt: 28 ft-lbs.; 1/2" bolt: 28 ft-lbs. However, if purchasing hardware, use the torque specifications provided with that hardware, as these are general guidelines only.
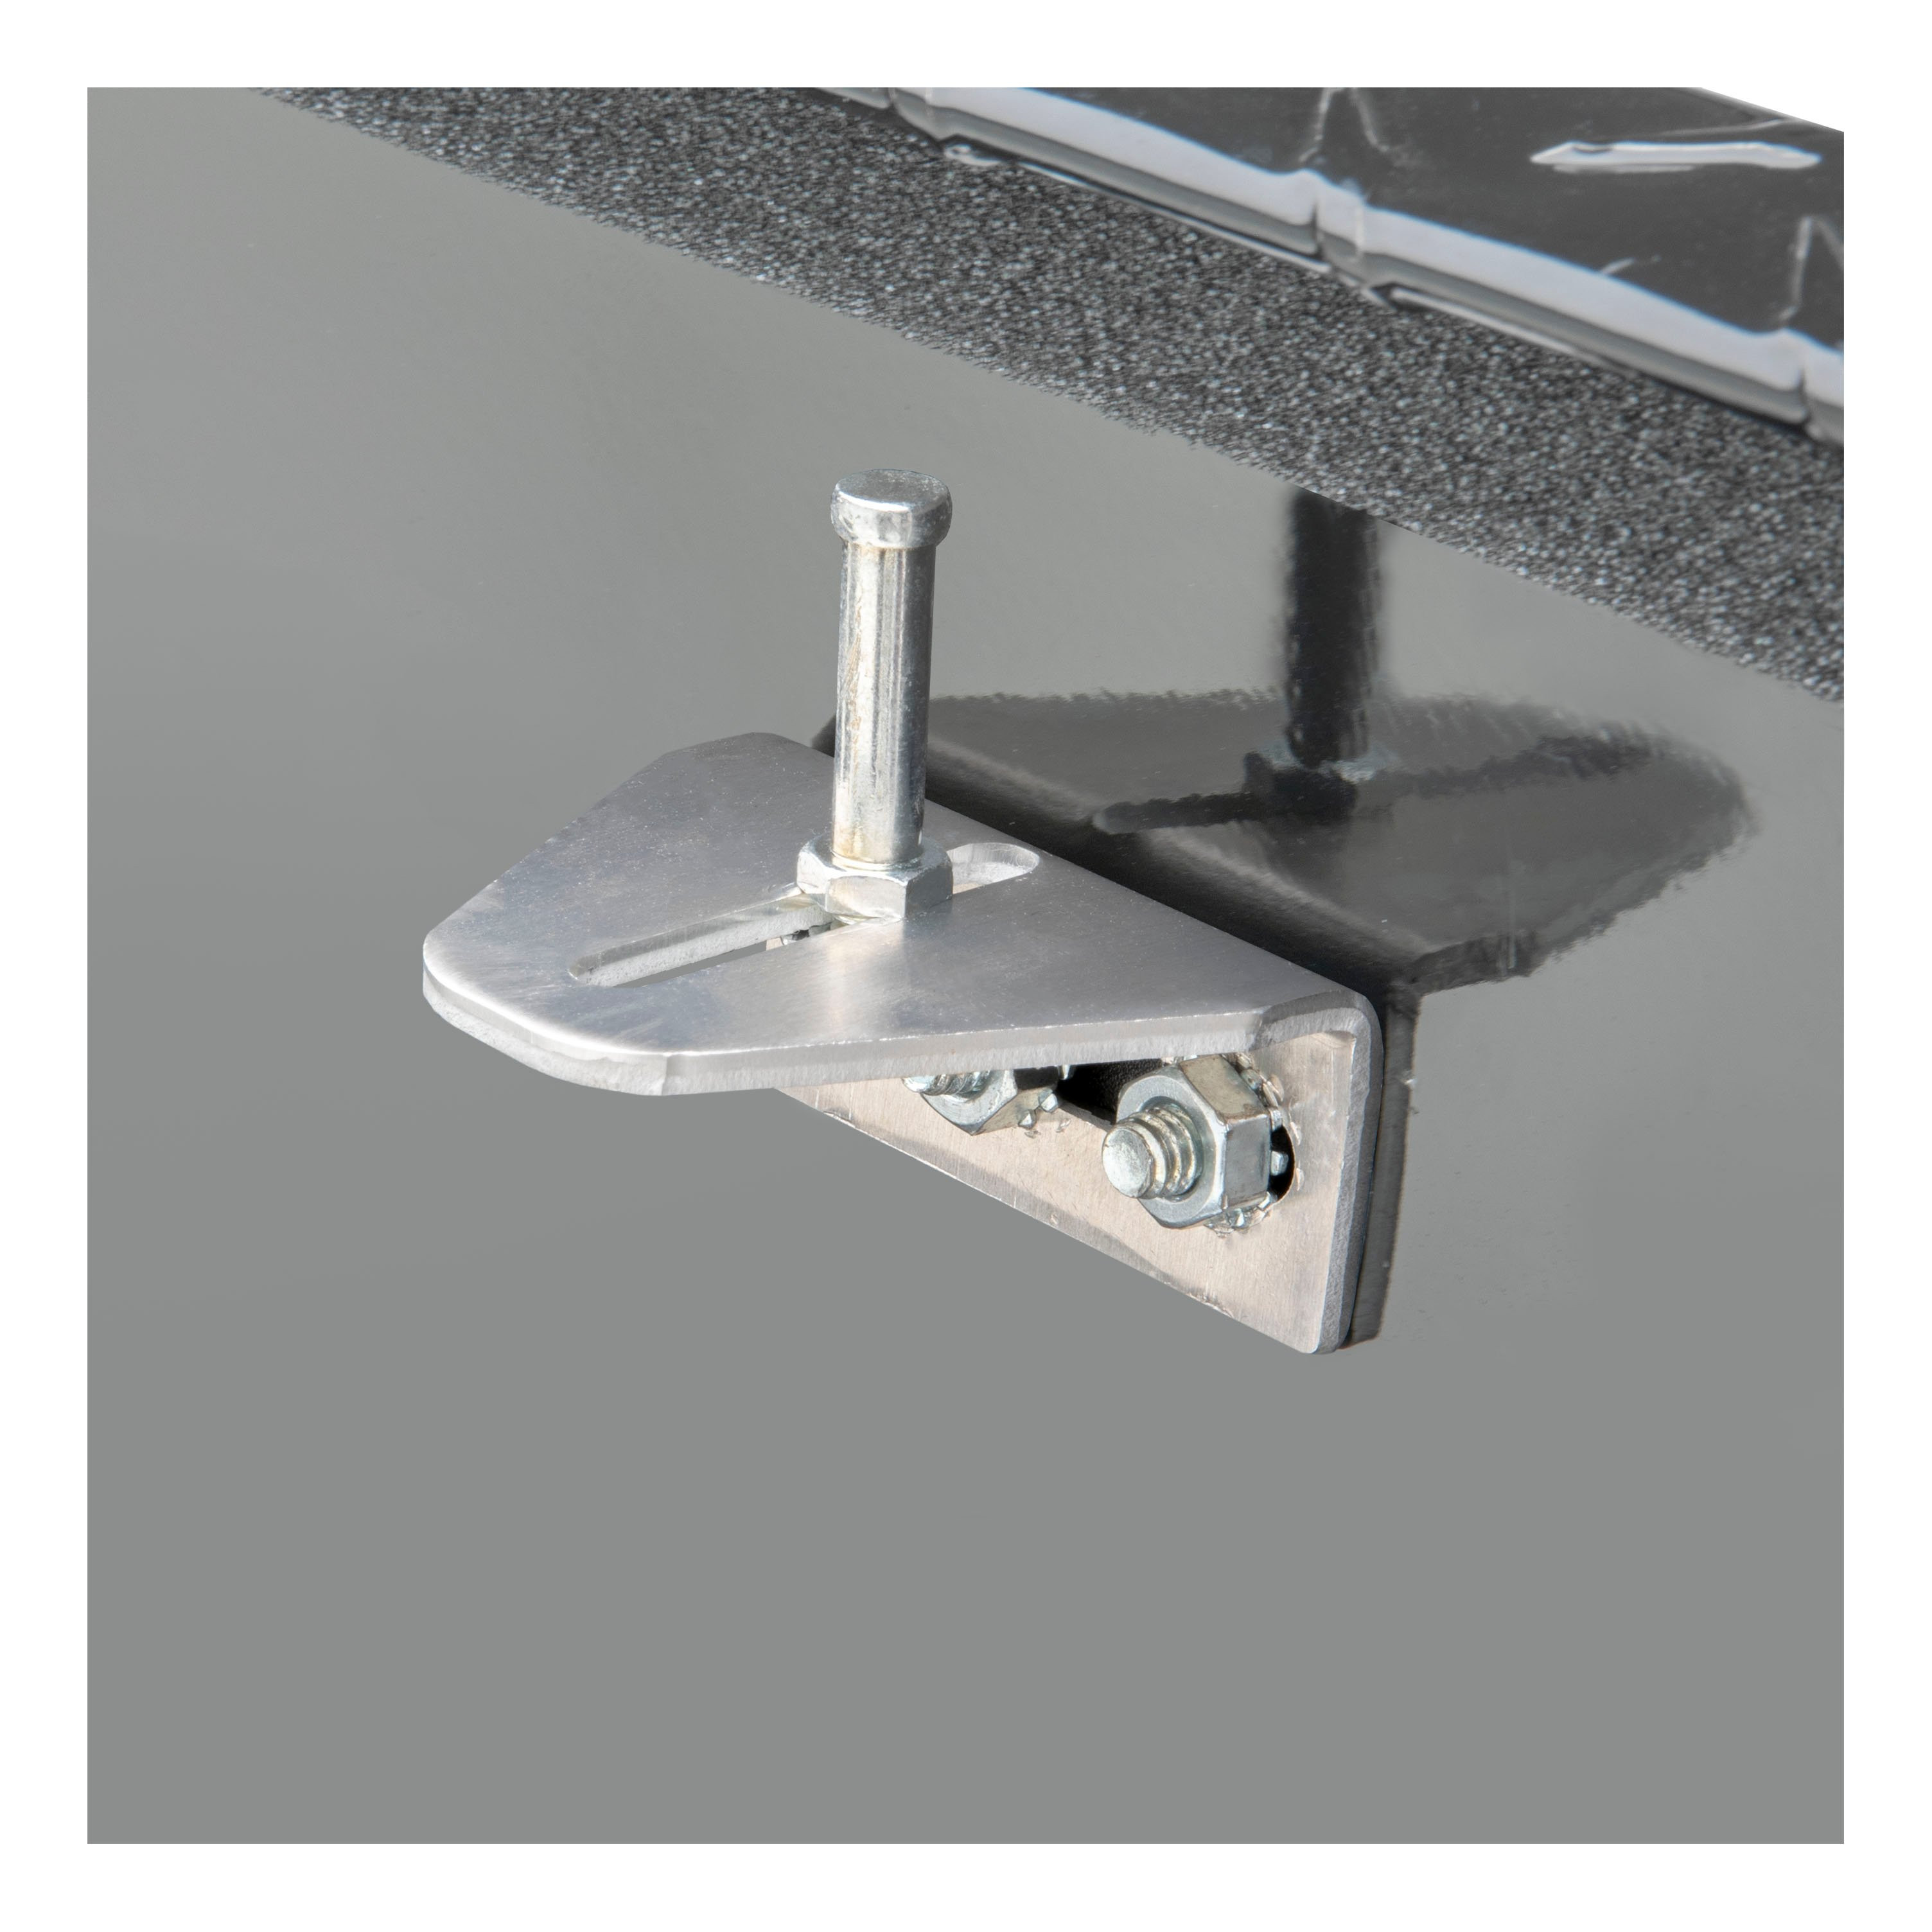
Yes. If desired, you can move the lock to the opposite end. This requires drilling out and removing the rivets securing the lock bar guard, removing the rotary latch and lock bar, removing the lock, adjusting the lock cam position, reinstalling the lock on the opposite end, refastening the lock bar to the rotary latch, and reattaching the lock bar guard with rivets or screws.
1. Drill out and remove the rivets securing the lock bar guard and remove the guard. 2. Remove the two screws securing the rotary latch and slide out the rotary latch and lock bar. 3. Remove the push nut and screw securing the lock bar to the rotary latch (use a lock nut if the push nut is not reusable). 4. Remove the hole plug, loosen the nut securing the lock, and remove the lock. 5. Adjust the lock cam position so it will not contact the lock bar when locked, but will contact when unlocked. 6. Reinstall the lock on the opposite end and reinstall the lock plug. 7. Refasten the lock bar to the rotary latch with a screw and push nut, ensuring the screw head faces inward. 8. Slide the lock bar into the lock bar support and refasten the rotary latch with two screws. 9. Check lock and latch operation; adjust the striker pin if needed. 10. Reattach the lock bar guard with rivets or screws.
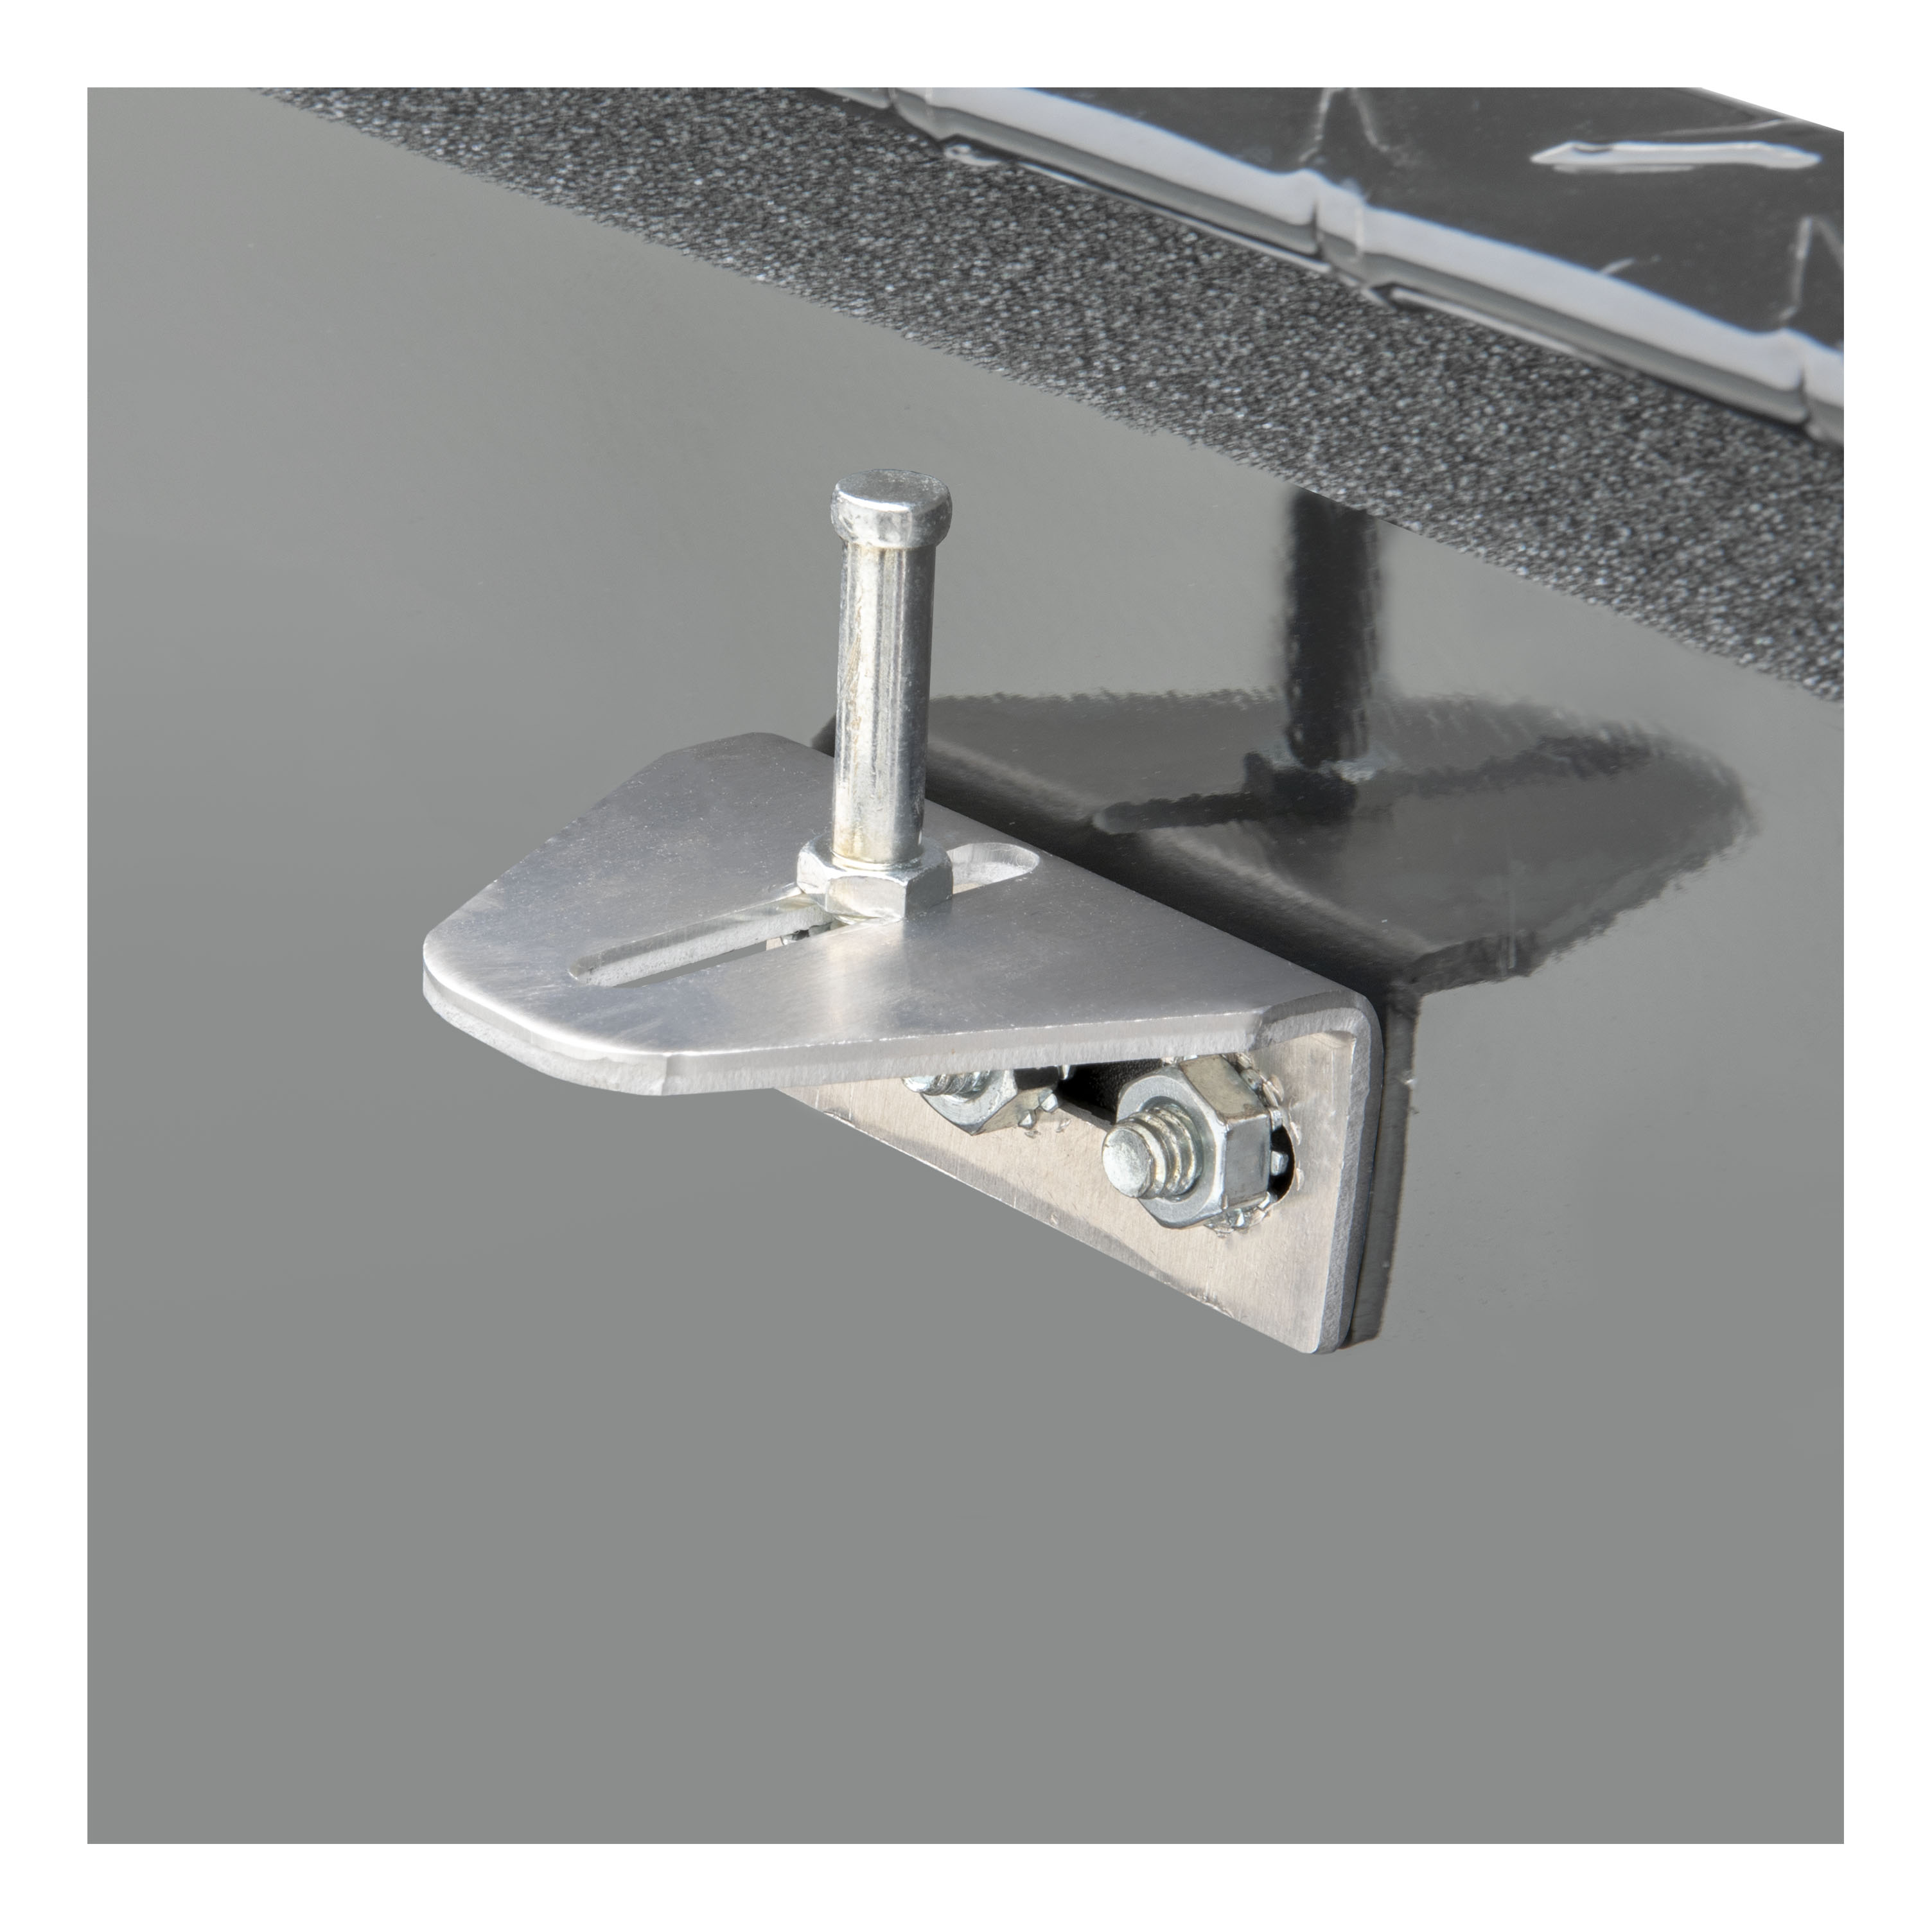
Check the operation of the lock and latch. The striker pin may need to be adjusted to ensure proper function.
Do not use this product for storing or transporting flammables, explosives, hazardous materials, or hazardous waste, such as containers of gasoline, solvents, gun powder, dynamite, propane tanks, acetylene tanks, and cutting torches. Danger of explosion.
Never exceed the vehicle manufacturer's recommended capacity. Consult your vehicle's documentation or dealer for the specific weight limit.
Yes. This product can reduce the driver's ability to clearly see roadways, vehicular or pedestrian traffic, and other objects through the rear and side windows of the vehicle, which may cause an accident. Extra precaution should be taken when driving a vehicle with this product.
No. Do not interfere with factory-installed safety equipment. Ensure the installation does not obstruct or damage any factory safety systems.
Ensure all knobs, bolts, screws, straps, and locks are firmly secured before every trip. Periodically re-tighten and inspect all components for signs of wear, corrosion, and fatigue. With the truck side tool box installed, periodic inspections should be performed to ensure all mounting hardware remains tight.
For polished, gloss, and other smooth finishes, polish may be used to clear small scratches and scuffs. Mild automotive detergent may be used to clean the product. Do not use dish detergent, abrasive cleaners, abrasive pads, wire brushes, or other similar products that may damage the finish.
Treat or seal all fasteners and exposed metal in any holes drilled in the vehicle to prevent corrosion. This is especially important for fasteners near the fuel tank.
No. Never modify this product. Use it only for purposes for which it was designed.
The manual does not specify vehicle compatibility. Contact CURT Group at 833.387.7720 or consult your dealer for fitment information.
You must purchase bolts, washers, and lock nuts. The manual does not specify sizes; consult your dealer or CURT Group for the correct specifications for your vehicle.
Yes. You must drill a minimum of two holes through the tool box and bed rail, plus a minimum of two holes per leg. Before drilling, check under your vehicle to ensure you do not puncture fuel lines, brake lines, electrical wires, or fuel tanks.
Use the torque specifications provided with your purchased hardware. General guidelines are: 1/4" bolt: 3 ft-lbs.; 5/16" bolt: 7 ft-lbs.; 3/8" bolt: 16 ft-lbs.; 7/16" bolt: 20 ft-lbs.; 1/2" bolt: 28 ft-lbs.
Before every trip, ensure all bolts, screws, straps, and locks are firmly secured. Periodically re-tighten and inspect all components for wear, corrosion, and fatigue. Treat or seal all fasteners and exposed metal in drilled holes to prevent corrosion.
Do not store flammables, explosives, hazardous materials, or hazardous waste such as gasoline, solvents, propane tanks, or acetylene tanks. Danger of explosion.
Yes. The tool box can reduce visibility through rear and side windows. Extra precaution should be taken when driving.
On Sale Today
Original price was $918.33. Current price is $690.95.You save $227.38 (25%)
Free Shipping
Ships free on all orders
 Authorized Dealer
Quick Ship
In stock and ready to ship — order now!
Shipping from Lancaster, TXFREE SHIPPING
Estimated delivery Sat, Aug 29 - Mon, Aug 31
Order before 2 PM EST Monday–Friday for same-day processing
Guaranteed safe & secure checkout
No reviews have been added for this product.