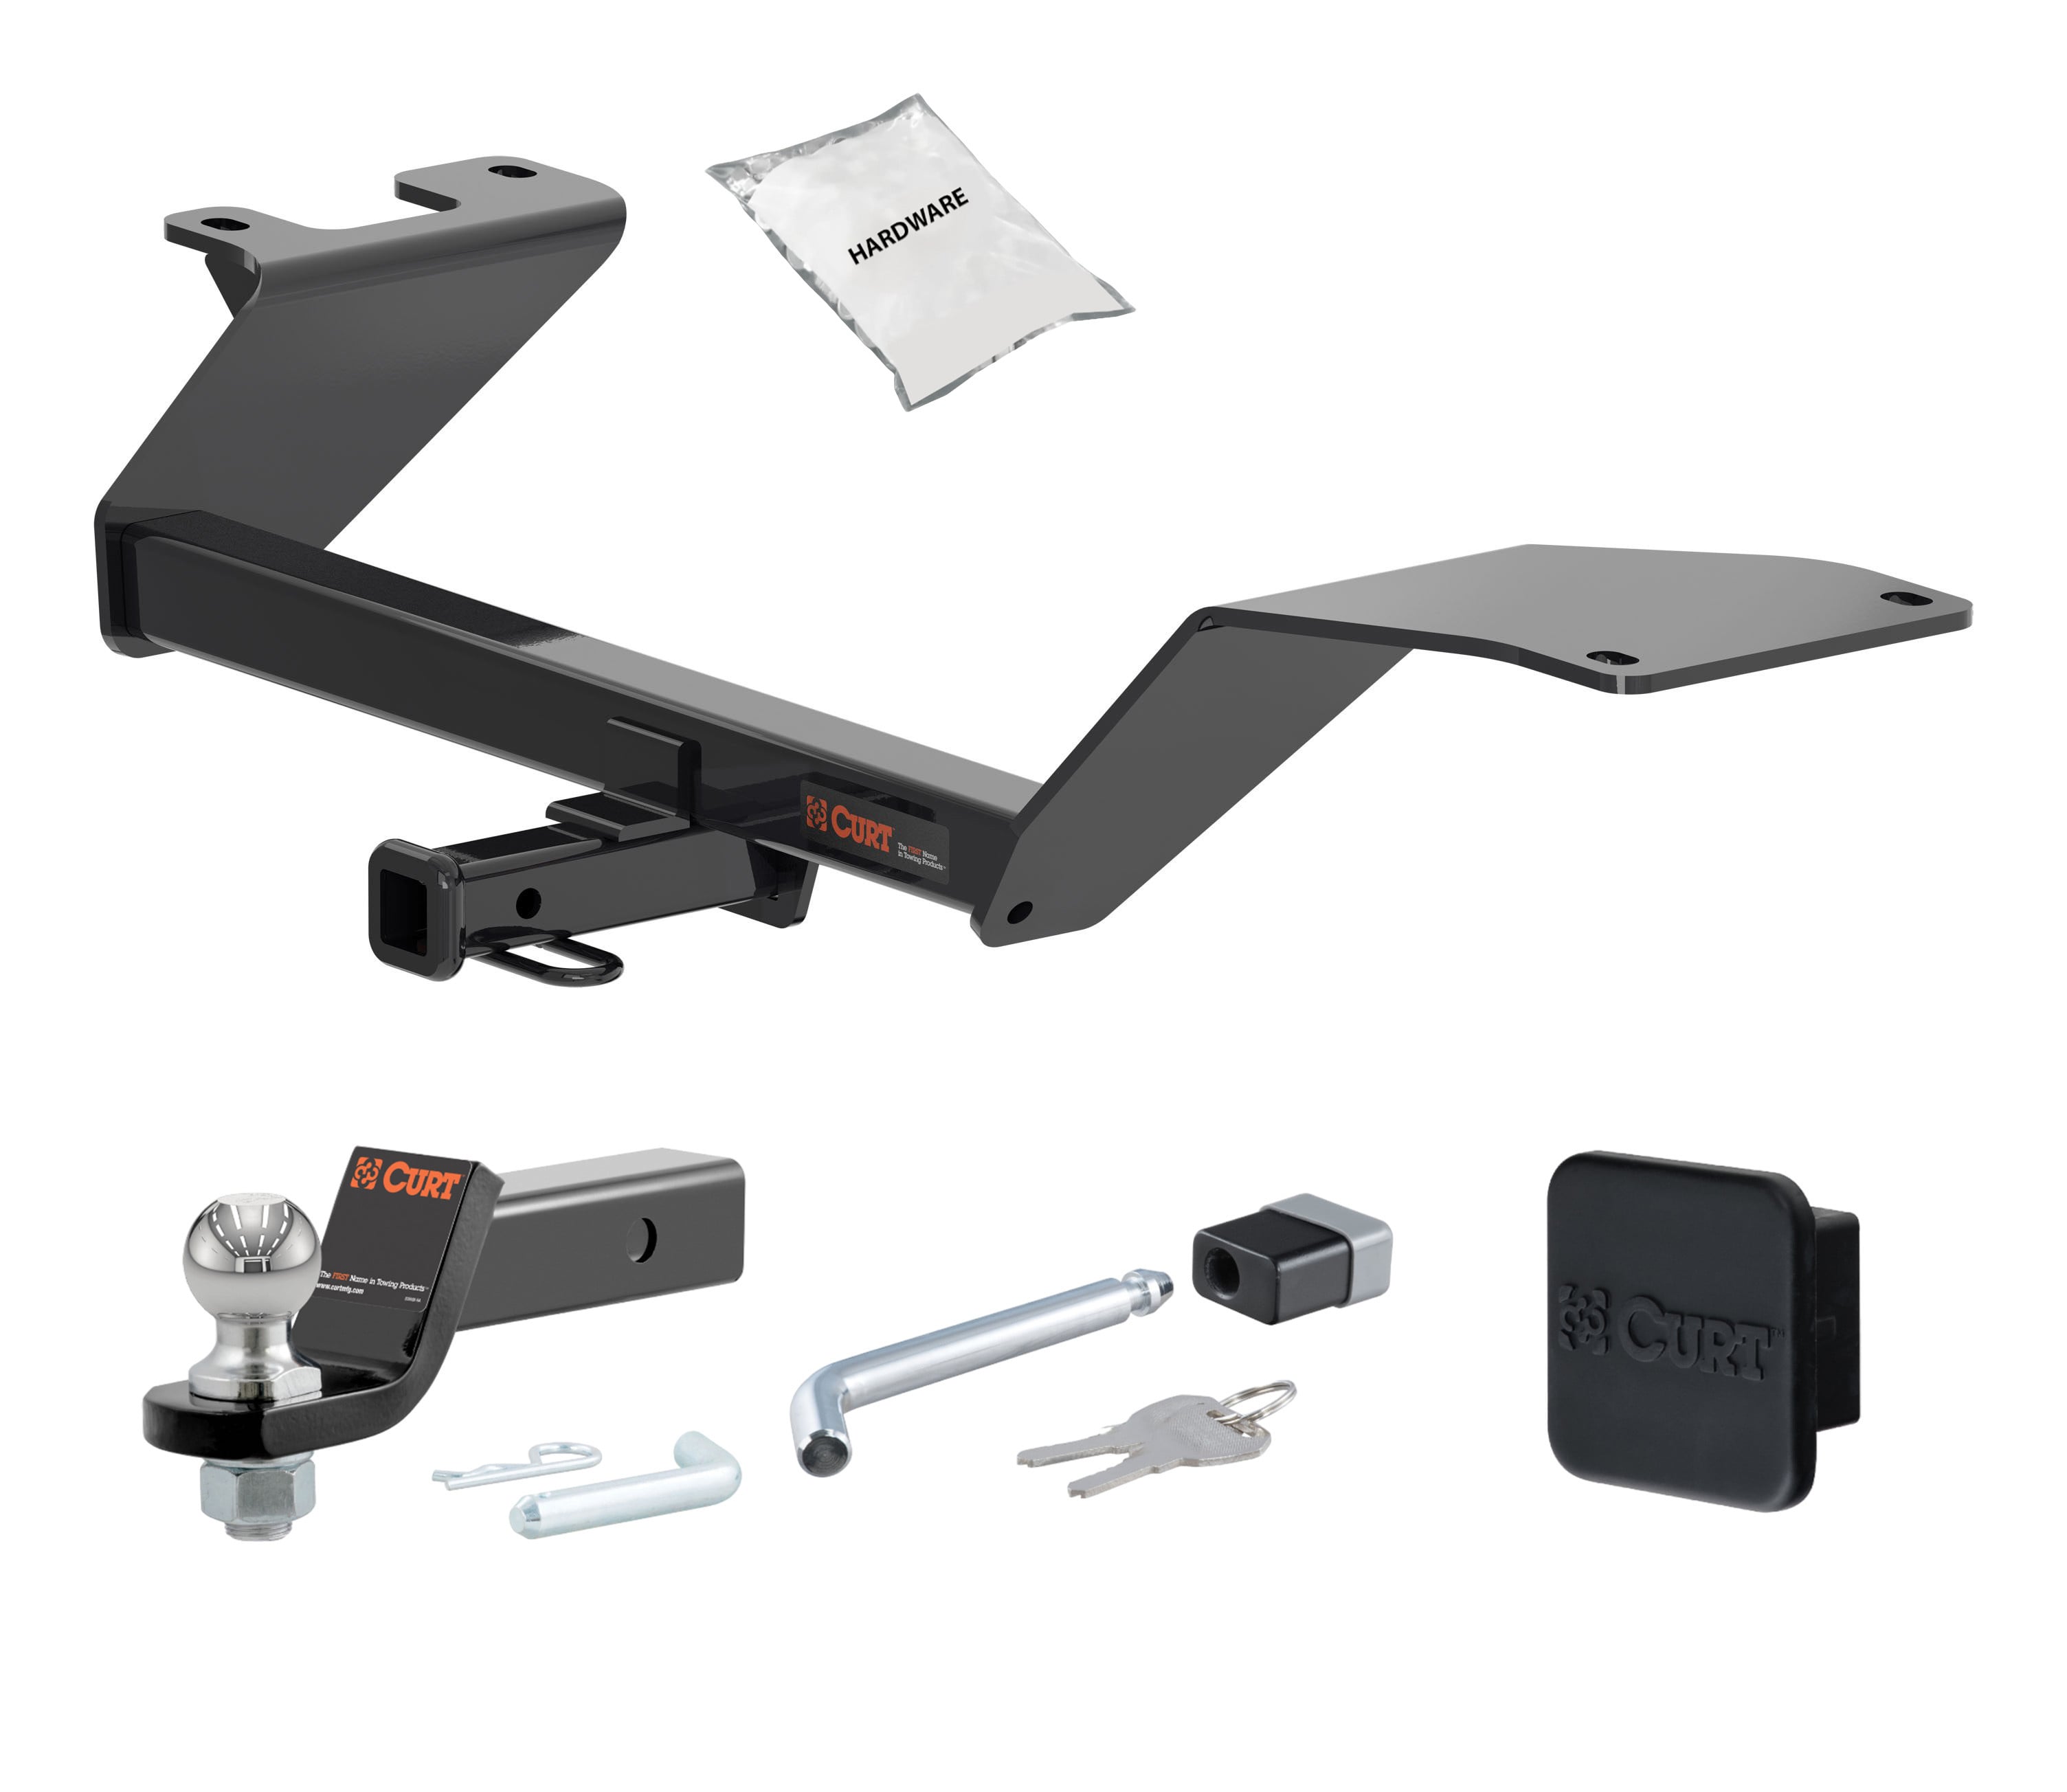
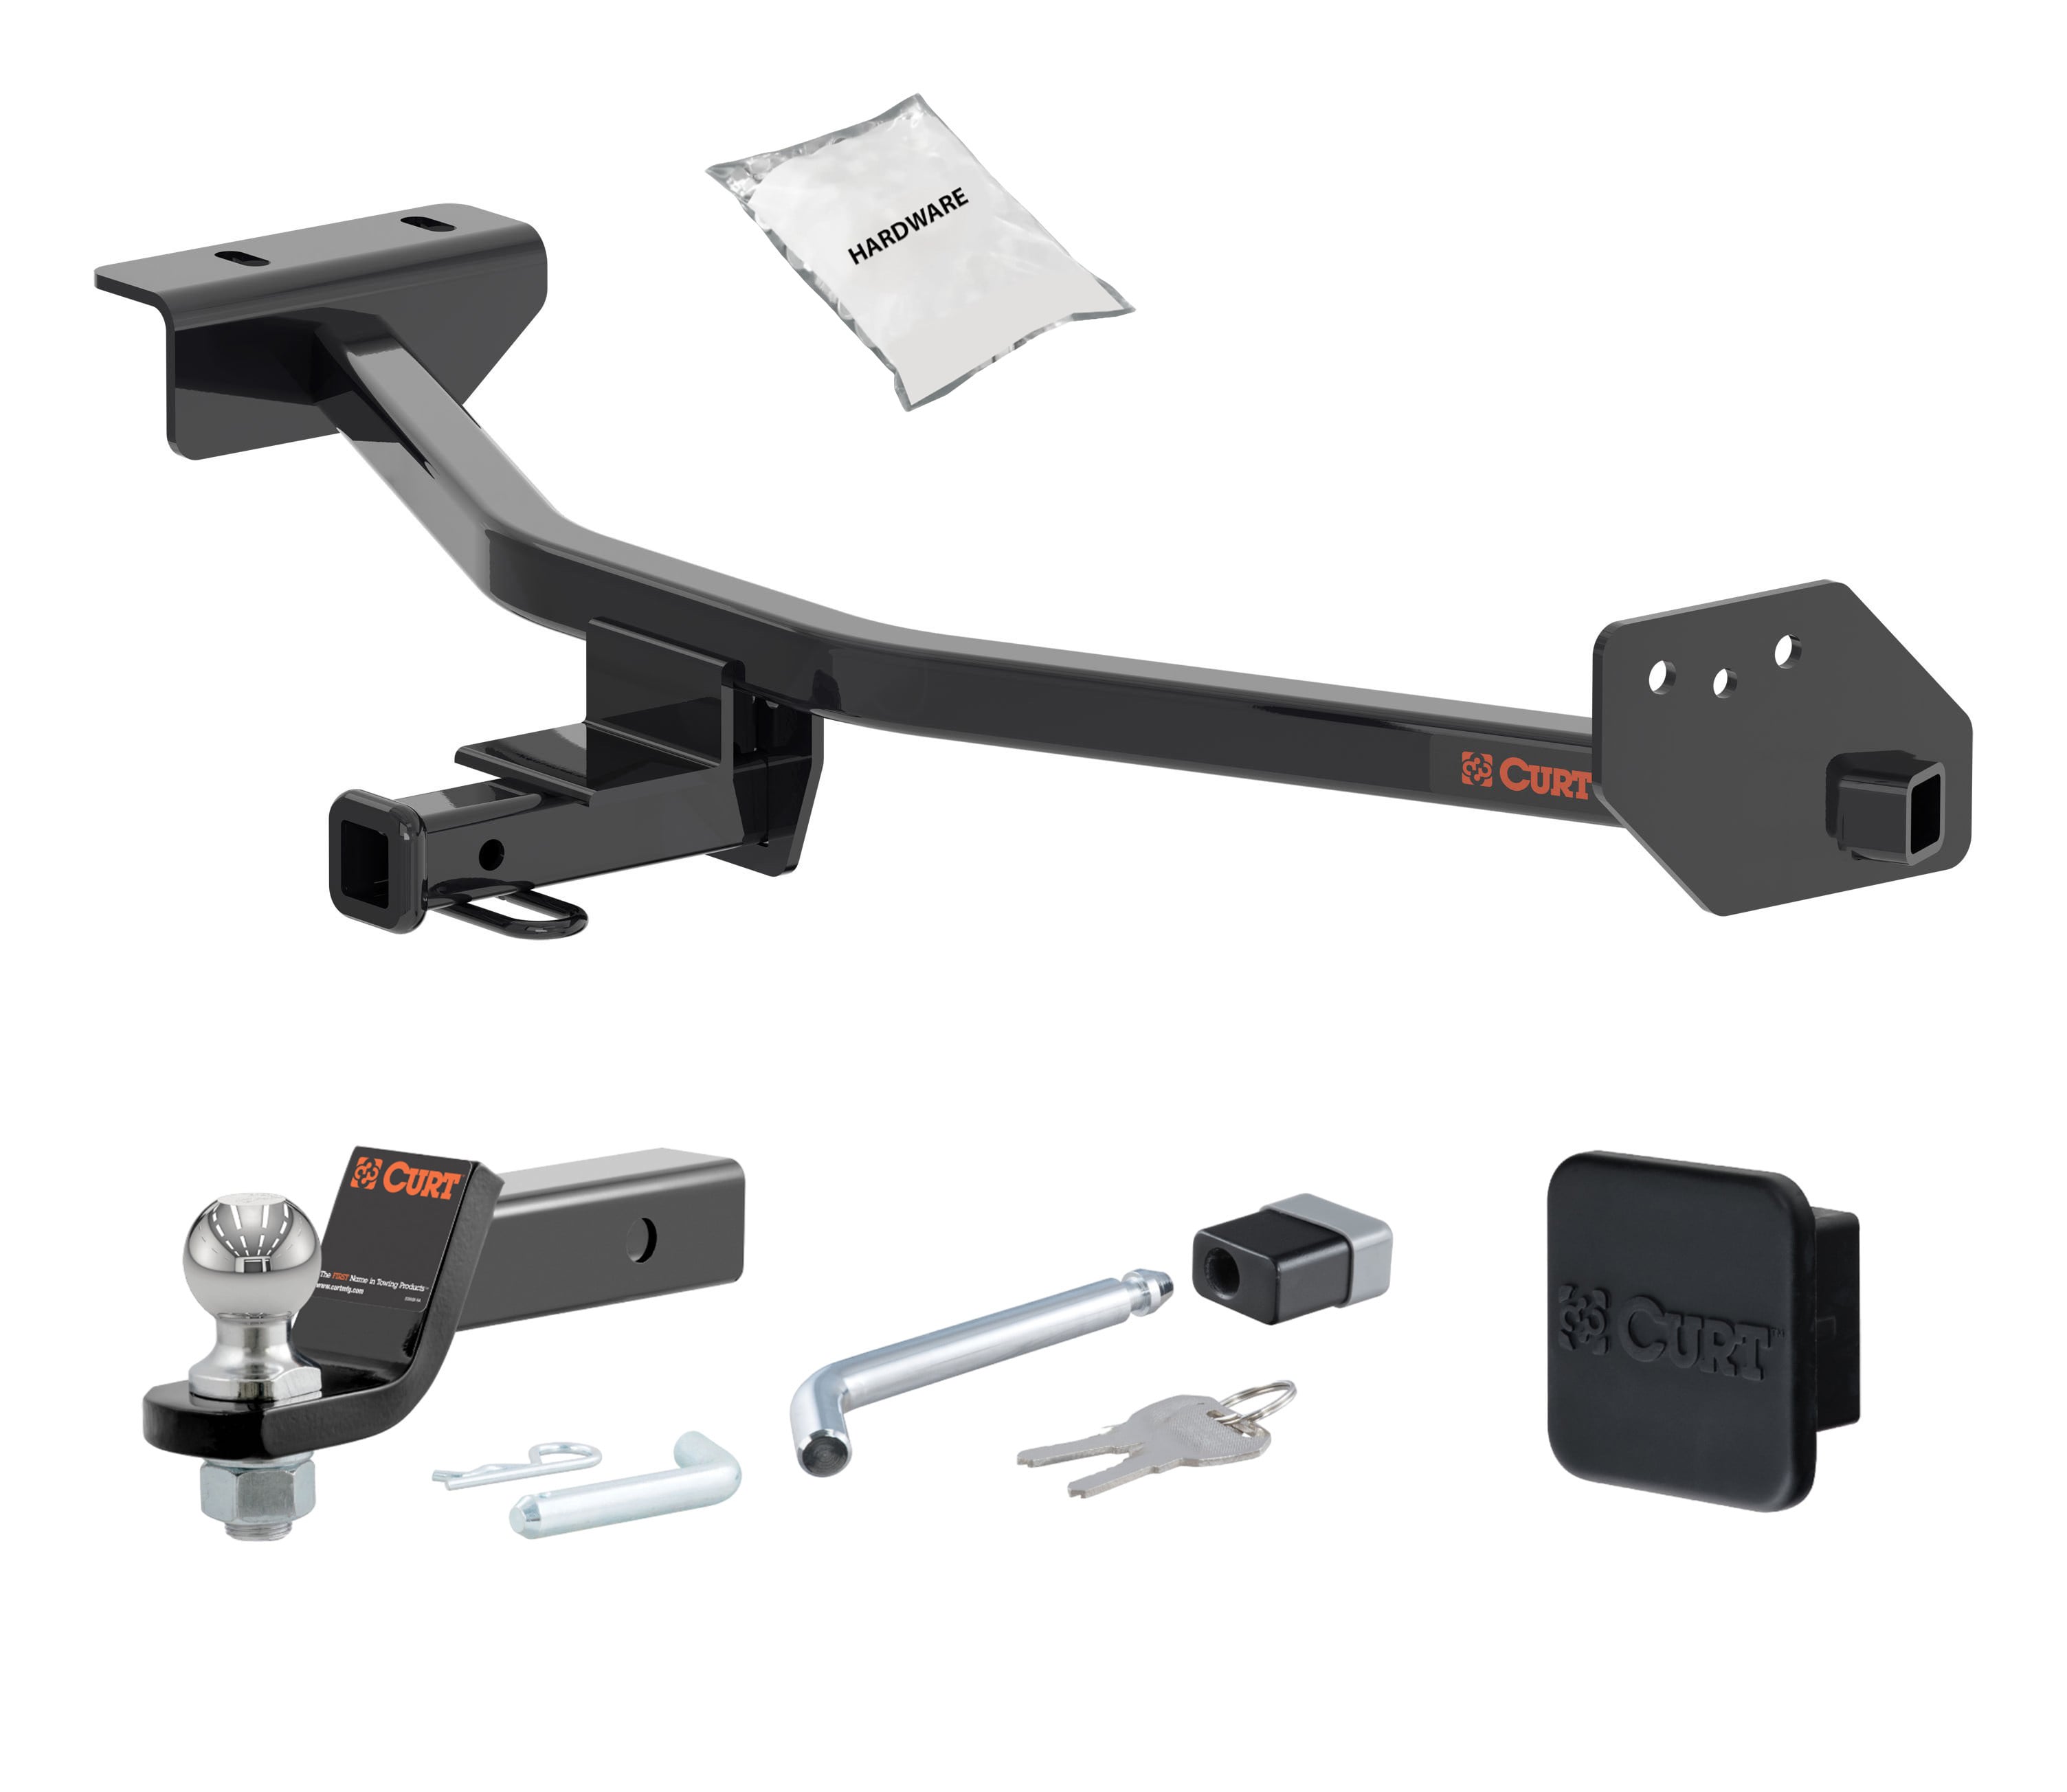
18 - 24 Nissan Kicks -- 1.25in. CURT Trailer Hitch + Ball Mount + Cover + Lock Kit by CURT HWA2023CURTOriginal price was $456.80. Current price is $357.60.In Stock
View productOur in-house experts typically reply within one business day.

CURT
Verify Fitment
Select your vehicle to confirm this part fits.
2018 - 2024 Nissan LEAF
Confirmed to Fit


Always the correct part
We know our products
Quality Products
Free Shipping!
Always the correct part
We know our products
Quality Products
Free Shipping!
Select your vehicle to find the exact plug-and-play parts that fit — no cutting or splicing.

| Warranty | Limited Lifetime Warranty (One-Year Finish, One-Year Parts) |
| Weight Carrying Capacity (WC) | 1,500 LB |
| 1773 | Rear |
| 1775 | Yes |
| Finish | Blank |
| 1769 | I |
| Main Body Shape | Square |
| Material | Carbon Steel |
| Mount Type Description | Not Applicable |
| Receiver Tube Size | 1-1/4 IN |
| Side Application Type Description | Not Applicable |
| Tongue Weight (TW) | 150 LBS |
| Side Application Type Description | Blank |
| Tongue Weight (TW) | 350 LB |
| Warranty | Limited Lifetime Warranty (One-Year Finish, One-Year Parts) |
| Drop | 3-1/4 IN |
| Finish | GLOSS BLACK POWDER COAT |
| Gross Trailer Weight (GTW) | 3,500 LB |
| Material | Blank |
| Mount Type Description | Blank |

CURT offers a variety of high-quality trailer hitches and accessories for select vehicle models. Find the perfect fit for your towing needs at TowUniverse.
CURT, a Lippert brand, offers a complete line of towing products and is the leading manufacturer of custom-fit trailer hitches. We offer the broadest selection of custom-fit hitches, and each one is designed, welded, and coated in Wisconsin.
CURT is also a leader in flat towing products, as well as 5th wheel, gooseneck, and weight distribution hitches, ball mounts, electrical components, cargo solutions, and other towing accessories.
For everything from passenger cars and vans to full-size pickups and SUVs, CURT is 'The First Name in Towing Products®.'

Experts available to answer your questions
Call 888-634-9494Lifetime
1 compatible vehicles
| Year | Make & Model | Notes |
|---|---|---|
| 2018 - 2024 | Nissan LEAF | — |
Yes, the 18 - 24 Nissan Leaf -- 1.25in. CURT Trailer Hitch + Ball Mount + Cover + Lock Kit by CURT HWA2024 (Part #HWA2024) is designed to fit the 2018-2024 Nissan LEAF.
The 18 - 24 Nissan Leaf -- 1.25in. CURT Trailer Hitch + Ball Mount + Cover + Lock Kit by CURT HWA2024 (Part #HWA2024) fits 2018-2024 Nissan LEAF models. The 2024 model year is the last year covered by this part number. For newer models, check for an updated version.
The 18 - 24 Nissan Leaf -- 1.25in. CURT Trailer Hitch + Ball Mount + Cover + Lock Kit by CURT HWA2024 (Part #HWA2024) fits the following vehicles: 2018-2024 Nissan LEAF. Always verify your specific year, make, and model before ordering.
The 18 - 24 Nissan Leaf -- 1.25in. CURT Trailer Hitch + Ball Mount + Cover + Lock Kit by CURT HWA2024 (Part #HWA2024) Refer to the included instructions for installation details. Basic hand tools are typically all you need.
The CURT 11648 has a gross trailer weight (GTW) capacity of 1,500 lbs and a tongue weight (TW) capacity of 150 lbs. Never exceed your vehicle manufacturer's recommended towing capacity.
CURT stands behind its products with industry-leading warranties. To get copies of the product warranty, register your purchase, or provide feedback, visit warranty.curtgroup.com/surveys.
The CURT 11648 mounts to vehicle frame rails. Passenger-side fastening varies depending on vehicle model—some models use existing weldnuts in the frame side, while others use existing frame rail holes. Consult the manual or contact CURT Product Support at 877.287.8634 to confirm fitment for your specific vehicle.
Passenger-side fastening varies by vehicle model. The hitch uses either two M12 bolts into existing weldnuts in the side of the frame, or three existing M10 bolts through the frame rail. The manual states that M12 bolts and three M10 bolts may be present on the tow loop, which is removed during installation. Retain the three M10 bolts for reinstallation if your vehicle uses them.
Required tools: ratchet, 6" socket extension, torque wrench, die grinder, sockets (10mm, 12mm, 17mm, 11/16"), drill, 1/2" drill bit, rotary tool, safety glasses, and screwdriver. A tools reference guide is available at curtmfg.com/trailer-hitch-installation.
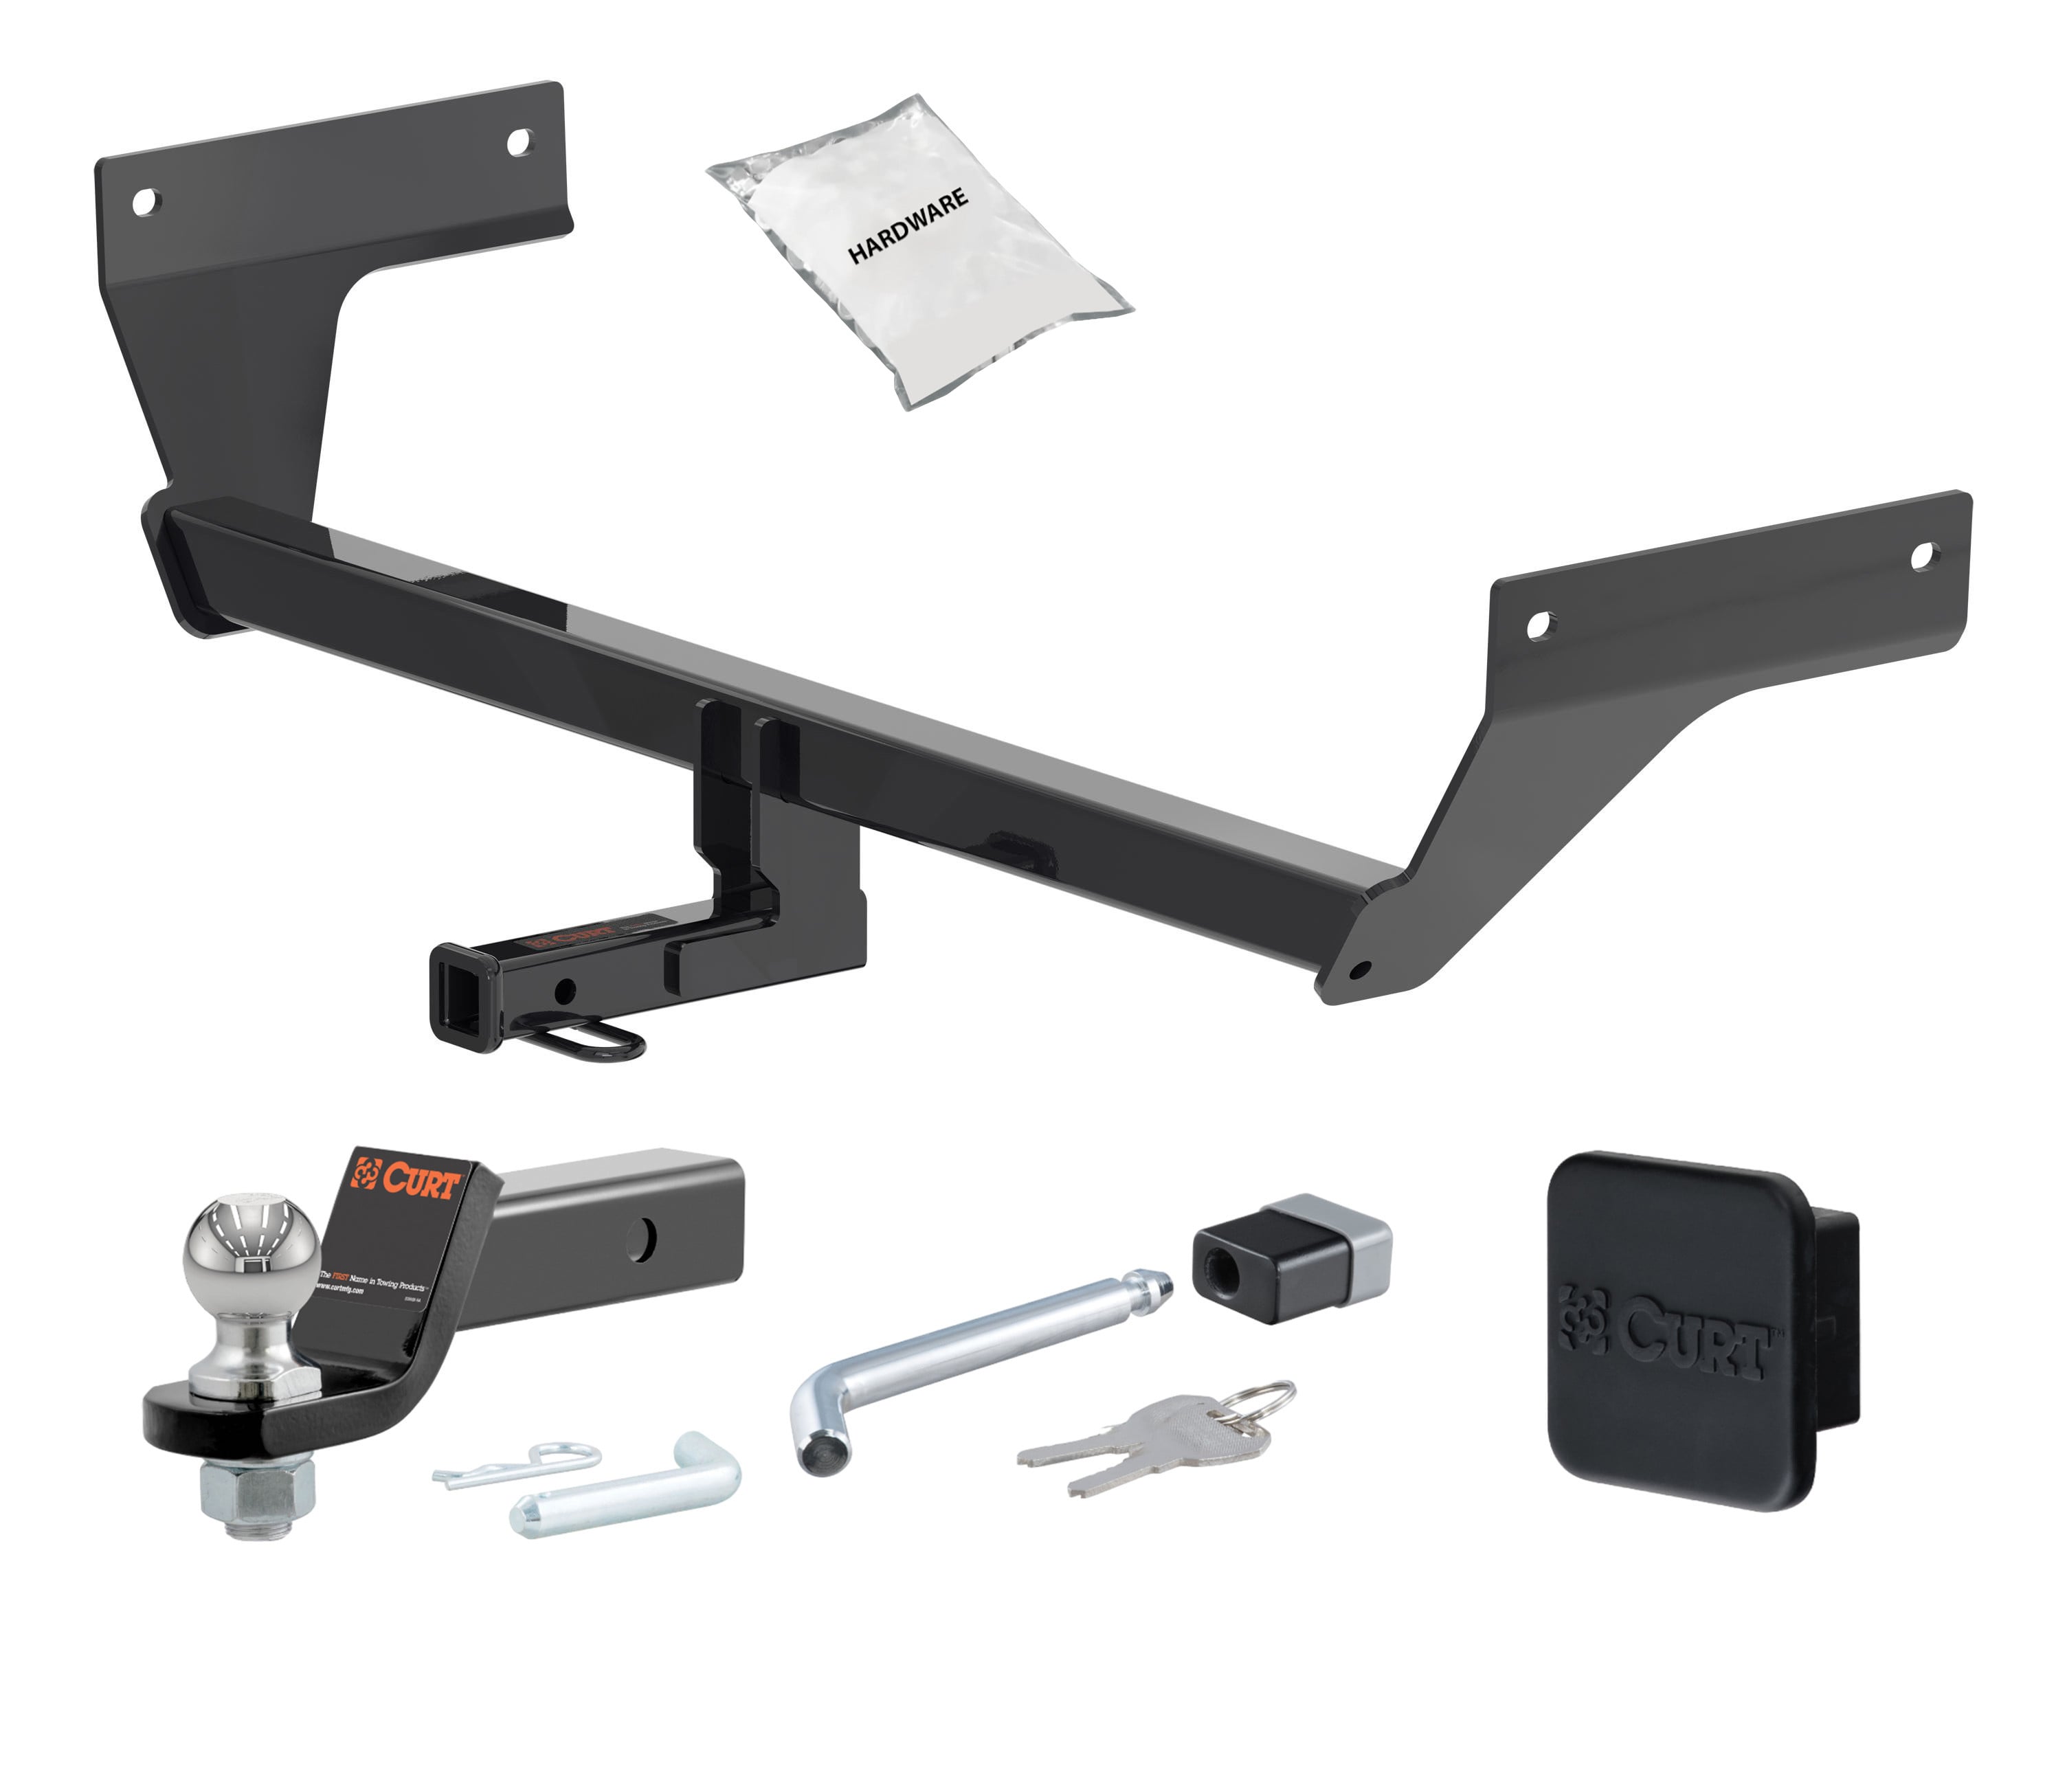
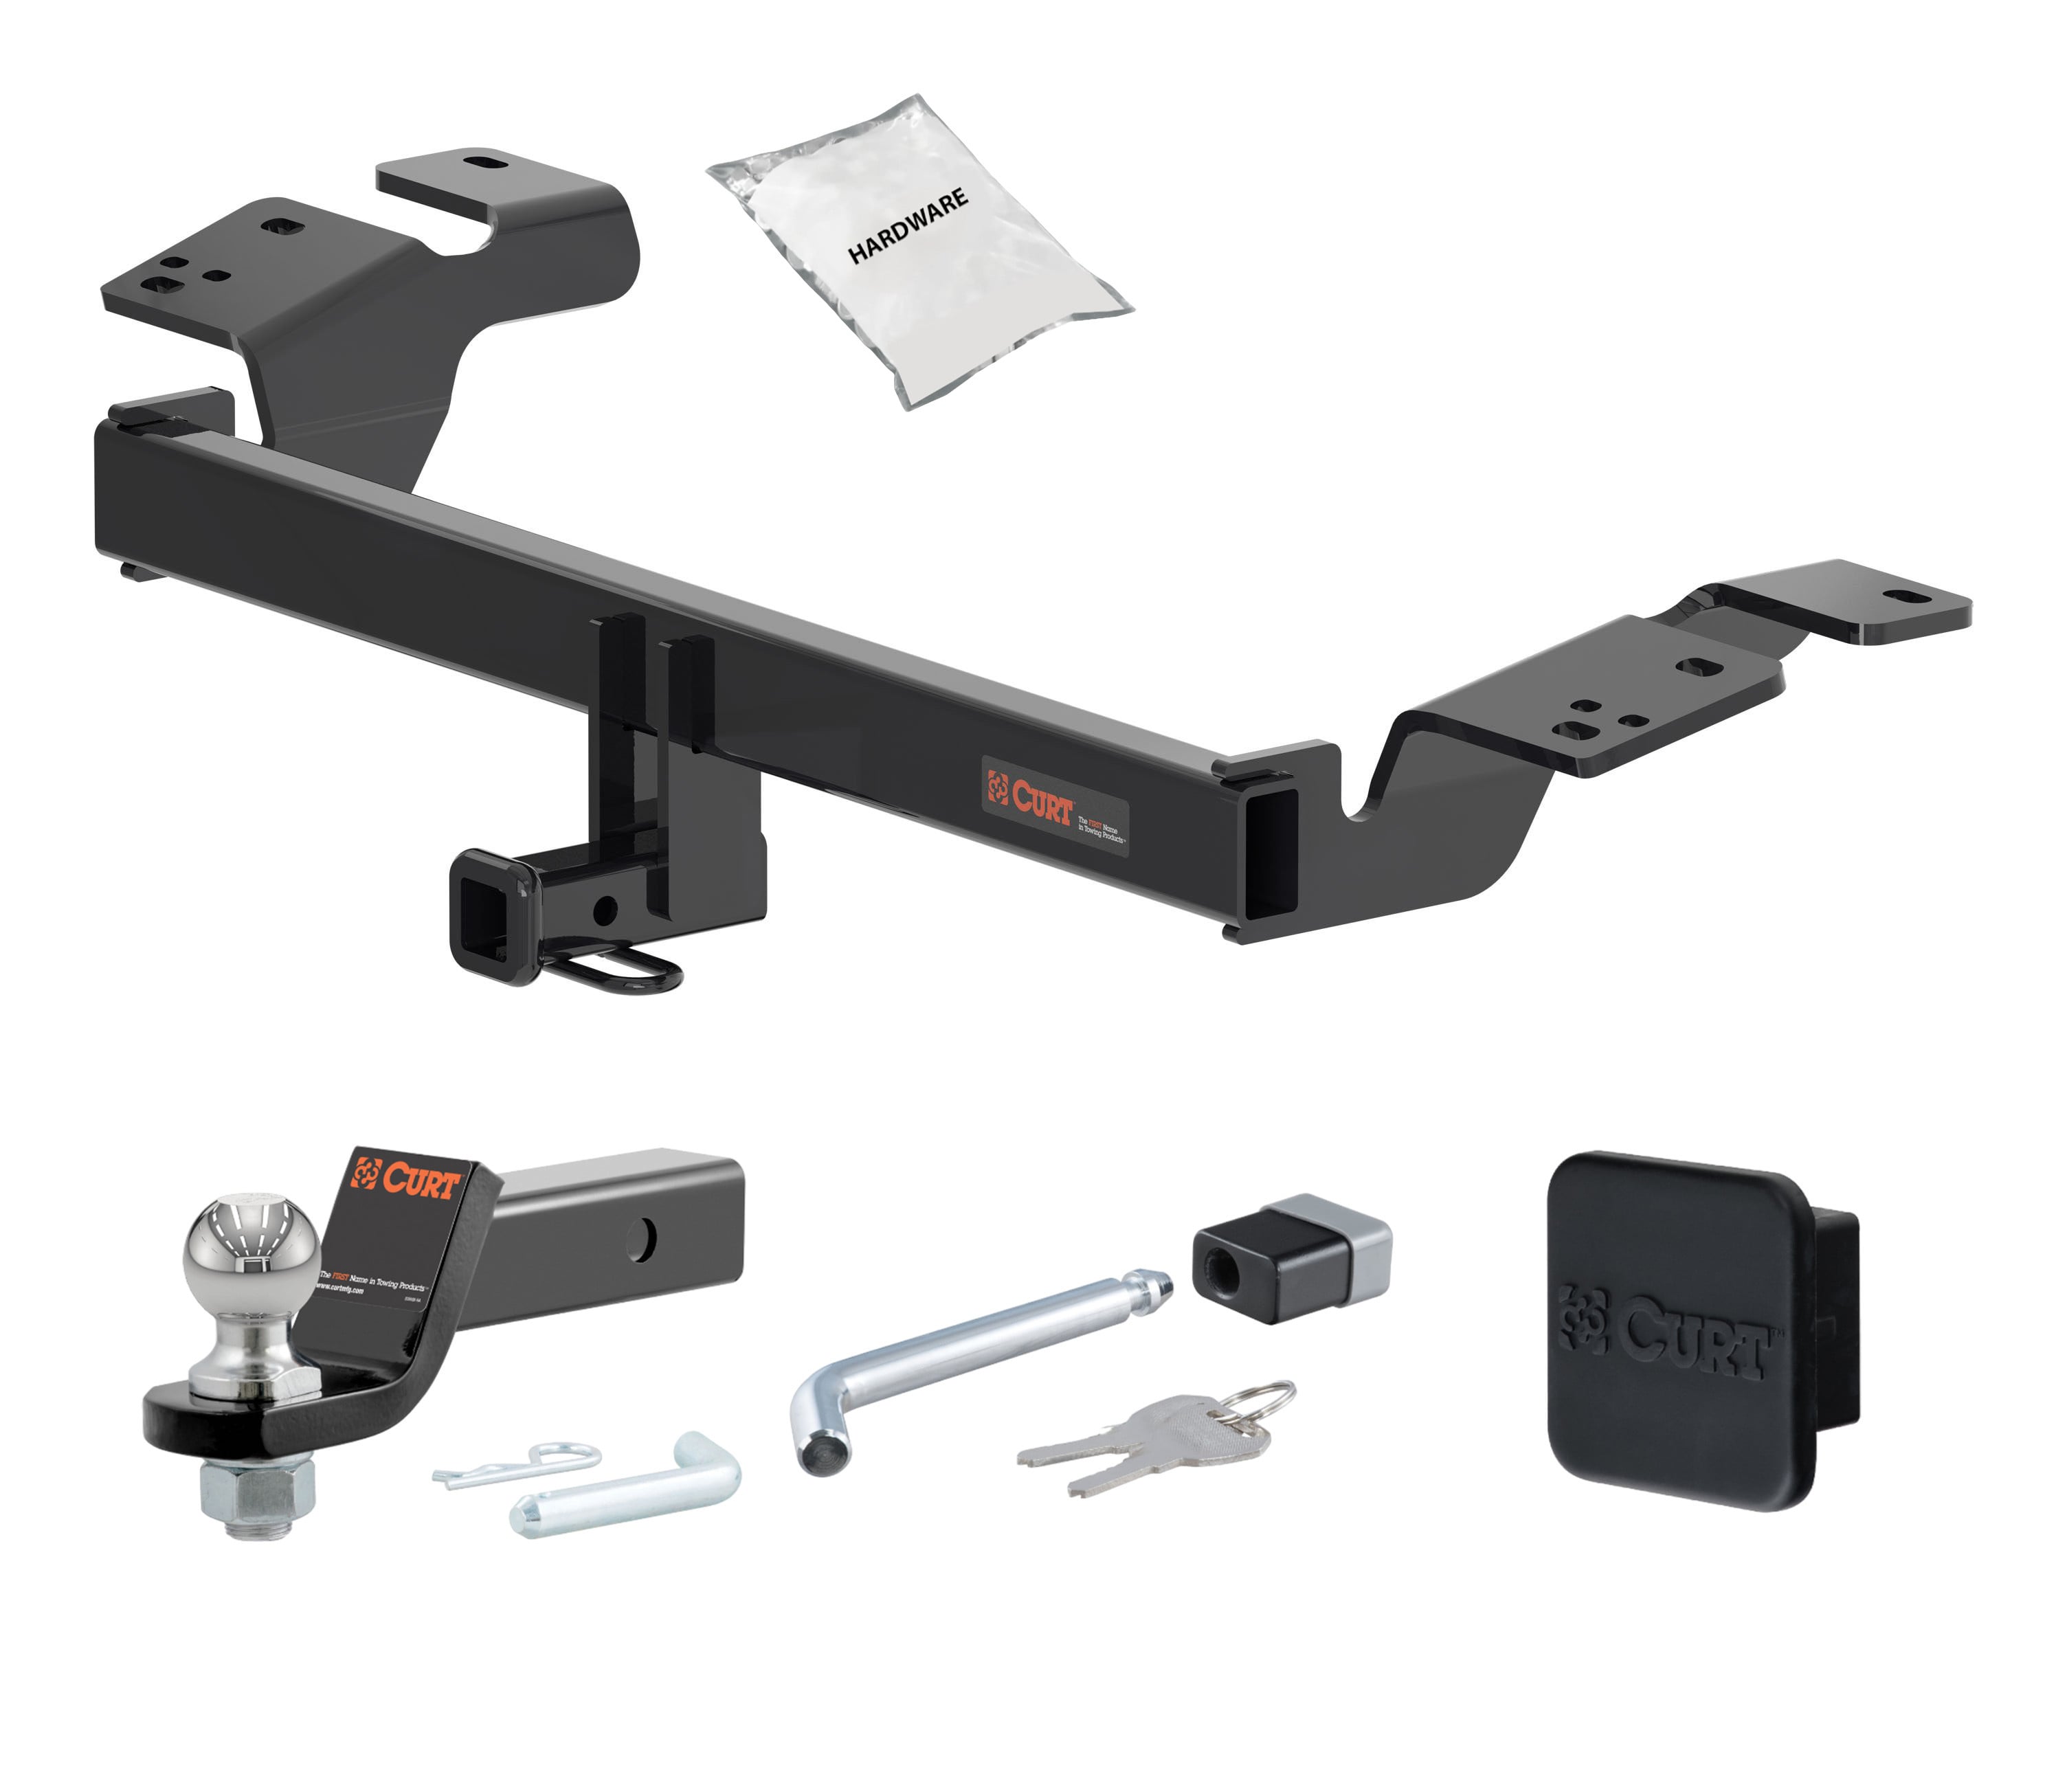
The kit includes: 2 serrate-flange nuts (7/16"), 2 conical tooth washers (9/16"), 2 hex head cap screws (M12), 2 carriage bolts (7/16"), 2 fishwires (7/16"), 2 square hole spacers (.250" x .88" x 2.25"), and 3 hex flange nuts (M10). If existing hardware is present on the vehicle, use it; otherwise use the provided M12 bolts and conical washers to fasten the hitch to the frame.
Yes. In Step 2, you remove either four M12 bolts or three M10 bolts securing the tow loop to the passenger-side frame rail. Retain the three M10 bolts for reinstallation on the hitch. Return the tow loop and M12 bolts to the vehicle owner.
Read all instructions thoroughly before beginning. The installation requires part removal and trimming of the underbody panel, hole enlargement, drilling, and fishwiring hardware. Wear safety glasses at all times. Proper tools will improve installation quality and reduce time required.
The installation is rated as moderate difficulty. The difficulty level is based on time and effort involved and may vary depending on installer expertise, vehicle condition, and availability of proper tools and equipment.
Yes. In Step 1, remove the fasteners securing the underbody panel and retain both the panel and fasteners for later reinstallation. The panel will be trimmed in Step 8 and reinstalled in Step 9.
Yes. In Step 2, remove either four M12 bolts or three M10 bolts securing the tow loop to the passenger-side frame rail. Retain the three M10 bolts for reinstallation on the hitch. Return the tow loop and M12 bolts to the vehicle owner.
Yes. In Step 3, if the rear-most driver-side hole is not present on your vehicle, raise the hitch into position and mark the hole to be drilled. Lower the hitch and drill the marked hole. Before drilling, make sure all existing holes are aligned. The drill bit size is 1/2".
Yes. In Step 3, enlarge the driver-side access hole to allow 7/16" hardware to pass through. A die grinder or rotary tool can be used for this task.
Yes. In Step 8, trim the underbody panel according to the trim diagram provided in the manual. The panel is then reinstalled in Step 9 using the hardware removed in Step 1.
To remove debris from weldnuts in the frame, spray lubricant or compressed air into the hole. For heavy debris, use a wire brush. Take care not to damage the threads.
Torque all 7/16" hardware to 70 ft-lbs, all M10 hardware to 48 ft-lbs, and all M12 hardware to 90 ft-lbs. Use a torque wrench to ensure proper tightening.
Torque all 7/16" hardware to 70 ft-lbs. This applies to the carriage bolts and serrate-flange nuts used on the driver side.
Torque all M10 hardware to 48 ft-lbs. This applies to the hex flange nuts used on the passenger side when the vehicle uses existing M10 bolts through the frame rail.
Torque all M12 hardware to 90 ft-lbs. This applies to the hex head cap screws used on the passenger side when the vehicle has existing weldnuts in the side of the frame.
The conical tooth washer is 9/16" in diameter. Two are included in the kit and are used with the M12 hex head cap screws on the passenger side.
The square hole spacer measures .250" x .88" x 2.25". Two are included in the kit and are used with the 7/16" carriage bolts to position the hitch on the driver side.
The fishwire technique is used to guide the 7/16" carriage bolt and square hole spacer through the frame rail without losing them inside. In Step 4, insert the coiled end of the fishwire through the hitch mounting hole and out the access hole, pass it through the spacer, and thread the bolt into the coil. In Step 5, pull the fishwire, spacer, and bolt back through the frame and out the mounting hole.
Attach the fishwire to the carriage bolt and slide the spacer onto the fishwire. Push the bolt through the hole followed by the spacer. Pull the bolt back into position, protruding from the frame. This technique is used in Step 5 to reverse the bolt and spacer into the enlarged access hole.
The conical tooth washer should be oriented with the teeth facing inward toward the frame. The manual includes a diagram showing the correct orientation on the hitch side plate.
In Step 6, raise the hitch into position and secure the driver side first using the provided 7/16" flange nuts. Then secure the passenger side with either the two provided M12 bolts into existing weldnuts in the side of the frame, or the existing three M10 bolts through the frame rail, using the provided M10 flange nuts.
Two fasteners are used on the driver side: one 7/16" carriage bolt with a square hole spacer on the rear, and one 7/16" carriage bolt on the front. Both are secured with 7/16" serrate-flange nuts and torqued to 70 ft-lbs.
Two fasteners are used on the passenger side. If the vehicle has existing weldnuts in the side of the frame, use the two provided M12 hex head cap screws with conical tooth washers, torqued to 90 ft-lbs. If the vehicle has existing frame rail holes, use the three existing M10 bolts with the provided M10 hex flange nuts, torqued to 48 ft-lbs.
Wear safety glasses at all times during installation. Never exceed your vehicle manufacturer's recommended towing capacity. After installation, perform periodic inspection to ensure all mounting hardware remains tight and structural components are secure.
Never exceed your vehicle manufacturer's recommended towing capacity. The CURT 11648 has a gross trailer weight capacity of 1,500 lbs and a tongue weight capacity of 150 lbs, but your vehicle's manufacturer may specify a lower limit.
After installation, perform periodic inspection to ensure all mounting hardware remains tight and structural components are secure. To help prevent damage to the product or vehicle, refer to the specified torque specifications when securing hardware.
In Step 9, reinstall the underbody panel using the hardware removed in Step 1. The panel should be trimmed according to the trim diagram in Step 8 before reinstallation.
On Sale Today
Original price was $487.80. Current price is $377.60.You save $110.20 (23%)
Free Shipping
Ships free on all orders
 Authorized Dealer


Quick Ship
In stock and ready to ship — order now!
FREE ShippingFREE SHIPPING
Estimated delivery Tue, Sep 22 - Fri, Sep 25
Order before 2 PM EST Monday–Friday for same-day processing
Guaranteed safe & secure checkout
No reviews have been added for this product.