
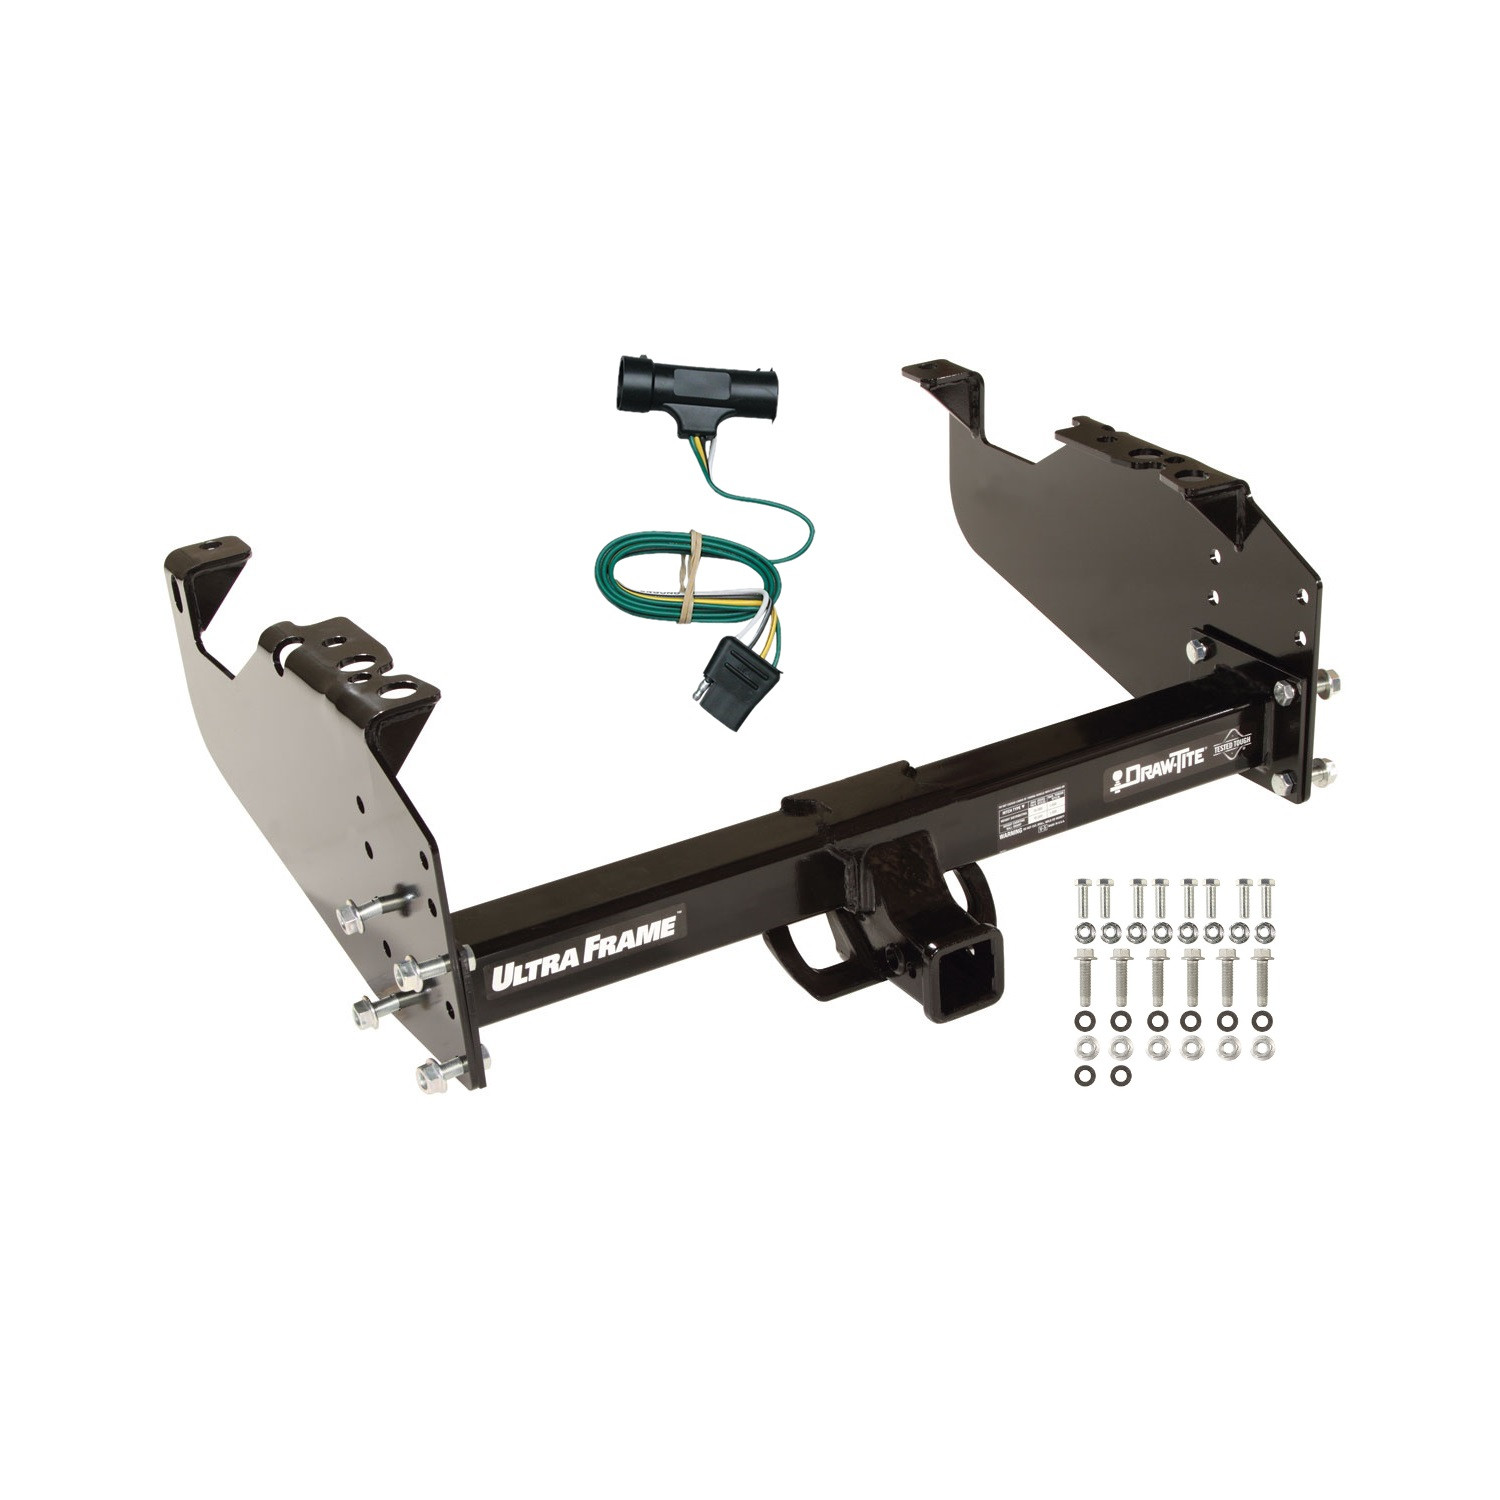
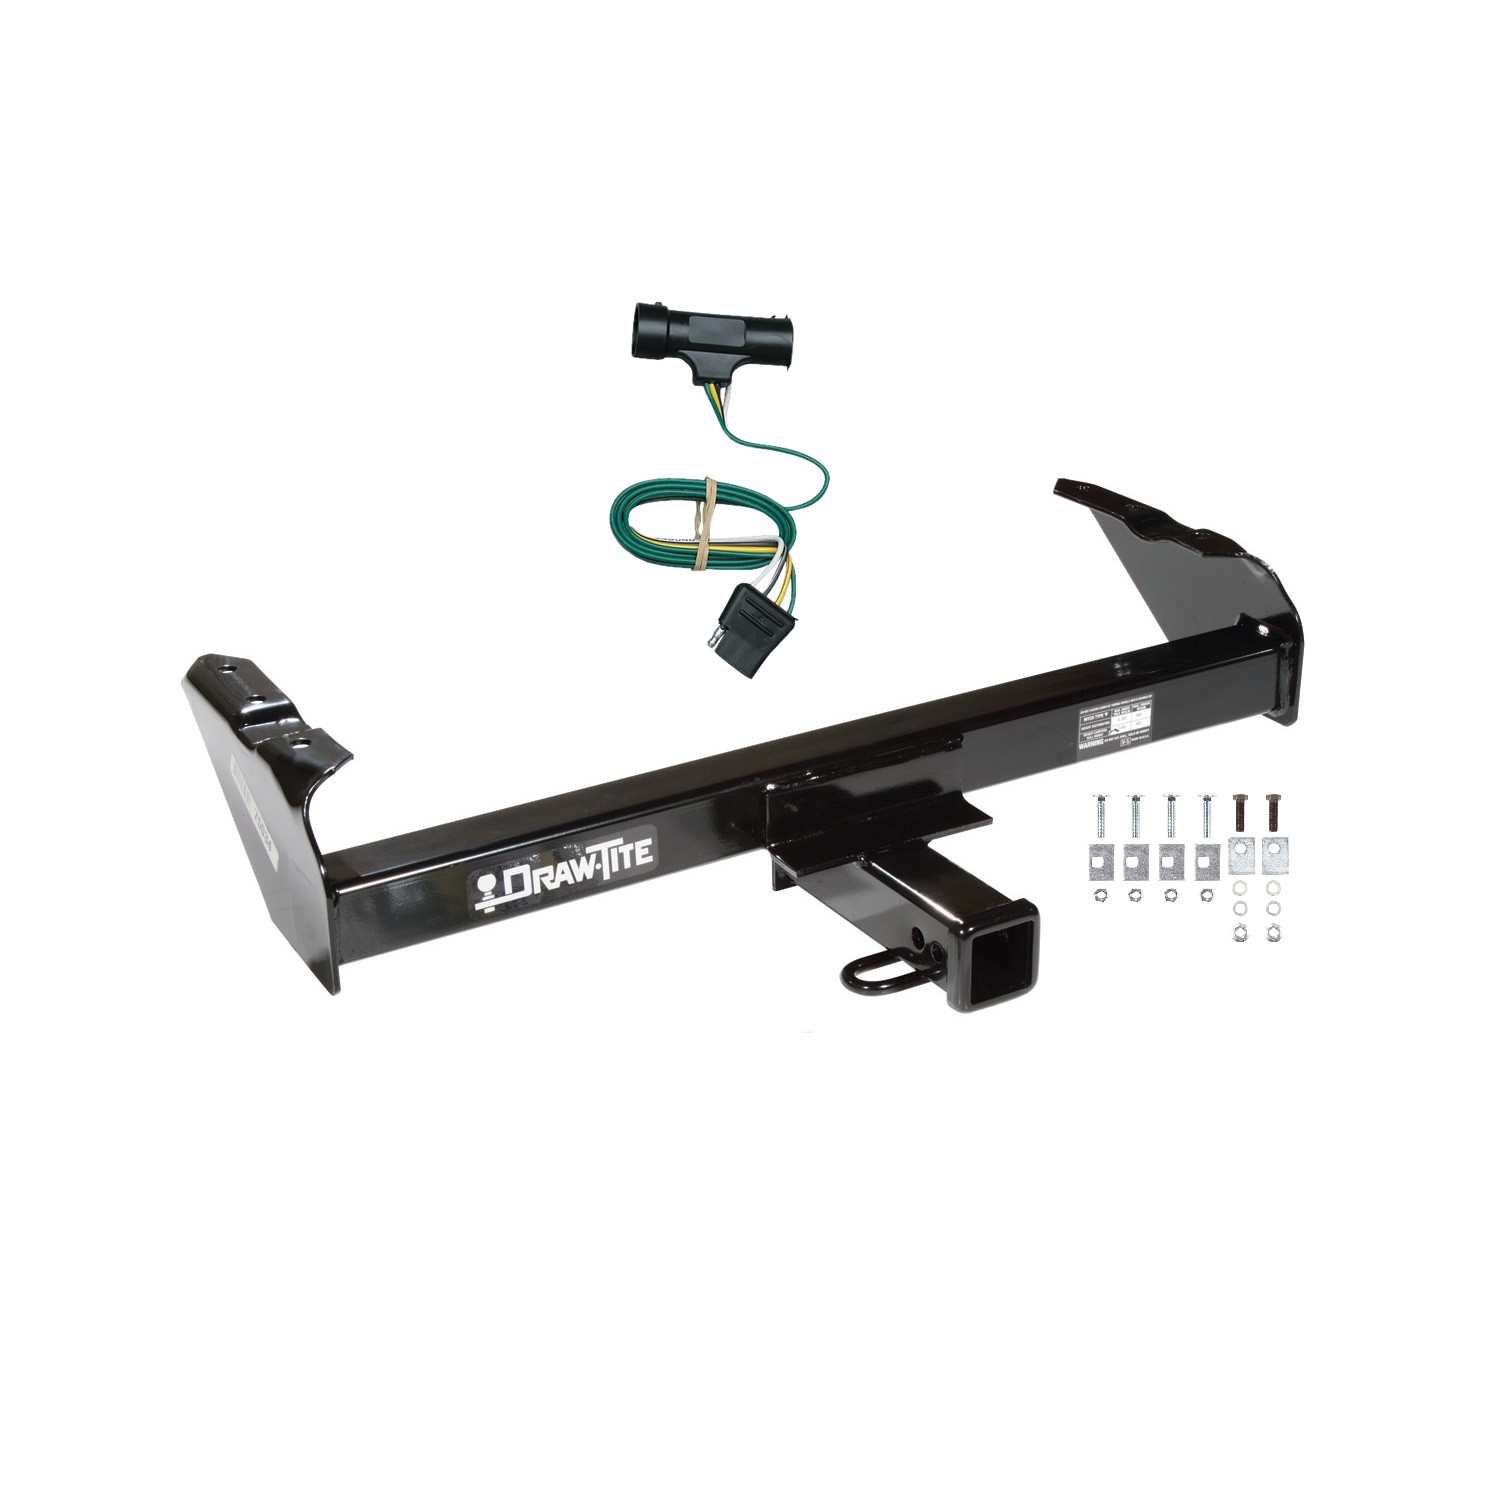
1967-1978 GMC C35 Draw-tite Class 5 Trailer Hitch, 2 Inch Square Receiver Bundle w/ Plug-n-Play T-One Wiring Harness 41947Draw-titeOriginal price was $518.75. Current price is $421.15.Out of Stock
View productOur in-house experts typically reply within one business day.

Draw-tite
Verify Fitment
Select your vehicle to confirm this part fits.
1967 - 1978 GMC C25
Confirmed to Fit






Always the correct part
We know our products
Quality Products
Free Shipping!
Always the correct part
We know our products
Quality Products
Free Shipping!
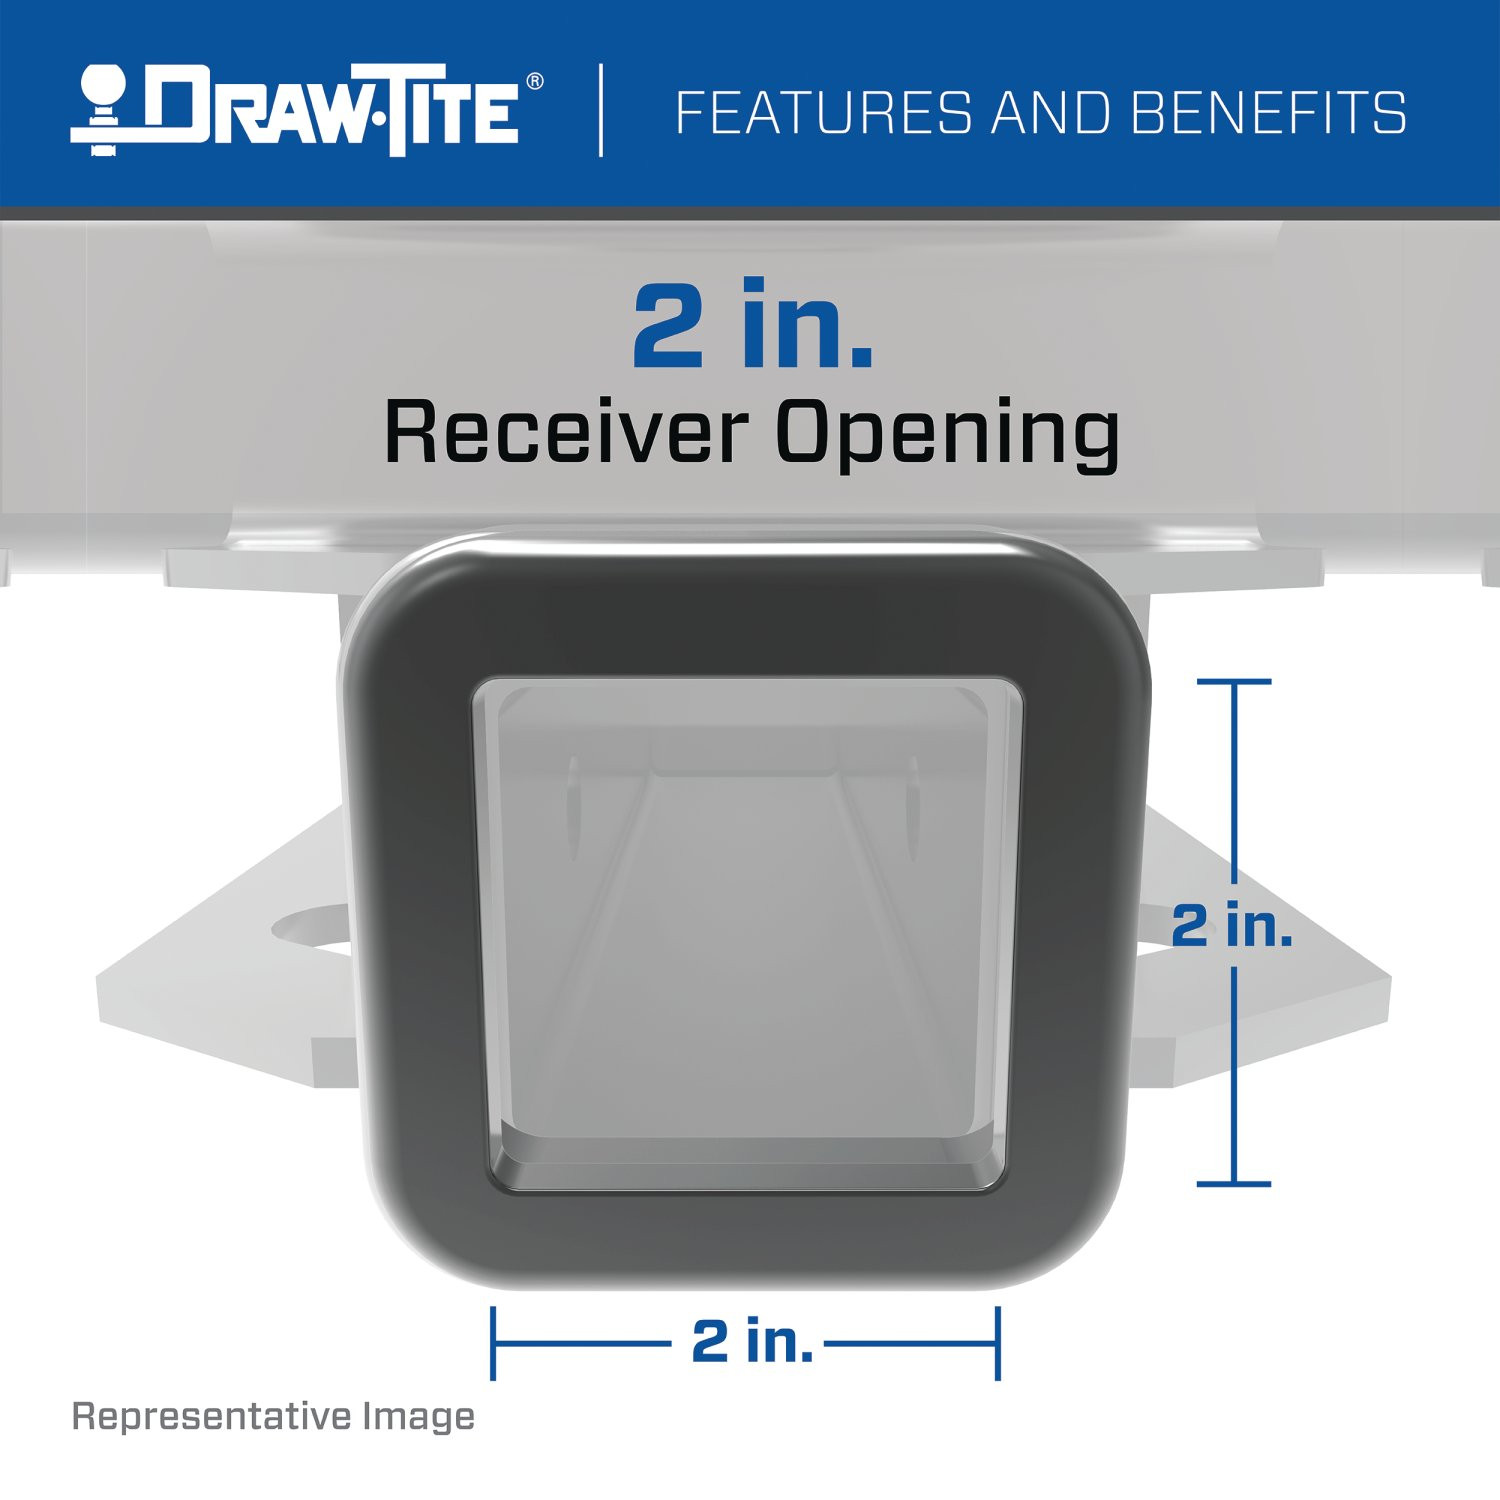
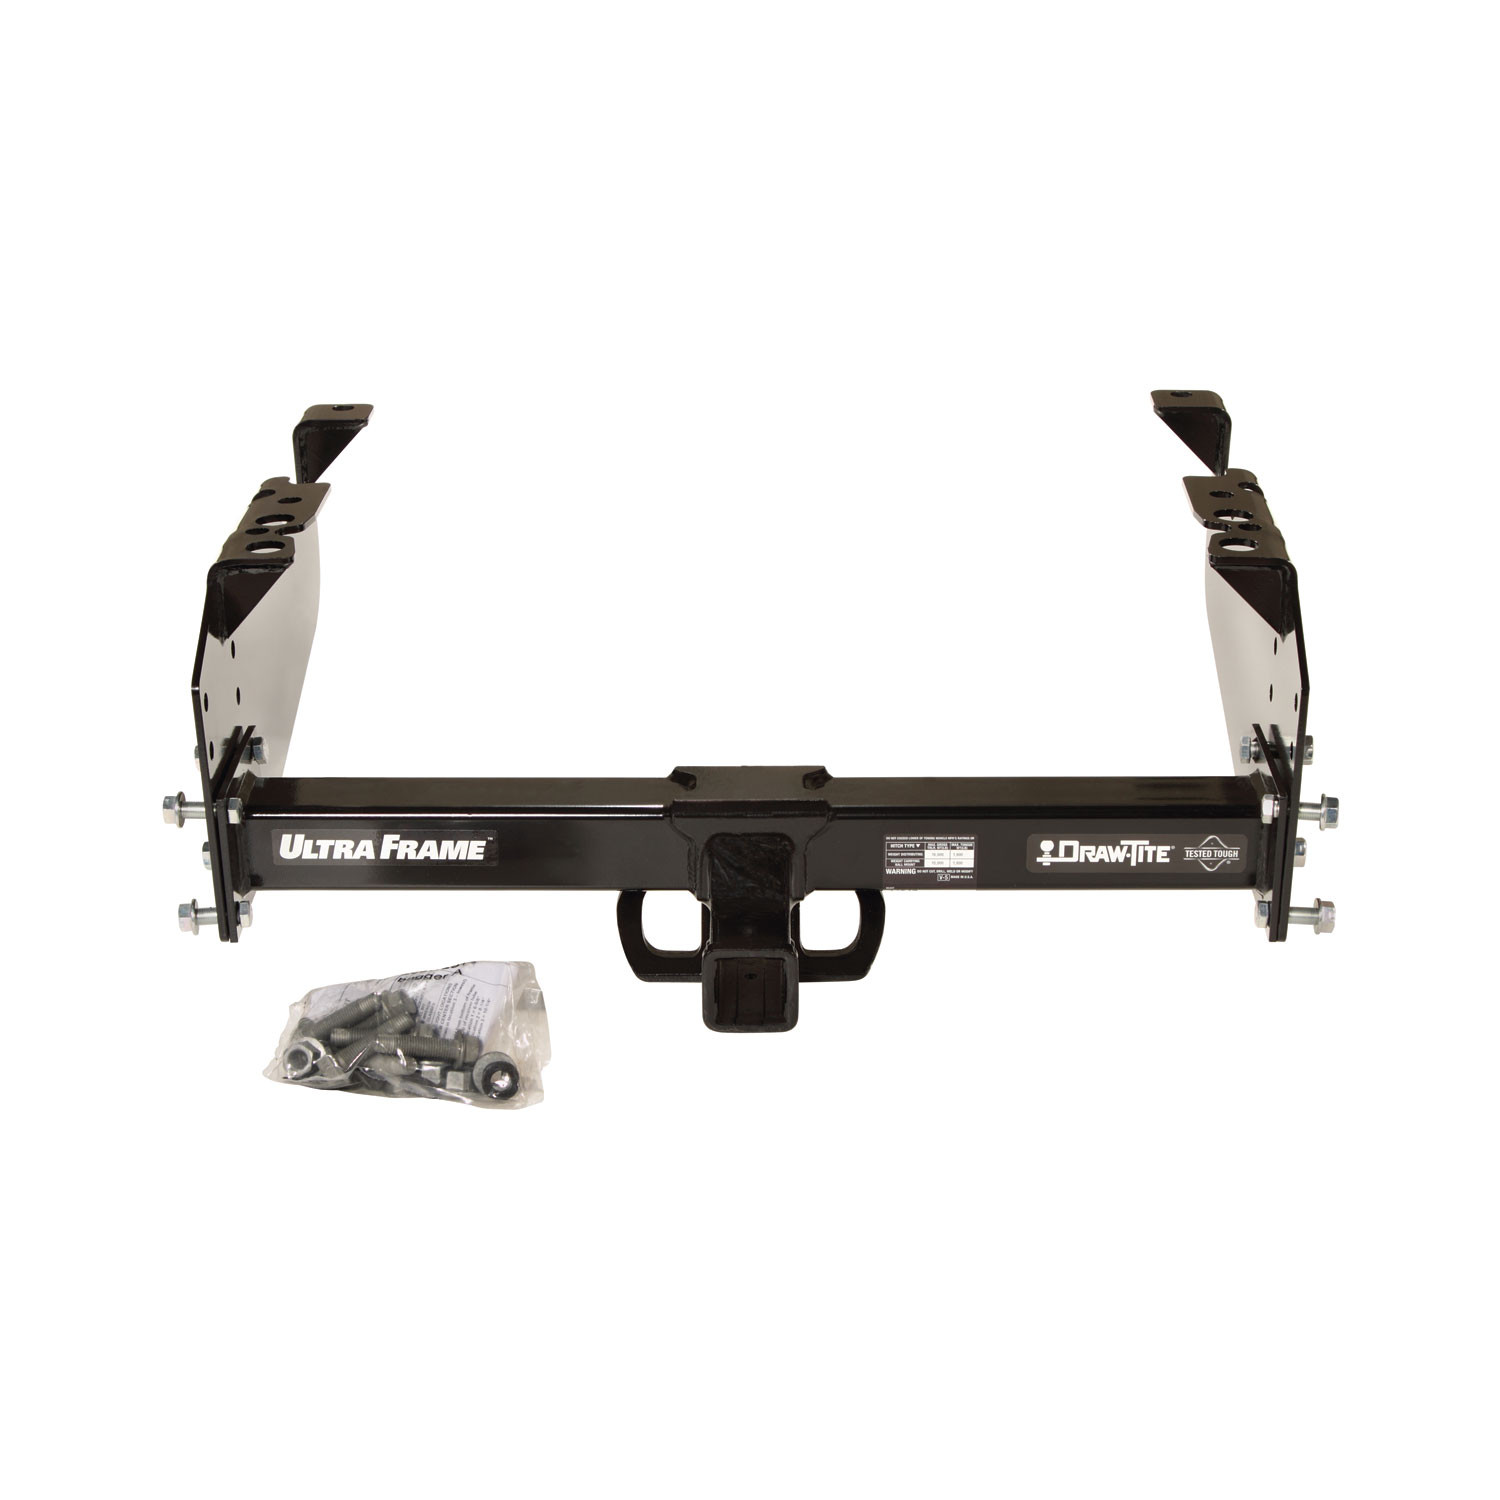
These durable custom hitches are manufactured for 1963-1986 Chevrolet C10, 1963-1986 Chevrolet C20, 1988-1991 Chevrolet C2500, 1963-1986 Chevrolet C30, 1988-1991 Chevrolet C3500, 2003-2009 Chevrolet C4500 Kodiak, 2003-2009 Chevrolet C5500 Kodiak, 1999-2009 Chevrolet C6500 Kodiak, 1999-2009 Chevrolet C7500 Kodiak, 1999-2009 Chevrolet C8500 Kodiak, 1963-1986 Chevrolet K10, 1963-1986 Chevrolet K20, 1988-1991 Chevrolet K2500, 1973-1986 Chevrolet K30, 1988-1991 Chevrolet K3500, 2001-2007 Chevrolet Silverado 3500, 2007-2023 Chevrolet Silverado 3500 HD, 2007-2010 Dodge Ram 3500, 2008-2010 Dodge Ram 4500, 2008-2010 Dodge Ram 5500, 1999-2020 Ford F-350 Super Duty, 1999-2019 Ford F-450 Super Duty, 1999-2021 Ford F-550 Super Duty, 1963-1965 GMC 1000 Series, 1963-1965 GMC 1500 Series, 1963-1965 GMC 2500 Series, 1963-1966 GMC 3000, 1963-1966 GMC 3500, 1975-1978 GMC C15, 1967-1974 GMC C15/C1500, 1979-1999 GMC C1500, 1967-1978 GMC C25, 1979-2000 GMC C2500, 1967-1978 GMC C35, 1979-2000 GMC C3500, 2003-2009 GMC C4500 Topkick, 2003-2009 GMC C5500 Topkick, 1999-2009 GMC C6500 Topkick, 1999-2009 GMC C7500 Topkick, 1967-1978 GMC K15, 1979-1999 GMC K1500, 1967-1978 GMC K25, 1979-2000 GMC K2500, 1968-1978 GMC K35, 1979-2000 GMC K3500, 2001-2007 GMC Sierra 3500, 2007-2023 GMC Sierra 3500 HD, 2011-2012 RAM 3500, 2011-2012 RAM 4500, 2011-2012 RAM 5500, 2008-2009 Sterling Truck Bullet 45, 2008-2009 Sterling Truck Bullet 55 and attach to your vehicle?s frame with strong, secure heavy-duty side brackets. The 2 inch square receiver tube opening, bigger chain loops, tighter ball mount fit, and reinforced pin holes make these heavy-duty hitches ideal for toy haulers and commercial vehicles alike. DRAW-TITE Class 5 custom trailer hitches come complete with all the mounting hardware needed for installation and are backed by a limited lifetime guarantee. So, whether you are headed out to the campground, the snowmobile trails, or off-roading, or you are hauling cargo to and from the job site, choose DRAW-TITE and travel with confidence knowing your setup is connected with the security only DRAW-TITE can provide. DRAW-TITE: North America?s Favorite Hitch.
Tekonsha offers the largest, most complete line of T-Connectors. Its T-One trailer wiring harnesses come in a number of custom lengths to accommodate the needs of each specific vehicle. They feature solid, weather-proof, one-piece construction. To install a Tekonsha T-One vehicle wiring harness, simply locate your vehicle?s wiring harness connector ? located most often behind the taillight ? unplug the connection and insert the T-Connector into the vehicle?s harness. It?s that easy! So what are you waiting for? Hit the road with the peace of mind only Tekonsha can provide. Life?s a Journey. Stop Often!

Draw-Tite has designed custom-fit trailer hitches since 1946 and is one of North America's most widely fitted hitch brands. Receiver hitches use solid all-welded construction and low-profile designs that follow modern vehicle contours, install with minimal bumper cutting or drilling, meet or exceed V5 CSA and SAE J684 standards, and carry a limited lifetime warranty.
Draw-Tite has been leading custom-fit trailer hitch design and engineering since its founding in 1946, and it remains one of the most widely fitted hitch brands in North America. The company's stated approach is straightforward: every hitch is tested rigorously so that it performs well beyond published industry standards, a philosophy it markets as Tested Tough. It sits within the Horizon Global towing group alongside Reese, Fulton, Bulldog, Tekonsha, Bargman and Wesbar.
Custom fit is the defining characteristic. Rather than adapting a universal design, Draw-Tite engineers a trailer hitch for a specific make, model and model year, so it bolts to existing frame locations with minimal bumper cutting or drilling. Low-profile designs follow the rear contours and aerodynamic styling of modern vehicles, which matters more than it once did now that rear fascias are shaped and sensor-equipped. Construction is solid all-welded steel for maximum strength, and every hitch meets or exceeds V5 CSA and SAE J684 standards and is backed by a nationwide limited lifetime warranty.
The range spans receiver sizes and classes to suit different loads, from 1-1/4 inch receivers for bike racks, cargo carriers and light trailers up through 2 inch receivers for heavier towing. Front mount hitches add a receiver at the front of the vehicle for winch mounts, snow plows, spare carriers and precise trailer positioning.
The Hidden Hitch series takes concealment further by mounting behind the vehicle's rear fascia, so the vehicle keeps its factory appearance until a removable receiver is fitted. Each is custom designed per make and model for a no-drill installation that does not compromise ground clearance, rated for up to 3,500 pounds gross trailer weight and 350 pounds tongue weight. Matching plug-and-play wiring completes the towing system.
Experts available to answer your questions
Call 888-634-94941 compatible vehicles
| Year | Make & Model | Notes |
|---|---|---|
| 1967 - 1978 | GMC C25 | — |
Yes, the 41947 hitch fits 2007–2012 Dodge 3500, 4500, and 5500 cab and chassis models with a 34" frame. It is not compatible with pickup bed models or crew cab pickups. Verify your vehicle is a cab and chassis configuration before purchasing.
Yes, the 41947 is compatible with Ford F-350, F-450, and F-550 cab and chassis models from 1999–2012 with a 34" frame. Cab and chassis configuration is required; it will not fit pickup bed models.
Yes, the 41947 fits GMC/Chevy 4500, 5500, 6500, 7500, and 8500 (Topkick/Kodiak) cab and chassis models from 1999–2010 with a 34" frame. Cab and chassis configuration is required.
Yes, the 41947 fits GMC/Chevy pickups with an 8-foot bed only, model years 1963–1987, and GMC/Chevy Crew Cab pickups with an 8-foot bed, model years 1988–1991. It is not compatible with shorter bed lengths.
The 41947 supports a maximum gross trailer weight of 16,000 lb (7,264 kg) for weight-distributing hitches and 15,000 lb (6,810 kg) for weight-carrying ball mounts. Maximum tongue weight is 1,600 lb (726 kg) for both types. Do not exceed the lower of the towing vehicle manufacturer's rating or these limits.
The 41947F package includes: (6) M16 × 2.0 × 45 mm CL10.9 hex head bolts, (6) M16 × 2.0 CL10 flanged locknuts, (8) 9/16"-18 × 1.75" Grade 5 hex head bolts, (8) 9/16"-18 flanged locknuts, and (8) 9/16" hardened flat washers. Use only these manufacturer-supplied fasteners; do not substitute.
Required tools: 13/16" and 7/8" sockets and wrenches, 21 mm and 24 mm sockets and wrenches, 11/16" drill bit, torque wrench, and safety glasses. A pilot hole is recommended before drilling the main 9/16" holes. Some vehicle applications (GMC/Chevy 4500–8500) also require 1/4" and 9/16" drill bits.
The manual does not specify battery disconnection. However, it warns: "Do not drill into fuel or electrical lines, take appropriate precaution before drilling." Consult your vehicle's service manual or a qualified technician if you are unsure about electrical line locations.
The manual instructs to "raise and clamp hitch side brackets into position" but does not specify lifting equipment or methods. Use appropriate lifting equipment (jack stands, lift, etc.) to safely access the frame. Do not work under a vehicle supported only by a jack.
Yes, drilling is required. You must drill 9/16" holes in the frame for side bracket attachment. A pilot hole is recommended before drilling the main holes. The manual warns: "Do not drill into fuel or electrical lines, take appropriate precaution before drilling." For GMC/Chevy 3500 models, you must also drill out existing frame rivets and use those holes for hitch attachment.
Drill 9/16" holes in the frame for side bracket attachment. The manual recommends drilling a small pilot hole first. For GMC/Chevy 3500 models, drill 9/16" holes through both the frame and existing frame rivets; the rivets will be removed and their holes used for hitch attachment.
No. The manual explicitly states: "WARNING: DO NOT DRILL OR WELD TO THIS HITCH." Do not modify the hitch structure. Any modifications require written approval from Reese Products, Inc.
Torque all 9/16" Grade 5 nuts and bolts to 120 lb-ft (163 N·m). This applies to the center section fasteners and side bracket-to-frame fasteners.
Torque all M16 CL10.9 hardware to 210 lb-ft (285 N·m). This applies to the side bracket-to-frame attachment bolts.
No. The manual explicitly warns: "WARNING: DO NOT LUBRICATE THREADS, BOLT FAILURE MAY OCCUR DUE TO OVER TIGHTENING." Install fasteners dry and torque to specification.
1. Remove center section and side brackets from box. 2. Loosely install side brackets on the vehicle frame (do not fully tighten). 3. Raise and position the center section to the correct height for your vehicle (Location 1, 2, or 3). 4. Install the center section with (8) 9/16" × 1.75" bolts, washers, and flanged locknuts. 5. Tighten center section fasteners to 120 lb-ft. 6. Tighten side bracket-to-center section fasteners to specification. 7. Tighten side bracket-to-frame fasteners to specification.
Eight (8) 9/16" × 1.75" Grade 5 hex head bolts, with matching washers and flanged locknuts, attach the center section. These fasteners are typical on both sides.
The center section can be installed at three heights, measured from the bottom of the frame to the top of the receiver tube: Location 1 = 6-5/8", Location 2 = 8-1/4", Location 3 = 10-1/4" (lowest). Select the height appropriate for your vehicle and towing application.
Tighten in stages: first tighten center section fasteners to specification, then tighten side bracket-to-center section fasteners, then tighten side bracket-to-frame fasteners. Do not fully tighten side brackets until after the center section is installed and tightened.
Raise and clamp the side brackets by centering the forward attachment point between the suspension reinforcement and flush with the outside of the frame rail. Use the side bracket as a template to mark the frame at the center of each attachment hole. The fuel tank location varies by vehicle; center the fuel tank between the frame rails before drilling.
Raise and clamp the side brackets by centering the forward attachment hole between the suspension reinforcement and around the frame rivets at the rear crossmember. Use the side bracket as a template to mark the frame at the center of each remaining attachment hole.
Raise and clamp the side brackets by centering the forward attachment hole over the frame rivet and flush with the outside of the frame. Use the side bracket as a template to mark the frame at the center of each remaining attachment hole and rivet. You will drill out the frame rivets; they will be removed and their holes used for hitch attachment.
Raise and clamp the side brackets flush with the outside of the frame, positioned so the drilled attachment holes do not interfere with frame cross members and allow a flat bolting surface. Use the side bracket as a template to mark the frame at the center of each attachment hole.
Raise and clamp the side brackets by aligning them to miss frame and suspension components. The measurement from the outside of one side bracket to the outside of the other side bracket must be 34". Use the side bracket as a template to mark the frame at the center of each attachment hole.
After installation, paint any bare metal to prevent rust. Verify all fasteners are torqued to specification: 9/16" Grade 5 bolts to 120 lb-ft (163 N·m) and M16 CL10.9 bolts to 210 lb-ft (285 N·m). Check that the center section is at the correct height for your vehicle and that all connections are secure before towing.
The maximum tongue weight is 1,600 lb (726 kg) for both weight-distributing and weight-carrying ball mount configurations. Do not exceed this limit or the towing vehicle manufacturer's rating, whichever is lower.
No. The manual explicitly warns: "DO NOT TOW MULTIPLE TRAILERS. Towing one trailer behind another may cause severe instability and loss of control." Use the 41947 to tow only one trailer at a time.
If the trailer sways: (1) Reduce speed gradually, (2) hold the steering wheel steady, (3) if the trailer has electric brakes, apply them alone without using the tow vehicle's brakes. Do not hit the brake pedal hard (jackknife risk), do not steer suddenly, do not speed up, and do not continue towing if sway persists. Stop and inspect your towing system.
Tongue weight should be 10–15 percent of the gross trailer weight for most trailers. Too low a percentage can cause sway. Never load the trailer rear-heavy; load it heavier in front. Measure tongue weight with the fully loaded trailer on a level surface, with the coupler at its normal towing height.
No. The manual explicitly warns: "Do not use as a jacking point." Use only appropriate lifting equipment designed for your vehicle.
No. The manual states: "Do not attach cargo carriers, motorcycle carriers, boat hoists, or coupler alignment devices." The 41947 is designed for towing trailers only. Any exceptions require written approval from Reese Products, Inc.
Yes. Check the ball, coupler, safety chains, retaining pins and clips, and all other connections every time you tow. Re-check at fuel and rest stops. Ensure the coupler socket is smooth, clean, and lightly lubricated. Verify all fasteners remain tight.
The 41947 fits Dodge/Sterling 3500–5500 cab and chassis (07–12), Ford F-350/450/550 cab and chassis (99–12), GMC/Chevy 3500 cab and chassis (85–13), GMC/Chevy 4500–8500 Topkick/Kodiak cab and chassis (99–10), and GMC/Chevy pickups with 8-foot beds (63–87, 88–91 crew cab). All require a 34" frame and cab and chassis or pickup bed configuration as specified.
Tools: 13/16", 7/8", 21 mm, 24 mm sockets and wrenches, 11/16" drill bit, torque wrench, safety glasses. Fasteners included: (6) M16 × 2.0 × 45 mm CL10.9 bolts, (6) M16 × 2.0 CL10 locknuts, (8) 9/16"-18 × 1.75" Grade 5 bolts, (8) 9/16"-18 locknuts, (8) 9/16" hardened washers. Use only manufacturer-supplied fasteners.
Torque 9/16" Grade 5 bolts to 120 lb-ft (163 N·m). Torque M16 CL10.9 bolts to 210 lb-ft (285 N·m). Do not lubricate threads before installation.
Maximum gross trailer weight: 16,000 lb (7,264 kg) for weight-distributing hitches, 15,000 lb (6,810 kg) for weight-carrying ball mounts. Maximum tongue weight: 1,600 lb (726 kg). Do not exceed the lower of the hitch rating or your vehicle manufacturer's rating.
Check the ball, coupler, safety chains, retaining pins, and all fastener connections. Verify the coupler is smooth, clean, and lightly lubricated. Ensure all bolts are torqued to specification. Confirm tongue weight is 10–15% of gross trailer weight. Never allow passengers in the trailer.
Re-torque all fasteners to specification: 9/16" Grade 5 bolts to 120 lb-ft (163 N·m) and M16 CL10.9 bolts to 210 lb-ft (285 N·m). Check fasteners every time you tow and at fuel and rest stops. If fasteners repeatedly loosen, verify that threads were not lubricated (which can cause over-tightening and fastener failure) and that you are using only manufacturer-supplied bolts, locknuts, and washers.
Loosen the center section fasteners (the eight 9/16" bolts connecting the center section to the side brackets). Raise or lower the center section to the correct height location (Location 1 = 6-5/8", Location 2 = 8-1/4", or Location 3 = 10-1/4" from frame bottom to receiver tube top). Re-tighten all fasteners to specification: center section bolts to 120 lb-ft, side bracket bolts to 210 lb-ft.
Stop immediately. Do not continue drilling or installation. Consult a qualified technician or your vehicle's service manual to assess the damage and determine if the vehicle is safe to operate. Do not attempt to repair fuel or electrical lines yourself. Contact the vehicle manufacturer or a certified repair facility.
Verify that you are using the correct installation procedure for your vehicle model (Dodge, Ford, GMC/Chevy 3500, GMC/Chevy 4500–8500, or GMC/Chevy pickup). Each model has specific positioning requirements. Re-read the vehicle-specific section and ensure the side brackets are positioned according to the instructions (e.g., centered on suspension reinforcement, flush with frame, or aligned to miss suspension components). If misalignment persists, consult the manufacturer.
This unit is rated for 7.5 amps per circuit.
The tail light wiring harness is located along the inside of the left rear frame rail. It will have a connection point with connectors that match the ends of the T-connector adapter.
You will need a drill with a 3/32" drill bit. The installation also requires electrical tape or tie straps (not supplied) to secure the wiring to the vehicle's cross member or other mounting points.
Separate the harness connectors carefully, being careful not to break the locking tabs. Check that the mating surfaces of the connectors are free of dirt and clean them if necessary before inserting the T-connector adapter.
Insert the T-connector adapter between the harness connectors and lock it into place. Ensure that the connectors are fully inserted with the locking tabs in place.
Locate a suitable grounding point near the connector on the vehicle's frame or cross member. Do not drill into the vehicle floor or bed. Clean dirt and rustproofing from the area, then drill a 3/32" hole to secure the white wire eyelet using the screw provided.
The grounding hole must be 3/32" in diameter.
Route the T-connector harness to the center of the vehicle and secure the wire to the vehicle's cross member or other mounting point using electrical tape or tie straps (not supplied).
Test the installation with a test light or trailer to verify that the connections are working correctly.
Yes. Do not drill into the vehicle floor or bed when locating the grounding point for the white wire.
The T-connector is designed to connect to vehicle tail light wiring harnesses with matching connectors located along the inside of the left rear frame rail. Verify that your vehicle's connectors match the T-connector ends before purchasing.
The T-connector includes the adapter itself and a screw for securing the white wire eyelet. Electrical tape or tie straps are not supplied and must be obtained separately.
Yes. A 3/32" hole must be drilled in the vehicle's frame or cross member to secure the white wire grounding eyelet. Do not drill into the vehicle floor or bed.
The unit is rated for 7.5 amps per circuit.
Test the installation using a test light or trailer to confirm that the tail light connections are functioning properly.
On Sale Today
Original price was $518.75. Current price is $421.15.You save $97.60 (19%)
Free Shipping
Ships free on all orders
 Authorized Dealer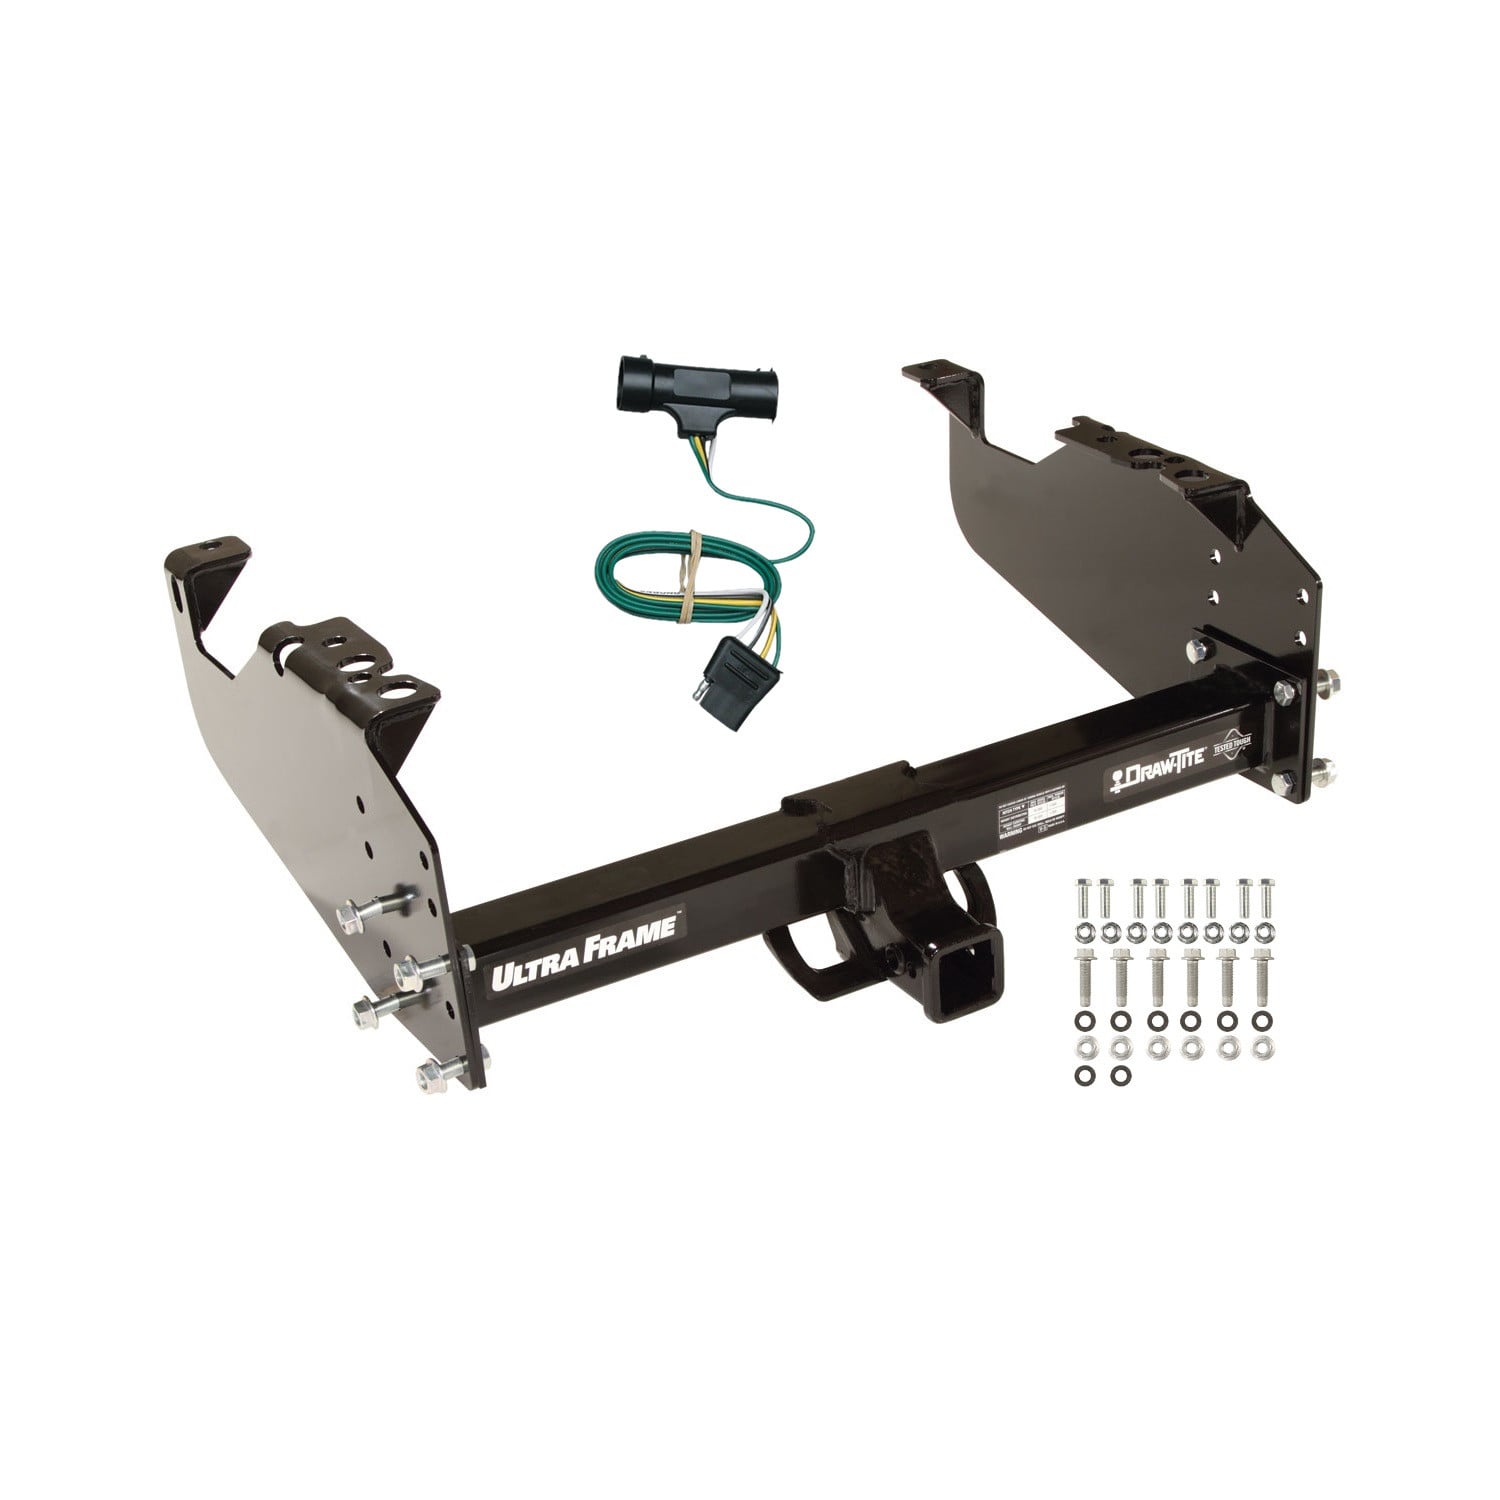


FREE ShippingFREE SHIPPING
Estimated delivery Sat, Sep 26 - Tue, Sep 29
Order before 2 PM EST Monday–Friday for same-day processing
Guaranteed safe & secure checkout
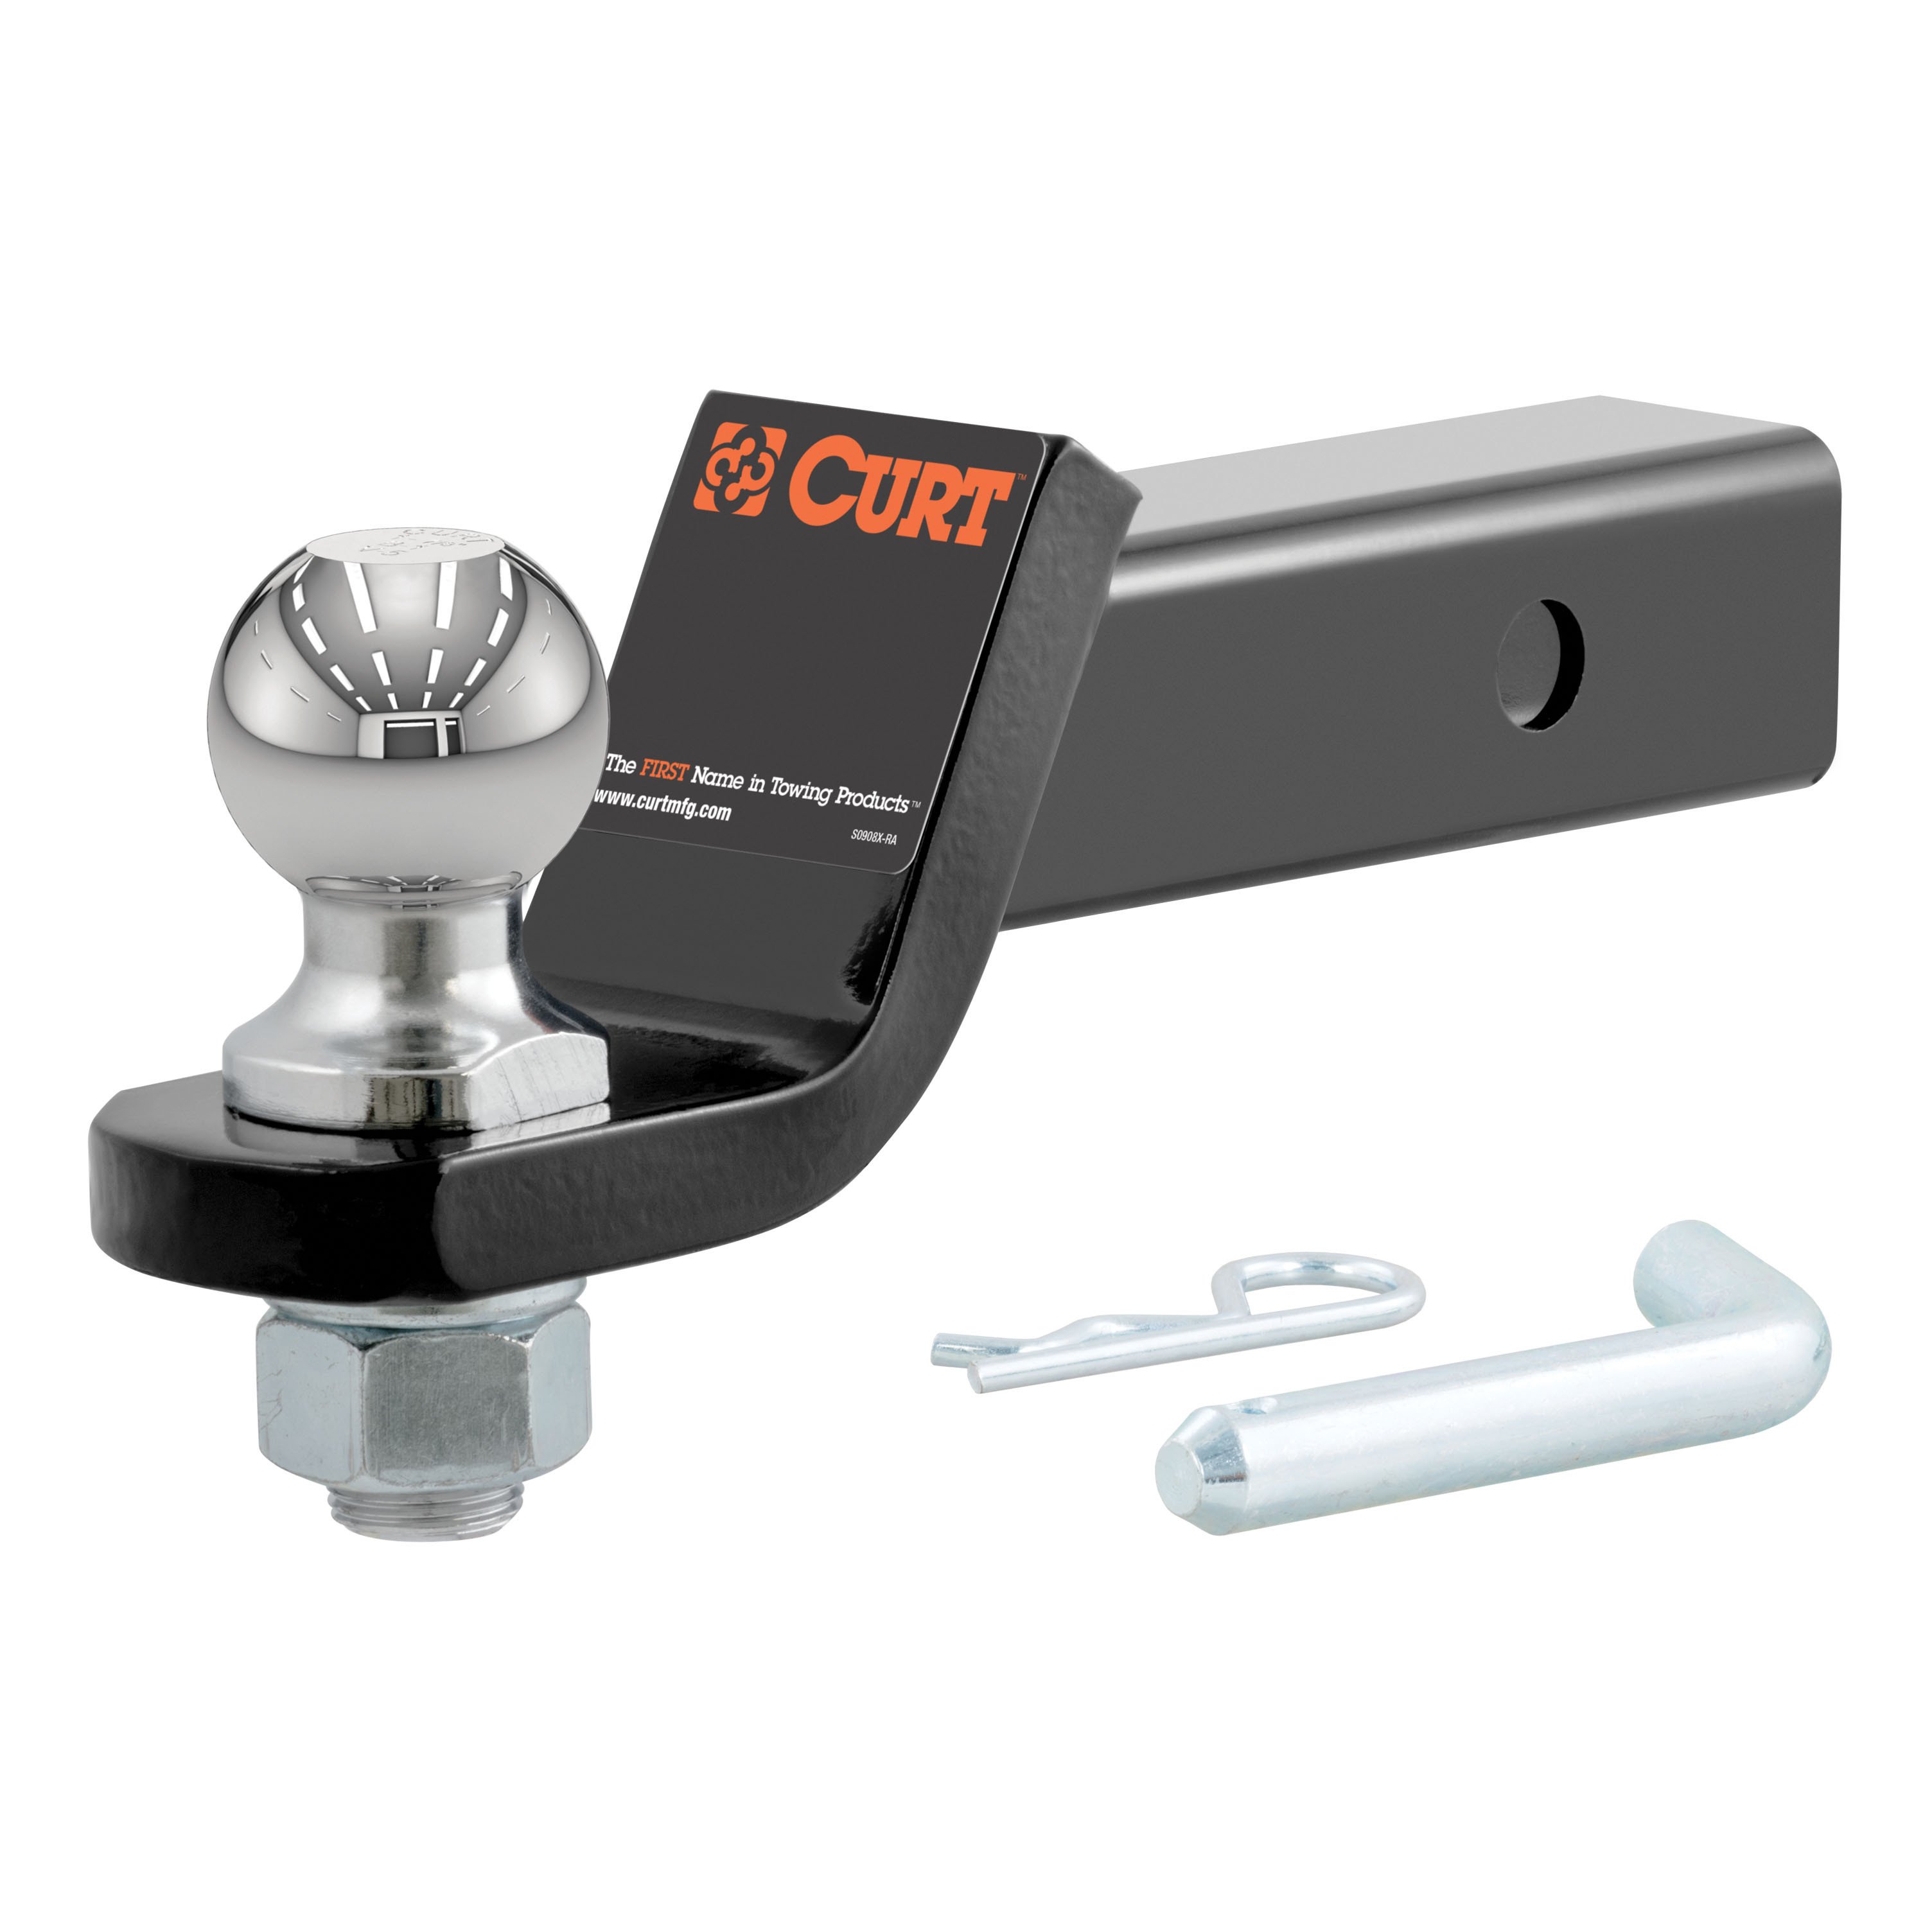


Total for 4 items:
$134.54$137.05
No reviews have been added for this product.