
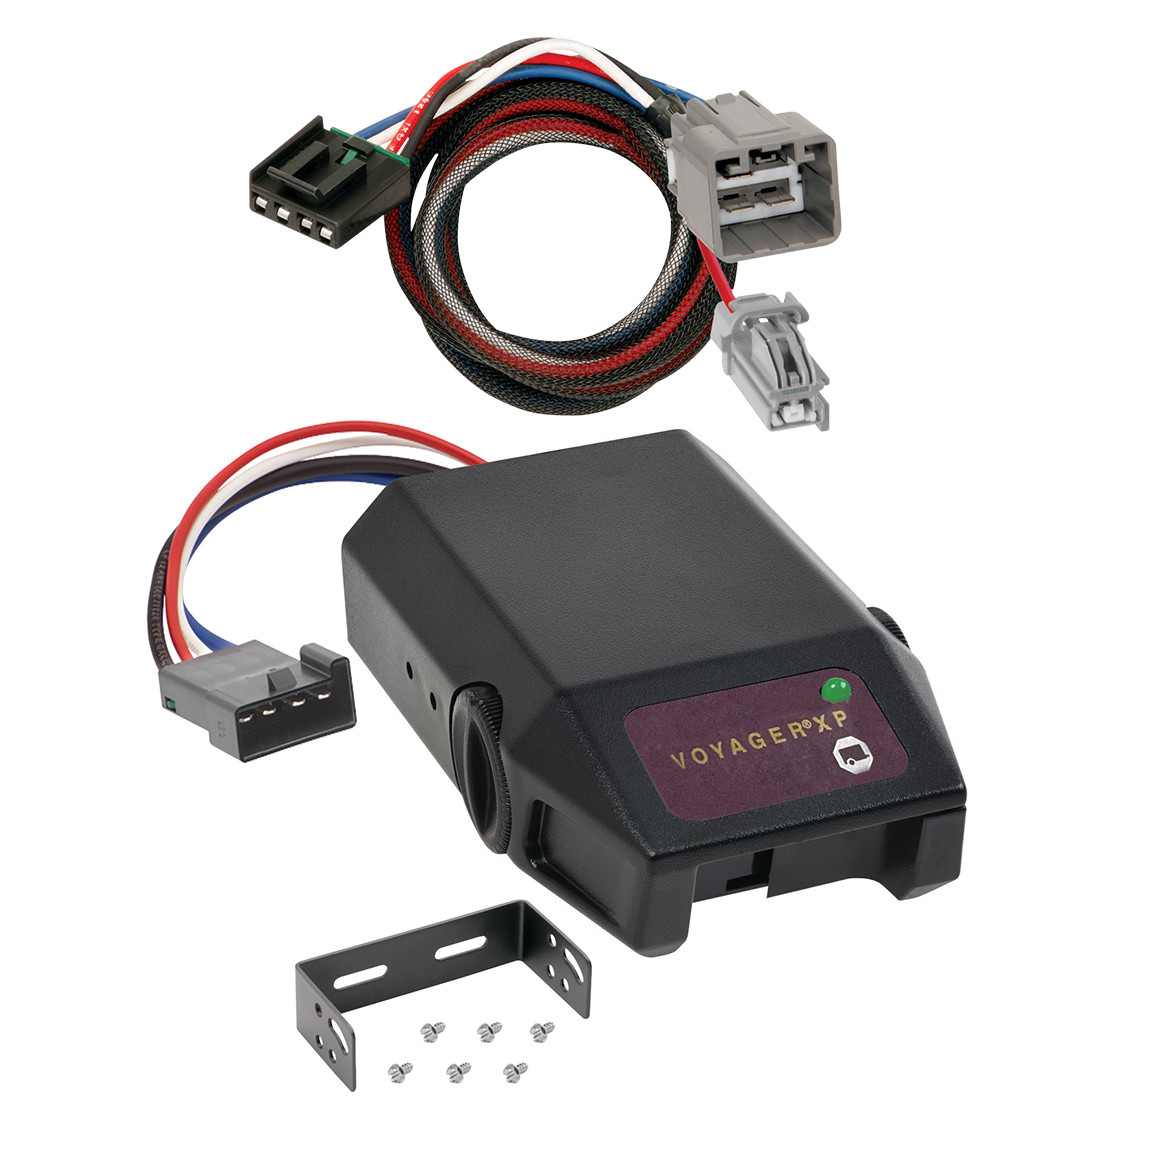
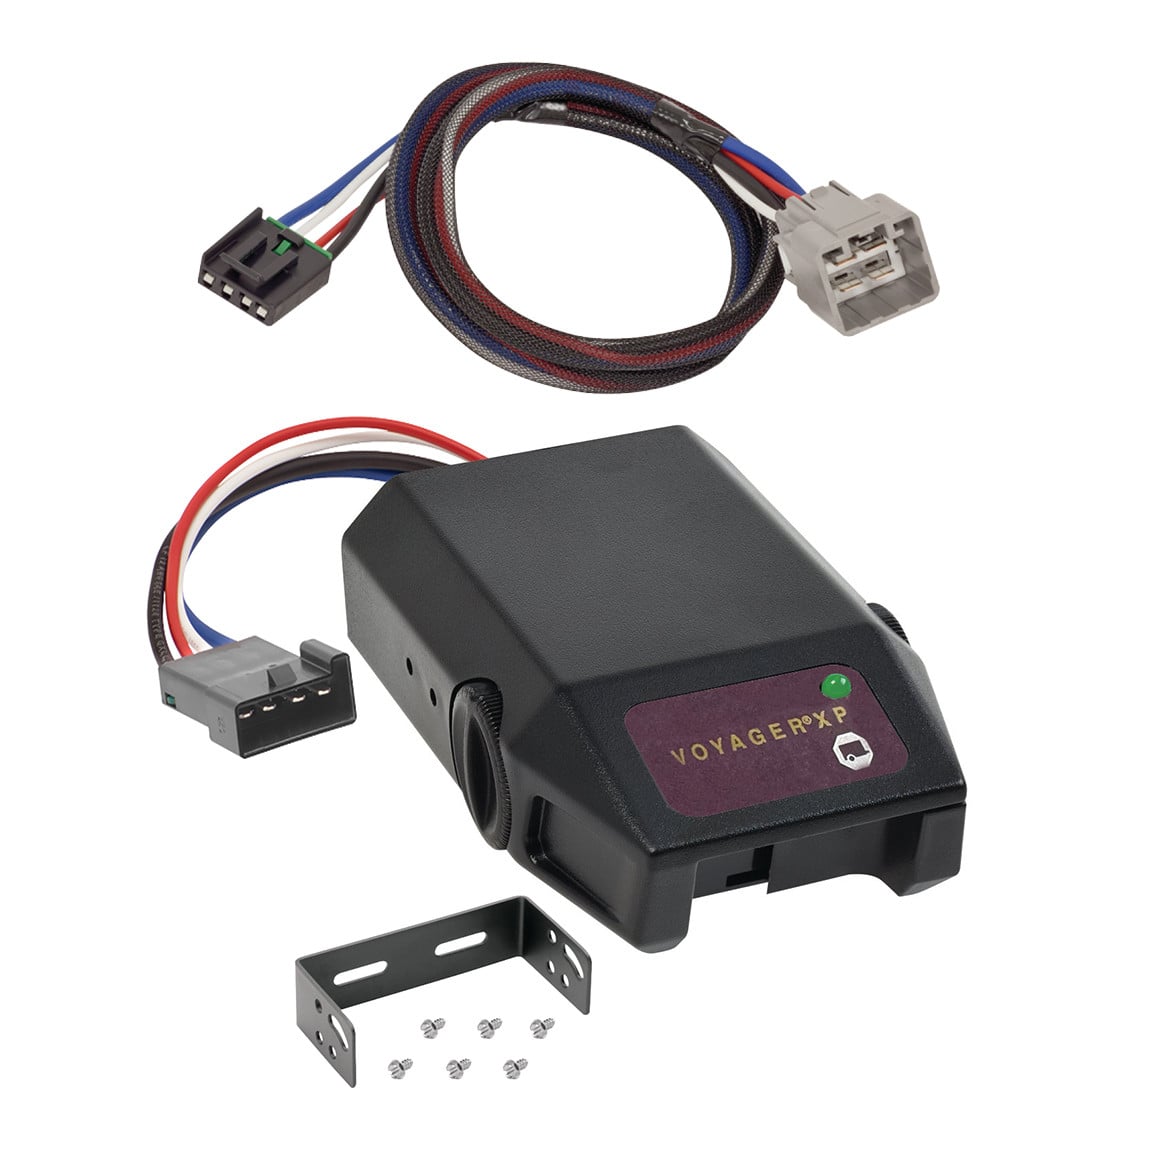
2013-2014 RAM 3500 Raybestos Voyager XP Proportional Brake Controller for Trailers with 1 to 4 Axles Black 761-9035Raybestos$119.83Out of Stock
View productOur in-house experts typically reply within one business day.

Raybestos
Verify Fitment
Select your vehicle to confirm this part fits.
2013 - 2014 Ram 1500
Confirmed to Fit


Always the correct part
We know our products
Quality Products
Free Shipping!
Always the correct part
We know our products
Quality Products
Free Shipping!

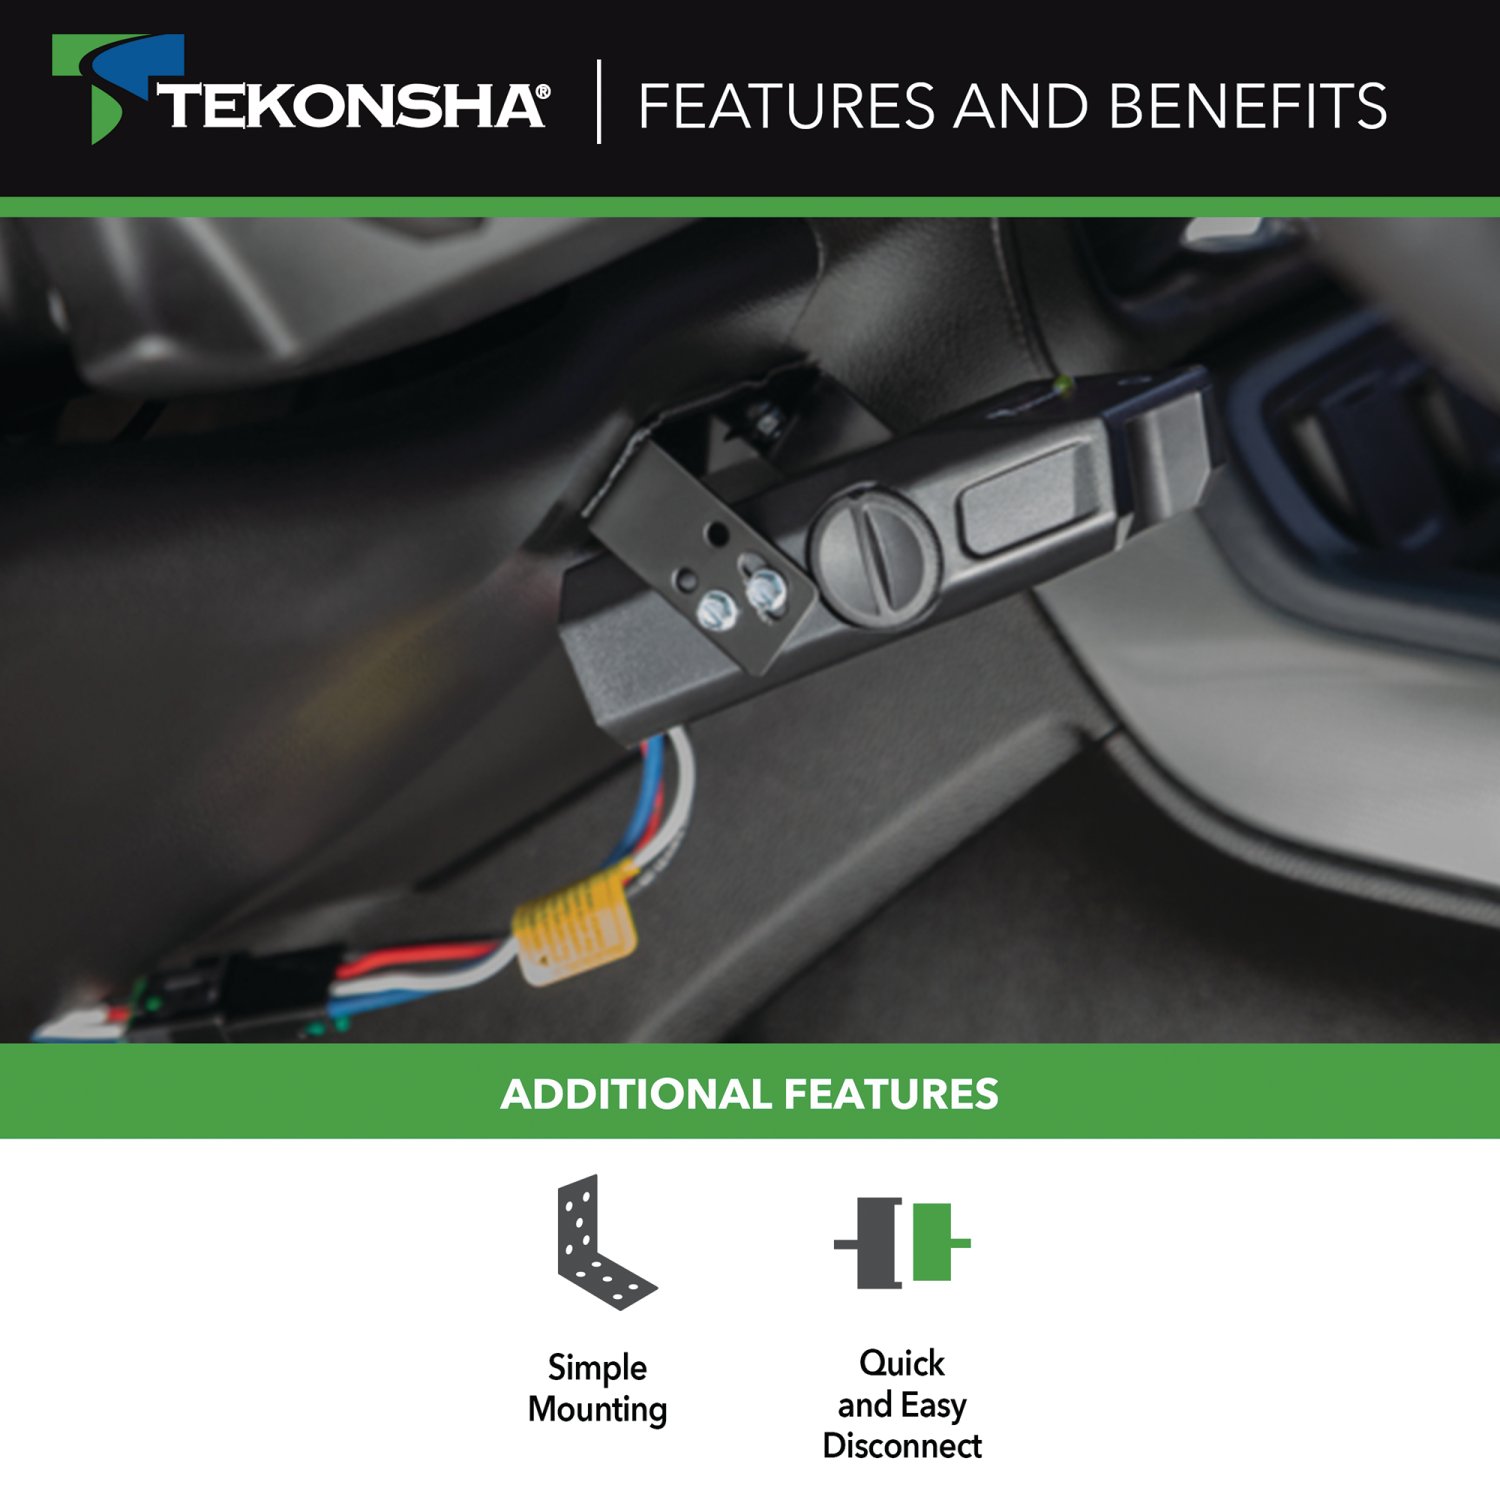
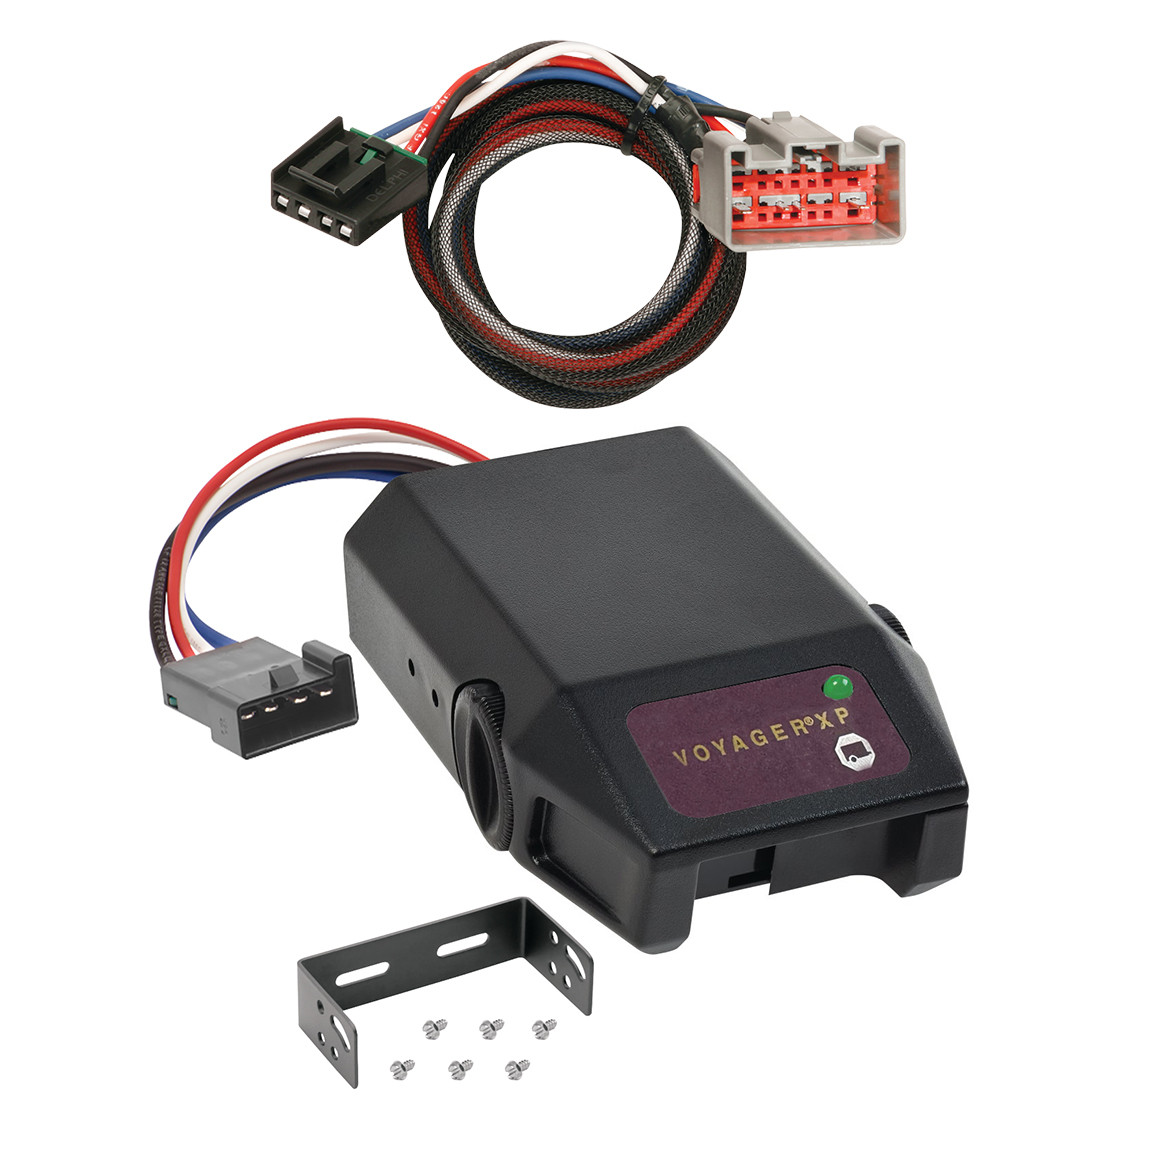
The Raybestos Voyager XP electric brake controller provides secure trailer braking when you need it most. As a tried-and-true proportional brake controller, the Voyager XP utilizes patented braking sensor technology and advanced electronics to provide a smooth braking response in any stopping situation. Its bi-colored LED brake indicator assures a complete connection between your vehicle and trailer, with the color changing gradually from green, which notes a completed circuit, to red to indicate relative braking power. This versatile controller has a compact design, a conveniently located power control knob to adjust settings, and a simple level knob for easy leveling during installation. Plus, the Voyager has a Plug & Play feature that allows for quick and easy connection with your vehicle?s wiring. The Raybestos Voyager XP trailer brake controller works with 1-4 axle trailers, comes with all the mounting hardware needed for installation.
| BRAND: | RAYBESTOS |
| PART NUMBER: | 761-9035 |
| WEIGHT: | 0.7 LBS |
| MATERIAL: | PLASTIC |
| BRAKE CONTROL TYPE: | PROPORTIONAL |
| TRAILER BRAKE WHEEL QUANTITY: | UP TO EIGHT WHEELS |
| LEVELING CAPABLE: | YES |
| BRAKE TYPE: | Electric |
| Diagnostic Capable: | YES |
| DISPLAY TYPE: | LED OUTPUT |
| HYDRAULIC CONNECTIONS: | NO |
| SOLID STATE CONSTRUCTION: | YES |
| CIRCUIT BREAKER PROTECTED: | YES |
| HOUSING COLOR: | BLACK |
| BRACKET INCLUDED: | YES |

Experts available to answer your questions
Call 888-634-94941 Year
1 compatible vehicles
| Year | Make & Model | Notes |
|---|---|---|
| 2013 - 2014 | Ram 1500 | — |
Yes, the 2013-2014 RAM 1500 Raybestos Voyager XP Proportional Brake Controller for Trailers with 1 to 4 Axles Black 761-9035 (Part #761-9035 70206) is designed to fit the 2013-2014 Ram 1500.
The 2013-2014 RAM 1500 Raybestos Voyager XP Proportional Brake Controller for Trailers with 1 to 4 Axles Black 761-9035 (Part #761-9035 70206) fits 2013-2014 Ram 1500 models. The 2014 model year is the last year covered by this part number. For newer models, check for an updated version.
The 2013-2014 RAM 1500 Raybestos Voyager XP Proportional Brake Controller for Trailers with 1 to 4 Axles Black 761-9035 (Part #761-9035 70206) fits the following vehicles: 2013-2014 Ram 1500. Always verify your specific year, make, and model before ordering.
The 2013-2014 RAM 1500 Raybestos Voyager XP Proportional Brake Controller for Trailers with 1 to 4 Axles Black 761-9035 (Part #761-9035 70206) Refer to the included instructions for installation details. Basic hand tools are typically all you need.
Yes, the 30234-P adapter is designed for Ram 1500, 2500, and 3500 vehicles. The adapter connects to the vehicle's factory 7-way trailer harness connector (located under the vehicle behind the bumper at the center) and the electric brake control harness connectors (located under the dash left of the steering column). The 30234-P kit includes both the 3023-P and 30235-P components and complies with all applicable California regulations.
Part number 3023-P is the base adapter. Part number 30235-P is an additional kit required for California compliance when installing 3023-P alone. Part number 30234-P is a complete kit that contains both 3023-P and 30235-P together, ensuring full California regulatory compliance without needing a separate purchase. If you are installing 3023-P only, you must also use 30235-P to ensure compliance with California regulations.
The following tools are required: 10mm socket and ratchet (or 10mm wrench), 1/4" socket, wire crimpers, wire cutters, and a test probe. A wiring kit is not included in all kits, so verify your kit contents before beginning installation.
Yes, you must disconnect the vehicle's negative (-) battery cable before beginning installation. This is a critical safety step performed at the start of the installation process. After completing the wiring connections, you will reconnect the negative battery cable and install the 15 amp fuse into the fuse holder.
The electric brake control harness connector is located underneath the dash and to the left of the steering column. It is taped to another harness near the emergency brake pedal. You will find a 4-pin connector that mates with the adapter, and a second 2-pin connector located just above the brake pedal that also mates with the adapter.
The 7-way trailer harness connector is located under the vehicle, behind the bumper, at the center of the vehicle. This is where you will plug the adapter between the factory socket and the 7-way connector.
First, plug the brake control adapter into the mating receptacle on the backside of the brake control before attaching to the vehicle connector. Then plug the brake control adapters into the vehicle's electric brake control harness connectors. Follow all brake control manufacturer's installation instructions for mounting the unit and performing test procedures.
Separate the factory 7-way trailer harness connector carefully, being careful not to break the locking tabs. Ensure all connector surfaces are clean and free of dirt. Plug the adapter between the factory socket and the 7-way connector. Be careful not to damage the locking tabs and ensure that connectors are fully inserted with locking tabs in place.
Mount the black adapter box near the 7-way connector on a flat surface in an out-of-the-way location. The module must be mounted so that the epoxy side points toward the ground to prevent water buildup. The unit must be in a protected area and cannot be damaged by road debris or objects driven over.
A 15 amp fuse is required. The fuse is installed into the yellow fuse holder. The fuse holder wire must be cut, and a ring terminal must be attached and secured to the vehicle's positive (+) battery cable. The other end of the fuse holder connects to the black 12 ga. wire using a yellow butt connector.
Route the black 12 ga. wire along the exterior frame into the engine compartment up to the battery. Avoid areas that may pinch or break the wire. The wire must also avoid hot pipes, heat shields, the fuel tank, or any other points that may pinch or break the wire. Secure the remainder of the adapter harness with cable ties to prevent damage or rattling.
The installation uses a black 12 ga. wire, a yellow wire from the black adapter box, yellow butt connectors, and a yellow fuse holder. The black wire connects to the positive battery cable via a ring terminal and fuse holder. The yellow wire from the adapter box connects to the black 12 ga. wire using a yellow butt connector.
Do not exceed the lower of the towing manufacturer's rating or: maximum 4 axles with 8 brakes (24 amps). Overloading the circuit can cause fires. Consult your vehicle's owner's manual and instruction sheet for additional information about your specific towing capacity.
All connections must be complete for the adapter to function properly. Test and verify installation with a test light or trailer once installed. For the initial test, reset the vehicle electrical system by temporarily removing the key from the ignition. Perform test procedures as instructed by the electric brake control manufacturer.
Wear safety glasses and use all safety precautions during installation. Read and follow all warnings and cautions printed on the tow vehicle's battery. Ensure the adapter module is mounted with the epoxy side pointing toward the ground. Mount the unit in a protected area away from road debris. Route all wires carefully to avoid hot pipes, heat shields, fuel tank, and areas that may pinch, cut, or melt the wire.
Yes, the 30234-P electric trailer brake control wiring adapter is designed for Ram 1500, 2500, and 3500 vehicles. It connects to the factory 7-way trailer harness and electric brake control harness connectors.
You need a 10mm socket and ratchet (or 10mm wrench), 1/4" socket, wire crimpers, wire cutters, and a test probe. A wiring kit is not included in all kits.
Yes, disconnect the vehicle's negative (-) battery cable before starting installation. Reconnect it after completing the wiring connections and installing the 15 amp fuse.
A 15 amp fuse is required. It installs into the yellow fuse holder that connects to the vehicle's positive battery cable.
Do not exceed the lower of the towing manufacturer's rating or maximum 4 axles with 8 brakes (24 amps). Overloading can cause fires.
Test with a test light or trailer once installed. Reset the vehicle electrical system by temporarily removing the key from the ignition for the initial test.
Yes, the yellow fuse holder wire must be cut. A ring terminal is then attached to the vehicle's positive battery cable, and the other end connects to the black 12 ga. wire using a yellow butt connector.
Free Shipping
Ships free on all orders
 Authorized Dealer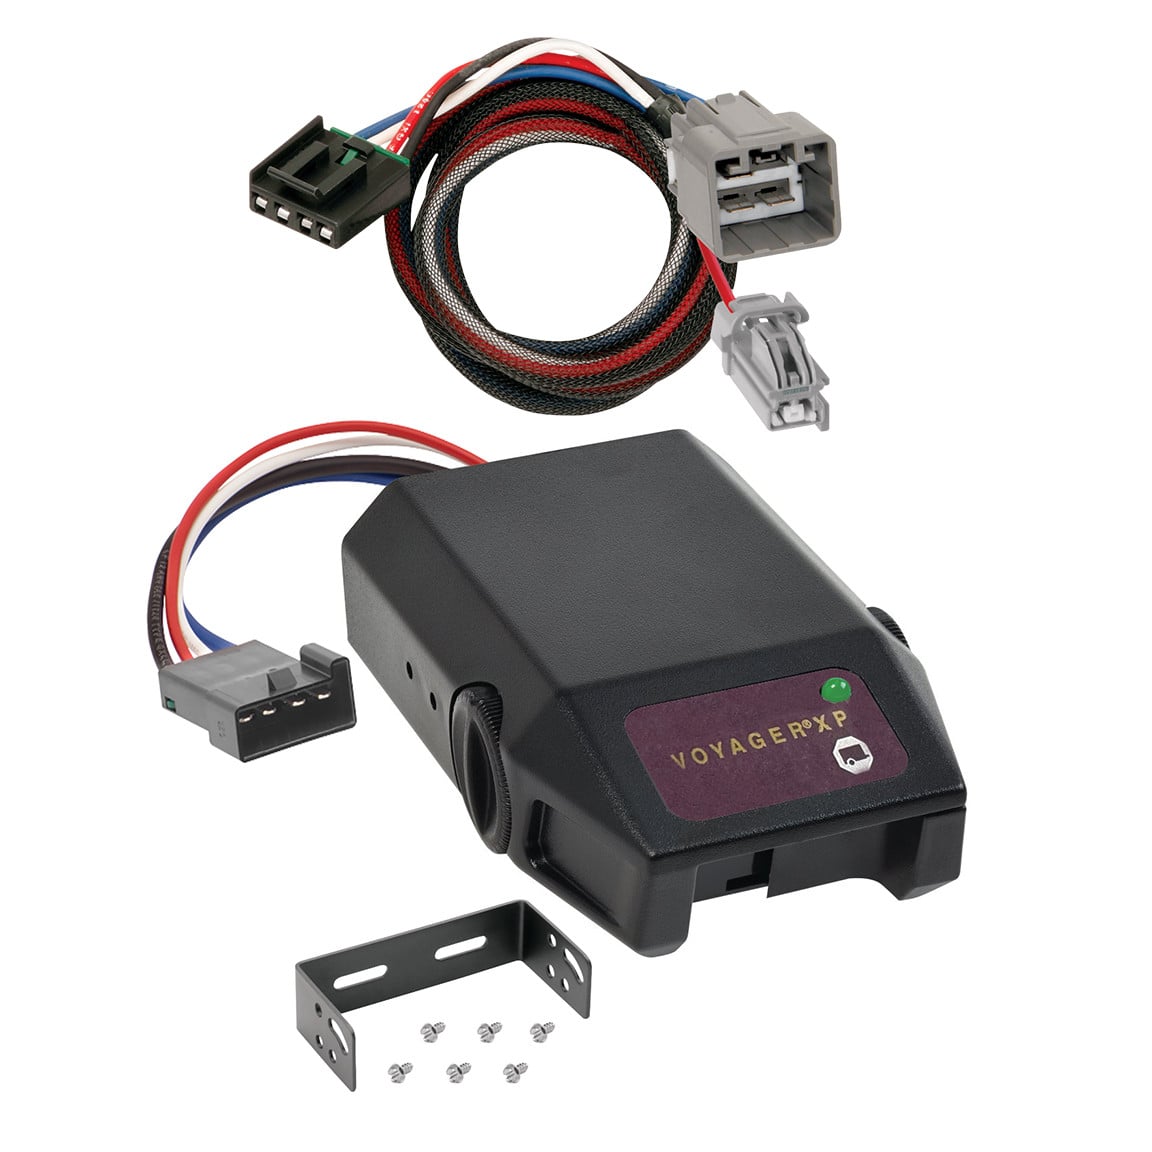

FREE ShippingFREE SHIPPING
Estimated delivery Thu, Sep 17 - Sun, Sep 20
Order before 2 PM EST Monday–Friday for same-day processing
Guaranteed safe & secure checkout
No reviews have been added for this product.