
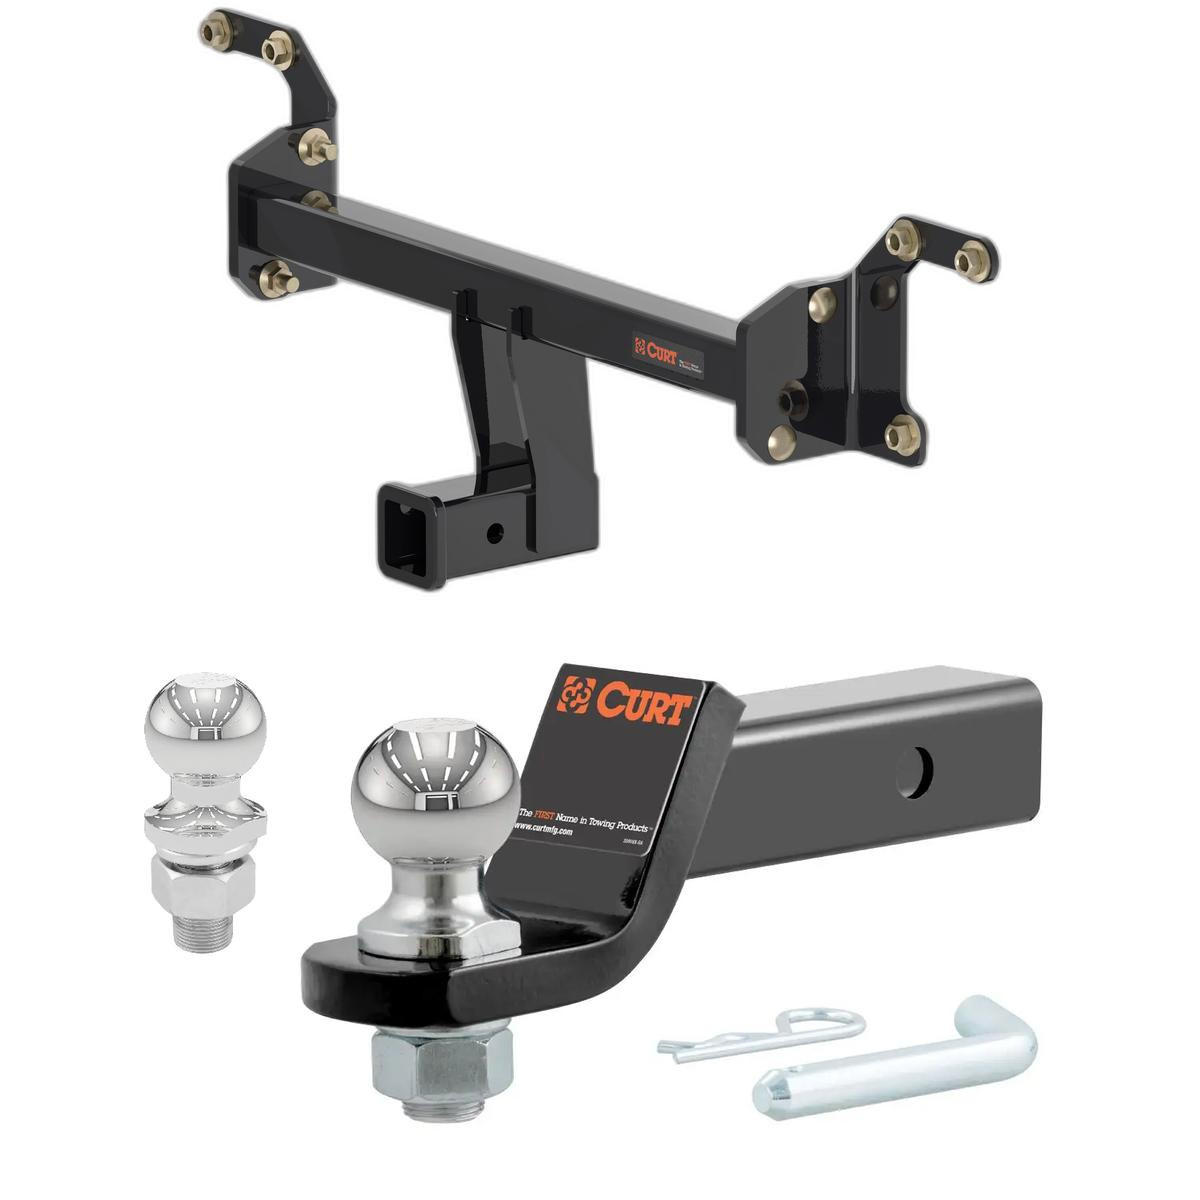
2022-2025 BMW iX All Hitch Accessory Mount, 2" Receiver + 2" Ball + 1-7/8" Ball KitCURTOriginal price was $488.85. Current price is $360.71.In Stock
View productOur in-house experts typically reply within one business day.

CURT
Verify Fitment
Select your vehicle to confirm this part fits.
2023 - 2025 Lexus RZ450e
Confirmed to Fit




Always the correct part
We know our products
Quality Products
Free Shipping!
Always the correct part
We know our products
Quality Products
Free Shipping!
Select your vehicle to find the exact plug-and-play parts that fit — no cutting or splicing.
This fits: 2023-2025 Lexus RZ450e All
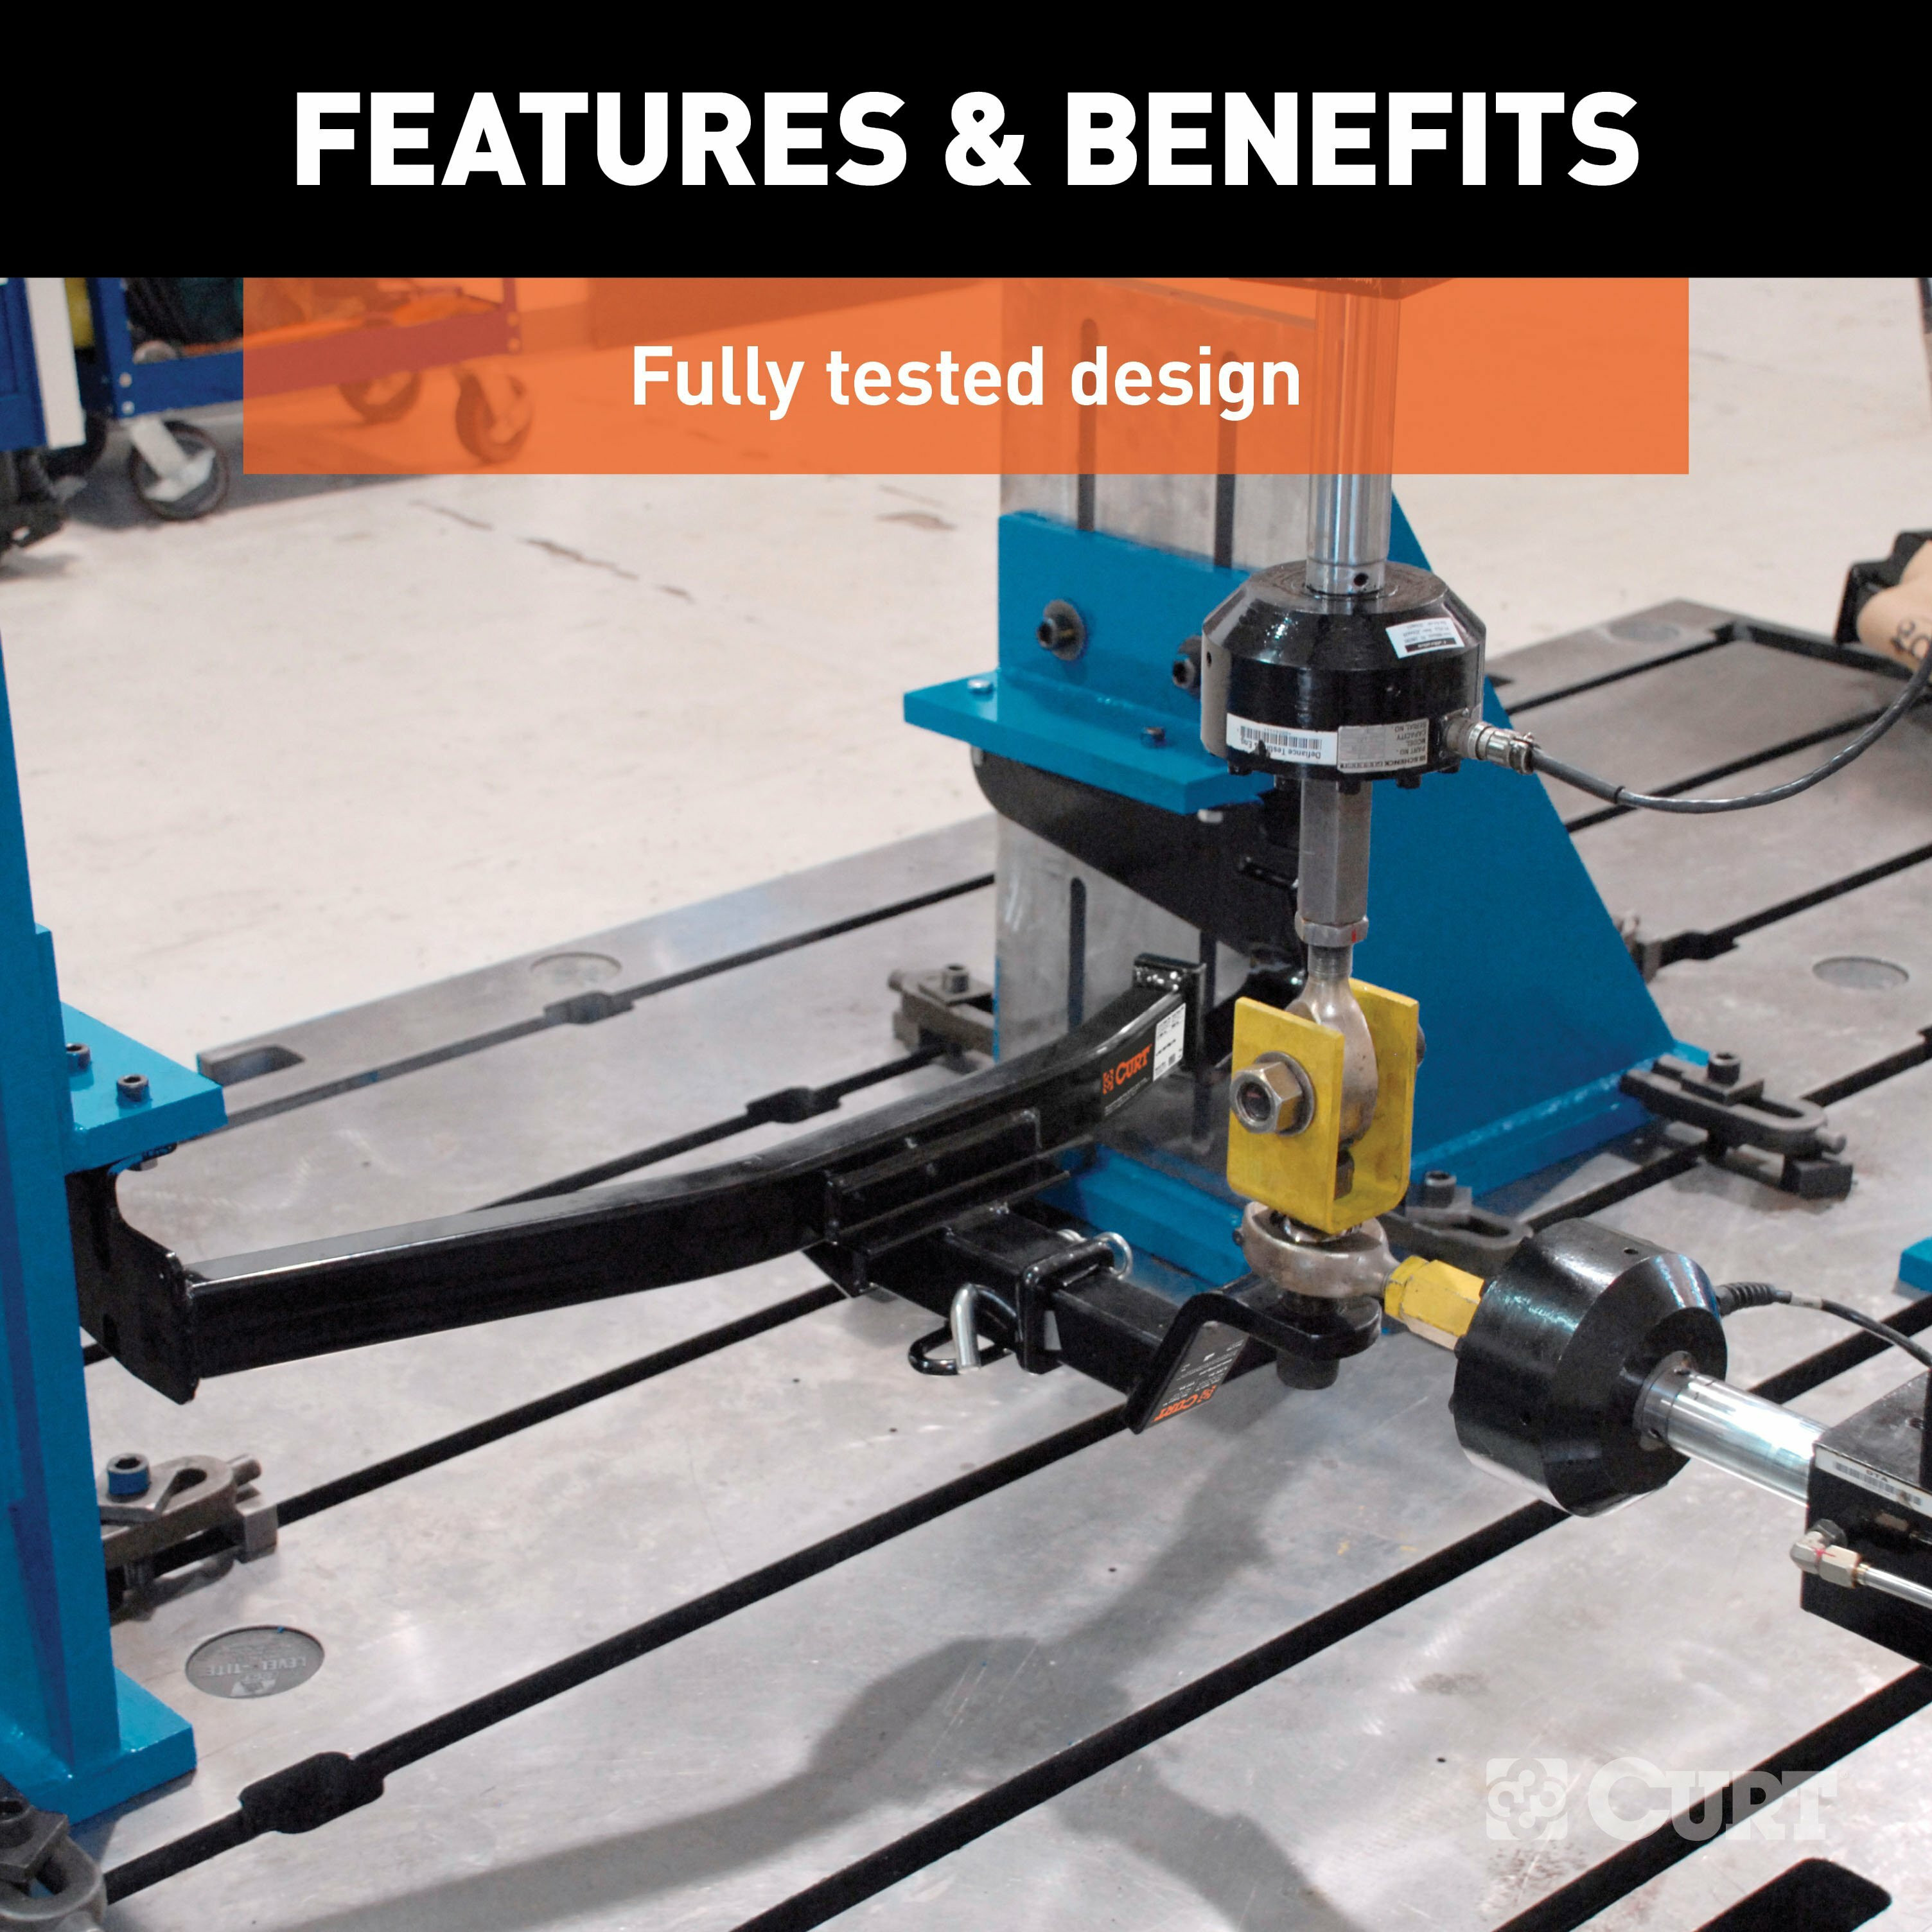
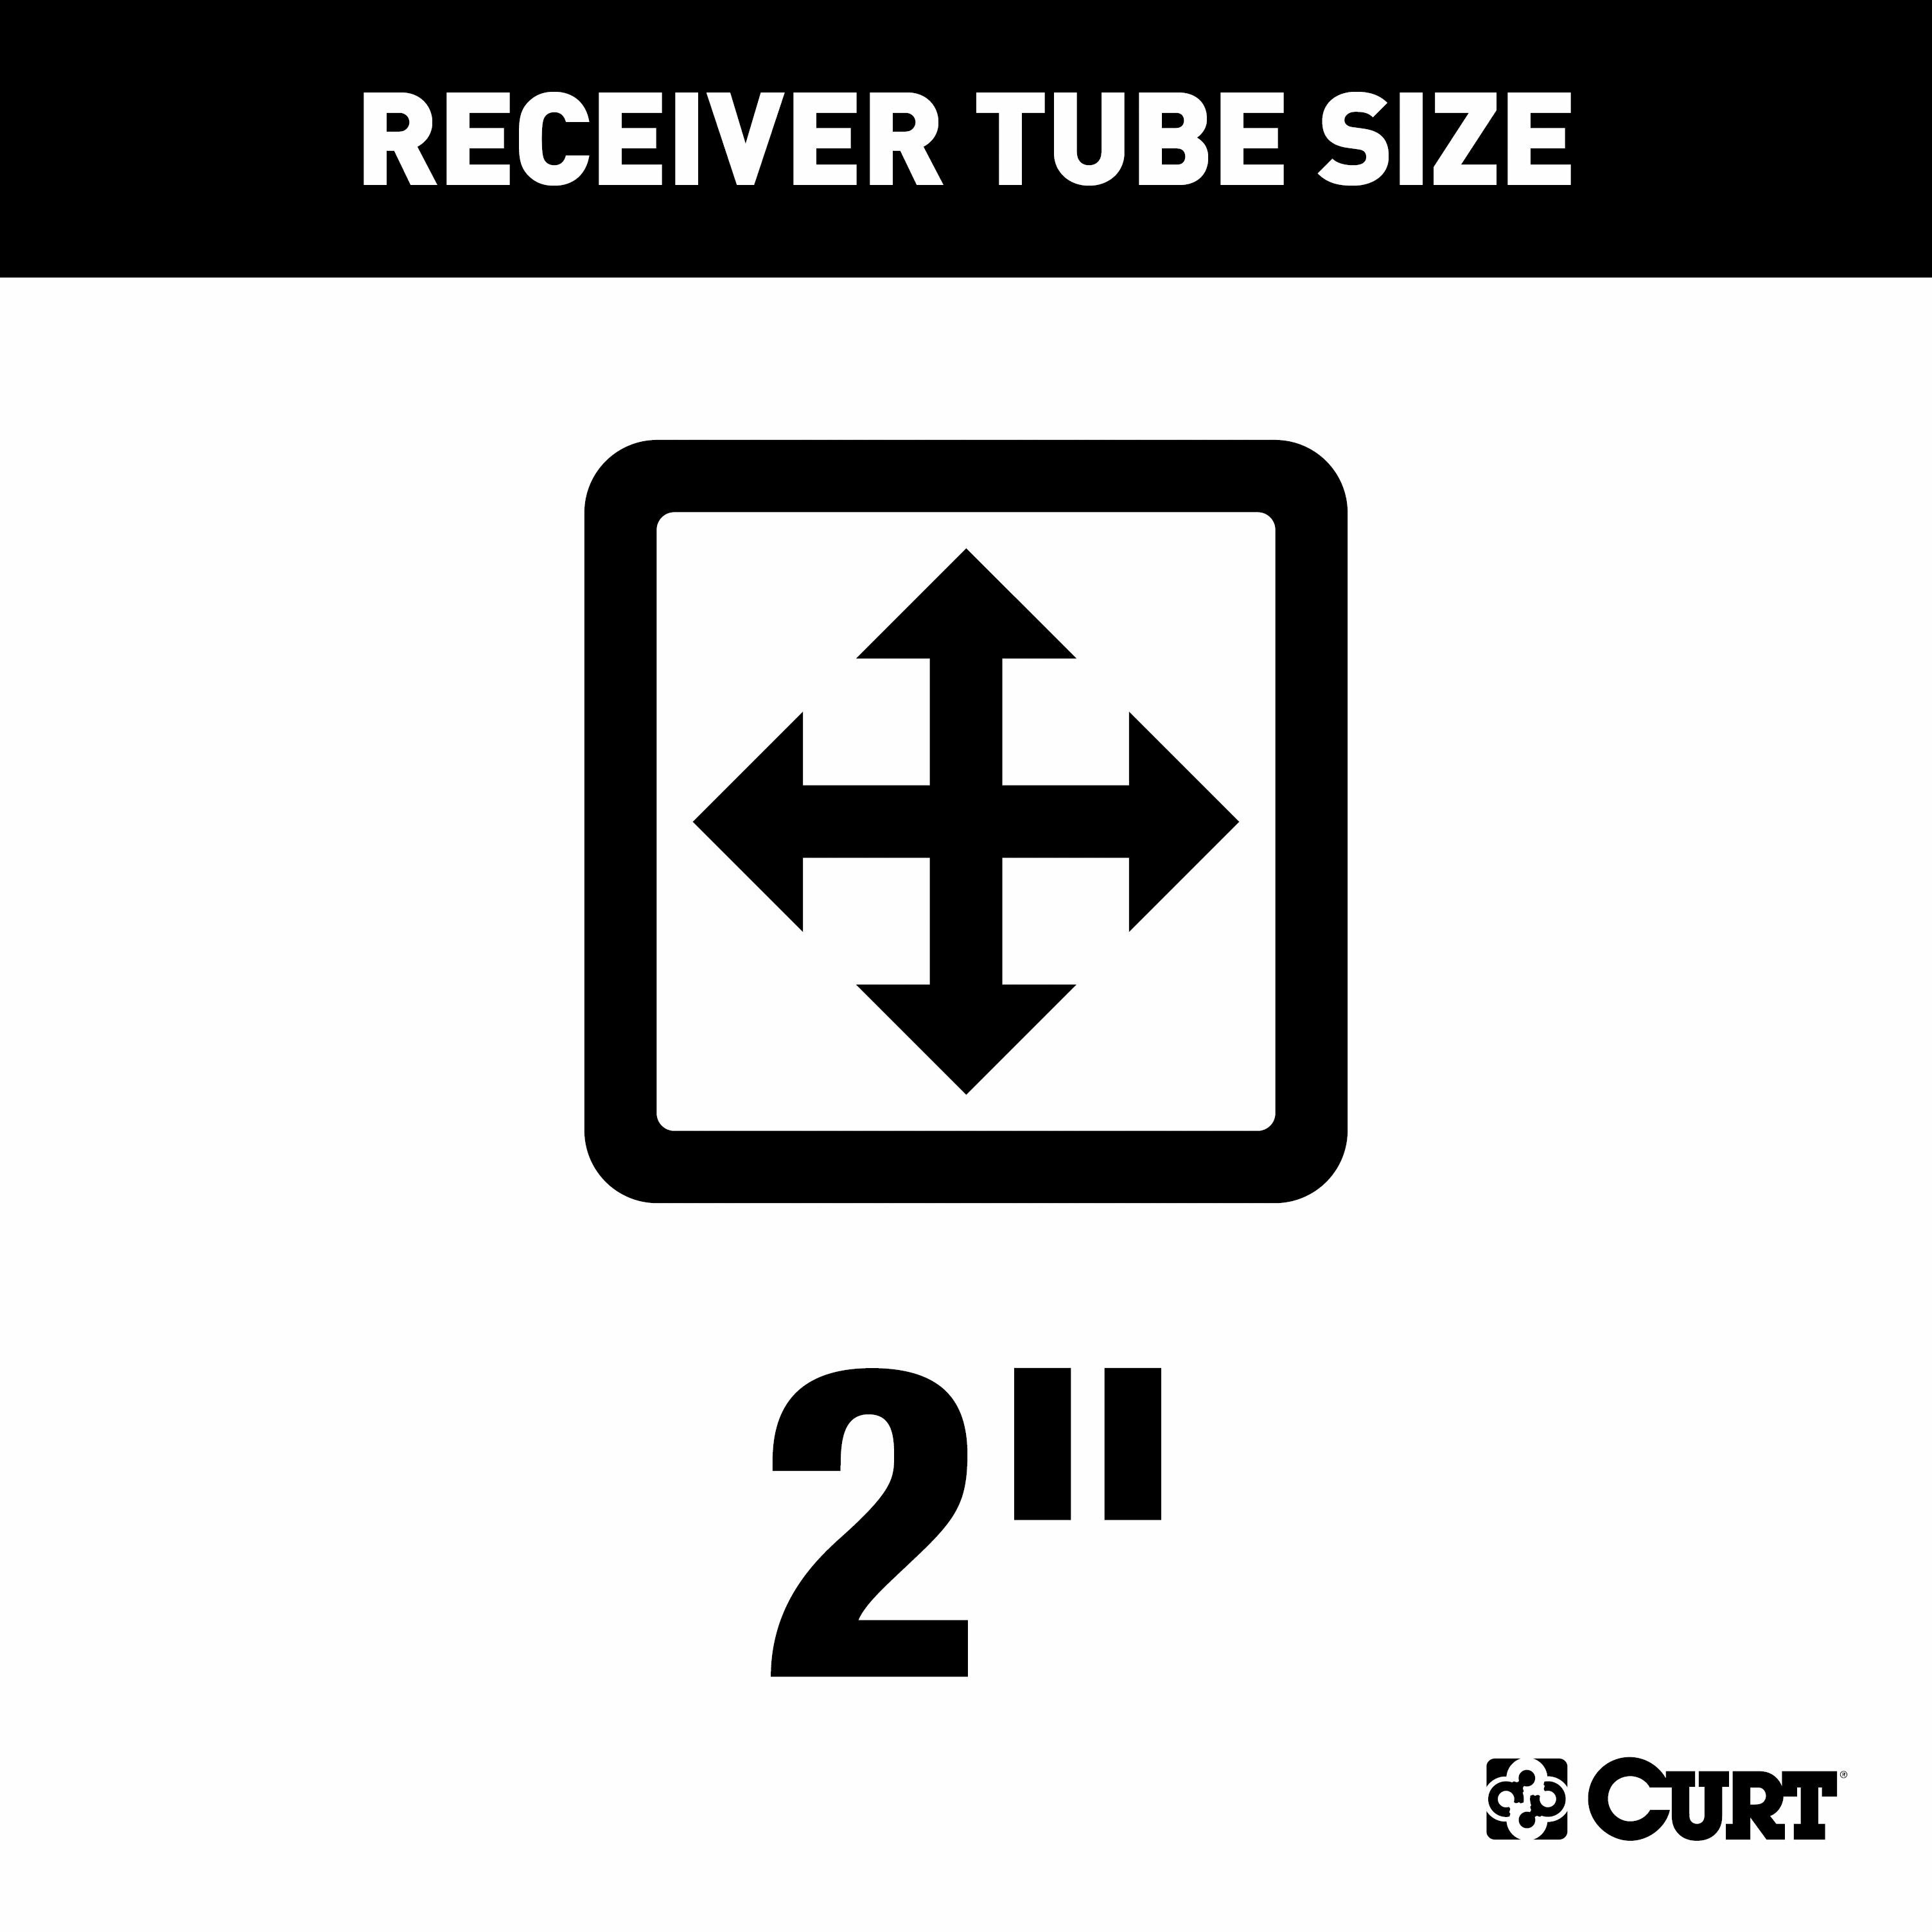
This CURT hitch is an accessory mount, ideal for adding a cargo carrier or bike rack onto your vehicle. It is made for vehicle-specific mounting. This particular kit fits certain years of the Lexus RZ 450e (see application info to verify vehicle compatibility). It provides a tongue weight capacity of 200 lbs. (NOTE: Never exceed the lowest-rated towing component). This hitch has a 2" receiver tube and is tested in accordance with SAE J684 for safety.
Weight ratings are limited to vehicle manufacturer's stated capacities
Includes installation hardware
2023, 2024, 2025 Lexus RZ450e All Hitch Accessory Mount, 2" Receiver, Select Lexus RZ 450e

CURT offers a variety of high-quality trailer hitches and accessories for select vehicle models. Find the perfect fit for your towing needs at TowUniverse.
CURT, a Lippert brand, offers a complete line of towing products and is the leading manufacturer of custom-fit trailer hitches. We offer the broadest selection of custom-fit hitches, and each one is designed, welded, and coated in Wisconsin.
CURT is also a leader in flat towing products, as well as 5th wheel, gooseneck, and weight distribution hitches, ball mounts, electrical components, cargo solutions, and other towing accessories.
For everything from passenger cars and vans to full-size pickups and SUVs, CURT is 'The First Name in Towing Products®.'
Experts available to answer your questions
Call 888-634-9494Lifetime
1 compatible vehicles
| Year | Make & Model | Notes |
|---|---|---|
| 2023 - 2025 | Lexus RZ450e | — |
The 2023-2025 Lexus RZ450e All Hitch Accessory Mount, 2" Receiver + 2" Ball + 1-7/8" Ball Kit (Part #CHD-13546-001) fits the following vehicles: 2023-2025 Lexus RZ450e. Always verify your specific year, make, and model before ordering.
The 2023-2025 Lexus RZ450e All Hitch Accessory Mount, 2" Receiver + 2" Ball + 1-7/8" Ball Kit (Part #CHD-13546-001) fits 2023-2025 Lexus RZ450e models. The 2025 model year is the last year covered by this part number. For newer models, check for an updated version.
Yes, the 2023-2025 Lexus RZ450e All Hitch Accessory Mount, 2" Receiver + 2" Ball + 1-7/8" Ball Kit (Part #CHD-13546-001) is designed to fit the 2023-2025 Lexus RZ450e.
The 2023-2025 Lexus RZ450e All Hitch Accessory Mount, 2" Receiver + 2" Ball + 1-7/8" Ball Kit (Part #CHD-13546-001) Refer to the included instructions for installation details. Basic hand tools are typically all you need.
The tongue weight capacity is 200 lbs.
No. The manual explicitly states this product is not intended for towing use. You must never exceed your vehicle manufacturer's recommended towing capacity.
Required tools: ratchet, cut-off wheel, torque wrench, die grinder, 10mm socket, rotary tool, 3/4" socket, tape measure, 10" socket extension, tape, and flathead screwdriver. A tools reference guide is available at curtmfg.com/trailer-hitch-installation.
Installation requires temporary removal of underbody panels, trimming of lower bumper fascia, and hole enlargement. The installation difficulty is rated as moderate.
The 1/2" carriage bolts and serrated flange nuts must be torqued to 90 ft-lbs.
Safety glasses must be worn at all times during installation. Never exceed your vehicle manufacturer's recommended towing capacity. Periodic inspection of the trailer hitch should be performed to ensure all mounting hardware remains tight and structural components are secure.
The kit includes one accessory frame, four 1/2" carriage bolts, four square-hole spacers (1/4" x 1" x 2-1/2"), four 1/2" serrated-flange nuts, and four 1/2" fishwires.
Yes. Step 3 requires temporary removal of the backup alarm by disconnecting the electrical connector and removing the nut with a 10mm socket. It must be reinstalled after the hitch is mounted.
Remove the driver-side underbody panel by removing five plastic push fasteners and one plastic nut using a 10mm socket and extension towards the front of the vehicle. Loosen the two retained nuts while pulling down on the panel. Repeat the same process on the passenger-side panel.
The driver-side underbody panel must be trimmed using the trim diagram as a reference. The diagram shows a center alignment with dimensions of 3-1/4" and 2-1/2". The manual also requires enlargement of the bottom access hole in the frame rails.
The fishwire technique guides hardware through the vehicle frame without loss. Insert the coiled end of the fishwire through the hitch mounting hole in the vehicle frame rail and out the access hole. Pass the coiled end through the spacer and thread the bolt into the coil. Kink the wire to keep the spacer separate from the bolt. Pull the fishwire, spacer, and bolt through the frame and out the mounting hole. The fishwire guides the hitch during mounting and prevents loss of the bolt or spacer inside the frame rail.
1. Remove driver-side and passenger-side underbody panels. 2. Remove stickers covering frame rail holes and rubber plugs from the bottom of each frame rail, then enlarge the bottom access hole. 3. Temporarily remove the backup alarm. 4. Trim the driver-side underbody panel using the trim diagram. 5. Fishwire the 1/2" carriage bolts and square-hole spacers through the enlarged access hole, leaving hardware in the frame with fishwires attached. 6. Raise the hitch into position, sliding the center through the cutout and main body up behind the bumper cover, guiding fishwires through the holes in the side plates and rotating the side plates into position. 7. Pull hardware through the hitch, carefully remove fishwires, and secure carriage bolts with 1/2" serrated flange nuts, torquing to 90 ft-lbs. 8. Reinstall all removed parts in reverse order.
Raise the hitch into position by sliding the center through the cutout and the main body up behind the bumper cover. Guide the fishwires through the holes in the side plates, then rotate the side plates into position.
The hitch uses four 1/2" carriage bolts, four 1/4" x 1" x 2-1/2" square-hole spacers, and four 1/2" serrated-flange nuts. All 1/2" hardware must be torqued to 90 ft-lbs.
Periodic inspection of the trailer hitch should be performed to ensure all mounting hardware remains tight and structural components are secure.
Visit www.curtmfg.com for a full-color copy of the instruction manual, helpful videos, guides, and more. For product support, call 877.287.8634. For towing safety information, visit curtmfg.com/understanding-towing. For a tools reference guide, visit curtmfg.com/trailer-hitch-installation. To register your purchase or access warranty information, visit warranty.curtgroup.com/surveys.
Before beginning installation, read all instructions thoroughly. Proper tools will improve the quality of installation and reduce the time required. Ensure you have all required tools: ratchet, cut-off wheel, torque wrench, die grinder, 10mm socket, rotary tool, 3/4" socket, tape measure, 10" socket extension, tape, and flathead screwdriver.
Remove the stickers covering the holes on the outside of the frame rails and the rubber plug from the bottom of each frame rail. Then enlarge the bottom access hole.
After pulling the hardware through the hitch and carefully removing the fishwires, secure the carriage bolts with the 1/2" serrated flange nuts. Torque the 1/2" hardware to 90 ft-lbs.
After torquing the 1/2" hardware to 90 ft-lbs, reinstall all parts removed during steps 1 through 3 in reverse order. This includes reinstalling the backup alarm, underbody panels, and all fasteners.
On Sale Today
Original price was $478.85. Current price is $463.47.You save $15.38
Free Shipping
Ships free on all orders
 Authorized Dealer


Quick Ship
In stock and ready to ship — order now!
FREE ShippingFREE SHIPPING
Estimated delivery Wed, Sep 23 - Sat, Sep 26
Order before 2 PM EST Monday–Friday for same-day processing
Guaranteed safe & secure checkout
No reviews have been added for this product.