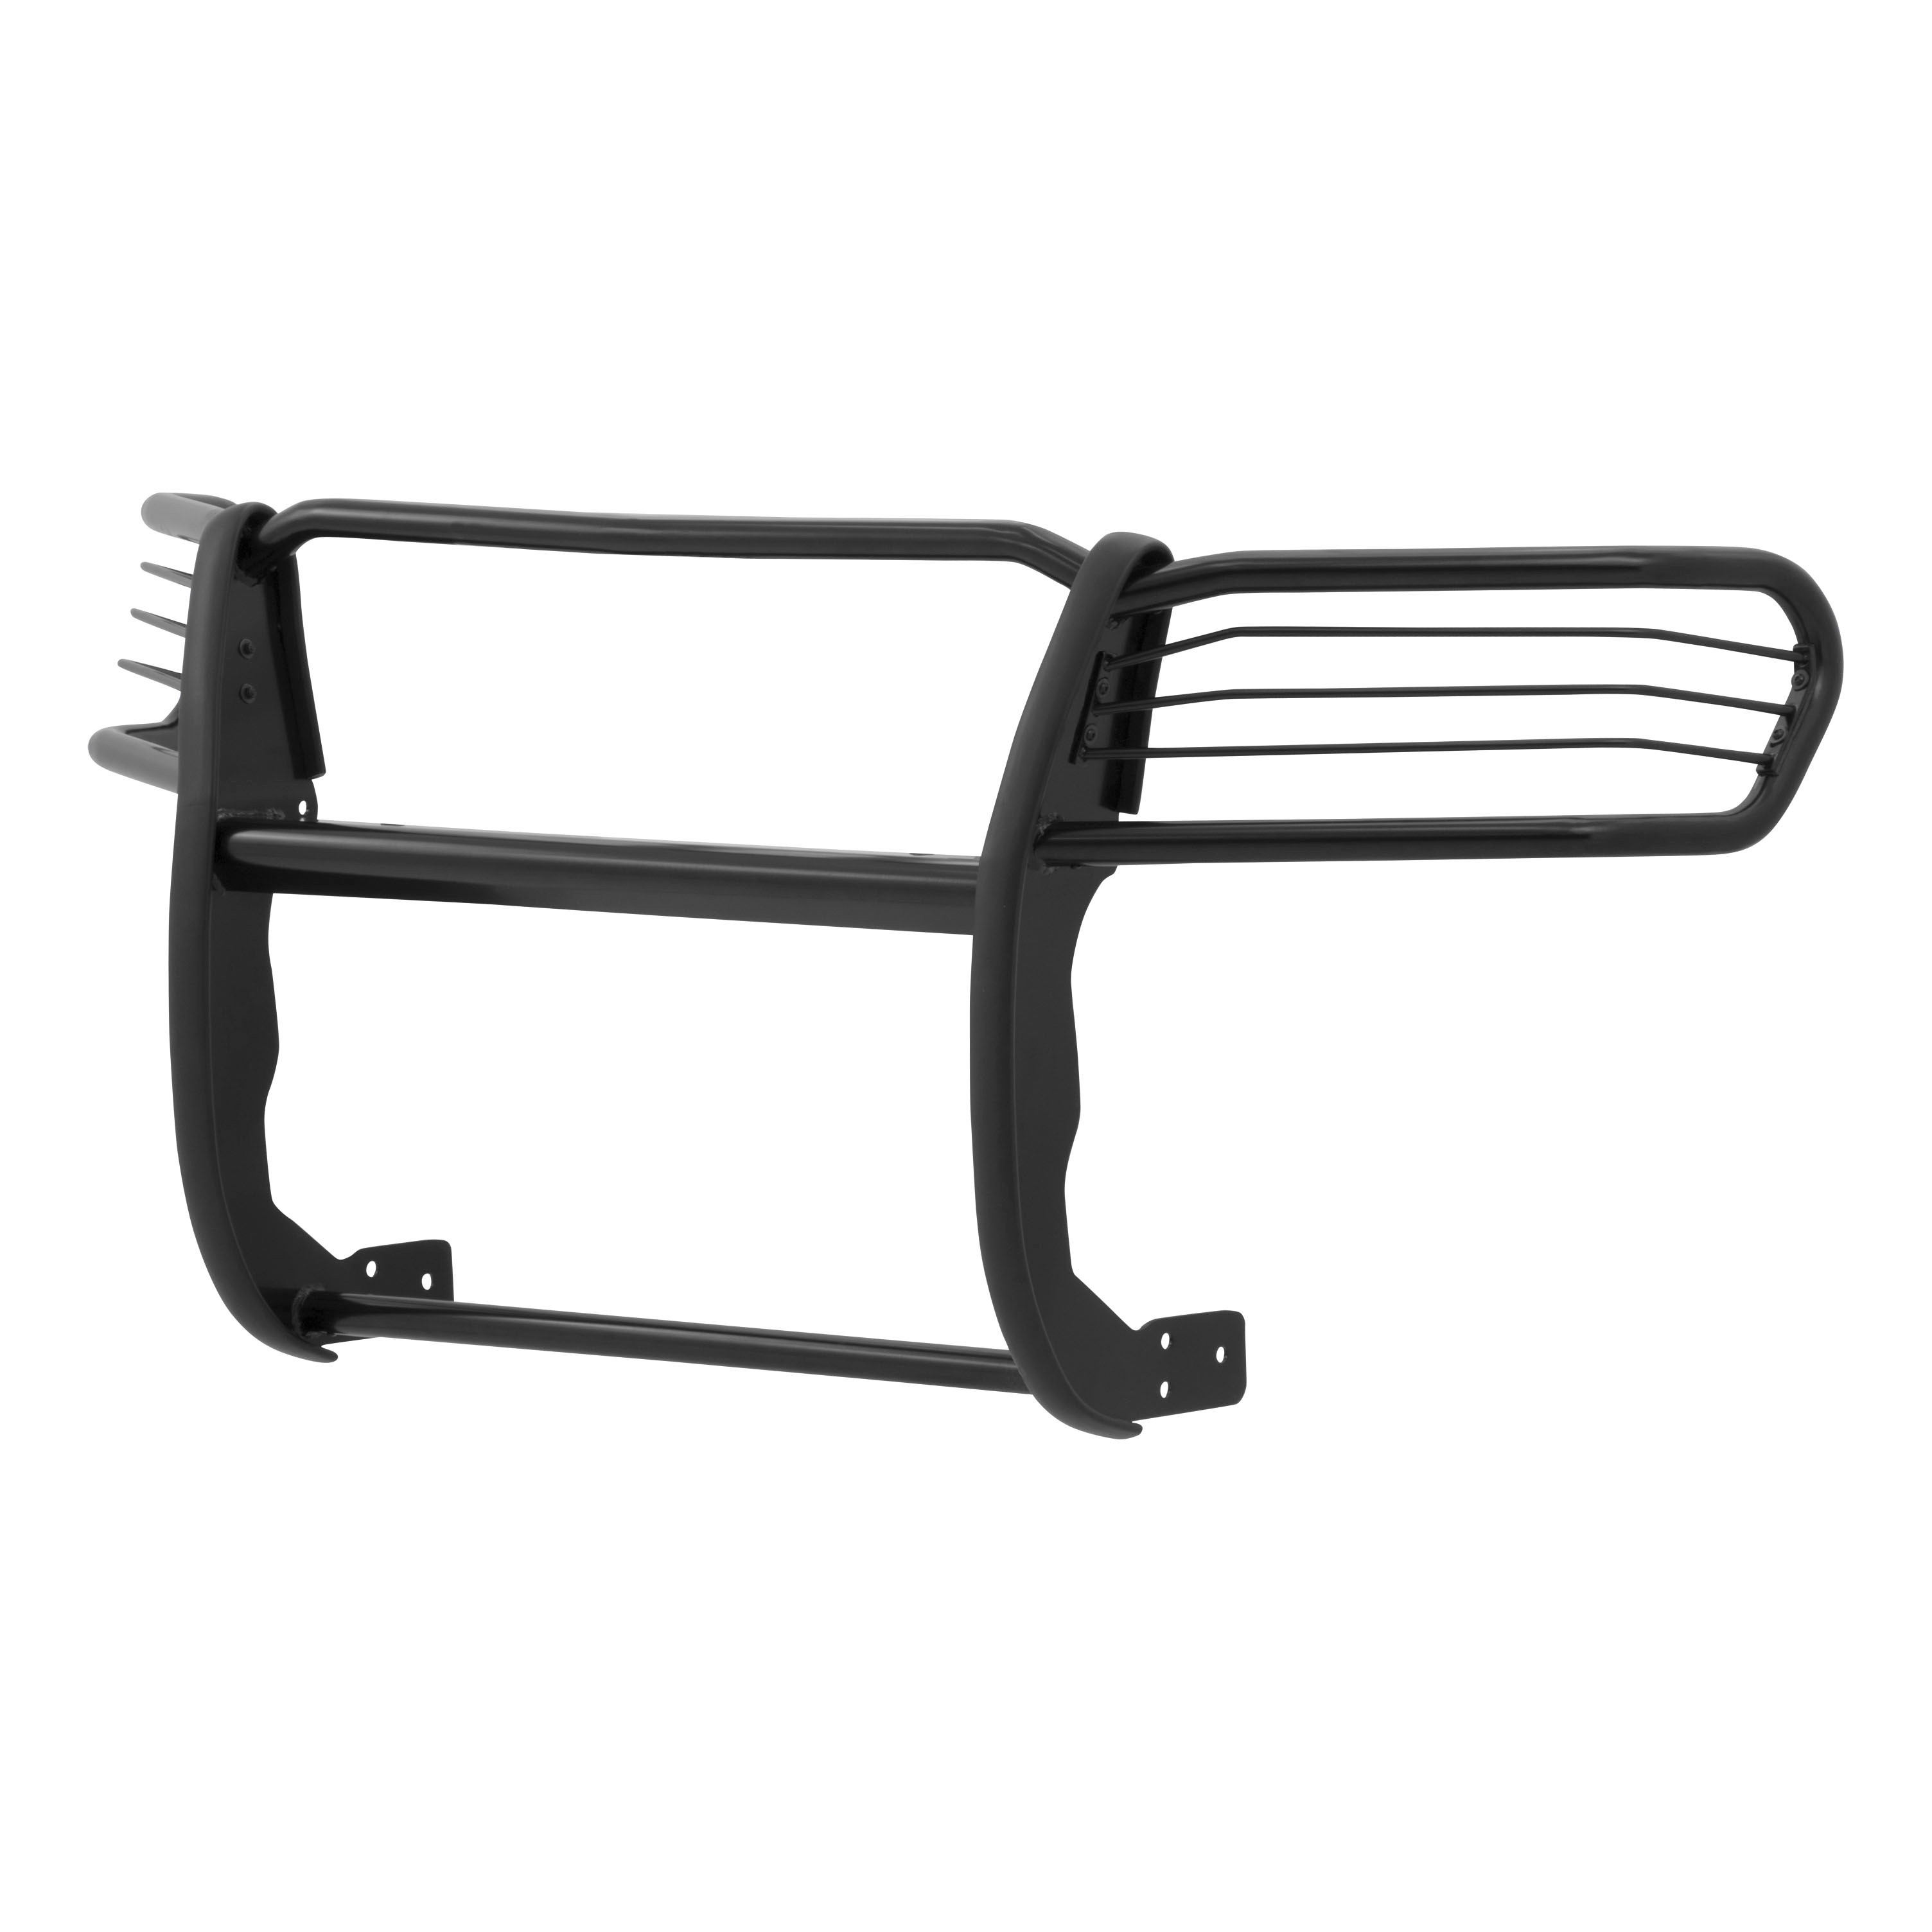
ARIES 2052 1-1/2-Inch Black Steel Grille Guard, No-Drill, Select Toyota TundraARIESOriginal price was $874.95. Current price is $526.00.In Stock
View productOur in-house experts typically reply within one business day.

ARIES
Verify Fitment
Select your vehicle to confirm this part fits.
2006 - 2017 Toyota RAV4
Confirmed to Fit





Always the correct part
We know our products
Quality Products
Free Shipping!
Always the correct part
We know our products
Quality Products
Free Shipping!
Includes grille guard and mounting hardware
Grille guard may interfere with forward-facing cameras or sensors

Warranty: Limited Lifetime Warranty (Three-Year Finish, One-Year Parts)
Finish: SEMI-GLOSS BLACK POWDER COAT
Material: Blank
Color: Black
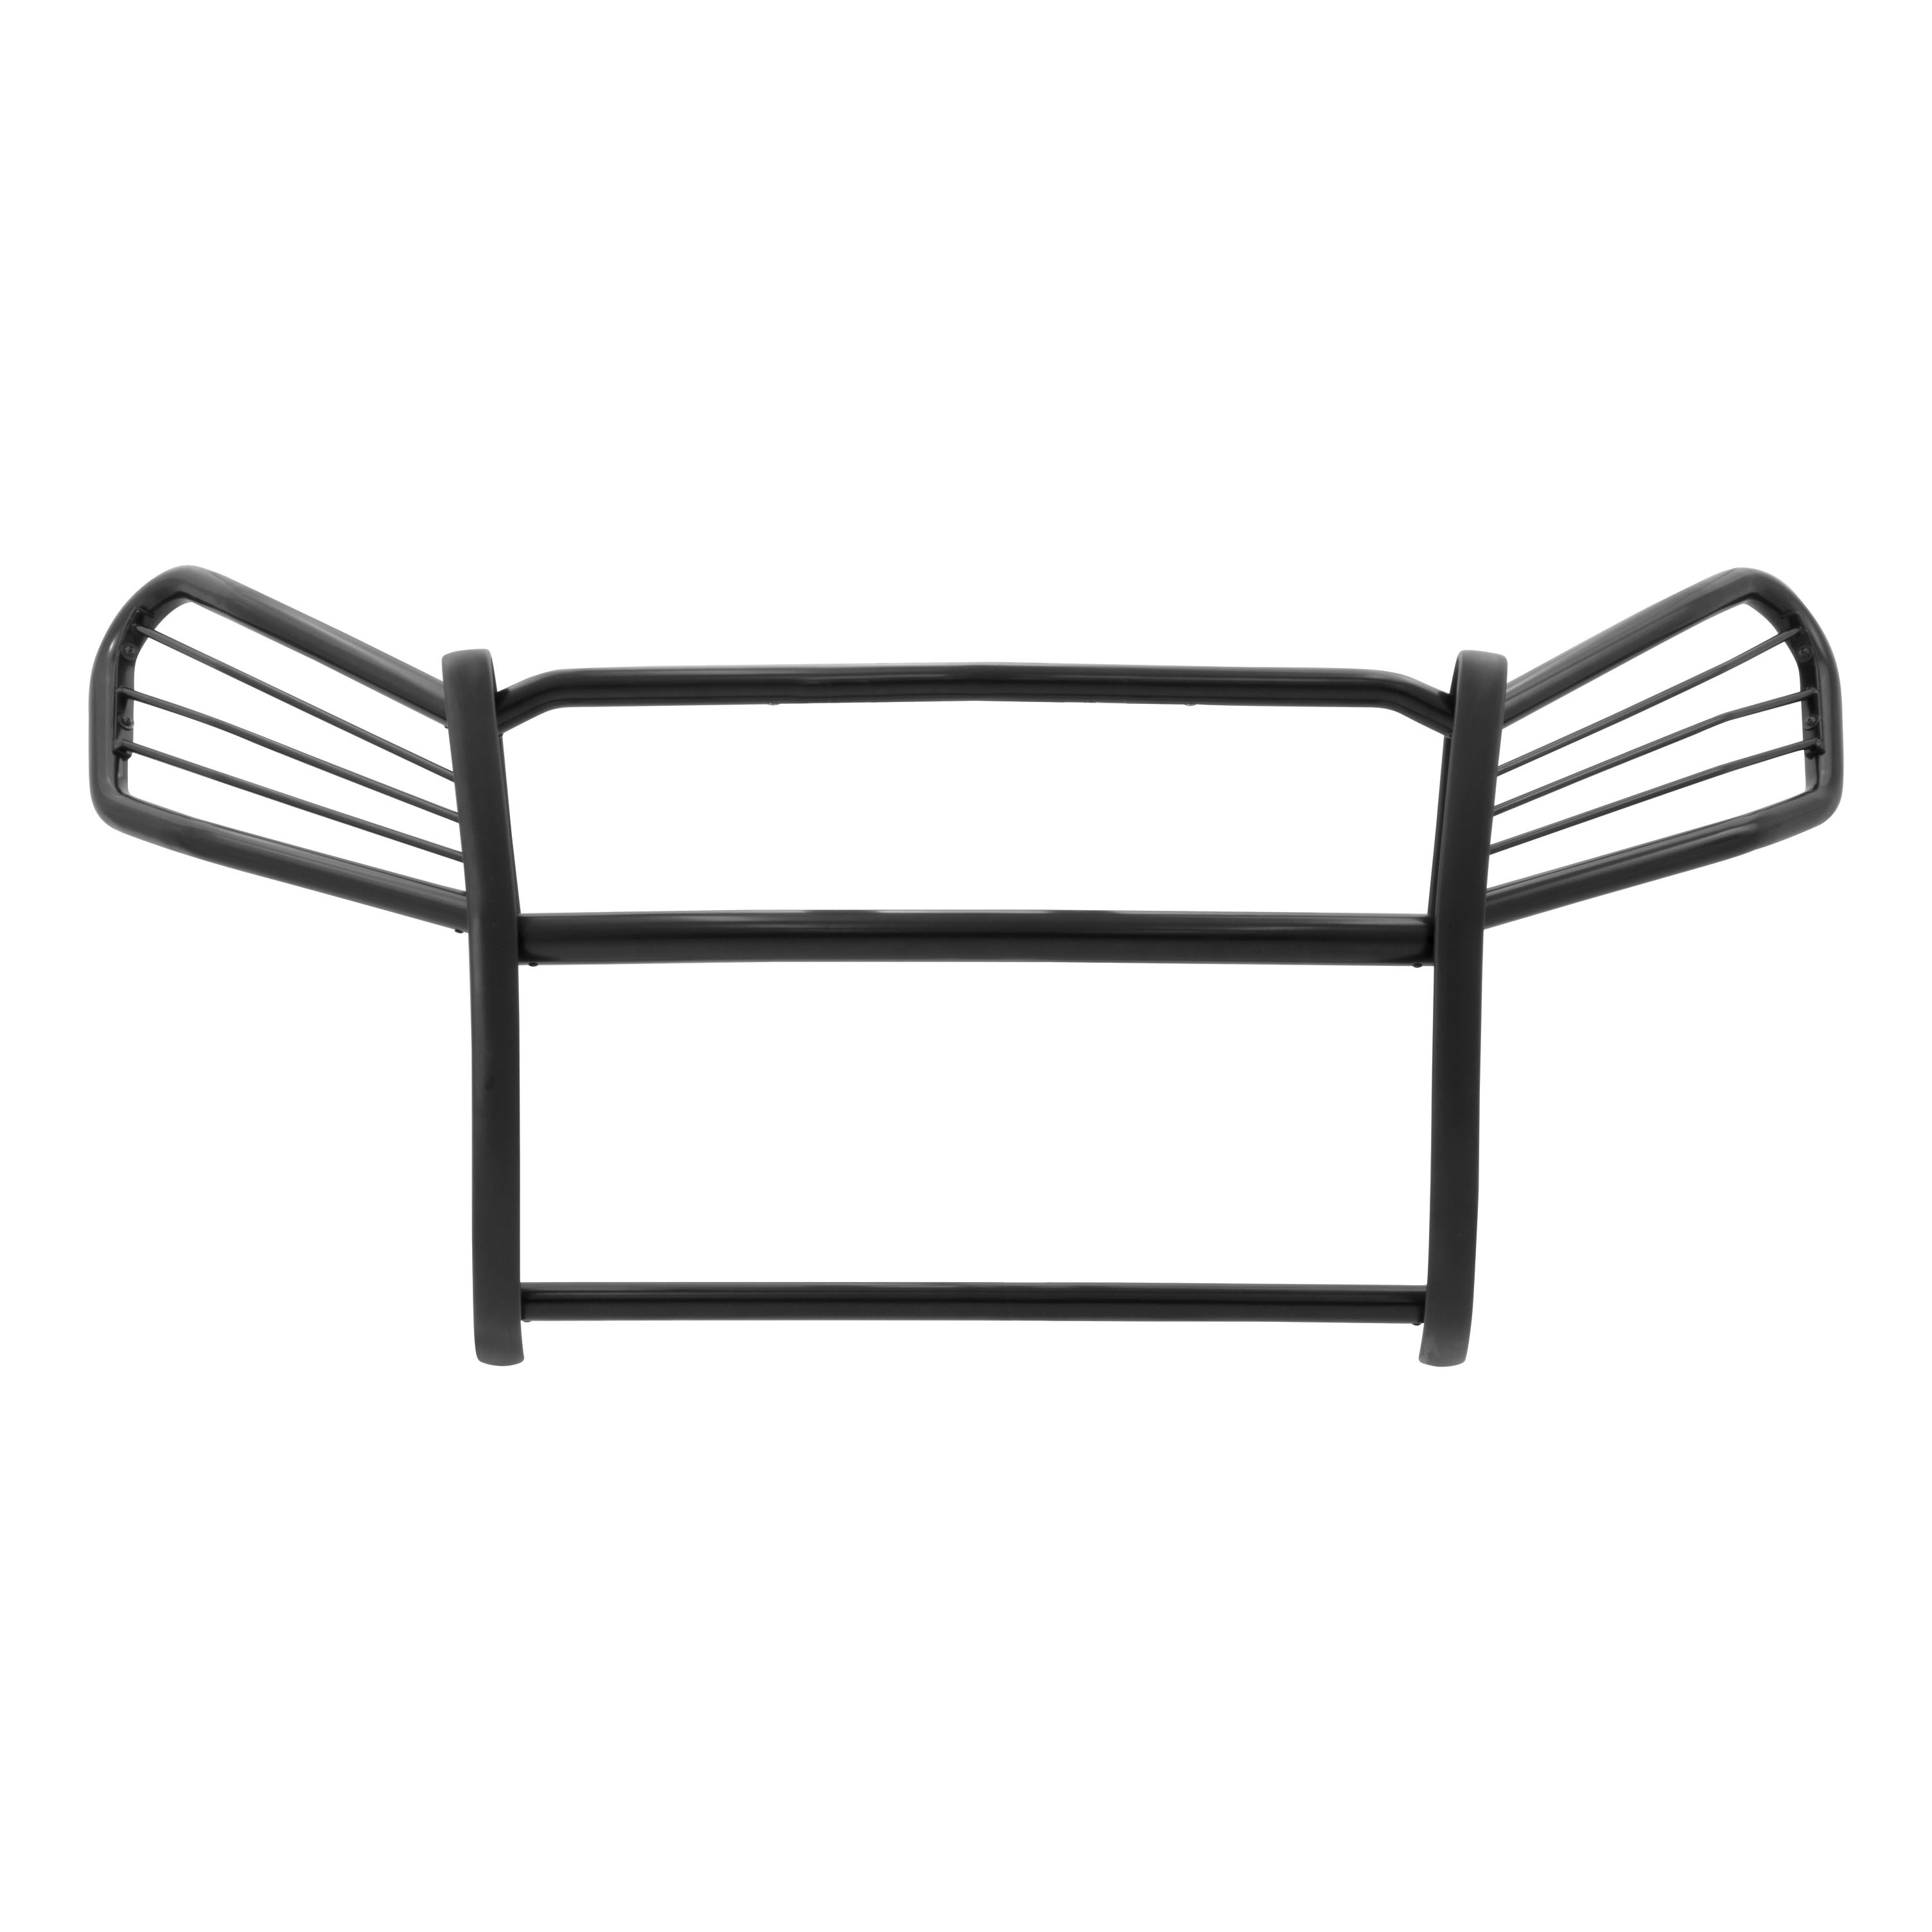
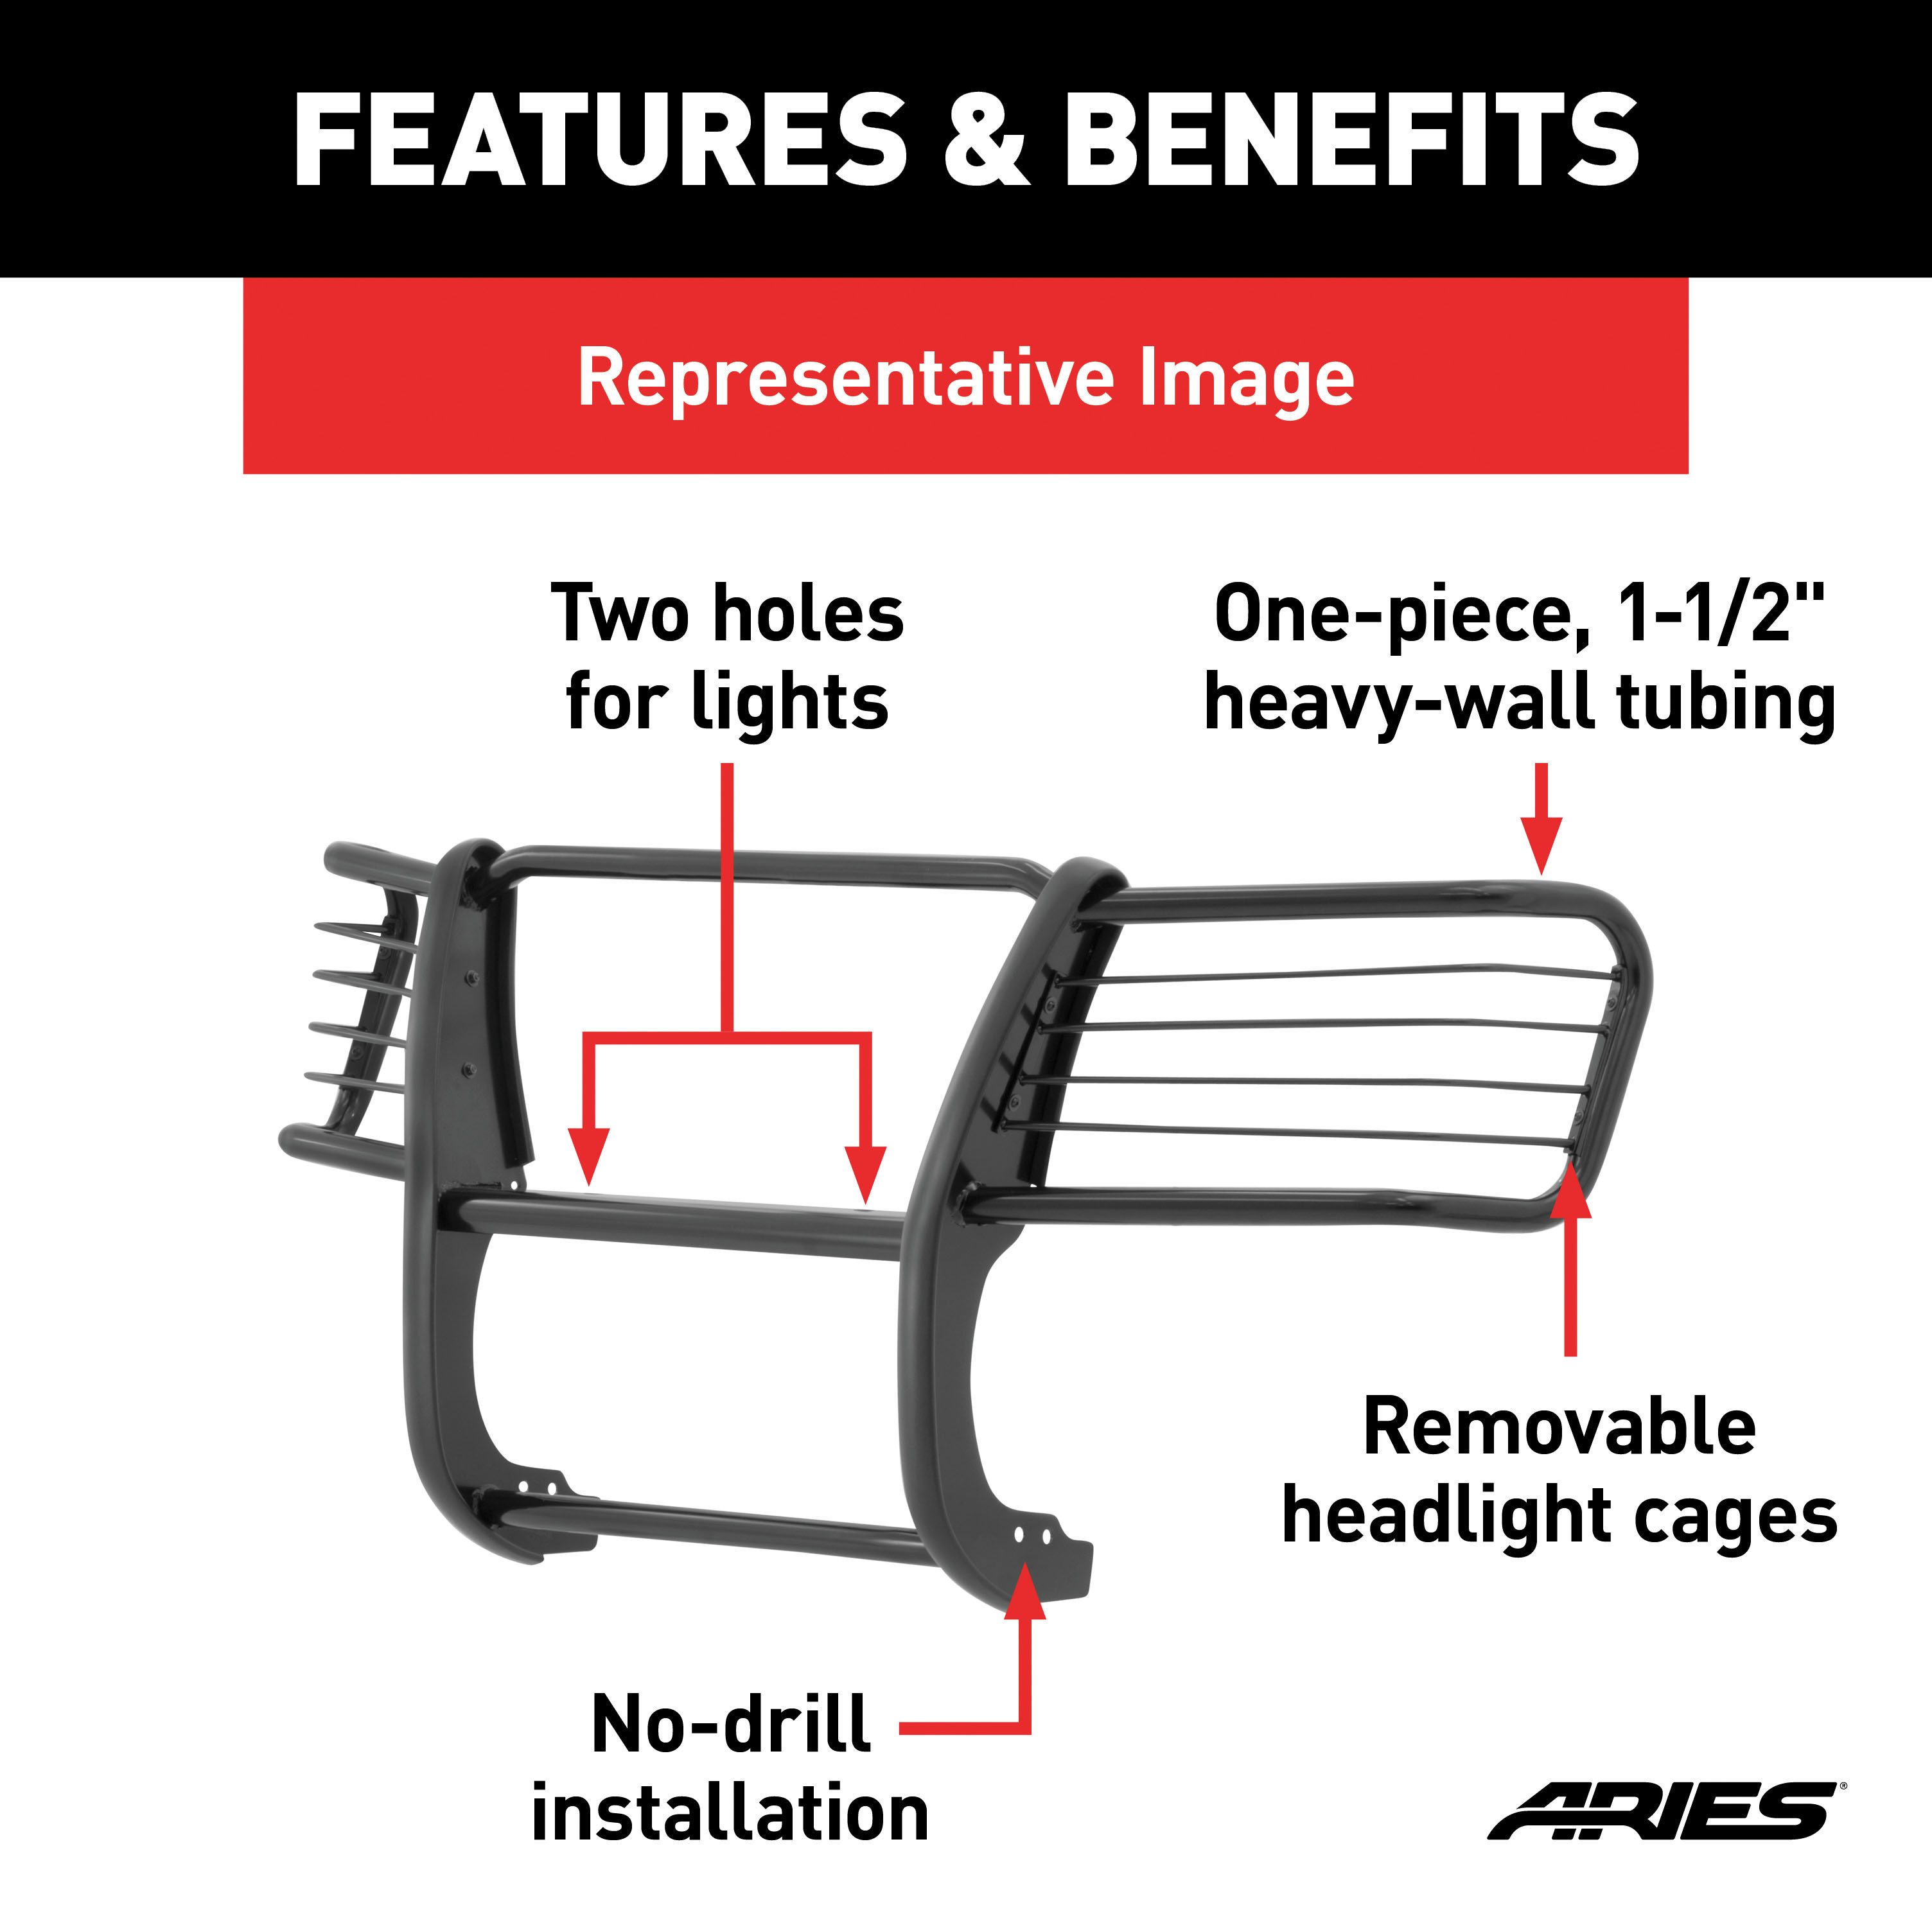
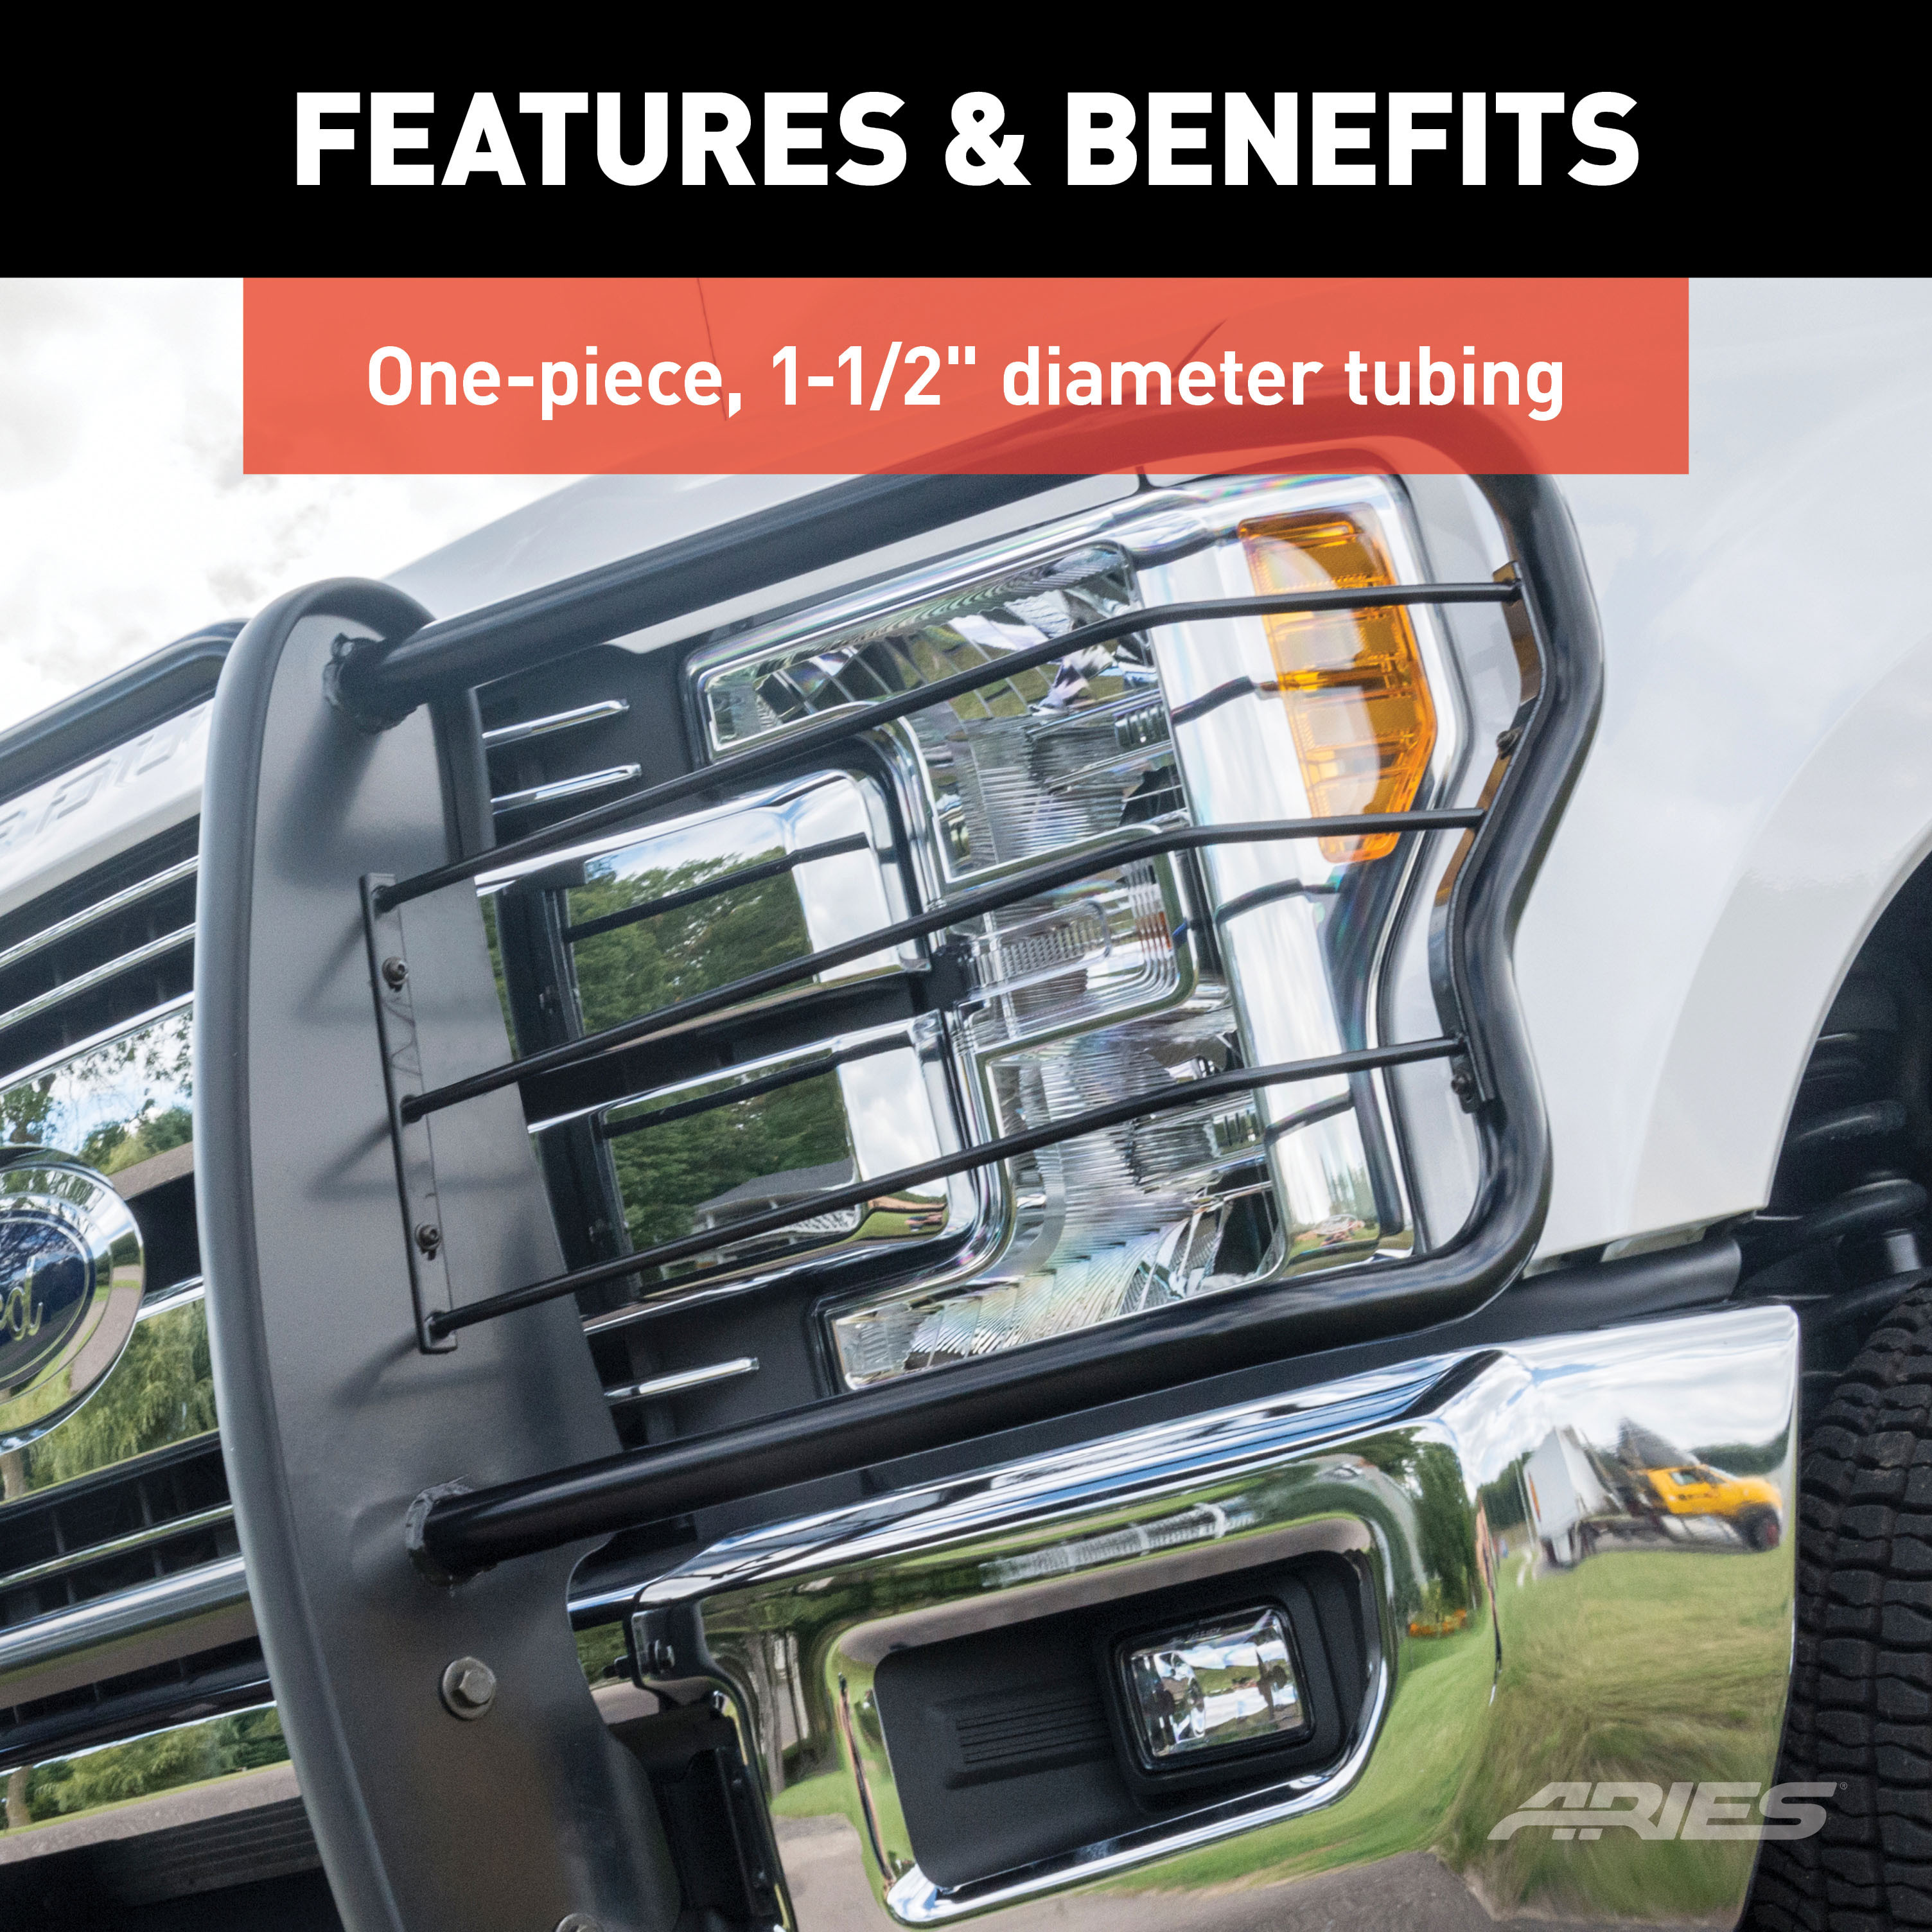
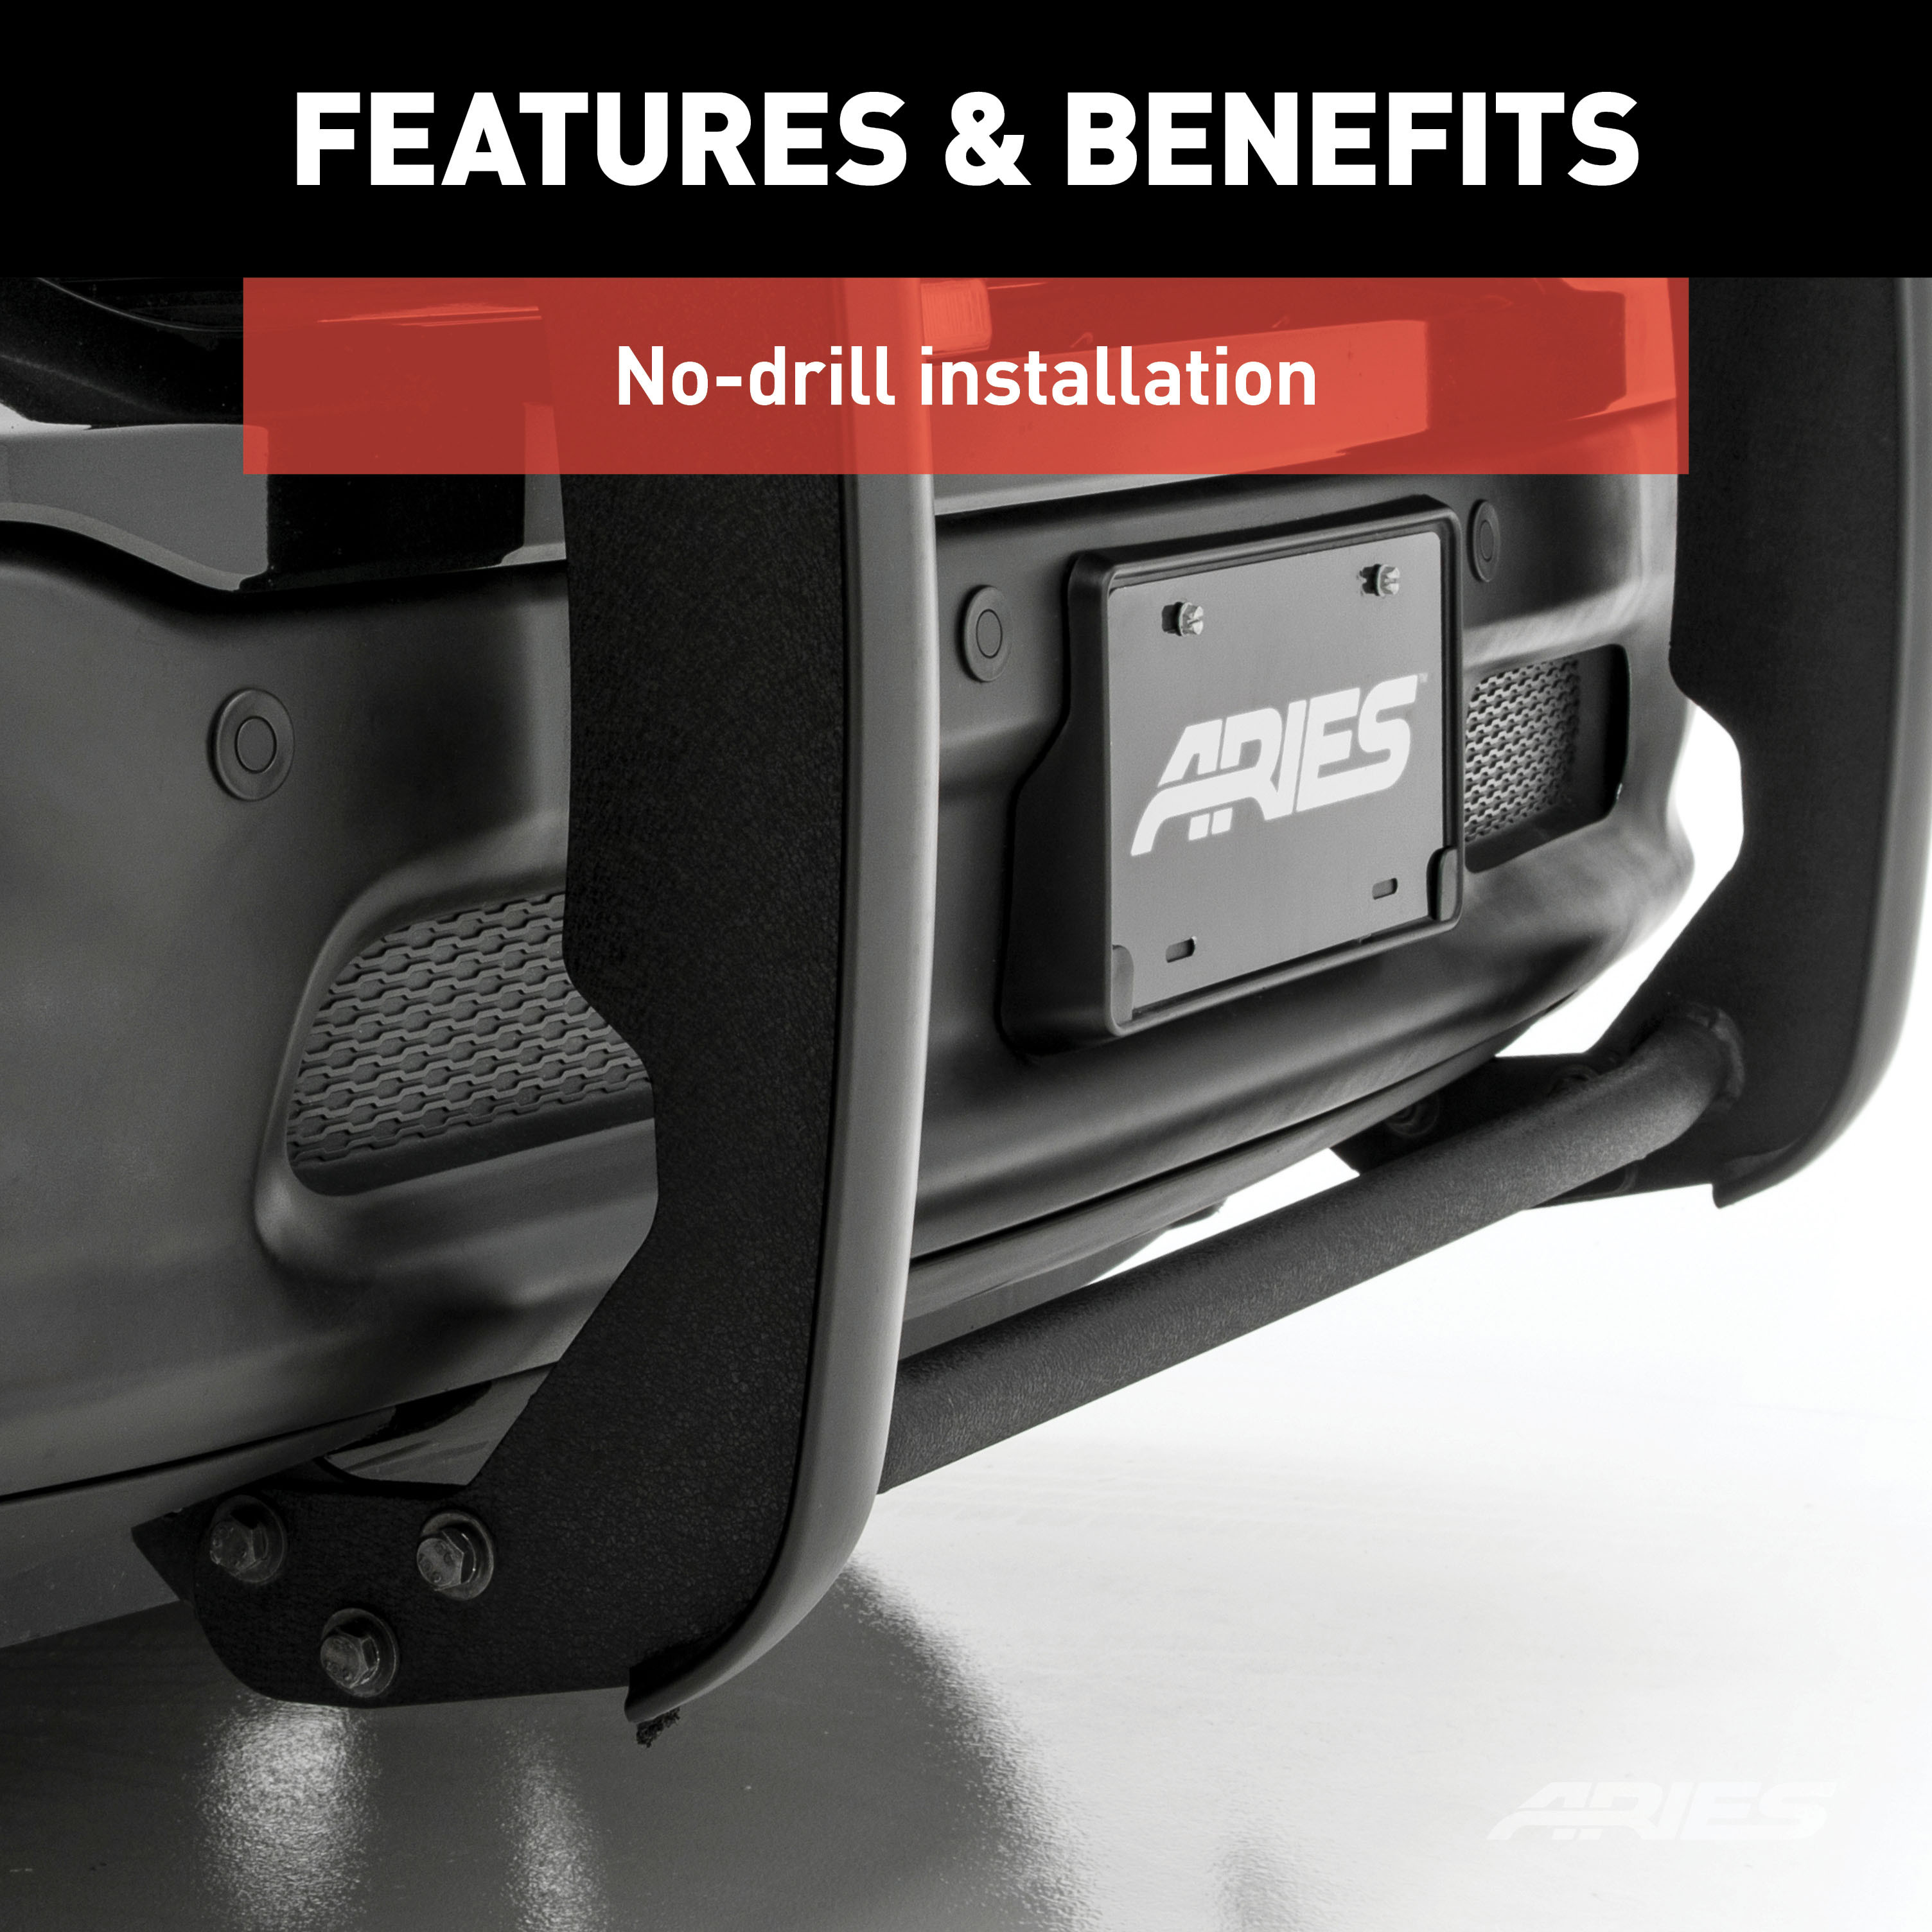
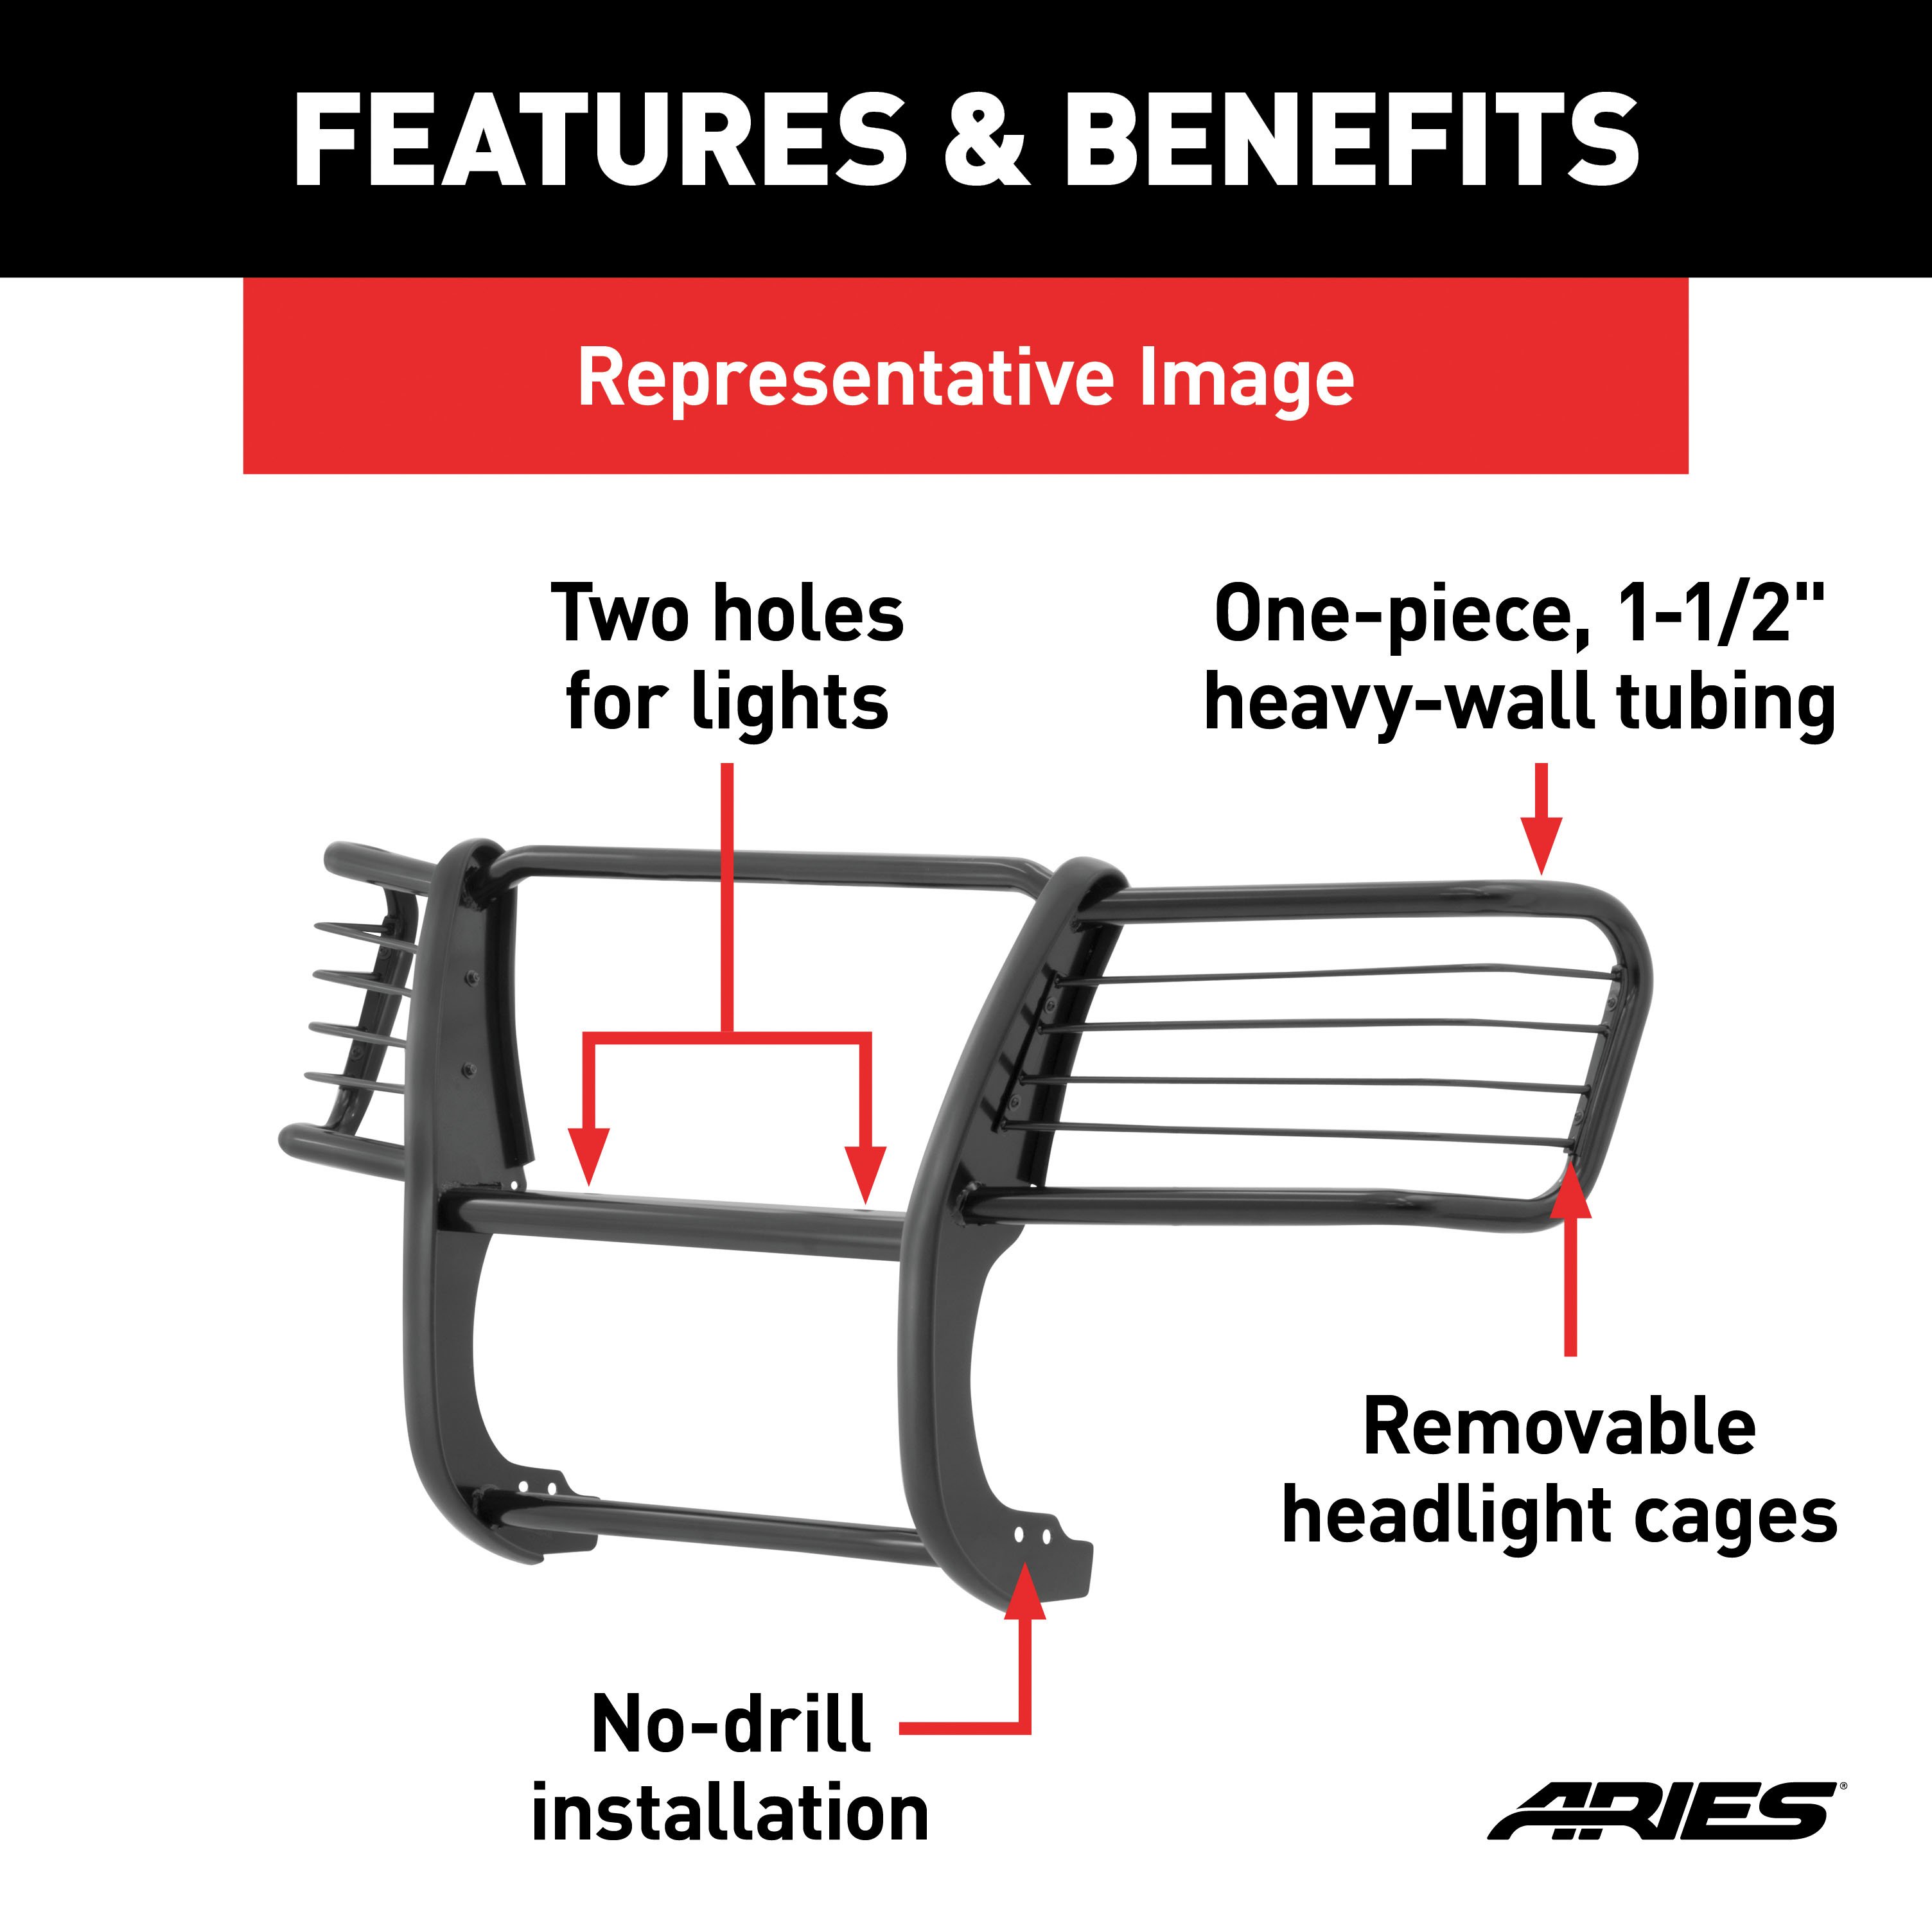
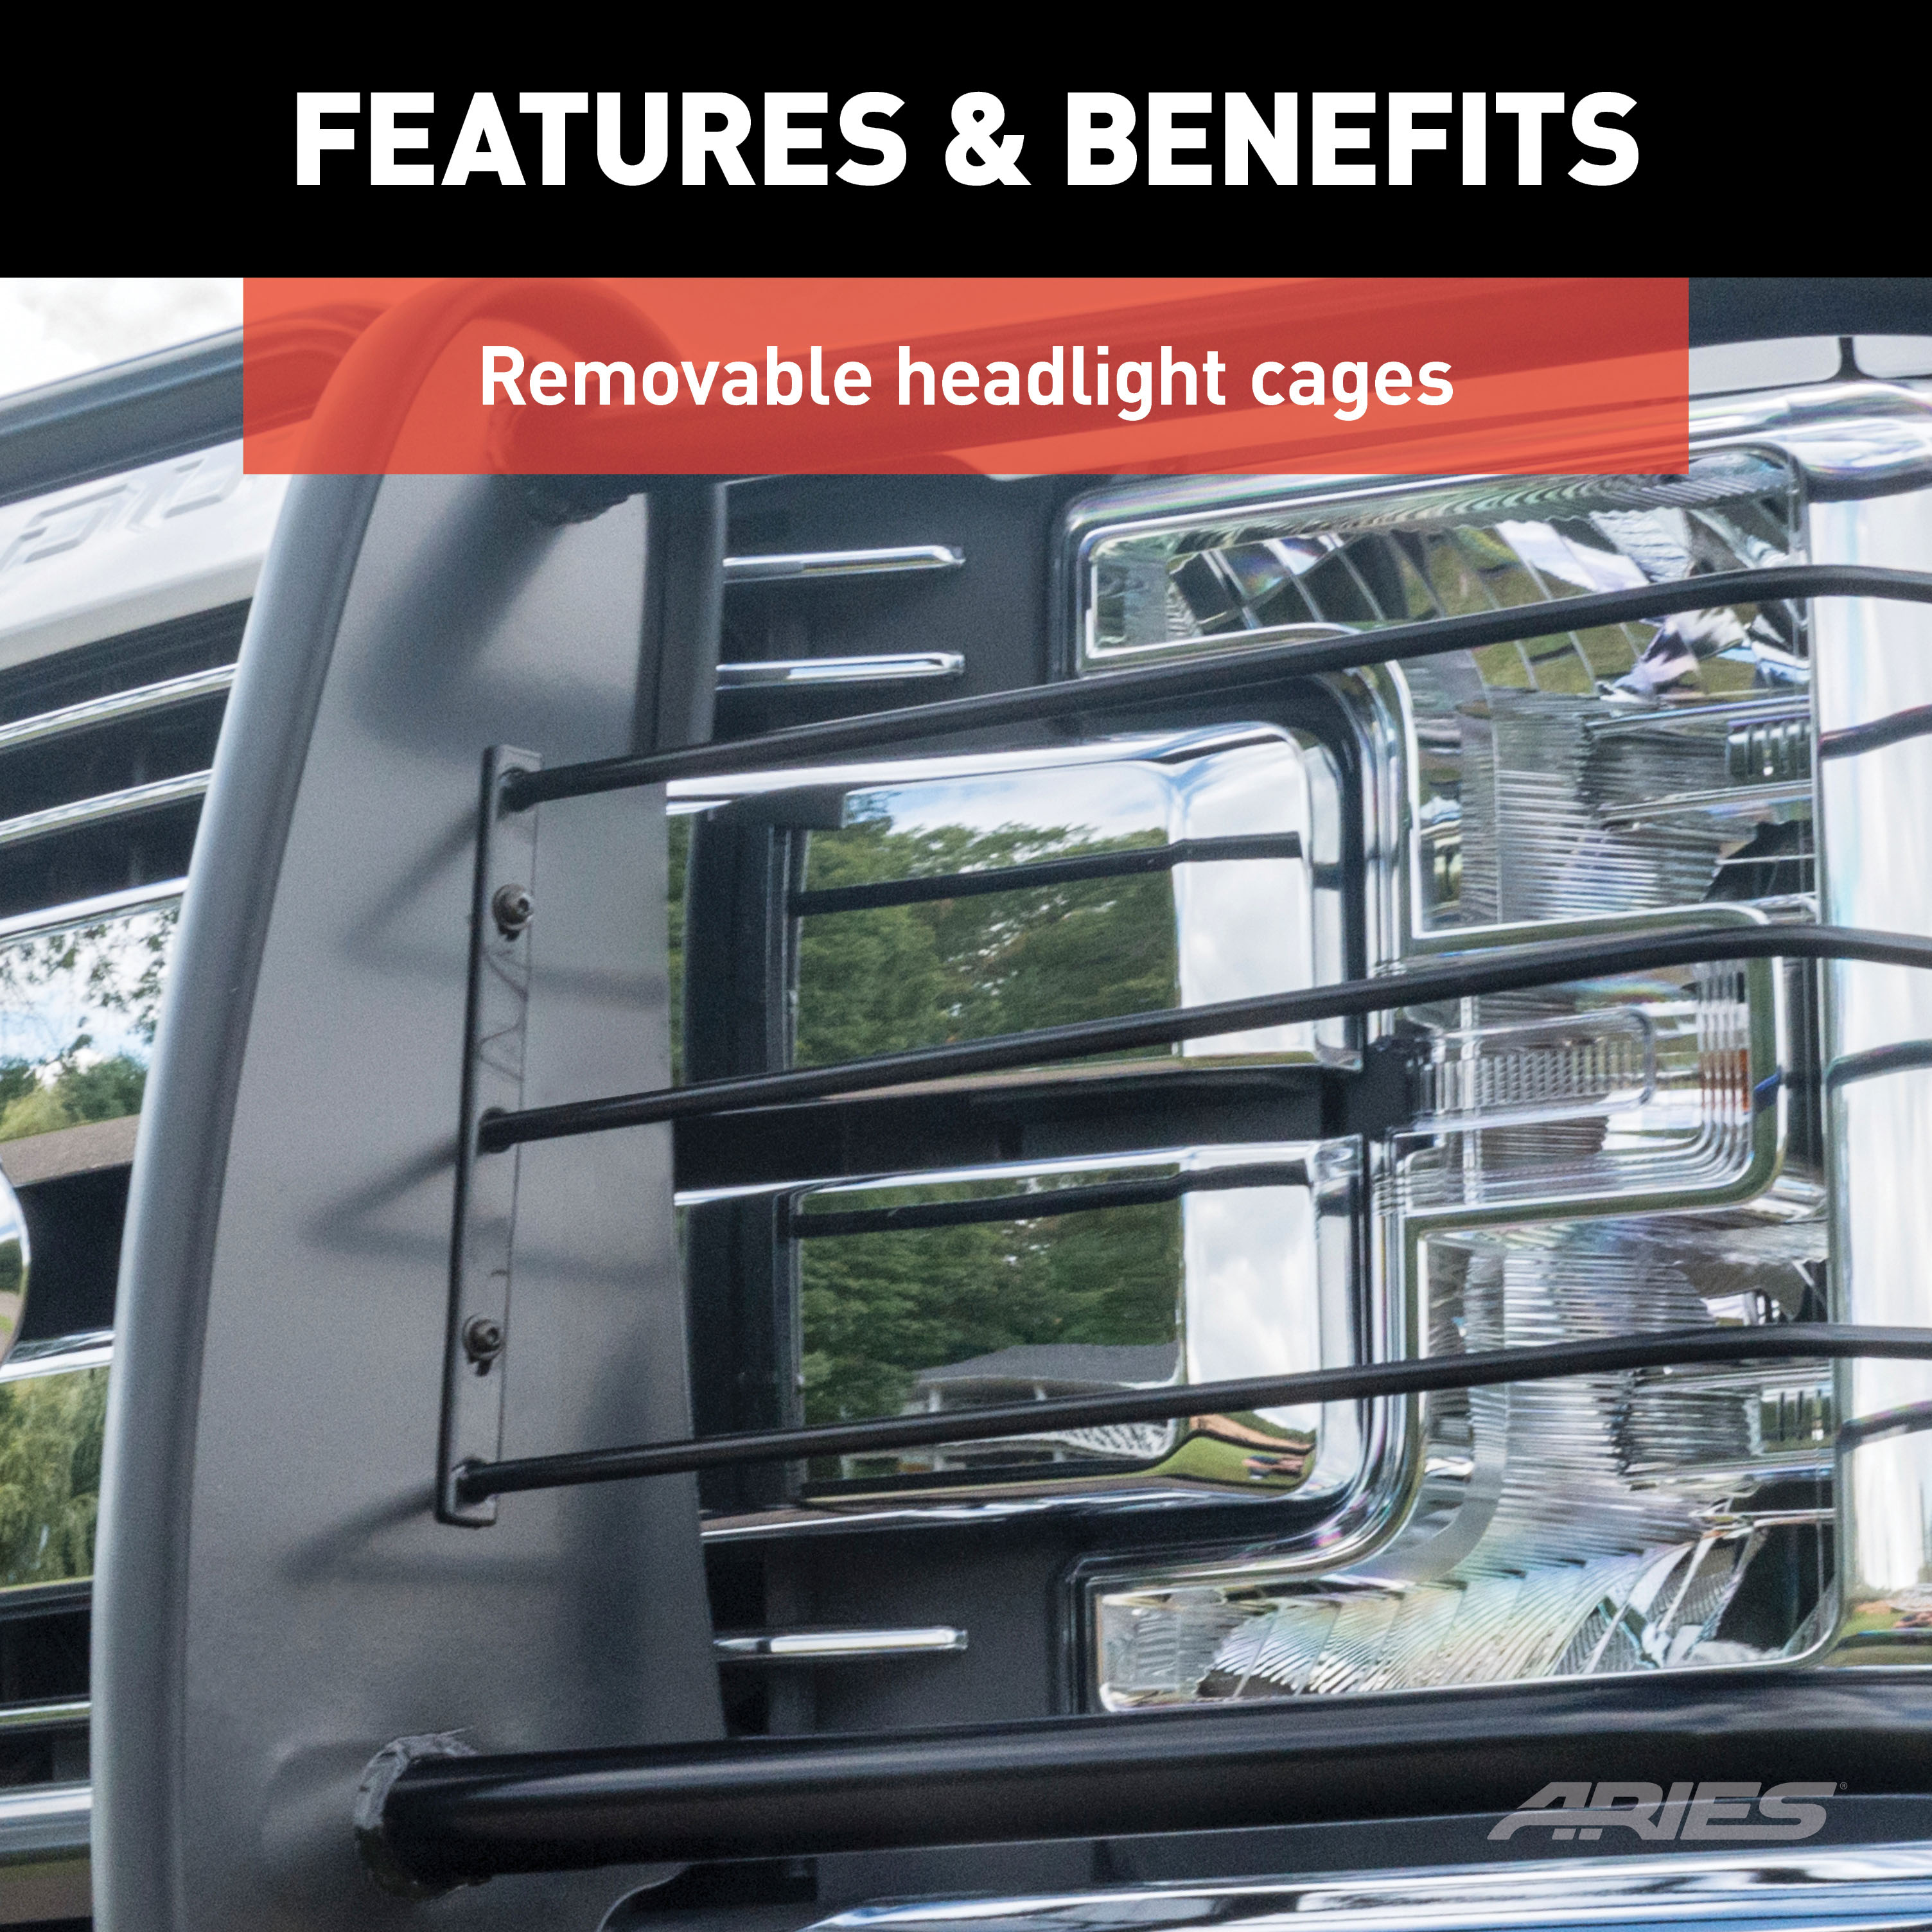
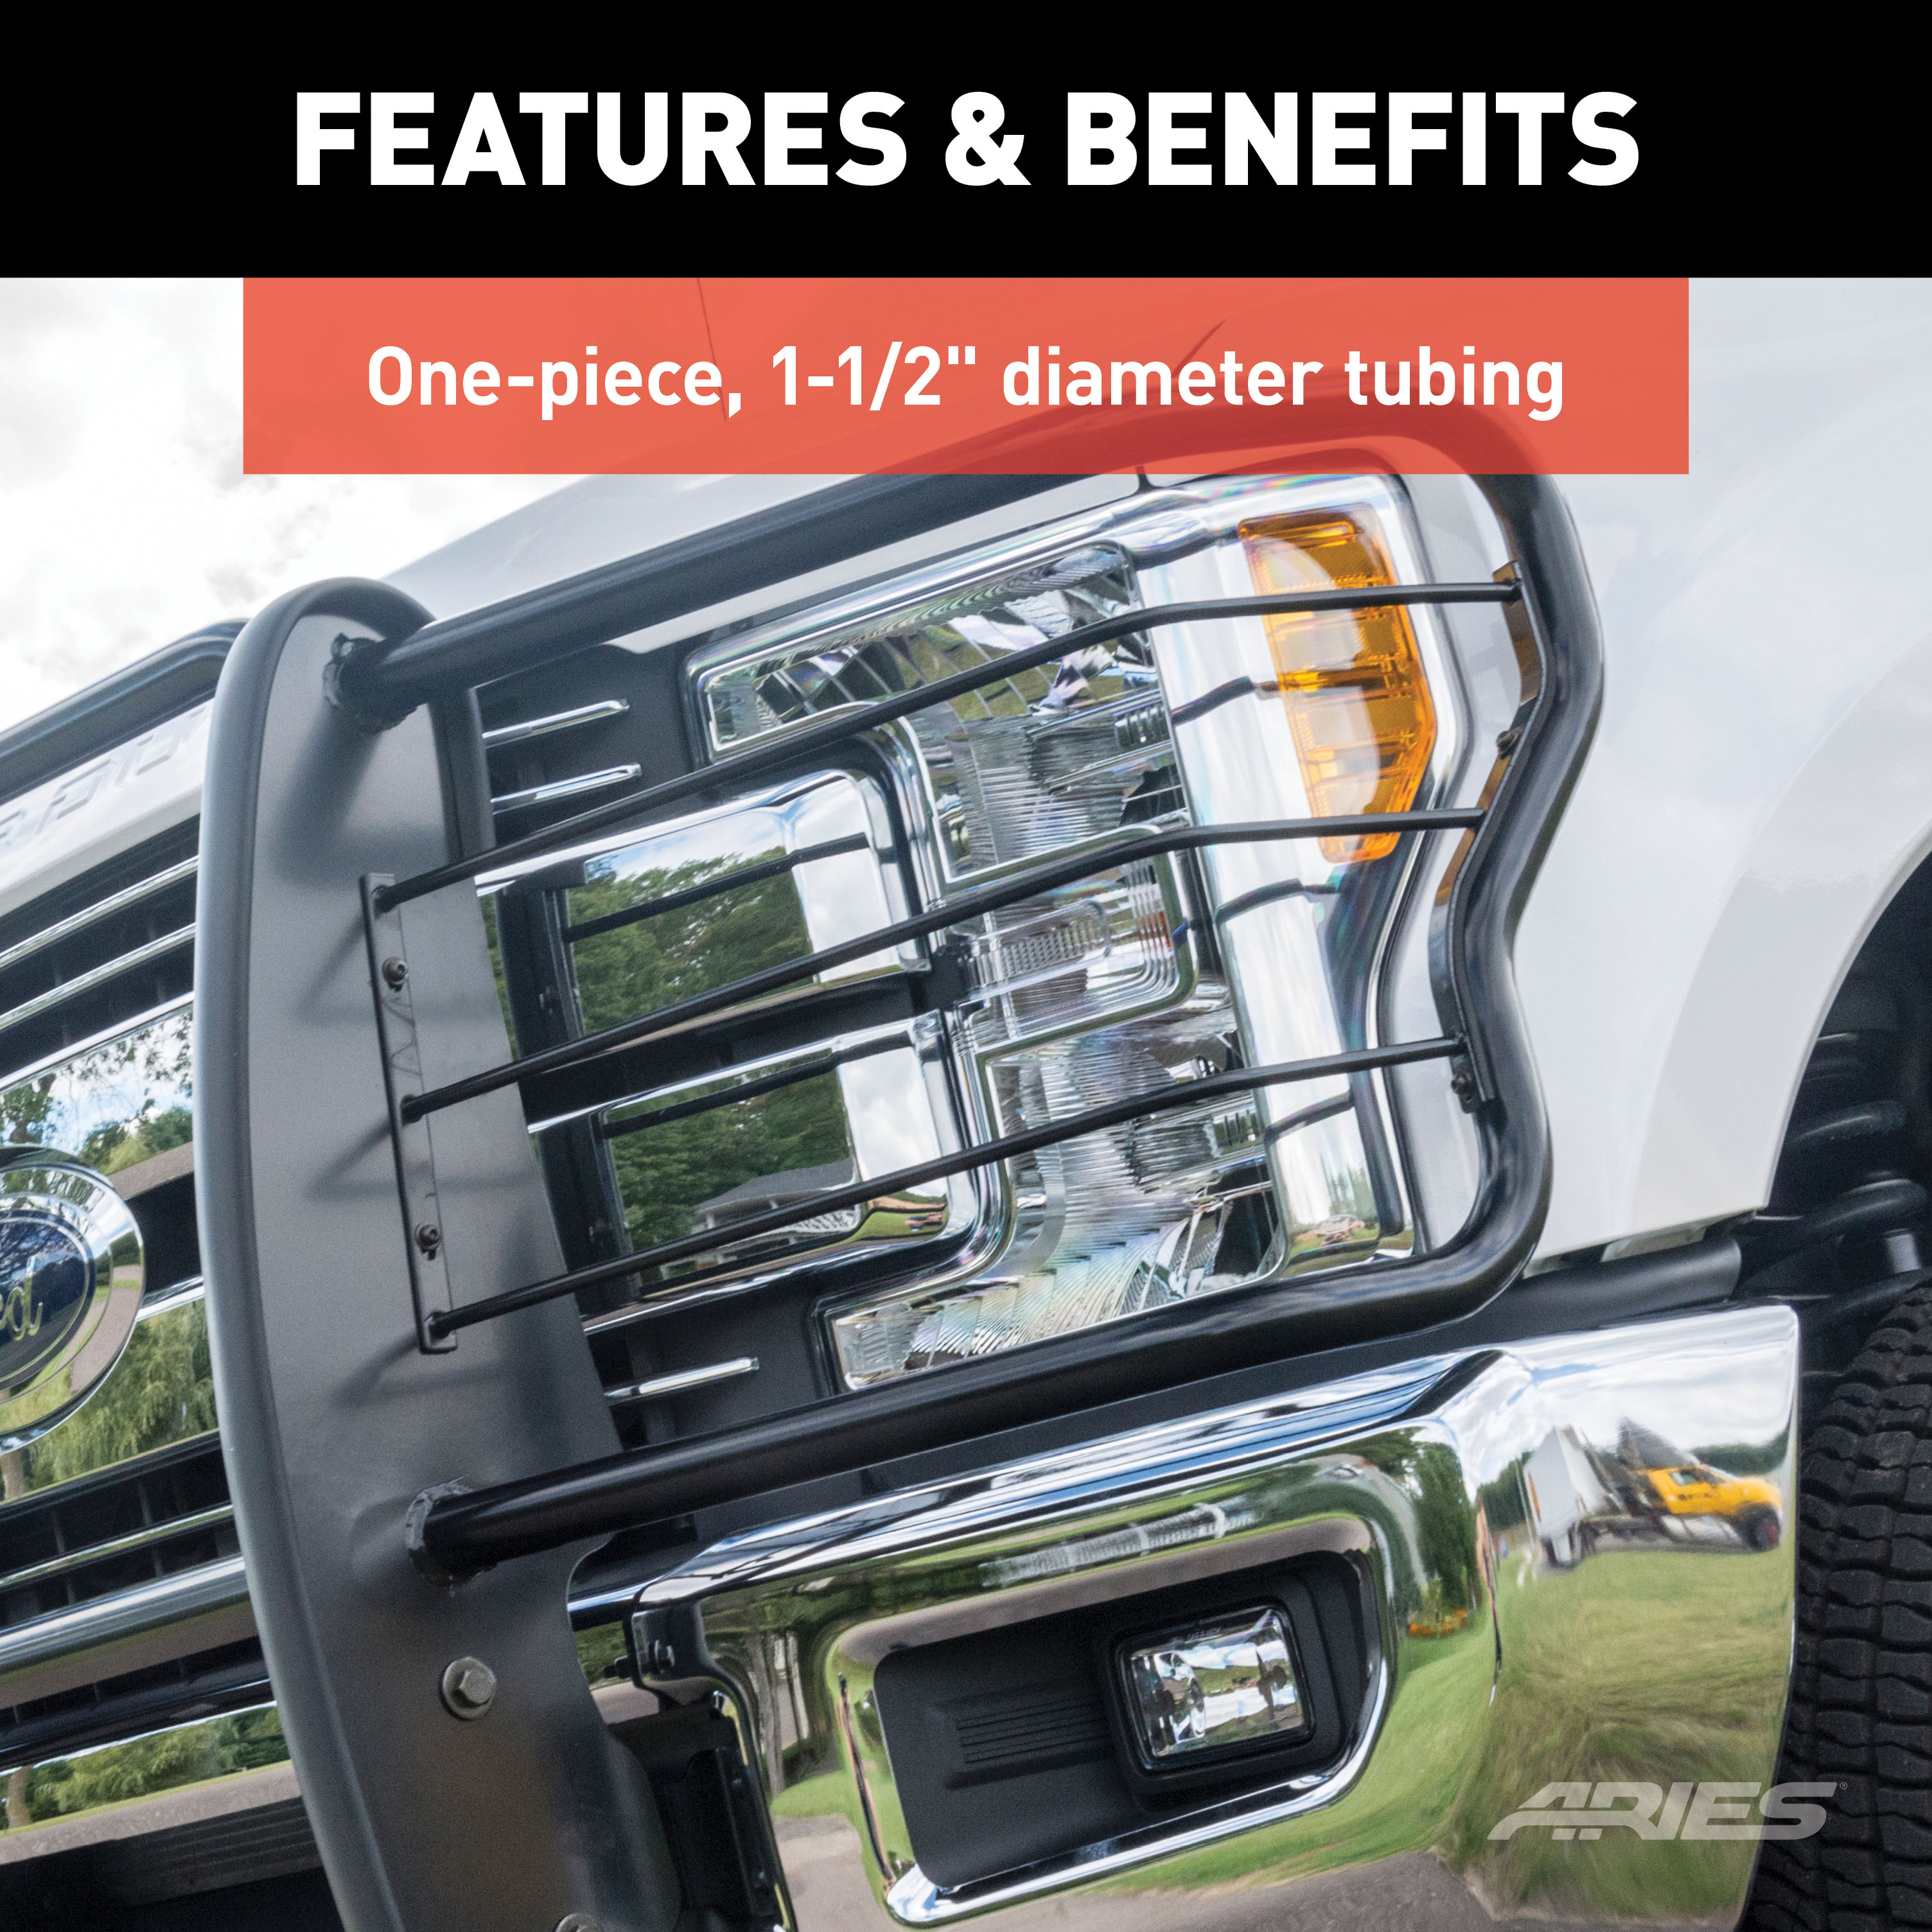
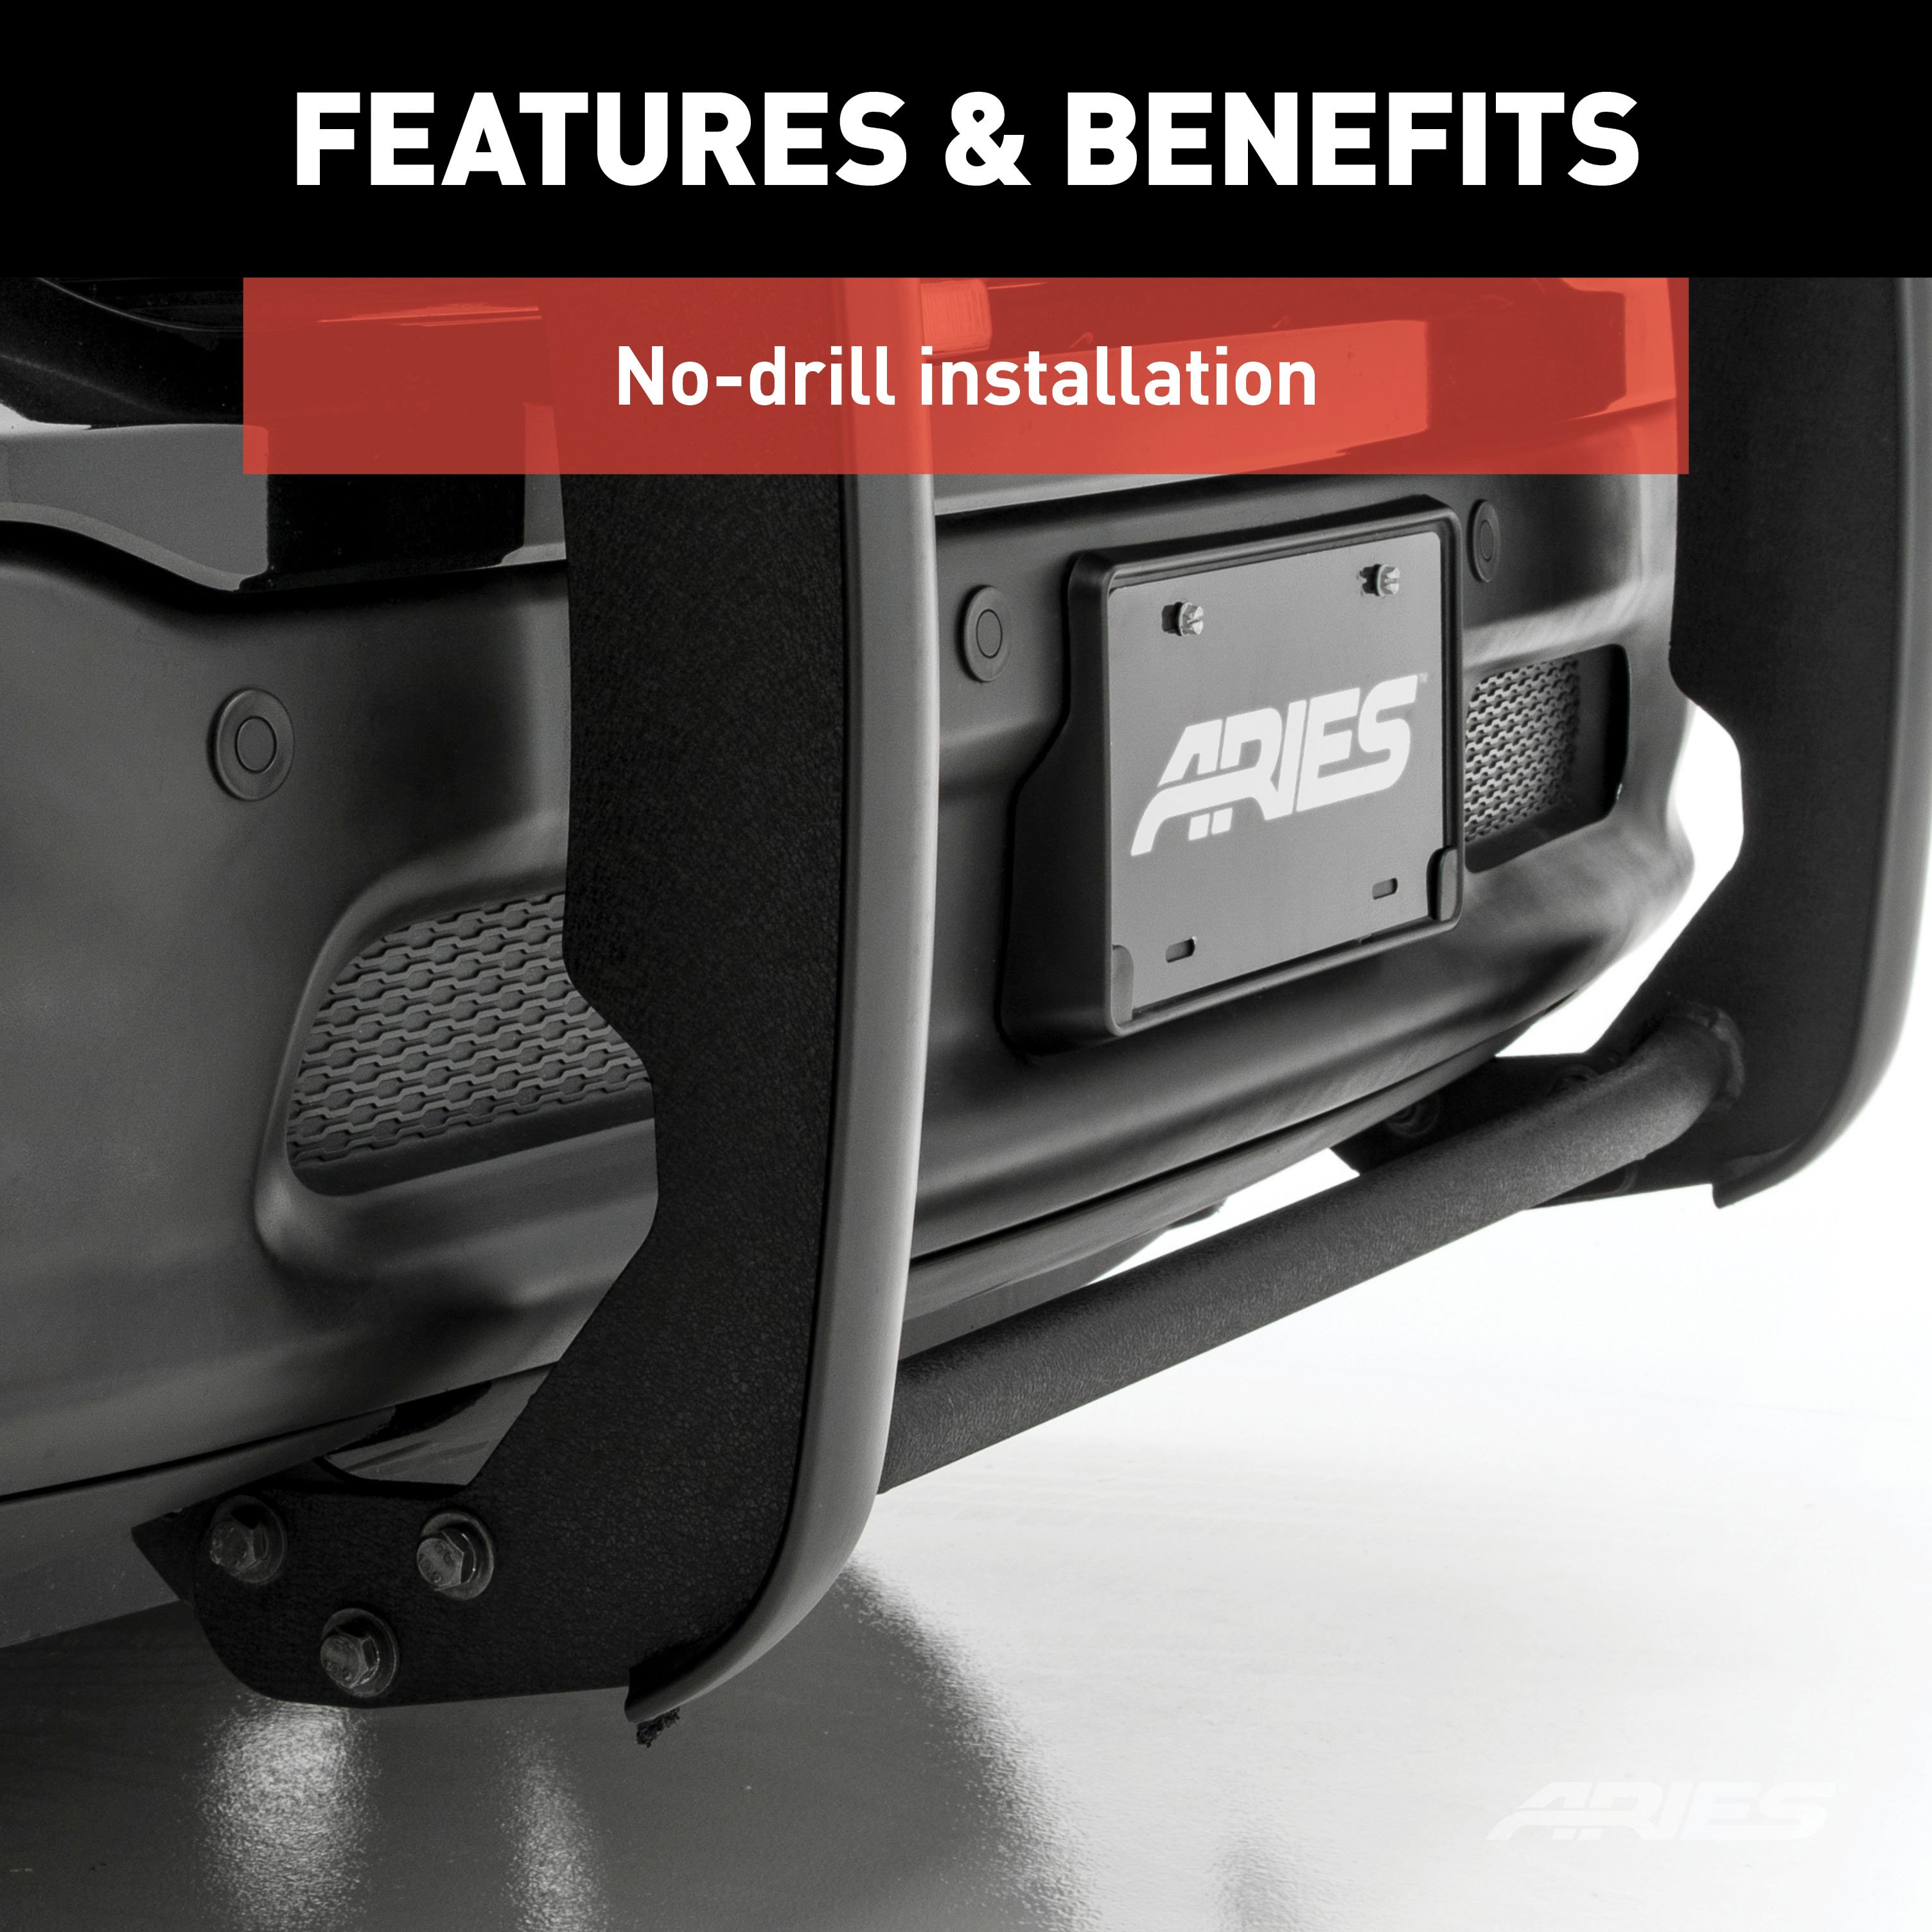
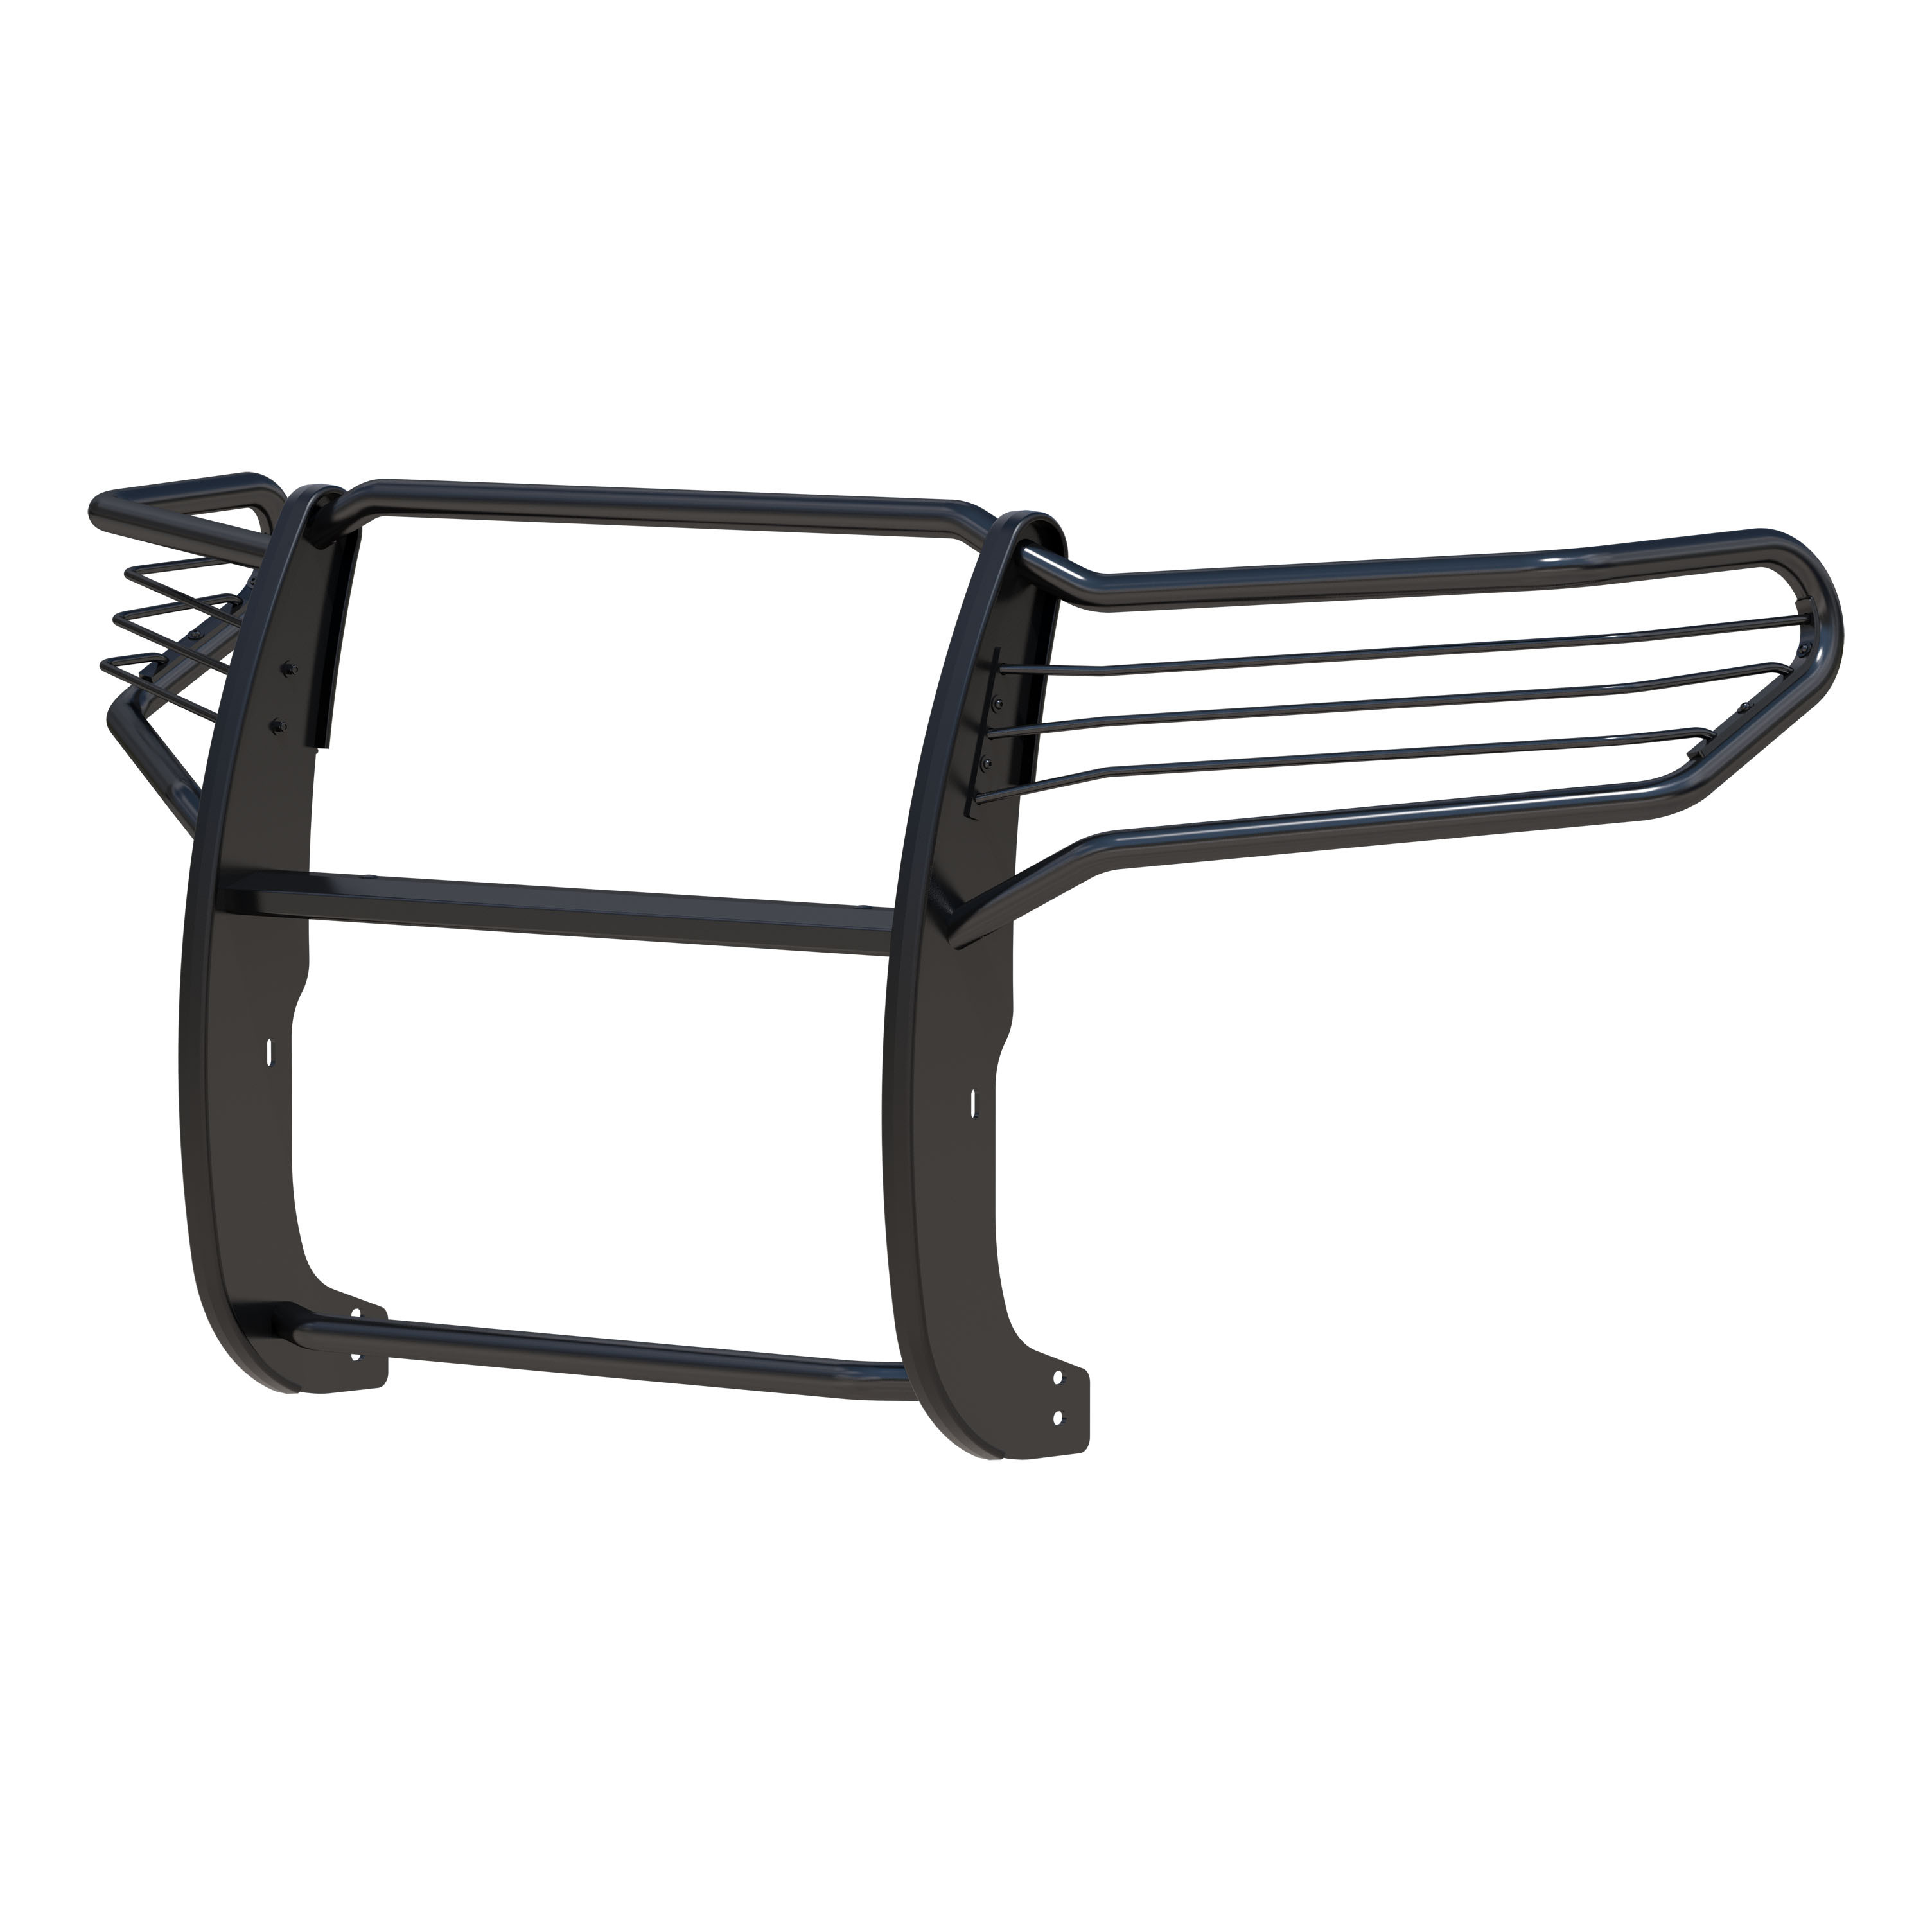
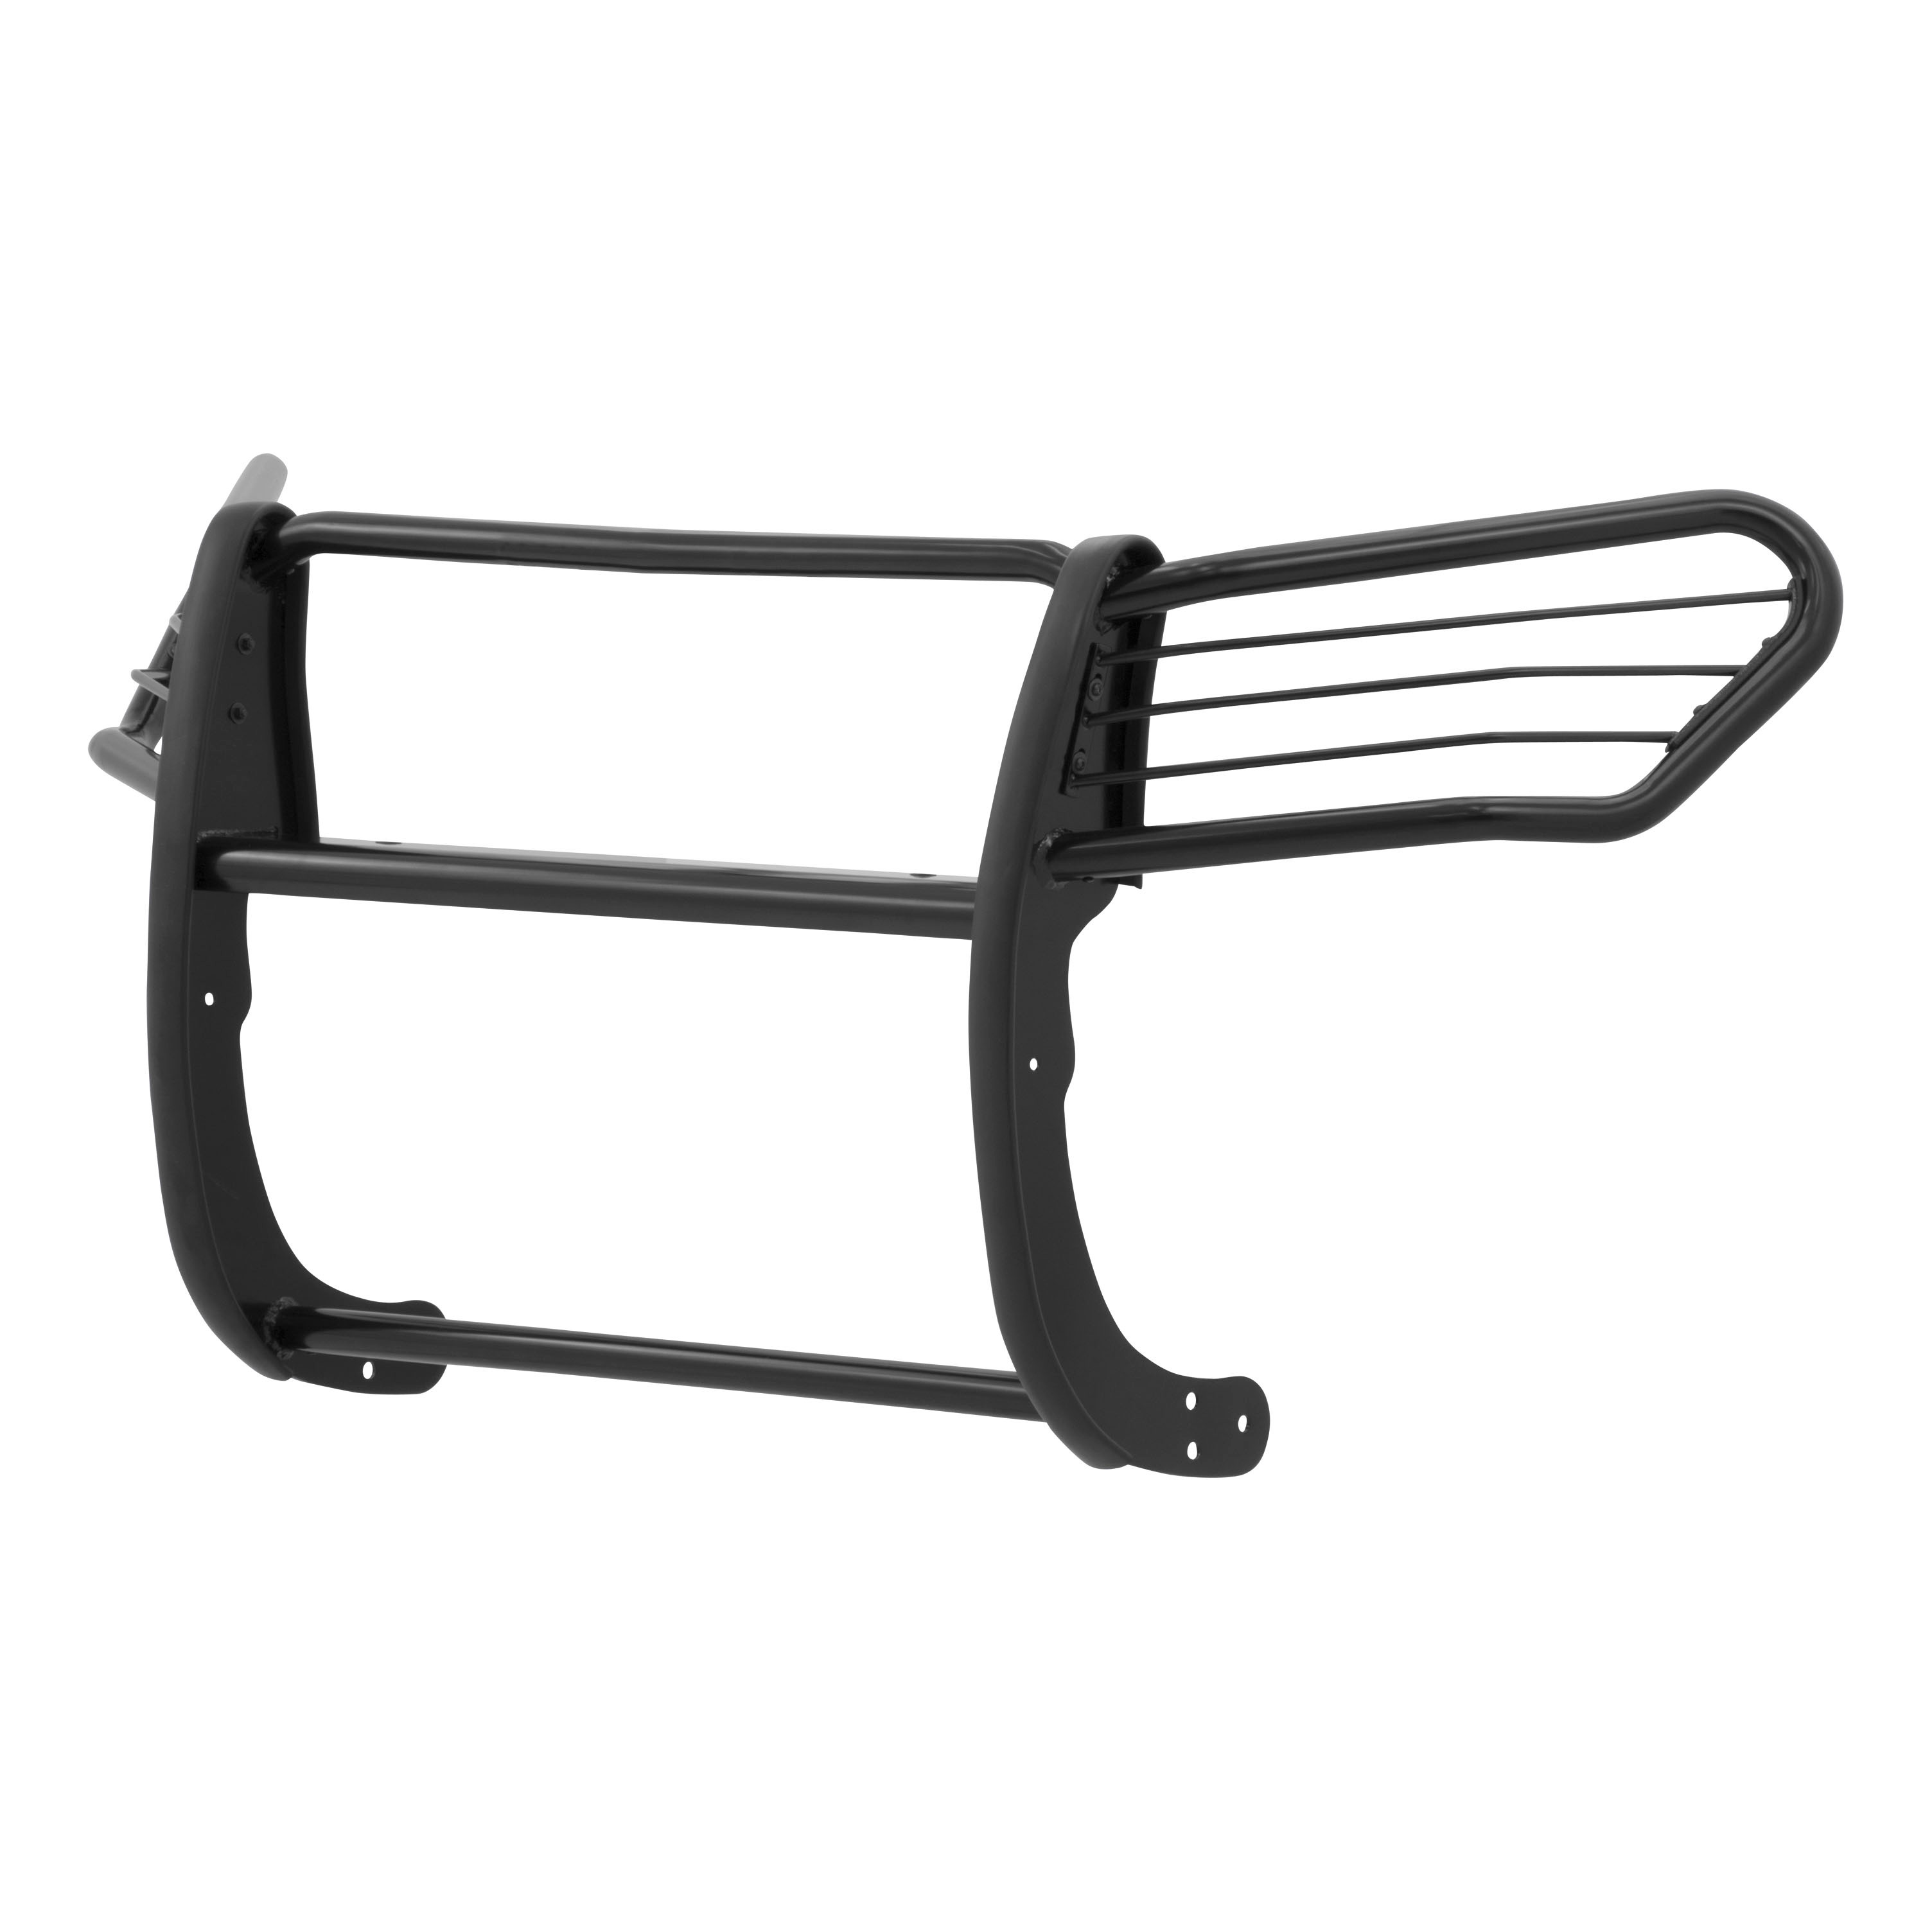
For the conqueror in every truck, Jeep or SUV owner, the ARIES grille guard offers the tough, trail-ready look you demand. It begins with a one-piece frame of 1/4" thick welded plates and 1-1/2" mandrel-bent tubing for a solid build. Each one is made with a vehicle-specific design for a better fit, easier install and more secure mounting. The side brush guards are custom-bent to contour to the profile of your vehicle, while the mounting brackets are positioned for a no-drill application. This means pre-existing factory holes are used to ensure optimum fitment and less vibration. This particular custom grille guard fits specific years of the Toyota RAV4 (see application info to verify). The ARIES grille guard also makes it easy to customize the look of your vehicle. Not only does the crossbar have two pre-drilled holes for mounting aftermarket LED lights, but many of our grille guards are also available in two finish options -- polished stainless steel or semi-gloss black steel. The stainless steel grille guard is made with 304 stainless, being high in nickel content and truly resistant to rust and corrosion. This option comes with a mirror-like polished finish for a definitive shine. The semi-gloss black grille guard is made with high-strength carbon steel for added strength. It features a tough, dual-layer E-coat and black powder coat finish to protect against rust, scratches and the elements. All ARIES grille guards also come with rubber stripping along the risers to protect the frame against scuffs and scratches.

Explore ARIES products at TowUniverse for top-tier grille guards, side bars, nerf bars, headache racks, and more. Upgrade your vehicle with ARIES today!
ARIES is a fast-paced marketer and innovator of truck, Jeep, SUV and CUV accessories. From automotive enthusiasts to professional builders, our products are built for the champions of individualism, innovation and attitude.
We offer the perfect combination of unique style and durable construction, specializing in custom-fit grille guards, bull bars, side bars and running boards, as well as Jeep Wrangler and Jeep Gladiator accessories.
ARIES products are made vehicle-specific for a custom fit, and they are available for a wide variety of makes and models sold in North America.
Experts available to answer your questions
Call 888-634-9494Limited Lifetime Warranty (Three-Year Finish, One-Year Parts)
1 compatible vehicles
| Year | Make & Model | Notes |
|---|---|---|
| 2006 - 2017 | Toyota RAV4 | — |
The ARIES 2065 1-1/2-Inch Black Steel Grille Guard, No-Drill, Select Toyota RAV4 (Part #BBDR2065) fits 2006-2017 Toyota RAV4 models. The 2017 model year is the last year covered by this part number. For newer models, check for an updated version.
The ARIES 2065 1-1/2-Inch Black Steel Grille Guard, No-Drill, Select Toyota RAV4 (Part #BBDR2065) fits the following vehicles: 2006-2017 Toyota RAV4. Always verify your specific year, make, and model before ordering.
Yes, the ARIES 2065 1-1/2-Inch Black Steel Grille Guard, No-Drill, Select Toyota RAV4 (Part #BBDR2065) is designed to fit the 2006-2017 Toyota RAV4.
The ARIES 2065 1-1/2-Inch Black Steel Grille Guard, No-Drill, Select Toyota RAV4 (Part #BBDR2065) Refer to the included instructions for installation details. Basic hand tools are typically all you need.
The Curt 2065 Grille Guard is designed for 06-13 Toyota RAV4 models. However, the installation procedure differs between model year groups: 2006-2012 models use Bent Top Support Brackets, while 2013 models use Flat Top Support Brackets. The plastic grille panel removal procedure also differs between 2006-2008 and 2009-2012 models. Verify your specific model year before purchasing to ensure you receive the correct bracket type.
The kit includes: 1 Grille Guard, 2 Frame Mounting Brackets (driver/left and passenger/right), 2 Top Support Brackets (Bent type for 06-12 models or Flat type for 2013 models), 6 12-1.75mm x 35mm Hex Bolts, 2 6-1.0mm x 30mm Hex Bolts, 2 6-1.0mm x 25mm Button Head Screws, 12 12mm x 32mm OD x 3mm Flat Washers, 6 12mm Lock Washers, 6 12mm Hex Nuts, 2 6mm Nut Plates, 6 6mm Lock Washers, 4 6mm x 22mm OD x 2mm STD Flat Washers, 4 6mm x 12mm OD x 1.6mm Small Flat Washers, and 2 6-1.0mm x 25mm Button Head Screws.
Yes. The plastic splash guard must be removed at the start of installation and temporarily set aside on a clean, stable work area. Pay close attention to the location of all two-piece plastic clips and screws for easier reinstallation. Use a small flat blade screwdriver to gently pry up the plastic center pin to release the clips. After the grille guard is positioned, you will mark and cut the splash guard to clear the Frame Mounting Brackets, then reinstall it using factory hardware.
Assistance is recommended. The manual states 'Assistance is Recommended' in the initial instructions, and Step 5 specifically notes 'With assistance, place the Grille Guard face down on a clean surface in front of the vehicle.' This suggests that handling and positioning the grille guard during installation benefits from a second person.
Yes, cutting is required. The plastic splash guard must be cut to clear the Frame Mounting Brackets. The manual emphasizes: 'Carefully cut the splash guard only enough to clear the Frame Brackets. Do not cut completely through the front edge of the cover. Do not cut off any mounting locations from the cover. To maintain strength, cut only material that is required to clear the Frame Mounting Brackets.' The cuts are made after initial positioning and before final installation.
The Frame Mounting Brackets are bolted to the vehicle using factory hex bolts that originally secure the crossmember to the frame. The manual states: 'Only install one Mounting Bracket at a time and only remove the (3) factory hex bolts required for Bracket installation.' These factory bolts are reused to attach the brackets; they are snugged but not fully tightened until final adjustment in Step 7.
1. Remove and set aside the plastic splash guard. 2. Install the driver side Frame Mounting Bracket using factory bolts (snug, do not tighten). 3. Install the passenger side Frame Mounting Bracket using factory bolts (snug, do not tighten). 4. Remove the plastic grille panel (06-12 models) or rubber bumpers (2013 models). 5. Install the appropriate Top Support Brackets (Bent for 06-12, Flat for 2013). 6. Position the Grille Guard and attach to Frame Mounting Brackets with provided hardware (snug, do not fully tighten). 7. Secure Grille Guard to Top Support Brackets. 8. Level, adjust, and fully tighten all Frame Bracket hardware. 9. Cut and reinstall the splash guard. 10. Reinstall the Grille Guard and fully tighten all hardware. 11. Check hood clearance and adjust as needed.
For 2006-2012 models, use the Bent Top Support Brackets. Slide the bracket under the rubber hood seal and line up the hole in the bracket with the hole in the grille crossmember. Insert a 6mm Nut Plate down and into the opening behind the grille, holding it against the underside of the steel crossmember. Bolt the bracket to the nut plate using: 1 6mm x 25mm Hex Bolt, 1 6mm Lock Washer, and 1 6mm x 22mm OD x 2mm STD Flat Washer. Repeat for the passenger side. Cover any bracket surfaces that contact the vehicle with removable tape (masking tape) to protect the finish.
For 2013 models, use the Flat Top Support Brackets. First, remove the screw-on rubber bumper from the top of the grille on the driver side. Slide the bracket under the rubber hood seal and line up the hole in the bracket with the threaded hole in the top of the grille. Bolt the bracket to the top of the grille using: 1 6mm x 25mm Hex Bolt, 1 6mm Lock Washer, and 1 6mm x 22mm OD x 2mm STD Flat Washer. Repeat for the passenger side. Cover any bracket surfaces that contact the vehicle with removable tape (masking tape) to protect the finish.
For 2006-2008 models, use a small flat blade screwdriver to gently pry up the center pin to release the plastic clips holding the grille panel. The panel covers the opening between the grille and the radiator. Once released, remove the center pin and plastic housing. Pay close attention to the location of all clips and screws for easier reinstallation.
For 2009-2012 models, press the center button down to release the plastic clips holding the grille panel. The panel covers the opening between the grille and the radiator. Once released, remove the center pin and plastic housing. Pay close attention to the location of all clips and screws for easier reinstallation.
Hardware is tightened in stages. Initially, Frame Mounting Bracket bolts and Grille Guard attachment bolts are snugged but not fully tightened. After positioning and adjusting the grille guard for proper alignment, fully tighten all Frame Bracket to chassis hardware. After reinstalling the splash guard and repositioning the Grille Guard, adjust and fully tighten all hardware. Finally, after checking hood clearance and making any necessary adjustments, tighten all hardware at that time.
Slowly close the hood to check for clearance between the Grille Guard, Top Support Brackets, and the hood. Align and adjust as required to completely close the hood. The manual notes: 'It may be necessary to remove the Top Support Brackets and adjust the bends to fit properly.' Once completely adjusted, tighten all hardware at that time.
Yes. For 2006-2012 models, after the hood and/or brackets are properly adjusted and all hardware is tightened, reinstall the plastic panel between the grille and the radiator using the factory hardware.
The manual does not provide torque specifications for any fasteners. Contact Curt Manufacturing or consult a professional installer for recommended torque values.
The manual specifies only a small flat blade screwdriver as a required tool. This is used to pry up plastic center pins to release clips on the splash guard and grille panel. No other specific tools are listed in the installation instructions.
Cover any surface on the Top Support Brackets with removable tape (masking tape, for example) that may contact the vehicle to protect the finish. When positioning the Grille Guard, use packing materials to protect the finish on the Grille Guard. When cutting the splash guard, cut only material required to clear the Frame Mounting Brackets to maintain structural strength.
To protect your investment, wax the product after installing. Regular waxing is recommended to add a protective layer over the finish. Do not use any type of polish or wax that may contain abrasives that could damage the finish. For stainless steel finishes, aluminum polish may be used to polish small scratches and scuffs, and mild soap may be used to clean the grille guard. For gloss black finishes, mild soap may be used to clean the grille guard. Perform periodic inspections to ensure all hardware remains secure and tight.
After installation, slowly close the hood to verify clearance between the Grille Guard, Top Support Brackets, and the hood. Adjust as required to ensure the hood closes completely. Perform periodic inspections to ensure all hardware is secure and tight.
The Curt 2065 Grille Guard fits 2006-2013 Toyota RAV4 models. However, 2006-2012 models use Bent Top Support Brackets, while 2013 models use Flat Top Support Brackets. Verify your model year before purchasing.
Yes. The plastic splash guard must be cut to clear the Frame Mounting Brackets. Cut only enough material to clear the brackets—do not cut completely through the front edge or remove mounting locations.
Assistance is recommended. The manual specifically notes that help is needed when positioning the Grille Guard during installation.
A small flat blade screwdriver is the only tool specified in the manual. It is used to release plastic clips on the splash guard and grille panel.
Yes. The Frame Mounting Brackets are attached using the factory hex bolts that originally secure the crossmember to the frame. Only three factory bolts per side are removed and reused for bracket installation.
Cover any bracket surfaces that contact the vehicle with removable tape (masking tape). Use packing materials to protect the Grille Guard finish when positioning it. Use only mild soap or aluminum polish (for stainless steel) for cleaning; avoid abrasive polishes or waxes.
Slowly close the hood to verify clearance between the Grille Guard, Top Support Brackets, and the hood. Adjust as needed to ensure the hood closes completely. Perform periodic inspections to ensure all hardware remains secure and tight.
On Sale Today
Original price was $874.95. Current price is $526.00.You save $348.95 (40%)
Free Shipping
Ships free on all orders
 Authorized Dealer

Quick Ship
In stock and ready to ship — order now!
Shipping from Lancaster, TXFREE SHIPPING
Estimated delivery Thu, Sep 24 - Sat, Sep 26
Order before 2 PM EST Monday–Friday for same-day processing
Guaranteed safe & secure checkout
No reviews have been added for this product.