
BAK Revolver Roll-Up Hard Cover X4 20-21 Gladiator 5' 79701Bak IndustriesOriginal price was $1,177.64. Current price is $1,059.88.Out of Stock
View productOur in-house experts typically reply within one business day.

Bak Industries
Verify Fitment
Select your vehicle to confirm this part fits.





Always the correct part
We know our products
Quality Products
Free Shipping!
Always the correct part
We know our products
Quality Products
Free Shipping!
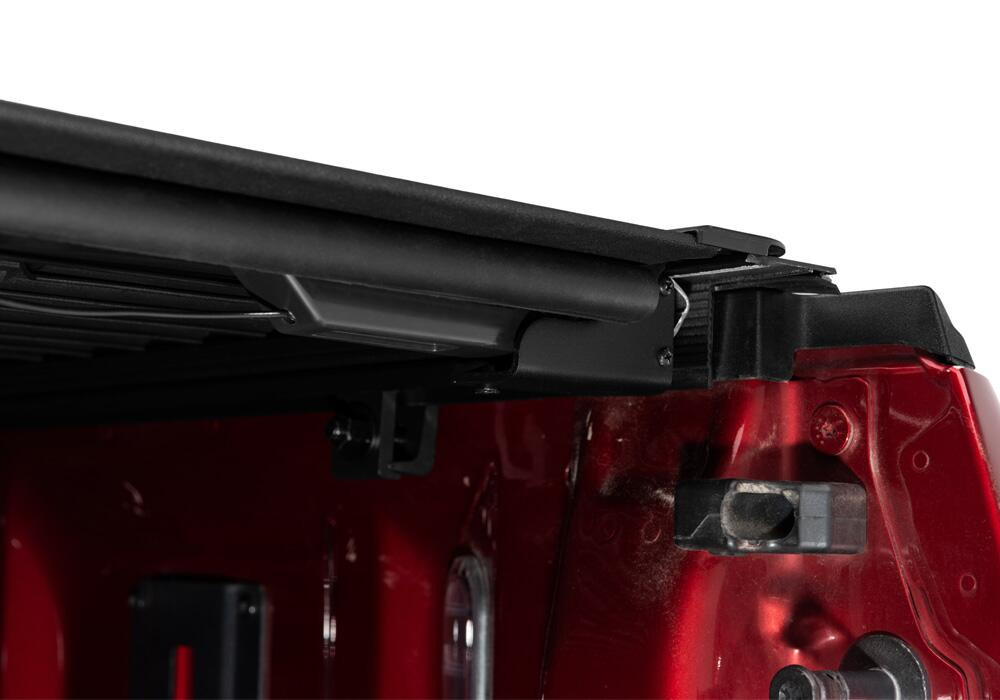
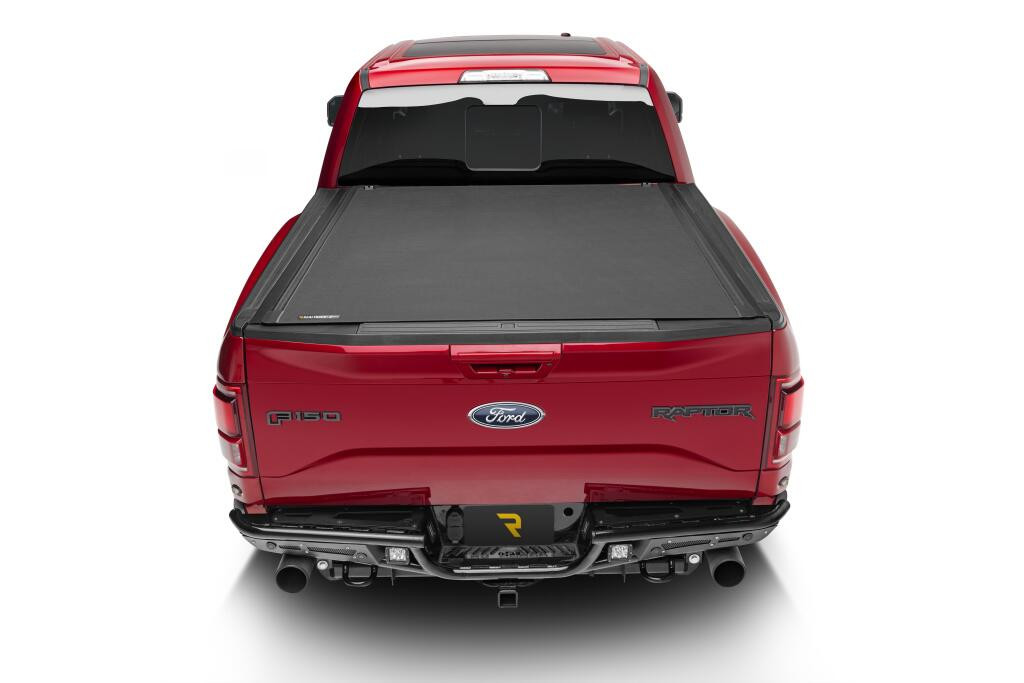
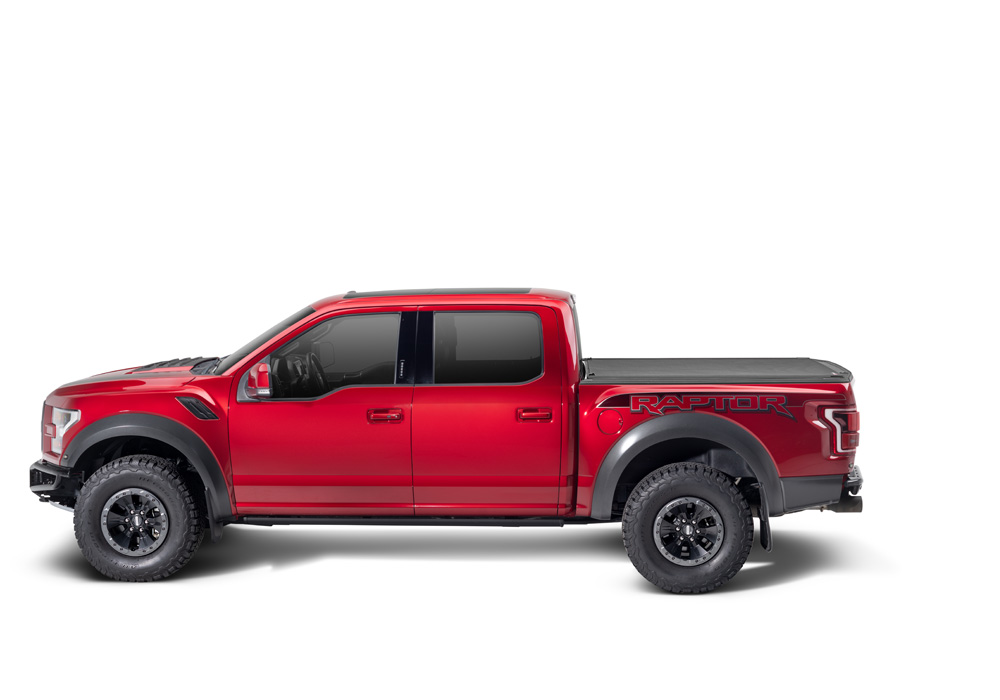
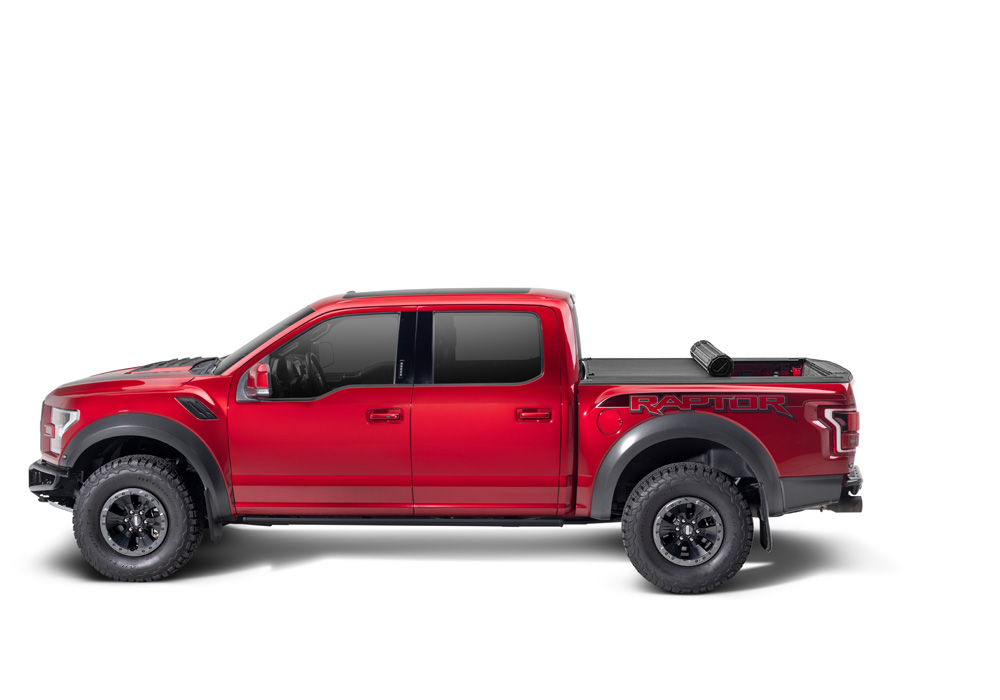
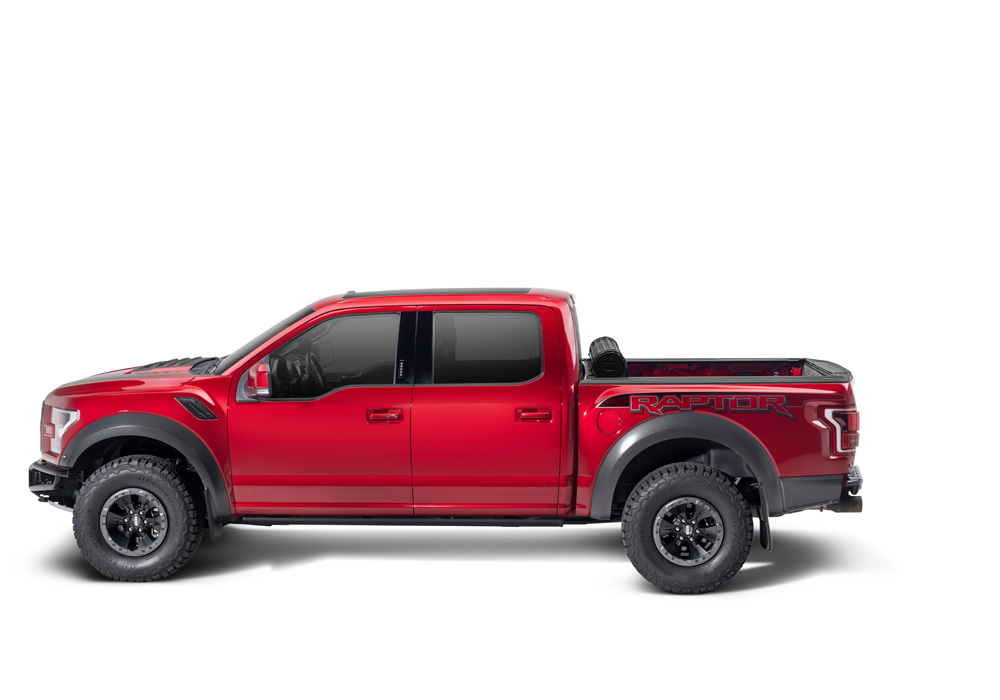
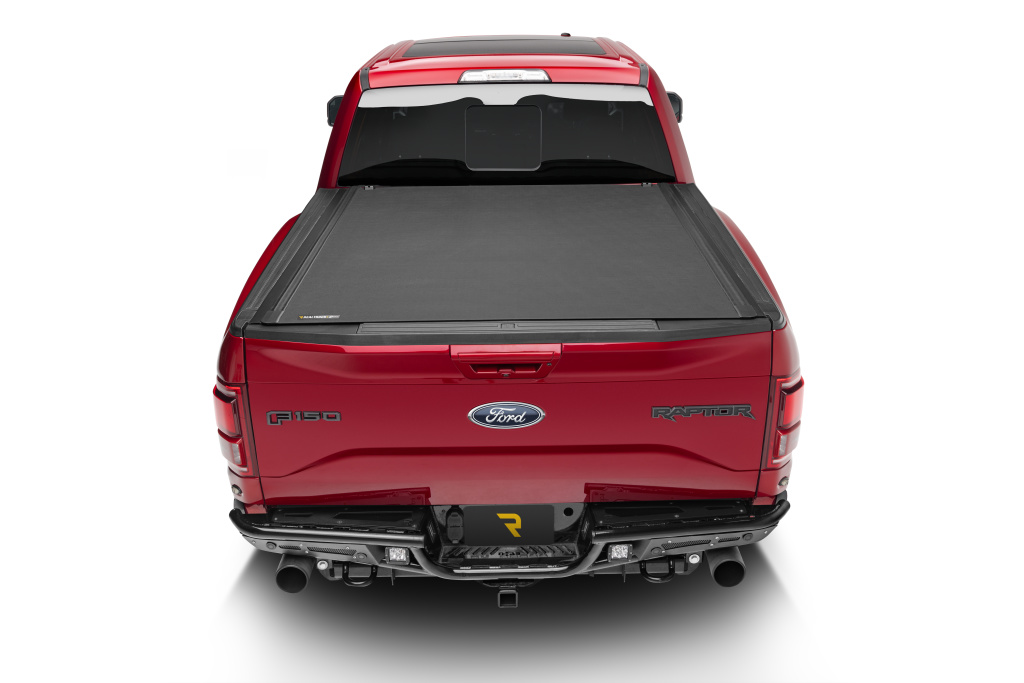
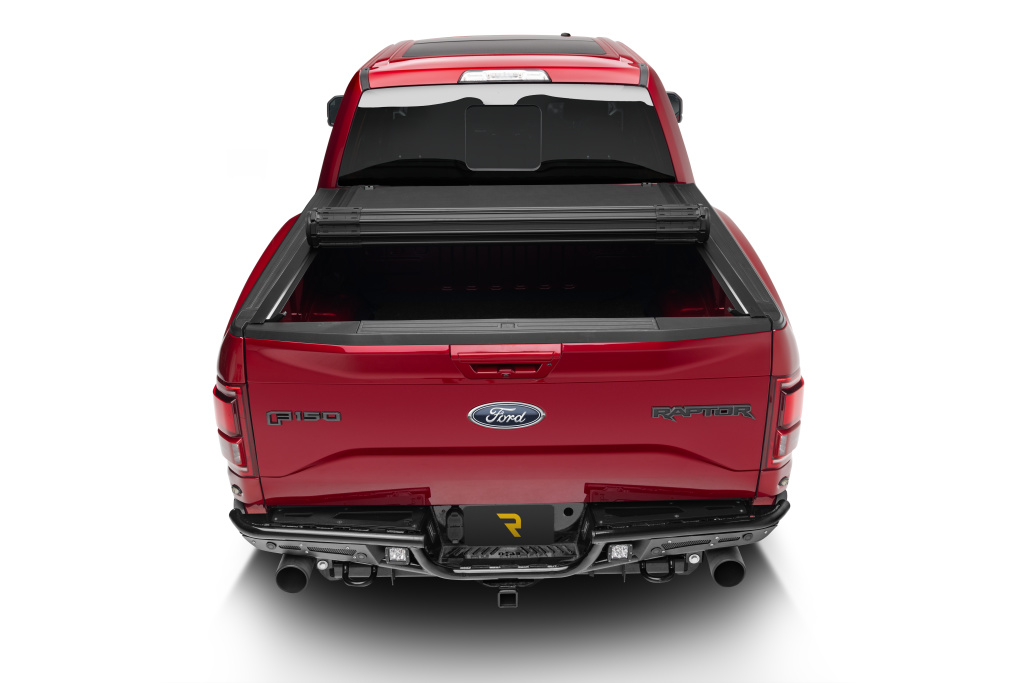
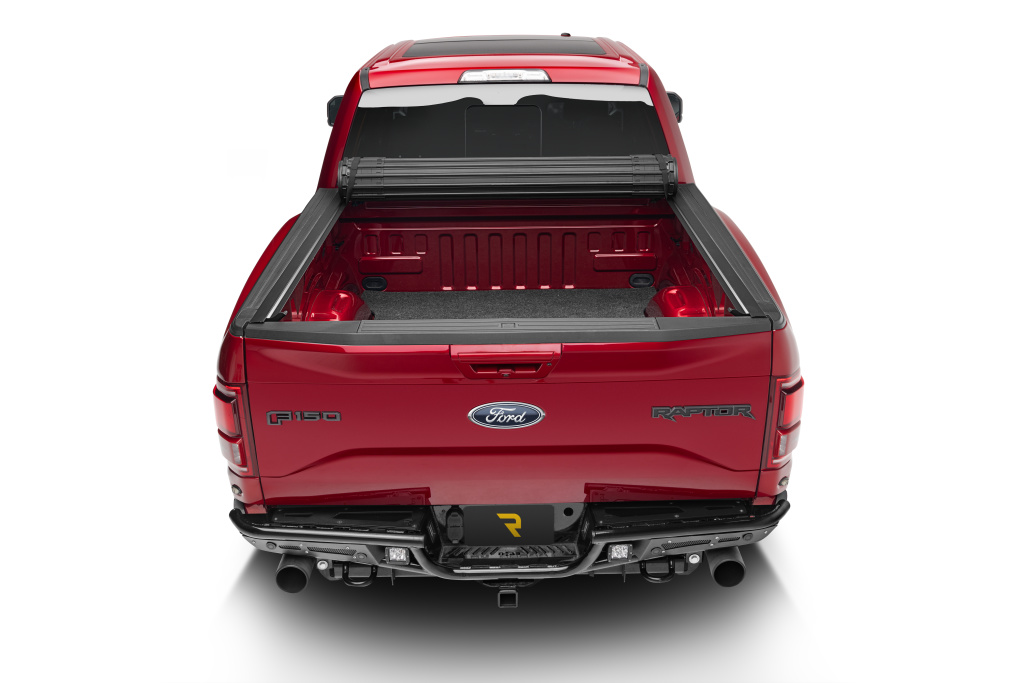
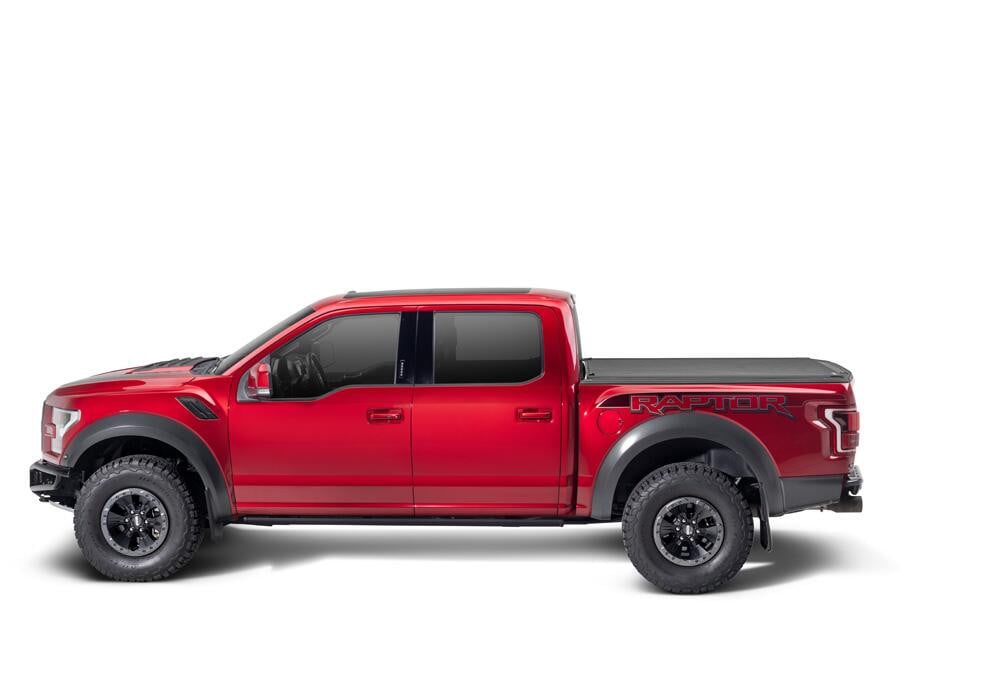
The new BAK Revolver X4s is the third generation of America's #1 selling premium hard rolling cover, now with exciting new features. The Revolver X4s is a bed cover engineered for real-world durability. With NEW matte black heavy-duty aluminum slats wrapped in industrial-grade vinyl and a matte black finish, top-to-bottom, the X4s delivers a modern, stylish appearance. With the cover closed, the patented rotational locking system secures the X4s for the entire length of the bed, on both sides, providing unrivaled strength and security. When open, the X4s cover rolls forward smoothly, storing securely with a durable strap and buckle system. This design gives you full access to your truck bed and does not interfere with your rear view mirror sightlines or block the third brake light. With revised premium black aluminum slats, newly designed side seals, and finished rear corner caps, the Revolver X4s bed cover achieves a new level of refinement for your truck. Best of all, it's backed by an impressive 5-year warranty. Expect More.
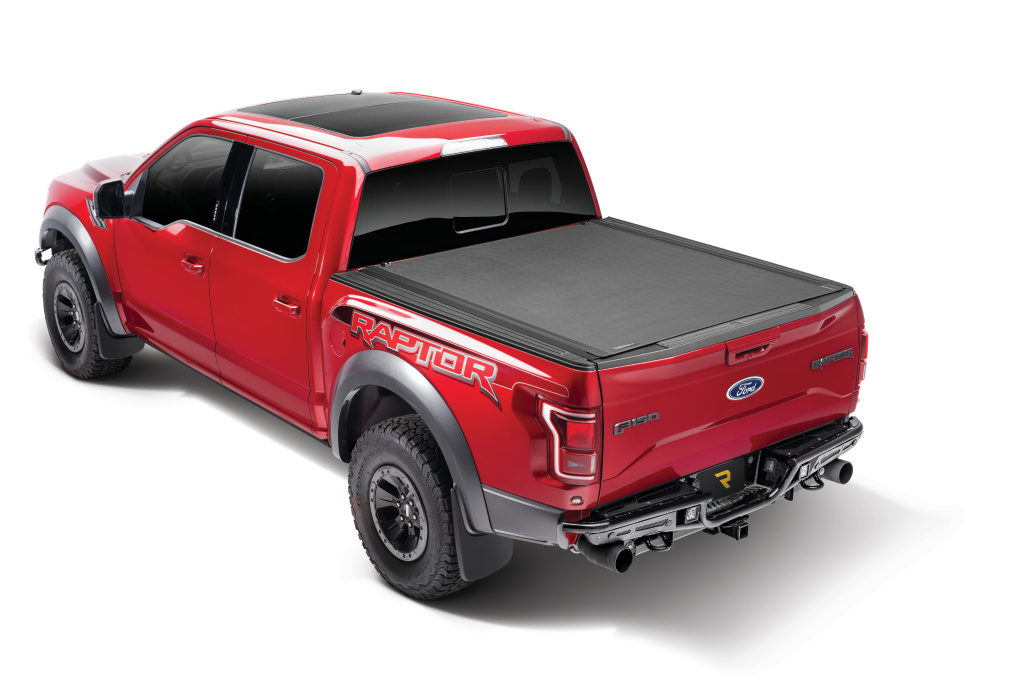
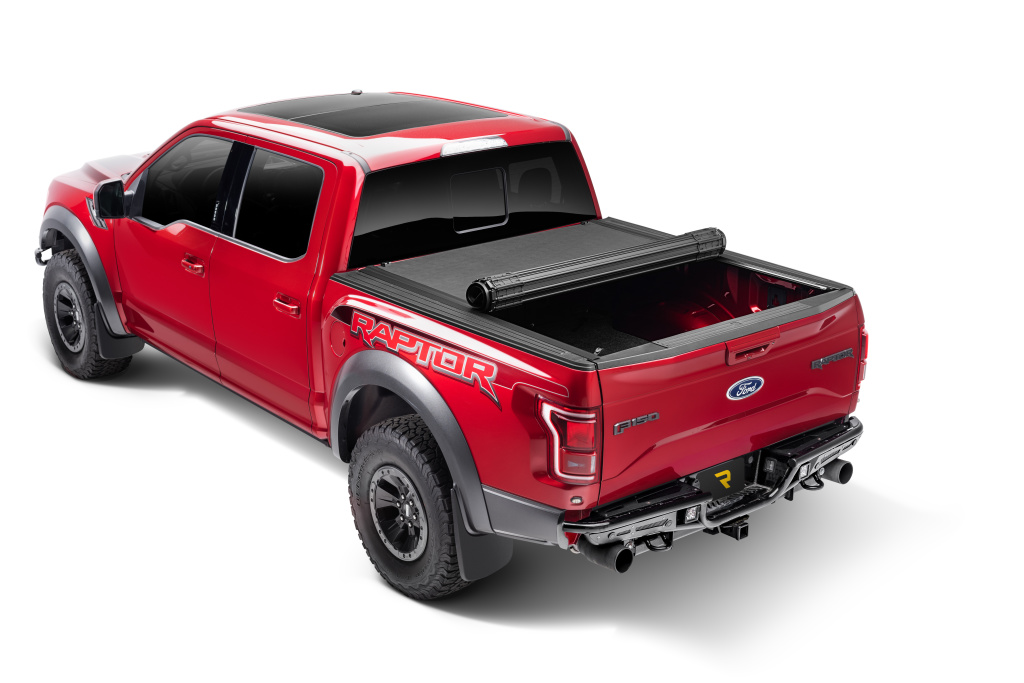
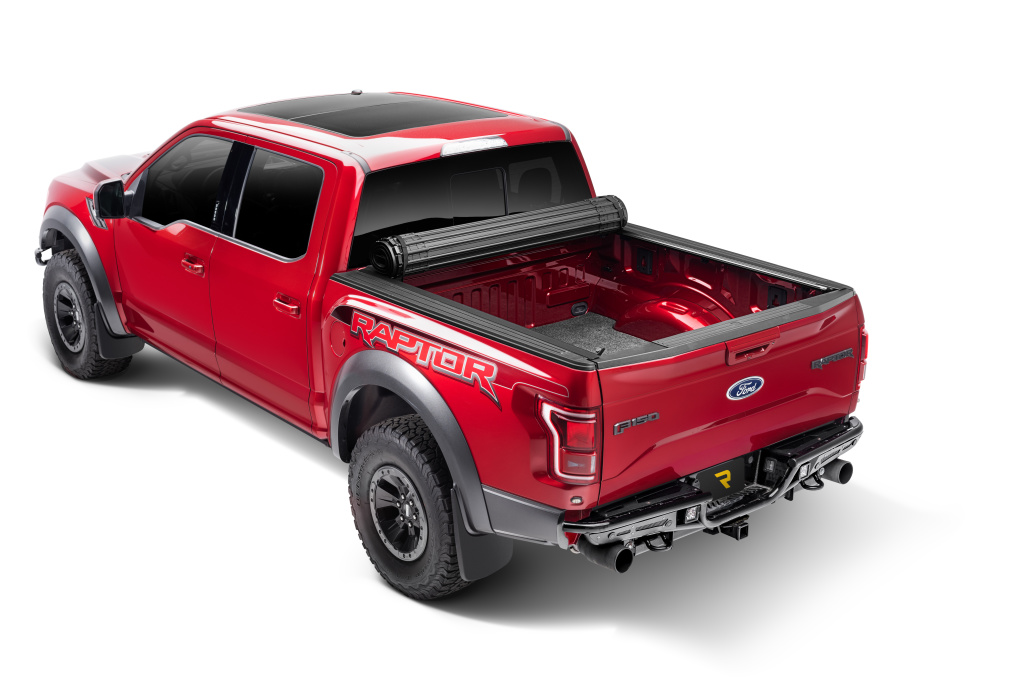
Actual Color: Black
Color: Black
Front Opening: No
Full Bed Access: Yes
Install Time: 30 Minutes
Key Lockable: No
Low Profile: Yes
Material: Vinyl Top w/ Aluminum Underside
Paintable: No
Rails To Install: Yes
Sits on Truck Rails: No
Style: Roll-Up Hard Cover
Title: BAK X4s 20-25 Gladiator 80701
Works w/Toolbox: No

BAK Industries is a leading manufacturer of premium hard-folding and hard-rolling truck bed covers. Known for popular products such as the BAKFlip and Revolver, BAK tonneau covers deliver secure cargo protection, convenient bed access, and a sleek, low-profile appearance.
BAK Industries is a trusted manufacturer of premium tonneau covers designed to improve truck bed security, protection, and versatility. The brand specializes in hard-folding and hard-rolling truck bed covers that combine durable construction with a clean, low-profile appearance.
BAK’s product lineup includes the popular BAKFlip series of hard-folding covers and the Revolver series of hard roll-up covers. Available models include the BAKFlip MX4, G2, F1, FiberMax, and BAK Revolver X4s and X2. Select models are also available with integrated T-slot rails for mounting compatible racks and cargo-management accessories.
BAK tonneau covers are manufactured from durable materials such as aluminum, fiberglass-reinforced polymer, and aluminum with a vinyl-grain surface. Many models provide convenient access to the truck bed while helping shield tools, equipment, luggage, and other cargo from weather and unauthorized access.
Designed for work trucks, daily drivers, and recreational vehicles, BAK truck bed covers offer practical functionality without sacrificing appearance. With vehicle-specific designs and straightforward installation, BAK Industries provides dependable cargo-management solutions for a wide variety of pickup trucks.
Experts available to answer your questions
Call 888-634-94945 Year Limited
1 compatible vehicles
| Year | Make & Model | Bed | Notes |
|---|---|---|---|
| 2020 - 2027 | Jeep Gladiator | 5' Bed | Revolver X4s |
The BAK Revolver Roll-Up Hard Cover X4s 20-25 Gladiator 5' 80701 (Part #BKDA80701) fits the following vehicles: 2020-2025 Jeep Gladiator. Always verify your specific year, make, and model before ordering.
The BAK Revolver Roll-Up Hard Cover X4s 20-25 Gladiator 5' 80701 (Part #BKDA80701) fits 2020-2025 Jeep Gladiator models. The 2025 model year is the last year covered by this part number. For newer models, check for an updated version.
Yes, the BAK Revolver Roll-Up Hard Cover X4s 20-25 Gladiator 5' 80701 (Part #BKDA80701) is designed to fit the 2020-2025 Jeep Gladiator.
The BAK Revolver Roll-Up Hard Cover X4s 20-25 Gladiator 5' 80701 (Part #BKDA80701) is designed for 5' bed trucks. Check the fitment chart for your specific Jeep Gladiator configuration.
The BAK Revolver Roll-Up Hard Cover X4s 20-25 Gladiator 5' 80701 (Part #BKDA80701) Refer to the included instructions for installation details. Basic hand tools are typically all you need.
The BAK Revolver X2 X4 is a hard rolling tonneau cover for the Jeep Gladiator truck bed. It rolls forward toward the cab for open bed access and rolls backward to the tailgate for a closed, secure position. The cover is made with OE marine grade vinyl laminated on top surfaces and aluminum rails, and includes retainer straps to secure it when rolled open during driving.
Yes, this cover is designed for the Jeep Gladiator. The installation guide is specific to this vehicle.
Yes, the cover works with a drop-in bed liner, but the liner requires trimming. The top corners at the bulkhead and the top corners of the tailgate liner must be trimmed to allow for the bed cover rails. Additionally, the bulkhead seal strip is not required if a drop-in bed liner is installed. If the truck has a sprayed-in liner, the threaded area in the bulkhead must be cleared of liner material before installation.
Required tools: 1/2" wrench or socket, 7/16" wrench or socket, 1/8" Allen wrench, T-45 Torx wrench, torque wrench, scissors or knife to trim the seal, measuring and marking tool, and plastic cutting tool to trim drop-in liner material. Optional tool: deburring tool to remove spray-in liner material from threads if the vehicle has a sprayed-in liner.
The kit includes: hard rolling cover (1), RH and LH cover rails (2), bulkhead seal (1), retainer strap assemblies (2), cover bolts (4), cover washers rubber (4), cover washers steel (6), cover lock nuts (4), M6 screws/washers (4), spacers (4), retainer washers (4), Torx key 90-degree (1), well nuts (2-4 depending on bulkhead type), oversize #10 washers (2-4), buttonhead screws (2-4), truss head screws/washers (2), flat washers (2-4), 1/4-20 bolts (2), jack nuts (2), jack nut installer tool (1), and D-shaped bumpers (4). Hardware packages A and B vary based on bulkhead configuration.
Yes. The rail installation requires identifying your truck's bulkhead hole configuration, which determines which hardware package (A or B) is used. Type A has an open hole on top with a threaded hole underneath. Type B has an open, hex-shaped hole on top with an open hole underneath. This identification is critical before proceeding with rail installation in step 5.
Wipe the bulkhead surface with isopropyl alcohol before applying. Remove the paper backing from the seal strip and apply it to the top of the bulkhead. Trim the ends to tightly fit to the sides of the bed, applying the seal along the radius of the bulkhead back edge. Note: the bulkhead seal is not required if the truck has a drop-in bed liner.
Yes, if the truck has a drop-in bed liner, the top corners at the bulkhead and the top corners of the tailgate liner must be trimmed. At the bulkhead: measure 0.18" (4.8 mm) outboard from the top left corner edge to establish point A, then cut down 2.5" (63.5 mm) to point B, cut inboard 2.6" (66.7 mm) from A to point C, then cut from C to D and B to D. Repeat as a mirror image on the right side. For the tailgate liner, measure 0.375" (9.5 mm) inboard and 0.875" (22.2 mm) down from the outside corner, and cut on both sides as a mirror image. Use a plastic cutting tool and move the liner away from the truck sheet metal to avoid damaging the bed.
Yes, if the bed rail caps are not already trimmed in the rear/tailgate section, you must cut them using the scribed lines as a guide to expose the necessary area. Perform this operation on both sides of the pickup box.
Yes, if the vehicle has a sprayed-in bed liner, the threaded area in the bulkhead must be cleared of liner material before installation. A deburring tool is recommended for this task (included as an optional tool).
The truss head screw/washer (item 17) in the lower hole of the cover rail bracket must be tightened to 17.5 Nm / 12.9 ft-lbs with a T-45 Torx wrench.
The 1/4-20 bolt (item 22) in the top hole of the cover rail bracket must be tightened to 17.5 Nm / 12.9 ft-lbs with a 7/16" wrench or socket. This applies to Type B bulkhead configuration.
The cover lock nuts (item 9) must be hand-tightened only with a 1/2" wrench or socket. Do not overtighten and do not use power tools.
1. Identify bulkhead hole configuration (Type A or B). 2. Insert M6 screws/washers into rear cover rail mounting holes with spacers and retainer washers (step 8/9). 3. Thread M6 screws into threaded inserts in bed wall and tighten with Torx key, leaving bolts loose (step 9/10). 4. Thread buttonhead screw through oversize washer into well nut (step 6/7). 5. Place cover rail on bed rail and slide forward using well nut as guide into bulkhead opening (step 7/10). 6. Thread truss head screw/washer through lower hole and tighten to 17.5 Nm/12.9 ft-lbs with T-45 Torx wrench (step 6/8). 7. Snug buttonhead screw in well nut with 1/8" Allen wrench (step 6/8). 8. Tighten rear M6 screws with Torx key while lifting rear end of rail (step 10/12). Repeat all steps for opposite side rail.
1. Rest the cover on the rails at the tailgate and roll forward toward the cab, removing all packaging materials (step 13). 2. At the front/cab, fold back and insert the two cover bolts (item 6) through the keyed slots, then roll the cover closed and align the bolts with the slotted brackets (step 14). 3. Install mounting hardware loosely underneath the slotted bracket on the rail. At the front use a rubber cover washer (7), steel cover washer (8), then cover lock nut (9). At the rear use rubber cover washer (7), steel cover washer (8), retainer strap (5), second steel cover washer (8), and cover lock nut (9) with a 1/2" wrench or socket (step 15). 4. Leave nuts snug but loose until cover alignment is complete.
1. Roll the cover open and closed several times to verify it rolls freely and fits correctly on and between the rails (step 16). 2. Align the front vinyl edge of the cover with the front edge of the rail, not the front rubber seal (step 17). 3. Verify that approximately 1/8" (3.175 mm) gap remains on both sides of the cover and it rolls freely in the opening (step 18). 4. When installed correctly, the vinyl edges of the cover will align squarely with the rails in all 4 corners, the latch assembly will align with the locking levers on both sides at the tailgate, and the latch pall must fully engage the side rails on both sides (step 19). 5. Once properly aligned, carefully roll the cover open ensuring not to misalign its position (step 20). 6. Tighten all four cover lock nuts with a 1/2" wrench or socket, hand-tightening only—do not use power tools (step 20). 7. Recheck that the cover rolls and functions correctly; if not, loosen hardware and repeat steps 16-20 (step 21).
Roll the cover open and peel the paper backing from the D-shaped bumpers (item 26). Adhere them to the aluminum underside of the cover where they will prevent contact if the cover is rolled all the way open.
If the truck has a bed liner, remove the foam pad from the front of the mounting bracket before placing the cover rail onto the bed rail and sliding it forward into the bulkhead opening.
The cover must be in one of two positions while driving: (1) Completely closed and fully latched on both sides of the tonneau side rails, or (2) Completely rolled up and secured at the cab with the provided tie-down straps. Do not drive with the cover partially open. To drive with the cover rolled open, roll it forward and stop approximately 4" from the cab, then insert the strap clips into the buckles at the end of the cover. Ensure both strap clips are fully inserted and tighten the straps with the adjustment locks to ensure the cover doesn't roll or shift during vehicle operation.
The tonneau cover must be free of foreign material including snow and ice before opening the rail top. Remove any snow or foreign matter before rolling the cover. When closing the cover, ensure that the rear latches on both sides are fully engaged underneath the rails before operating the vehicle.
No. Do not tow your vehicle from the rear with the tonneau on your truck. Failure to follow this caution may result in severe damage and will void your warranty.
No. Do not operate vehicle with objects on top of cover. Failure to follow this caution may result in severe damage and will void your warranty.
Use standard automotive soap and water with a soft sponge or cloth. Shammy dry to prevent water spots and ensure a rich dark finish. Do not use vinyl conditioners such as Armor All because they will shrink the vinyl. Improper cleaning may void your warranty.
3M 303 Aerospace Protectant may be used to keep the vinyl surface clean and protected from the elements and will also remove any water spots that may have developed. 303 Aerospace protects against fading, discoloration and cracking from harmful UV rays, and repels dust and stains. Simply spray on and wipe dry for a beautiful, matte finish that protects your cover from road grime and dust. Do not use vinyl conditioners such as Armor All because they will shrink the vinyl.
Periodically check that the cover is securely attached to your truck bed. Inspect the clamps and front mounting bolts to ensure they were properly installed and have not come loose or knocked out of adjustment during operation. Covers that are used with high frequency or that are subject to vibrations and impact from rough roadways can cause the cover to require adjustment. Additionally, periodically inspect and service the latches on the end of the roll top. Clean away any excess dirt or grime and use a spray lubricant. Ensure the latches move freely in and out to properly engage the side rail and provide proper performance with optimum security. Be careful not to overspray the cover and wipe away any excess around the latch location.
After installation, verify the following: (1) The cover rolls freely and is fitting correctly on and between the rails (step 16). (2) The front vinyl edge of the cover aligns with the front edge of the rail, not the front rubber seal (step 17). (3) Approximately 1/8" (3.175 mm) gap remains on both sides of the cover and it rolls freely in the opening (step 18). (4) The vinyl edges of the cover align squarely with the rails in all 4 corners (step 19). (5) The latch assembly aligns with the locking levers on both sides at the tailgate (step 19). (6) The latch pall fully engages the side rails on both sides (step 19). (7) The cover rolls and functions correctly after tightening all hardware (step 21). If any verification fails, loosen the cover hardware and repeat the alignment steps.
The BAK Revolver X2 X4 is warranted to be structurally free from defects in material and workmanship for 3 years from the retail date of purchase. Warranty registration must be on file and/or proof of original purchase (detailed and dated receipt) is required for warranty service. The warranty is nontransferable and applies to the original purchaser only. The warranty will be void if the product has been damaged by accident, unreasonable use, neglect, improper service/installation/removal, modifications, acts of God, normal wear and tear, or other causes not arising out of defective materials or workmanship. Improper cleaning may also void the warranty.
Yes, this cover is designed specifically for the Jeep Gladiator. It works with or without a drop-in bed liner, though the liner requires trimming at the bulkhead and tailgate corners.
You'll need: 1/2" and 7/16" wrenches/sockets, 1/8" Allen wrench, T-45 Torx wrench, torque wrench, scissors/knife, measuring tool, and plastic cutting tool. Optional: deburring tool if you have a sprayed-in bed liner.
Yes, if you have a drop-in bed liner, you must trim the top corners at the bulkhead and tailgate using specific measurements (0.18" outboard, 2.5" down at bulkhead; 0.375" inboard, 0.875" down at tailgate). The bulkhead seal is not needed if you have a drop-in liner.
Truss head screw/washer and 1/4-20 bolt: 17.5 Nm / 12.9 ft-lbs. Cover lock nuts: hand-tighten only with 1/2" wrench—do not overtighten or use power tools.
The cover must be either completely closed and latched on both sides, or completely rolled up and secured at the cab with the provided straps. Never drive with the cover partially open. Do not tow from the rear with the cover on, and do not place objects on top of the cover.
Clean with soap and water and a soft cloth; shammy dry. Use 3M 303 Aerospace Protectant for UV protection. Never use Armor All or vinyl conditioners—they shrink the vinyl. Periodically check that clamps and bolts are tight, and lubricate the latches with spray lubricant.
Yes. Type A has an open hole on top with a threaded hole underneath; Type B has a hex-shaped hole on top with an open hole underneath. This determines which hardware package you use and affects the installation sequence.
Verify the cover rolls freely, the front vinyl edge aligns with the rail (not the rubber seal), a 1/8" gap exists on both sides, vinyl edges align squarely at all 4 corners, and the latch assembly aligns with the locking levers on both sides at the tailgate.
Roll the cover open and closed several times to verify it rolls freely and fits correctly on and between the rails. If it does not, loosen the cover hardware and repeat the alignment steps 16-20. Ensure the front vinyl edge aligns with the front edge of the rail (not the front rubber seal), verify approximately 1/8" (3.175 mm) gap remains on both sides, and confirm the vinyl edges align squarely with the rails in all 4 corners and the latch assembly aligns with the locking levers on both sides at the tailgate.
You can leave the truck in the sun to assist the seals in laying flat. To expedite the process, apply heat with a hair dryer or heat gun.
The slam latch must hit the locking levers squarely and on both sides. If alignment is incorrect, loosen the cover hardware and repeat the alignment steps 16-20. Ensure the front vinyl edge aligns with the front edge of the rail (not the front rubber seal), verify approximately 1/8" (3.175 mm) gap remains on both sides, and confirm the vinyl edges align squarely with the rails in all 4 corners.
Free Shipping
Ships free on all orders
 Authorized Dealer

Quick Ship
In stock and ready to ship — order now!
FREE ShippingFREE SHIPPING
Estimated delivery Wed, Oct 14 - Sat, Oct 17
Order before 2 PM EST Monday–Friday for same-day processing
Guaranteed safe & secure checkout
No reviews have been added for this product.
