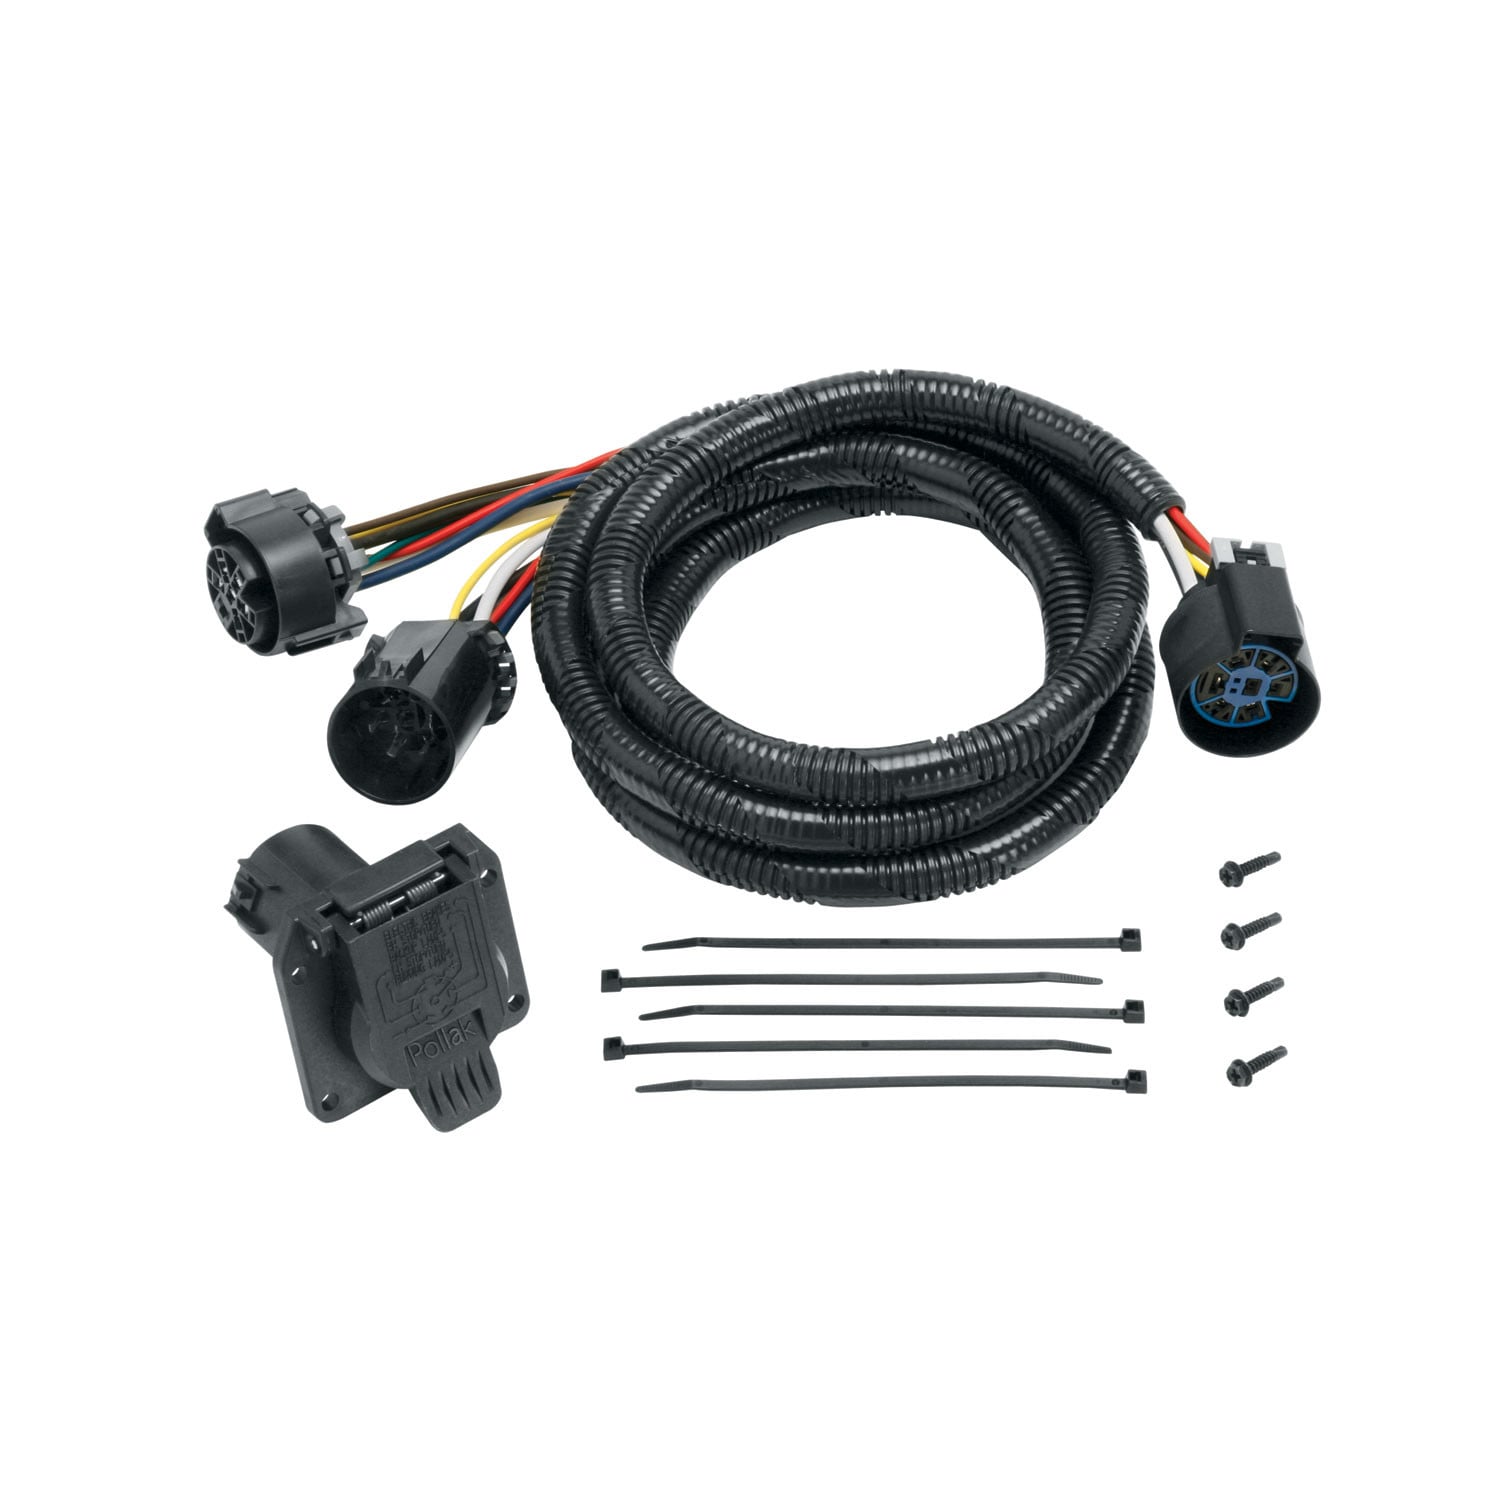
Bargman Fifth Wheel Harness, 7-Way BM54700-003BargmanOriginal price was $143.75. Current price is $136.92.Out of Stock
View productOur in-house experts typically reply within one business day.

Bargman
Verify Fitment
Select your vehicle to confirm this part fits.
2011 - 2025 Ford F-250 Super Duty
Confirmed to Fit
2011 - 2025 Ford F-350 Super Duty
Confirmed to Fit
2011 - 2025 Ford F-450 Super Duty
Confirmed to Fit

Always the correct part
We know our products
Quality Products
Free Shipping!
Always the correct part
We know our products
Quality Products
Free Shipping!

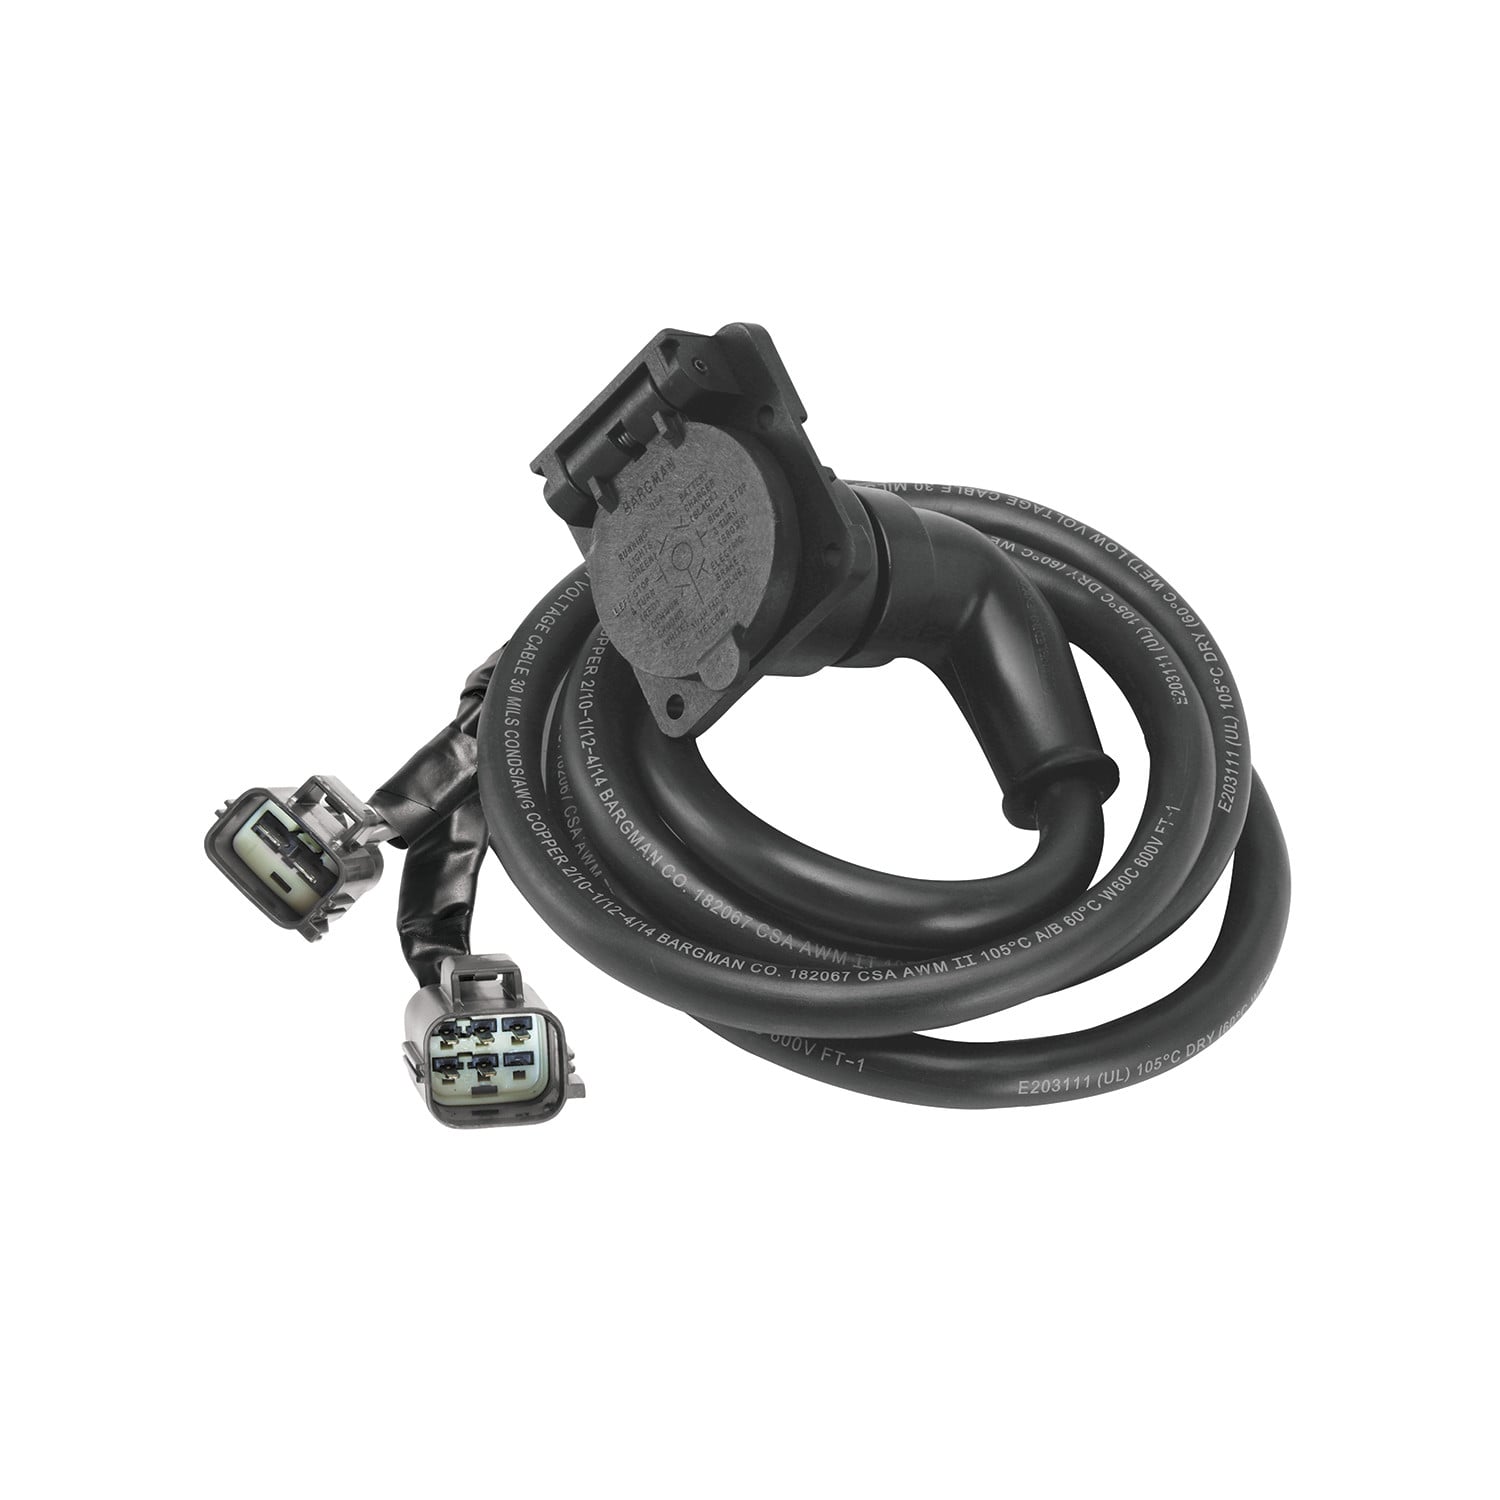
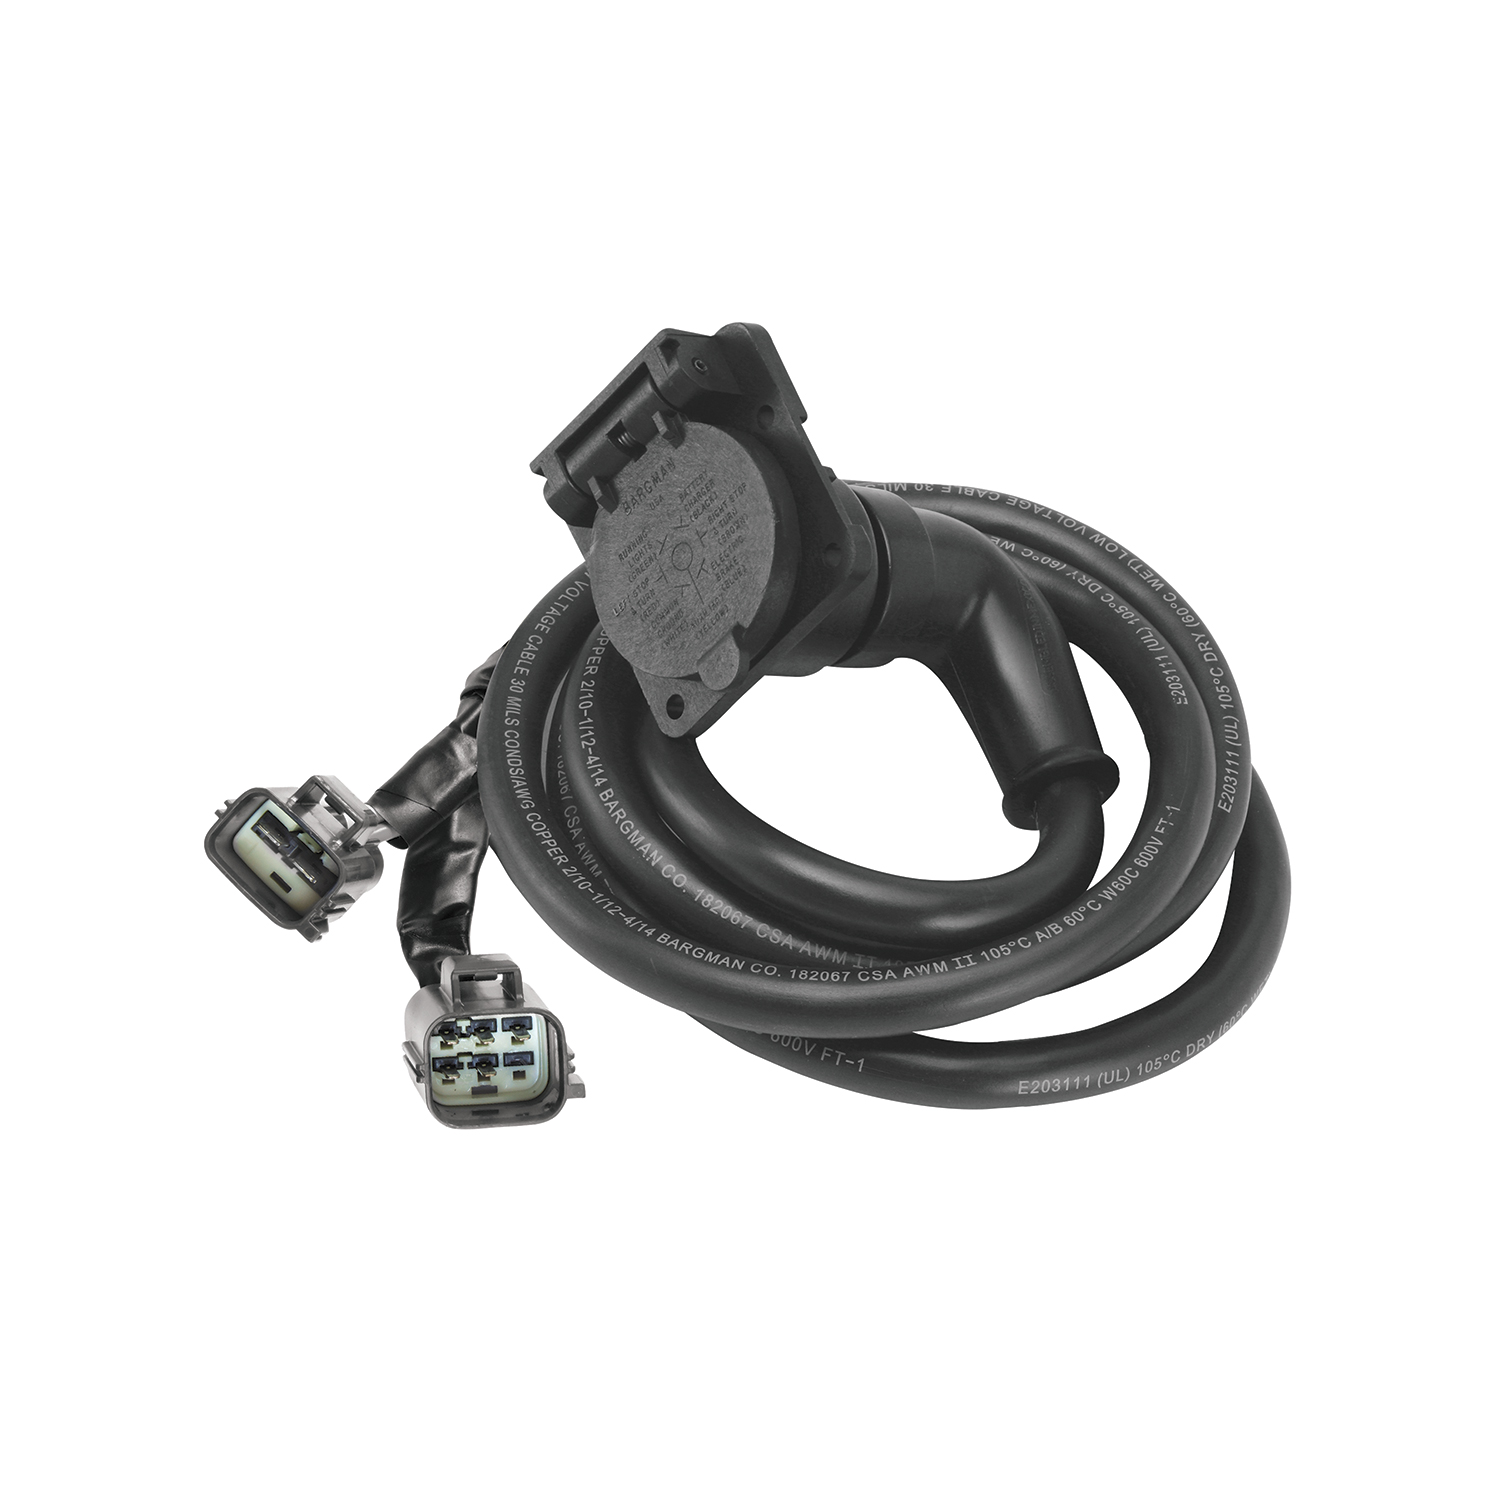
7-Way 90 degree connector molded to heavy duty 7-way insulated cable for fifth wheel or gooseneck trailer applications. Allows remote wiring in pickup beds or other hard to access areas. 90 degree molded from flame retardant material. Features a patented mounting bracket that allows for installation in virtually all pickup models and styles and includes self-tapping stainless steel mounting screws. Manufactured with UL listed 10/2, 12/1 and 14/4 jacketed cable.
| BRAND: | BARGMAN |
| PART NUMBER: | 54701-007 |
| WARRANTY: | LIMITED 1 YEAR WARRANTY |
| WEIGHT: | 3.1 LBS |
| UNIVERSAL OR SPECIFIC FIT: | SPECIFIC |
| LENGTH: | 84 IN. |
| WIRE QUANTITY: | 7 |
| TERMINAL TYPE: | BLADE |
| CONNECTOR TYPE: | 7-WAY |
| CONNECTOR SHAPE: | BLADE |
| COLOR: | BLACK |

Founded in 1931 to supply electrical connection products to the United States military, Bargman is now the RV industry's most widely recognised lighting brand. The line covers tail light assemblies, clearance and marker lamps, licence plate lights, wiring harnesses, plugs, sockets and over-moulded cordsets for light-duty trailers, recreational vehicles and commercial trucks.
Bargman was founded in 1931 to provide electrical connection products for the United States military, and it carried that background into civilian markets after the war. The brand has since become the reference name in light-duty trailer and recreational vehicle lighting, and its products are equally familiar to commercial truck and trailer manufacturers and their aftermarkets. It is part of the Horizon Global towing family alongside Reese, Draw-Tite, Fulton, Bulldog, Tekonsha and Wesbar.
Complete tail light assemblies are the products most owners recognise. Bargman lamps are fitted as original equipment across a large share of the RV industry, which means a replacement usually drops straight into the existing cut-out and wiring rather than requiring a redesign of the rear panel. The wider trailer light range covers stop, turn, tail, reverse and interior functions in both incandescent and LED technology, and clearance and marker lamps handle the outline lighting that longer and wider units require by law.
The electrical side of the business is where the manufacturing capability shows. In-house over-moulding and custom mould capability, combined with design and engineering, lets the brand build harnesses and connectors to specification rather than assembling from stock parts. Bargman specialises in assemblies with multiple connections, varying wire lengths and mixed technologies, which is exactly what a modern RV needs when a single harness has to serve lighting, brakes, charge lines and accessory circuits.
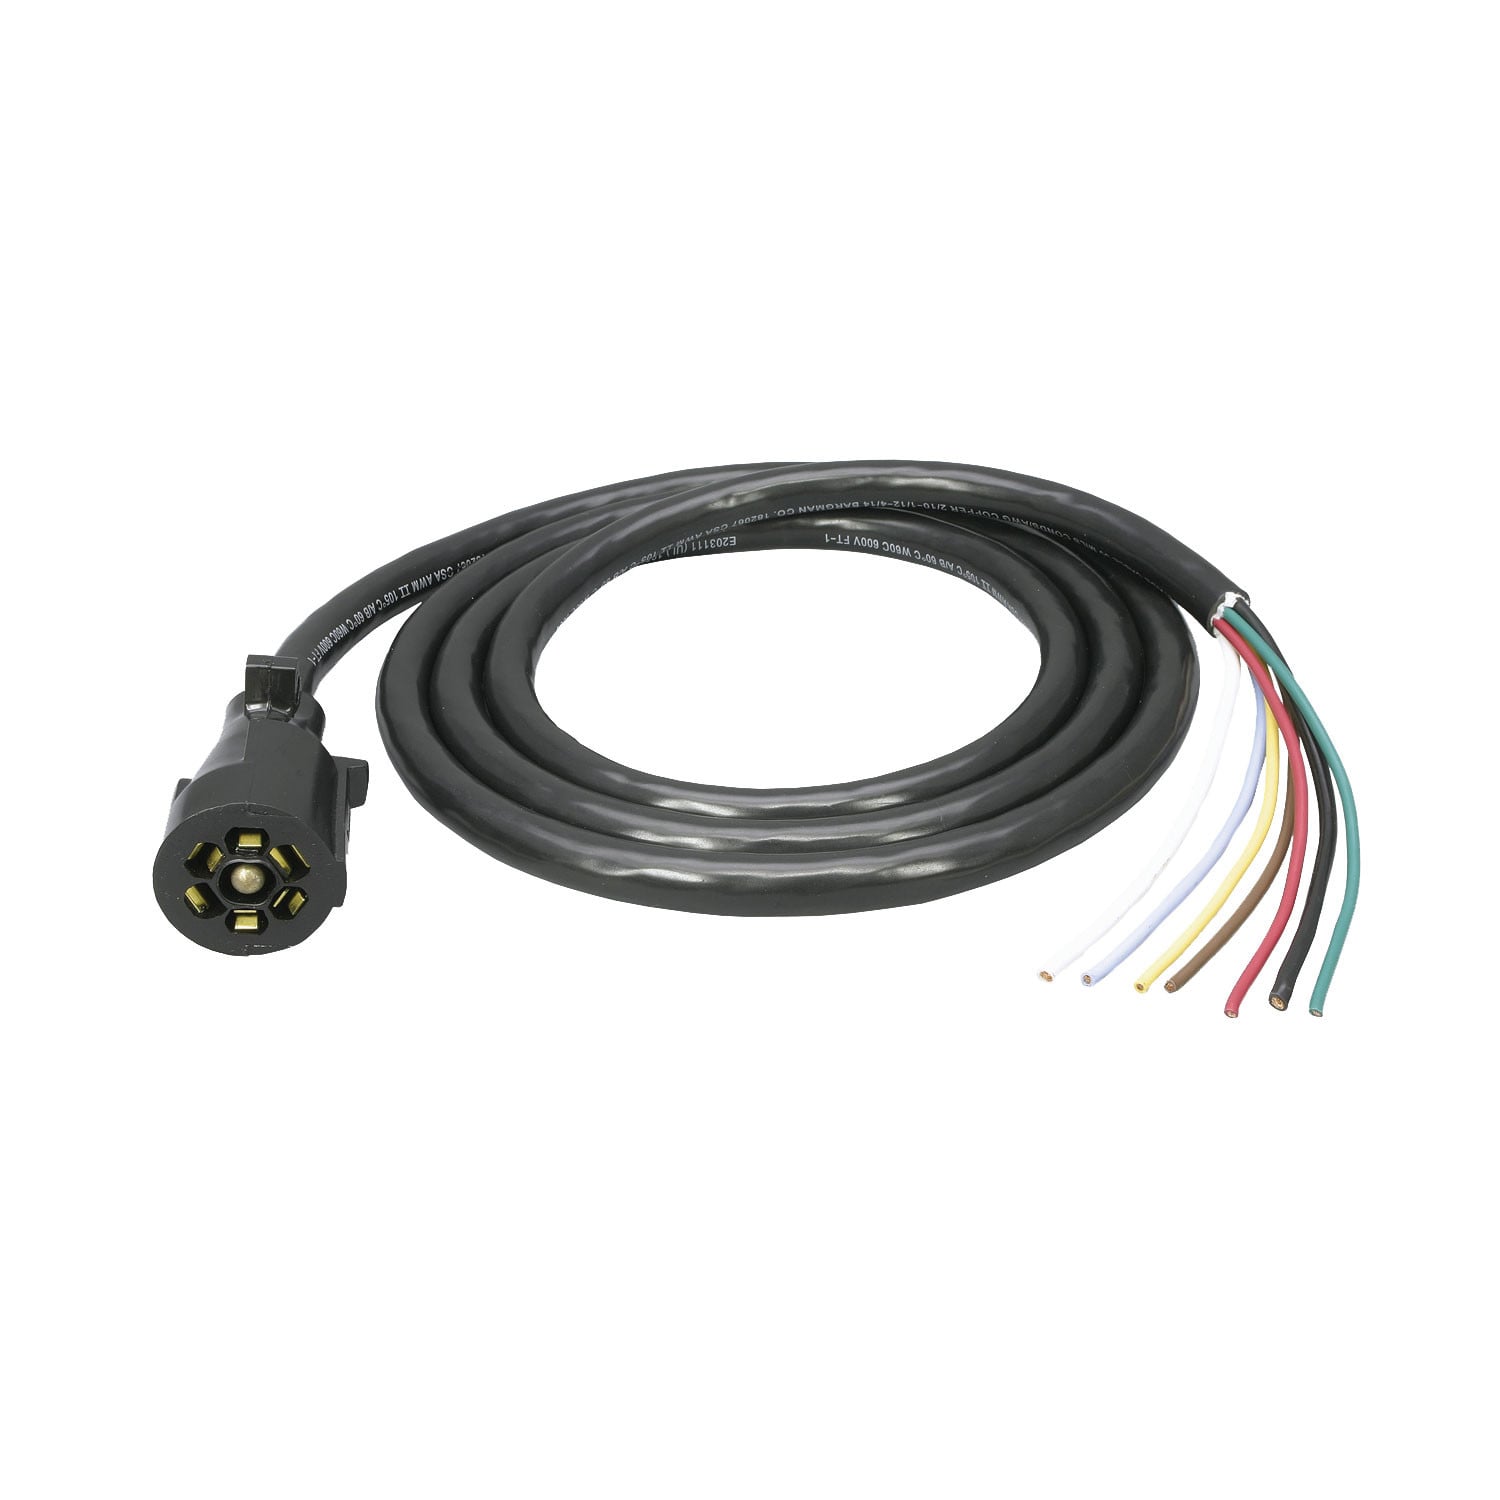
That capability supports a full range of plugs and sockets and pre-made cordsets, including the seven-way connectors used for trailers with electric brakes and battery charging. For RV manufacturers, trailer builders and owners alike, the appeal is the same: connections that seal properly, resist corrosion and keep passing signal after years outdoors.
Experts available to answer your questions
Call 888-634-94941 Year
3 compatible vehicles
| Year | Make & Model | Notes |
|---|---|---|
| 2011 - 2025 | Ford F-250 Super Duty | 7: Way Fifth Wheel Adapter Harness Drilling Required Install Time is 45 minutes With Factory 7: Way 7 ft. Length Litho Box |
| 2011 - 2025 | Ford F-350 Super Duty | 7: Way Fifth Wheel Adapter Harness Drilling Required Install Time is 45 minutes With Factory 7: Way 7 ft. Length Litho Box |
| 2011 - 2025 | Ford F-450 Super Duty | 7: Way Fifth Wheel Adapter Harness Drilling Required Install Time is 45 minutes With Factory 7: Way 7 ft. Length Litho Box |
The Bargman Fifth Wheel Harness, 7-Way BM54701-007 (Part #BM54701-007) fits the following vehicles: 2011-2025 Ford F-250 Super Duty; 2011-2025 Ford F-350 Super Duty; 2011-2025 Ford F-450 Super Duty. Always verify your specific year, make, and model before ordering.
The Bargman Fifth Wheel Harness, 7-Way BM54701-007 (Part #BM54701-007) fits 2011-2025 Ford F-250 Super Duty models. The 2025 model year is the last year covered by this part number. For newer models, check for an updated version.
Yes, the Bargman Fifth Wheel Harness, 7-Way BM54701-007 (Part #BM54701-007) is designed to fit the 2011-2025 Ford F-250 Super Duty.
The Bargman Fifth Wheel Harness, 7-Way BM54701-007 (Part #BM54701-007) Drilling is required for installation. Basic hand tools are typically all you need.
The Trailer Tow Harness is a wiring connector system that connects your vehicle's electrical system to a trailer's 7-way connector. It allows your vehicle to control the trailer's lights, brakes, and other electrical functions. The harness connects between your vehicle's existing wiring harness plugs (located in the rear, underneath the vehicle, inside the driver's side frame rail) and a 7-way connector mounted on the vehicle's exterior.
The Trailer Tow Harness is designed for vehicles with wiring harness plugs located in the rear, underneath the vehicle, inside the driver's side frame rail. The manual does not provide a specific vehicle compatibility list. To confirm fitment, verify that your vehicle has these plugs in the location described. If you cannot locate them, contact the manufacturer or your vehicle's dealer.
The manual states that the mounting point is 'usually on the Driver's side between the rear post and the wheel well area' but does not explicitly prohibit passenger-side mounting. The harness must be routed from the vehicle's wiring plugs (which are located inside the driver's side frame rail) to the mounting point. Consult the manufacturer or an installer to determine if passenger-side mounting is feasible for your specific vehicle.
Yes, but with modifications. If your vehicle has a bedliner, you have two options: (1) notch the bedliner to accommodate the mounting hole, or (2) use a longer set of screws (not provided with the harness) and mount directly into the bedliner and body panel. The standard self-tapping screws included with the harness are designed for vehicles without bedliners.
You will need: (1) a drill with 3/32" and 1/4" drill bits, (2) a 2" hole saw, (3) a Phillips head screwdriver, and (4) a center punch. These tools are required to locate the vehicle's wiring harness, drill pilot and mounting holes, mark screw locations, and secure the 7-way connector to the vehicle.
The harness includes 4 self-tapping screws for mounting the 7-way connector to the vehicle, and cable ties for securing the harness to the vehicle. The manual notes that rust-proof coating, longer screws (for bedliner installations), fuses, and relays are not provided and must be obtained separately if needed.
Yes. Dielectric grease is not included with the Trailer Tow Harness but is required. The manual specifies that you must use dielectric grease to seal the connection between the wiring harnesses and the 7-way connector at the rear of the vehicle. This prevents moisture from compromising the connection and potentially triggering error codes on brake controls, and prevents plug corrosion.
The vehicle's wiring harness plugs are located in the rear, underneath the vehicle, inside the driver's side frame rail. These plugs should match the trailer wiring harness ends. Before beginning installation, locate these plugs and verify they are clean and free of dirt. Clean them if necessary before connecting the Trailer Tow Harness.
You must have at least 5" of clearance behind the mounting surface for installation. This clearance is necessary to route the harness through the mounting hole and connect the 7-way end to the harness. Verify this clearance before drilling.
You need approximately 4" or more of extra harness length at the mounting point. This extra length is required in step 5 when you route the harness through the mounting hole and connect the 7-way end to the harness.
Yes. Installation requires drilling three separate holes: (1) a pilot hole using a 1/4" drill bit, (2) a main mounting hole using a 2" hole saw, and (3) four 3/32" holes for the mounting screws. Before drilling any hole, verify what is behind the surface to avoid damage to the vehicle and personal injury. Do not drill into exposed surfaces.
The main mounting hole is 2" in diameter, cut using a 2" hole saw. Before using the hole saw, drill a pilot hole with a 1/4" drill bit at the same location. Re-check your mounting location and wire lengths before cutting the final hole.
The four mounting screw holes are 3/32" in diameter. Use the 7-way connector end as a guide to mark the hole locations with a center punch, then drill the four 3/32" holes as marked.
Yes. The manual recommends using rust-proof coating in drilled areas to prevent future rusting. This coating is not provided with the harness and must be purchased separately. Apply it to all drilled areas after drilling is complete.
Before drilling any hole, verify what is behind the surface to avoid damage to the vehicle and personal injury. Do not drill into exposed surfaces. This is critical because drilling into hidden components (fuel lines, brake lines, electrical wiring, etc.) can cause serious damage or injury.
Follow these steps in order: (1) Locate and separate the vehicle's wiring harness plugs inside the driver's side frame rail, ensuring mating surfaces are clean. (2) Determine a suitable mounting point (usually driver's side between rear post and wheel well), verify 5" clearance behind the surface, and route the harness with approximately 4" extra length. (3) Drill a 1/4" pilot hole at the mounting location. (4) Use a 2" hole saw to cut the main mounting hole. (5) Mark and drill four 3/32" holes for the mounting screws using the 7-way connector as a guide. (6) Route the harness through the mounting hole, connect the 7-way end to the harness, and secure with the 4 self-tapping screws. (7) Secure the harness to the vehicle using the provided cable ties.
Locate the vehicle's wiring harness plugs inside the driver's side frame rail at the rear of the vehicle. Separate the connector carefully, being careful not to break the locking tabs. Ensure the mating surfaces are free of dirt and clean if necessary. Install the Trailer Tow Harness between the mating plugs. The harness will connect your vehicle's electrical system to the 7-way connector.
After routing the harness through the mounting hole, connect the 7-way end to the harness. Then use the 4 self-tapping screws provided to mount the 7-way connector to the vehicle surface. The screw holes should be marked with a center punch and drilled as 3/32" holes before installation.
Route the harness carefully to avoid hot pipes, heat shields, the fuel tank, or any other points that may pinch or break the wire. Ensure the harness has adequate length to reach the mounting point and that you have approximately 4" or more of extra length at the mounting location. Secure the harness to the vehicle using the provided cable ties to prevent movement and potential damage.
Yes. When plugging in the wiring harnesses and other connectors into the 7-way connector at the rear of the vehicle, use dielectric grease to seal the connection. This prevents moisture from compromising the connection and potentially triggering error codes on brake controls. It also prevents plug corrosion. Dielectric grease is not provided and must be purchased separately.
On some vehicles, you may need to add a fuse or relay (not provided) to complete all of the functions going to the 7-way connector. Consult your vehicle's owner's manual for the specific locations and requirements. The Trailer Tow Harness manual does not provide fuse or relay specifications, as these are vehicle-specific.
Wear safety glasses during installation. Before drilling any hole, verify what is behind the surface to avoid damage to the vehicle and personal injury. Do not drill into exposed surfaces. Route the wire carefully to avoid hot pipes, heat shields, the fuel tank, or other points that may pinch or break the wire. Read and follow all vehicle warnings and installation instructions before beginning.
All connections must be complete for the Trailer Tow Harness to function properly. After installation, test and verify the installation with a test light or by connecting an actual trailer. This ensures all electrical functions are working correctly before using the harness with a trailer.
If an error code is found on the brake controls after installation, disassemble the connectors and dry them out. Error codes on the brake controls will reset to normal after the connectors are disassembled and dried. This typically occurs when moisture has compromised the connection. To prevent this, use dielectric grease to seal all connections between the wiring harnesses and the 7-way connector.
Yes, but the bedliner must be notched, or you must use longer screws (not provided) and mount directly into the bedliner and body panel. Standard self-tapping screws are included for vehicles without bedliners.
You need a drill with 3/32" and 1/4" bits, a 2" hole saw, a Phillips head screwdriver, and a center punch. Dielectric grease, rust-proof coating, and potentially a fuse or relay must be purchased separately.
You need at least 5" of clearance behind the mounting surface and approximately 4" of extra harness length at the mounting point.
Test and verify the installation with a test light or by connecting an actual trailer. All connections must be complete for proper function.
Moisture has likely compromised the connection between the wiring harnesses and the 7-way connector. To resolve this: (1) Disassemble the connectors. (2) Dry them out completely. (3) The error codes on the brake controls will reset to normal once the connectors are dry. To prevent this issue in the future, apply dielectric grease to seal all connections when plugging in the wiring harnesses and connectors into the 7-way connector.
Verify that all connections are complete. The manual states that all connections must be complete for the Trailer Tow Harness to function properly. Check that: (1) the harness is properly connected between the vehicle's wiring harness plugs, (2) the 7-way connector is fully connected to the harness, (3) all mating surfaces are clean and free of dirt, and (4) dielectric grease has been applied to seal the connections. Test the installation with a test light or trailer to verify all functions are working.
Jennifer
The staff was able to quickly assist me with locating the correct product I needed. Shipping was really fast. Item arrived in 2 days. Will be using TowUniverse again!!
May 22, 2023

Free Shipping
Ships free on all orders
 Authorized Dealer
FREE ShippingFREE SHIPPING
Estimated delivery Wed, Sep 16 - Sat, Sep 19
Order before 2 PM EST Monday–Friday for same-day processing
Guaranteed safe & secure checkout