CURT 24K, Q24 5th Wheel HitchCURTOriginal price was $1,283.95. Current price is $910.47.Out of Stock
View productOur in-house experts typically reply within one business day.

Blue Ox
Free Shipping
Ships free on all orders
 Authorized Dealer





Always the correct part
We know our products
Quality Products
Free Shipping!
Always the correct part
We know our products
Quality Products
Free Shipping!
Quick Ship
In stock and ready to ship — order now!
FREE ShippingFREE SHIPPING
Estimated delivery Thu, Sep 17 - Sun, Sep 20
Order before 2 PM EST Monday–Friday for same-day processing
Guaranteed safe & secure checkout

Has a 24,000 lb. Gross Towing Weight Rated and 6,000 LB. Tongue Weight Rated
1775: No
Finish: Powder Coat
1768: 24000
5646: Stationary
1819: Yes
726: No
488: No
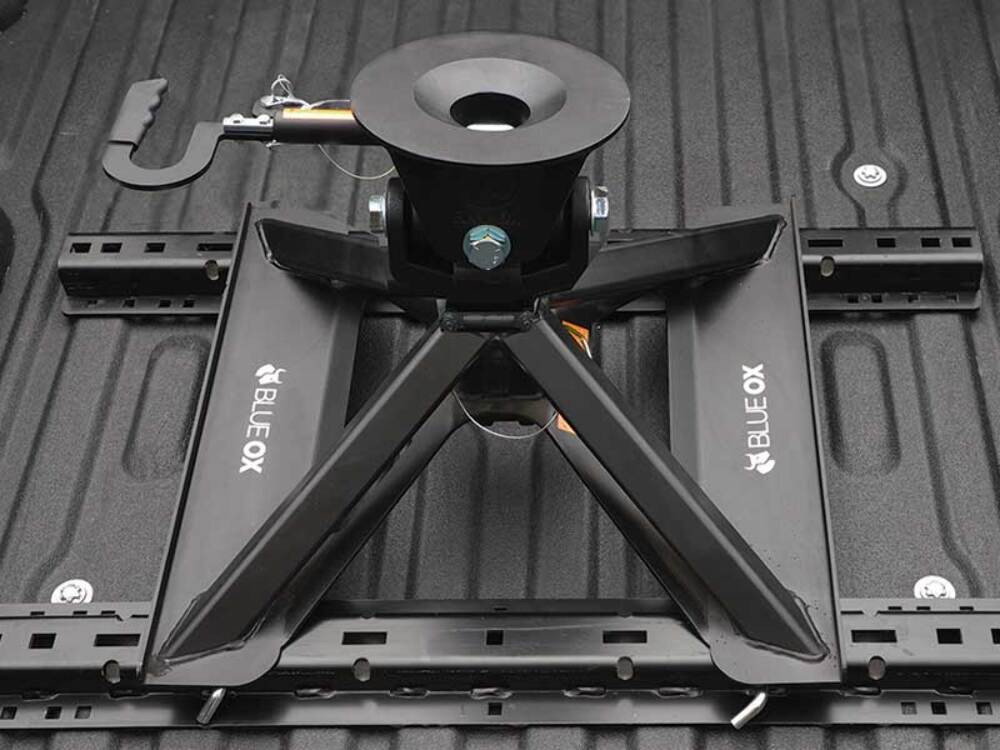
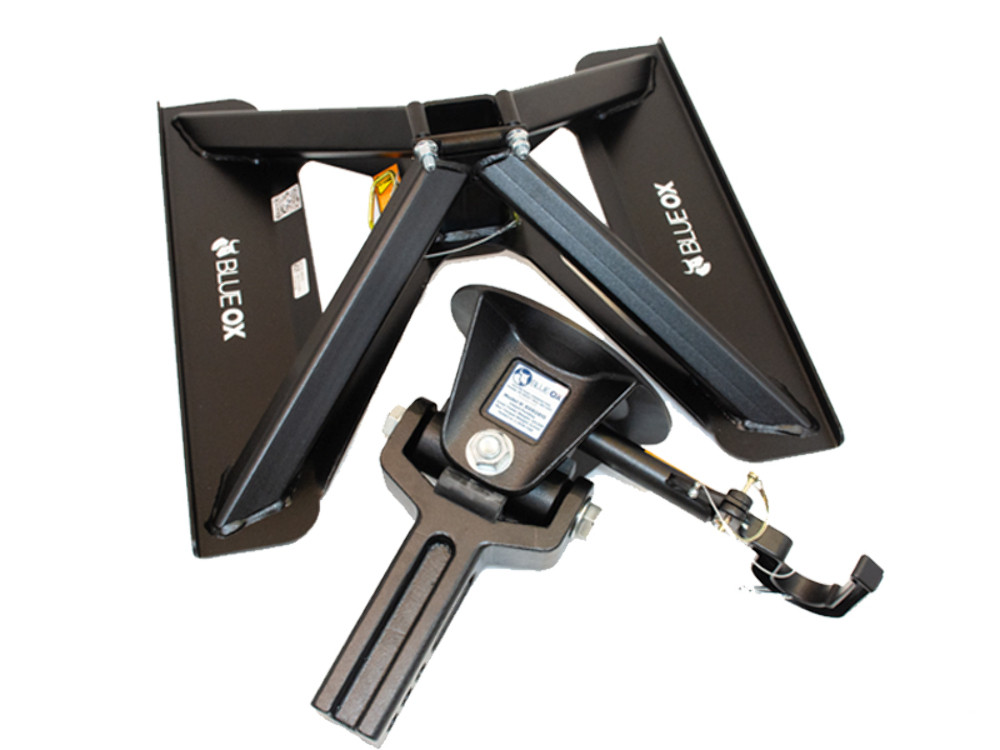
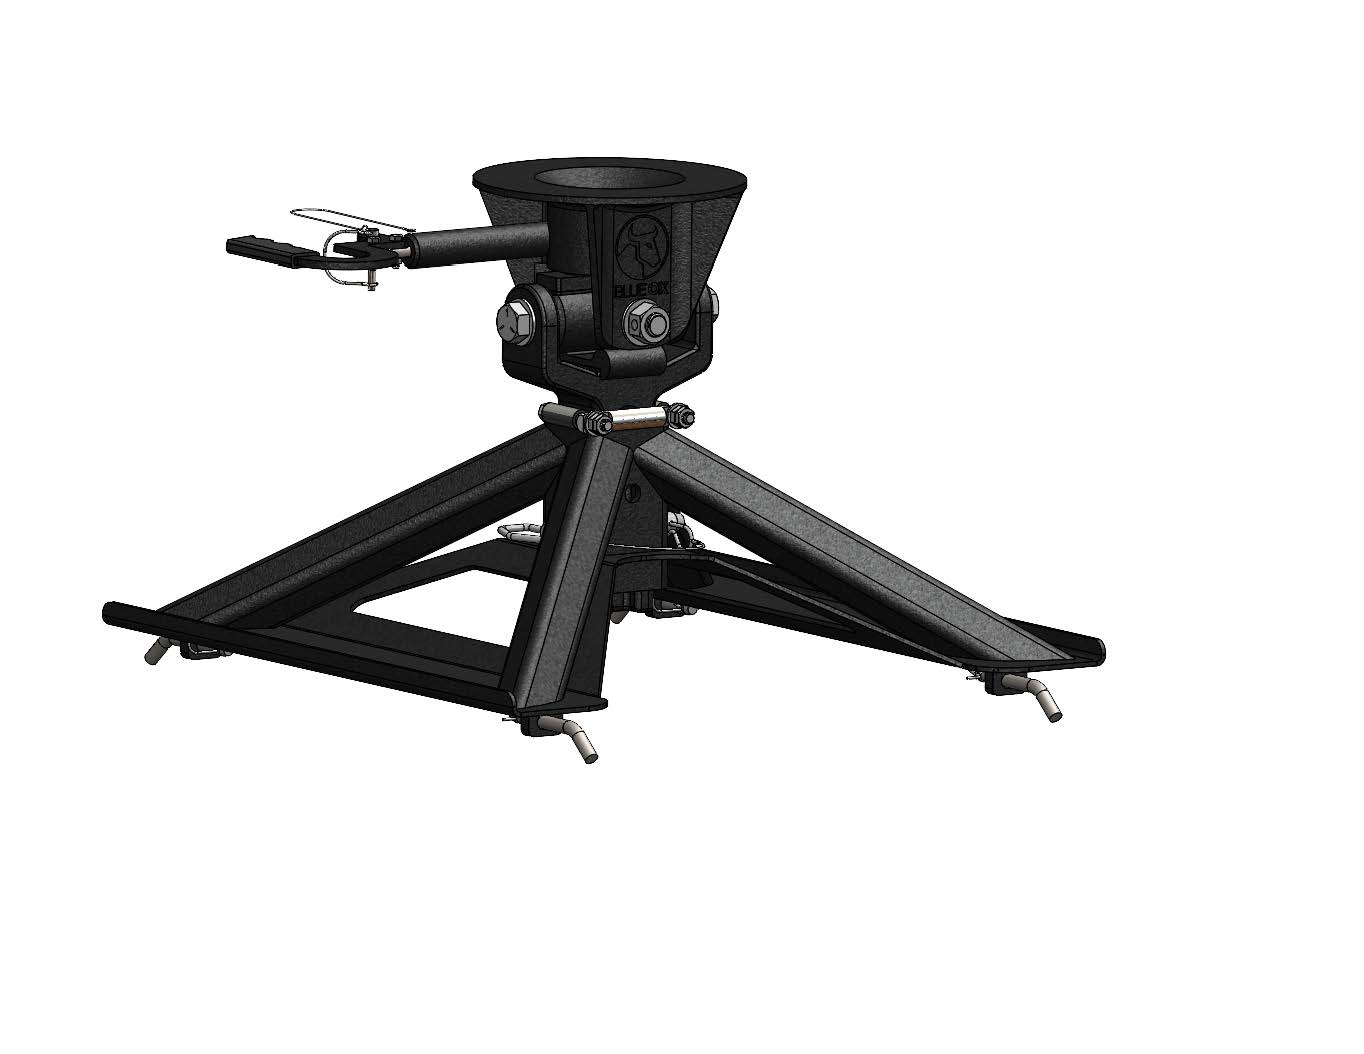
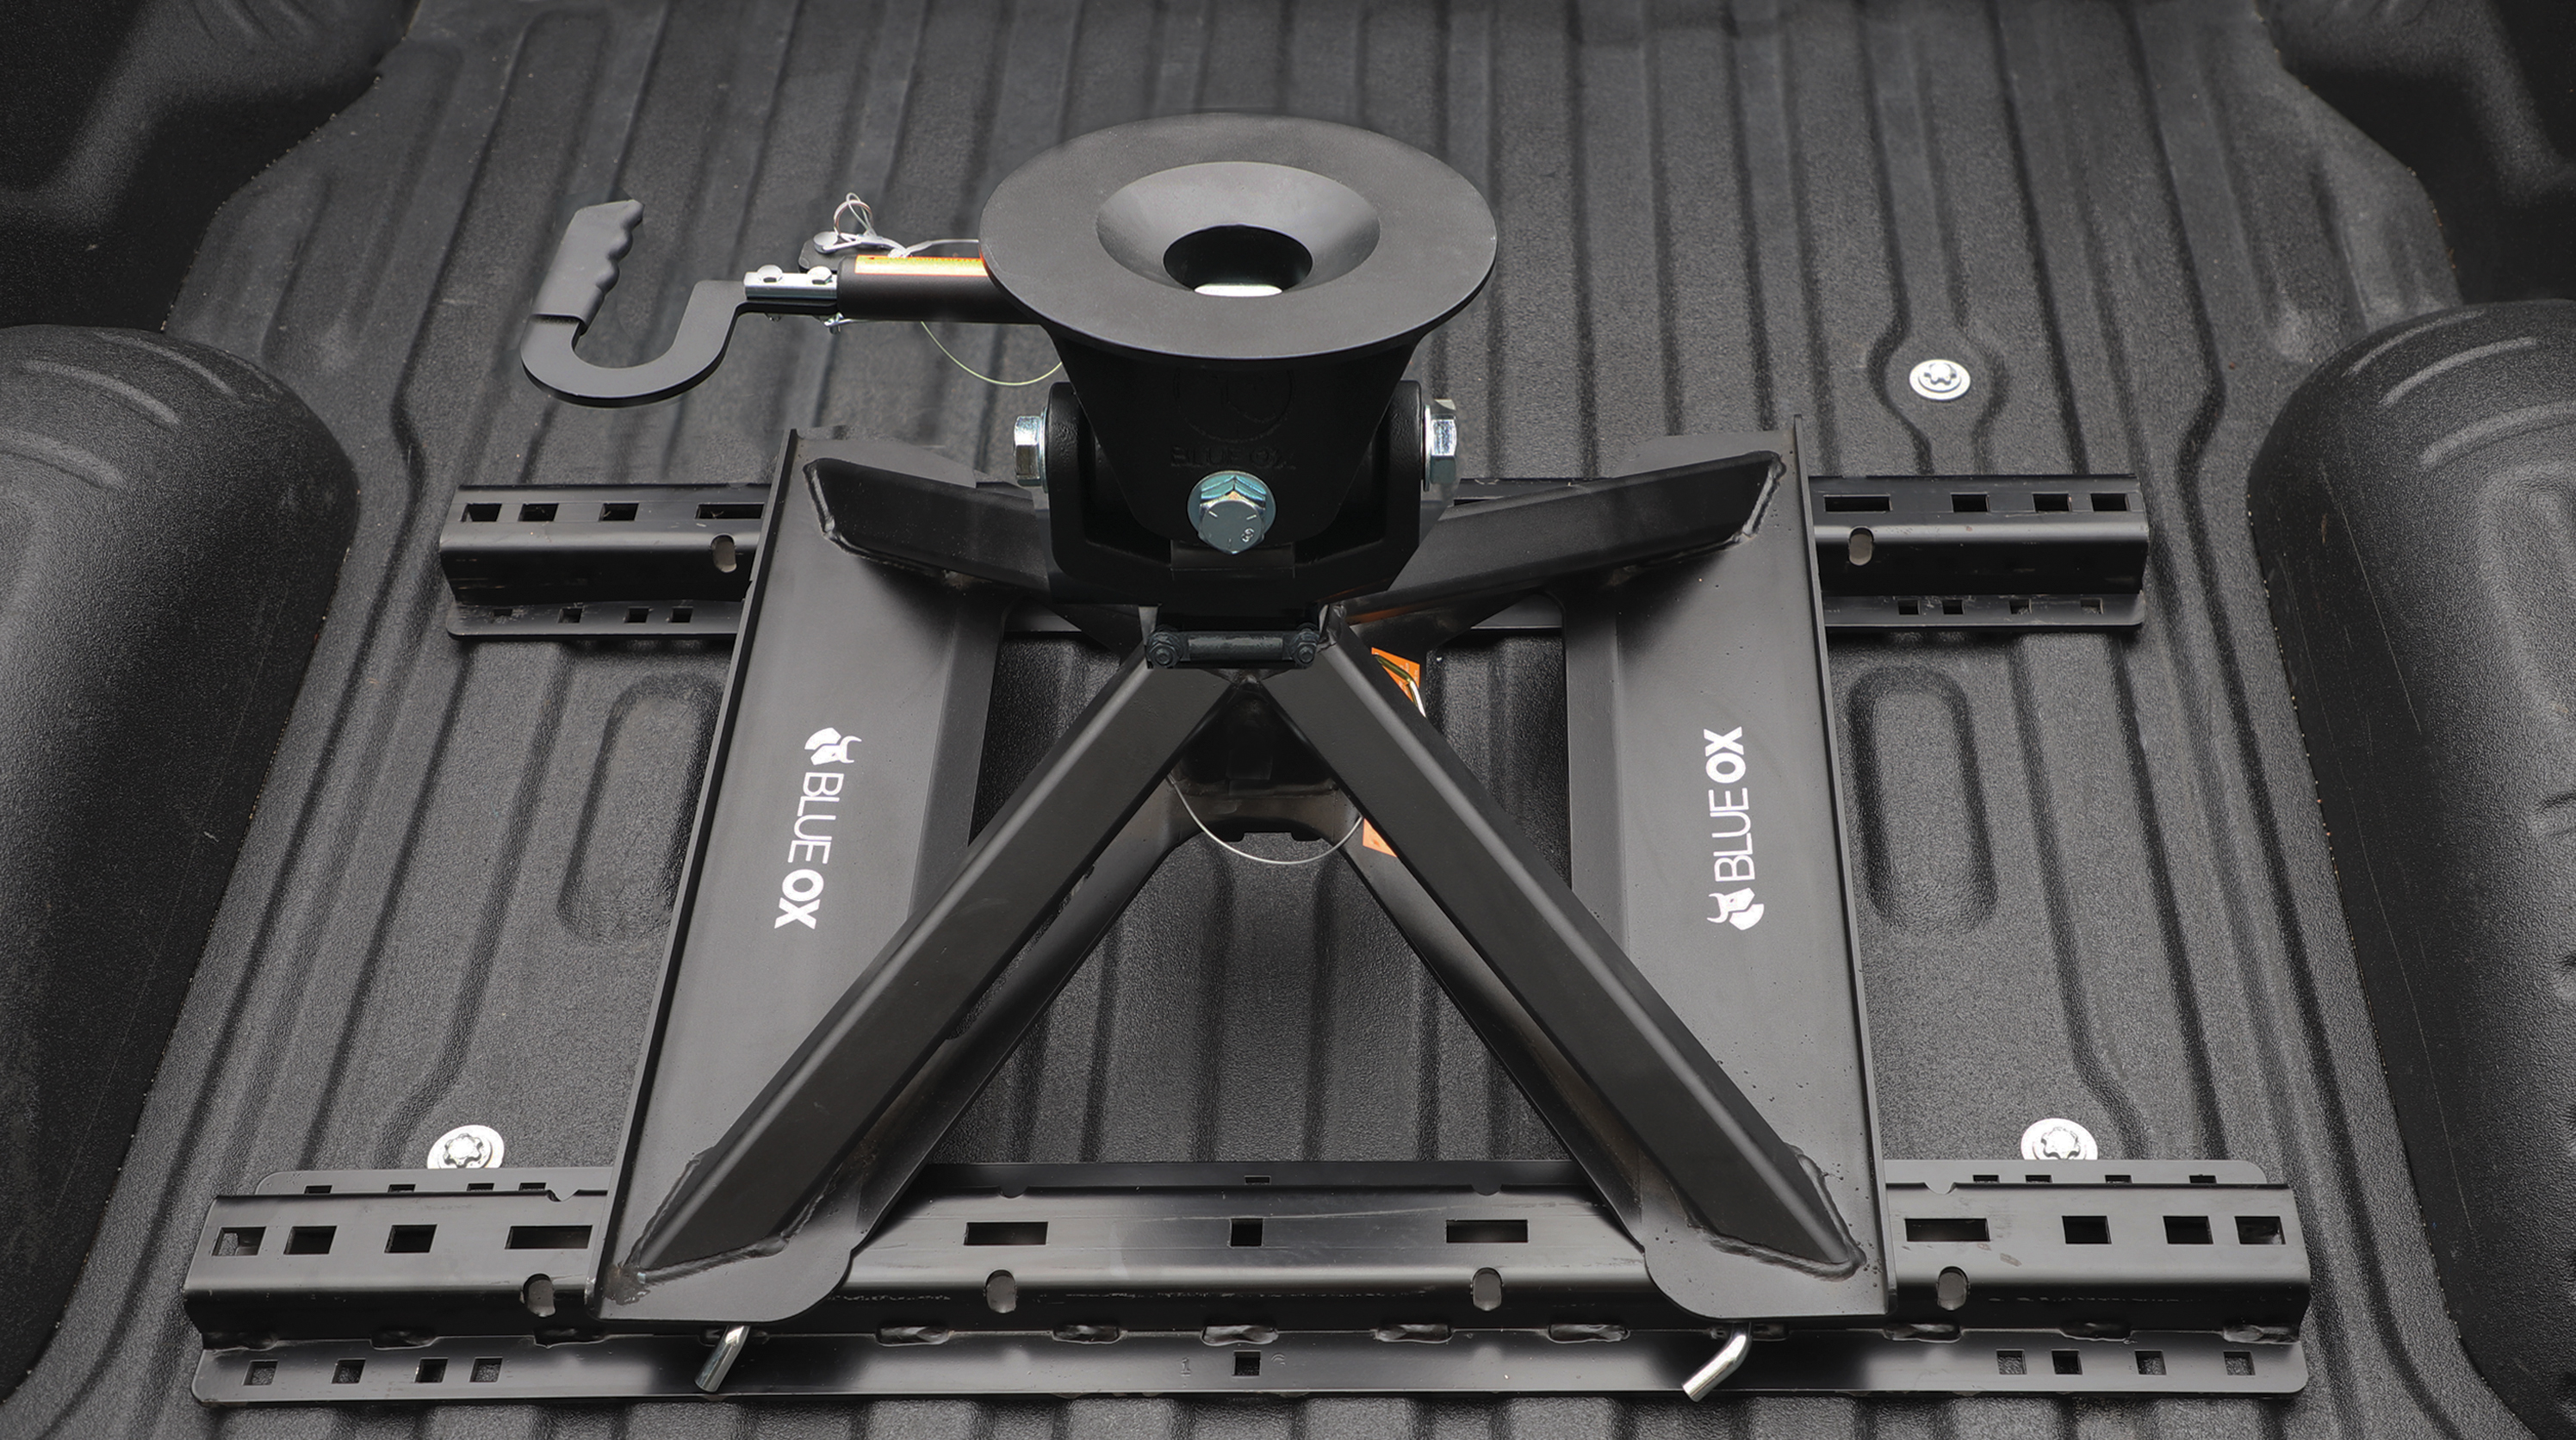
Blue Ox 5th Wheel Hitch that mounts to Industry Standard Rails. Has a 24,000 lb. Gross Towing Weight Rated and 6,000 LB. Tongue Weight Rated.

Blue Ox is known internationally for recreational and commercial towing products, manufacturing in Pender, Nebraska since 1925. The line covers tow bars and vehicle-specific baseplates for flat towing behind a motorhome, sway control and weight distributing hitches, supplemental braking accessories and towing wiring, backed by patented designs and long-standing customer service.
Blue Ox has manufactured since 1925 and is recognised internationally for towing products and customer service. The company operates from Pender, Nebraska, where it grew out of Automatic Manufacturing Co., a business that started with cattle oilers and developed into agricultural equipment, tractor accessories and trailer towing hardware. That agricultural engineering heritage still shows in how the towing products are built, and the company holds patents across weight distribution, fifth wheel and tow bar designs.
Flat towing is the discipline Blue Ox is best known for. Towing a car with all four wheels on the ground behind a motorhome demands a system that stays rigid under braking, articulates properly over uneven ground, and connects to the towed vehicle at points strong enough to take the load. Blue Ox tow bars handle the first two, with self-aligning arms that latch under tension and release without a struggle when the load is off them. Vehicle-specific baseplates handle the third, engineered per make and model to tie into structural mounting points behind the fascia.
The wider flat towing range covers supplemental braking systems, safety cables and the accessories that make a complete legal setup, along with baseplate wiring and dinghy towing harnesses that pass lighting signals to the towed vehicle without back-feeding its electrical system.
For conventional trailer towing, Blue Ox weight distributing hitches with integrated sway control transfer tongue load onto the tow vehicle's front axle and resist the yaw that crosswinds and passing trucks induce.
The company describes its foundation as customer service, designing around what owners actually ask for, and it runs an RV park adjacent to the factory where customers can stay. Sister operations at the same Nebraska site include Automatic grain roller mills and MAD-RAMPS pivoting ramp systems.
Experts available to answer your questions
Call 888-634-9494Limited Lifetime
The BXR2410 is rated for 24,000 lbs Gross Towing Weight and 6,000 lbs Pin Weight. You must not exceed these ratings or your vehicle's manufacturer towing capacity, whichever is lower. Failure to follow these limits could result in damage to your vehicle, personal injury or death.
No. The BXR2410 is not intended for use on a flat bed truck. It attaches to Industry Standard Bed Rails (ISR) and requires the hitch head to contact the truck bed directly. If you have a removable bed liner, it must be removed or modified to allow direct contact; spray-in bed liners are permissible.
No. Do not use a pin box that has a wedge or shifts the pivot point rearward, such as Reese Sidewinder or Reese Revolution. These devices change the king pin pivot point, which is not compatible with the BXR2410. The king pin should rotate in the hitch head only.
Yes. When using the BXR2410 with a Rota-Flex Pin Box, a BXR9005 Rotaflex Lockout Kit is required. This kit prevents incompatible pin box operation with the hitch.
Only use a SAE 2" king pin with the BXR2410. No other king pin size is compatible with this hitch.
The ISR tab spacing must be 20" wide x 22" front to back. The hitch base is placed into the center of the rails at the 20" markings during installation.
The manual provides a clearance calculation method. Measure the truck clearance (T) from the back of the cab to the axle center, and the camper clearance (C) by subtracting the king pin offset (S) from half the camper width (W). Calculate total clearance as X = T - C. If X is positive, clearance is sufficient; if negative, clearance is inadequate. The recommended clearance between truck bed and 5th wheel trailer is 6-8 inches. You should also measure from the center of the coupler to the back of the cab and from the center of the king pin to the corner of the trailer, and check clearances between bed sides and trailer underside to account for trailer pitch.
The required tools are a torque wrench, 11/16" socket, and 5/8" wrench. These are needed to tighten the flange nuts and jam nuts to the specified torque of 54 ft/lbs.
The BXR2410 includes: 1 hitch head, 1 base, 1 handle plate, 2 x 1/4"-20 x 1" hex head bolts (Grade 5), 1 x #8-32 x 1/2" socket head cap screw, 3 x 3/8"-16 x 1/2" socket head cap screws, 1 x 7/8"-9 x 5-1/2" hex head bolt (Grade 5), 2 x 7/8"-9 x 2-1/2" hex head bolts (Grade 5), 2 x 7/16"-14 x 3-3/4" hex head bolts (Grade 5), 2 x 1/4"-20 hex lock nuts, 1 x 7/8"-9 hex nut, 1 x #8-32 nylon insert lock nut, 2 x 7/16"-14 whiz flange nuts, 2 x 7/16"-14 jam nuts, 4 x 7/8" flat washers, 2 bronze bushings, 1 center post casting, 1 pivot block casting, 1 compression spring, 1 x 3/4" x 4-1/4" clevis pin with lanyard and lynch pin, 1 x 1/4" x 2" wire lock pin with 12" lanyard, 4 x 1/2" x 4" bent pins with cotter pins, 1 custom rubber bumper, 1 front/back rubber bumper, 1 grip handle, 1 locking pin, and 1 cross bar immobilizer.
Replacement parts may be ordered through your nearest Blue Ox Dealer or Distributor. If a bolt is lost or needs replacement, use a replacement bolt of the same grade (typically Grade 5). Do not substitute homemade or non-typical parts. Using incorrect replacement parts will void the manufacturer's warranty.
Ensure your Industry Standard Rail (ISR) system is properly installed and secured. Make sure the truck bed is clean of dirt and debris before starting installation. If a removable bed liner is installed, it must be removed or modified to allow the hitch to contact the bed directly. Spray-in bed liners are permissible. Verify that the ISR tab spacing is 20" wide x 22" front to back.
Place the base of the hitch into the center of the rails at the 20" markings. The orange warning sticker should be towards the driver side of the vehicle.
Insert four 1/2" x 4" pins on the inside of the rails. Attach a cotter pin to the end of each of the four pins to secure them in place.
Insert the center post of the hitch head into the hitch base with the handle towards the driver side of the truck. Then insert the 3/4" x 4-1/4" clevis pin and wrap the lanyard inside the base arms before inserting the lynch pin.
The recommended clearance between truck bed and 5th wheel trailer is 6-8 inches. To adjust the height of the hitch head if needed, remove the clevis pin and adjust appropriately. Ensure the trailer is as level as possible; pin box adjustment may be required.
Torque the two 7/16" flange nuts to 54 ft/lbs, then install and torque the two 7/16" jam nuts to 54 ft/lbs. Tighten both flange nuts and jam nuts evenly to ensure all slop is removed from the center post.
Before towing, verify that the locking pin is in place in the hitch handle. Ensure the coupler handle is completely in the locked position. Connect the electrical cable and breakaway. Close and latch the tailgate. Perform a pull test: slightly raise the landing gear, release the emergency brakes on the truck, apply the trailer brakes, and slowly try to pull the trailer forward. The wheel chocks and trailer brakes should prevent the truck from moving forward if the hitch is properly connected. Check for proper clearance between truck box and trailer (6-8 inches recommended). Completely raise trailer jacks before towing.
Roughly 15-25% of the weight of the trailer should be on the hitch (pin weight). Do not exceed the hitch's 6,000 lbs pin weight rating.
If the hitch is in an accident, it must be replaced. Do not use it again. An accident can cause unseen damage, and using it again could result in more damage or serious injury. Do not use the hitch if it is damaged or missing parts.
While the vehicle is in motion, do not hold or force the handle in any direction. Stand clear of the handle while hooking up and unhooking. Failure to do so may result in serious injury. Do not stand between the trailer and the truck bed during the pull test.
Yes. Trailer brakes are required. This is a mandatory safety requirement for towing with the BXR2410.
Periodically clean any dirt and debris from the hitch. Moderately lubricate the locking pin on the hitch head with white lithium grease or equivalent grease. Check that all bolted connections are at the correct torque specification on a regular basis. Complete a visual inspection before towing each time. The manual recommends using the BXR9004 Lube Plate on the hitch head to help prevent wear to the top plate surface.
The BXR9004 is a lube plate kit recommended for use on the hitch head to help prevent wear to the top plate surface. It is an optional accessory that can be ordered through your nearest Blue Ox Dealer or Distributor.
Place wheel chocks on each side of the trailer wheels. Remove the safety pin from the coupler handle. Turn the handle clockwise to the open position. Adjust the trailer height so the king pin is slightly above the top of the coupler. Confirm that a lube plate is attached to the trailer's king pin. Slowly back the truck towards the trailer, ensuring the king pin is centered with the coupler. Once the king pin is over the center or slightly rear of center and within the inner coupler circle, lower the trailer until the king pin engages the hitch head. Ensure the coupler handle is completely in the locked position before reinserting the safety pin. Connect the electrical cable and breakaway. Close and latch the tailgate.
Lower the landing gear on the trailer to rest firmly on the ground so the load is level with truck suspension. Chock the wheels of the trailer. Lower the truck tailgate. Remove the pin from the coupler handle. Pull and rotate the handle to the open position. Raise the trailer until the tongue weight is removed from the truck and the king pin is above the hitch head. Disconnect the electrical and breakaway. Move the truck forward from underneath the trailer. Rotate the handle back to the locked position and reinsert the safety pin to lock the handle in the closed position.
Remove the locking pin from the hitch handle. Pull the handle outward. Turn the handle clockwise until it is in the open position. The handle will remain in this position until hook-up. Verify that the handle is in the locked position before reinstalling the locking pin after hook-up.
First, remove the hitch head by loosening the 7/16" flange nuts and jam nuts on the tailgate side of the hitch. Remove the 3/4" x 4-1/4" pin. Pull the hitch head and center post out of the base and set aside. Remove the four 1/2" x 4" pins and cotter pins from the hitch base and lift to remove the base from the Industry Standard Rails.
The BXR2410 attaches to Industry Standard Bed Rails (ISR) with 20" wide x 22" front-to-back spacing. It is not for flat bed trucks. Verify your truck has ISR and the correct spacing; contact Blue Ox at (402) 385-3051 if unsure.
You need a torque wrench, 11/16" socket, and 5/8" wrench to tighten the fasteners to 54 ft/lbs.
The manual does not mention drilling, cutting, welding, or permanent modifications to the truck bed. The hitch attaches to existing Industry Standard Rails using pins and fasteners.
Torque the 7/16" flange nuts and jam nuts to 54 ft/lbs. Tighten them evenly to remove all slop from the center post.
The BXR2410 is rated for 6,000 lbs pin weight. Do not exceed this limit or your vehicle's manufacturer towing capacity.
Yes. Always ensure the locking pin is in place in the hitch handle before towing. Verify the coupler handle is completely locked before reinserting the safety pin.
Check that all bolted connections are at the correct torque specification on a regular basis. Complete a visual inspection before towing each time.
To adjust the height of the hitch head, remove the 3/4" x 4-1/4" clevis pin and adjust the hitch head position appropriately. You may also need to adjust the trailer height or pin box position. The recommended clearance between truck bed and 5th wheel trailer is 6-8 inches. Ensure the trailer is as level as possible during this adjustment.
Slop in the center post indicates the flange nuts and jam nuts are not properly tightened. Loosen the 7/16" jam nuts, then tighten the two 7/16" flange nuts evenly to 54 ft/lbs, ensuring all slop is removed from the center post. Then reinstall and torque the jam nuts to 54 ft/lbs, also tightening evenly. Use a torque wrench to ensure proper torque specification.
Trailer separation during the pull test indicates the hitch is not properly connected. The king pin may not be fully engaged in the coupler, or the coupler handle may not be completely in the locked position. Stop immediately and do not tow. Unhook the trailer, verify the king pin is centered with the coupler, and re-hook the trailer, ensuring the coupler handle is completely locked before reinserting the safety pin. If the problem persists, inspect the hitch and coupler for damage or misalignment.
Verify that the coupler handle is completely in the locked position. The locking pin should only be inserted when the handle is fully locked. If the pin still does not fit, the handle may not be fully rotated to the locked position. Pull the handle outward and rotate it counterclockwise until it is fully locked, then attempt to insert the locking pin again.
No reviews have been added for this product.