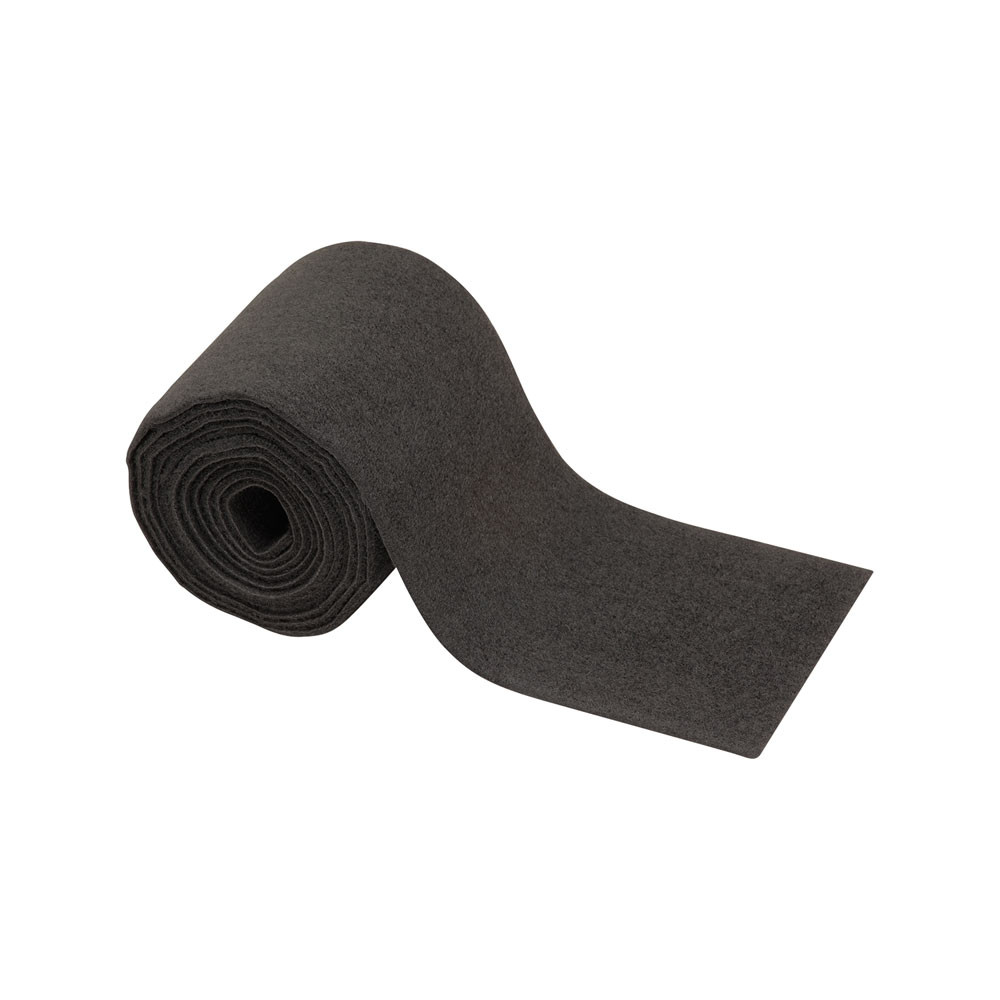
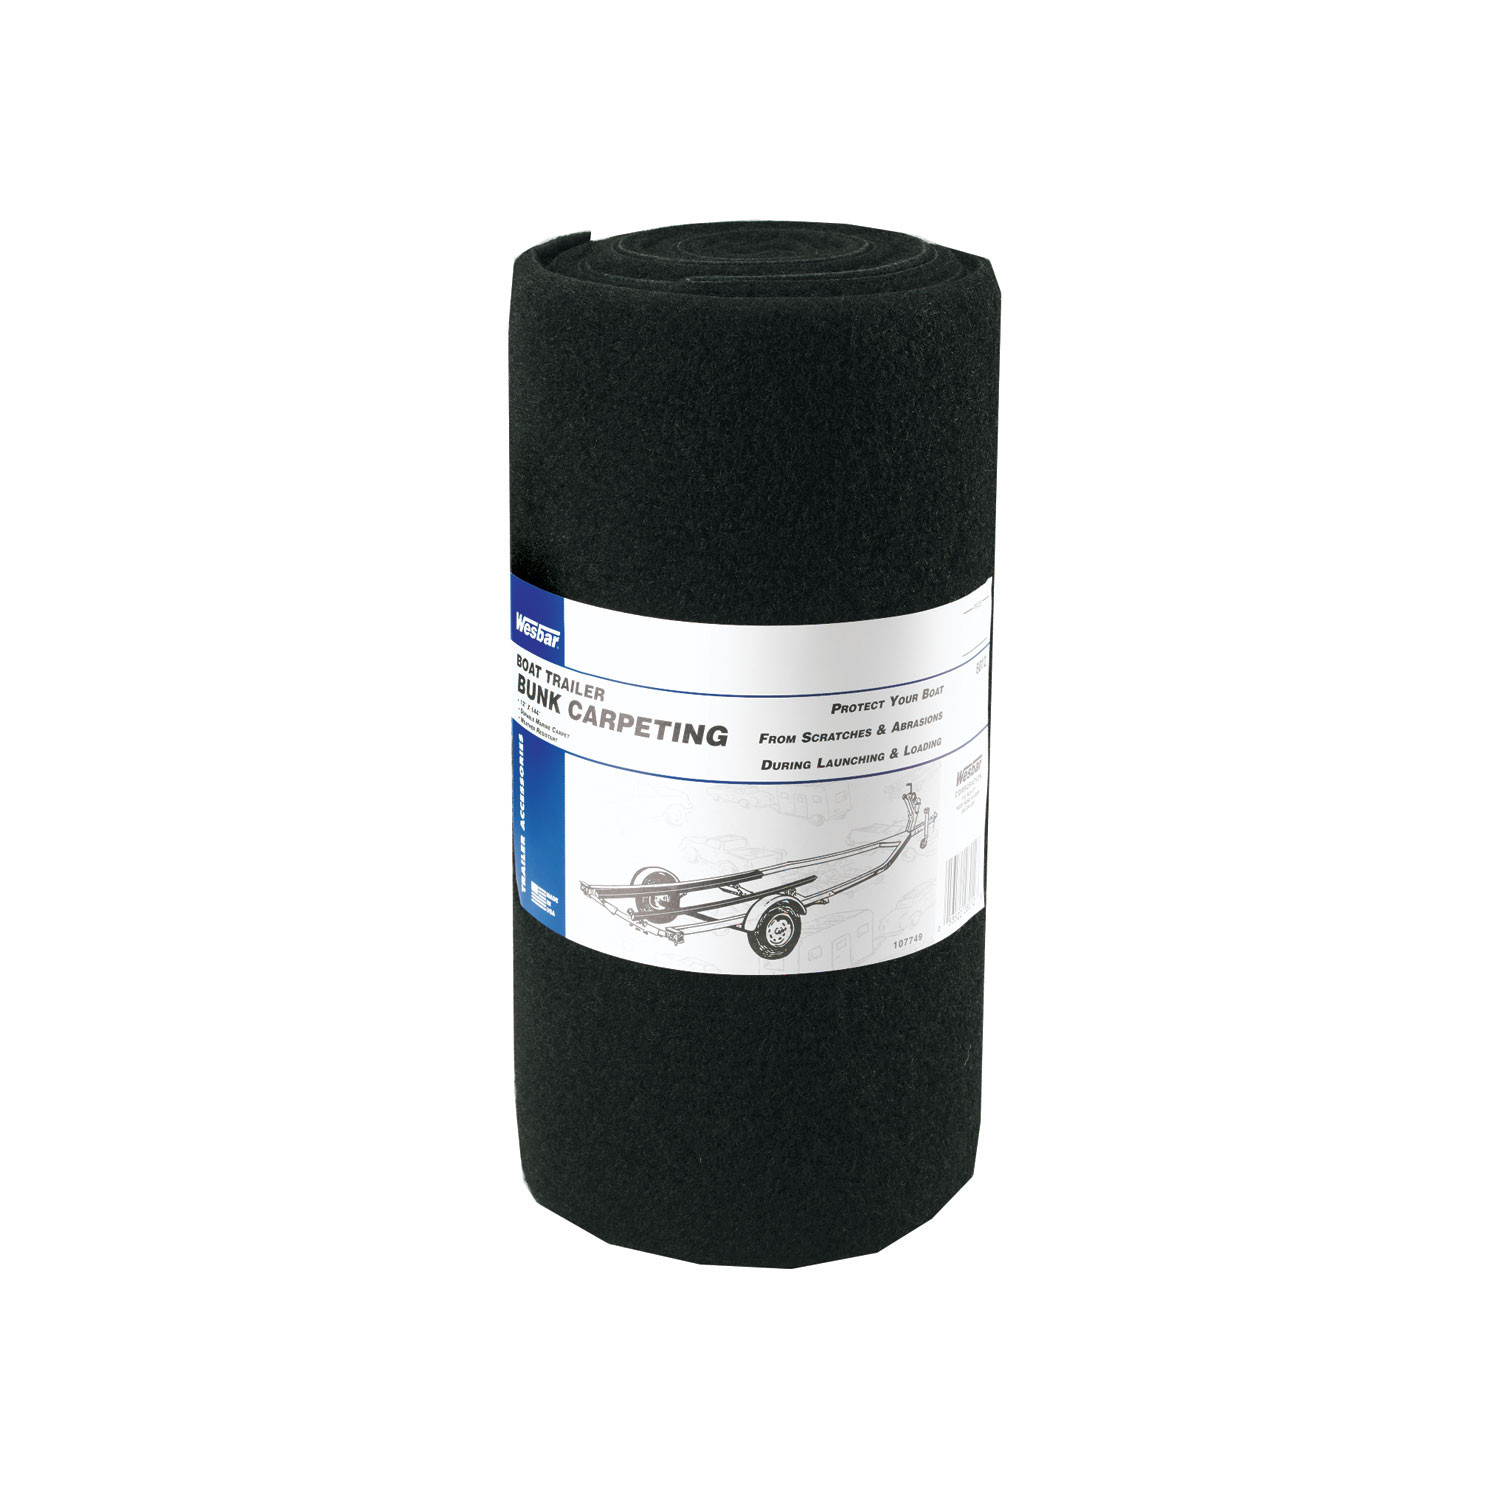
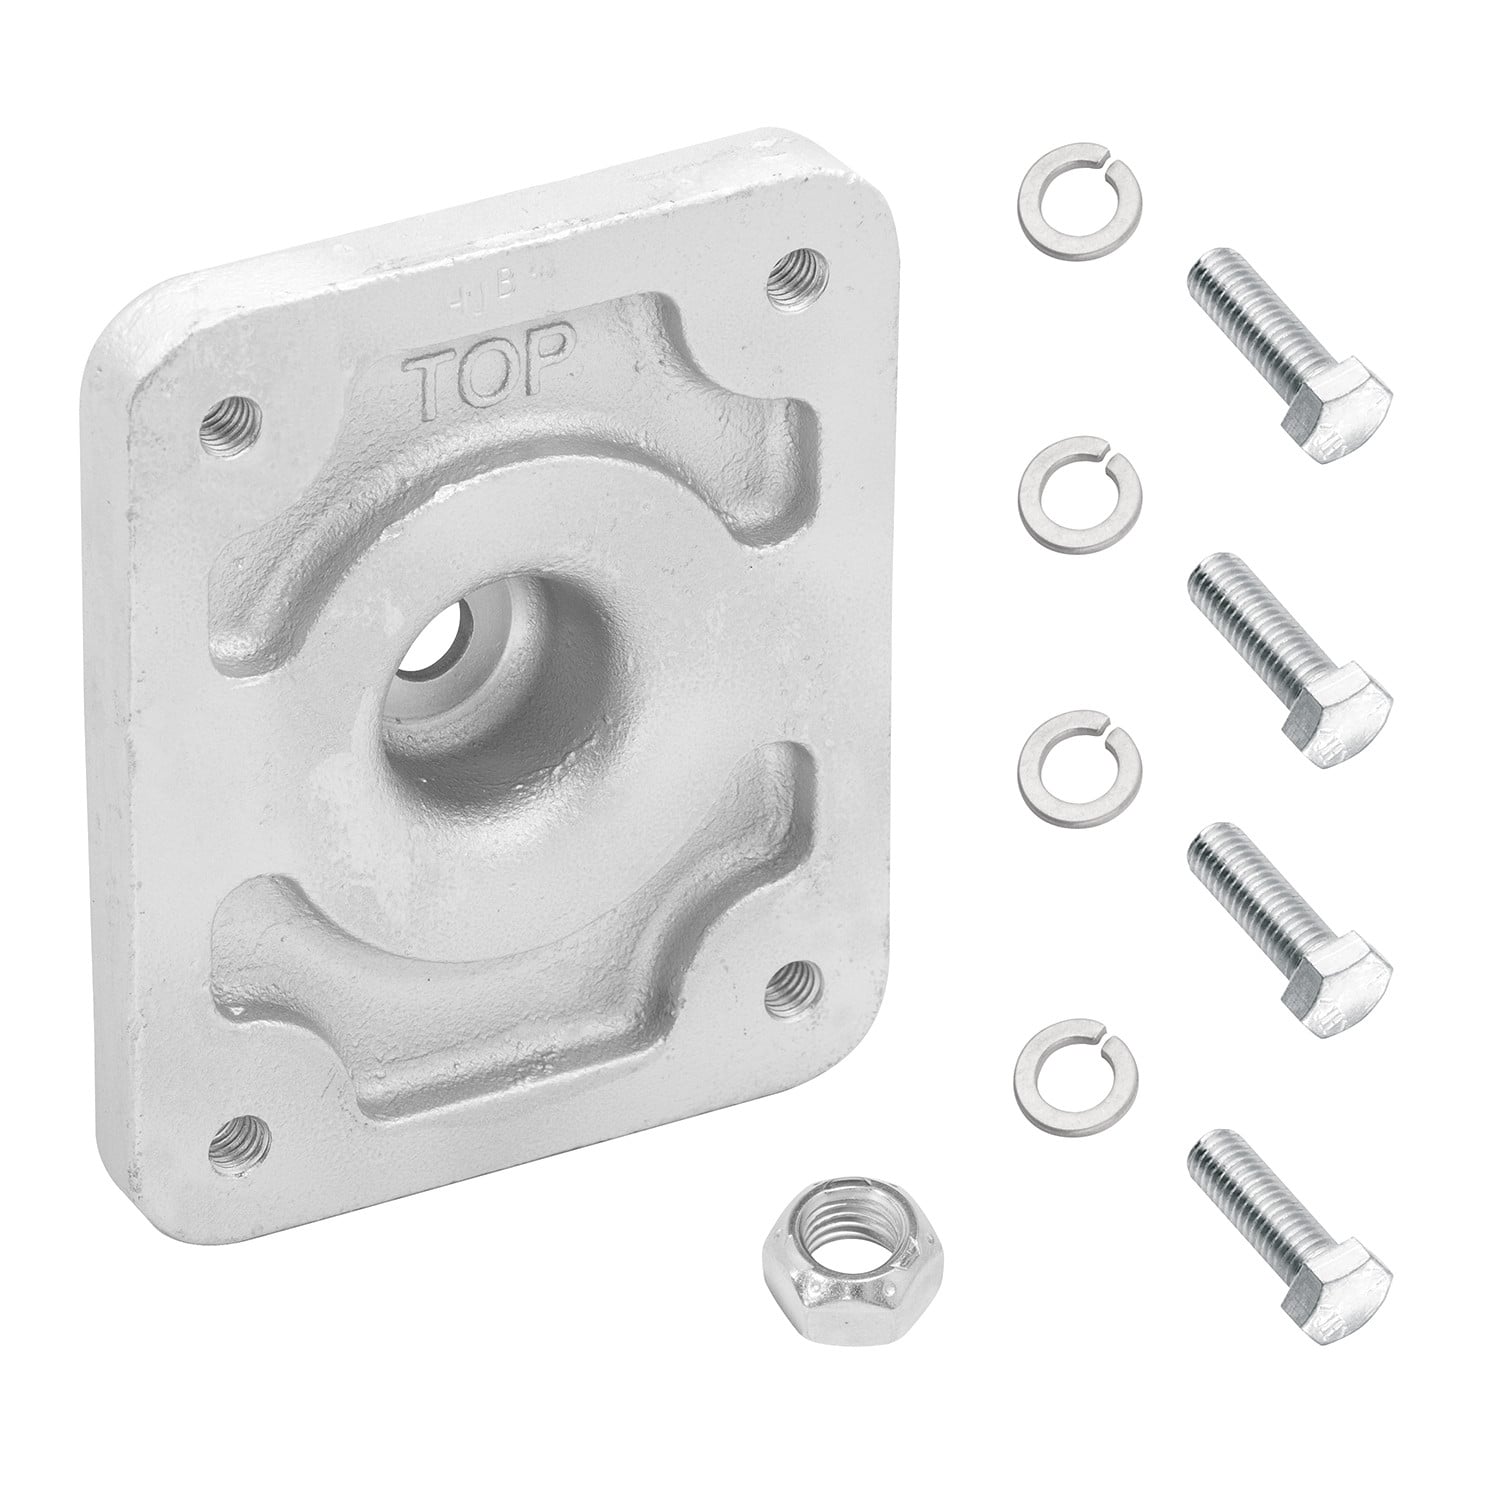
Fulton Marine Trailer Accessory, Boat Guide Kit, 50 in. (a pair)FultonOriginal price was $200.00. Current price is $188.23.In Stock
View productOur in-house experts typically reply within one business day.

Fulton

Always the correct part
We know our products
Quality Products
Free Shipping!
Always the correct part
We know our products
Quality Products
Free Shipping!


Fulton has produced marine and utility trailer hardware for more than a century, and its jacks, winches and couplers are a standard for light and medium-duty trailering. The XLT and F2 series cover swivel and fixed jacks, hand and powered winches from 1,500 to 3,200 pounds, and couplers built to keep working in wet, salty conditions.
With more than a hundred years of production behind it, Fulton has become the reference point for light and medium-duty trailer hardware, particularly on the marine side. That environment is the toughest test a trailer component faces. A boat trailer is reversed into fresh or salt water on every launch and left to sit wet, which finds every weakness in plating, sealing and material choice. Fulton's stated position is that the brand performs best when the weather is at its worst, and its product engineering reflects that. It sits within the Horizon Global towing group alongside Reese, Draw-Tite, Bulldog, Tekonsha and Wesbar.
Marine and utility jacks anchor the line. The XLT Series marine jack uses a bolt-through swivel mount built from three-dimensionally formed heavy-gauge steel stampings with a proprietary bushing material, a combination chosen to minimise deflection under tongue load while keeping the swivel action working after years of exposure. The F2 Series takes corrosion resistance further as the industry's only extruded aluminium marine jack with an anodised finish, which removes the rust problem at its source rather than coating over it. The wider trailer jack range covers topwind, sidewind and drop-leg configurations.
Trailer winches pull boats onto bunks and rollers. XLT Series winches use efficient gear ratios, full-length drum bearings, oil-impregnated shaft bushings and a Comfort Grip handle that makes the last few turns under load bearable, in 1,500 and 1,800 pound capacities. F2 Series winches use an enclosed frame for a cleaner look and added protection, in 1,600, 2,000 and 3,200 pound models, including two-speed options that trade line speed for cranking effort.
Couplers complete the range, including A-frame couplers matched to common tongue sizes and load ratings, serving boat owners, utility trailer users and trailer manufacturers.
Experts available to answer your questions
Call 888-634-94945 Years
No. The manual states the product may not fit all trailer/boat setups. The U-bolts must fit your trailer frame tubing, and the mounting hardware, brackets, and tube end must not contact the boat underside during loading or unloading. Verify fitment before purchase.
A Phillips-head screwdriver is required. The manual recommends drilling 1/8" diameter pilot holes through the vinyl cap and PVC tube to ease installation of self-tapping screws, and drilling a 1/8" diameter vent hole through the PVC tube wall. A drill with appropriate bits is therefore recommended.
Tighten the mounting hardware to 15 ft-lbs of torque after adjusting the mounting tubes so the guides lightly contact the sides of the boat.
It is recommended. The manual states: "It is recommended to drill 1/8" diameter pilot holes through the cap and the PVC tube to ease installation of the screws." This is not required but makes installation easier.
The rounded bolt heads must face the rear of the trailer to minimize exposure to the boat hull when loading. Failure to assemble in this configuration could result in property damage.
Check the hardware for proper tightness every time the trailer will be in use. Tighten if necessary. This applies to both GB44/GB150 guides and BGR20 roller guides.
No. The manual explicitly states: "Using boat guides as bumpers for loading boat could damage these products. These are only intended as guides."
Do not mount directly behind tail lights or in an area that obstructs the view of the lights from behind or side of the trailer. Verify that the mounting hardware, brackets, and tube end do not contact the boat underside during loading or unloading. The boat must be centered and square on the trailer to properly install, locate, and adjust the guides.
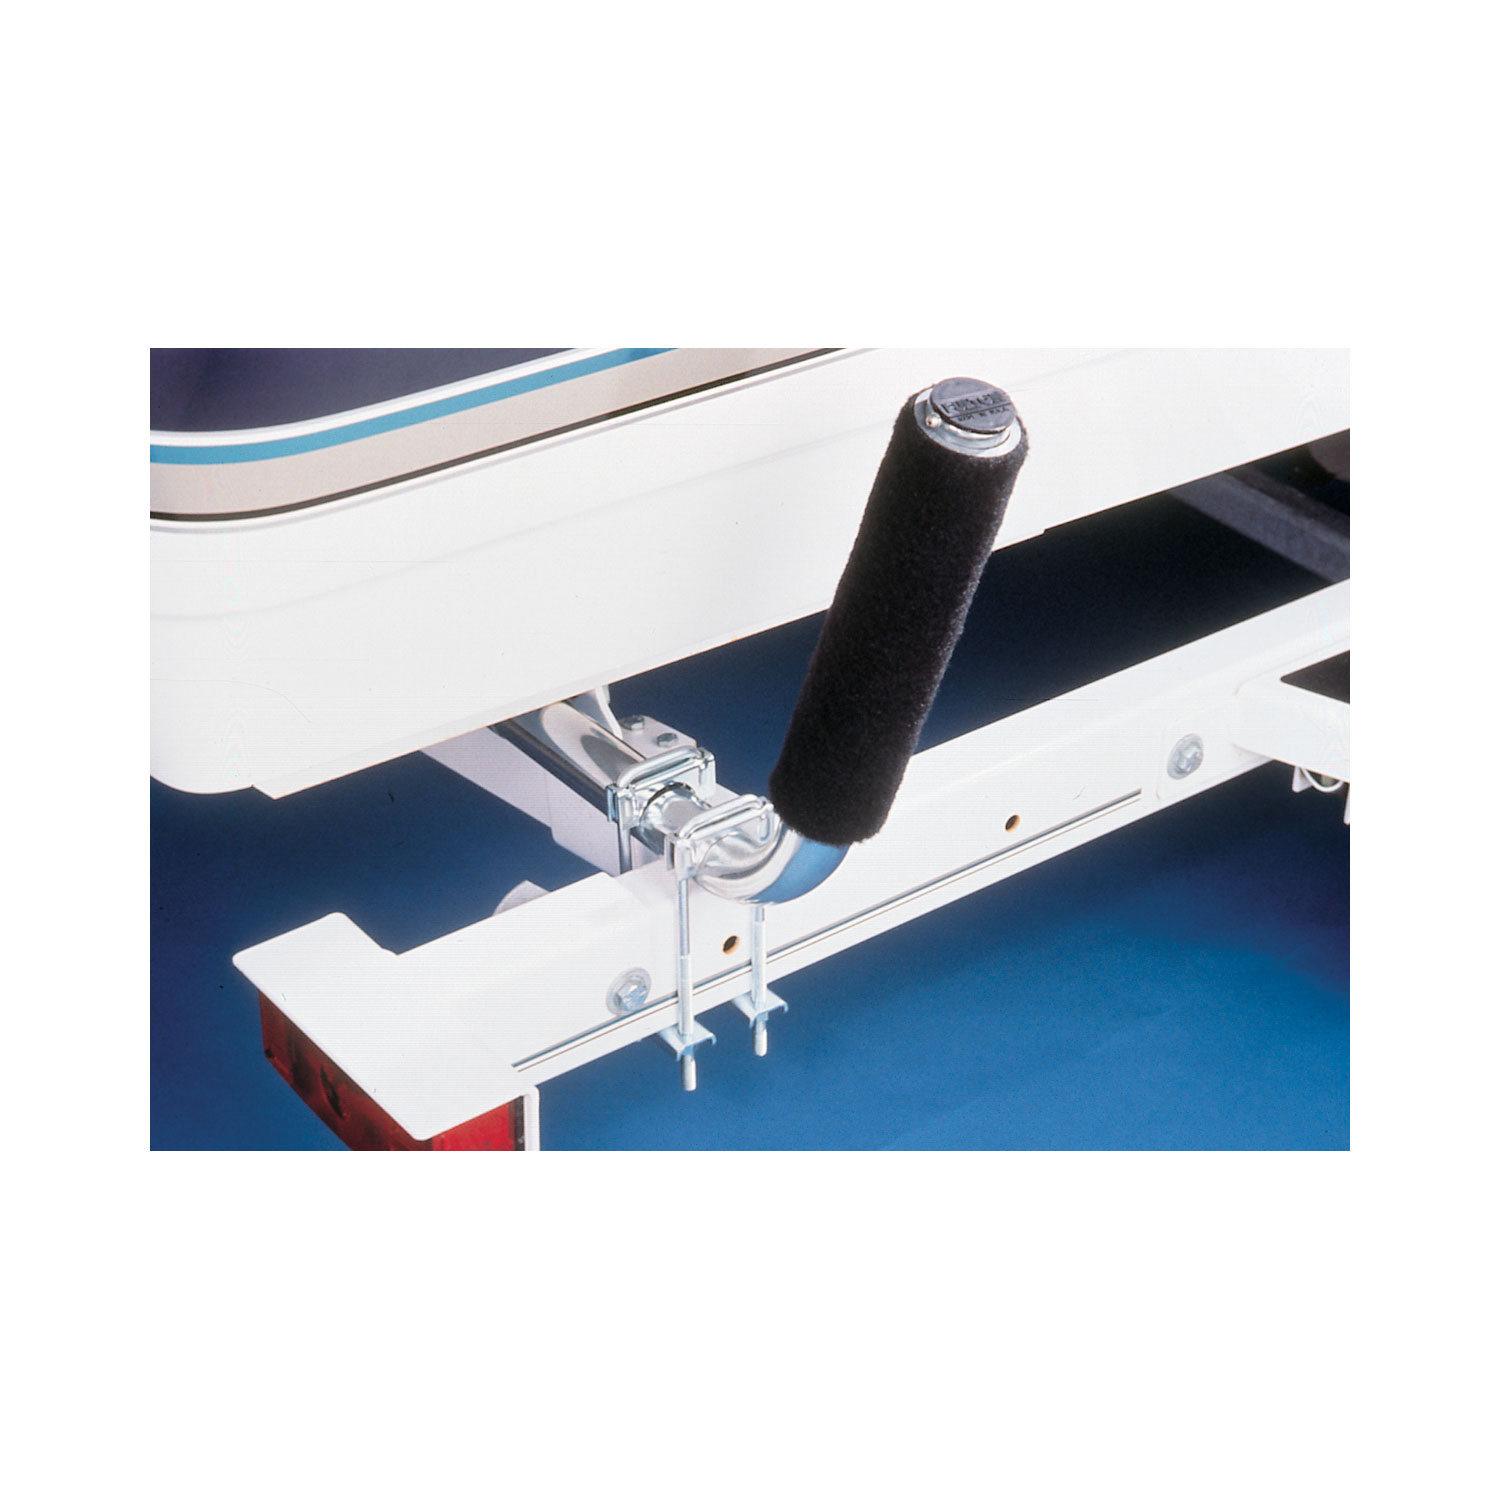
The GB44 and GB150 boat guides include: PVC tube with silver vinyl cap, self-tapping screws, mounting tube, mounting channel, mounting plate, U-bolts (3/8"), lock washers (3/8"), hex nuts (3/8"), and for GB44 only, carriage bolts (5/16"), lock washers (5/16"), flat washers (5/16"), and hex nuts (5/16"). The BGR20 roller guide includes: mounting tube, carpeted roller, Fulton cap, self-tapping screws, lock washers, U-bolts (3/8"), saddle clamps, mounting straps, hex nuts (3/8"), and silver vinyl cap.
The manual does not specify functional differences between GB44 and GB150. Both use the same basic installation process with U-bolts and mounting channels. The GB44 includes carriage bolts to connect an upright PVC tube to the mounting tube (steps 5-6), while the GB150 does not require this step. Both require the same final adjustment procedure.
Yes. The manual states: "Drill a small vent hole (1/8" diameter) through one wall of the PVC tube just below the cap." This is a required step for both GB44 and GB150 guides.
The self-tapping screws should be installed in line with the front/back of the boat/trailer to avoid scratching the boat. The manual recommends drilling 1/8" diameter pilot holes through the cap and PVC tube first to ease installation.
1. Place the upright PVC tube over the end of the mounting tube so holes align. 2. Insert two 5/16" carriage bolts through the holes from the rear of the trailer with rounded bolt heads facing the rear. 3. Place 5/16" hardware (lock washer, flat washer, hex nut) on each carriage bolt as shown in Figure 3. 4. Tighten until the bolt's square neck pulls into the upright tube. Do not over-tighten to avoid cracking PVC.
1. Slightly loosen the mounting U-bolts just enough to allow adjustment of the mounting tubes. 2. Position the upright so it contacts the rub rails of the boat. 3. Keep the tube leg flat on the frame surface so it tightens evenly. 4. Apply slight pressure against the boat to minimize vibration during trailering. 5. Tighten the 3/8" nuts firmly, being careful not to collapse the PVC tube around the frame member. 6. Adjust tension by tightening or loosening front or back U-bolts. Tension should be equal on both sides of the boat.
Yes. The manual states: "Can also be installed below trailer frame by turning hardware around to fit your boat/trailer setup better; however, be aware that U-bolts do not extend too high possibly causing damage to boat." This is an alternative mounting option but requires careful attention to ensure U-bolts do not extend high enough to contact the boat.
1. Using a Phillips-head screwdriver, insert a self-tapping screw and lock-washer into the LOWER hole of the mounting tube and tighten by hand (do not over-tighten). 2. Place the carpeted roller over the mounting tube. 3. Insert the Fulton cap into the top of the mounting tube, align the hole in the cap with the hole in the tube, and insert and tighten by hand a self-tapping screw and lock washer. 4. Determine approximate desired location. 5. Put U-bolts through saddle clamps. 6. Position mounting tube on top of trailer frame and slide U-bolts (with clamps) over the tube on each side. 7. Select holes in mounting straps that fit your trailer frame tubing and place straps over U-bolts with flat surface against the frame. 8. Install 3/8" lock washer and 3/8" hex nut on each end of U-bolts and finger-tighten. 9. Place silver vinyl cap on bottom end of tube. 10. Adjust mounting tubes so guides lightly contact sides of boat and tighten hardware to 15 ft-lbs. 11. Repeat on the other side.
Hand-tighten only. The manual states for both the lower screw and the cap screw: "tighten by hand" and "tighten by hand a self-tapping screw and lock washer." The caution notes "Do Not Over Tighten." Final tightening of the U-bolt hardware to 15 ft-lbs occurs after adjustment in step 10.
GB44/GB150: U-bolts are 3/8"; lock washers and hex nuts are 3/8". For GB44 only, carriage bolts are 5/16" with 5/16" lock washers, flat washers, and hex nuts. BGR20: U-bolts are 3/8"; lock washers and hex nuts are 3/8". Self-tapping screws are used for the vinyl caps and roller attachment but specific gauge is not stated.
The boat must be centered and square on the trailer to properly install, locate, and adjust the boat guides. Improper boat positioning will result in incorrect guide alignment and may cause the guides to contact the boat unevenly or not at all.
Never position any part of your body under any portion of the product or the load being supported. Do not allow children to play on or around the product or load. Never come in contact with sharp corners and/or edges as serious injury and/or property damage may result. Always replace bent, broken, or worn parts before using the product.
Check the hardware for proper tightness every time the trailer will be in use and tighten if necessary. The manual also notes that some adjustment may be required the first time you unload the boat with the BGR20 roller guide.
Hand-tighten means to tighten the nuts using only your hand, without tools, until snug but not fully tight. For GB44/GB150, this is done in step 4 to hold the tube in place before final adjustment. For BGR20, this is done in step 8 before final torque tightening to 15 ft-lbs in step 10.
Slight pressure against the boat is recommended to minimize boat guide vibration during trailering. This is applied during the final adjustment phase (step 8) before tightening the U-bolt nuts firmly.
Adjustments in tension can be made by tightening or loosening the front or back U-bolts. Tension should be equal on both sides of the boat. This is done during the final adjustment phase after the guides contact the rub rails.
The manual requires drilling a 1/8" diameter vent hole through one wall of the PVC tube just below the cap but does not explicitly state its purpose. Vent holes in sealed tubes typically allow air pressure equalization and prevent vacuum formation.
No. The manual states: "Purchaser/owner must not alter or modify product." Any modifications not made pursuant to the product instructions and in a workmanlike manner will void the warranty.
Cequent Performance Products warrants the product to the original consumer purchaser only. Bulldog and Fulton products are covered for five years; Pro-Series products for one year. The warranty covers material defects in material and workmanship, ordinary wear and tear excepted, provided installation and use conform to the instructions. The warranty does not cover damage from abuse, neglect, misuse, accidents, misapplication, overloading, improper installation, improper maintenance, or unauthorized alterations. Repair or replacement is the sole remedy. Contact Cequent at 1-800-632-3290 or 47912 Halyard Dr. Suite 100, Plymouth, MI 48170.
No. In step 4, hand-tighten the nuts so the tube is held in place, but do not fully tighten. The final tightening occurs in step 9 after you have adjusted the position of the mounting tubes so the upright contacts the rub rails of the boat.
The manual warns: "Do not over tighten to avoid cracking PVC" (for carriage bolts on GB44) and "being careful not to collapse PVC tube around the frame member" (for final U-bolt tightening). If cracking occurs, the product should be replaced. Contact Cequent Performance Products at 1-800-632-3290 for warranty evaluation.
Vibration typically indicates insufficient pressure between the guide and the boat. The manual recommends applying slight pressure against the boat to minimize boat guide vibration during trailering (step 8 of final adjustment). Ensure the upright is in firm contact with the rub rails of the boat and that tension is equal on both sides. Check that all hardware is tight before each use.
The manual notes: "Some adjustment may be required the first time you unload the boat." This is normal and expected. After the first use, loosen the U-bolt hardware slightly, reposition the mounting tubes so the guides lightly contact the sides of the boat, and re-tighten to 15 ft-lbs.
Check the hardware for proper tightness every time the trailer will be in use. If loose, tighten the U-bolt nuts. For GB44/GB150, tighten firmly without collapsing the PVC tube. For BGR20, tighten to 15 ft-lbs of torque. If hardware repeatedly loosens, inspect for damage and ensure all fasteners are properly seated.
Stop immediately. The manual states: "Before installing and/or using this boat guide system verify that none of the mounting hardware, brackets or the end of the mounting tube does not contact the underside of the boat when loading or unloading." If contact occurs, the mounting location or height must be adjusted. Loosen the U-bolts, reposition the mounting tubes, and verify clearance before re-tightening.
Free Shipping
Ships free on all orders
 Authorized Dealer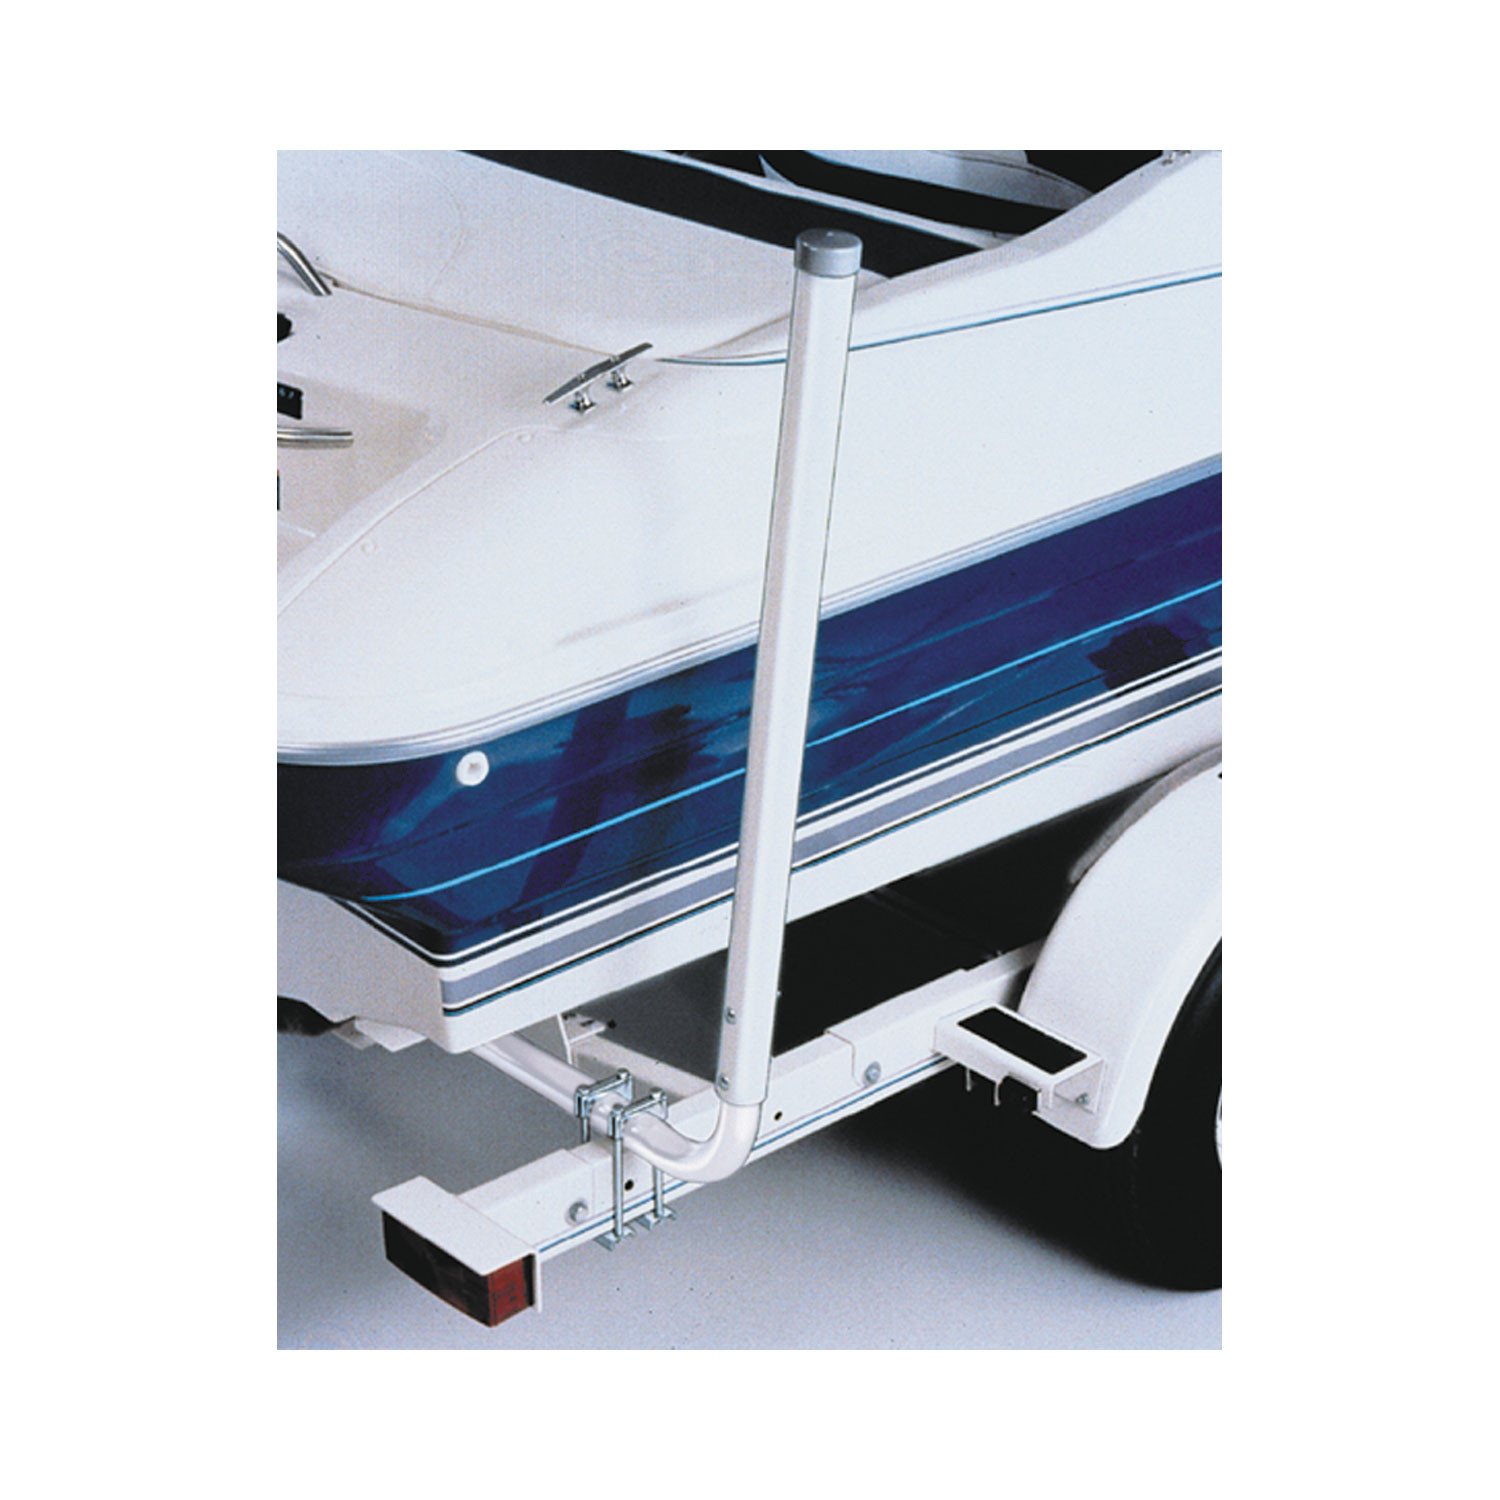
FREE ShippingFREE SHIPPING
Estimated delivery Sat, Sep 26 - Tue, Sep 29
Order before 2 PM EST Monday–Friday for same-day processing
Guaranteed safe & secure checkout
Matt
The staff was able to quickly assist me with locating the correct product I needed. Shipping was really fast. Item arrived in 2 days. Will be using TowUniverse again!!
May 22, 2023