
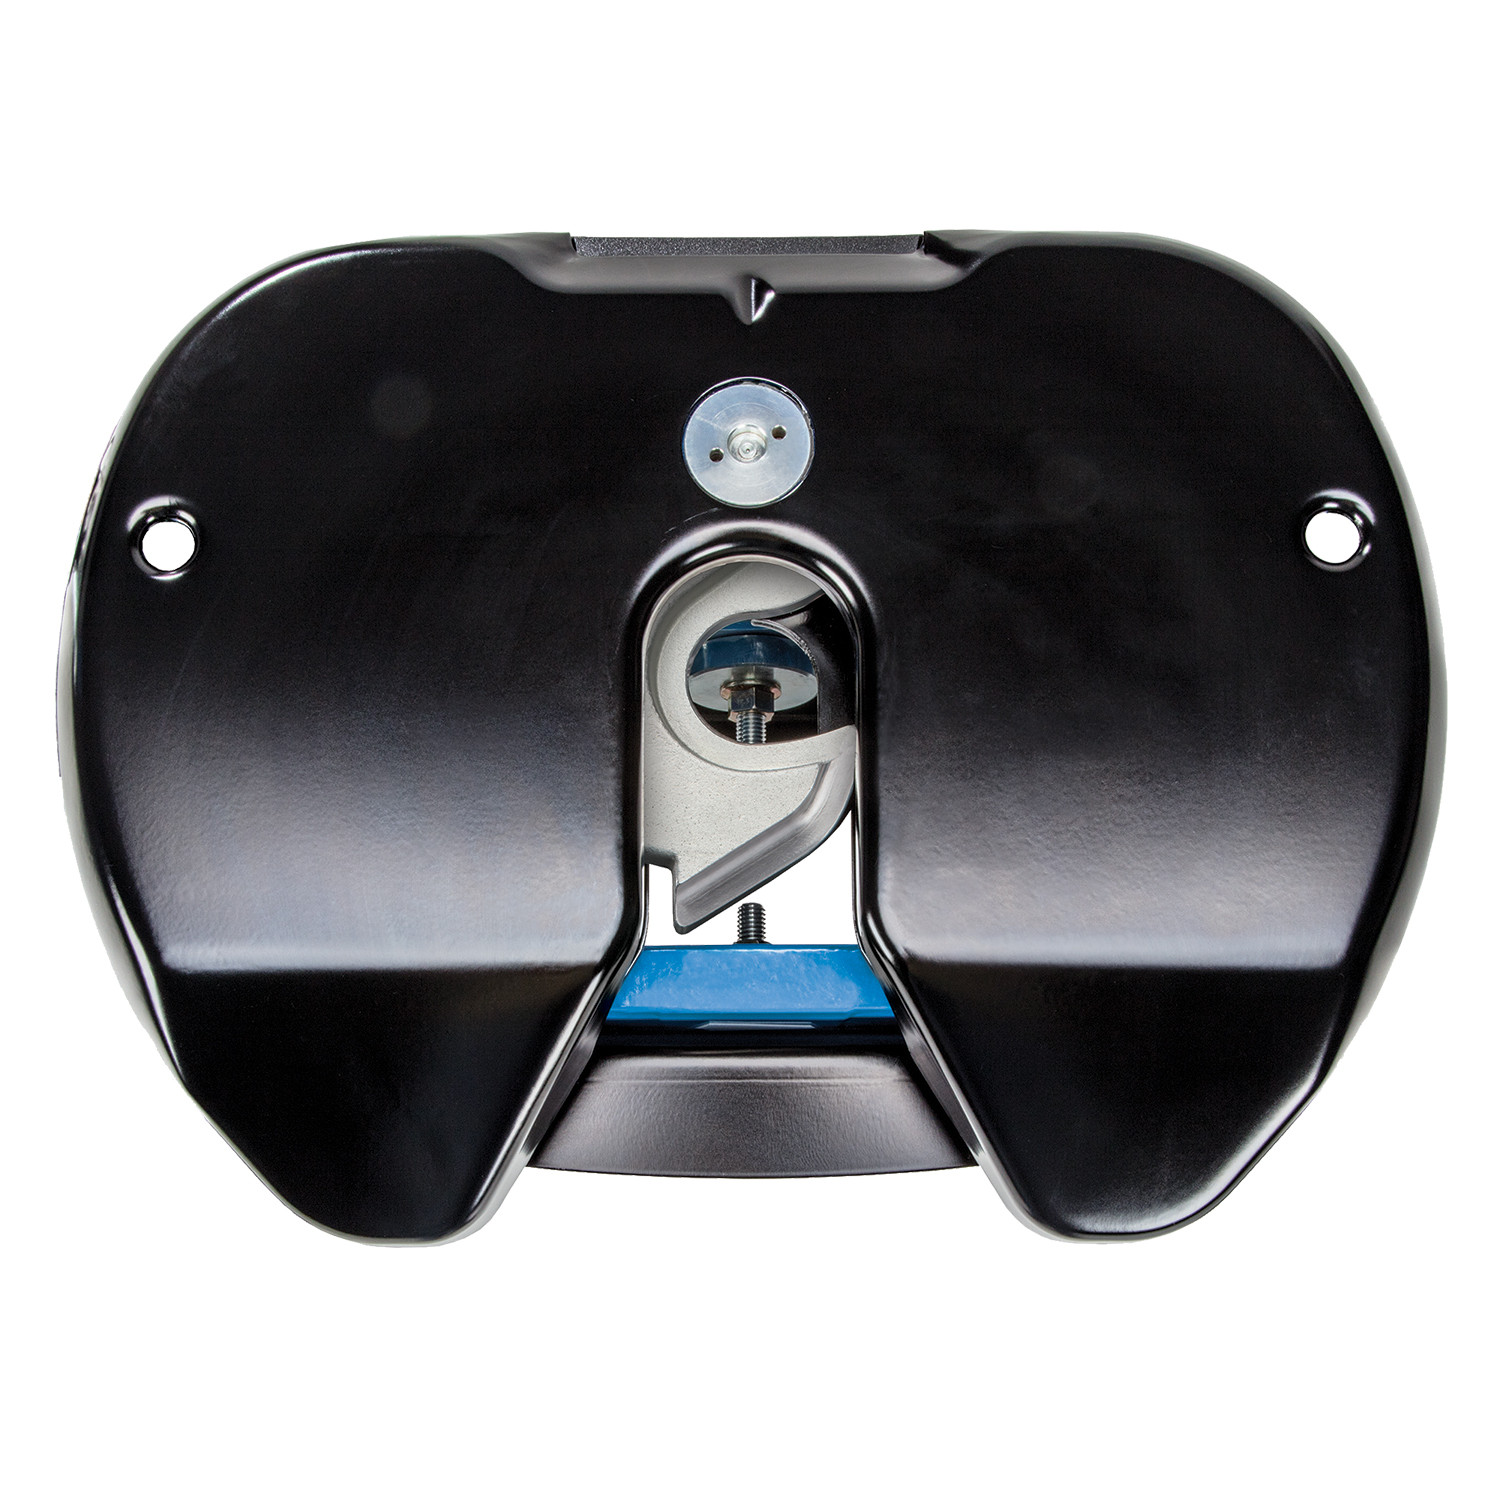
Reese M5 Fifth Wheel Hitch Head Assembly Head AssemblyReeseOriginal price was $545.00. Current price is $398.00.Out of Stock
View productOur in-house experts typically reply within one business day.

Reese


Always the correct part
We know our products
Quality Products
Free Shipping!
Always the correct part
We know our products
Quality Products
Free Shipping!

Reese has designed towing equipment since 1952 and remains a benchmark for heavy-duty towing. The line covers fifth wheel hitches such as the modular M5, gooseneck couplers including the Goose Box, air-ride and short-bed pin boxes, weight distribution systems with active sway control, and the accessories that connect them, all built to exceed published industry standards.
Reese has been pioneering towing performance since 1952, when Margaret Reese asked her husband TJ to stop travel trailers rocking every time somebody walked through them. His answer, the first pair of stabilising jacks, was simple and effective enough to change the RV industry. From that starting point Reese grew into a designer and manufacturer of complete towing systems, and today it anchors the heavy-duty end of the Horizon Global towing portfolio.
Fifth wheel towing is where the brand's engineering is most visible. The M5 fifth wheel hitch uses a modular design that breaks into manageable sections for assembly, with a wider stance, tighter tolerances and a shock absorption system aimed at the jolts that travel up through a truck bed. For owners who would rather tow from a gooseneck coupler and keep the bed clear, the Goose Box 20K replaces the trailer's king pin with a gooseneck connection carrying its own air-ride cushioning.
Pin boxes are a Reese speciality. The 5th Airborne uses air-ride technology to dampen road shock and reduce the chucking motion that makes fifth wheel towing tiring, while the Sidewinder was designed for short-bed pickups, pivoting the connection point so the trailer can turn sharply without the front cap meeting the cab.
For conventional towing, Reese weight distribution systems restore load to the tow vehicle's front axle and control sway. The Pro Round Bar distributes weight evenly while damping sway, and the Pro Dual Cam II uses active cam-based sway control that works harder the stronger the sway force becomes. Complete kits pair bars, head and shank to a rated tongue weight, and dedicated sway control kits can be added to existing setups. The products suit RV owners, horse and livestock haulers and anyone towing near the upper end of a vehicle's rating.
Experts available to answer your questions
Call 888-634-949410 Years
The 15K Fifth Wheel Hitch is designed exclusively for recreational fifth wheel trailers. It is not approved for other hitch applications unless written approval is obtained from Towing Product's Engineering Department. The hitch has a maximum gross trailer weight capacity of 15,000 pounds and a maximum kingpin weight of 3,750 pounds.
The hitch is designed for light trucks such as the Ford F-Series, Chevy Silverado, and Dodge Ram. It is recommended for use with long bed (8 ft) light trucks for the best truck-trailer turning clearance. The hitch can also be used with short bed pickups (longer than 6 ft but less than 8 ft) if equipped with an extended pin box or a slider (models 30048, 30092, or 50008). Do not install on short bed pickups shorter than 6 ft unless a sidewinder is used.
Do not install this hitch on a short bed pickup truck shorter than 6 ft unless a sidewinder is used. For short bed pickups longer than 6 ft but less than 8 ft, Cequent Performance Products recommends the trailer be equipped with an extended pin box to gain additional truck-trailer turning clearance. You may also add a slider (model 30048, 30092, or 50008) for increased turning clearance during low-speed, non-highway maneuvering.
Use only a SAE 2-inch kingpin with this Fifth Wheel Hitch.
The gross weight of the trailer must not exceed 15,000 pounds. This includes the dry weight of the trailer plus all payload (water tanks, cargo, etc.). Additionally, the towing vehicle must have a manufacturer's rated towing capacity equal to or greater than the gross trailer weight.
The kingpin weight must not exceed 3,750 pounds. Approximately 15%-25% of the gross trailer weight should be on the hitch (pin weight). If in doubt about the kingpin weight, have it measured by a qualified facility.
The height of the hitch and the pin box should be adjusted so the trailer is approximately level as it is towed. Allow approximately 6 inches clearance between the top of the pickup walls and the underside of the front of the trailer for pitch and roll of the trailer. Allow more clearance between pickup walls and trailer for off-road use.
The distance from the back of the truck cab to the center of the rear truck axle should be approximately 4 inches greater than one-half the trailer width. This helps ensure adequate truck-trailer turning clearance.
Do not use this hitch for towing a trailer with a pin box that could come into contact with or interfere with the padlock or the handle tab when turning. If the pin box contacts the hitch handle, tab, or its lock when turning, the trailer may become unhitched.
The hitch kit includes: 2 base rails, 2 side brackets (legs), 1 head support, 1 fifth wheel head, 4 long pull pins, 2 short pull pins, 6 spring cotter pins, 1 locking bar, 1 solid inner handle, 1 tubular outer handle, 1 handle tab, 1 drive pin, 1 padlock, 4 hex bolts (1/2-13 x 4.5"), 4 lock nuts (1/2"), 2 handle grips, and various washers and spacers. The base rails kit includes long brackets, short brackets, filler spacers, spacers, carriage bolts, knurled bolts, nuts, lockwashers, serrated washers, flat washers, and tube spacers. See Fig. 19 for complete parts list.
Yes, one padlock (part 37) is included with the hitch kit. The padlock is required to secure the handle tab to the sleeve on the front left corner of the hitch head during hitching.
Base rails must be bolted through the floor of the pickup to the brackets that attach to the truck frame. Do not install by fastening to the floor of the pickup box only. The floor alone is not strong enough to carry the loads imposed by the trailer. Install the base rails kit per the rail kit instructions provided with that kit.
The connection for trailer wiring should be in the side of the truck bed between the driver's seat and the wheel well for the back truck axle. Installation of the connection rearward of the wheel well may result in the user placing their body between the truck and trailer, which creates a safety hazard.
1. Place two base rails across the truck bed. 2. Select one leg and place tabs through the second rectangular slot from the end of the rail. 3. Slip long pull pins through holes in base rails from inside out with cotter pins on the outside. 4. Secure pull pins with spring cotter pins. 5. Select head support and install on leg, aligning holes for desired hitch height (lowest 13", highest 17"). 6. Install four 1/2-13 x 4.5" hex bolts with heads toward inside and lock nuts. 7. Torque 1/2" nuts to 75 lb-ft. 8. Install base rails kit per rail kit instructions. 9. Lubricate yokes in head support with heavy oil or chassis grease. 10. Install outer tubular handle over solid inner handle and pin together with cotter pin. 11. Place head assembly into yokes in head support and secure with two short pull pins with grooved end toward tailgate. 12. Install spring cotter pins into grooves in pull pins.
The hitch height can be adjusted by selecting the alignment holes on the leg. The lowest position is 13 inches and the highest position is 17 inches.
Torque the 1/2" nuts to 75 lb-ft. These nuts secure the four 1/2-13 x 4.5" hex bolts that attach the head support to the legs.
Before each trip, lubricate the skid plate surface of the hitch with automotive type chassis grease or use a plastic lube plate to provide a lubricated surface. Use engine oil to lubricate pivot points of moving parts within the hitch. Plastic lube plates must not exceed 3/16 of an inch in thickness to ensure the hitch will operate properly, and must be 10 inches in diameter or larger to properly distribute kingpin weight.
Install the outer tubular handle over the solid inner handle and pin them together with a cotter pin. Bend the cotter pin to hold it in place.
Place the head assembly into the yokes in the head support and secure with two short pull pins, with the grooved end toward the tailgate of the truck. Install spring cotter pins into the grooves in the pull pins.
Before each trip or maneuver, operate the handle and check that the locking bar opens and closes freely without the trailer attached. Verify that all hitch pull pins (part 11) are in place and the spring retaining pins (part 12) are installed.
1. Place blocks firmly against front and rear of each trailer wheel. Do not remove blocks until all steps and the pull test are completed. Lower tailgate if necessary. 2. Using trailer jacks, adjust trailer height so the bottom of the trailer pin box is 1/2 to 1 inch below the hitch skid plate. 3. Pull the handle out and forward so it rests in the handle groove on the side of the hitch head and cocks it open. 4. With the locking bar in the open position, back the truck slowly into the trailer kingpin until the locking bar slides behind the kingpin and automatically traps it. 5. With all trailer wheels blocked, landing gear resting on firm ground, and truck stationary in park with emergency brake on, visually check that the bottom of the pin box is resting on top of the hitch with no space between surfaces. 6. Verify the round hole in the handle tab lines up with the hole in the sleeve on the front left corner of the hitch head. Insert a padlock through the aligned holes. 7. With wheels blocked, landing gear down, and truck in park with emergency brake on, connect the electrical cable and breakaway switch cable, then raise the tailgate.
Using trailer jacks, adjust the trailer height so that the bottom of the trailer pin box is 1/2 to 1 inch below the hitch skid plate. During the hitching maneuver, the bottom of the trailer pin box should come in contact with the hitch skid plate ramp.
Pull the handle out (away from the hitch) and forward (toward the front of the truck) so that the handle rests in the handle groove on the side of the hitch head and cocks it open. The hitch is now ready to accept the trailer kingpin.
With the locking bar in the open position, back the truck slowly into the trailer kingpin until the locking bar slides behind the kingpin. The locking bar will automatically trap the kingpin when it is inserted into the hitch far enough to disengage the locking bar. Do not attempt to hitch by using trailer jacks to lower the trailer and kingpin, as this could result in the kingpin coming to rest on top of the skid plate instead of within the hitch opening where the locking bar is located.
With all trailer wheels firmly blocked, landing gear resting on firm ground, and truck stationary in park with emergency brake on, visually check that the bottom of the pin box is resting on top of the hitch. There should be no space between these surfaces. If space exists, the trailer has not been properly hitched and you should not tow. Do not place your body under the trailer to perform this inspection.
The round hole in the handle tab on the tubular handle should line up with the hole in the sleeve on the front left corner of the hitch head. Insert a padlock through the holes in the handle tab and sleeve. If the holes are not aligned, the trailer has not been properly connected to the hitch and you should not tow. Do not place your body under the trailer to perform this inspection.
Yes, a padlock is required. Failure to use a padlock could result in the trailer suddenly becoming unhitched. The padlock must be inserted through the aligned holes in the handle tab and sleeve on the front left corner of the hitch head.
Do not force the handle if it is not aligned to permit locking. Check that the trailer plate is resting on the skid plate and applying downward pressure. Lower the trailer by raising the trailer jacks if necessary. With the trailer wheels blocked on both sides, move the truck slightly back and forth to allow the kingpin to engage. The handle should be all the way in and the lock should be inserted through the handle tab and sleeve.
The pull test verifies that the trailer is properly hitched before towing. With all trailer wheels firmly blocked, landing gear resting on firm ground, and truck stationary with emergency brake on, return to the cab and release the truck's emergency brake. Apply the trailer brakes. After making sure no one is between the truck and trailer, try to pull the trailer slowly forward with the truck. If the trailer is properly hitched, the wheel blocks and trailer brakes should keep the truck from moving forward. If the trailer is not properly hitched, the trailer will separate from the hitch and the truck will move forward, leaving the trailer behind.
Keep all trailer wheels firmly blocked and the landing gear resting on firm ground during the pull test. Failure to keep wheels blocked and landing gear down could result in the trailer suddenly moving or falling, which could result in death or serious injury.
After successfully performing the pull test, fully raise the trailer landing gear (see trailer manual). Check and inspect all electrical circuits for proper operation (clearance lights, turn signals, stop lights, etc.). Remove and store all trailer wheel blocks.
1. Place blocks firmly against front and rear of each trailer wheel. 2. Using trailer jacks, lower the landing gear until the feet rest on firm ground. 3. Make sure the truck is in park with the emergency brake on. 4. Lower the truck tailgate. 5. Disconnect the power cable and breakaway switch cable. 6. Remove the lock from the handle tab and sleeve. 7. Make sure there is no rearward load on the kingpin locking bar. If difficult to open, back the truck into the trailer and reset the emergency brakes. 8. Pull the handle out and forward so the groove in the handle catches the side of the hitch head and cocks it open. 9. After making certain no one is standing between the truck and trailer or in front of the truck, drive the truck slowly away from the trailer. 10. Close the locking bar by pulling the handle out and back (the spring should close it). 11. Keep wheel blocks in place to prevent the trailer from moving unexpectedly. 12. Close the tailgate if desired.
Pull the handle out (away from the hitch) and forward (toward the front of the truck) so that the groove in the handle catches the side of the hitch head and cocks it open.
Make sure there is no rearward load on the kingpin locking bar. If the handle and kingpin locking bar are difficult to open, do not force the handle. Instead, back the truck into the trailer and reset the truck emergency brakes to relieve the load on the locking bar.
Pull the handle out and back. The spring should close the locking bar automatically.
Recheck the tightness of all hardware every 1,000 miles of use. Before each trip, lubricate the skid plate surface with automotive type chassis grease or use a plastic lube plate, and use engine oil to lubricate pivot points of moving parts within the hitch. Lubricate the yokes in the head support with heavy oil or chassis grease before assembly.
Recheck the tightness of all hardware every 1,000 miles of use.
Whenever possible, avoid putting your body under the trailer or between the truck and trailer. If you must place any part of your body under the trailer or between the truck and trailer, all trailer tires must be blocked in front and behind each tire, the trailer landing gear must be resting on firm ground, and the truck must be stationary in park with the emergency brake on.
The dealer/installer must: (1) Provide this manual to the end user, (2) Physically demonstrate the hitching and unhitching procedures in the manual to the end user, and (3) Have the end user demonstrate that they understand these procedures.
Never remove the hitch warning decals shown on the cover of this manual. If the decals are damaged, contact Cequent Performance Products at 1-888-521-0510 for free replacement decals.
The hitch is designed for light trucks such as Ford F-Series, Chevy Silverado, and Dodge Ram. It is recommended for long bed (8 ft) trucks. Short bed pickups (6-8 ft) require an extended pin box or slider. Do not use on pickups shorter than 6 ft unless a sidewinder is used.
Maximum gross trailer weight is 15,000 lbs. Maximum kingpin weight is 3,750 lbs. The towing vehicle must have a manufacturer's rated towing capacity equal to or greater than the gross trailer weight.
Yes, one padlock is included. It is required to secure the handle tab to the sleeve during hitching.
The manual does not specify whether drilling is required. Base rails must be bolted through the truck floor to frame brackets. Refer to the base rail kit instructions for specific installation details.
Lubricate the skid plate with automotive chassis grease or a plastic lube plate (max 3/16" thick, min 10" diameter). Use engine oil for pivot points. Lubricate head support yokes with heavy oil or chassis grease.
The pull test verifies proper hitching before towing. With wheels blocked and landing gear down, attempt to pull the trailer forward with the truck. If properly hitched, the wheel blocks and trailer brakes should prevent movement. Perform this test after every hitching before removing wheel blocks.
Recheck the tightness of all hardware every 1,000 miles of use. Lubricate the skid plate and pivot points before each trip.
If space exists between the bottom of the pin box and the top of the hitch, the trailer has not been properly hitched. Do not tow. Repeat the hitching steps until the trailer is properly hitched with no space between these surfaces. This condition indicates the kingpin may not be fully seated in the locking bar.
If the round hole in the handle tab does not line up with the hole in the sleeve on the front left corner of the hitch head, the trailer has not been properly connected to the hitch. Do not tow. Repeat the hitching steps until the trailer is properly hitched and the holes are aligned. This indicates the kingpin is not fully seated.
If the handle and kingpin locking bar are difficult to open, there is likely rearward load on the kingpin locking bar. Do not force the handle. Back the truck into the trailer and reset the truck emergency brakes to relieve the load on the locking bar, then try again.
This indicates the trailer pin box height is too high. The bottom of the trailer pin box should be 1/2 to 1 inch below the hitch skid plate before hitching. Using trailer jacks to lower the trailer and kingpin can cause this problem. Always back the truck into the kingpin with the locking bar open, allowing the kingpin to engage properly. Adjust the trailer height and repeat the hitching procedure.
Using trailer jacks to lower the trailer and kingpin can result in the kingpin coming to rest on top of the skid plate instead of within the hitch opening where the locking bar is located. The kingpin could then slide off the hitch and the trailer could drop, resulting in death or serious injury. Always back the truck slowly into the kingpin with the locking bar in the open position.
On Sale Today
Original price was $399.99. Current price is $192.65.You save $207.34 (52%)
Free Shipping
Ships free on all orders
 Authorized Dealer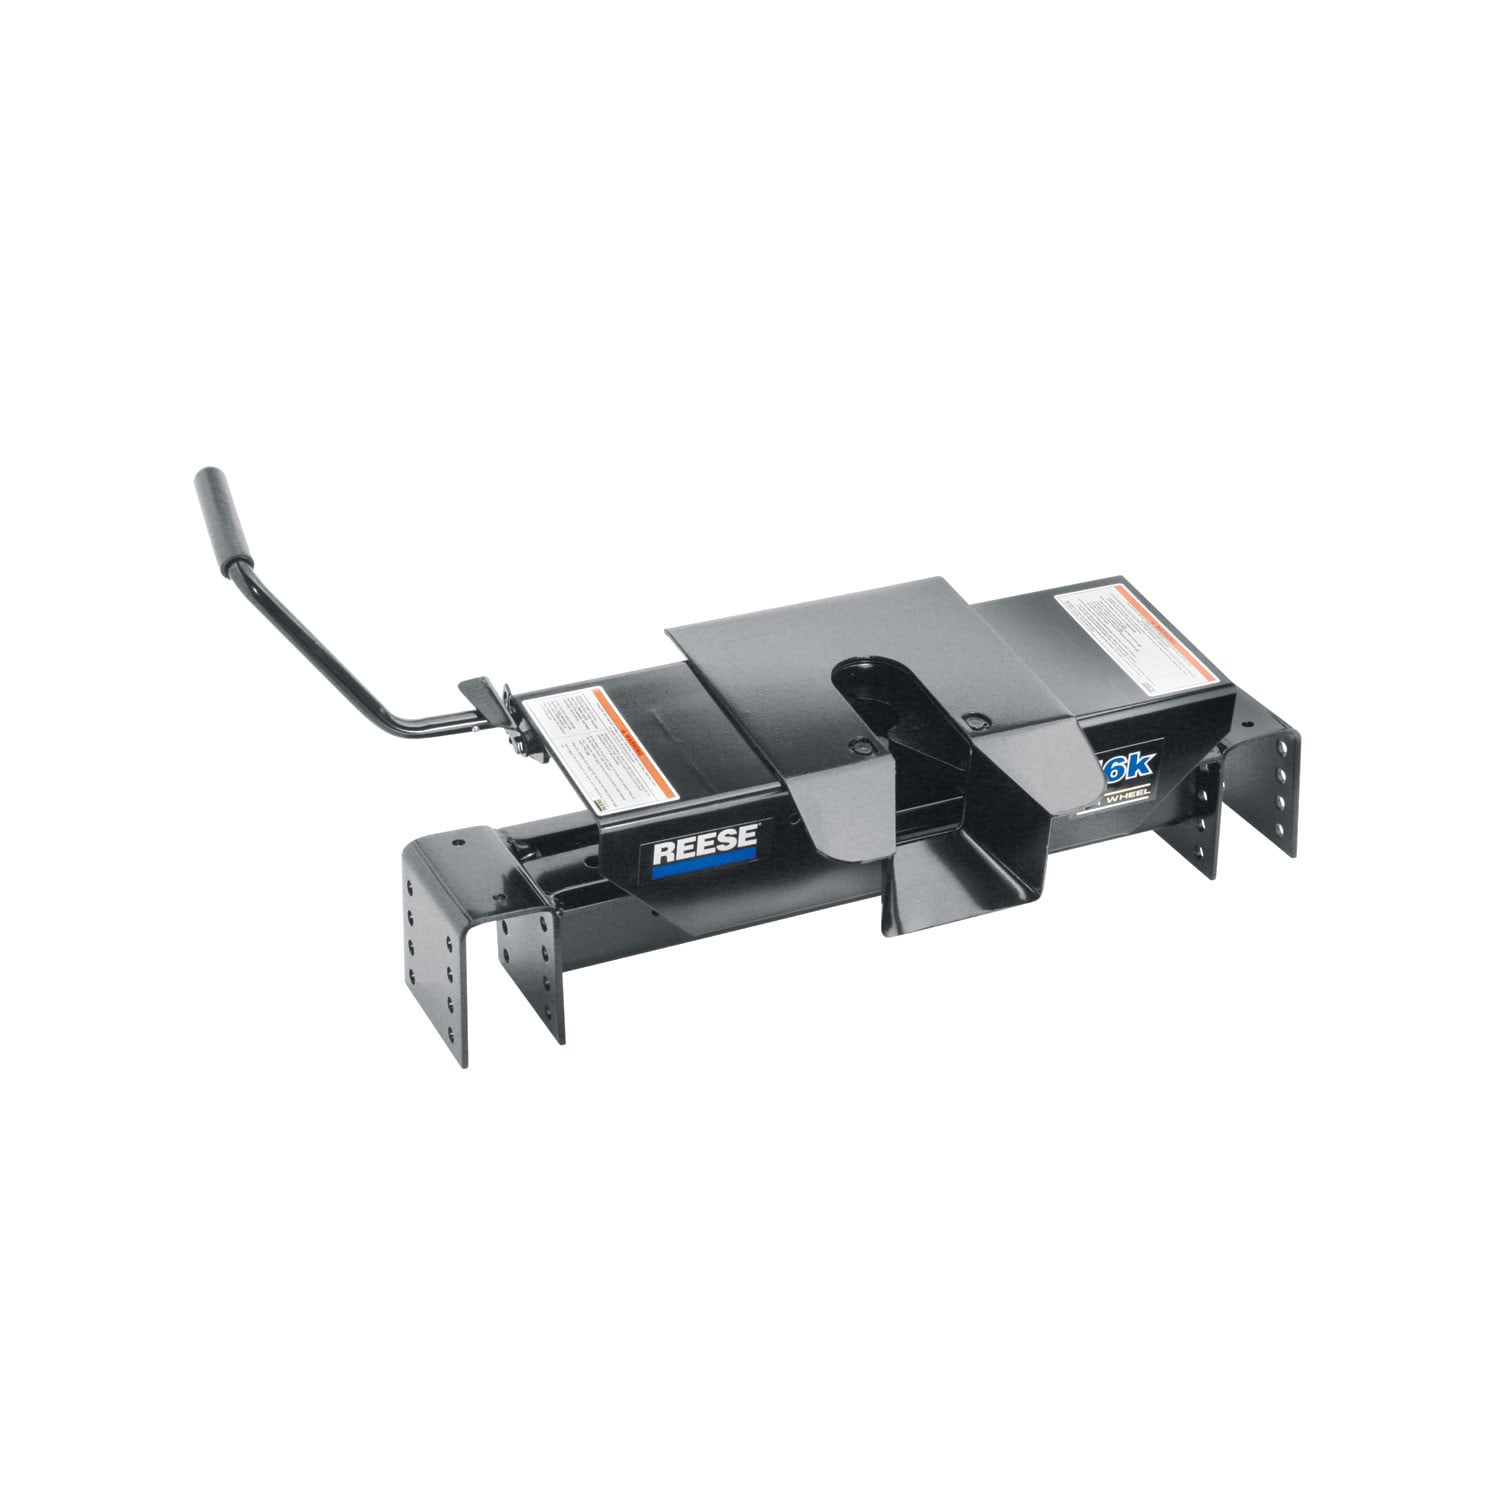

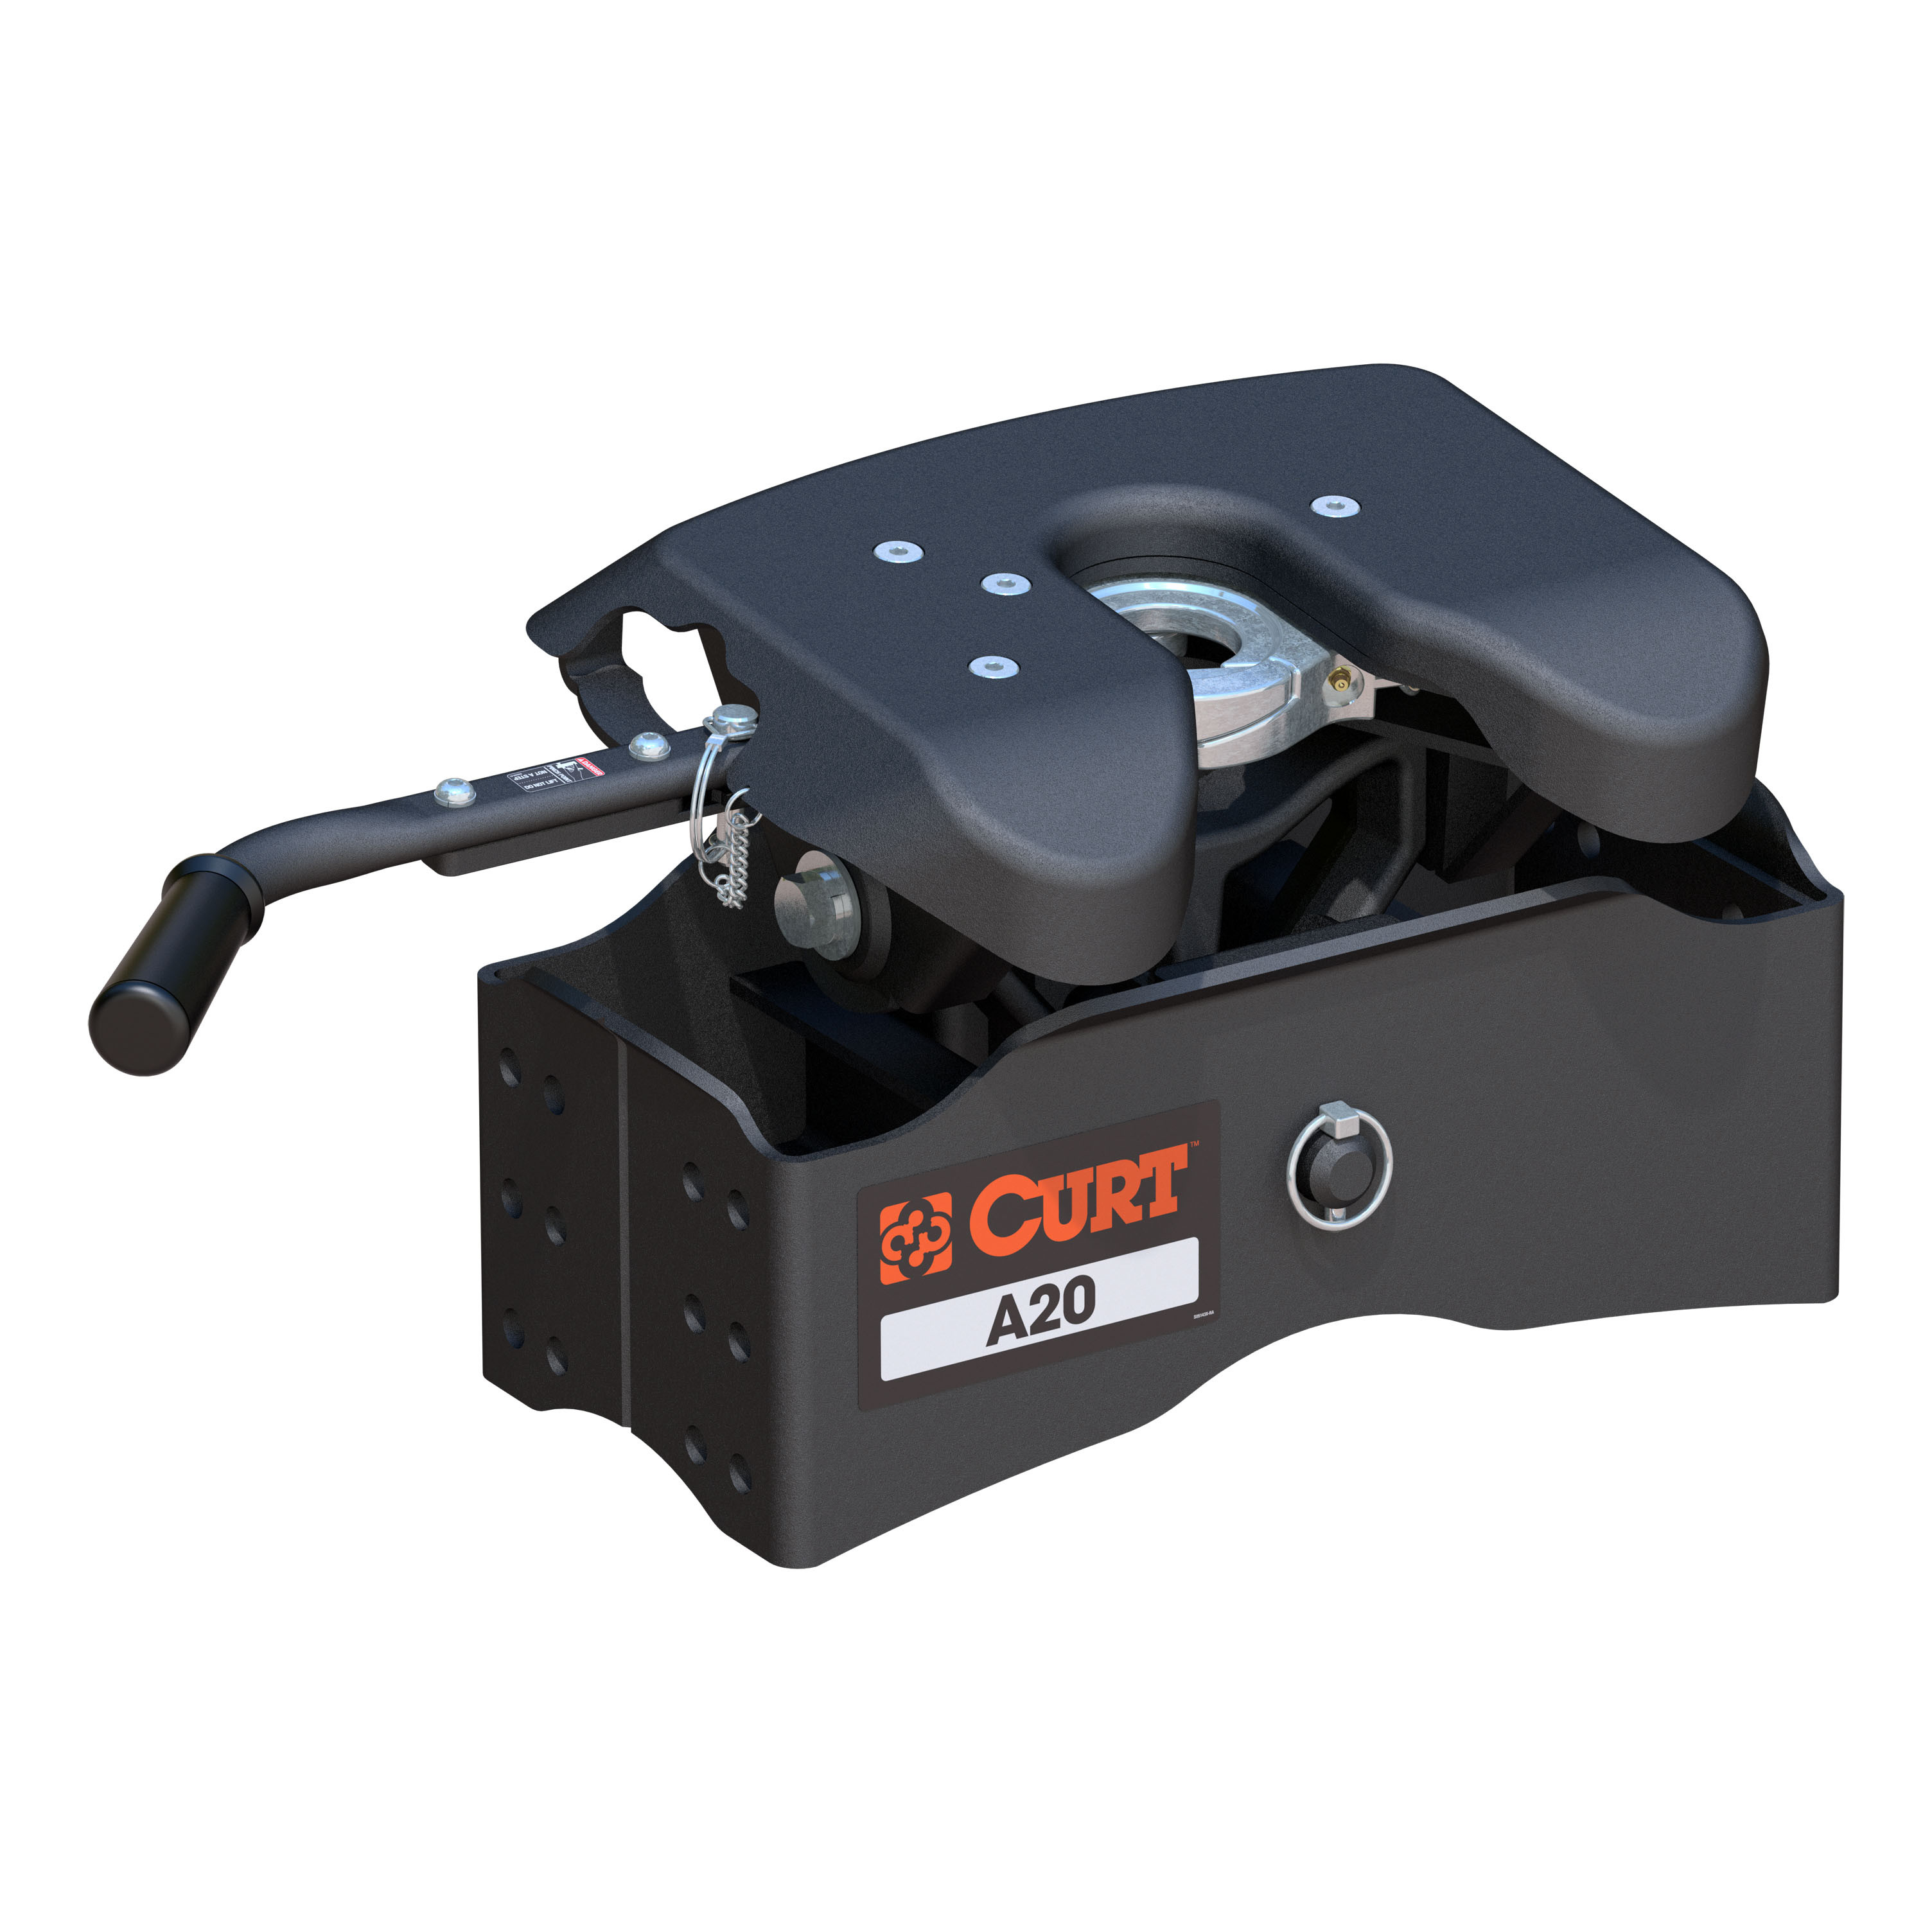

FREE ShippingFREE SHIPPING
Estimated delivery Tue, Aug 11 - Fri, Aug 14
Order before 2 PM EST Monday–Friday for same-day processing
Guaranteed safe & secure checkout
No reviews have been added for this product.