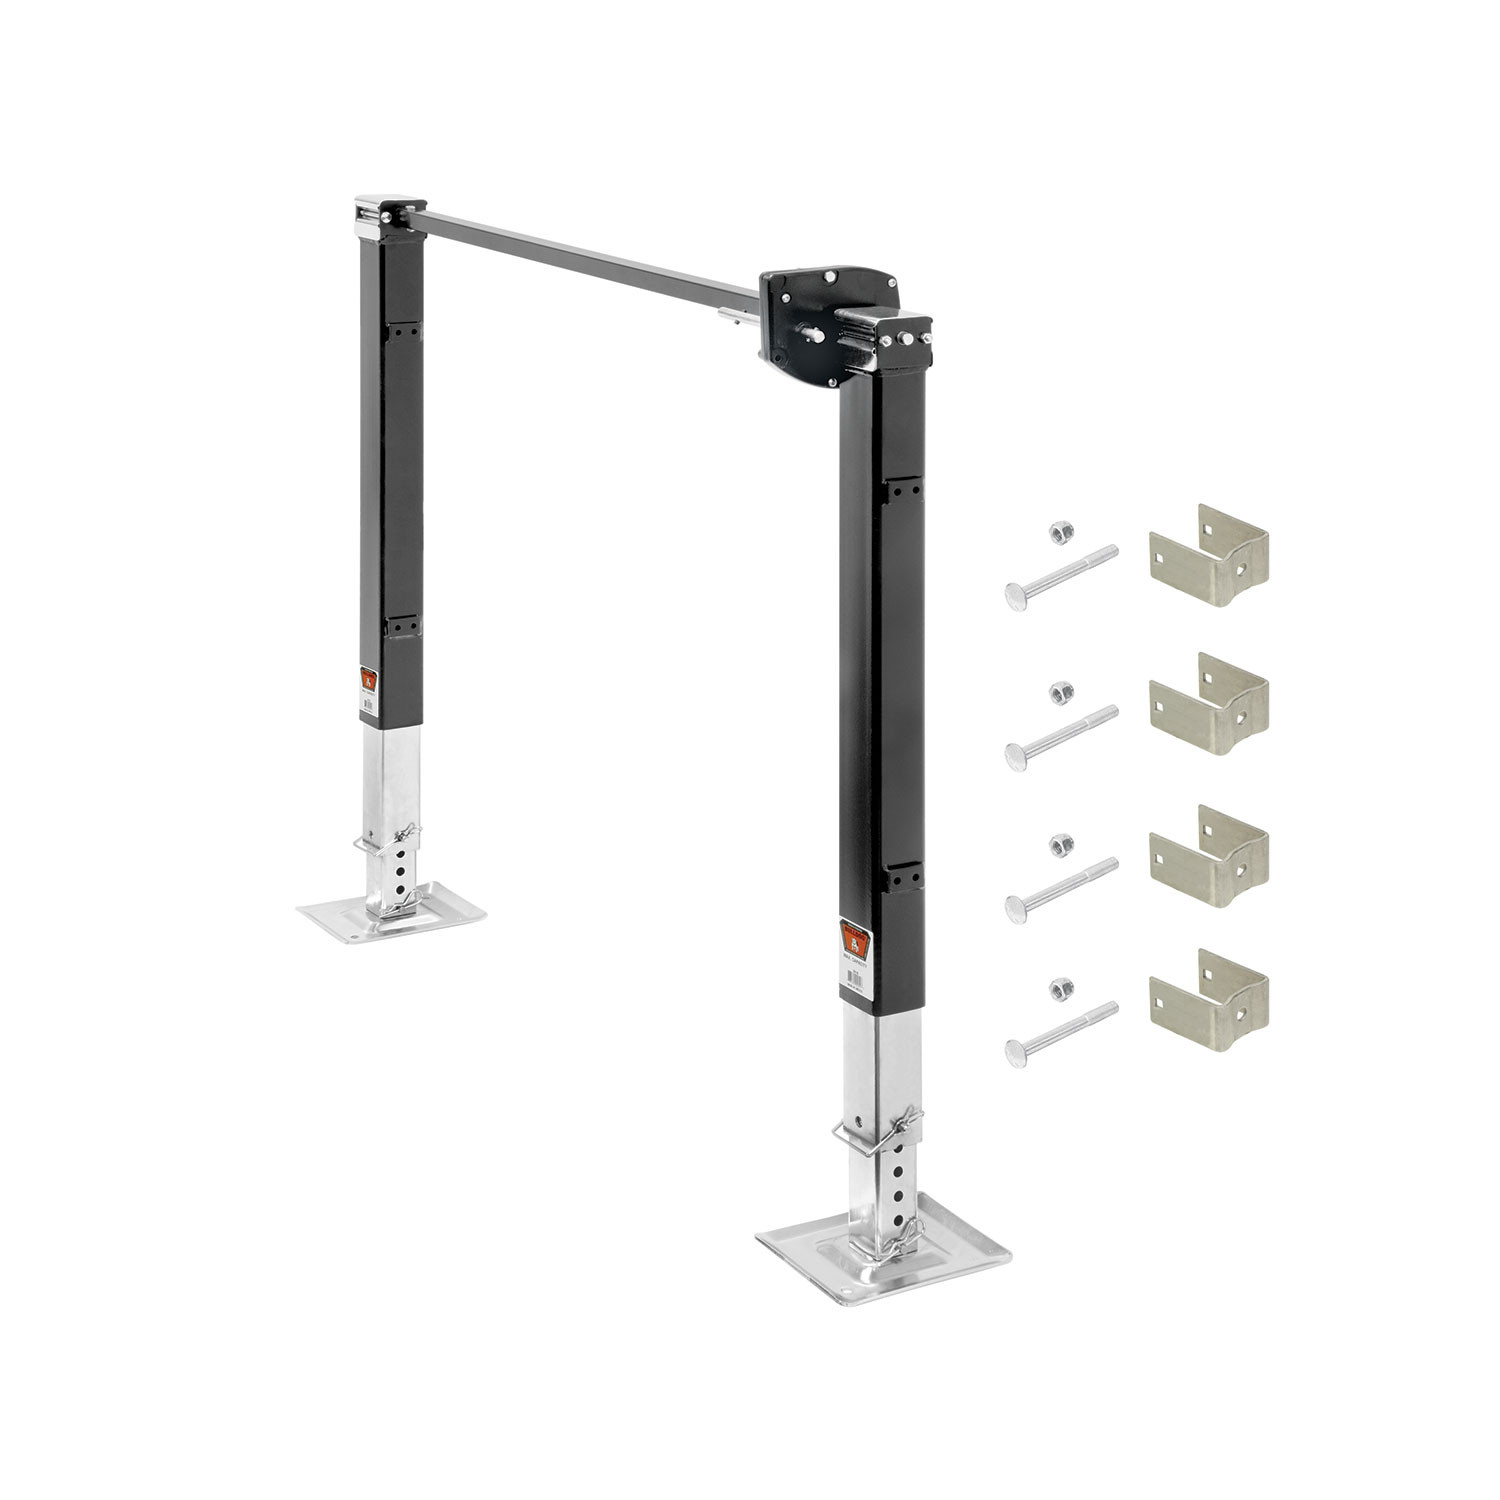
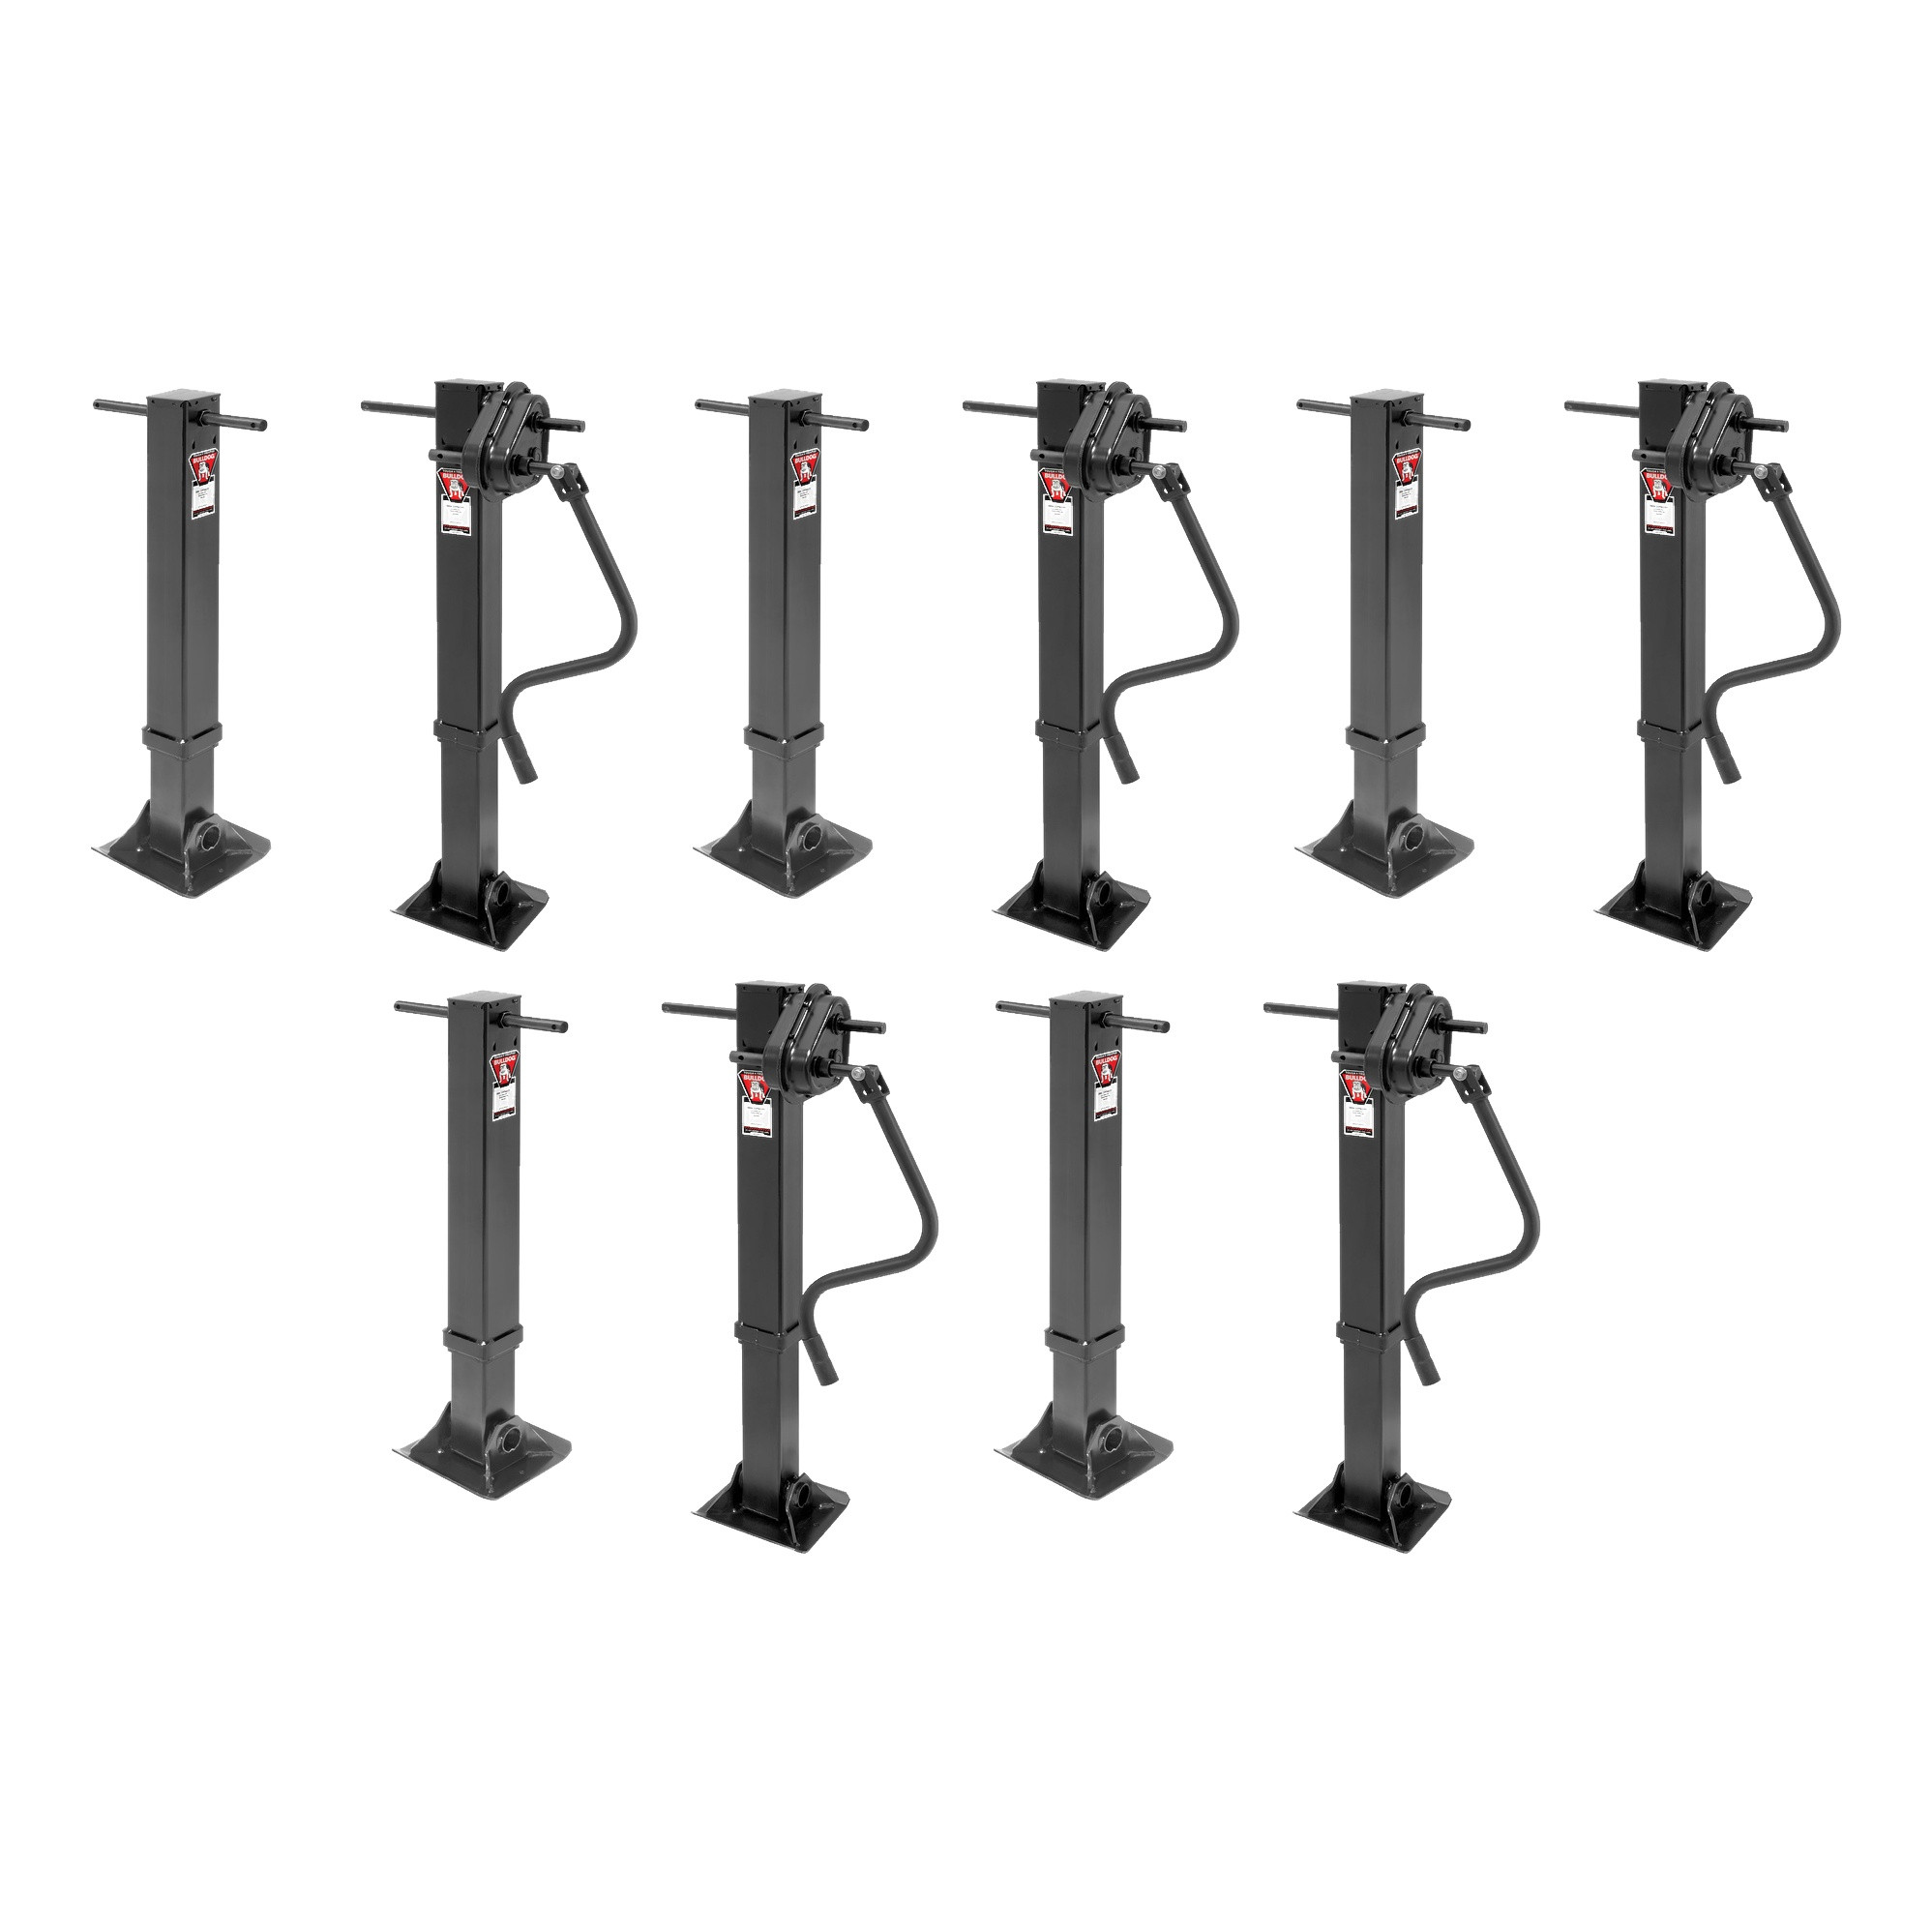
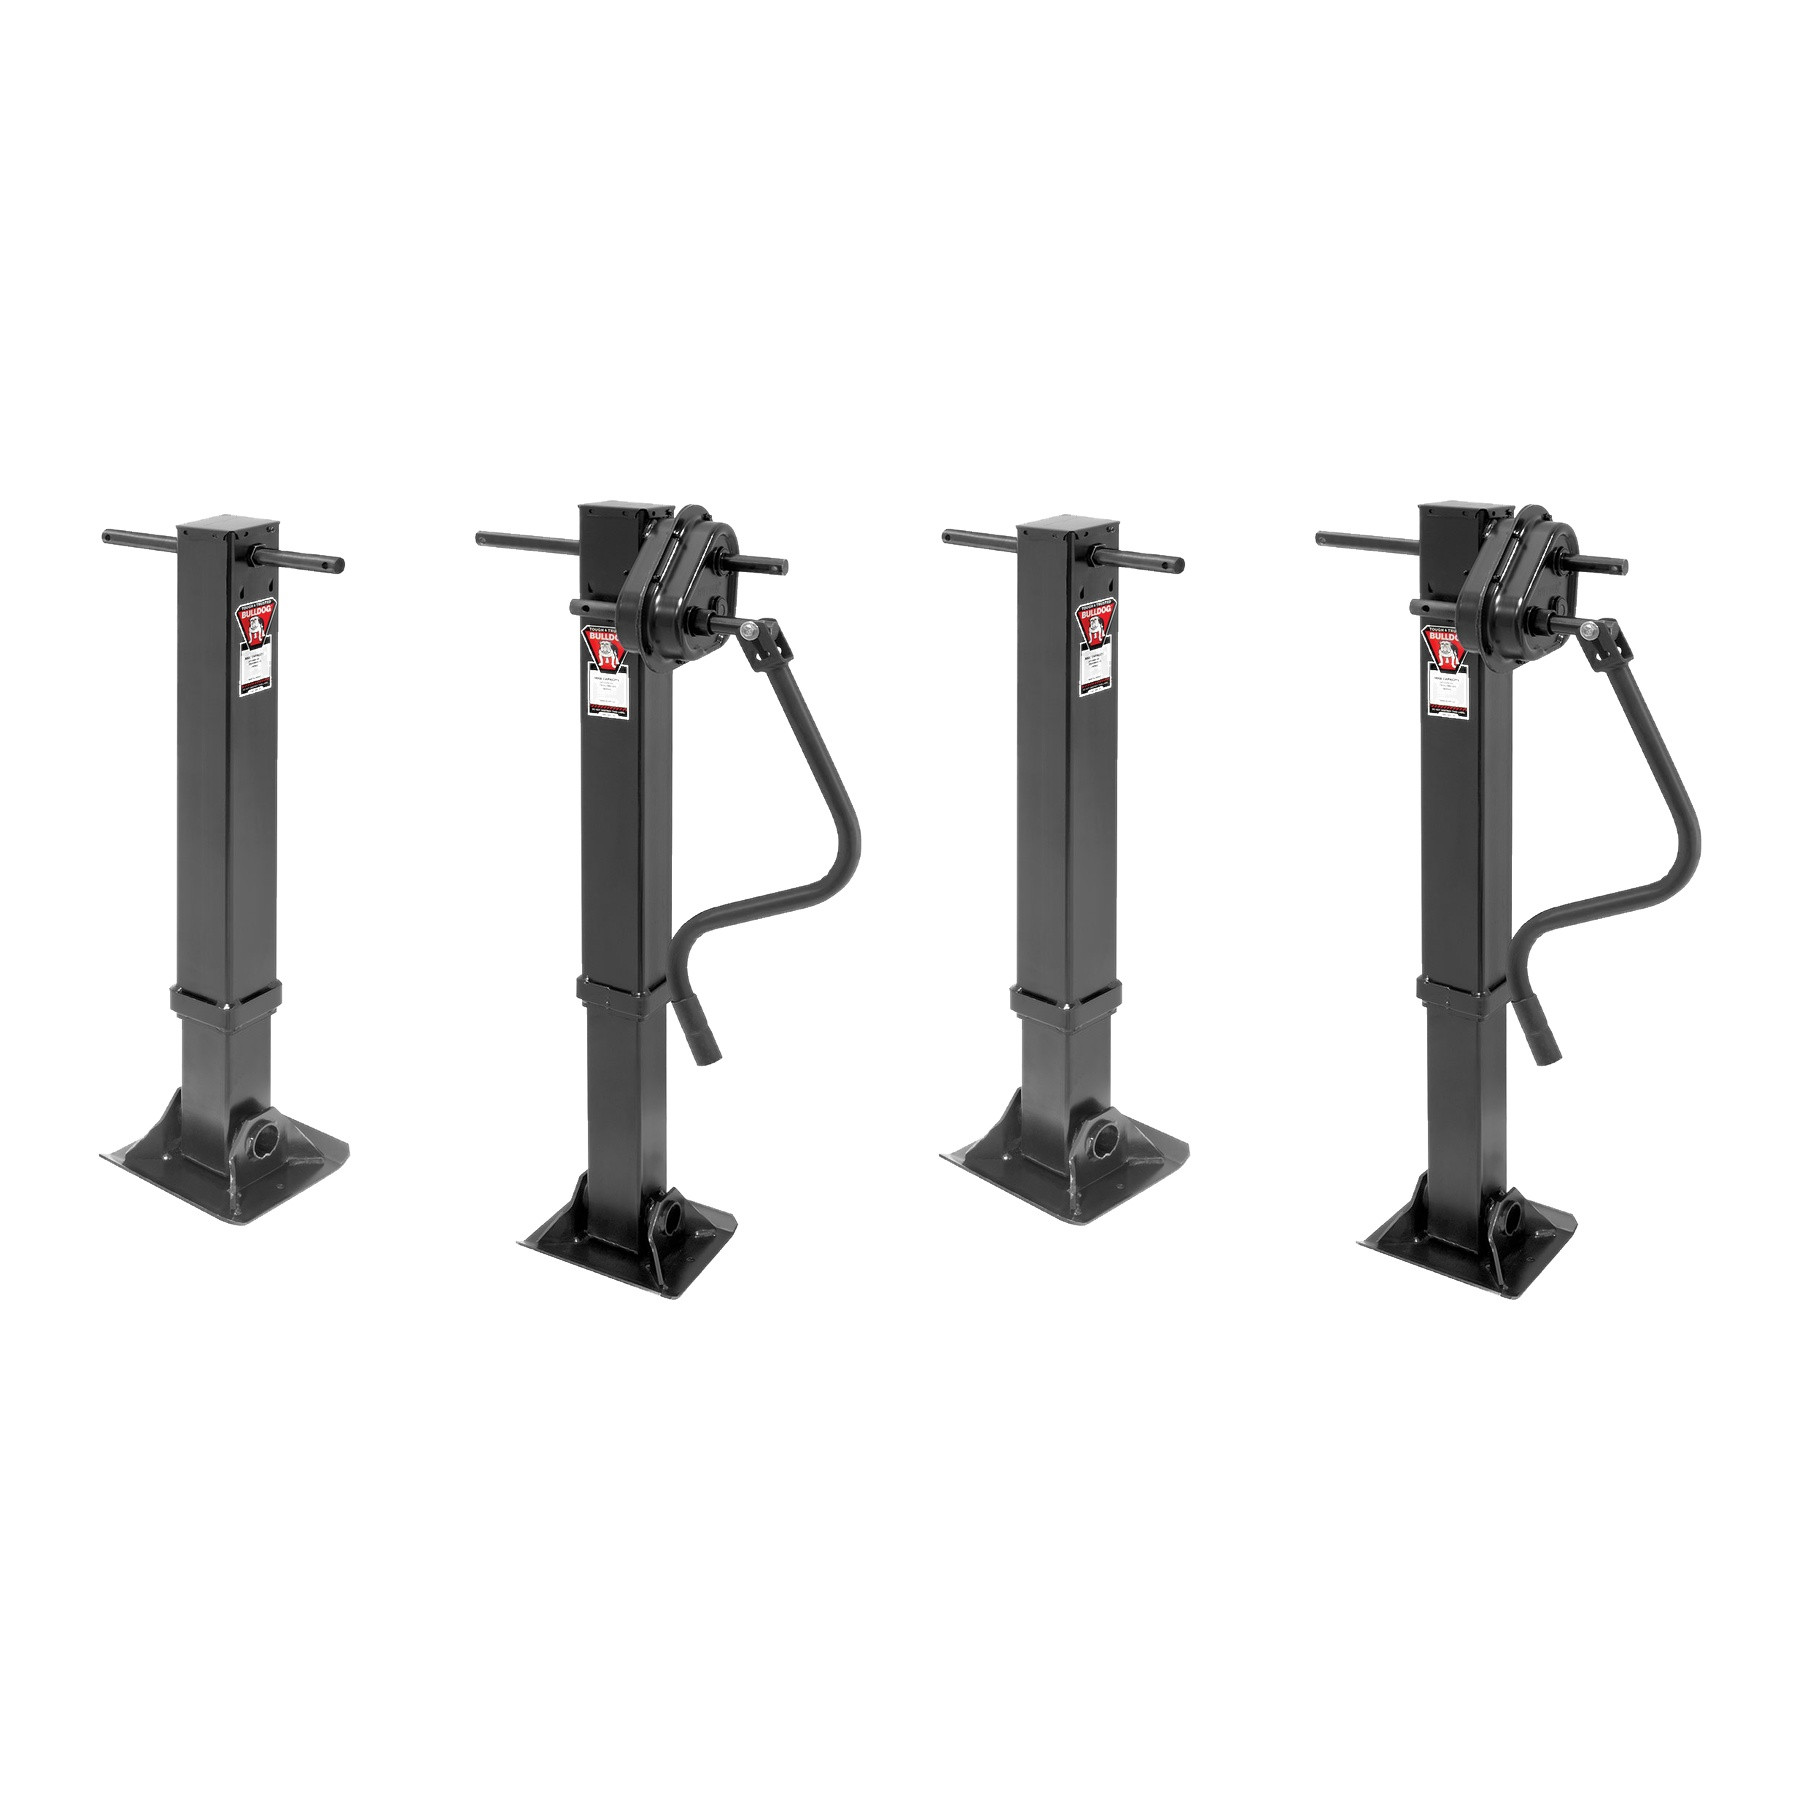
Bulldog Fifth Wheel Landing Gear, 4,000 lbs. Lift Capacity, 36 in. TravelBulldogOriginal price was $625.00. Current price is $448.50.Out of Stock
View productOur in-house experts typically reply within one business day.

Reese
On Sale Today
Original price was $1,147.50. Current price is $872.51.You save $274.99 (24%)
Free Shipping
Ships free on all orders
 Authorized Dealer



Always the correct part
We know our products
Quality Products
Free Shipping!
Always the correct part
We know our products
Quality Products
Free Shipping!
FREE ShippingFREE SHIPPING
Estimated delivery Sun, Sep 27 - Wed, Sep 30
Order before 2 PM EST Monday–Friday for same-day processing
Guaranteed safe & secure checkout

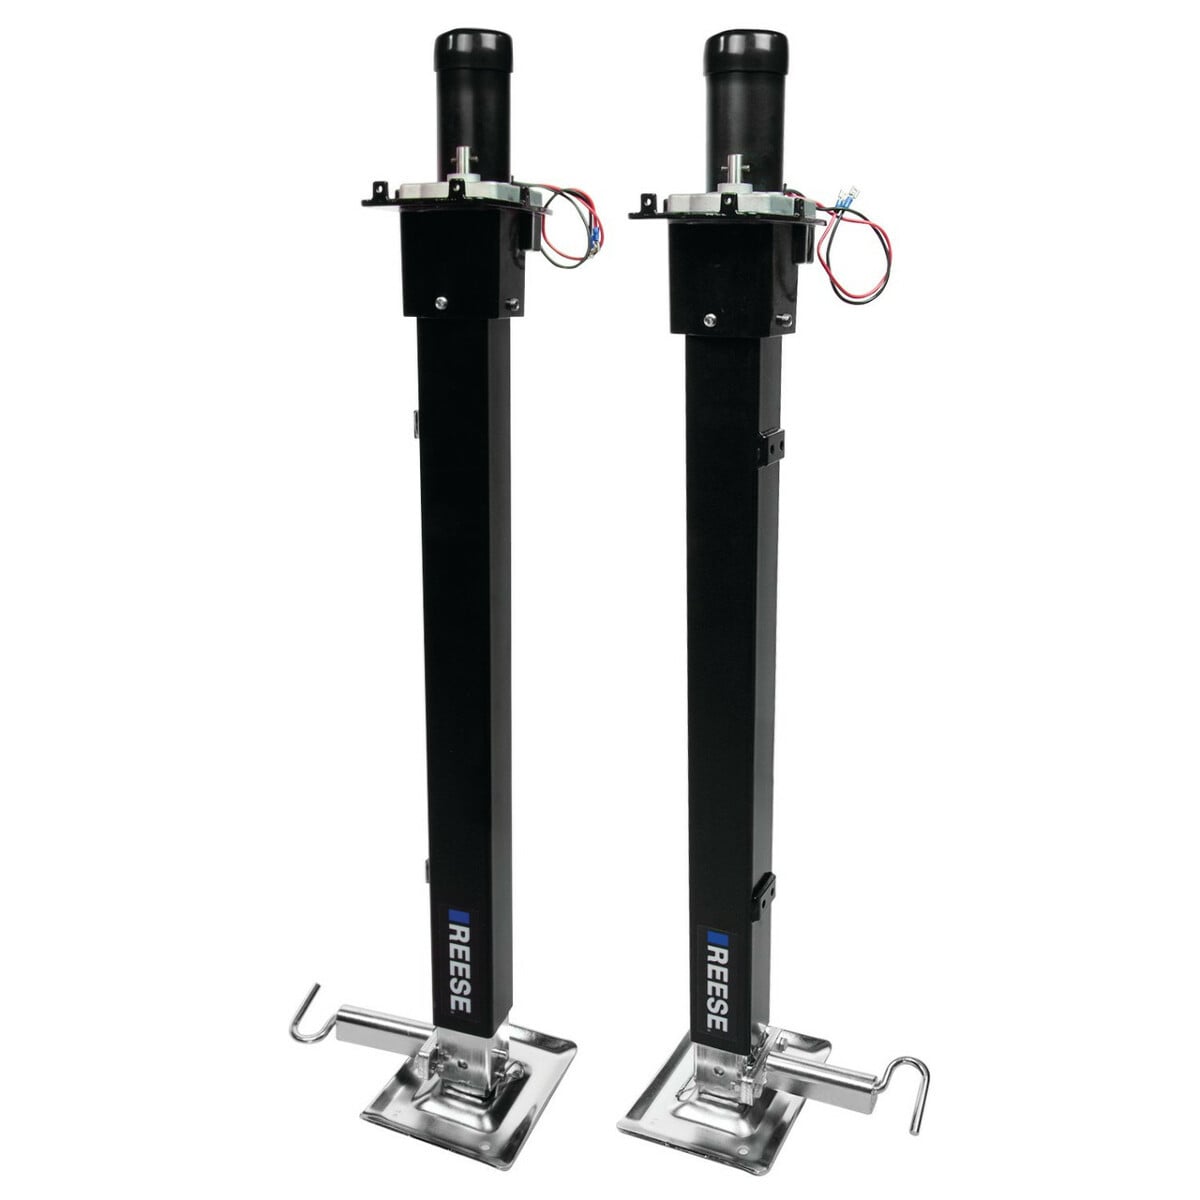
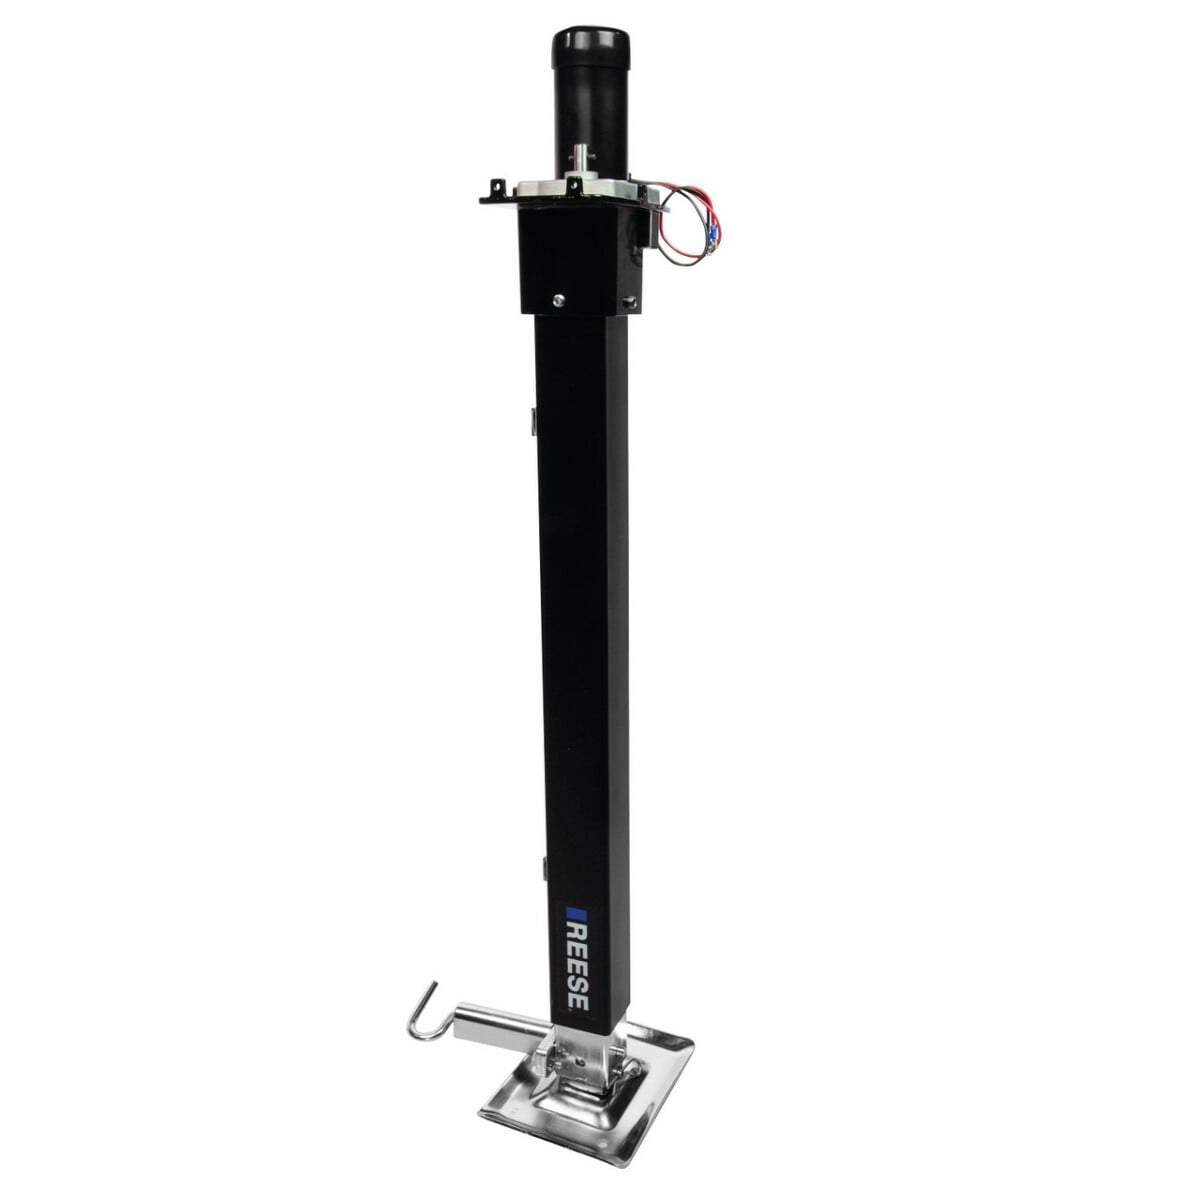
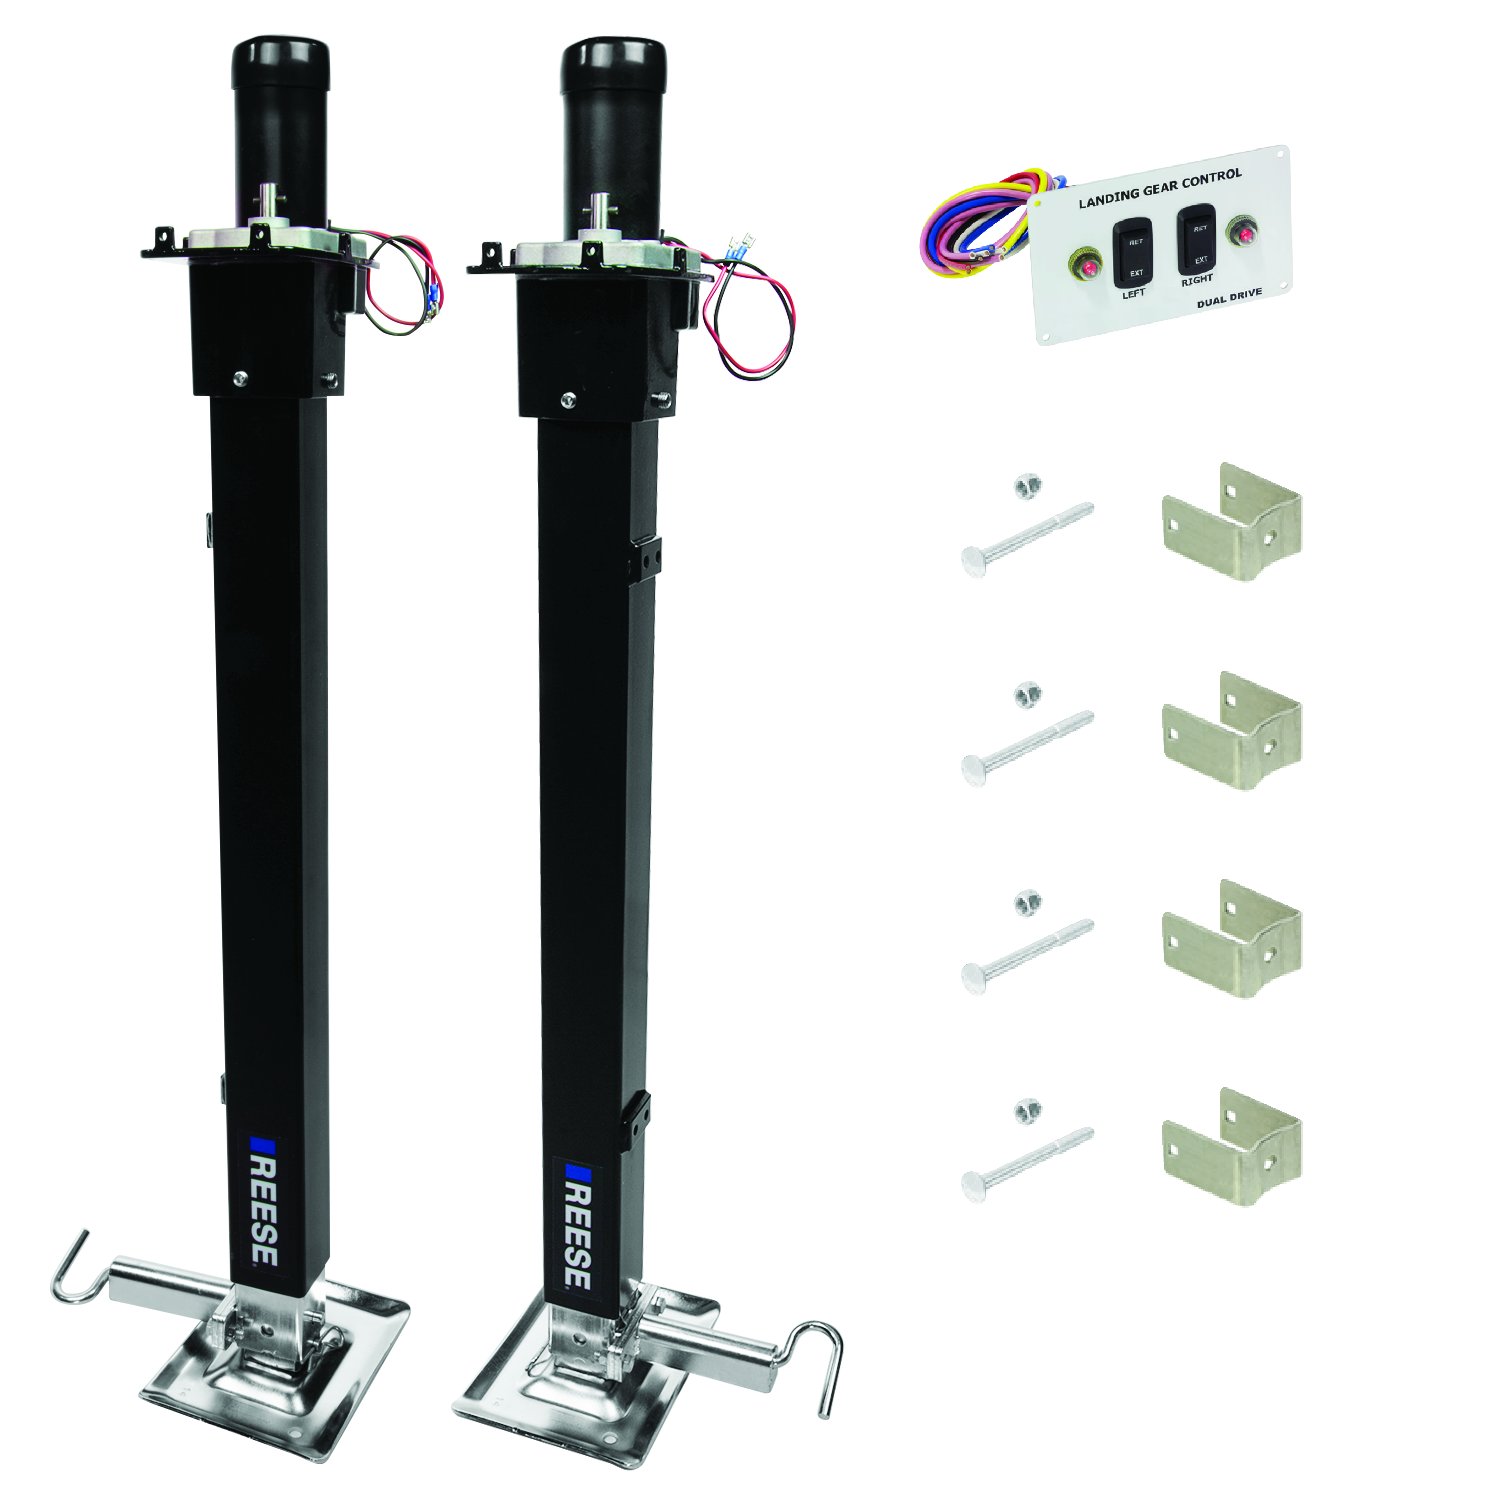
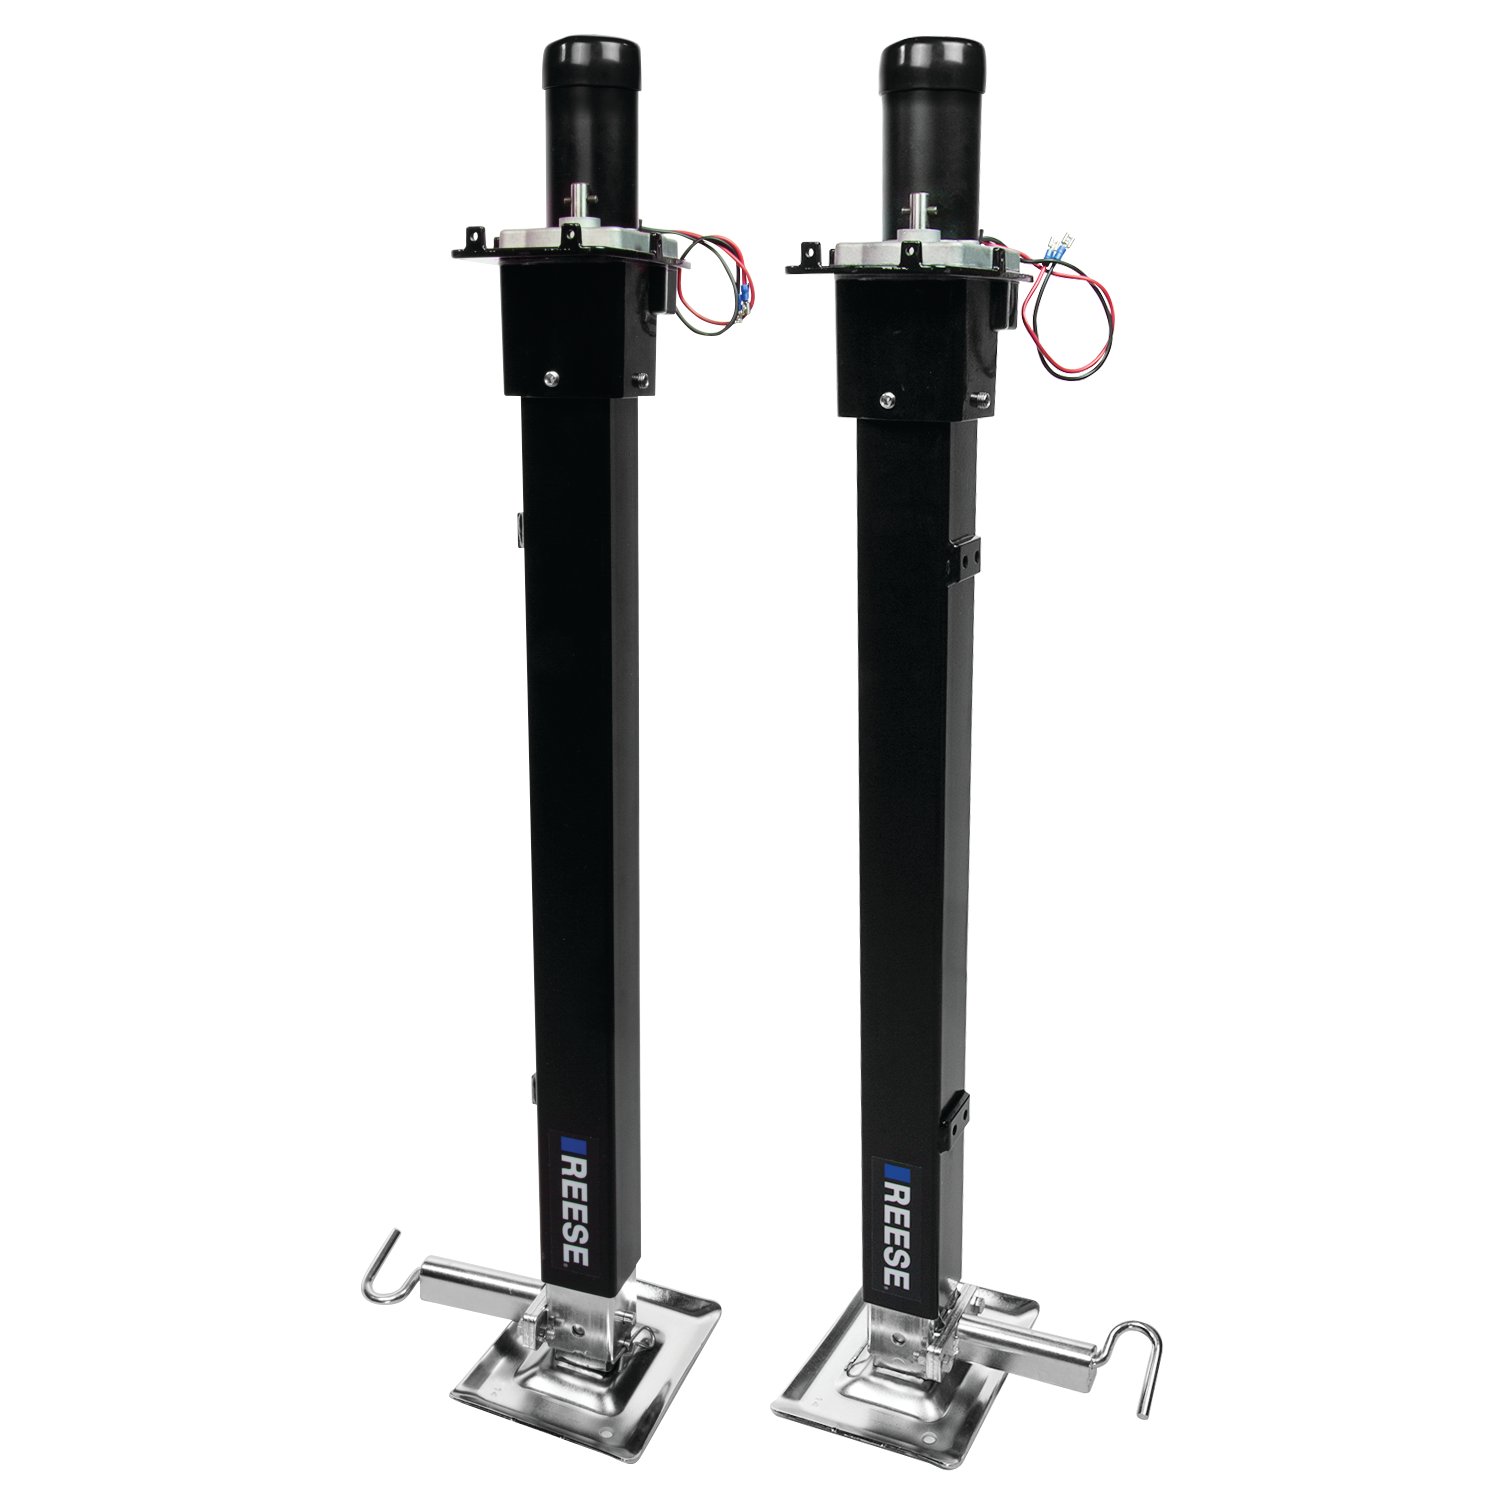
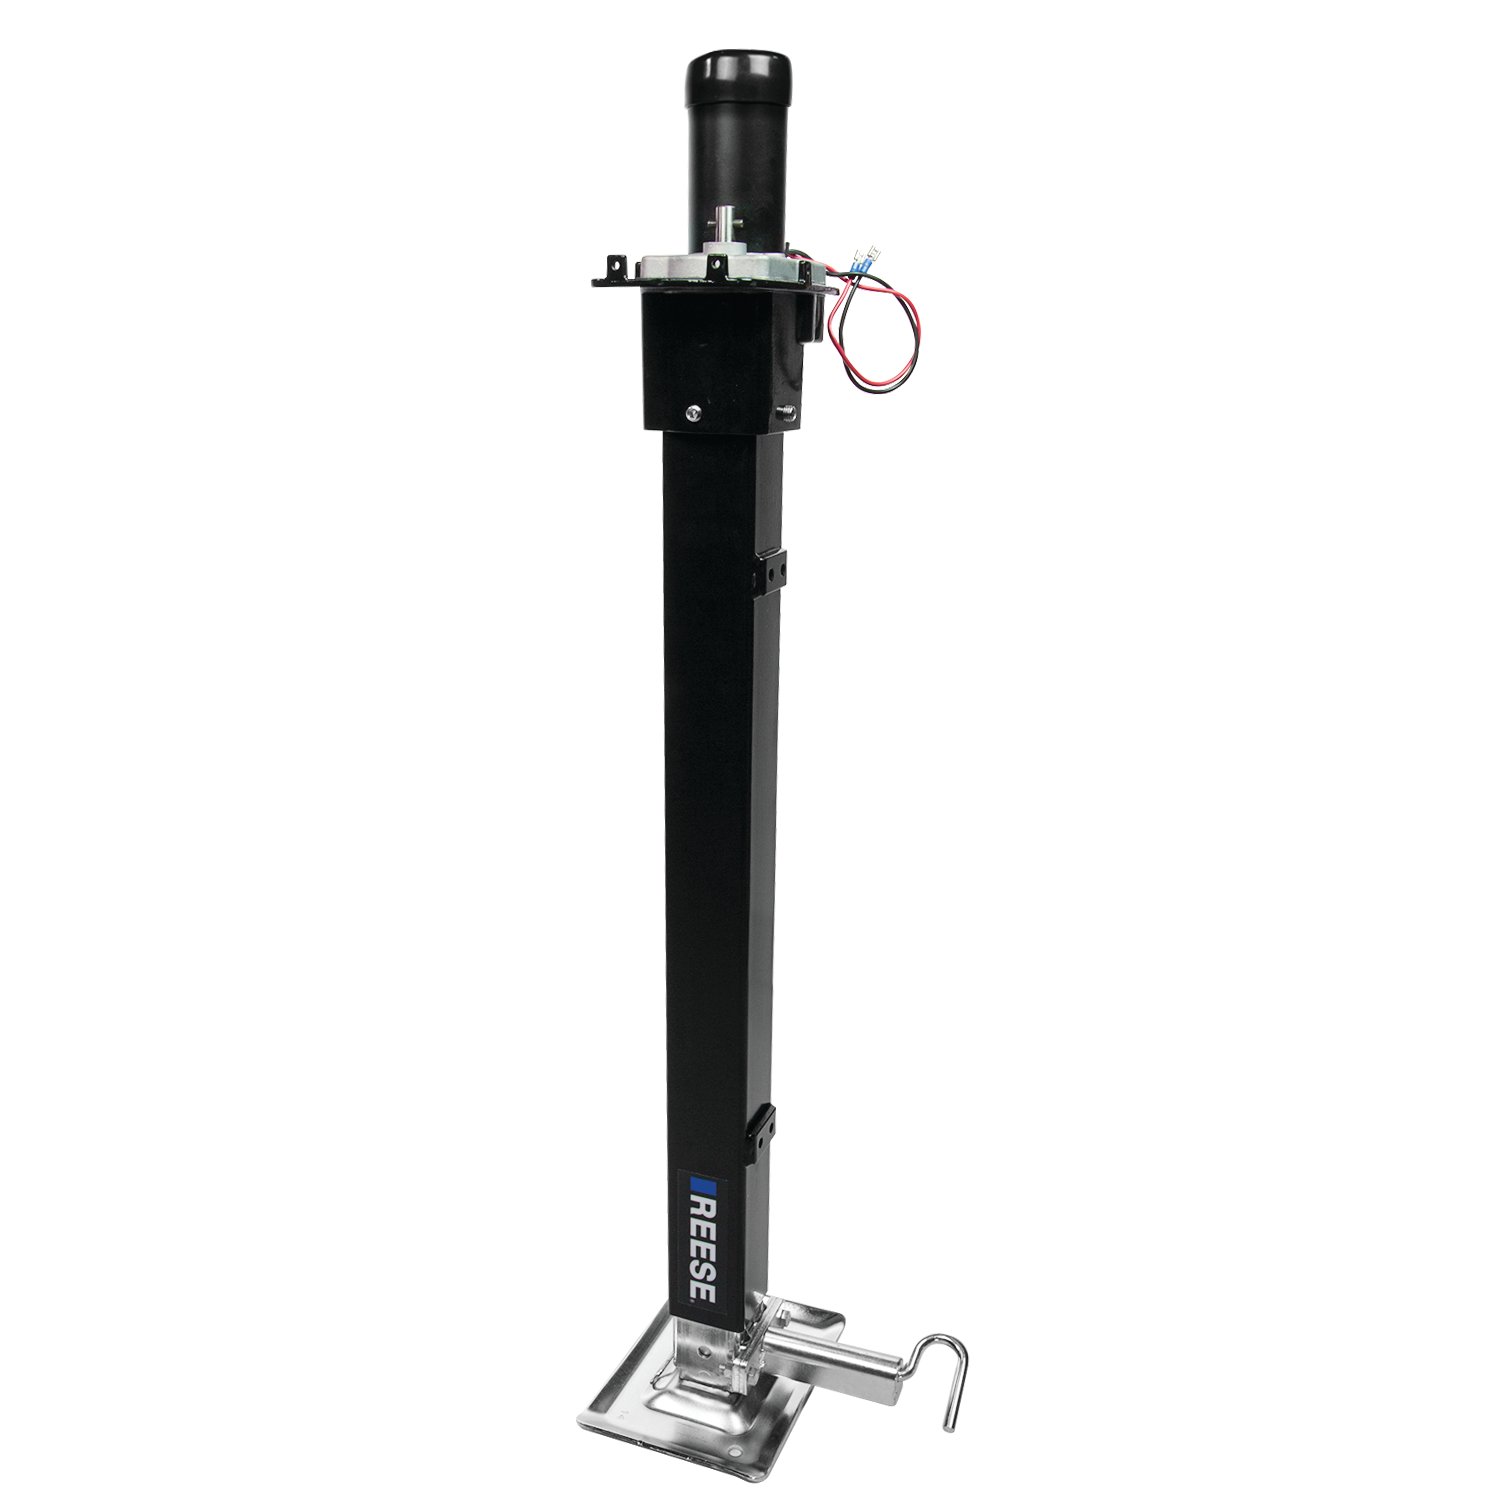
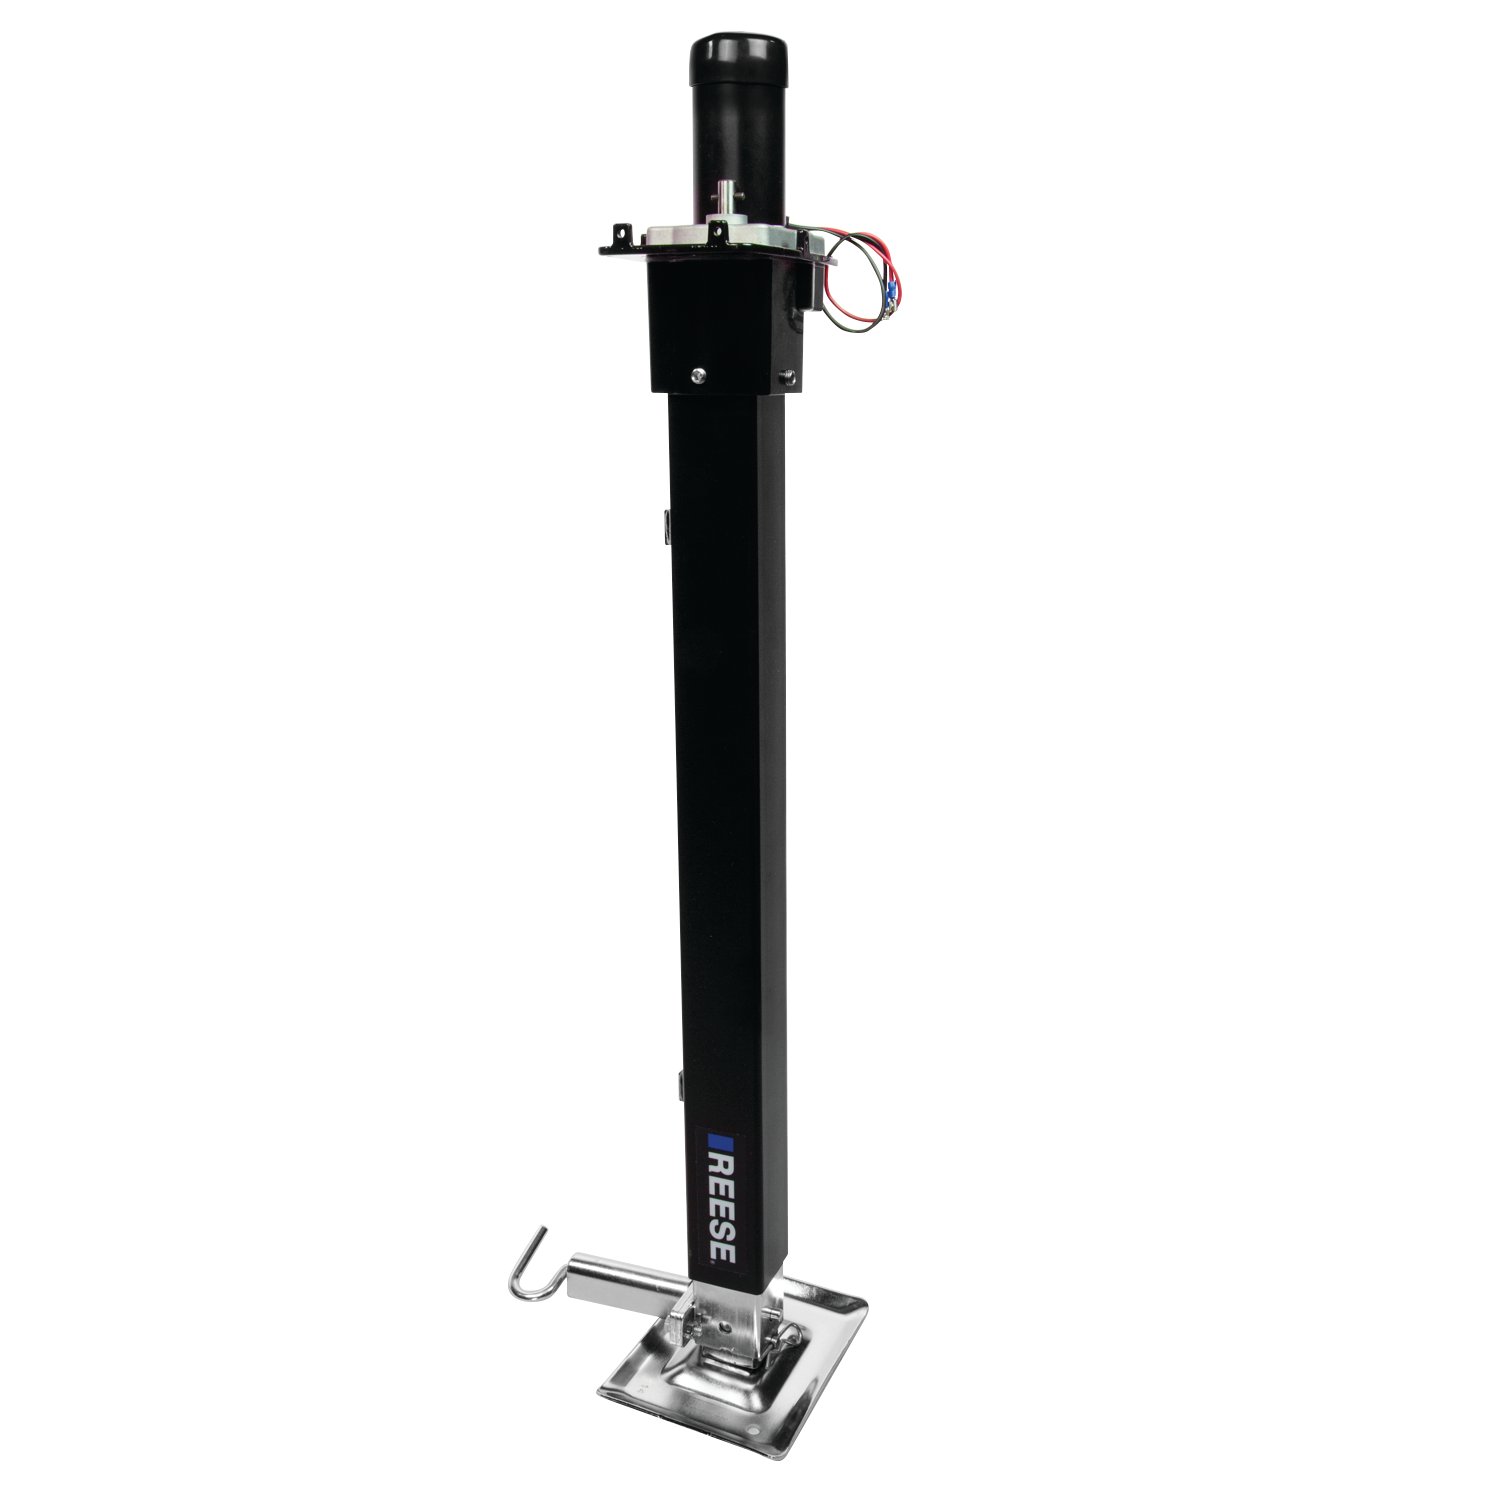
Reese RV Jack - 500708 Quickly and easily raises, levels and supports your fifth-wheel trailer or RV with this powerful pair of jacks. Powerful high-speed electric motors operate independently for precise leveling and are capable of 9" of lift per minute.
| BRAND: | REESE |
| PART NUMBER: | 500708 |
| WARRANTY: | LIMITED 5 YEAR WARRANTY |
| WEIGHT: | 79.5 LBS |
| CAPACITY: | 8,000 LBS. |
| DROP LEG TRAVEL: | 18 IN. |
| TRAVEL: | 36 IN. |
| MOTOR CLEARENCE: | 12.275 IN. FROM WELDED BRACKET TO THE TOP OF MOTOR |
| MOTOR SPEED: | 45-60 RPM <25 AMP |
| MOTOR VOLTAGE: | 12 V |
| MOTOR CASTING: | USED ON 2.5 IN. TUBE |
| SCREW ADJUSTMENT: | 18 IN. |

Reese has designed towing equipment since 1952 and remains a benchmark for heavy-duty towing. The line covers fifth wheel hitches such as the modular M5, gooseneck couplers including the Goose Box, air-ride and short-bed pin boxes, weight distribution systems with active sway control, and the accessories that connect them, all built to exceed published industry standards.
Reese has been pioneering towing performance since 1952, when Margaret Reese asked her husband TJ to stop travel trailers rocking every time somebody walked through them. His answer, the first pair of stabilising jacks, was simple and effective enough to change the RV industry. From that starting point Reese grew into a designer and manufacturer of complete towing systems, and today it anchors the heavy-duty end of the Horizon Global towing portfolio.
Fifth wheel towing is where the brand's engineering is most visible. The M5 fifth wheel hitch uses a modular design that breaks into manageable sections for assembly, with a wider stance, tighter tolerances and a shock absorption system aimed at the jolts that travel up through a truck bed. For owners who would rather tow from a gooseneck coupler and keep the bed clear, the Goose Box 20K replaces the trailer's king pin with a gooseneck connection carrying its own air-ride cushioning.
Pin boxes are a Reese speciality. The 5th Airborne uses air-ride technology to dampen road shock and reduce the chucking motion that makes fifth wheel towing tiring, while the Sidewinder was designed for short-bed pickups, pivoting the connection point so the trailer can turn sharply without the front cap meeting the cab.
For conventional towing, Reese weight distribution systems restore load to the tow vehicle's front axle and control sway. The Pro Round Bar distributes weight evenly while damping sway, and the Pro Dual Cam II uses active cam-based sway control that works harder the stronger the sway force becomes. Complete kits pair bars, head and shank to a rated tongue weight, and dedicated sway control kits can be added to existing setups. The products suit RV owners, horse and livestock haulers and anyone towing near the upper end of a vehicle's rating.
Experts available to answer your questions
Call 888-634-94945 Years
The RV Landing Gear F3648 is a jack system designed to support and stabilize recreational vehicles. It is available in three configurations: manual landing gear, dual drive motor landing gear, and manual landing gear with dual drive motor. The product is manufactured by Reese (Horizon Global Americas Inc.) and is covered by a five-year limited warranty for the original consumer purchaser.
The manual does not specify which RV models, frame types, lengths, or cab styles are compatible with the F3648. Contact Horizon Global Americas Inc. at 800-632-3290 or www.reeseprod.com to confirm fitment for your specific RV.
The maximum rated capacity is stamped on markings or decals on the product itself. If you cannot locate or read the capacity marking, contact Horizon Global Americas Inc. at 800-604-9466 or www.reeseprod.com to obtain the rated capacity for your specific unit.
Yes. You must disconnect the battery ground cable before installation to avoid accidental shock and/or damage to the electrical system. Reconnect the ground cable to the battery after wiring is complete and test both jacks to ensure they travel in the correct EXT (extended) and RET (retracted) directions.
Yes. The landing gear must be welded to the RV frame. All welding must be performed by a certified AWS (American Welding Society) welder. Weld brackets must be positioned so that the welded tabs on the jack are captured as shown in Figure 1, and affixed to the frame member using 1/4" fillet welds on both sides. Improper welding is not covered by the limited warranty.
The jack is secured to the weld brackets using supplied carriage bolts and nuts. These fasteners must be torqued to 25 ft-lbs.
Torque the carriage bolts and nuts to 25 ft-lbs.
Install pull-pin assemblies to the bottom of the inner tube using supplied hardware. Torque the bolts to 15 ft-lbs. The installation method varies slightly by configuration: for manual landing gear, install pull-pin assemblies to the bottom of the inner tube; for dual drive landing gear, also install pull-pin assemblies to the bottom of the inner tube using supplied hardware and torque bolts to 15 ft-lbs.
Torque the pull-pin assembly bolts to 15 ft-lbs.
For manual landing gear, install foot plates to the jack tube with supplied lynch pins. For dual drive landing gear, install footplates to the drop tubes with supplied lynch pins.
The telescoping cross shaft is installed between the jacks on manual landing gear configurations. Install it according to Figure 4 in the manual. This component is not used on dual drive landing gear configurations.
Install the gear reducer box onto the jack with the longer input shaft. Use the supplied screw and plastic retainer to secure the reducer to the jack input shaft.
A minimum of 10 AWG wire gauge is required for all RV landing gear wiring connections.
Connect both pink wire leads from the switch panel directly to the positive (+) battery terminal.
Connect both white wire leads from the switch panel directly to the negative (-) battery terminal.
Connect the blue wire lead from the switch panel to the black motor lead on the left side jack.
Connect the yellow wire lead from the switch panel to the red motor lead on the left side jack.
Connect the black wire lead from the switch panel to the black motor lead on the right side jack.
Connect the red wire lead from the switch panel to the red motor lead on the right side jack.
Use the attached template for installing the switch and carefully route the wires to avoid the possibility of chafing. Use plastic loom (not included) if necessary to protect wires from damage.
1. Disconnect the battery ground cable(s). 2. Disconnect motor wires. 3. Remove the 10mm SHCS and loosen the 3x10mm SHSS (see Figure 3). 4. Lift the electric gear motor upward to remove. 5. Rotate the screw shaft to align with the new electric gear motor output shaft. 6. Lower the new electric gear motor onto the jack and reinsert the 10mm SHCS, aligning it with the mount hole on the outer tube. 7. Torque the 10mm SHCS and 3x10mm SHSS to 100 in-lb. 8. Connect motor wires to the mount switch according to attached wiring instructions. 9. Reconnect the battery ground cable(s).
Torque the 10mm SHCS and 3x10mm SHSS to 100 in-lb (inch-pounds).
To change gear motor orientation, follow the motor replacement instructions, exchanging the positions between the 10mm SHCS and the corresponding 10mm SHSS that aligns with the mount hole when in the desired orientation (see Figure 3).
In the event of a vehicle power loss or motor malfunction, insert the special Emergency Override Crank Adaptor (9/16" hex head) included with the product onto the motor shaft and crank the jack manually using a ratchet or similar tool (see Figure 2).
To reset the overload circuit breaker, push in the respective button.
When using the drop foot or drop leg, make certain the supplied pin is fully inserted through both sides of the inner tube and the drop tube before using the jack. Never attempt to adjust the drop foot or drop leg when there is any load on the jack.
These jacks are designed for vertical loading only. Excessive side forces may cause jack failure and must be avoided. Never exceed the maximum rated capacity. Do not position any part of your body under or on the path of any portion of the product or the load being supported or moved.
Secure the load, vehicle and trailer from rolling by blocking wheels when operating the jack or coupling the trailer. Never position any part of your body under or on the path of the product or load. Do not allow children to play on or around the product or the load being supported or moved.
Periodically check mounting hardware for proper torque and tighten if necessary. It is important to maintain the electrical system including the battery and charger (not included). Ensure all connections are tight and free of corrosion. Verify that the battery is fully charged before use. Do not direct high-pressure spray on electric motors or switch assemblies. Always replace bent, broken, or worn parts before using the product.
Before use, verify that the battery is fully charged. Do not use if any parts are worn, bent, broken, or if the product has been modified or altered. Always replace bent, broken, or worn parts before using the product.
The F3648 is covered by a five-year limited warranty from Horizon Global Americas Inc. to the original consumer purchaser. The warranty covers defects in material and workmanship, excluding normal wear and tear, provided that installation and use are in accordance with the product instructions. The warranty does not cover damage from abuse, neglect, misuse, accidents, misapplication, overloading, improper installation (including welds), improper maintenance or repair, or product alteration by anyone other than the manufacturer. Repair or replacement is your sole remedy; the manufacturer is not liable for service or labor charges.
Contact Horizon Global Americas Inc. Customer Service Department at 1-800-632-3290 or visit www.reeseprod.com. For warranty claims, contact them at 47912 Halyard Dr. Suite 100, Plymouth, MI 48170. For capacity information, call 800-604-9466 or visit www.reeseprod.com. When contacting, please specify the product model number (F3648).
Use only Horizon Global Americas Inc. parts or parts of equal quality for repair. Replacement parts are available through the Horizon Global Americas Inc. Customer Service Department at 1-800-632-3290. Please specify the product model number (F3648) when ordering.
The manual does not specify compatible RV models or types. Contact Horizon Global Americas Inc. at 800-632-3290 or www.reeseprod.com to confirm fitment for your specific RV.
Yes. Disconnect the battery ground cable before installation to avoid electrical shock or damage. Reconnect after wiring is complete and test both jacks.
Carriage bolts securing the jack to weld brackets: 25 ft-lbs. Pull-pin assembly bolts: 15 ft-lbs. Motor fasteners (10mm SHCS and 3x10mm SHSS): 100 in-lb.
The maximum rated capacity is stamped on markings or decals on the product. If you cannot locate it, contact Horizon Global Americas Inc. at 800-604-9466 or www.reeseprod.com.
Periodically check mounting hardware for proper torque and tighten if necessary. Maintain the electrical system, ensure battery is fully charged before use, keep all connections tight and free of corrosion, and replace any bent, broken, or worn parts before using.
Insert the included Emergency Override Crank Adaptor (9/16" hex head) onto the motor shaft and crank the jack manually using a ratchet or similar tool.
After reconnecting the ground cable to the battery, test both jacks to ensure they travel in the correct EXT (extended) and RET (retracted) directions. If they do not, verify all wiring connections match the wiring diagram exactly: pink wires to positive battery terminal, white wires to negative battery terminal, blue wire to left jack black motor lead, yellow wire to left jack red motor lead, black wire to right jack black motor lead, and red wire to right jack red motor lead.
To reset the overload circuit breaker, push in the respective button. If the breaker continues to trip, there may be an electrical fault or overload condition. Verify that the load does not exceed the maximum rated capacity and that all wiring connections are correct and secure.
Matt
The staff was able to quickly assist me with locating the correct product I needed. Shipping was really fast. Item arrived in 2 days. Will be using TowUniverse again!!
May 22, 2023
