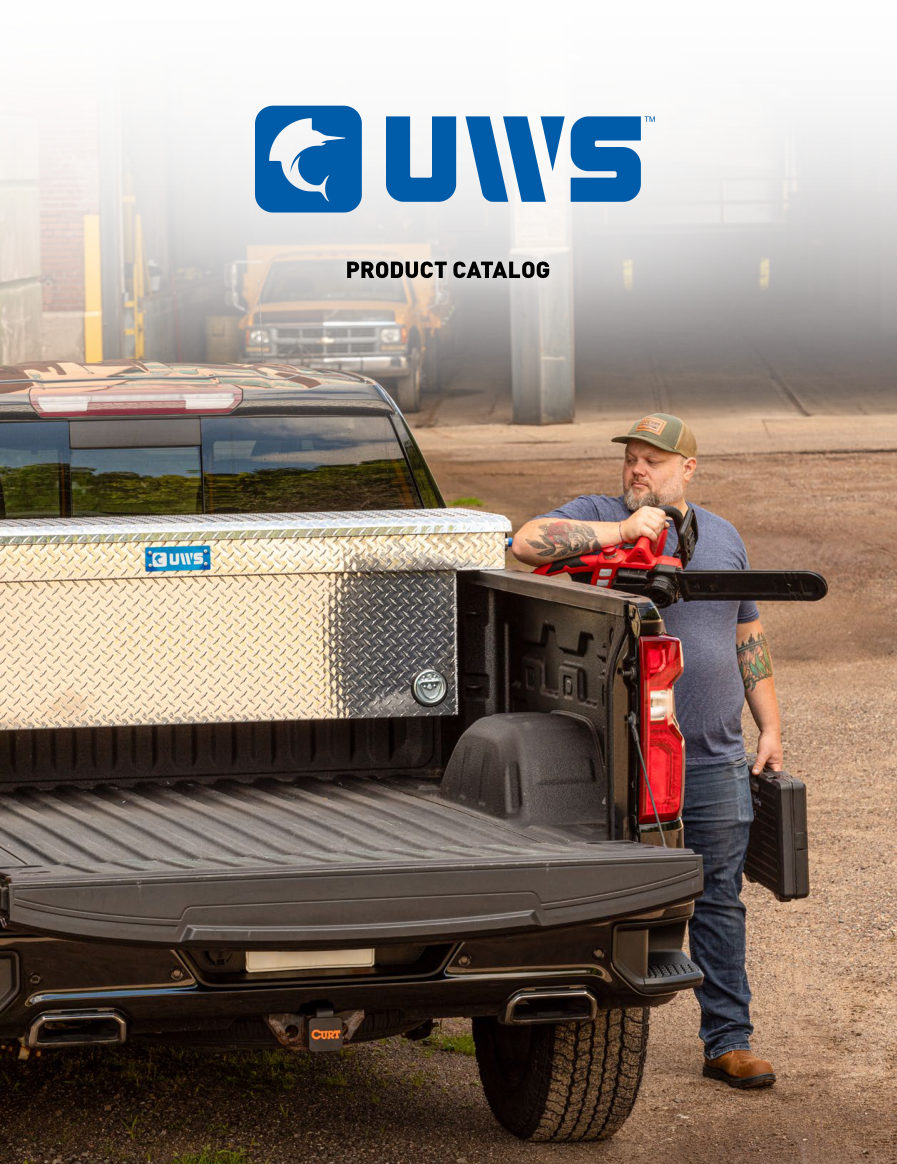
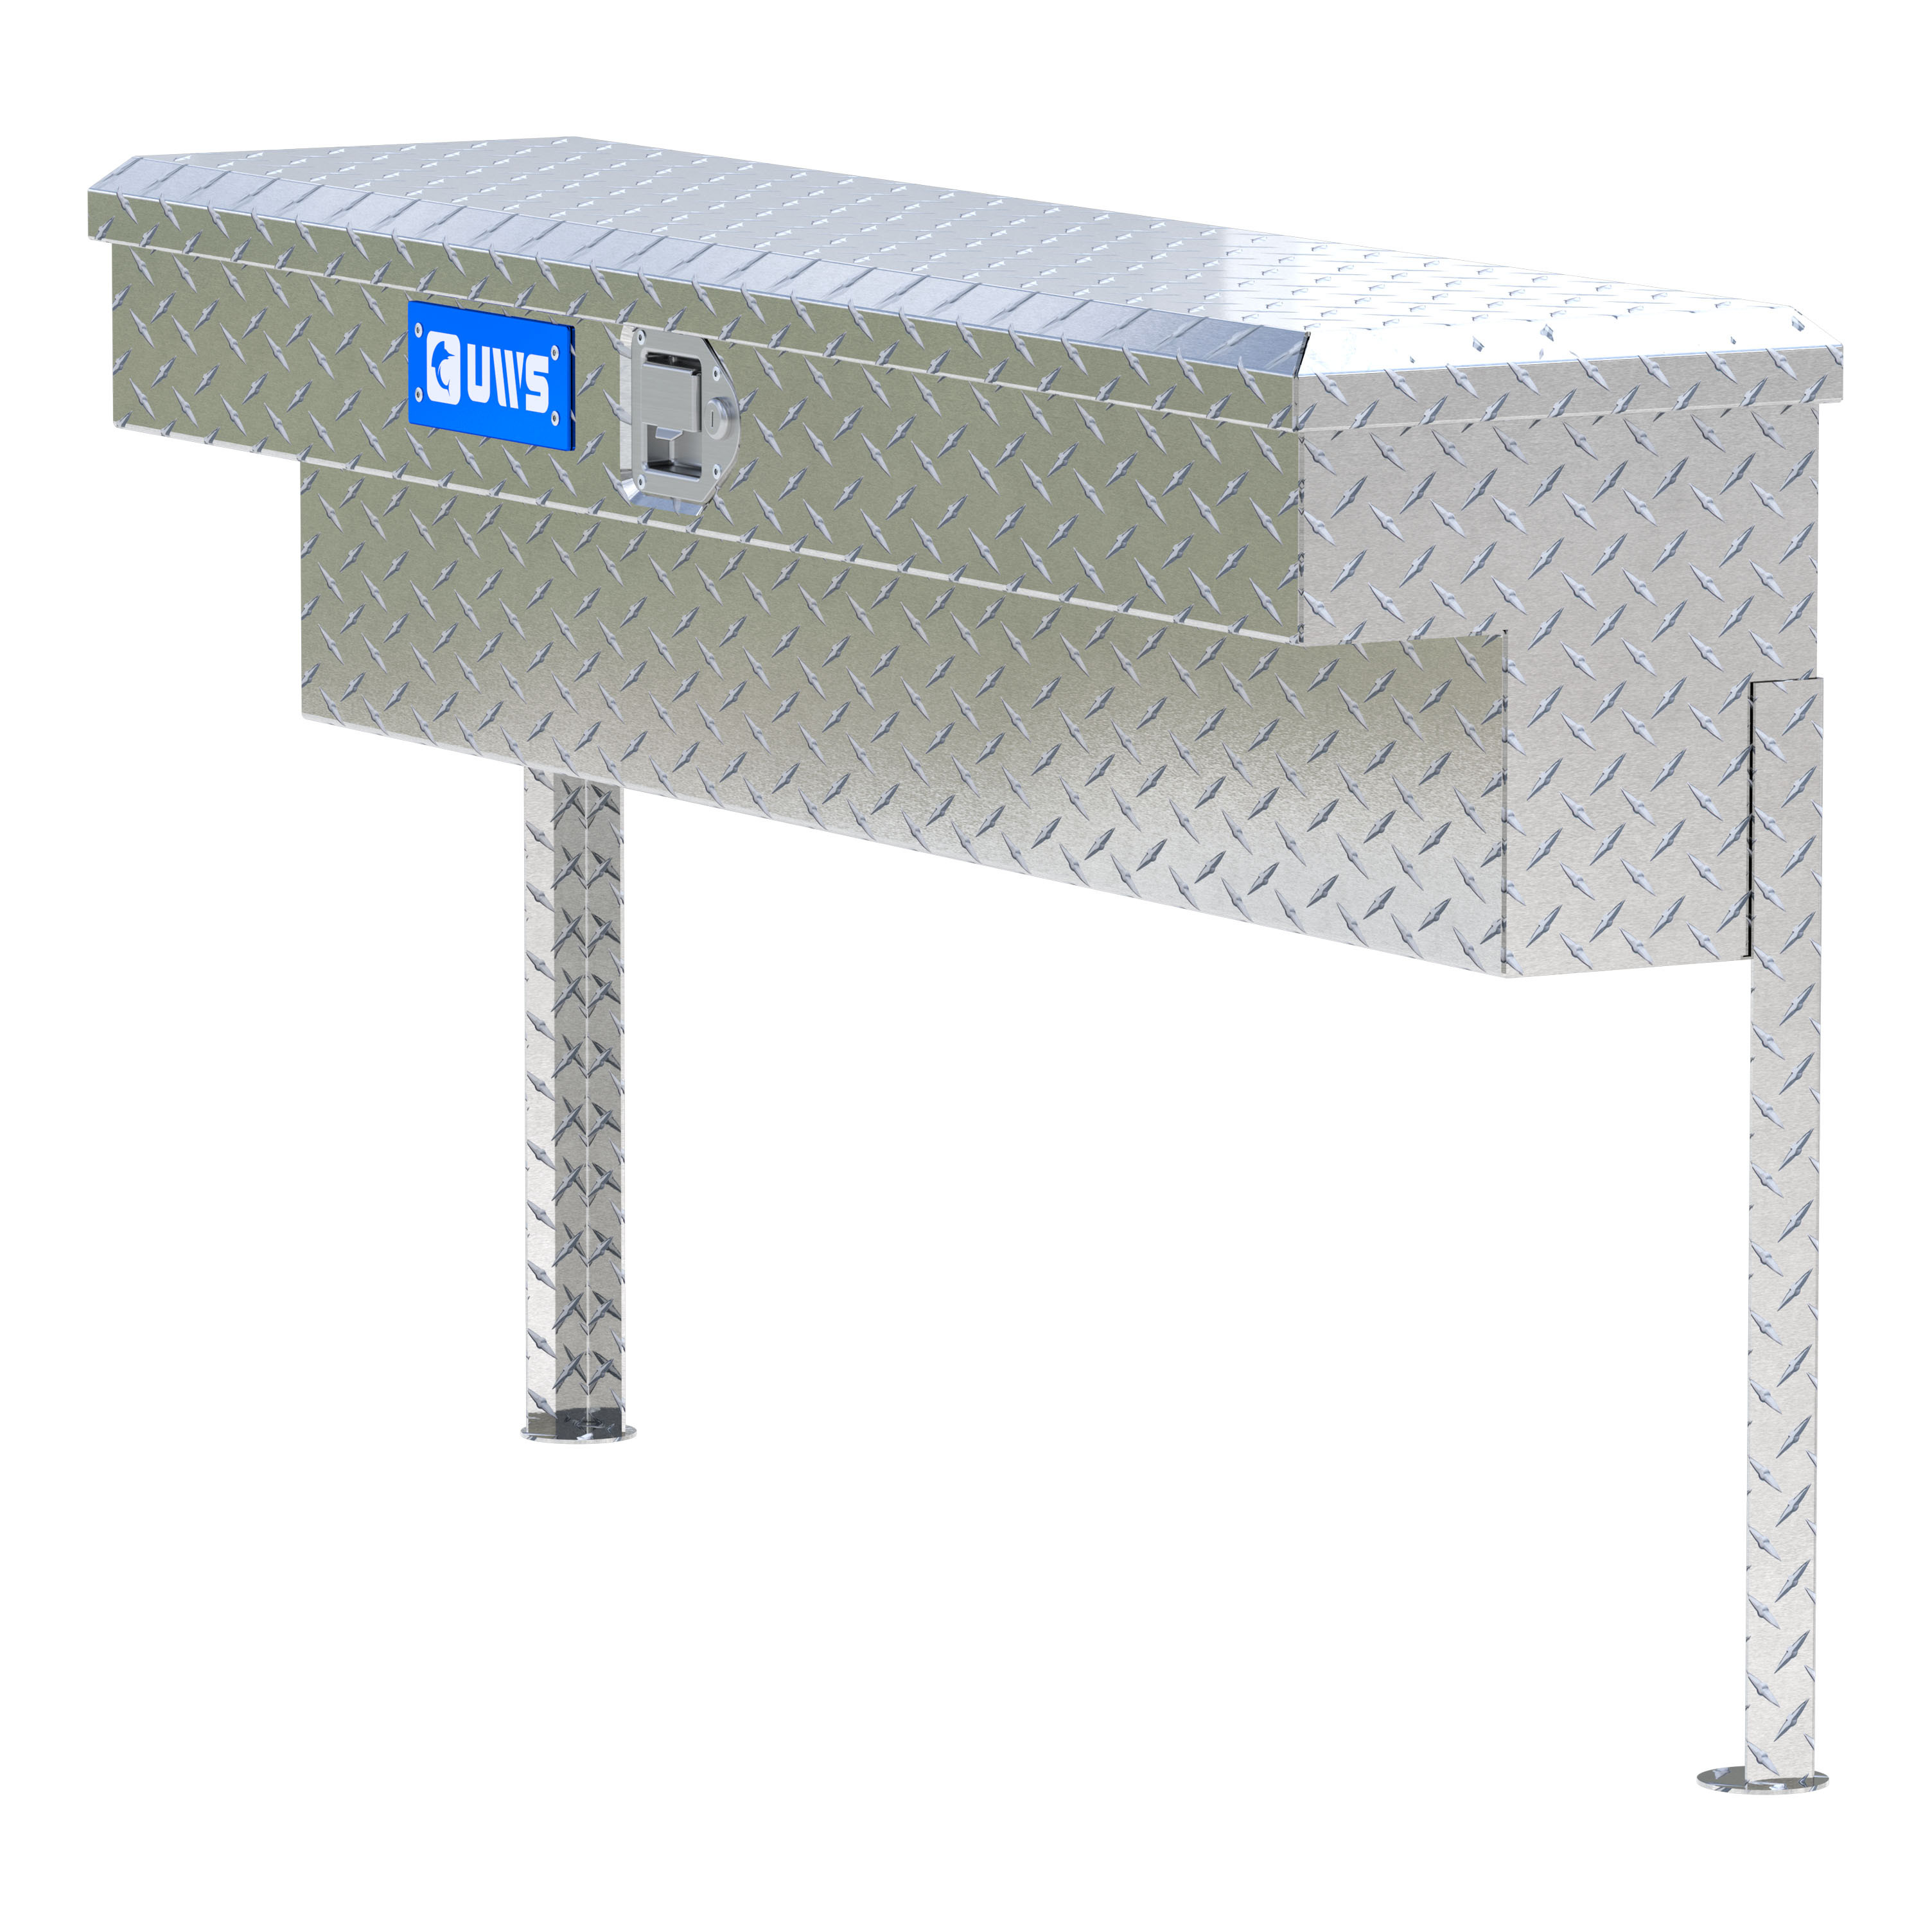
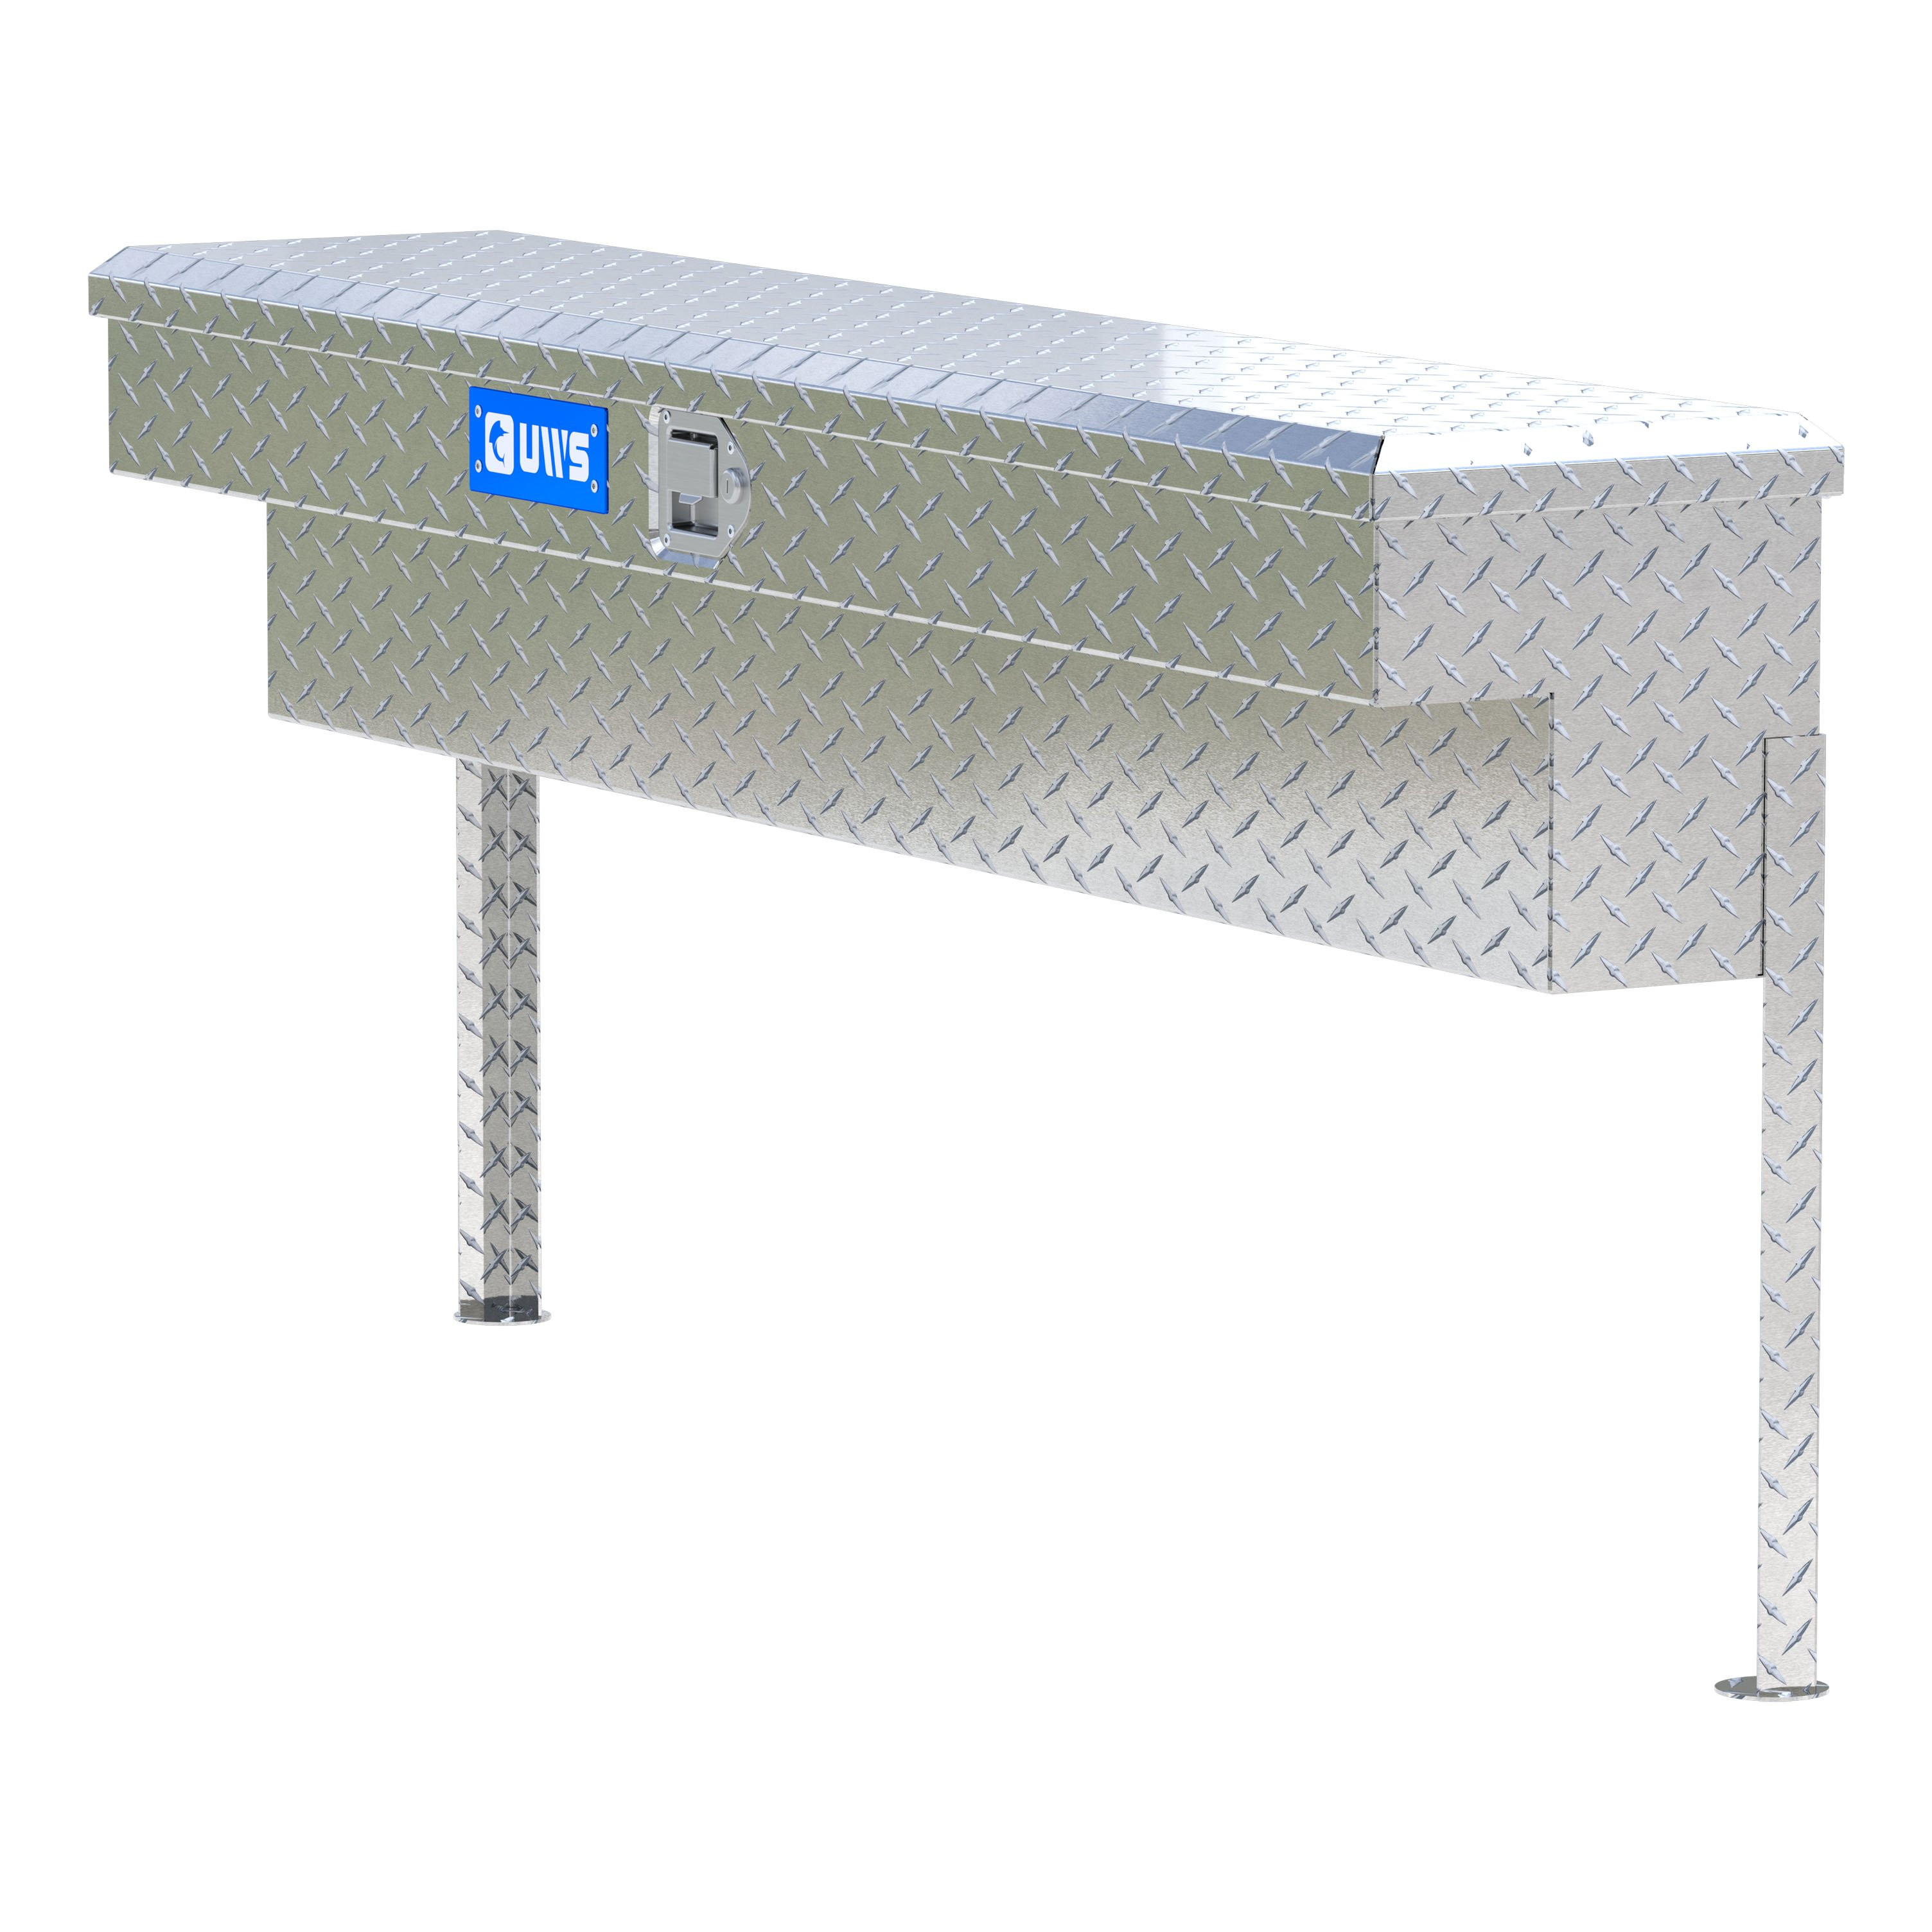
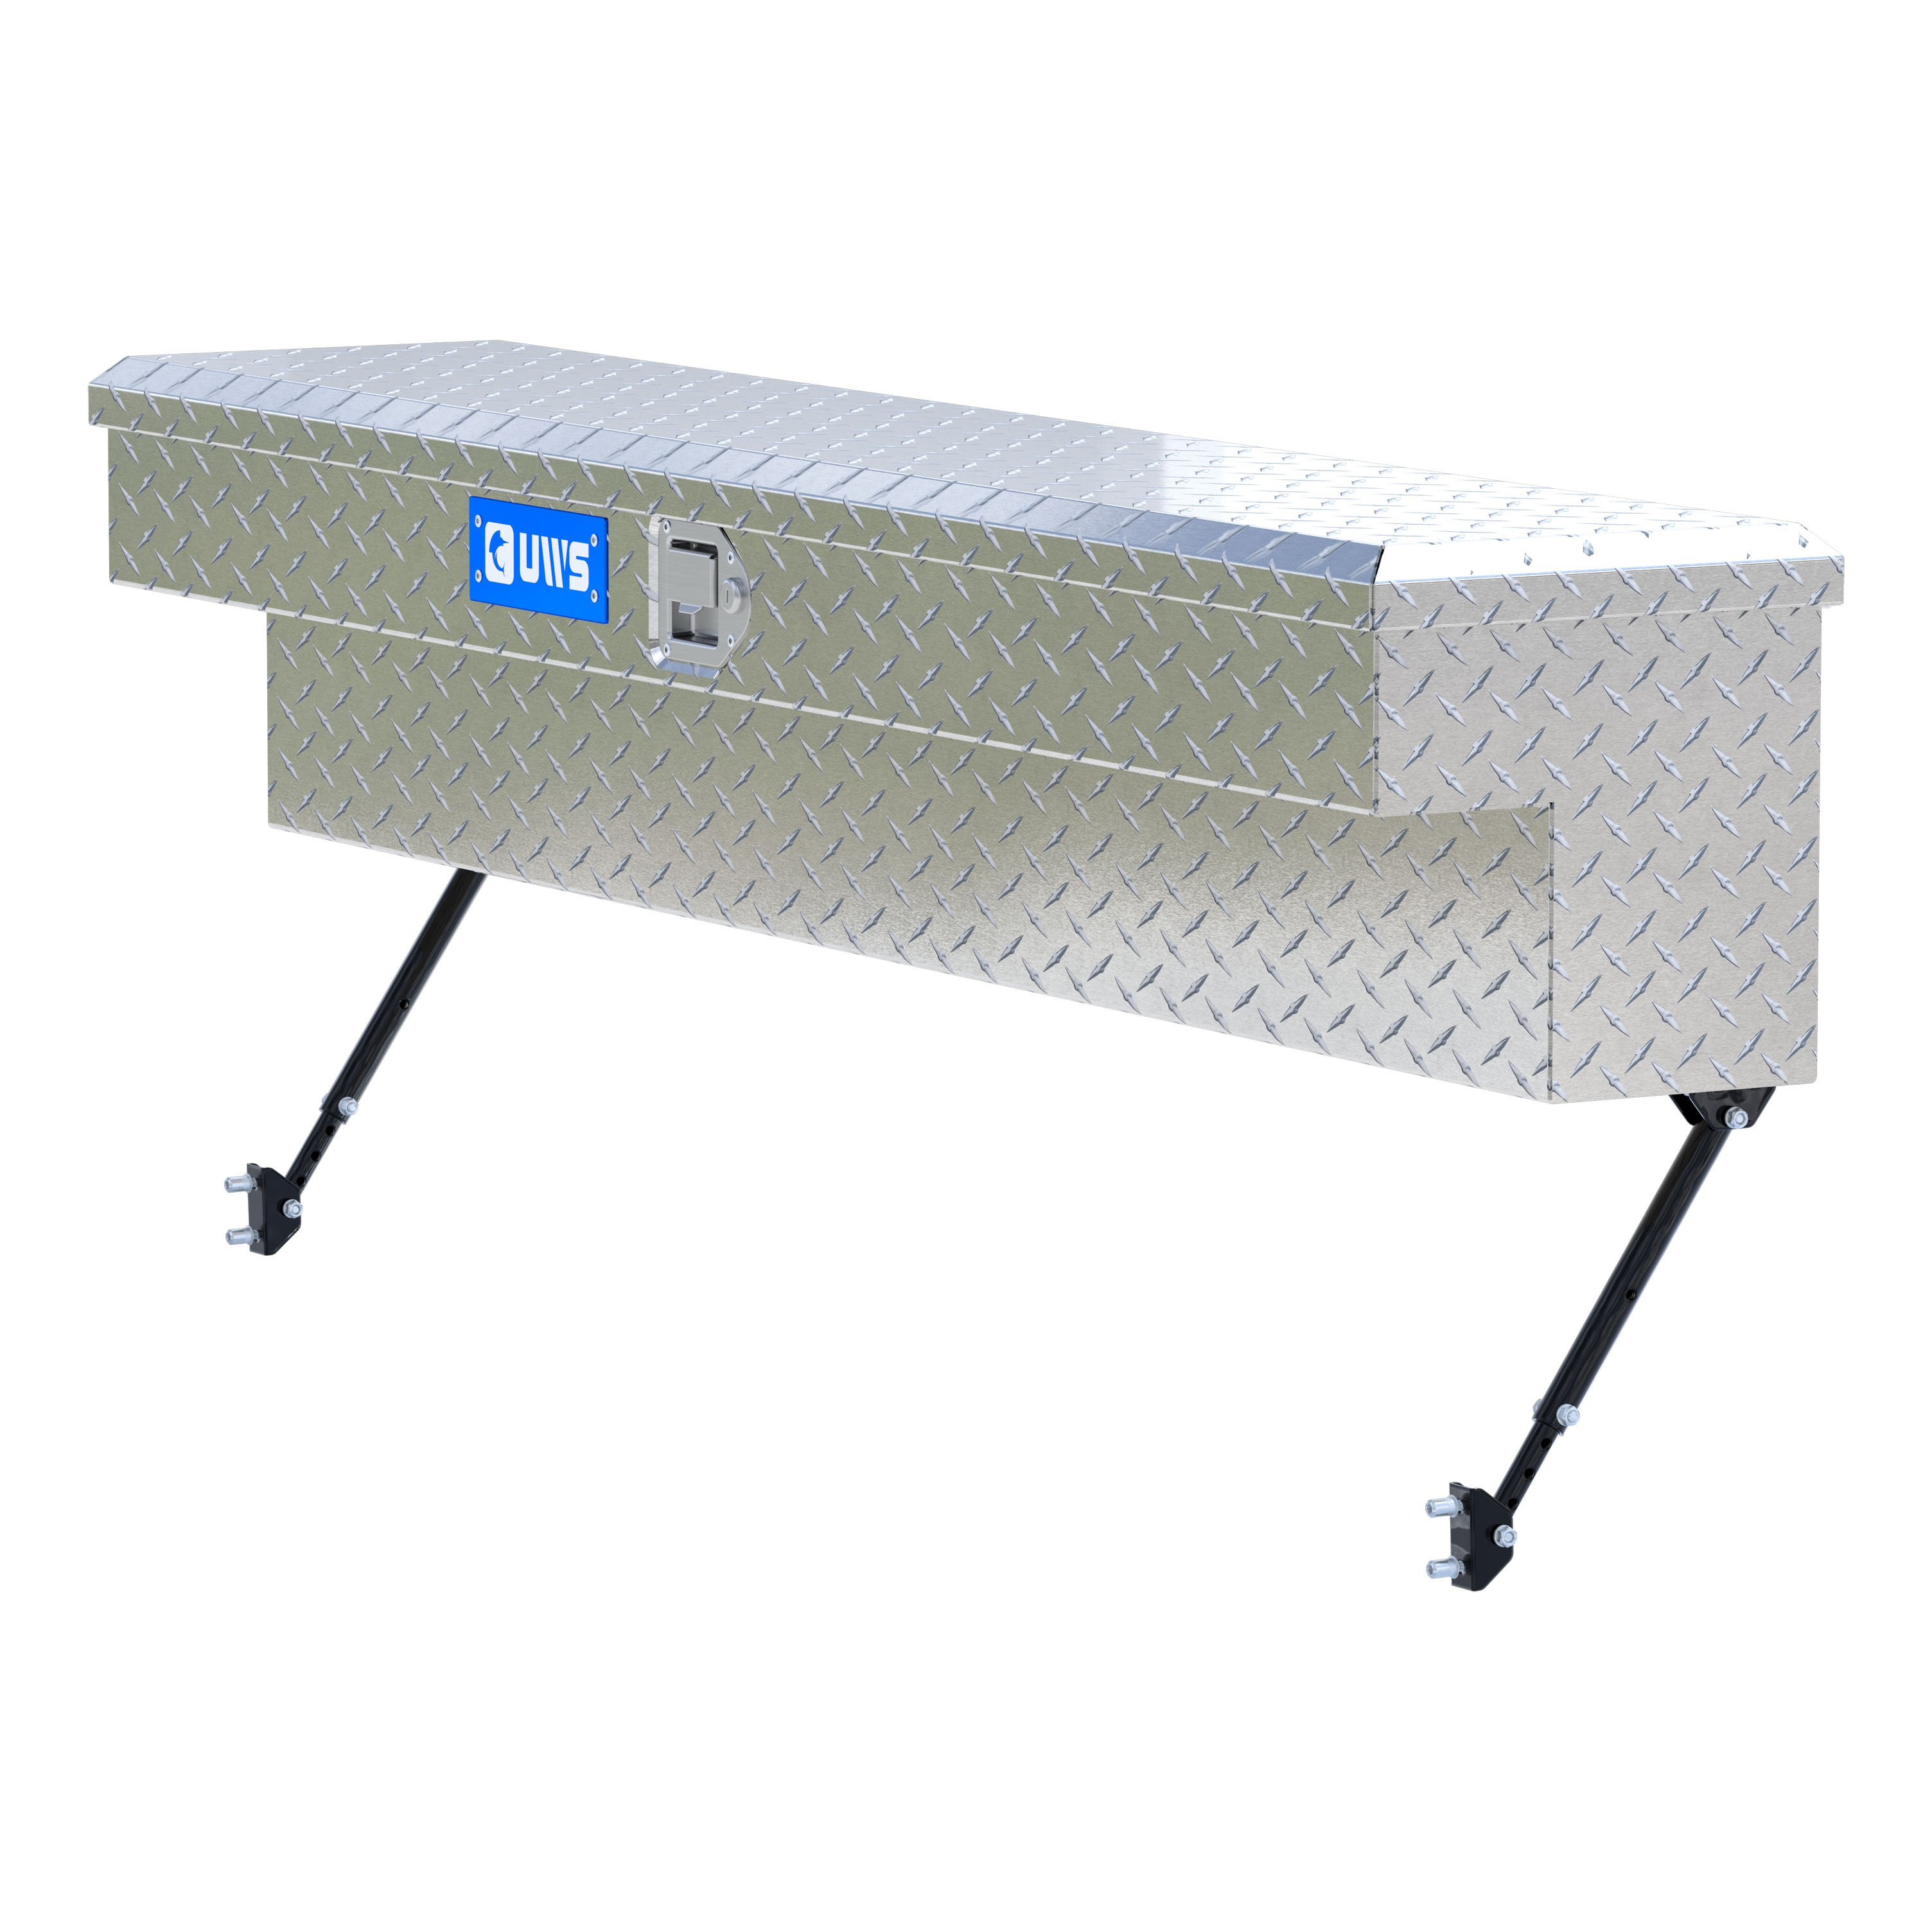
UWS Bright Aluminum 36" Truck Side Tool Box TBSM-36UWSOriginal price was $497.95. Current price is $451.95.In Stock
View productOur in-house experts typically reply within one business day.

UWS




Always the correct part
We know our products
Quality Products
Free Shipping!
Always the correct part
We know our products
Quality Products
Free Shipping!
On Sale Today
Original price was $63.95. Current price is $56.95.You save $7.00 (11%)
Free Shipping
Ships free on all orders
 Authorized Dealer
Quick Ship
In stock and ready to ship — order now!
Shipping from Fife, WAFREE SHIPPING
Estimated delivery Tue, Oct 13 - Thu, Oct 15
Order before 2 PM EST Monday–Friday for same-day processing
Guaranteed safe & secure checkout
Free Shipping

Warranty: One-Year Limited Warranty
Finish: GLOSS BLACK POWDER COAT
Material: Carbon Steel
Part Type: Misc UWS Replacement Parts
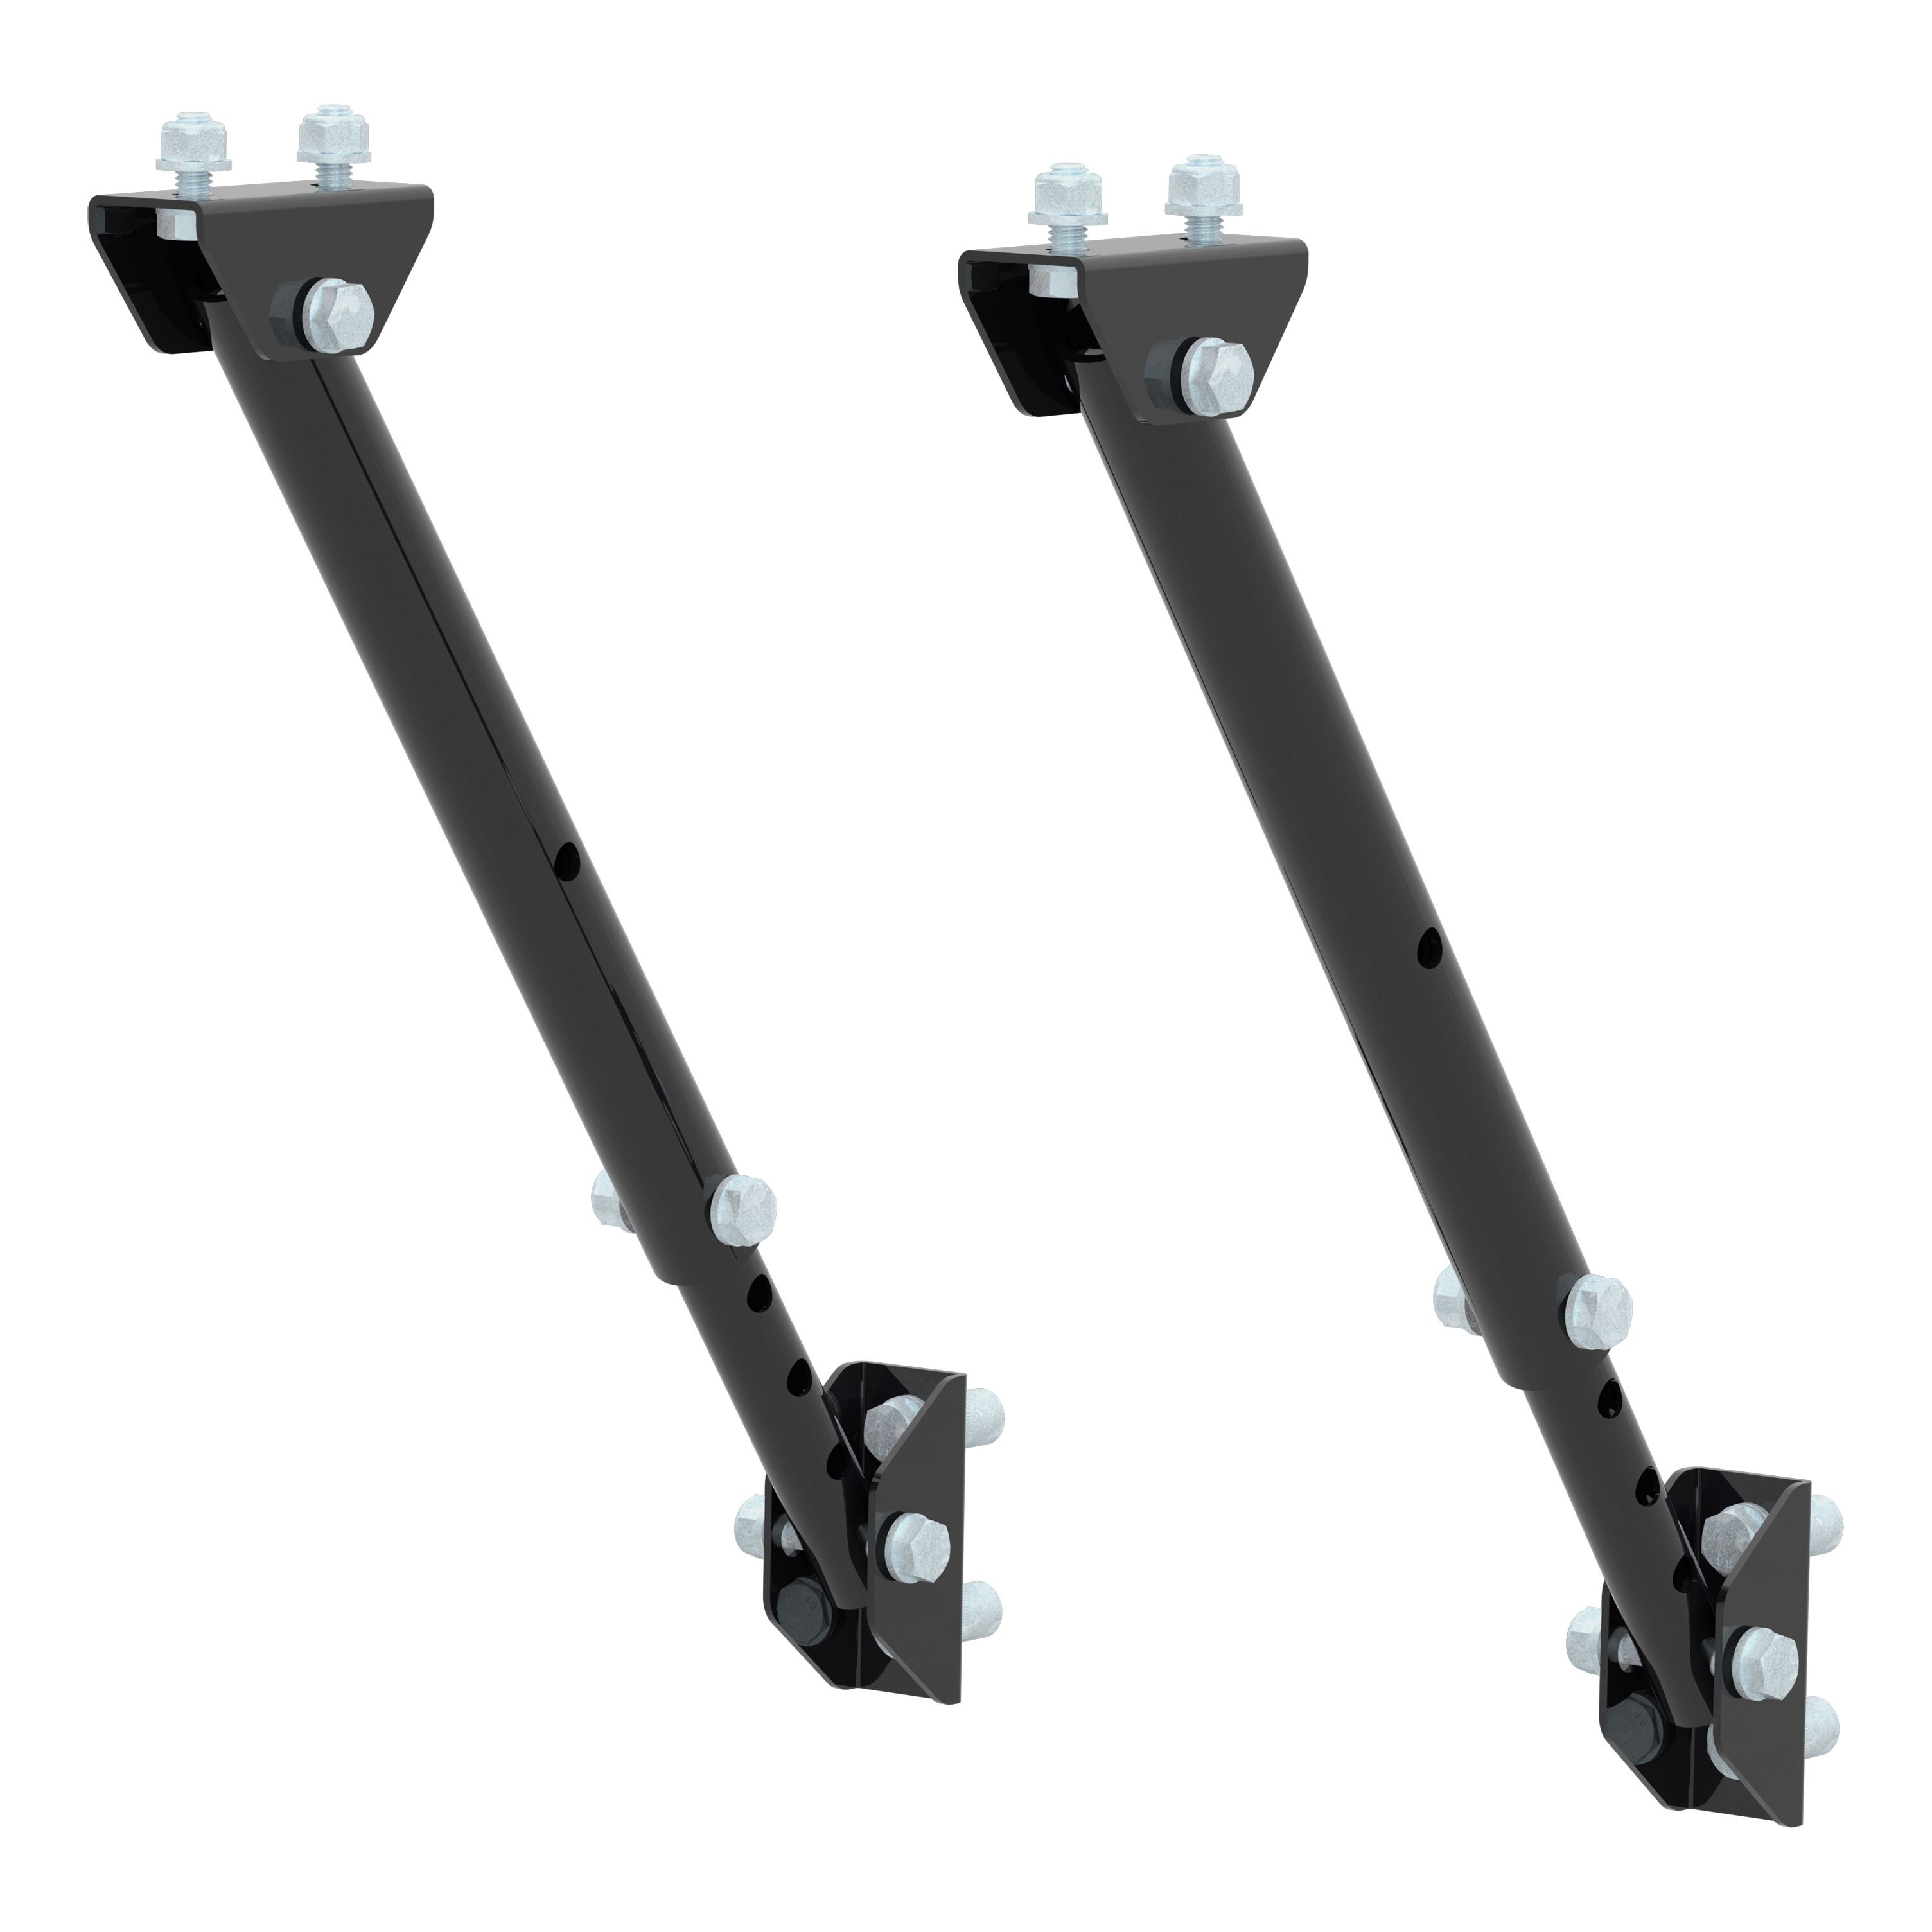
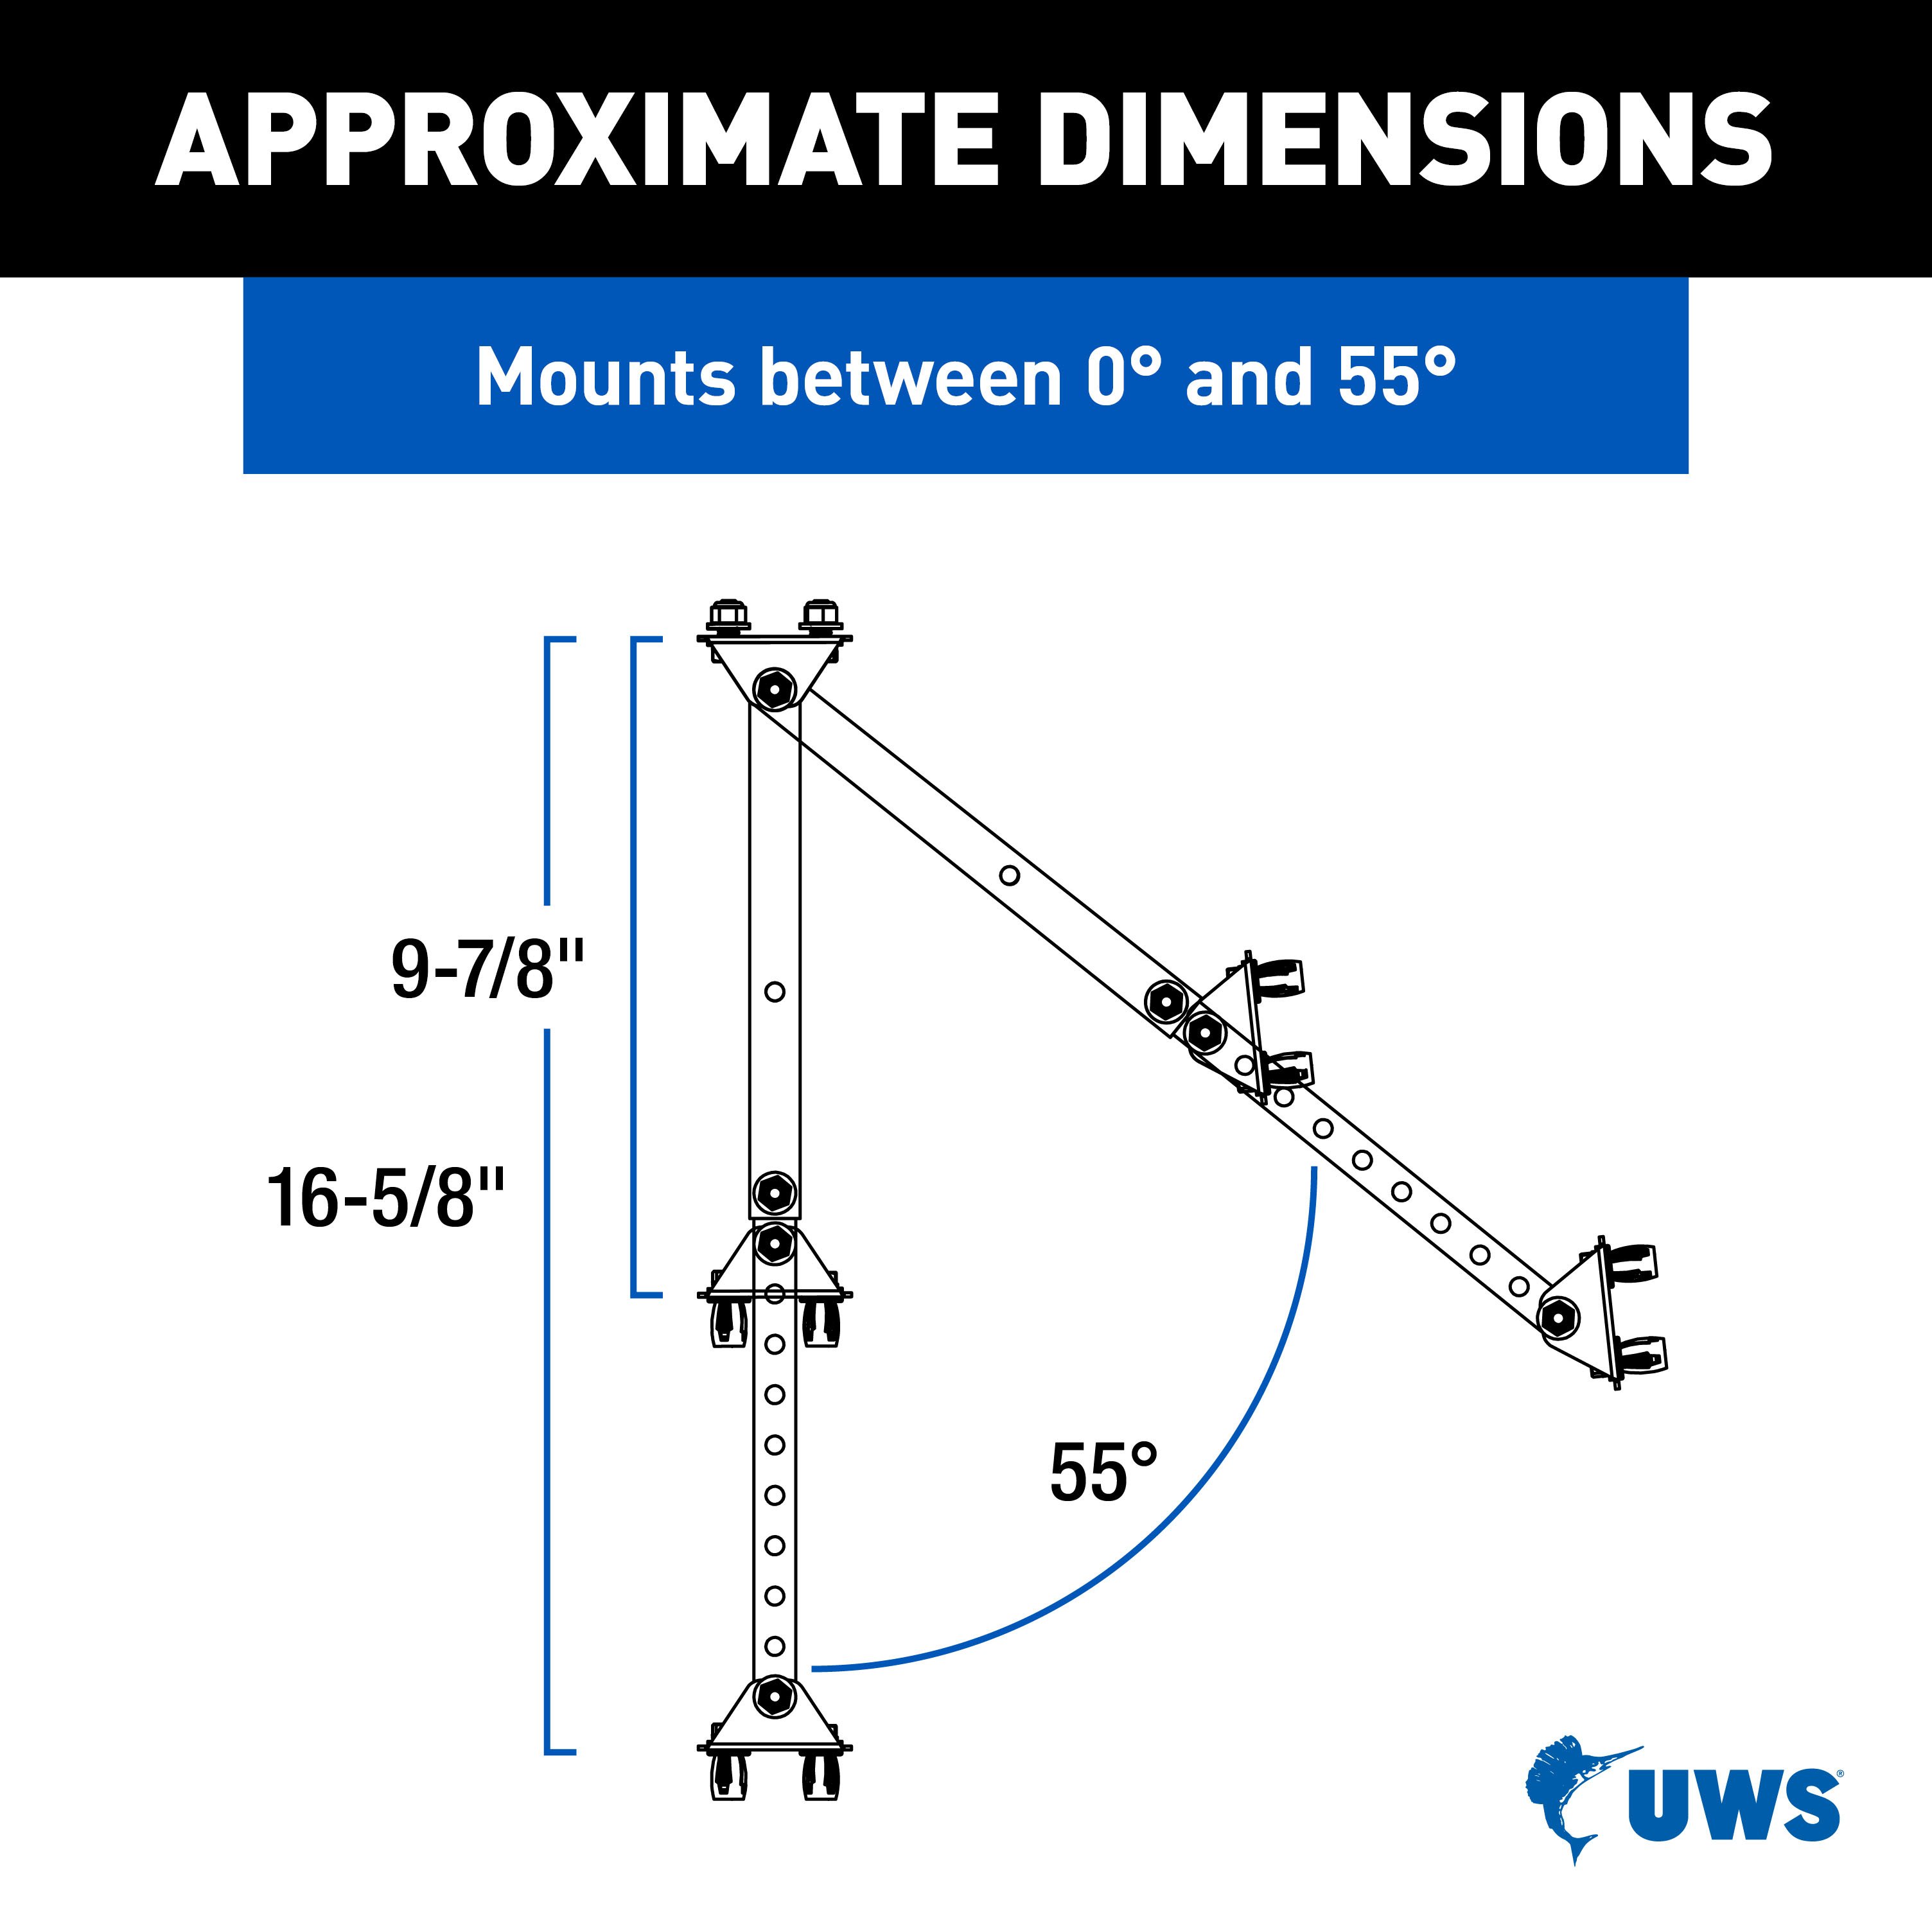
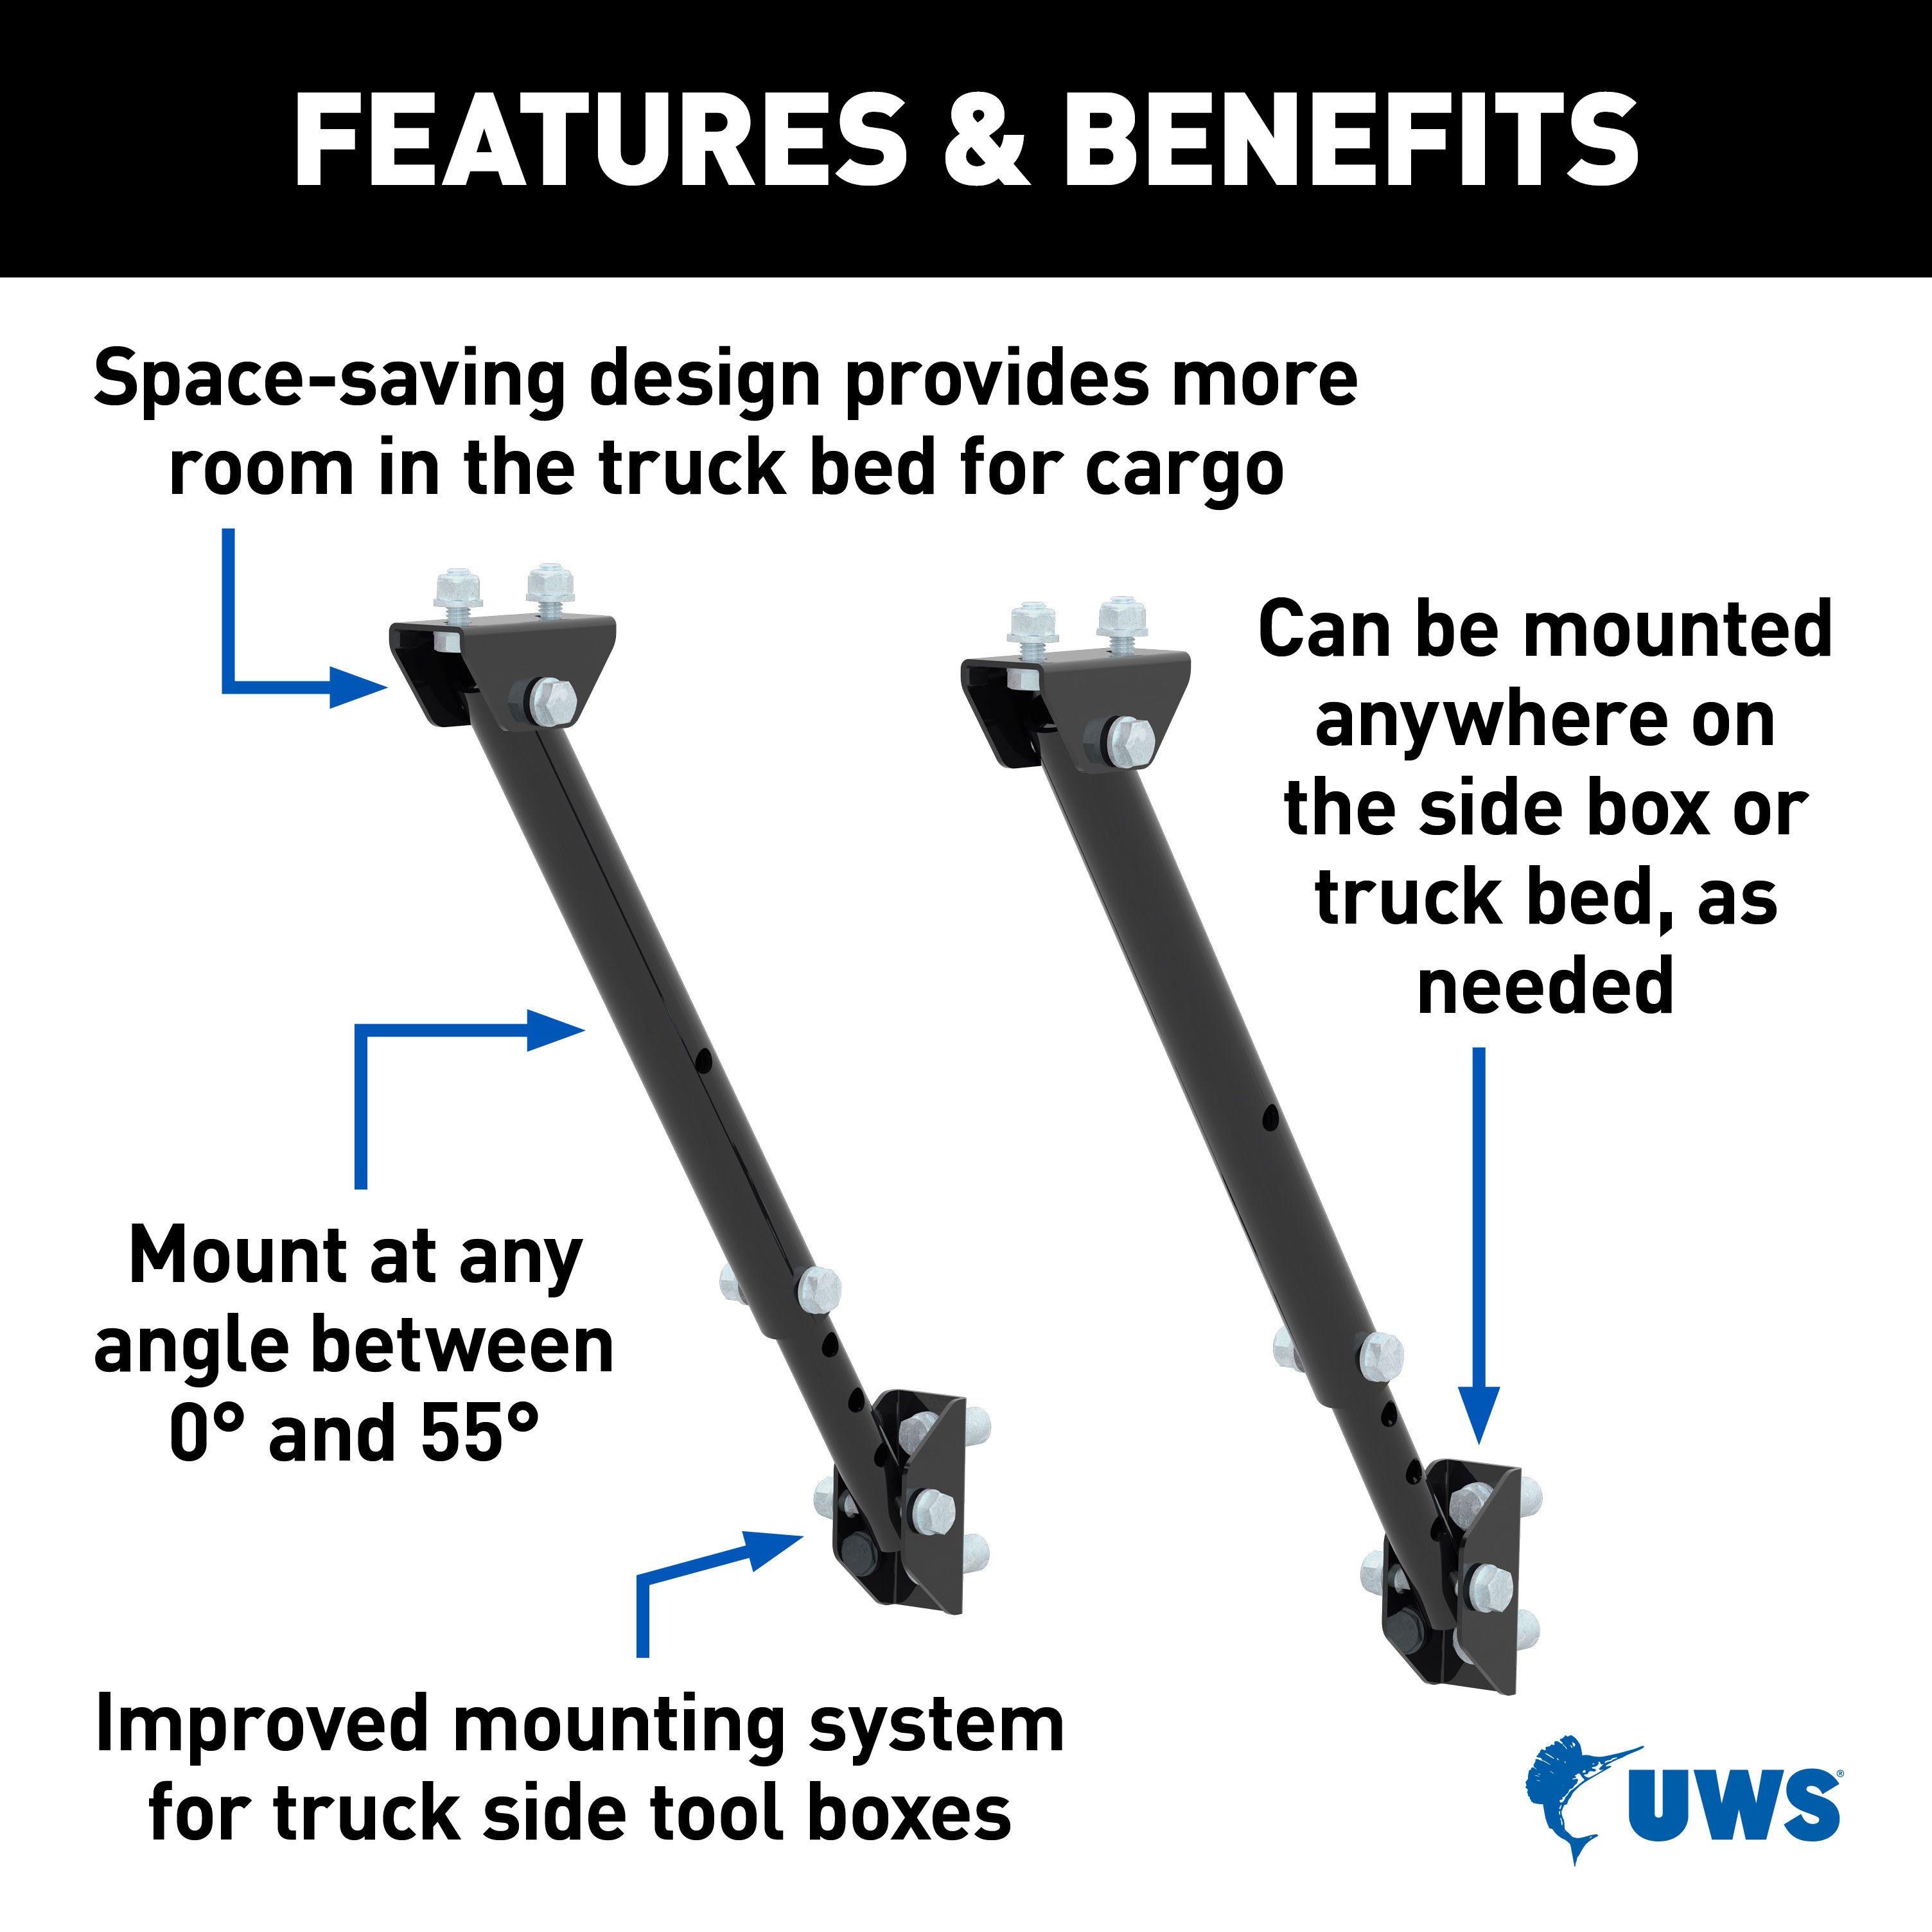
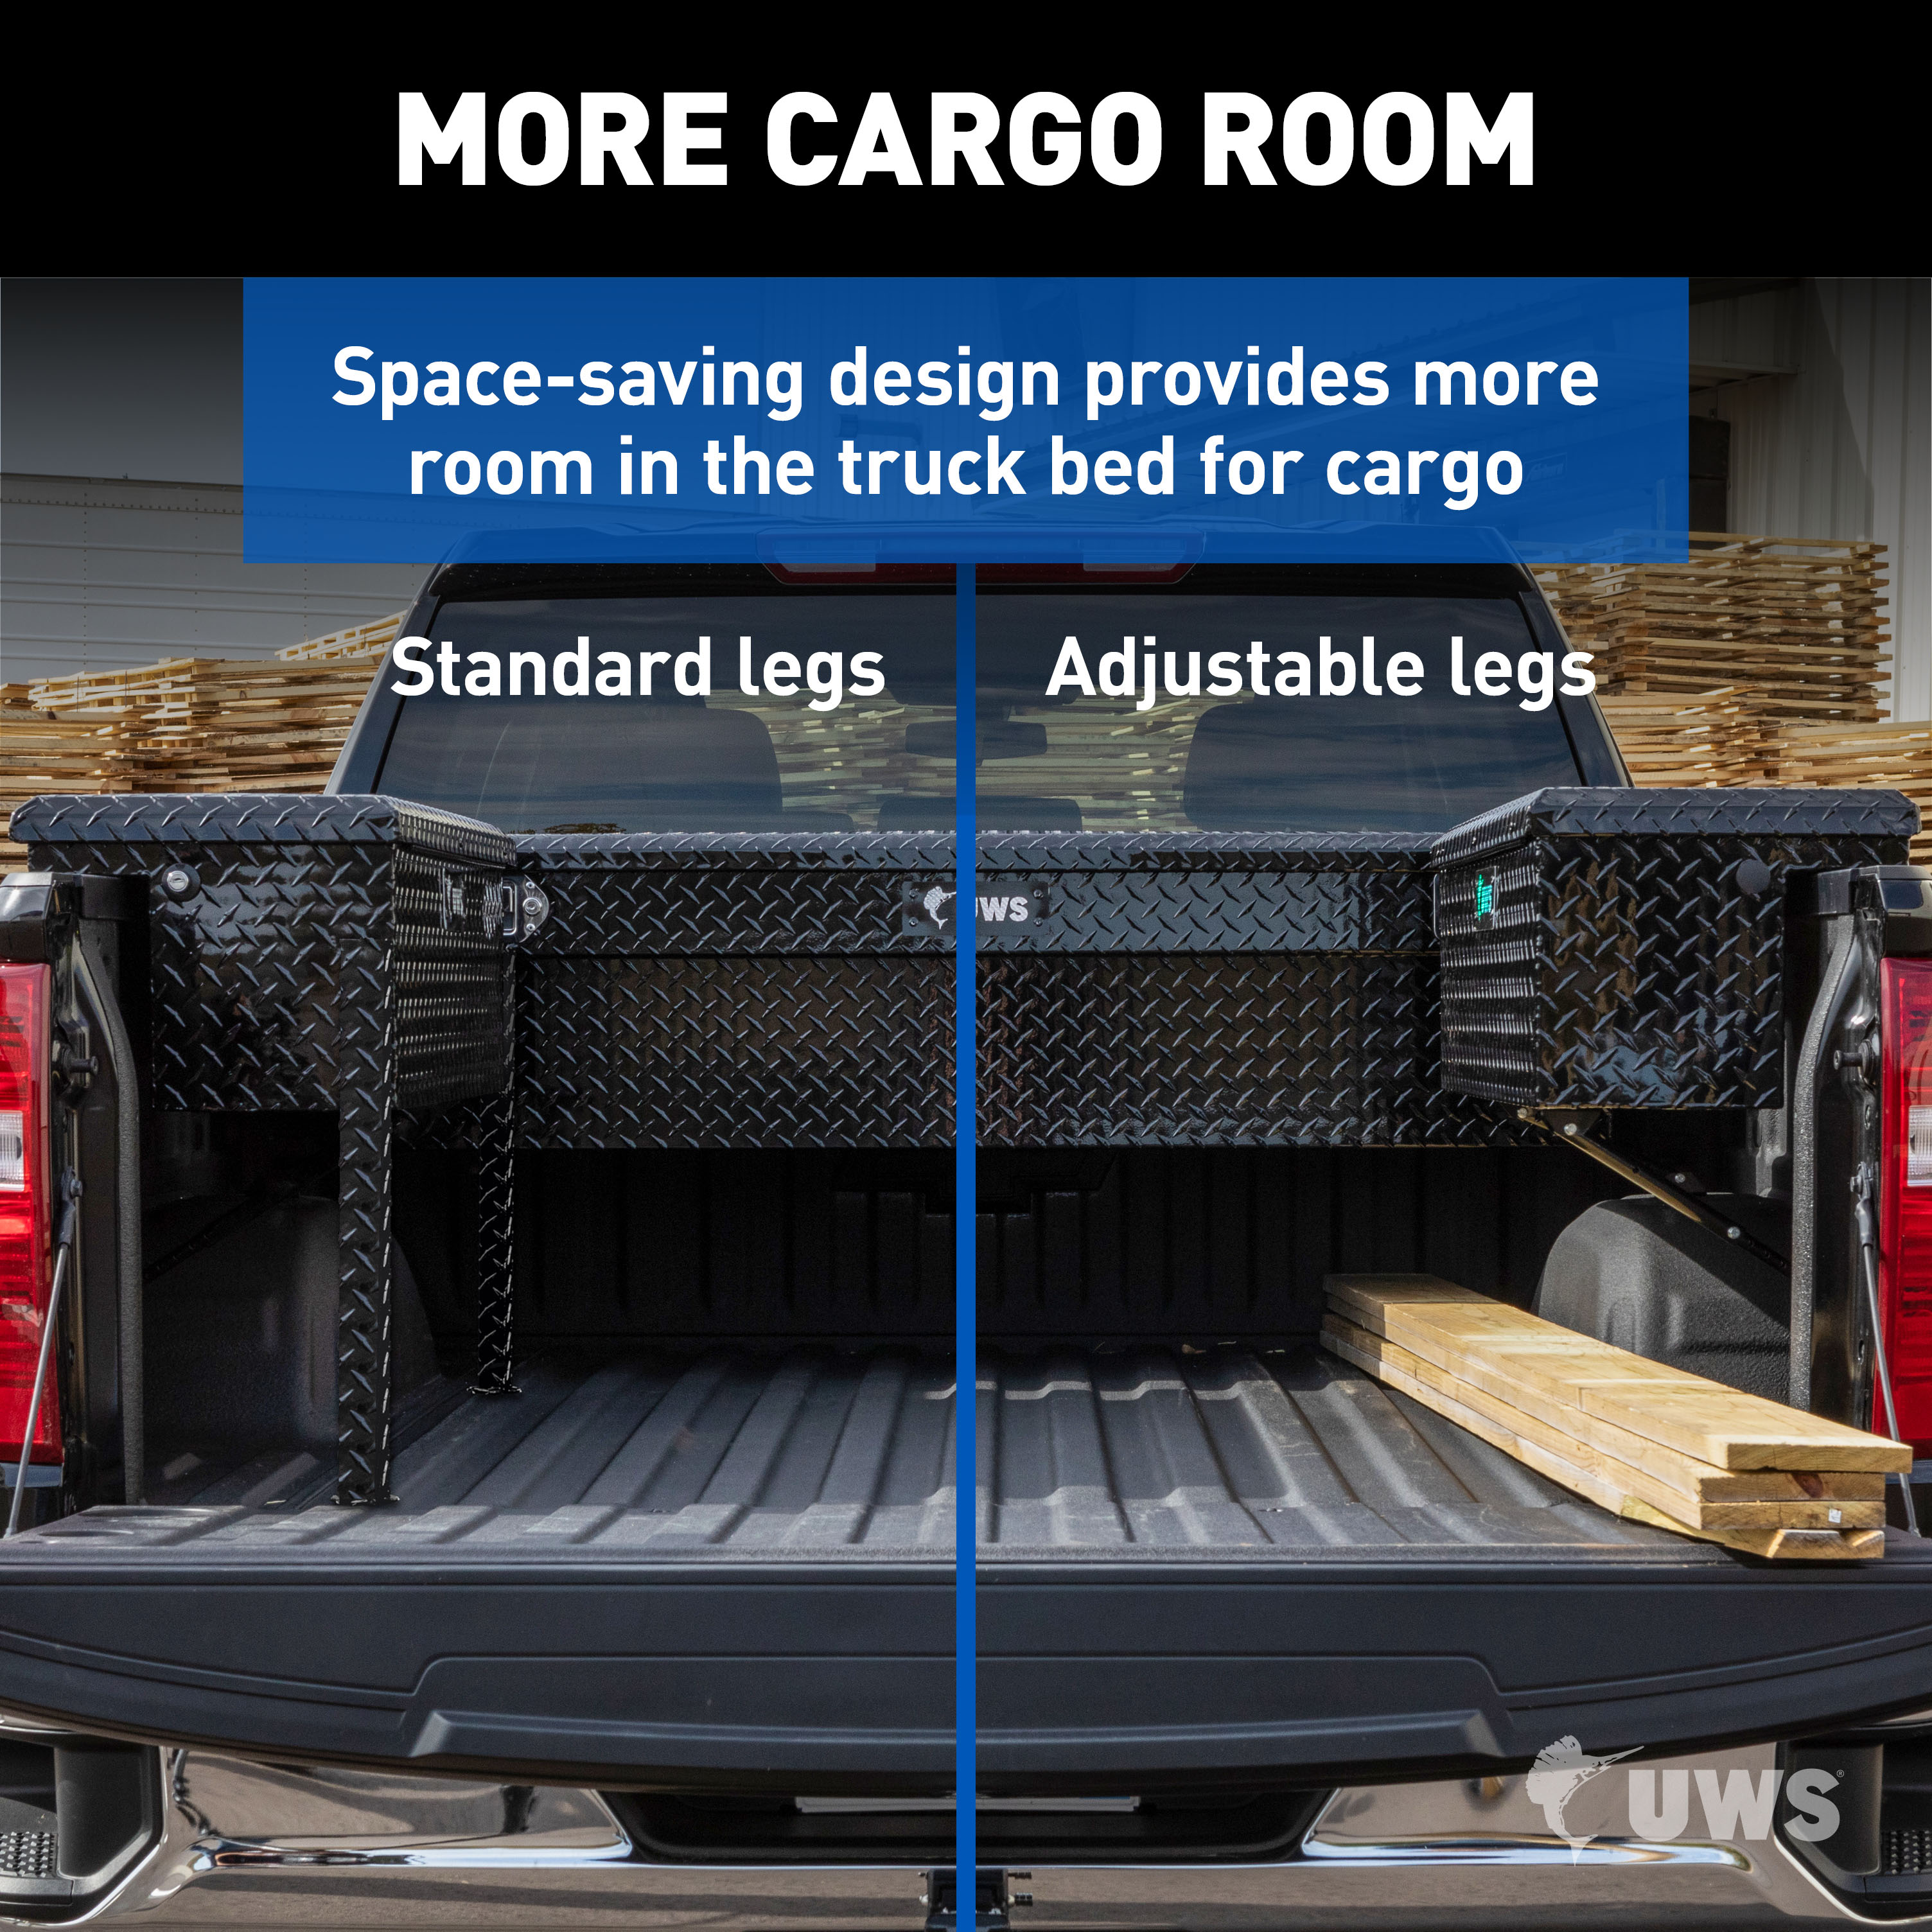
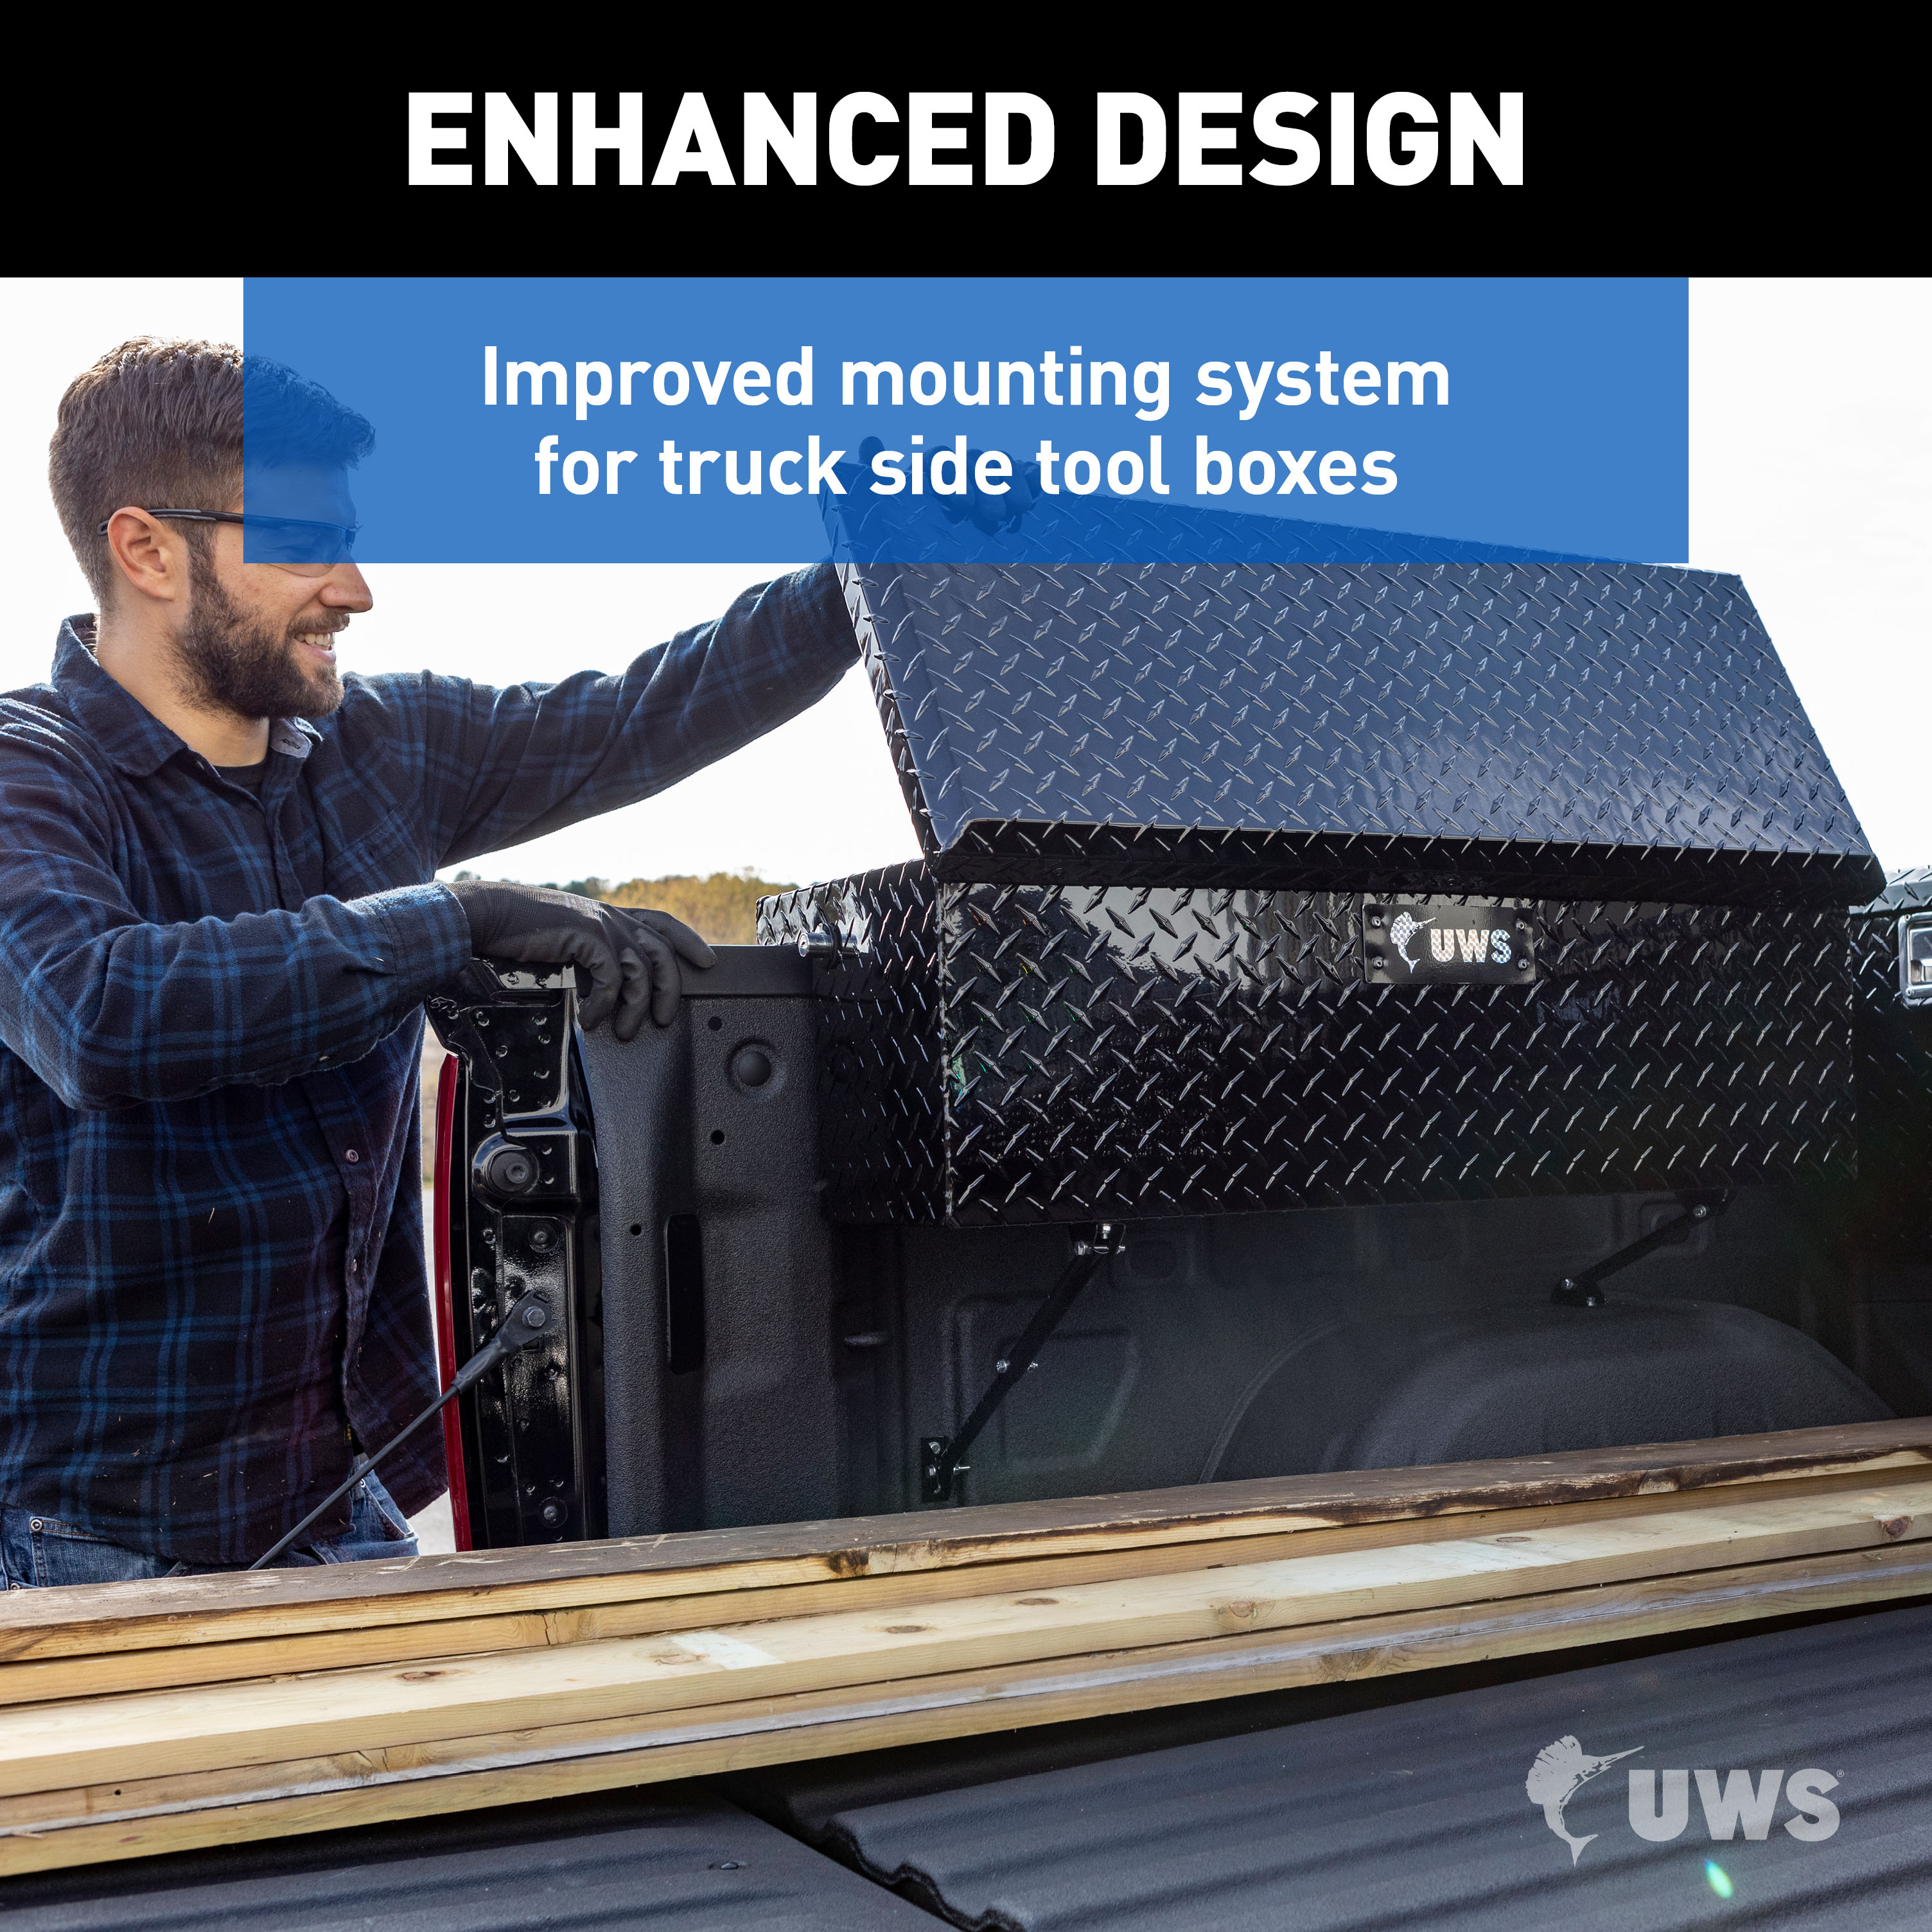
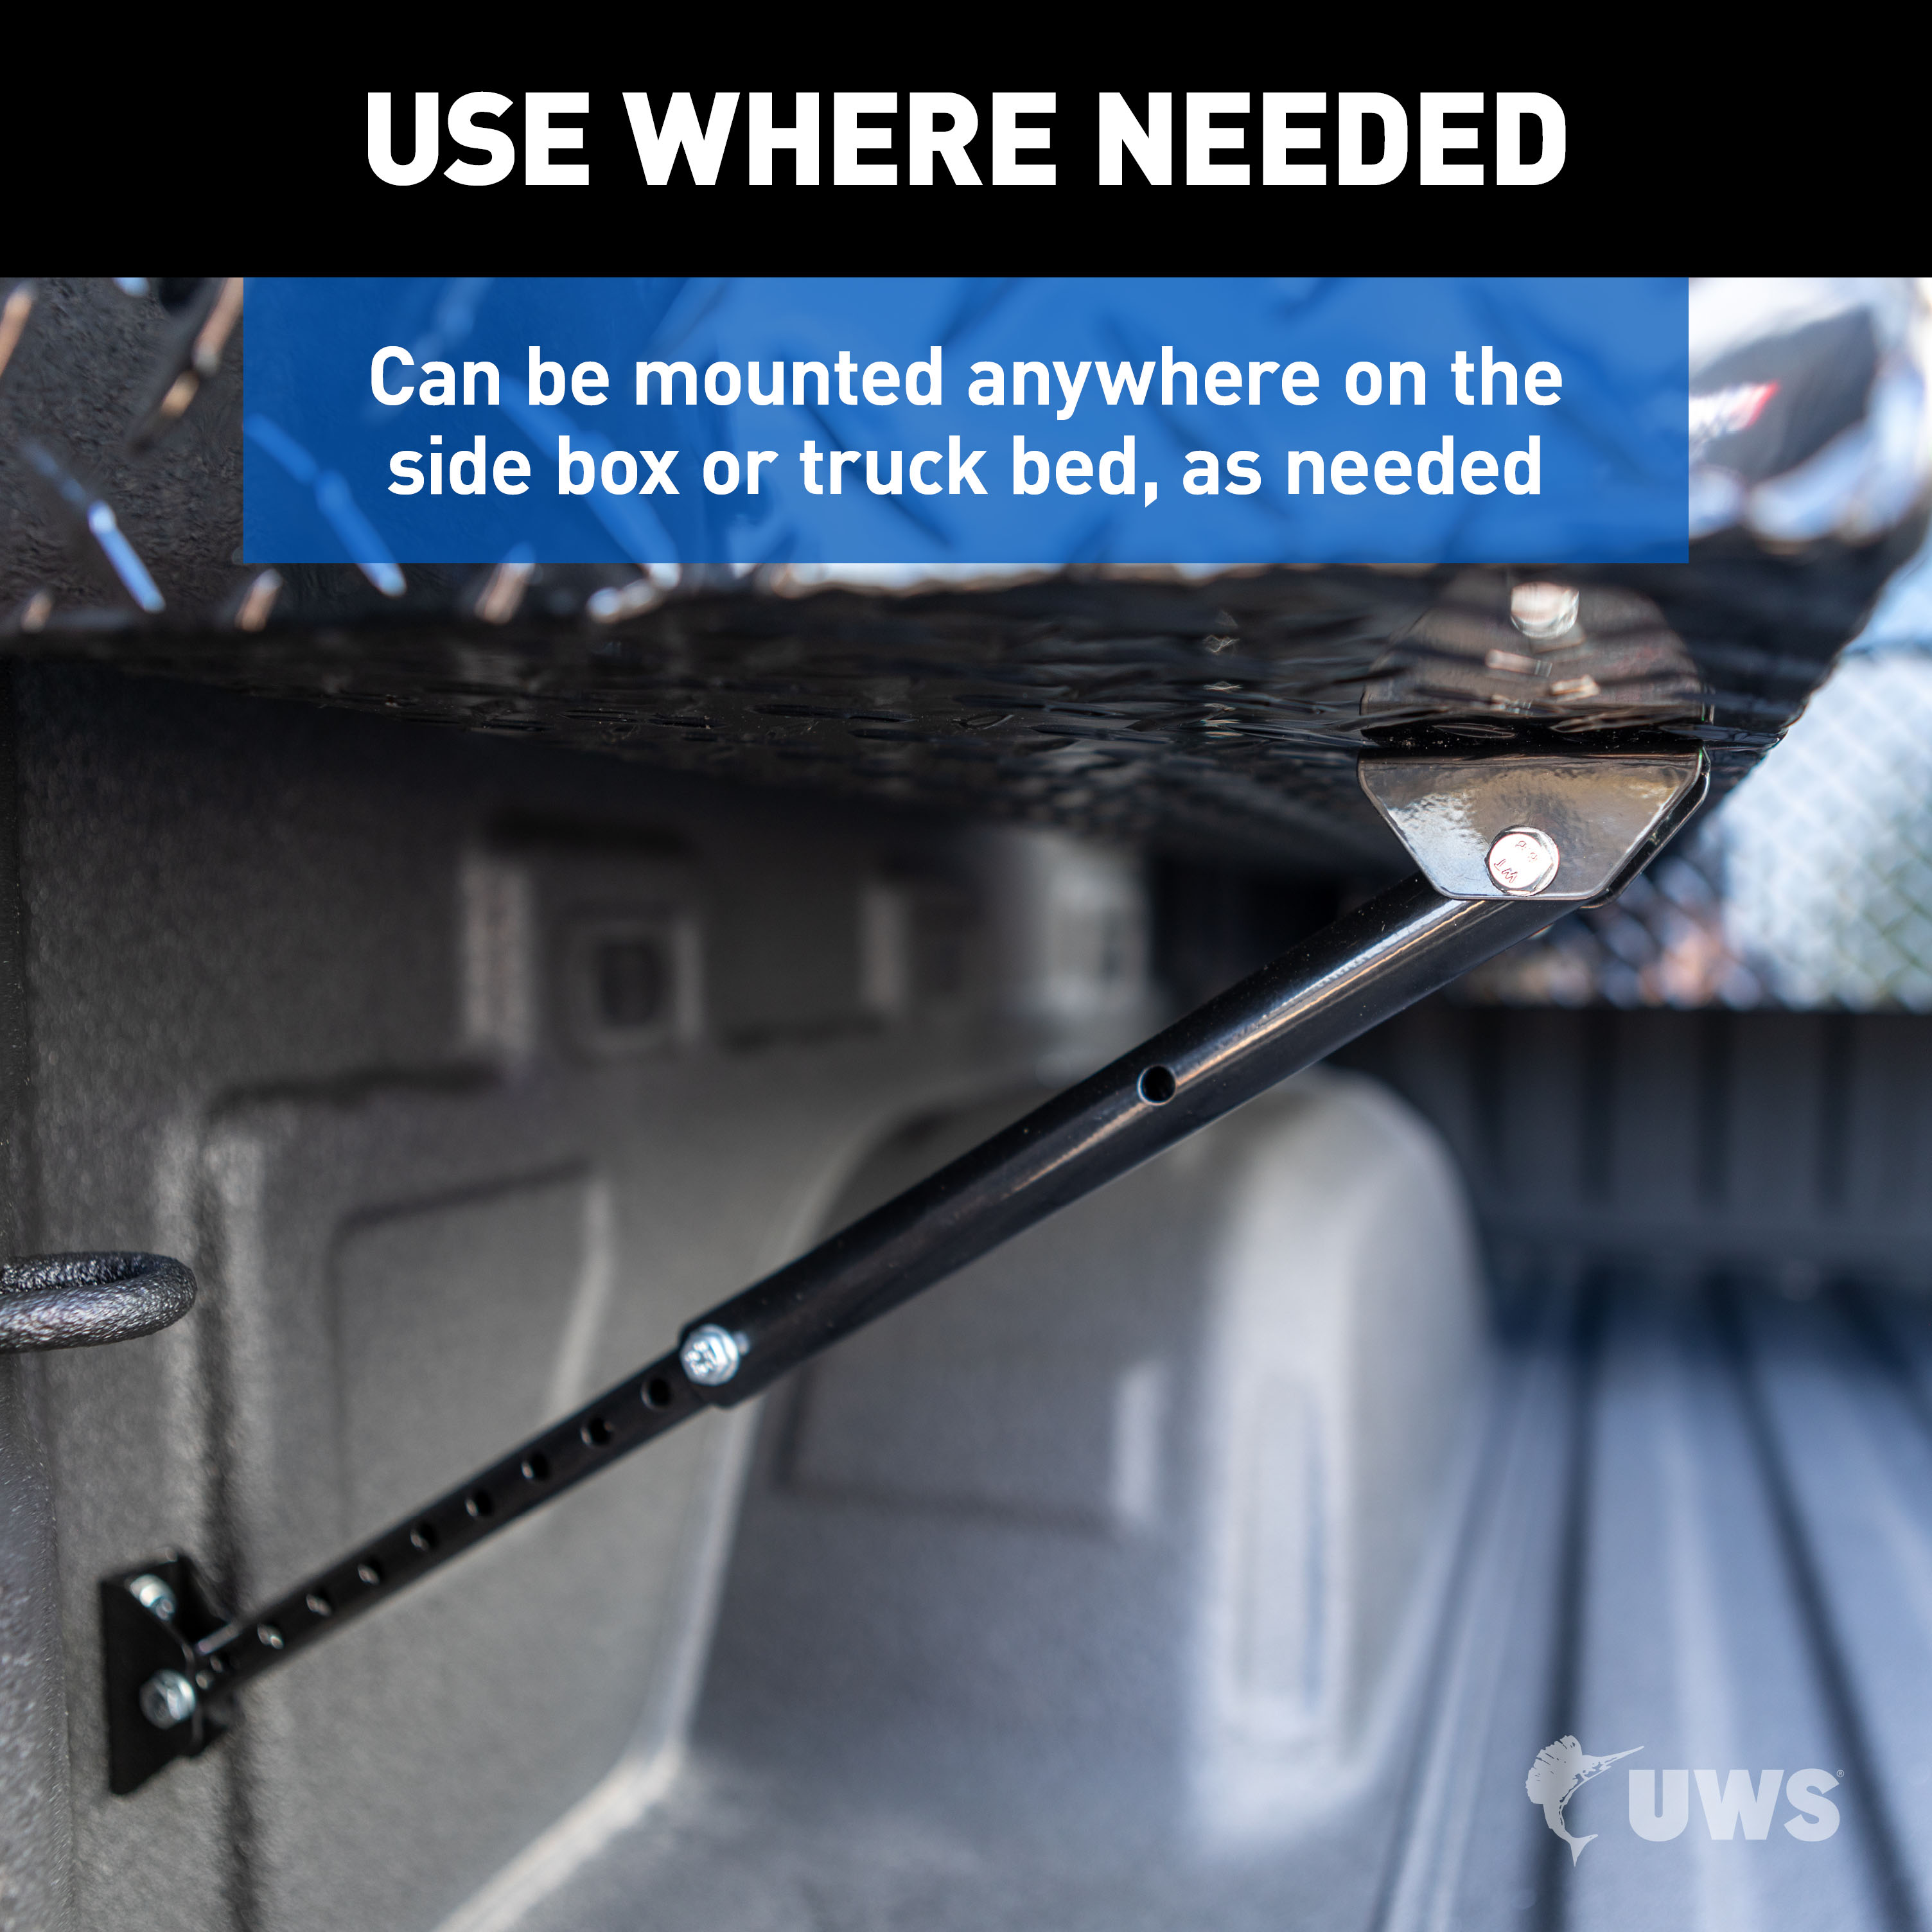
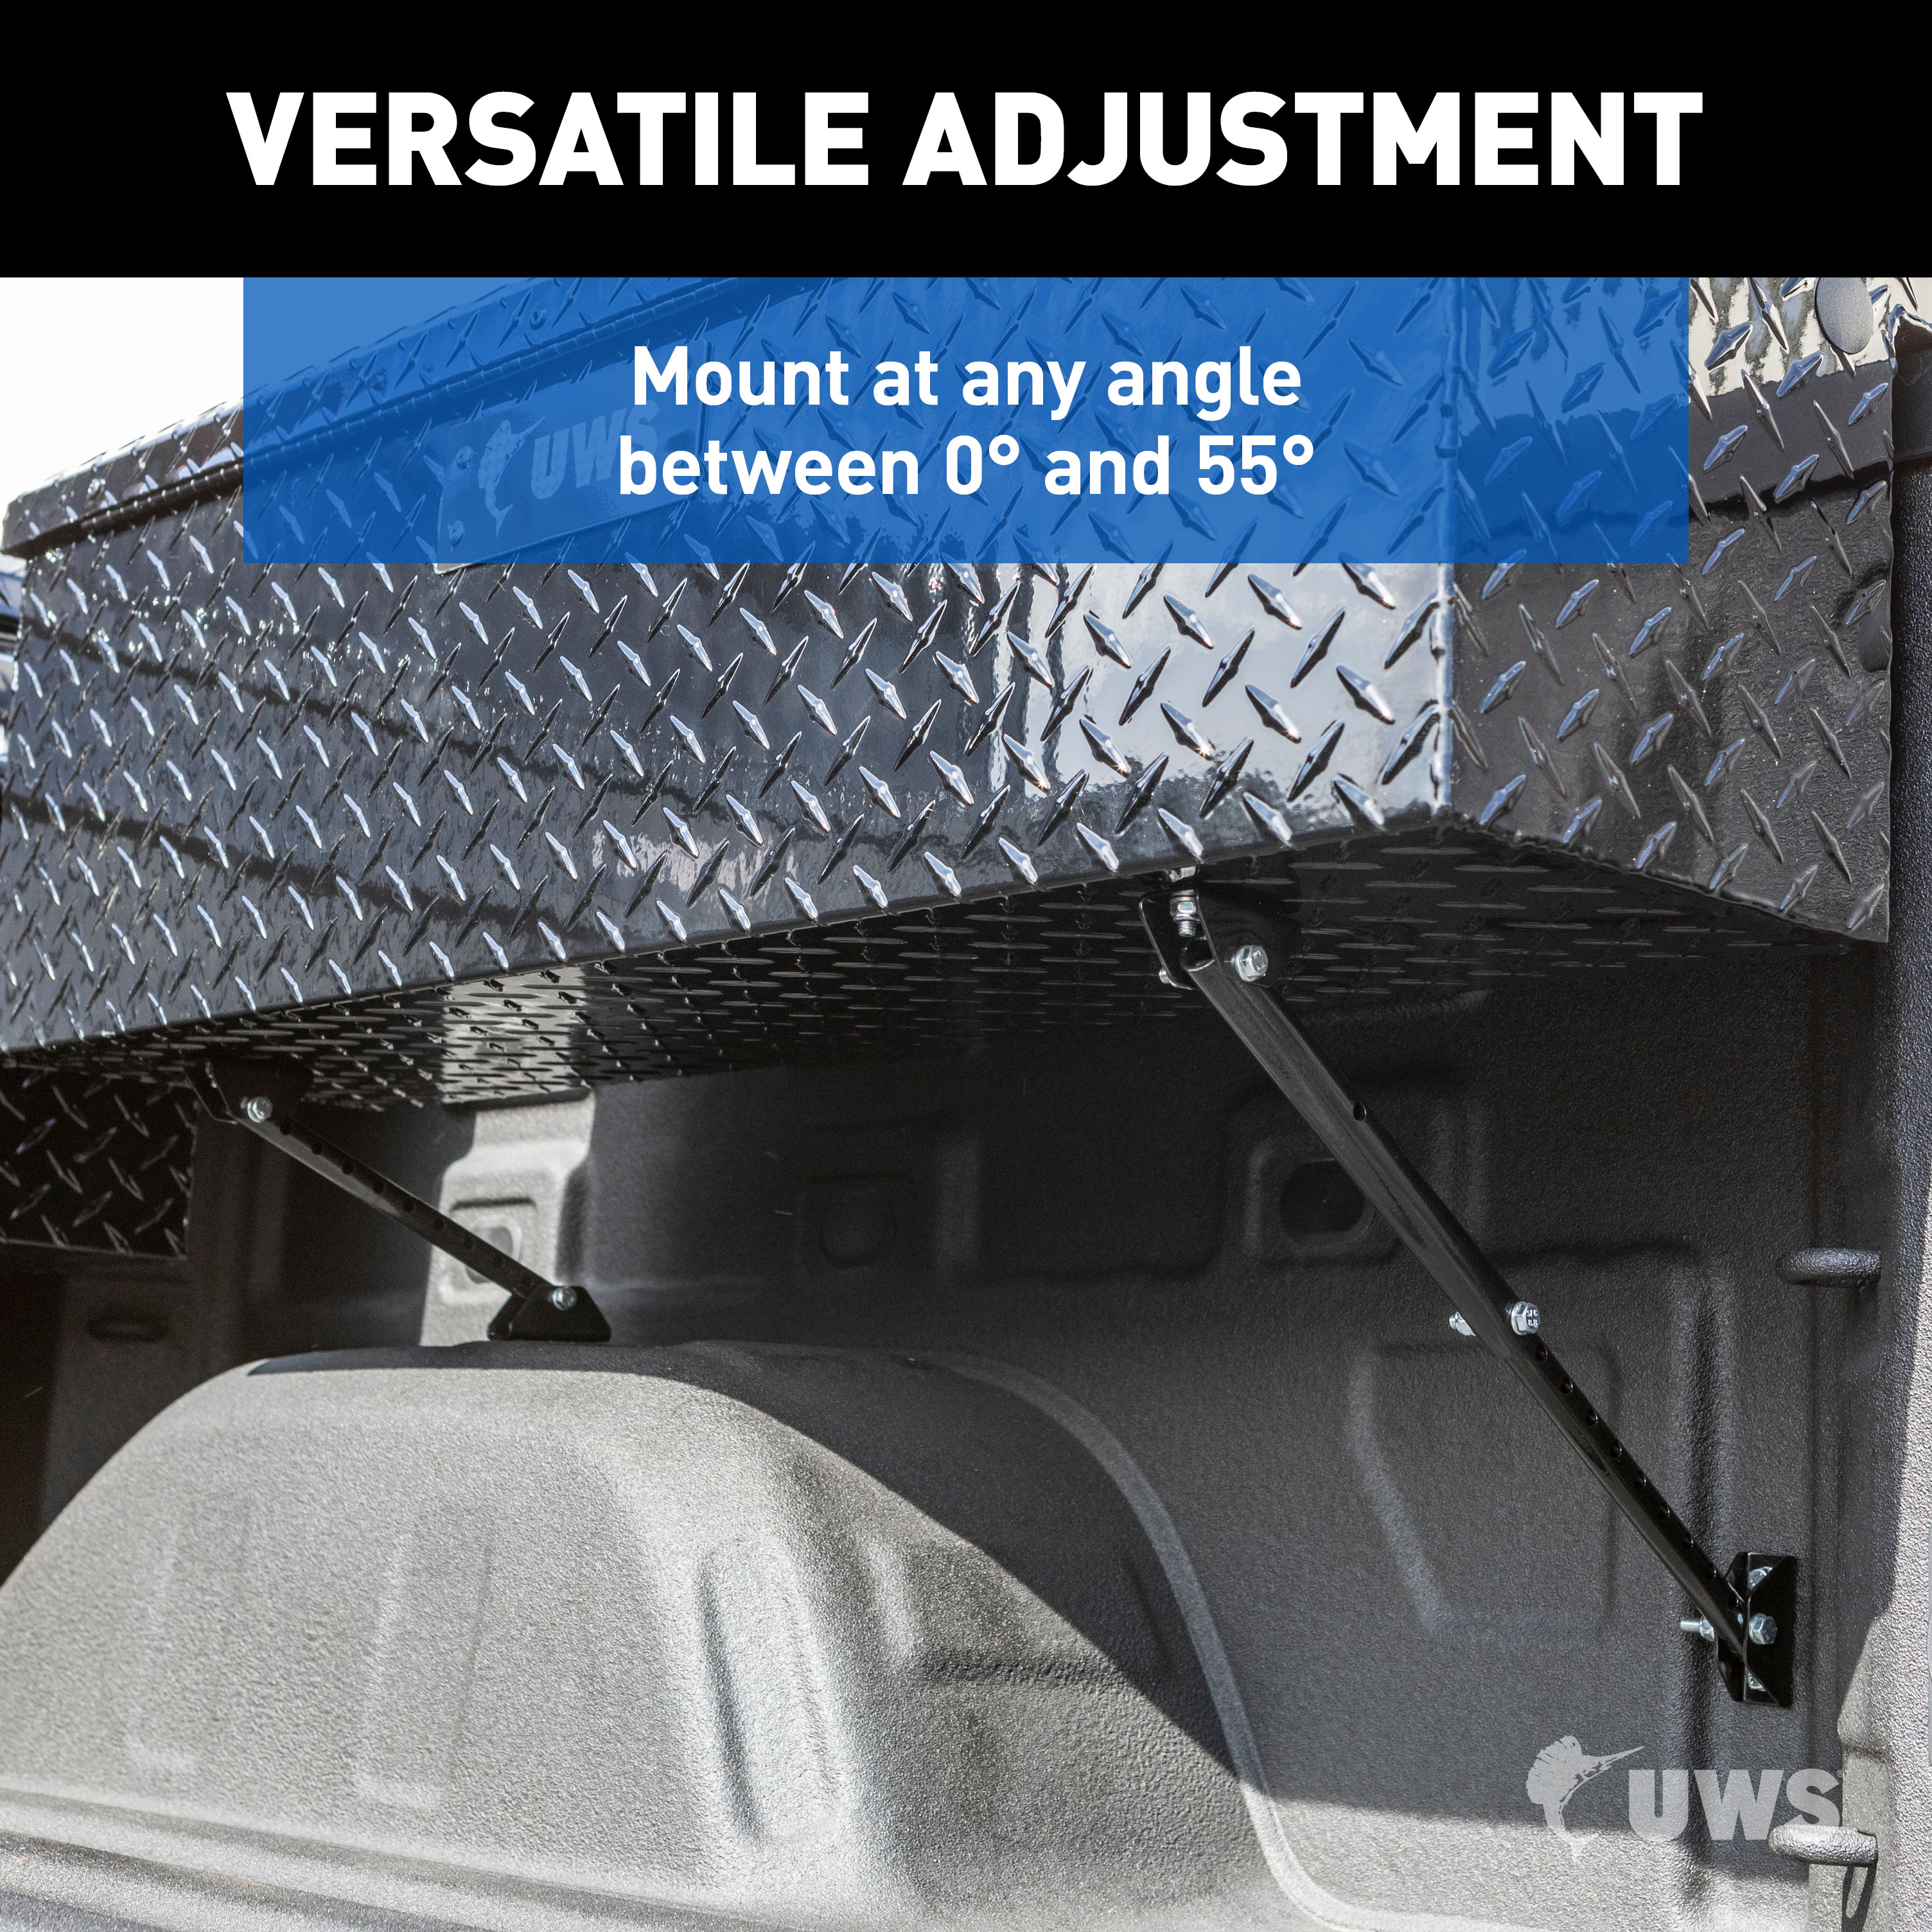
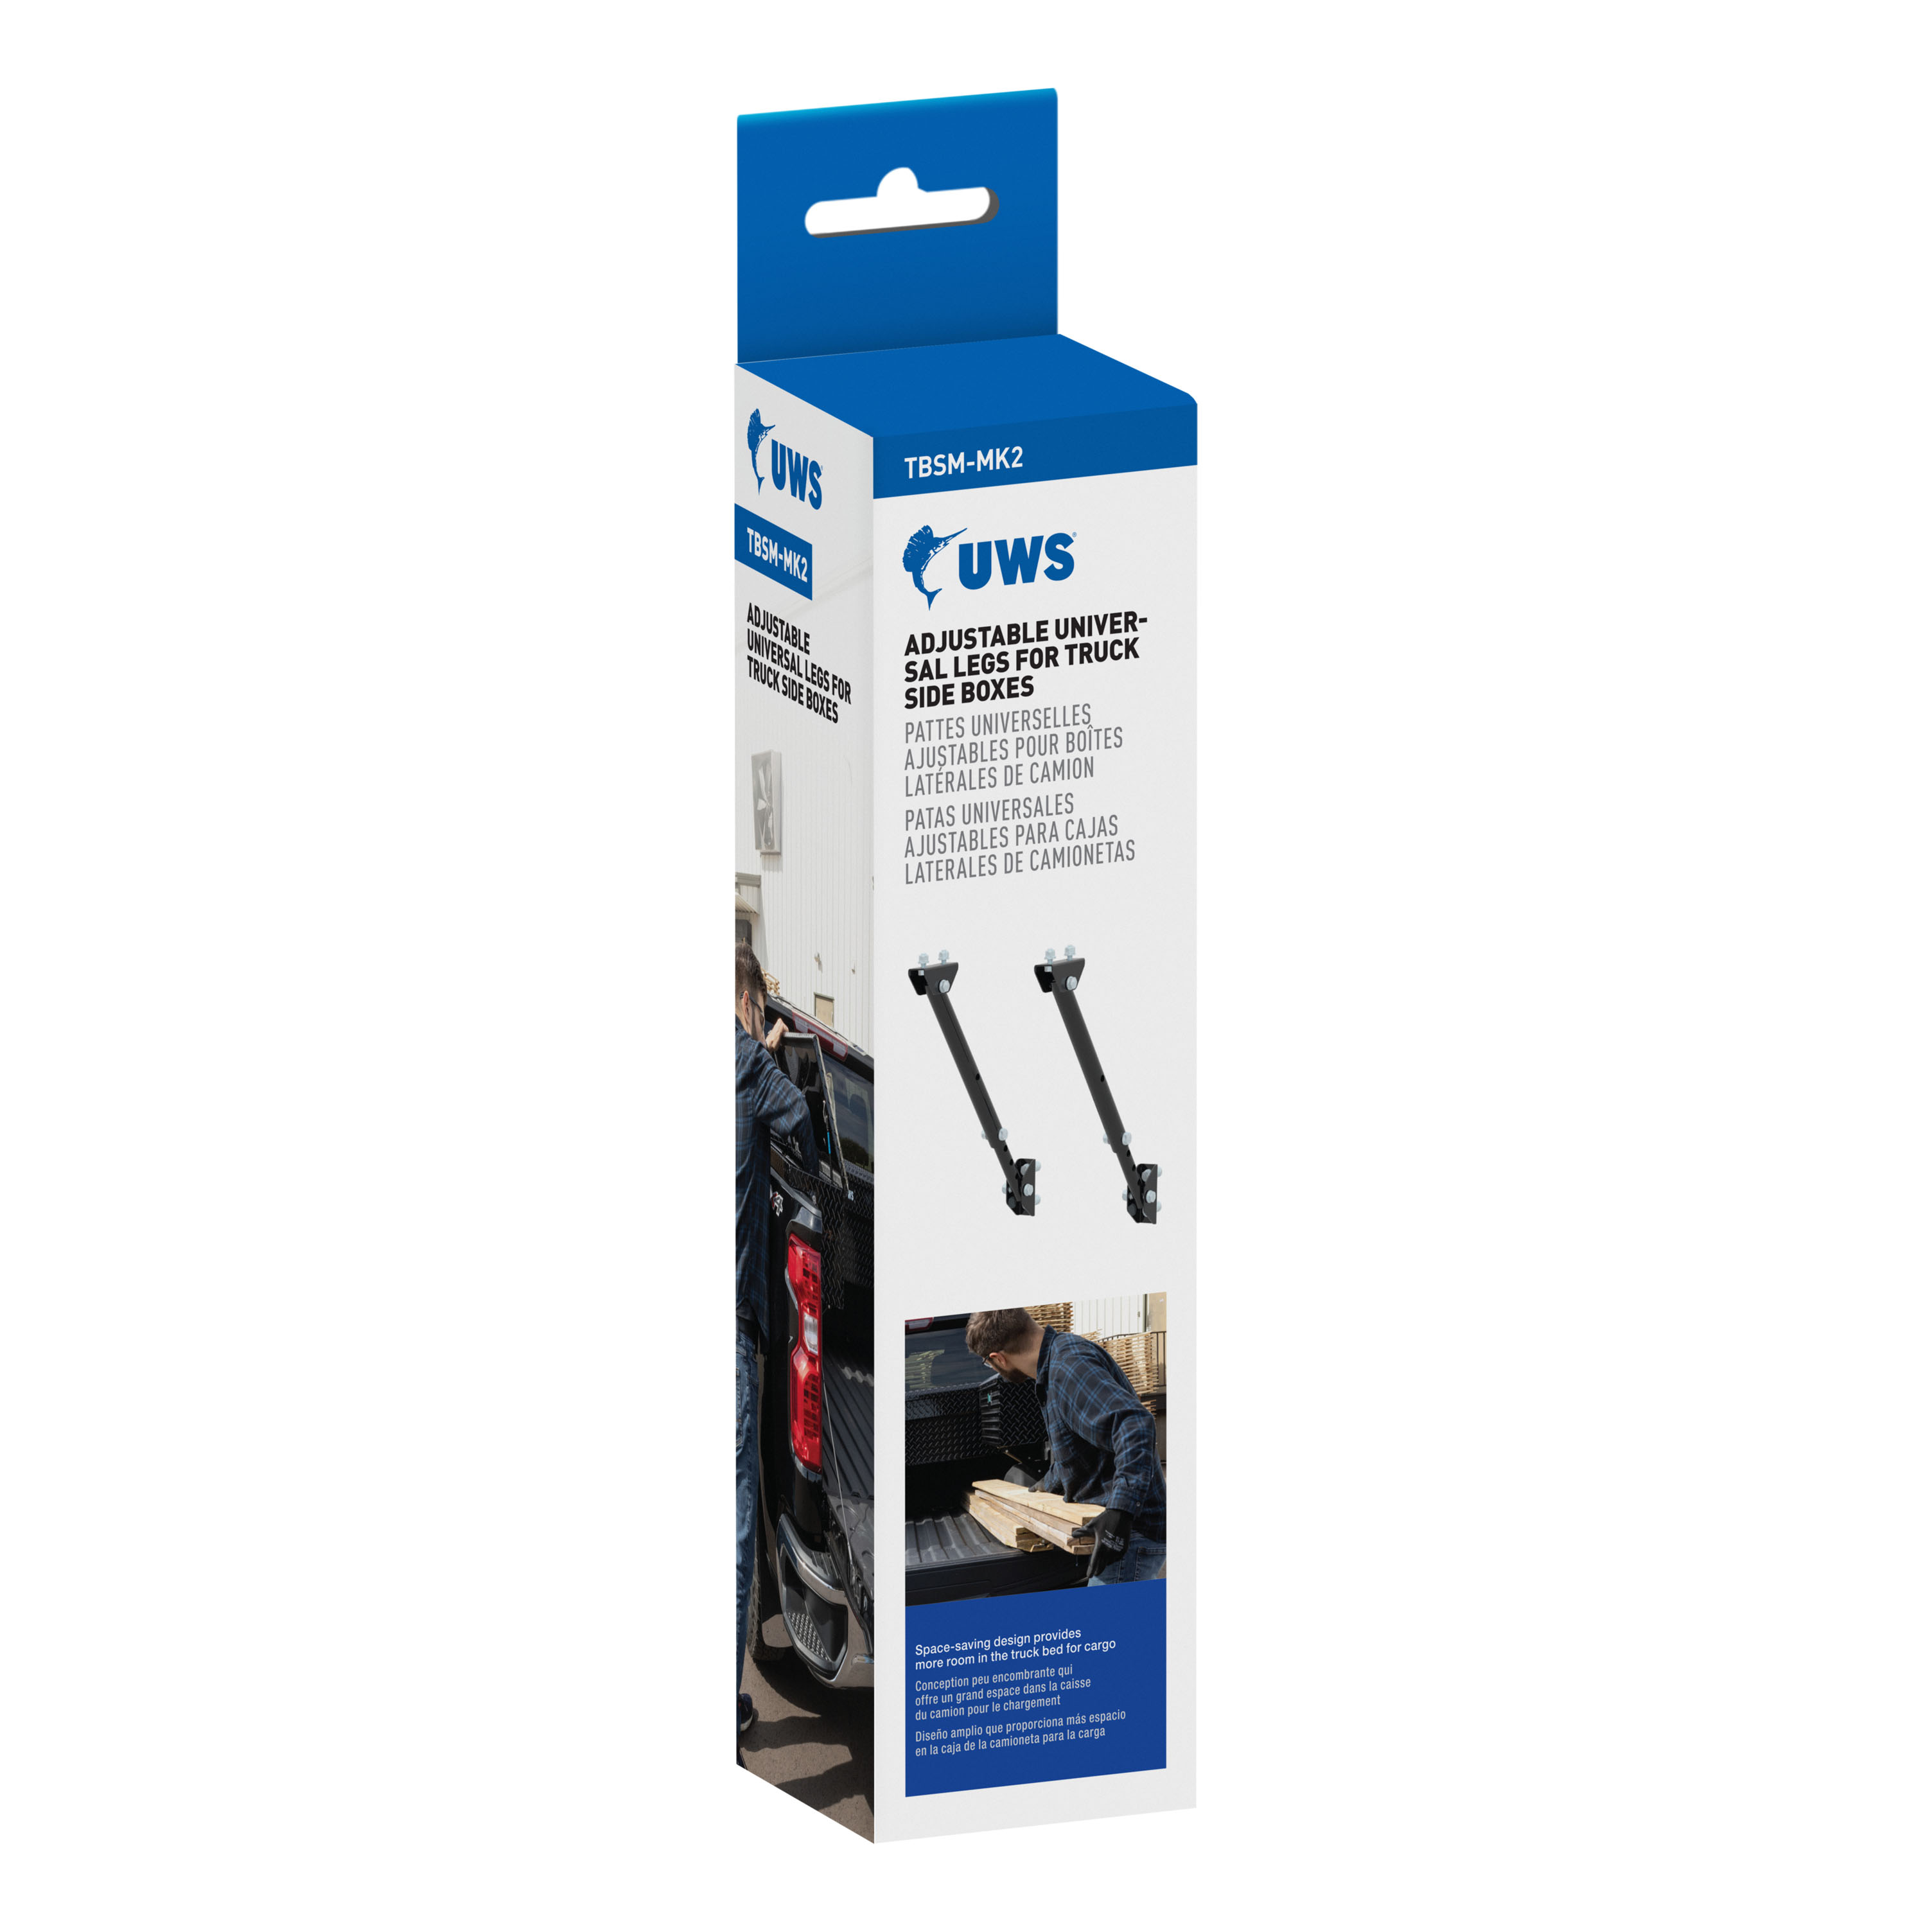
UWS adjustable universal legs allow for flexible installation of your truck side tool box. They are designed to replace the existing legs and can be attached virtually anywhere on the box and truck bed wall necessary. This allows you to easily avoid wheel wells, tie-down anchors and other obstructions. These adjustable side tool box legs also save space in the truck bed, avoid unnecessary obstruction and allowing more space for cargo. They pivot from 0 degrees to 55 degrees, and they fit virtually any UWS truck side tool box (excluding topside boxes). The legs are constructed from high-strength steel and are covered in a durable black powder coat finish for long-lasting rust resistance. Two legs and hardware are included in this package (box sold separately).

UWS designs and builds heavy-duty truck tool boxes and storage for tradespeople and truck owners. The line covers crossover and side-mount boxes, chest boxes, underbody boxes, transfer tanks and dog boxes. Every aluminum box is designed, fabricated and welded in Perry, Florida, with construction aimed at job-site abuse, road vibration and daily use.
UWS is a leading manufacturer and designer of truck tool boxes and truck accessories, and a Lippert brand. The company's focus is narrow and deliberate: storage that stands up to being opened and slammed shut dozens of times a day, loaded past what looks reasonable, and left outdoors in whatever weather the job brings. Its customers are electricians, plumbers, contractors, farmers, outdoorsmen and truck owners who treat a pickup as a working tool rather than transport.
The catalog covers the full range of bed storage. Crossover boxes sit across the bed behind the cab in single-lid, gull-wing, secure-lock and low-profile styles, so there is a fit whether the priority is capacity, rear visibility or working under a tonneau. Side-mount boxes mount along the bed rails and keep the bed floor free for cargo, while underbody boxes tuck beneath the frame rails of service bodies and flatbeds.
Beyond the bed, UWS makes portable chest boxes that move between vehicles and the shop, transfer tanks and combination tank-and-toolbox units for crews working away from fuel supply, and insulated, ventilated dog boxes for hunters and handlers.
Manufacturing sits at the centre of the brand's identity. Every UWS aluminum tool box is designed, fabricated and welded in Perry, Florida, by tradespeople with decades of experience, and the company's Rooted in Trades initiative is built around that connection to skilled manual work. Boxes use heavy-gauge aluminum, continuous welds at the seams, weather stripping to seal against rain and dust, and locking systems intended to resist tampering. The practical result is storage that keeps tools dry, organized and where they were left.
Experts available to answer your questions
Call 888-634-9494One-Year Limited
UWS | Tough. Reliable.
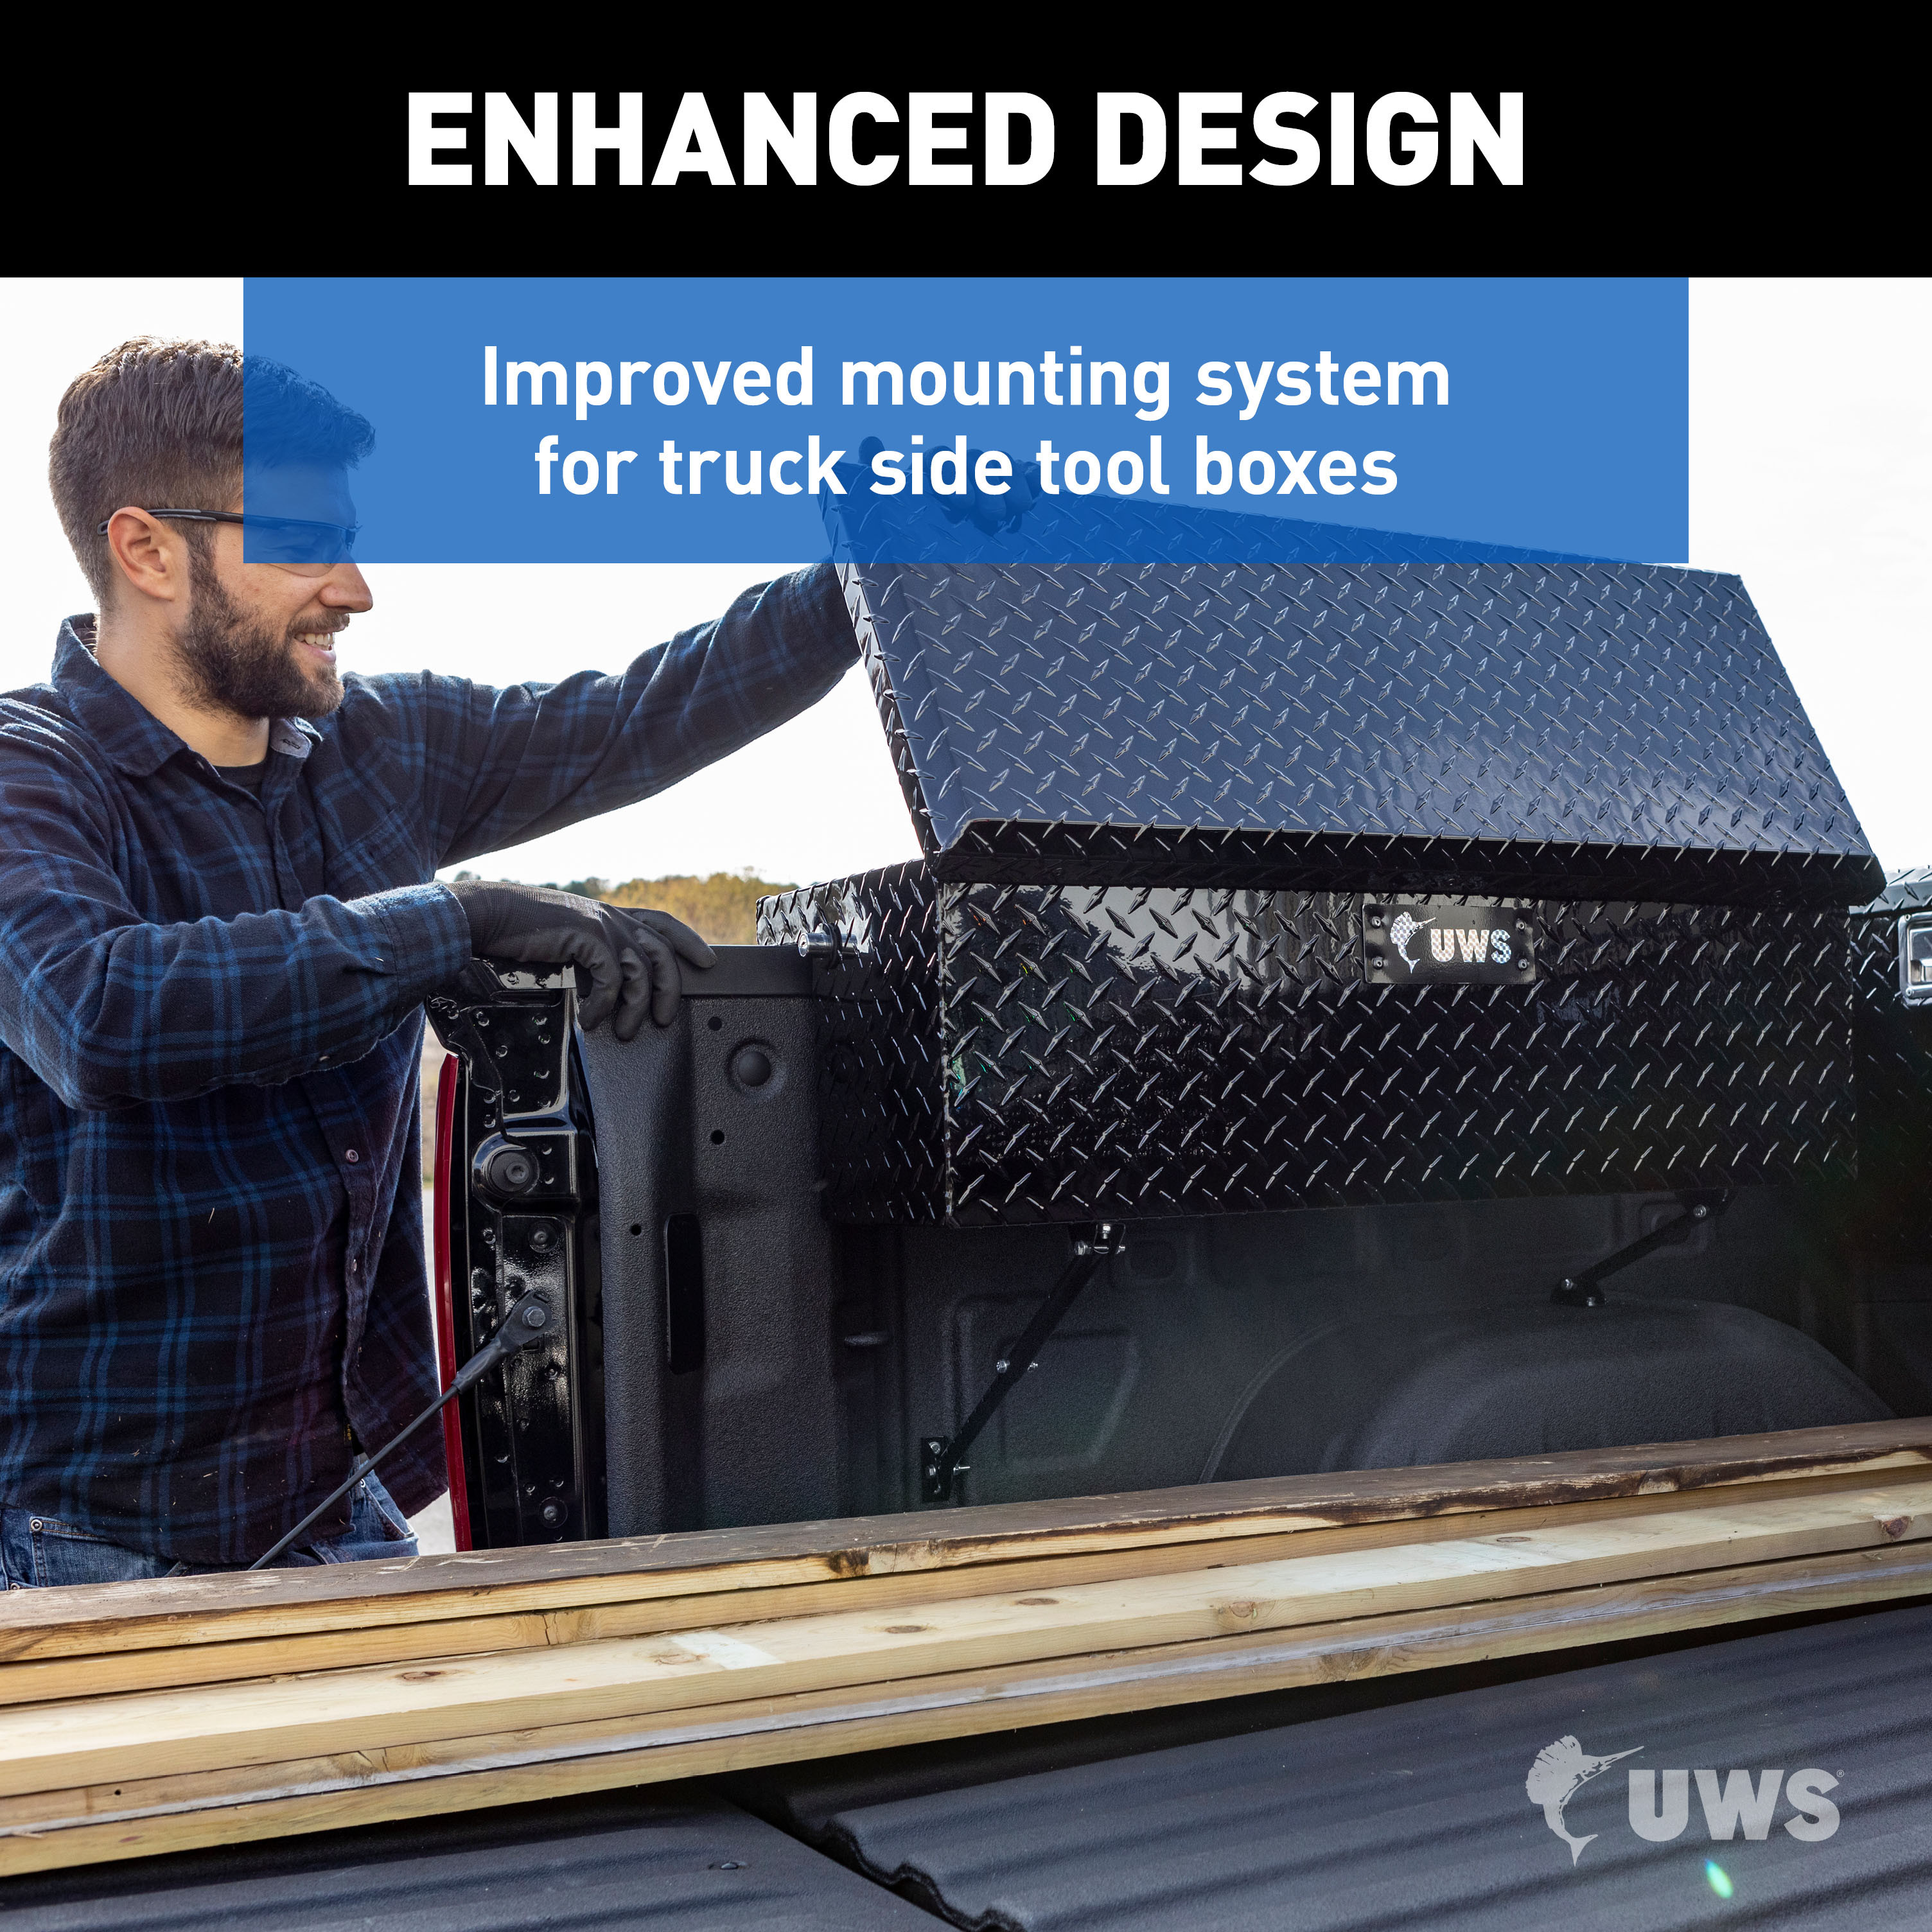
The TBSM-MK2 is an adjustable universal side mount support system for truck bed tool boxes. It consists of upper and lower mounting brackets and support tubes that secure a side-mounted tool box to the truck bed and fenderwell, providing structural support and stability.
Yes, the TBSM-MK2 is compatible with 72-inch tool boxes. The installation requires three holes to be drilled through the tool box and bed rail for 72-inch models, compared to two holes for standard sizes.
Required tools are: level, ratchet, drill, socket set, 7mm drill bit, 25/64" (or 10mm) drill bit, tape measure, thread set tool, wrench set, and torque wrench. The thread set tool is included with the product for rivet nut installation.
The kit includes: 2 upper mount tubes, 2 lower mount tubes, 4 mounting brackets, 8 M6 hex bolts (16mm), 4 M6 hex bolts (35mm), 2 M6 hex bolts (30mm), 4 M6 lock washers, 24 M6 flat washers, 10 M6 nylock nuts, 4 M6 rivet nuts, and 1 thread set tool (6mm). Bolts and washers for the bed rail connection are not included.
No. The manual states that bolts and washers for securing the tool box to the bed rail are not included. You must supply your own fasteners for this connection.
Park the truck on level ground. Place the tool box on the bed rail with the handles and logo plate facing outward. Use a level and square to ensure the tool box is level and rests at the appropriate height on the truck bed rail before drilling.
Before drilling, check under your vehicle to ensure the drill location does not puncture, cut, or obstruct any brake lines, fuel lines, electrical wires, fuel tanks, or other components. Precaution must be taken that all fasteners near the fuel tank do not create the possibility of fuel tank puncture or other damage during a collision.
The manual does not specify the hole size for the bed rail connection. You will drill two holes (or three for 72-inch boxes) through the tool box and bed rail, then secure them with bolts, washers, and lock nuts that you supply. Refer to your tool box manufacturer's specifications for the correct hole size.
Drill 25/64" or 10mm holes to fit the M6 rivet nuts. Do not make the holes larger than required or the rivet nuts may fail to install.
Refer to the 'Support Mounting Locations' and 'Suggested Upper Mounting Bracket Location' diagrams on page 2. The suggested mounting angle is 50°, with a minimum of 45°. The suggested mounting area is the bottom of the side mount box. In Step 2, mark and drill the outside mounting hole only; the inside hole is drilled after the lower bracket is mounted. In Step 3, place the lower bracket flush with the truck bed or fenderwell and mark both hole locations before drilling.
1. Position and level the tool box on the bed rail, then drill and secure it with bolts and washers. 2. Install the upper mounting bracket at the marked location. 3. Position the lower mounting bracket flush with the bed or fenderwell and mark hole locations. 4. Drill 25/64" (10mm) holes for rivet nuts. 5. Install rivet nuts using the thread set tool. 6. Attach the lower mounting bracket. 7. Mark and drill the inside hole for the upper bracket, then reattach it. 8. Repeat steps 2–6 for the second side mount support.
After determining your desired location on the bottom of the truck side tool box using the 'Support Mounting Locations' and 'Suggested Upper Mounting Bracket Location' diagrams, mark and drill the outside mounting hole only. Install the upper mounting bracket with supplied hardware. The inside hole will be drilled later after the lower mounting bracket is mounted.
Place the lower mounting bracket so it is flush with the truck bed or fenderwell. Mark both mounting bracket hole locations. Remove the bracket and drill 25/64" (10mm) holes for the M6 rivet nuts. Install the rivet nuts using the thread set tool (see Steps 4–5). Then attach the lower mounting bracket with supplied hardware.
1. Screw the left hand-nut completely onto the thread-set tool. 2. Slide the thread-set spacer onto the larger thread until it rests against the M8 left hand-nut. 3. Place an M6 flat washer on the small thread, followed by an M6 rivet nut. 4. Thread the rivet nut onto the small end of the tool until it seats the washer against the shoulder. 5. Insert the rivet nut into the drilled hole. 6. Using a 13mm wrench, hold the M8 nut on the tool. With a 13mm socket, turn the bolt head clockwise until the M8 nut and spacer contact the washer and rivet nut. After tension is felt, carefully compress the rivet nut (approximately two full rotations) while keeping it seated. 7. Remove and reuse the thread set tool.
General torque specifications are: M6 bolt = 3 ft-lbs, M8 bolt = 7 ft-lbs, M10 bolt = 16 ft-lbs, M12 bolt = 28 ft-lbs. For SAE fasteners: 1/4" bolt = 3 ft-lbs, 5/16" bolt = 7 ft-lbs, 3/8" bolt = 16 ft-lbs, 7/16" bolt = 20 ft-lbs, 1/2" bolt = 28 ft-lbs. These are general guidelines; if purchasing hardware separately, use the torque specifications provided with that hardware.
M6 bolts should be torqued to 3 ft-lbs according to the general guidelines provided. However, if you purchase hardware separately, use the torque specifications provided with that hardware.
Do not make the rivet nut holes larger than 25/64" (10mm) or the rivet nuts may fail to install. When compressing the rivet nut, only compress it enough to seat it in the hole without rotating—over-tightening may damage the thread-set tool and vehicle panel. Approximately two full rotations of the bolt head is sufficient after tension is felt.
Periodic inspection of your product should be performed to ensure all hardware and components remain secure. Mild automotive detergent may be used to clean the product. Do not use dish detergent, abrasive cleaners, abrasive pads, wire brushes, or similar products that may damage the finish.
The manual states that periodic inspections should be performed to ensure all mounting hardware remains tight, but does not specify an inspection interval. Contact UWS product support at 877.287.8634 for recommended inspection frequency.
Mild automotive detergent may be used to clean the product. Do not use dish detergent, abrasive cleaners, abrasive pads, wire brushes, or other similar products that may damage the finish.
Yes. For 72-inch tool boxes, drill three holes instead of two for the bed rail connection.
No. You must supply your own bolts, washers, and lock nuts for securing the tool box to the bed rail.
Yes. You must drill two holes (or three for 72-inch boxes) through the tool box and bed rail, and 25/64" (10mm) holes for the rivet nuts. Before drilling, check under the vehicle to ensure you do not puncture brake lines, fuel lines, electrical wires, or fuel tanks.
M6 bolts should be torqued to 3 ft-lbs. If you purchase hardware separately, use the torque specifications provided with that hardware.
Before drilling into the truck bed, check under the vehicle to ensure the drill location does not puncture brake lines, fuel lines, electrical wires, fuel tanks, or other components. Ensure fasteners near the fuel tank do not create risk of fuel tank puncture or collision damage.
Perform periodic inspections to ensure all hardware remains tight. Clean with mild automotive detergent only; do not use dish detergent, abrasive cleaners, pads, or wire brushes.
No reviews have been added for this product.