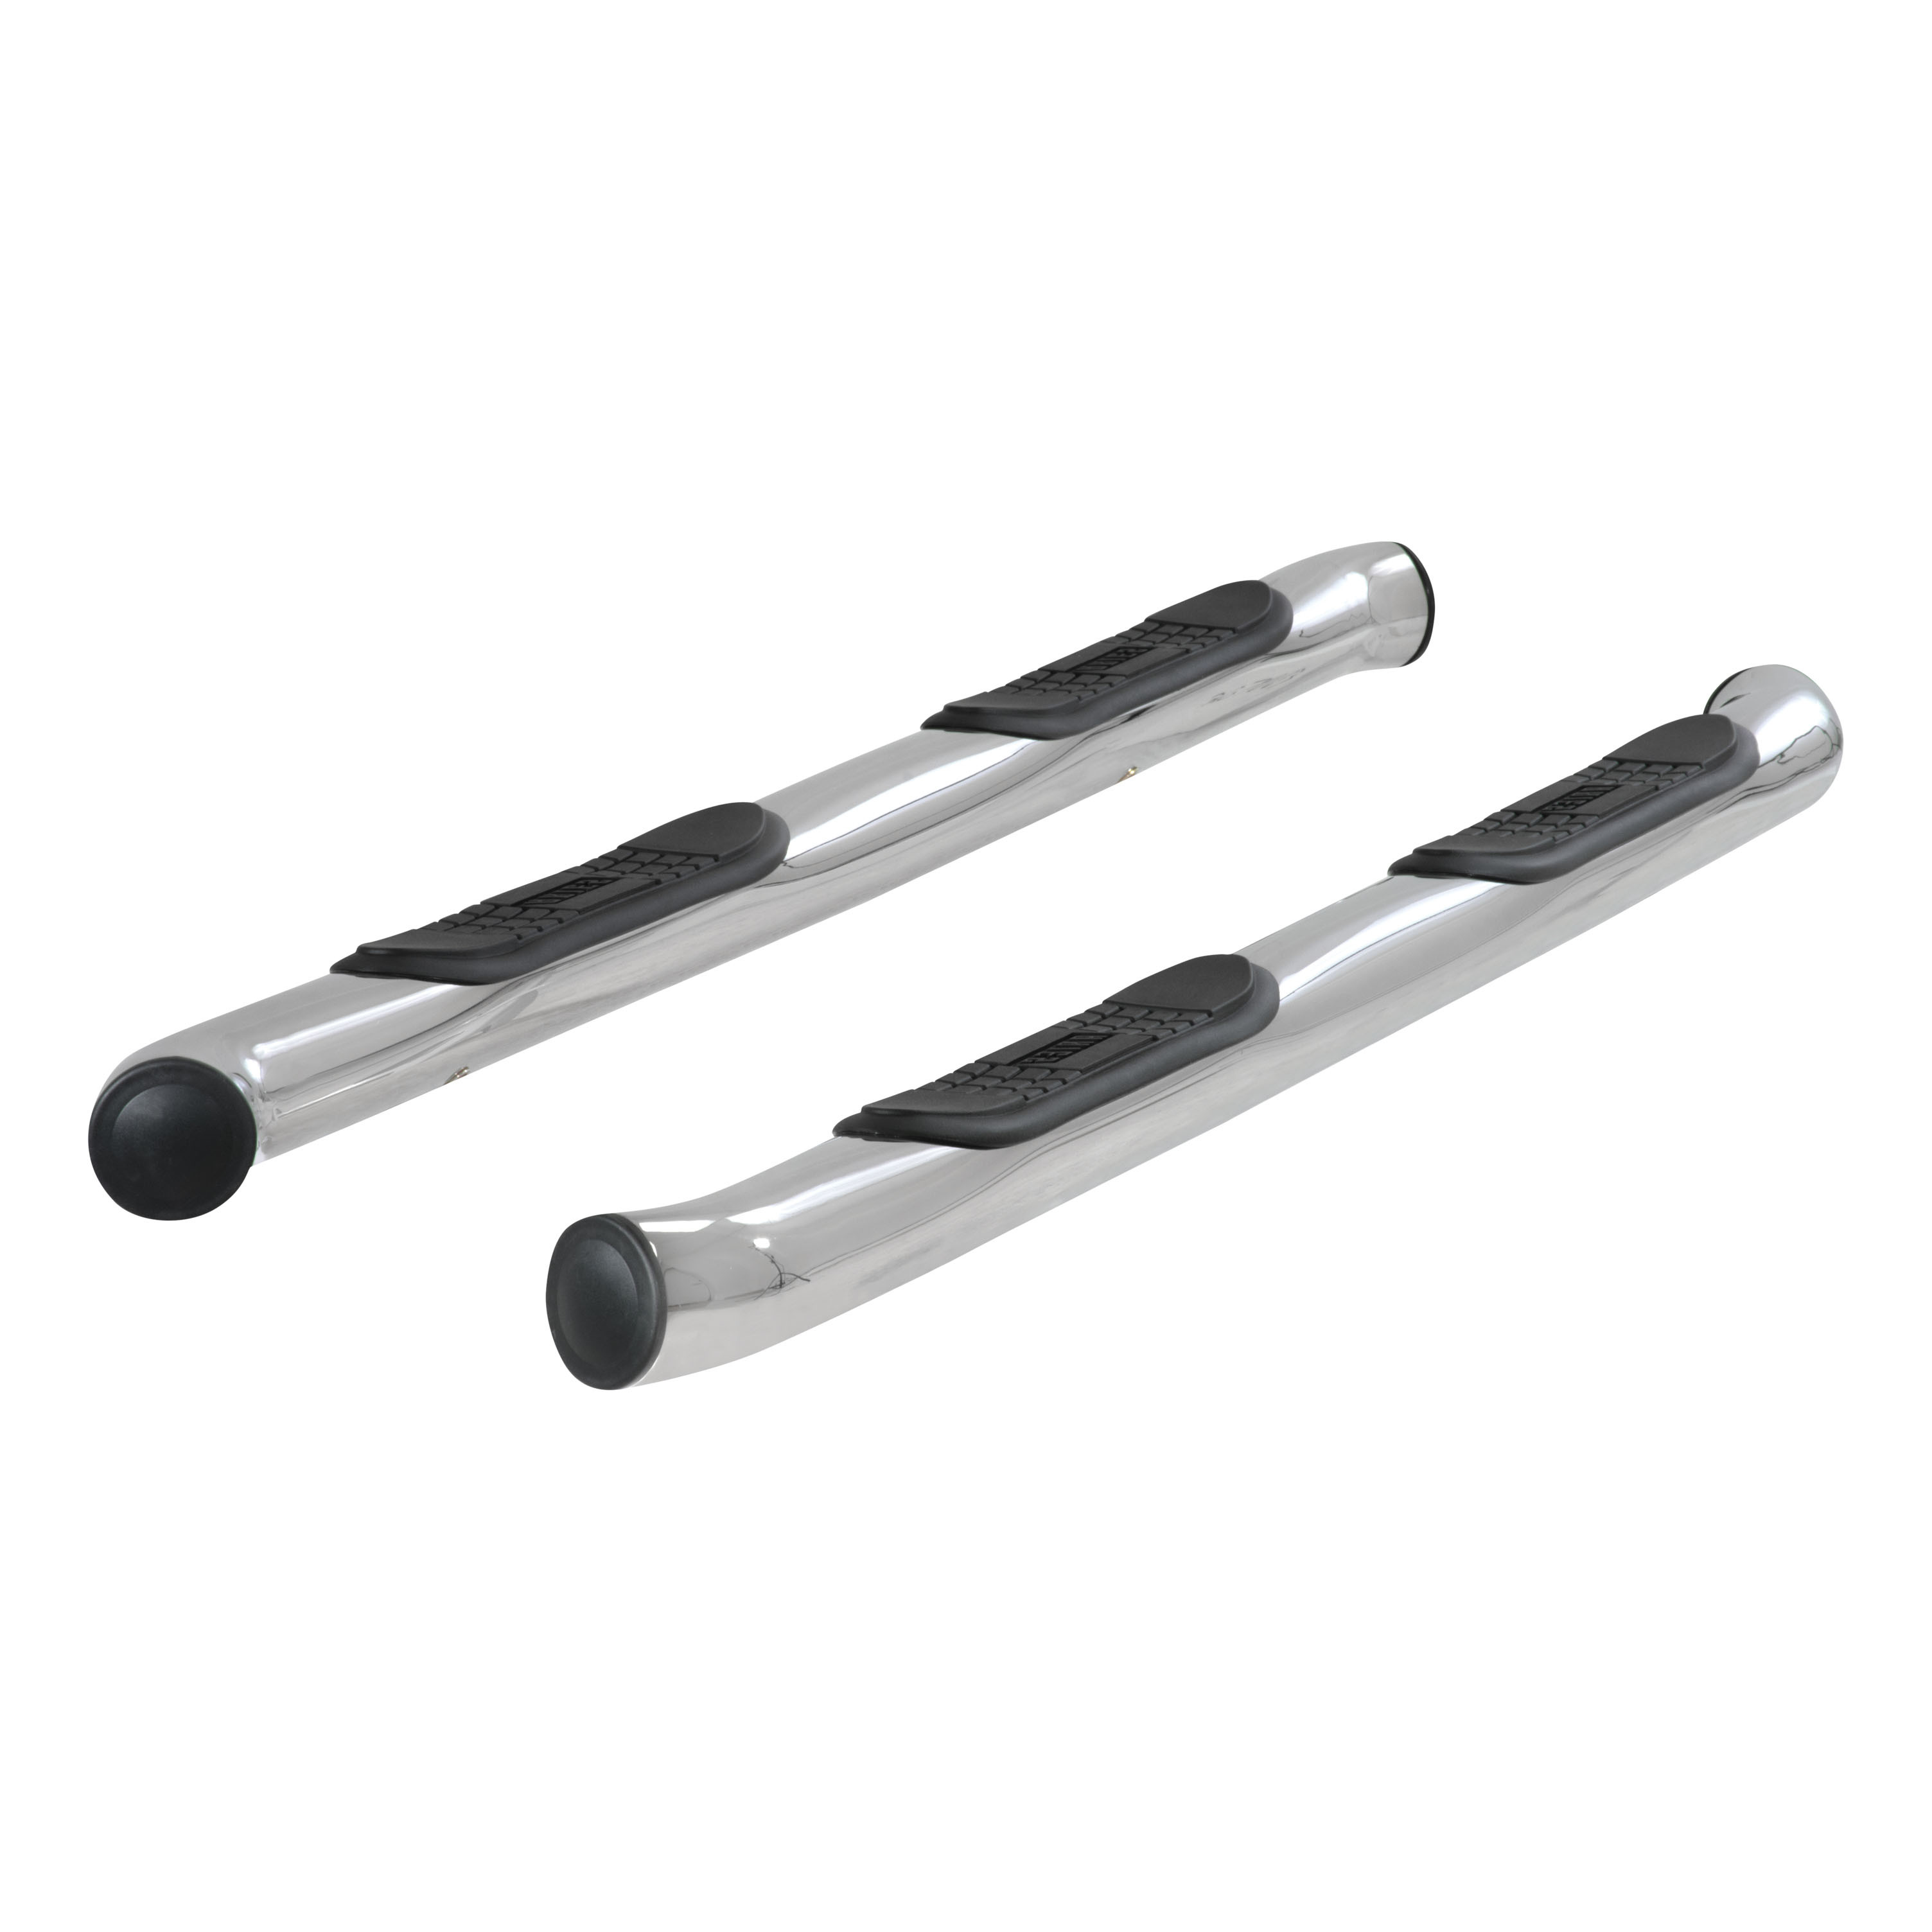
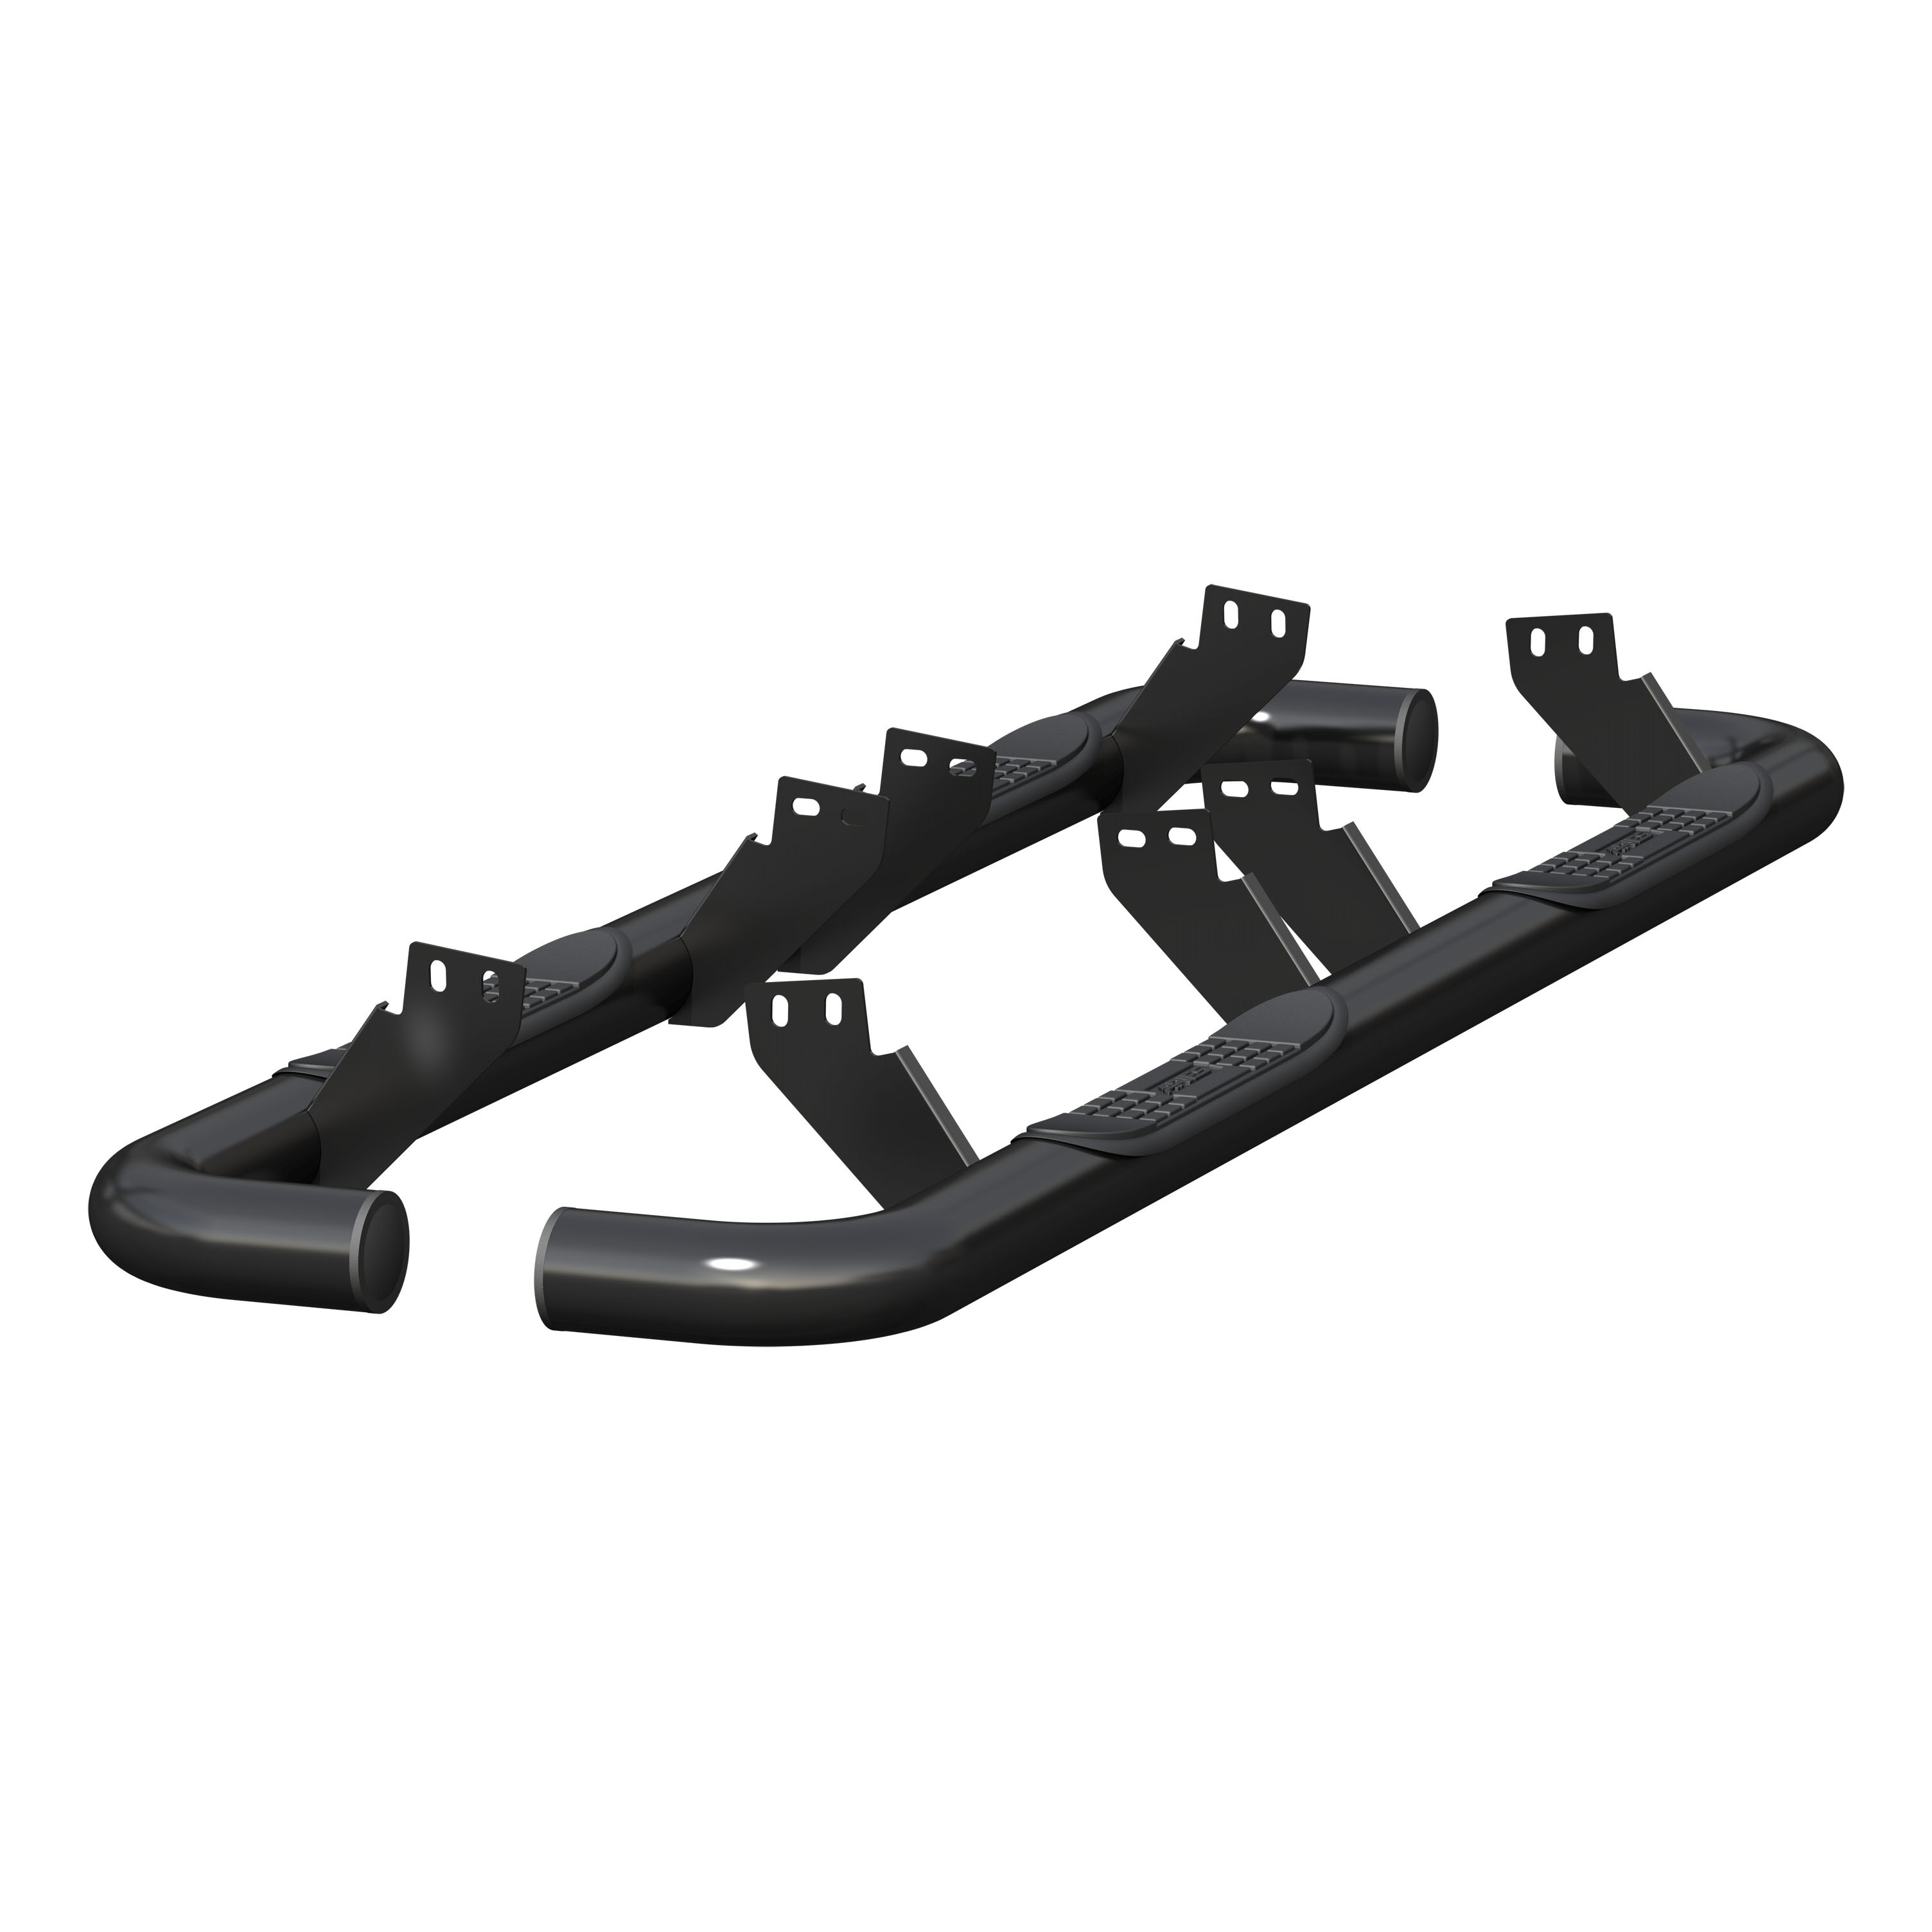
ARIES 3" Round Polished Stainless Side Bars, Select Honda Pilot Step Nerf Bar KitARIESOriginal price was $468.84. Current price is $218.39.Out of Stock
View productOur in-house experts typically reply within one business day.

ARIES
Verify Fitment
Select your vehicle to confirm this part fits.
2009 - 2015 Honda Pilot
Confirmed to Fit



Always the correct part
We know our products
Quality Products
Free Shipping!
Always the correct part
We know our products
Quality Products
Free Shipping!
Includes one pair of side bars and mounting hardware

Warranty: Limited Lifetime Warranty (Three-Year Finish, One-Year Parts)
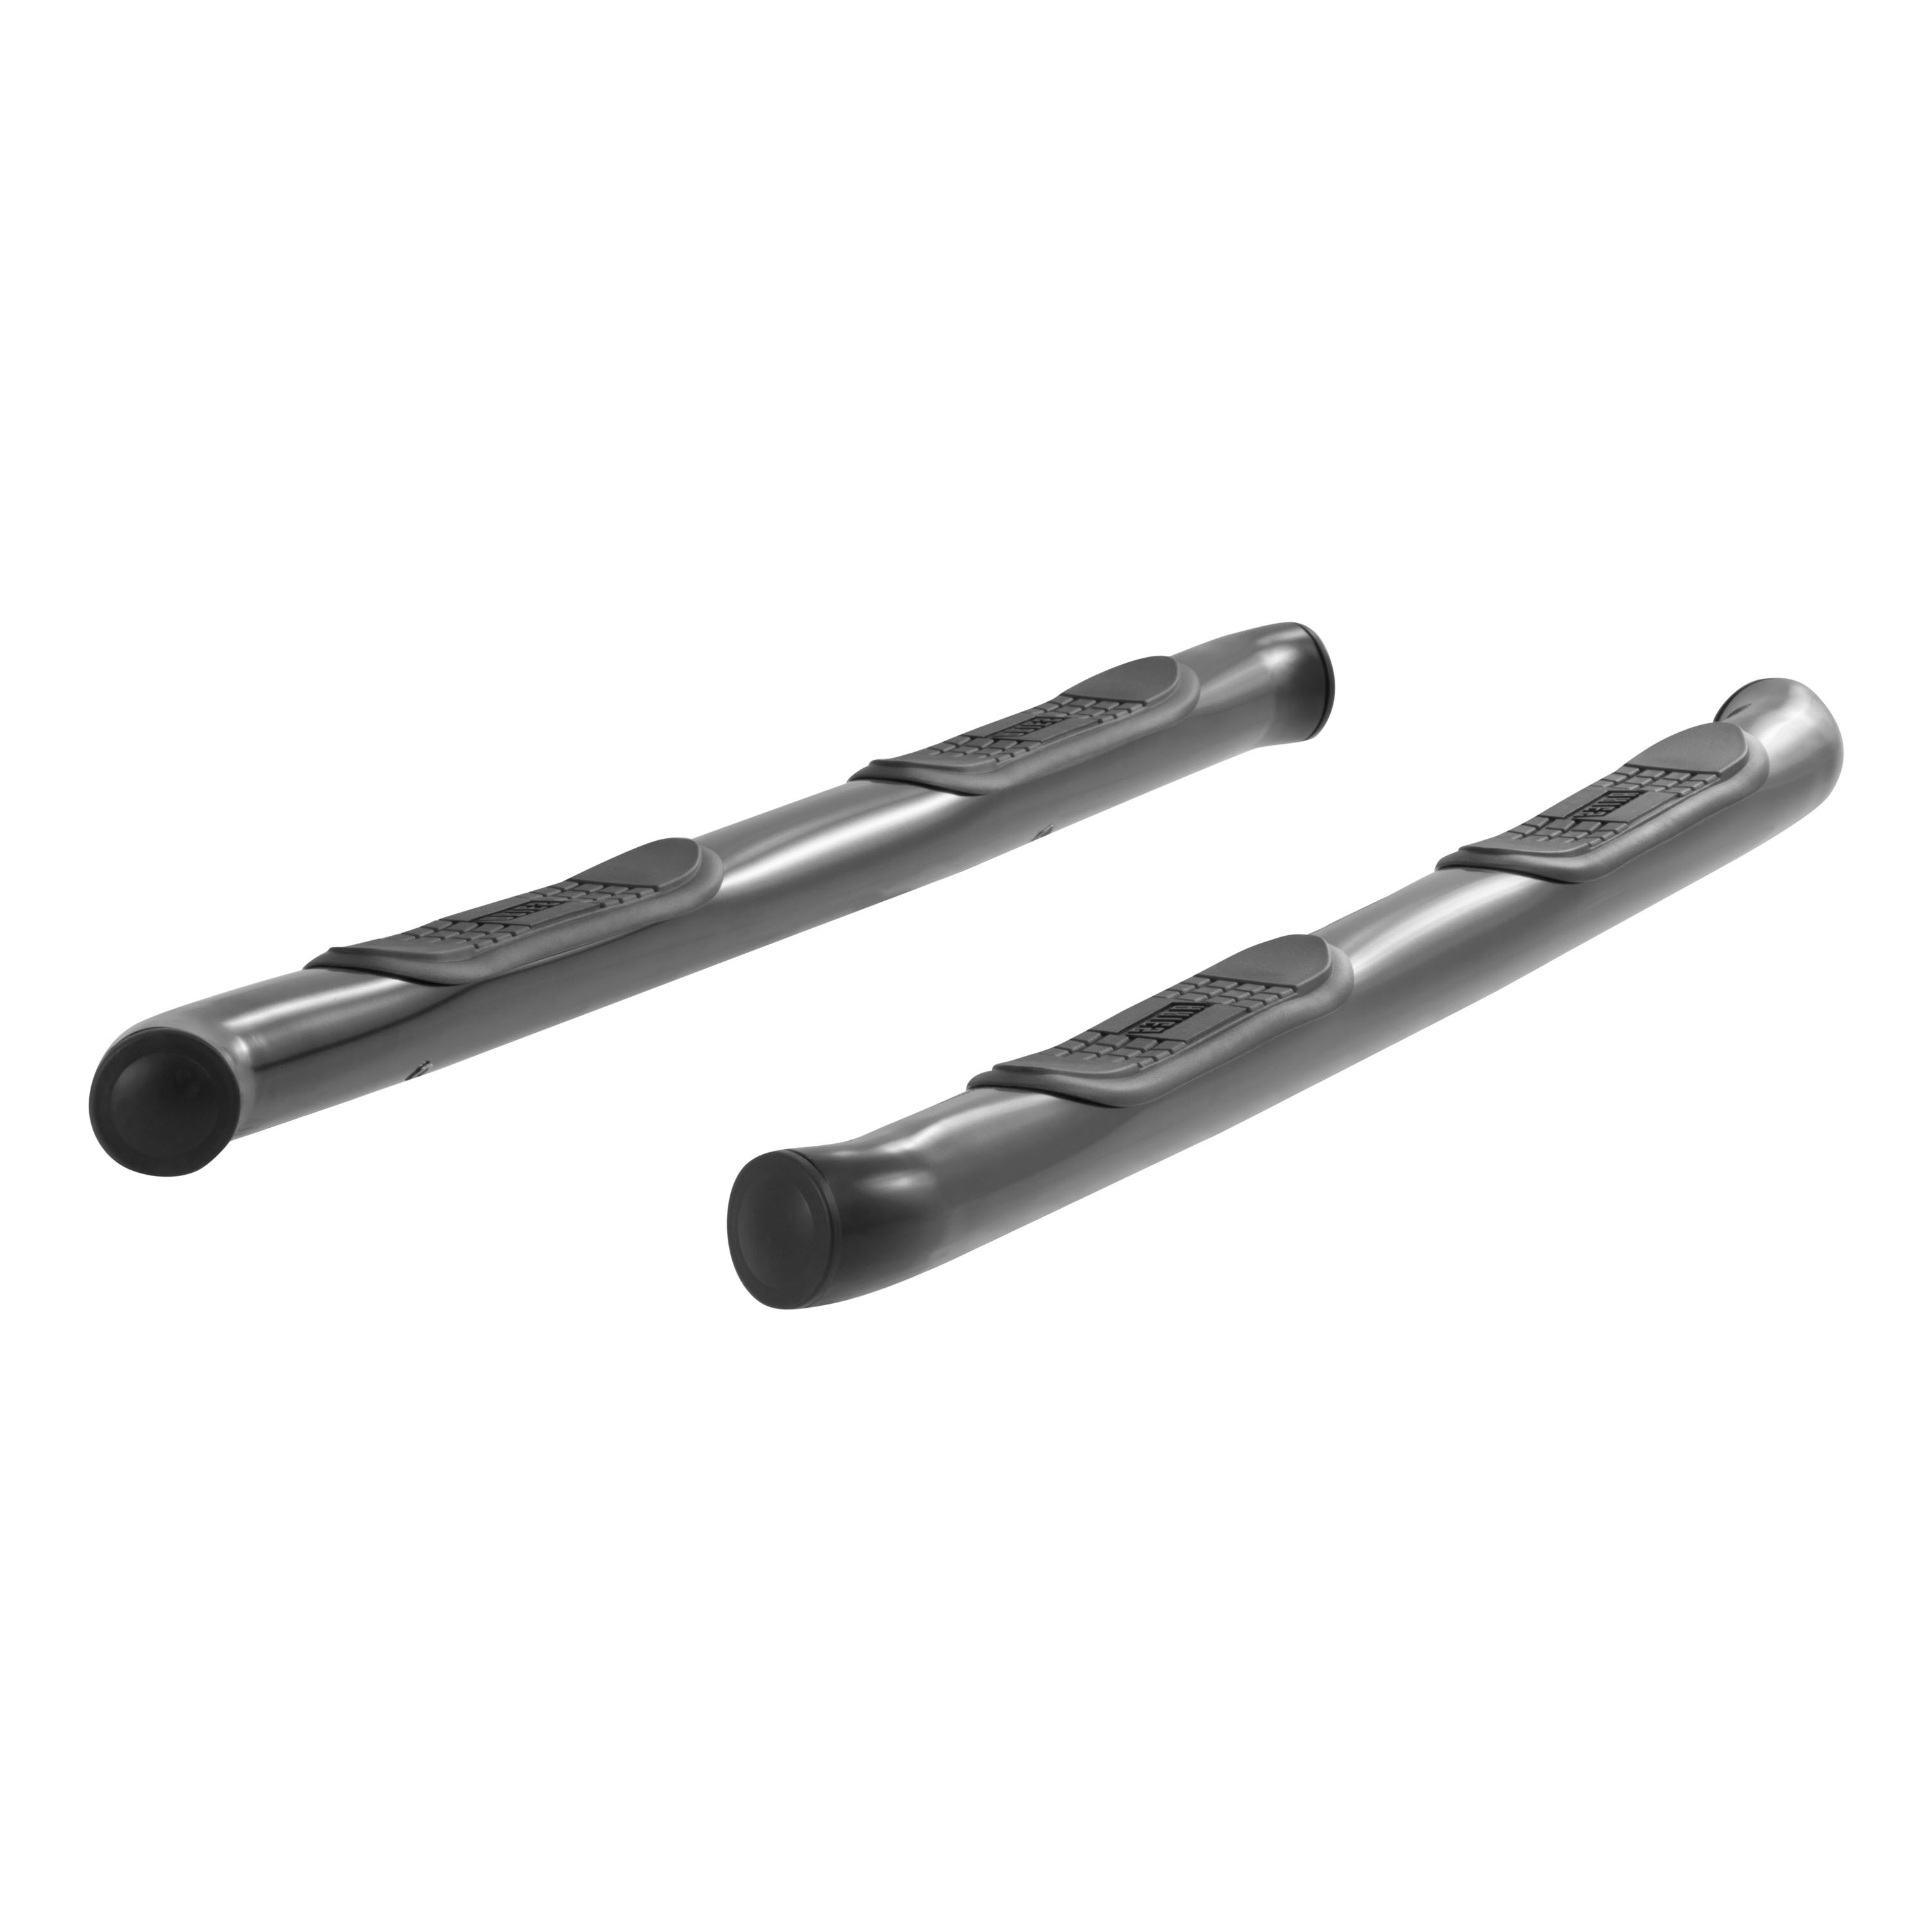
Finish: SEMI-GLOSS BLACK POWDER COAT
Material: Blank
Color: Black
Side Component Type: Board and Bracket
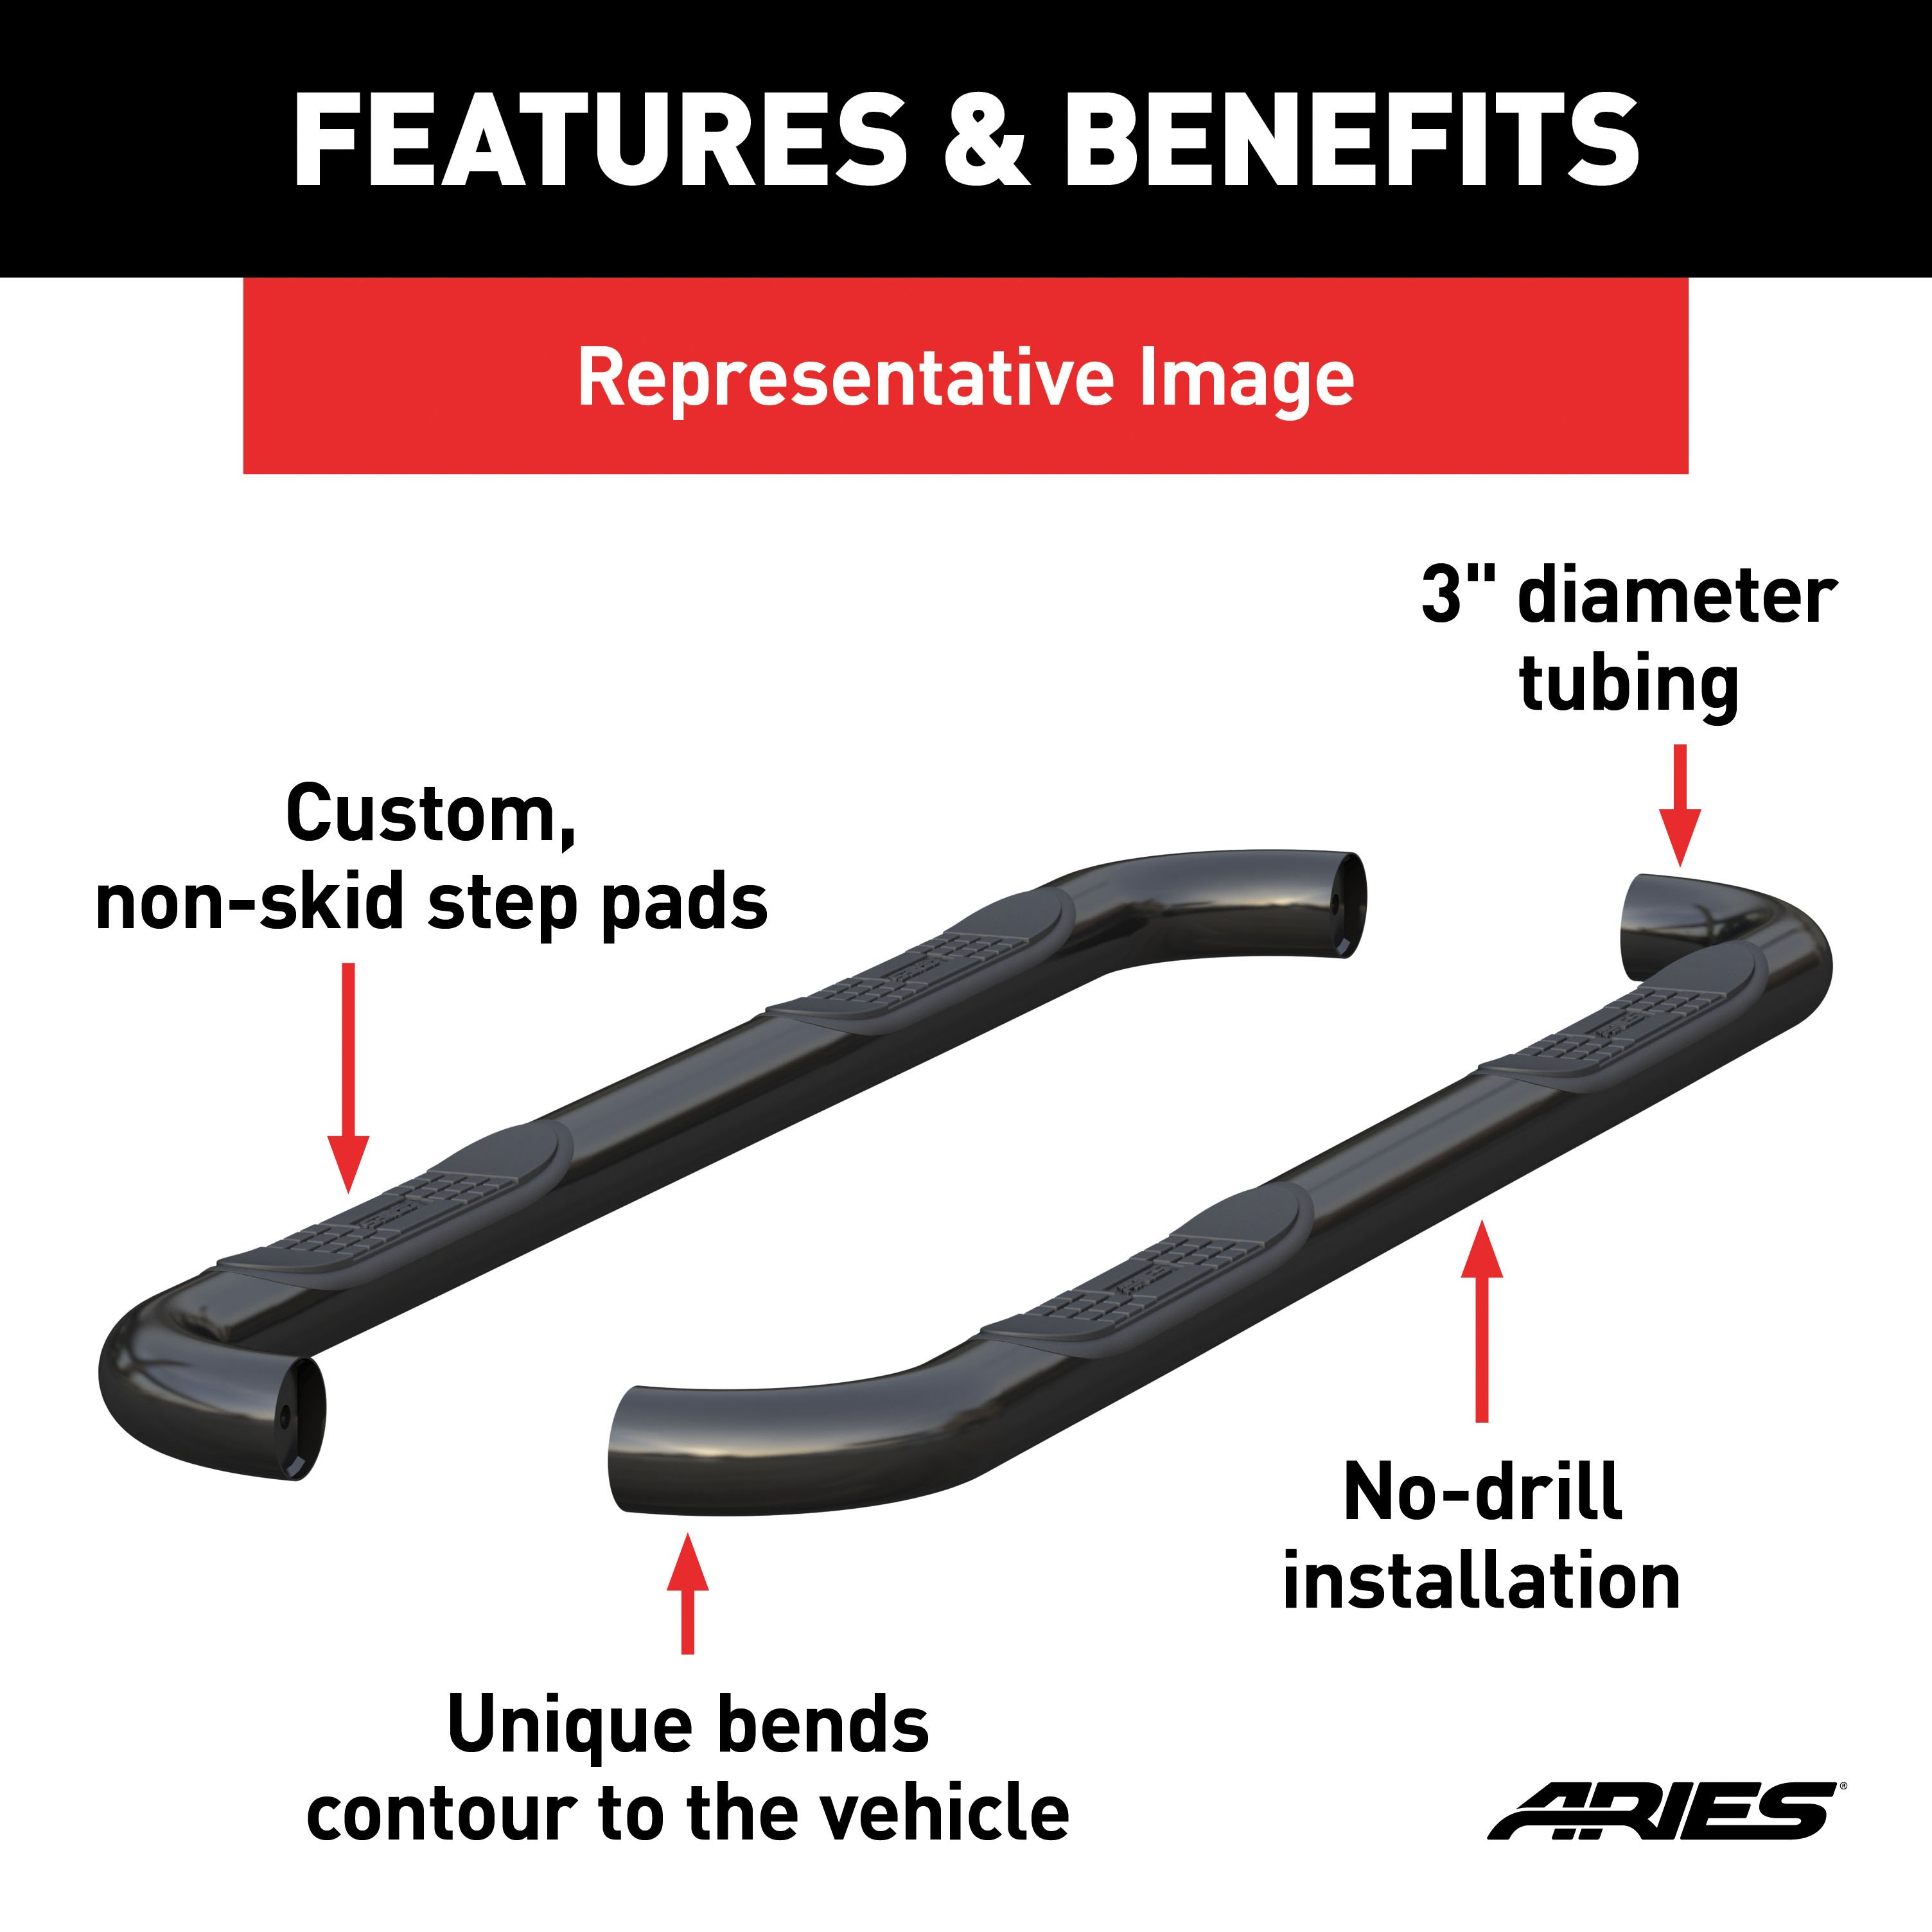
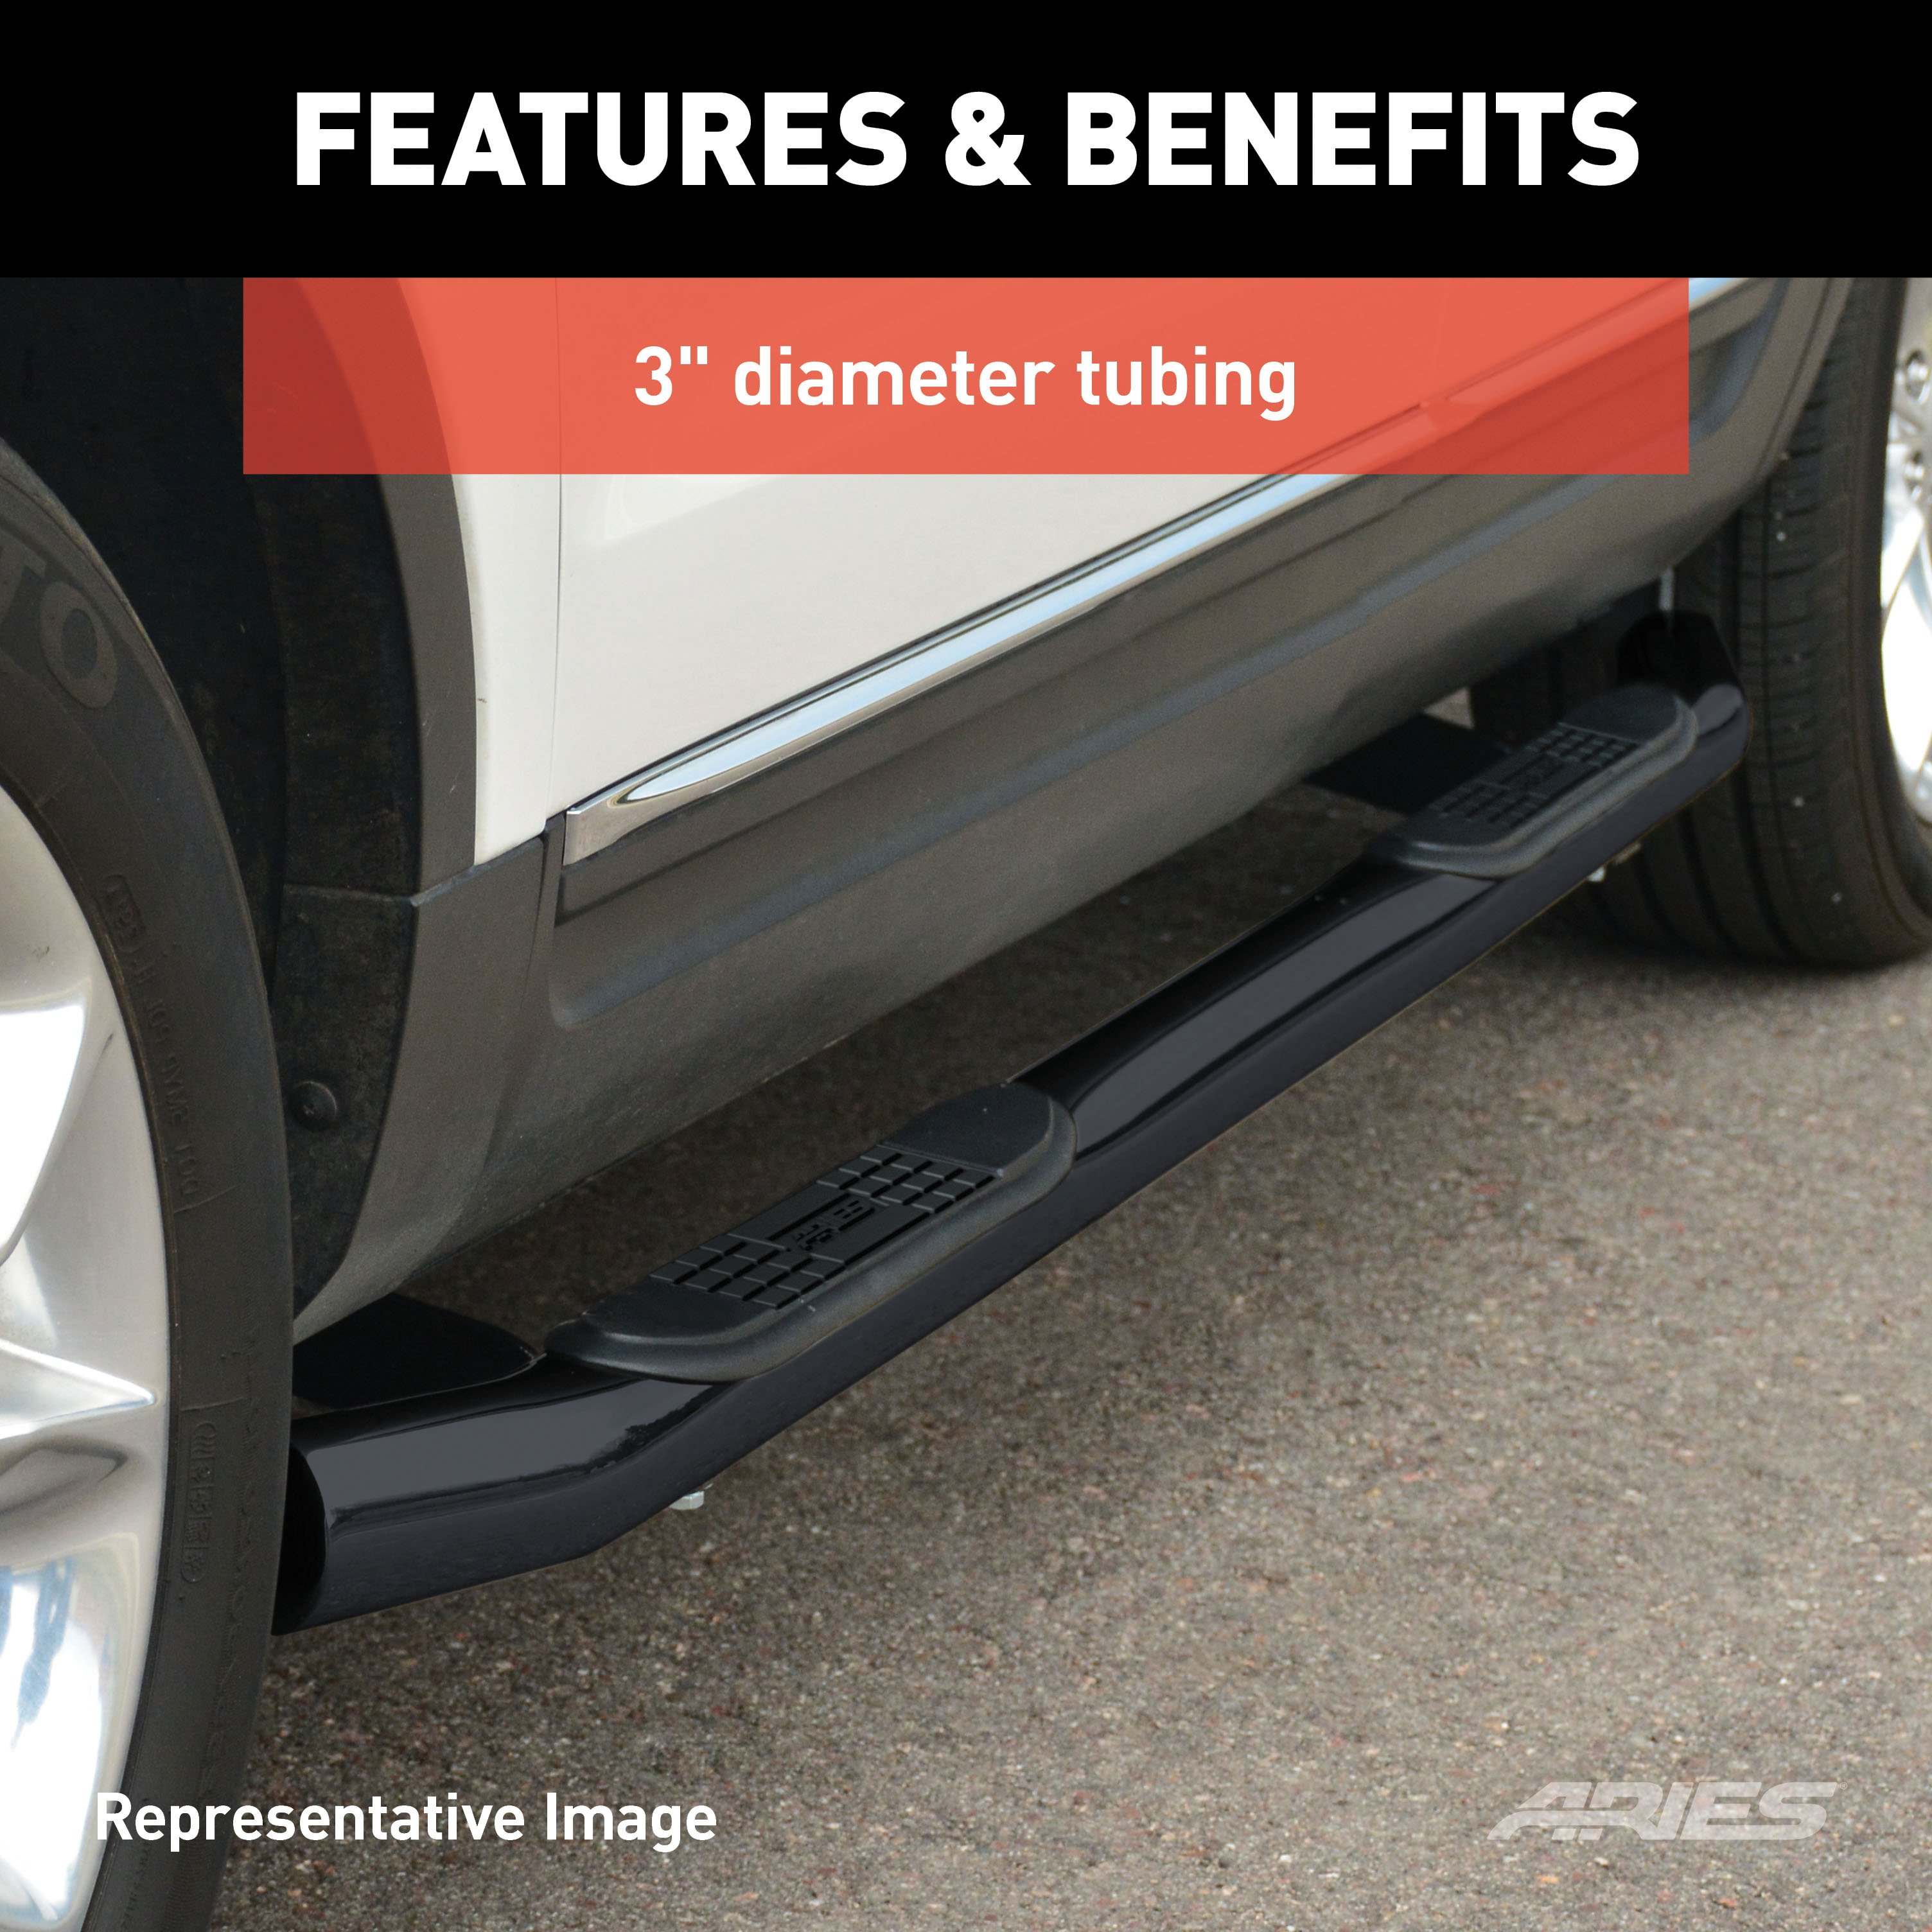
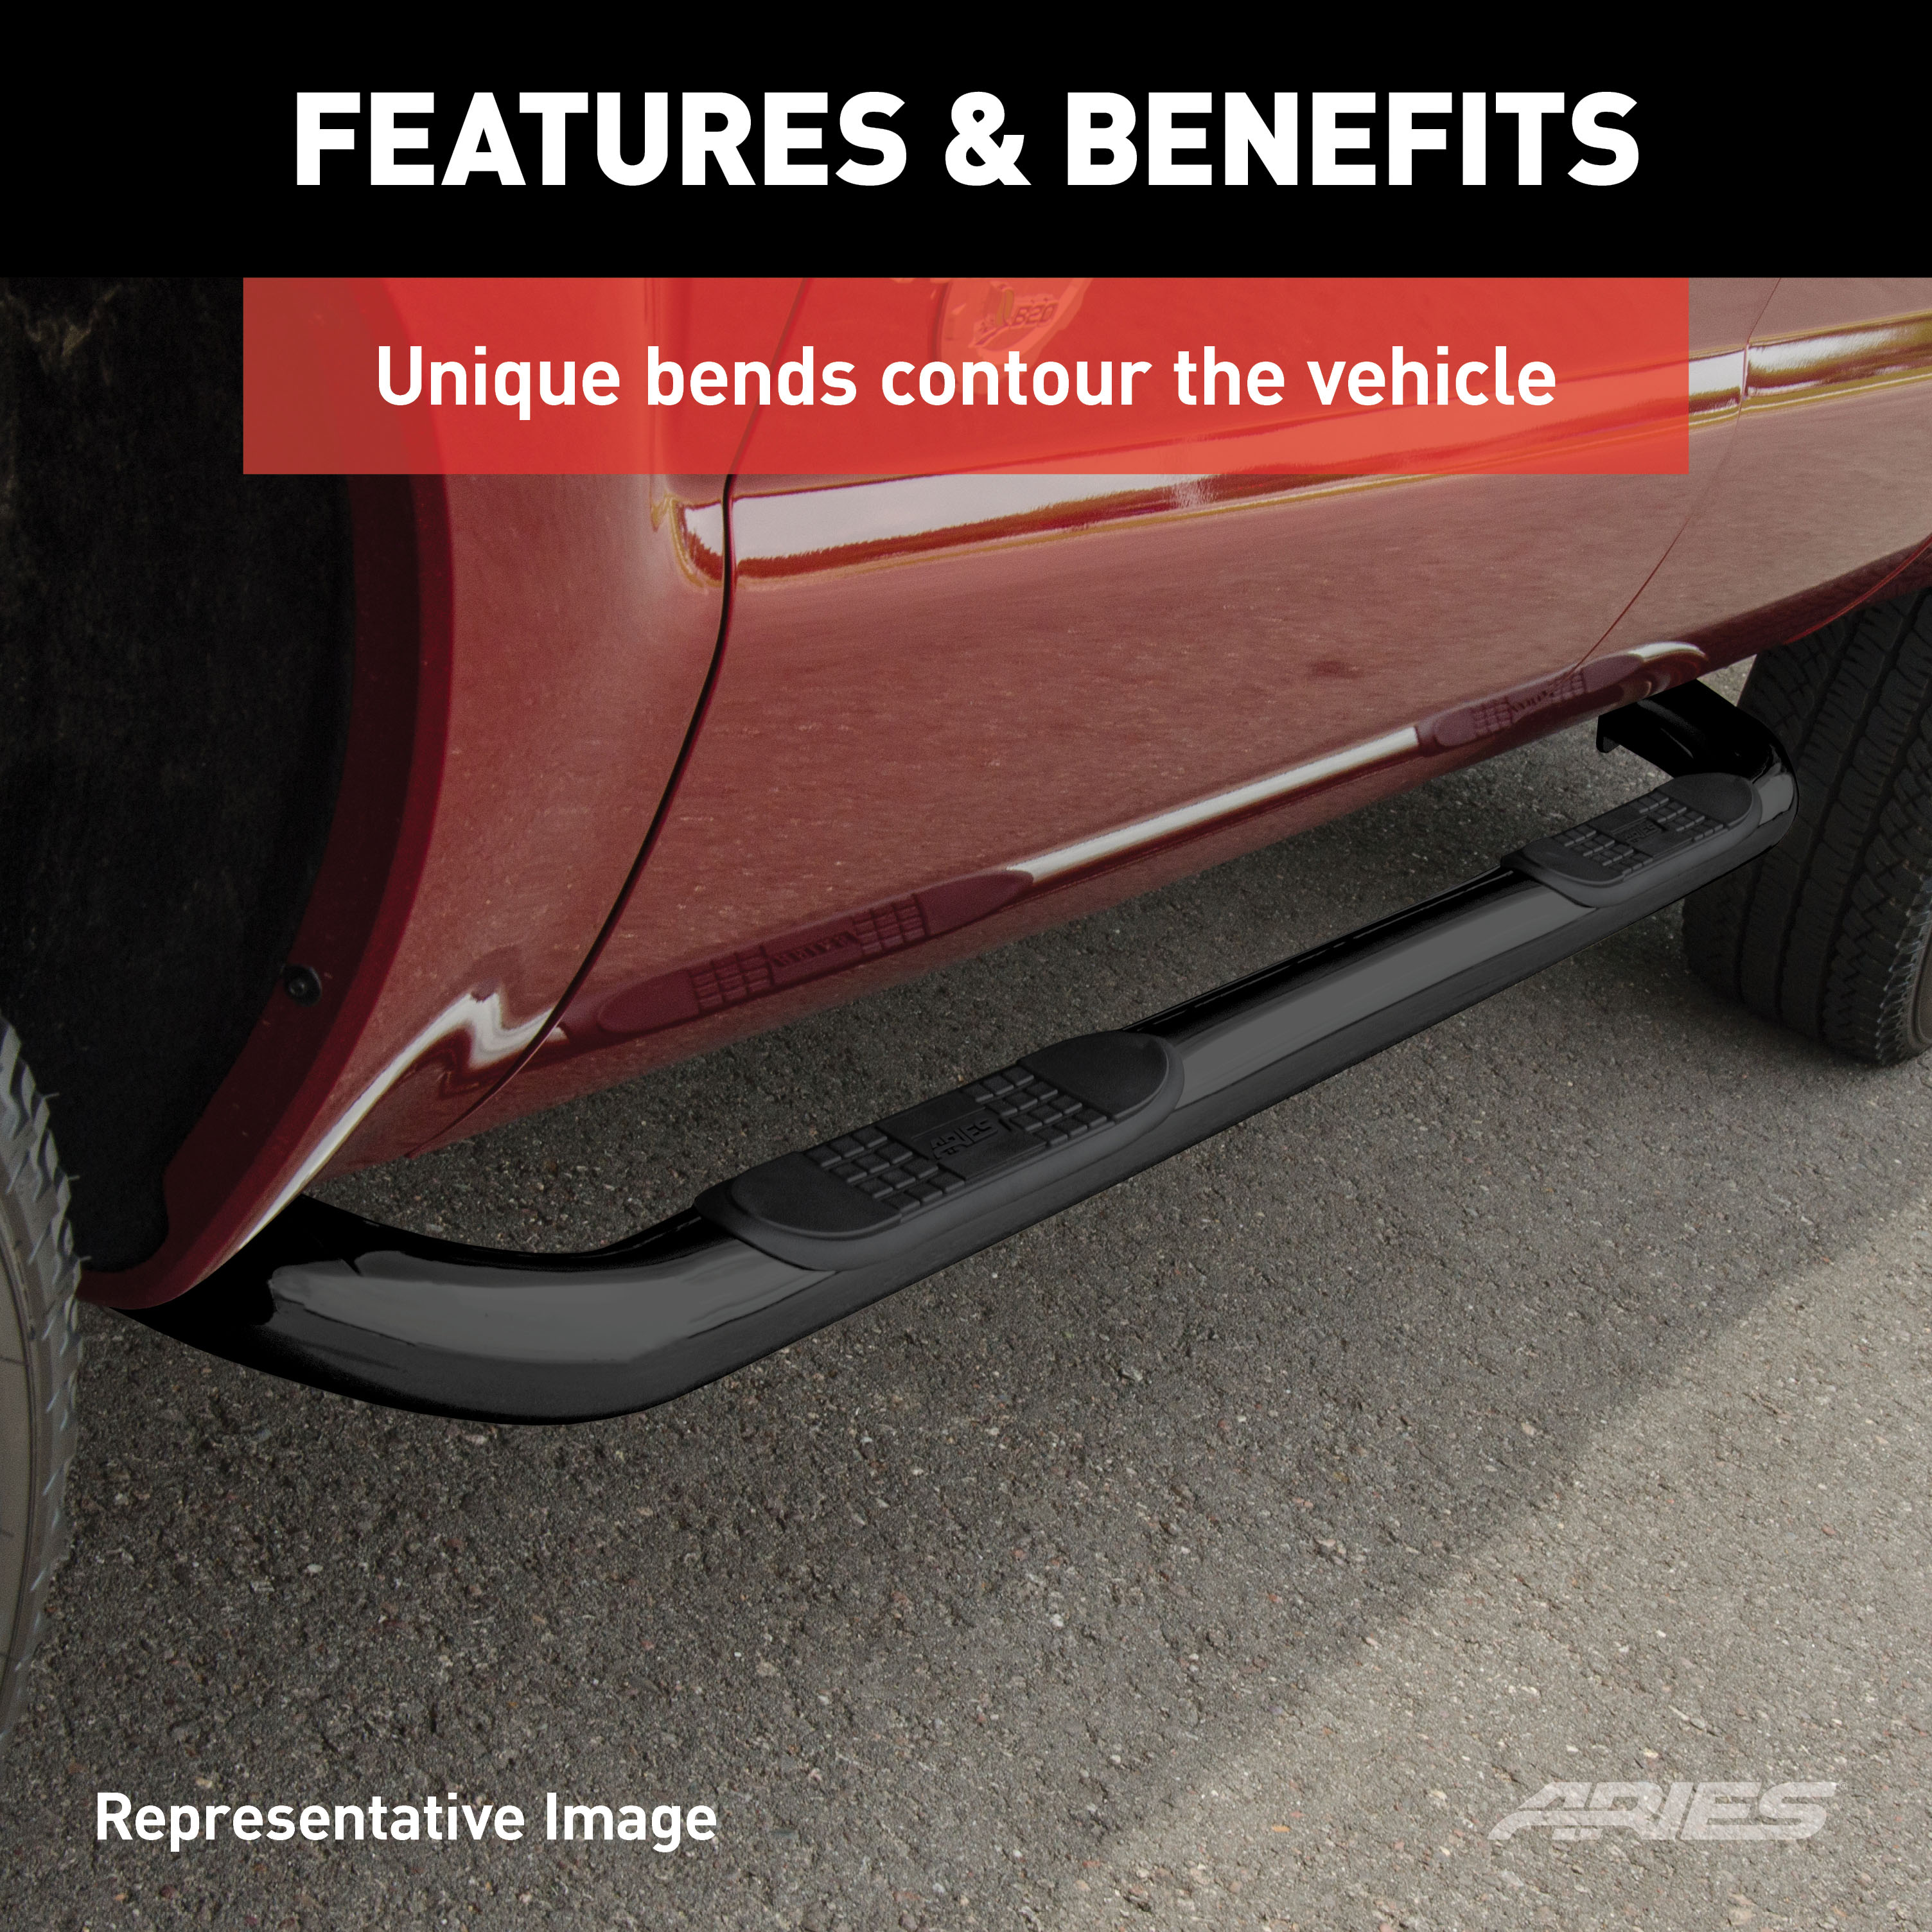
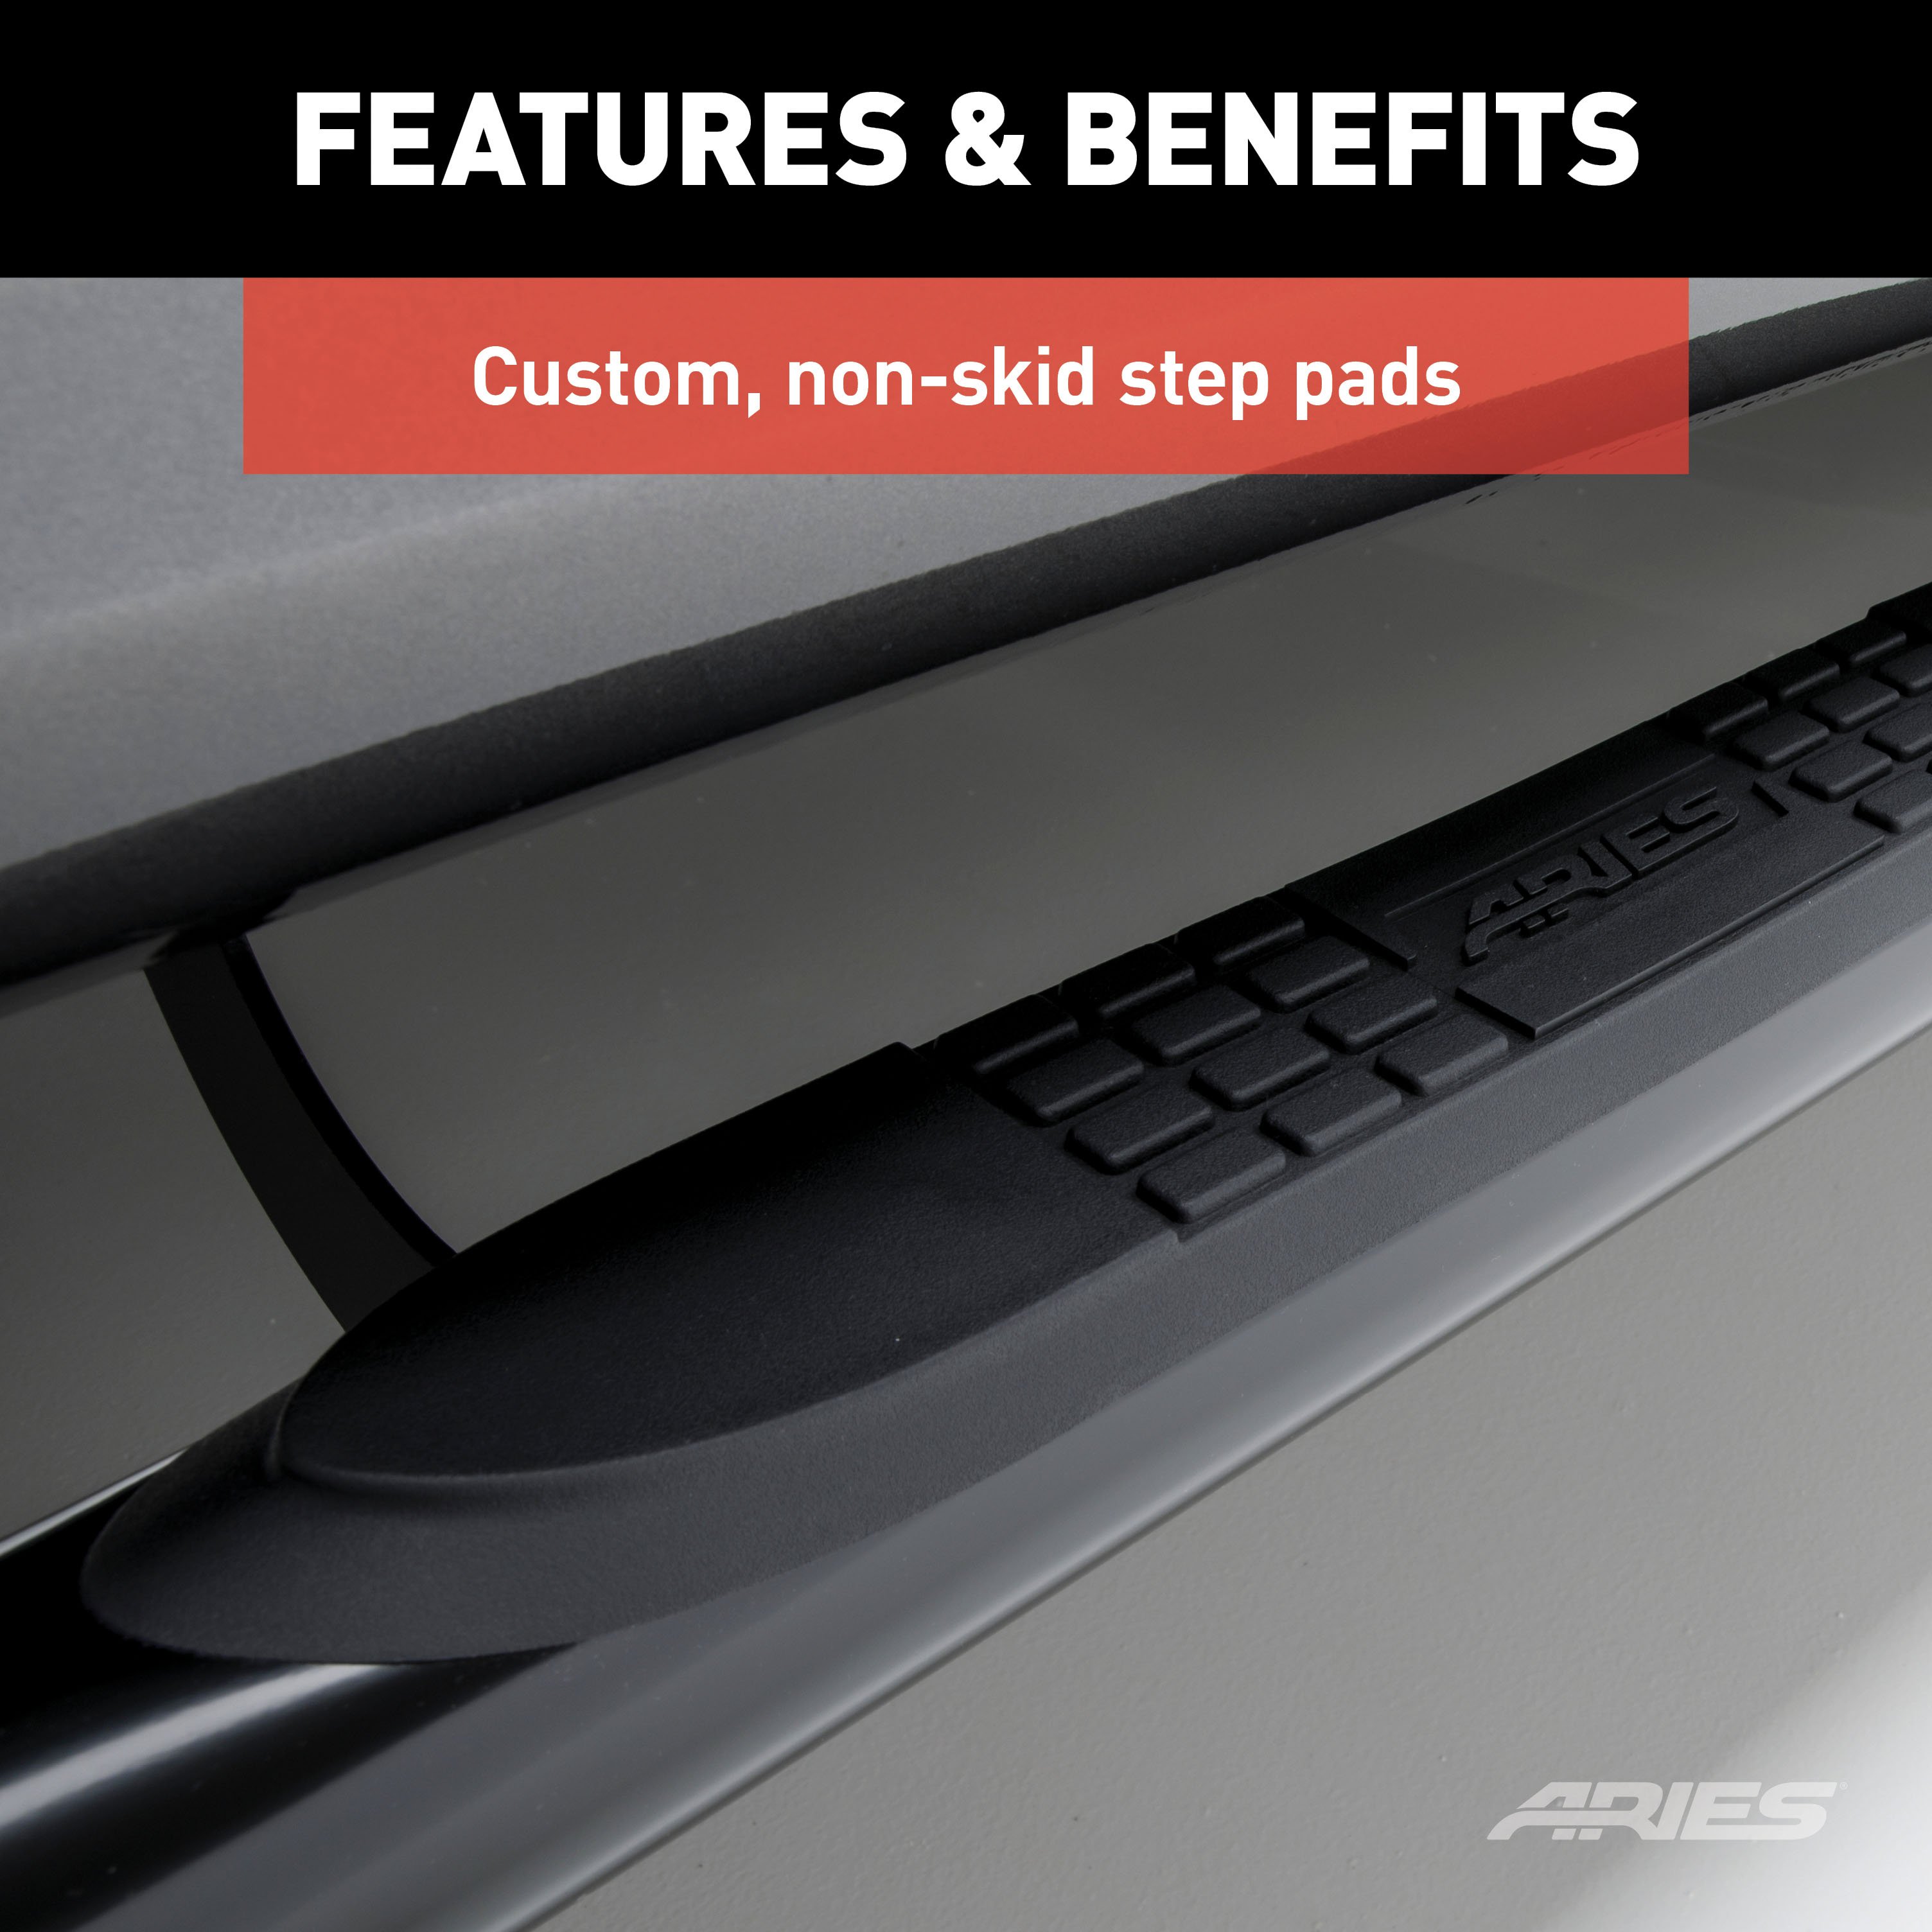
ARIES 3" side bars are more than a fancy decal for your truck, Jeep or SUV. They are a confident first step on each new adventure. These 3" nerf bars are constructed from strong carbon steel for superior rigidity, and they feature a sleek semi-gloss black powder coat finish. For an added edge, each nerf bar also goes through an E-coat process, before receiving its black powder coat, to strengthen and protect the final finish against peeling, chipping and scratching. ARIES 3" round side bars are also available in polished stainless steel or semi-gloss black powder-coated steel. All ARIES 3" nerf bars come with heavy-duty steel brackets and non-skid step pads. The mounting brackets are strong and custom-designed for specific makes and models to allow the side bars to contour to the lines of your vehicle. They offer easy installation and the strength necessary to provide sound footing. These particular custom nerf bars fit specific years of the Honda Pilot (see application info to verify fitment). ARIES 3" round side bars also come with non-skid step pads made of tough polypropylene. These step pads feature a textured pattern for enhanced safety, and they cover a wide portion of the tubes for a more comfortable step.

Explore ARIES products at TowUniverse for top-tier grille guards, side bars, nerf bars, headache racks, and more. Upgrade your vehicle with ARIES today!
ARIES is a fast-paced marketer and innovator of truck, Jeep, SUV and CUV accessories. From automotive enthusiasts to professional builders, our products are built for the champions of individualism, innovation and attitude.
We offer the perfect combination of unique style and durable construction, specializing in custom-fit grille guards, bull bars, side bars and running boards, as well as Jeep Wrangler and Jeep Gladiator accessories.
ARIES products are made vehicle-specific for a custom fit, and they are available for a wide variety of makes and models sold in North America.
Experts available to answer your questions
Call 888-634-9494Limited Lifetime Warranty (Three-Year Finish, One-Year Parts)
1 compatible vehicles
| Year | Make & Model | Notes |
|---|---|---|
| 2009 - 2015 | Honda Pilot | — |
Yes, the ARIES 3" Round Black Steel Side Bars, Select Honda Pilot Step Nerf Bar Kit (Part #BBDR206008) is designed to fit the 2009-2015 Honda Pilot.
The ARIES 3" Round Black Steel Side Bars, Select Honda Pilot Step Nerf Bar Kit (Part #BBDR206008) fits the following vehicles: 2009-2015 Honda Pilot. Always verify your specific year, make, and model before ordering.
The ARIES 3" Round Black Steel Side Bars, Select Honda Pilot Step Nerf Bar Kit (Part #BBDR206008) fits 2009-2015 Honda Pilot models. The 2015 model year is the last year covered by this part number. For newer models, check for an updated version.
The ARIES 3" Round Black Steel Side Bars, Select Honda Pilot Step Nerf Bar Kit (Part #BBDR206008) Refer to the included instructions for installation details. Basic hand tools are typically all you need.
The kit includes one driver side bar, one passenger side bar, four brackets (front and rear for each side), two 10mm bolt plates, two 12mm x 40mm short bolt plates, two 12mm x 40mm long bolt plates, two self-tapping screws (1/4" - 14), two 10mm nuts, 6 lock washers (8mm), 10 lock washers (10mm), 6 flat washers (8mm), 18 flat washers (10mm x 22mm OD), 4 flat washers (12mm), 6 hex bolts (8mm x 25mm), 12 hex bolts (10mm x 30mm), 4 lock nuts (10mm), and 4 lock nuts (12mm).
You will need a ratchet, level, 16mm socket, 3/8" driver, 17mm socket, 13mm wrench, 19mm socket, 16mm wrench, and a drill. The level is essential to ensure the side bars are properly aligned during installation.
A drill is required if you are attaching the side bars for the first time. If you are replacing factory-installed running boards, drilling is not necessary.
The manual does not specify whether battery disconnection is required. Contact Aries Automotive at 877.287.8634 or visit ARIESAUTOMOTIVE.COM for clarification on this step.
The installation is rated as Easy according to the manual.
Begin on the driver side. First, locate the two mounting locations on the rocker panel and insert an 8mm hex bolt with flat and locking washers into the threaded holes (snug but do not fully tighten). Next, insert a 12mm x 40mm short bolt plate into the round hole on the inner frame channel and secure with a 12mm flat washer and nylock nut. Line up the two bracket holes and insert a 10mm bolt with 10mm x 26mm flat washer and nylock nut (snug but do not fully tighten). For the rear bracket, insert the 12mm x 40mm long bolt plate into the oval hole on the frame channel and the 10mm bolt plate into the circular hole on the body panel near the pinch weld. Attach the rear bracket with a 10mm x 26mm flat washer, lock washer and nut on the 10mm bolt plate, and a flat washer and nylock nut on the 12mm bolt plate. If replacing factory running boards, attach with an 8mm bolt, lock washer and flat washer. If attaching for the first time, use the included self-tapping screw with a 3/8" driver and power drill. Lift the side bar into place and attach with a 10mm bolt, lock washer and flat washer. Check that the bar is level and adjust if necessary, then tighten all hardware. Repeat the entire process on the passenger side.
Do not fully tighten hardware during the initial mounting steps. Snug the 8mm hardware at the rocker panel (Step 2), snug the 10mm and 12mm hardware at the frame brackets (Step 6), and snug the self-tapping screw if attaching for the first time (Step 10). Only fully tighten all hardware after the side bar is level and properly aligned (Step 12).
Use an 8mm bolt with lock washer and flat washer if you are replacing factory-installed running boards (Step 9). Use the included self-tapping screw with a 3/8" driver and power drill if you are attaching side bars for the first time (Step 10).
Two different bolt plates are used on the frame channel. The front bracket uses a 12mm x 40mm short bolt plate inserted into the round hole on the inner frame channel (Step 3). The rear bracket uses a 12mm x 40mm long bolt plate inserted into the oval hole on the frame channel (Step 7).
The front bracket is attached to the rocker panel using an 8mm hex bolt with a flat washer and a lock washer (Step 2). The hardware should be snug but not fully tightened until the side bar is level and aligned.
The two brackets are connected using a 10mm bolt with a 10mm x 26mm flat washer on each side and a nylock nut (Step 5). This hardware should be snug but not fully tightened until the side bar is level and aligned.
The rear bracket is secured to the 12mm x 40mm long bolt plate (inserted into the oval hole on the frame channel) using a flat washer and nylock nut (Step 8). The bracket is also attached to the 10mm bolt plate (inserted into the circular hole on the body panel near the pinch weld) using a 10mm x 26mm flat washer, lock washer and nut.
After the brackets are in place and the rear bracket is secured, lift the side bar into place and attach it with a 10mm bolt, lock washer and flat washer (Step 11). The hardware should be snug but not fully tightened until the side bar is level and aligned.
After lifting the side bar into place and attaching it with the 10mm bolt, lock washer and flat washer, use the level to check that the side bar is level. Adjust the bar as necessary until it is properly aligned, then tighten all hardware (Step 12).
The manual does not provide torque specifications. Contact Aries Automotive at 877.287.8634 or visit ARIESAUTOMOTIVE.COM for the correct torque values for each fastener.
Wax the side bars after installation to protect the product. Regular waxing is recommended to add a protective layer over the finish. Do not use any type of polish or wax that may contain abrasives, as these could damage the finish. For gloss black finishes, mild soap may be used to clean the product.
After installation, check that the side bar is level and properly aligned. Tighten all hardware once the bar is in the correct position. Perform periodic inspections to ensure that all hardware remains secure and tight.
The manual recommends periodic inspections to ensure that all hardware is secure and tight, but does not specify an inspection interval. Contact Aries Automotive at 877.287.8634 or visit ARIESAUTOMOTIVE.COM for recommended inspection intervals.
The manual does not specify vehicle applications. Contact Aries Automotive at 877.287.8634 or visit ARIESAUTOMOTIVE.COM to confirm fitment for your vehicle.
Yes. A level is required to check that the side bar is properly aligned before final tightening of all hardware.
No. Snug all hardware during installation but do not fully tighten until the side bar is level and properly aligned. Final tightening occurs after the entire assembly is in place.
Wax the side bars after installation and regularly thereafter. Do not use abrasive polish or wax. For gloss black finishes, clean with mild soap only.
On Sale Today
Original price was $366.95. Current price is $208.00.You save $158.95 (43%)
Free Shipping
Ships free on all orders
 Authorized Dealer


Quick Ship
In stock and ready to ship — order now!
Shipping from Lancaster, TXFREE SHIPPING
Estimated delivery Thu, Oct 1 - Sat, Oct 3
Order before 2 PM EST Monday–Friday for same-day processing
Guaranteed safe & secure checkout
No reviews have been added for this product.