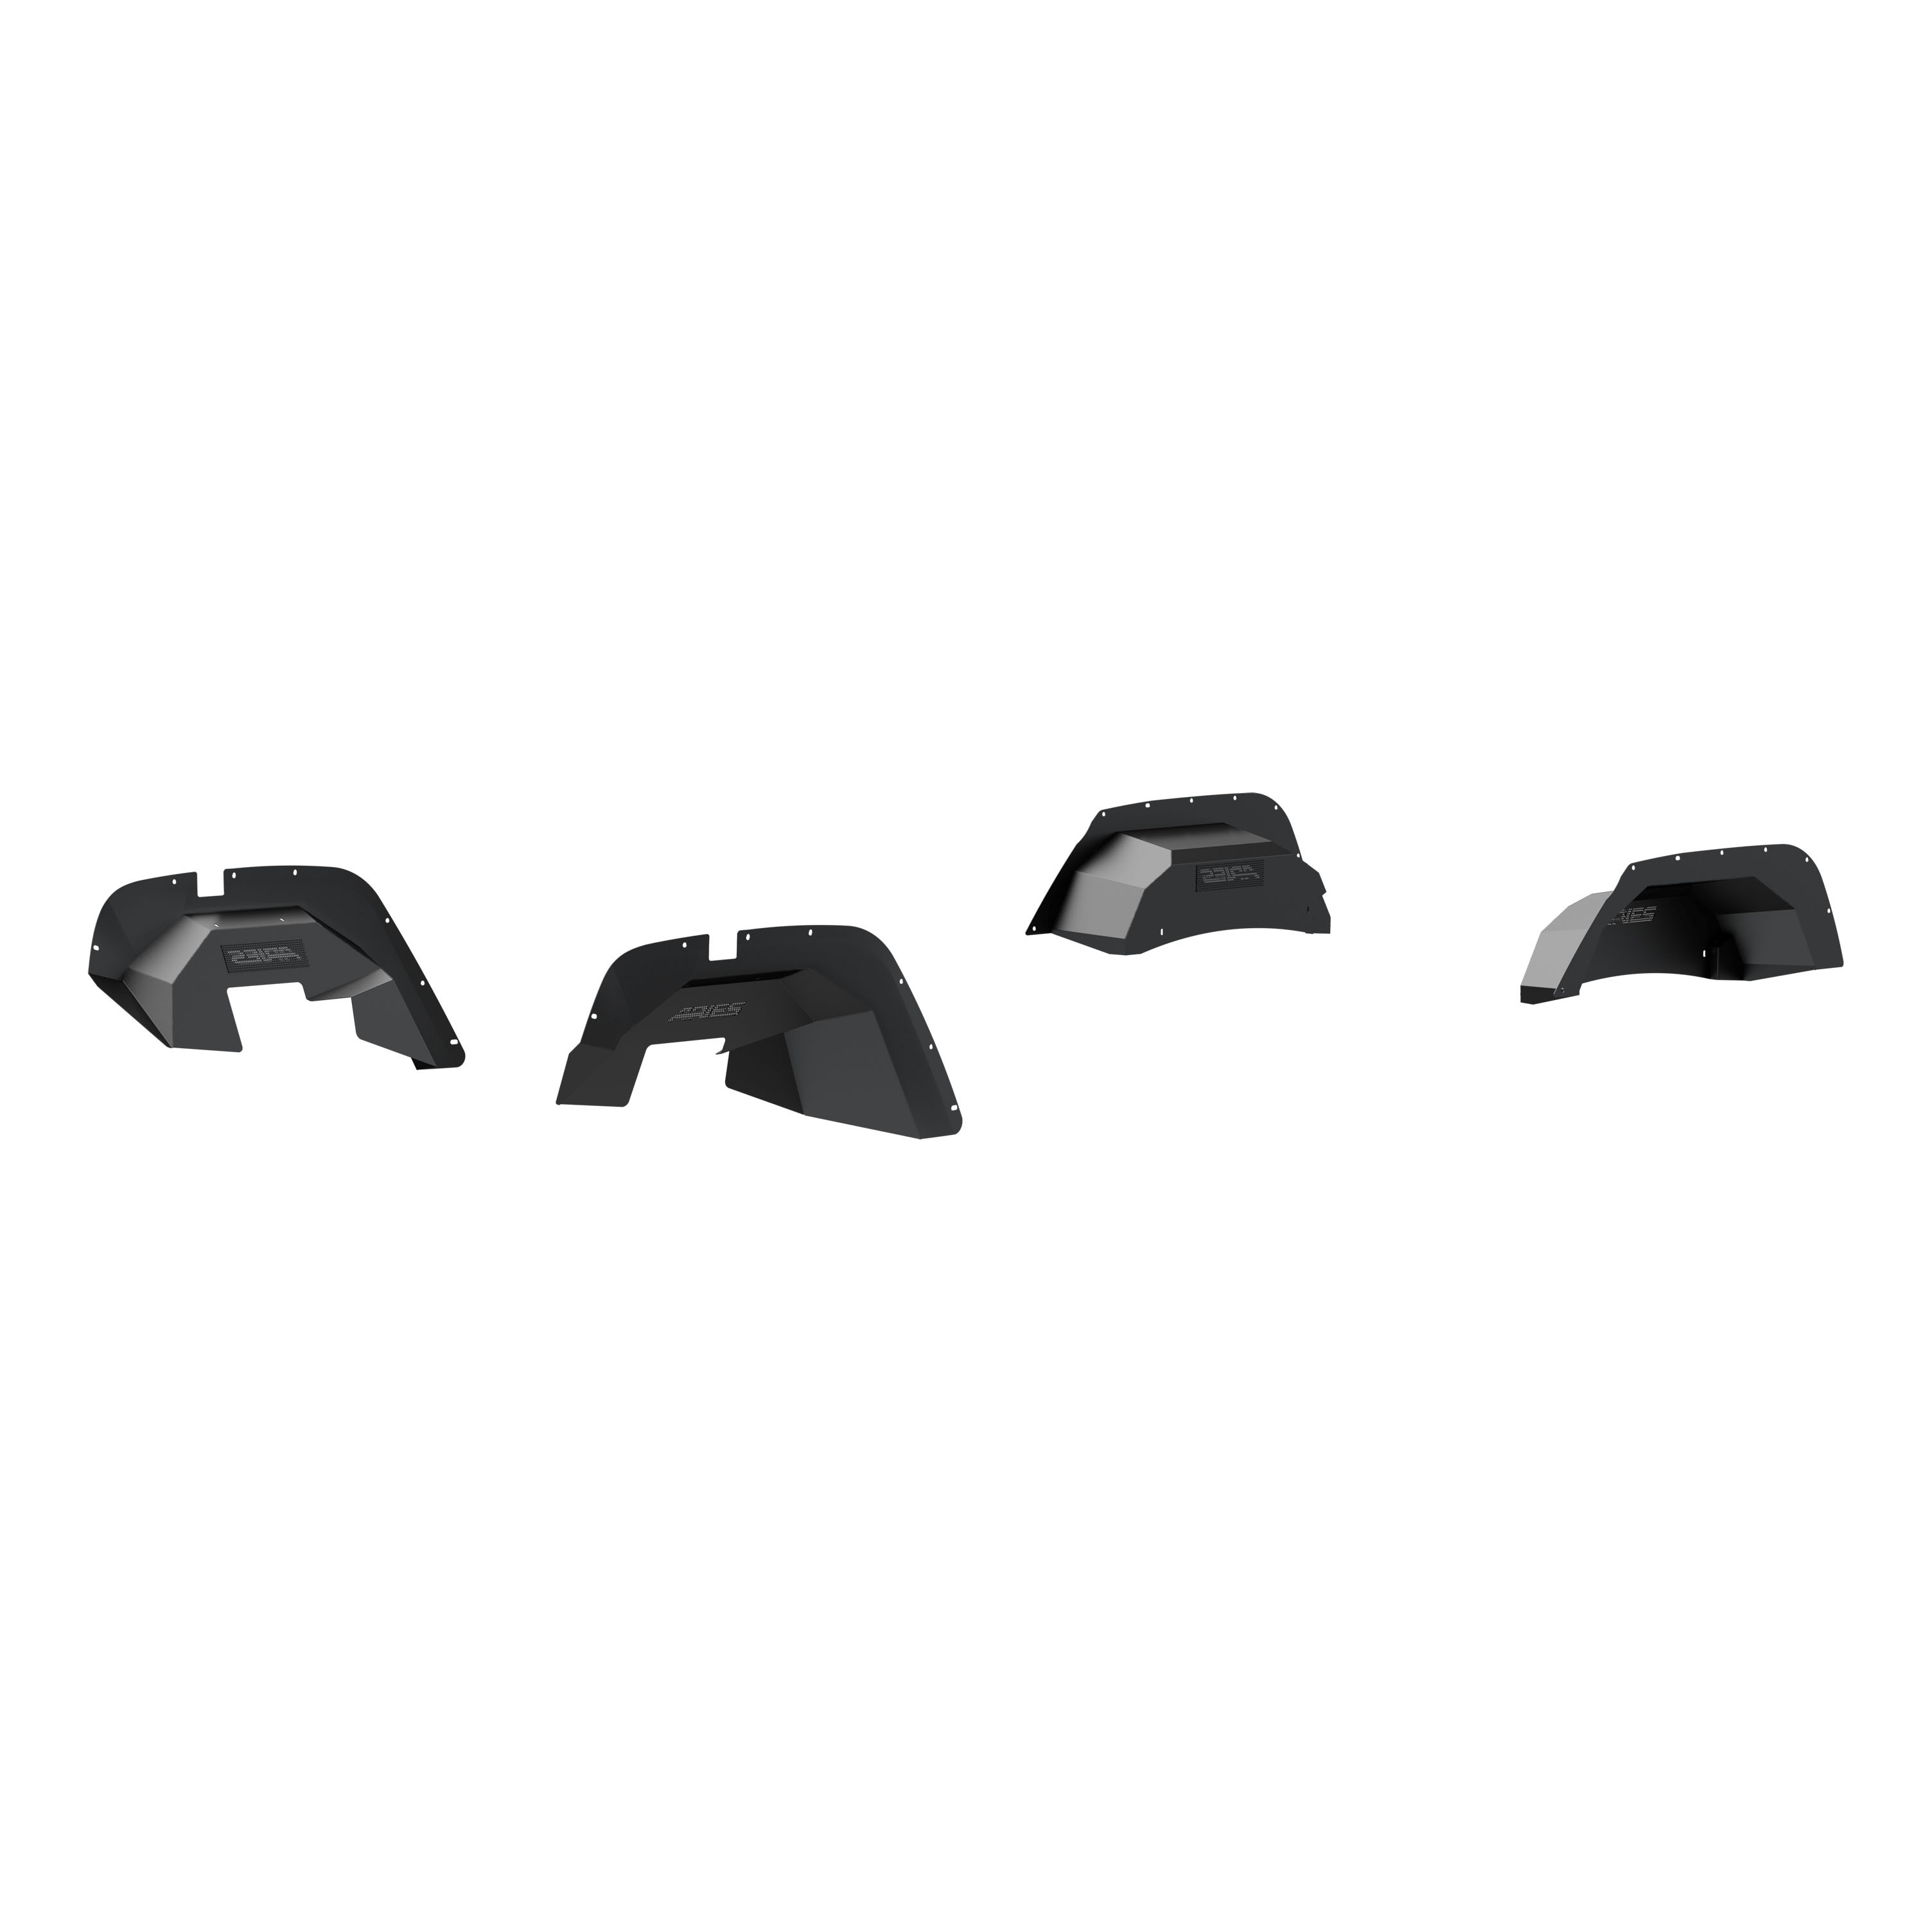
ARIES Jeep Wrangler JK Aluminum Front and Rear Inner Fender Liners Fender LinerARIESOriginal price was $874.95. Current price is $496.00.Out of Stock
View productOur in-house experts typically reply within one business day.

ARIES





Always the correct part
We know our products
Quality Products
Free Shipping!
Always the correct part
We know our products
Quality Products
Free Shipping!
On Sale Today
Original price was $422.95. Current price is $210.00.You save $212.95 (50%)
Free Shipping
Ships free on all orders
 Authorized Dealer

Shipping from Lancaster, TXFREE SHIPPING
Estimated delivery Tue, Sep 29 - Thu, Oct 1
Order before 2 PM EST Monday–Friday for same-day processing
Guaranteed safe & secure checkout
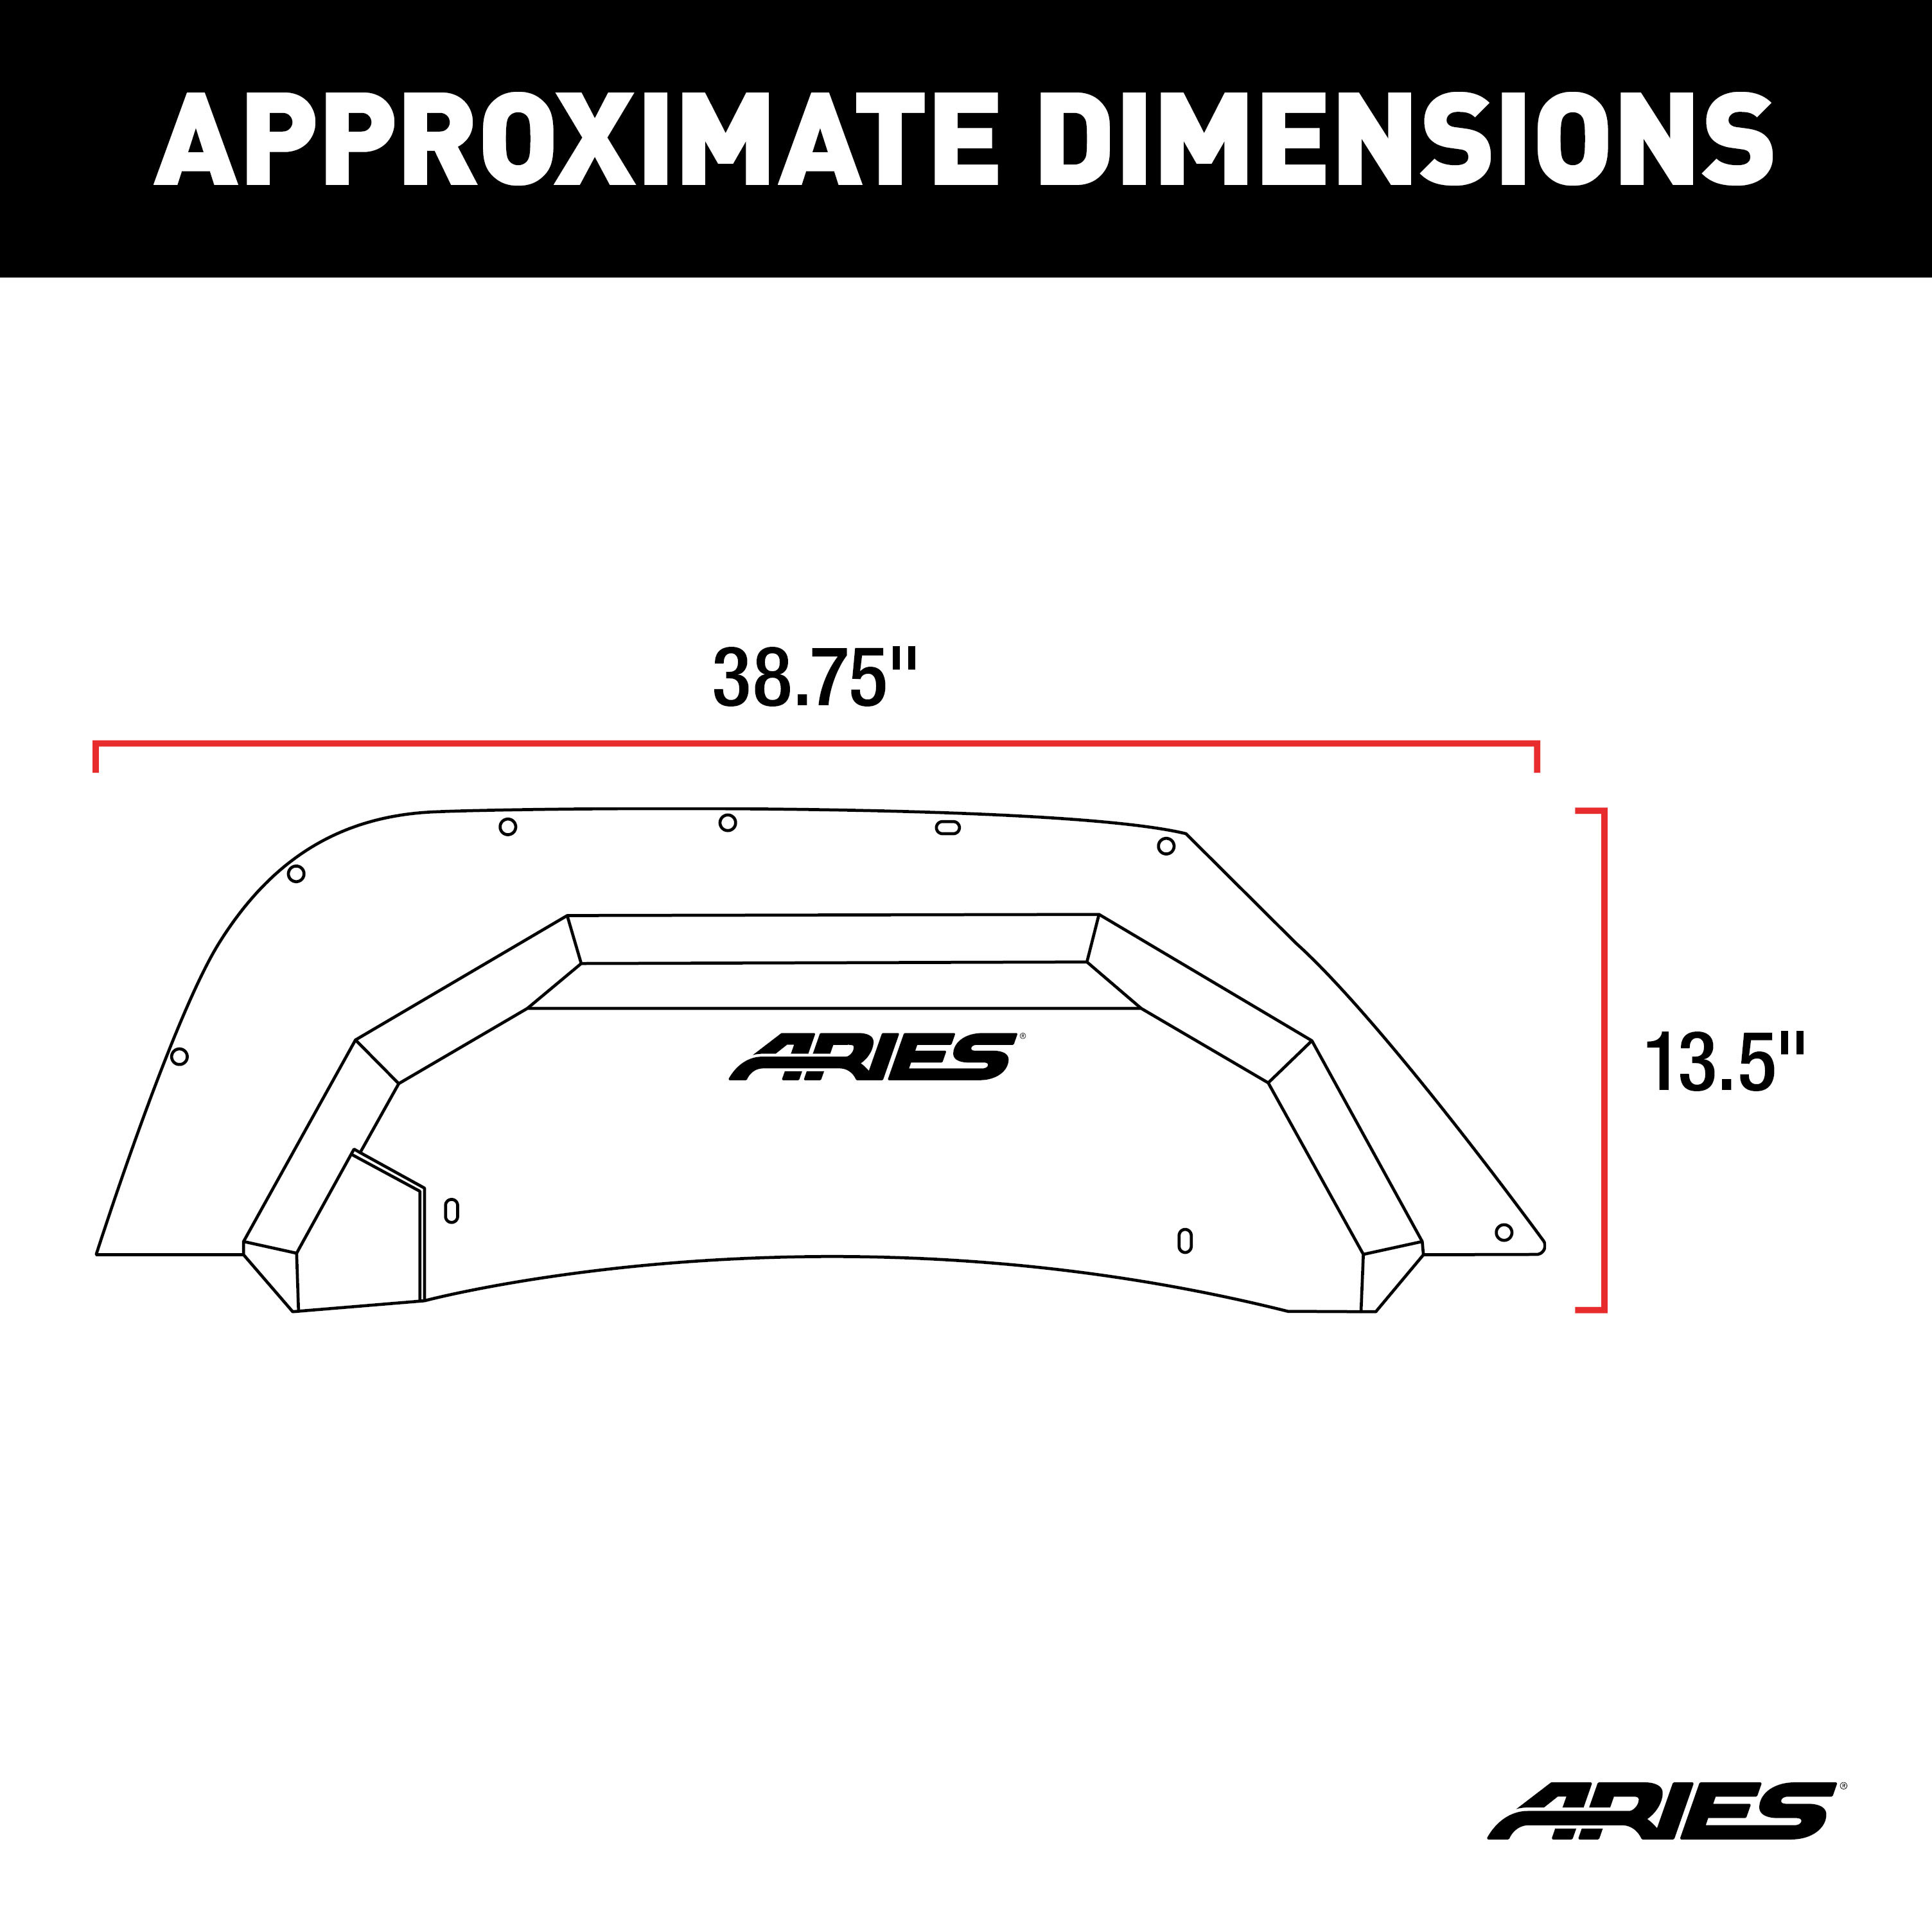
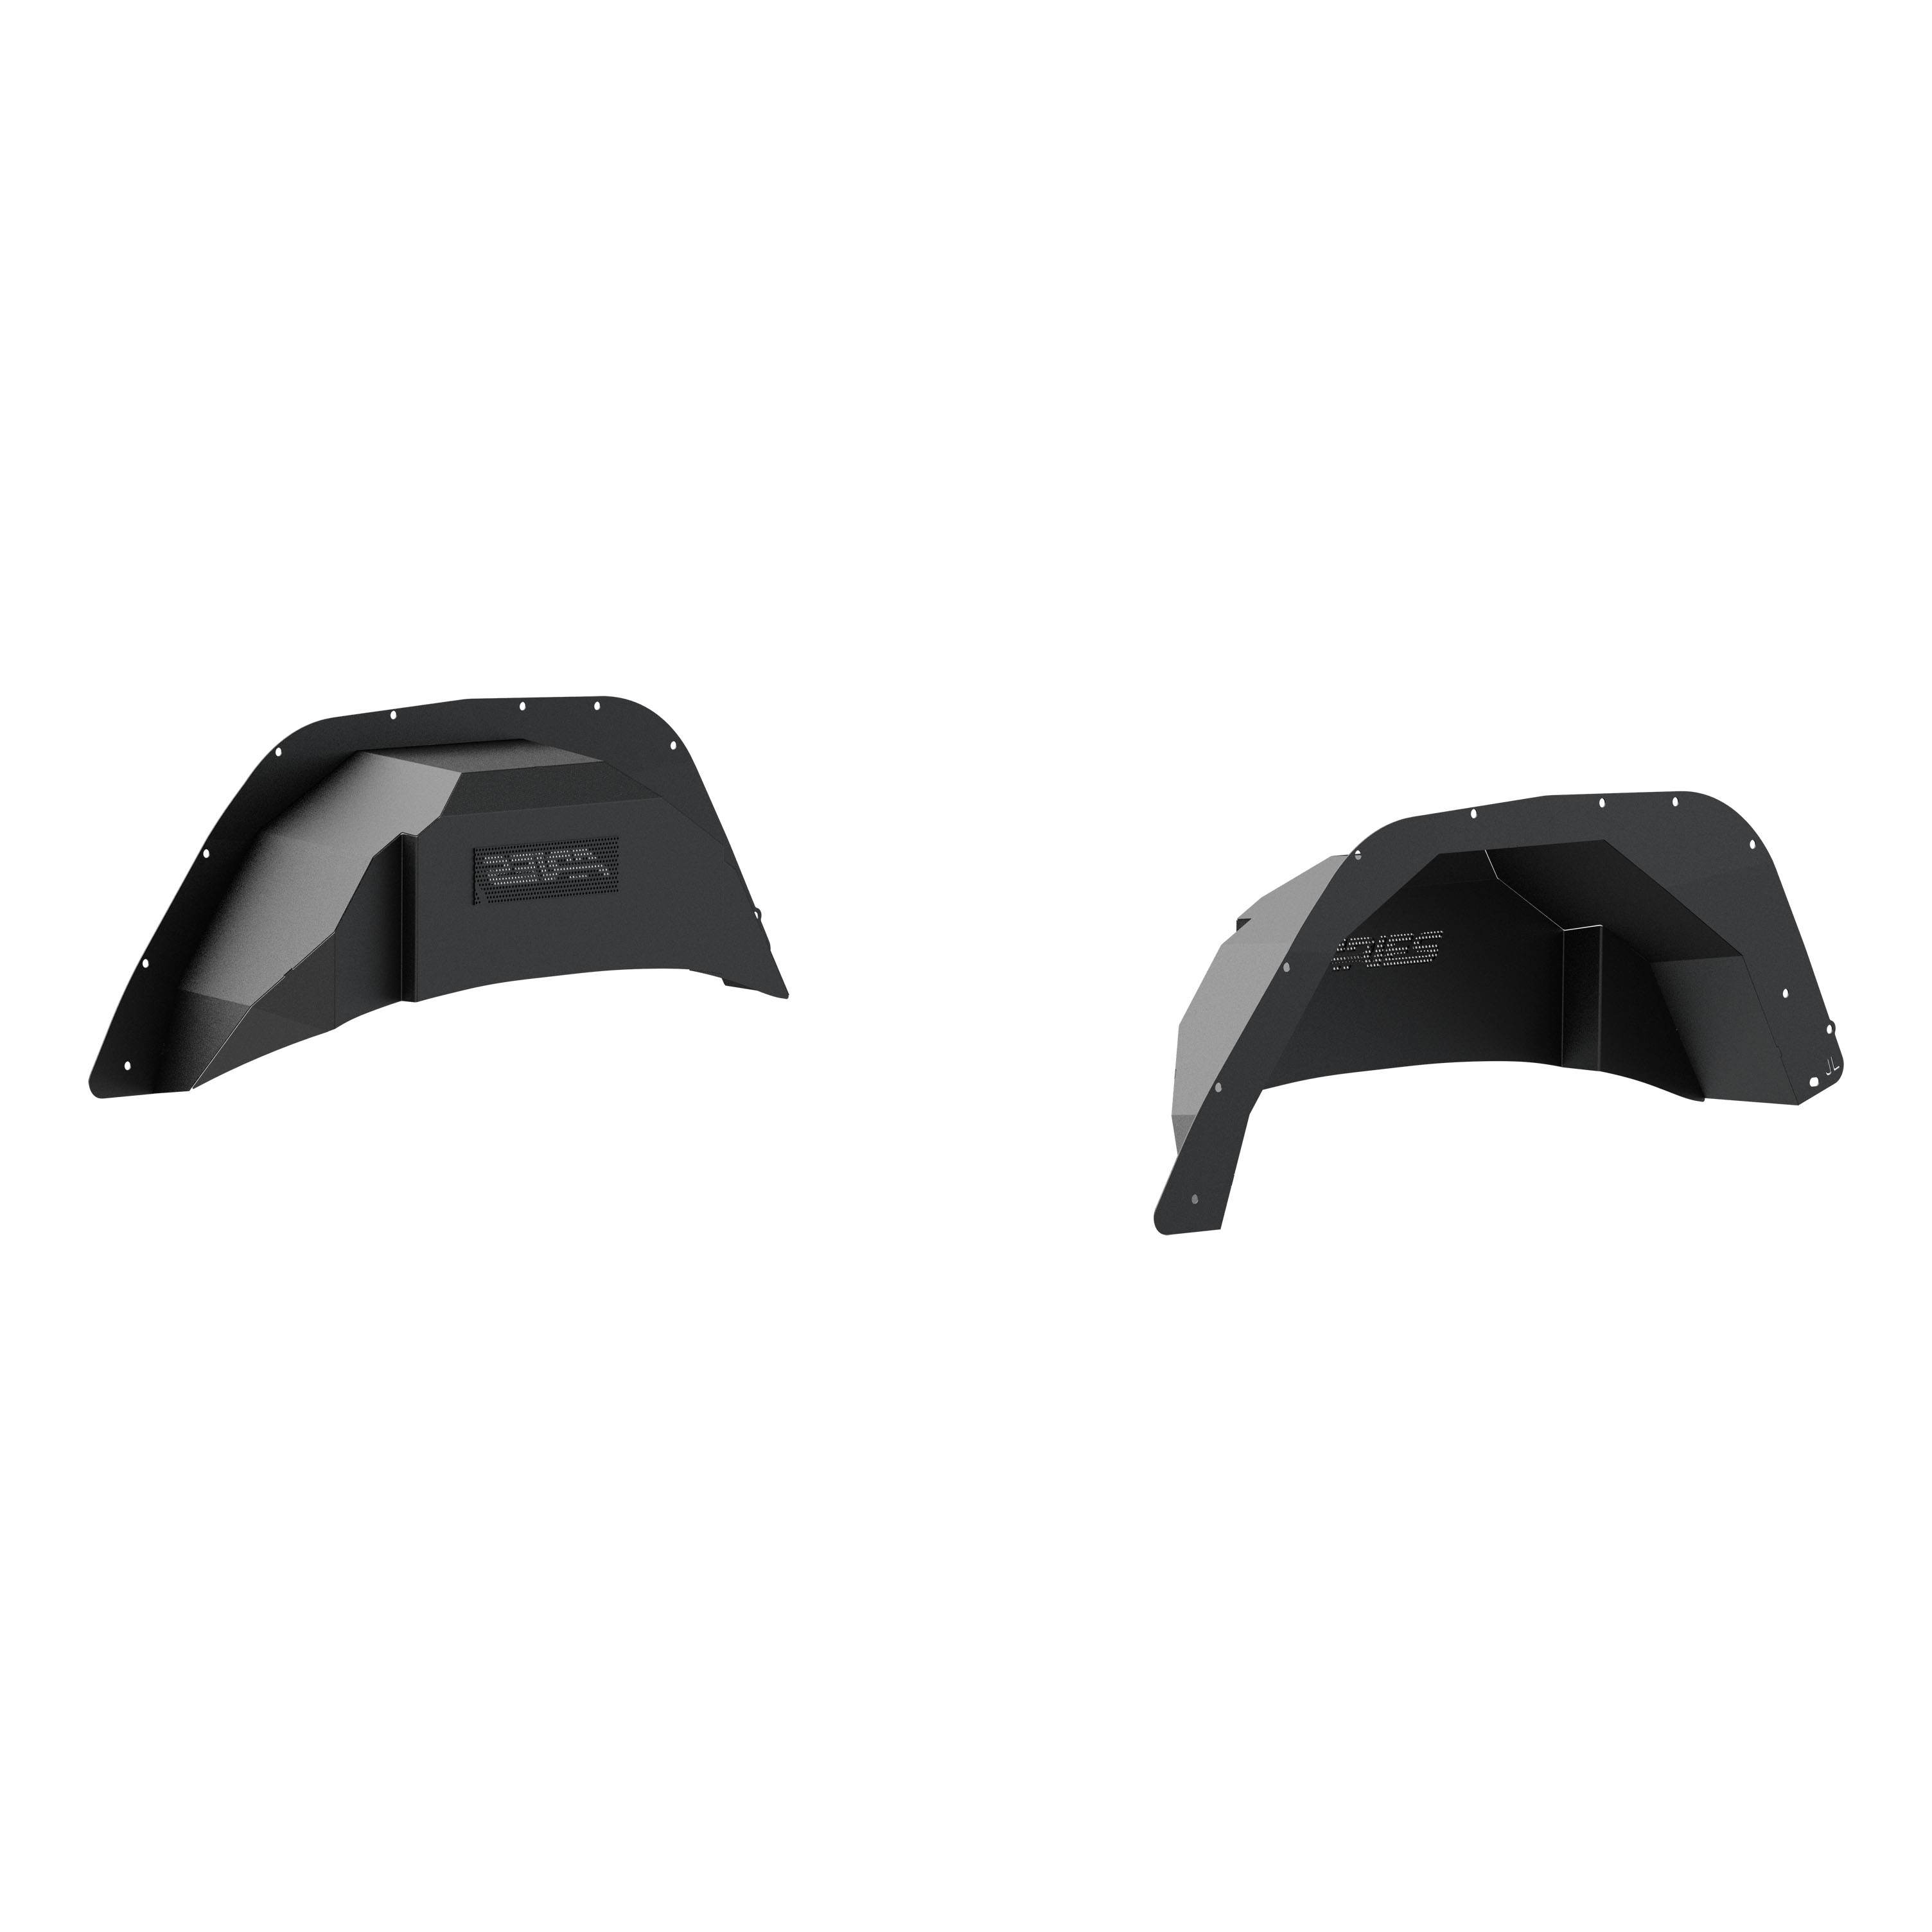
Includes two rear fender liners and mounting hardware

Warranty: Limited Lifetime Warranty (Five-Year Finish, One-Year Parts)
Finish: CARBIDE BLACK POWDER COAT
Material: Aluminum
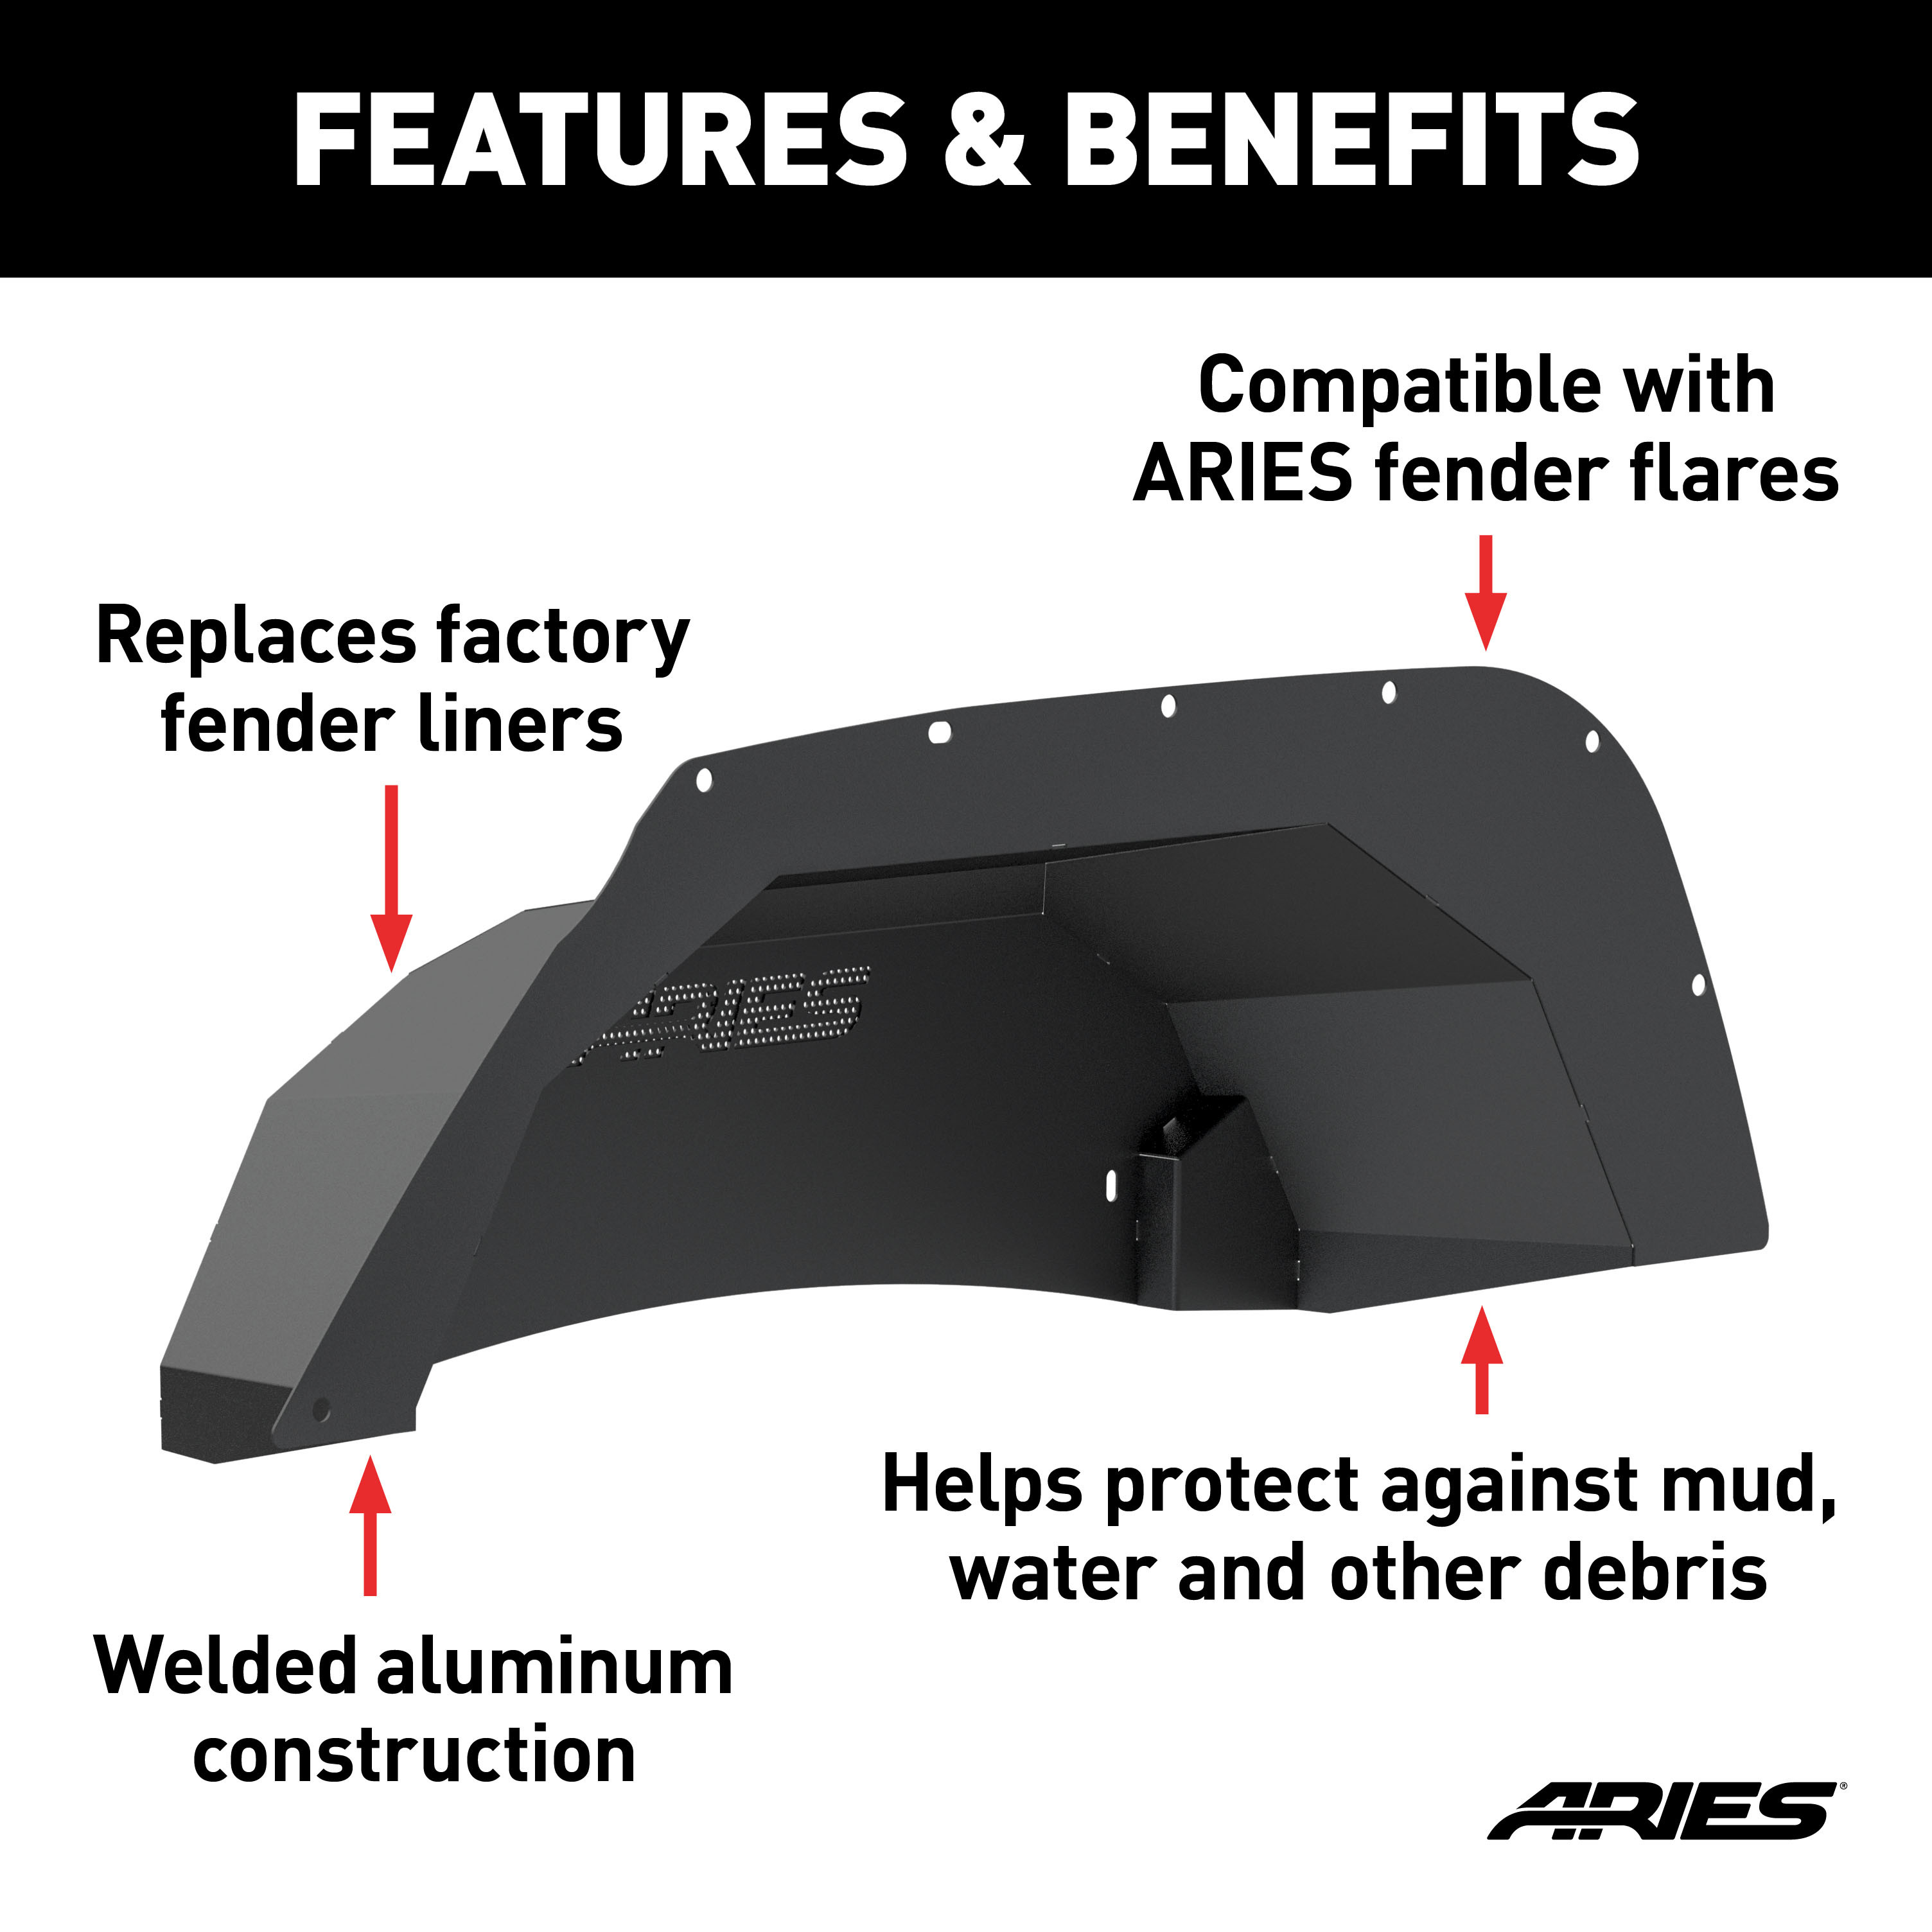
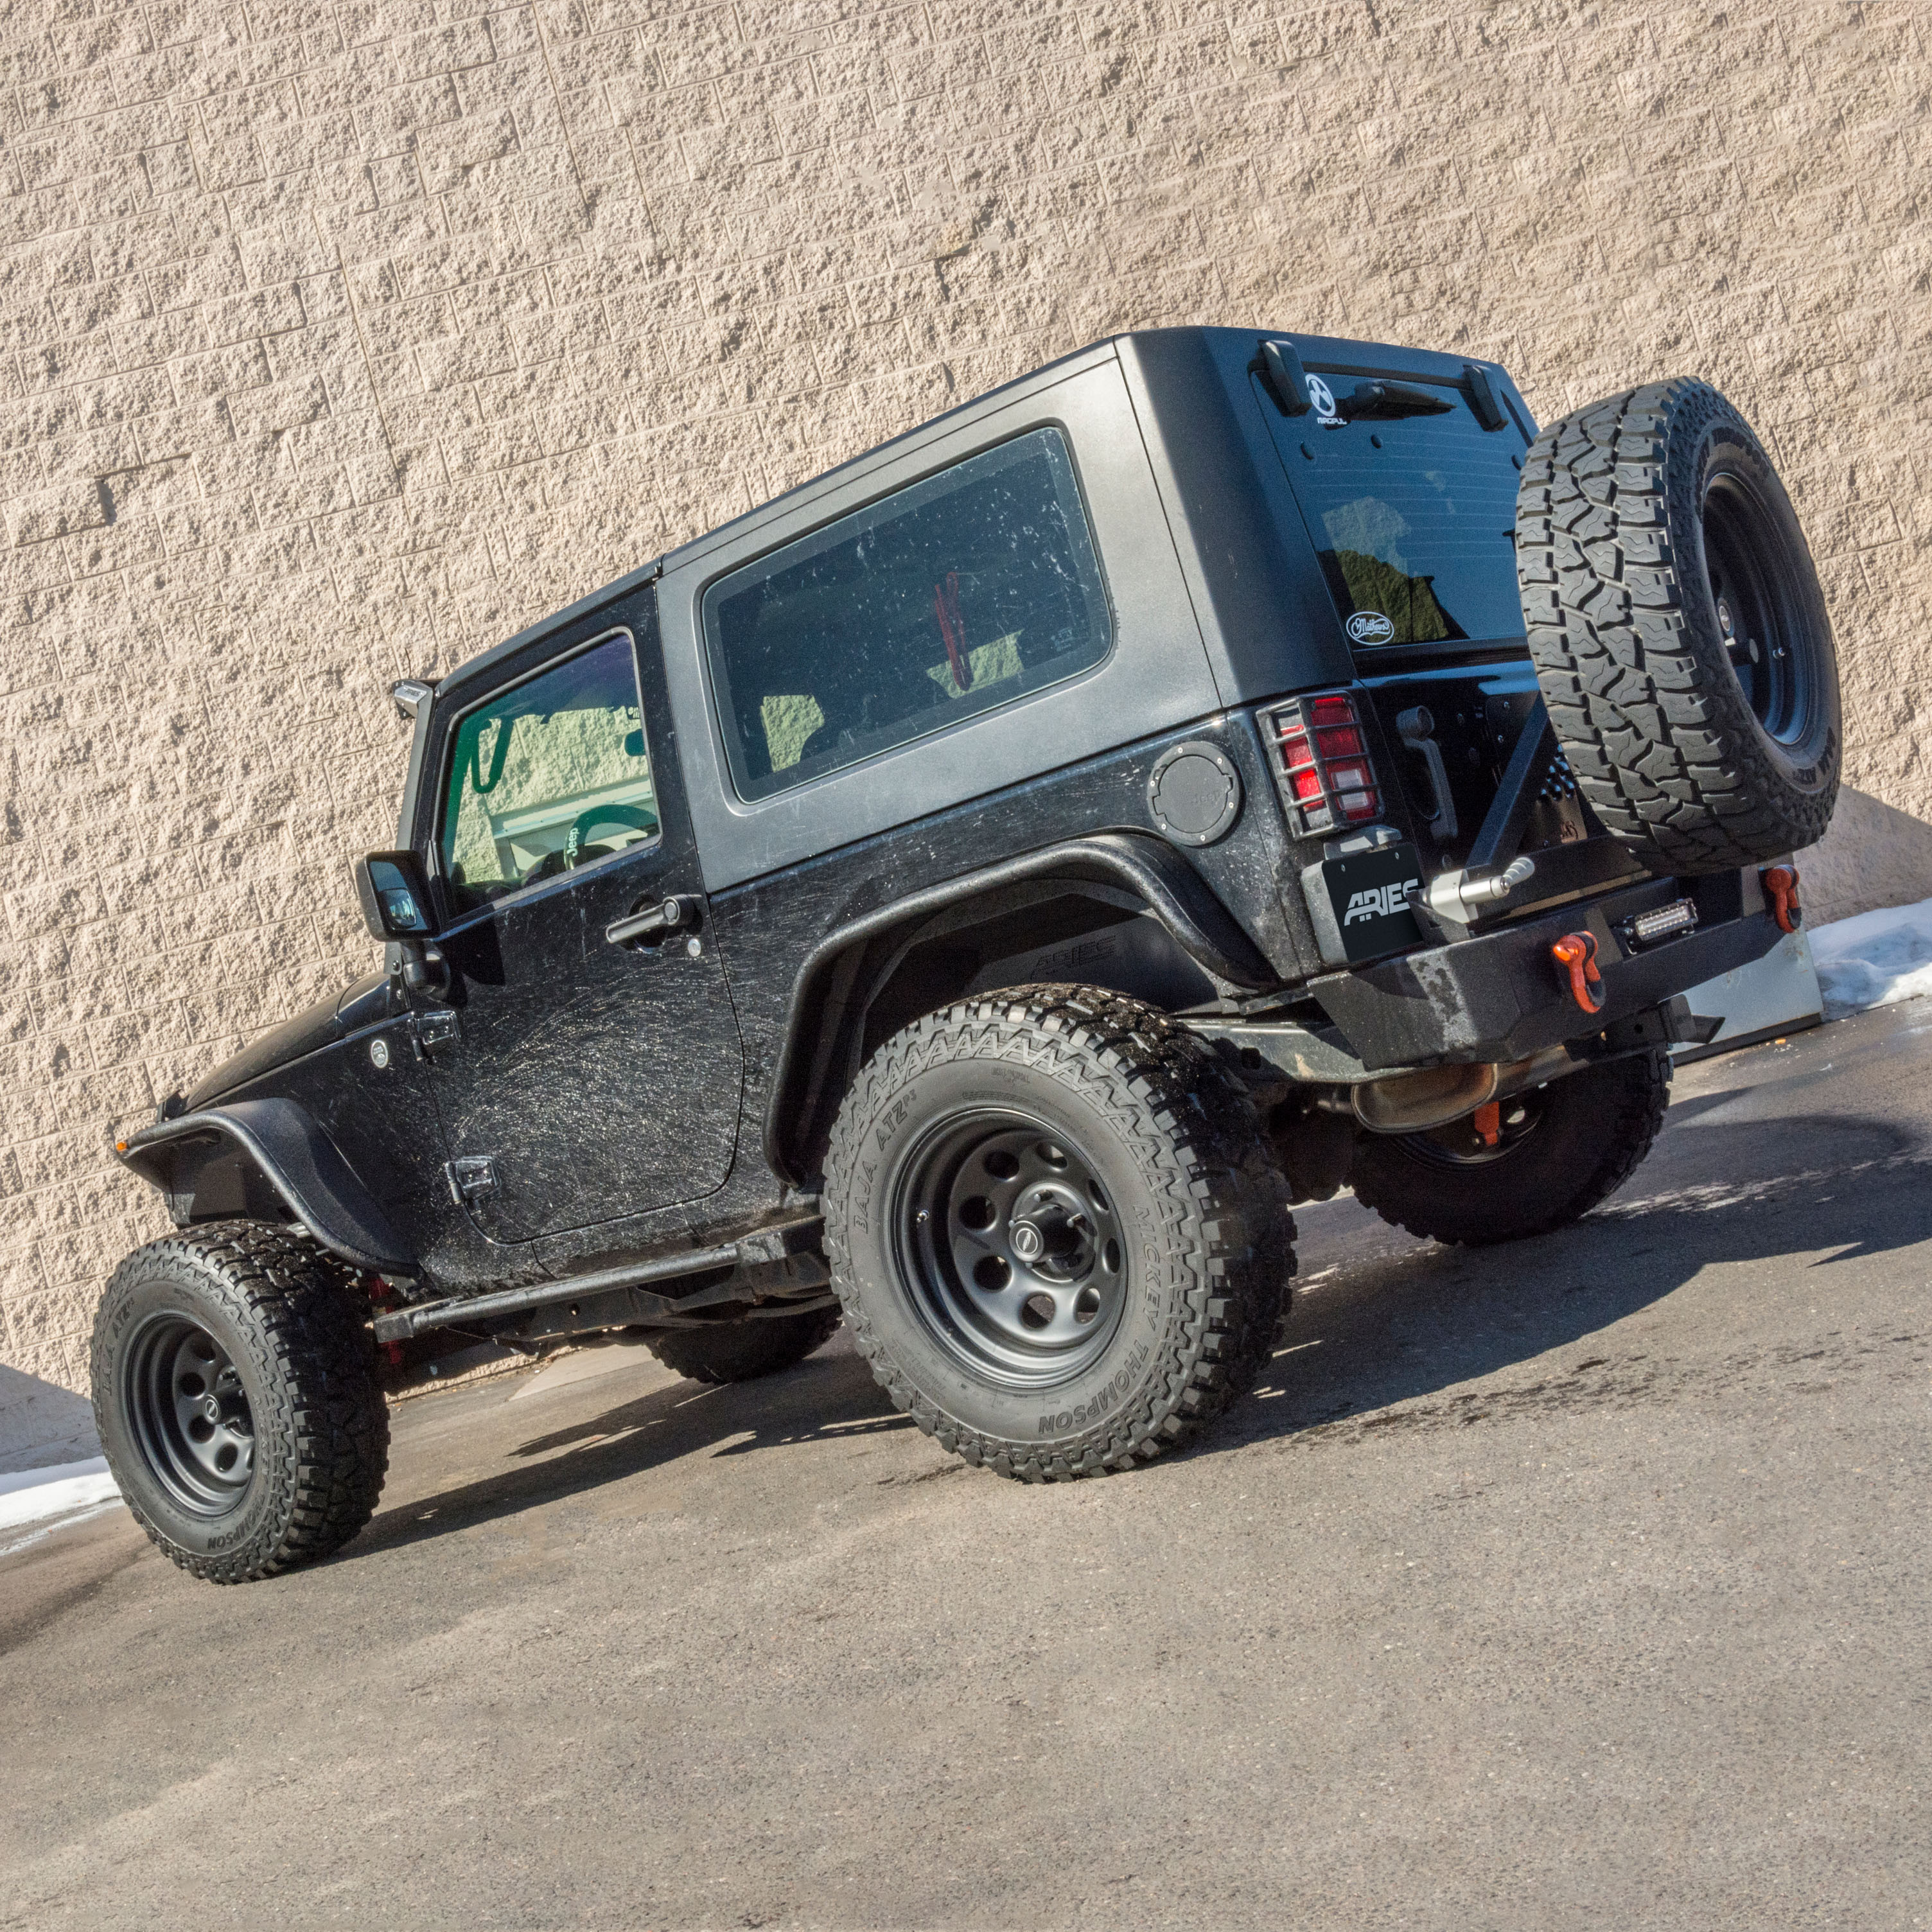
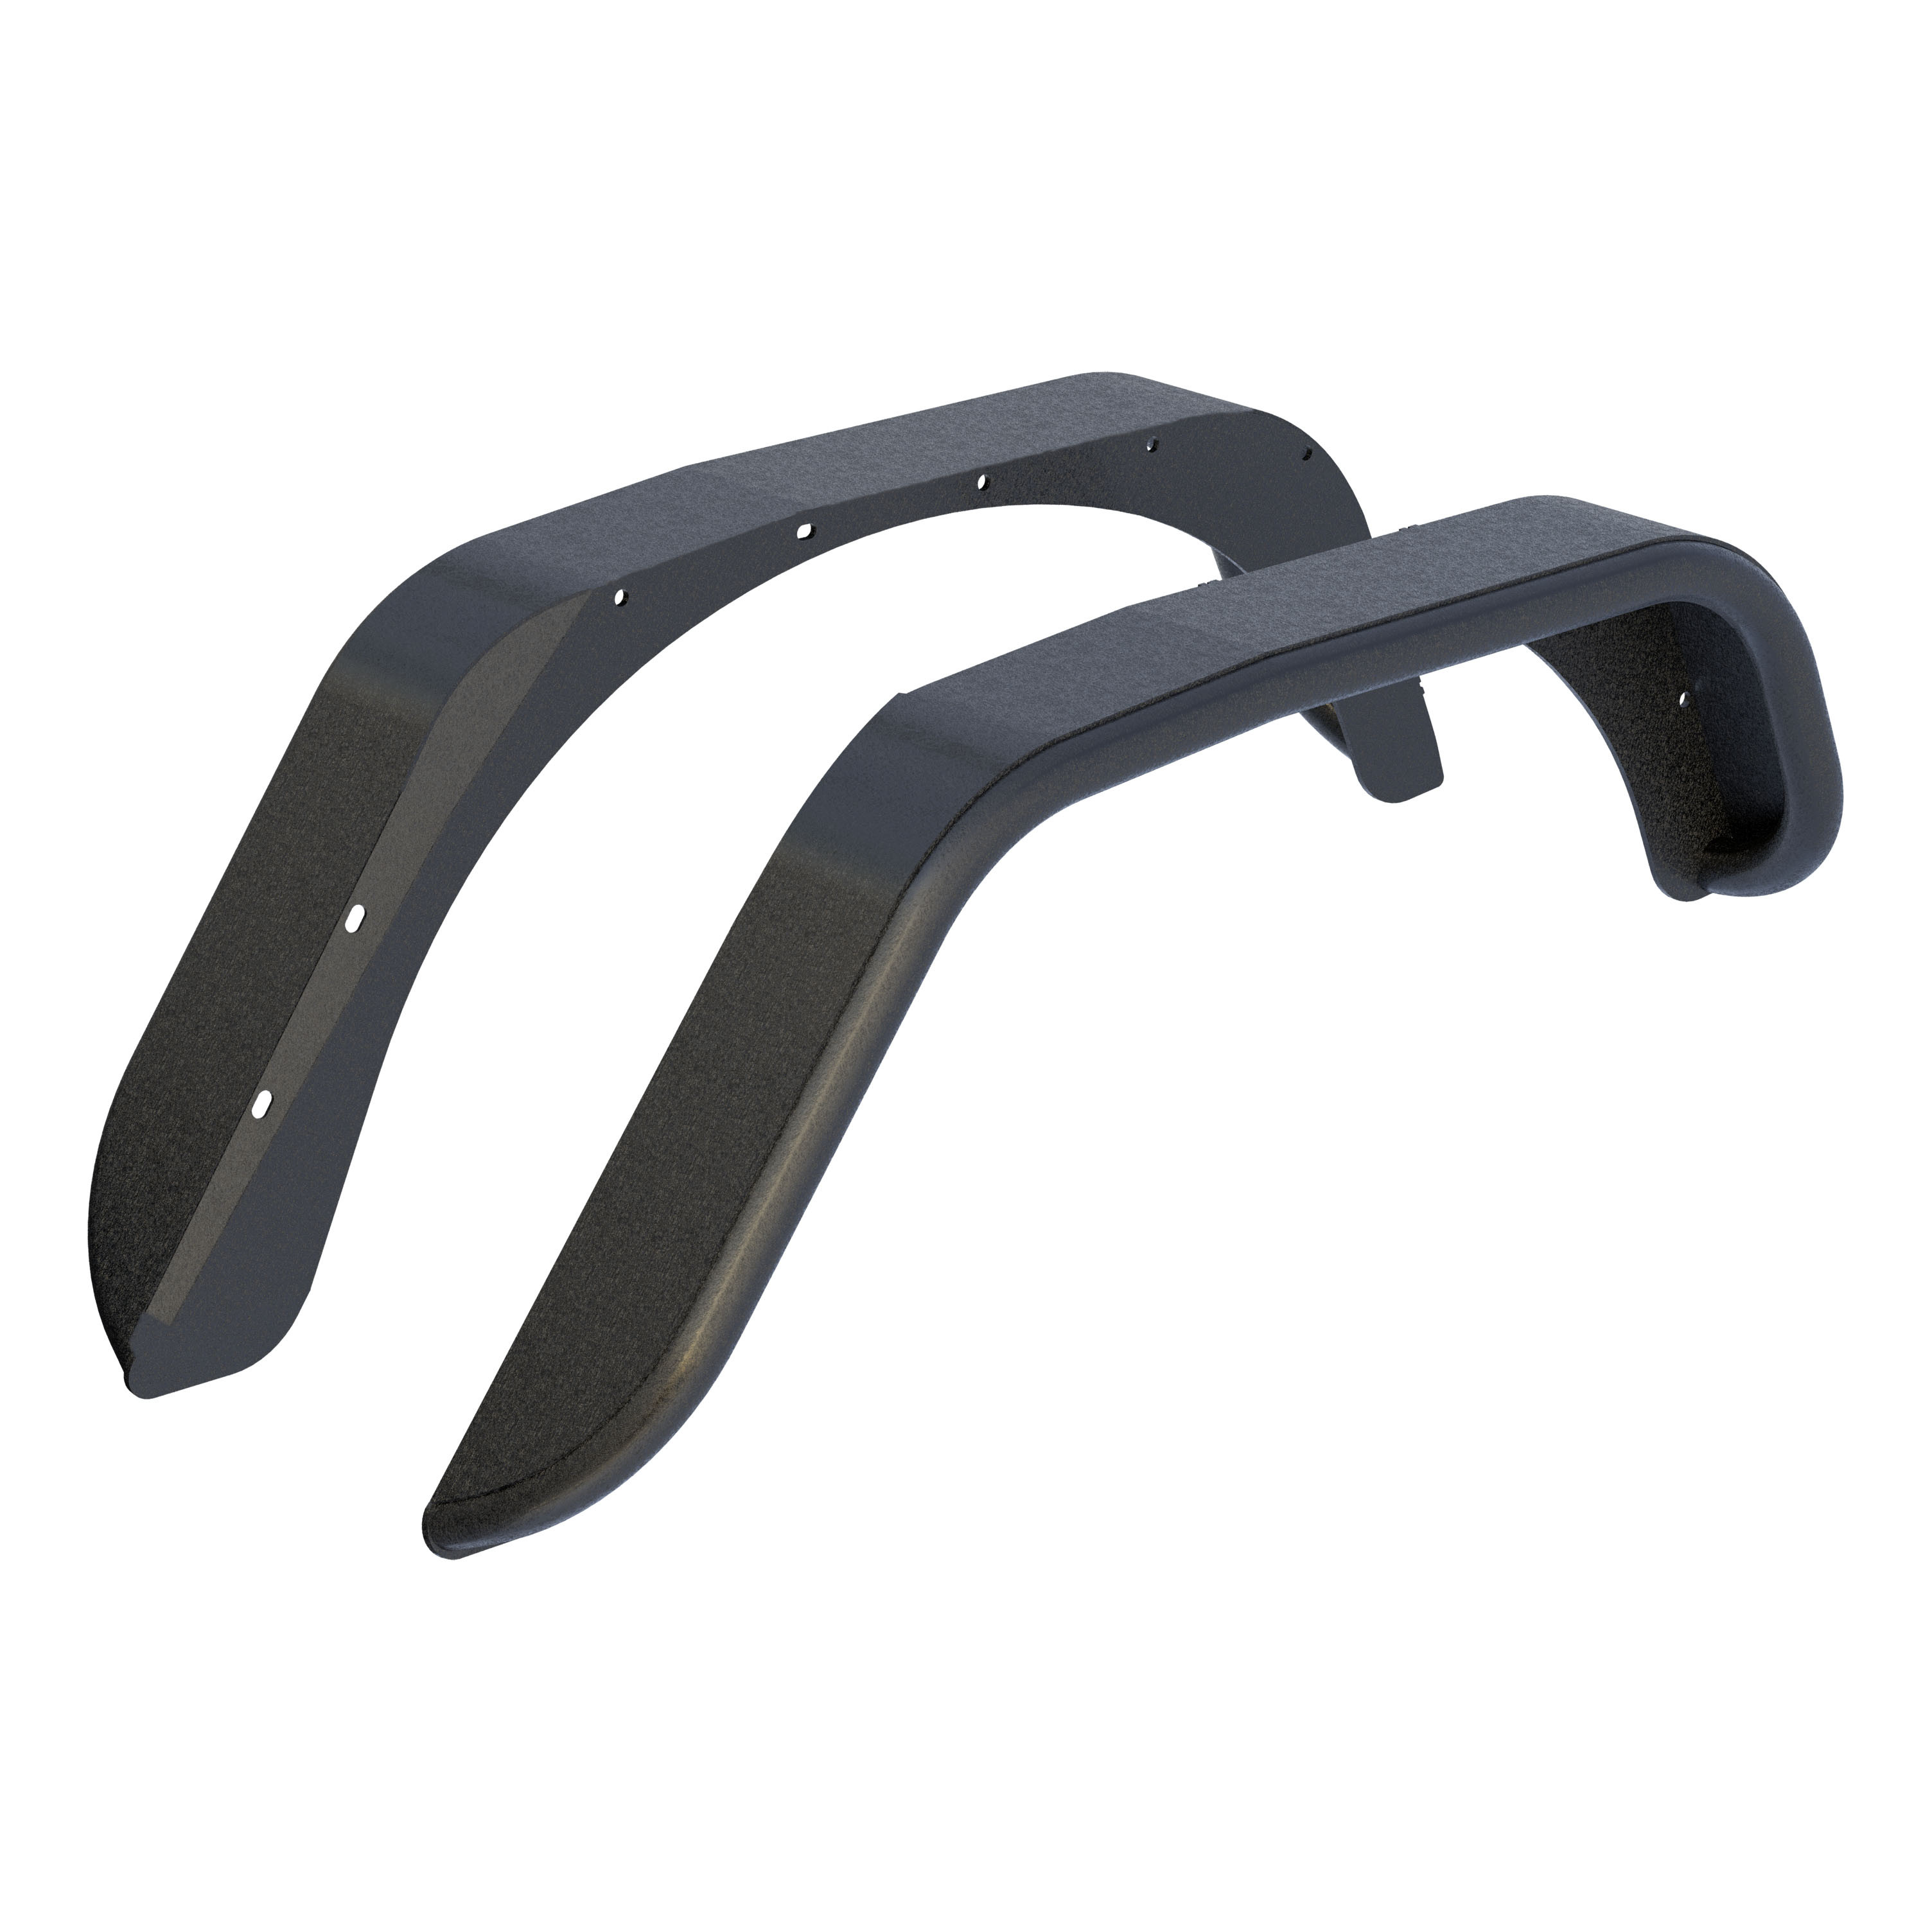
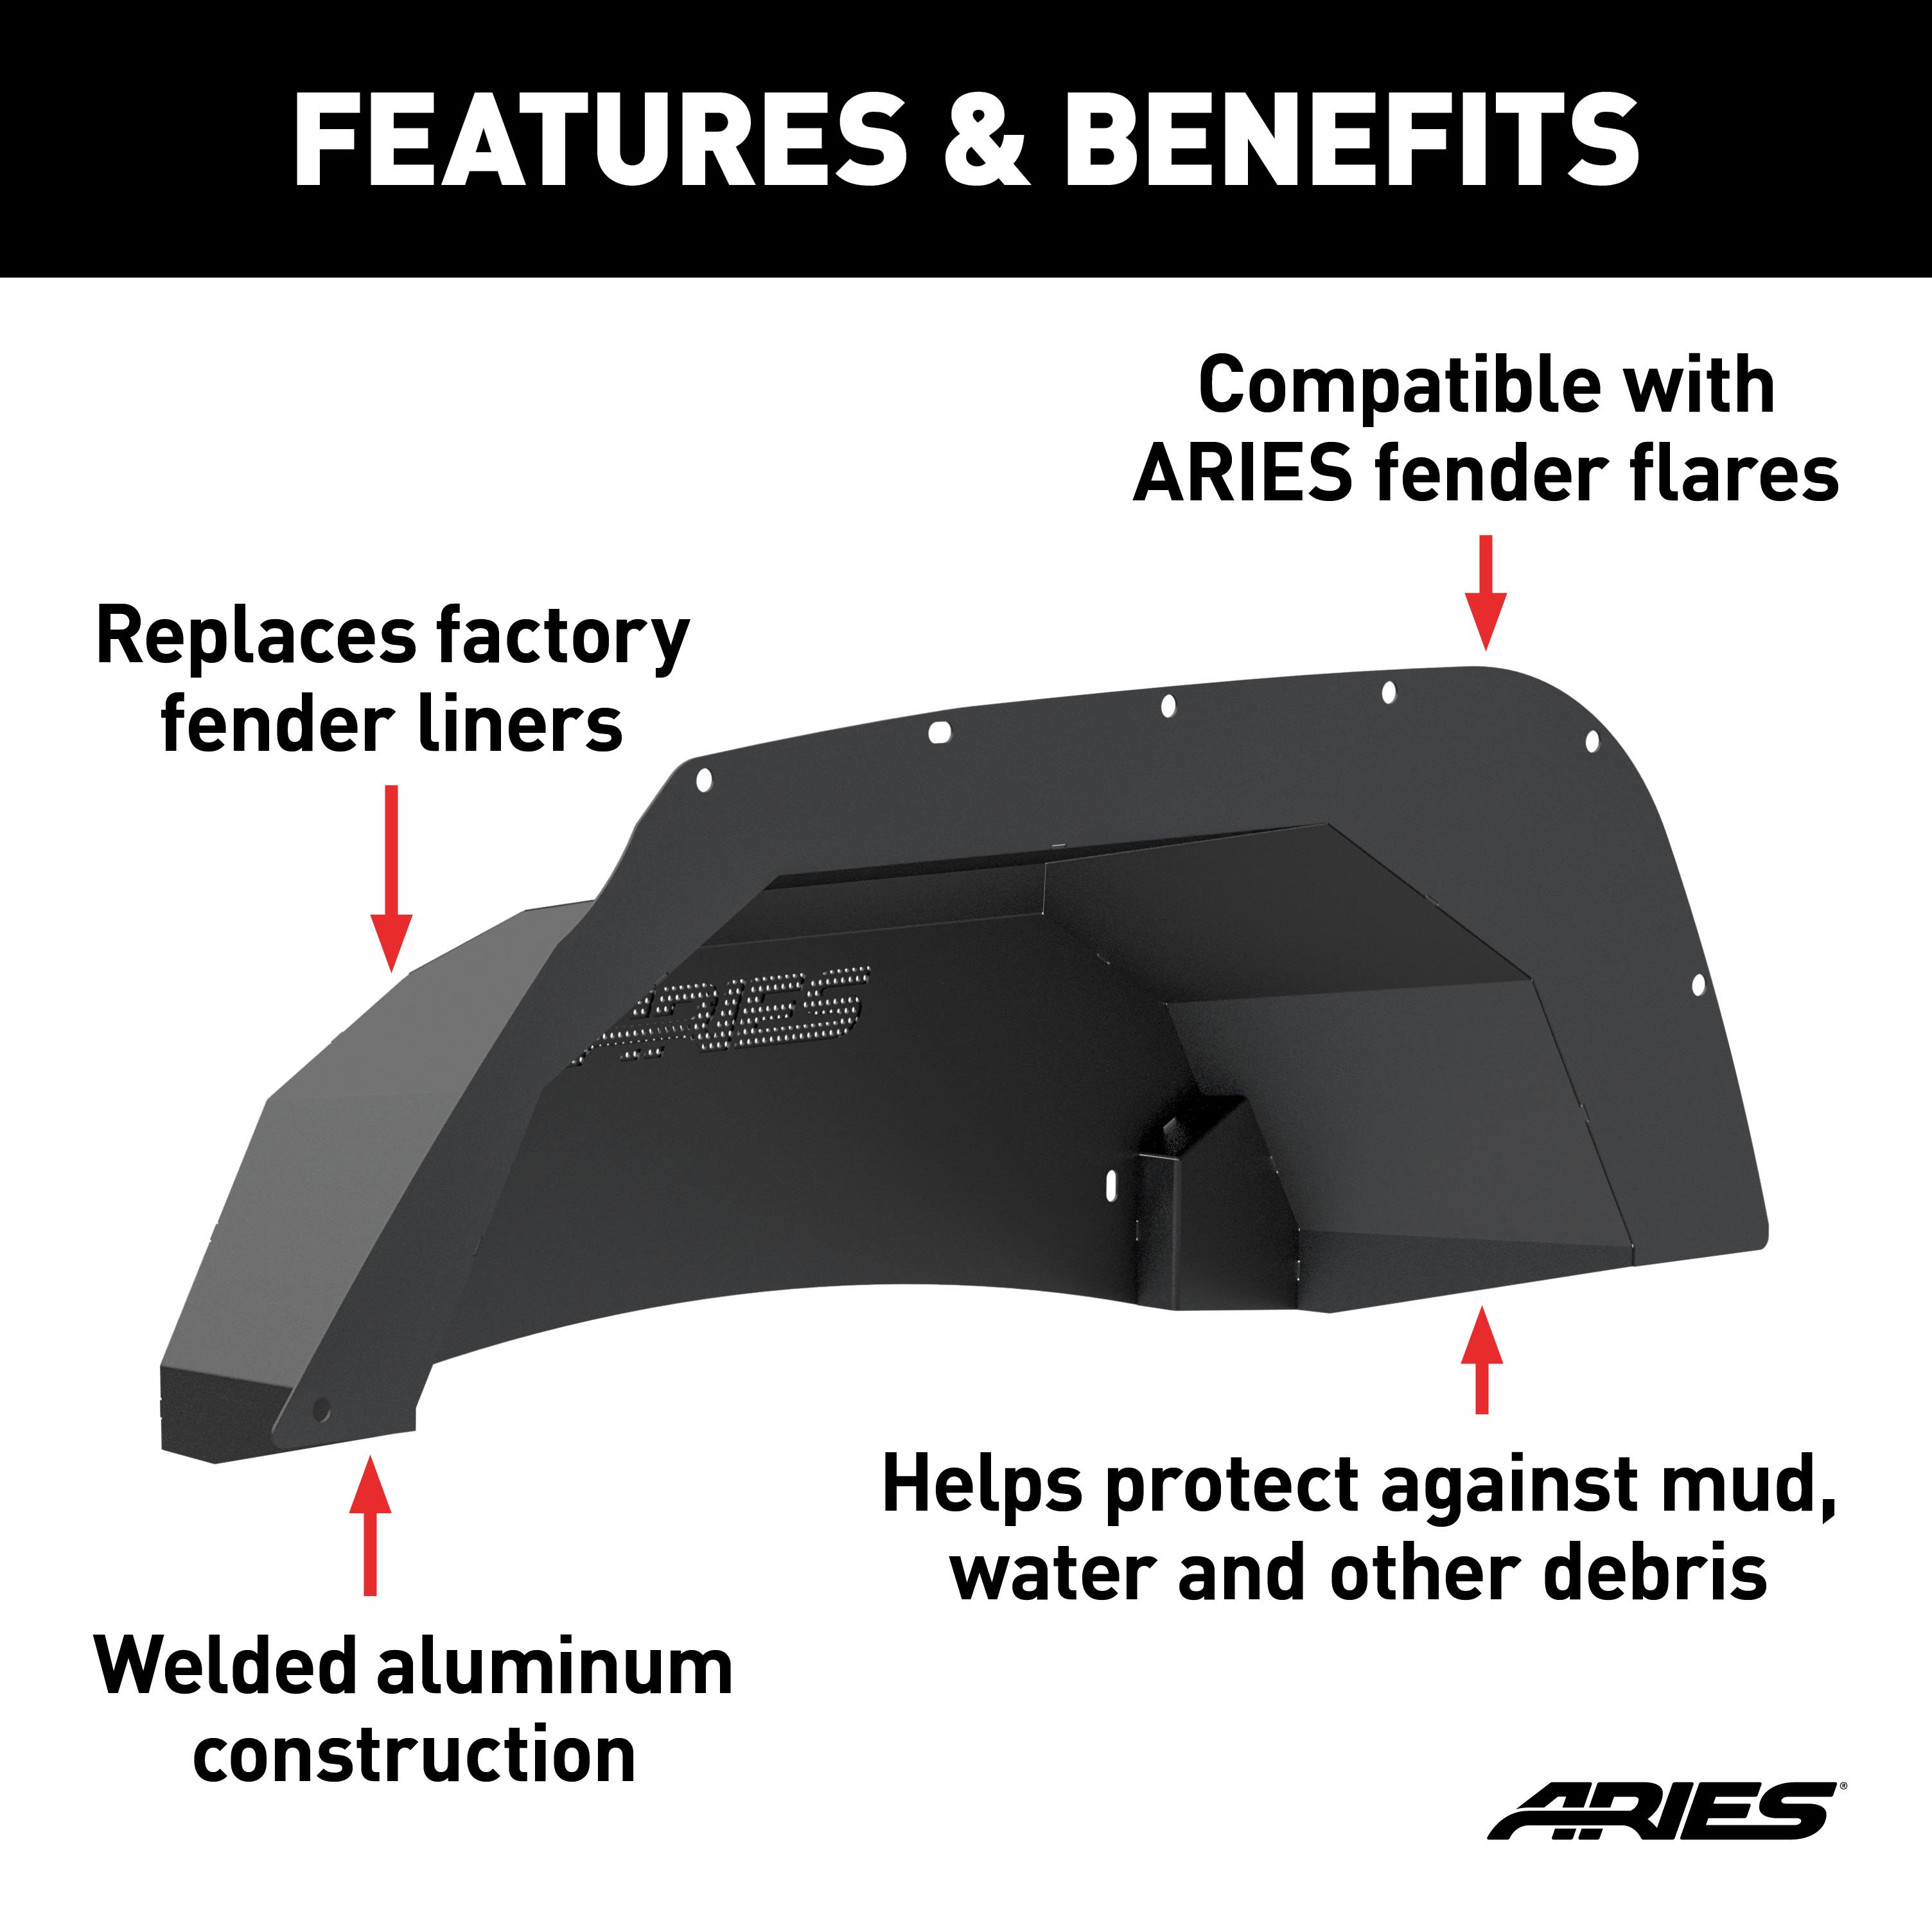
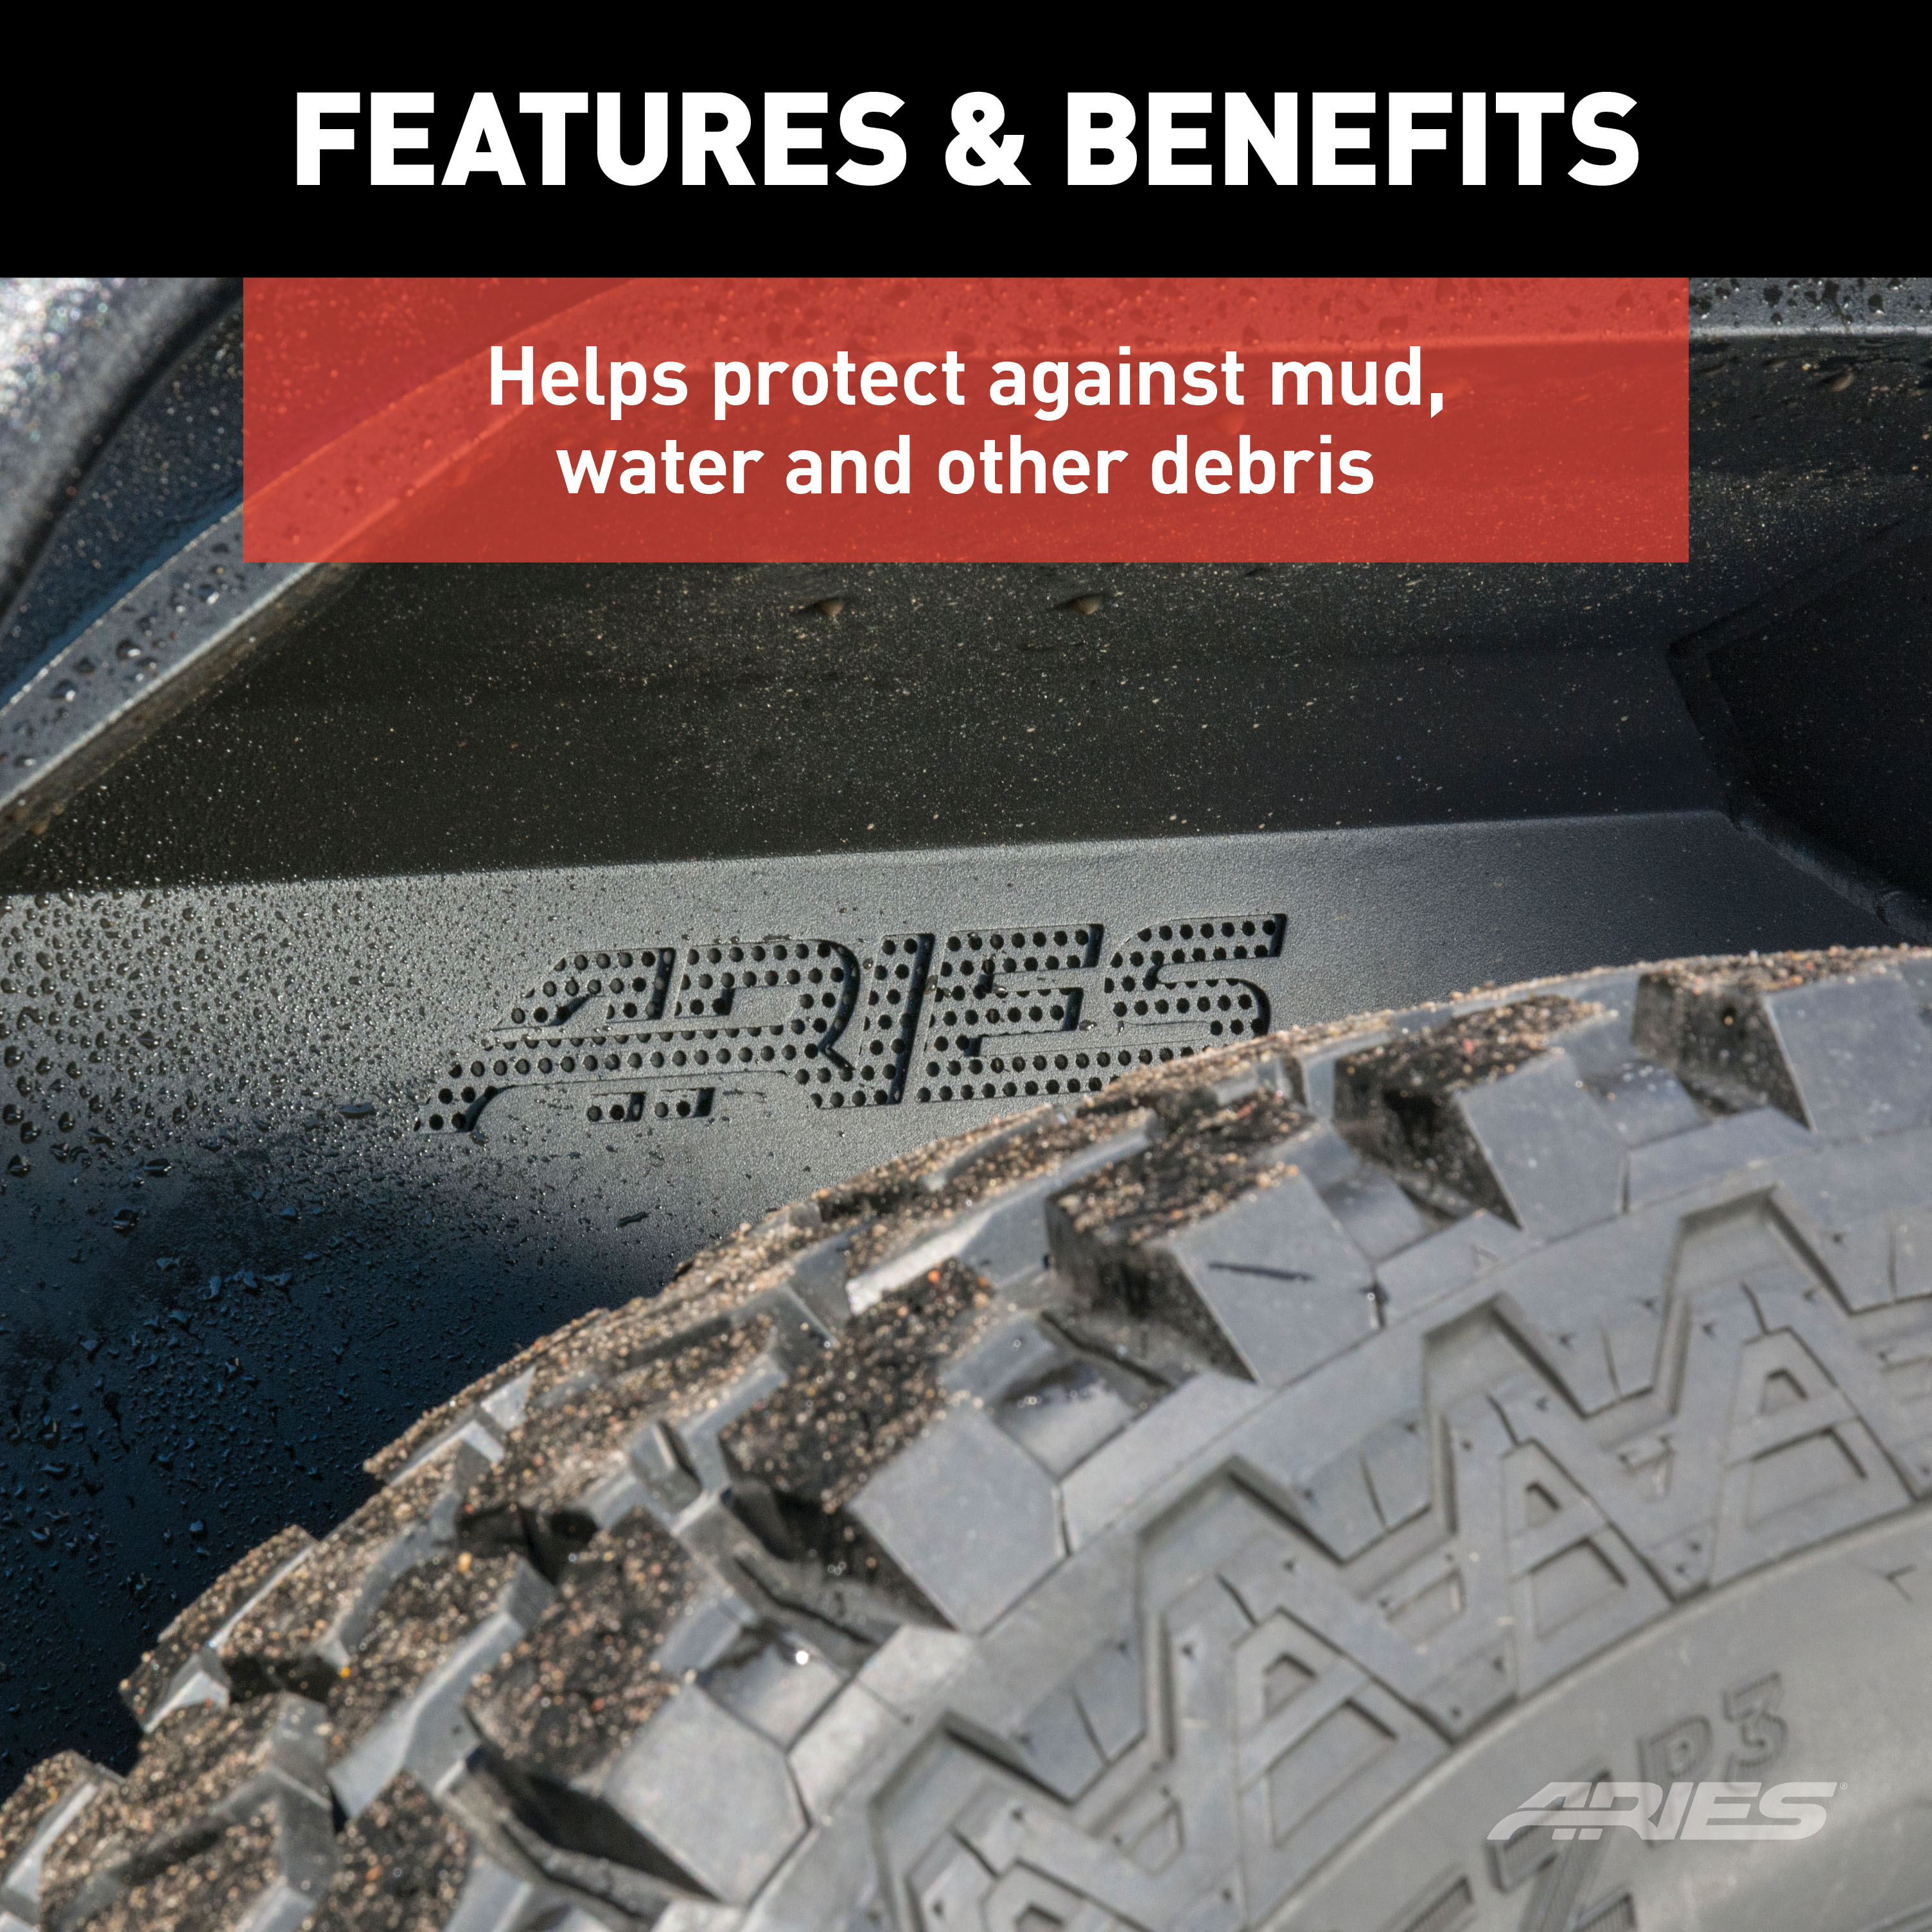
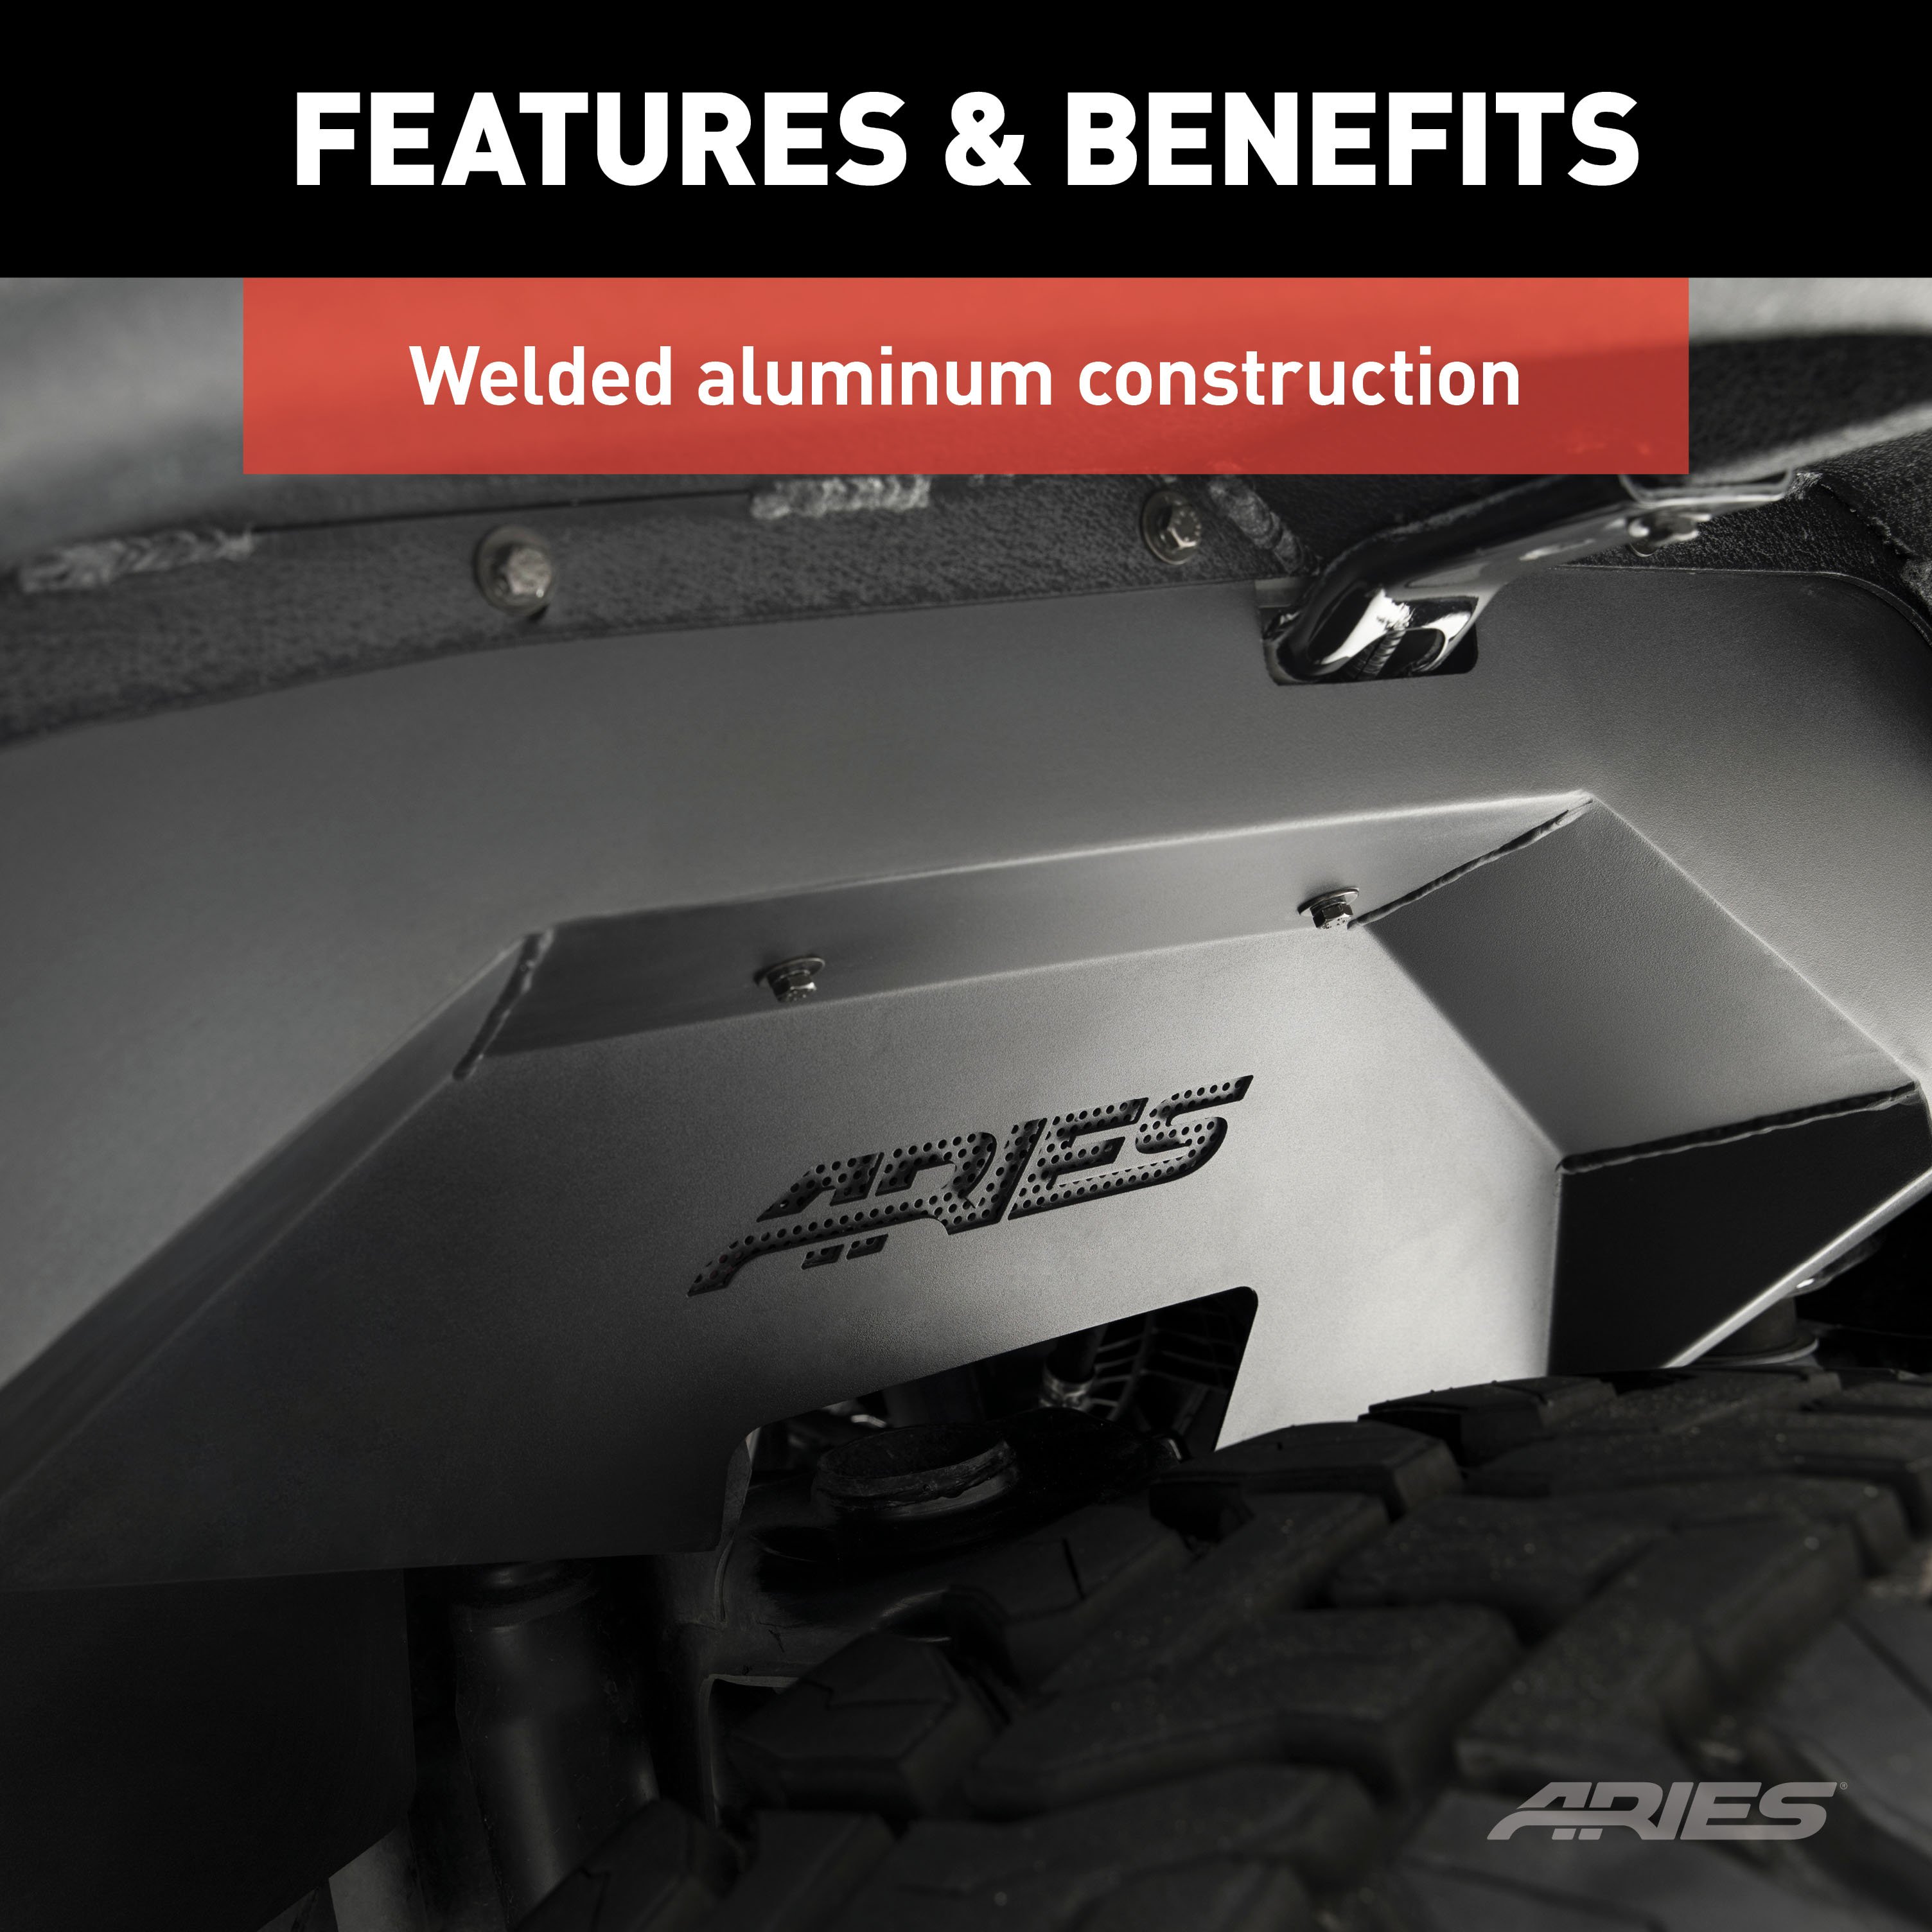
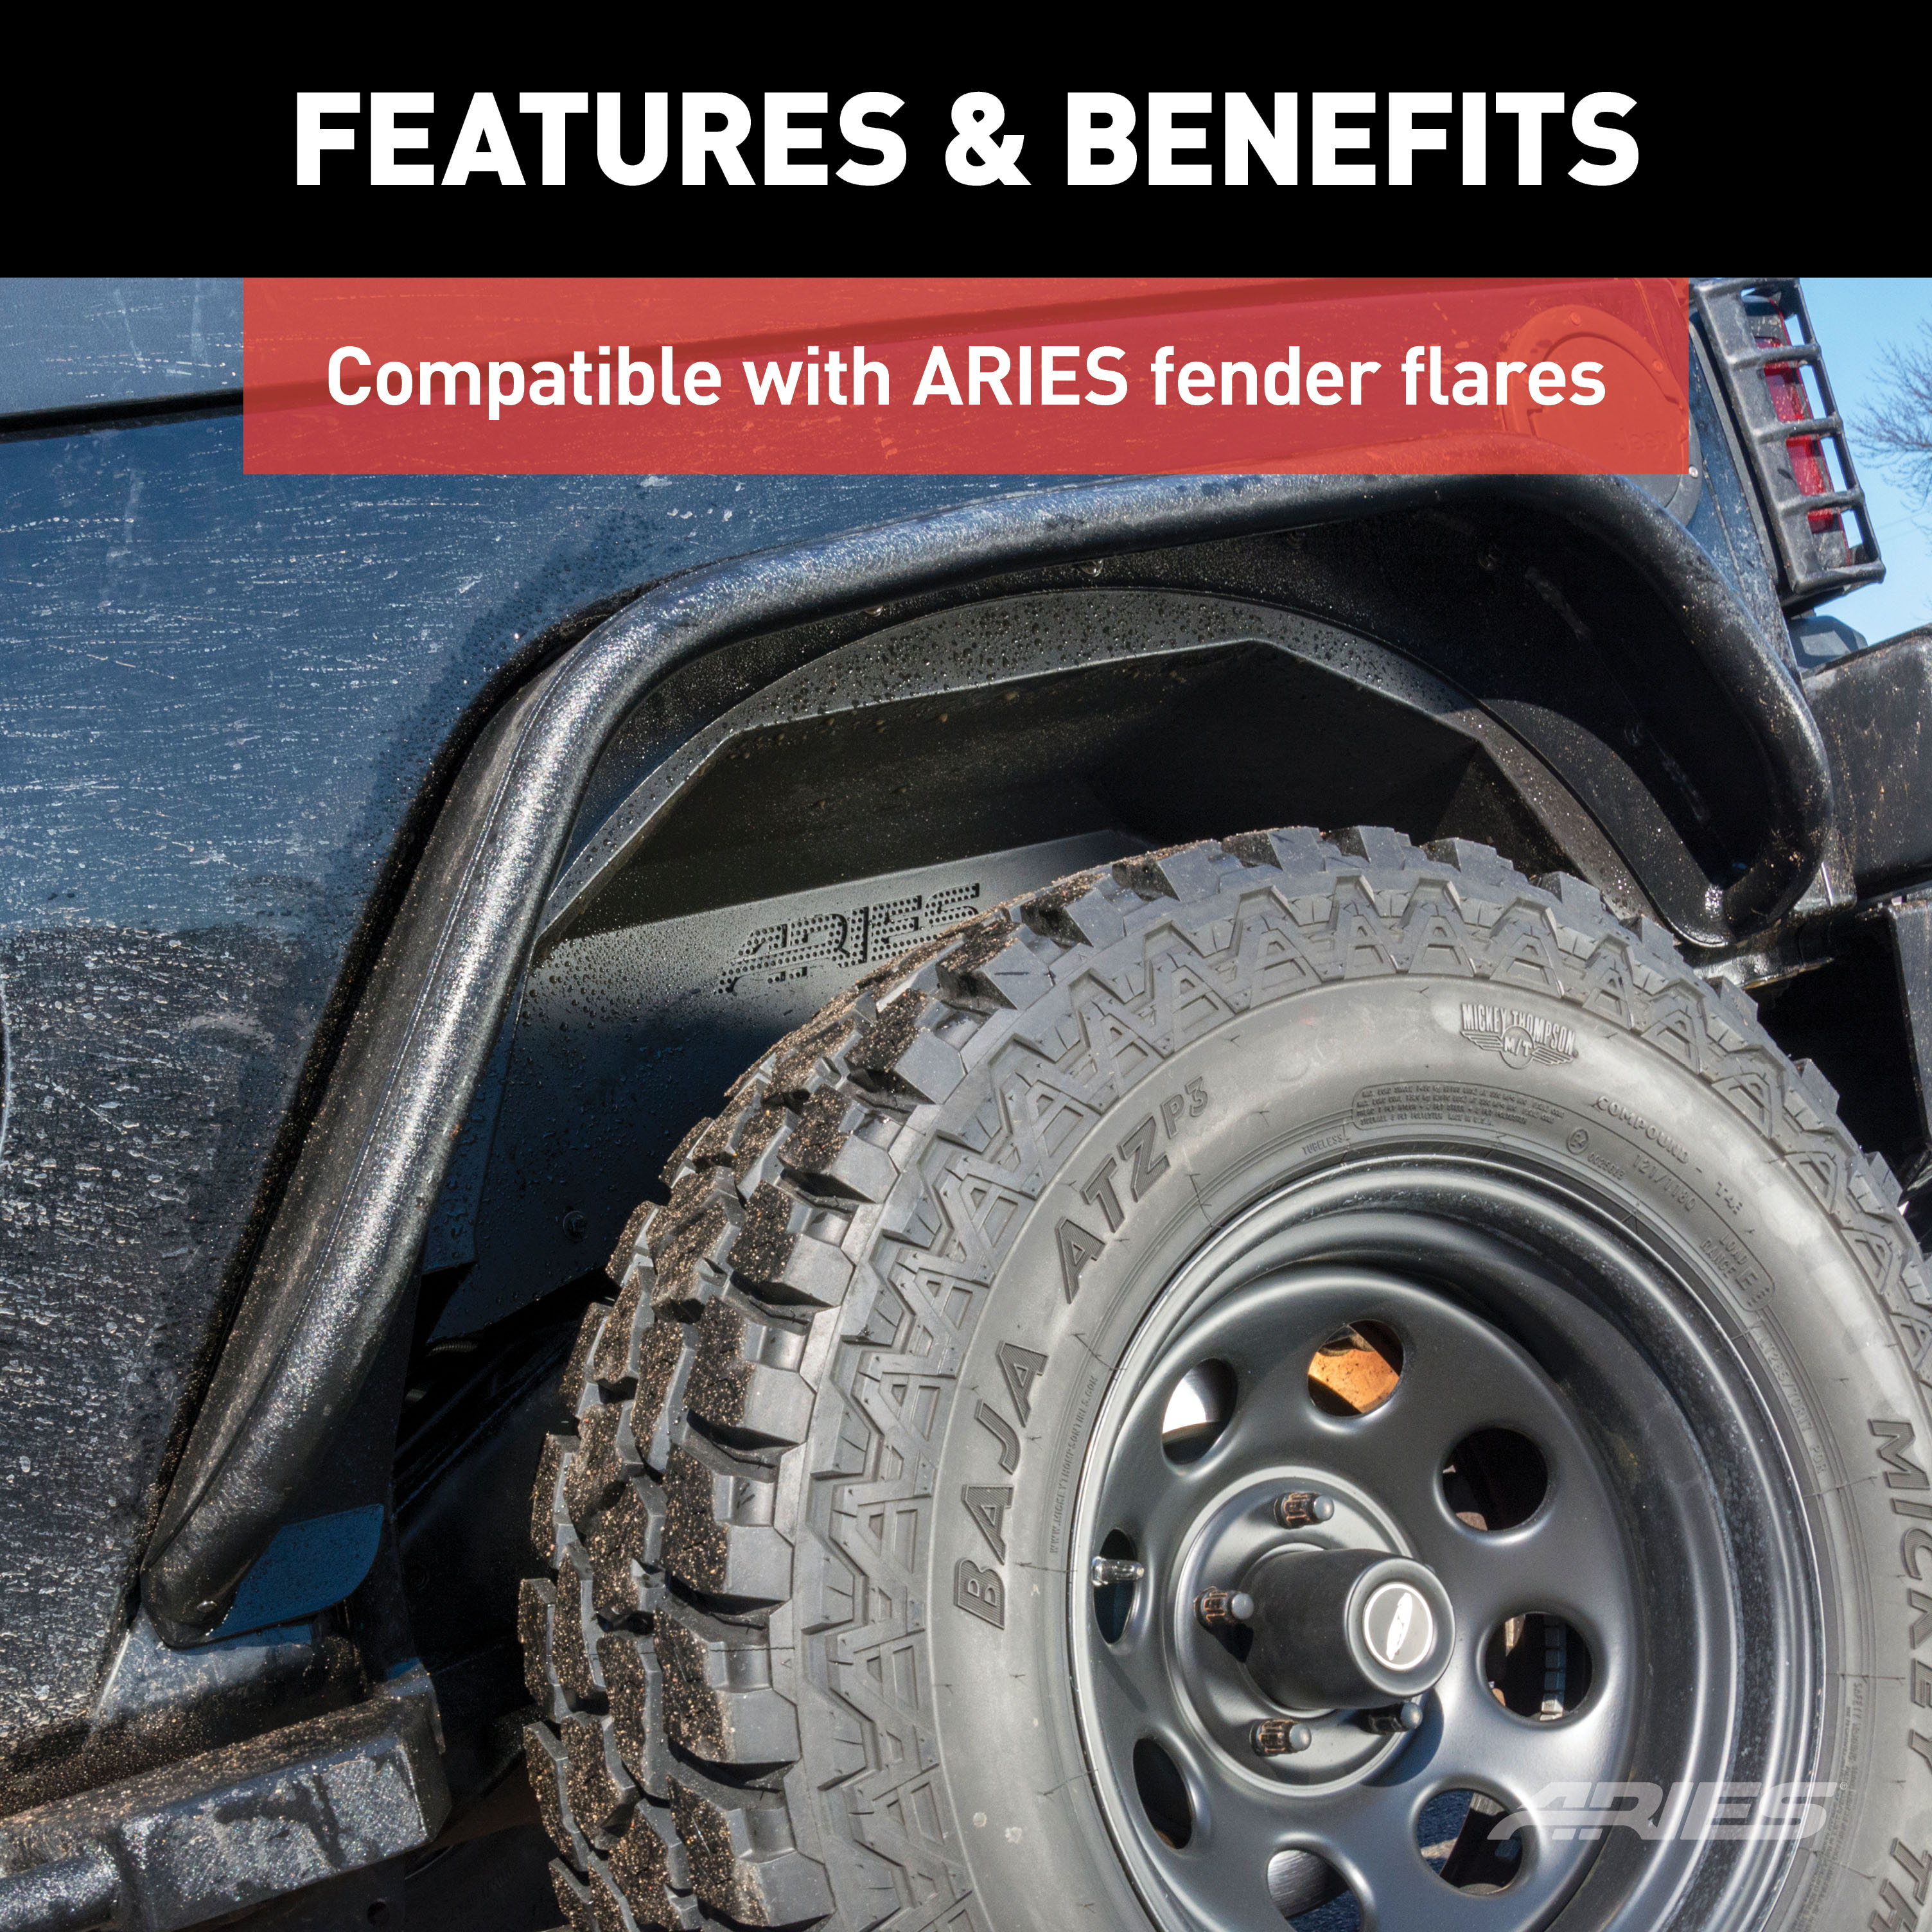
For those who eat, sleep and breathe off-roading, ARIES fender flares show off your off-road tires better than factory flares, and they feature strong, lightweight aluminum construction to easily stand up to the elements. These rear inner fender liners are designed to mount with ARIES Jeep JK fender flares #1500201 and provide ultimate protection against mud, water and road debris. ARIES Jeep inner fender liners are constructed from welded aluminum to not only be lightweight and rust-free, but also to offer better strength than the plastic factory fender liners. They are also covered in a highly durable carbide black powder coat finish for maximum corrosion protection. ARIES rear fender liners install securely in conjunction with ARIES fender flares and include all necessary hardware for a complete installation (some drilling and rivet nut installation required). Jeep fender liners are also available for the front or in a complete kit for the front and rear.

Explore ARIES products at TowUniverse for top-tier grille guards, side bars, nerf bars, headache racks, and more. Upgrade your vehicle with ARIES today!
ARIES is a fast-paced marketer and innovator of truck, Jeep, SUV and CUV accessories. From automotive enthusiasts to professional builders, our products are built for the champions of individualism, innovation and attitude.
We offer the perfect combination of unique style and durable construction, specializing in custom-fit grille guards, bull bars, side bars and running boards, as well as Jeep Wrangler and Jeep Gladiator accessories.
ARIES products are made vehicle-specific for a custom fit, and they are available for a wide variety of makes and models sold in North America.
Experts available to answer your questions
Call 888-634-9494Limited Lifetime Warranty (Five-Year Finish, One-Year Parts)
The ARIES Jeep Wrangler JK Aluminum Rear Inner Fender Liners Fender Liner (Part #BBDR2500350) fits 2007-2017 Jeep Wrangler models. The 2018 model year is the last year covered by this part number. For newer models, check for an updated version.
The ARIES Jeep Wrangler JK Aluminum Rear Inner Fender Liners Fender Liner (Part #BBDR2500350) fits the following vehicles: 2007-2017 Jeep Wrangler; 2018 Jeep Wrangler JK. Always verify your specific year, make, and model before ordering.
Yes, the ARIES Jeep Wrangler JK Aluminum Rear Inner Fender Liners Fender Liner (Part #BBDR2500350) is designed to fit the 2007-2017 Jeep Wrangler.
The ARIES Jeep Wrangler JK Aluminum Rear Inner Fender Liners Fender Liner (Part #BBDR2500350) Refer to the included instructions for installation details. Basic hand tools are typically all you need.
The kit includes 1 driver/left inner fender liner, 1 passenger/right inner fender liner, 4 handle nuts (M6), 1 thread-set bolt (M6), 1 thread-set washer, 1 thread-set spacer, 16 hex bolts (M6 x 25mm), 16 flat washers (M6), 16 lock washers (M6), 18 rivet nuts (M6), and 1 left hand-nut (M8). If installing fender flares and inner fender liners together, you will have extra hardware remaining.
The manual does not specify which vehicles this product fits. Contact ARIES Automotive at 844.278.4357 or check ariesautomotive.com for fitment information before purchasing.
Required tools are: ratchet, trim removal tool, 13mm wrench, drill, 10mm socket, 13mm socket, and 25/64" or 10mm drill bit. A paint marker is also needed to mark new hole locations. The installation difficulty is rated as moderate.
Yes. Step 6 specifically states "With assistance, hold the inner fender liner in place" when fastening the back of the liner to the vehicle. A second person is required during this part of the installation.
You must remove all push-in retainers securing the rear factory flares and set them aside. You must also remove all hex head bolts on the factory inner fender liner using a 10mm socket and set the liner aside.
Yes. You must drill new holes to fit the M6 threaded metal inserts (rivet nuts). Drill 25/64" or 10mm holes at locations marked with a paint marker. Do not make holes larger than required or the rivet nuts may fail to install.
Use a 25/64" or 10mm drill bit. These sizes are required to fit the M6 threaded metal inserts (rivet nuts) supplied with the fender liners. Do not make the holes larger than required or the rivet nuts may fail to install.
M6 bolts should be torqued to 3 ft-lbs. This applies to all M6 fasteners used in the installation unless otherwise noted in the instructions.
The M8 bolt should be torqued to 7 ft-lbs. This bolt is part of the thread-set tool used to install the M6 rivet nuts.
1. Screw the left hand-nut completely onto the thread-set tool. Slide the thread-set spacer onto the larger thread until it rests against the M8 left hand-nut. 2. Place an M6 flat washer on the small thread, followed by an M6 rivet nut. Thread the rivet nut onto the small end of the tool until it seats the washer against the shoulder. 3. Insert the rivet nut into the drilled hole. 4. Using a 13mm wrench, hold the M8 nut on the thread-set tool. With a 13mm socket, turn the bolt head clockwise until the M8 nut and spacer contact the M6 washer and rivet nut. After tension is felt, carefully compress the rivet nut in the hole while applying slight pressure to keep it seated (approximately two full rotations). Do not over-tighten or you may damage the thread-set tool and/or vehicle panel.
With assistance, hold the inner fender liner in place and fasten the back of the liner to the vehicle using two M6 bolts, two M6 flat washers, two M6 lock washers, and two handle nuts. Snug the hardware but do not fully tighten at this stage. After all fasteners are started, ensure all handle nuts do not contact the brake lines or fuel fill tube. Then tighten all fasteners.
Place the fender flare on top of the inner fender liner and fasten it in place with six M6 bolts, six M6 lock washers, and six M6 flat washers. Secure the two remaining mounting points with the removed factory fender flare hardware.
After installation, ensure all handle nuts do not contact the brake lines or the fuel fill tube. Periodic inspections should be performed after installation to ensure all mounting hardware remains tight.
To protect the product, wax after installing. Regular waxing is recommended to add a protective layer over the finish. Do not use any type of polish or wax that may contain abrasives that could damage the finish. For polished, gloss and other smooth finishes, polish may be used to clear small scratches and scuffs. Mild automotive detergent may be used to clean the product. Do not use dish detergent, abrasive cleaners, abrasive pads, wire brushes or other similar products that may damage the finish.
Periodic inspections should be performed to ensure all mounting hardware remains tight. The manual does not specify an exact interval, but regular checks are recommended to maintain the integrity of the installation.
The manual does not specify vehicle applications. Contact ARIES Automotive at 844.278.4357 or visit ariesautomotive.com to confirm fitment for your specific vehicle.
You need a ratchet, trim removal tool, 13mm wrench, drill, 10mm socket, 13mm socket, 25/64" or 10mm drill bit, and paint marker. Installation difficulty is moderate.
Yes. You must drill 25/64" or 10mm holes for the M6 rivet nuts. Do not make holes larger than required or the rivet nuts may fail.
Yes. A second person is required to hold the inner fender liner in place during fastening (Step 6).
Torque M6 bolts to 3 ft-lbs.
Ensure all handle nuts do not contact the brake lines or fuel fill tube. Perform periodic inspections to ensure all mounting hardware remains tight.
Wax the product after installation and regularly thereafter. Do not use abrasive polishes, dish detergent, abrasive cleaners, abrasive pads or wire brushes. Use mild automotive detergent for cleaning.
If the rivet nut fails to install, the most likely cause is that the drilled hole is too large. The manual states: "Do not make the holes larger than required or the rivet nuts my fail to install." Verify that you drilled exactly 25/64" or 10mm holes. If holes are oversized, they cannot be corrected and the panel may need to be replaced.
Over-tightening the rivet nut may damage the thread-set tool and/or vehicle panel. To prevent this, only compress the rivet nut enough to seat it in the hole without rotating—approximately two full rotations after tension is felt. If the tool is already damaged, it will need to be replaced before continuing installation.
After all fasteners are started, check that handle nuts do not contact the brake lines or fuel fill tube. If contact is found, loosen the fasteners, reposition the inner fender liner slightly, and retighten. Do not proceed with final tightening until clearance is confirmed.
No reviews have been added for this product.