Ask a Question About This Product
Our in-house experts typically reply within one business day.
Our in-house experts typically reply within one business day.

CURT


Always the correct part
We know our products
Quality Products
Free Shipping!
Always the correct part
We know our products
Quality Products
Free Shipping!

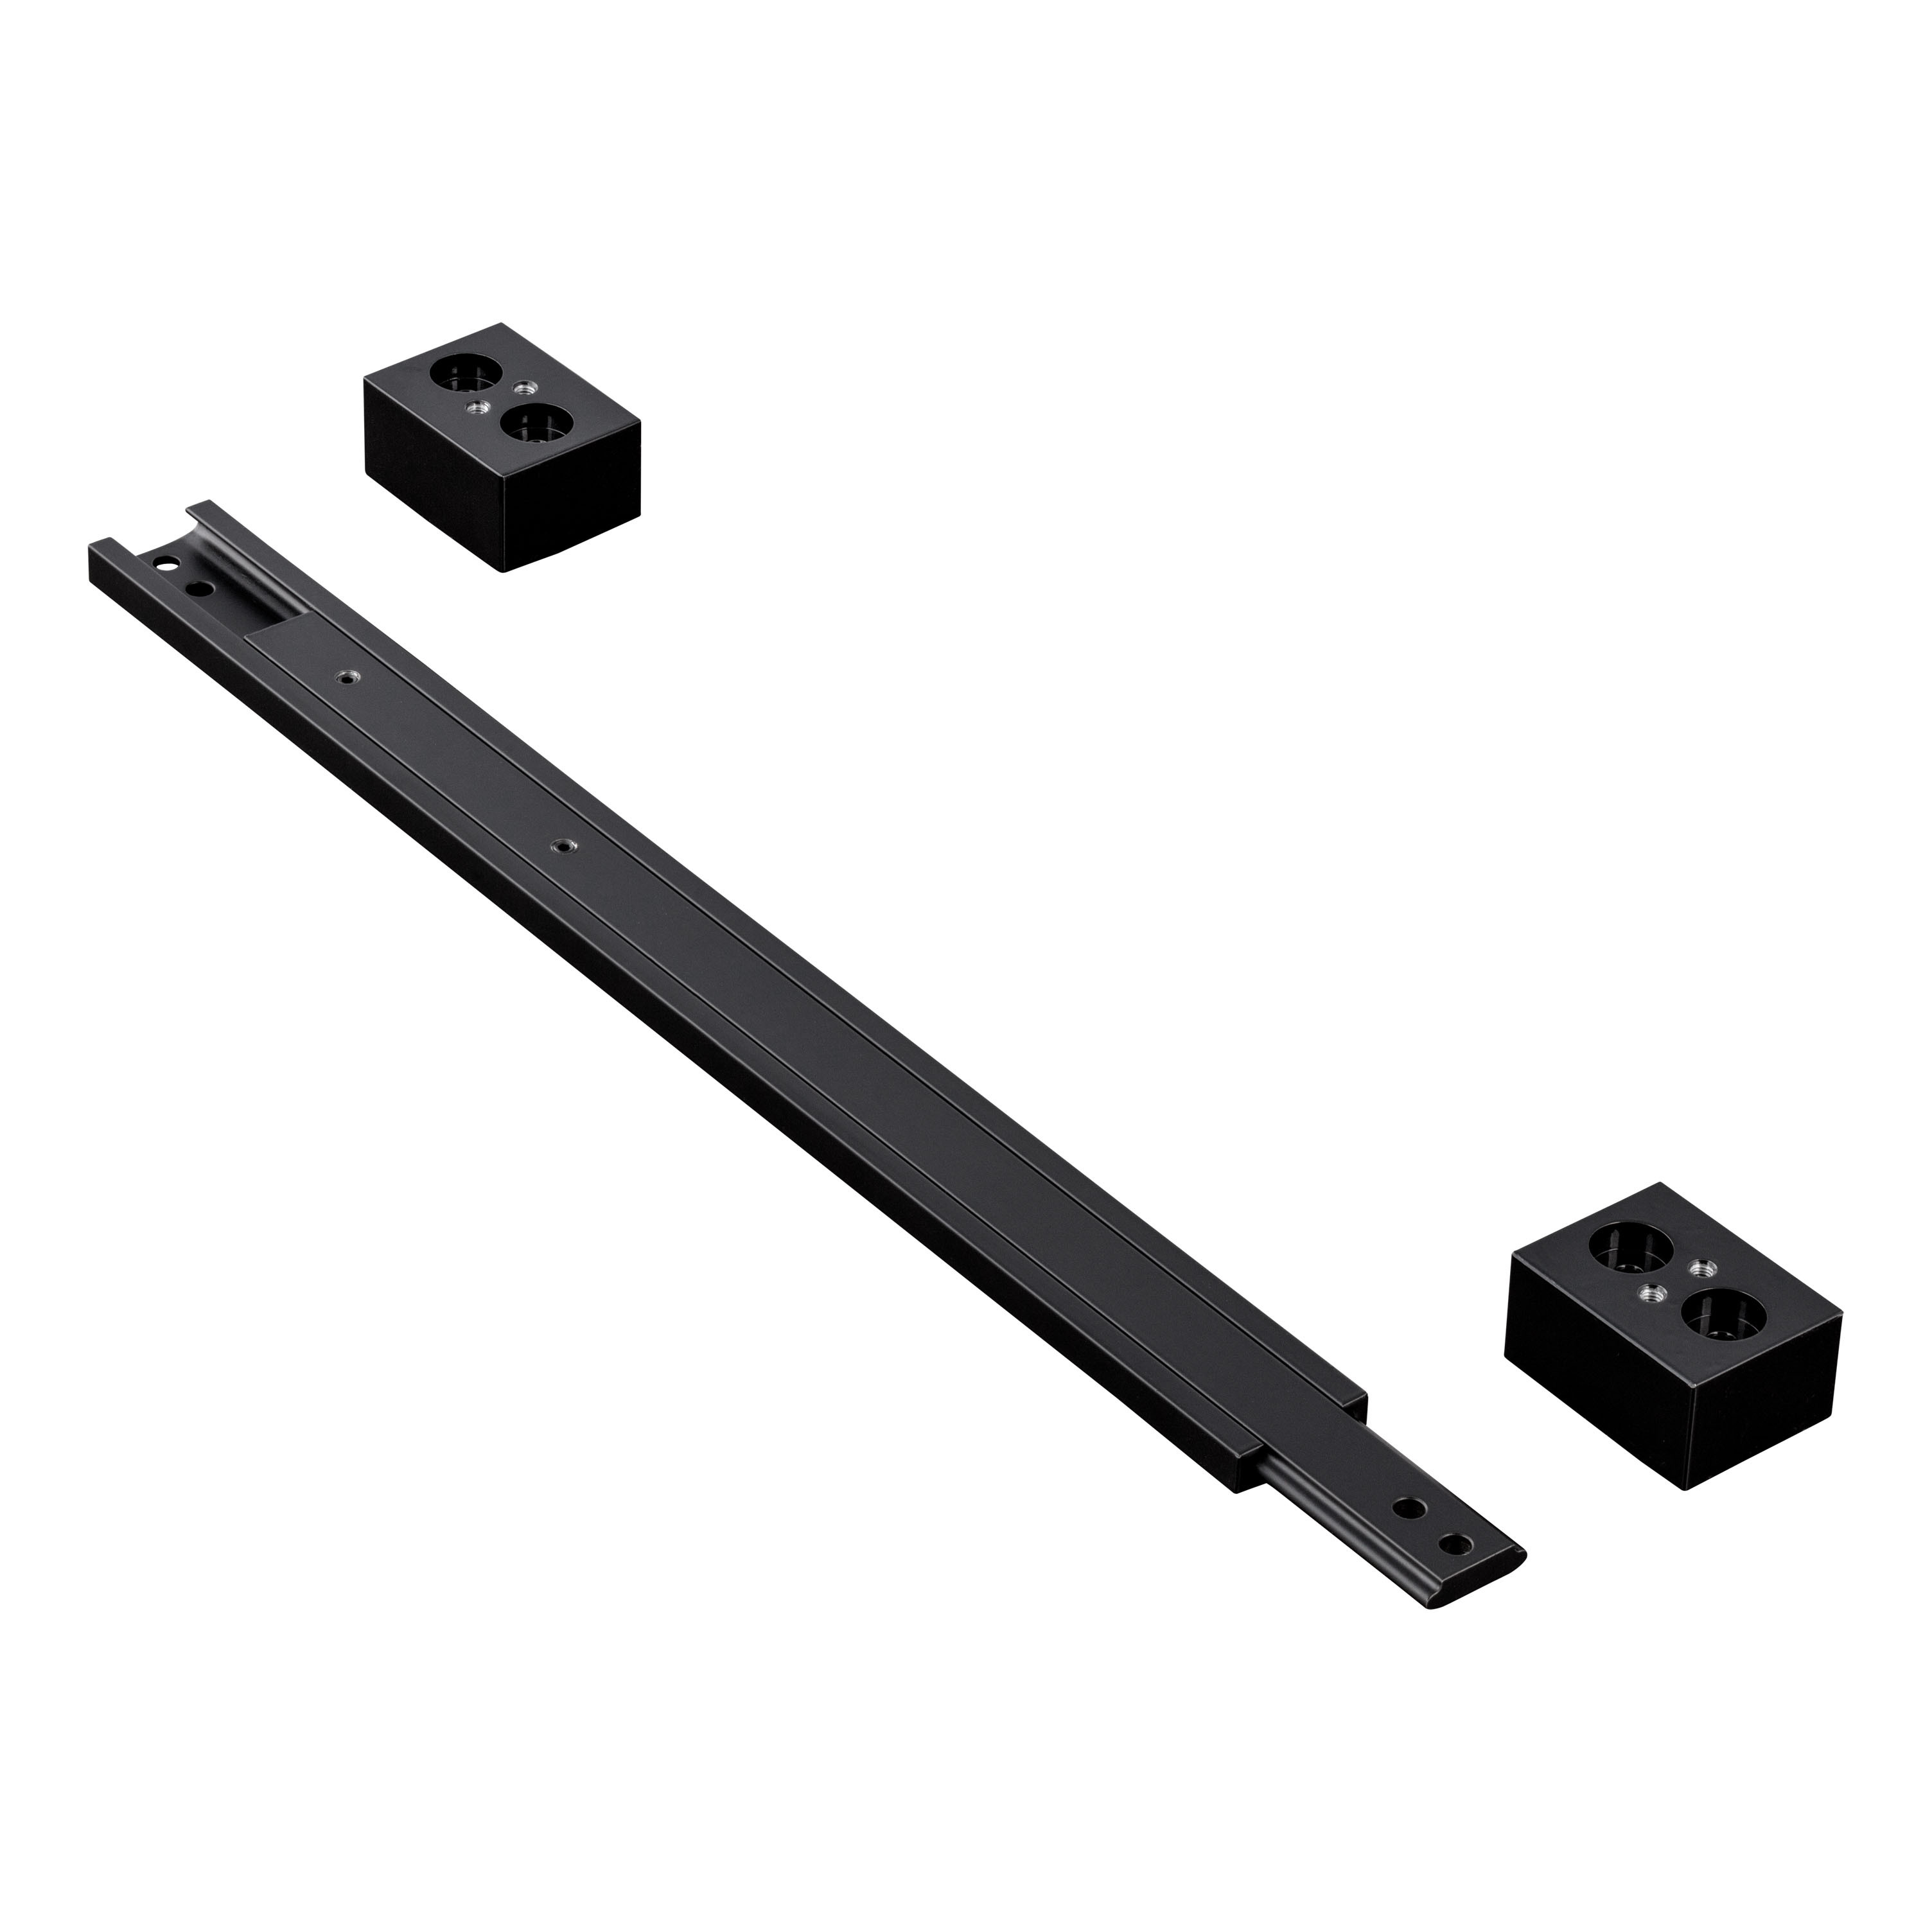
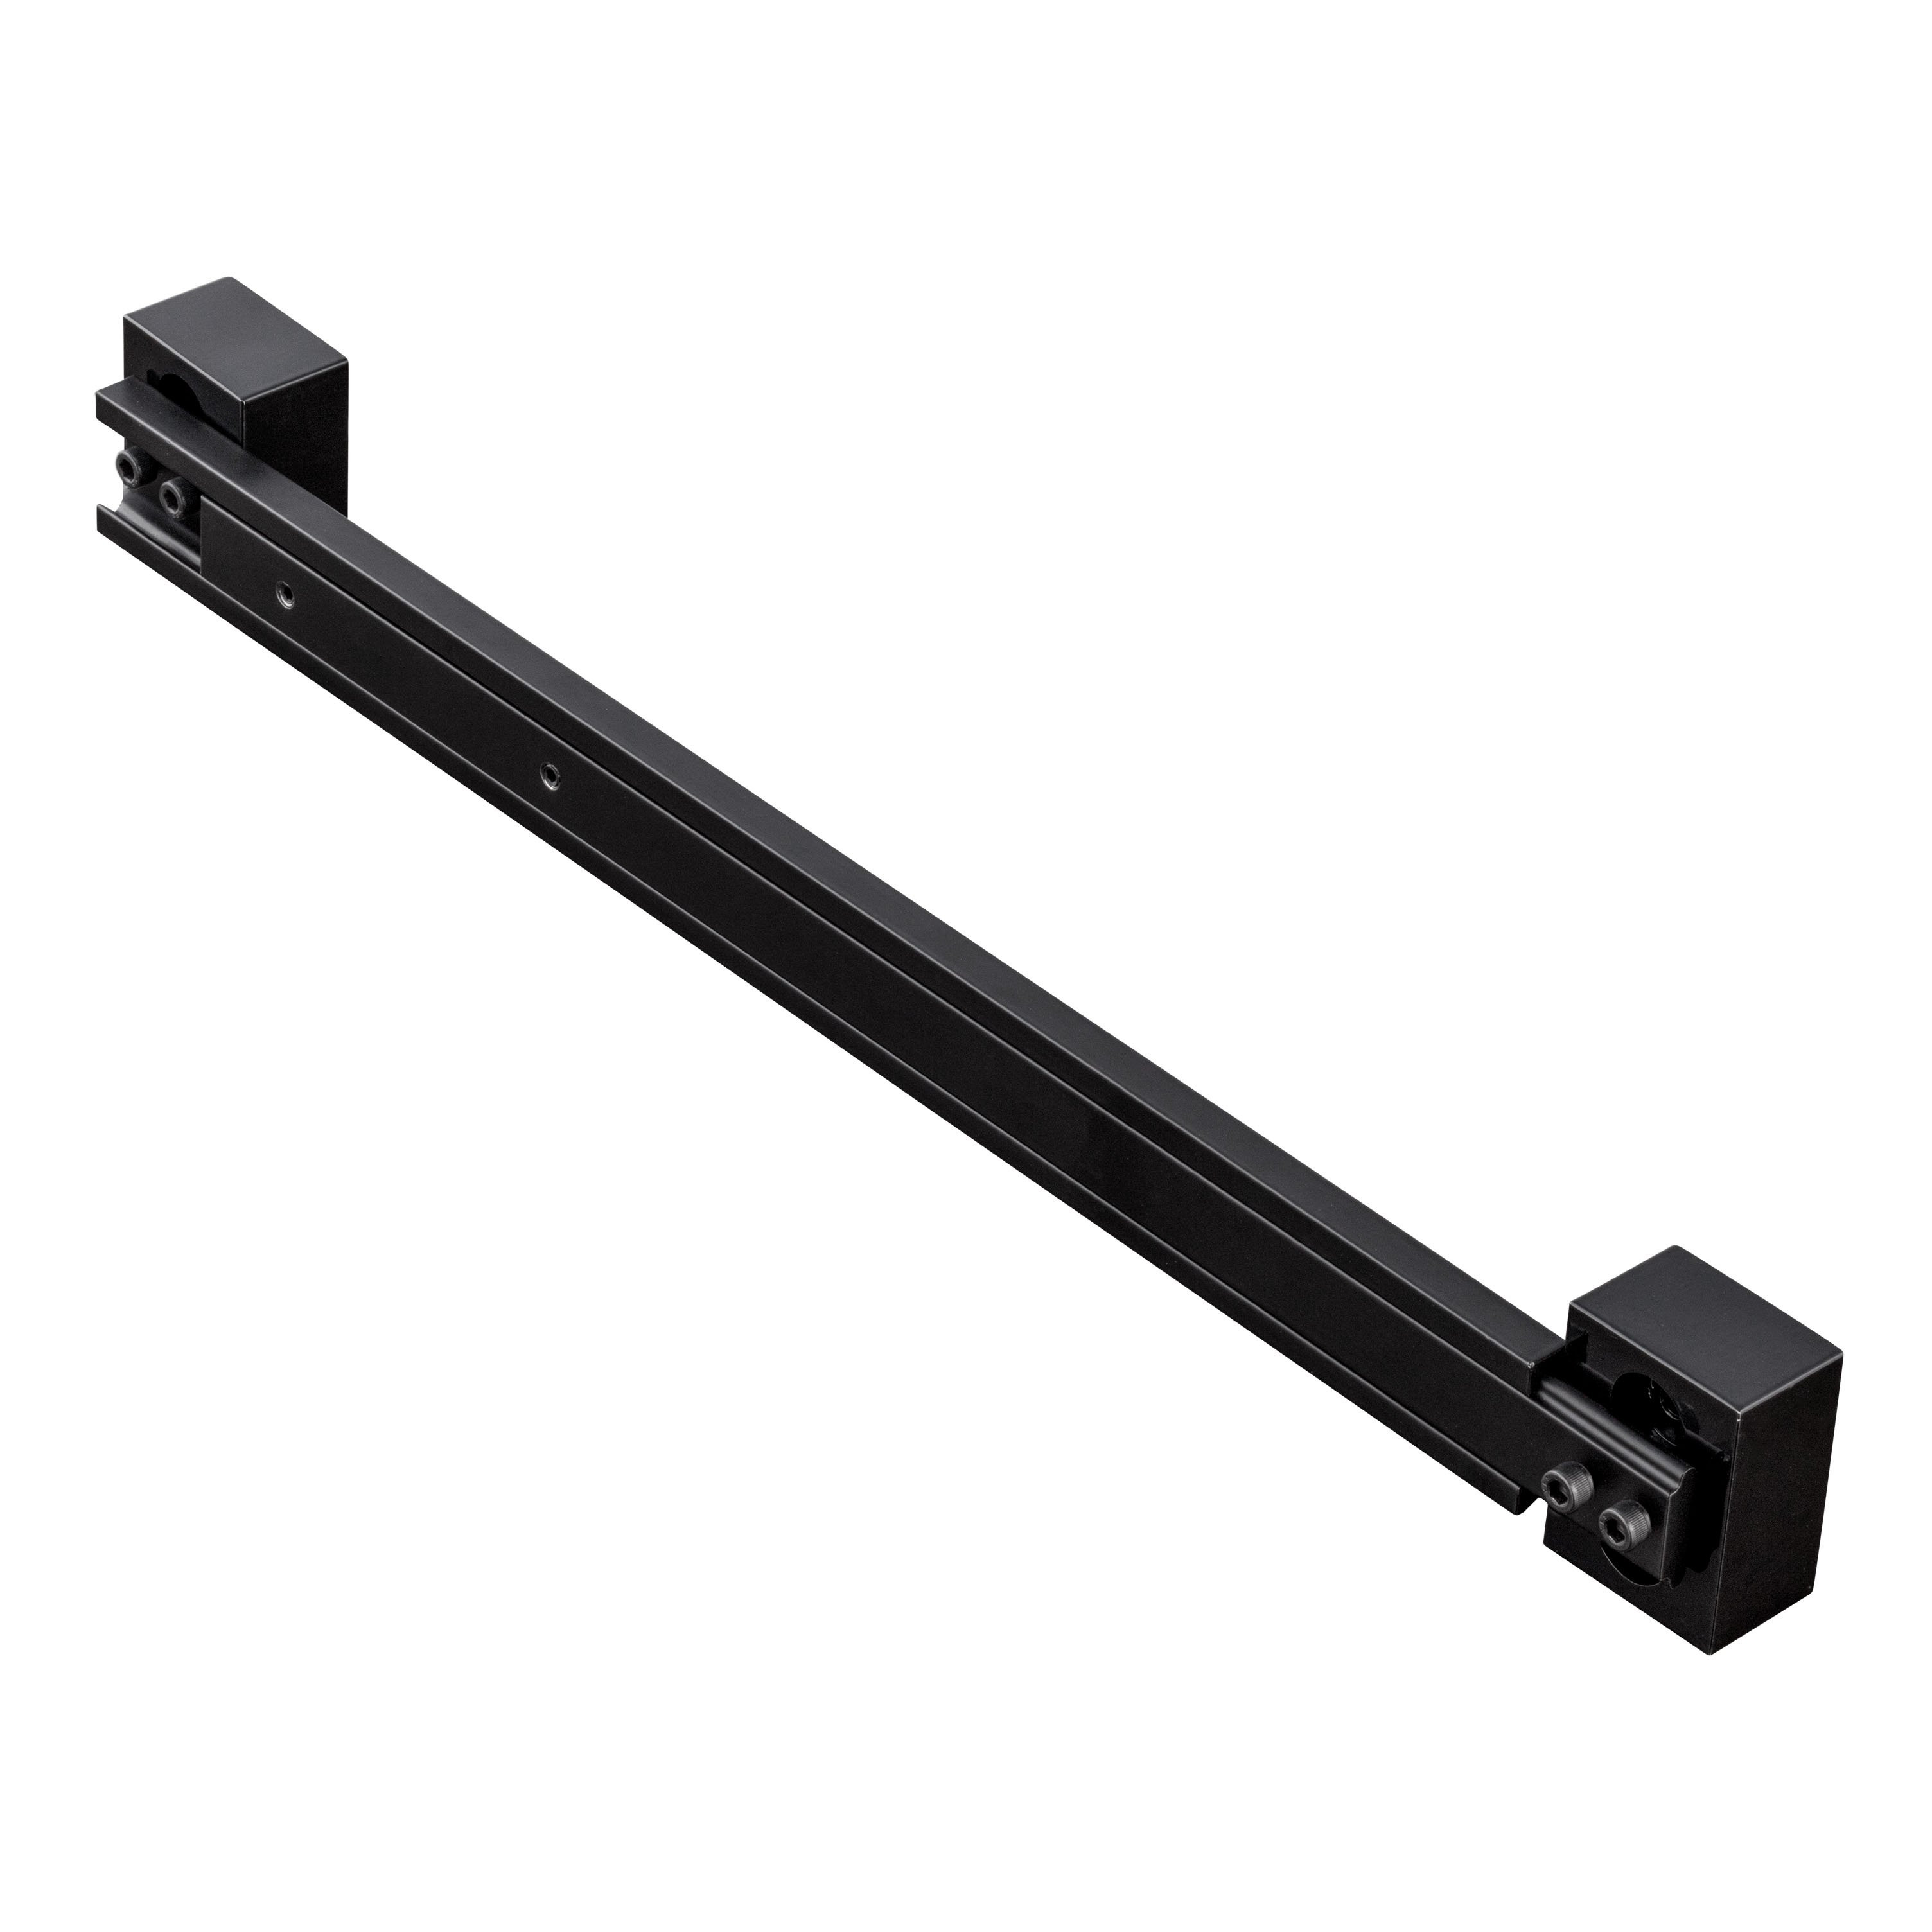
Provides a secure mounting surface for Dodge Ram 1500, 2500, 3500 and Ram 1500, 2500, 3500
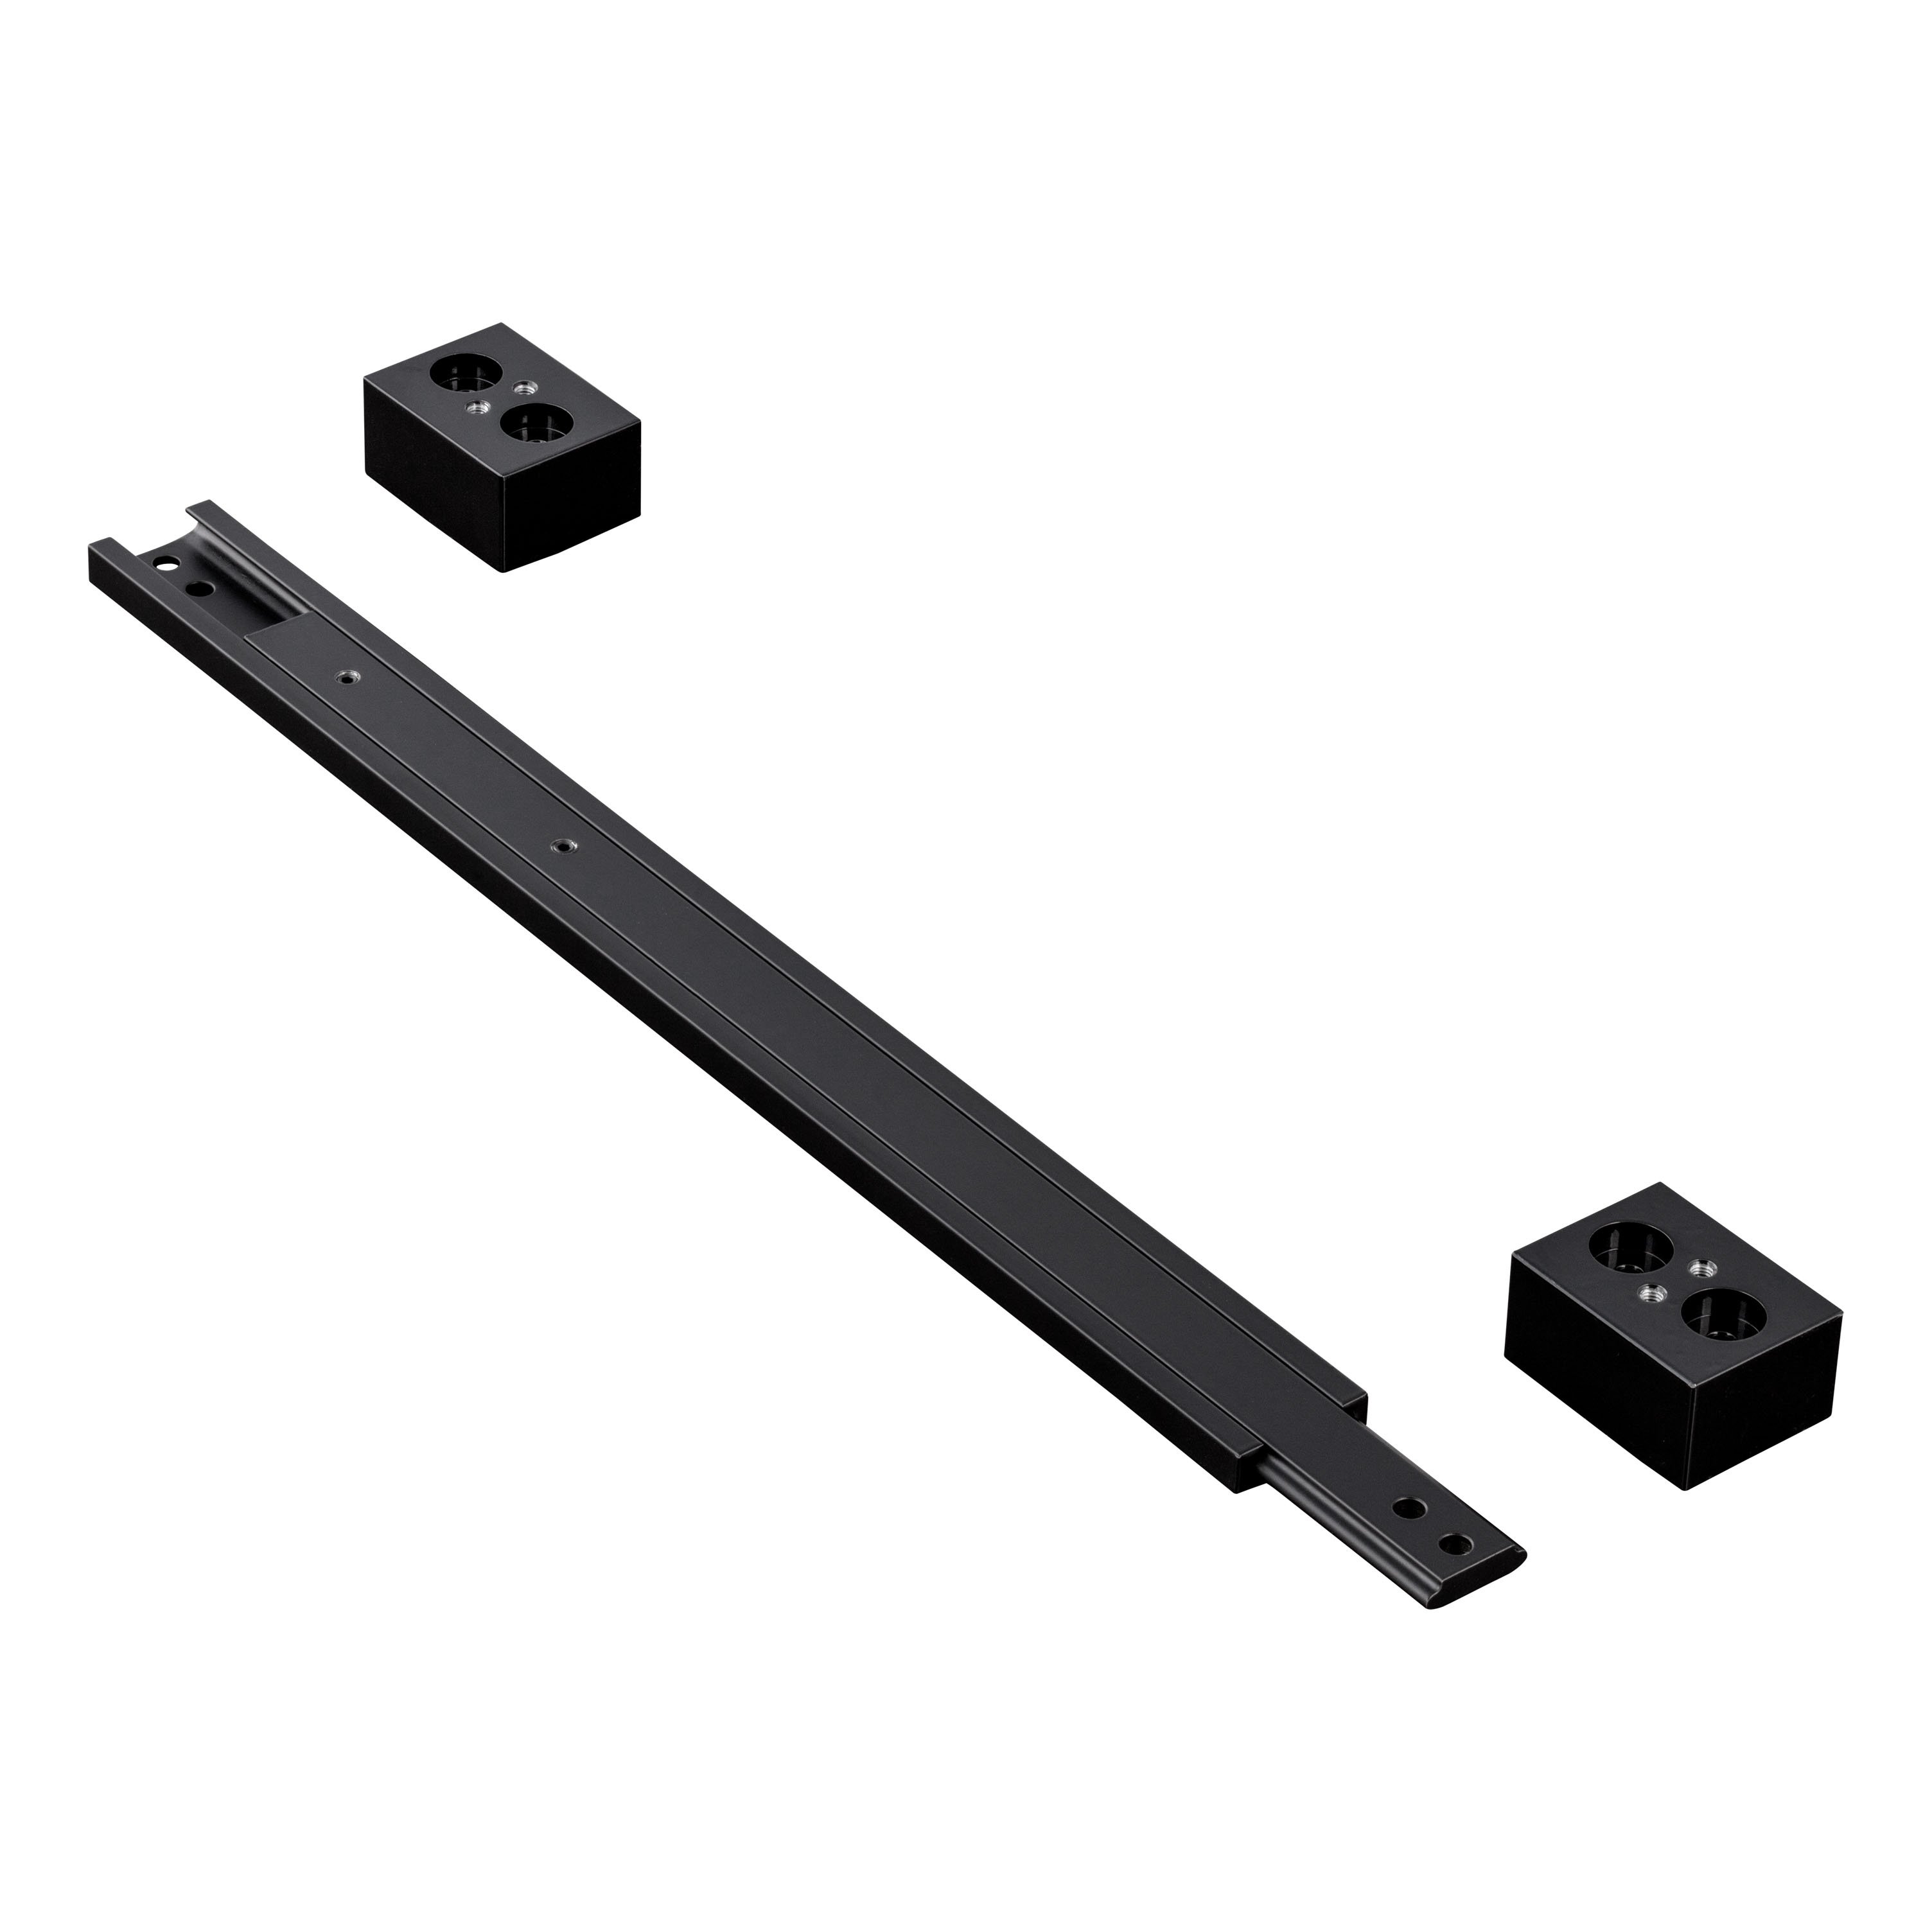
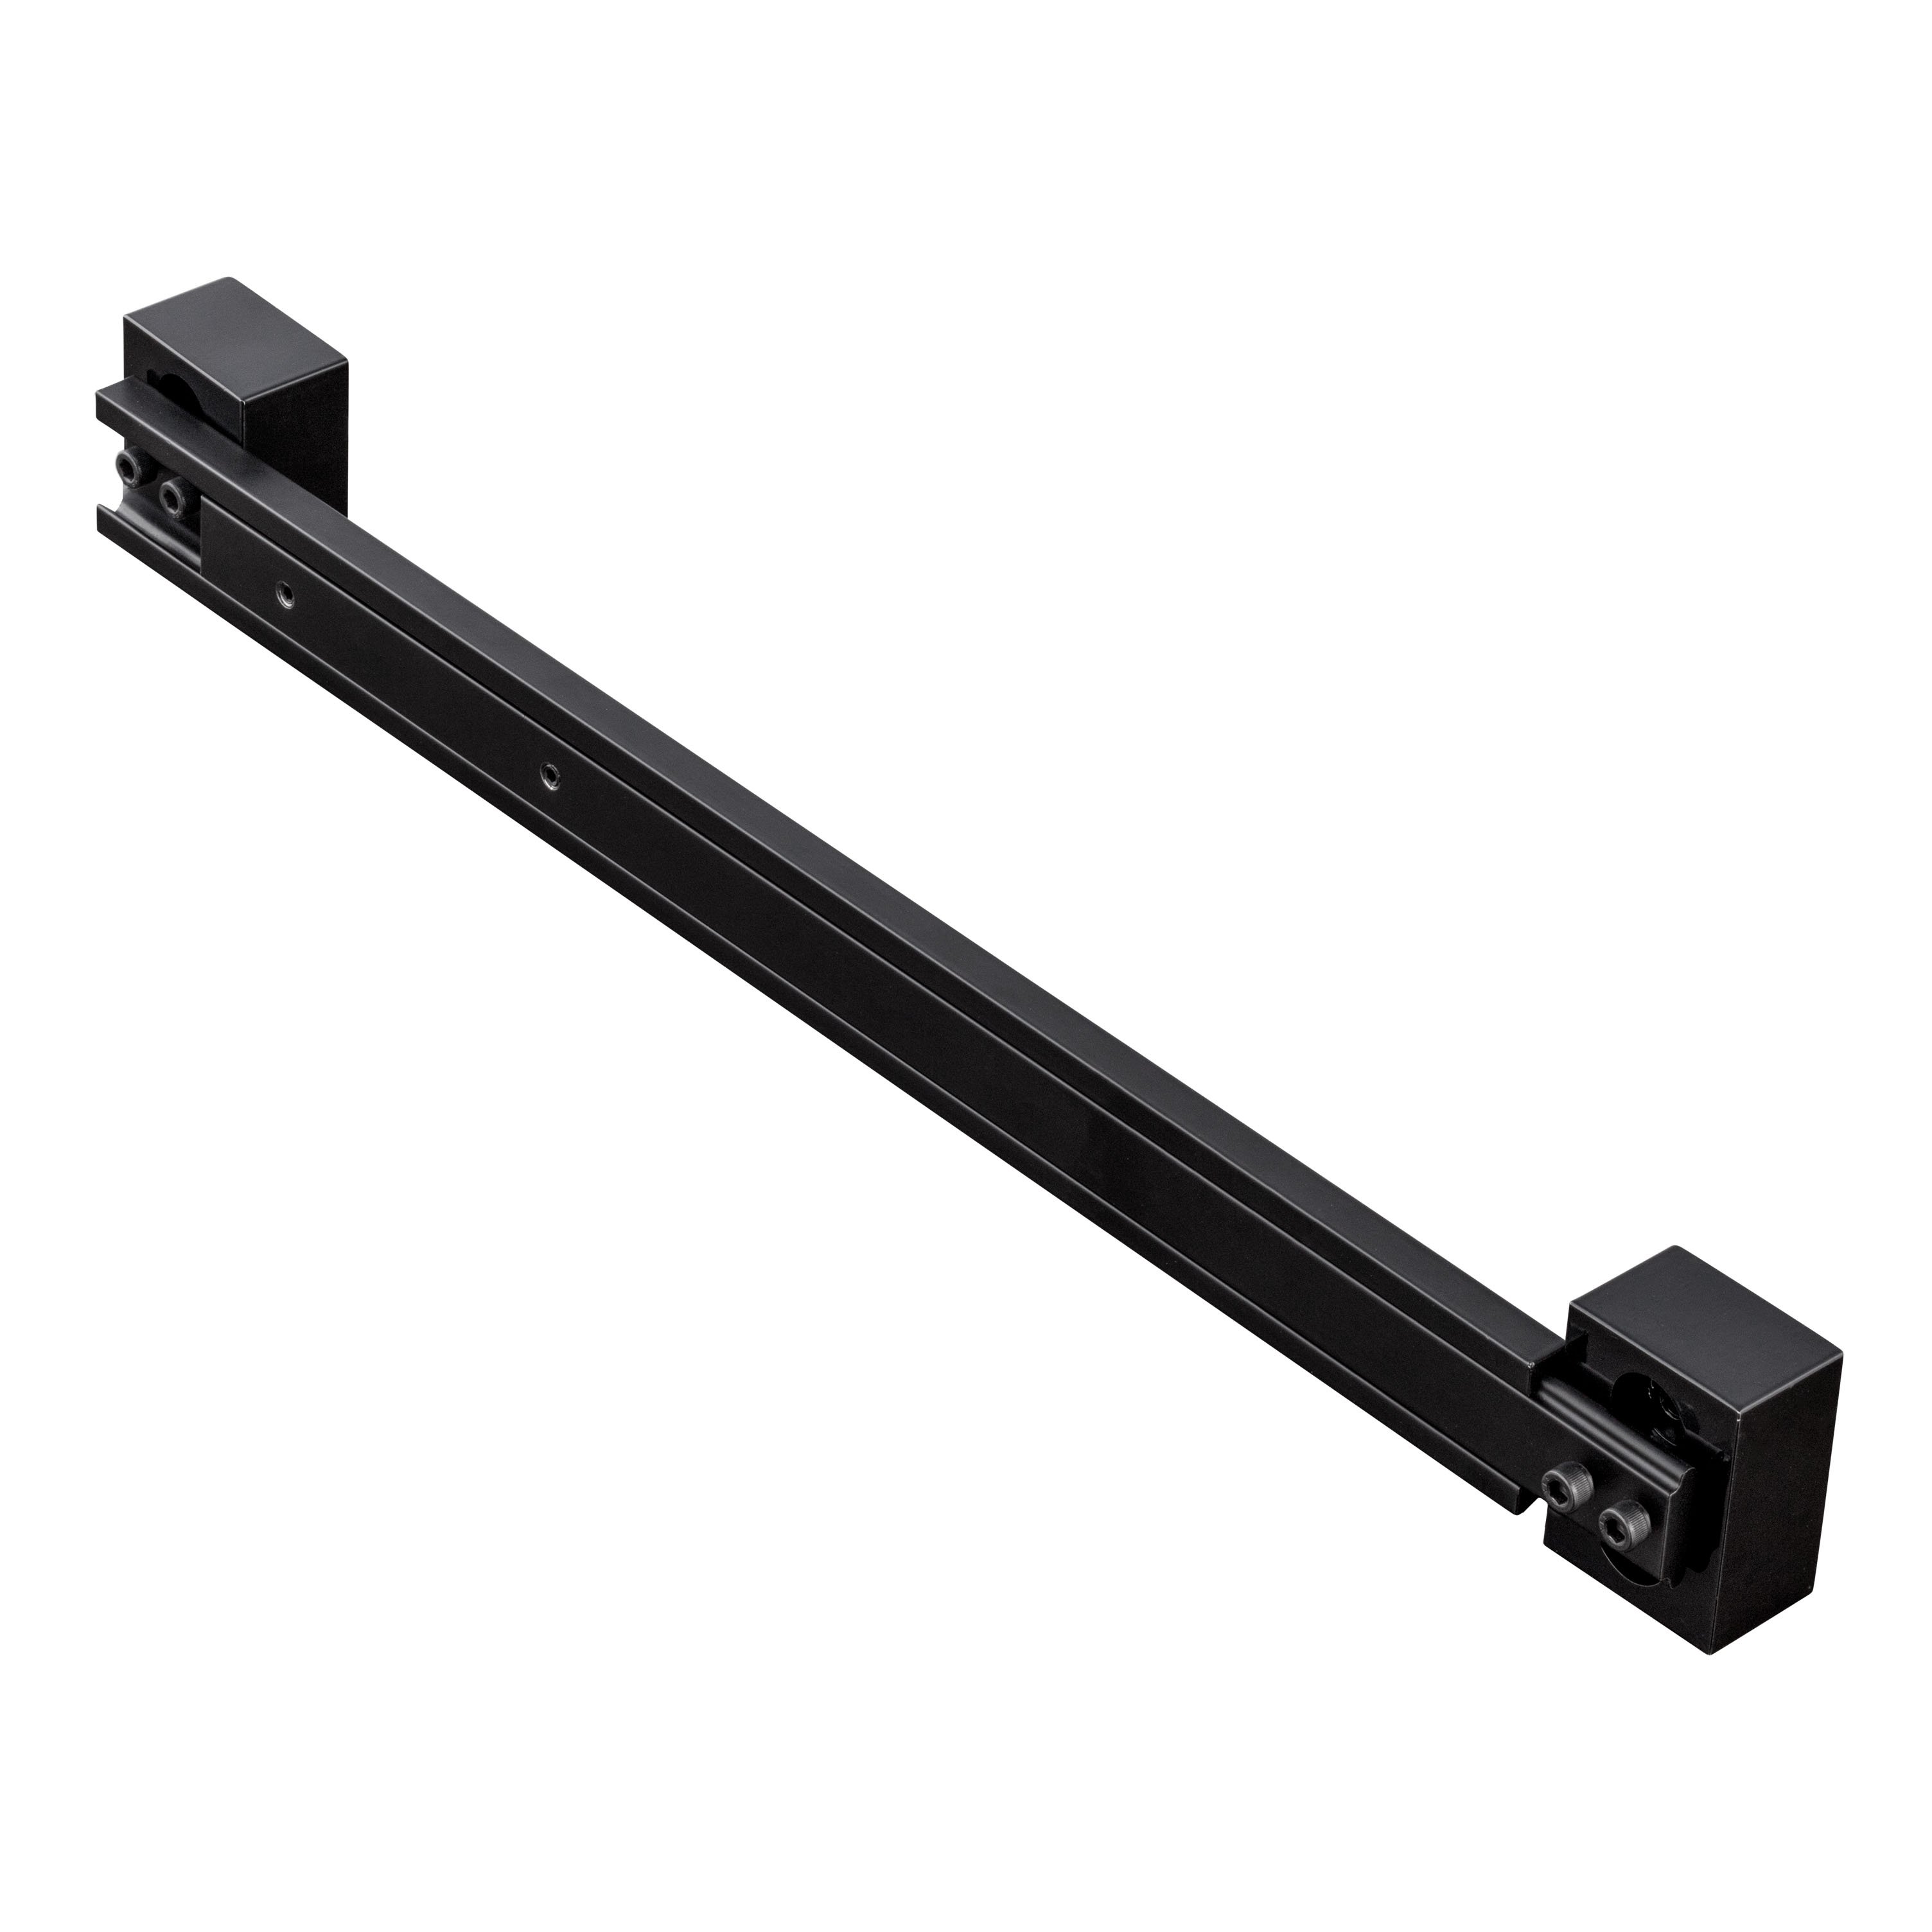
The CURT RVibrake Block Extension is designed to give your RVibrake 3 or RVibrake 4 a secure, stable mounting point in select Dodge Ram 1500, 2500, 3500 and Ram 1500, 2500, 3500 trucks. After installation, it gives your RVibrake a reliable surface to push against for safe, effective performance on the road. Crafted from durable aluminum, the RAM Block Extension delivers long-lasting strength without adding unnecessary weight. The extruded aluminum bar allows for simple width adjustments, ensuring a snug, custom fit in your vehicle. Whether you’re flat towing your vehicle behind your RV or prepping for your next cross-country trip, this extension makes it easy to install your RVibrake system with confidence.

CURT offers a variety of high-quality trailer hitches and accessories for select vehicle models. Find the perfect fit for your towing needs at TowUniverse.
CURT, a Lippert brand, offers a complete line of towing products and is the leading manufacturer of custom-fit trailer hitches. We offer the broadest selection of custom-fit hitches, and each one is designed, welded, and coated in Wisconsin.
CURT is also a leader in flat towing products, as well as 5th wheel, gooseneck, and weight distribution hitches, ball mounts, electrical components, cargo solutions, and other towing accessories.
For everything from passenger cars and vans to full-size pickups and SUVs, CURT is 'The First Name in Towing Products®.'
Experts available to answer your questions
Call 888-634-9494One-year Limited
Rediscover "Us" Time | Tested. Proven. Safe. Towing Products
The CURT 52226 is a stop plate component for the RVibrake system, designed to install on towed vehicles. It mounts to the driver and passenger seat rail supports using extension blocks and a crossbar assembly. The manual does not specify the functional purpose of the stop plate or the complete RVibrake system.
The CURT 52226 is designed for towed vehicles. The manual states that the stop plate will install on most towed vehicles, but does not list specific vehicle years, makes, models, or exclusions. If your vehicle does not meet the installation criteria outlined in the instructions, contact CURT customer service at 877-287-8634 for fitment confirmation.
You will need: a marking device, an electric drill, and a 3/32" drill bit. The product includes an Allen wrench for tightening set screws. For a complete tools reference guide, visit curtmfg.com/trailer-hitch-installation.
The kit includes: 1 stop plate, 4 socket head screws, 4 self-tapping hex head screws, and 1 Allen wrench. You will also need to have the adjustable crossbar and extension blocks that came with your RVibrake system.
The manual does not specify whether battery disconnection is required for this installation.
The installation is rated as "Easy" difficulty level based on time and effort involved. The difficulty rating may vary depending on installer expertise, vehicle condition, and proper tools and equipment. The manual does not explicitly require professional installation.
Yes, drilling is required. You will drill four holes in the seat rail supports using a 3/32" drill bit at marked locations. Before drilling, you must inspect the area behind the seat rail support to ensure there are no hidden components or wiring elements, as drilling without proper inspection may result in serious damage, costly repairs, or safety hazards.
Use a 3/32" drill bit to drill the marked hole locations in the seat rail supports.
1. Adjust the driver's seat to the far back position. 2. Place the extension blocks on the floor along with the adjustable crossbar. 3. Align each extension block on the seat rail support with countersunk holes vertical, ensuring the block is lower than the seat rail itself so the seat can be adjusted forward. 4. Mark the hole pattern on the vertical section of the seat rail support on both the console side and door side. 5. Before drilling, inspect behind the seat rail support for hidden components or wiring. 6. Drill the marked locations with a 3/32" drill bit. 7. Attach the extension blocks using the provided self-tapping hex head screws.
Attach the crossbar to the extension blocks using the provided socket head screws and securely tighten them. Before final tightening, loosen the set screws on the crossbar during initial positioning, then use the provided Allen wrench to tighten the set screws once the crossbar is properly aligned.
The manual does not provide torque specifications for the socket head screws or self-tapping hex head screws. The manual advises referring to specified torque specifications when securing hardware, but does not list the values. Contact CURT customer service at 877-287-8634 for torque specifications.
Safety glasses must be worn at all times while installing this product. Before drilling holes for the extension blocks, ensure there are no components or wiring elements located behind the seat rail support. Drilling without proper inspection may result in serious damage to hidden parts, leading to costly repairs or safety hazards.
Periodic inspection of the trailer hitch should be performed to ensure all mounting hardware remains tight and structural components are secure. The manual does not specify the inspection interval or detailed maintenance procedures.
The 52226 is designed for most towed vehicles, but specific compatibility depends on your vehicle model. If unsure, contact CURT at 877-287-8634.
You need a marking device, electric drill, 3/32" drill bit, and the included Allen wrench. For a complete tools reference guide, visit curtmfg.com/trailer-hitch-installation.
Yes, you must drill four 3/32" holes in the seat rail supports. Inspect behind the seat rail first to ensure no hidden wiring or components are present.
The installation is rated as "Easy" difficulty. Installation time varies based on installer expertise, vehicle condition, and tool availability. The manual does not specify an estimated installation time.
Safety glasses must be worn at all times during installation.
Perform periodic inspection to ensure all mounting hardware remains tight and structural components are secure. The manual does not specify inspection intervals.
Free Shipping
Ships free on all orders
 Authorized Dealer

Quick Ship
In stock and ready to ship — order now!
Shipping from Lancaster, TXFREE SHIPPING
Estimated delivery Tue, Sep 29 - Thu, Oct 1
Order before 2 PM EST Monday–Friday for same-day processing
Guaranteed safe & secure checkout
No reviews have been added for this product.