Ask a Question About This Product
Our in-house experts typically reply within one business day.
Our in-house experts typically reply within one business day.

CURT



Always the correct part
We know our products
Quality Products
Free Shipping!
Always the correct part
We know our products
Quality Products
Free Shipping!

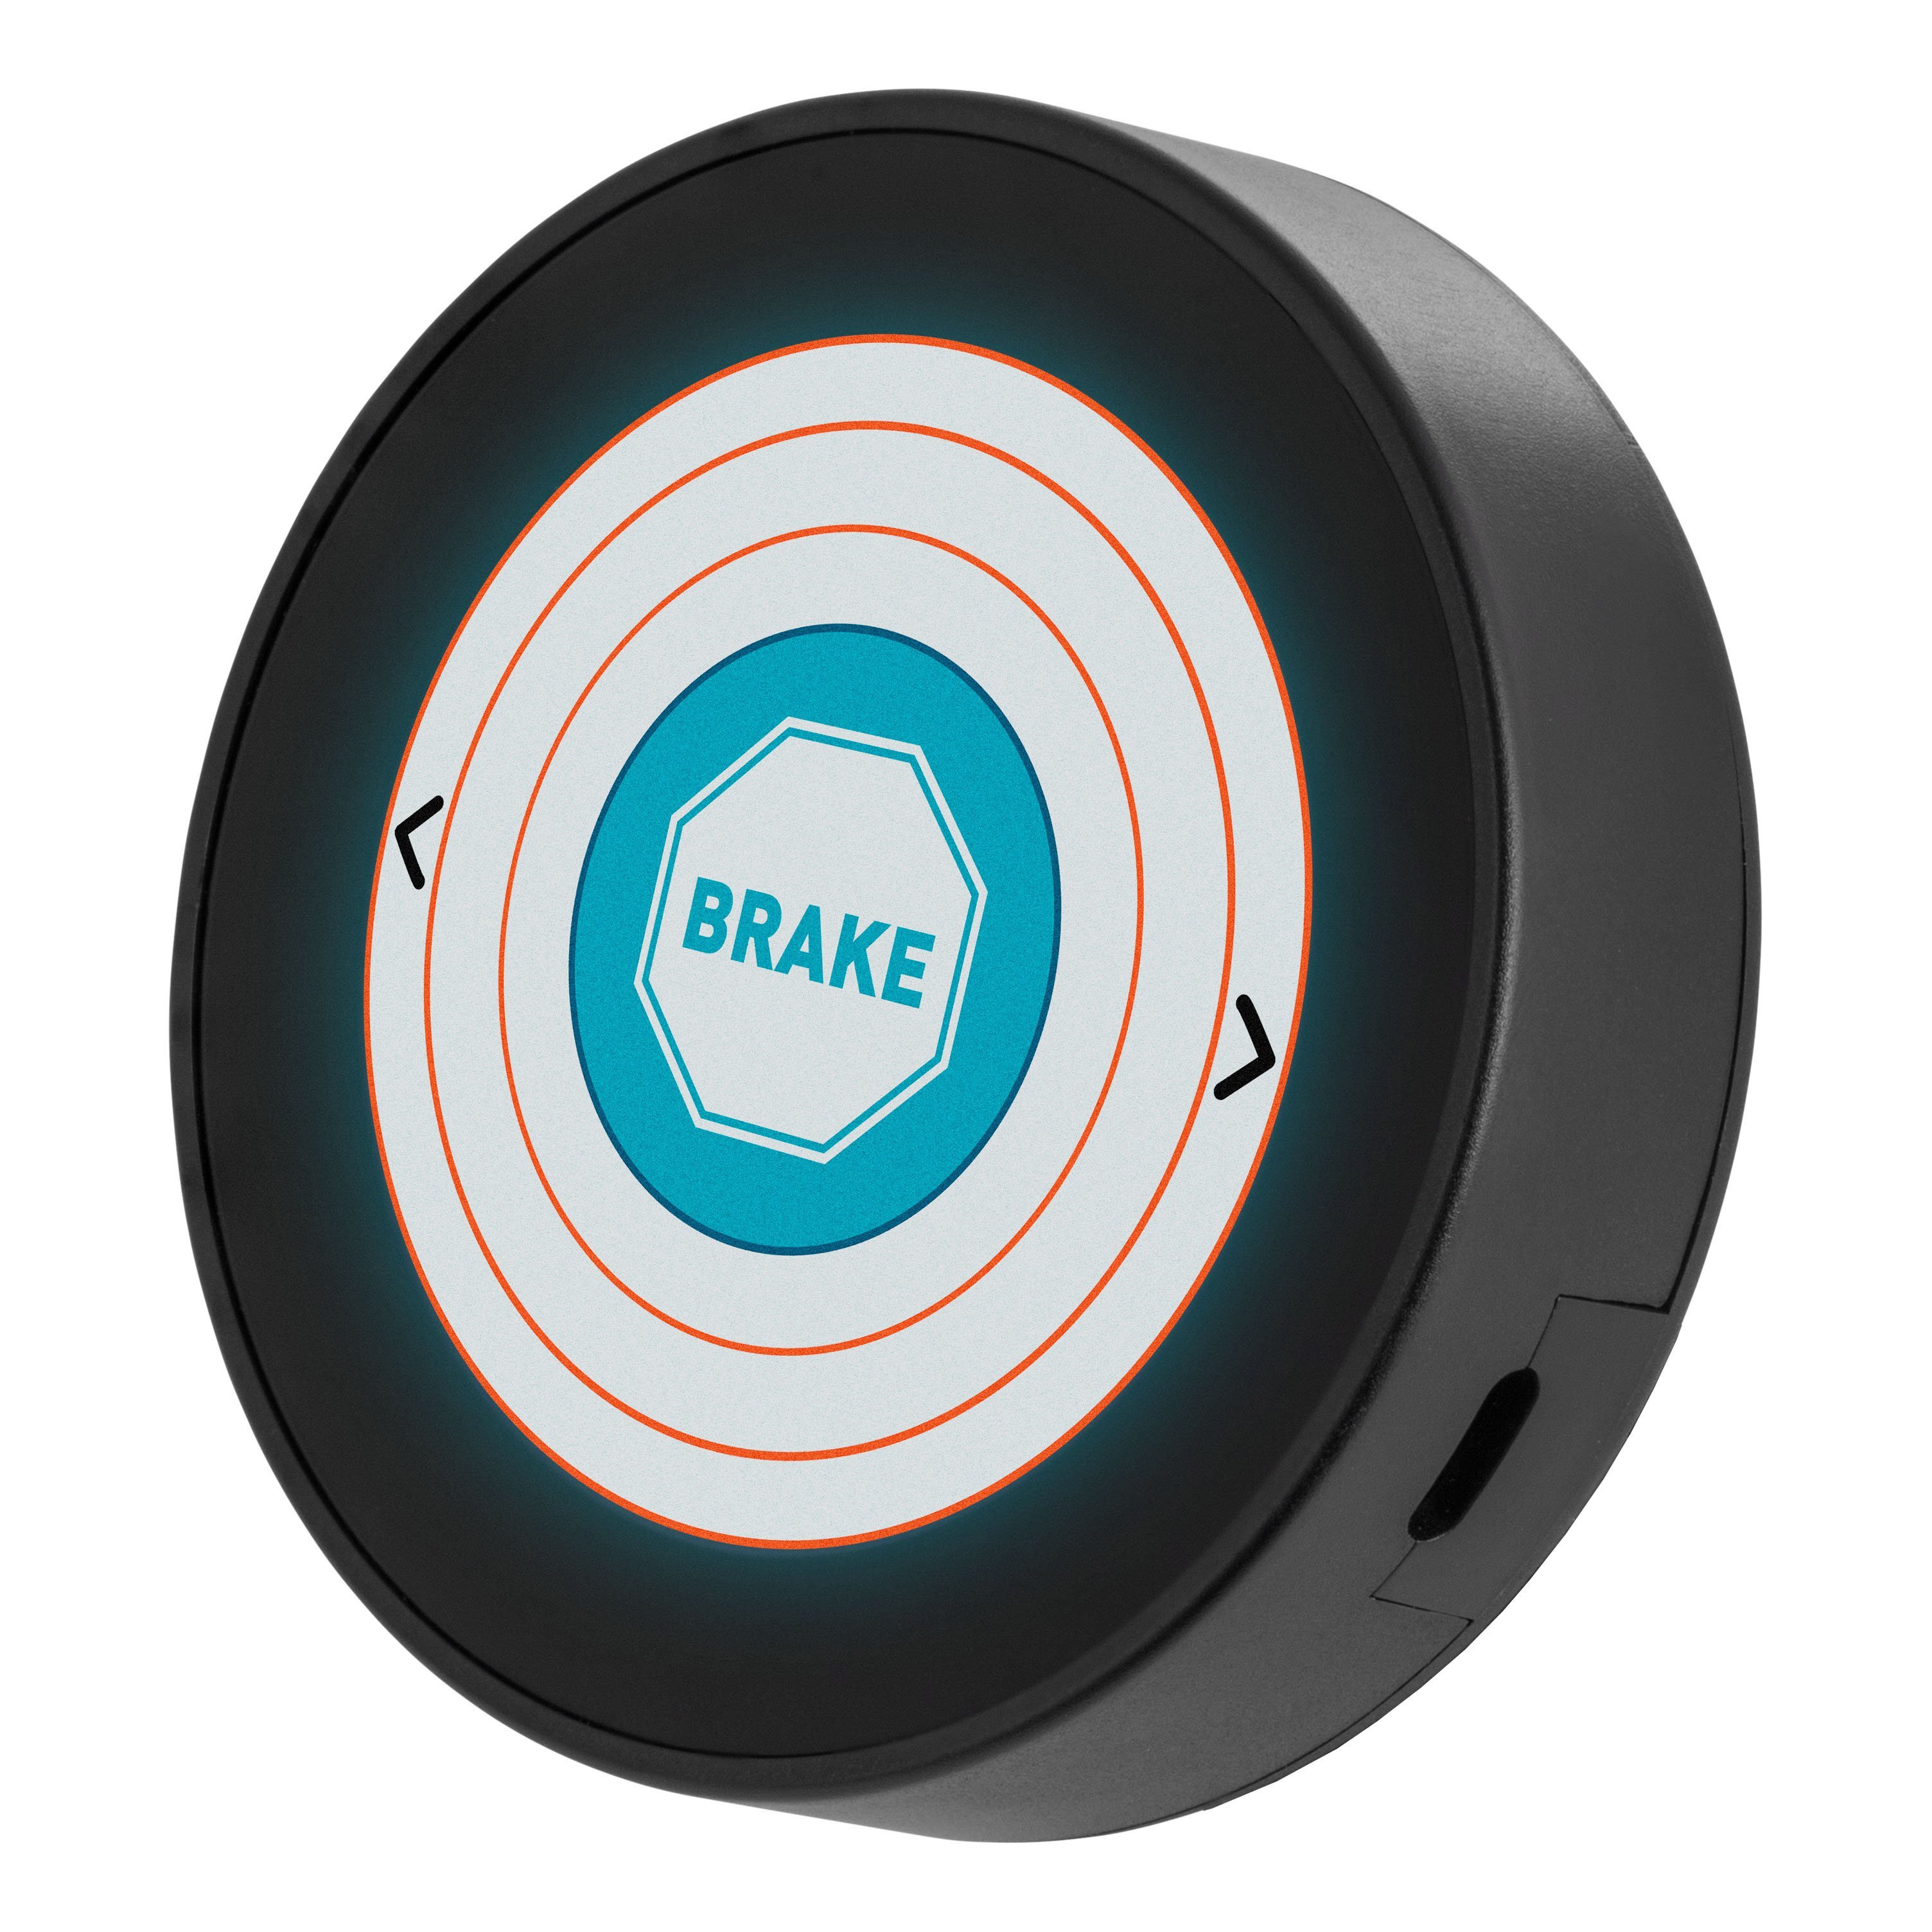
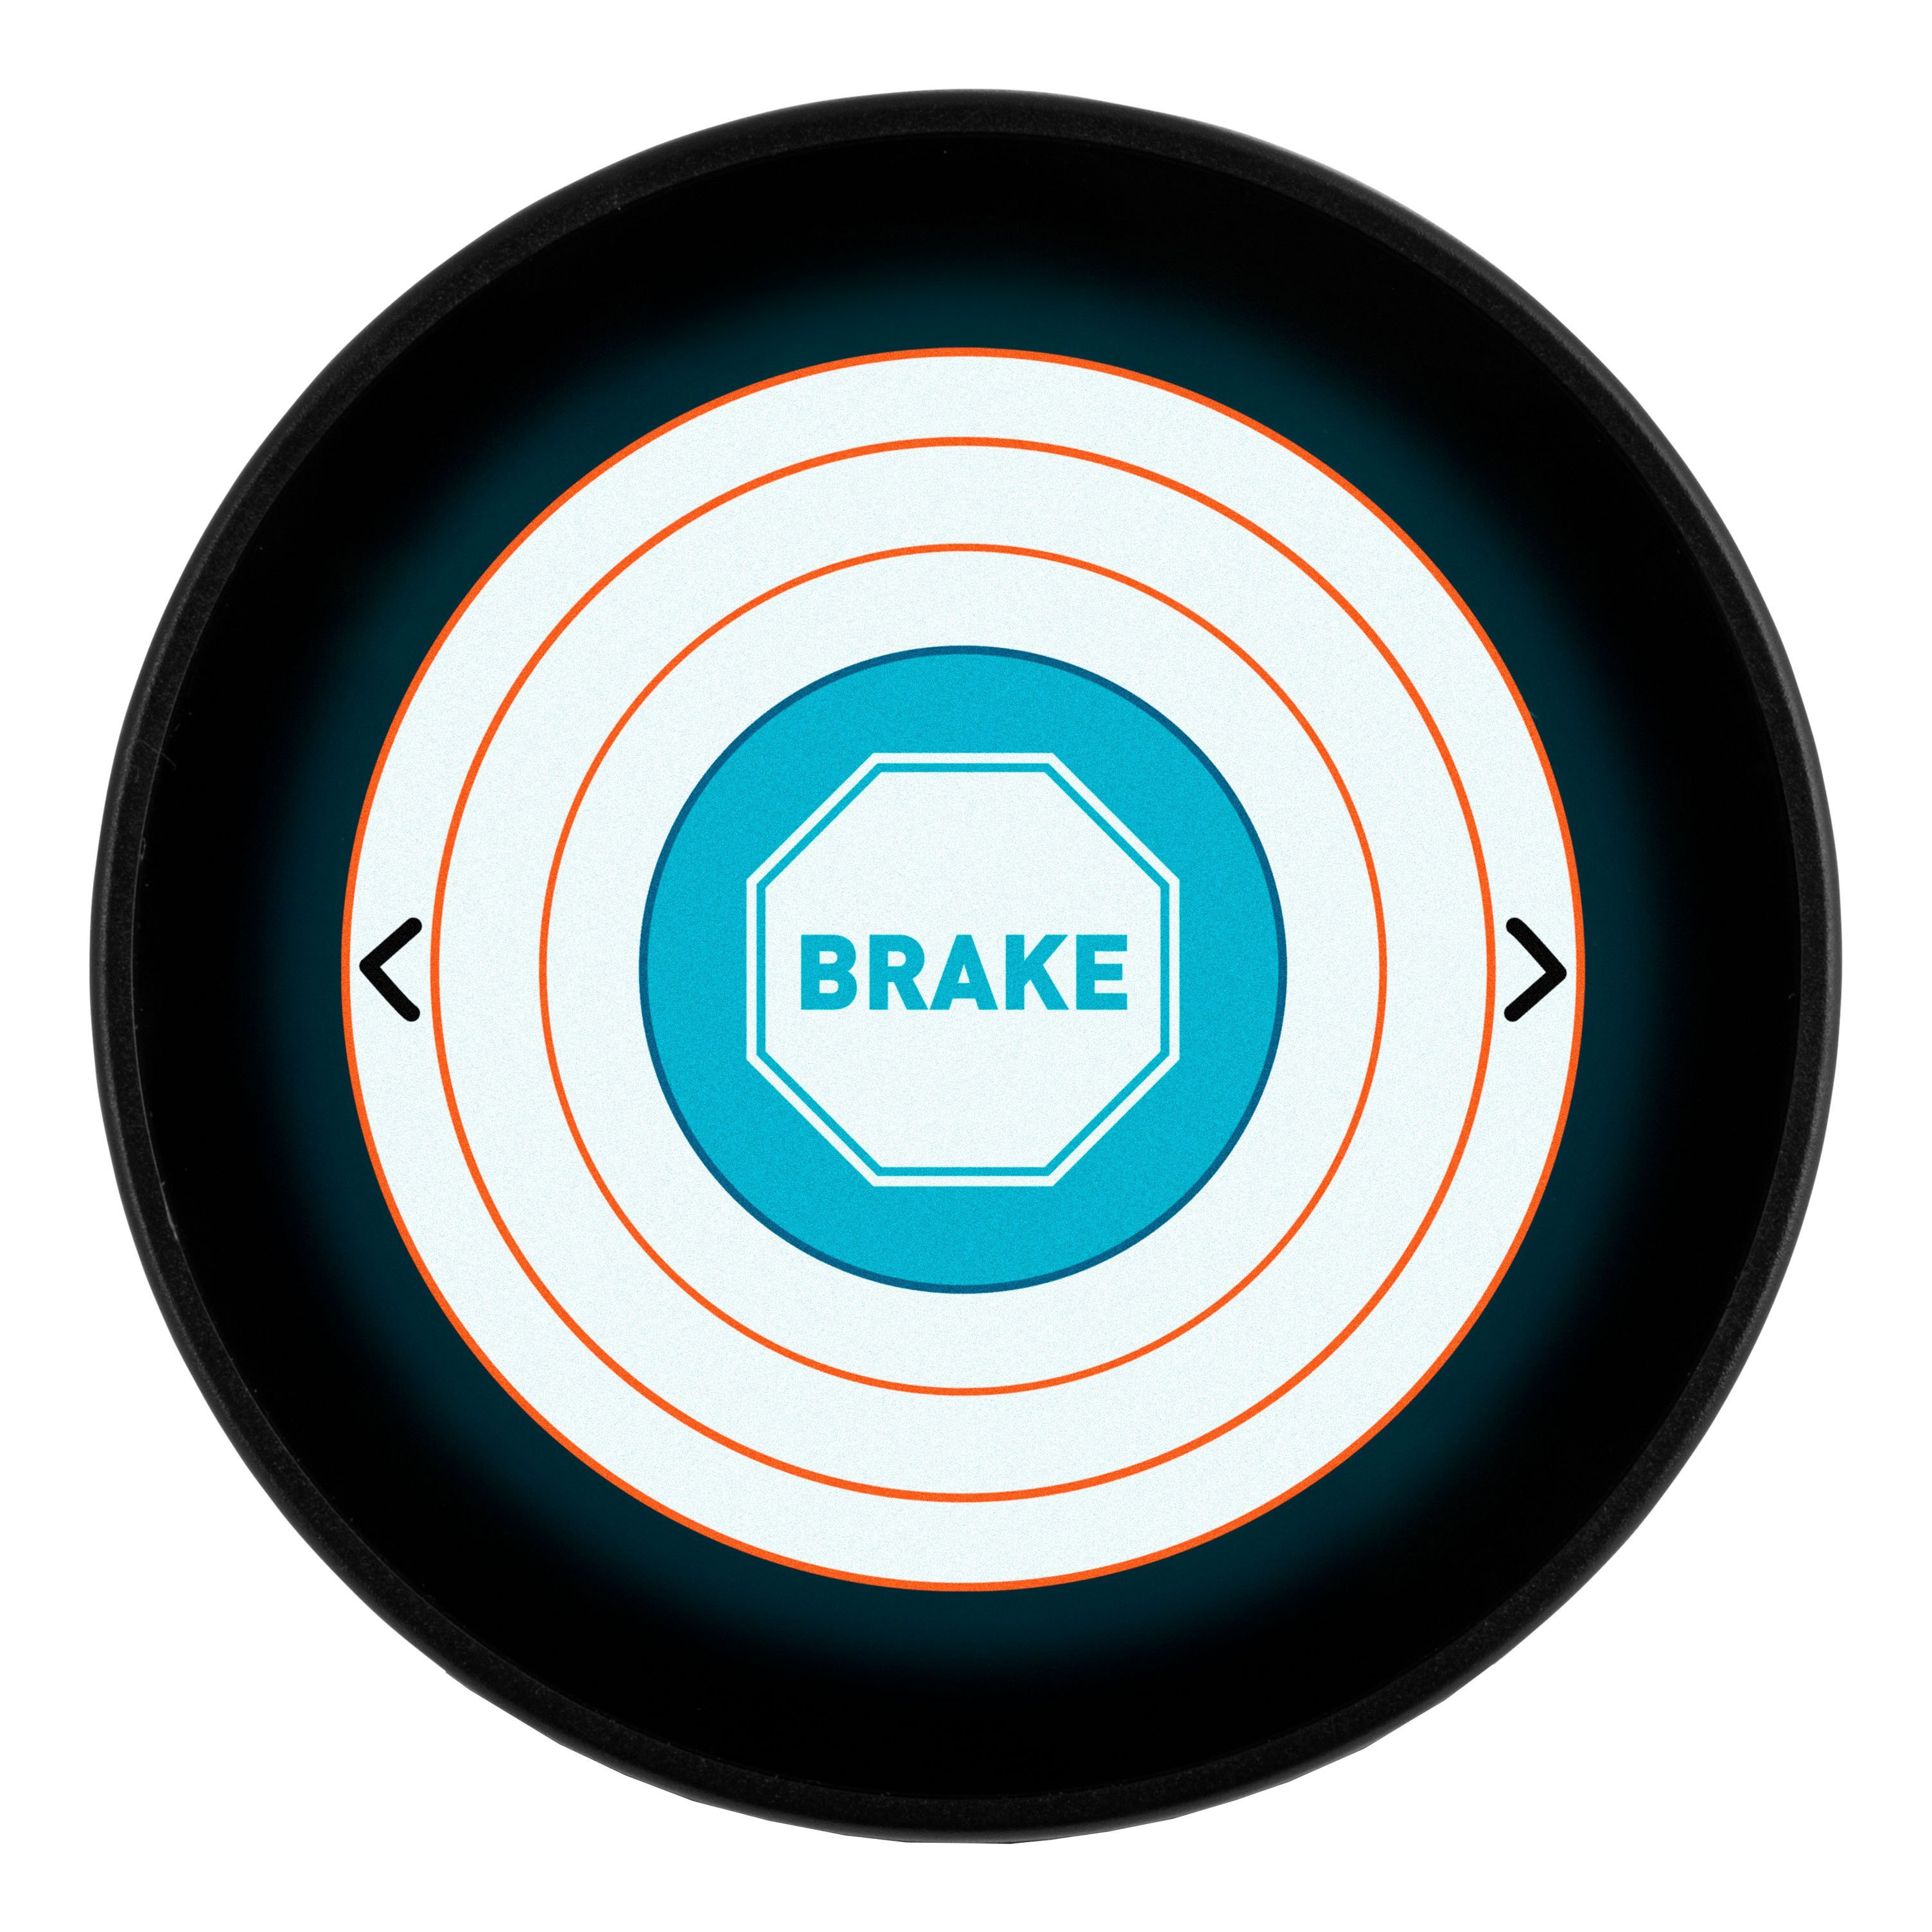
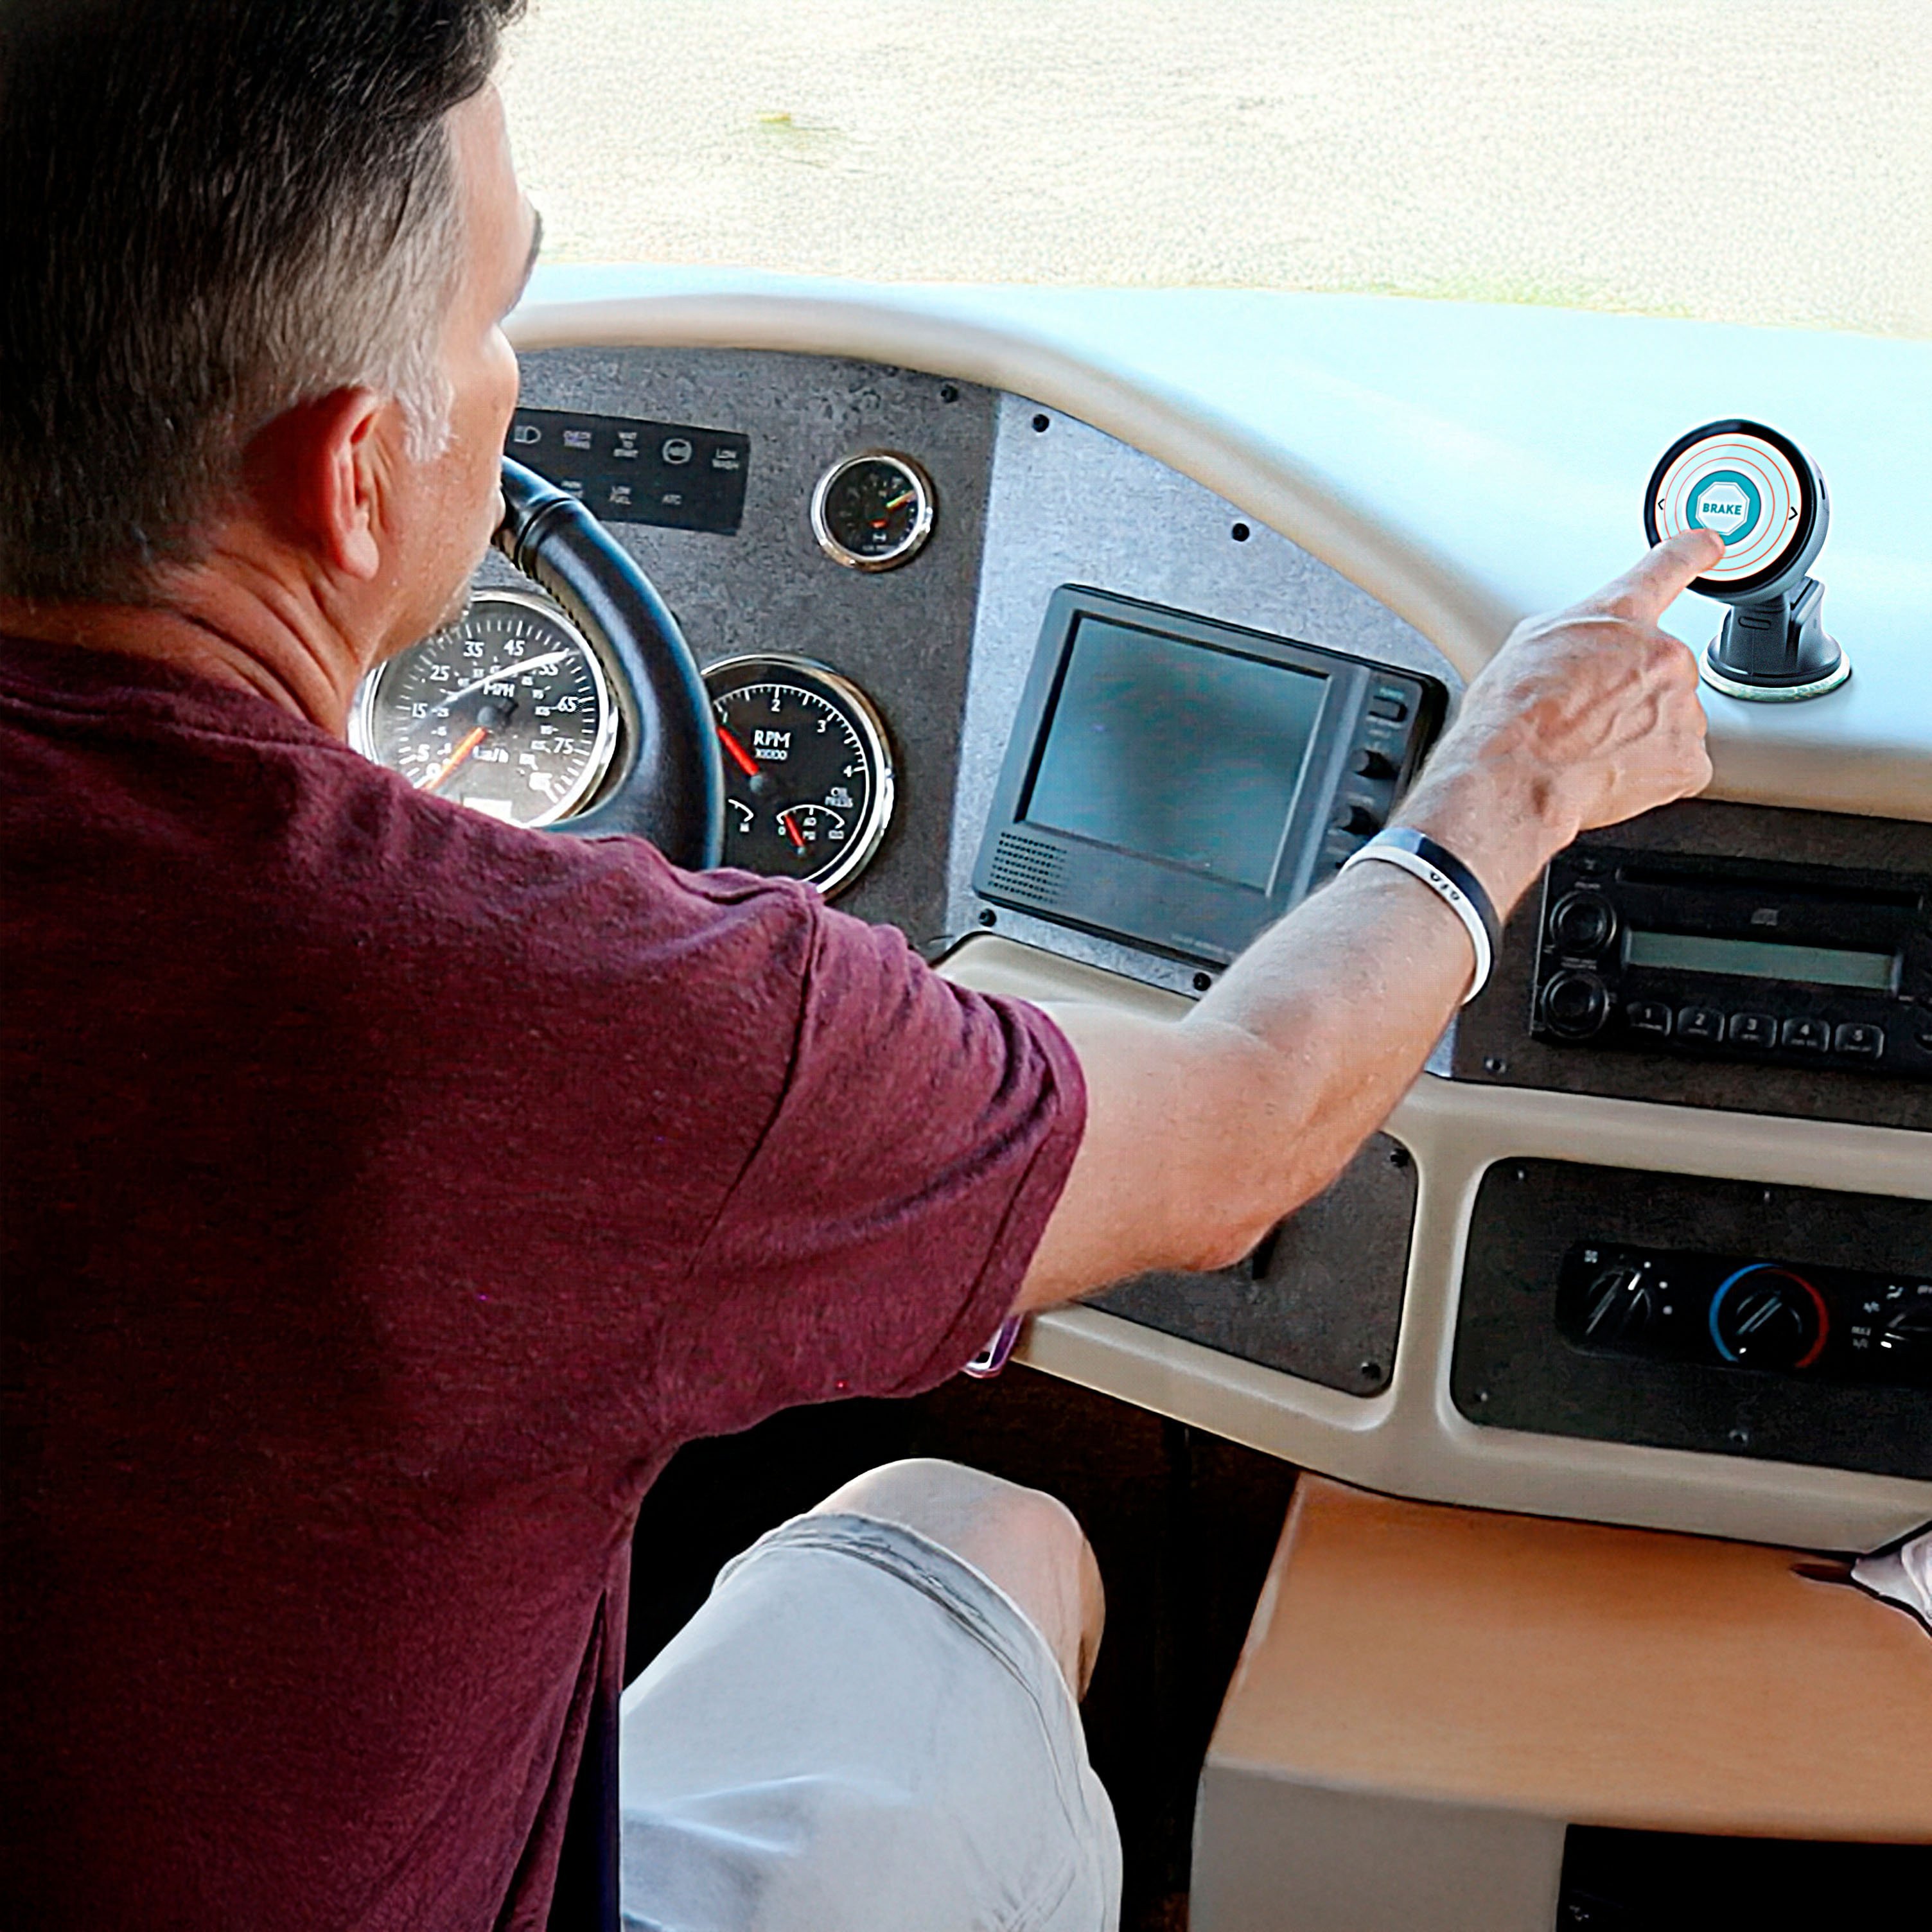
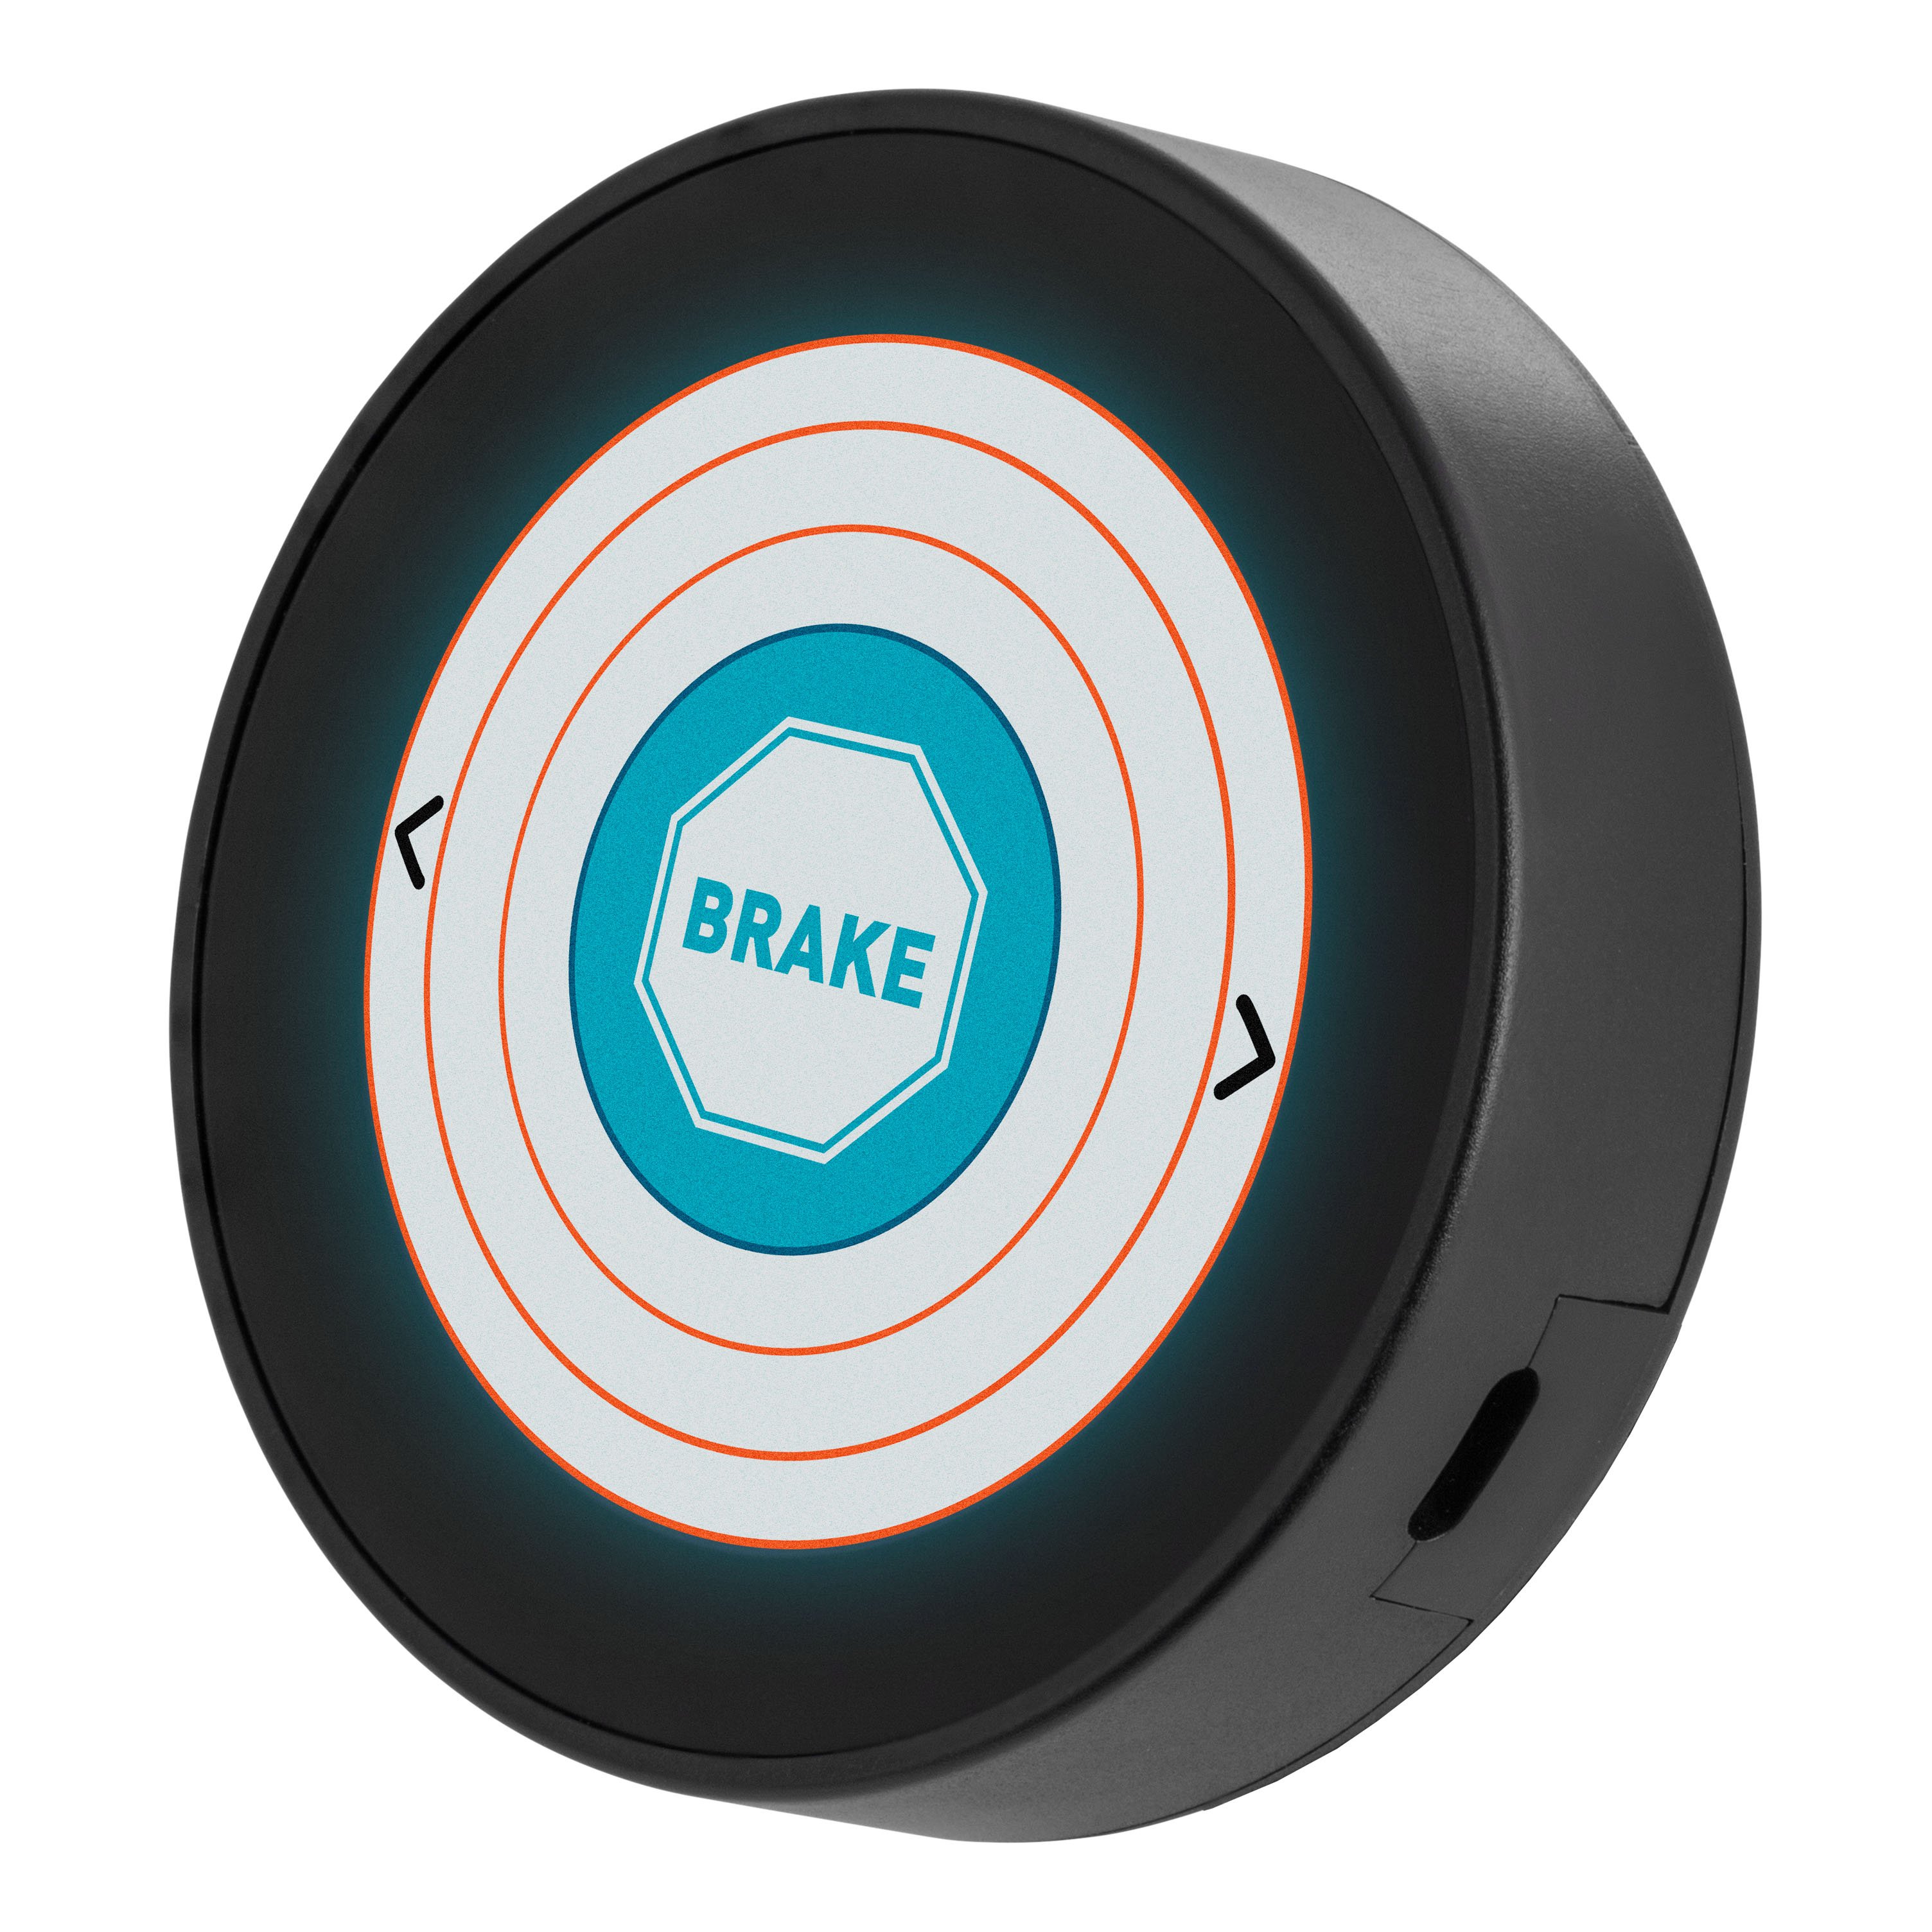
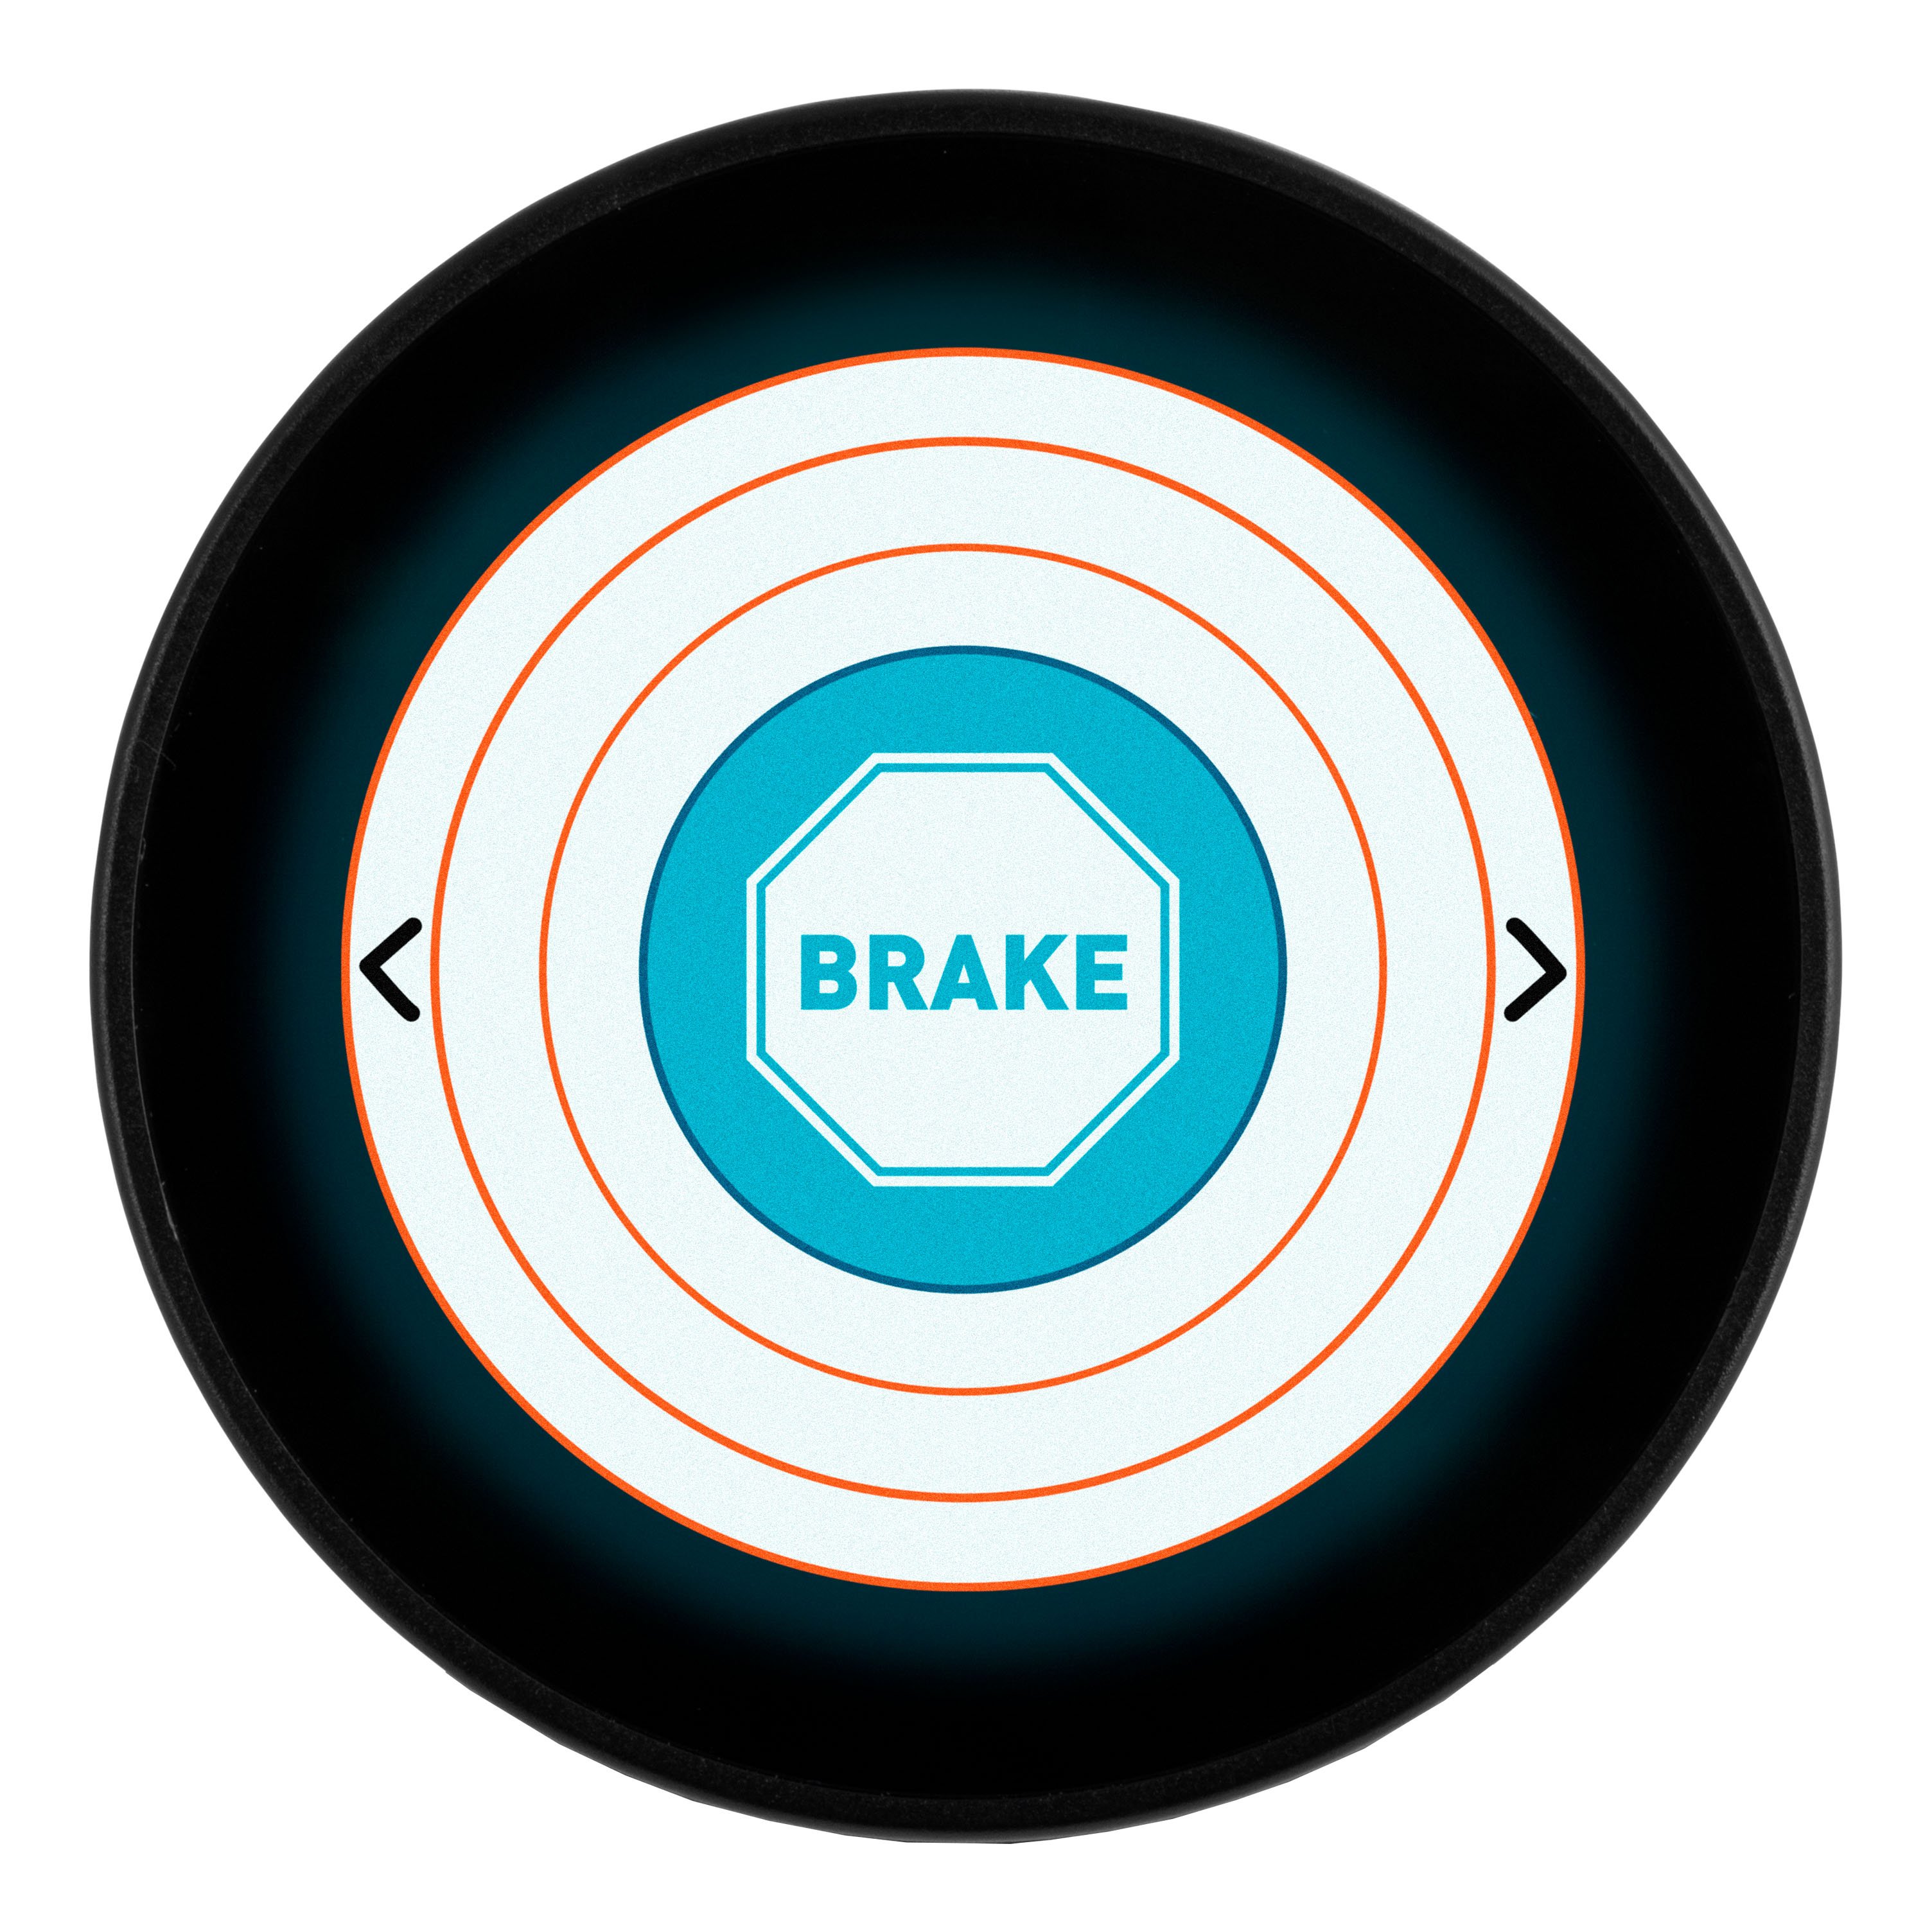
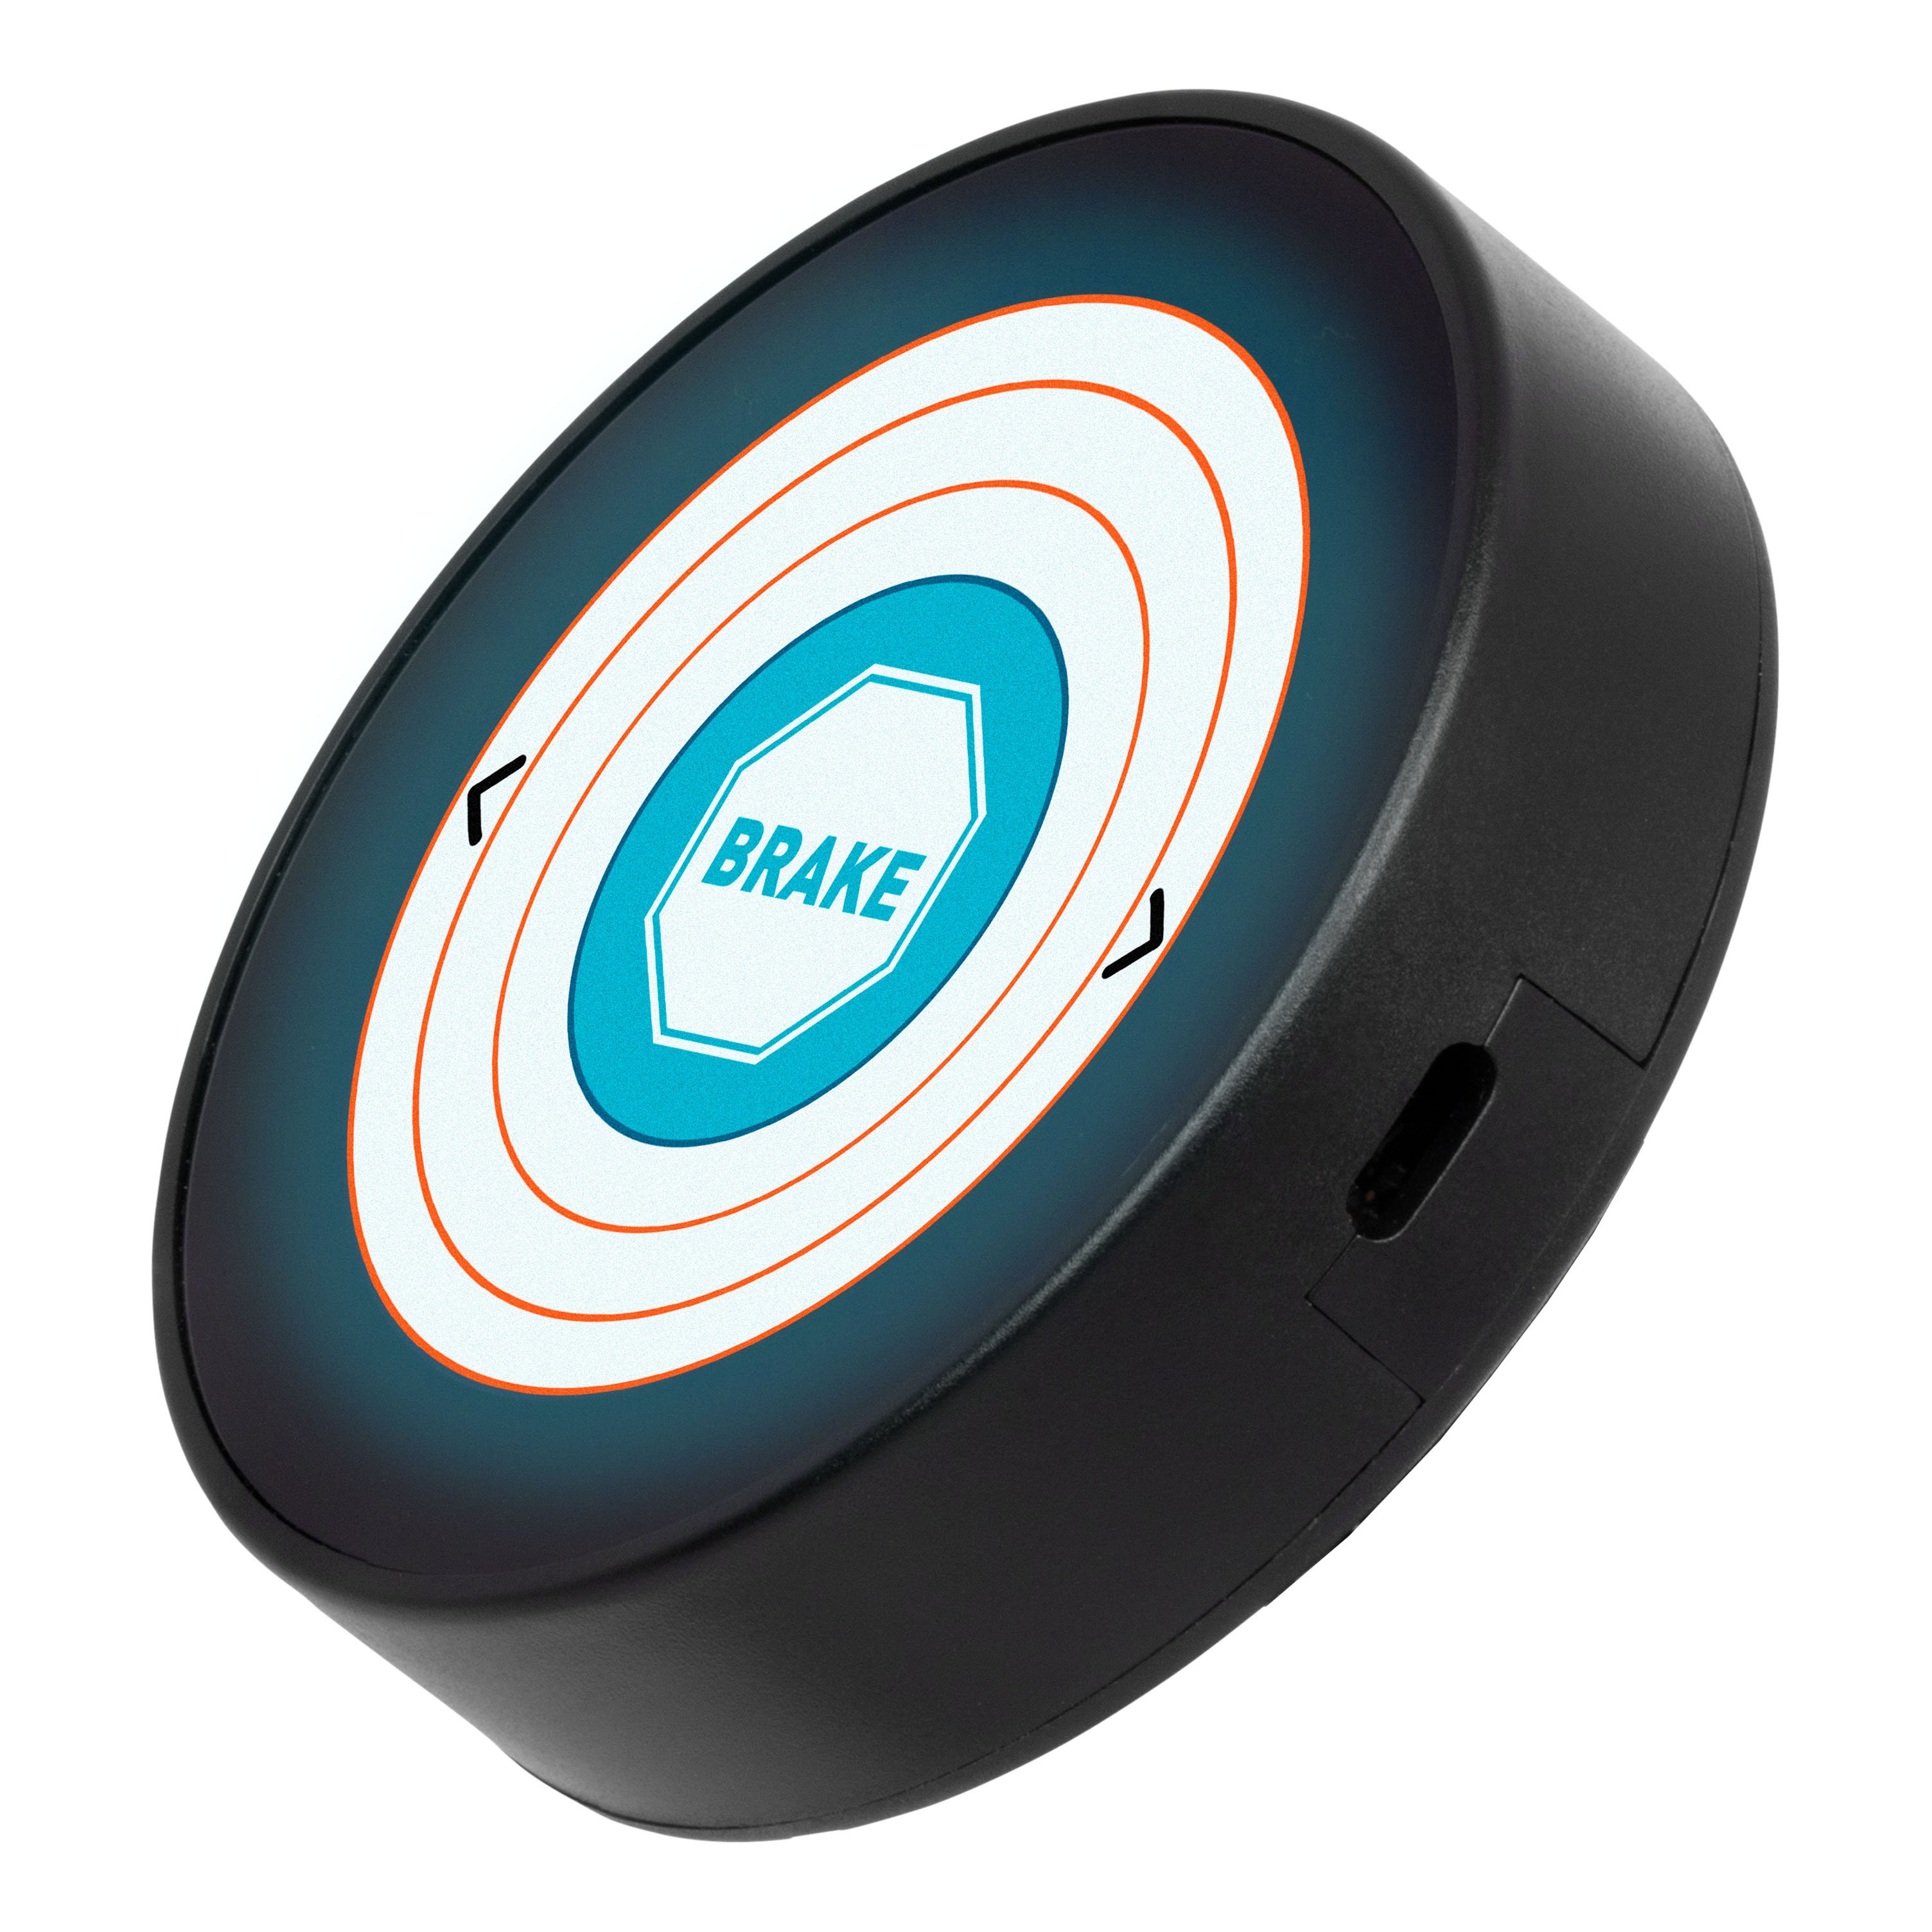
2.1” vibrant touchscreen displays braking performance and battery charging
| Warranty | Limited Lifetime Warranty (One-Year Finish, One-Year Parts) |
The CURT Replacement Bullseye Wireless Monitor for RVibrake gives you instant visibility into your towed vehicle’s braking performance with a vibrant 2.1” touchscreen display. Offering real-time feedback on braking force and battery charging, it keeps you informed and in control, no matter where your travels take you. Designed for enhanced safety and ease of use, the Bullseye Monitor features a manual braking button for quick adjustments, along with audible and visual alerts to keep you aware of braking activity. Its wireless connectivity ensures a clean, hassle-free setup, allowing you to focus on the road with confidence. Built for seamless compatibility, the Bullseye Monitor works effortlessly with RVibrake 4, Towed Battery Charger Plus, and Breakaway Wireless Adapter, while also supporting RVibrake 3 and RVibrake Shadow.

CURT offers a variety of high-quality trailer hitches and accessories for select vehicle models. Find the perfect fit for your towing needs at TowUniverse.
CURT, a Lippert brand, offers a complete line of towing products and is the leading manufacturer of custom-fit trailer hitches. We offer the broadest selection of custom-fit hitches, and each one is designed, welded, and coated in Wisconsin.
CURT is also a leader in flat towing products, as well as 5th wheel, gooseneck, and weight distribution hitches, ball mounts, electrical components, cargo solutions, and other towing accessories.
For everything from passenger cars and vans to full-size pickups and SUVs, CURT is 'The First Name in Towing Products®.'

Experts available to answer your questions
Call 888-634-9494Limited lifetime warranty (one-year finish, one-year parts)
Rediscover "Us" Time | Tested. Proven. Safe. Towing Products
The package includes: one Command Center tablet, one Command Center hub, one tablet dash mount, one hub wall mount, two 3-foot micro USB cables, and two dual USB chargers.
The Command Center tablet and hub have a one-year limited warranty from the original purchase date. The warranty covers mechanical and electrical defects in material and workmanship. It does not cover damage from neglect, misuse, use contrary to operating instructions, or disassembly or repair by anyone other than RVi's repair department. For warranty service, call RVi Customer Service; do not return the product without instructions, as this may delay processing.
The Command Center is designed for RVs, including motorhomes and travel trailers. The manual specifically mentions Class A motorhomes for hub placement recommendations. The system works with official Command Center products such as RVIbrake3 and Tire Patrol, which must be enabled in the Add Device app before they appear in Drive Mode.
The tablet dash mount can be mounted to glass or plastic surfaces. Textured surfaces are not recommended. Before mounting, clean the surface of dust and debris. The mount uses a 3M gel suction cup that can be restored by rinsing with warm water and air drying if it loses stickiness.
The hub wall mount can be mounted to wood or plastic surfaces. Textured surfaces are not recommended. Before mounting, clean the surface of dust and debris. The mount uses a paper cling adhesive on the back; peel and press firmly to the surface for best attachment.
Mount the hub as close as possible to the center of the RV, near a 12V outlet for powering the hub. For Class A motorhomes, it is recommended to mount towards the rear of the coach on a side exterior wall inside the RV.
1. Clean the mounting surface of dust and debris. 2. Peel the protective cover from the 3M gel suction cup and press firmly in your preferred location. 3. Snap down the suction lock lever. 4. Adjust the magnet surface in the direction of choice and tighten the threaded knob securely.
1. Clean the mounting surface of dust and debris. 2. Peel the paper cling from the back of the wall mount. 3. Press firmly to the surface for best attachment. Mount as close as possible to the center of the RV, near a 12V outlet.
Thread the antenna onto the hub so that it points up 90 degrees towards the face of the hub. Although not required, the most optimal position for the antenna is to point straight up in the air.
Press and hold the single power button for 3 seconds. If the battery is low or dead, charge the tablet using the provided USB cable and 12V USB charger. A fully charged battery lasts about three hours.
Press the power button on the hub. If the blue LED does not illuminate, the battery needs to be charged using the provided USB cable and charger. The hub has an internal battery but should be left plugged in at all times for optimal operation.
Press and hold the power button for three seconds.
The hub has two LEDs: a power LED and a blue blinking LED. The power LED has four states: No light (not charging), Solid red (not charging and battery below 25%), Pulsing green (battery charging), and Solid green (fully charged battery). The blue blinking LED indicates the hub is powered on and will automatically connect to the tablet once the tablet is powered on.
The hub has an internal battery and should be plugged into a 12V outlet in the RV. It is recommended to leave the hub plugged in at all times. The hub can be charged using the provided USB cable and 12V USB charger.
The tablet can be charged using the provided USB cable and 12V USB charger. A fully charged battery lasts about three hours.
A minimum separation distance of 0.81 cm (0.3 inches) is required between the antenna and all persons to comply with FCC RF exposure requirements.
For security reasons, only connect the tablet to password-secured Wi-Fi networks.
No. Only make adjustments when the vehicle is stationary. Avoid distracted driving and adhere to all applicable traffic laws and motor vehicle safety regulations, including all laws prohibiting the use of handheld devices while operating a motor vehicle.
1. Unplug the hub and place it on a flat surface on the floor in the middle of the RV. 2. Point the triangle 'F' towards the front of the RV. 3. The RV Level app will give instructions on which side of the RV needs to be raised until the RV is level on all four sides. If the jacks are fully extended but the RV is not level, retract all jacks and repeat the leveling process.
The tablet dashboard comes loaded with the following apps: Drive Mode (for monitoring and controlling Command Center products while traveling), Checklist App (for tracking pre-trip, camp setup, and breaking camp tasks), Support App (containing FAQs, troubleshooting, and customer support contact information), Add Device App (for pairing new Command Center products), and Settings App (for managing products, updates, display settings, and warranty registration).
Use the Add Device app, which is a dashboard shortcut to pairing new official Command Center products. Simply tap the ON/OFF switch of a new product to enable it. Newly purchased official Command Center products are also enabled in the Settings app under the Products section. Until a product is enabled, it will not show on the tablet dashboard.
The Drive Mode app is for monitoring, controlling, and operating Command Center products while traveling, such as RVIbrake3 and Tire Patrol. Drive Mode products must be enabled in the Add Device app before they appear in Drive Mode. If monitoring more than one product, you can select different product icons in the Dock to view them.
The Checklist app is a tool for keeping track of pre-trip tasks. It comes with three categories: 'Getting Ready for Takeoff', 'Setting Up Camp', and 'Breaking Camp'. You can add, edit, and delete to-do items, and create either single-step or multi-step items. After checking everything off, select 'Uncheck Boxes' before your next trip to clear all checked boxes.
The Support app contains general information, FAQs, troubleshooting, and contact information for customer support.
Rinse the suction cup with warm water and let it air dry.
Software updates can be done through the Settings app. The tablet will walk you through connecting to the internet and updating. When updates are released, RVi will send notification emails to let users know. For security reasons, only connect the tablet to password-secured Wi-Fi networks.
The RV Level can be calibrated in the Settings app under the Command Center section. However, calibration should not be done unless instructed by customer support.
The Command Center is designed for RVs including motorhomes and travel trailers. It works with official Command Center products like RVIbrake3 and Tire Patrol.
The tablet dash mount attaches to glass or plastic; the hub wall mount attaches to wood or plastic. Both use adhesive and do not require drilling. Textured surfaces are not recommended for either mount.
The manual does not specify any tools required for installation. The tablet and hub mounts use adhesive attachment and do not require drilling.
The hub requires a 12V outlet in the RV and should be left plugged in at all times. The tablet charges via the provided USB cable and 12V USB charger. A fully charged tablet battery lasts about three hours.
A minimum separation distance of 0.81 cm (0.3 inches) is required between the antenna and all persons to comply with FCC RF exposure requirements.
Unplug the hub and place it on a flat floor surface in the middle of the RV with the triangle 'F' pointing towards the front. The app will instruct which sides need to be raised until the RV is level on all four sides.
A fully charged battery lasts about three hours. Charge using the provided USB cable and 12V USB charger.
| Part # | Description | Compatibility | Includes | |
|---|---|---|---|---|
| 52206 | N | Phantom universal stop plate bracket | RVibrake 4 and RVibrake 3 | Mounting hardware |
| 52222 | N | Breakaway plug with 12" lead | RVibrake 4 and older models | -- |
| 52223 | N | Brake power plug hardware | RVibrake 4 and RVibrake 3 | Fuse, spring, collar, and tip |
| 52224 | N | Bullseye wireless monitor | RVibrake 4, Towed Battery Charger Plus, and Breakaway Wireless Adapter or RVibrake 4 (Backwards compatible with RVibrake 3 and RVibrake Shadow) | -- |
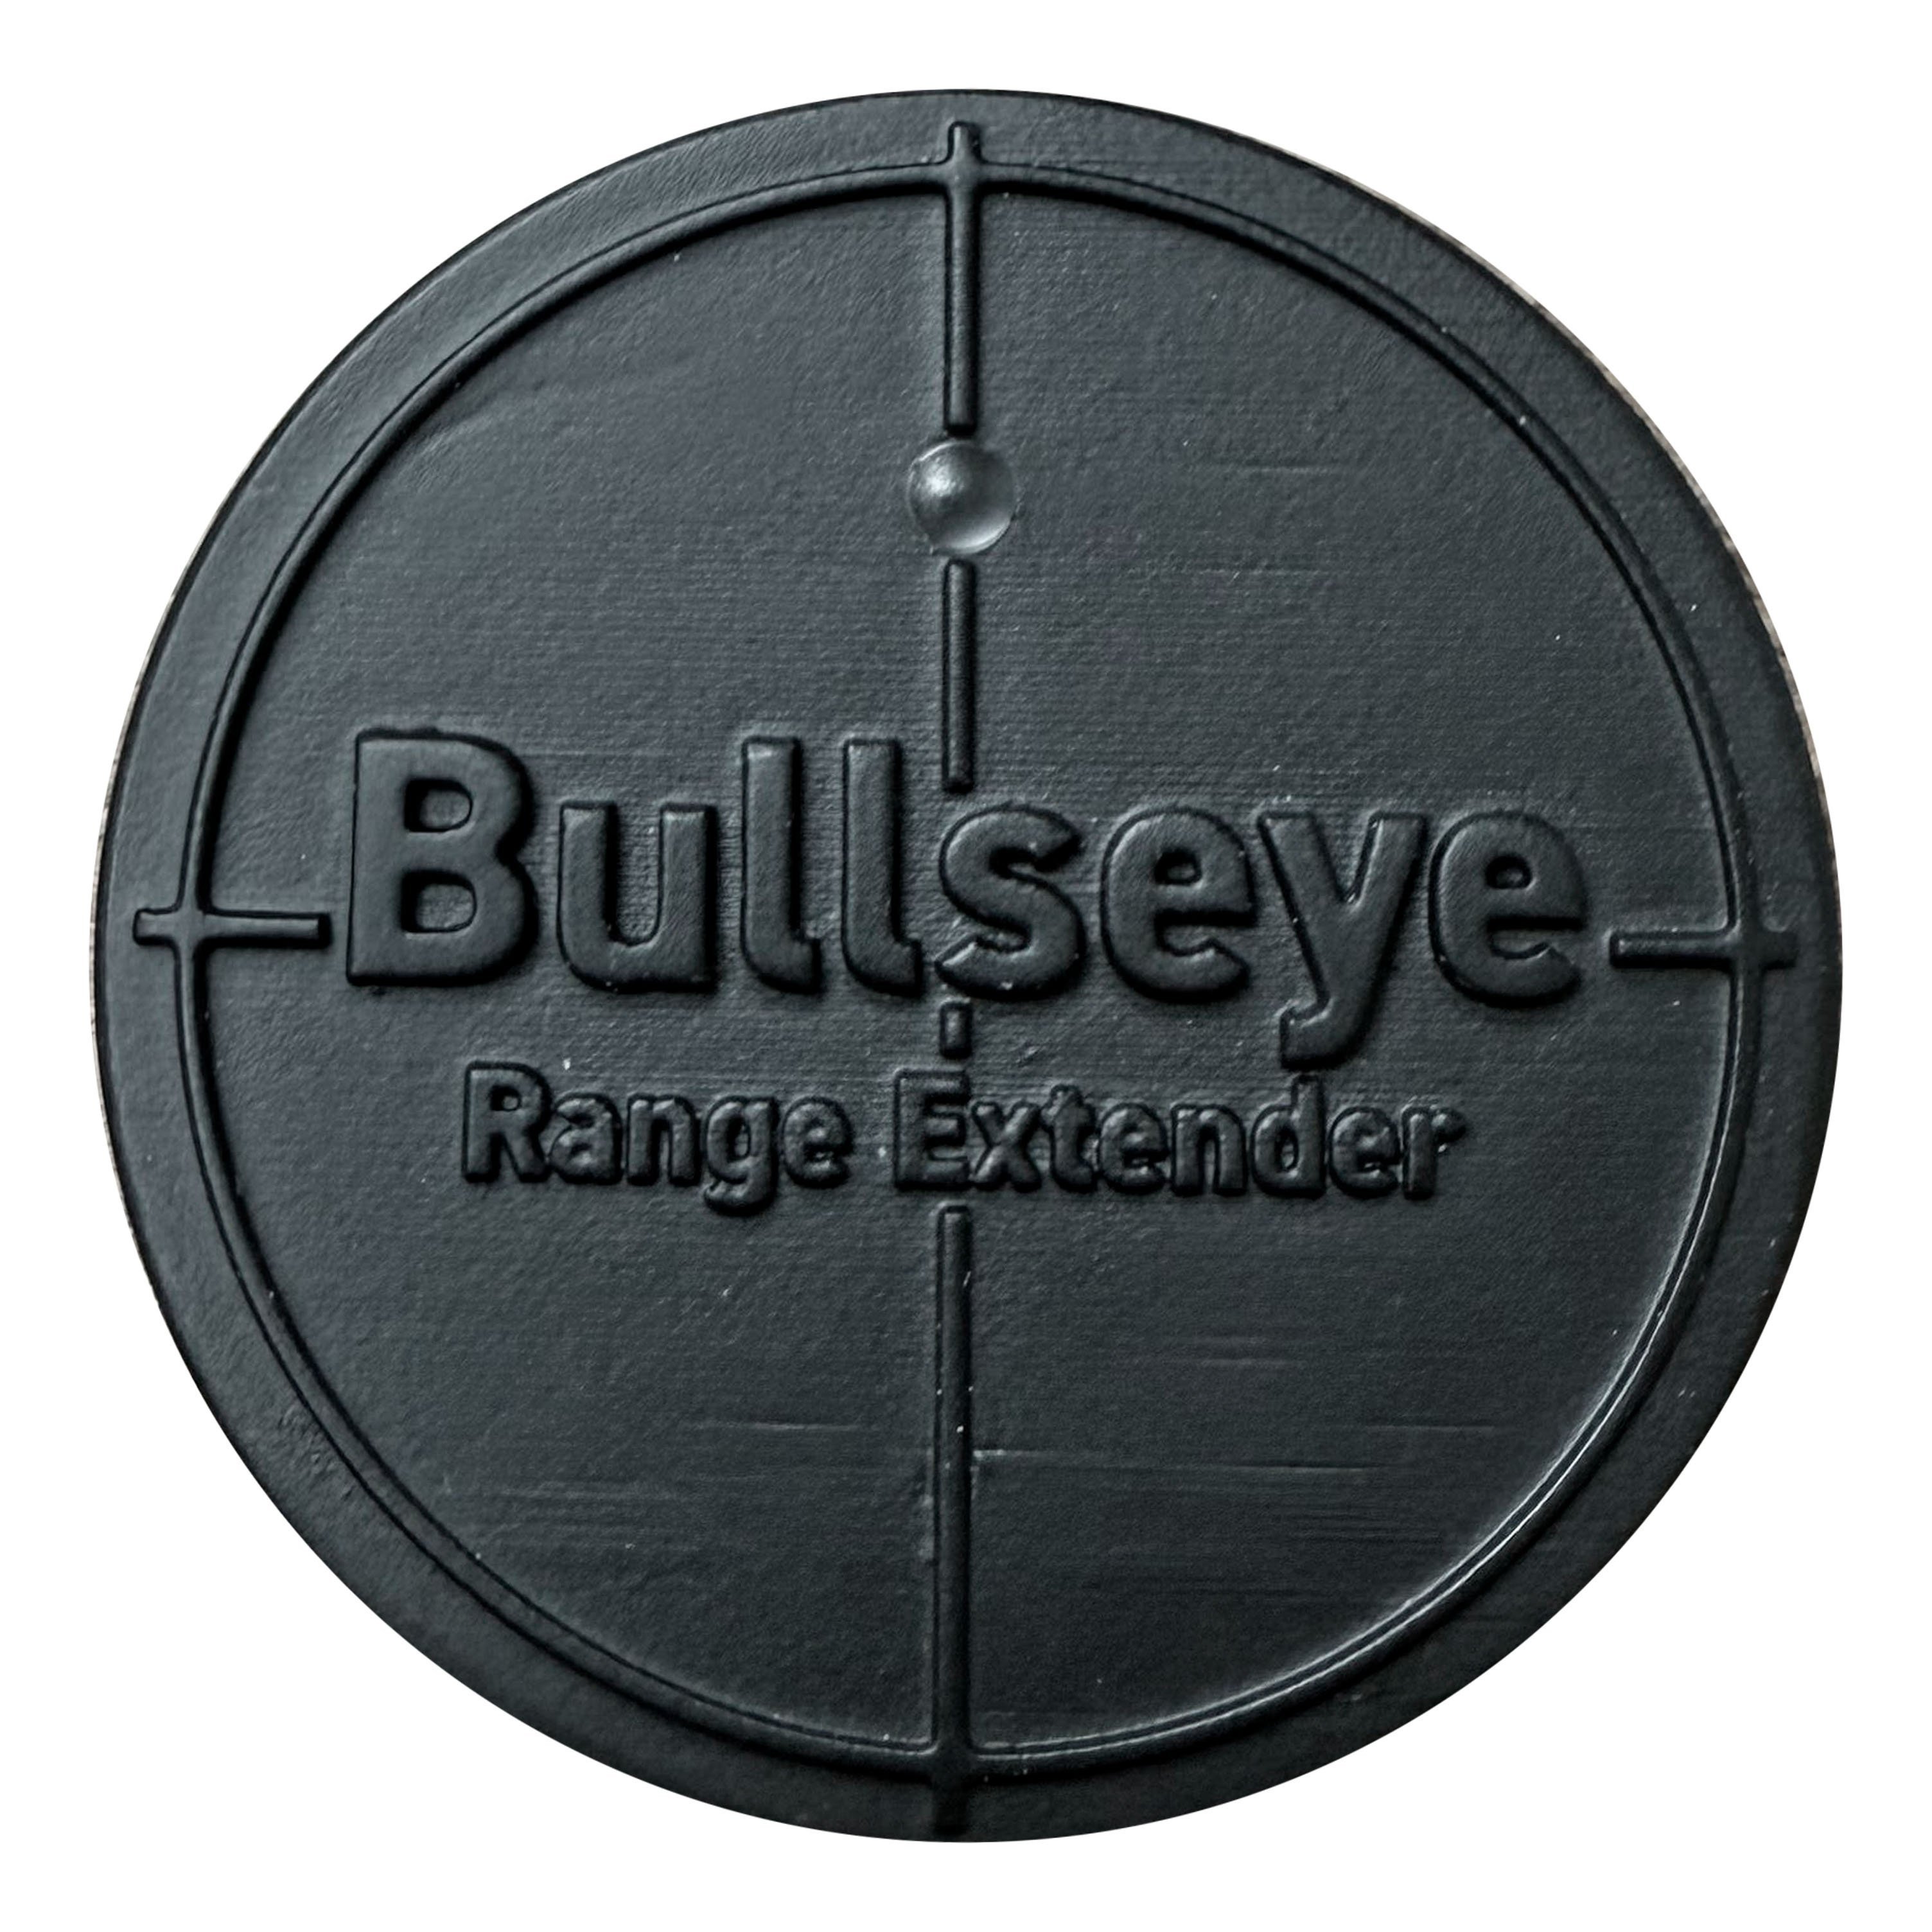
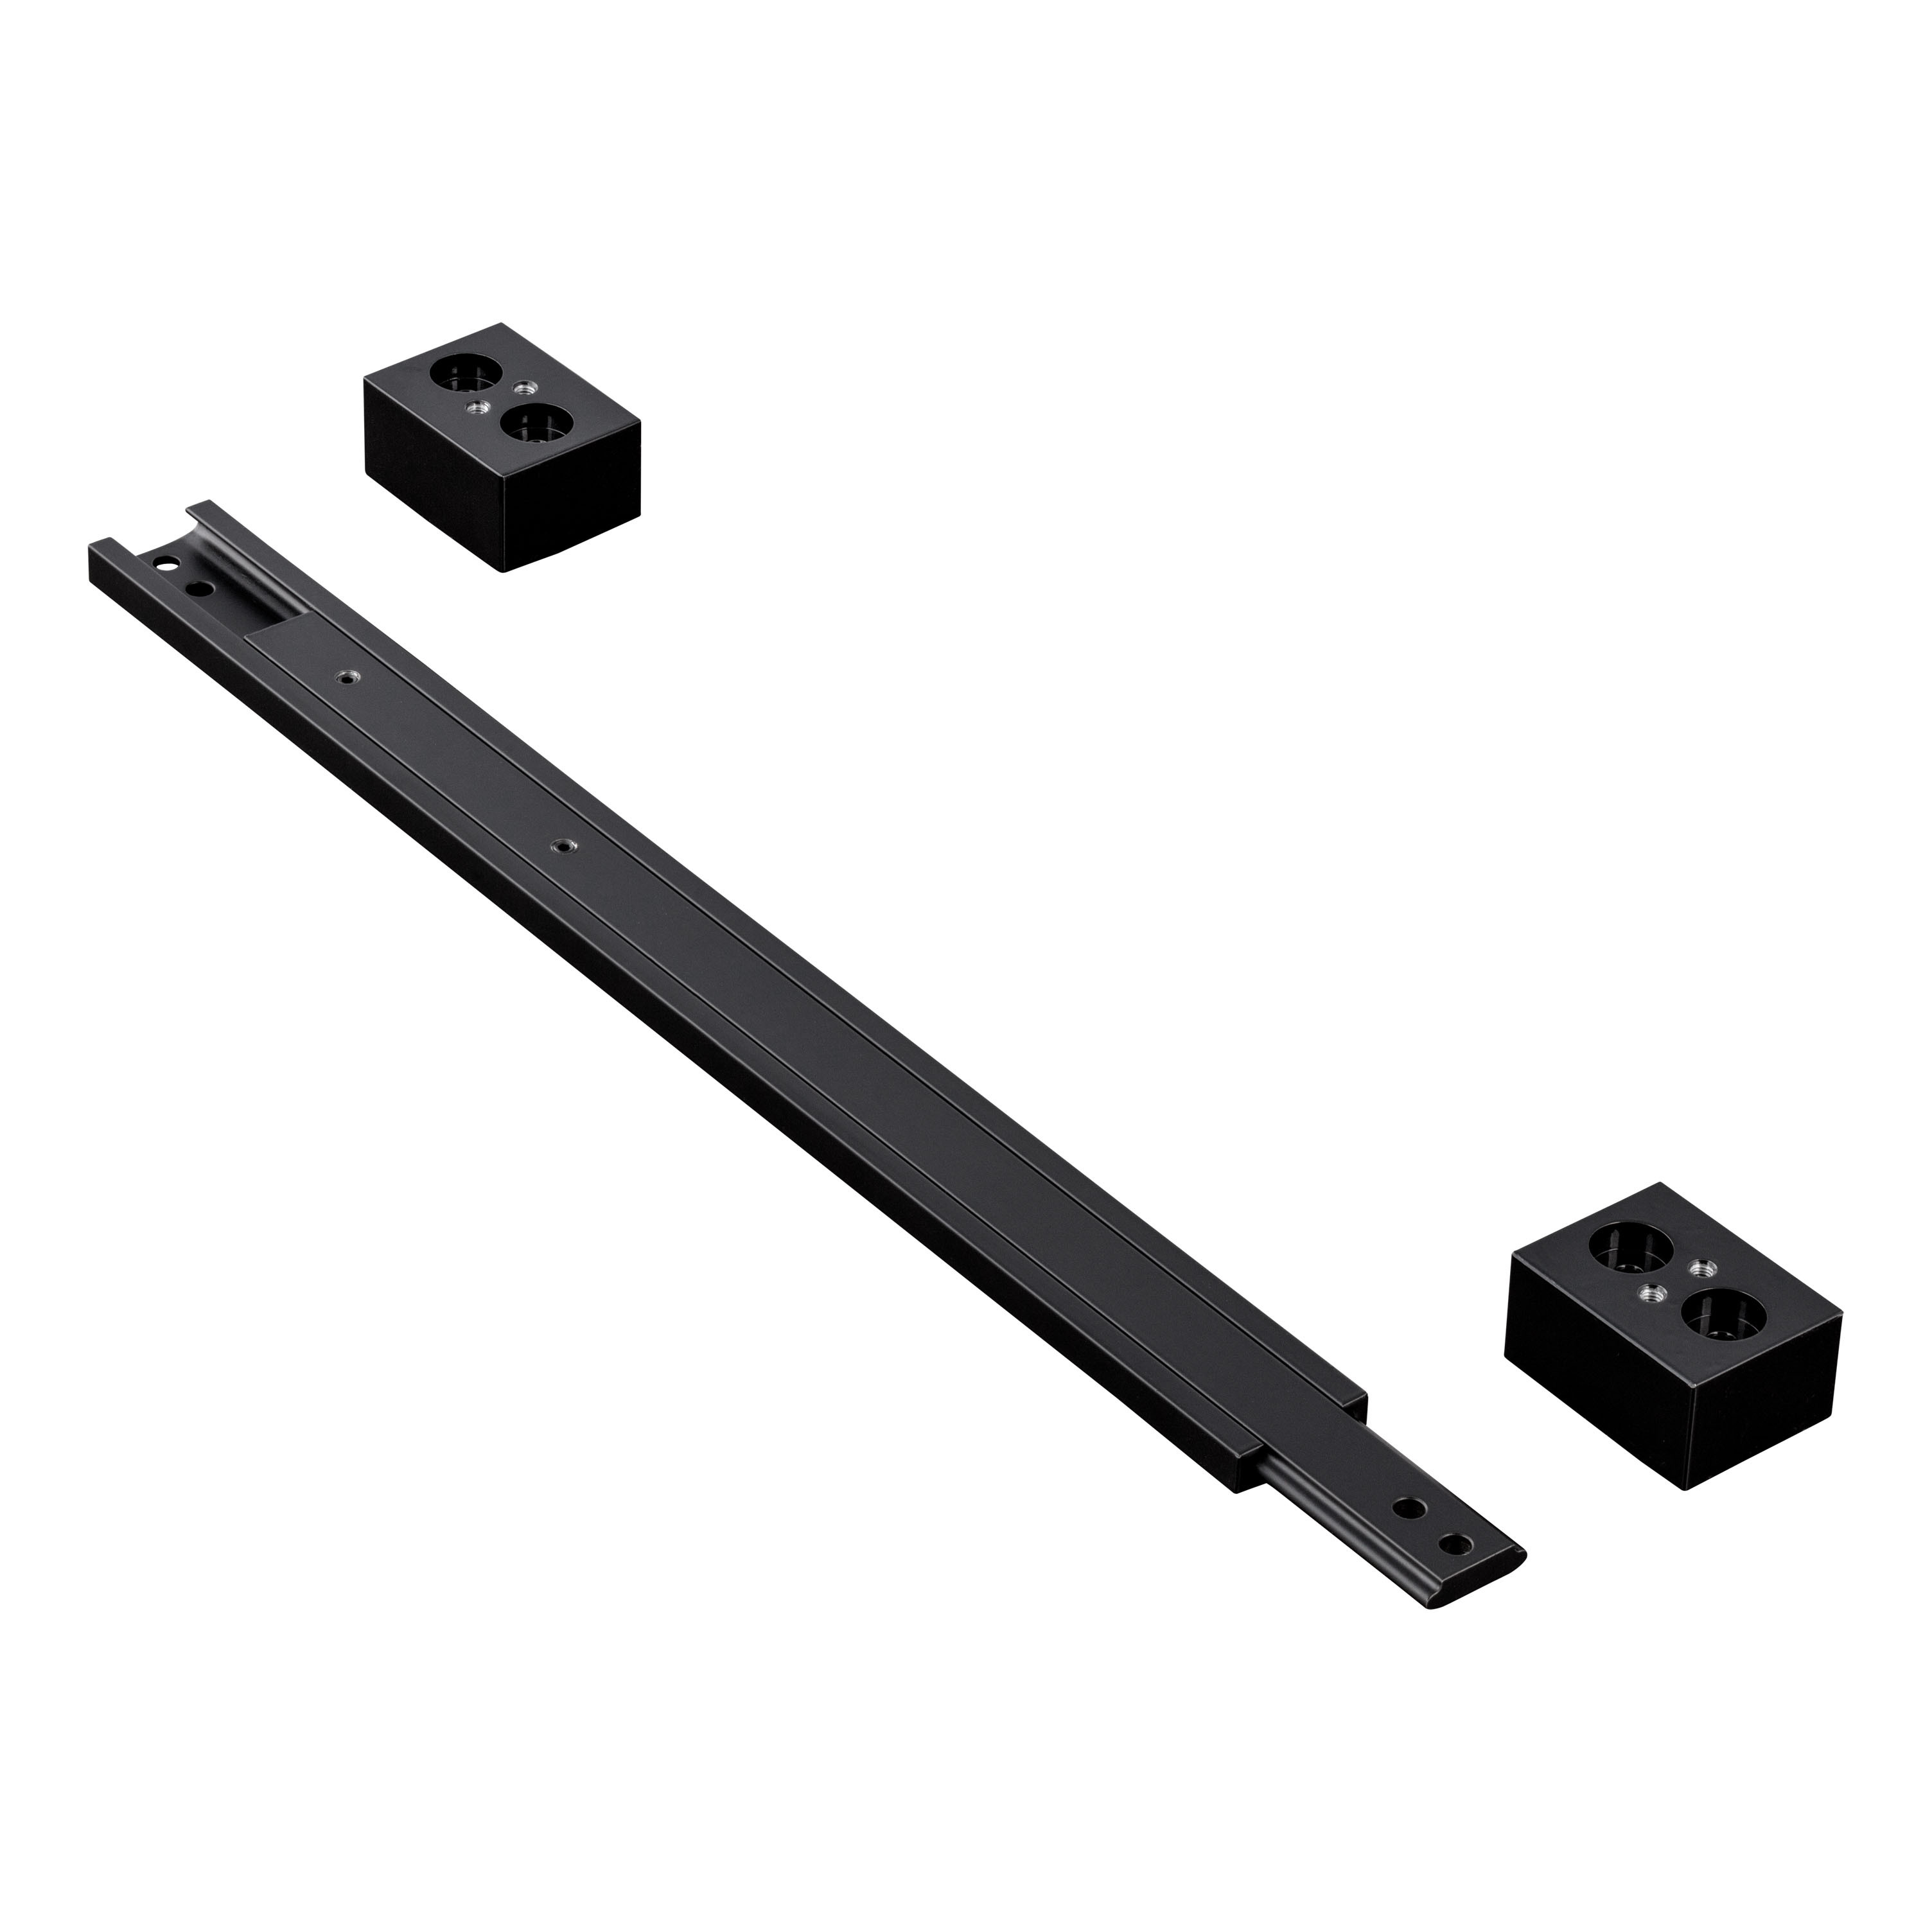
| 52225 | N | Bullseye range extender | Bullseye wireless monitor | -- |
| 52227 | N | Bullseye dash mount | Bullseye wireless monitor | -- |
| 52228 | N | Bullseye power plug | Bullseye wireless monitor | -- |
| 52229 | N | USB-C cable | Bullseye wireless monitor | -- |
Free Shipping
Ships free on all orders
 Authorized Dealer
Quick Ship
In stock and ready to ship — order now!
Shipping from Eau Claire, WIFREE SHIPPING
Estimated delivery Tue, Sep 29 - Thu, Oct 1
Order before 2 PM EST Monday–Friday for same-day processing
Guaranteed safe & secure checkout
No reviews have been added for this product.