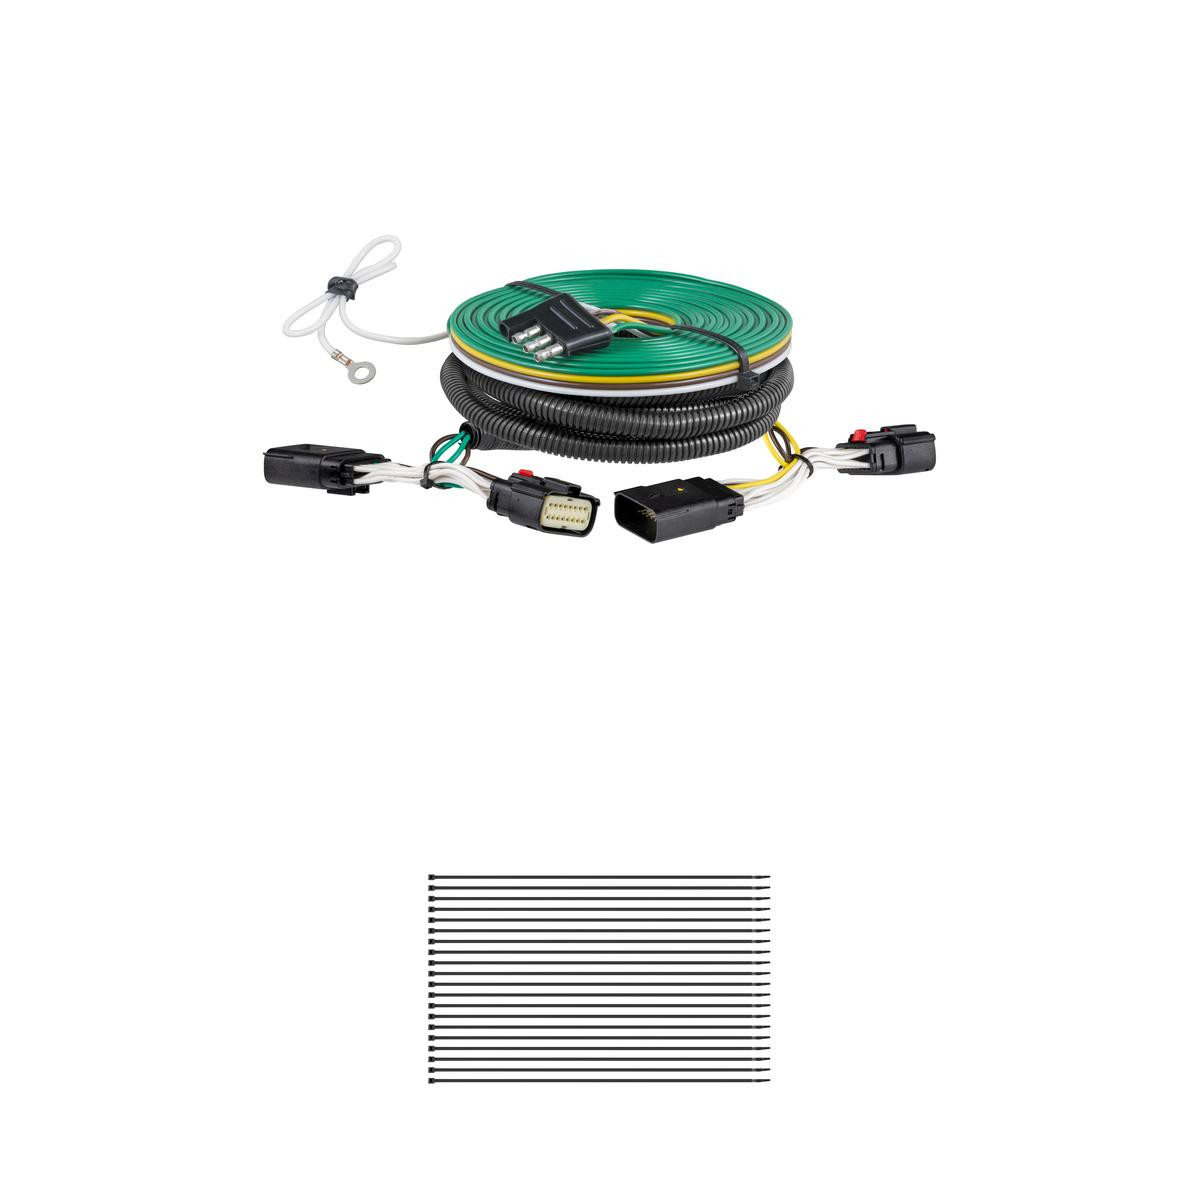
CURT Custom Towed-Vehicle RV Wiring Harness, Select Ford Ranger Trailer Connector KitCURTOriginal price was $132.95. Current price is $111.99.Out of Stock
View productOur in-house experts typically reply within one business day.

CURT
Verify Fitment
Select your vehicle to confirm this part fits.
2017 - 2021 Ford Escape
Confirmed to Fit






Always the correct part
We know our products
Quality Products
Free Shipping!
Always the correct part
We know our products
Quality Products
Free Shipping!
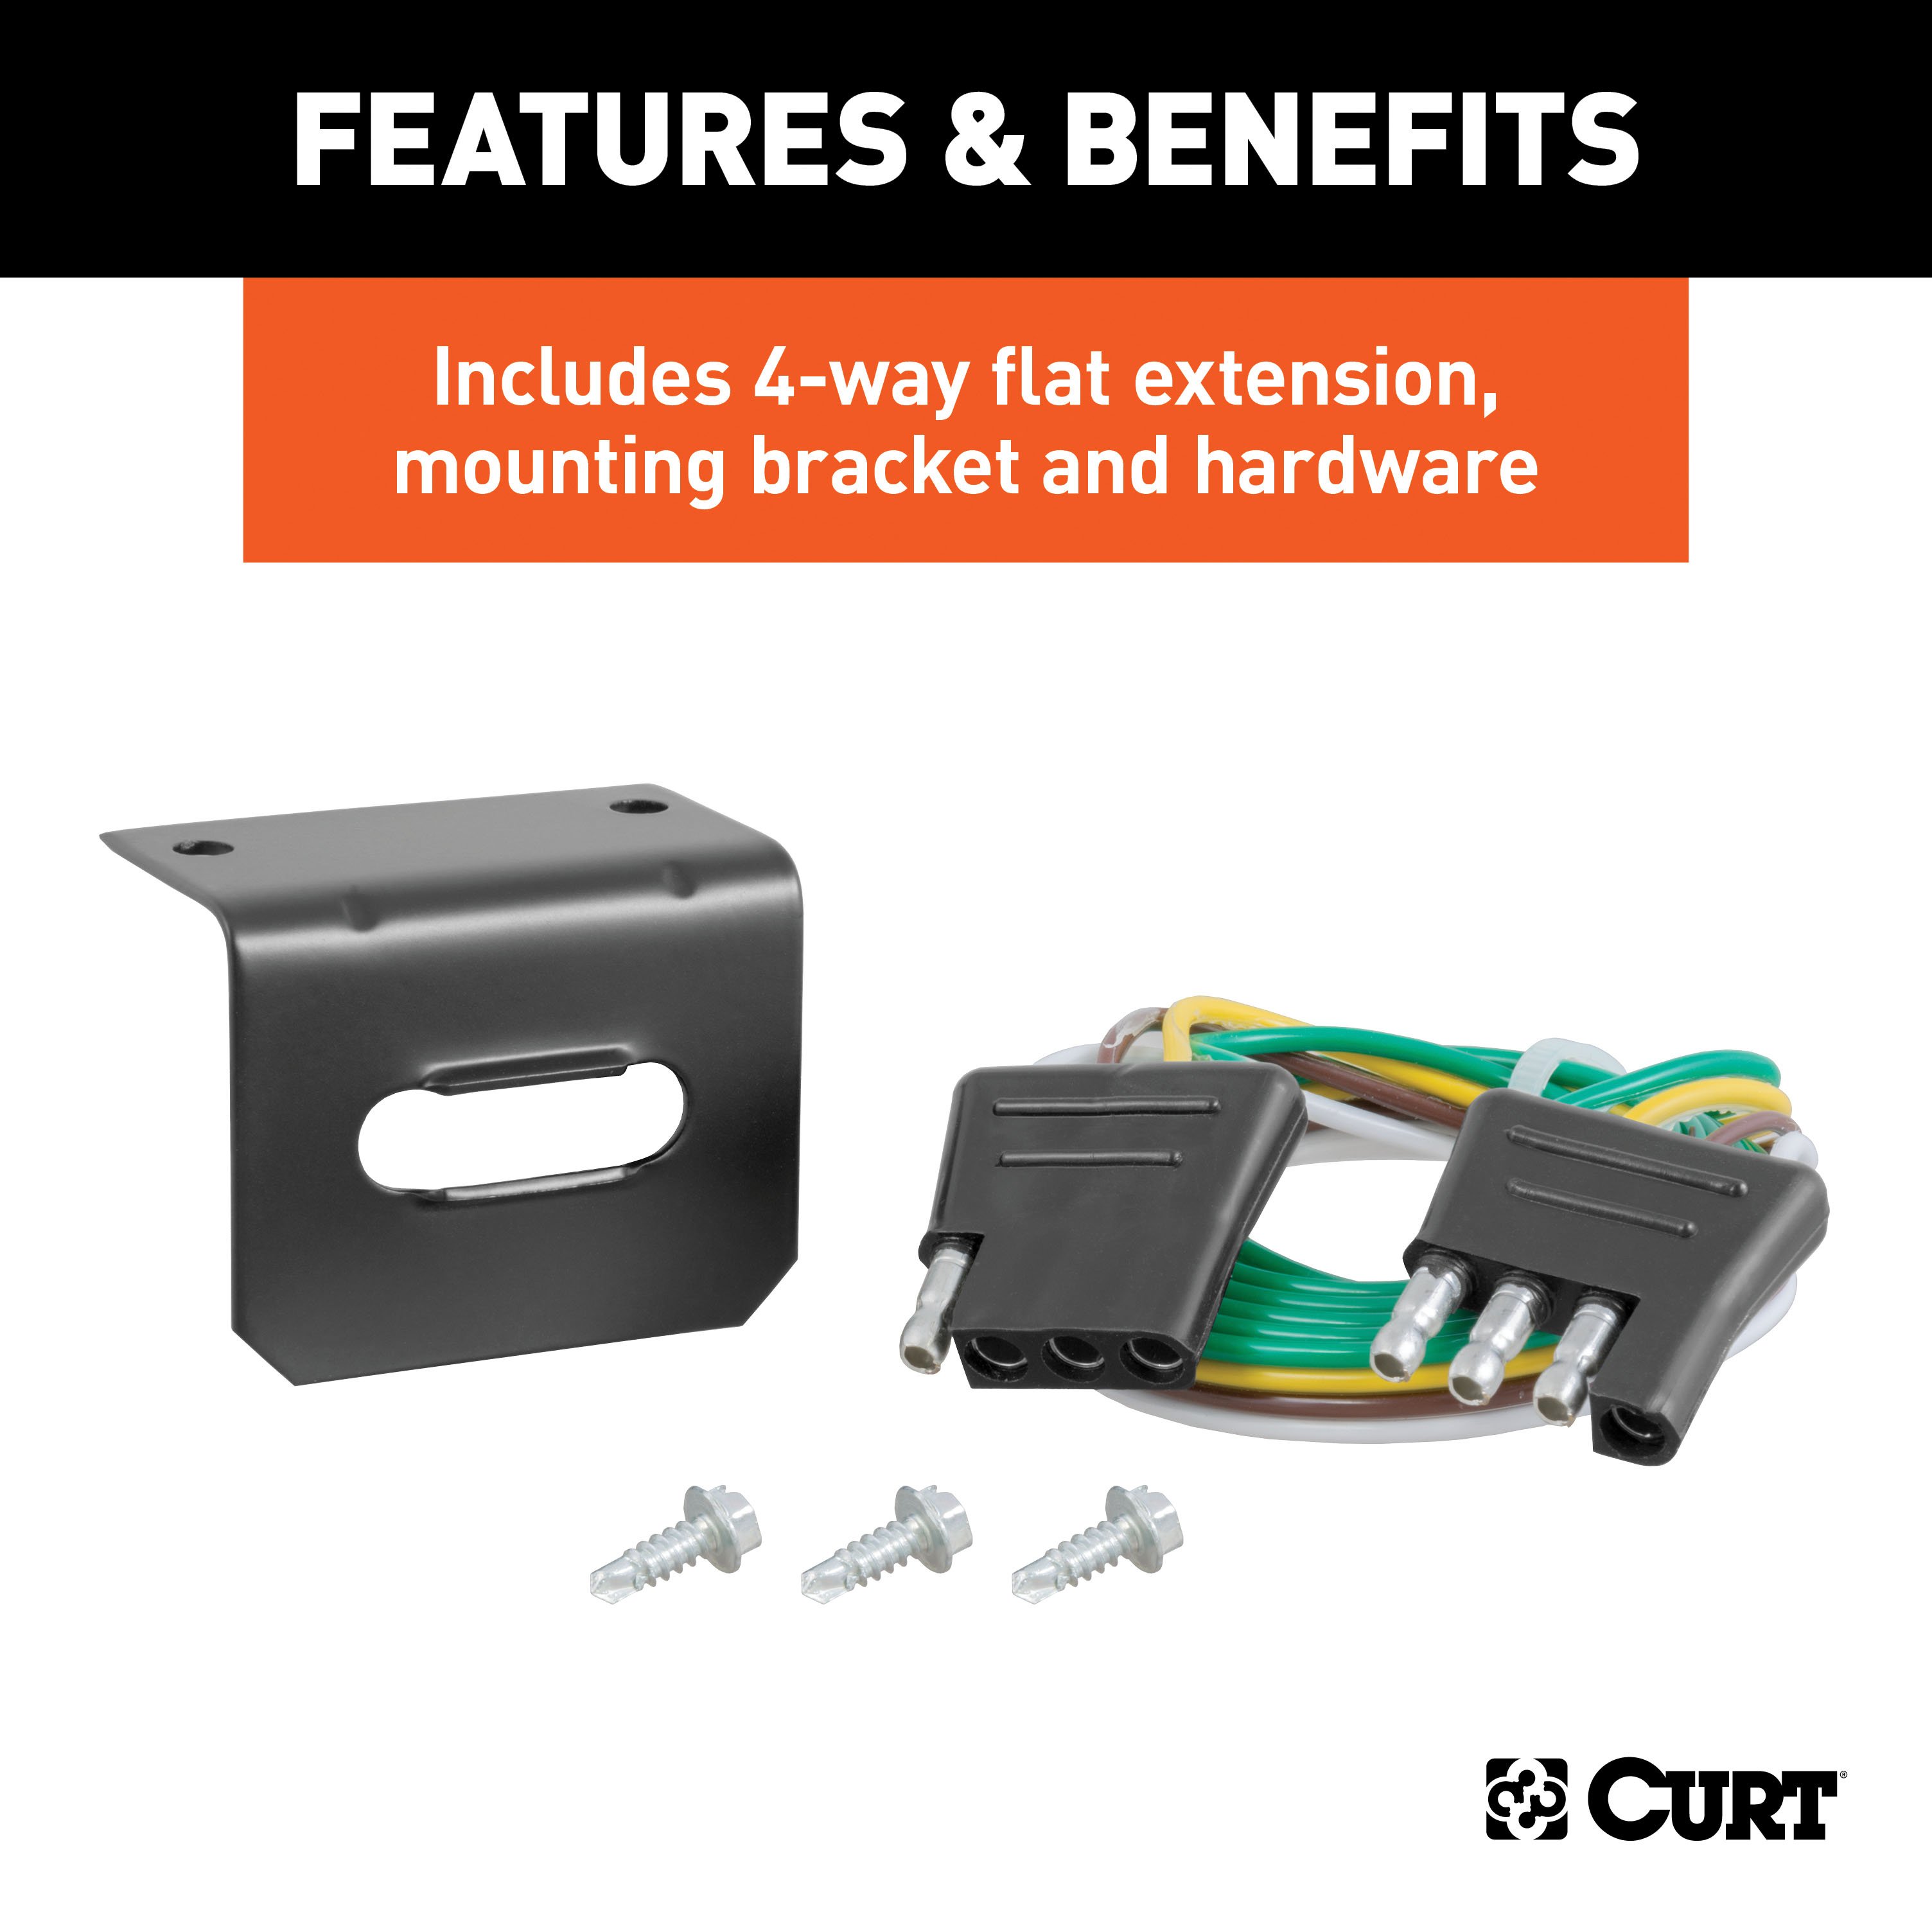
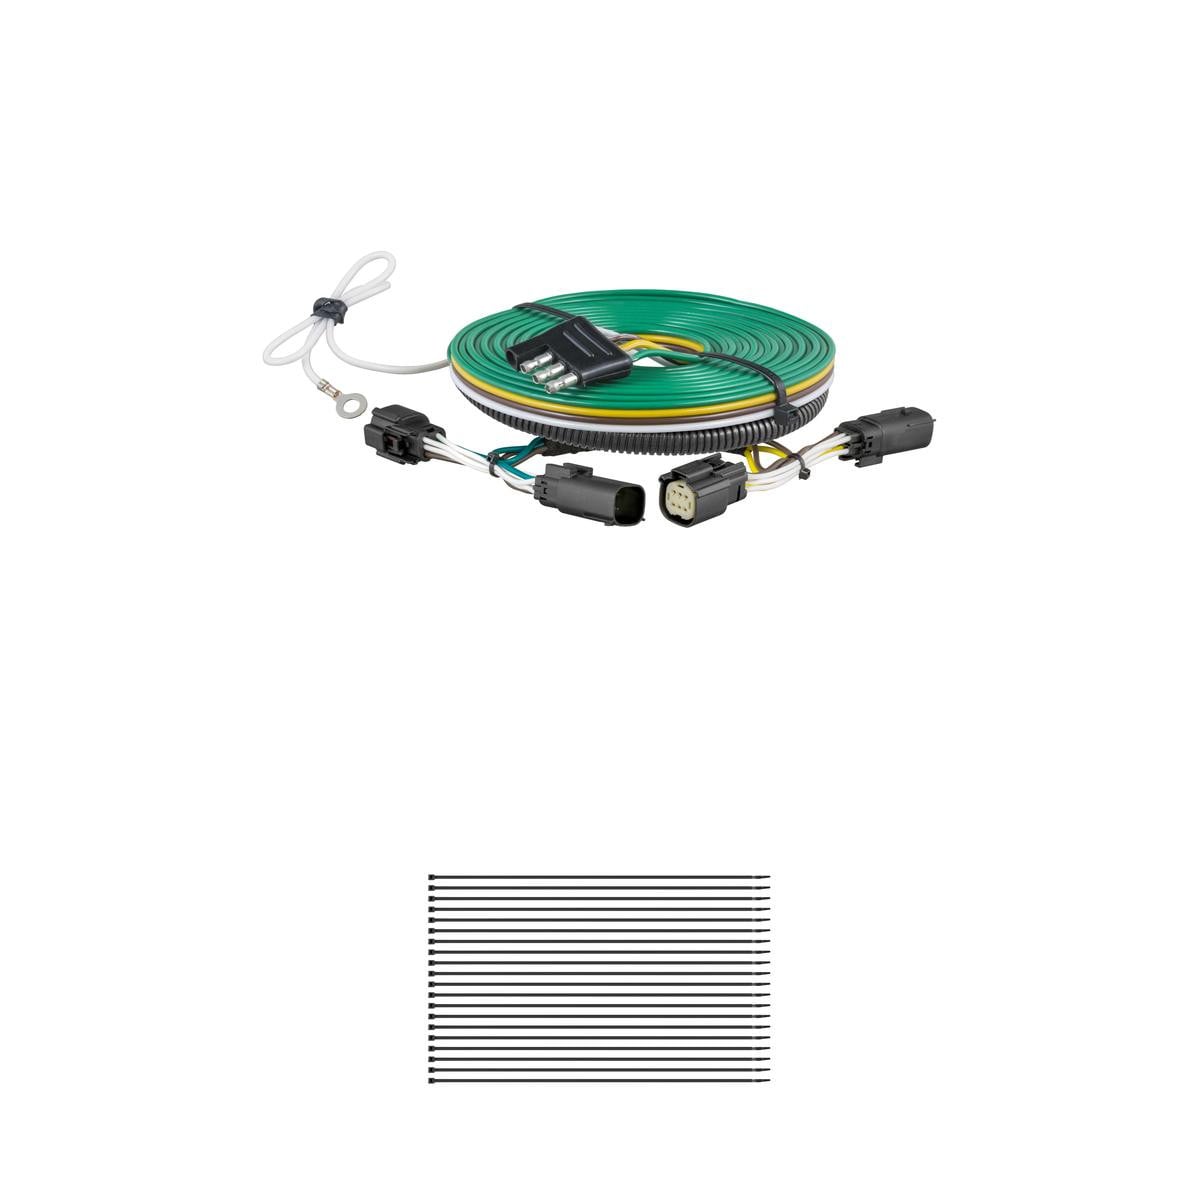
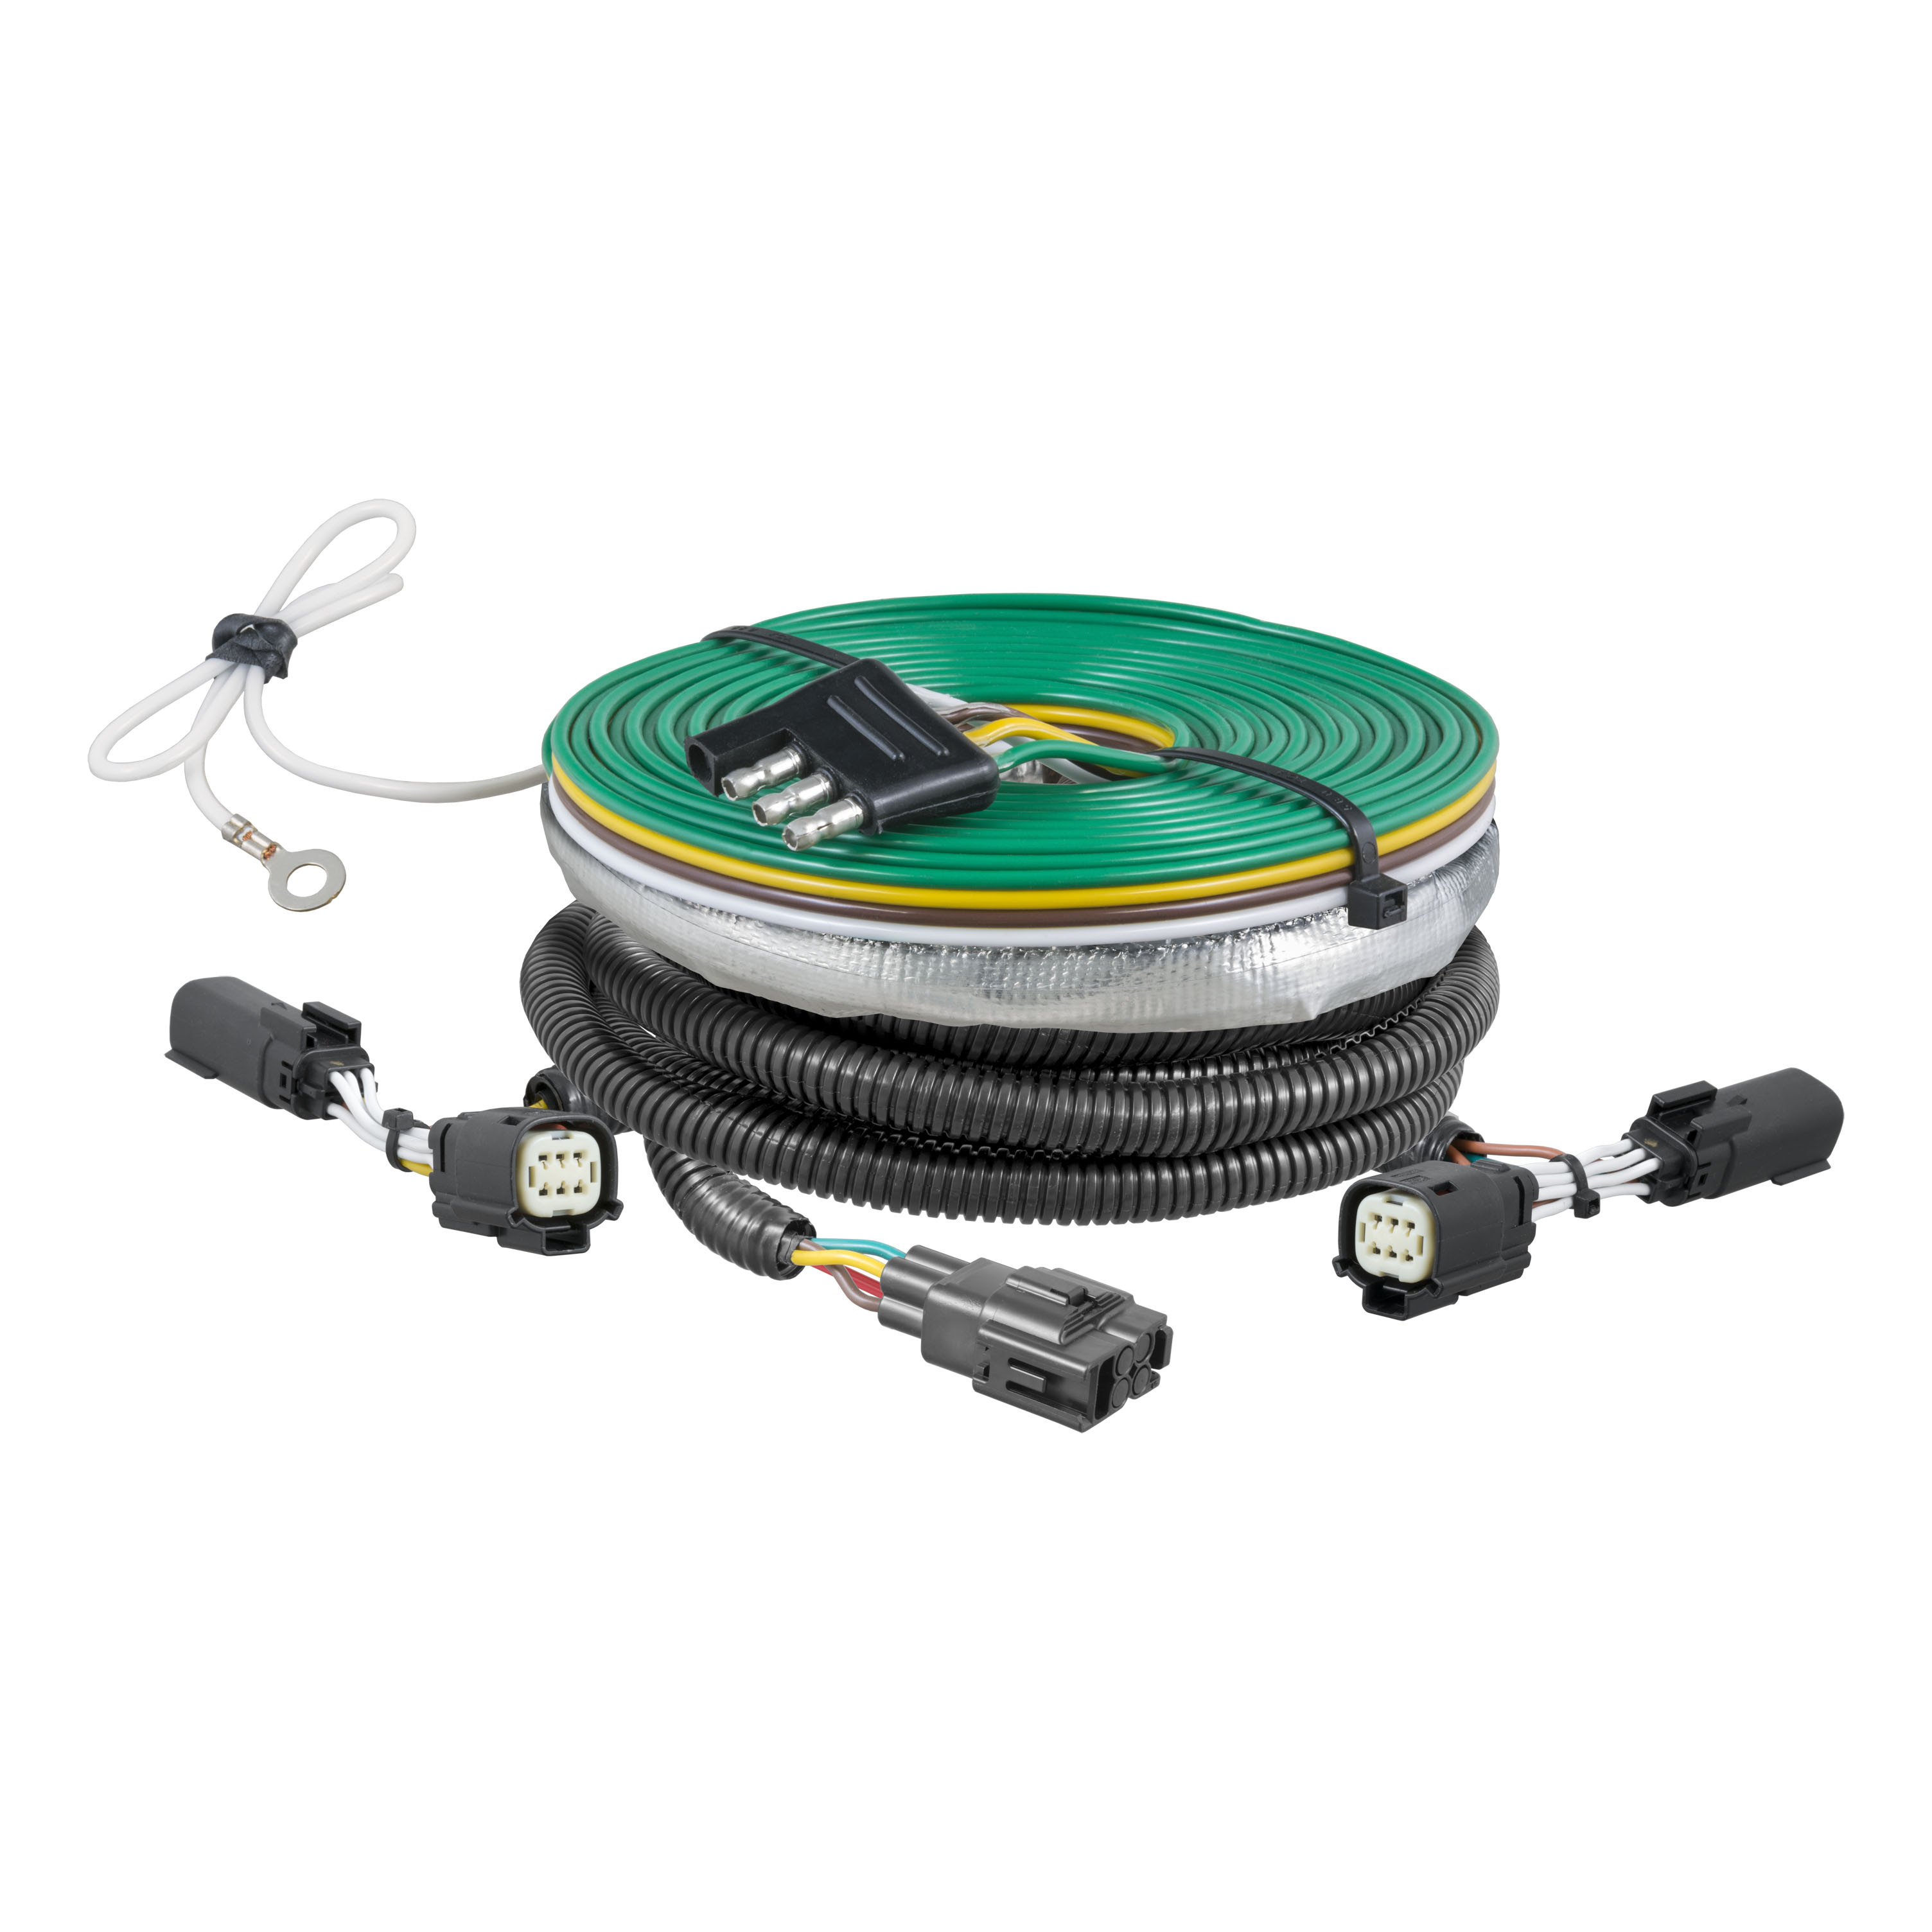
Includes harness, 4-flat extension, mounting bracket and hardware

Includes harness, 4-flat extension, mounting bracket and hardware

Warranty: One-Year Limited Warranty
Installation Difficulty: Advanced
Installation Time Exact (Minutes): 90
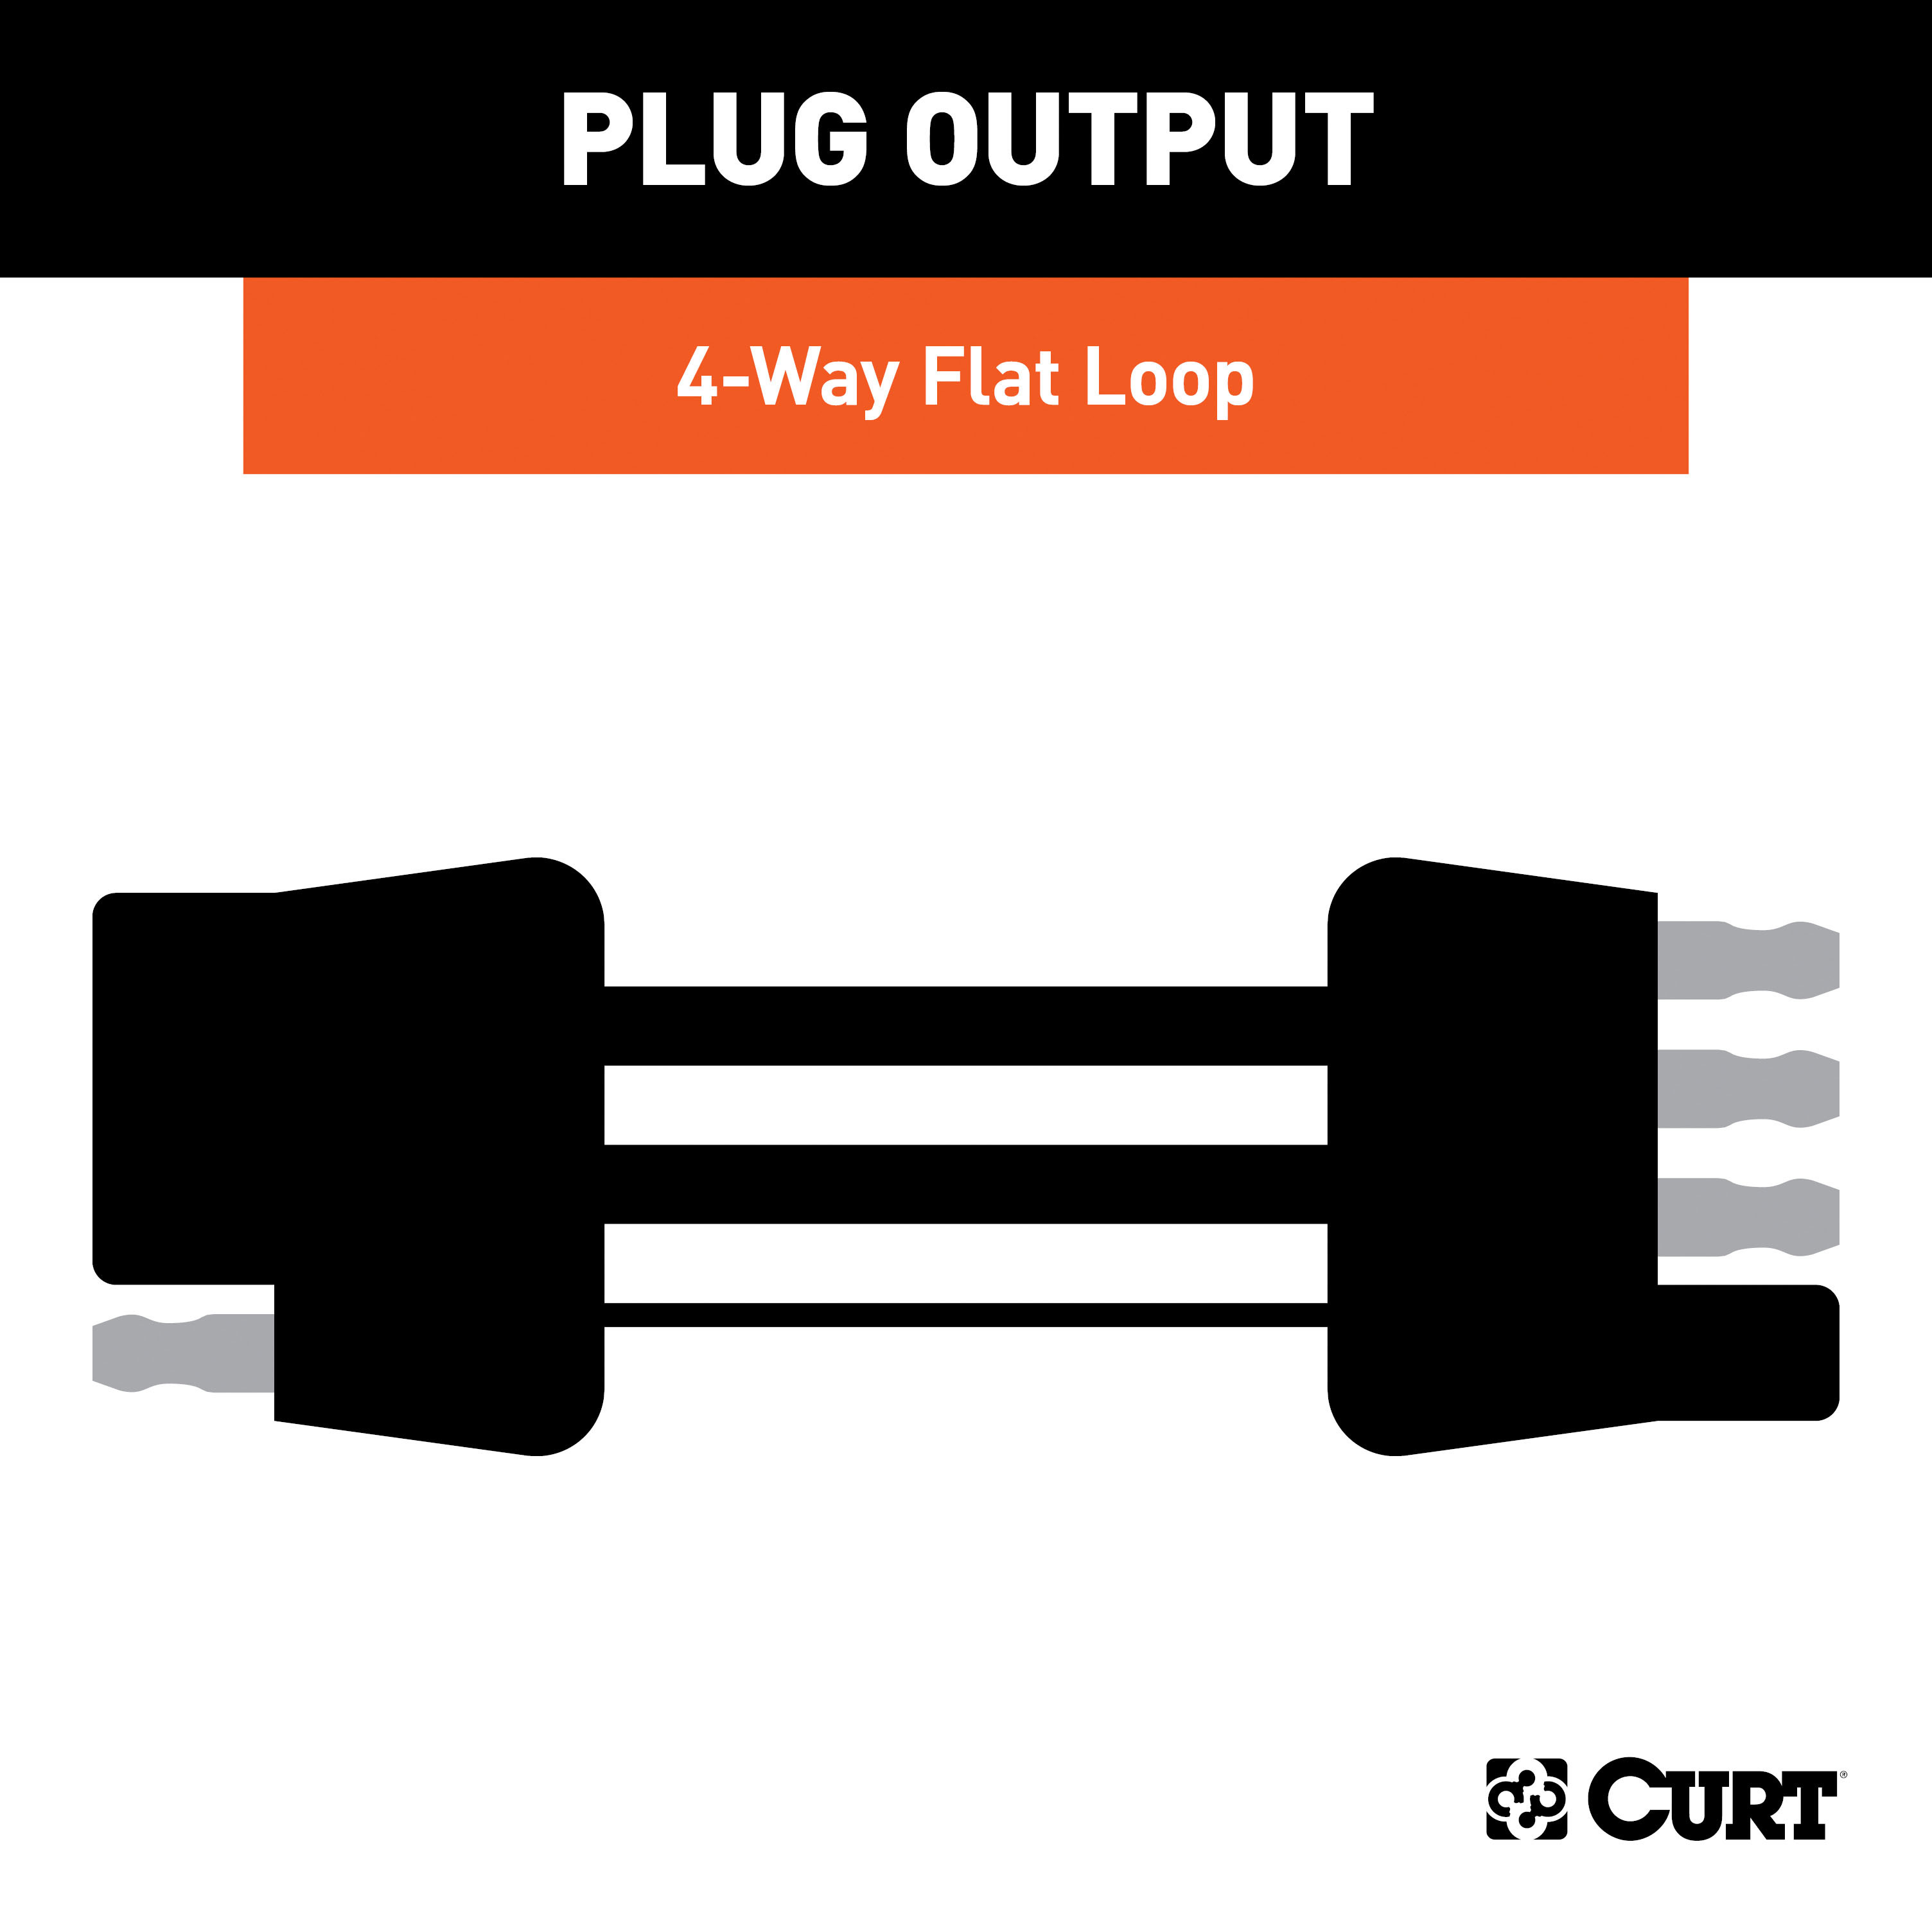
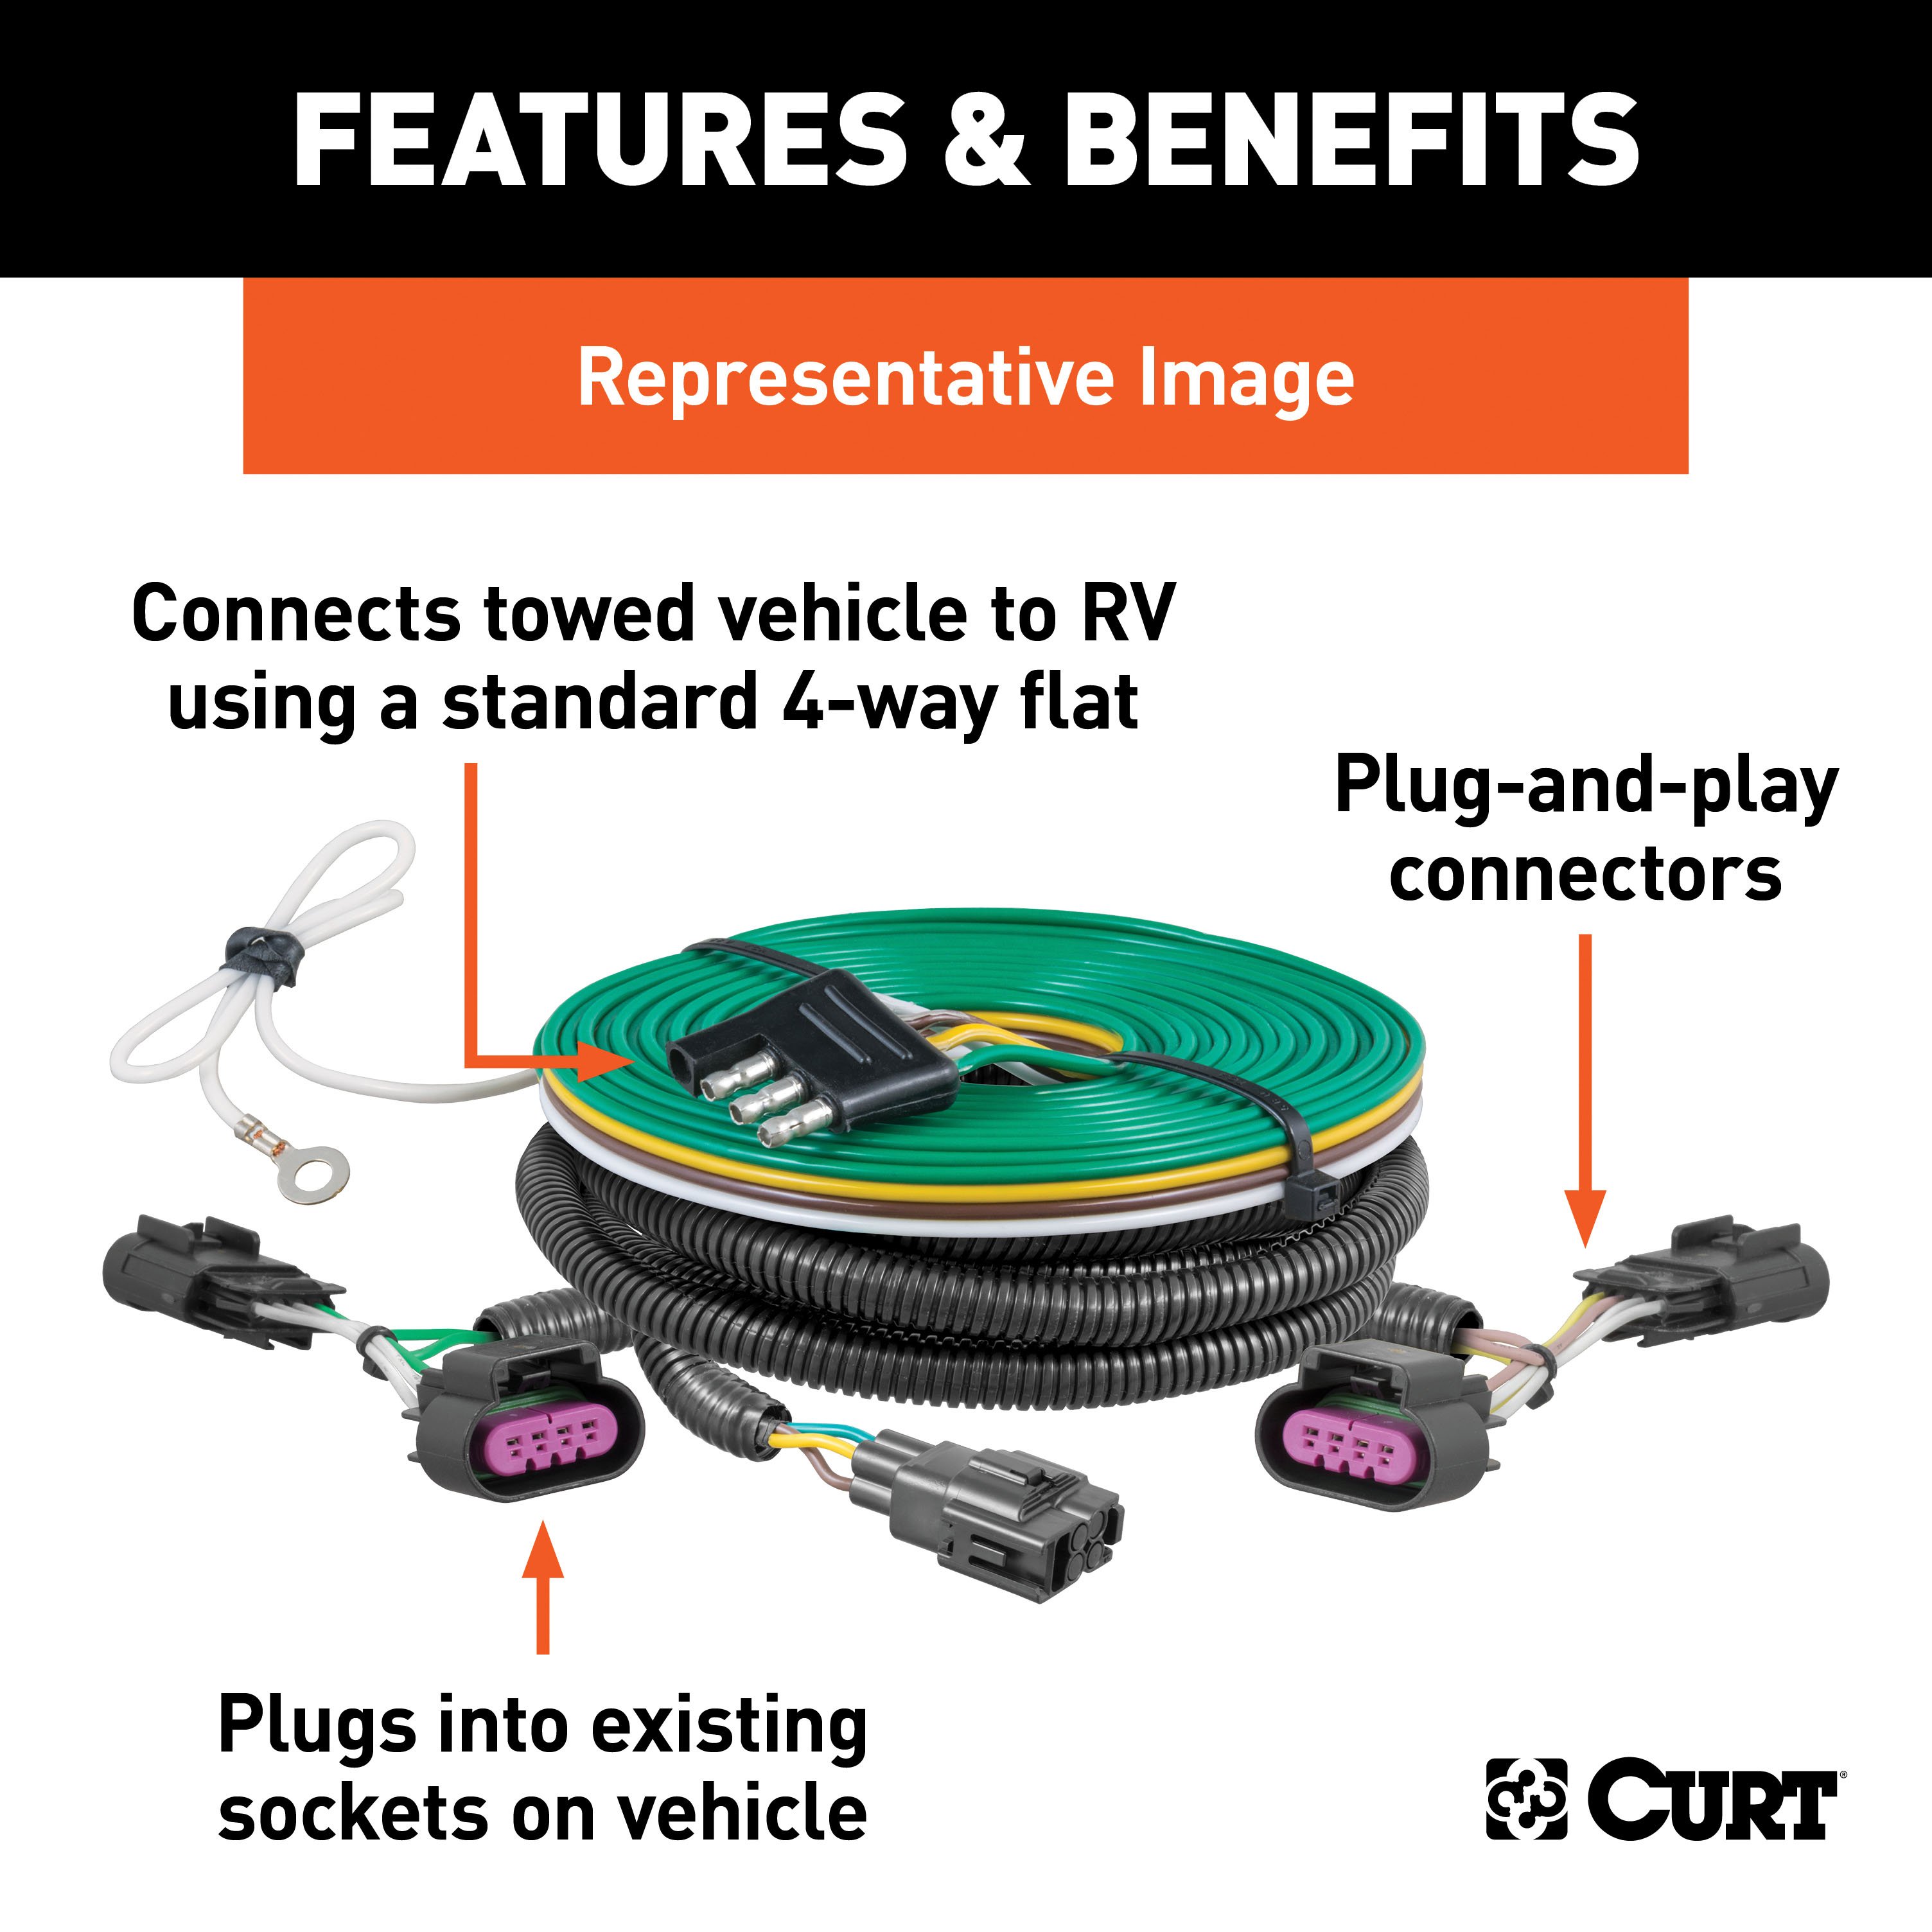
Towing your vehicle behind your RV is a great way to experience more of the adventure on your cross-country excursions. Whether you're towing a compact car or a full-size truck, CURT has the perfect solution to help you Bring It! CURT towed-vehicle RV harnesses are a vehicle-specific, plug-and-play solution to wiring your vehicle for dinghy towing. They use original-equipment-compatible connectors to plug into your vehicle's wiring system without any cutting, splicing or soldering required. They provide a standard 4-way flat connector to plug into the RV socket and synchronize the vehicle's tail lights, turn signals and brake lights with the RV's. Because each towed-vehicle RV harness has a vehicle-specific design, installation is fast and easy. This particular RV dinghy towing wiring harness is designed for specific years of the Ford Escape (see application info to verify fitment). CURT RV harnesses are also built to provide long-lasting operation. They feature integrated block diodes that protect the vehicle's circuits from the RV signals. They isolate the sensitive vehicle electronics, keeping them from overheating and short circuiting. Every CURT towed-vehicle RV harness comes ready to install with all necessary hardware included. They also come with a 4-way flat extension to provide plenty of length to plug into the RV socket, as well as a connector mounting bracket to mount the connector on the vehicle.

CURT offers a variety of high-quality trailer hitches and accessories for select vehicle models. Find the perfect fit for your towing needs at TowUniverse.
CURT, a Lippert brand, offers a complete line of towing products and is the leading manufacturer of custom-fit trailer hitches. We offer the broadest selection of custom-fit hitches, and each one is designed, welded, and coated in Wisconsin.
CURT is also a leader in flat towing products, as well as 5th wheel, gooseneck, and weight distribution hitches, ball mounts, electrical components, cargo solutions, and other towing accessories.
For everything from passenger cars and vans to full-size pickups and SUVs, CURT is 'The First Name in Towing Products®.'

Experts available to answer your questions
Call 888-634-9494Rediscover "Us" Time | Tested. Proven. Safe. Towing Products
1 compatible vehicles
| Year | Make & Model | Notes |
|---|---|---|
| 2017 - 2021 | Ford Escape | — |
Yes, the Curt 58954 is designed for Ford Escape vehicles. It is classified as an S-class harness for SUVs, mini and full-sized vans. Confirm your specific model year and body style match the representative vehicle shown in the manual before purchasing.
The harness is rated for Signal Circuits at 7.5 amps per side and Tail/Running Circuits at 7.5 amps total. Do not exceed the product rating or your tow vehicle's lamp load rating, whichever is lower, as exceeding this can cause loss of warranty, overheating and potential fire.
Required tools are: panel trim removal tool, ratchet, ratchet extension, 6mm socket, 8mm socket, 10mm socket, T25 Torx bit, 3/32" drill bit, drill, Phillips screwdriver, small flat screwdriver, fish wire, and cutting tool. The manual does not specify whether you need to supply these tools or if any are included with the harness.
Yes. Step 1 requires opening the rear hatch and removing all floor coverings. Step 2 requires removing all fasteners from the cargo storage trays, disconnecting their connectors, and removing the trays entirely. These steps must be completed before accessing the taillight wiring.
Yes. Steps 5–6 require removing the taillight fastener covers, removing the fasteners securing each taillight, pulling the taillight straight back, and disconnecting the taillight wiring harness connectors. The taillights must be removed to route the RV harness end with the yellow wire (driver side) and green wire (passenger side) between the vehicle and taillight connectors.
Remove the existing grommet from behind the taillight (Step 7). Make a small slit in the grommet (Step 8). Route the RV harness end with the yellow wire (driver side) or green wire (passenger side) through the slit from inside the hatch out to the taillight connector. Insert the harness end between the separated vehicle and taillight connectors, ensuring connectors are fully inserted with locking tabs in place. Reseat the grommet, secure wires with provided cable ties, and seal the cut and all wires with provided grommet sealant (Step 9).
Yes, drilling is required in two locations. Step 10 requires drilling a 3/32" pilot hole for the ground wire screw near the taillight connector (or using an existing screw with nut if available). Step 15 requires drilling two 3/32" holes in the engine compartment to mount the 4-flat bracket. Before drilling, check for hidden items behind or under surfaces to avoid damage and personal injury.
The 4-flat is a flat connector that serves as the main connection point between the towed vehicle and the RV. It mounts in the engine compartment on a bracket. Step 15 requires routing the 4-flat to a flat, out-of-the-way area in the engine compartment, marking two holes using the bracket as a template, and drilling two 3/32" holes. Step 16 requires attaching the bracket with two screws and securing the 4-flat in the mounting bracket.
The 4-flat harness uses the following color code: White = Ground, Brown = Taillights, Green = Right Turn and Brake Signal, Yellow = Left Turn and Brake Signal. These colors correspond to the functions that will be transmitted to the towed vehicle's brake and tail combination lamps.
Step 12 requires removing the grommet on the driver-side rear floor panel, making a small slit in it, and routing the 4-flat end through the slit from inside the hatch to underneath the vehicle. Step 13 requires using a fish wire to route the 4-flat over the driver-side rear wheel well and toward the front of the vehicle, securing it to brake line brackets. Some cover trim panels under the vehicle may need to be removed. Step 14 requires routing a fish wire down from the engine compartment over the driver-side wheel well, securing the 4-flat to the fish wire, and pulling it up into the engine compartment.
Step 13 warns: Make sure to avoid areas that contain moving parts that could cut, pitch or burn wires when routing the 4-flat harness towards the front of the vehicle. Failure to follow these warnings may cause property damage, personal injury or loss of life. Additionally, Step 15 warns to check for miscellaneous items hidden behind or under surfaces before drilling, and to take care not to drill through the body or any exposed surface.
Step 10 requires locating a suitable grounding point near the connector, such as an existing screw with nut in the vehicle frame, or drilling a 3/32" pilot hole for the provided screw. The area should be free of rust, dirt and paint. Secure the white ground wire using the ring terminal and provided screw.
Step 17 requires plugging one end of the RV extension harness into the 4-flat mounted in the towed vehicle and the other end to the RV. Test all functions on the towed vehicle using the extension harness. These functions will only work on the brake/tail combination lamps on the towed vehicle. Step 18 states that if all functions work, reinstall all items removed during installation. The manual also notes that all steps must be followed to ensure proper function, and you can test using a test light or by connecting a properly wired trailer.
The RV extension harness is a 4-flat connector harness used to connect the towed vehicle's 4-flat to the RV. Step 17 requires using the RV extension harness to test all functions. The manual does not explicitly state whether this harness is included with the 58954 or sold separately. When not in use, roll it up and store in the glove box.
The Curt 58920 is a converter required if you want to leave the RV harness installed on the vehicle at all times and also tow a trailer. Simply plug the 4-flat harness part number 58920 (not included with the 58954) into the connection point labeled 'FOR TRAILER TOW USE ONLY: CONVERTER 58920 REQUIRED' and you are ready to tow a trailer. The 58920 is sold separately.
Step 18 requires reinstalling all items removed during installation, installing the provided 4-flat dust cover to help prevent corrosion, and using cable ties as needed to secure any loose wires.
Yes. Step 3 requires removing the fasteners securing the rear scuff panel and removing the scuff panel by pulling out on the bottom and then up. Take care not to damage the alignment tabs on the back. This provides access to the side trim panels and vehicle electrical wiring harness.
Step 4 requires starting on the driver side and pulling out on the side trim panel to locate the vehicle electrical wiring harness. Take care not to damage any alignment tabs on the back. This step is performed after removing the rear scuff panel (Step 3).
Step 6 requires locating the vehicle taillight wiring harness connectors on the back of the taillight. The connectors will be similar to those on the RV wiring harness. Separate the connectors from the taillight housing taking care not to damage the locking tabs.
Yes. Step 9 requires using the provided grommet sealant to seal the cut in the grommet and around all wires after routing the RV harness through the grommet and securing it with cable ties. Step 12 also requires adding sealant to the seated grommet where the RV harness 4-flat end wires pass through.
Cable ties are used to secure wires together and prevent them from moving. Step 9 requires using provided cable ties to hold the wires together that are passing through the grommet at the taillight. Step 18 requires using cable ties as needed to secure any loose wires after reinstalling all removed items.
Yes, the Curt 58954 is designed for Ford Escape vehicles (S-class SUVs, mini and full-sized vans). Confirm your specific model year and body style match the manual's representative vehicle.
You need: panel trim removal tool, ratchet, ratchet extension, 6mm/8mm/10mm sockets, T25 Torx bit, 3/32" drill bit, drill, Phillips and small flat screwdrivers, fish wire, and cutting tool.
Yes. You must drill two 3/32" pilot holes: one for the ground wire screw near the taillight connector (or use an existing screw if available), and two more in the engine compartment to mount the 4-flat bracket. Check for hidden items before drilling.
Yes. You must remove the taillight fastener covers, fasteners, and taillights themselves to route the RV harness between the vehicle and taillight connectors.
White = Ground, Brown = Taillights, Green = Right Turn and Brake Signal, Yellow = Left Turn and Brake Signal.
Plug the RV extension harness into the 4-flat and the RV, then test all functions on the towed vehicle. If all functions work, reinstall removed items and install the provided 4-flat dust cover.
Signal Circuits: 7.5 amps per side. Tail/Running Circuits: 7.5 amps total. Do not exceed the product rating or your vehicle's lamp load rating, whichever is lower.
Do not exceed the product rating (7.5 amps per side for signals, 7.5 amps total for tail/running) or your tow vehicle's lamp load rating, whichever is lower. Exceeding this can cause loss of warranty, overheating and potential fire. Avoid routing wires near moving parts that could cut or burn them.
On Sale Today
Original price was $147.95. Current price is $120.43.You save $27.52 (19%)
Free Shipping
Ships free on all orders
 Authorized Dealer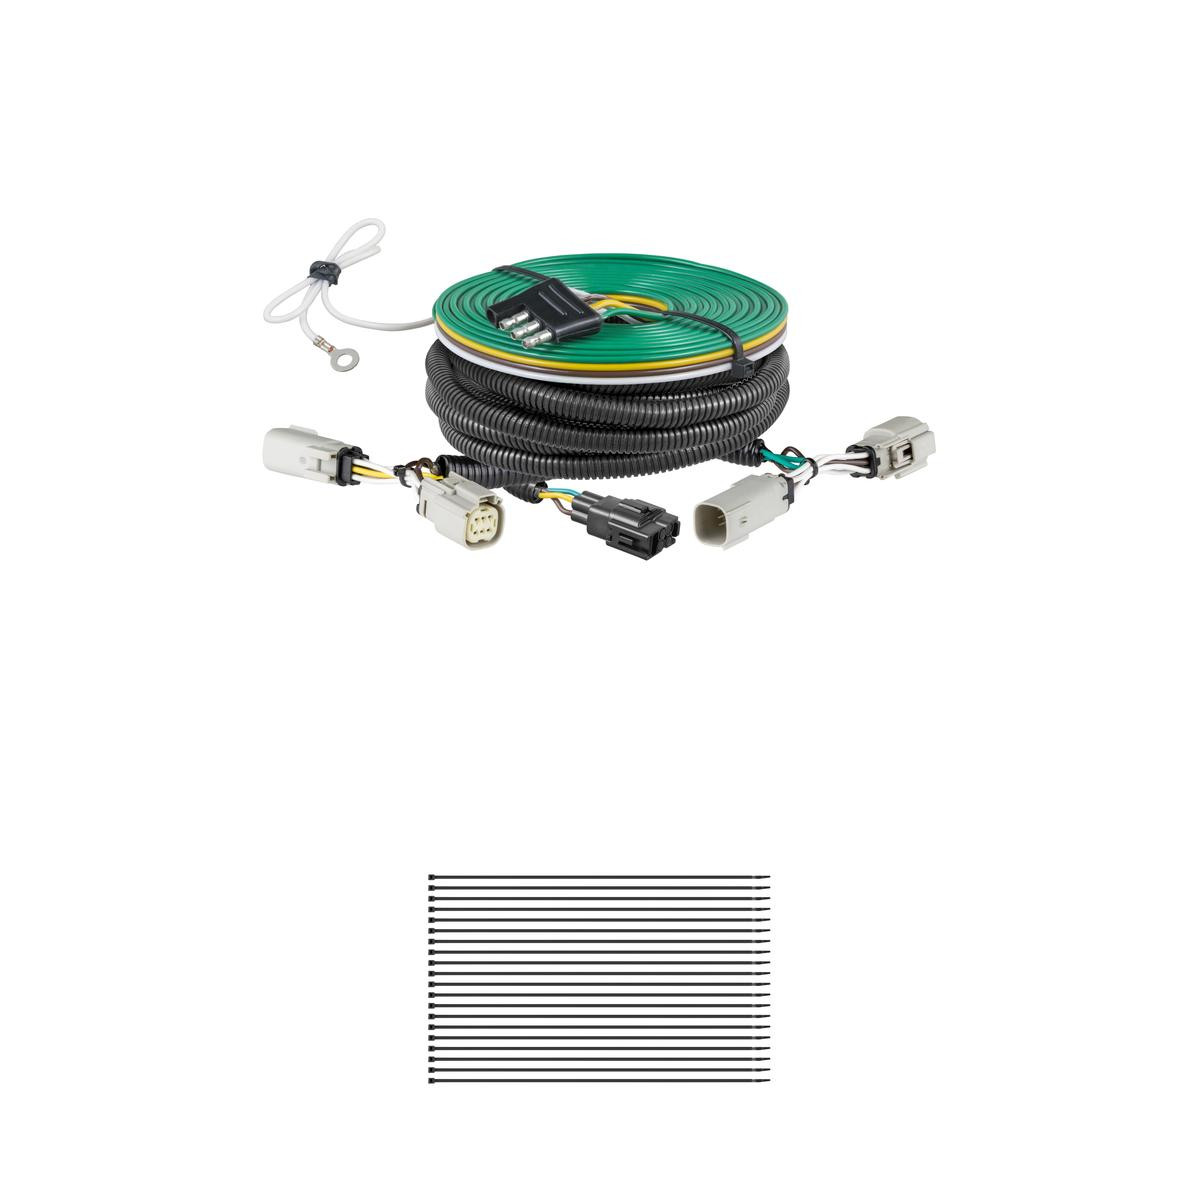

Quick Ship
In stock and ready to ship — order now!
Shipping from Lancaster, TXFREE SHIPPING
Estimated delivery Tue, Sep 29 - Thu, Oct 1
Order before 2 PM EST Monday–Friday for same-day processing
Guaranteed safe & secure checkout
No reviews have been added for this product.