
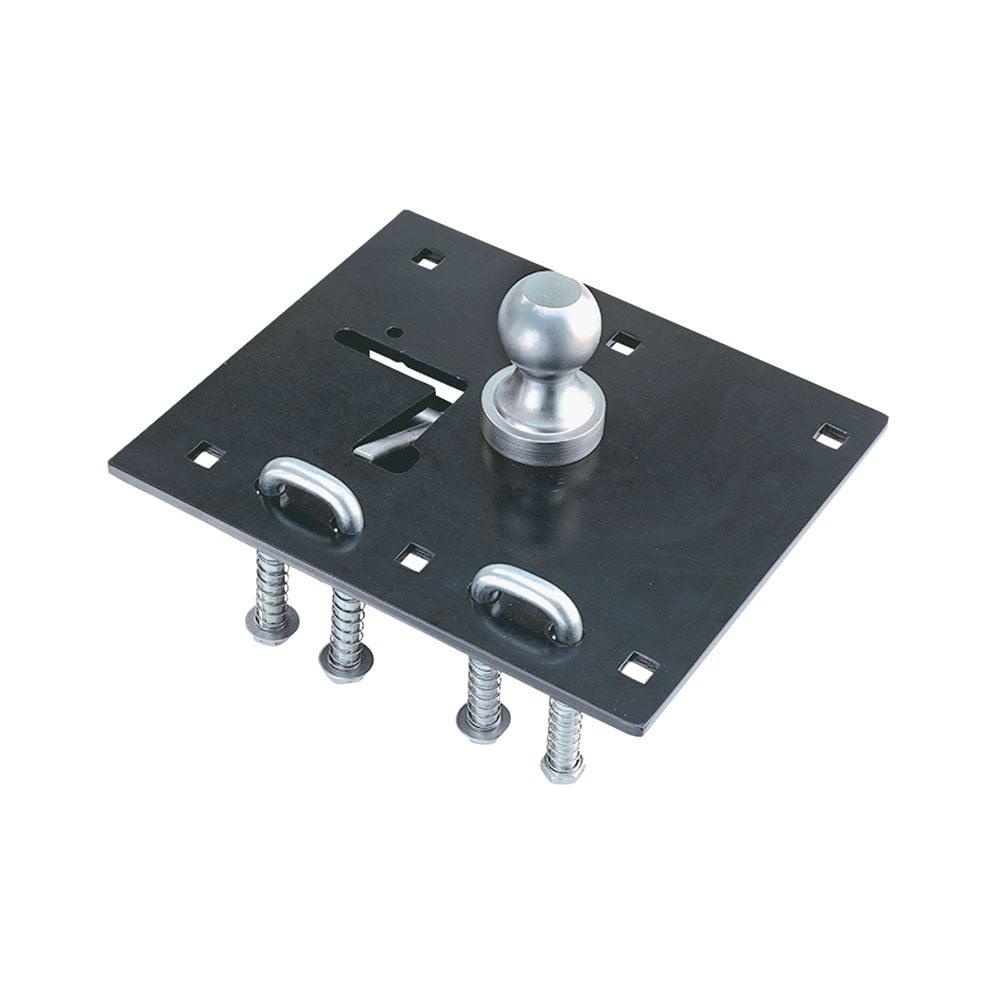
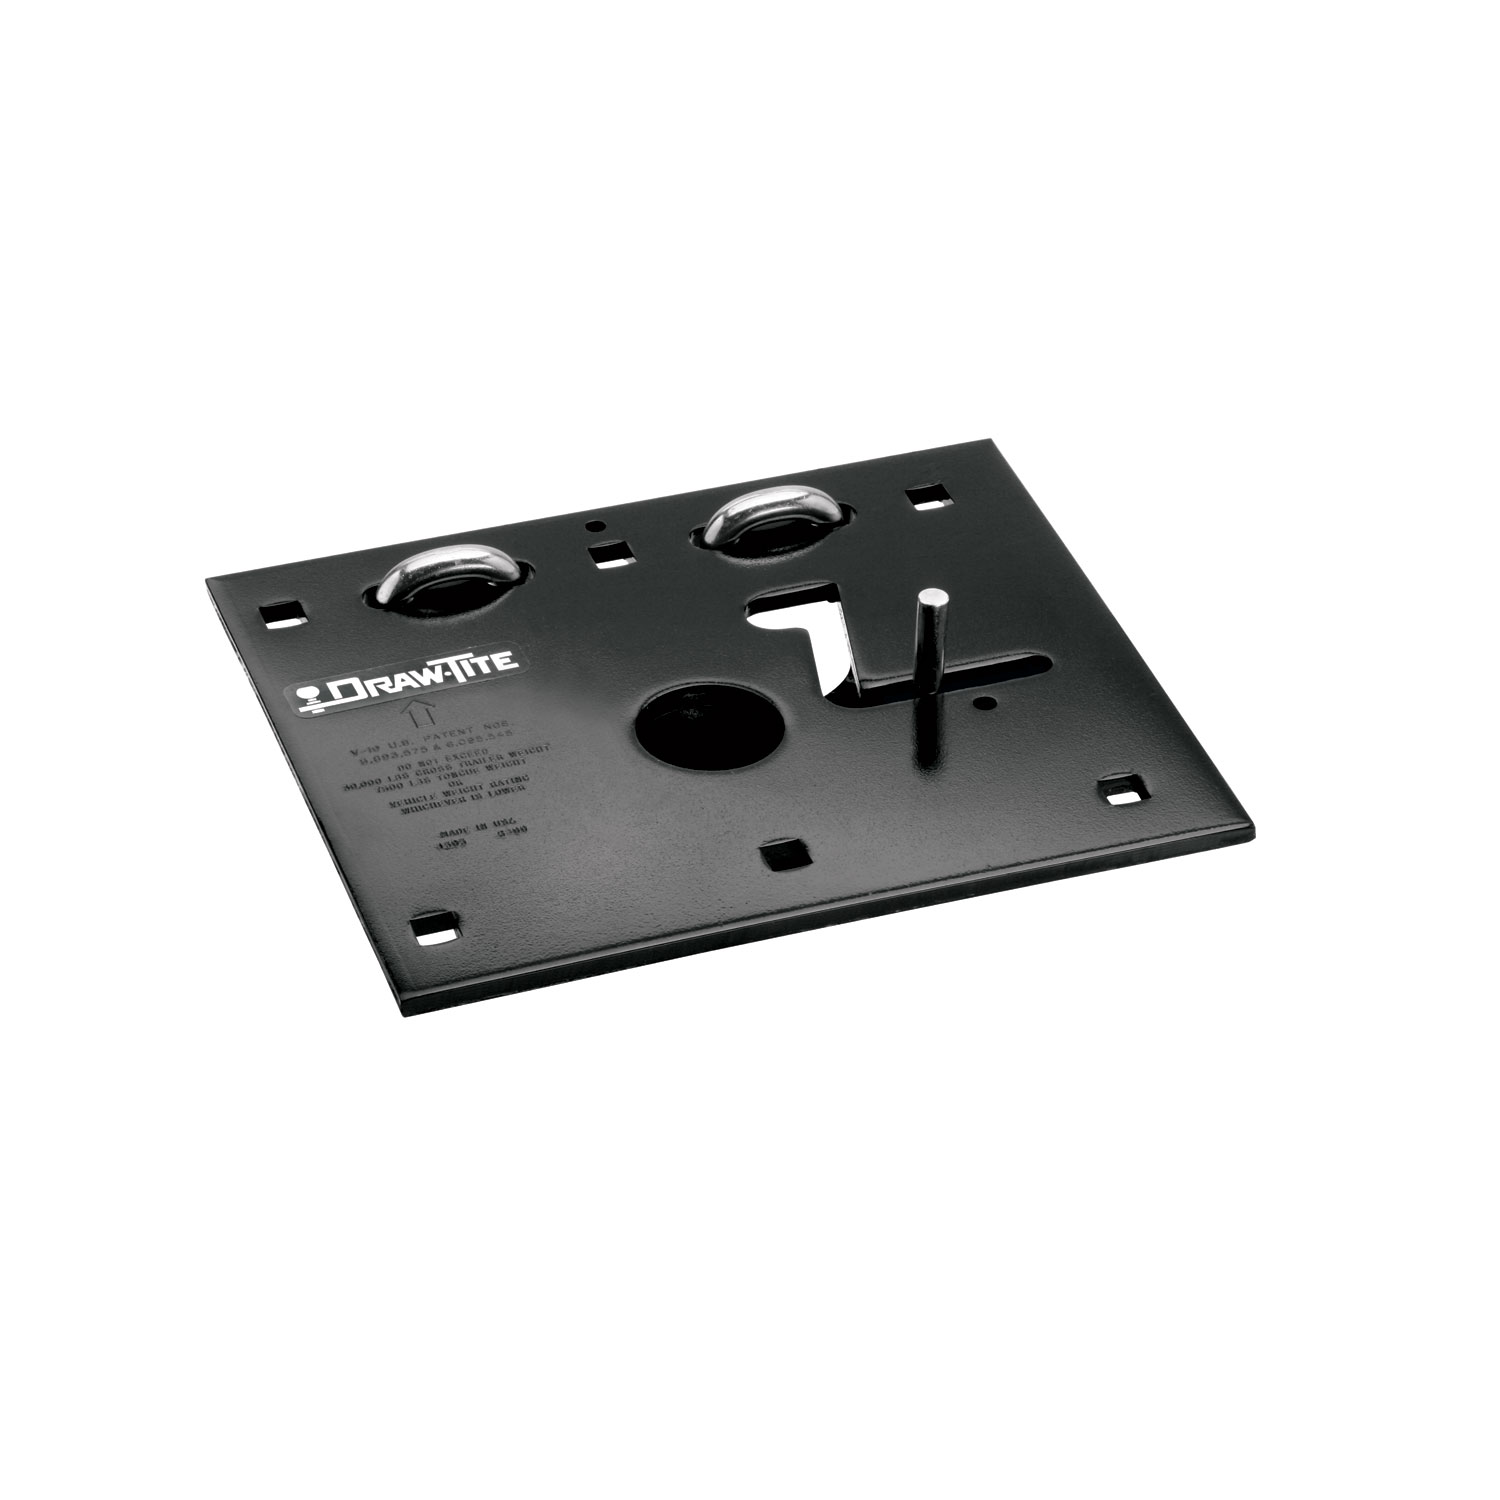
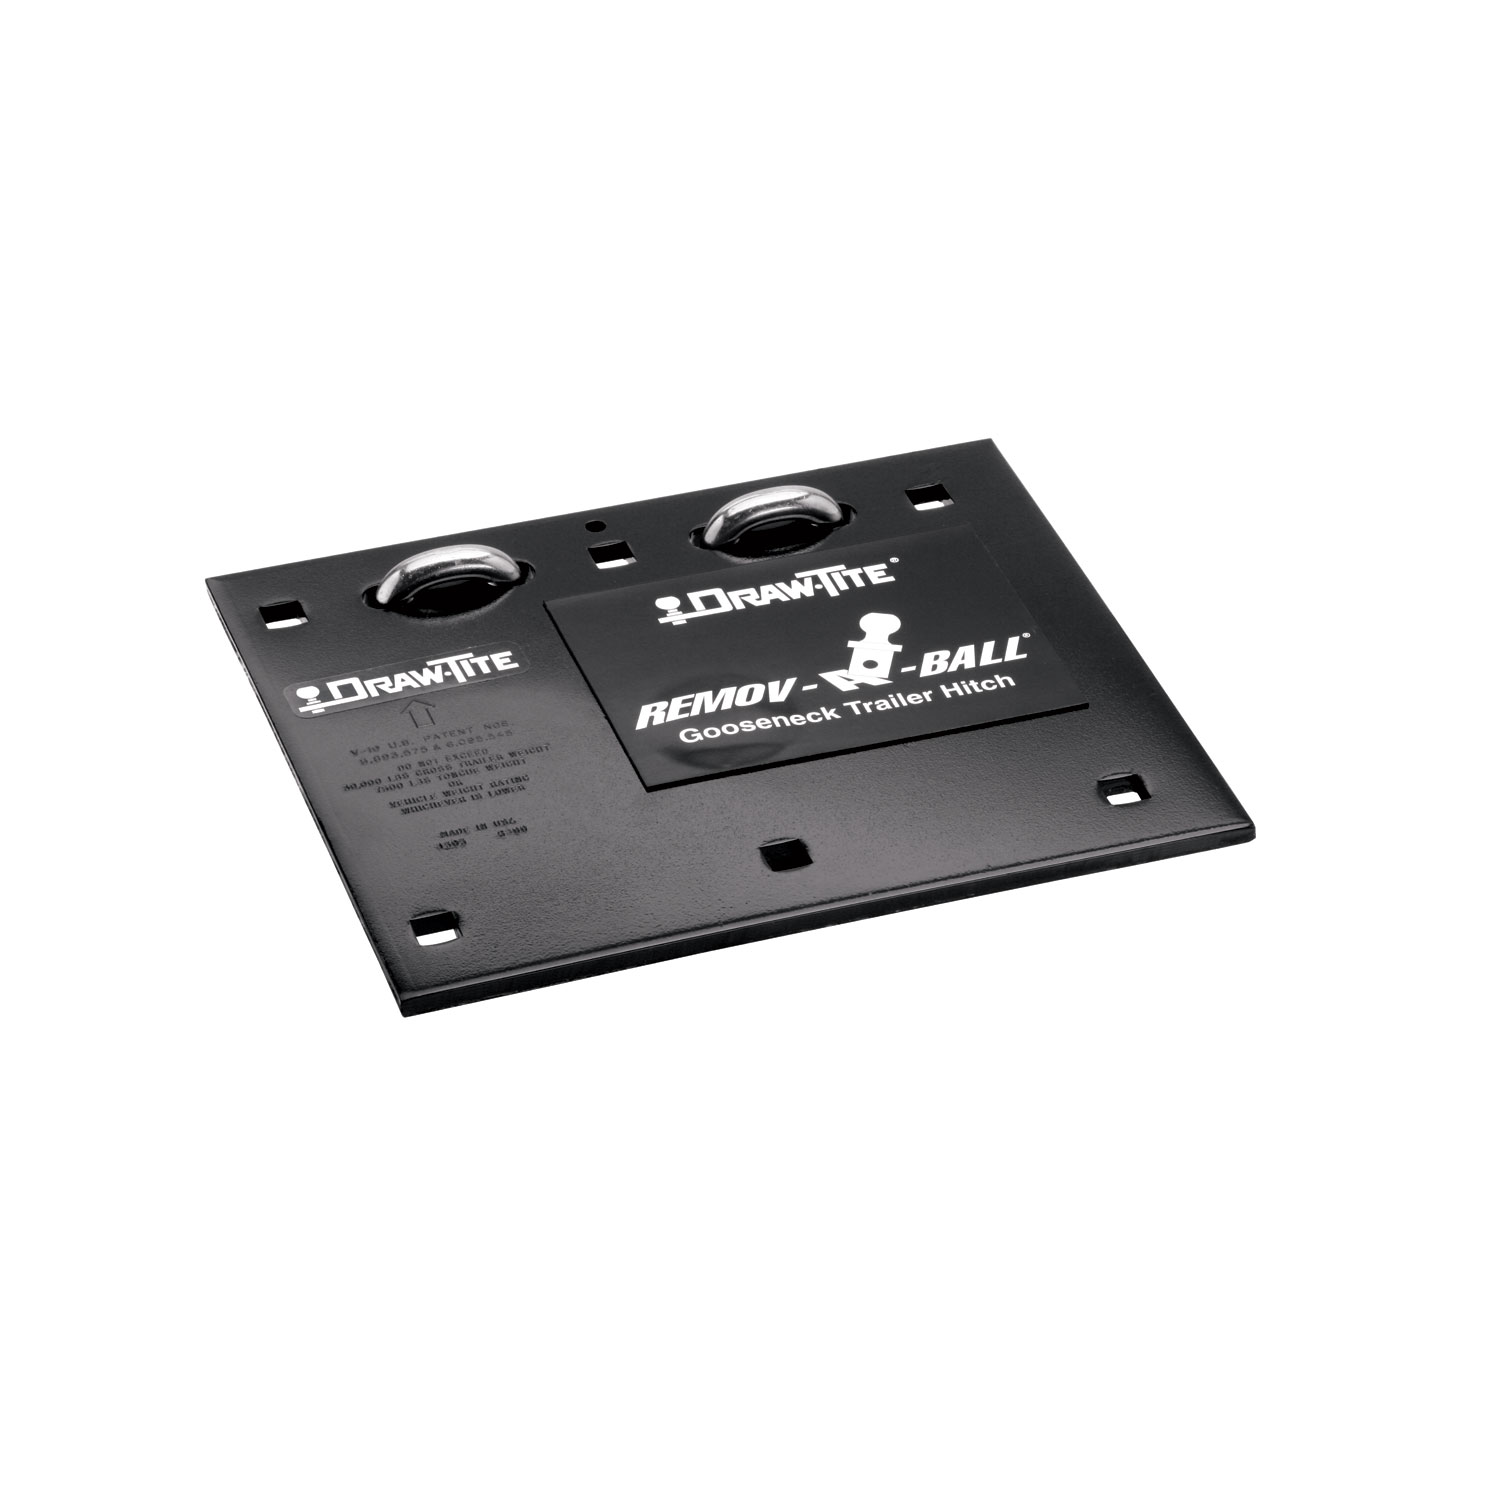
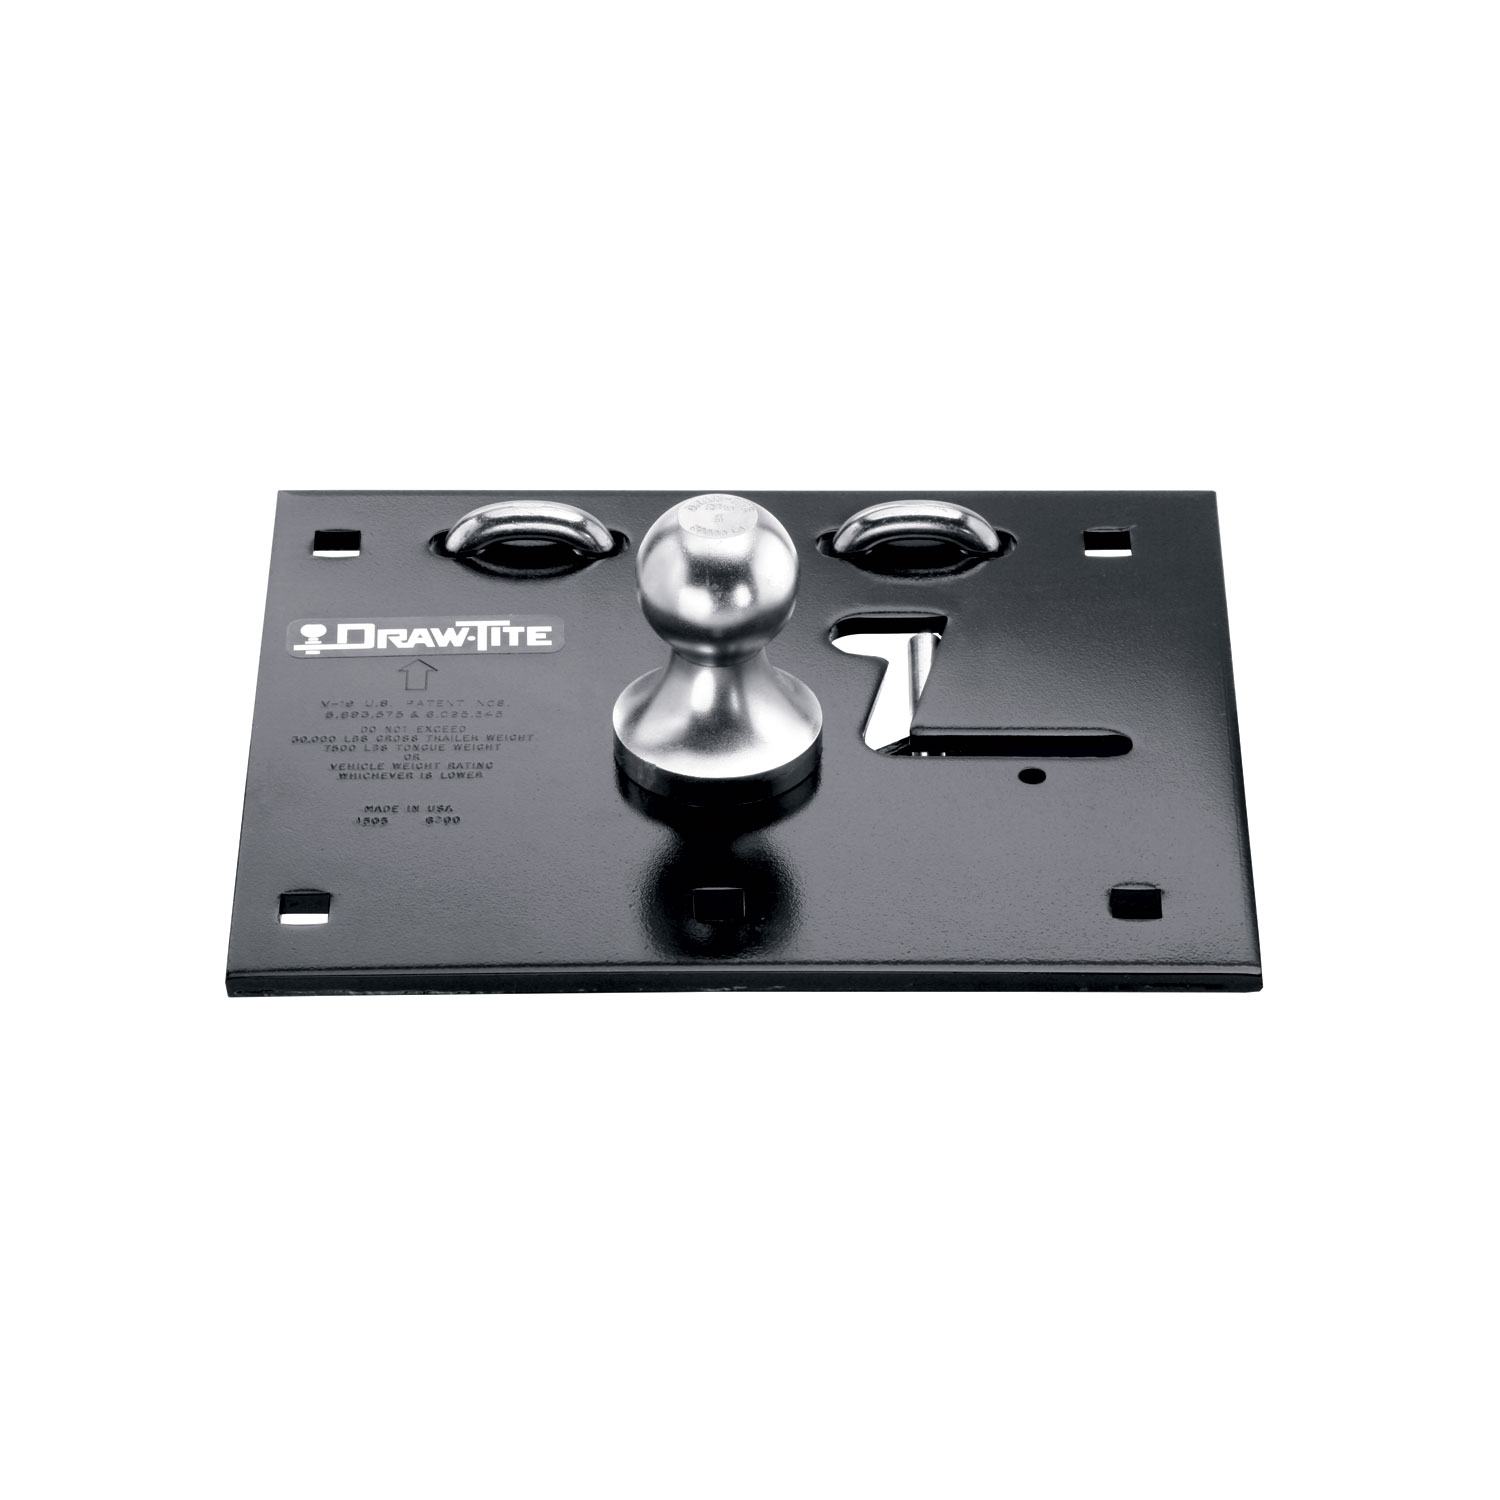
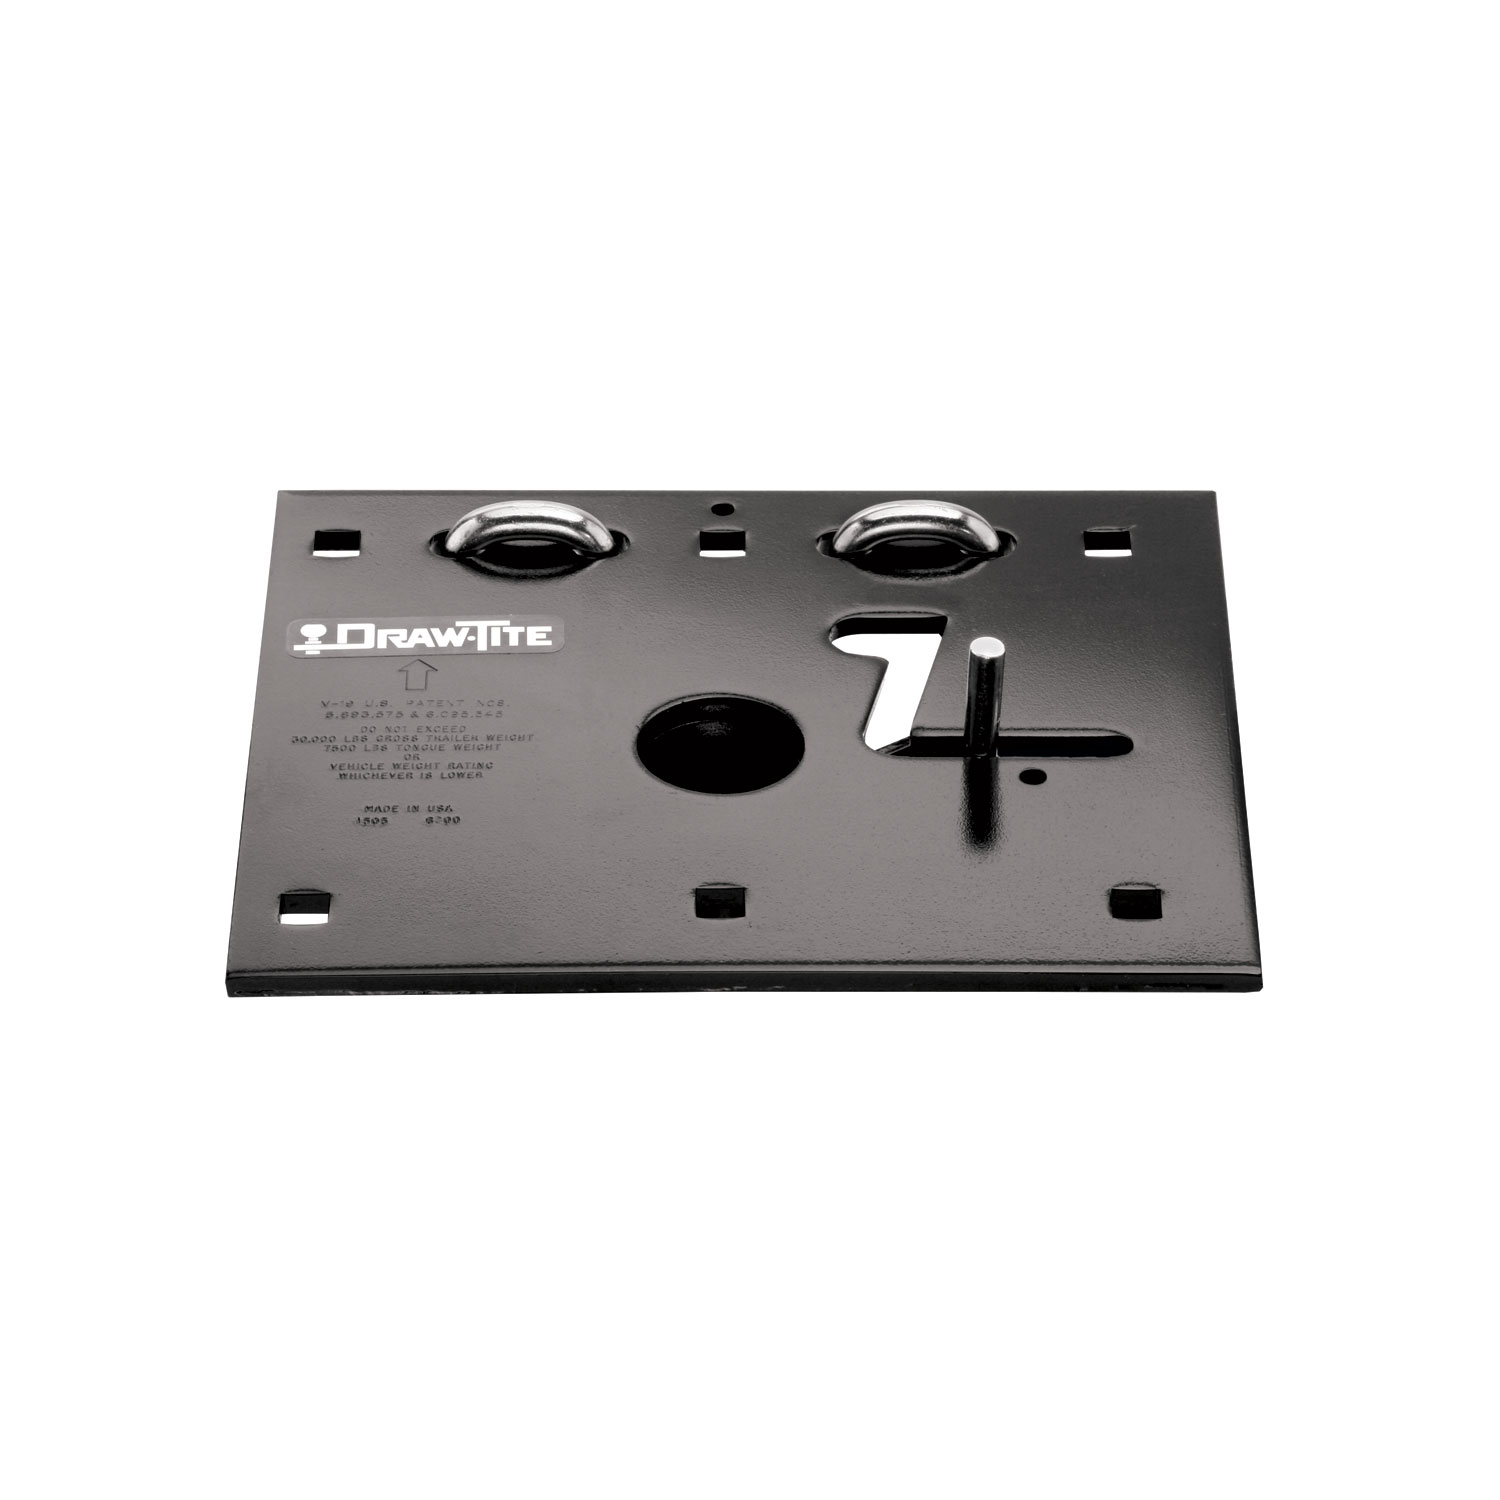
Draw-tite Hide-A-Goose Gooseneck Hitch Head (Wide), 30,000 lbs. Capacity 9486Draw-titeOut of Stock
View productOur in-house experts typically reply within one business day.

Draw-tite

Always the correct part
We know our products
Quality Products
Free Shipping!
Always the correct part
We know our products
Quality Products
Free Shipping!

| BRAND: | DRAW-TITE |
| PART NUMBER: | 6300 |
| WARRANTY: | LIMITED LIFETIME WARRANTY |
| WEIGHT: | 37.35 LBS |
| BALL DIAMETER: | 2.313 IN. |
| GROSS TOWING WEIGHT: | 30,000 LBS. |
| UNIVERSAL OR SPECIFIC FIT: | UNIVERSAL |
| DRILLING REQUIRED: | YES |
| PIN WEIGHT CAPACITY: | 7,500 LBS. |
| WELDING REQUIRED: | NO |
| MATERIAL: | STEEL |
| MOUNTING HARDWARE INCLUDED: | YES |
| COLOR: | BLACK |
| BOLT GRADE: | GRADE 5 |
| HITCH BALL INCLUDED: | YES |

Draw-Tite has designed custom-fit trailer hitches since 1946 and is one of North America's most widely fitted hitch brands. Receiver hitches use solid all-welded construction and low-profile designs that follow modern vehicle contours, install with minimal bumper cutting or drilling, meet or exceed V5 CSA and SAE J684 standards, and carry a limited lifetime warranty.
Draw-Tite has been leading custom-fit trailer hitch design and engineering since its founding in 1946, and it remains one of the most widely fitted hitch brands in North America. The company's stated approach is straightforward: every hitch is tested rigorously so that it performs well beyond published industry standards, a philosophy it markets as Tested Tough. It sits within the Horizon Global towing group alongside Reese, Fulton, Bulldog, Tekonsha, Bargman and Wesbar.
Custom fit is the defining characteristic. Rather than adapting a universal design, Draw-Tite engineers a trailer hitch for a specific make, model and model year, so it bolts to existing frame locations with minimal bumper cutting or drilling. Low-profile designs follow the rear contours and aerodynamic styling of modern vehicles, which matters more than it once did now that rear fascias are shaped and sensor-equipped. Construction is solid all-welded steel for maximum strength, and every hitch meets or exceeds V5 CSA and SAE J684 standards and is backed by a nationwide limited lifetime warranty.
The range spans receiver sizes and classes to suit different loads, from 1-1/4 inch receivers for bike racks, cargo carriers and light trailers up through 2 inch receivers for heavier towing. Front mount hitches add a receiver at the front of the vehicle for winch mounts, snow plows, spare carriers and precise trailer positioning.
The Hidden Hitch series takes concealment further by mounting behind the vehicle's rear fascia, so the vehicle keeps its factory appearance until a removable receiver is fitted. Each is custom designed per make and model for a no-drill installation that does not compromise ground clearance, rated for up to 3,500 pounds gross trailer weight and 350 pounds tongue weight. Matching plug-and-play wiring completes the towing system.
Experts available to answer your questions
Call 888-634-9494Lifetime

On Sale Today
You save $80.04 (21%)
Free Shipping
Ships free on all orders
 Authorized Dealer
FREE ShippingFREE SHIPPING
Estimated delivery Thu, Sep 17 - Sun, Sep 20
Order before 2 PM EST Monday–Friday for same-day processing
Guaranteed safe & secure checkout
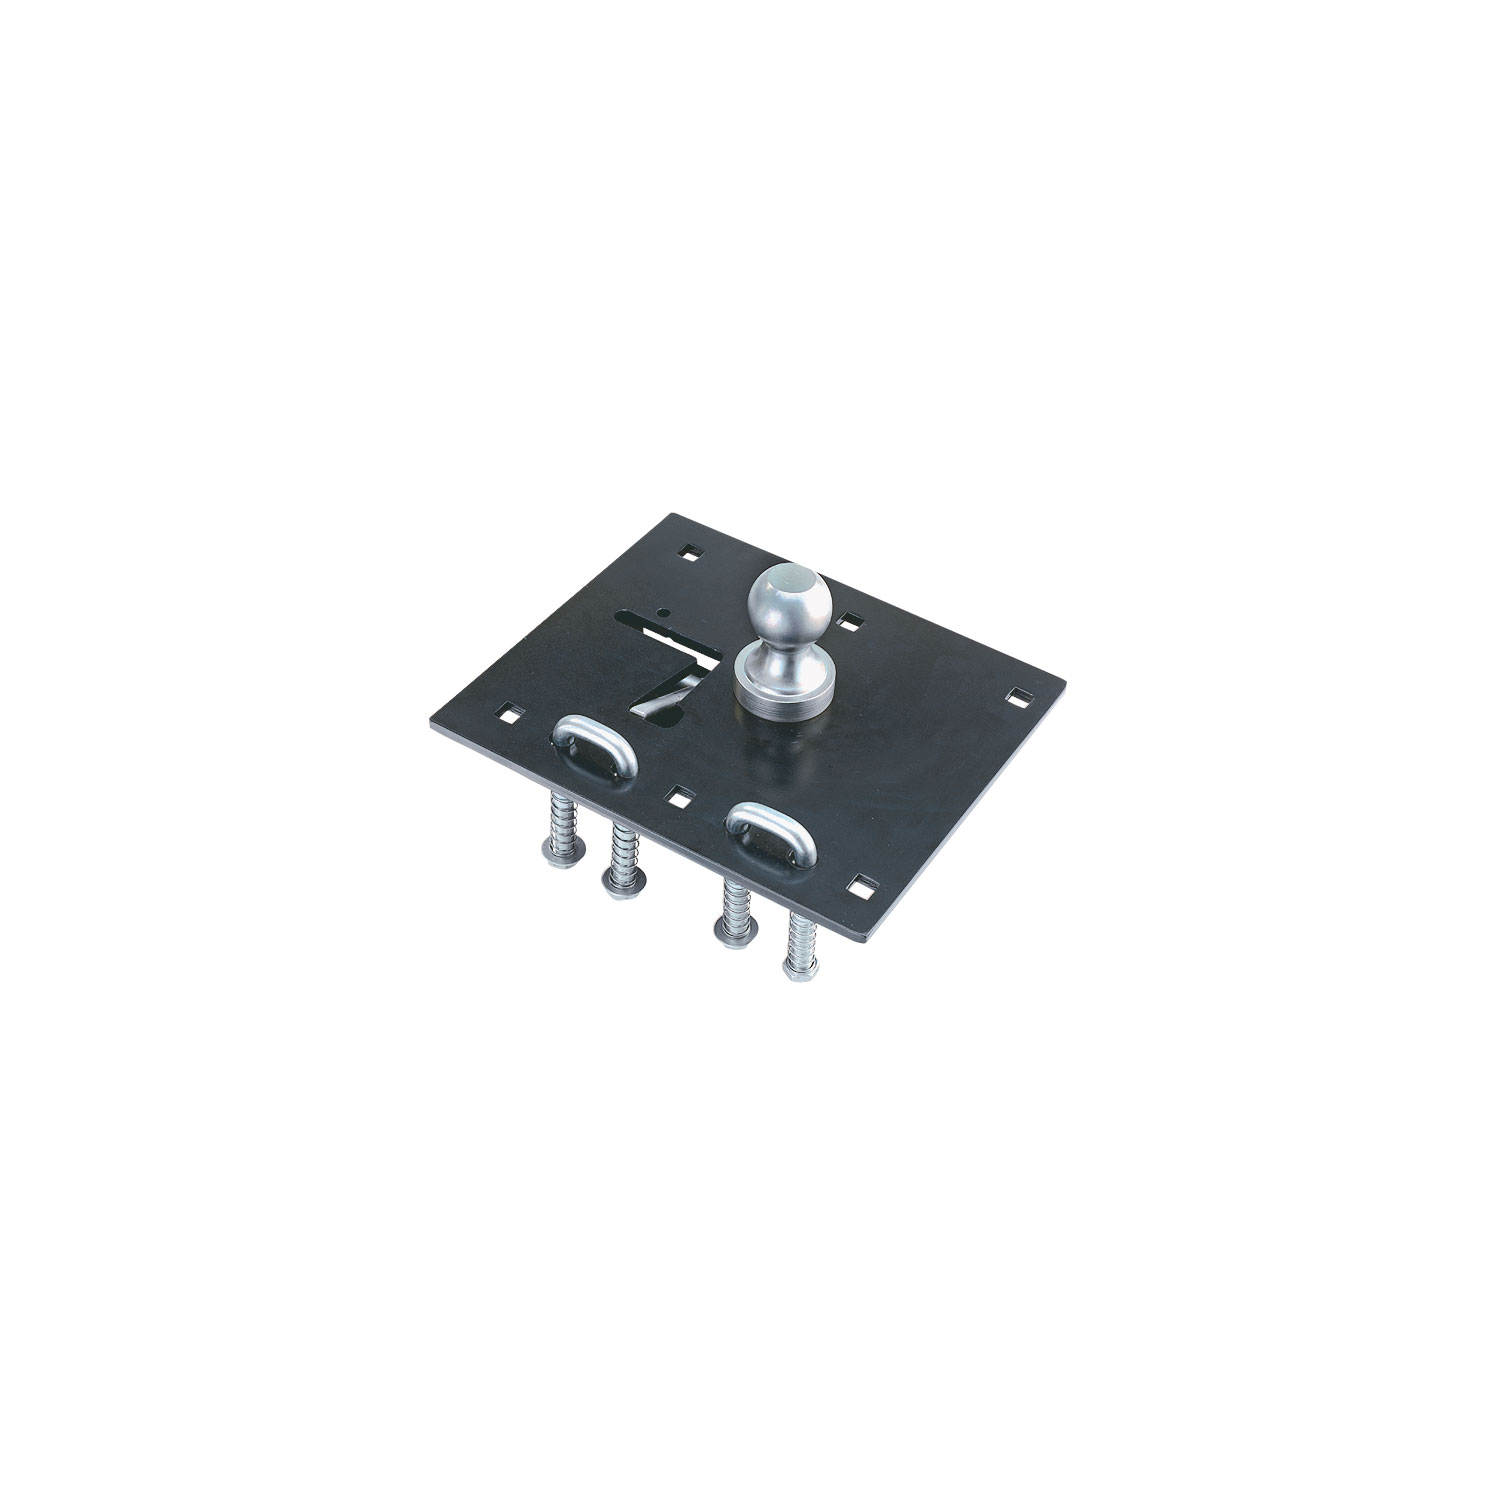
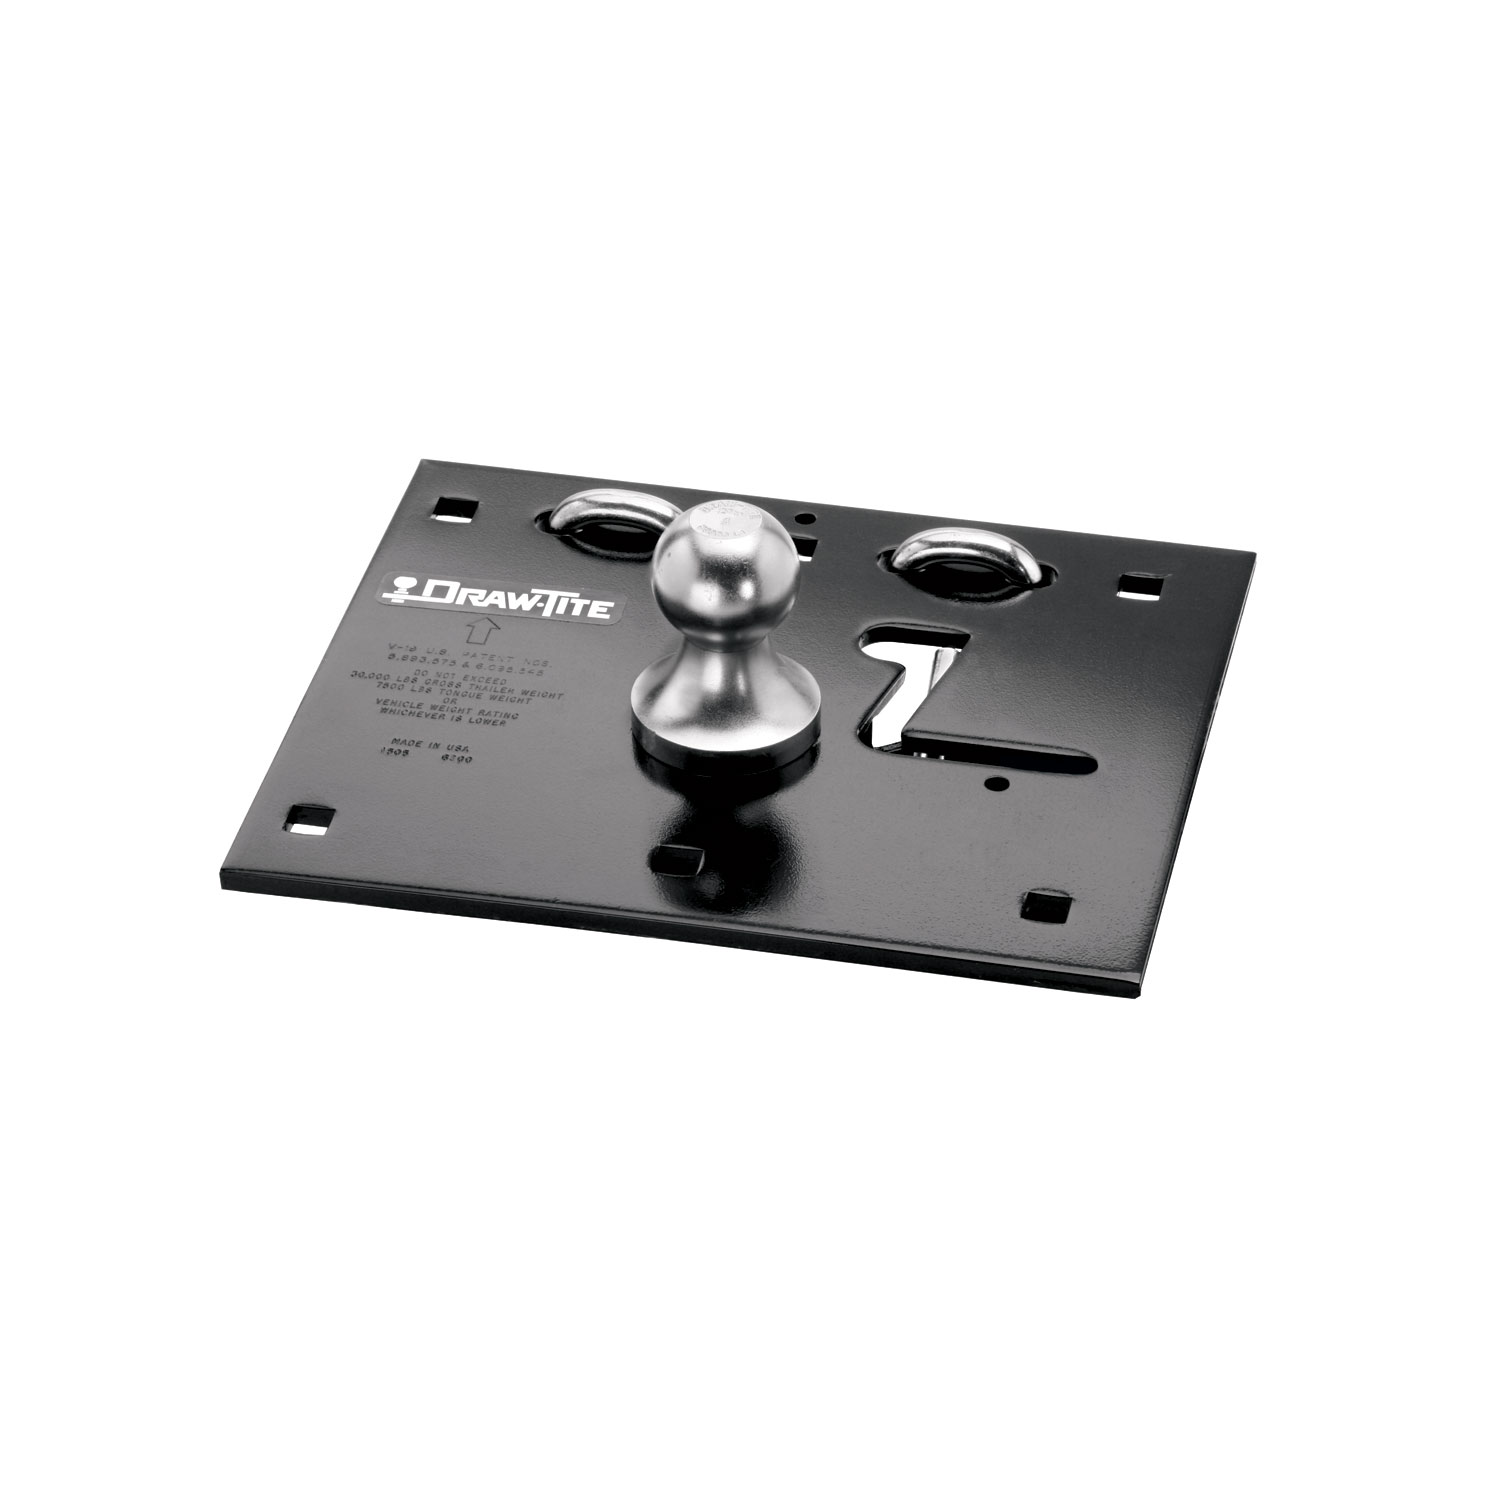
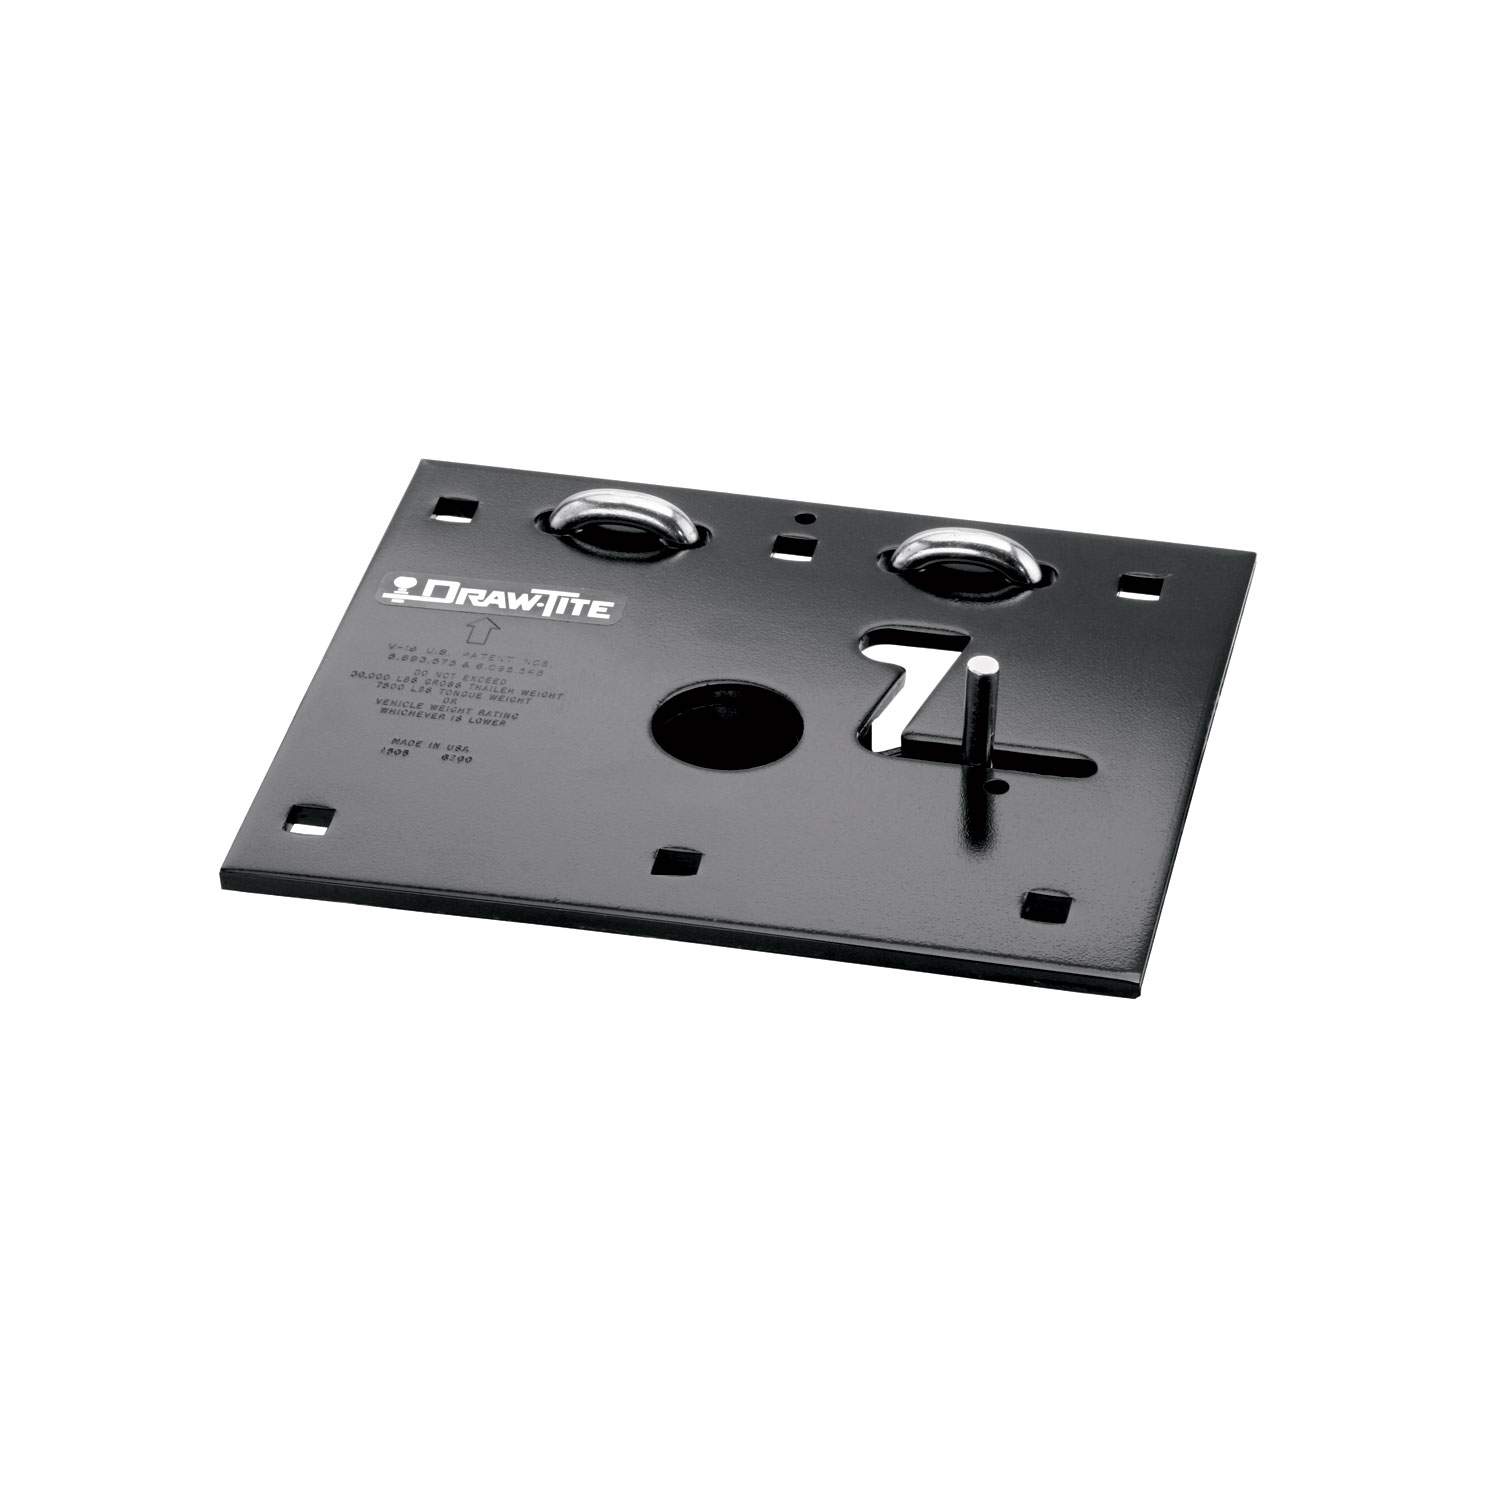
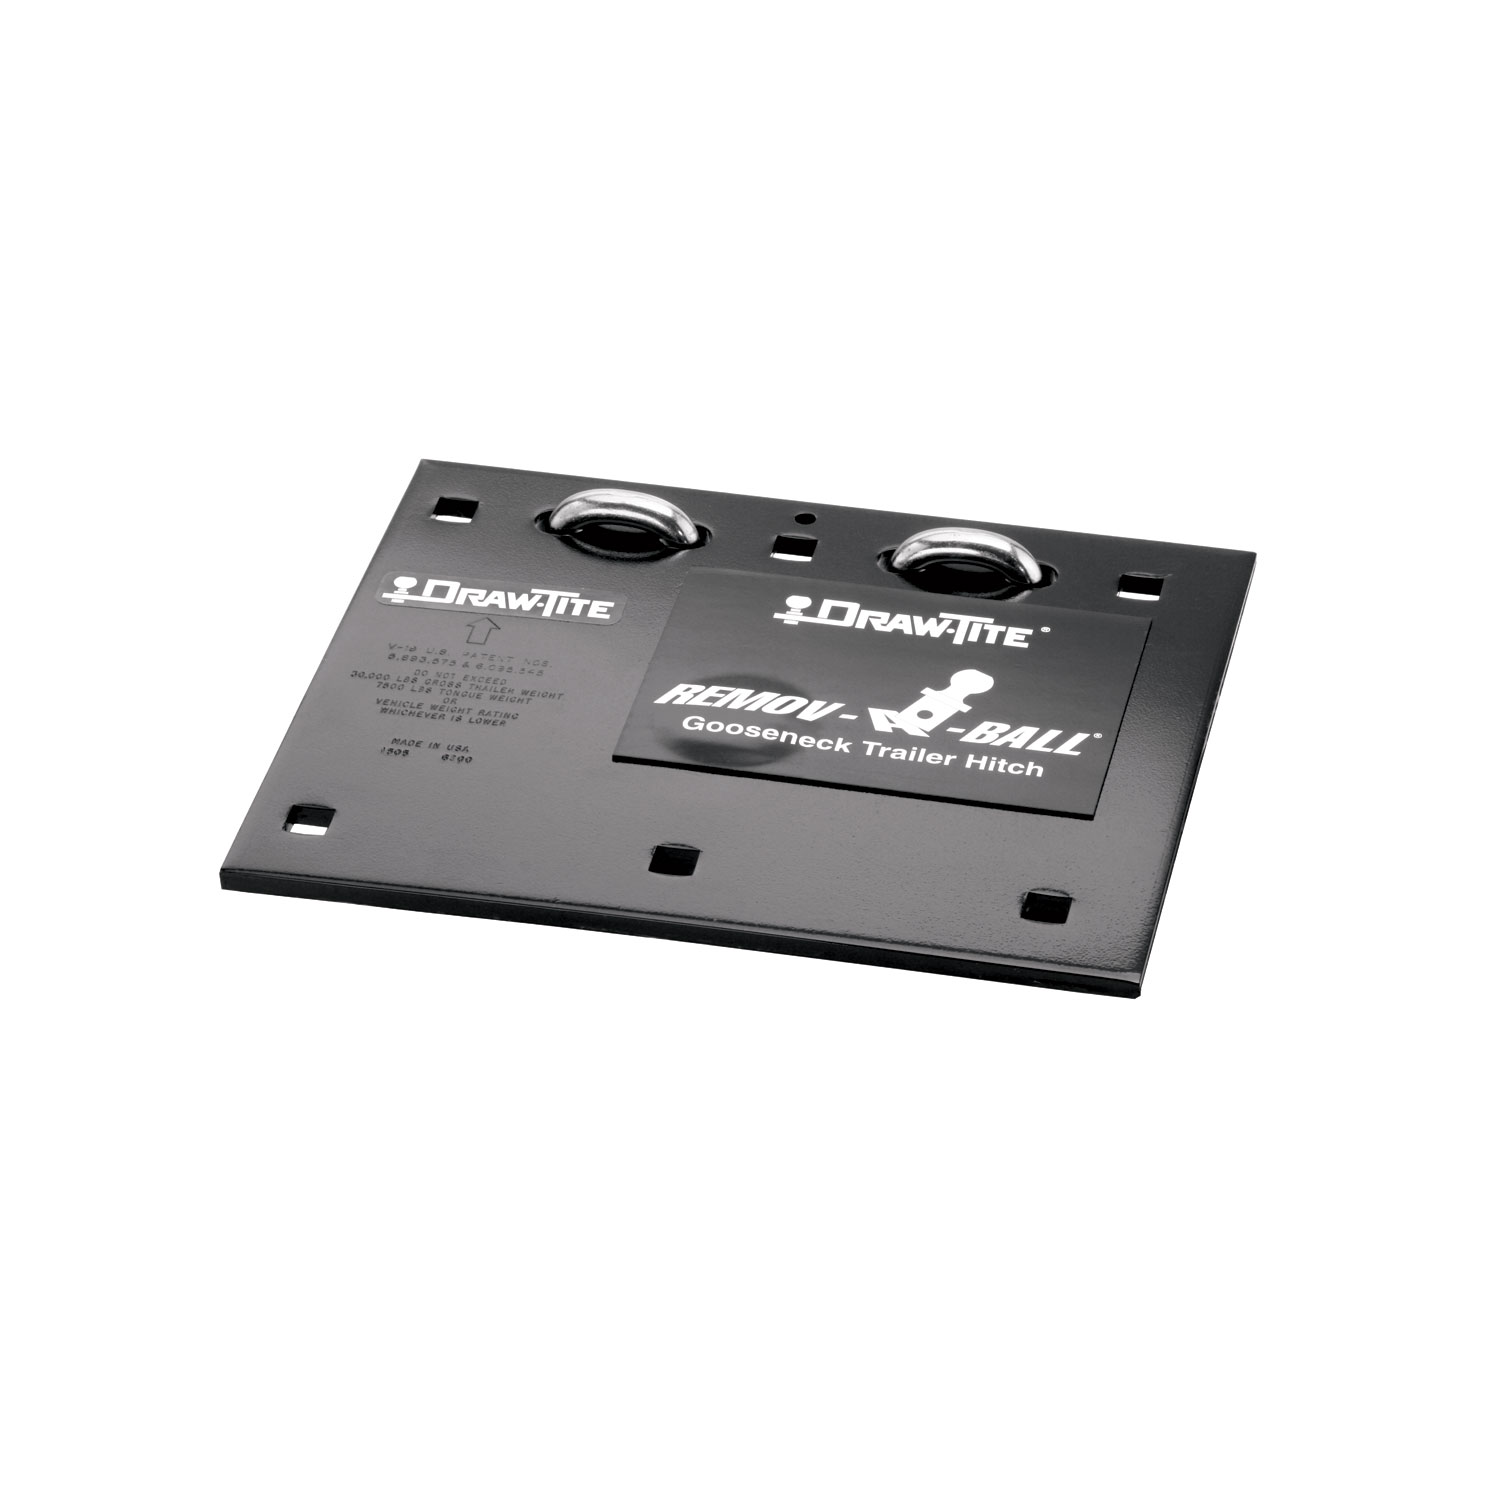
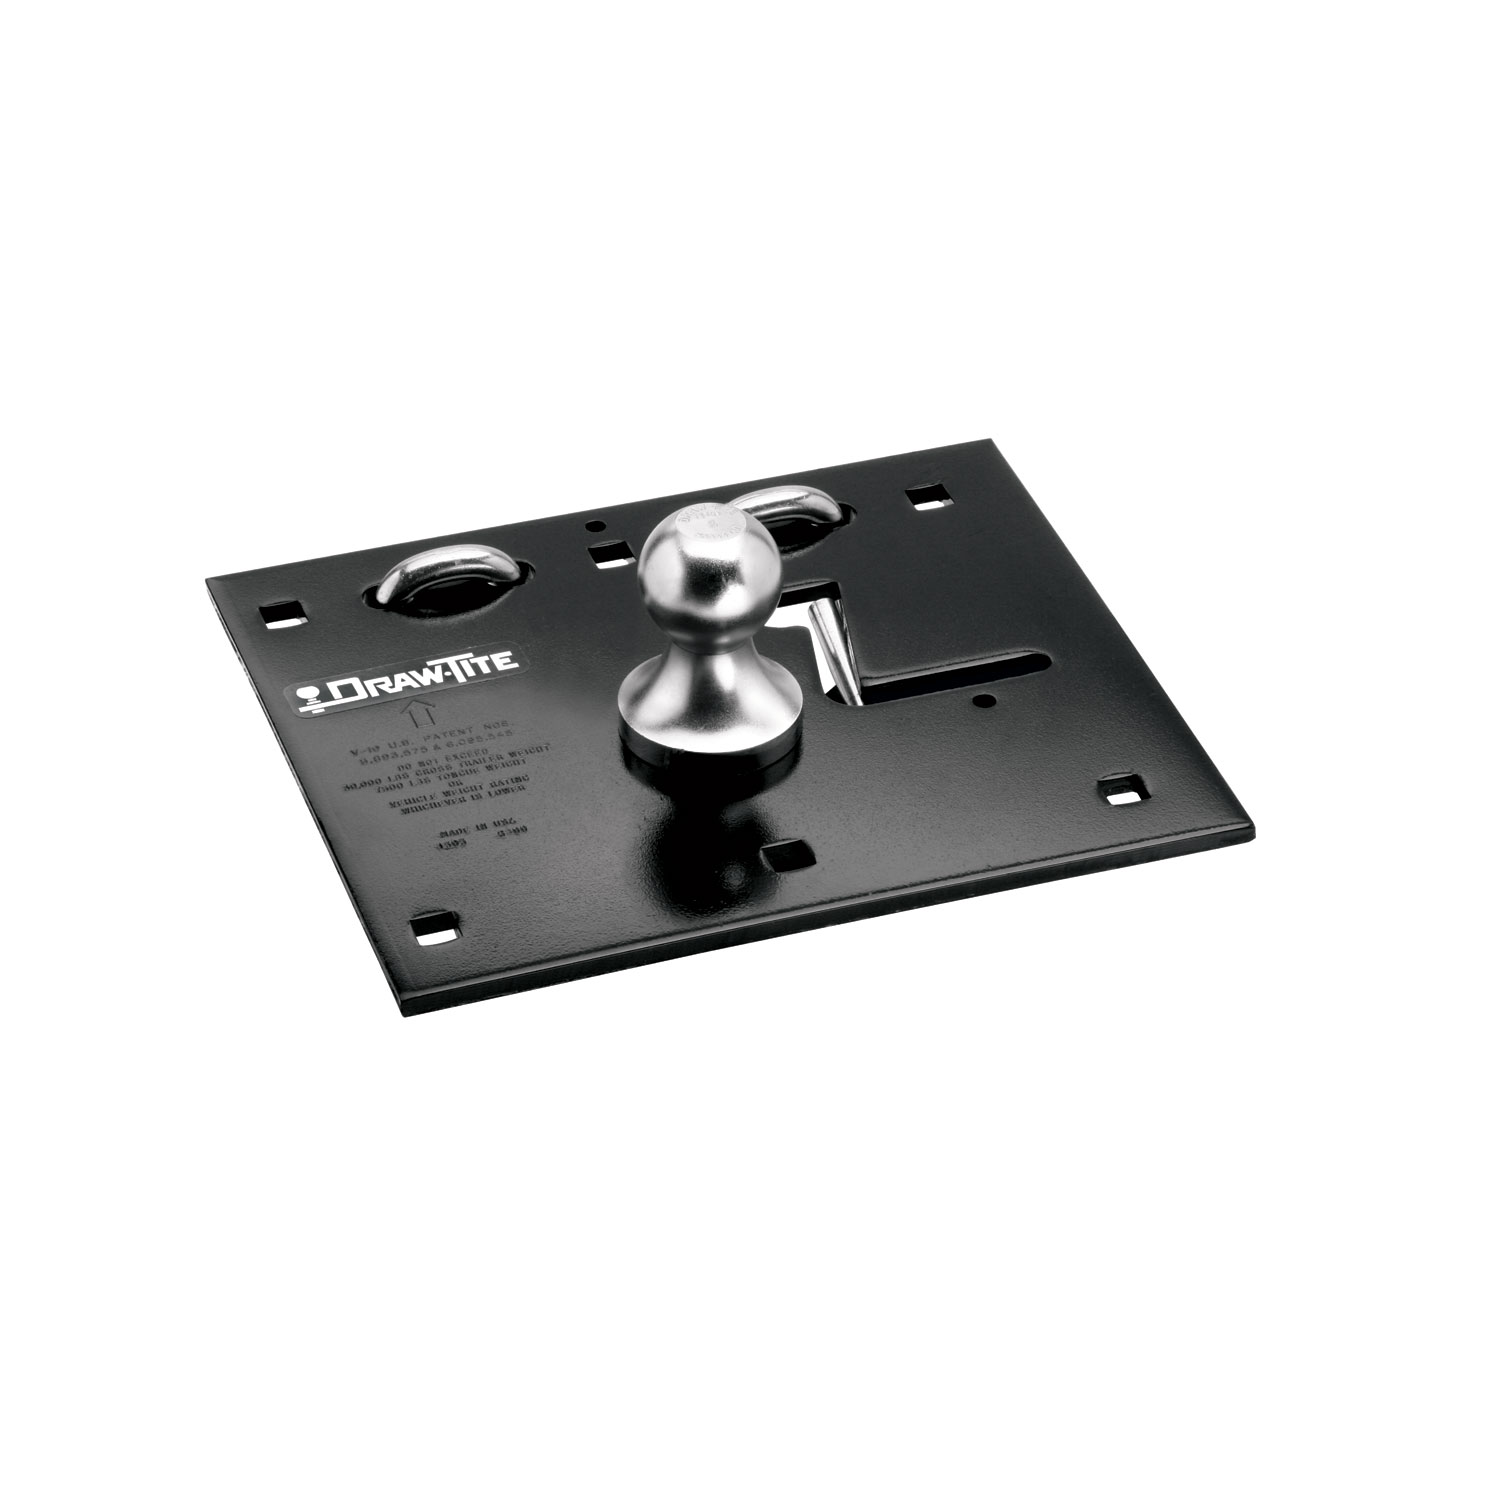
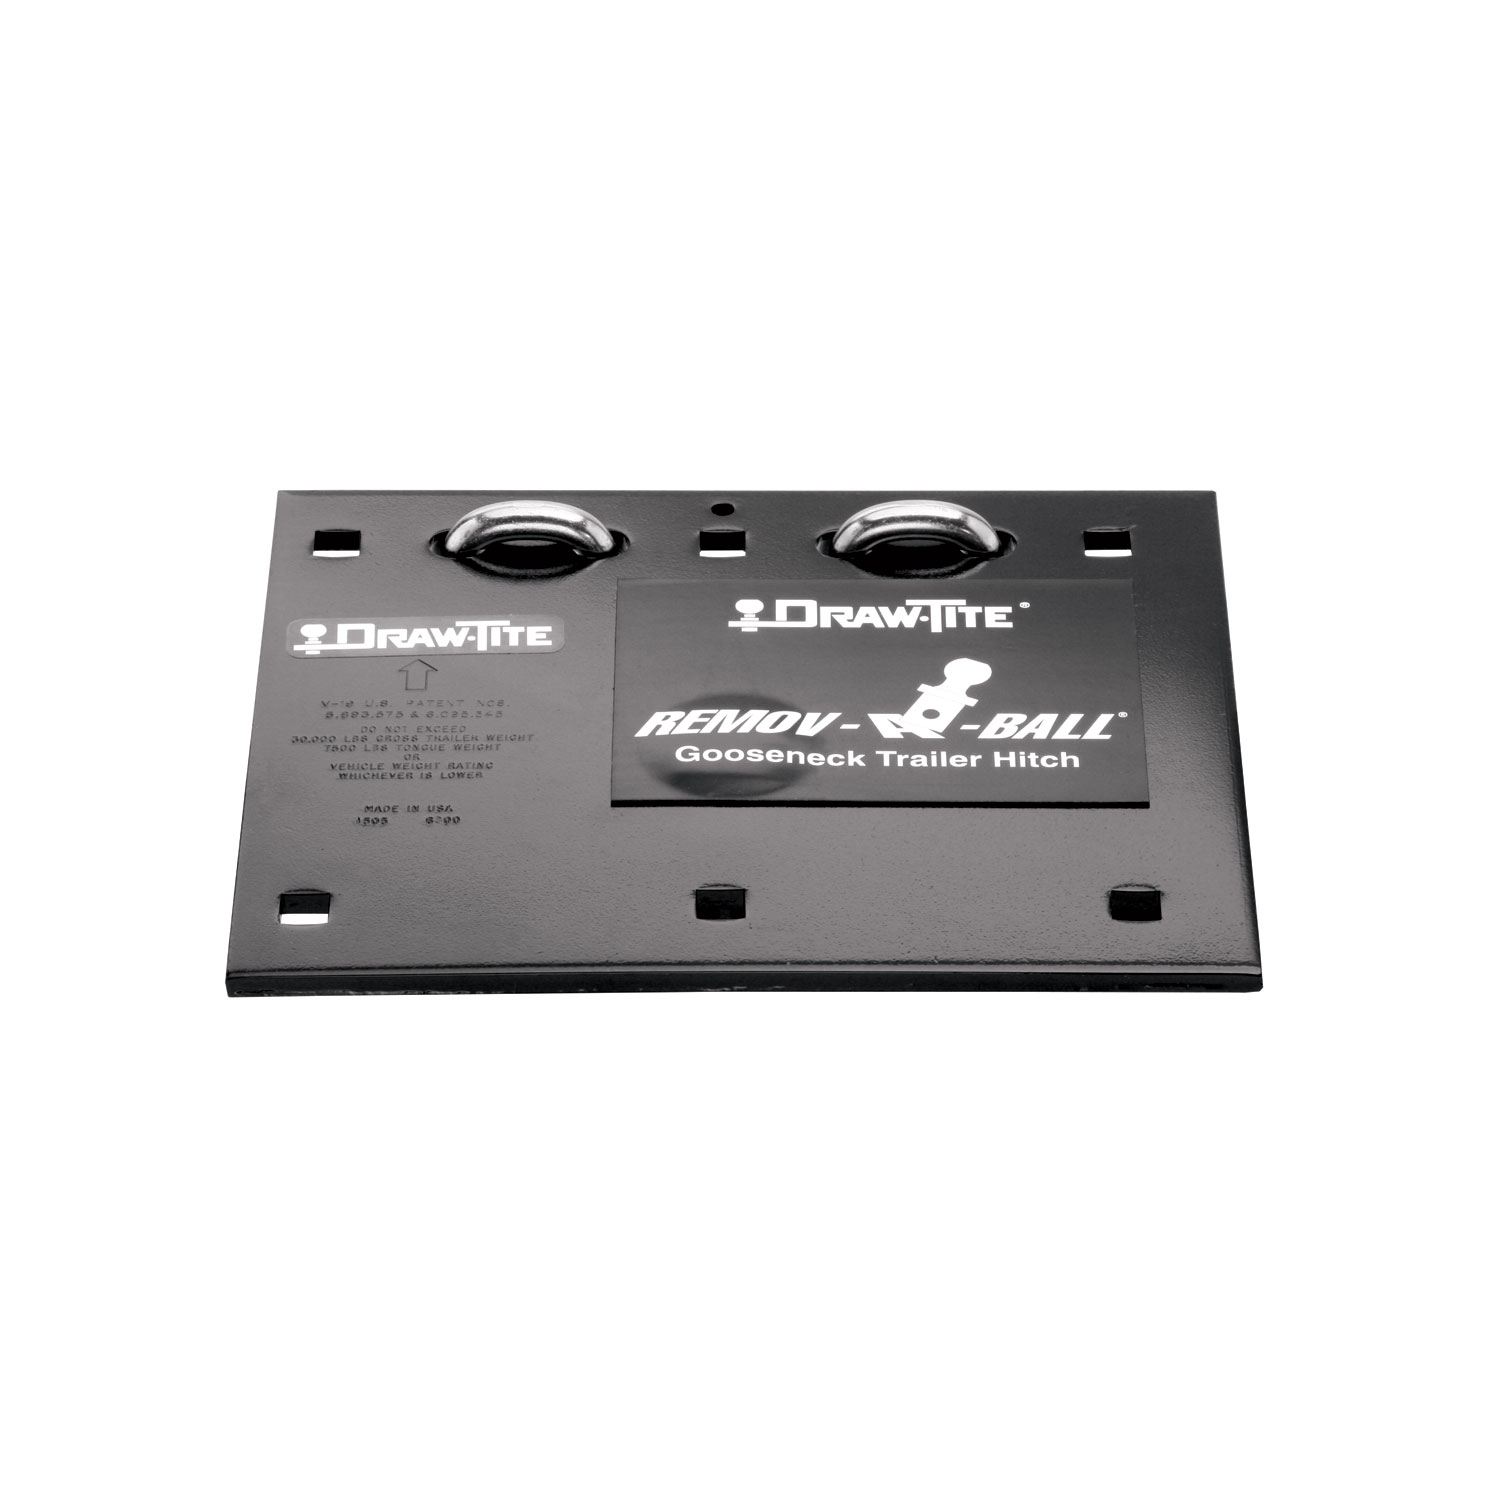
The Remov-A-Ball Gooseneck Hitch (Part No. N6300) is a 2 5/16" gooseneck hitch designed for pickup trucks to tow gooseneck trailers. It features a removable ball that can be installed and removed by raising the handle, pulling it rearward, sliding it toward the side of the truck, and then pushing it forward to lock into a closed position. The hitch is covered by U.S. Patent Nos. 5,893,575 & 6,095,545 and complies with VESC 19 and Federal Motor Carrier Safety Regulations (Title 49).
GM trucks with composite (non-metal) beds require Installation Kit #58209 in addition to the hitch. This kit is necessary because the composite bed material requires special handling during installation. Without this kit, the standard installation procedure cannot be safely completed on GM composite beds.
The hitch is intended to be used with Cequent Performance Products manufactured Rail Kits. When installed with these Rail Kits, the gooseneck hitch installation instructions are included as part of the Rail Kit installation instructions. If Cequent Rail Kits are not used, the product becomes a general application product, and the installer becomes responsible for selecting structurally safe materials and locations for attachment.
The hitch has a maximum gross trailer weight rating of 30,000 lb and a maximum vertical load rating of 7,500 lb. However, you must not exceed the lower of either the towing vehicle manufacturer's ratings or these product ratings. Gross trailer weight is the weight of the trailer plus cargo; vertical load is the downward force exerted on the ball by the trailer coupler.
Required tools are: hand drill, drill bits (1/4", 5/8", 3/4"), sockets and wrenches (9/16" and 15/16"), center punch, torque wrench, saber saw, files (round and flat), and hammer. You will also need shims (not provided by the manufacturer) to place between the platform and bed and between the under-vehicle structure and the bottom of the bed.
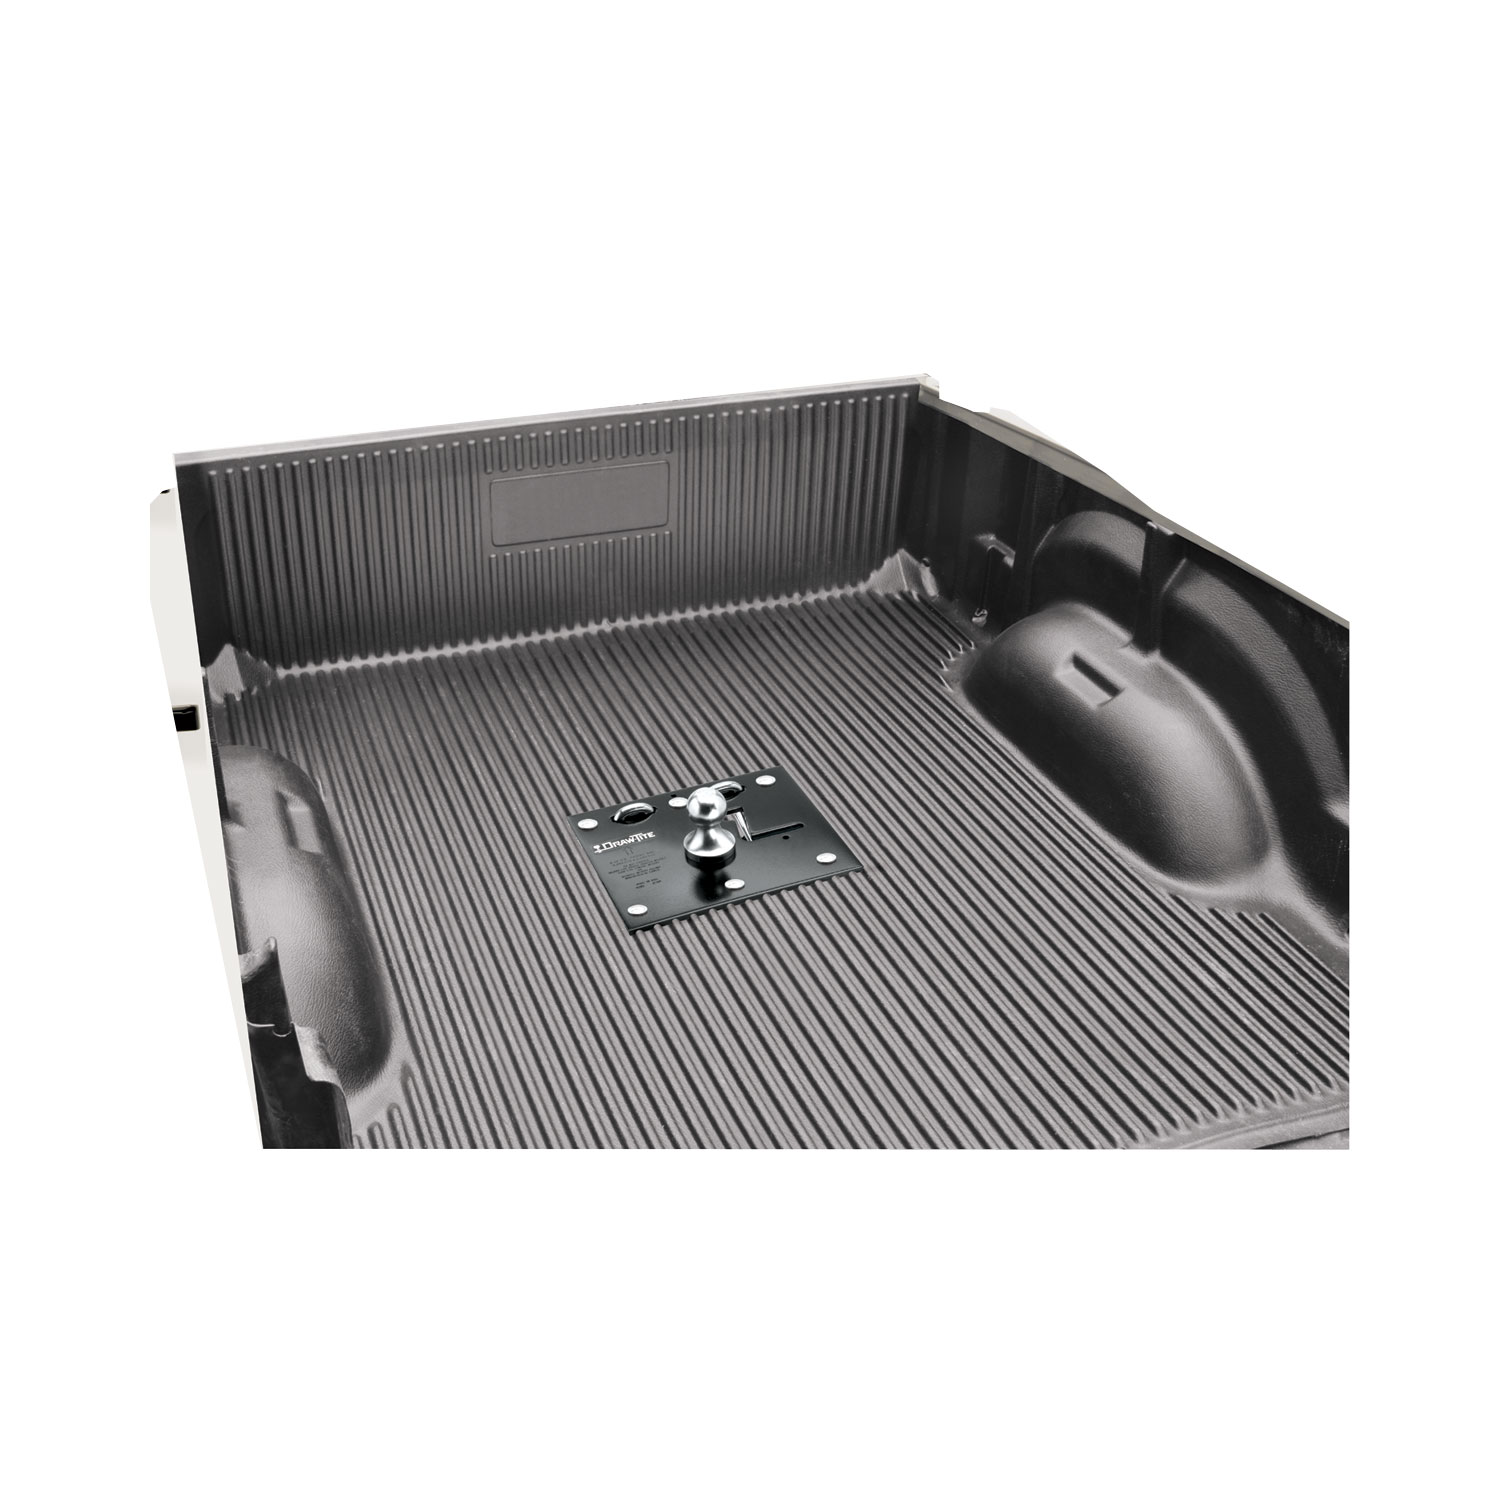
Template P/N 5978 is a guide used to mark and cut the truck bed opening for the gooseneck platform. After marking the hitch ball center on the truck, you lay the template in the bed, ensuring it is oriented properly per the notes on the template itself. The template shows where to center punch, drill pilot holes, and cut out the truck bed. If your truck has a bed liner, a 14" x 12" section must be cut out so the gooseneck platform can contact the metal truck bed corrugations.
The installation sequence is: (1) Mark the hitch ball center on the truck and lay template P/N 5978 in the bed, oriented properly; (2) If equipped with a bed liner, cut out a 14" x 12" section; (3) Center punch the holes; (4) Drill 1/4" pilot holes; (5) Cut out the truck bed and file edges; (6) Install the platform into the opening; (7) Use the installed platform as a guide to drill 5/8" holes for carriage bolts and 3/4" holes for U-bolts; (8) Place shims between the platform and bed and between the under-vehicle structure and bed bottom; (9) Install 5/8" x 2.50" Grade 5 carriage bolts with washers and nuts, torqued to 150 lb-ft; (10) Install U-bolts with washers, springs, and 5/8" jam nuts tightened until 3 threads are visible.
Before installation begins, the following must be confirmed: (1) The hitch ball must be located along the truck's fore/aft centerline; (2) The hitch ball centerline must be located above and forward of the rear axle; (3) Adequate clearance must exist between the gooseneck trailer and the rear of the vehicle so the trailer does not contact the truck during turning; (4) Adequate clearance must exist between the forward corners of the gooseneck trailer and the cab; (5) The ball position and under-vehicle supports must not interfere with any vehicle crossmembers, brake lines, electrical wiring, cables, fuel lines, or vents.
Yes, drilling is required. You must drill 1/4" pilot holes (size depends on saber saw blade width), 5/8" diameter holes through the truck bed and under-vehicle supports for carriage bolts, and 3/4" diameter holes for U-bolts. Before drilling, ensure the platform is oriented square to the truck centerline and does not interfere with vehicle crossmembers, brake lines, electrical wiring, cables, fuel lines, or vents. Do not cut access or attachment holes with a torch.
Yes, cutting the truck bed is required. After drilling 1/4" pilot holes, you use a saber saw to cut out the truck bed opening for the platform. The edges must be filed as needed. If the truck is equipped with a bed liner, a 14" x 12" section of the bed liner must be cut out so the gooseneck platform can contact the metal truck bed corrugations. This cutting is permanent and necessary for proper installation.
The 5/8" x 2.50" Grade 5 carriage bolts must be torqued to 150 lb-ft. These bolts are installed through the platform, shims, and under-vehicle supports, and are secured with flat washers, lock washers, and nuts. Shims must be placed between the platform and bed and between the under-vehicle structure and the bottom of the bed to prevent truck bed corrugations from collapsing when the bolts are tightened.
The 5/8" jam nuts on the U-bolts should be tightened until 3 threads are visible past the bottom of the nut. Each U-bolt leg is secured with a large flat washer, spring, another large flat washer, and a jam nut installed from under the truck. This procedure is repeated for both legs of each U-bolt.
Shims are spacers that must be placed between the platform and the truck bed and between the under-vehicle structure and the bottom of the bed. They are necessary to prevent the truck bed corrugations from collapsing when the carriage bolts are tightened. Shims are not provided by the manufacturer and must be sourced separately. Without shims, the corrugated bed structure can be damaged during bolt tightening.
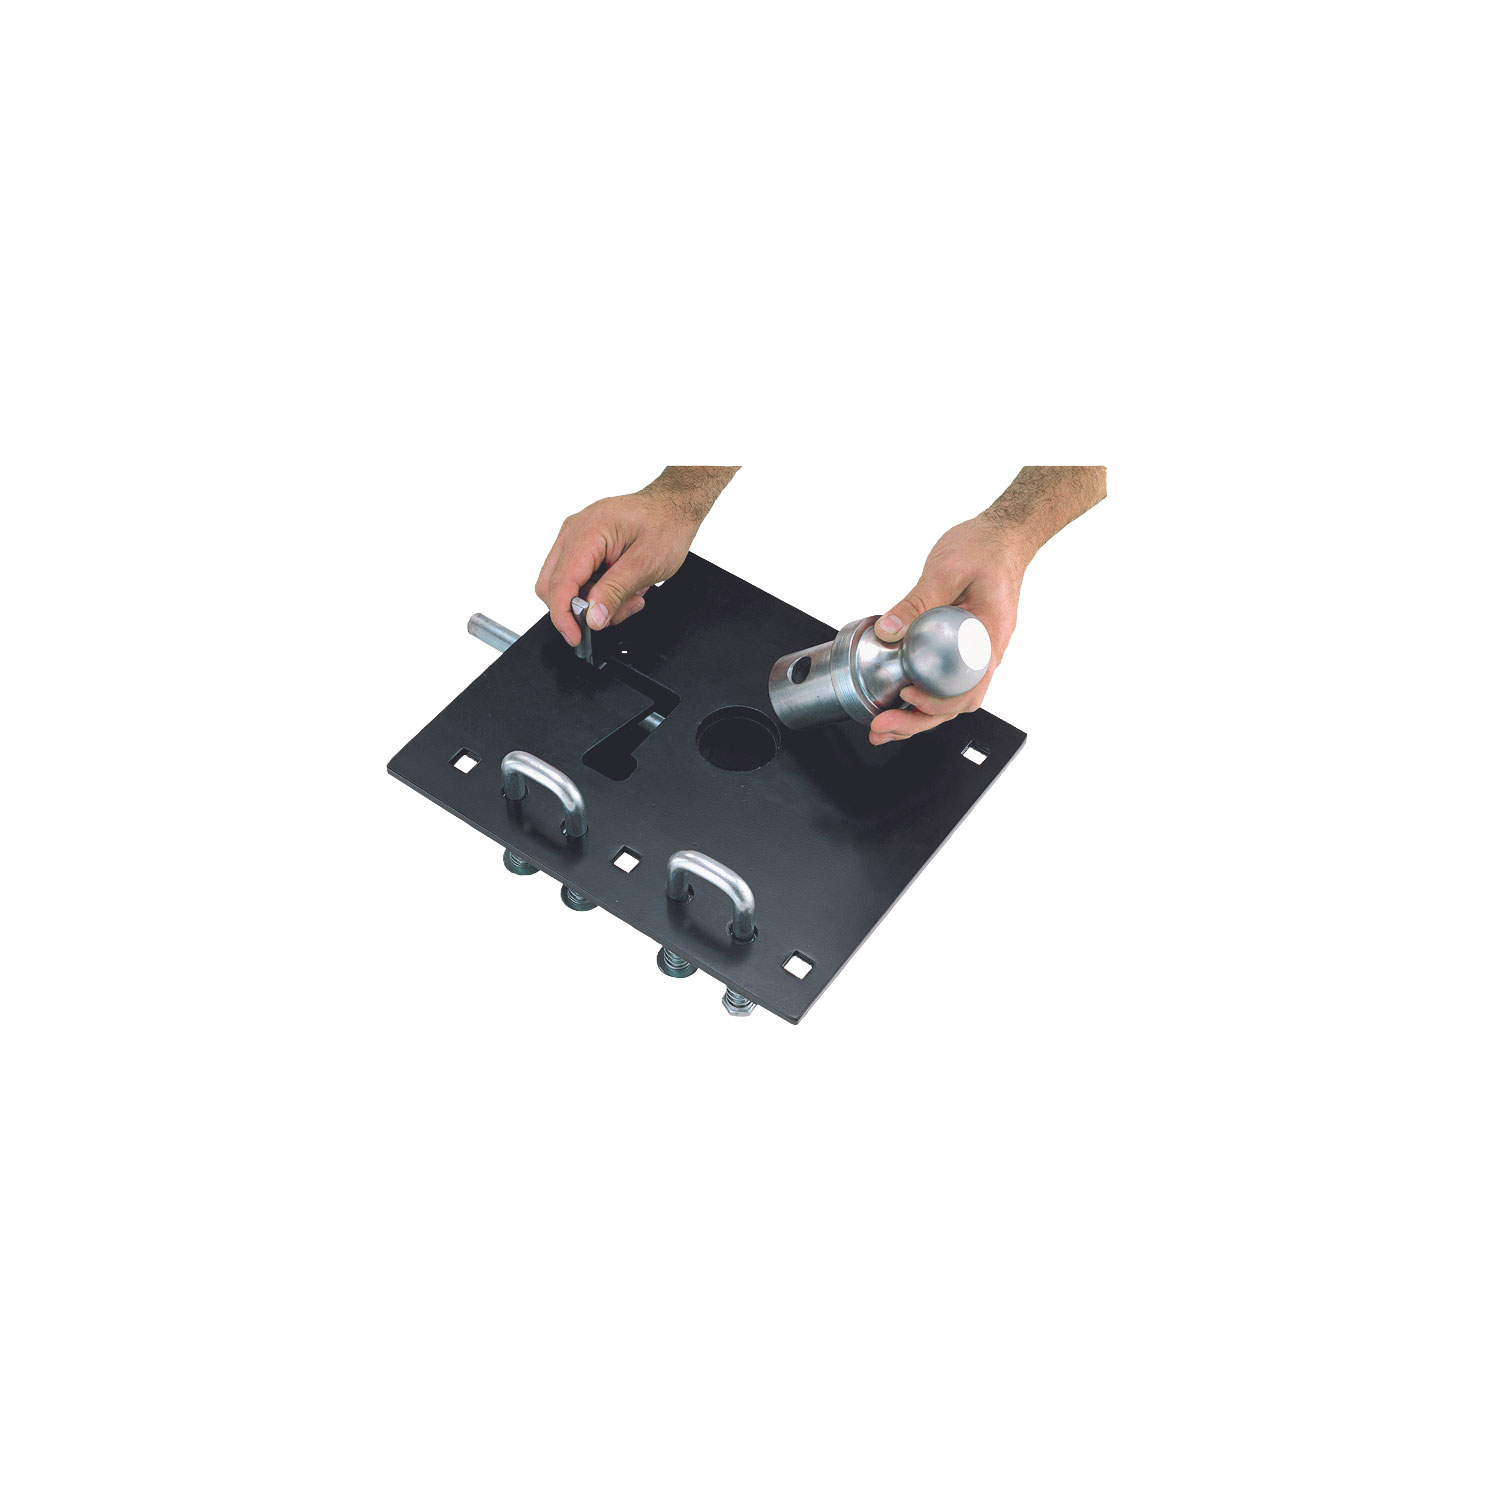
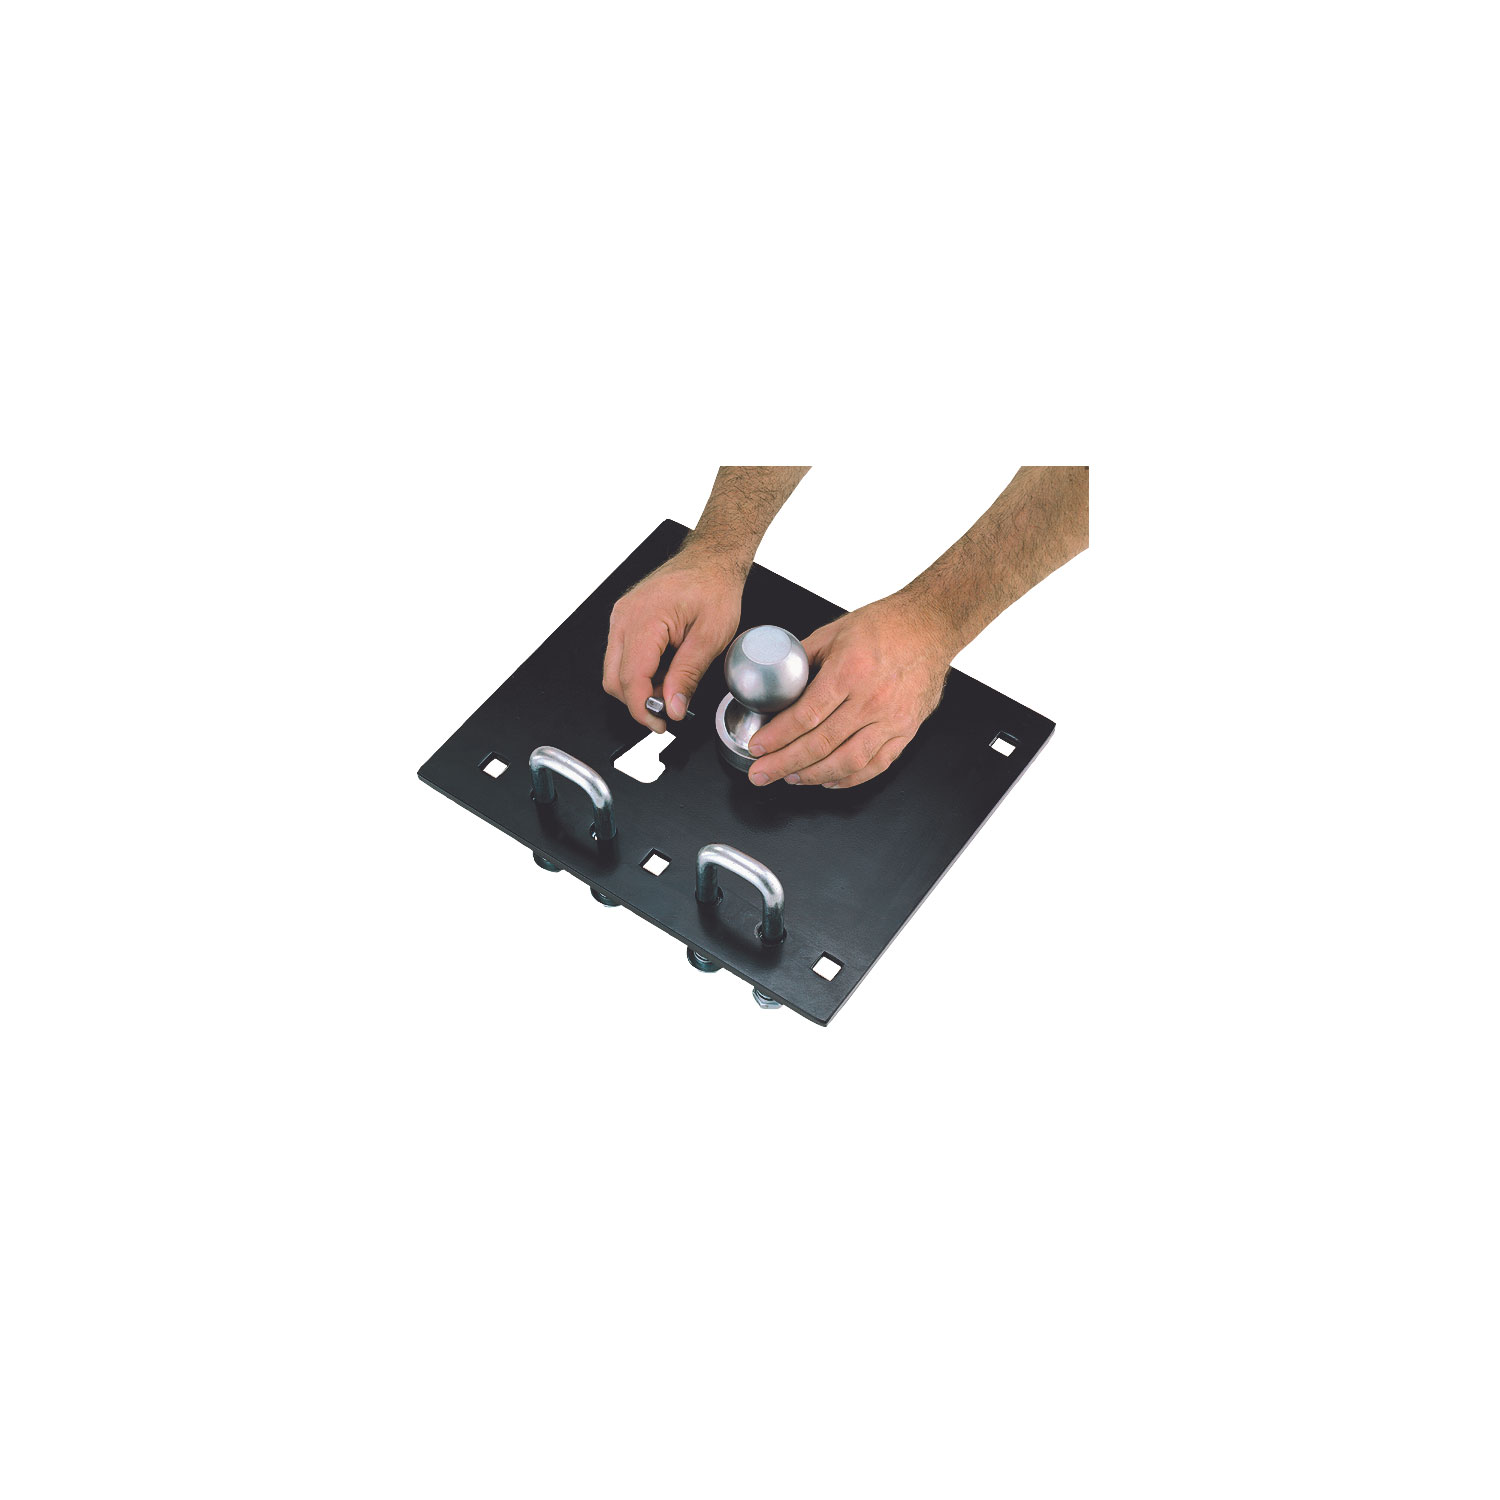
To install the ball: (1) With a finger in the Z-slot, raise the handle pulling it rearward and sliding it toward the side of the truck; (2) This allows the hitch ball to be installed into the tube; (3) Orient the through hole in the ball so it lines up with the sliding pin; (4) Move the handle toward the ball and push it forward in the Z-slot to lock the handle into a closed position; (5) Cover the slot with the magnetic cover provided to keep road mud and debris out of the bed. To remove, reverse this process.
After connecting the trailer to the tow vehicle following the coupler manufacturer's operating instructions, the coupler must be adjusted to provide about 6" of clearance between the bottom of the trailer nose and the top of the pickup bed sides. This clearance is important for proper trailer operation and to prevent contact during towing.
After installation and before towing, perform the following checks: (1) Slowly back the trailer to a jackknifed position while checking for adequate clearance between the gooseneck trailer and the rear of the vehicle; (2) Check for adequate clearance between the forward corners of the gooseneck trailer and the cab of the truck; (3) Slowly jackknife the truck and trailer in the opposite direction and check clearances to the end of the truck and the cab. These checks ensure the trailer will not contact the truck during normal turning operations.
Required maintenance includes: (1) Keep the assembly free of dirt and debris; (2) Lubricate the hitch ball monthly or as needed with heavy grease; (3) Lubricate the ball tube with heavy grease when the ball is installed and/or removed; (4) Lubricate the locking pin monthly or as needed with spray-on penetrating oil; (5) Check bolt torque monthly; (6) Check equipment before towing for worn or damaged parts and replace worn or damaged parts immediately.
Before every tow, no matter how short the trip, you must: (1) Connect safety chains properly and securely through the U-bolts provided so they cannot bounce loose, leaving only enough slack to permit full turning; (2) Make trailer lights, turn signals, electric brake, and breakaway switch connections; (3) Check operation of all connections, including electric brake manual control, before getting on the road. These are safety-critical connections that must be verified every time you tow.
Gross trailer weight and vertical load are the two most important items to consider. These weights must never exceed the lowest rating of any part of your towing system. Gross trailer weight is the weight of the trailer plus cargo (measured by putting the fully loaded trailer on a vehicle scale). Vertical load is the downward force exerted on the ball by the trailer coupler (measured with the fully loaded trailer on a level surface and the coupler at normal towing height). When loading the trailer, place heavy objects on the floor ahead of the axle, balance the load side-to-side, secure it to prevent shifting, and never load the trailer rear-heavy. Load the trailer heavier in the front, but not greater than the tongue weight rating of the hitch.
Never allow people in the trailer while towing, under any circumstances. Additionally, do not tow one trailer behind another, as this may cause loss of control. The hitch is designed for single-trailer towing only.
The additional weight of a trailer affects acceleration, braking, and handling. Allow extra time for passing, stopping, and changing lanes. A gooseneck trailer requires a large turning radius as the trailer tracks to the inside of turns. Severe bumps can damage your towing vehicle, hitch, and trailer, so drive slowly on rough roads. If any part of your towing system strikes the road, stop and make a thorough inspection, and correct any problems before resuming travel.
Observe safety precautions when working beneath a vehicle and wear eye protection. Do not cut access or attachment holes with a torch. Check the hitch frequently, making sure all fasteners are properly tightened. A hitch or ball that has been damaged should be removed and replaced immediately. Follow vehicle manufacturer's specifications for maximum trailer weight.
After locking the handle into a closed position, cover the Z-slot with the magnetic cover provided. This cover keeps road mud and debris out of the bed and away from your cargo, protecting the slot mechanism from contamination during transport.
The hitch is designed for pickup trucks. GM trucks with composite (non-metal) beds require Installation Kit #58209. For other vehicles, consult the manufacturer or your installer to confirm fitment.
Maximum gross trailer weight is 30,000 lb and maximum vertical load is 7,500 lb. Do not exceed the lower of these ratings or your towing vehicle manufacturer's ratings.
You need a hand drill, drill bits (1/4", 5/8", 3/4"), sockets and wrenches (9/16", 15/16"), center punch, torque wrench, saber saw, files (round and flat), and hammer. You must also source shims separately.
Yes. You must drill 1/4" pilot holes, 5/8" holes for carriage bolts, and 3/4" holes for U-bolts. You must also cut out the truck bed opening using a saber saw. If your truck has a bed liner, a 14" x 12" section must be cut out.
Torque the 5/8" x 2.50" Grade 5 carriage bolts to 150 lb-ft. Shims must be placed under the bolts to prevent bed corrugation collapse.
Check bolt torque monthly, lubricate the hitch ball and locking pin monthly or as needed, and check all equipment before towing for worn or damaged parts. Keep the assembly free of dirt and debris.
Connect safety chains through the U-bolts, make all trailer light and electrical connections, verify 6" clearance between trailer nose and pickup bed, and check clearances during jackknife maneuvers. Never allow passengers in the trailer.
Bed corrugation collapse occurs when carriage bolts are tightened without shims. Shims must be placed between the platform and the bed and between the under-vehicle structure and the bottom of the bed before tightening the bolts. If collapse has already occurred, the bed section may need to be replaced or repaired before continuing installation.
Ensure the through hole in the ball is oriented to line up with the sliding pin. Move the handle toward the ball and push it forward in the Z-slot. If it still will not lock, check that the ball is fully inserted into the tube and that there is no debris in the Z-slot mechanism.
Stop towing immediately. The hitch position or trailer coupler adjustment may be incorrect. Verify that the hitch ball is located along the truck's fore/aft centerline and above and forward of the rear axle. Adjust the coupler to provide about 6" of clearance between the trailer nose and the pickup bed. Perform jackknife clearance checks in both directions before resuming towing.
Stop towing and re-tighten all fasteners. Carriage bolts should be torqued to 150 lb-ft. U-bolt jam nuts should be tightened until 3 threads are visible past the bottom of the nut. Check bolt torque monthly as part of regular maintenance to prevent fasteners from loosening during towing.
Remove and replace the damaged hitch or ball immediately. Do not continue towing with a damaged hitch, as this may result in loss of control, vehicle crash, or property damage. Check the hitch frequently for signs of damage and replace worn or damaged parts immediately.


Matt
The staff was able to quickly assist me with locating the correct product I needed. Shipping was really fast. Item arrived in 2 days. Will be using TowUniverse again!!
May 22, 2023
