
LUVERNE Tuff Guard Black Stainless Van Grille Guard, Select Sprinter 2500, 3500 205530-205930LuverneOriginal price was $1,035.95. Current price is $869.95.Out of Stock
View productOur in-house experts typically reply within one business day.

Verify Fitment
Select your vehicle to confirm this part fits.
2019 - 2023 Mercedes-Benz Sprinter 1500
Confirmed to Fit
2019 - 2026 Mercedes-Benz Sprinter 2500
Confirmed to Fit
2019 - 2026 Mercedes-Benz Sprinter 3500
Confirmed to Fit



Always the correct part
We know our products
Quality Products
Free Shipping!
Always the correct part
We know our products
Quality Products
Free Shipping!

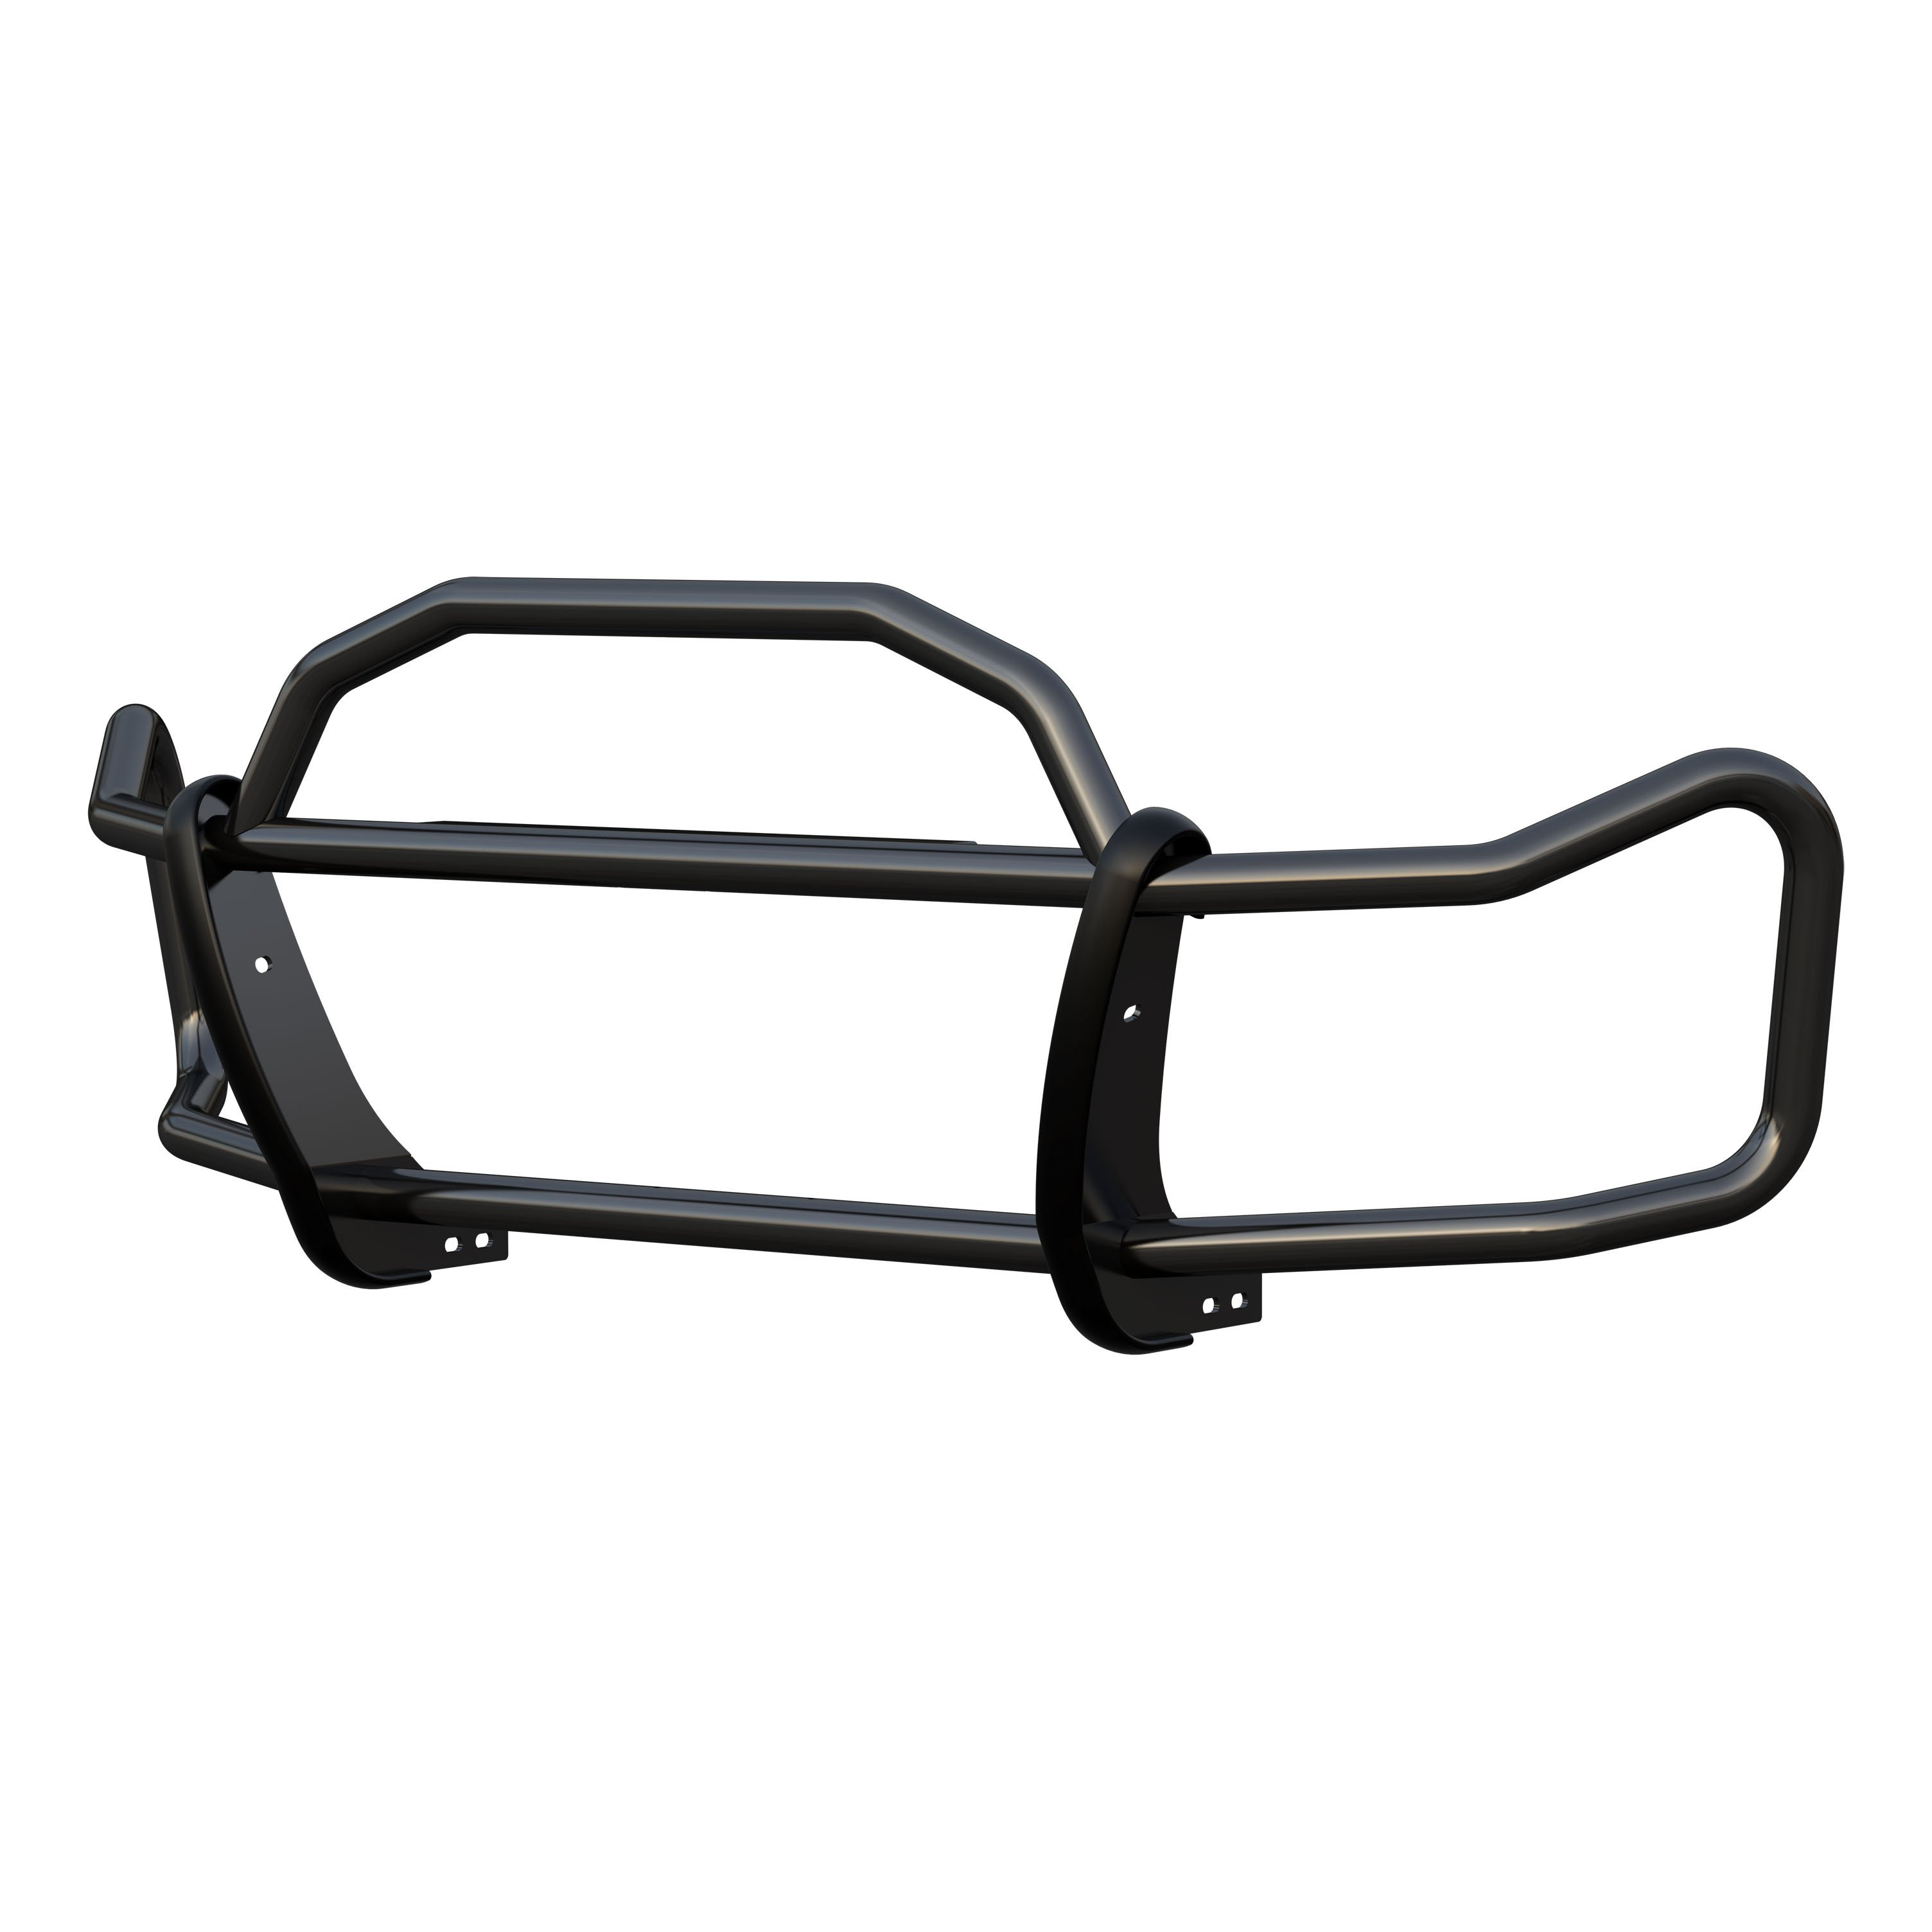
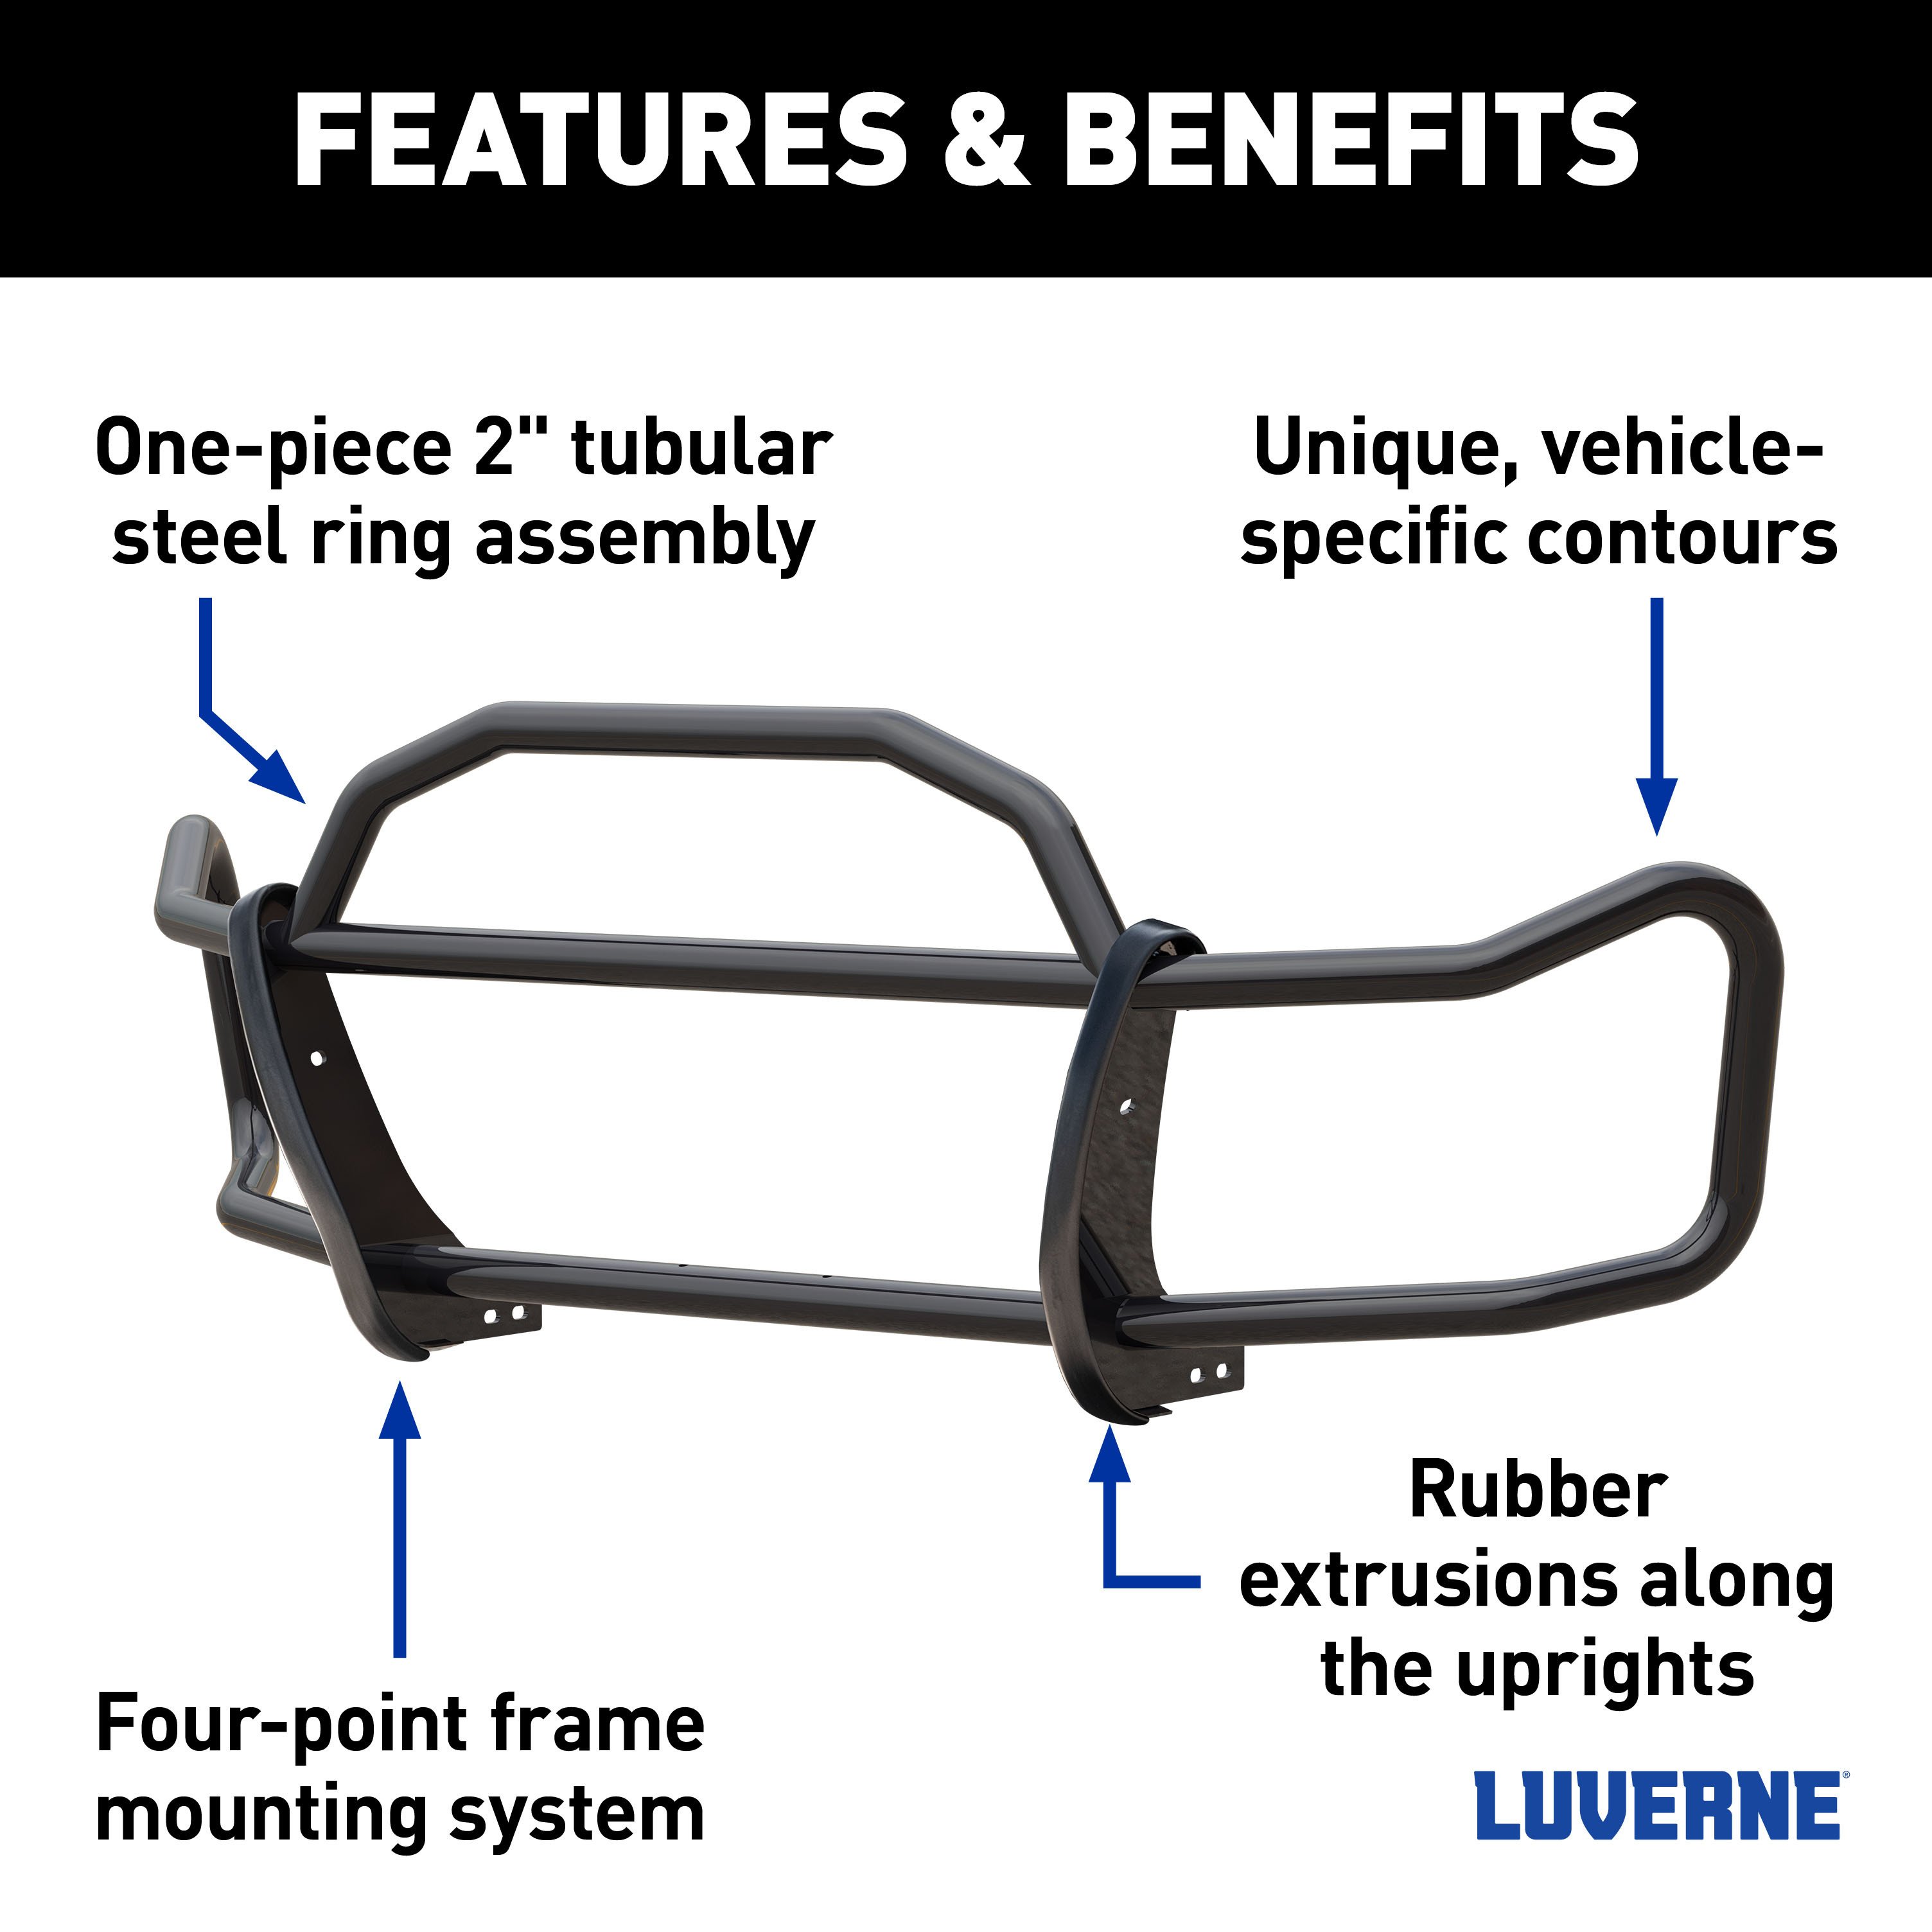
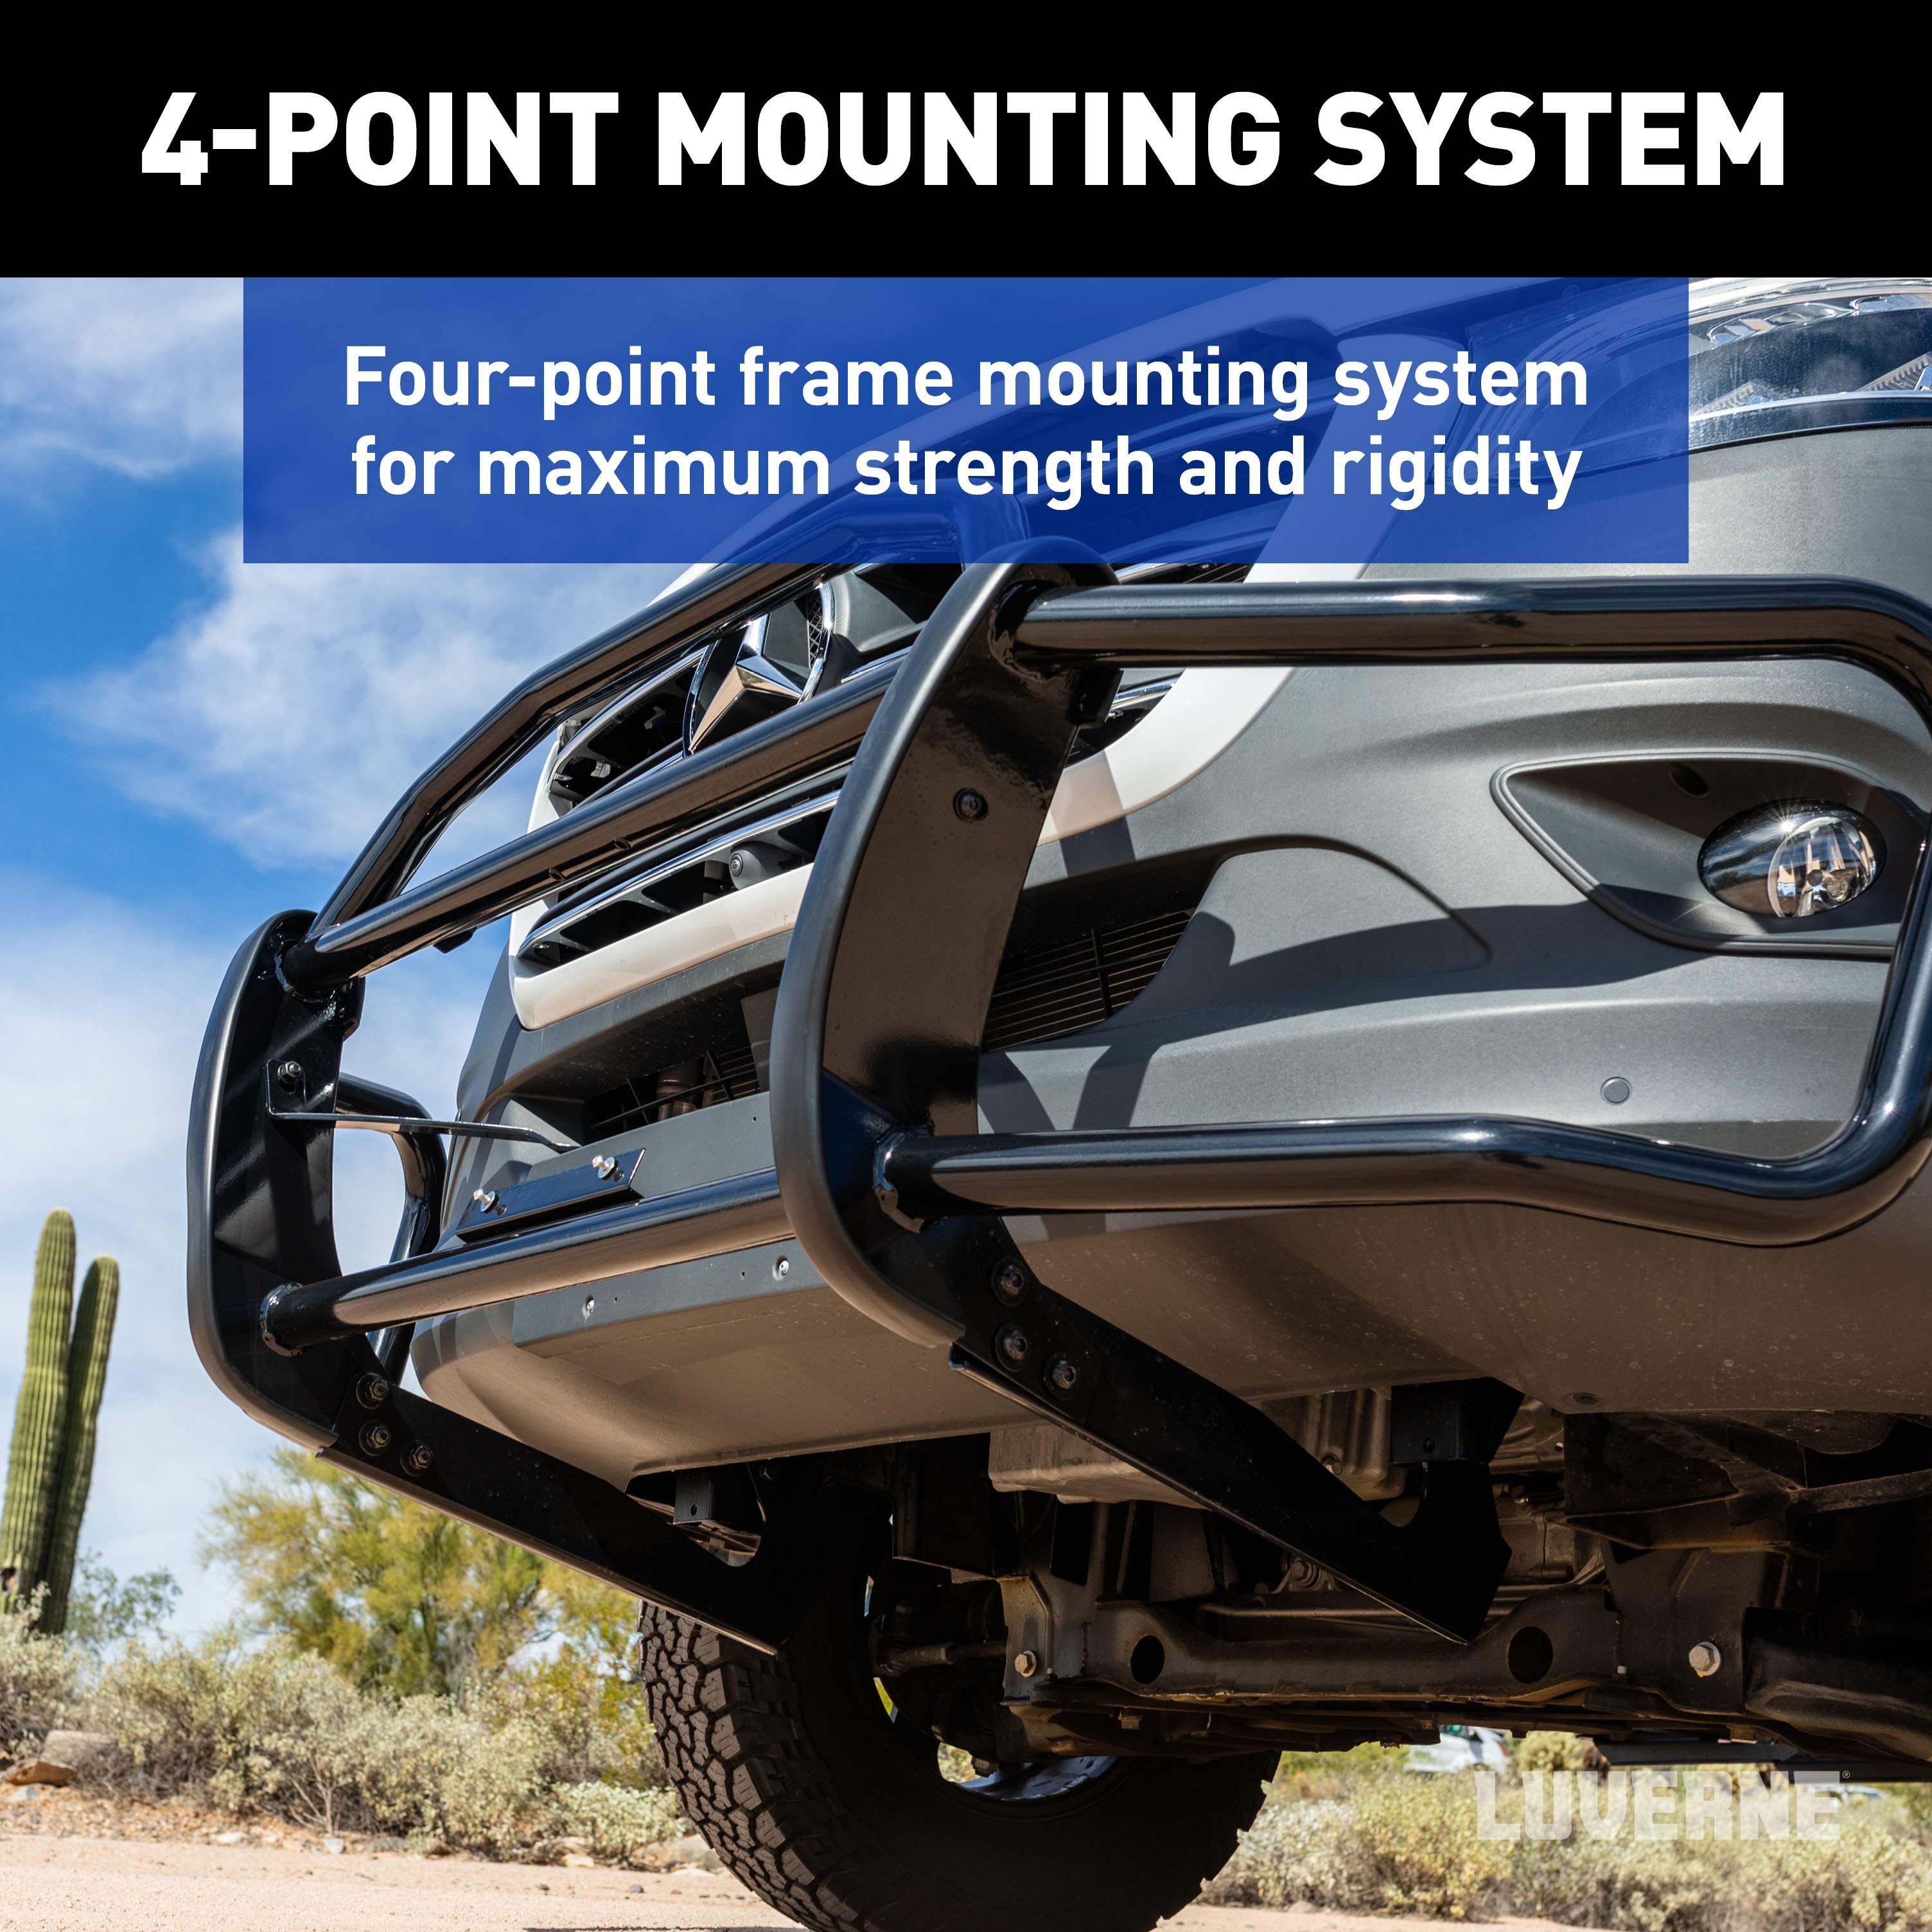
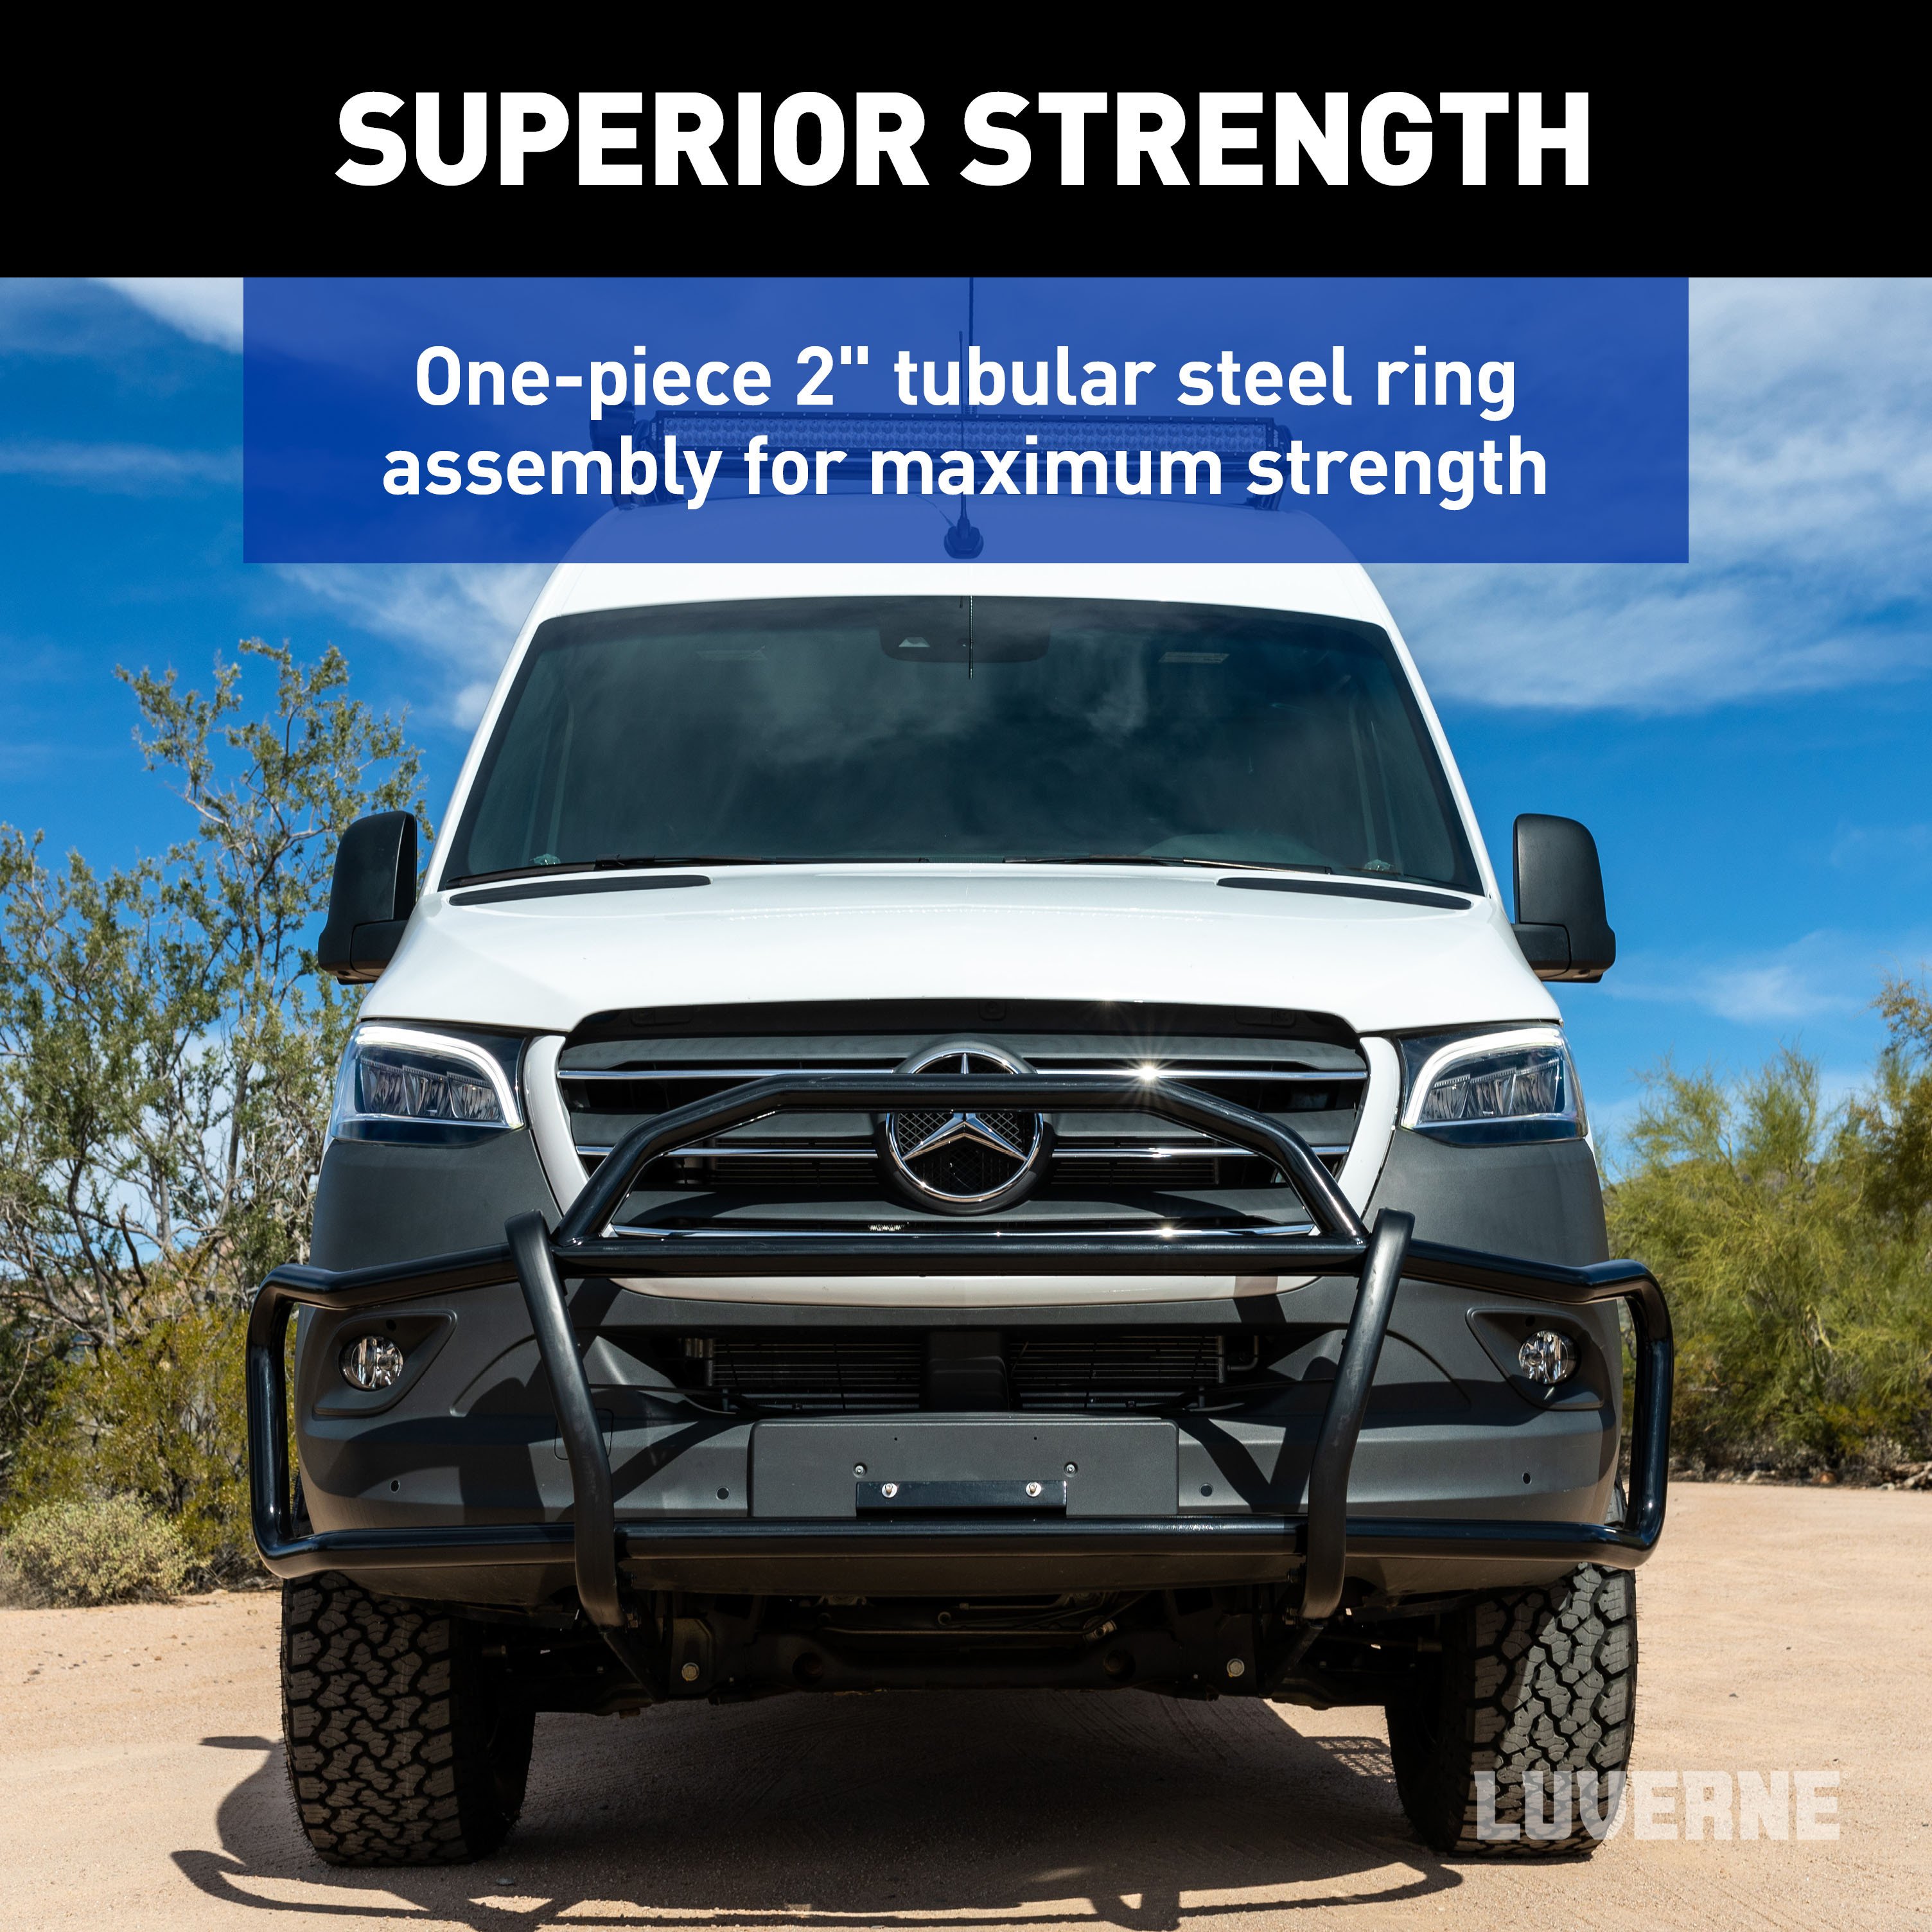
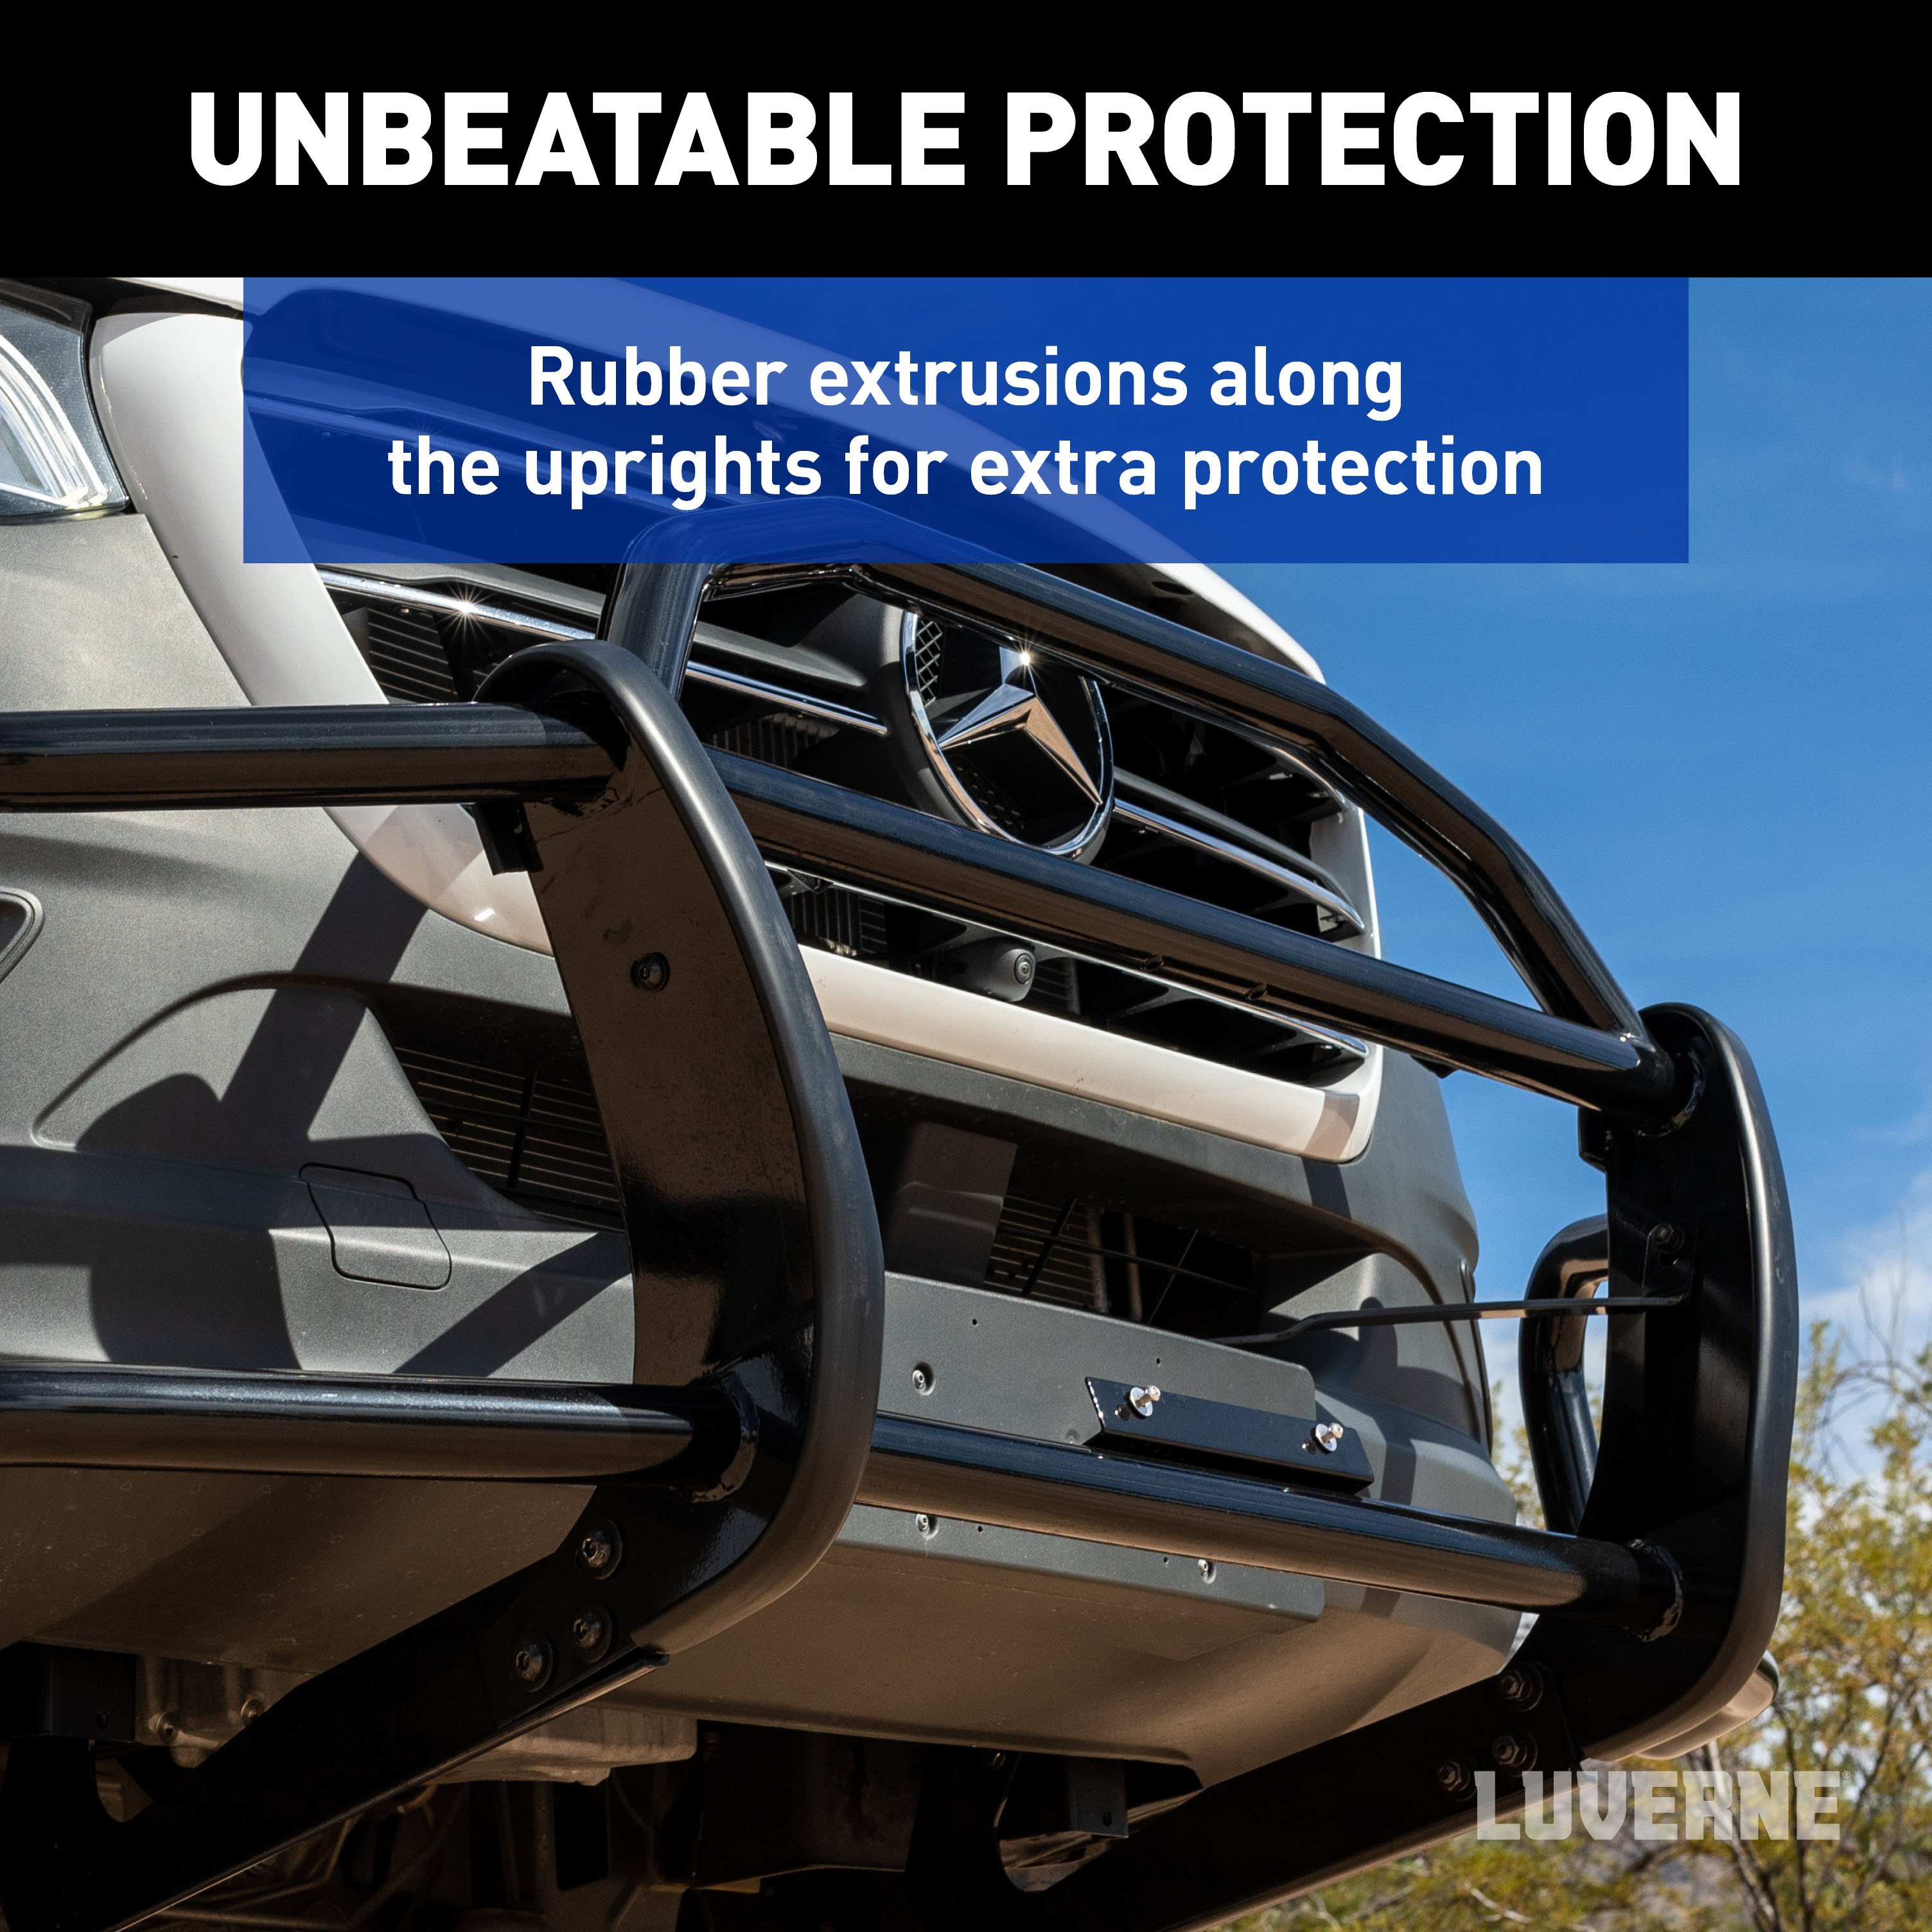
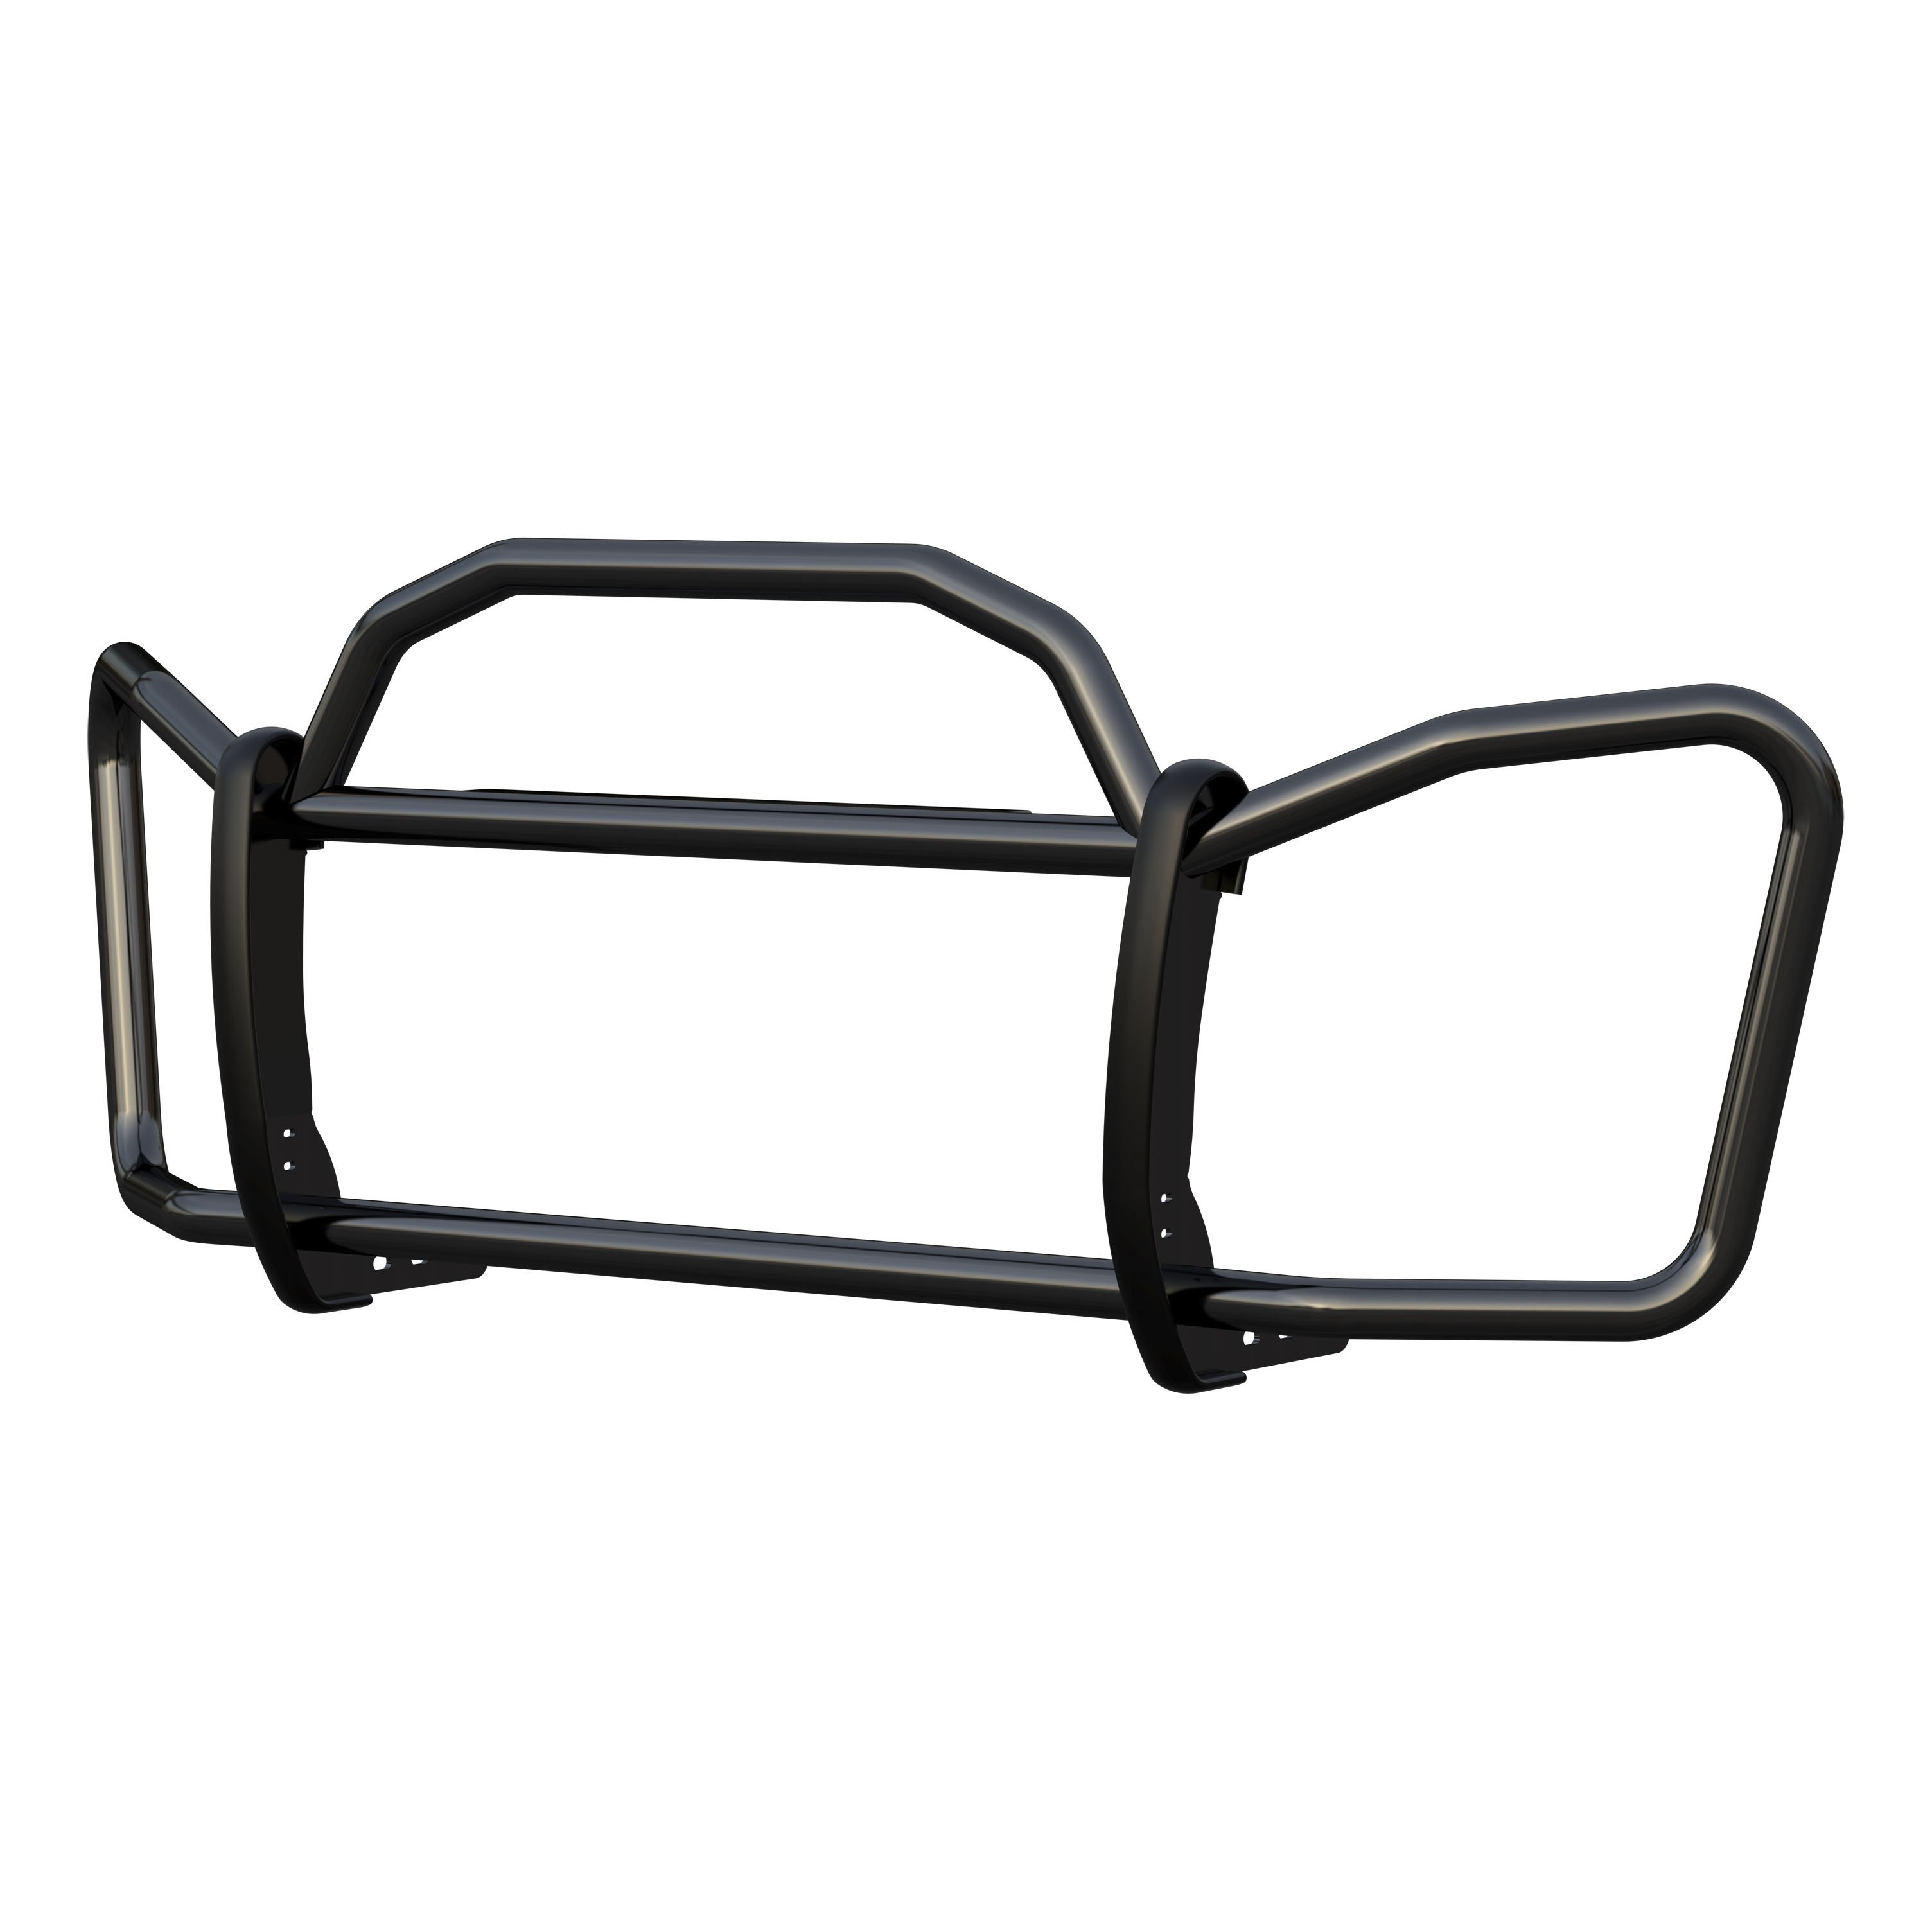
The LUVERNE SolidShield van grille guard is exactly what it sounds like: a truly solid grille guard that shields, preserves and protects your fleet day after day, mile after mile. SolidShield is the grille guard made for cargo van fleets, combining state-of-the-art technology with a stylish look to deliver quality protection and sophistication all in one. SolidShield is a step above the rest with its 4-point frame mounting system, which adds extra strength, durability and fleet uptime compared to the more common 2-point mounting system. To make upgrading extremely convenient, it has light brackets available for mounting aftermarket lights (sold separately). It features a one-piece 2" tubular steel ring assembly for reliable strength and rubber extrusions that are formed over metal strips on the uprights. Its vehicle-specific construction contours to the front of the van, giving your fleet a unique appearance that stands out and makes a strong statement. This particular model fits select years of the Mercedes-Benz Sprinter 2500 and 3500 (see application info to verify fitment). In addition to its unrivaled strength and sleek appearance, the SolidShield has an easy installation process using vehicle-specific, high-strength steel mounting brackets. Finished with an E-coat / semi-gloss black powder coating for dependable protection, SolidShield is the tough grille guard that combines strength, durability and style without sacrificing function.
The LUVERNE SolidShield van grille guard is exactly what it sounds like: a truly solid grille guard that shields, preserves and protects your fleet day after day, mile after mile.
Experts available to answer your questions
Call 888-634-9494Limited Lifetime
3 compatible vehicles
| Year | Make & Model | Notes |
|---|---|---|
| 2019 - 2023 | Mercedes-Benz Sprinter 1500 | May interfere with parking sensors US market only |
| 2019 - 2026 | Mercedes-Benz Sprinter 2500 | US market only May interfere with parking sensors |
| 2019 - 2026 | Mercedes-Benz Sprinter 3500 | May interfere with parking sensors US market only Single rear wheels |
The LUVERNE SolidShield Van Grille Guard for Select Mercedes-Benz Sprinter 2500, 3500 208815 (Part #FTNF208815) fits 2019-2023 Mercedes-Benz Sprinter 1500 models. The 2026 model year is the last year covered by this part number. For newer models, check for an updated version.
Yes, the LUVERNE SolidShield Van Grille Guard for Select Mercedes-Benz Sprinter 2500, 3500 208815 (Part #FTNF208815) is designed to fit the 2019-2023 Mercedes-Benz Sprinter 1500.
The LUVERNE SolidShield Van Grille Guard for Select Mercedes-Benz Sprinter 2500, 3500 208815 (Part #FTNF208815) fits the following vehicles: 2019-2023 Mercedes-Benz Sprinter 1500; 2019-2026 Mercedes-Benz Sprinter 2500; 2019-2026 Mercedes-Benz Sprinter 3500. Always verify your specific year, make, and model before ordering.
The LUVERNE SolidShield Van Grille Guard for Select Mercedes-Benz Sprinter 2500, 3500 208815 (Part #FTNF208815) Refer to the included instructions for installation details. Basic hand tools are typically all you need.
Yes, the 208815 grill guard is designed to fit diesel vans. However, on diesel vans the factory bolts on the side of the frame rail cannot be fully removed due to interference with the intercooler and intercooler hoses. Instead, these bolts must be backed out just enough to slide the frame bracket over the bolt. This is a normal part of the installation process for diesel vans and does not prevent installation.
The grill guard itself is the same, but the drilling location on the frame channel differs. For 2WD models, use the upper hole. For 4WD models, use the lower hole. This is marked during Step 6 when the frame mounting brackets are used as a template.
Required tools include: socket wrench, drill, sockets (13mm, 17mm, 19mm), wrenches (13mm, 17mm, 19mm), socket extensions, Torx socket (T-30), drill bits (1/8" and 1/2"), safety glasses, and hex wrenches (8mm, 6mm, 4mm). The hex wrenches are included with the product.
Yes, assistance is required. Step 3 specifically states "With assistance, position the grille guard up to the outside of the frame mounting brackets." The installation difficulty is rated as Moderate.
Installation follows this sequence: (1) Remove and reuse factory bolts to secure frame brackets to the vehicle frame (leave loose). (2) Remove Torx bolts from bumper step area, install tube spacers, and secure center brackets (leave loose). (3) With assistance, position grill guard and secure to frame brackets with M12 hardware (leave loose). (4) Secure center brackets to grill guard with M10 hardware (leave loose). (5) Align guard and tighten all hardware. (6) Remove guard and brackets. (7) Use brackets as template to mark drilling locations. (8) Drill marked locations. (9) Reattach frame brackets with M10 hex bolts and tube spacers. (10) Reinstall grill guard and tighten all hardware.
No. The manual specifies to leave hardware loose during Steps 1, 2, 3, and 4. Only after aligning the grill guard in Step 5 should all hardware be tightened. This allows for proper alignment before final tightening.
Yes, drilling is required. You must drill two holes in the bottom of the frame channel using a 1/2" drill bit. To make drilling easier and more accurate, the manual recommends starting with a 1/8" drill bit first, then following with the 1/2" drill bit. The drilling locations are marked using the frame mounting brackets as a template.
Torque specifications are: M6 bolt = 7 ft-lbs, M8 bolt = 16 ft-lbs, M10 bolt = 35 ft-lbs, M12 bolt = 60 ft-lbs. Use these specifications unless otherwise noted in the instructions. Proper torque is essential to prevent damage to the product or vehicle.
In Step 1, the factory bolt on the side of the frame rail is reused to secure the frame bracket. In Step 9, after drilling, the frame brackets are secured using two M10 x 40 hex bolts, four M10 flat washers, two 12mm tube spacers, two M10 lock washers, and two M10 hex nuts.
In Step 2, two 3/4" tube spacers (the larger and shorter spacers) are placed in the recesses in the bumper cover. The center bracket is then secured using one M8 x 40 button head bolt, one M8 lock washer, and one M8 flat washer. This is repeated for both driver and passenger sides.
In Step 4, each center bracket is secured to the grill guard using one M10 x 30 button head bolt, two M10 flat washers, and one M10 nylock nut. This is done for both driver and passenger sides.
In Step 3, the grill guard is secured to the frame mounting brackets using M12 x 35 button head bolts (6 total), M12 lock washers (6 total), M12 flat washers (12 total), and M12 hex nuts (6 total). The rear-most holes are secured first, then the guard is rotated up and the remaining holes are secured.
No. The manual states in Step 7 that "It is not necessary to remove the center brackets." You only remove the grill guard and frame brackets from the vehicle to use the frame brackets as a template for marking the drilling locations.
Mild automotive detergent may be used to clean the product. Do not use dish detergent, abrasive cleaners, abrasive pads, wire brushes, or other similar products that may damage the finish. Periodic inspection should be performed to ensure all hardware and components remain secure.
Safety glasses are required when drilling. Before beginning installation, read all instructions thoroughly. Proper tools will improve the quality of installation and reduce the time required. Follow the specified torque specifications when securing hardware to prevent damage to the product or vehicle.
Yes, but factory frame bolts cannot be fully removed due to intercooler interference; back them out just enough to slide the bracket over.
The grill guard is the same, but the drilling location differs: use the upper hole for 2WD, lower hole for 4WD.
Socket wrench, drill with 1/8" and 1/2" bits, sockets (13mm, 17mm, 19mm), wrenches (13mm, 17mm, 19mm), Torx socket (T-30), safety glasses, and hex wrenches (included).
Yes, assistance is required to position the grill guard during installation.
Yes, you must drill two 1/2" holes in the frame channel. Start with a 1/8" bit for accuracy, then use the 1/2" bit.
M6 = 7 ft-lbs, M8 = 16 ft-lbs, M10 = 35 ft-lbs, M12 = 60 ft-lbs.
Use mild automotive detergent only. Do not use dish detergent, abrasive cleaners, pads, or wire brushes.
Perform periodic inspection to ensure all hardware and components remain secure. Proper torque specifications must be followed during installation.
On Sale Today
Original price was $813.95. Current price is $677.24.You save $136.71 (17%)
Free Shipping
Ships free on all orders

Quick Ship
In stock and ready to ship — order now!
FREE ShippingFREE SHIPPING
Estimated delivery Mon, Sep 28 - Thu, Oct 1
Order before 2 PM EST Monday–Friday for same-day processing
Guaranteed safe & secure checkout
No reviews have been added for this product.