
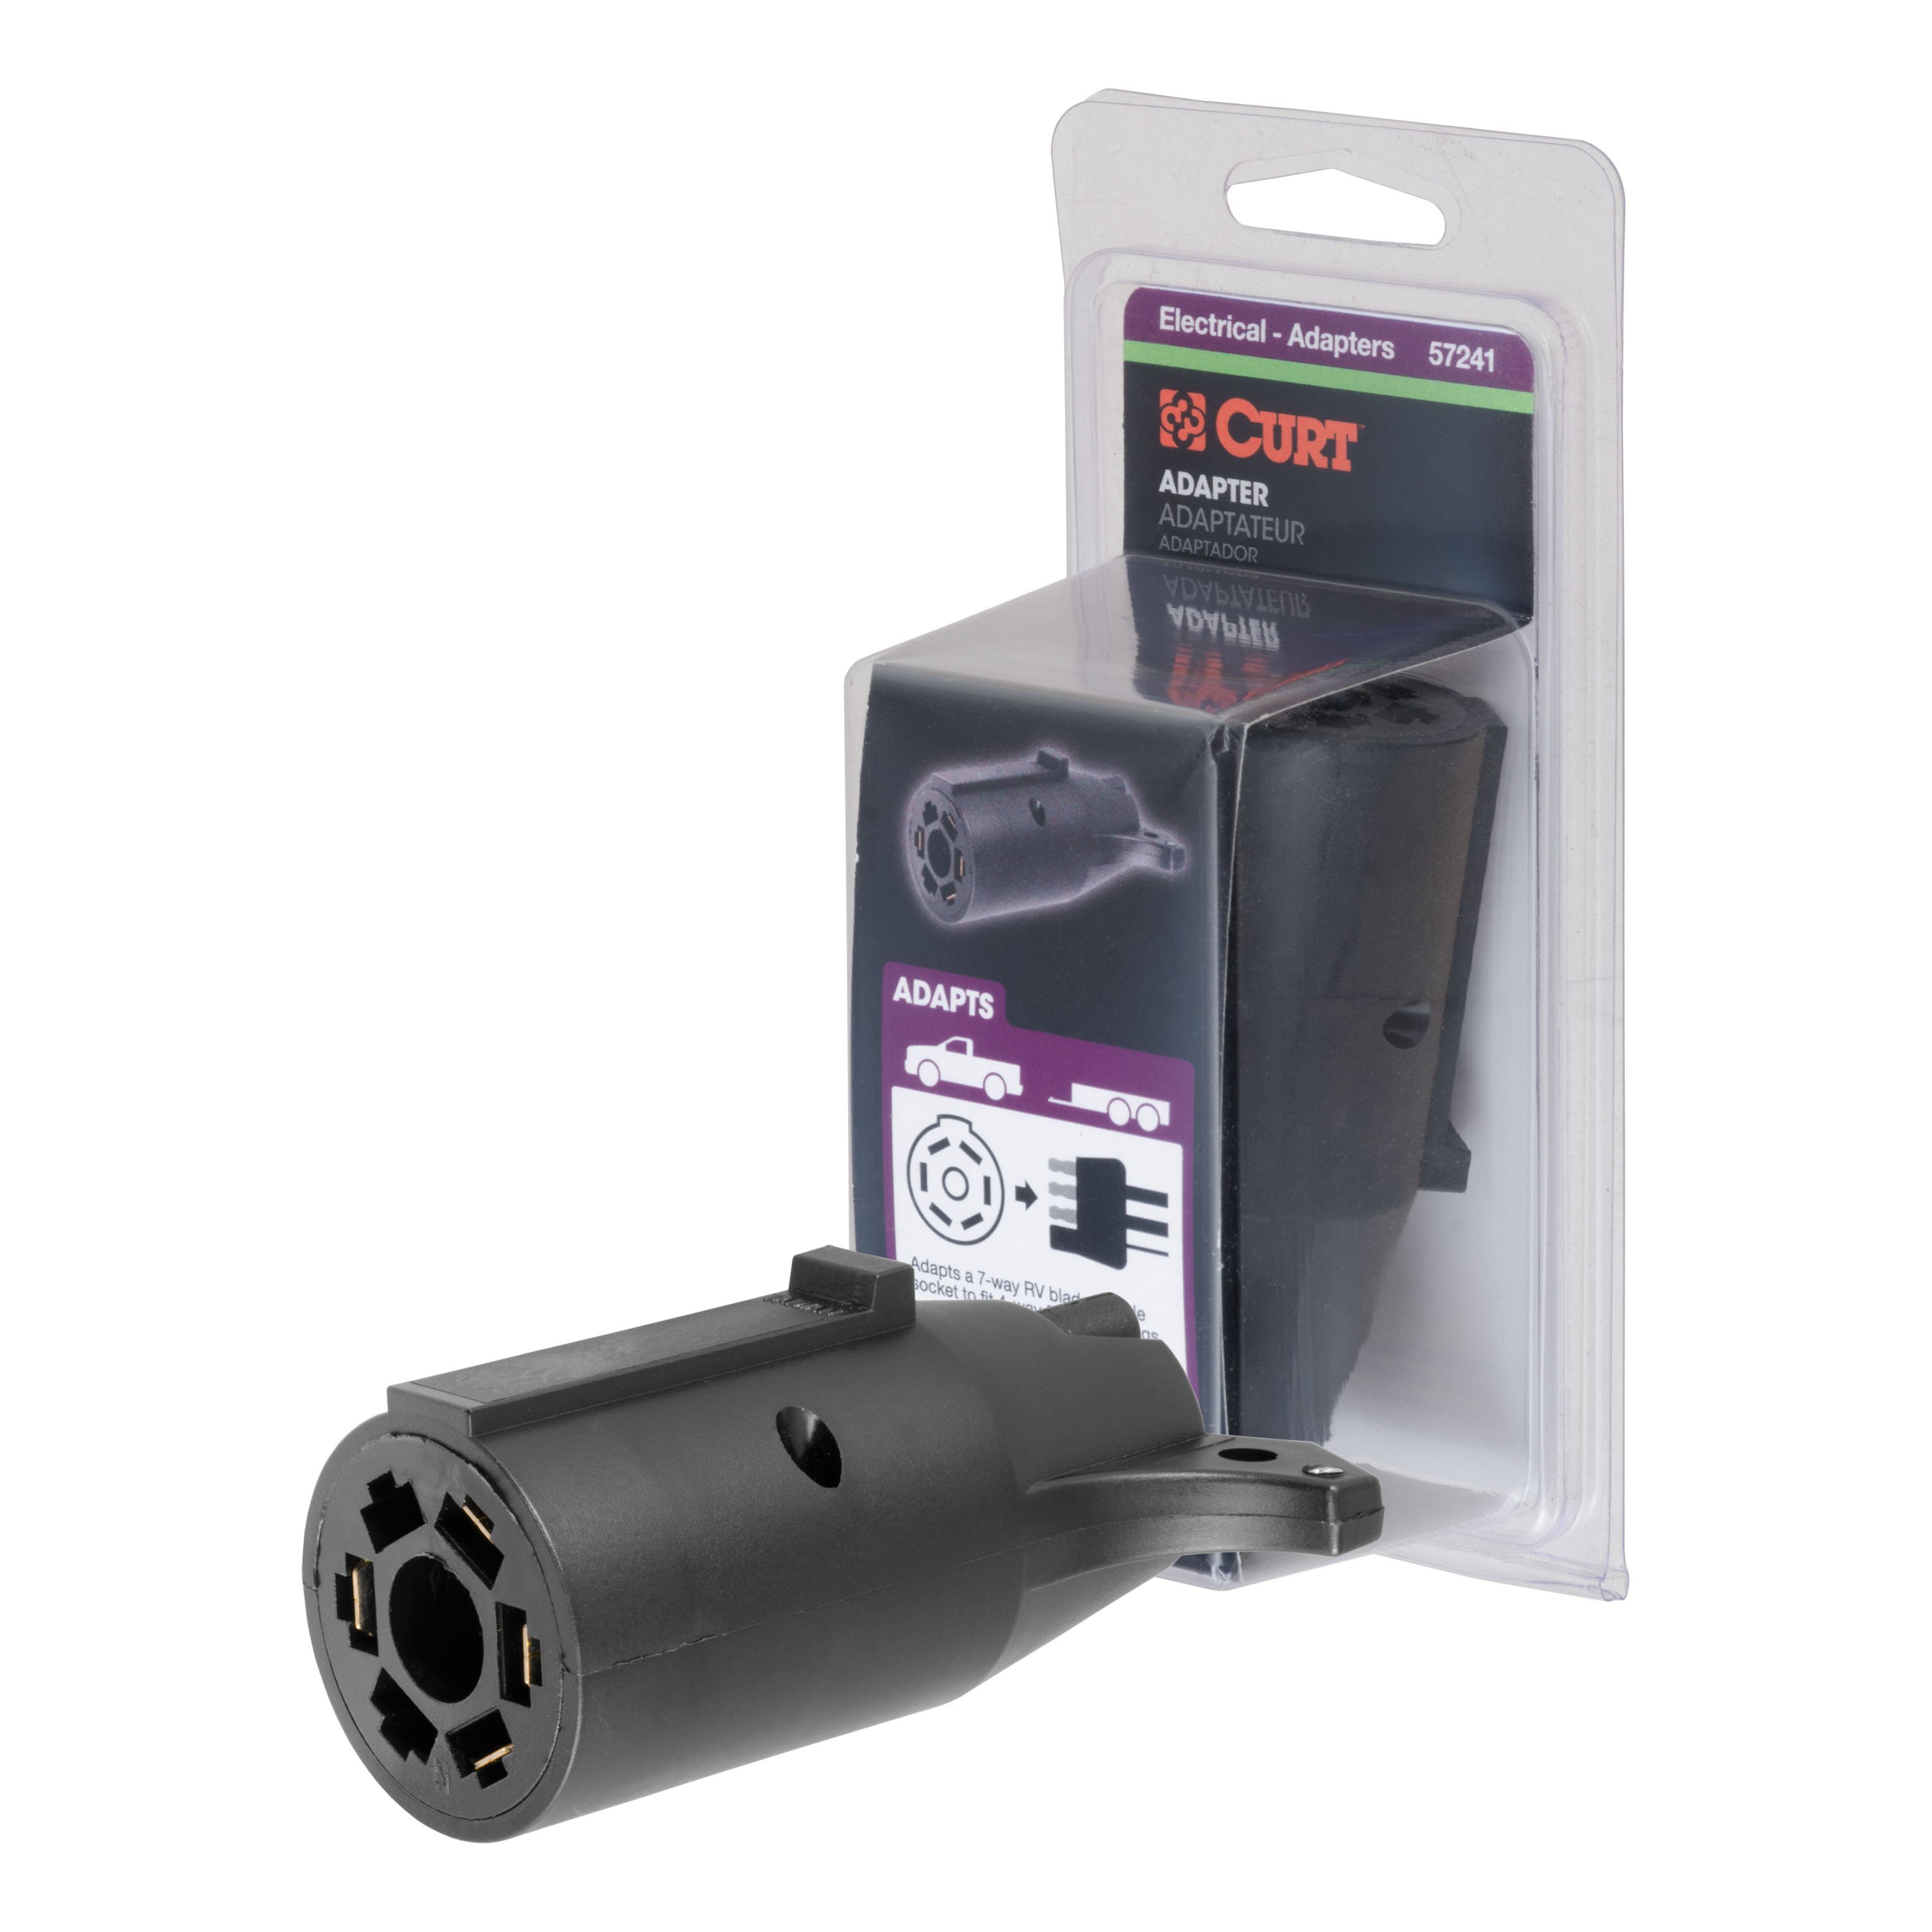
CURT Dual-Output Electrical Adapter (Adds 7-Way RV Blade to 4-Way Flat) Trailer Wiring Adapter ConnectorCURTOriginal price was $54.95. Current price is $47.99.In Stock
View productOur in-house experts typically reply within one business day.

Tekonsha
Verify Fitment
Select your vehicle to confirm this part fits.
2010 - 2013 Ford Transit Connect
Confirmed to Fit

Always the correct part
We know our products
Quality Products
Free Shipping!
Always the correct part
We know our products
Quality Products
Free Shipping!

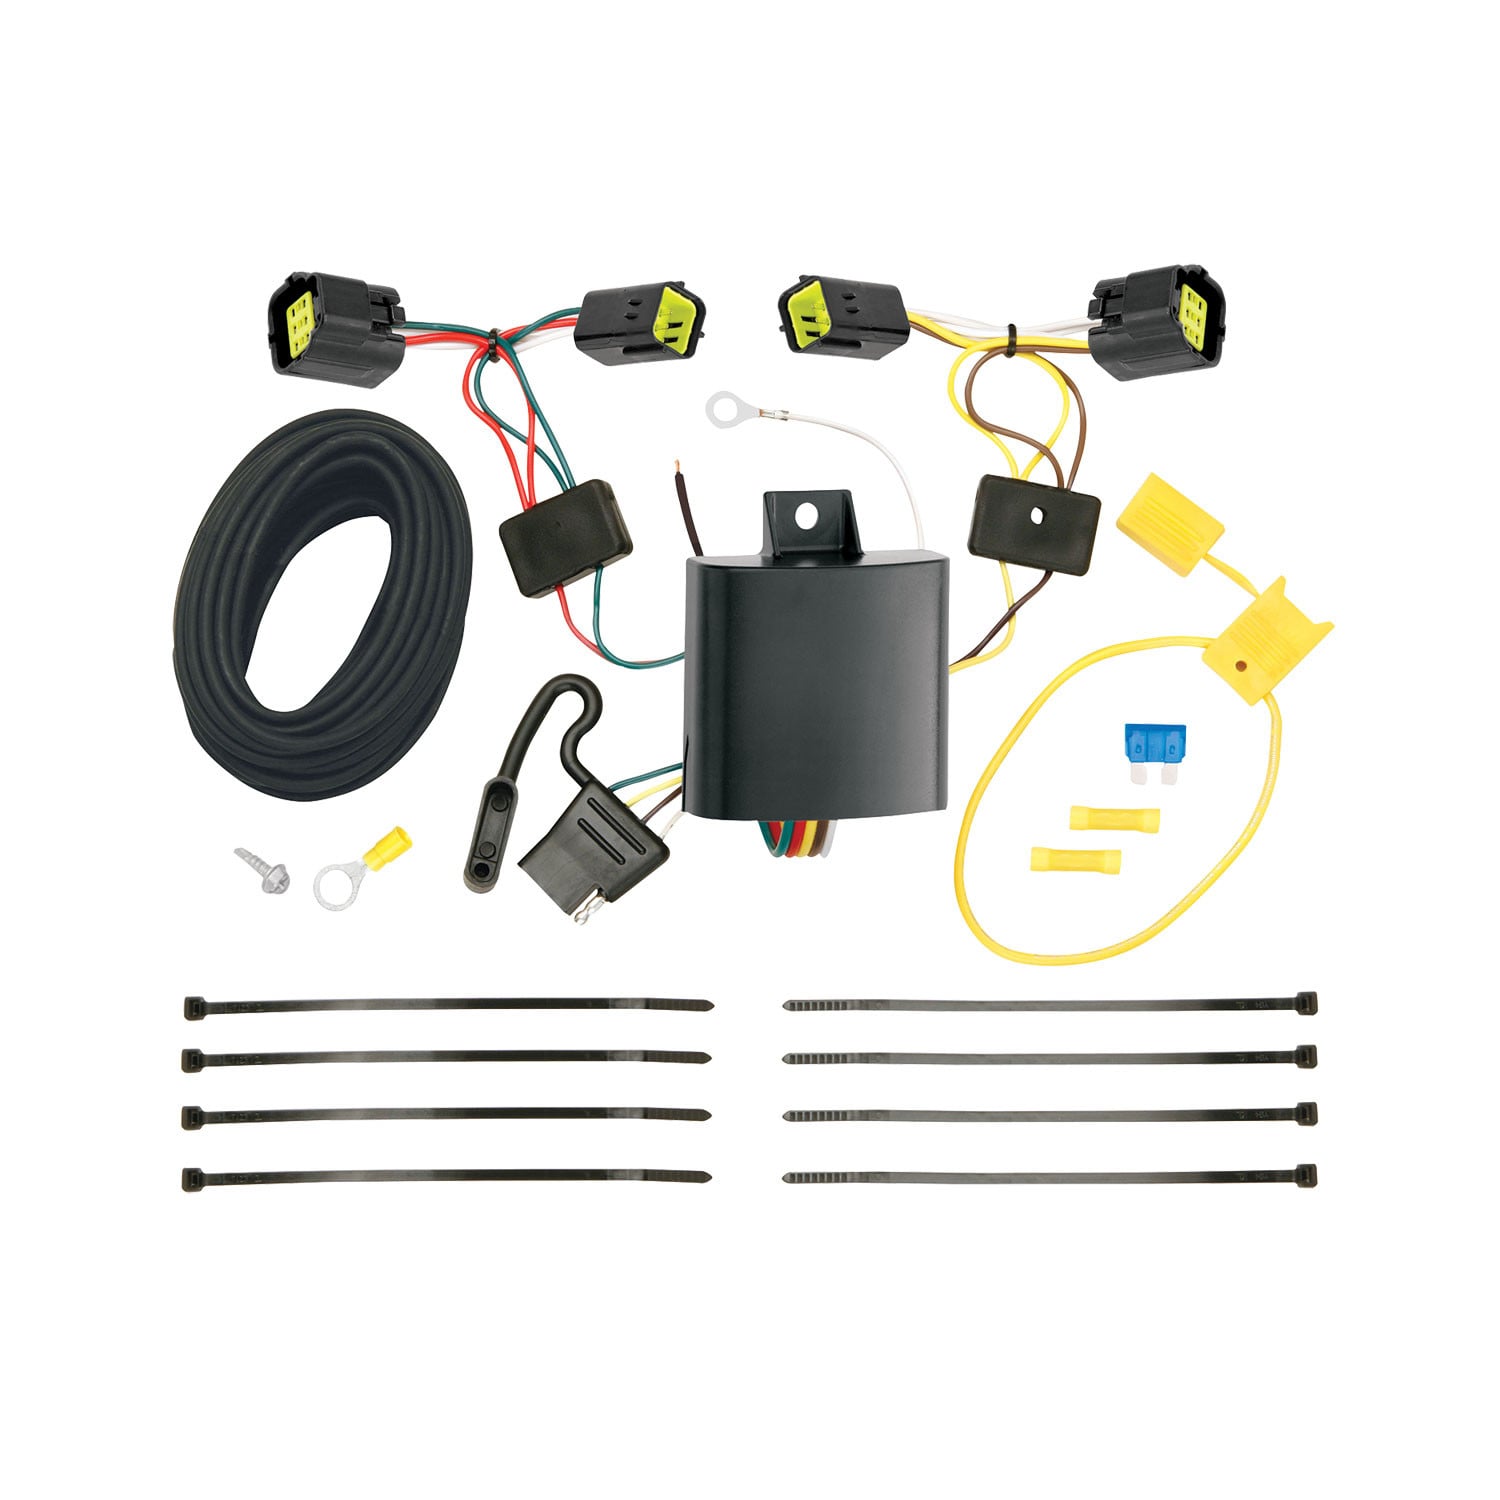
Tekonsha T-One connector (also referred to as T-Connector) wiring harnesses are the fastest and easiest way to add an electrical connector to the back of your vehicle. These connectors are used to link the wiring from your vehicle to the trailer when towing. Tekonsha T-One connectors feature custom designs to fit each vehicle make and model based on manufacturer specifications. Plus, the Plug & Play connectors on the end of the wires make it easy to install. No cutting or splicing!
Tekonsha offers the largest, most complete line of T-One connectors. To install a Tekonsha T-One wiring harness, simply locate your vehicle's wiring harness connector typically behind the vehicle taillight - unplug the connection and insert the T-Connector into the vehicle's harness. It's that easy! So what are you waiting for? Hit the road with the peace of mind only Tekonsha can provide. Life's a Journey. Stop Often.
| BRAND: | TEKONSHA |
| PART NUMBER: | 118585 |
| WARRANTY: | LIMITED 1 YEAR WARRANTY |
| WEIGHT: | 1.8 LBS |
| UNIVERSAL OR SPECIFIC FIT: | SPECIFIC |
| CIRCUIT PROTECTED: | YES |
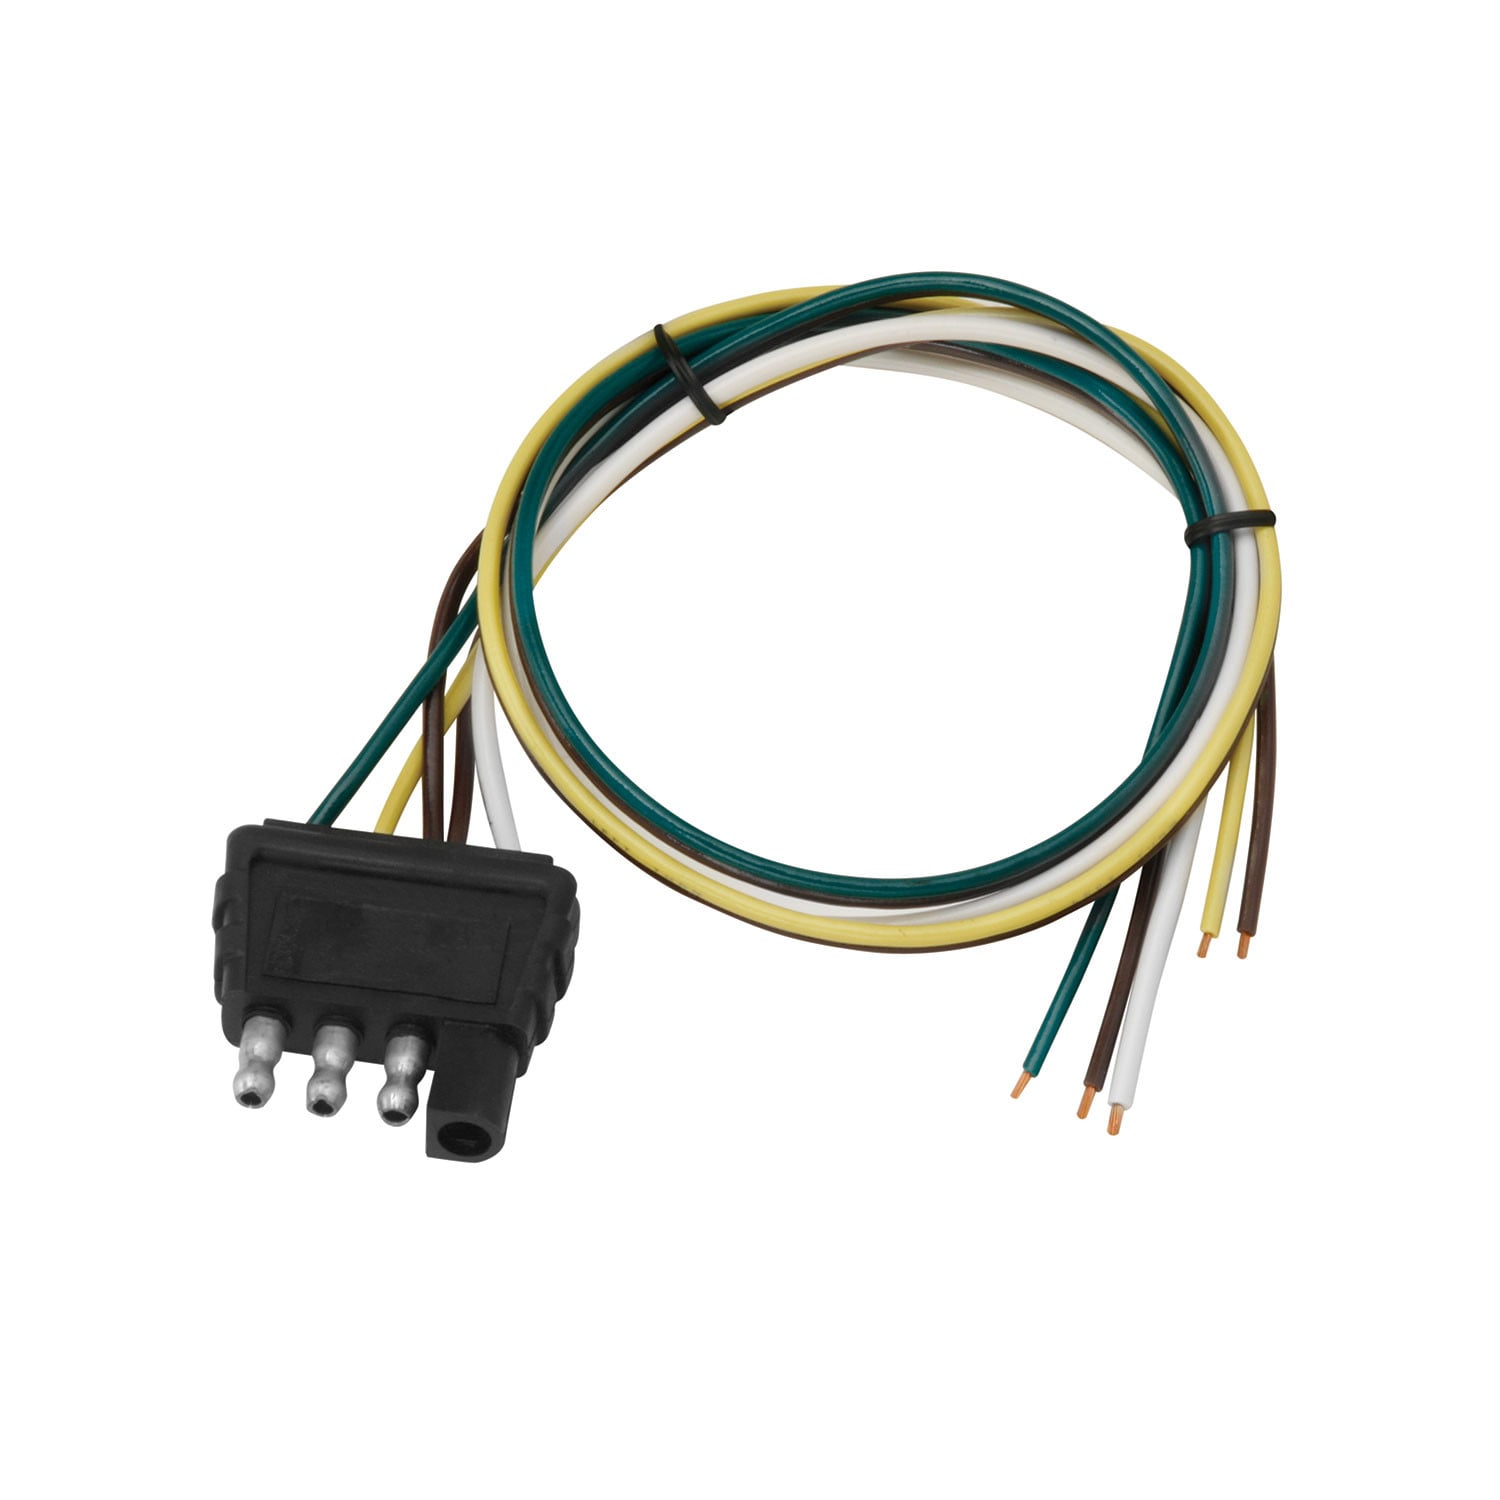
| HARNESS TYPE: | MALE FEMALE |
| TERMINAL QUANTITY: | 4 |
| WIRE COLORS: | BROWN, GREEN, YELLOW, WHITE |
| WIRE QUANTITY: | 4 |
| WIRE GAUGE: | 16 GA. |
| POWER LEAD REQUIRED: | YES |
| ELECTRICAL SYSTEM TYPE: | 3-WIRE SYSTEM |
| HARDWARE INCLUDED: | YES |


Tekonsha is a leading manufacturer of electronic trailer brake controllers, pioneering the category in the 1970s. The lineup spans proportional units such as the Prodigy P3 and Prodigy iD, time-delayed controllers, the wireless Prodigy RF, plus vehicle-specific wiring harnesses, adapters and trailer brake components engineered for smooth, predictable stopping at any speed.
Tekonsha Engineering Company began in 1964 building RV steps and mirrors. Within a few years it had found its real calling, and by the 1970s Tekonsha was pioneering the manufacture of electronic trailer brake controllers, the product category that still defines the brand. More than half a century later it remains the reference name in trailer braking and is part of the Horizon Global group alongside Reese, Draw-Tite, Fulton, Bulldog and Wesbar.
A brake controller is the component that tells a trailer's electric brakes how hard to work and when, and getting that right is the difference between a controlled stop and a shove from behind. Tekonsha builds both major types. Proportional controllers use an internal accelerometer to sense how quickly the tow vehicle is slowing and apply trailer braking to match, so light braking stays light and hard braking is immediate. Time-delayed controllers ramp to a preset output over a fixed interval, a simpler and more economical approach that suits occasional towing.
The current brake controller range covers most of that ground. The Prodigy iD pairs with a phone through Tekonsha's EDGE technology for setup and monitoring, the P3 offers storable settings for multiple trailers and a trilingual colour LED display, the Prodigy P2 adds a dimmable display and boost mode for heavier loads, and the Voyager keeps operation simple and dependable. The Prodigy RF mounts to the trailer itself and controls wirelessly, which suits rental fleets and drivers who swap tow vehicles.
Installation is supported by vehicle-specific brake control harnesses that plug into a factory connector rather than requiring cut-and-splice wiring, along with mounting brackets and adapters. Matched controller bundles pair a unit with the correct harness. Products are tested to meet and often exceed published industry standards.
Experts available to answer your questions
Call 888-634-94941 Year
1 compatible vehicles
| Year | Make & Model | Notes |
|---|---|---|
| 2010 - 2013 | Ford Transit Connect | Tow Harness T: Connector Assembly Uses all existing holes. No Drilling required Install Time is 60 minutes |
The 2010-2013 Ford Transit Connect Tekonsha Plug & Play T-Connector Adapter Trailer Wiring 118585 (Part #TK118585) fits 2010-2013 Ford Transit Connect models. The 2013 model year is the last year covered by this part number. For newer models, check for an updated version.
The 2010-2013 Ford Transit Connect Tekonsha Plug & Play T-Connector Adapter Trailer Wiring 118585 (Part #TK118585) fits the following vehicles: 2010-2013 Ford Transit Connect. Always verify your specific year, make, and model before ordering.
Yes, the 2010-2013 Ford Transit Connect Tekonsha Plug & Play T-Connector Adapter Trailer Wiring 118585 (Part #TK118585) is designed to fit the 2010-2013 Ford Transit Connect.
The 2010-2013 Ford Transit Connect Tekonsha Plug & Play T-Connector Adapter Trailer Wiring 118585 (Part #TK118585) Refer to the included instructions for installation details. Basic hand tools are typically all you need.
The T-Connector is a wiring harness that integrates trailer lighting into your Ford Transit Connect's electrical system. It allows you to connect a trailer's lighting to your vehicle's taillight circuits without permanently modifying the vehicle's wiring. The system uses T-shaped connectors that plug into the vehicle's existing taillight harnesses on both the driver and passenger sides.
Yes, the T-Connector (part number 118585-037) is designed for Ford Transit Connect. However, the manual notes that due to variance in vehicle options, alternate installation methods may be required for your specific vehicle configuration.
You will need: 6mm hex wrench, Philips Head Screwdriver, Test-probe, and Wire Cutters. These are the only tools specified in the manual for installation.
The kit includes: two T-Connector harnesses (one with yellow wire for driver side, one with green wire for passenger side), a yellow fuse holder with 15 amp fuse, yellow butt connectors, a black box (control module), double-sided tape, silver tape, cable ties, and a 4-Flat connector. A bracket or electrical box for mounting the 4-Flat connector is not included.
Yes. You must disconnect the vehicle's negative (−) battery cable before connecting the power wire to the positive (+) battery terminal. The negative cable should remain disconnected until step 12, after all other connections are complete and the 15 amp fuse is installed in the fuse holder.
Yes. When you separate the vehicle's taillight wiring harness connectors in step 2, all connector surfaces must be clean and free of dirt. This ensures proper electrical contact between the T-Connector and the vehicle's harness.
Open the rear door. Starting on the driver's side, use a 6mm hex wrench to remove two bolts. Carefully pry the taillight housing rearward away from the vehicle, being careful not to break the alignment tabs. Repeat on the passenger side. The taillights are reinstalled in step 16 after all wiring is complete.
On the driver's side, locate the vehicle's taillight wiring harness connector. Plug the T-Connector harness containing the yellow wire between the vehicle's mating connectors (step 3). On the passenger's side, repeat this process using the T-Connector harness containing the green wire (step 4). Be careful not to break the locking tabs when separating or connecting.
Starting on the driver's side, locate the black plug above the door hinge and temporarily remove it to expose hole C. Route the wires containing the green and red wire out through this hole, down through the opening behind the bumper, and across to the passenger side. Route back up through the opening behind the bumper and in through the hole into the passenger side pocket. Be careful to avoid hot pipes, heat shields, fuel tank, or any points that may pinch or break the wire.
After routing the green and red wires to the passenger side pocket (step 5), plug the green wire and red wire to the corresponding wires on the harness from step 4 (step 6). The connections must match the wire colours.
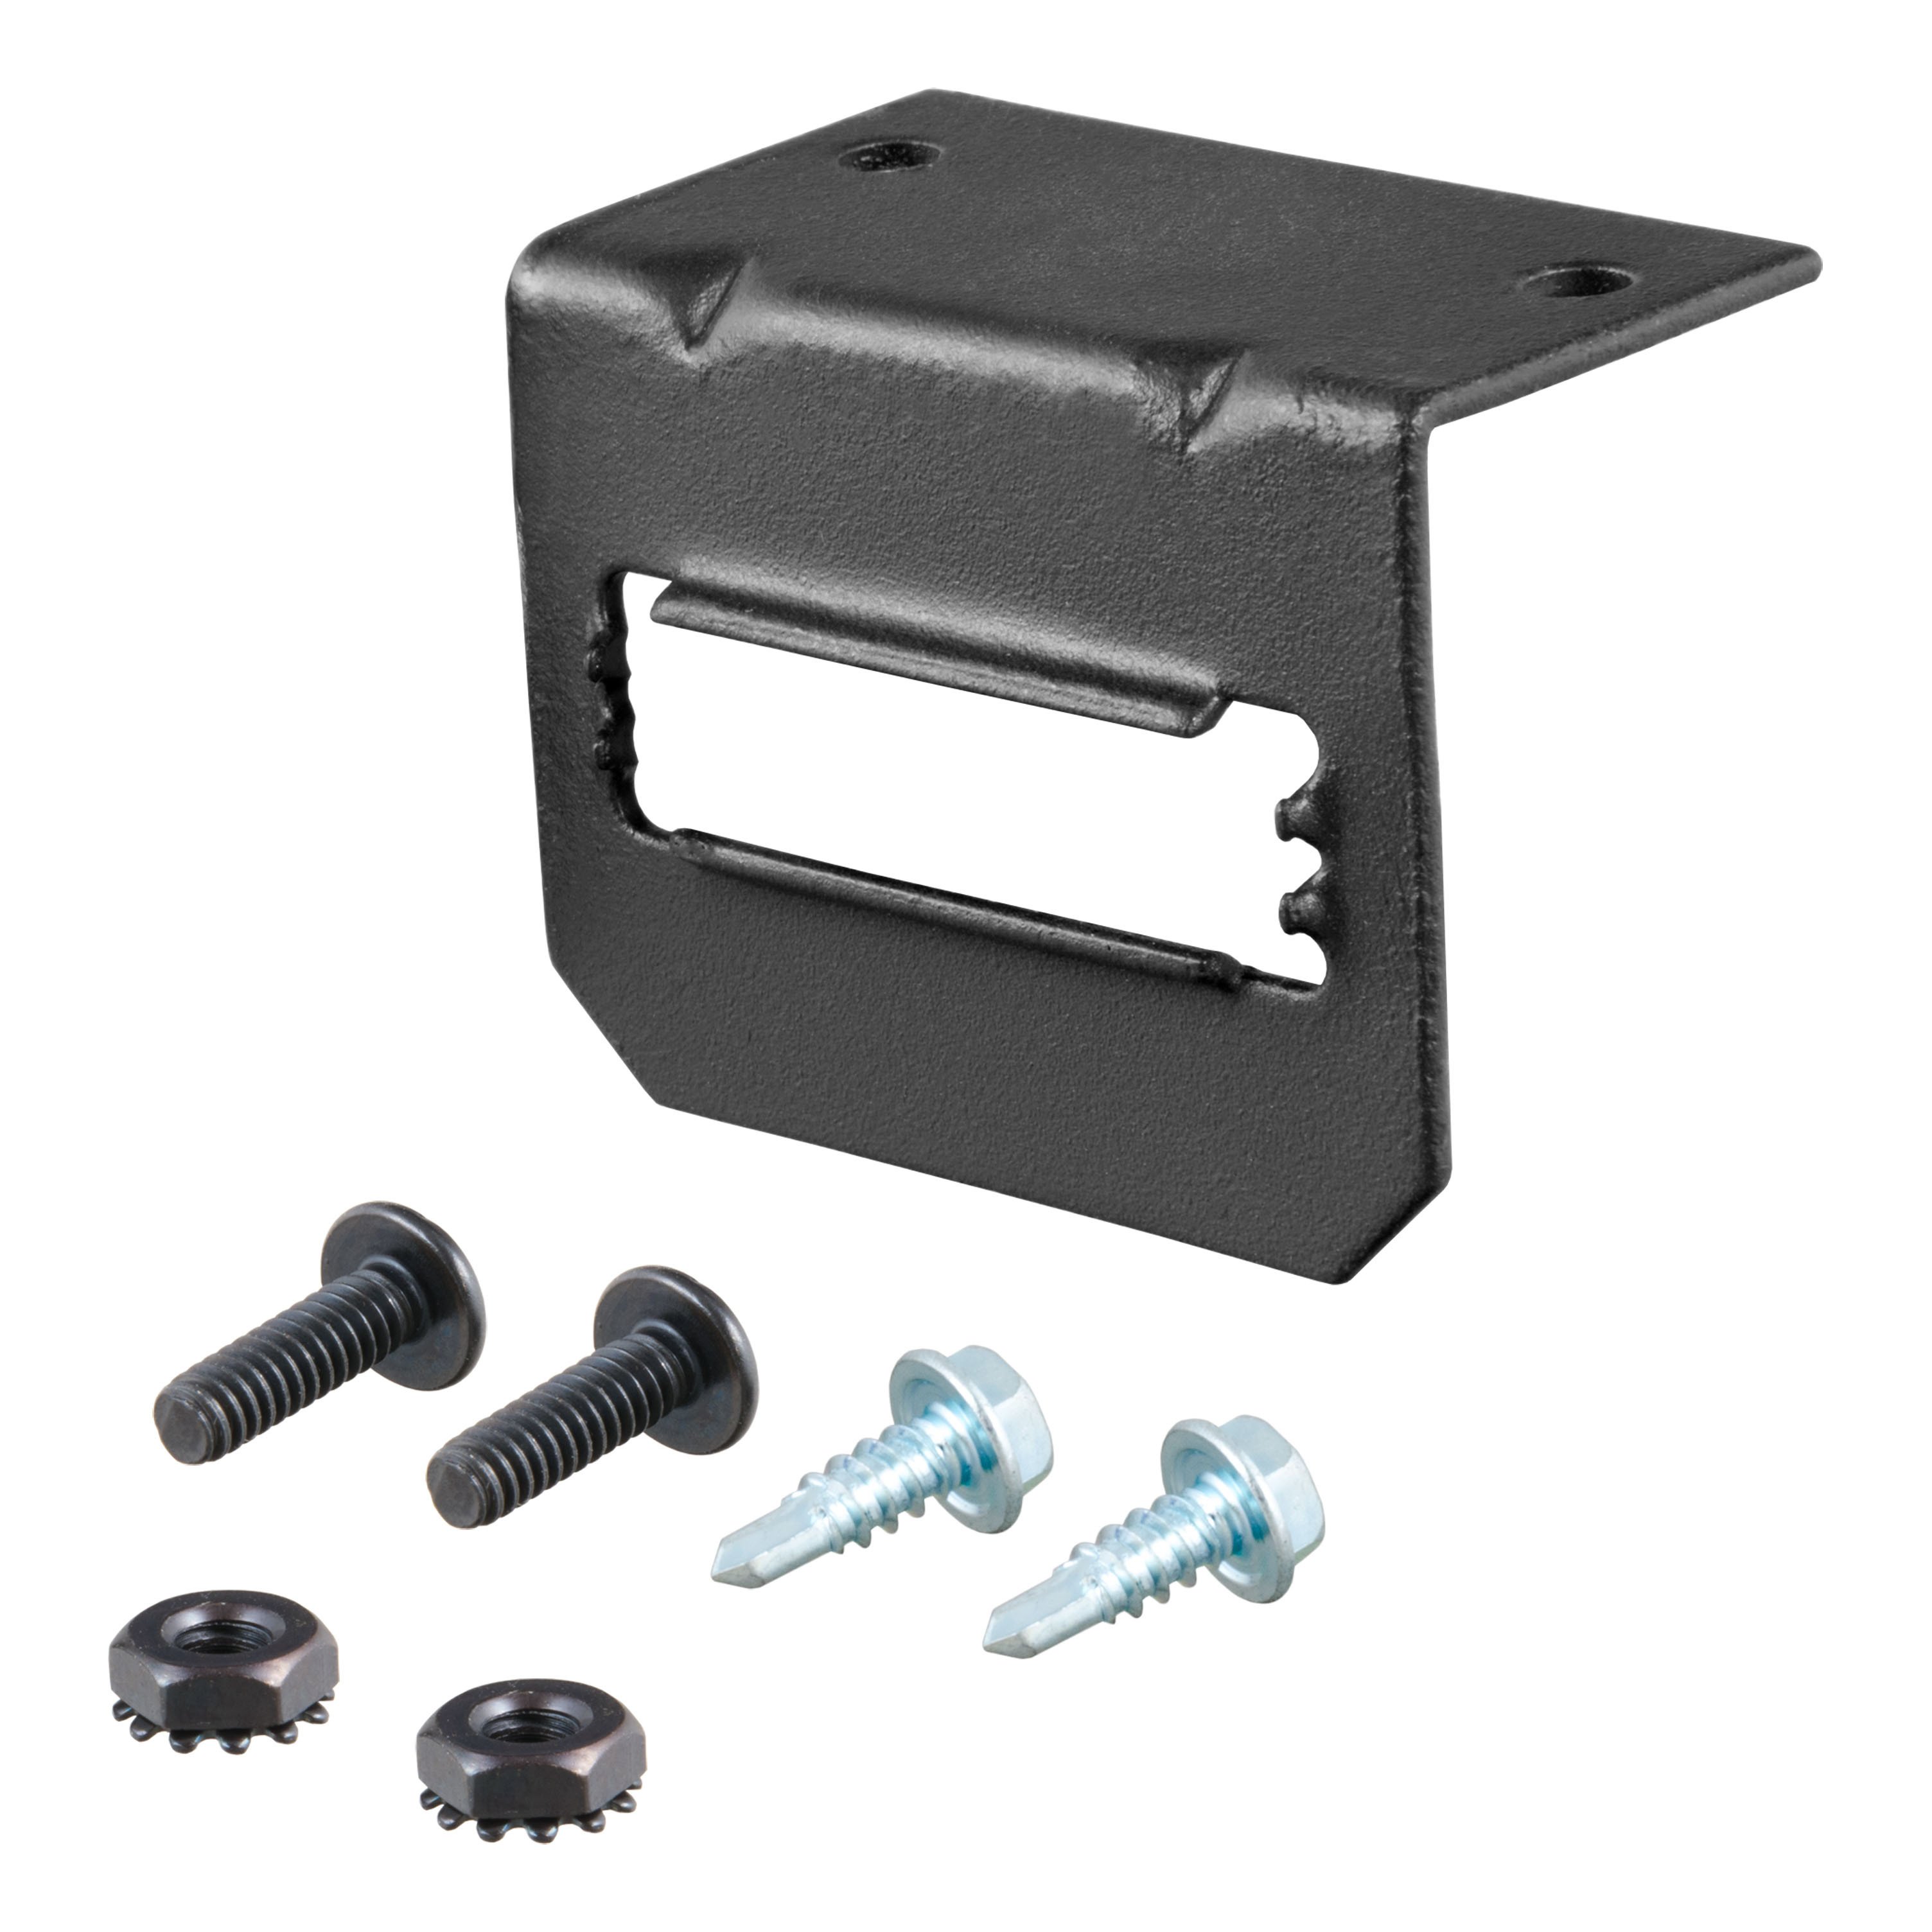
Route the 4-Flat connector through the driver's side trim panel into the side storage compartment and store it there when not in use (step 7). If jack storage is not accessible, route the harness with the 4-plugs from underneath the vehicle up through the opening behind the driver's side bumper into the hole and into the driver's side pocket. Mount the 4-Flat end in an accessible location with a bracket or electrical box (not included).
If the 4-Flat connector is routed through the driver's side pocket (alternative routing), plug the 4 wires to the corresponding wires on the harness from step 7 (step G in the notes). Ensure all four connections are complete.
Locate the existing ground stud on the vehicle. Loosen the bolt, place the screw eyelet (provided) on the stud, and re-tighten the bolt. Make sure all other ground connections are secure when removing and reattaching the ground stud.
Disconnect the vehicle's negative (−) battery cable. Remove the fuse from the yellow fuse holder (provided). Cut the fuse holder wire, attach the ring terminal, and secure it to the vehicle's positive (+) battery cable. Connect the other end of the fuse holder to the black 12 ga. wire using the yellow butt connector (provided). Route the black wire through a grommet and along the exterior frame, or follow existing wiring along the thresholds into the engine compartment up to the battery, avoiding areas that may pinch or break the wire. Connect the other end of the black 12 ga. wire to the black power wire on the T-Connector's black box using the yellow butt connector. Finally, reconnect the vehicle's negative (−) battery cable and install the 15 amp fuse into the fuse holder.
The T-Connector uses a 15 amp fuse. This fuse is installed in the yellow fuse holder that connects the black 12 ga. power wire to the vehicle's positive battery terminal.
The power wire connecting to the battery is black 12 ga. (12 gauge) wire. This wire is routed from the yellow fuse holder to the black power wire on the T-Connector's black box.
Mount the black box behind the taillight assembly on the driver's side. Clean a flat area using a mixture of rubbing alcohol and water, and mount the black box using the double-sided tape provided. Before mounting, make sure the taillight assembly can be reinstalled without interference.
In the area shown on both sides of the vehicle (see diagram J), clean the area using a mixture of rubbing alcohol and water. Using the silver tape provided, attach the green and red wires to the cleaned area and secure them so they won't get damaged.
Take the black plugs removed in step 5 (from above the door hinges), notch each of them to allow the wires to pass through, then reinstall the plugs and seal them accordingly.
Secure all loose wires with the cable ties provided. This should be done before reinstalling the taillight removed in step 1.
Test and verify the installation with a test light or trailer once installed. For the initial test, reset the vehicle's electrical system by temporarily removing the key from the ignition. All connections must be complete for the T-Connector to function properly.
Do not exceed the lower of the towing manufacturer's rating (including in your vehicle owner's manual) or the specific amperage ratings stated on the product. The manual does not specify the T-Connector's maximum amperage rating; refer to the product label or your vehicle's owner's manual.
Always wear safety glasses and use all safety precautions during installation. Route wires carefully to avoid hot pipes, heat shields, fuel tank, or any points that may pinch or break the wire. Avoid areas that may cause damage when routing the black power wire. Ensure all connections are complete and secure before testing.
Overloading circuits can cause fires. Do not exceed the stated product ratings or the lower of the towing manufacturer's rating (including in your vehicle owner's manual) or specific amperage ratings on the product. Always read your vehicle's owner's manual and instruction sheet for additional information.
Yes, the T-Connector (118585-037) is designed for Ford Transit Connect. Alternate installation methods may be required depending on your vehicle's options.
6mm hex wrench, Philips Head Screwdriver, Test-probe, and Wire Cutters.
Yes, disconnect the negative battery cable before connecting the power wire to the positive terminal. Reconnect it after the 15 amp fuse is installed.
No drilling is required. The installation uses existing holes (above door hinges) and openings behind the bumper. You will notch the black plugs to allow wires to pass through.
15 amp fuse. Install it in the yellow fuse holder after all connections are complete.
Test with a test light or trailer once installed. Reset the vehicle's electrical system by temporarily removing the key from the ignition. All connections must be complete for proper function.
Verify that all connections are complete and secure. Check that the 15 amp fuse is installed in the yellow fuse holder. Ensure the negative battery cable is reconnected. Test the installation with a test light or trailer. Reset the vehicle's electrical system by temporarily removing the key from the ignition. If the system still does not function, verify that all connector surfaces are clean and free of dirt, and that all wire connections match their corresponding colours (yellow on driver's side, green on passenger's side).
The black box may be mounted too far forward or in a position that interferes with the taillight assembly. The manual requires that you verify the taillight assembly can be reinstalled before mounting the black box. Remove the black box, reposition it further back or to the side, and ensure adequate clearance before remounting with the double-sided tape.
Stop installation and reroute the wires. The manual specifies that wires must be routed carefully to avoid hot pipes, heat shields, fuel tank, or any points that may pinch or break the wire. Use the cable ties provided to secure wires away from sharp edges and moving parts. Ensure the wires are not compressed between the bumper and frame, and that they have adequate slack to prevent tension.
Free Shipping
Ships free on all orders
 Authorized Dealer


Quick Ship
In stock and ready to ship — order now!
FREE ShippingFREE SHIPPING
Estimated delivery Mon, Nov 23 - Thu, Nov 26
Order before 2 PM EST Monday–Friday for same-day processing
Guaranteed safe & secure checkout
Ann
Ordered online. Shipment arrived on time and with all the correct parts. Great customer service and friendly staff. Also, pricing was great!
May 22, 2023
Total for 4 items:
$233.58