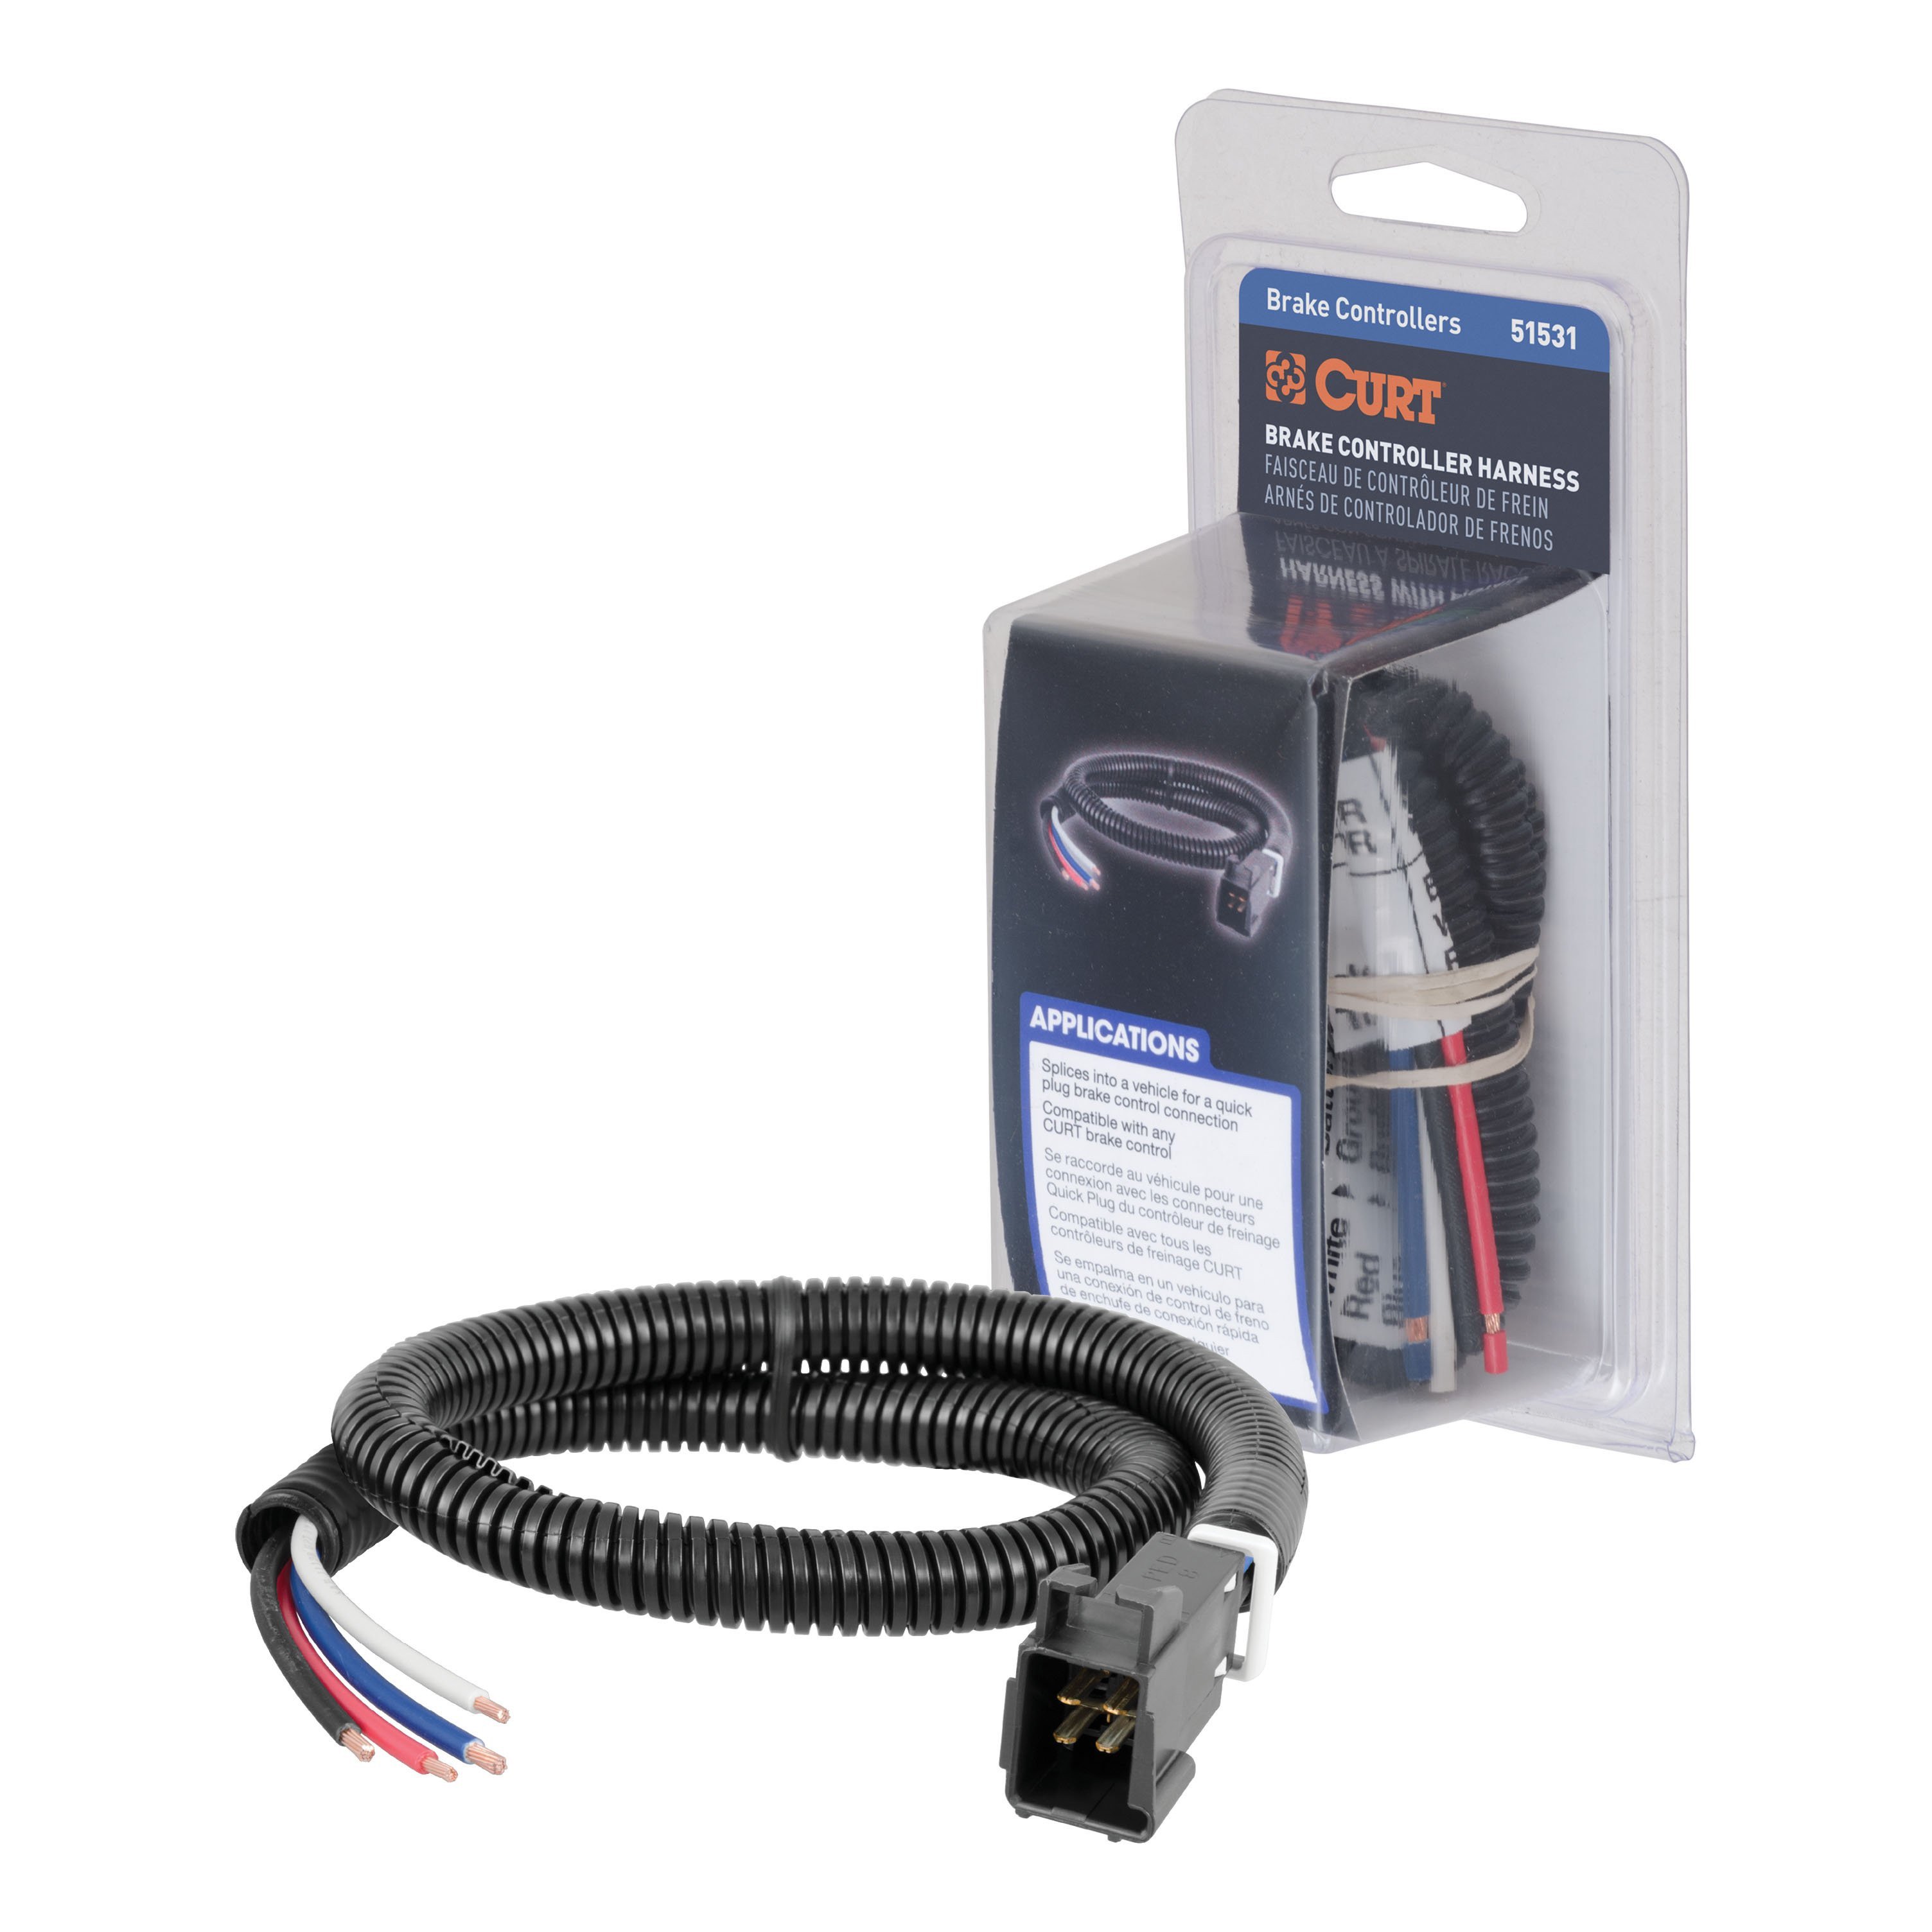
Tekonsha Trailer Brake Controller Installation Kit, Universal Fit, 12 in. LengthTekonshaOriginal price was $17.50. Current price is $13.78.Out of Stock
View productOur in-house experts typically reply within one business day.

CURT




Always the correct part
We know our products
Quality Products
Free Shipping!
Always the correct part
We know our products
Quality Products
Free Shipping!
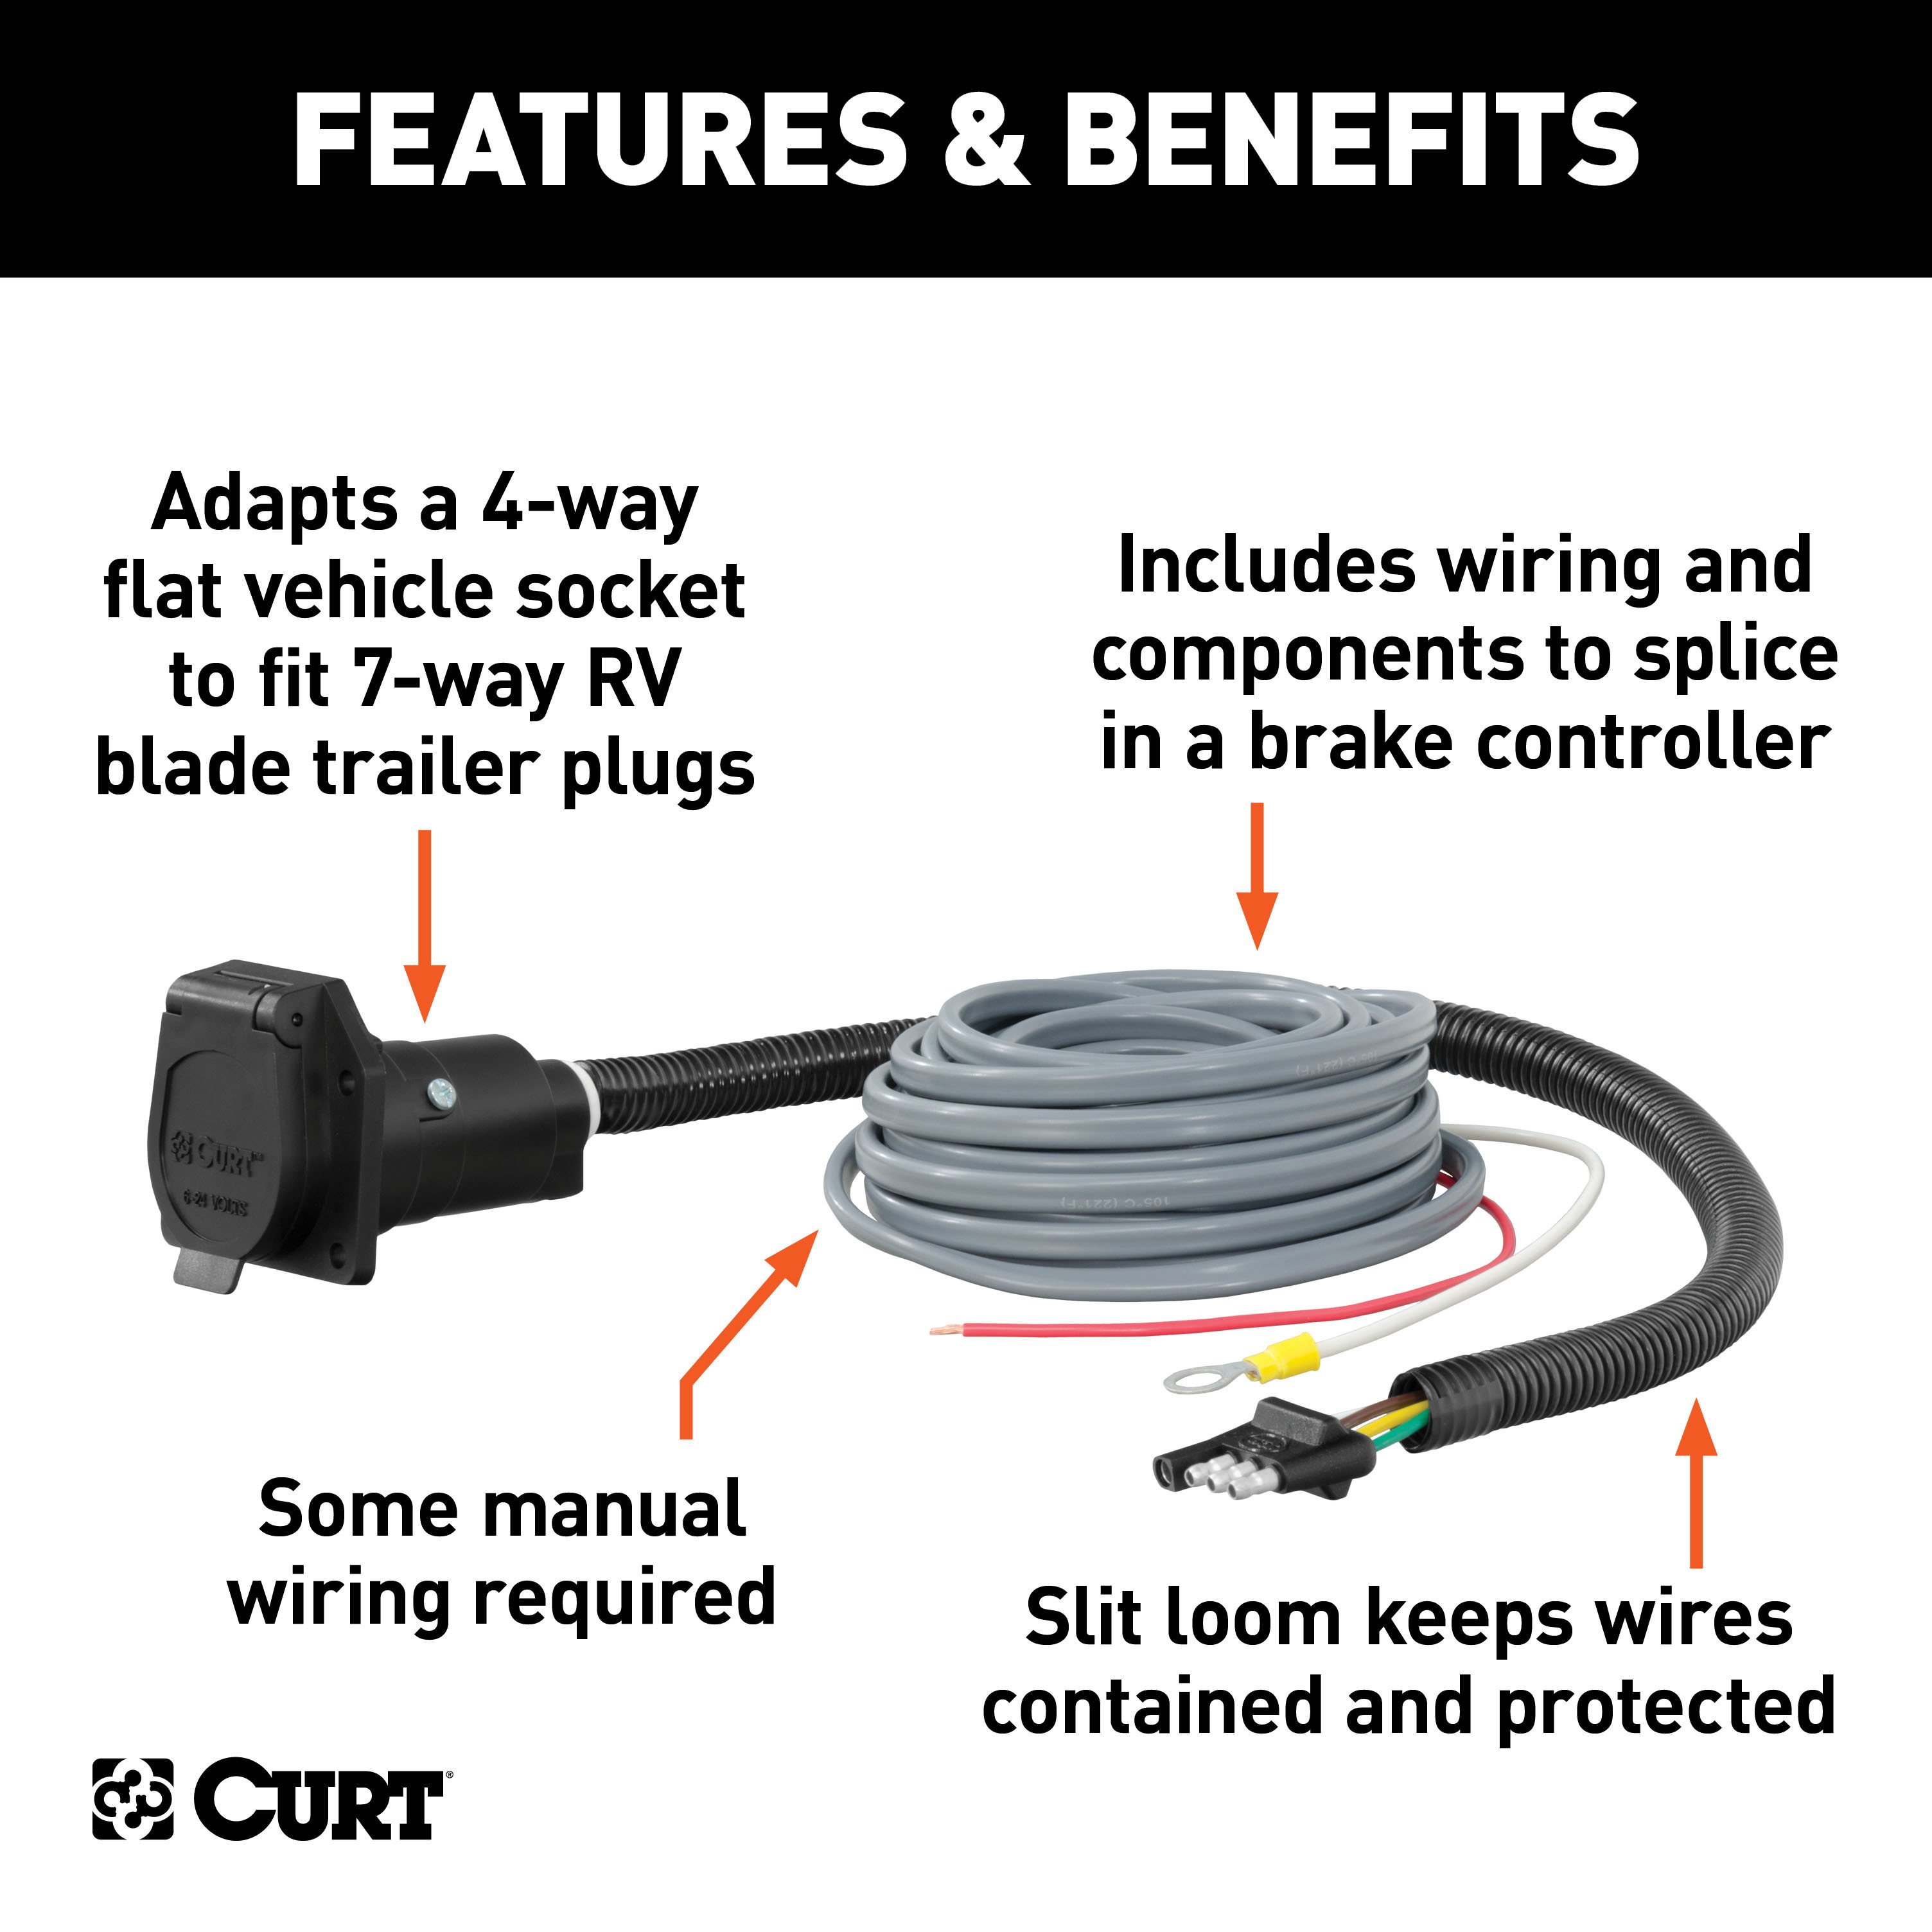
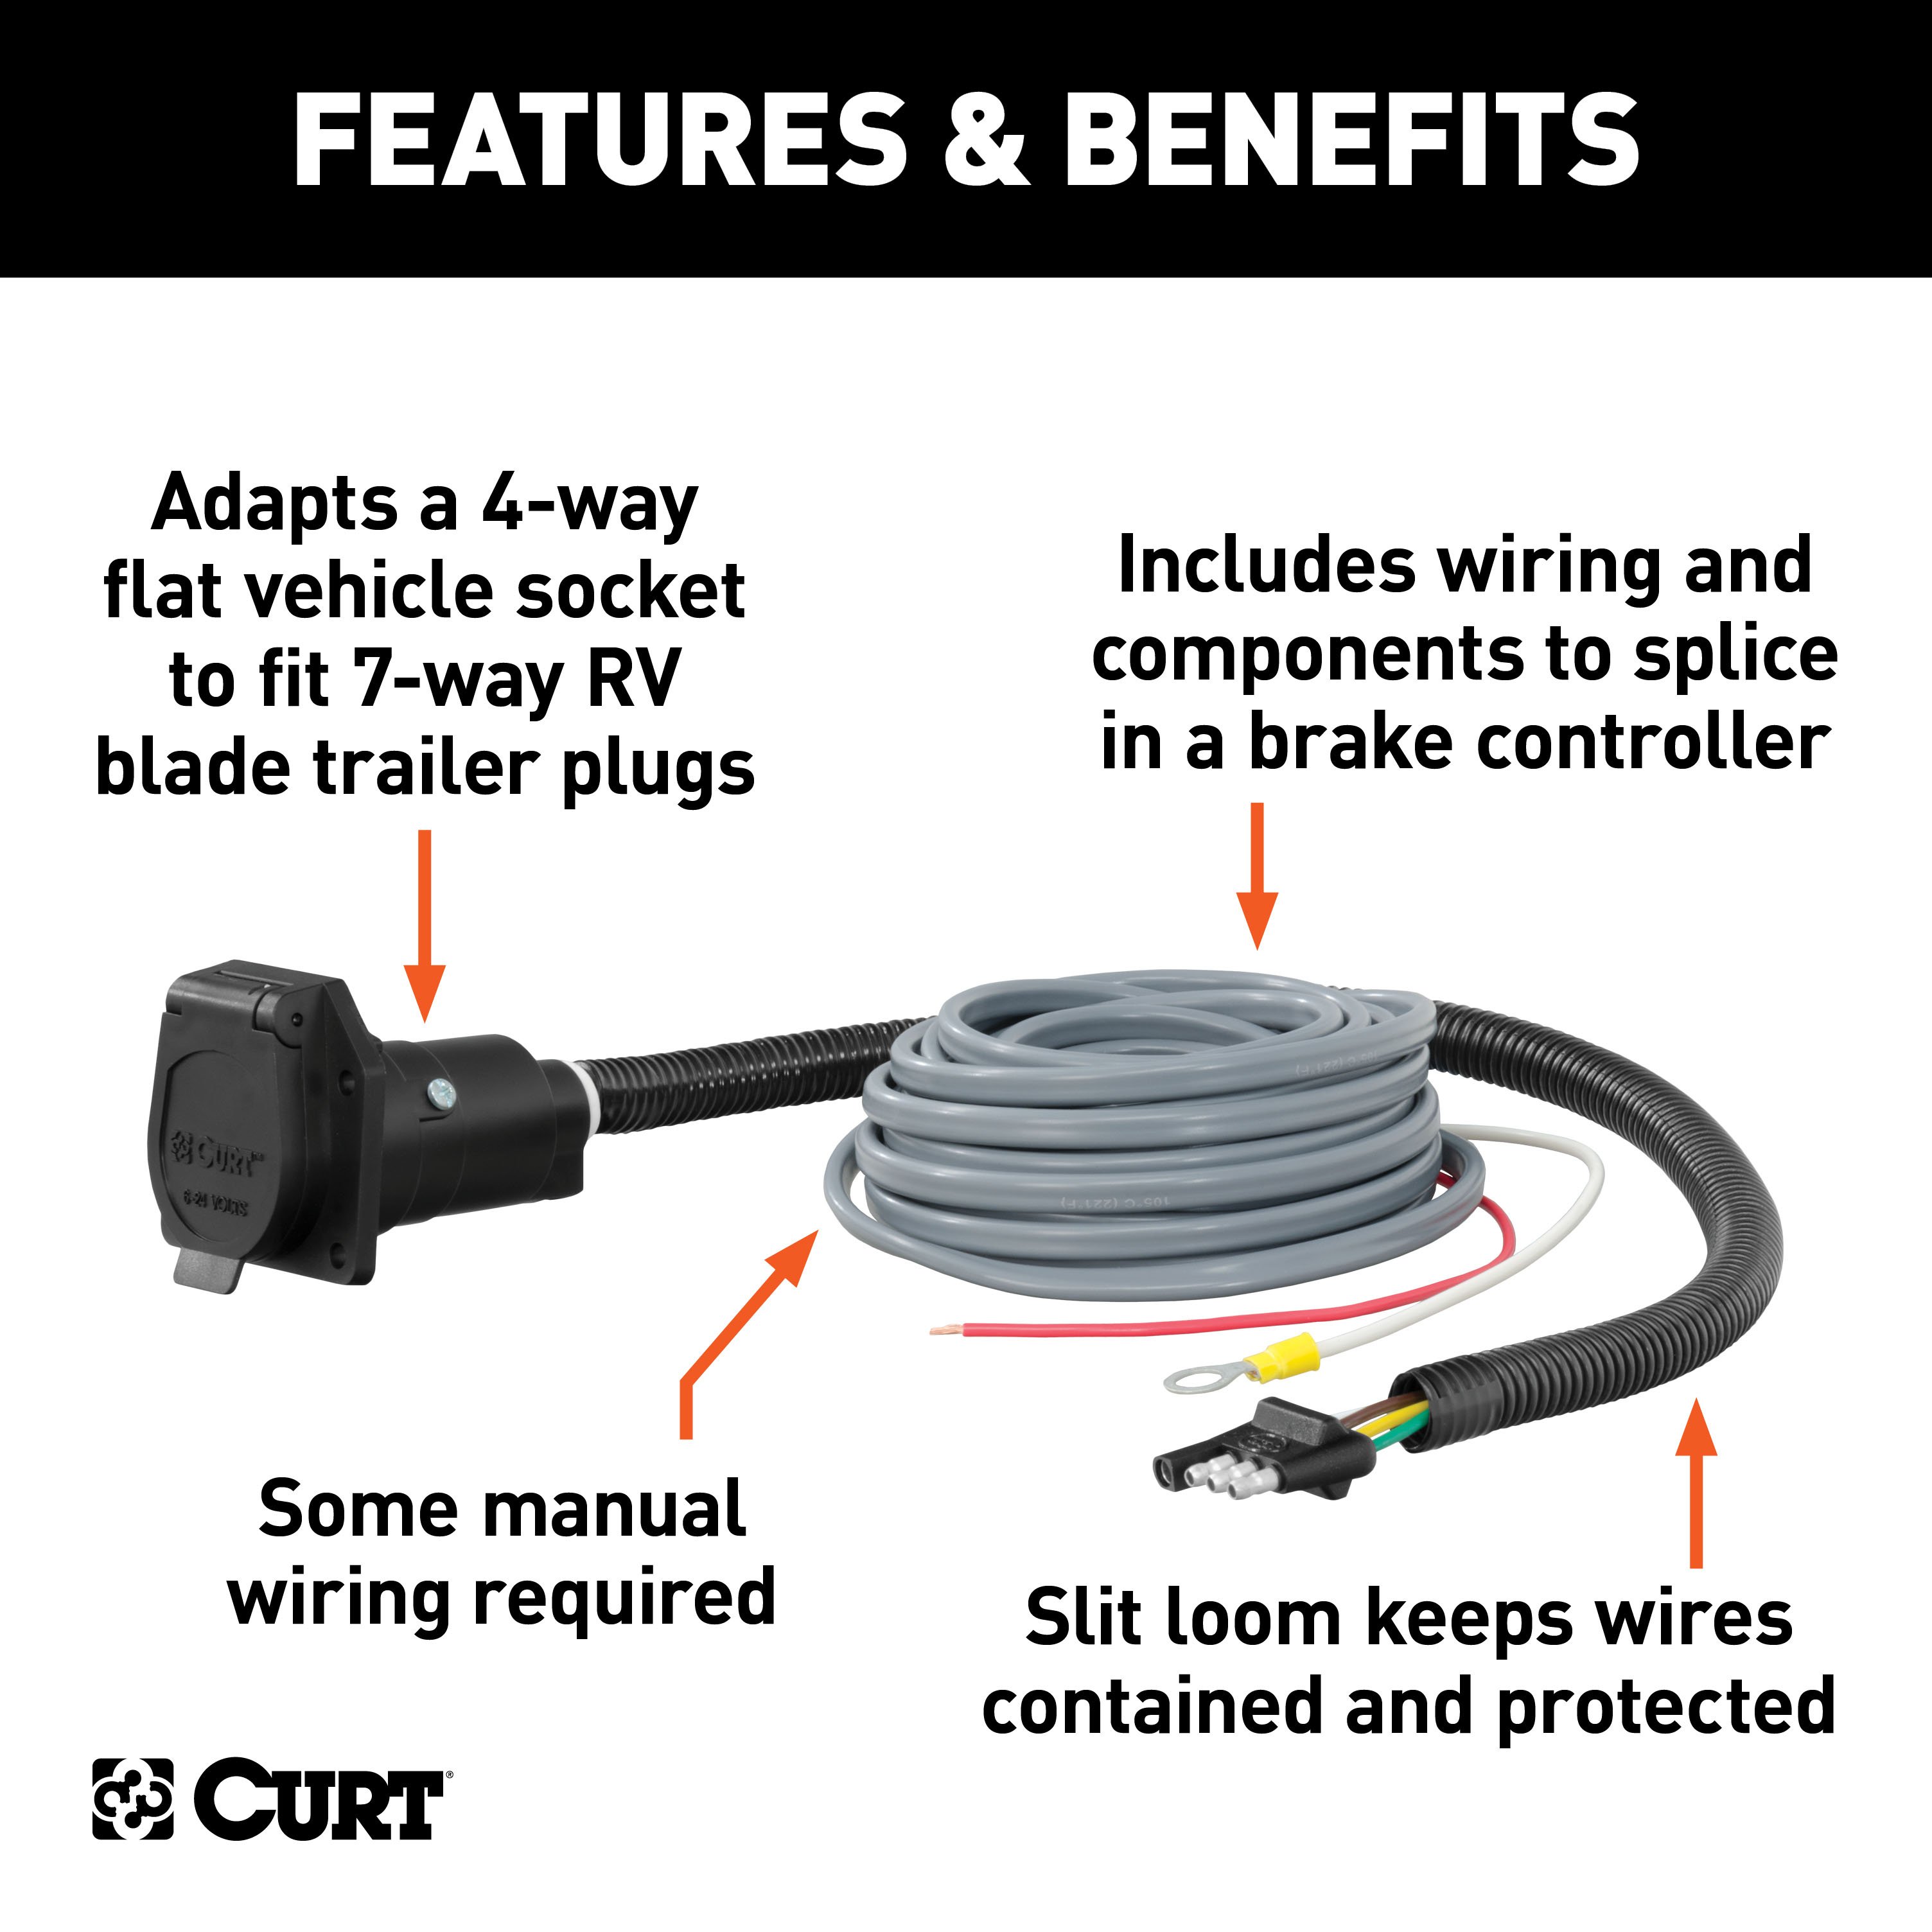
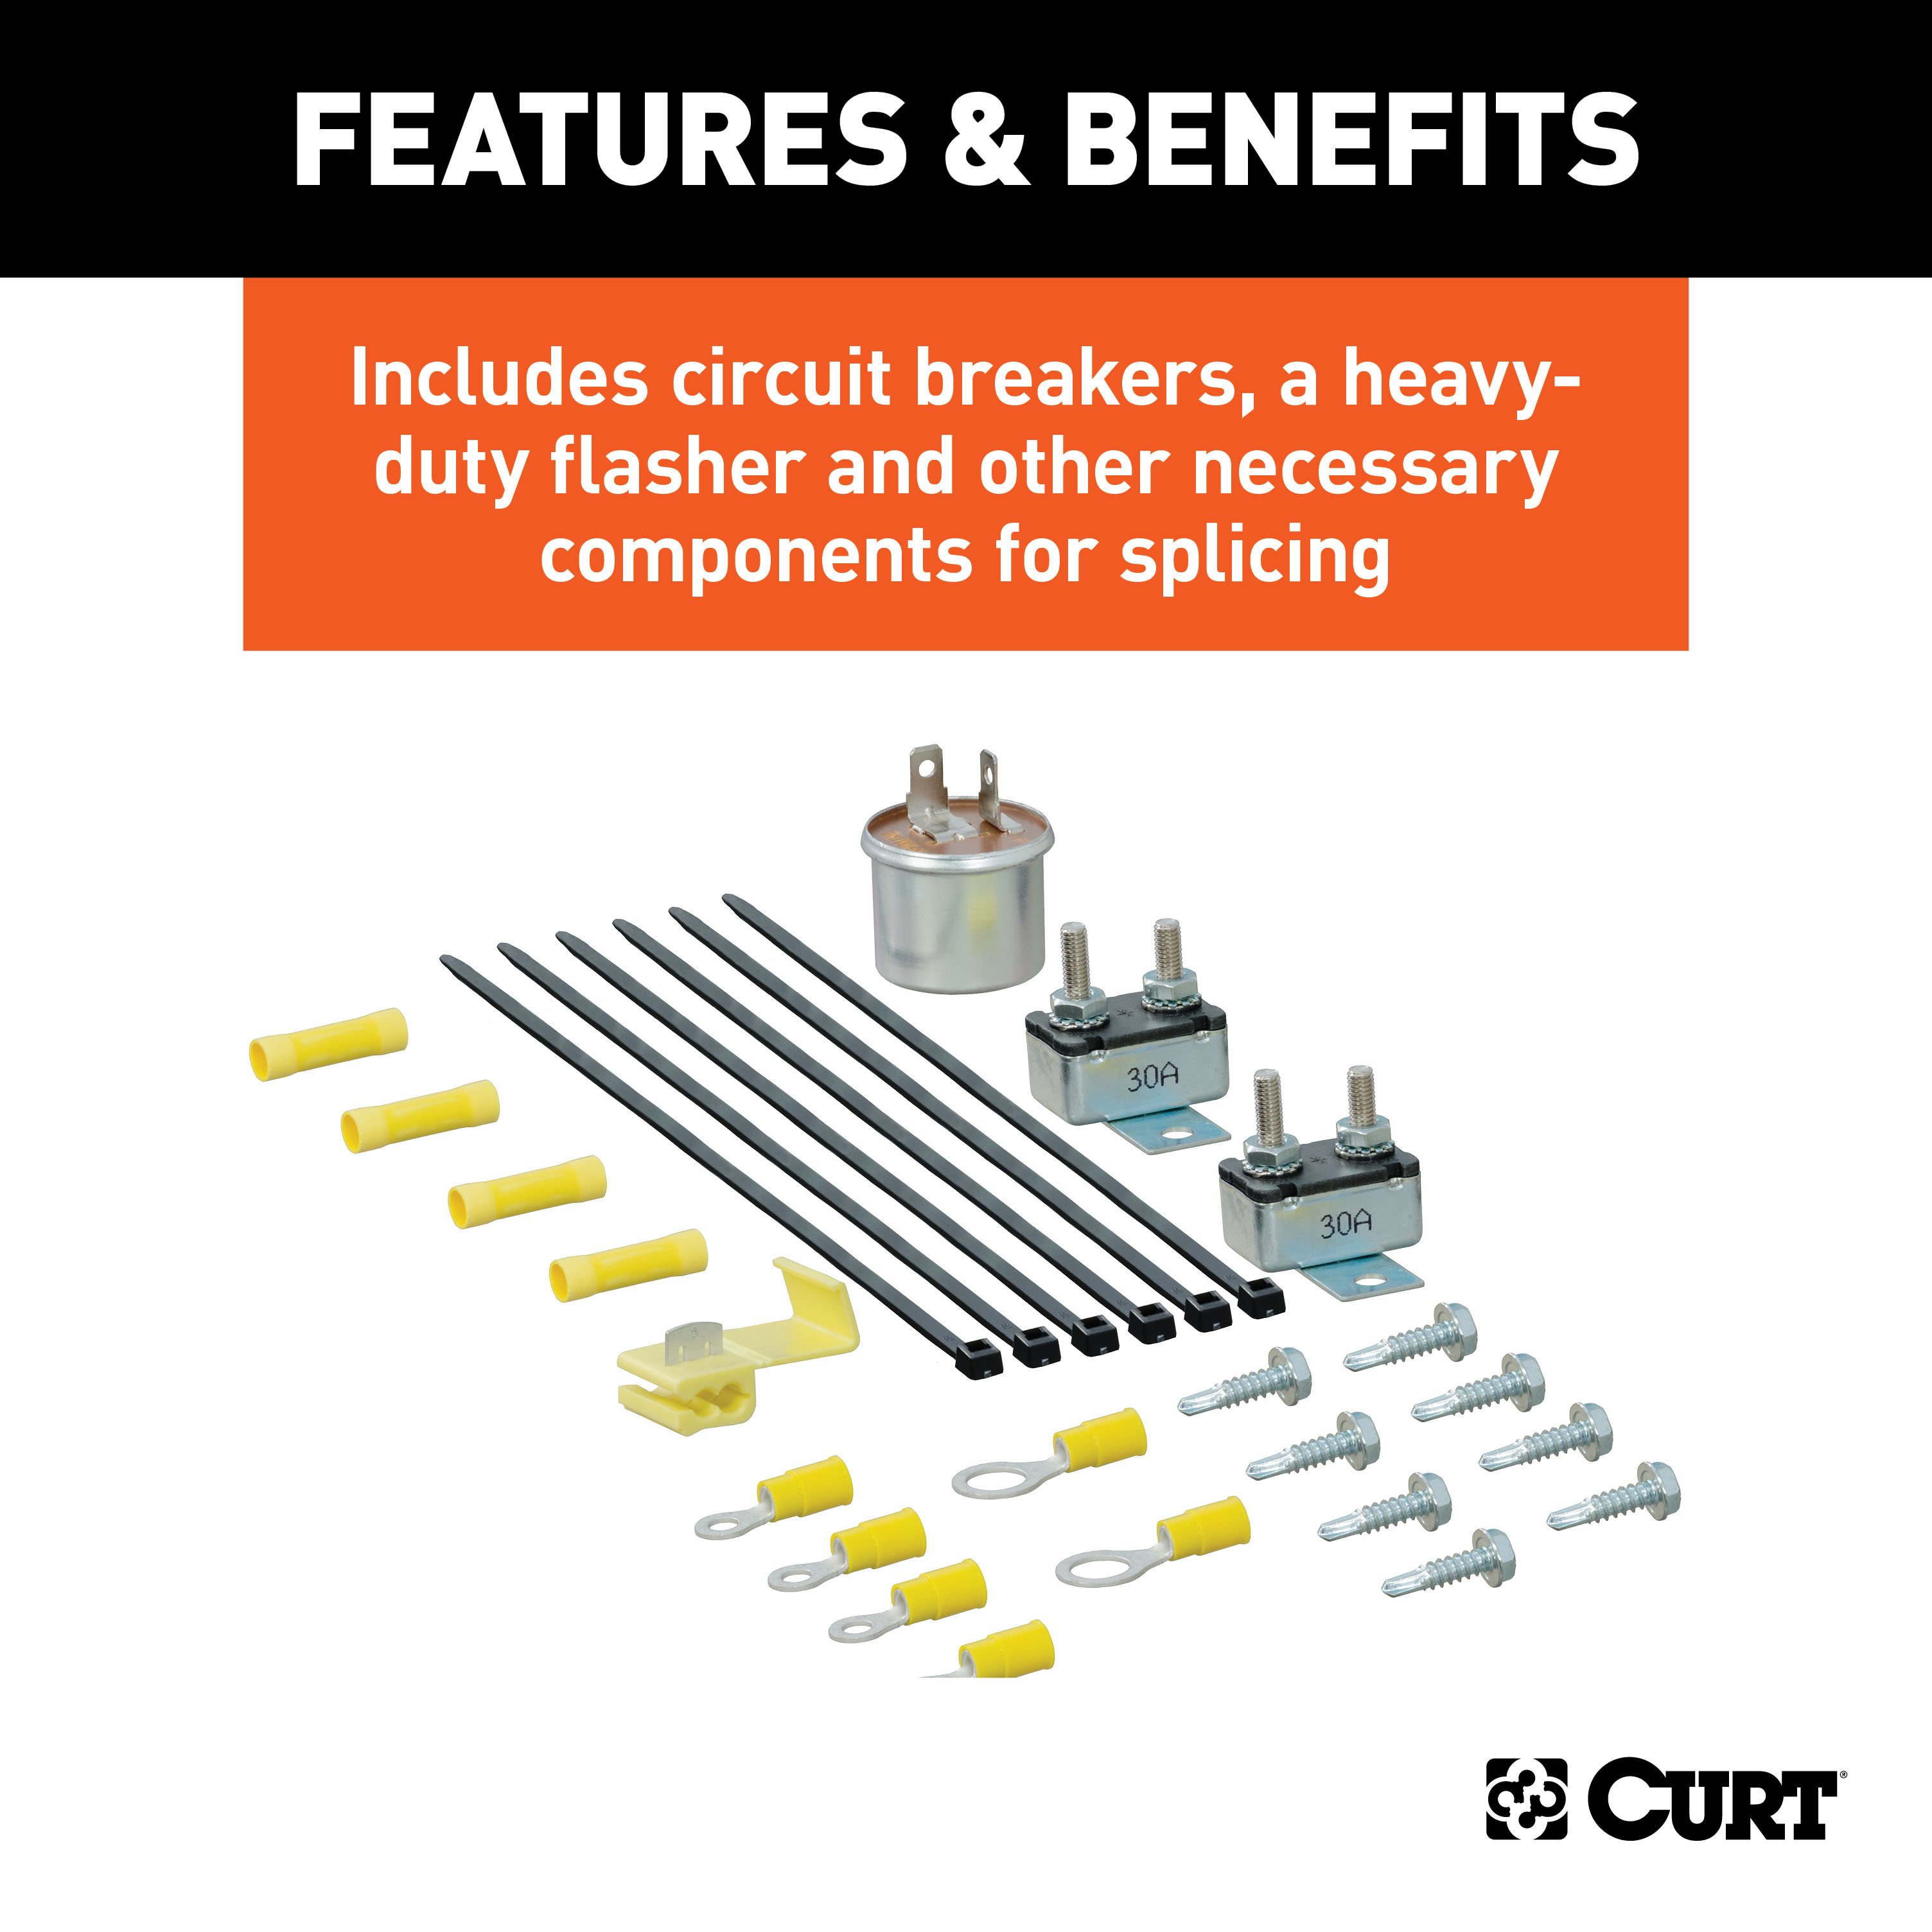
Includes circuit breakers, a heavy-duty flasher and other necessary components for splicing

Includes circuit breakers, a heavy-duty flasher and other necessary components for splicing
Warranty: One-Year Limited Warranty
Installation Time Exact (Minutes): 0
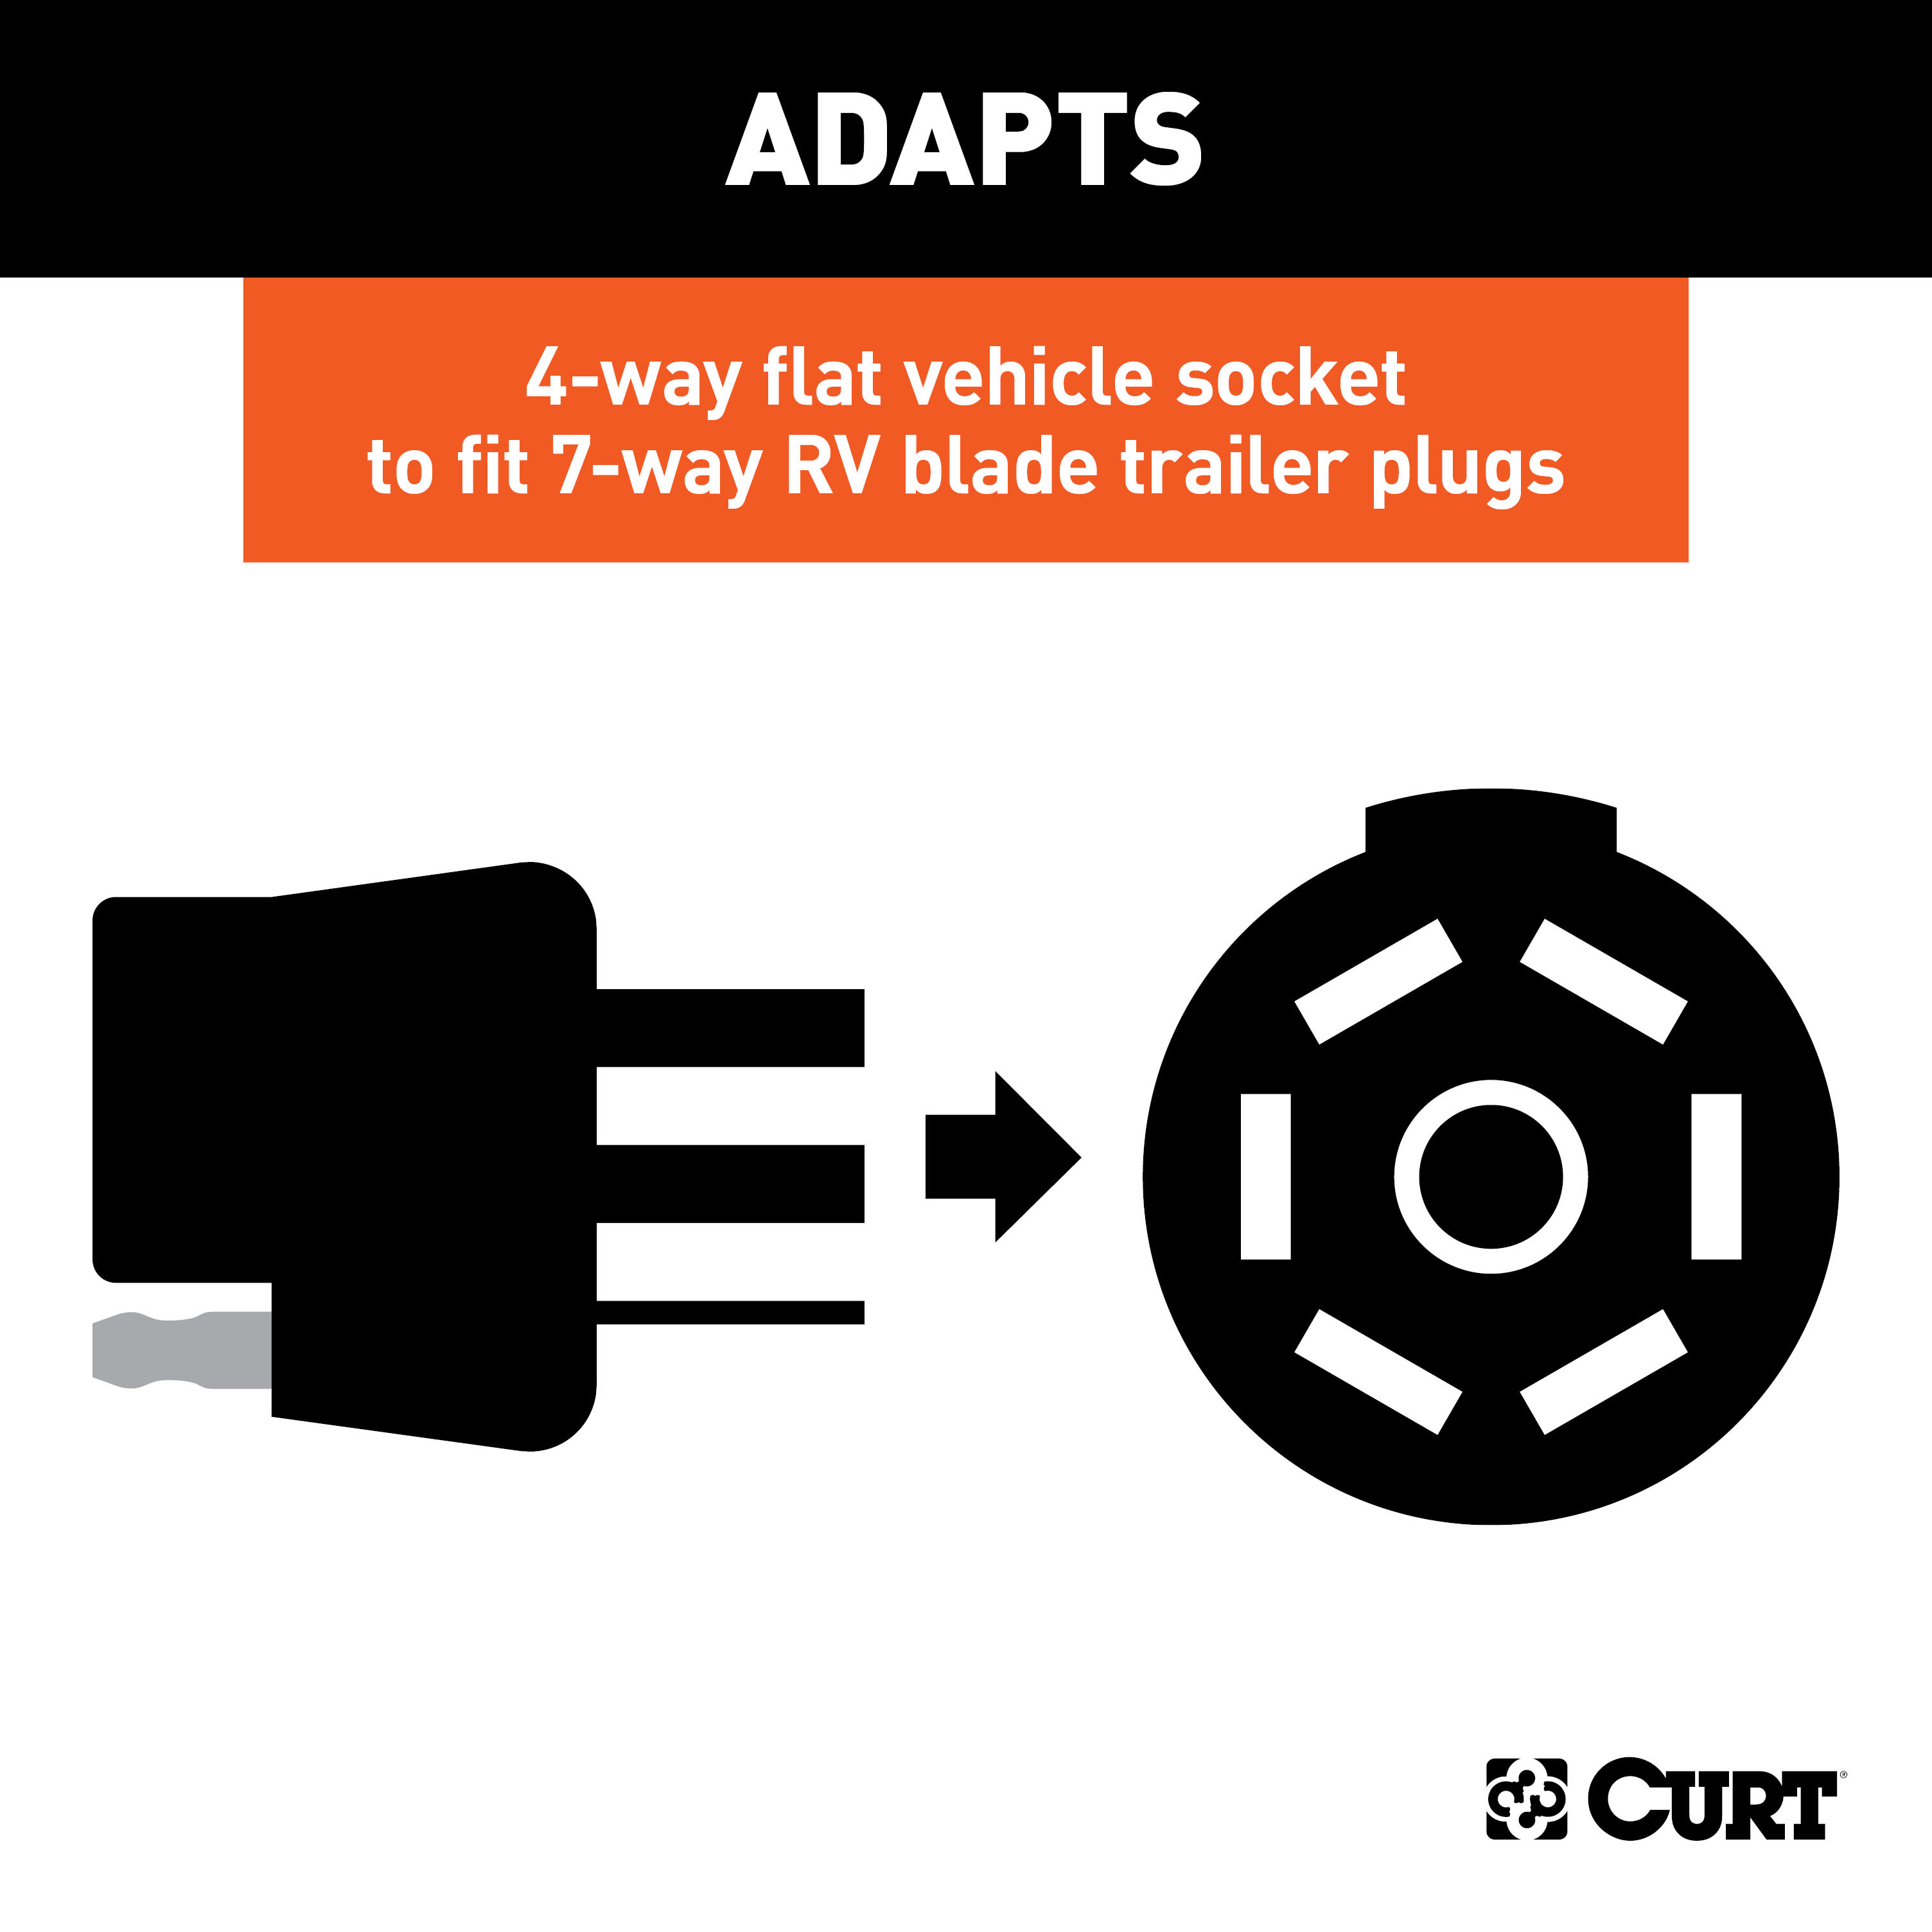
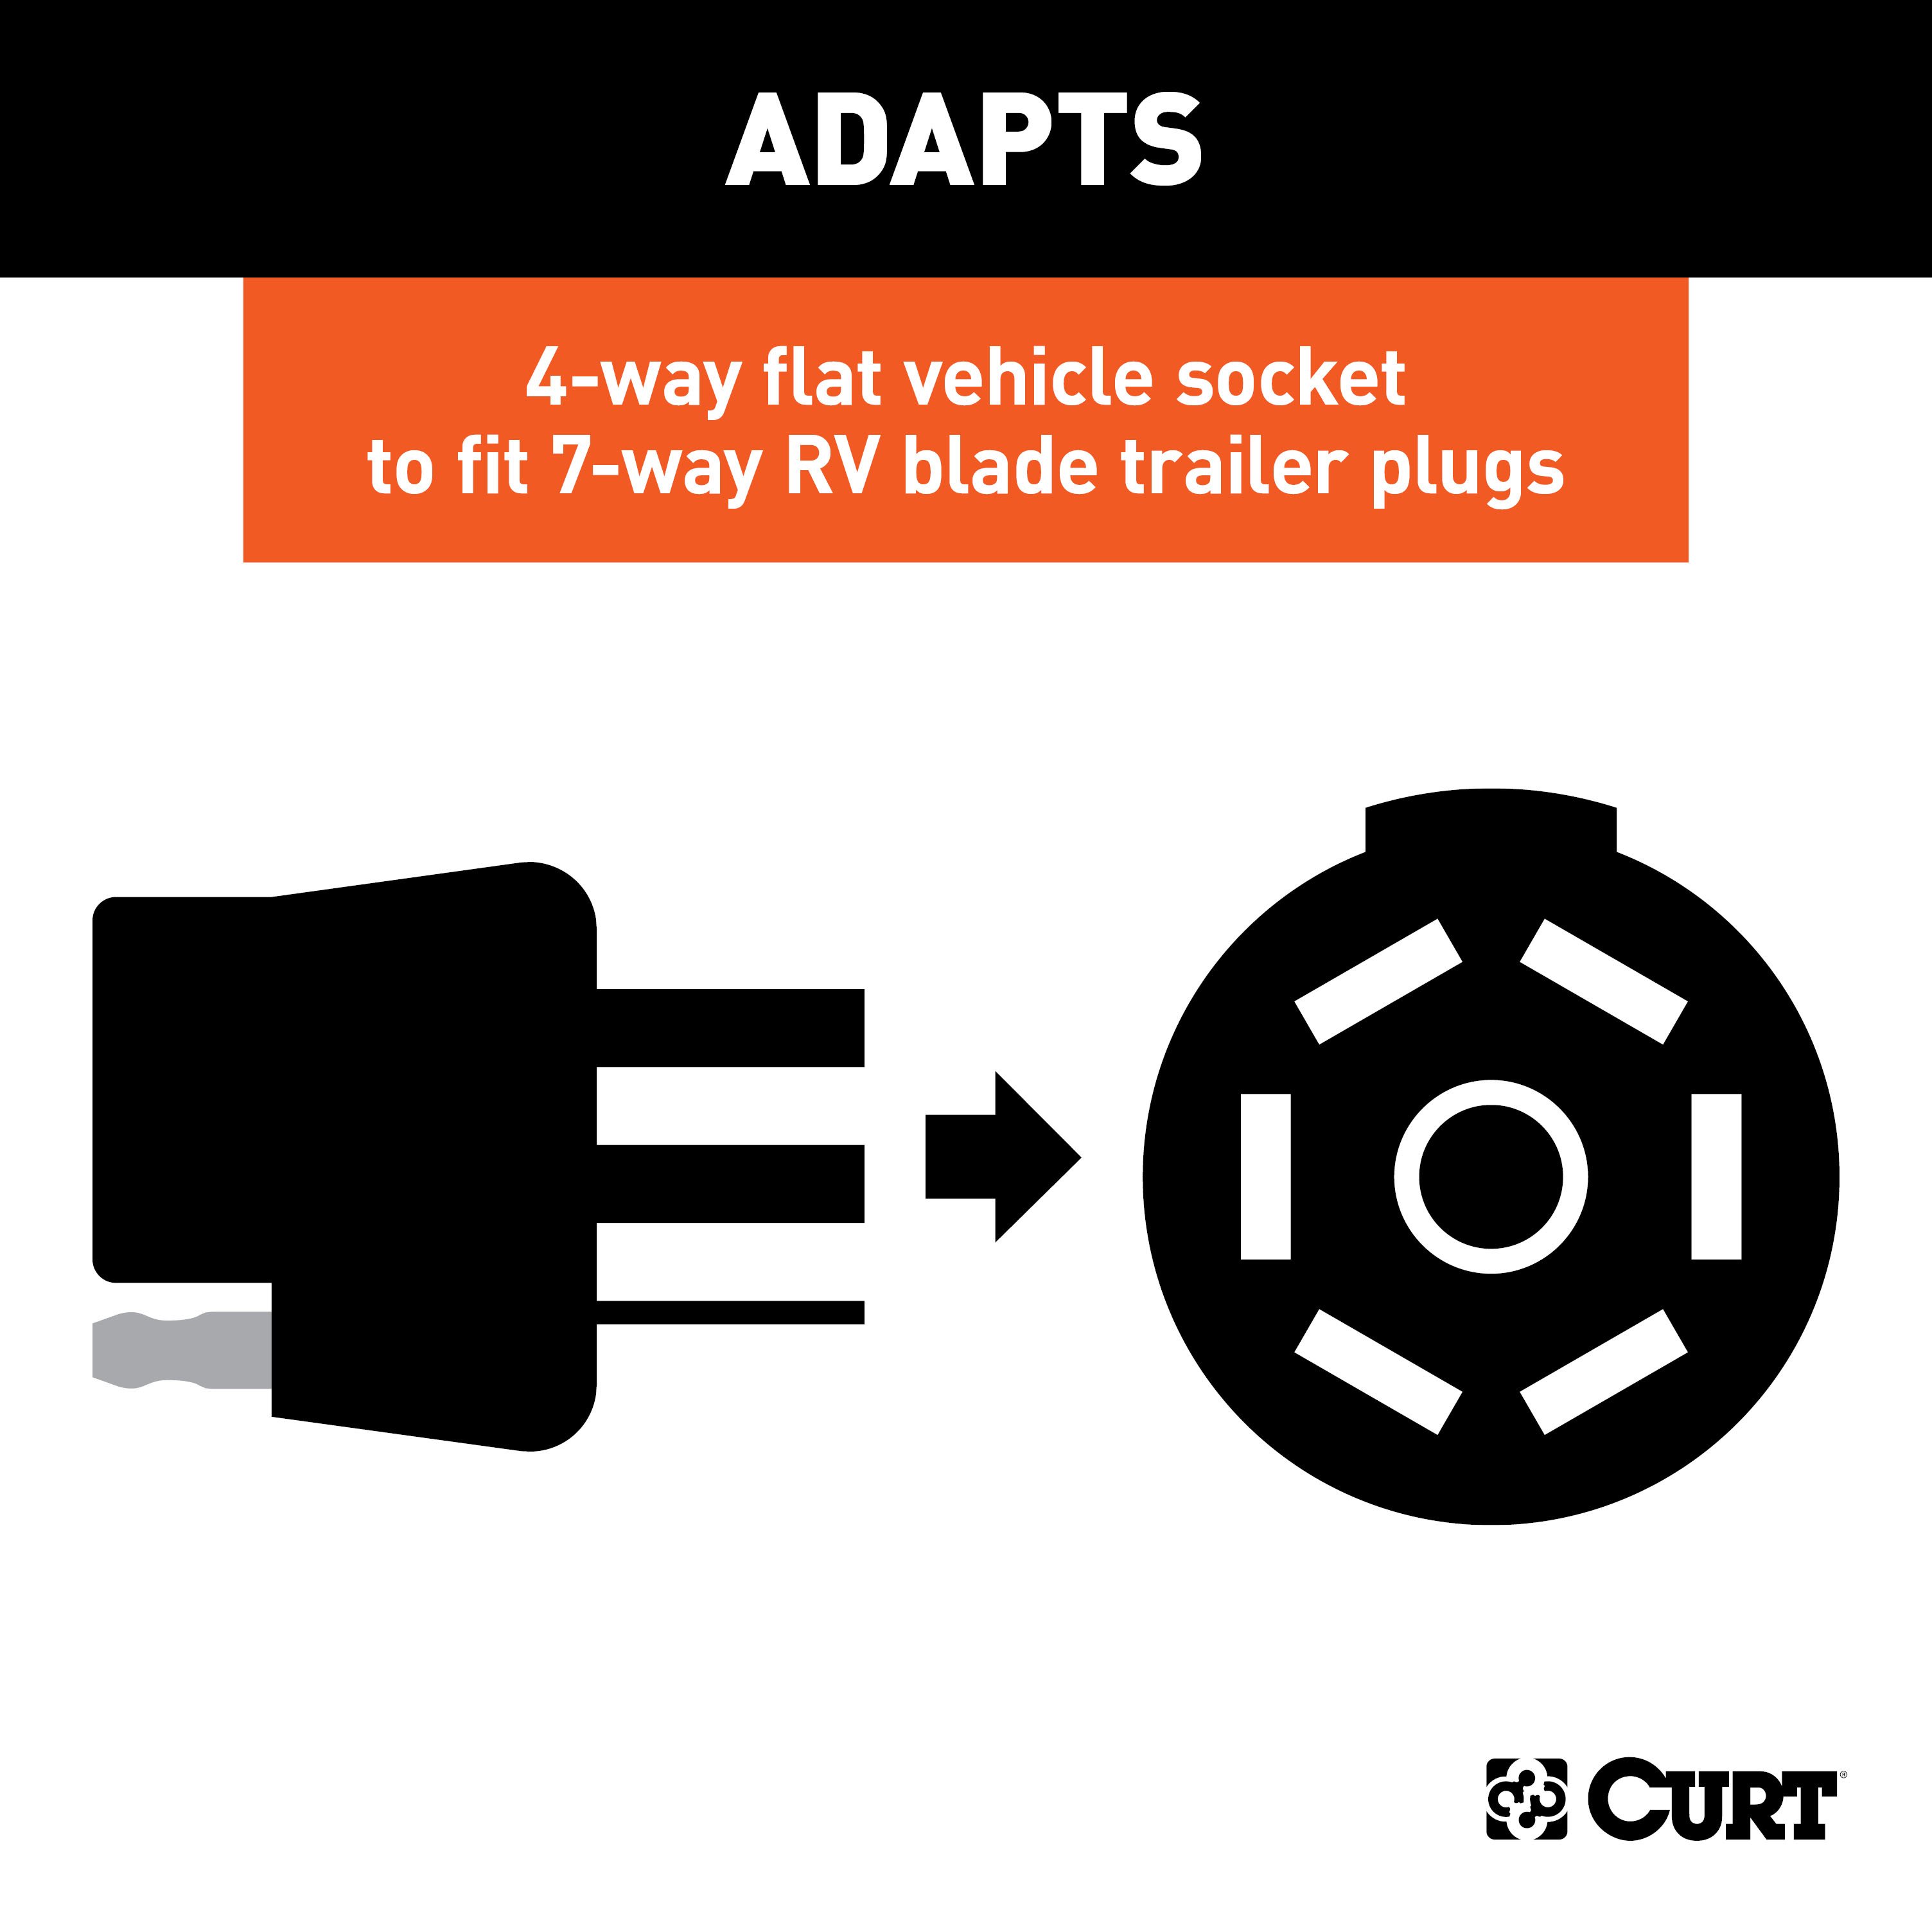
There are several different types of connectors used to supply power from a tow vehicle's electrical system to a trailer's wiring system. Some trailers only need the bare essentials -- running lights, brake lights and turn signals -- while others require a connection for reverse lights, electric brakes and auxiliary power. With connectors ranging from simple to complex, it may be the case that the connection between your vehicle and your trailer is not a perfect match. For example, your truck may be equipped with a 6-way round socket, but your trailer may have a 4-way flat plug. For this very common problem, CURT offers a quick and simple solution in the form of an electrical adapter. An adapter is an electrical device that allows a connection to be made between a mismatched trailer plug and vehicle socket. It easily plugs in your vehicle's electrical socket and usually requires no additional wiring. CURT offers an array of adapters to accommodate most types of plugs and sockets, including 4-way flat, 4-way round, 5-way flat, 6-way round, 7-way RV blades and more. This electrical adapter is designed to adapt a 4-way flat vehicle socket to fit a 7-way RV blade trailer plug. It also includes wiring and electrical components to splice in and route a trailer brake controller connection from the cab of the vehicle. All CURT wiring and electrical products come with a one-year limited warranty to give you the assurance you need to tow with confidence.

CURT offers a variety of high-quality trailer hitches and accessories for select vehicle models. Find the perfect fit for your towing needs at TowUniverse.
CURT, a Lippert brand, offers a complete line of towing products and is the leading manufacturer of custom-fit trailer hitches. We offer the broadest selection of custom-fit hitches, and each one is designed, welded, and coated in Wisconsin.
CURT is also a leader in flat towing products, as well as 5th wheel, gooseneck, and weight distribution hitches, ball mounts, electrical components, cargo solutions, and other towing accessories.
For everything from passenger cars and vans to full-size pickups and SUVs, CURT is 'The First Name in Towing Products®.'

Experts available to answer your questions
Call 888-634-9494Rediscover "Us" Time | Tested. Proven. Safe. Towing Products
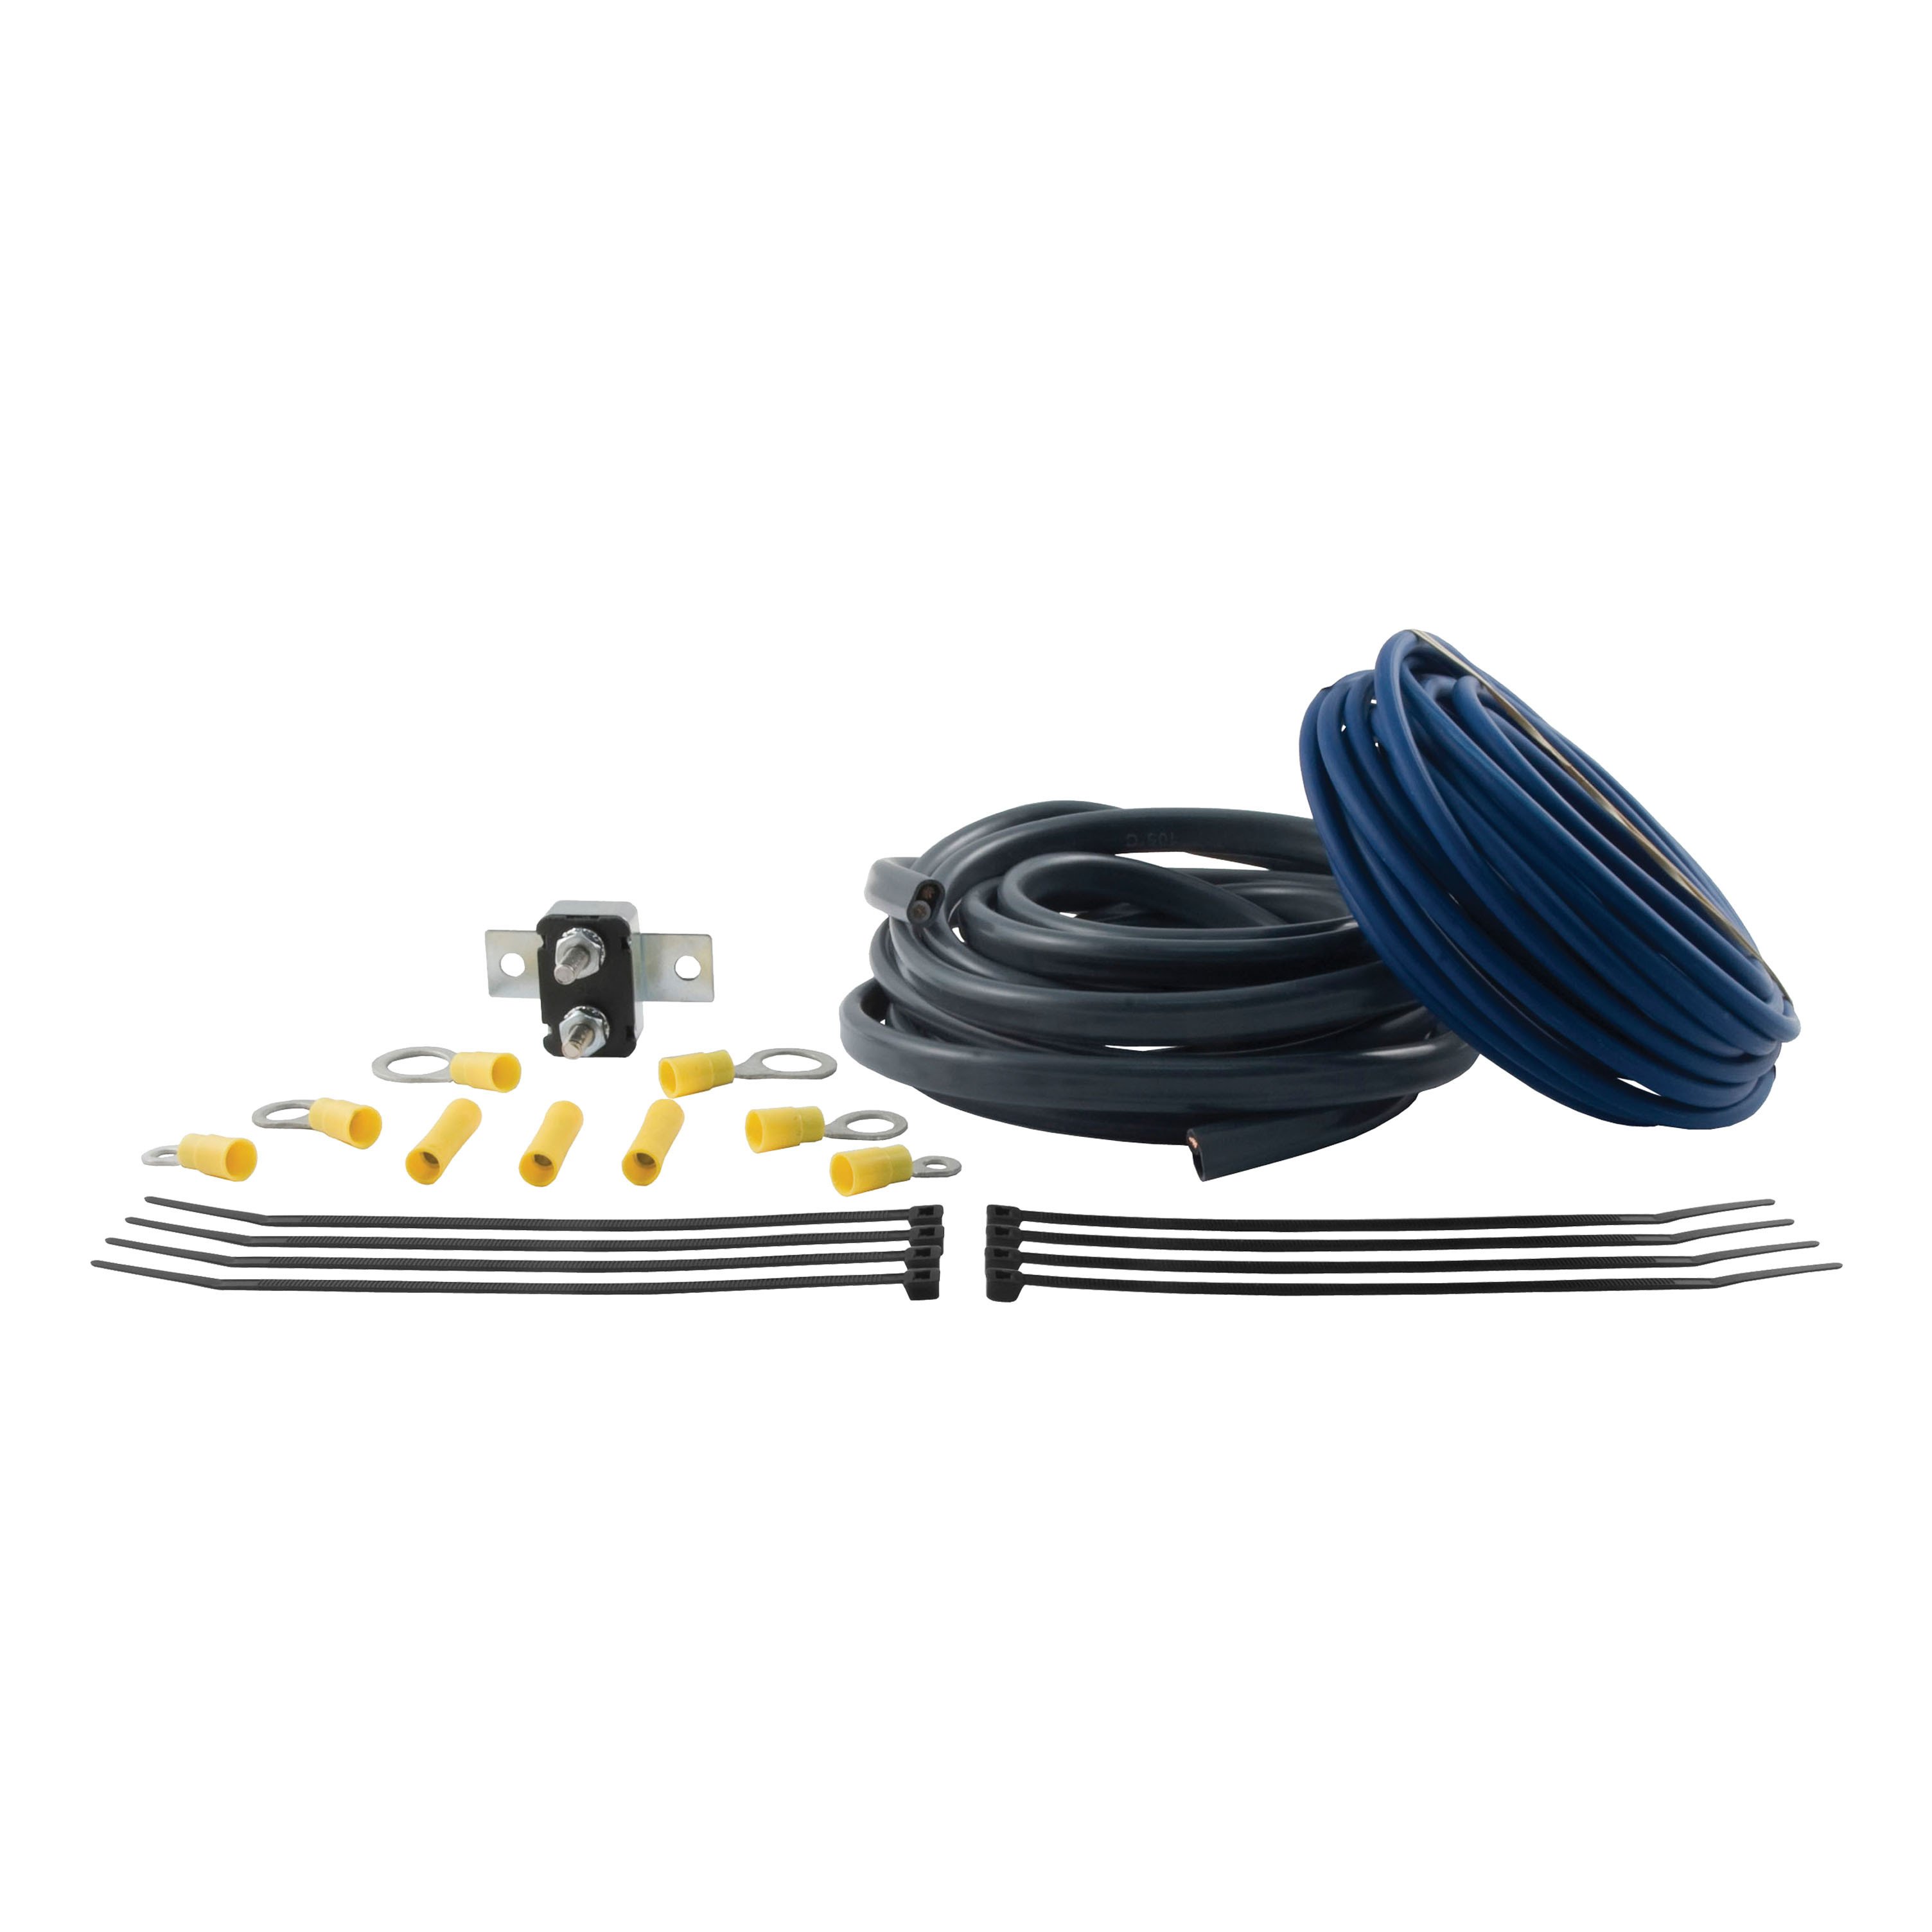
The kit includes: (1) pre-wired connector harness, (1) 30 amp circuit breaker, (1) 40 amp circuit breaker, (5) #10 ring terminals, (2) 3/8" ring terminals, (1) 12–10 gauge scotch lock, (8) self-tapping screws, (6) cable ties, (1) heavy duty flasher, (8) 8½" cable ties, and (1) snap lock tap connector. The kit does not include the brake control unit itself or the 7-way connector bracket.
The 57186 is designed for vehicles with a factory 4-flat connector and the ability to mount a 7-way connector bracket on the rear bumper. The kit includes special wiring instructions for 1989–1991 E-series and F-series vans and trucks with anti-lock brakes. For other vehicles, standard installation applies. Check your vehicle owner's manual or contact the vehicle manufacturer to confirm your vehicle has a factory 4-flat connector and is compatible with a 7-way connector system.
Yes, the kit is compatible with anti-lock brake vehicles. However, 1989–1991 E-series and F-series vans and trucks with anti-lock brakes require a different wiring connection. Instead of connecting to the brake pedal switch, you must locate the semi-circle turn signal harness connector on the steering column and attach the stop signal wire to the light green wire. Do not connect to the red wire with green stripe, as serious damage may occur. All other anti-lock brake vehicles follow the standard brake pedal switch connection (Step 17).
Required tools are: ratchet, 3/8" socket and box end wrench, wire stripper, crimping tool, cutting tool, and test light. The test light is essential for identifying the 'cold' or switched side of the brake pedal switch during installation. You will also need a drill with a 3/32" bit for the grounding point pilot hole and a drill bit suitable for the firewall opening (size not specified in manual).
Yes. Step 1 requires you to locate the vehicle battery and disconnect the negative battery terminal before beginning any installation work. The battery remains disconnected until Step 19, after all wiring connections are complete.
Yes, you need a 7-way connector mounting bracket. Step 2 instructs you to locate an existing 7-way connector mounting bracket on the rear bumper, or mount a new bracket using the provided self-tapping screws. The manual does not specify whether the bracket is included in the kit or must be sourced separately; contact CURT Manufacturing at 877-287-8634 for clarification.
In the rear of the vehicle, locate the factory 4-flat connector. Plug the CURT wiring harness 4-flat trailer end connector directly into the vehicle's 4-flat connector (Step 4). Before doing this, route all wires from the CURT harness through the 7-way connector mounting bracket to the backside of the rear bumper (Step 3).
Locate a suitable grounding point near the rear connector, such as an existing screw with nut in the vehicle frame. If no suitable point exists, drill a 3/32" pilot hole. The area must be free of rust, dirt, and paint. Secure the white ground wire using the ring terminal and provided screw (Step 5). The manual warns to check for hidden items before drilling to avoid damage and personal injury.
Yes. Step 6 requires you to drill a hole in an open area of the firewall to route the white and black wires into the cab. The manual does not specify the exact hole size. Before drilling, check for hidden items behind or under any surface to avoid damage and personal injury. After routing the wires, seal the opening with silicone or rubber (Step 11).
Mount the two circuit breakers side-by-side on the firewall next to the opening where the white and black wires pass through (Step 7). Use self-tapping screws to secure them. The 40 amp breaker is labeled 'AUX' and 'BAT', and the 30 amp breaker is labeled 'BAT'. Ensure they are positioned so the wires can reach the terminals without excessive strain.
Route the white and black wires along the bottom of the vehicle from the rear to the front (Step 8). Avoid pinch points, sharp edges, and hot spots that may damage the wire. Secure the wires with the provided cable ties. The wires must pass through the firewall opening (Step 6) and into the cab, where they connect to the brake control unit.
Cut back the coating on the jacketed white and black wire, taking care not to cut the two wires inside (Step 9). Take the black wire from the jacketed wire, measure out enough length to cut, crimp a #10 ring terminal onto one end, and fasten it to the 40 amp breaker's auxiliary side labeled 'AUX' using a 3/8" box wrench.
Using a section of black wire cut from the jacketed wire, crimp a #10 ring terminal onto one end (Step 10). Using a 3/8" box wrench, attach the ring terminal to the 20 amp auxiliary side of the circuit breaker labeled 'AUX'.
Measure the black and white wires that passed through the firewall to the brake control unit location (Step 13). Cut the wires to length. Using butt connectors, connect the black wire to the black wire of the brake control and the white wire to the white wire of the brake control. The brake control unit should be mounted in a firm area under the dash inside the cab (Step 12).
Use a section of 10 gauge wire routed from the battery to the brake control's white wire (Step 14). Crimp a 3/8" ring terminal on one end to connect to the negative (−) side of the battery. Crimp a butt connector on the other end to connect with the brake control's white wire. Important: ground connections must be made directly to the tow vehicle battery, not to existing wiring or chassis ground, to avoid vehicle circuit damage and trailer brake failure.
Route the red wire from the brake control unit to the back side of the brake switch (Step 15). The exact connection method depends on your vehicle type: for 1989–1991 E-series and F-series vans and trucks with anti-lock brakes, connect to the light green wire on the semi-circle turn signal harness connector on the steering column (Step 16). For all other vehicles, use a wire tap to attach the red wire to the 'cold' or switched side of the brake pedal switch (Step 17).
Locate the brake pedal switch on the back side of the vehicle brake pedal (Step 17). Determine which side is the 'cold' or switched side by probing the terminals of the switch with a test light or volt meter. The cold terminal will only indicate power when the brake pedal is depressed. Attach the red stop signal wire from the brake control unit to this cold side using a wire tap.
Inside the engine bay, route a 10 gauge wire from the battery to the 40 amp circuit breaker mounted on the firewall (Step 18). Crimp a 3/8" ring terminal to one end to connect to the negative side of the battery. Crimp a #10 ring terminal to the other end. Using a 3/8" box wrench, attach the #10 ring terminal to the 40 amp battery side of the circuit breaker labeled 'BAT'.
Using a short piece of 10 gauge wire, crimp a #10 ring terminal to both ends (Step 19). Using a 3/8" box wrench, attach one ring terminal to the 30 amp battery side of the circuit breaker labeled 'BAT' and the other ring terminal to the 40 amp battery side of the circuit breaker labeled 'BAT'. After this connection, reconnect the negative battery terminal.
If turn signals are too fast, replace the turn signal flasher with the heavy duty flasher provided in the kit (Step 21).
Step 20 requires testing the 7-way connector for running lights, brake lights, turn signals, and power using a test light or by connecting a properly wired trailer. Brake control output cannot be tested unless a trailer is connected to the 7-way connector or by using a 7-way brake control test box. All steps must be followed to ensure the wiring kit functions properly.
Do not exceed the product rating or tow vehicle lamp load rating, whichever is lower. The manual does not specify the exact product rating; contact CURT Manufacturing at 877-287-8634 or consult your vehicle owner's manual for the tow vehicle lamp load rating.
Ground connections must be made directly to the tow vehicle battery, not to existing wiring or chassis ground. Connecting to existing wiring or chassis ground may damage vehicle circuits and could lead to trailer brake failure. This is critical for the safe operation of the brake control system.
Do not connect to the red wire with green stripe on the semi-circle turn signal harness connector. Connecting to this wire may cause serious damage. Instead, connect the stop signal wire to the light green wire (Step 16).
The 57186 requires a factory 4-flat connector and the ability to mount a 7-way connector bracket on the rear bumper. Check your vehicle owner's manual or contact the vehicle manufacturer to confirm compatibility. Special wiring applies to 1989–1991 E-series and F-series vans and trucks with anti-lock brakes.
Yes. You must drill a 3/32" pilot hole for the grounding screw (Step 5) and drill through the firewall to route wires into the cab (Step 6). Before drilling, check for hidden items to avoid damage and personal injury.
The kit includes (5) #10 ring terminals and (2) 3/8" ring terminals. Most connections use #10 ring terminals with 10 gauge wire. The 3/8" ring terminals connect to the battery. Use a 3/8" box wrench to tighten all ring terminal connections.
Turn signals flash too fast when the trailer lighting load is added to the circuit and the factory flasher is not rated for the increased current draw. Replace the vehicle's turn signal flasher with the heavy duty flasher provided in the kit (Step 21). This will restore normal turn signal speed.
| Part # | From Vehicle | To Trailer | Notes | Material |
|---|---|---|---|---|
| Single Output | ||||
| 57184 | 4-way flat | 7-way RV blade | See mounting brackets on pages 127 and 128 | Plastic |
| 57183 | 4-way flat | 6-way round | See mounting brackets on pages 127 and 128 | Die-cast |
| 57185 | 4-way flat | 7-way RV blade | Includes mounting bracket | Steel |
| 57186 | 4-way flat | 7-way RV blade | Includes wiring and components to splice in a brake controller connection | Plastic |
| 57506 | 4-way flat | 7-way RV blade | Ideal for towing a boat trailer with surge brakes | Plastic |
| 57626 | 4-way flat | 6-way round | Integrated test lamps display proper connections | Plastic |
| 57676 | 4-way flat | 7-way RV blade | Integrated test lamps display proper connections | Plastic |
| 56476 | 4-way flat | USCAR socket | Pair with #57015 for 4-way and 7-way RV blade output. See page 112 | Plastic |
| Dual Output | ||||
| 57604 | 4-way flat | 4-way flat | -- | Plastic |
| 57624 | 4-way flat | 6-way round | Integrated test lamps display proper connections | Plastic |
| 57627 | 4-way flat | 6-way round | -- | Plastic |
| 57674 | 4-way flat | 7-way RV blade | Integrated test lamps display proper connections | Plastic |
| 57102 | 4-way flat | 7-way RV blade | Audible back-up alarm when vehicle in reverse (97 decibels) | Plastic |
| Part # | Includes | Size | Qty |
|---|---|---|---|
| 57186 | Adapter (4-way to 7-way) | 4-way flat to 7-way RV blade | 1 |
| Cross-linked wire | 10-gauge | 25 feet | |
| Snap lock | 12-10 gauge | 1 | |
| Flasher | -- | 1 | |
| Circuit breaker | 30-amp | 1 | |
| Circuit breaker | 40-amp | 1 | |
| 3/8" ring terminals | 12-10 gauge | 2 | |
| #10 ring terminals | 12-10 gauge | 5 | |
| Butt connectors | 12-10 gauge | 4 | |
| Hex head screws | #10 - 3/4" | 8 | |
| Cable ties | 8-1/2" | 6 |

Total for 2 items:
$200.34$255.90
On Sale Today
Original price was $124.95. Current price is $92.99.You save $31.96 (26%)
Free Shipping
Ships free on all orders
 Authorized Dealer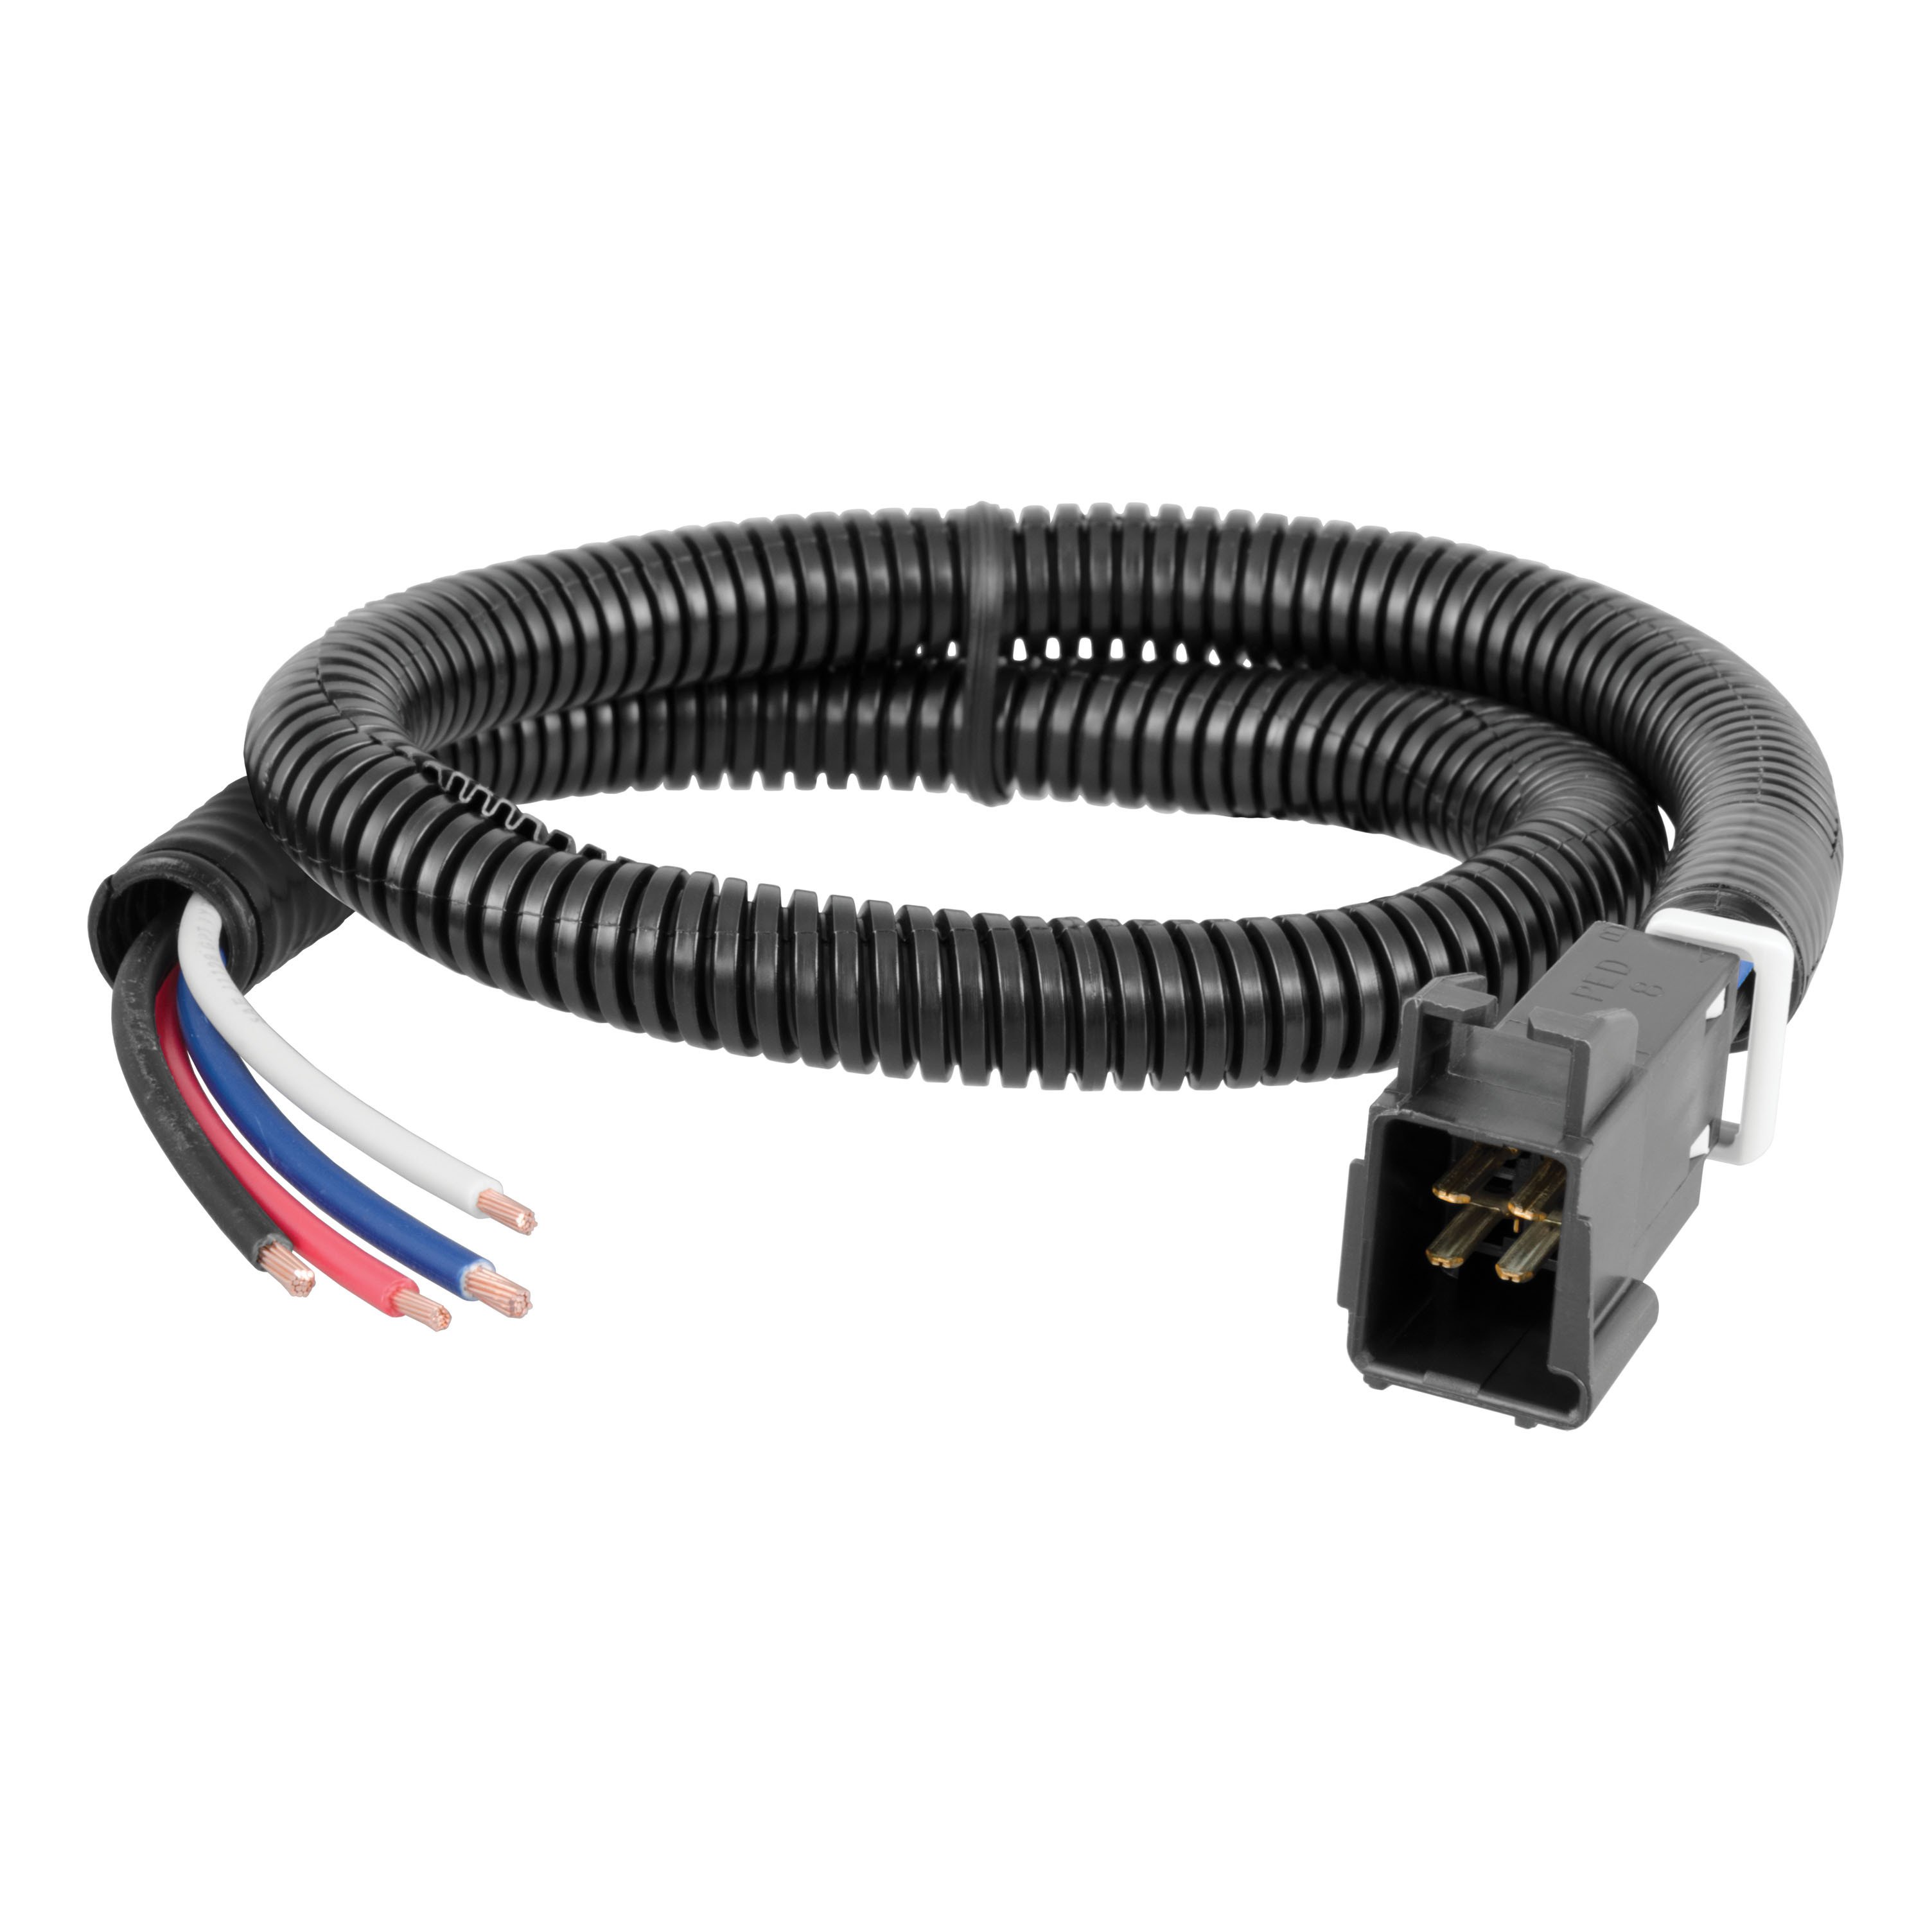

Quick Ship
In stock and ready to ship — order now!
Shipping from Eau Claire, WIFREE SHIPPING
Estimated delivery Thu, Sep 17 - Sat, Sep 19
Order before 2 PM EST Monday–Friday for same-day processing
Guaranteed safe & secure checkout
No reviews have been added for this product.