

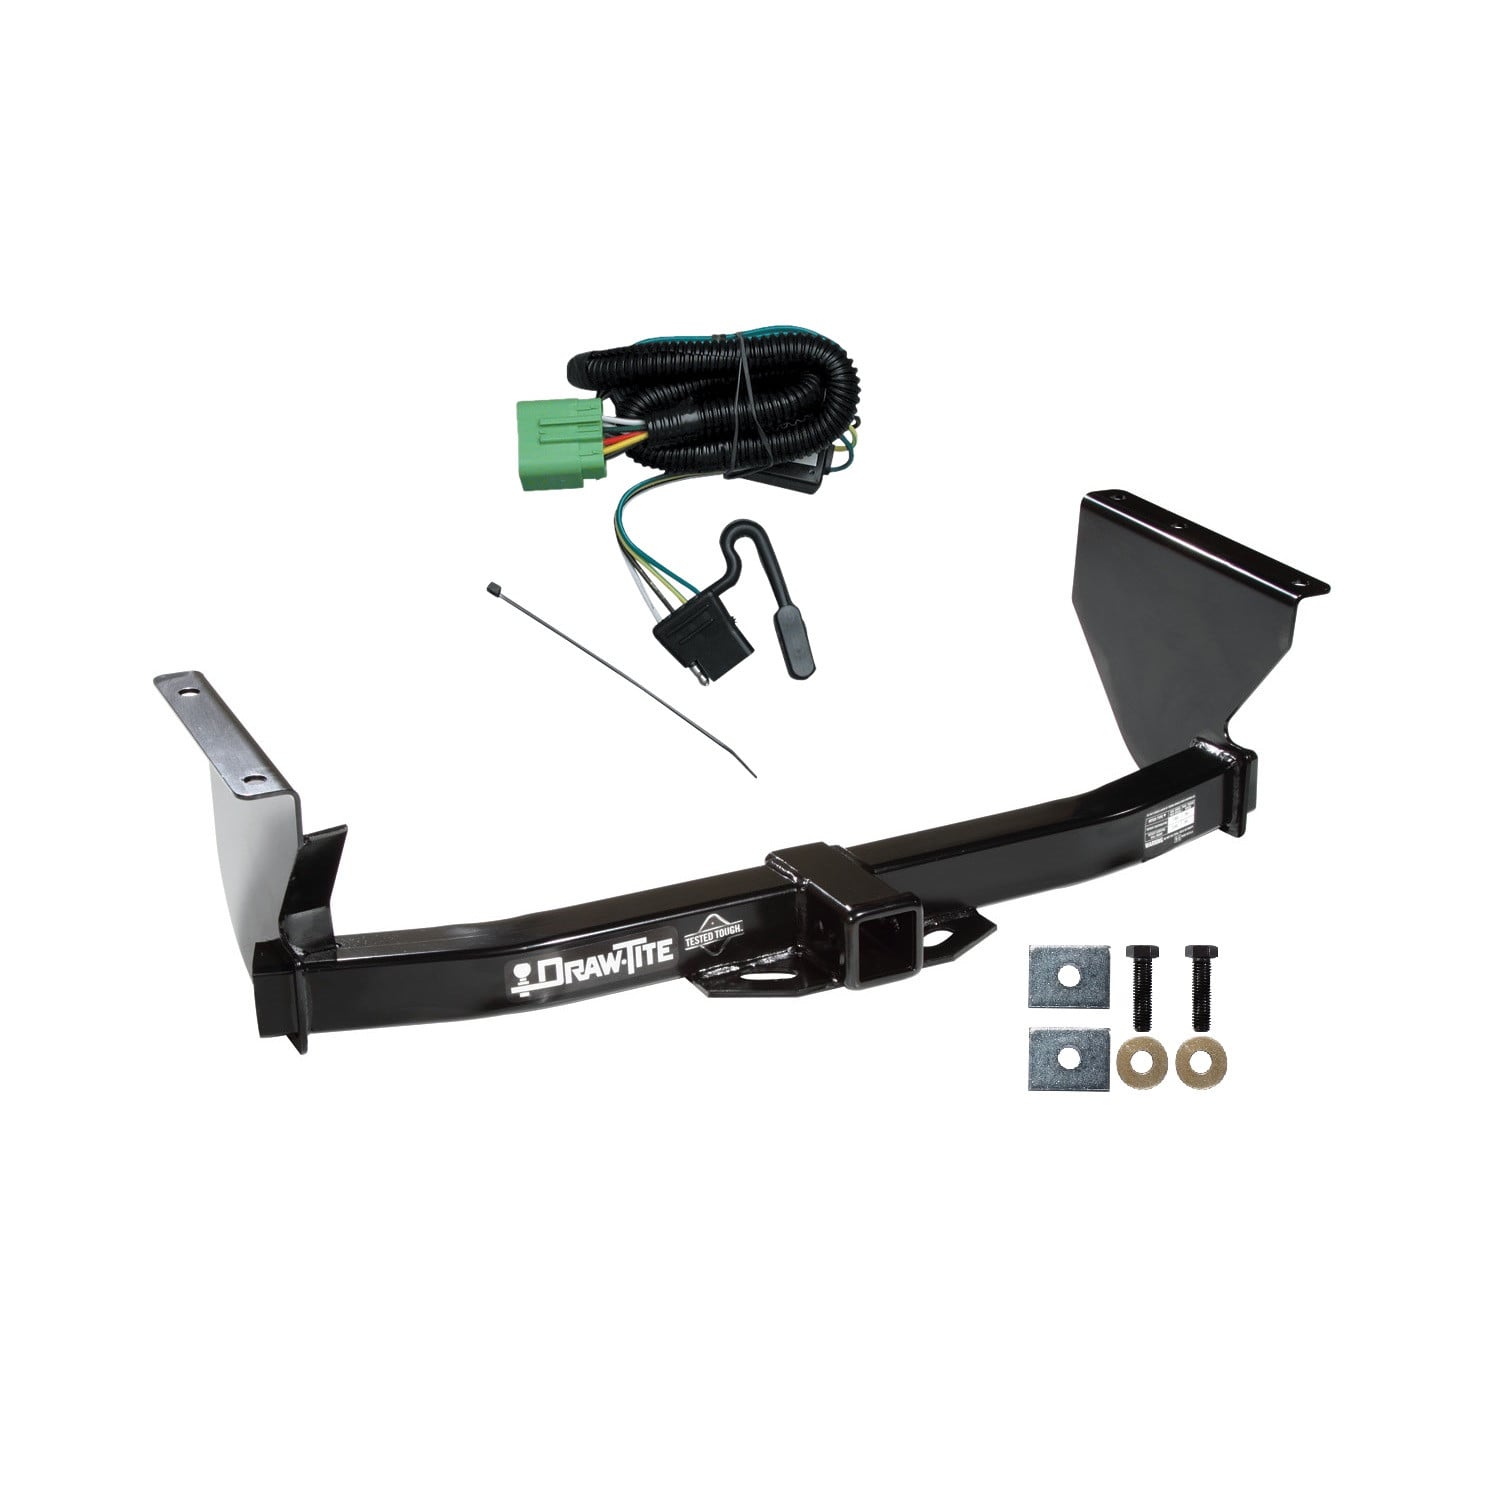
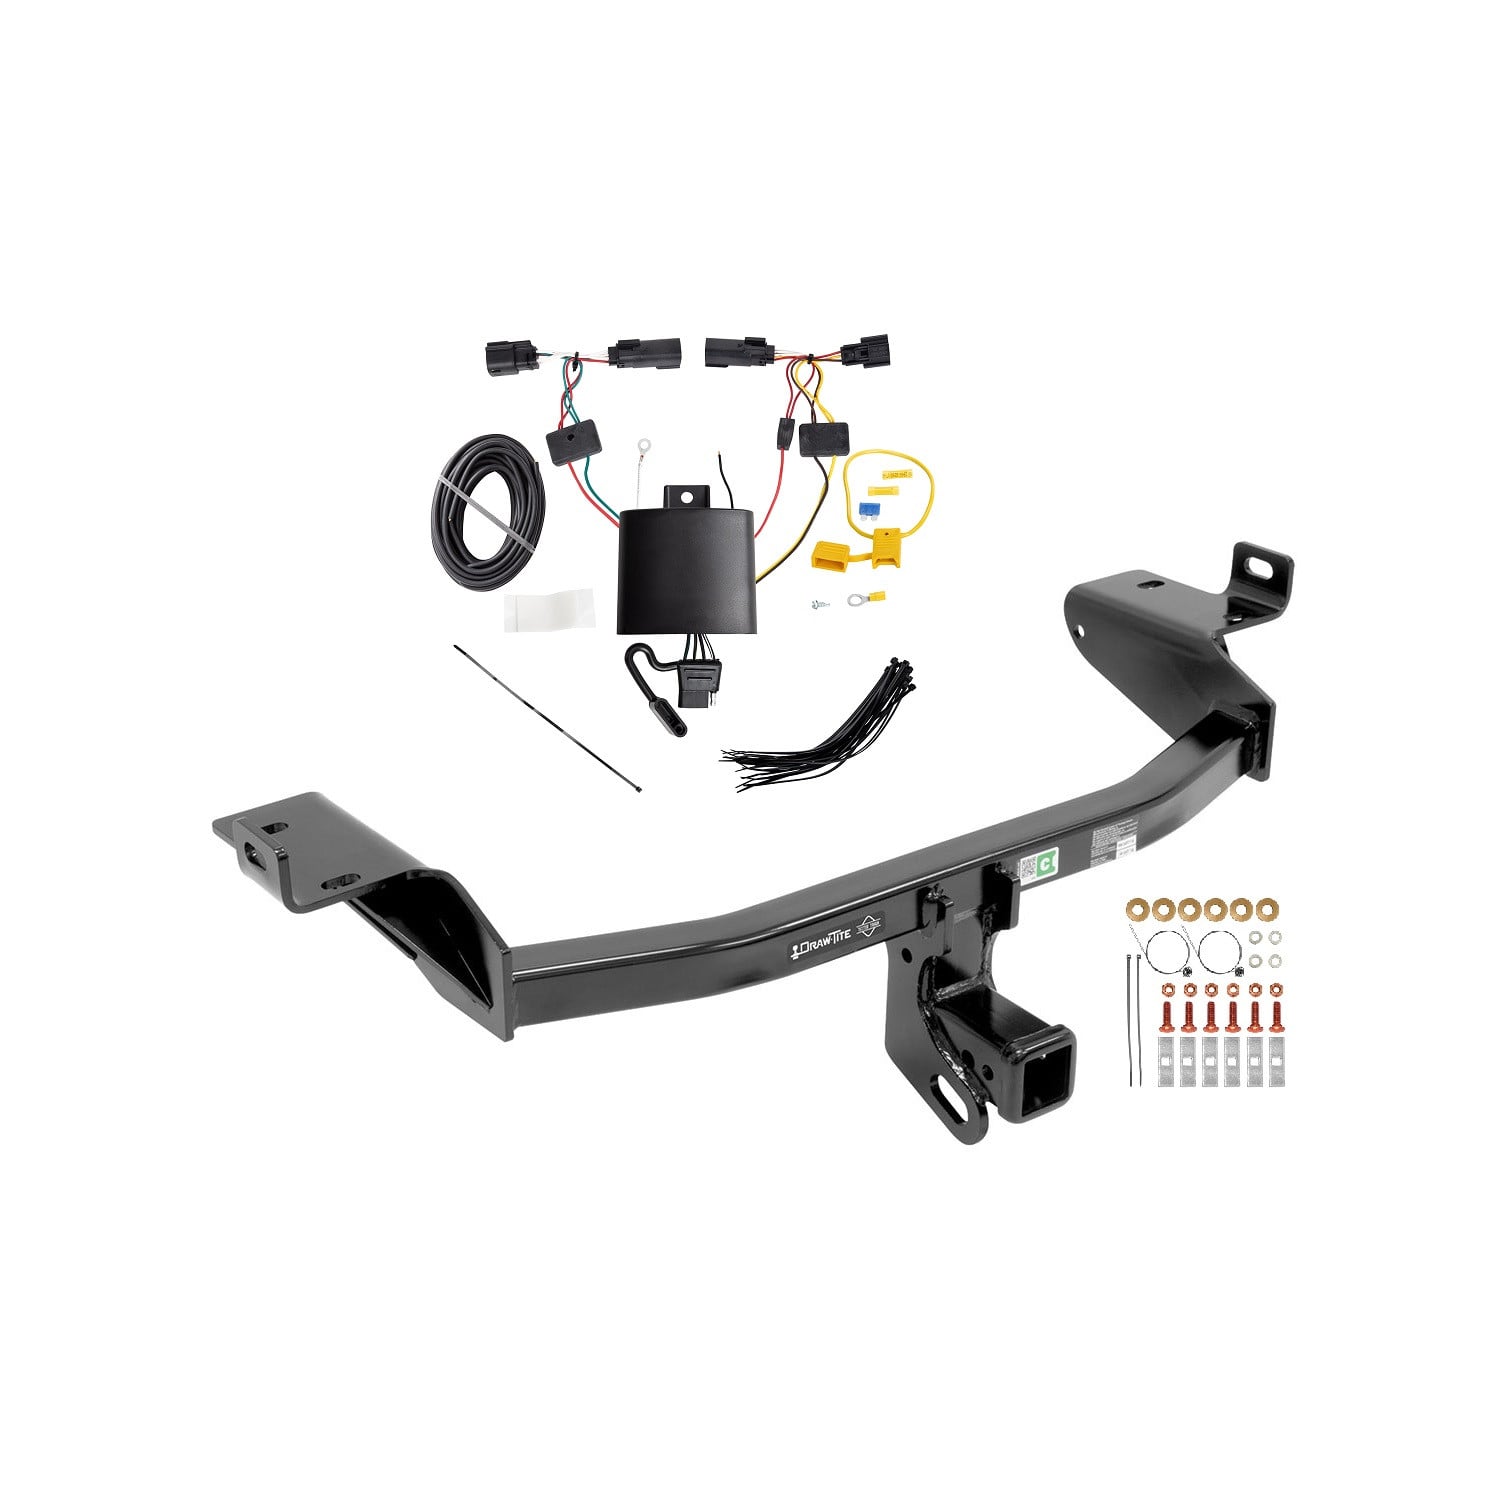
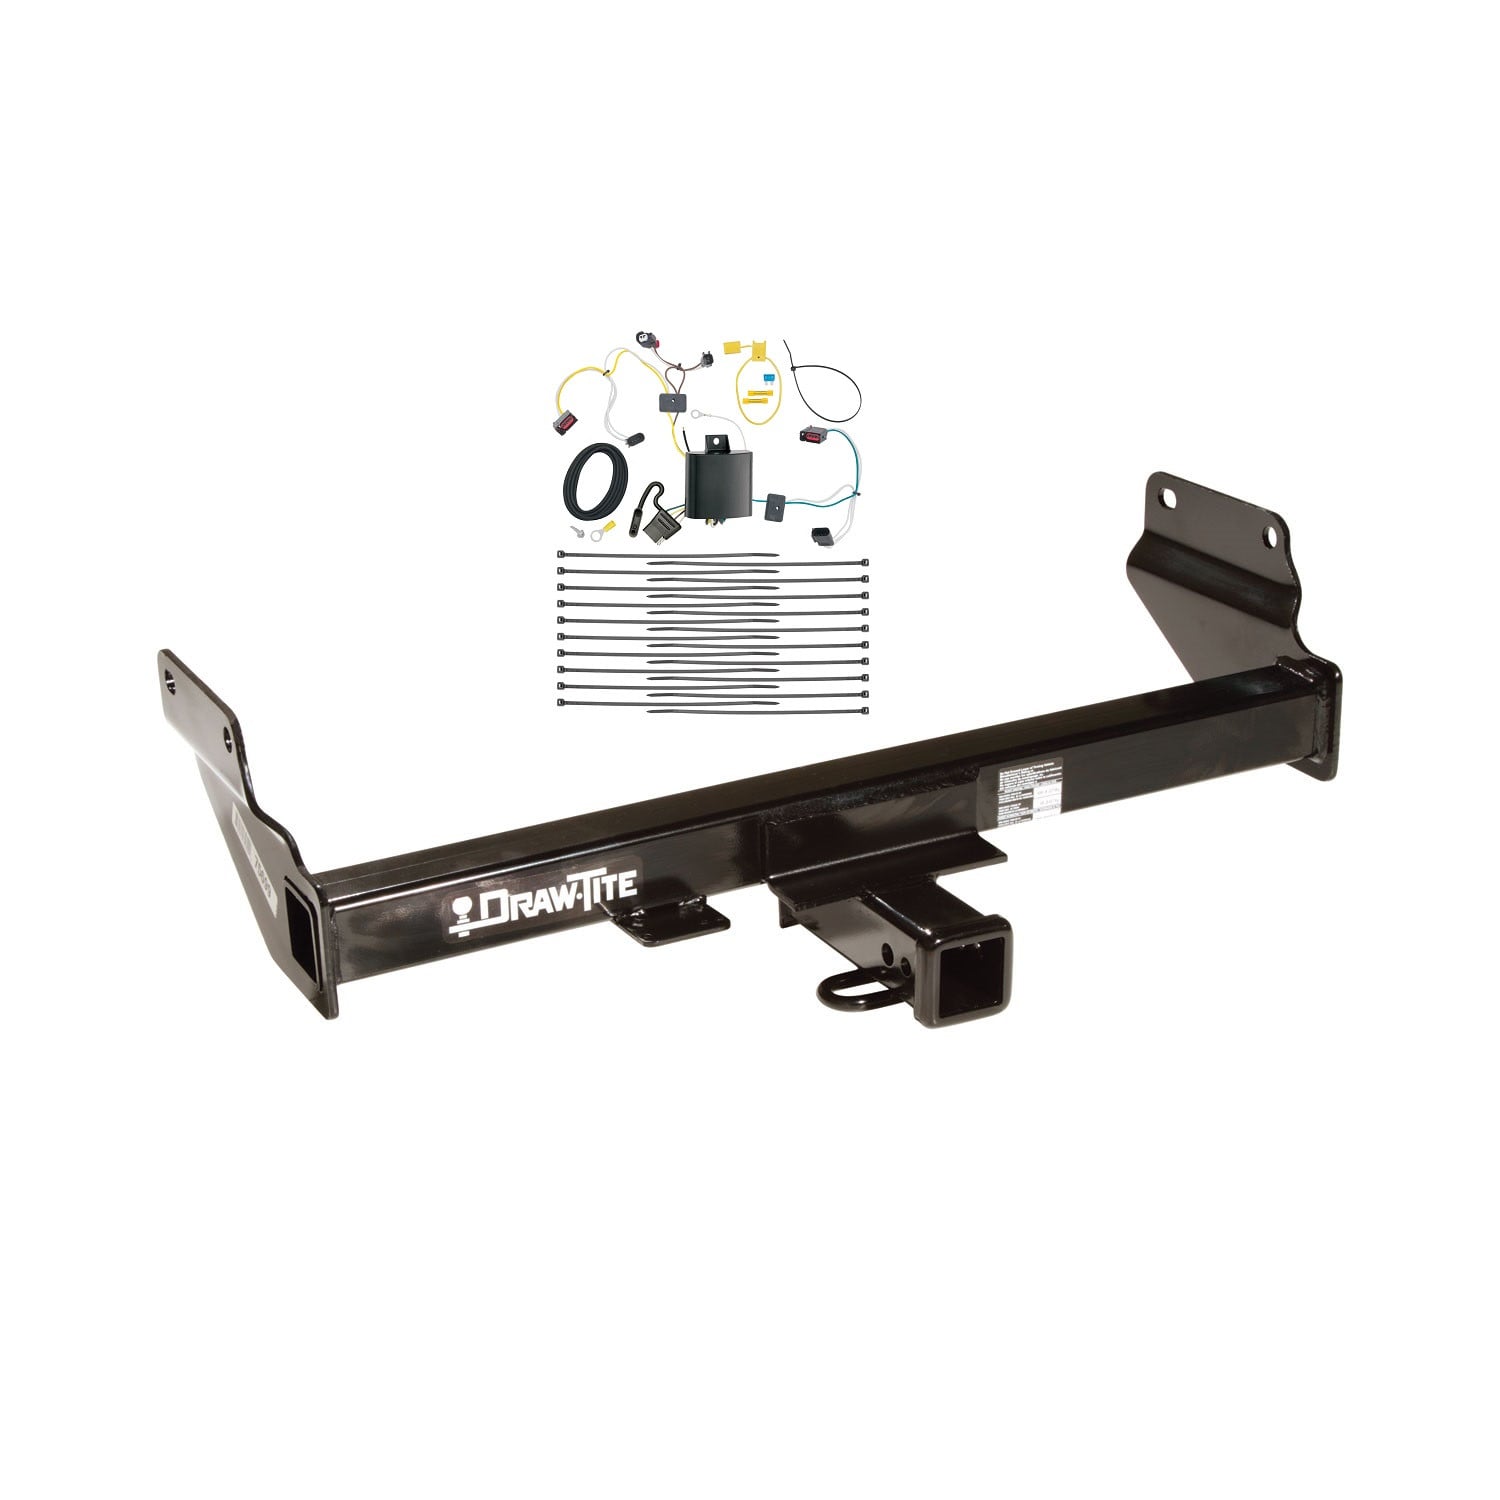
2007-2010 Jeep Grand Cherokee Except SRT-8 Draw-tite Class 3 Trailer Hitch, 2 Inch Square Receiver Bundle w/ Plug-n-Play T-One Wiring HarnessDraw-titeOriginal price was $257.50. Current price is $237.85.Out of Stock
View productOur in-house experts typically reply within one business day.

Draw-tite
Verify Fitment
Select your vehicle to confirm this part fits.




Always the correct part
We know our products
Quality Products
Free Shipping!
Always the correct part
We know our products
Quality Products
Free Shipping!
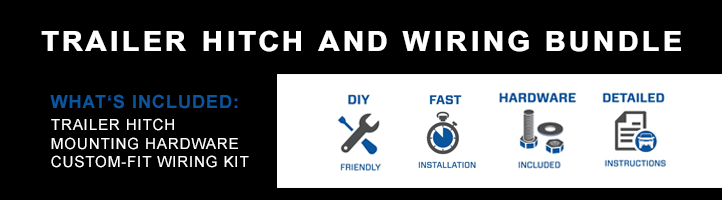
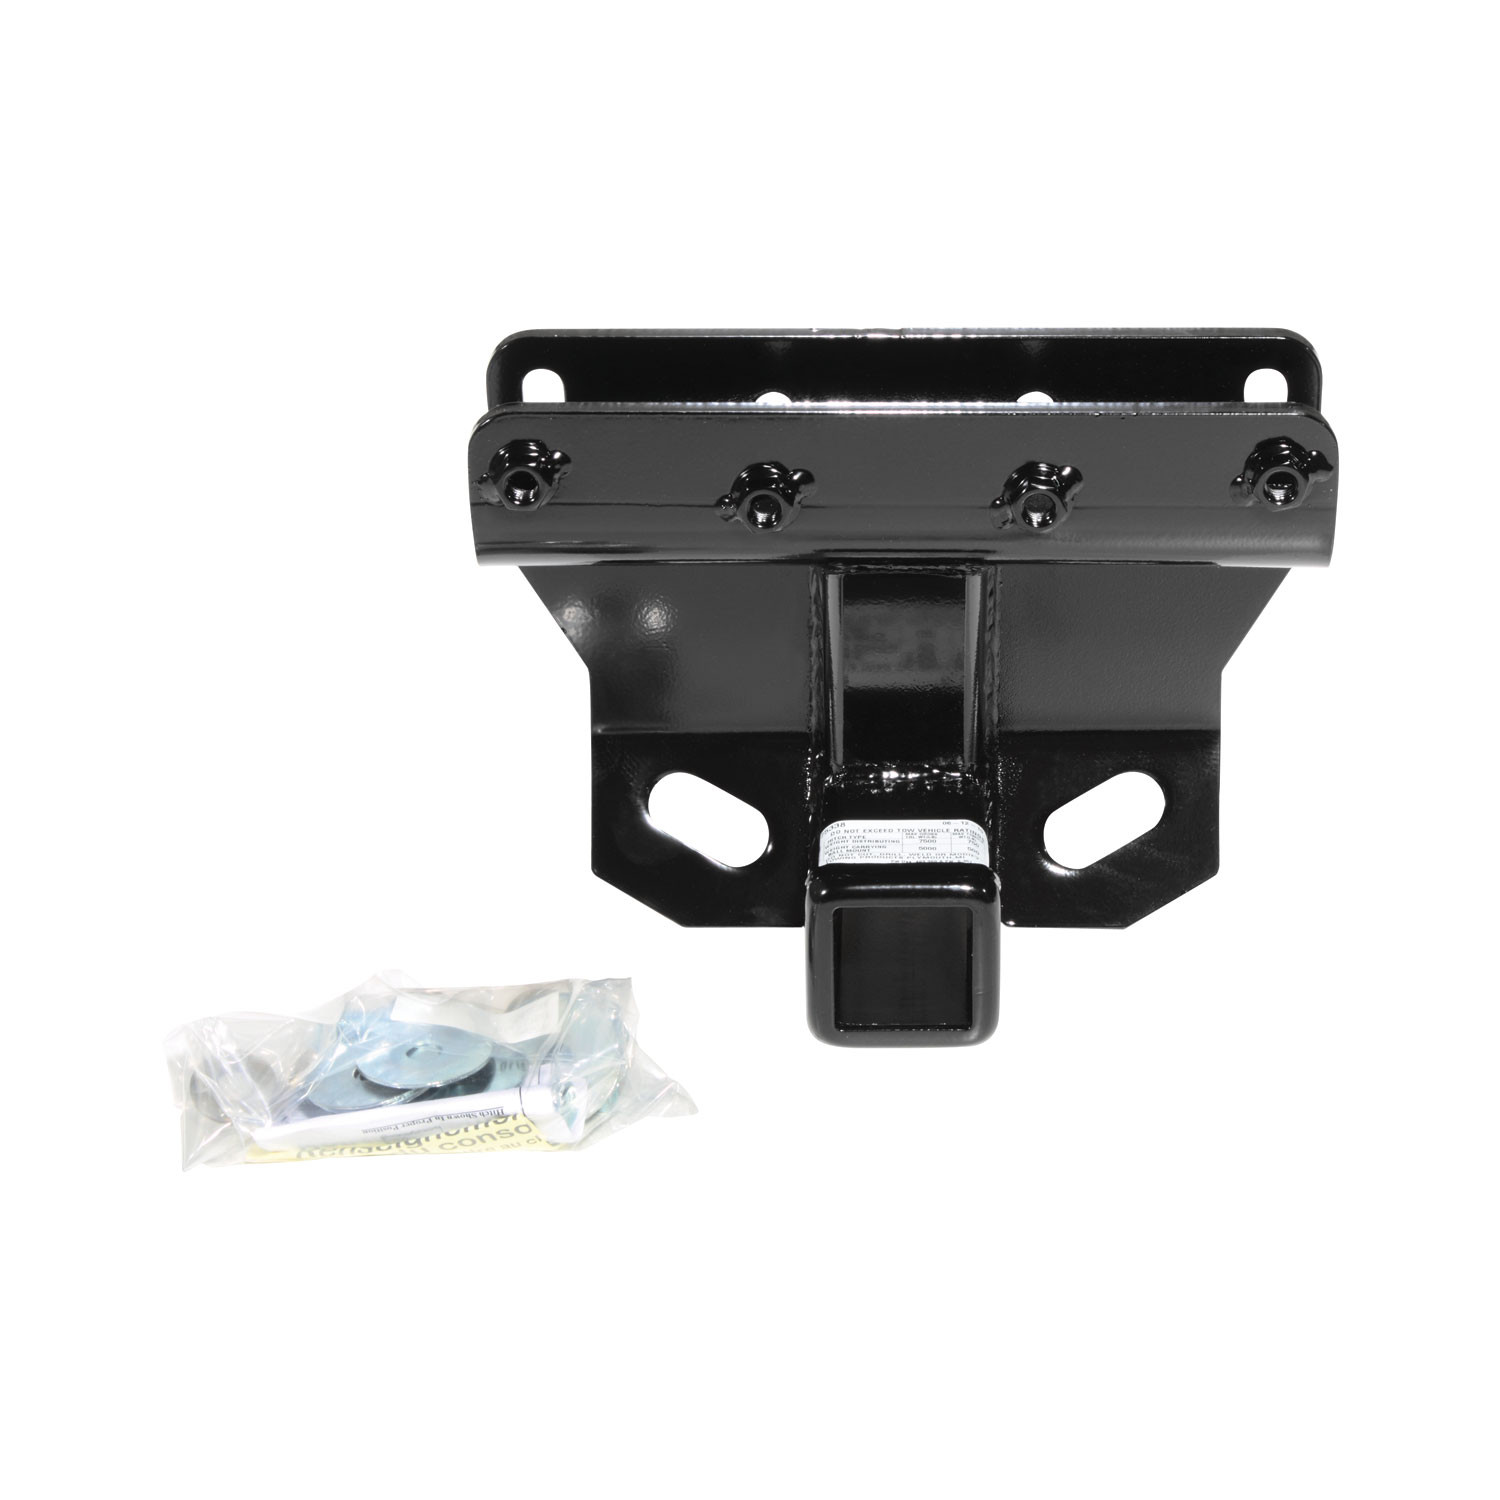
These durable custom hitches are manufactured for 2006-2010 Jeep Commander, 2005-2010 Jeep Grand Cherokee and attach to your vehicle?s frame or bumper for a sleek, clean appearance. Each hitch also has a 2 inch square receiver tube opening ? the most common and versatile on the market - allowing you to attach accessories like a bike rack or cargo carrier, or hook up your pop-up, boat trailer, or utility trailer. The options are endless! DRAW-TITE Class 3 Custom Trailer Hitches come complete with all the mounting hardware needed for installation and are backed by a nationwide lifetime limited warranty. So, whether you are headed out to the campground, the lake, or the bike trails, or you are tackling a project at home and need to haul the materials home, choose DRAW-TITE and travel with confidence knowing your setup is connected with the security only DRAW-TITE can provide. DRAW-TITE: North America?s Favorite Hitch

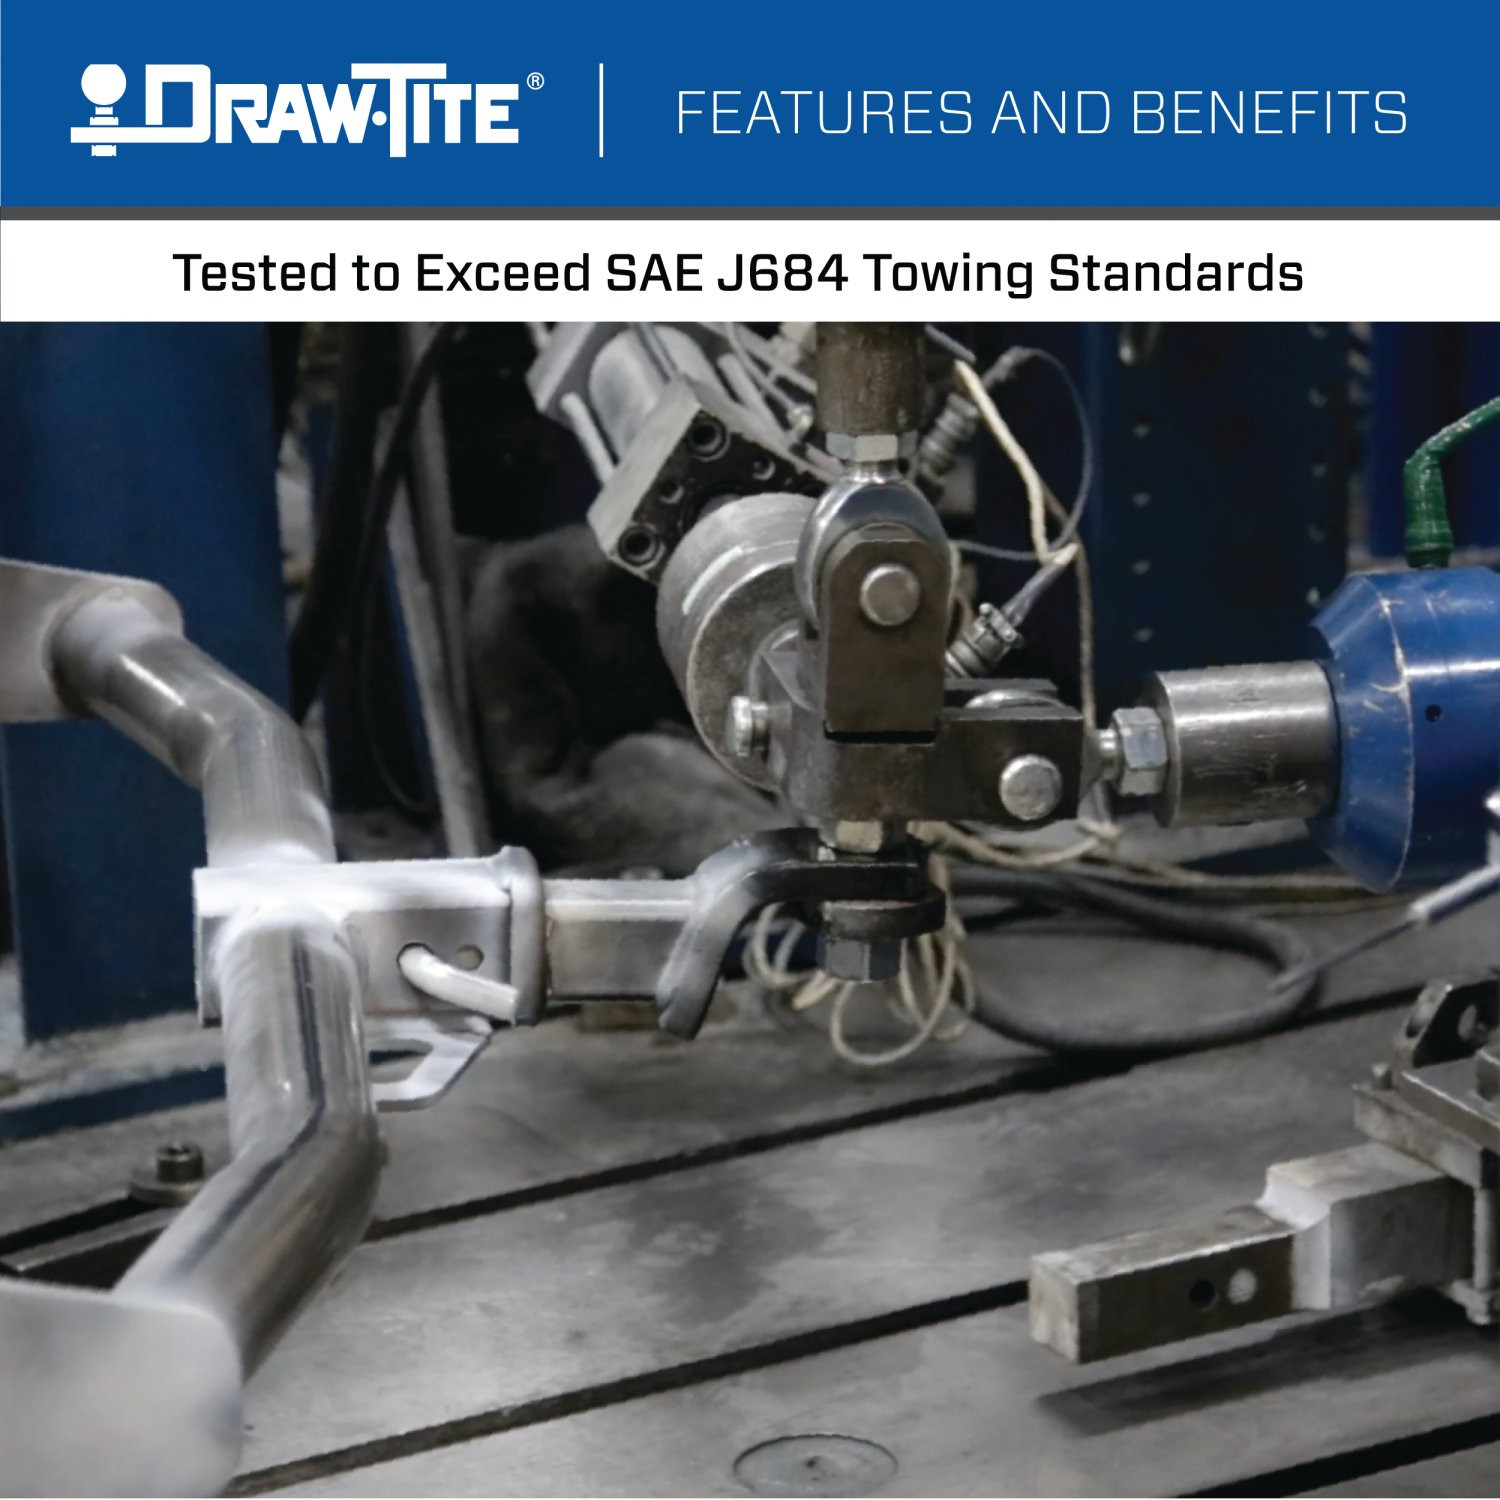
Draw-Tite has designed custom-fit trailer hitches since 1946 and is one of North America's most widely fitted hitch brands. Receiver hitches use solid all-welded construction and low-profile designs that follow modern vehicle contours, install with minimal bumper cutting or drilling, meet or exceed V5 CSA and SAE J684 standards, and carry a limited lifetime warranty.
Draw-Tite has been leading custom-fit trailer hitch design and engineering since its founding in 1946, and it remains one of the most widely fitted hitch brands in North America. The company's stated approach is straightforward: every hitch is tested rigorously so that it performs well beyond published industry standards, a philosophy it markets as Tested Tough. It sits within the Horizon Global towing group alongside Reese, Fulton, Bulldog, Tekonsha, Bargman and Wesbar.
Custom fit is the defining characteristic. Rather than adapting a universal design, Draw-Tite engineers a trailer hitch for a specific make, model and model year, so it bolts to existing frame locations with minimal bumper cutting or drilling. Low-profile designs follow the rear contours and aerodynamic styling of modern vehicles, which matters more than it once did now that rear fascias are shaped and sensor-equipped. Construction is solid all-welded steel for maximum strength, and every hitch meets or exceeds V5 CSA and SAE J684 standards and is backed by a nationwide limited lifetime warranty.
The range spans receiver sizes and classes to suit different loads, from 1-1/4 inch receivers for bike racks, cargo carriers and light trailers up through 2 inch receivers for heavier towing. Front mount hitches add a receiver at the front of the vehicle for winch mounts, snow plows, spare carriers and precise trailer positioning.
The Hidden Hitch series takes concealment further by mounting behind the vehicle's rear fascia, so the vehicle keeps its factory appearance until a removable receiver is fitted. Each is custom designed per make and model for a no-drill installation that does not compromise ground clearance, rated for up to 3,500 pounds gross trailer weight and 350 pounds tongue weight. Matching plug-and-play wiring completes the towing system.
Experts available to answer your questions
Call 888-634-94941 compatible vehicles
| Year | Make & Model | Notes |
|---|---|---|
| 2005 - 2006 | Jeep Grand Cherokee | Except SRT: 8 |
The 2005-2006 Jeep Grand Cherokee Except SRT-8 Draw-tite Class 3 Trailer Hitch, 2 Inch Square Receiver Bundle w/ Plug-n-Play T-One Wiring Harness (Part #DTB75338-118394) fits the following vehicles: 2005-2006 Jeep Grand Cherokee. Always verify your specific year, make, and model before ordering.
The 2005-2006 Jeep Grand Cherokee Except SRT-8 Draw-tite Class 3 Trailer Hitch, 2 Inch Square Receiver Bundle w/ Plug-n-Play T-One Wiring Harness (Part #DTB75338-118394) fits 2005-2006 Jeep Grand Cherokee models. The 2006 model year is the last year covered by this part number. For newer models, check for an updated version.
Yes, the 2005-2006 Jeep Grand Cherokee Except SRT-8 Draw-tite Class 3 Trailer Hitch, 2 Inch Square Receiver Bundle w/ Plug-n-Play T-One Wiring Harness (Part #DTB75338-118394) is designed to fit the 2005-2006 Jeep Grand Cherokee.
The 2005-2006 Jeep Grand Cherokee Except SRT-8 Draw-tite Class 3 Trailer Hitch, 2 Inch Square Receiver Bundle w/ Plug-n-Play T-One Wiring Harness (Part #DTB75338-118394) Refer to the included instructions for installation details. Basic hand tools are typically all you need.
Yes, part number 75338 is designed for Jeep Grand Cherokee. It also fits Jeep Commander. The hitch is a bumper-mounted towing hitch with part numbers 44748, 75338, and 87752 as the complete assembly.
Yes, part number 75338 is designed for Jeep Commander. It also fits Jeep Grand Cherokee. The hitch is a bumper-mounted towing hitch with part numbers 44748, 75338, and 87752 as the complete assembly.
No. If your vehicle has an OEM tow hook, it must be permanently removed before hitch installation. Removing the OEM tow hook increases installation time from 20 minutes to 90 minutes. You will need to remove the fascia, plastic bumper support, and tow hook before proceeding with hitch installation.
You need a 3/4" wrench and a torque wrench. The fastener kit 75338F is also required and must be purchased separately.
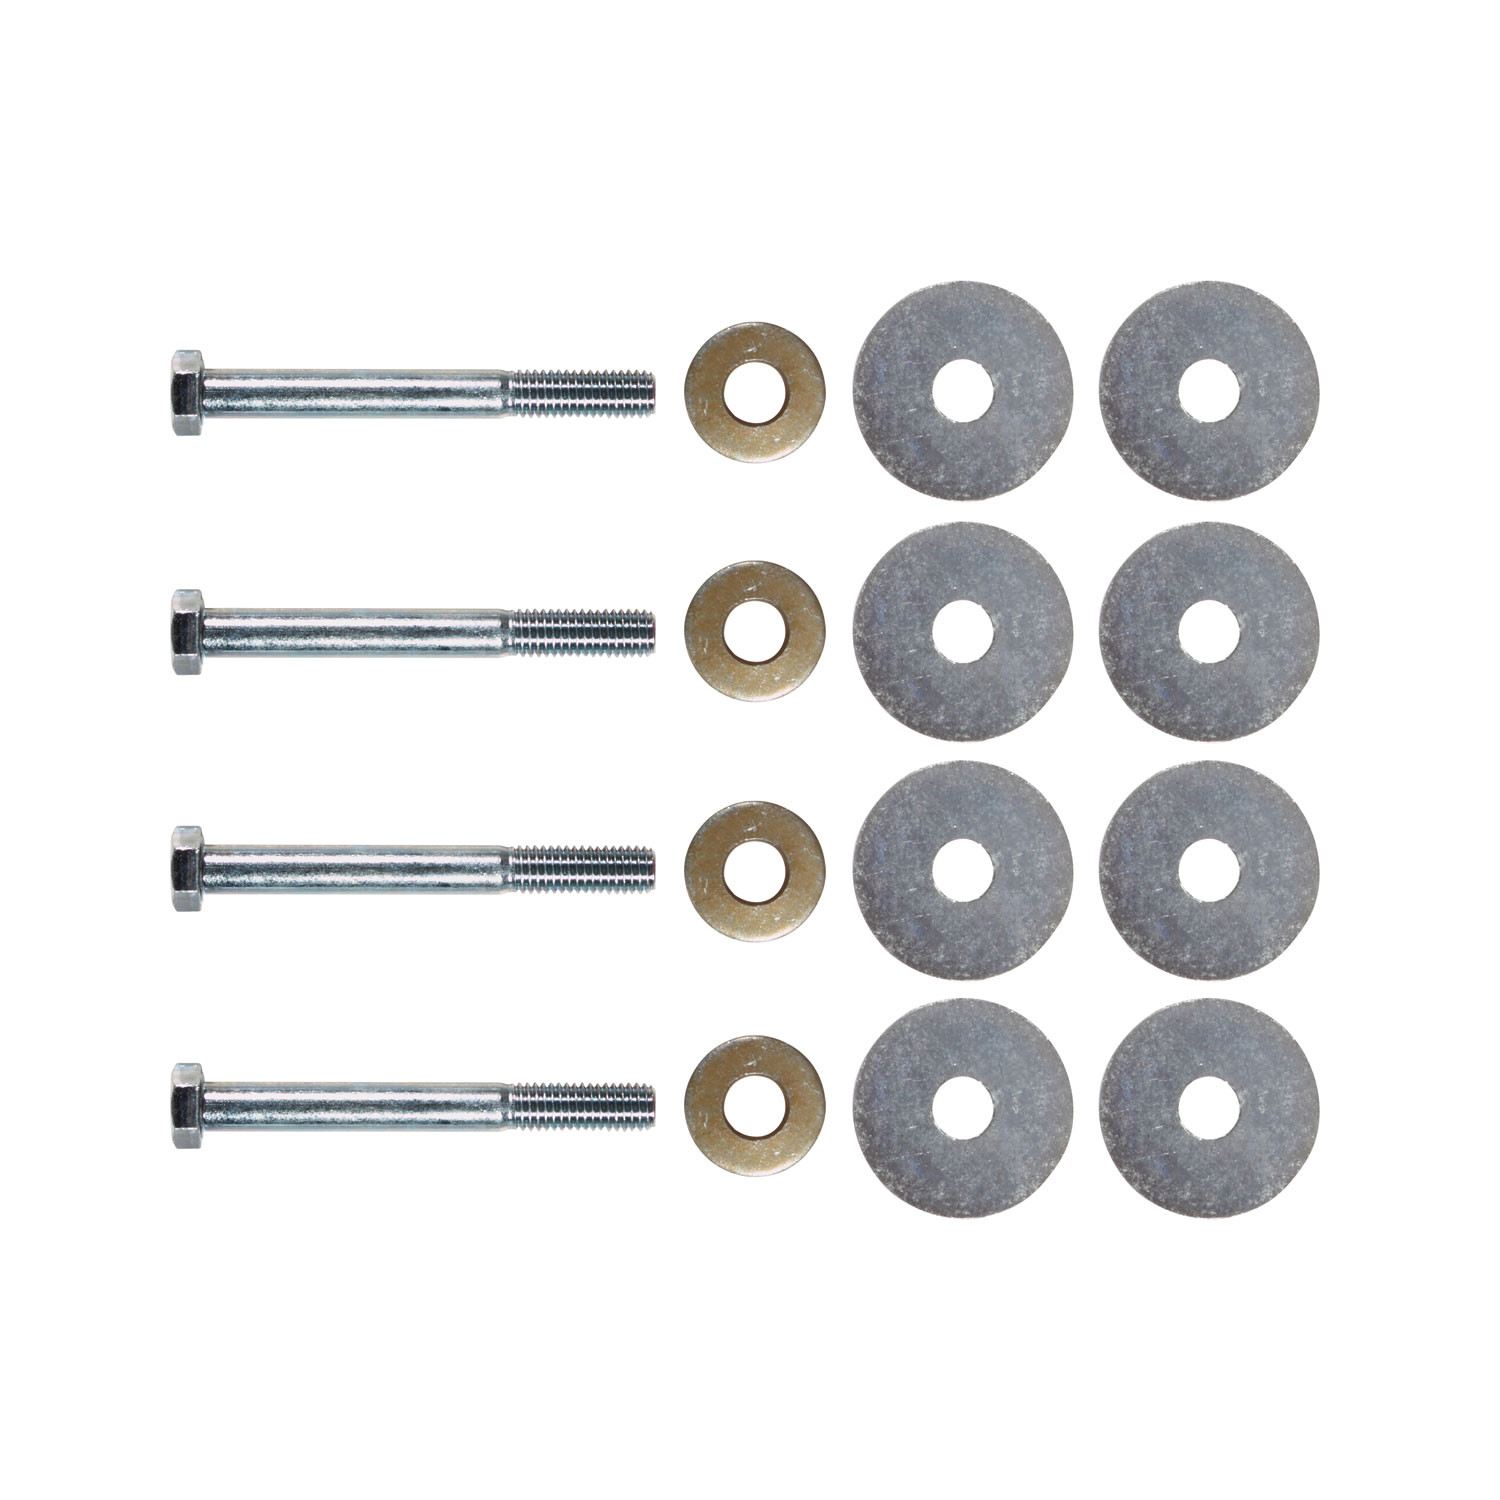
The hitch requires fastener kit 75338F, which includes: (4) Hex Bolts, 1/2-13 x 4" GR5; (8) Flat Washers, 1/2"; and (4) Conical Washers, 1/2". The fastener kit must be purchased separately.
Yes. Lowering the spare tire is the first step in the installation process. After installation is complete, you will raise the spare tire back into storage position.
1. Lower the spare tire. 2. Remove two plastic pins holding the bumper fascia (and if present, remove fascia, plastic bumper support, and OEM tow hook). 3. Pull fascia rearward about one inch and raise the hitch into position. 4. If there is excessive gap between hitch and bumper structure, use flat washers as shims held with cellophane tape. 5. Secure hitch with fasteners (fascia may contact the back of the hitch; reinstall fascia and bumper support if removed). 6. Replace plastic pins in bumper fascia. 7. Raise spare tire into storage position.
Not completely. You must remove the two plastic pins that hold the bumper fascia and pull the fascia rearward about one inch to raise the hitch into position. If an OEM tow hook is present, you must also remove the fascia, plastic bumper support, and tow hook. After securing the hitch, you reinstall the fascia and plastic pins.
All 1/2-13 GR5 fasteners must be tightened to 75 Lb.-Ft. (102 N·M) using a torque wrench.
The hitch uses (4) Hex Bolts, 1/2-13 x 4" GR5. These are tightened to 75 Lb.-Ft. (102 N·M).
The hitch has two capacity ratings depending on the type of ball mount used: Weight Distributing hitch: 7500 Lb. (3405 Kg) maximum gross trailer weight, 750 Lb. (341 Kg) maximum tongue weight. Weight Carrying Ball Mount: 5000 Lb. (2270 Kg) maximum gross trailer weight, 750 Lb. (341 Kg) maximum tongue weight. Do not exceed the lower of the towing vehicle manufacturer's rating or the hitch rating.
Observe safety precautions when working beneath a vehicle and wear eye protection. Do not cut access or attachment holes with a torch. If the hitch is removed, plug all holes in the trunk pan or other body panels to prevent entry of water and exhaust fumes. A hitch or ball that has been damaged should be removed and replaced.
Check the hitch frequently to ensure all fasteners and the ball are properly tightened. Verify that the hitch is in the proper position as shown in Figure 2, with the bumper structure and bumper fascia aligned correctly.
Check the hitch frequently, making sure all fasteners and the ball are properly tightened. The manual does not specify an exact interval, but regular inspection is recommended to ensure safe operation.
If there is excessive gap between the vertical surfaces of the hitch and the bumper structures, use flat washers as shims. They can be held in place using cellophane tape. See Figure 2 for the hitch in proper position.
Yes, the fascia may contact the back of the hitch. This is normal and expected. The fascia is pulled rearward about one inch during installation to accommodate the hitch.
Yes, part 75338 is designed for both Jeep Grand Cherokee and Jeep Commander. If your vehicle has an OEM tow hook, it must be permanently removed before installation.
You need a 3/4" wrench, a torque wrench, and fastener kit 75338F (purchased separately). Installation time is 20 minutes for vehicles without an OEM tow hook, or 90 minutes if the OEM tow hook must be removed.
All 1/2-13 GR5 fasteners must be tightened to 75 Lb.-Ft. (102 N·M) using a torque wrench.
Weight Distributing: 7500 Lb. max trailer weight, 750 Lb. max tongue weight. Weight Carrying Ball Mount: 5000 Lb. max trailer weight, 750 Lb. max tongue weight. Do not exceed the lower of the vehicle manufacturer's rating or the hitch rating.
Wear eye protection when working beneath the vehicle. Do not cut holes with a torch. If removed, plug all holes to prevent water and exhaust fume entry. Check the hitch frequently to ensure all fasteners and the ball are properly tightened.
Yes, lower the spare tire before installation. Raise it back into storage position after the hitch is secured.
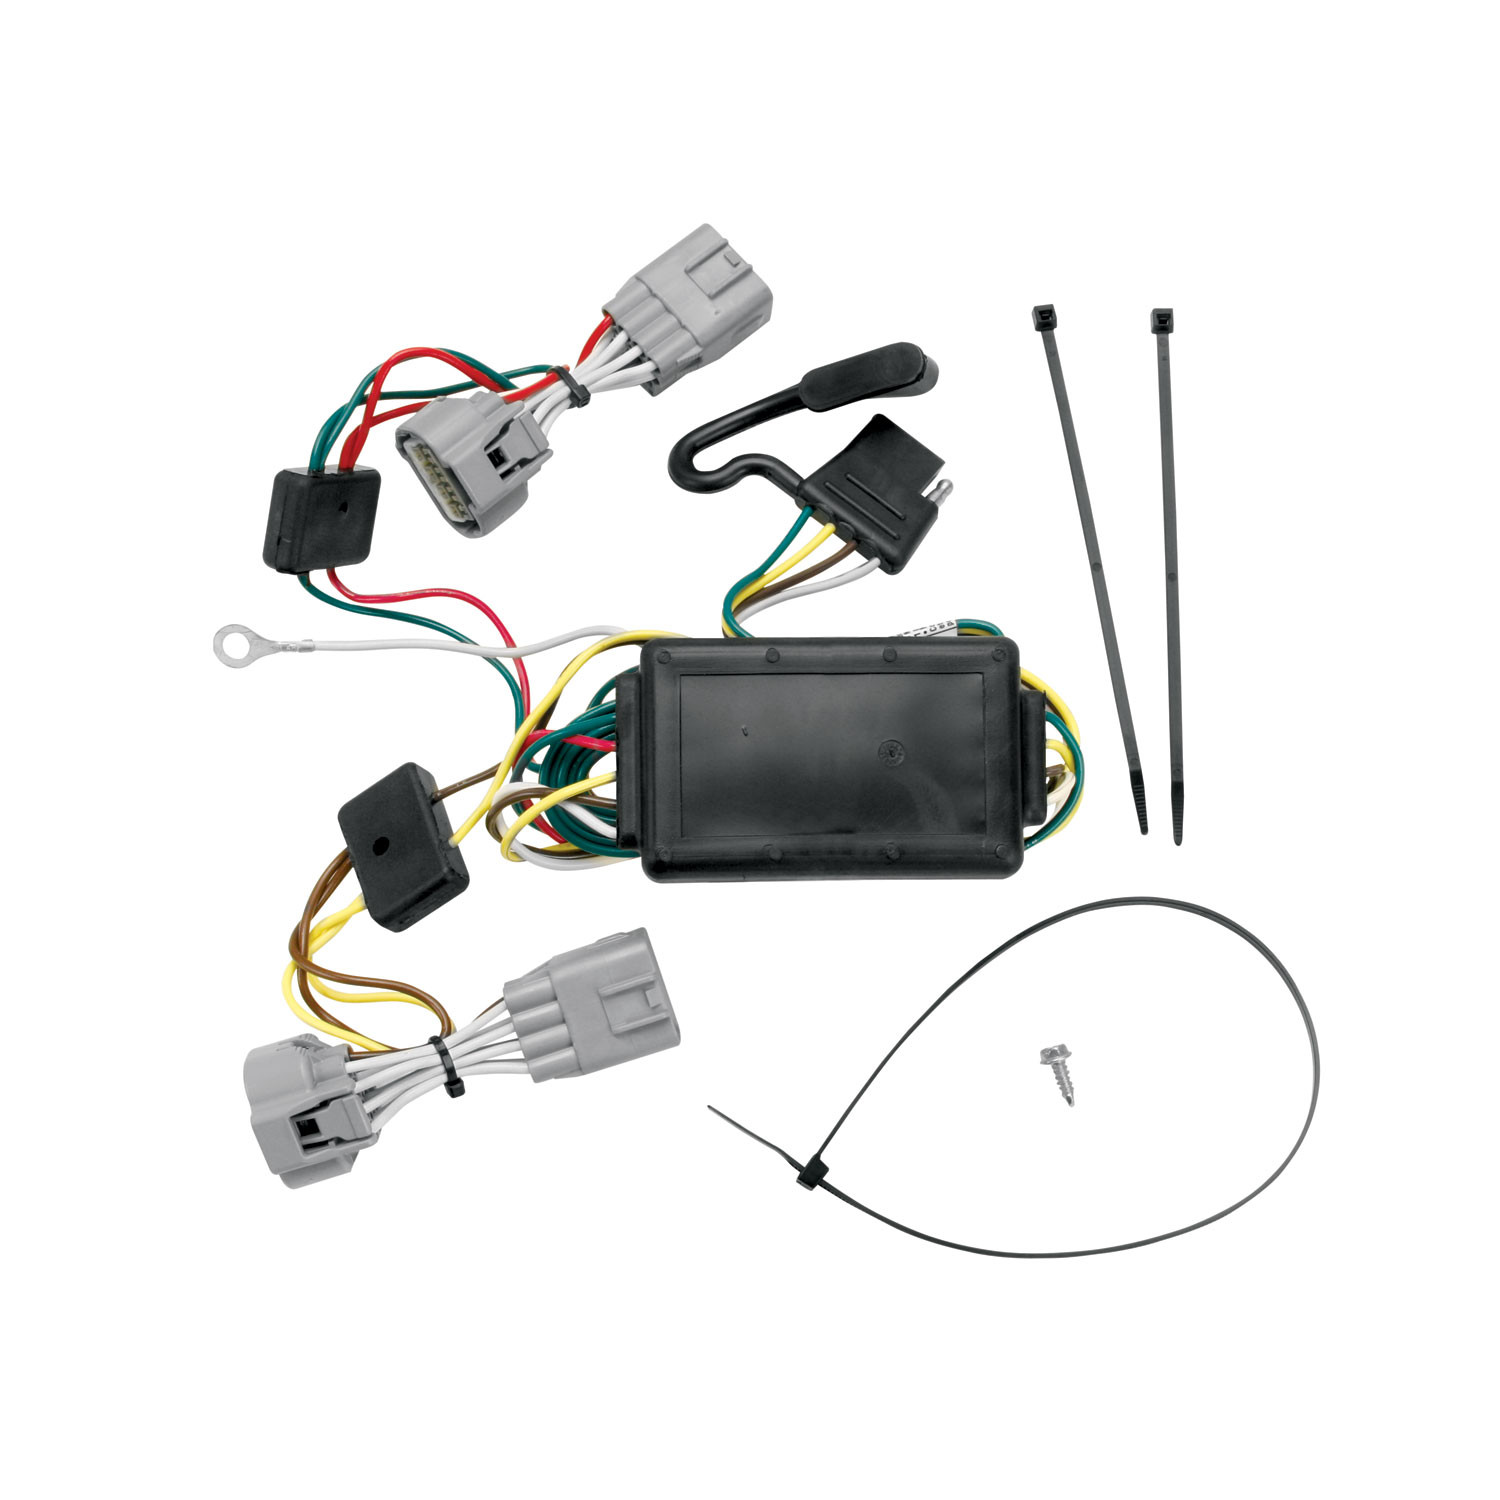
The T-Connector is a taillight wiring integration system that allows a trailer to connect to a vehicle's existing taillight circuits. It includes a converter (black box) that connects to the vehicle's taillight sockets and provides a 4-flat connector for trailer wiring. The system uses color-coded wires (yellow and green) to route signals from the vehicle's taillights to the trailer.
The manual does not specify which vehicle makes, models, or years are compatible with this T-Connector. You should verify compatibility with the manufacturer or retailer before purchasing, as the installation procedure assumes access to rear taillights with specific connector types and a tailgate that can be opened.
You need a T-20 Torx bit and driver. The manual also assumes you have a drill capable of making a 3/32" hole. All other hardware—cable ties, eyelet, and screw for the ground connection—are provided with the product.
The T-Connector kit includes the T-Connector harness with color-coded wires (yellow and green), a 4-flat connector, a converter (black box), cable ties, an eyelet, and a screw for securing the ground wire. All fasteners needed for installation are provided.
The manual does not specify whether battery disconnection is required. Contact the manufacturer or a qualified installer to confirm whether this step is necessary for your vehicle.
No. Step 1 requires you to open the rear tailgate and remove the T-20 Torx screws holding the taillights in place, then carefully pry the taillight housings rearward away from the vehicle. The taillights must be removed to access the connectors and route the wiring.
1. Open the rear tailgate and remove the T-20 Torx screws from the taillights. Carefully pry the taillight housings rearward, being careful not to break the alignment tabs. 2. Disconnect the wire harness from both taillight sockets; ensure all connector surfaces are clean and free of dirt. 3. Locate a grounding point on the driver's side near the connectors, drill a 3/32" hole, and secure the white wire with the eyelet using the provided screw. 4. Plug the T-Connector harness with the yellow wire between the vehicle's mating connectors on the driver's side. 5. Route the green wire and 4-flat connector down the opening behind the driver's side taillight, then to the center of the vehicle, then underneath and up through the passenger's side taillight opening. 6. Repeat step 4 on the passenger's side using the T-Connector harness end with the green wire. 7. Secure wires with cable ties, secure the converter in the driver's side taillight pocket below the taillight and between the vehicle and bumper, and reinstall both taillights.
Locate the black housings on the vehicle's taillight sockets that match the housings on the T-Connector. Beginning on the driver's side, plug the T-Connector harness containing the yellow wire in between the vehicle's mating connectors. Repeat this process on the passenger's side using the T-Connector harness end with the green wire. Ensure all connector surfaces are clean and free of dirt before connecting.
Yes. You must drill a 3/32" hole on the driver's side near the connectors to secure the white ground wire with an eyelet using the provided screw. Before drilling, verify what is behind the surface to avoid damage to the vehicle or personal injury. Do not drill into any exposed surfaces.
Drill a 3/32" hole on the driver's side near the connectors to secure the white ground wire with the eyelet and provided screw.
The T-Connector uses color-coded wires: yellow wire on the driver's side harness, green wire on the passenger's side harness, and white wire for the ground connection. The 4-flat connector carries the trailer signal wiring. The manual does not specify which wire corresponds to which taillight function (stop, turn, tail).
Route the harness containing the green wire and the 4-flat connector down the opening behind the taillight on the driver's side. Route the 4-flat harness to the center of the vehicle. Route the harness containing the green wire underneath the vehicle and up through the opening behind the passenger's side taillight. Route all wires carefully to avoid hot pipes, heat shields, the fuel tank, or any other points that may pinch or break the wire. Secure all wires with the cable ties provided.
Secure the converter through the driver's side taillight pocket, in the area below the taillight and between the vehicle and the bumper.
Do not exceed the lower of your towing manufacturer's rating or: maximum stop/turn light 2.1 amps per side (1 per side), or maximum tail lights 5.0 amps. Overloading the circuit can cause fires. Consult your vehicle's owner's manual and instruction sheet for additional information.
Route the wires carefully to avoid hot pipes, heat shields, the fuel tank, or any other points that may pinch or break the wire. Before drilling the ground hole, verify what is behind the surface to avoid damage to the vehicle or personal injury. Do not drill into any exposed surfaces.
After installation is complete, test and verify the installation with a test light or by connecting a trailer. All connections must be complete for the T-Connector to function properly. Ensure all wires are secured with cable ties and the converter is properly mounted before testing.
Before reinstalling the taillights, ensure all T-Connector harness connections are complete and properly seated in the vehicle's mating connectors on both driver's and passenger's sides. Verify that all wires are secured with cable ties, the converter is properly mounted in the driver's side taillight pocket, and all connector surfaces are clean. Test the installation with a test light or trailer to confirm proper function.
The manual does not specify compatible vehicle makes, models, or years. Verify compatibility with the manufacturer or retailer before purchasing.
You need a T-20 Torx bit and driver, and a drill capable of making a 3/32" hole. All fasteners, cable ties, eyelet, and screw are included.
Yes. You must remove the taillights by opening the tailgate, removing the T-20 Torx screws, and carefully prying the housings rearward to access the connectors.
Yes. You must drill a 3/32" hole on the driver's side to secure the white ground wire. Verify what is behind the surface before drilling to avoid damage.
Do not exceed 2.1 amps per side for stop/turn lights (1 per side) or 5.0 amps for tail lights. Do not exceed your towing manufacturer's rating. Overloading can cause fires.
Test with a test light or by connecting a trailer once all connections are complete and wires are secured. Verify all harness connections are seated properly on both sides.
Verify that all connections are complete. The manual states that all connections must be complete for the T-Connector to function properly. Check that: (1) the T-Connector harness with the yellow wire is fully plugged into the driver's side vehicle connectors, (2) the T-Connector harness with the green wire is fully plugged into the passenger's side vehicle connectors, (3) the white ground wire is securely fastened with the eyelet and screw, (4) all wires are routed correctly and not pinched or damaged, and (5) the converter is properly mounted. Test with a test light or trailer to verify function.
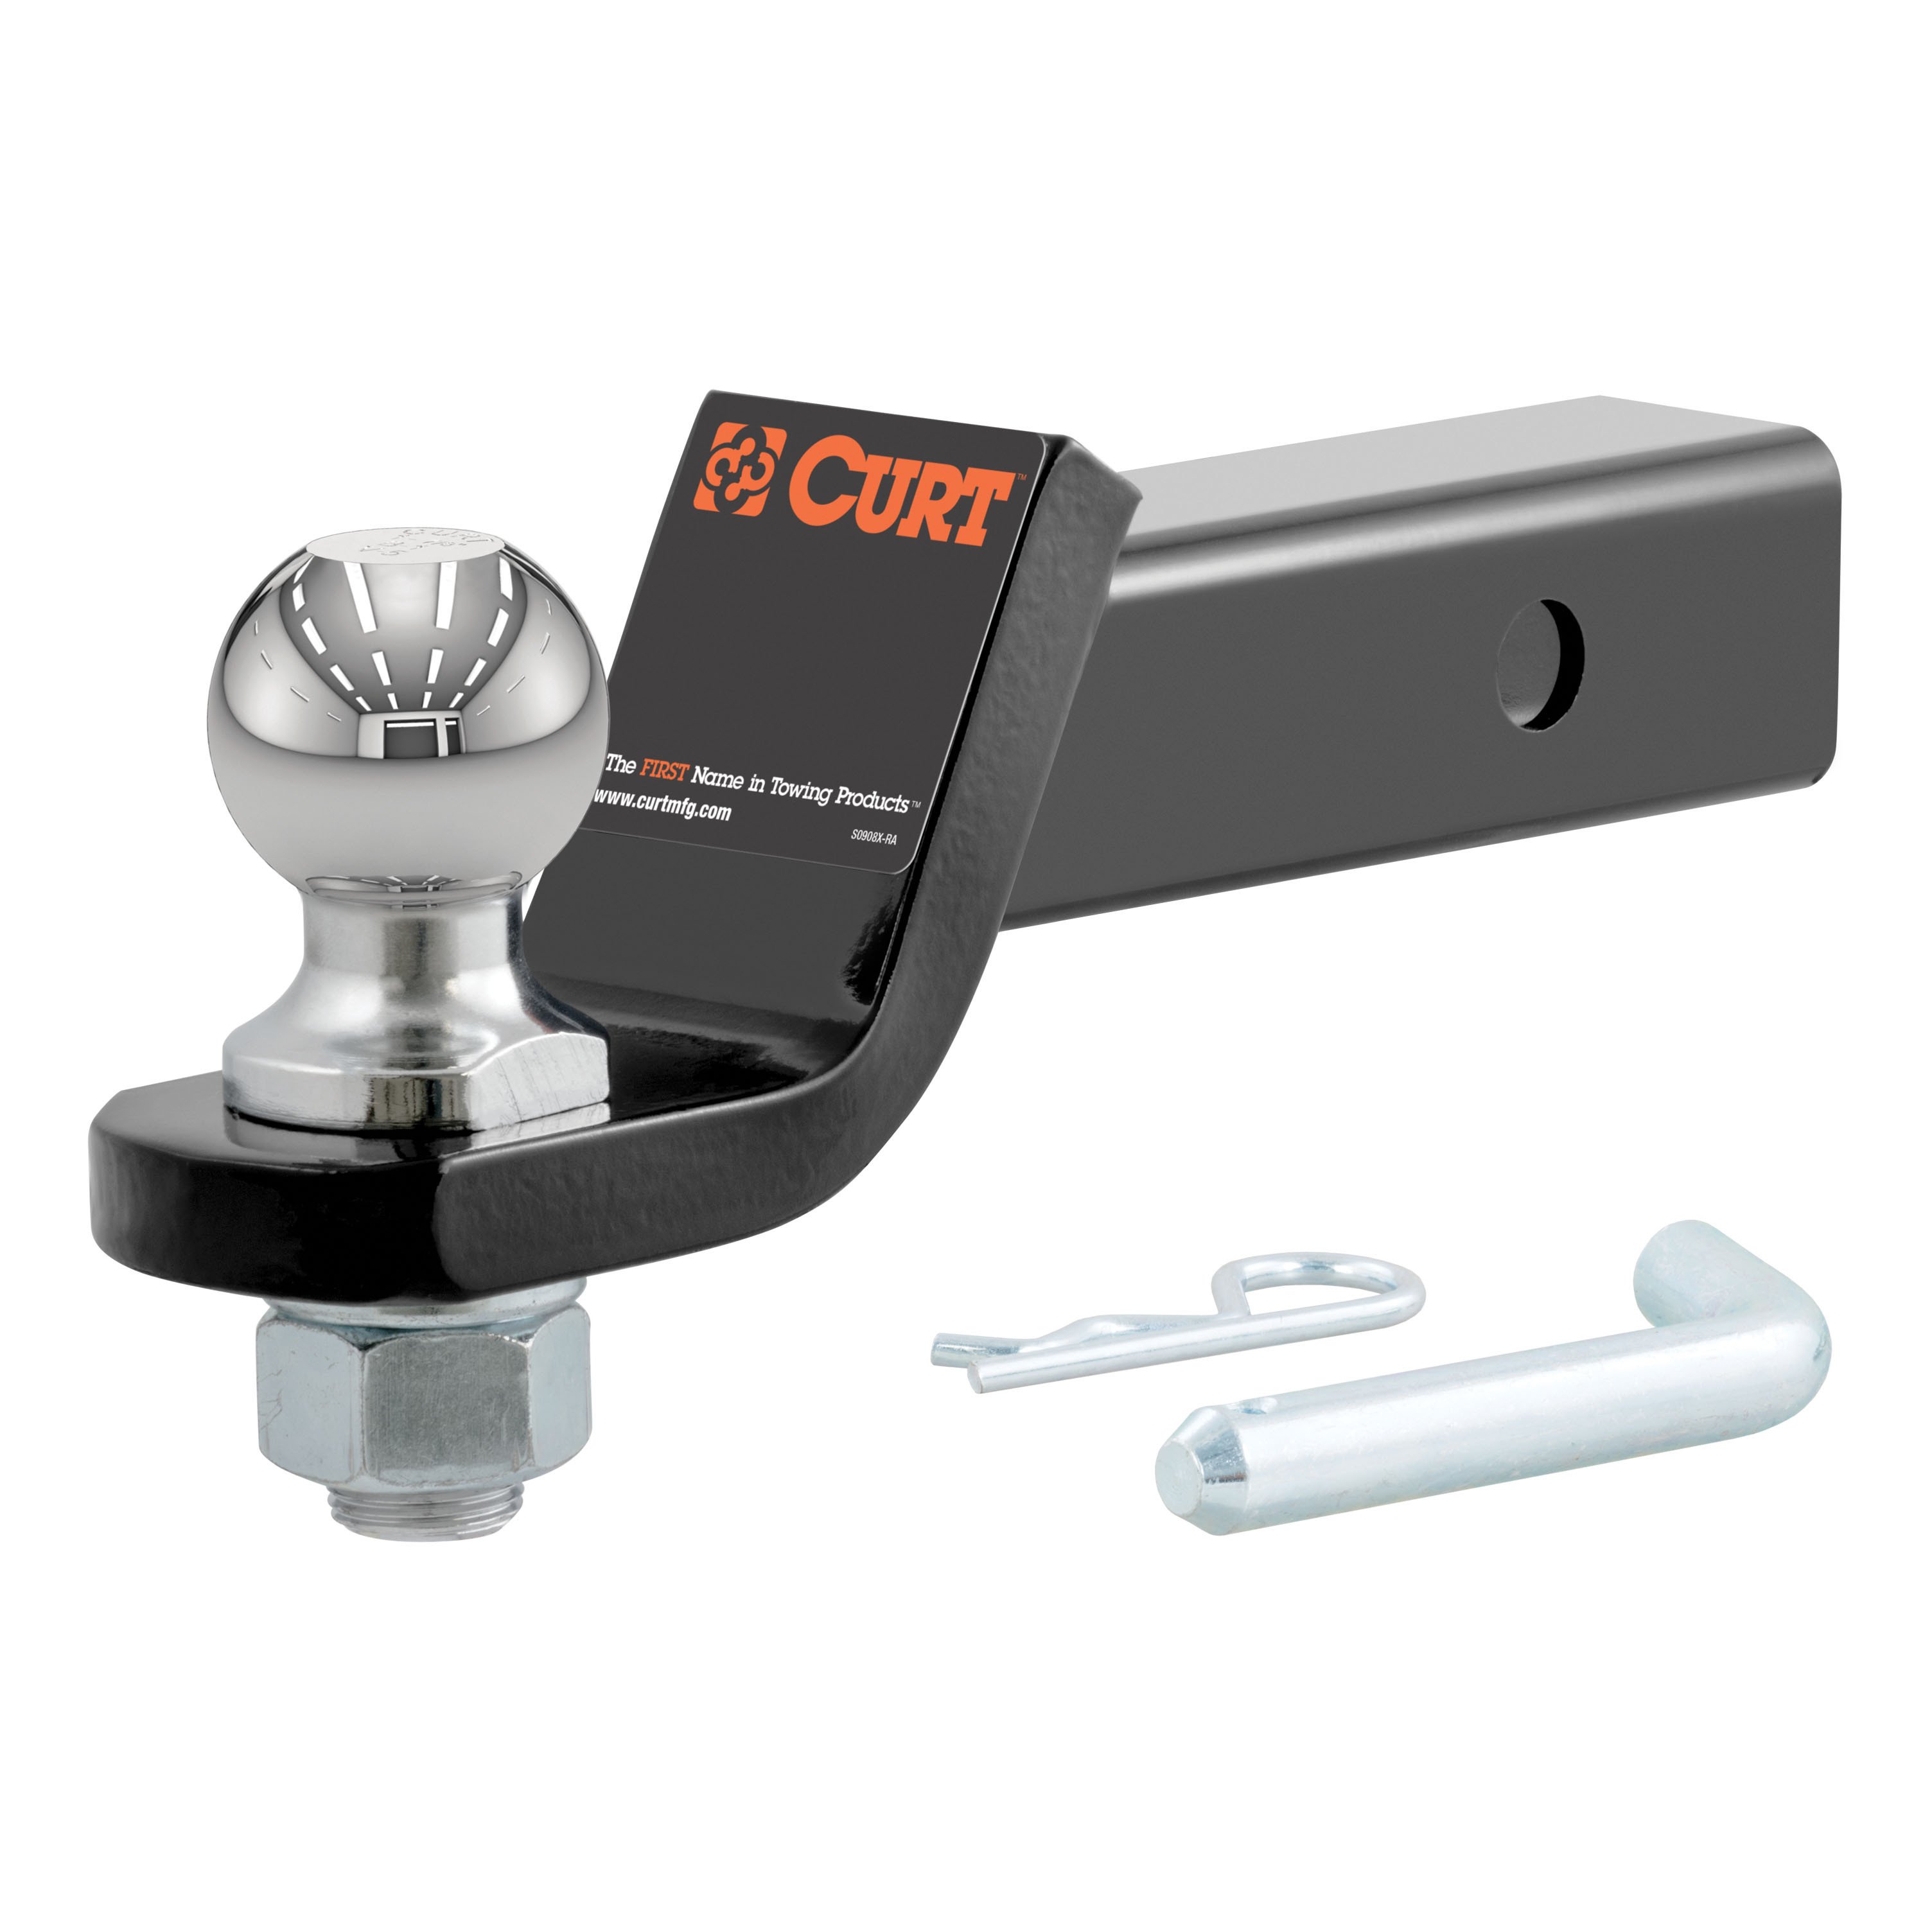


Total for 4 items:
$134.54$137.05
Free Shipping
Ships free on all orders
 Authorized Dealer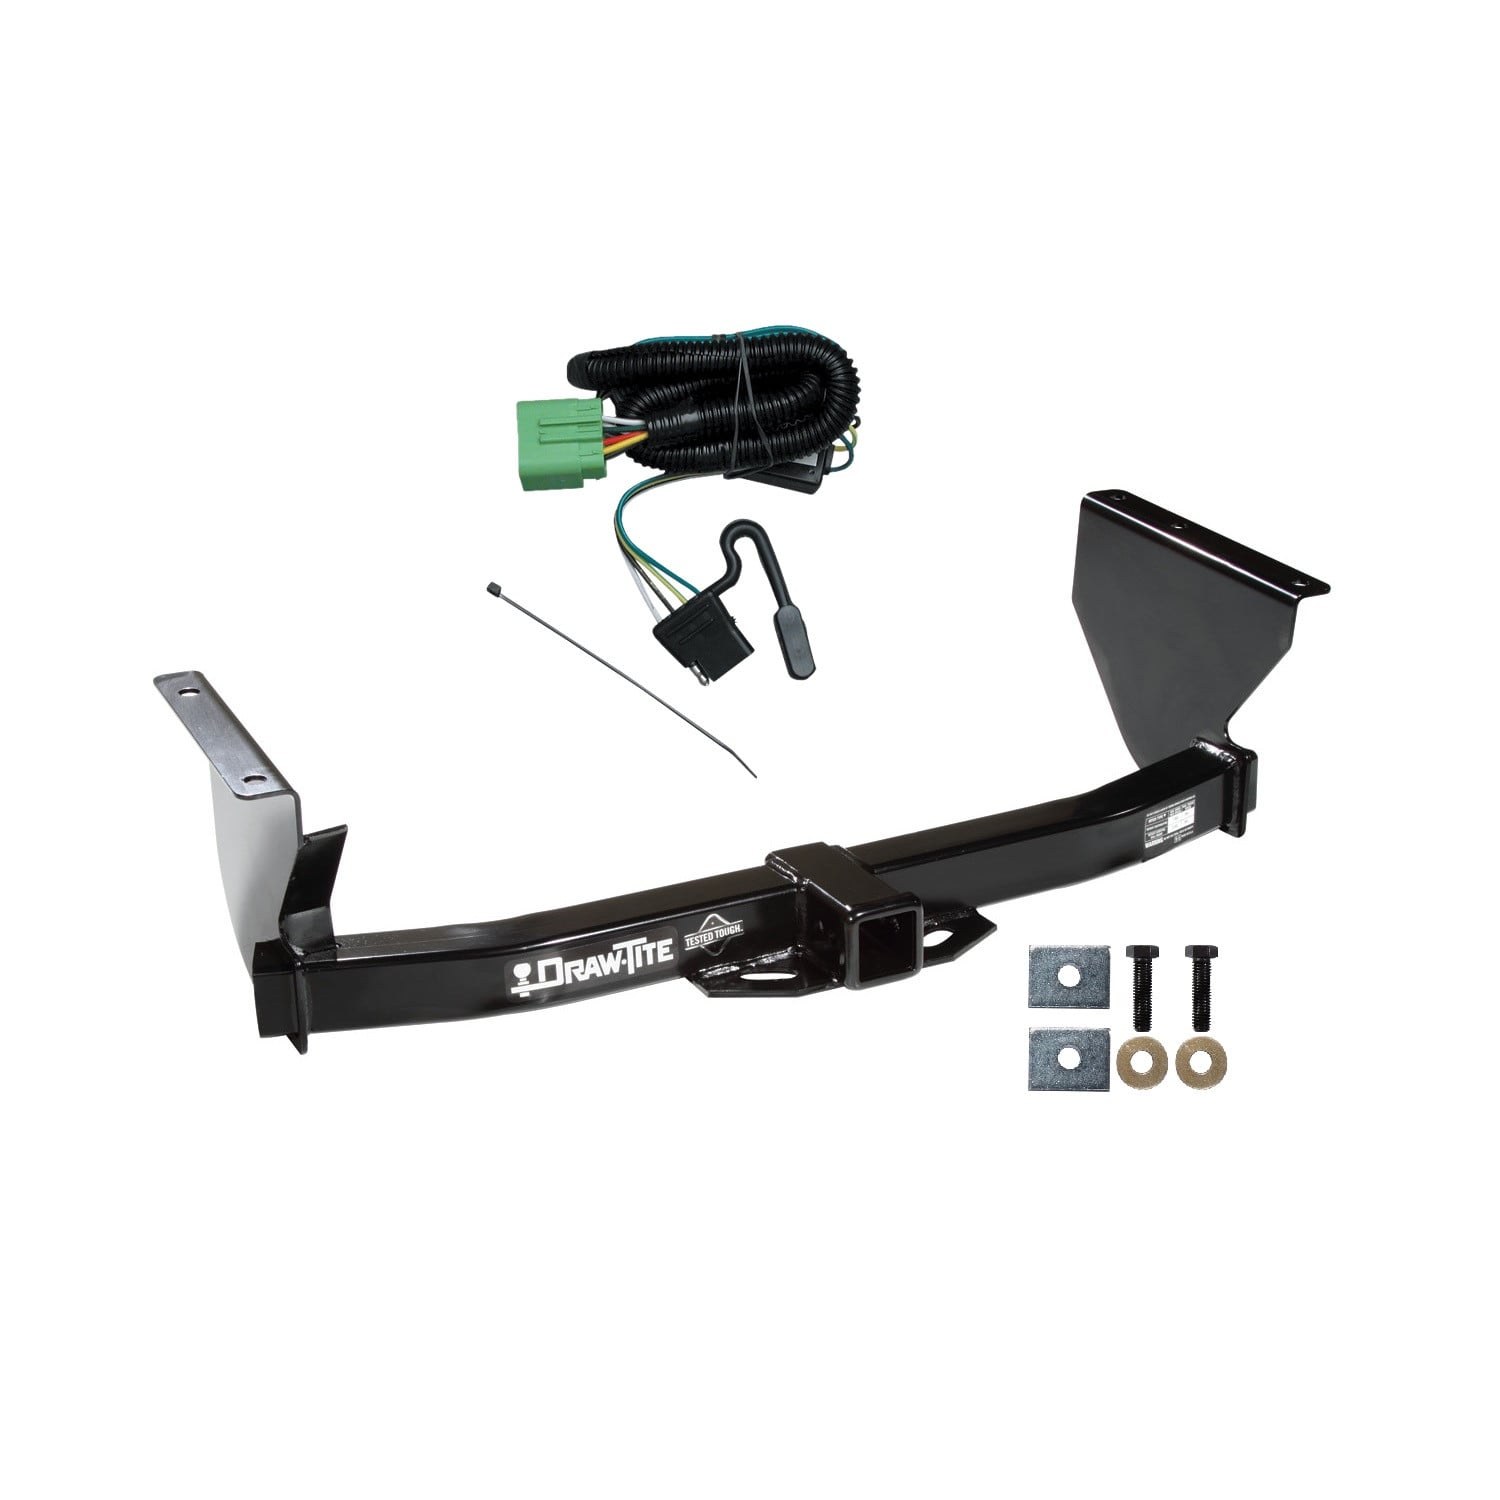
FREE ShippingFREE SHIPPING
Estimated delivery Sun, Sep 27 - Wed, Sep 30
Order before 2 PM EST Monday–Friday for same-day processing
Guaranteed safe & secure checkout
No reviews have been added for this product.