
CURT Class 3 Trailer Hitch, 2" Receiver, Select Jeep Cherokee KL (Exposed Main Body) Trailer HitchCURTOriginal price was $375.95. Current price is $253.99.In Stock
View productOur in-house experts typically reply within one business day.

CURT
Verify Fitment
Select your vehicle to confirm this part fits.
2014 - 2018 Jeep Cherokee
Confirmed to Fit






Always the correct part
We know our products
Quality Products
Free Shipping!
Always the correct part
We know our products
Quality Products
Free Shipping!
On Sale Today
Original price was $486.90. Current price is $347.41.You save $139.49 (29%)
Free Shipping
Ships free on all orders
 Authorized Dealer


Quick Ship
In stock and ready to ship — order now!
FREE ShippingFREE SHIPPING
Estimated delivery Fri, Oct 9 - Mon, Oct 12
Order before 2 PM EST Monday–Friday for same-day processing
Guaranteed safe & secure checkout
This custom kit fits the following vehicles:
All Hardware and Installation Instructions Included!
Driving the family up to the campground? Hauling tools and equipment from the home improvement store? Pulling your boat to the nearby swimming hole? Whatever your destination and whatever trailer you're towing, Bring It® with a CURT trailer hitch!
CURT class 3 trailer hitches are designed, built and tested to accommodate a wide variety of towing applications. They are used on everything from full-size cars, vans and crossovers to light-duty pickup trucks and SUVs. Class 3 trailer hitches are perfect for towing fishing boat trailers, popup campers, ATV trailers, utility trailers and much more. They are also ideal for adding storage space to your vehicle with a hitch-mounted cargo carrier or bike rack (NOTE: Never exceed the lowest-rated towing component).
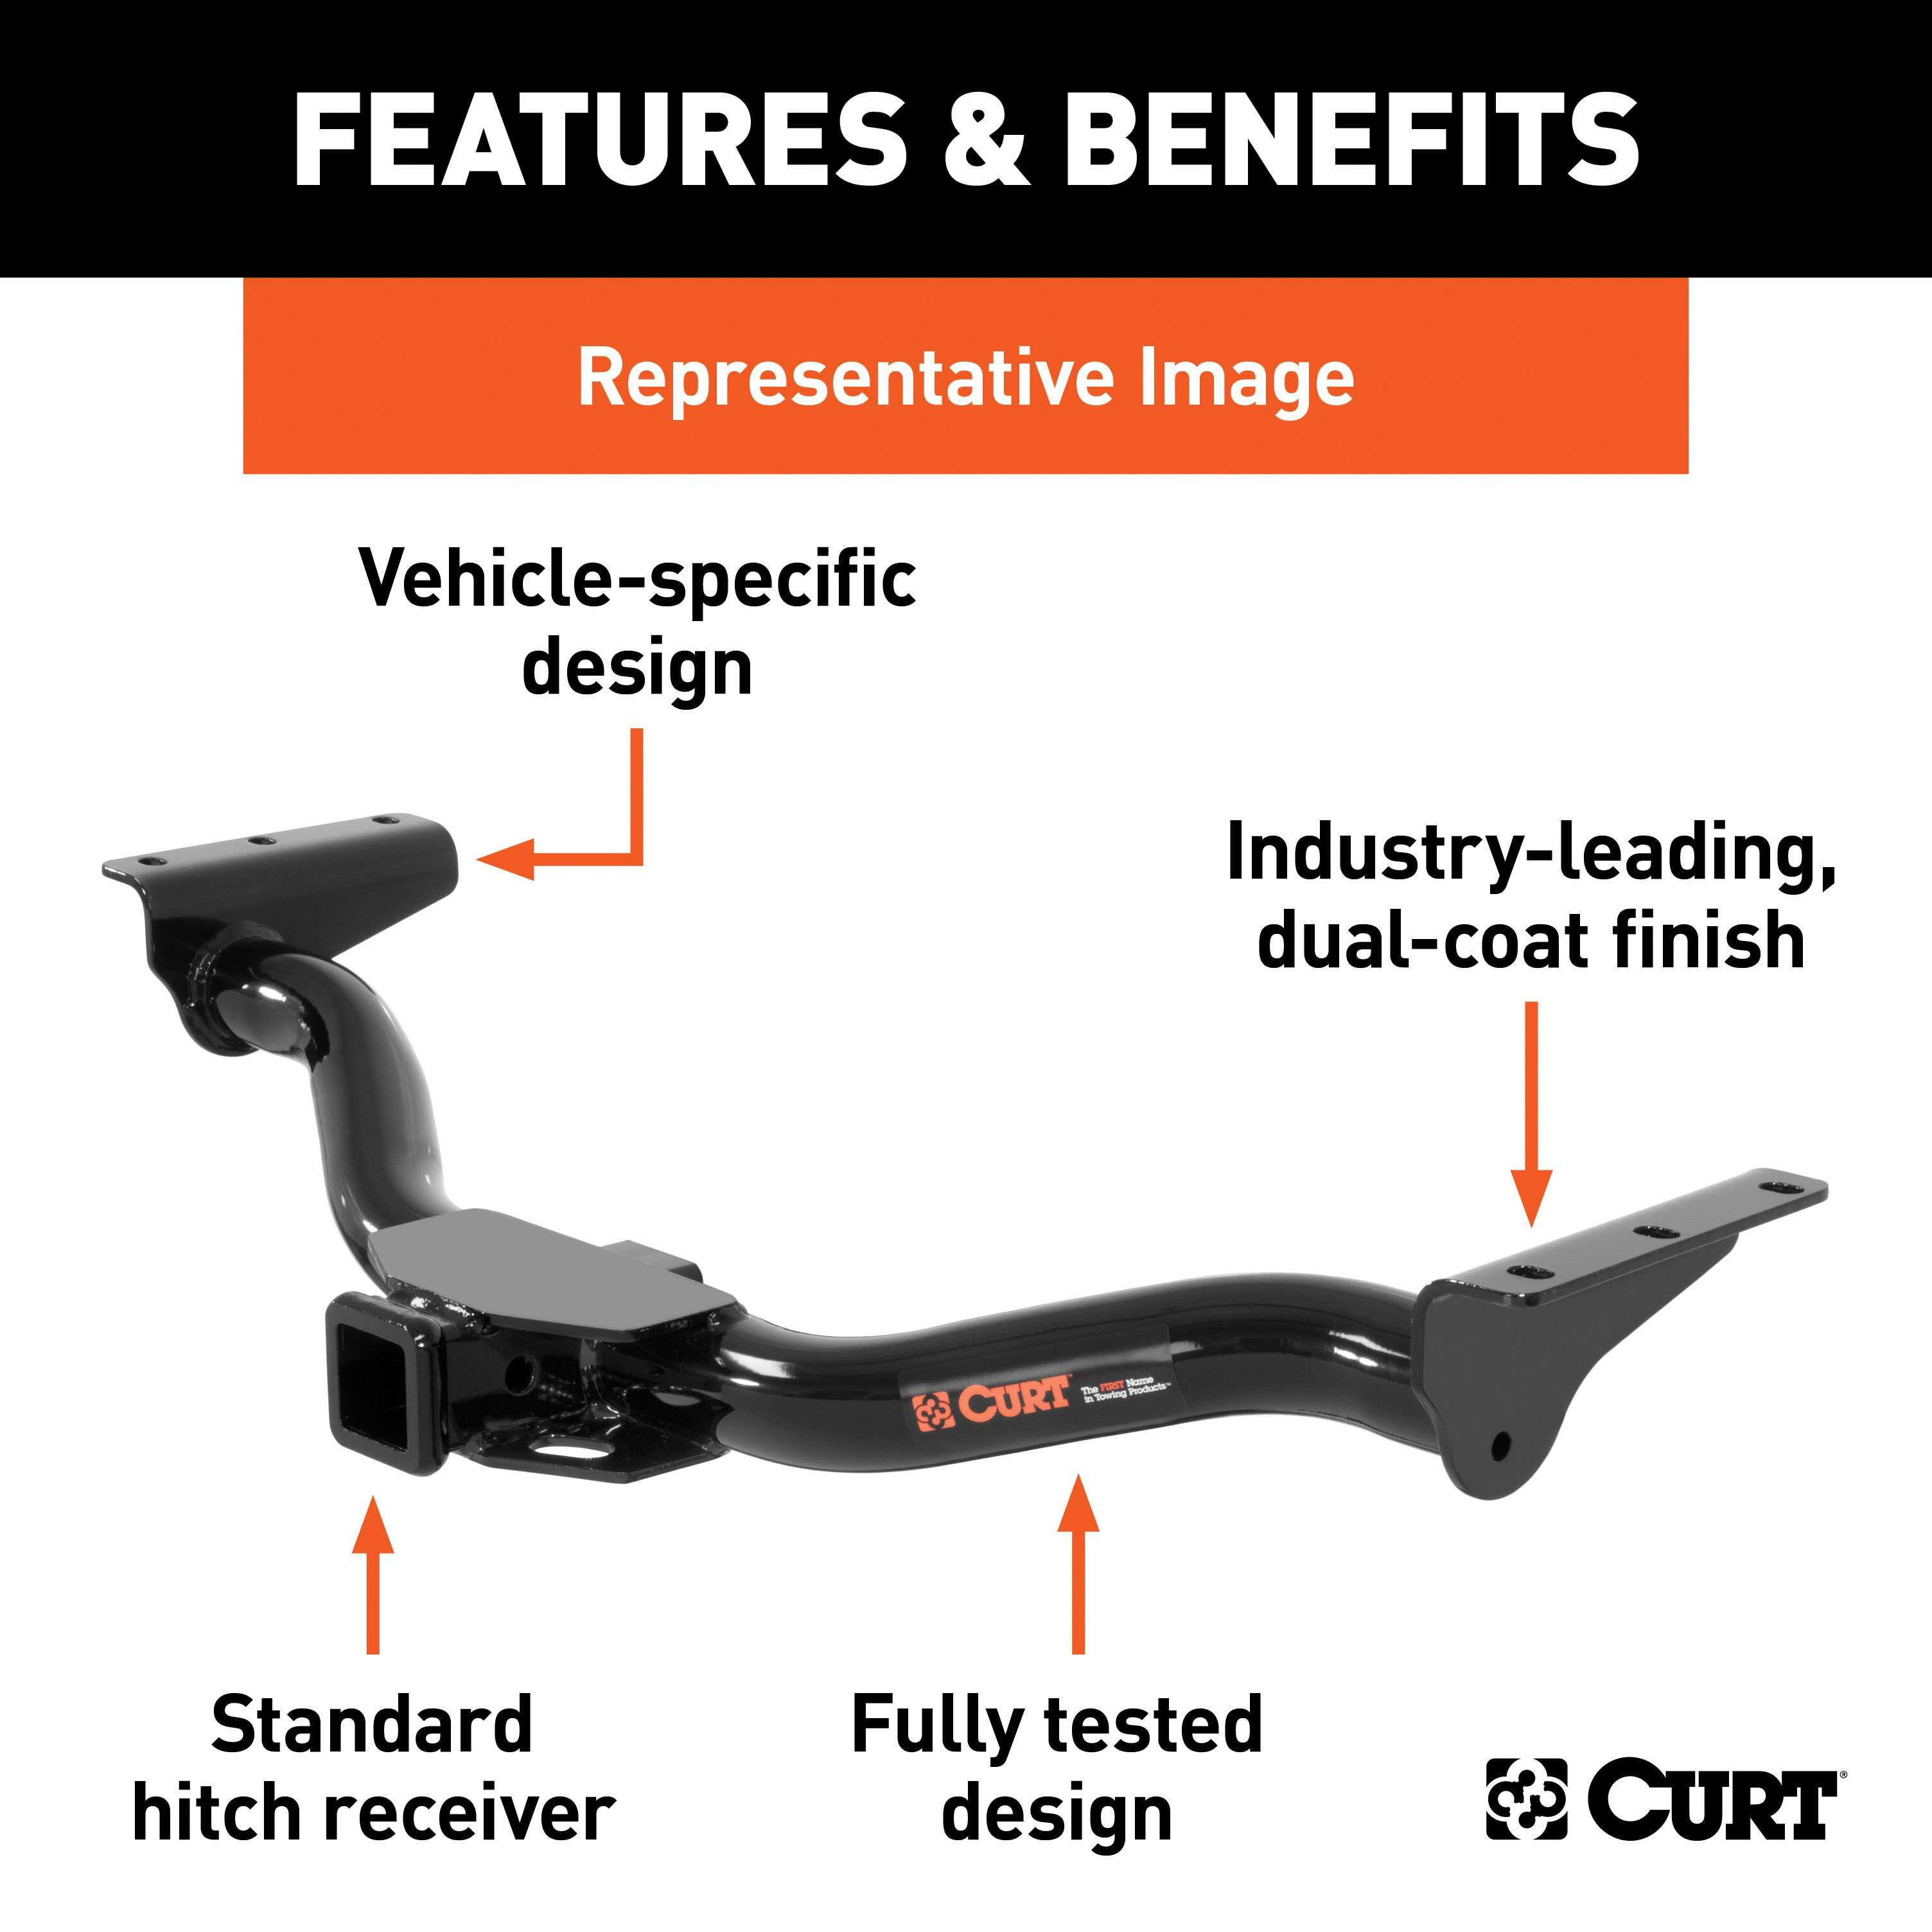
Each CURT class 3 hitch is engineered to fit on a specific vehicle. This provides the best possible fit and easiest installation. This particular custom class 3 hitch fits specific years of the Jeep Cherokee KL (to verify vehicle compatibility, see the CURT application guide or use the Vehicle Lookup tool). It is designed to integrate with the vehicle's existing features and offer a reliable connection to your trailer.
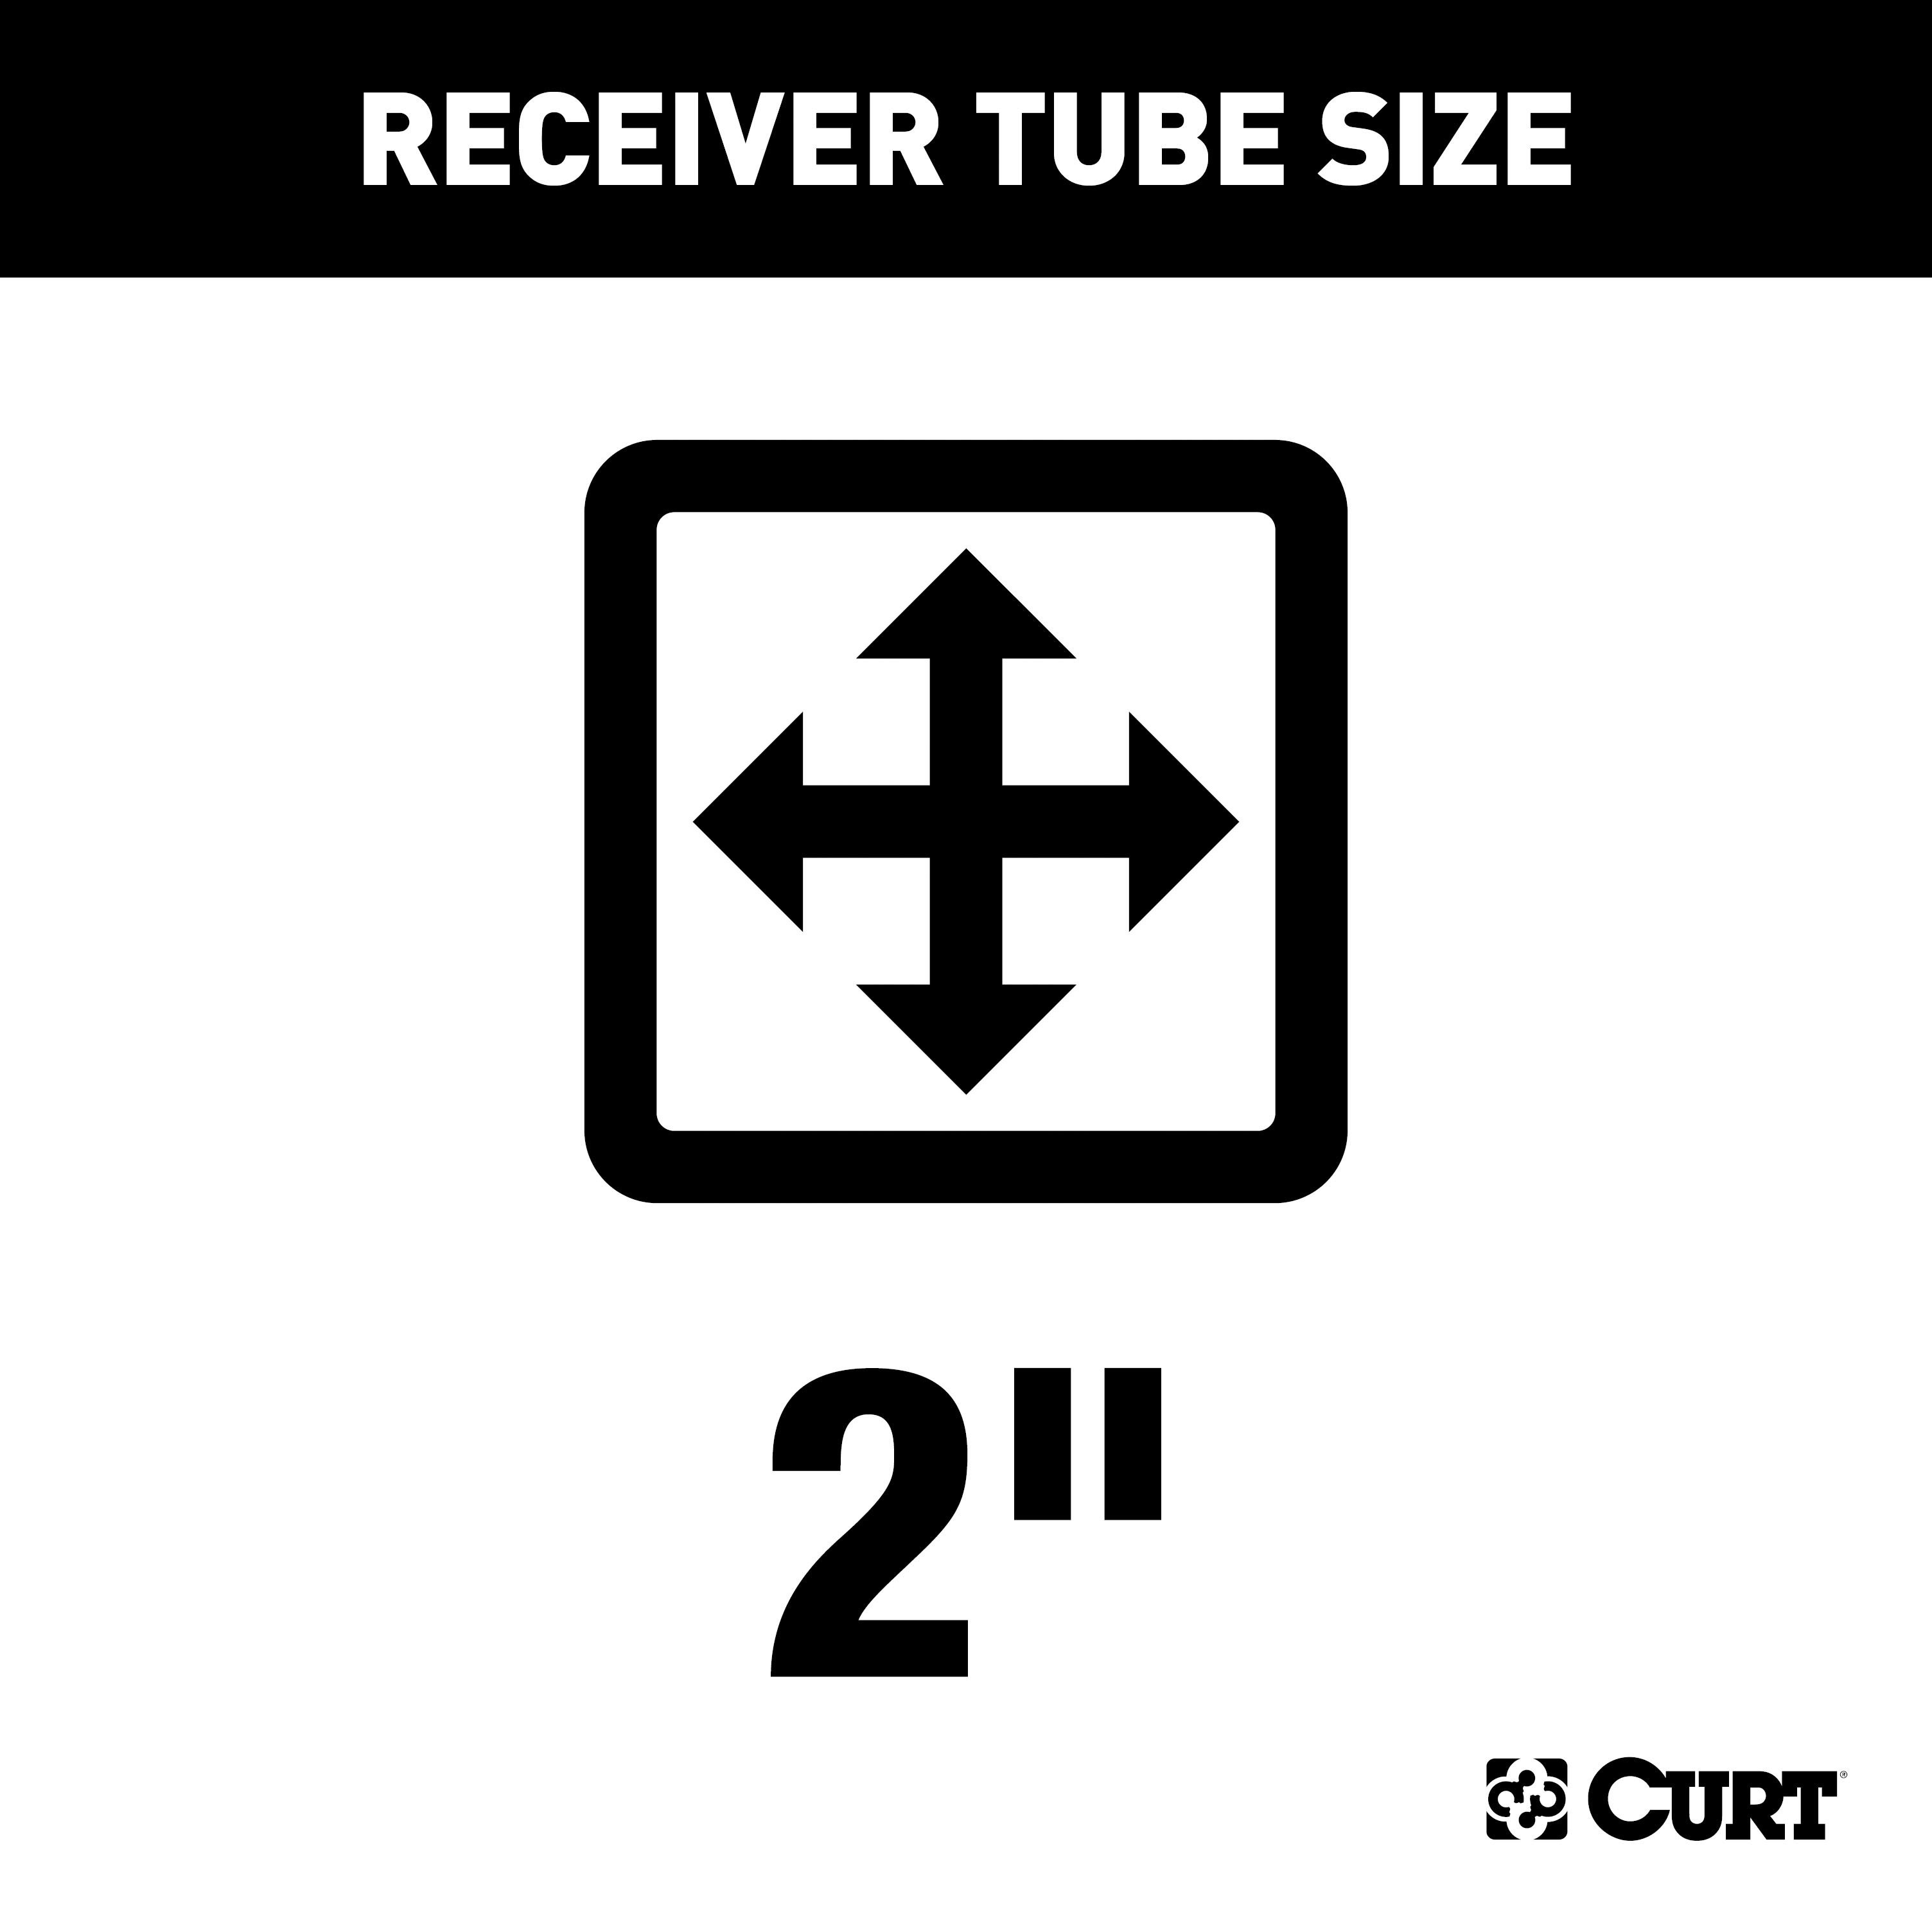
This Jeep Cherokee hitch is stringently tested in accordance with SAE J684 to ensure a weight carrying capacity of 5,000 lbs. gross trailer weight and 750 lbs. tongue weight. It is compatible with a weight distribution hitch to provide more stable towing and a weight distribution rating of 6,000 lbs. WD and 750 lbs. WDTW. It also features a 2" receiver tube opening to accept ball mount or other hitch accessory with a 2" x 2" shank.
From class 1 to class 5, all CURT custom-fit receiver hitches are made in the USA to ensure quality from design to finish (may include imported hardware). They are designed with hands-on engineering for a precise fit. They are welded using a combination of manual and robotic operations for speed and accuracy. Finally, they are finished with our unique co-curing process. Each hitch is dipped in a liquid A-coat for rust prevention, inside and out, and then co-cured in a durable black powder coat finish for maximum rust, chip and UV resistance.
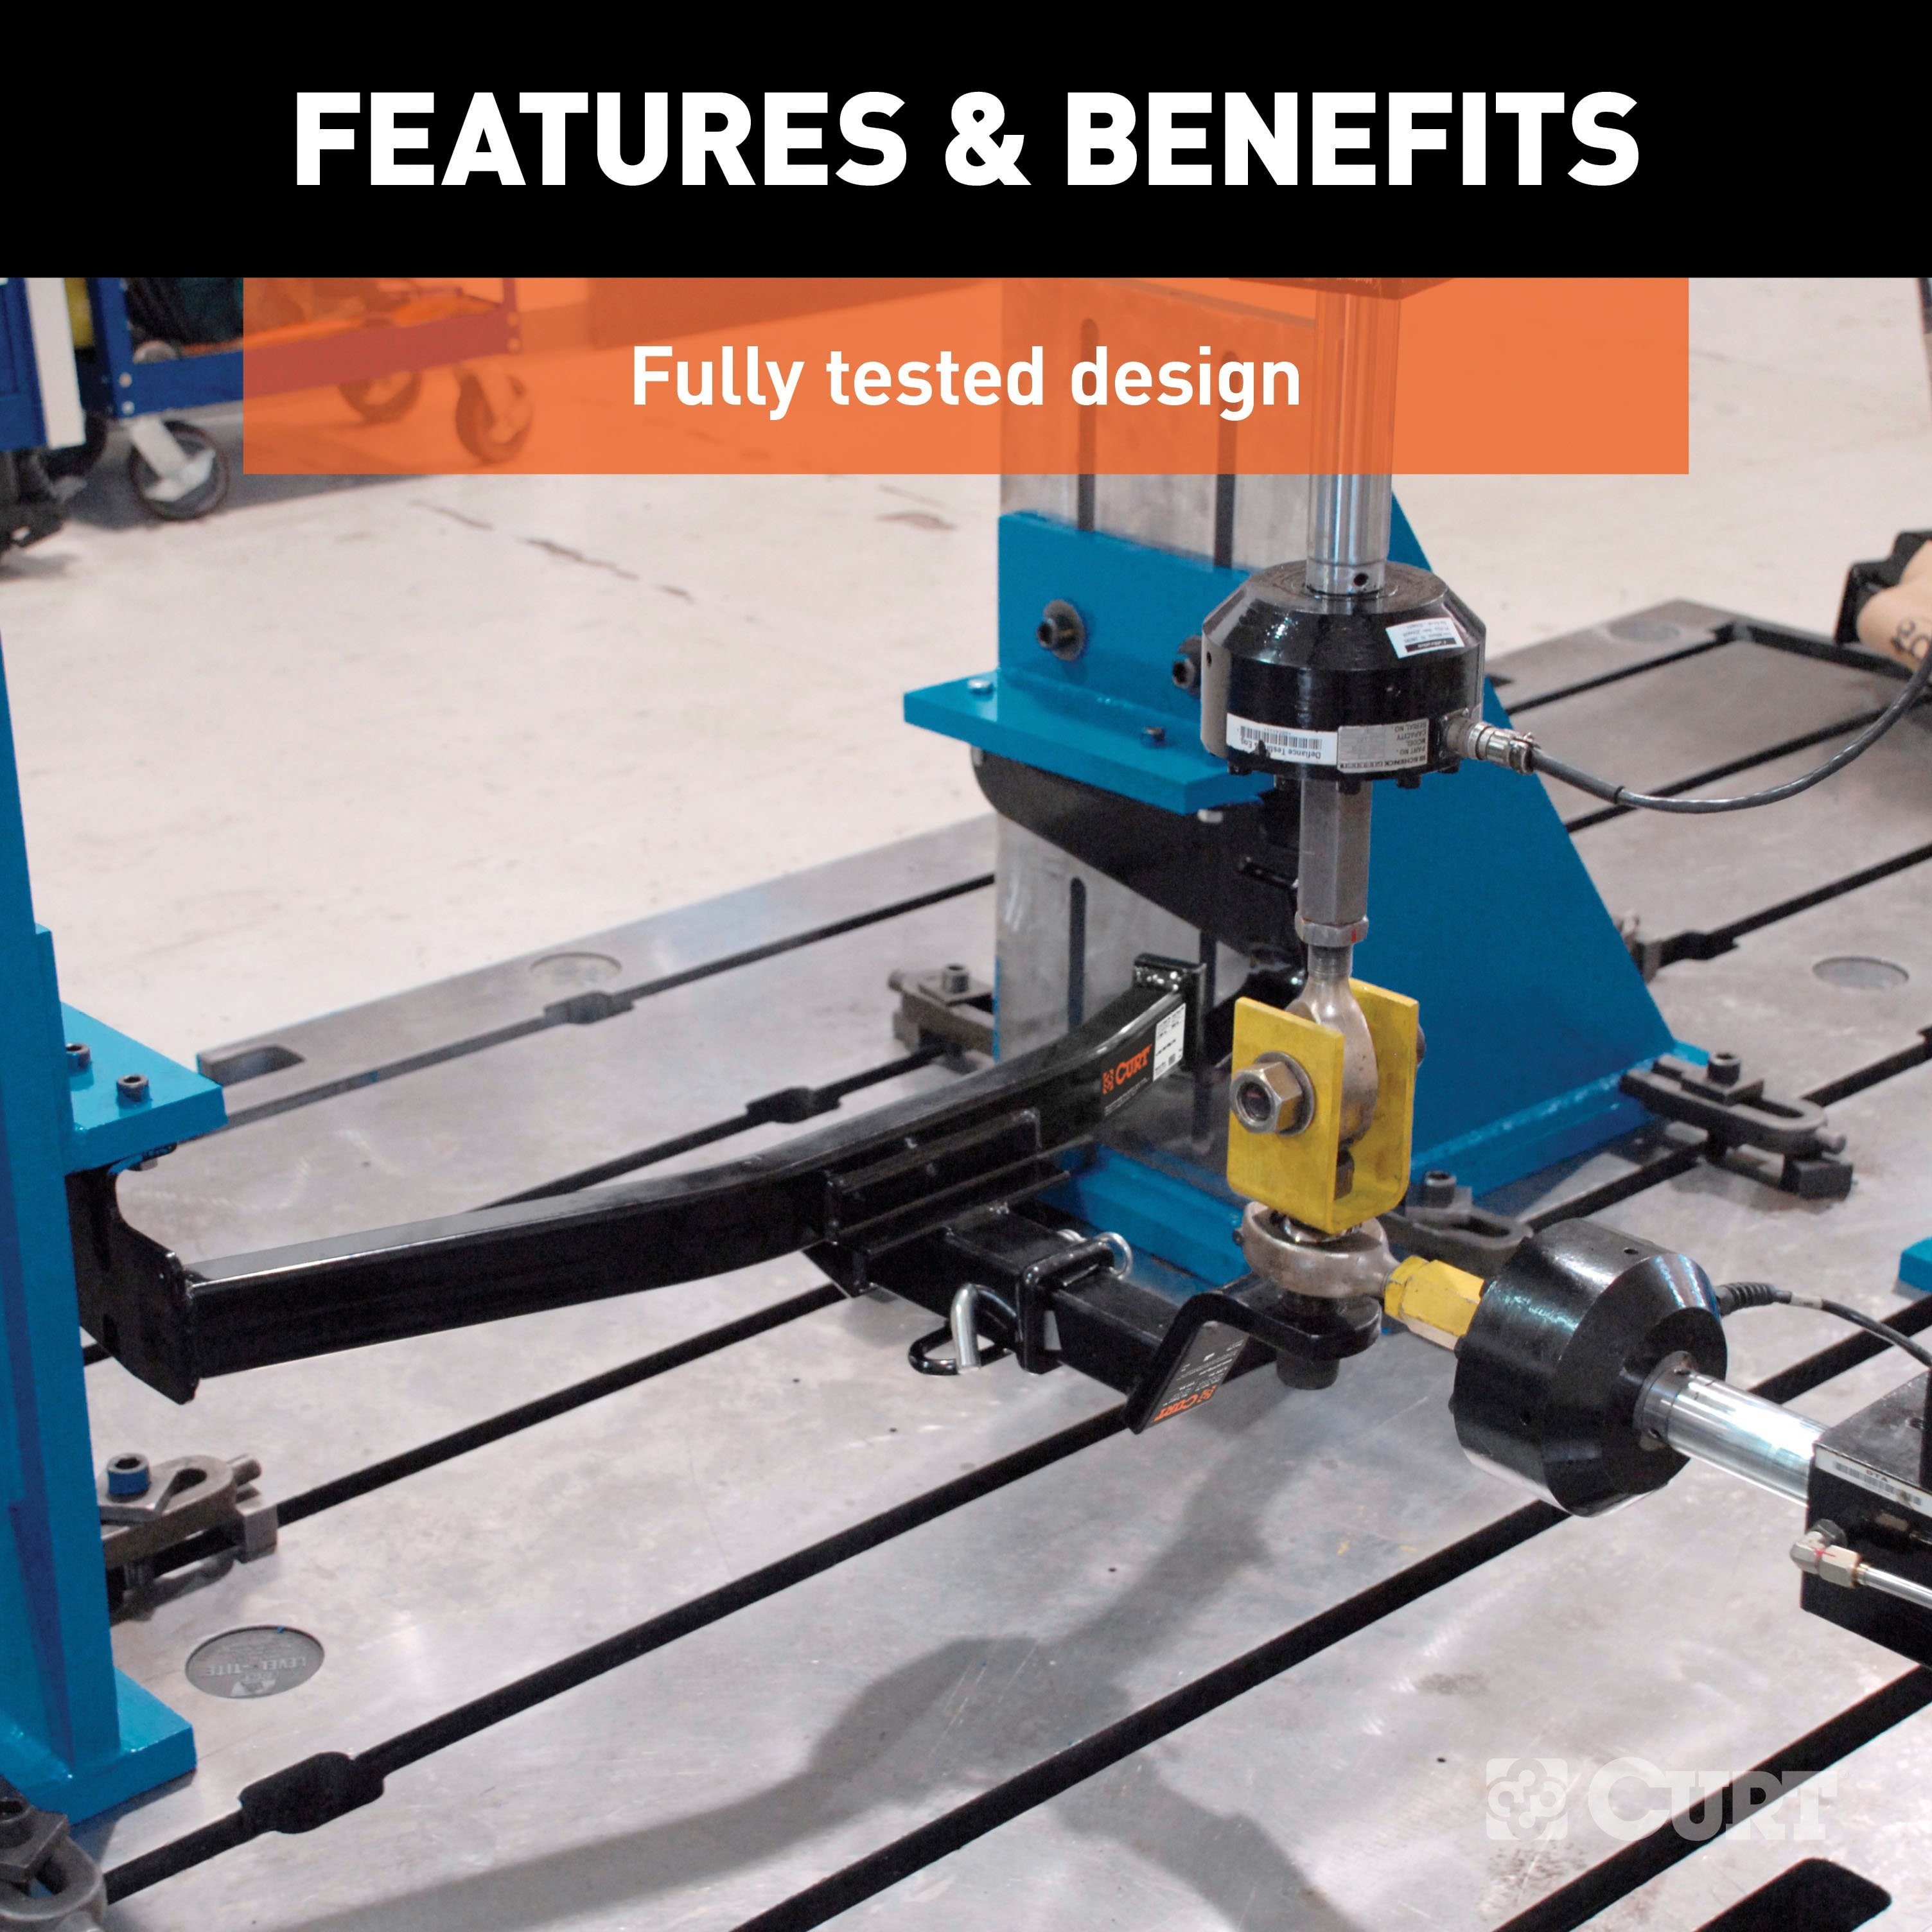
Every CURT custom hitch design is thoroughly tested at our in-house testing facility in Detroit, MI. We adhere to the proposed SAE J684 testing protocols to make sure that the hitch you mount on your vehicle will be a dependable means to enjoy your lifestyle.
Whatever your passion -- whether it's hunting, fishing, camping, offroading or hard work -- you can expect reliability for the road ahead. All CURT custom hitches are covered by a limited lifetime warranty to give you confidence in each adventure, season after season.
Notes:
Plugs into existing OEM vehicle socket to provide a 4-way flat socket | Simple plug-and-play design eliminates the need for cutting or splicing | 4-way flat output connects tail lights, brake lights and turn signals | Dust cover included to keep connector clean when not in use | Backed by a limited one-year warranty

CURT offers a variety of high-quality trailer hitches and accessories for select vehicle models. Find the perfect fit for your towing needs at TowUniverse.
CURT, a Lippert brand, offers a complete line of towing products and is the leading manufacturer of custom-fit trailer hitches. We offer the broadest selection of custom-fit hitches, and each one is designed, welded, and coated in Wisconsin.
CURT is also a leader in flat towing products, as well as 5th wheel, gooseneck, and weight distribution hitches, ball mounts, electrical components, cargo solutions, and other towing accessories.
For everything from passenger cars and vans to full-size pickups and SUVs, CURT is 'The First Name in Towing Products®.'

Experts available to answer your questions
Call 888-634-94941 compatible vehicles
| Year | Make & Model | Notes |
|---|---|---|
| 2014 - 2018 | Jeep Cherokee | — |
Yes, Curt part number 13171 fits all Jeep Cherokee models from 2014 to present, including Trailhawk variants.
When used as a weight-carrying hitch, the Curt 13171 supports a maximum trailer weight of 5,000 lbs and tongue weight of 750 lbs. When used as a weight-distribution hitch, it supports a maximum trailer weight of 6,000 lbs and tongue weight of 750 lbs. However, you must never exceed your vehicle manufacturer's recommended towing capacity.
The hitch weight is 48 lbs.
You will need a ratchet, sockets in 3/4", 8mm, and 21mm sizes, a 6" socket extension, and a torque wrench. A 10mm socket is also required for Trailhawk models to remove the plastic fascia panel screws. Safety glasses should be worn at all times during installation.
No, drilling is not required. The hitch uses existing frame rail holes accessed through square rubber plugs on each side of the frame.
Temporary plastic fascia removal is required only for Trailhawk models. Remove the 4 screws from the bottom of the panel using a 10mm socket, push on the tabs to unclip, and set aside for reassembly. Non-Trailhawk Cherokee models do not require fascia removal.
Two people may be required to ease installation, though the manual does not specify whether a second person is mandatory or optional.
1. For Trailhawk models, temporarily remove the plastic fascia panel by removing 4 screws with a 10mm socket and unclipping tabs. 2. Examine vehicle frame rails and unfasten any wire present by pulling the retainer out; remove square rubber plugs on each side to expose access holes. 3. Use fishwire to route rear and side mounting hole hardware through the access holes; use reverse fishwire for remaining hardware (both sides). For Trailhawk models, use only reverse fishwire hardware and the vehicle's M14 bolts. 4. Raise the hitch from in front of the exhaust into position, being careful not to push hardware back inside the frame; loosely secure with mounting hardware to align all holes before final tightening. 5. Resecure any wire to the vehicle frame rail as needed. 6. For Trailhawk models, clip the plastic fascia panel back into place and secure with 4 screws.
Torque all 1/2" hardware to 110 lb-ft. For Trailhawk models, torque all M14 hardware to 139 lb-ft.
Loosely secure the hitch with mounting hardware first to align all holes, then tighten them. This ensures proper alignment before final torquing.
Seam foam may need to be trimmed for proper mounting plate fit, but the manual does not specify the exact location or extent of trimming required.
The kit includes 6 serrated-flange nuts (1/2-13 UNC, Grade 8, YZ), 6 carriage bolts (1/2-13 UNC, 1-1/2", Grade 8, YZ), 6 pieces of 1/2" fishwire, and 6 square hole spacers (.250 x 1.00 x 3.00"). For Trailhawk models, the installation also uses the vehicle's existing M14 bolts.
Return the square rubber plugs to the vehicle owner after installation.
If wire is present on either side frame rail, unfasten it by pulling the retainer out of the frame and temporarily let it hang loose below the frame rail. After installation, resecure the wire to the vehicle frame rail as needed.
Safety glasses should be worn at all times while installing this product. Read all instructions thoroughly before beginning installation. Use proper tools to improve installation quality and reduce time required.
Periodically check the receiver hitch to ensure that all fasteners are tight and that all structural components are sound. The manual does not specify a retorque interval or maintenance schedule beyond this periodic inspection.
Curt Manufacturing LLC warrants this product to be free of defects in material and/or workmanship at the time of retail purchase by the original purchaser. If the product is found to be defective, Curt may repair or replace it at their option when returned prepaid with proof of purchase. Alteration to, misuse of, or improper installation voids the warranty. Curt's liability is limited to repair or replacement of defective products and excludes liability for incidental or consequential loss or damage.
Yes, the Curt 13171 fits all Jeep Cherokee models from 2014 to present, including Trailhawk variants.
No drilling is required. The hitch uses existing frame rail holes accessed through square rubber plugs.
You need a ratchet, 3/4", 8mm, and 21mm sockets, a 6" socket extension, a torque wrench, and a 10mm socket for Trailhawk models. Safety glasses are required.
Torque all 1/2" hardware to 110 lb-ft. For Trailhawk models, torque all M14 hardware to 139 lb-ft.
As a weight-carrying hitch: 5,000 lbs trailer weight, 750 lbs tongue weight. As a weight-distribution hitch: 6,000 lbs trailer weight, 750 lbs tongue weight. Never exceed your vehicle manufacturer's recommended towing capacity.
Temporary fascia removal is required only for Trailhawk models. Remove 4 screws with a 10mm socket, unclip tabs, and set aside for reassembly.
Wear safety glasses at all times during installation. Never exceed your vehicle manufacturer's recommended towing capacity. Read all instructions thoroughly before beginning.
Seam foam may need to be trimmed for proper mounting plate fit. Trim as necessary to allow the mounting plate to sit flush against the frame.
Use care when raising the hitch up from in front of the exhaust into position to avoid pushing hardware back inside the frame. If this occurs, use the fishwire or reverse fishwire to retrieve and reposition the hardware through the access holes.
Yes, the Curt 56208 Custom Wiring Harness is designed for Jeep Cherokee SUVs. It is compatible with the S (SUV, Mini & Full-Sized Van) category vehicles.
The Curt 56208 is a custom wiring harness that provides connections for trailer lighting. It includes signal circuits rated at 3.0 amps per side and tail/running circuits rated at 6.0 amps total. The harness terminates in a 4-flat connector for trailer connection.
You will need a Phillips screwdriver, a T-15 Torx bit, and a T-27 Torx bit. A test light or properly wired trailer is also needed to test the harness after installation.
The harness includes a custom wiring harness with yellow and green wire ends, a black converter box, a white ground wire with ring terminal, a provided screw for grounding, double-sided tape for the converter box, a 4-flat dust cover, and cable ties for securing loose wires.
The manual does not explicitly state whether the battery must be disconnected before installation. However, it does specify that the battery connection must be fuse-protected with a 10-amp max fuse. Consult the included CME-PCL-INS sheet for battery connection details, or contact the manufacturer for safety guidance.
You must remove the tailgate, two cargo-tie down fasteners on each side, the storage holder on the driver side, the trunk floor cover, two Phillips screws securing the spare tire surround, T-15 Torx screws securing the cargo-tie down to the scuff panel, and the rear scuff panel. Then remove the two T-27 Torx screws securing each taillight housing.
Drilling may be required for the ground wire connection. You must locate a suitable grounding point near the taillight connector—either an existing screw with nut in the vehicle frame, or drill a 3/32" pilot hole for the provided screw. The area must be free of rust, dirt and paint. Before drilling, check for hidden items behind or under any surface to avoid damage and personal injury.
Yes. You must locate the grommet behind the taillight where the vehicle taillight wiring passes through, remove it, and cut a slit large enough to route the custom wiring harness through. After routing the harness, reseat the grommet using the provided sealant to seal the cut and around all wires.
The pilot hole size is 3/32". This hole is drilled only if a suitable existing screw with nut in the vehicle frame is not available for grounding the white ground wire.
The battery connection must be fuse-protected with a 10-amp max fuse. Exceeding this rating can cause loss of warranty, overheating and potential fire. Do not exceed the product rating or tow vehicle lamp load rating, whichever is lower.
Signal circuits are rated at 3.0 amps per side. Tail and running circuits are rated at 6.0 amps total. Do not exceed these ratings or the tow vehicle lamp load rating, whichever is lower.
The custom wiring harness has a yellow wire end that connects to the driver side taillight connector and a green wire end that connects to the passenger side taillight connector. The white wire is the ground wire. The black wire connects to the vehicle battery (see the included CME-PCL-INS sheet for routing details).
Route the custom wiring harness end with the yellow wire (driver side) or green wire (passenger side) out through the grommet opening and slit. Insert the harness end between the separated taillight connectors. Make sure the connectors are fully inserted with locking tabs in place. Repeat for the passenger side using the green wire end.
Locate a flat spot inside the vehicle near the taillight and adhere the black converter box using the provided double-sided tape.
Locate a suitable grounding point near the taillight connector, such as an existing screw with nut in the vehicle frame. If none is available, drill a 3/32" pilot hole. The area must be free of rust, dirt and paint. Secure the white ground wire using the ring terminal and provided screw.
When in use, route the 4-flat connector to the center of the vehicle and out of the trunk. When not in use, roll it up and store in a convenient, out-of-the-way location inside the trunk. Secure any loose wires with the provided cable ties.
Test for proper function by using a test light or connecting a properly wired trailer. All steps must be followed to ensure the wiring harness functions properly before testing.
Do not exceed the product rating or tow vehicle lamp load rating, whichever is lower. The product is rated for signal circuits at 3.0 amps per side and tail/running circuits at 6.0 amps total. Check your vehicle owner's manual or contact the vehicle manufacturer for your specific tow vehicle lamp load rating.
Exceeding the product rating can cause loss of warranty, overheating and potential fire. Do not exceed the product rating or tow vehicle lamp load rating, whichever is lower.
Yes. When removing the taillight housing, carefully pull it rearward and take care not to damage the alignment tabs on the back. When separating the connectors from the taillight housing, take care not to damage the locking tabs.
Yes, the Curt 56208 is designed for Jeep Cherokee SUVs.
You need a Phillips screwdriver, T-15 Torx bit, and T-27 Torx bit. A test light or properly wired trailer is needed to test after installation.
Drilling may be required for the ground wire connection if no existing screw with nut is available in the vehicle frame. You would drill a 3/32" pilot hole. Cutting the grommet behind the taillight is required.
The battery connection must be fuse-protected with a 10-amp max fuse. Exceeding this can cause loss of warranty, overheating and potential fire.
No reviews have been added for this product.