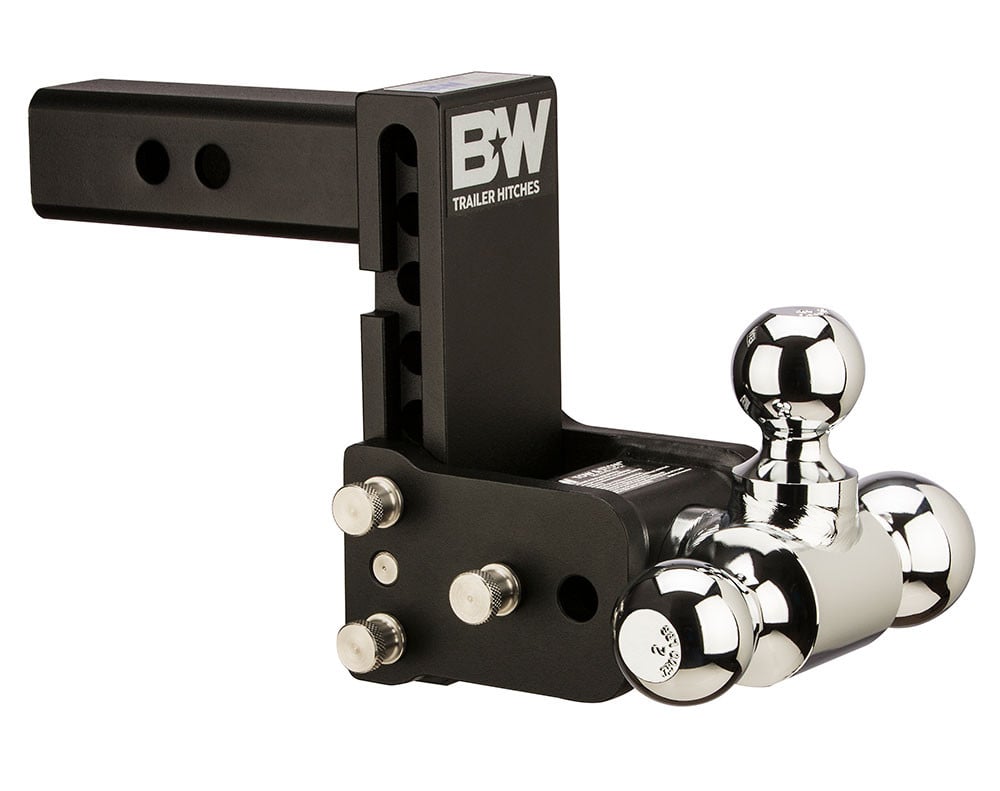
B&W 10K 5" Drop 5.5" Rise ( 1-7/8" , 2-5/16" Balls) Adjustable Ball Mount Hitch For 2" Recievers TS10048BB&W Trailer Hitches$279.00In Stock
View productOur in-house experts typically reply within one business day.

CURT
Verify Fitment
Select your vehicle to confirm this part fits.
2021 - 2024 Mercedes-Benz GLA250
Confirmed to Fit


Always the correct part
We know our products
Quality Products
Free Shipping!
Always the correct part
We know our products
Quality Products
Free Shipping!
Select your vehicle to find the exact plug-and-play parts that fit — no cutting or splicing.

| Finish | GLOSS BLACK POWDER COAT |
| Main Body Shape | Square |
| Material | Carbon Steel |
| Mount Type Description | Not Applicable |
| Receiver Tube Size | 2 IN |
| Side Application Type Description | Not Applicable |
| Tongue Weight (TW) | 525 LBS |
| Warranty | Limited Lifetime Warranty (One-Year Finish, One-Year Parts) |
| Weight Carrying Capacity (WC) | 3,500 LBS |
| Side Application Type Description | Blank |
| Tongue Weight (TW) | 350 LB |
| Warranty | Limited Lifetime Warranty (One-Year Finish, One-Year Parts) |
| Drop | 3-1/4 IN |
| Finish | GLOSS BLACK POWDER COAT |
| Gross Trailer Weight (GTW) | 3,500 LB |
| Material | Blank |
| Mount Type Description | Blank |

CURT offers a variety of high-quality trailer hitches and accessories for select vehicle models. Find the perfect fit for your towing needs at TowUniverse.
CURT, a Lippert brand, offers a complete line of towing products and is the leading manufacturer of custom-fit trailer hitches. We offer the broadest selection of custom-fit hitches, and each one is designed, welded, and coated in Wisconsin.
CURT is also a leader in flat towing products, as well as 5th wheel, gooseneck, and weight distribution hitches, ball mounts, electrical components, cargo solutions, and other towing accessories.
For everything from passenger cars and vans to full-size pickups and SUVs, CURT is 'The First Name in Towing Products®.'

Experts available to answer your questions
Call 888-634-94941 compatible vehicles
| Year | Make & Model | Notes |
|---|---|---|
| 2021 - 2024 | Mercedes-Benz GLA250 | — |
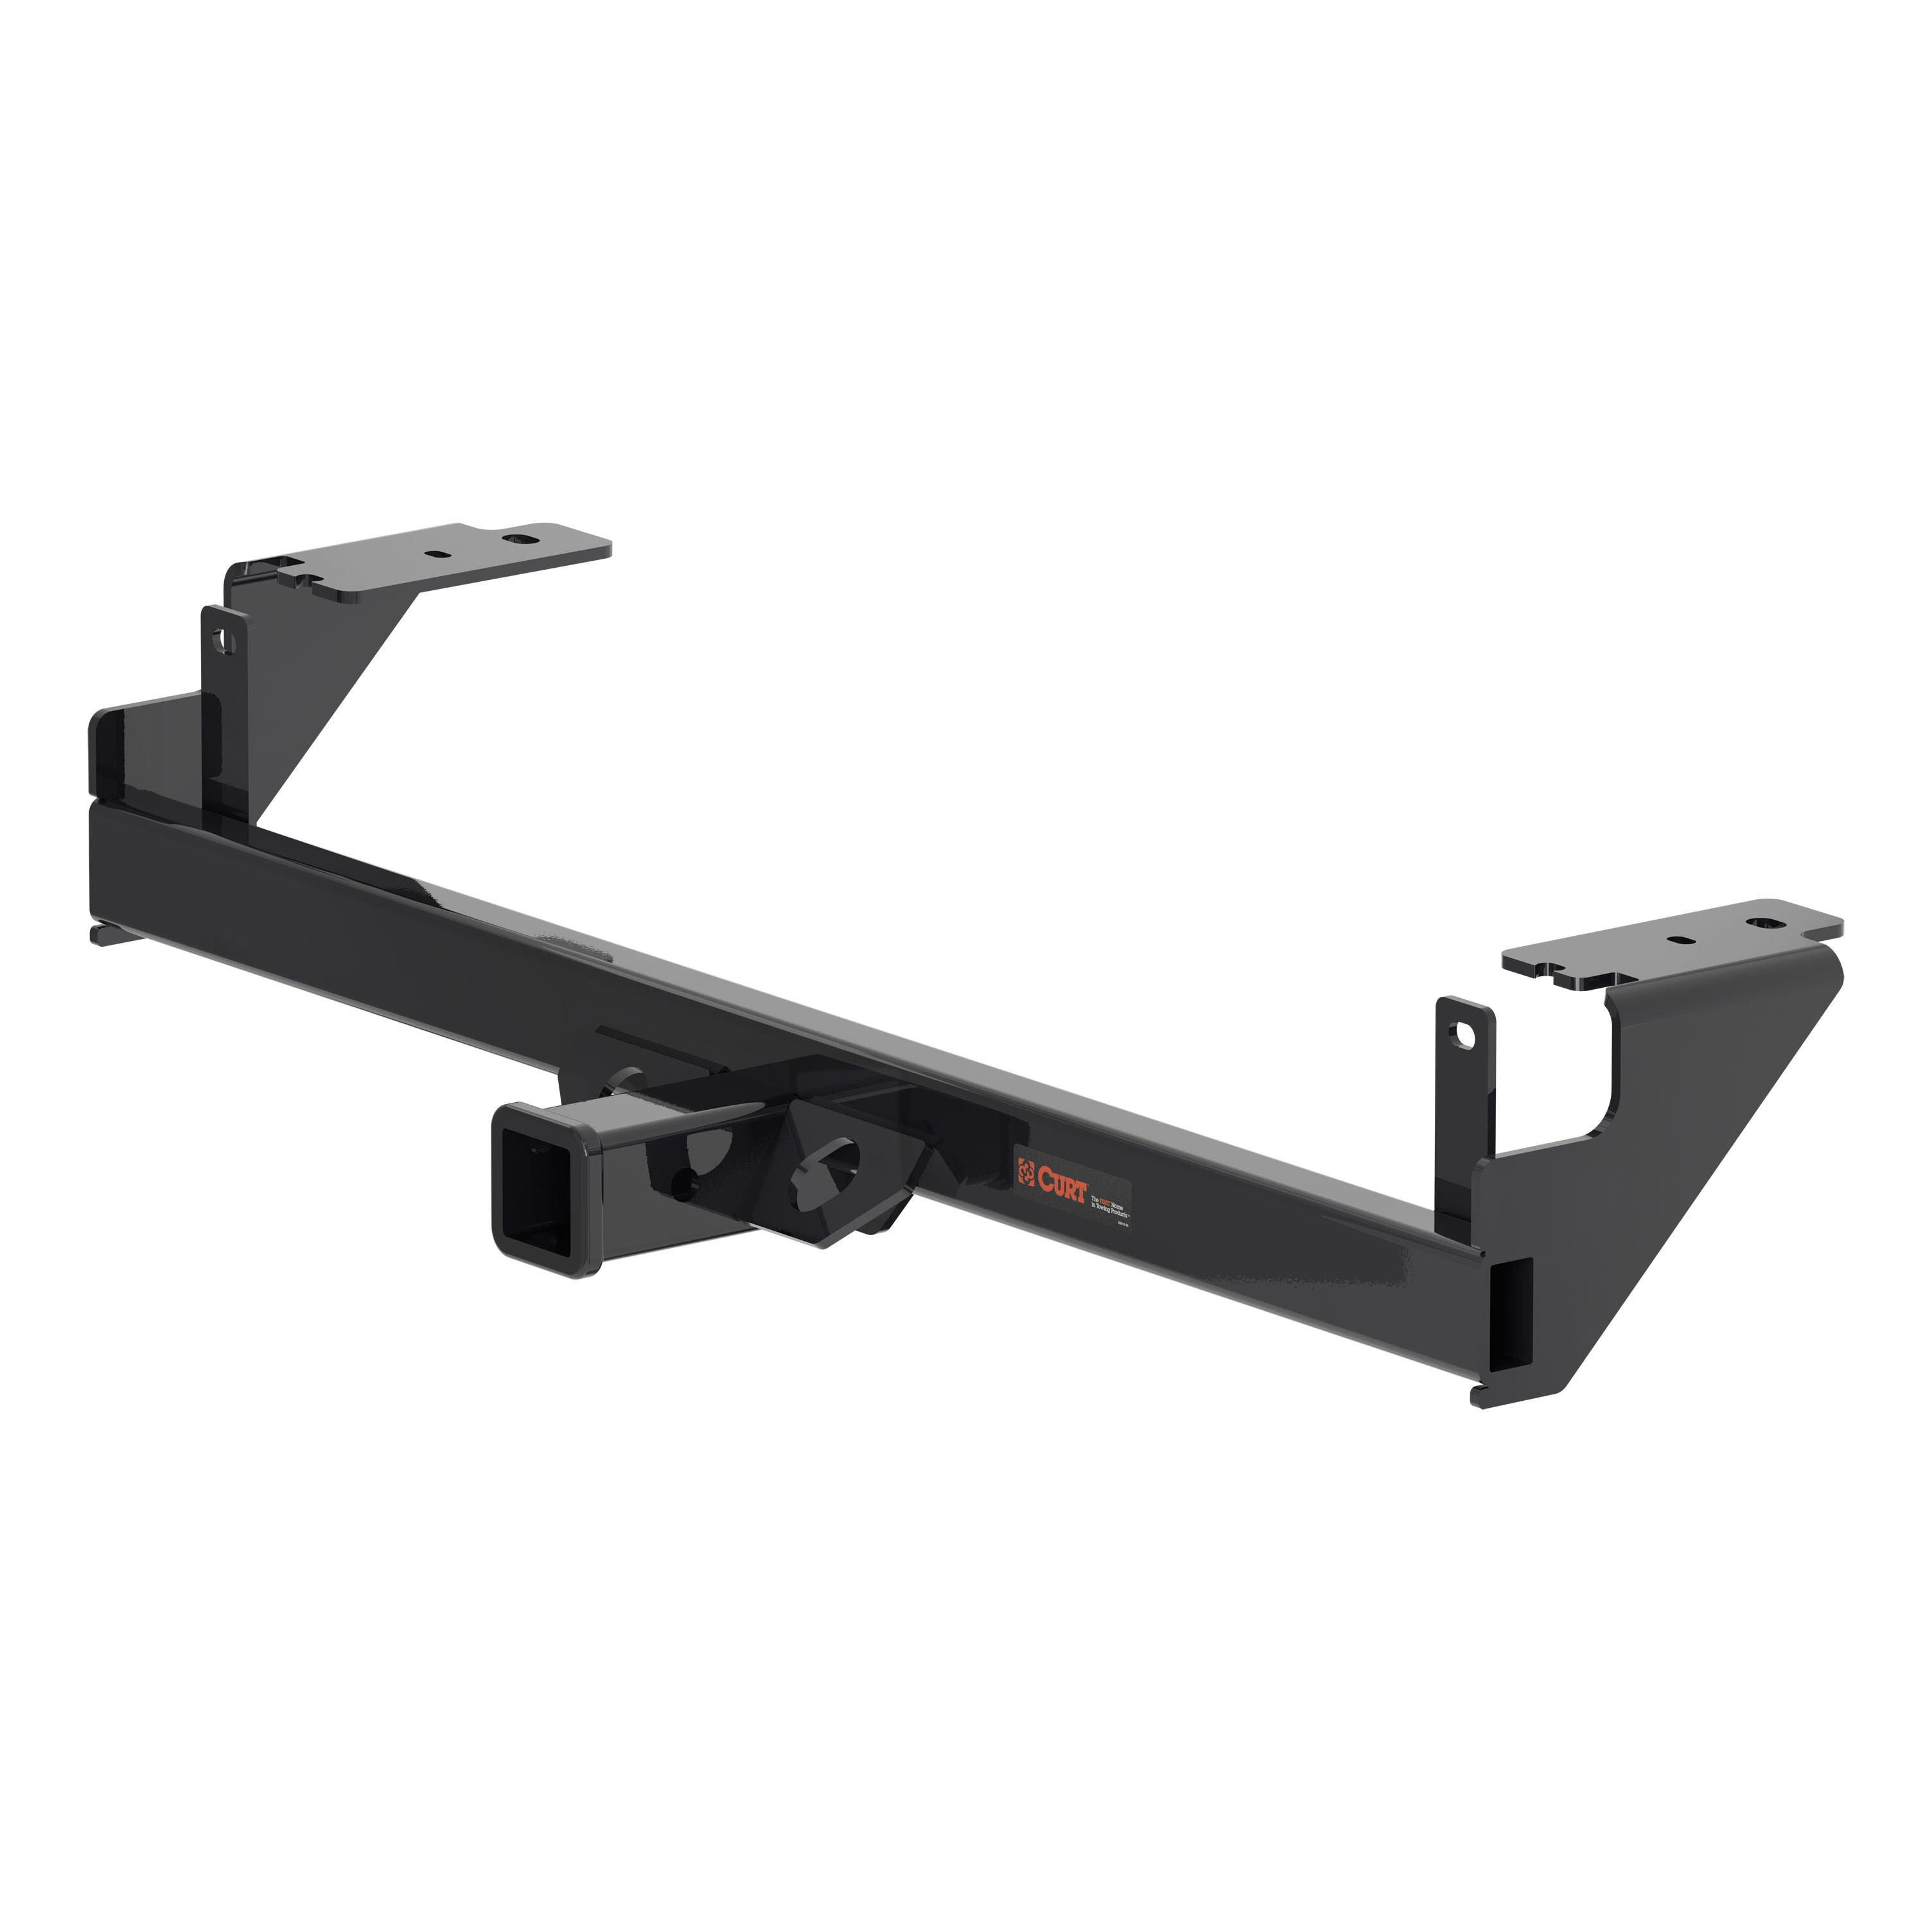
The 21 - 24 Mercedes-Benz GLA250 2in. CURT Trailer Hitch + Ball Mount + Cover + Lock Kit HWA1884 (Part #HWA1884) fits 2021-2024 Mercedes-Benz GLA250 models. The 2024 model year is the last year covered by this part number. For newer models, check for an updated version.
The 21 - 24 Mercedes-Benz GLA250 2in. CURT Trailer Hitch + Ball Mount + Cover + Lock Kit HWA1884 (Part #HWA1884) fits the following vehicles: 2021-2024 Mercedes-Benz GLA250. Always verify your specific year, make, and model before ordering.
Yes, the 21 - 24 Mercedes-Benz GLA250 2in. CURT Trailer Hitch + Ball Mount + Cover + Lock Kit HWA1884 (Part #HWA1884) is designed to fit the 2021-2024 Mercedes-Benz GLA250.
The 21 - 24 Mercedes-Benz GLA250 2in. CURT Trailer Hitch + Ball Mount + Cover + Lock Kit HWA1884 (Part #HWA1884) Refer to the included instructions for installation details. Basic hand tools are typically all you need.
The CURT 13490 has a gross trailer weight (GTW) capacity of 3,500 lbs and a tongue weight (TW) capacity of 525 lbs.
Yes. The kit includes 2 carriage bolts (1/2"-13, 1-3/4", grade 8), 4 hex bolts (M8 x 1.25 x 35mm), 2 serrated flange nuts (1/2"-13, grade 8), 4 flat washers (1/4"), 4 lock washers (5/16"), and 2 spacers (1/4" x 1" x 3"). All fasteners needed for installation are provided.
Required tools include: ratchet, flathead screwdriver, sockets (8mm, 10mm, 13mm, 16mm, 3/4"), universal joint adapter, socket extensions (2" and 6"), tape, Torx bit T-30, tape measure, external torx bit E14, aviation shears, torque wrench, and fishwire (1/2", 2 qty included). A tools reference guide is available at curtmfg.com/trailer-hitch-installation.
Installation requires lowering of the exhaust and trimming of the heat shield. The exhaust must be supported during removal. The heat shield is trimmed according to provided diagrams (1-1/4" and 2-3/4" cuts) and then reinstalled.
The manual does not specify whether the battery must be disconnected. Contact CURT product support at 877.287.8634 for guidance on this step.
The installation is rated as moderate difficulty, based on time and effort involved. Difficulty may vary depending on installer expertise, vehicle condition, and proper tools and equipment. The manual does not explicitly require professional installation.
The manual does not specify whether a lift or extra people are required. However, Step 10 notes that you may need to pull gently on the fascia to allow room for the hitch to be raised into position, suggesting at least one additional person may be helpful.
The reverse fishwire technique is used to route the 1/2" carriage bolts through the frame. Attach the fishwire to the carriage bolt and slide the spacer onto the fishwire. Push the bolt through the hole followed by the spacer, then pull the bolt back into position protruding from the frame. This allows bolts to be installed through inaccessible frame holes.
Follow this removal sequence: (1) Remove two push fasteners and two bolts from behind each wheel well, and three screws from the bottom of the fascia using an 8mm socket; (2) Unclip the electrical harness from the heat shield and exhaust; (3) Lower the exhaust by removing two bolts from the exhaust support (16mm socket) and two torx-head bolts securing the exhaust (one on each side); (4) Remove four fender nuts above the exhaust (8mm socket) and remove the heat shield; (5) Remove the weldnut and access hole covers from the frame rail and two bolts from fascia support brackets (10mm socket); (6) Remove two nuts from the bumper beam studs (16mm socket or wrench).
After routing the fishwire through the frame access holes on both sides, guide the fishwire through the largest hole on each side plate. Raise the hitch until the mounting tabs are placed on the bumper beam studs, then slide forward until the hitch is in position. You may need to pull gently on the fascia to allow enough room for the hitch to be raised into position.
The heat shield is trimmed according to provided diagrams showing cuts of 1-1/4" and 2-3/4". After trimming, bend the rear-most part of the trimmed heat shield toward the front of the vehicle so it comes straight down and is positioned approximately in the middle of the main beam of the hitch front to back. Use the trim diagrams as reference.
Trimming the heat shield can lead to sharp edges. Use caution when handling the heat shield after trimming to avoid cuts.
No drilling is required. The installation uses existing frame holes and access holes. The weldnut and access hole covers are removed from the frame rail, but no new holes are drilled.
Torque all M8 hardware to 27 ft lbs, M10 hardware to 53 ft lbs, and 1/2" hardware to 110 ft lbs.
All M8 hardware on the CURT 13490 should be torqued to 27 ft lbs.
All 1/2" hardware on the CURT 13490 should be torqued to 110 ft lbs.
The installation requires sockets in the following sizes: 8mm (for fascia screws and fender nuts), 10mm (for fascia support bracket bolts), 13mm (included in tools list), 16mm (for exhaust support bolts and bumper beam studs), and 3/4" (included in tools list).
Remove the fishwire from the 1/2" hardware after securing both mounting tabs to the bumper beam studs and raising the exhaust back into place. Be careful not to push the hardware back into the frame when removing the fishwire. Immediately secure the 1/2" hardware using the provided serrated-flange nuts.
The M8 hex bolts in the middle hole of each side plate should be installed loosely in Step 10. All fasteners are tightened to final torque specifications in Step 12, after the hitch is positioned and all mounting tabs are secured to the bumper beam studs.
The final step is to reinstall all components that were removed: reinstall the exhaust bolts and fascia support bracket bolts that were removed in Steps 3 and 5, reinstall the two push fasteners and two bolts from behind each wheel well that were removed in Step 1, and ensure all electrical harnesses are reattached as they were removed in Step 2.
Safety glasses should be worn at all times while installing this product. When lowering the exhaust, be sure to support it to prevent damage or injury. Trimming the heat shield can lead to sharp edges; use caution when handling the heat shield after trimming.
Never exceed the vehicle manufacturer's recommended towing capacity. The CURT 13490 has a maximum gross trailer weight of 3,500 lbs and tongue weight of 525 lbs, but you must not exceed your vehicle's rated capacity.
Periodic inspection of the trailer hitch should be performed to ensure all mounting hardware remains tight and structural components are secure.
The manual recommends periodic inspection of the trailer hitch to ensure all mounting hardware remains tight and structural components are secure, but does not specify an inspection interval. Contact CURT product support at 877.287.8634 for recommended inspection frequency.
The manual does not specify a retorque interval. Contact CURT product support at 877.287.8634 for guidance on whether fasteners should be retorqued after initial installation and at what interval.
The manual does not specify vehicle make, model, year, or body style compatibility. Contact CURT product support at 877.287.8634 or visit curtmfg.com to confirm fitment for your specific vehicle.
The manual does not address compatibility with factory towing packages or integrated electrical systems. Contact CURT product support at 877.287.8634 to confirm compatibility with your vehicle's factory equipment.
The installation involves unclipping and reattaching an electrical harness from the heat shield and exhaust, but the manual does not provide wiring diagrams, connector specifications, or details about electrical integration. Contact CURT product support at 877.287.8634 for electrical wiring information.
On Sale Today
Original price was $448.80. Current price is $345.99.You save $102.81 (23%)
Free Shipping
Ships free on all orders
 Authorized Dealer
Quick Ship
In stock and ready to ship — order now!
FREE ShippingFREE SHIPPING
Estimated delivery Wed, Sep 16 - Sat, Sep 19
Order before 2 PM EST Monday–Friday for same-day processing
Guaranteed safe & secure checkout
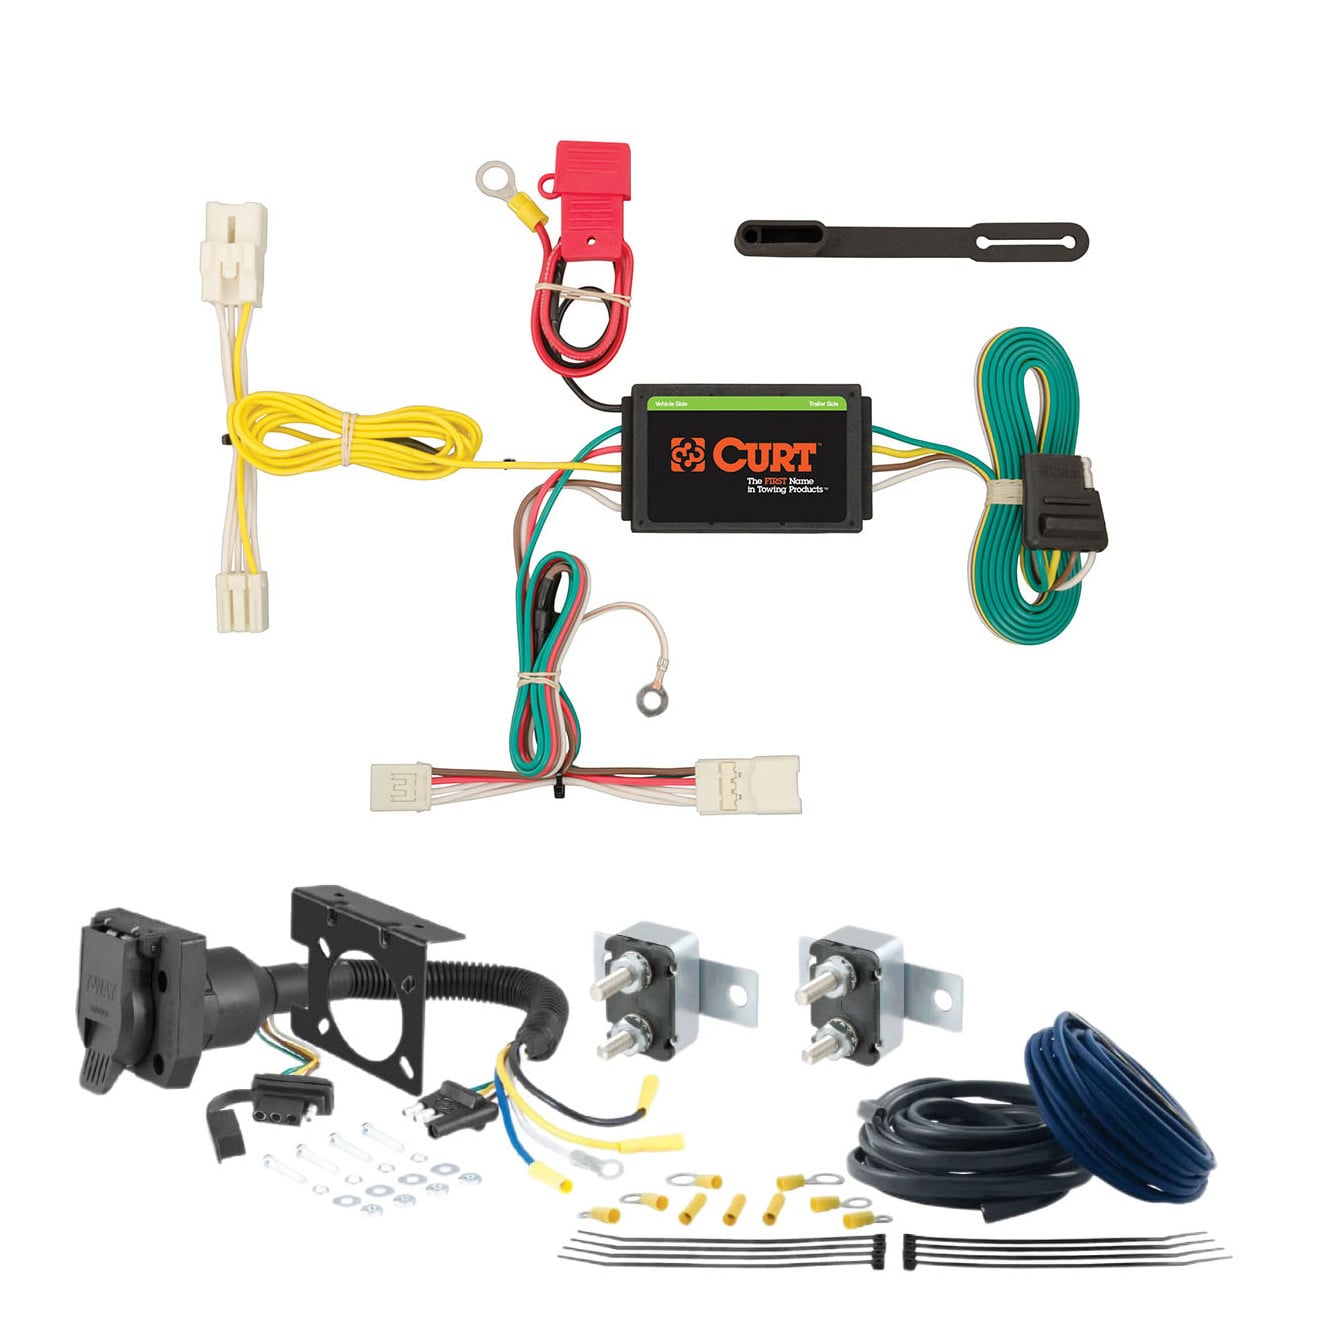
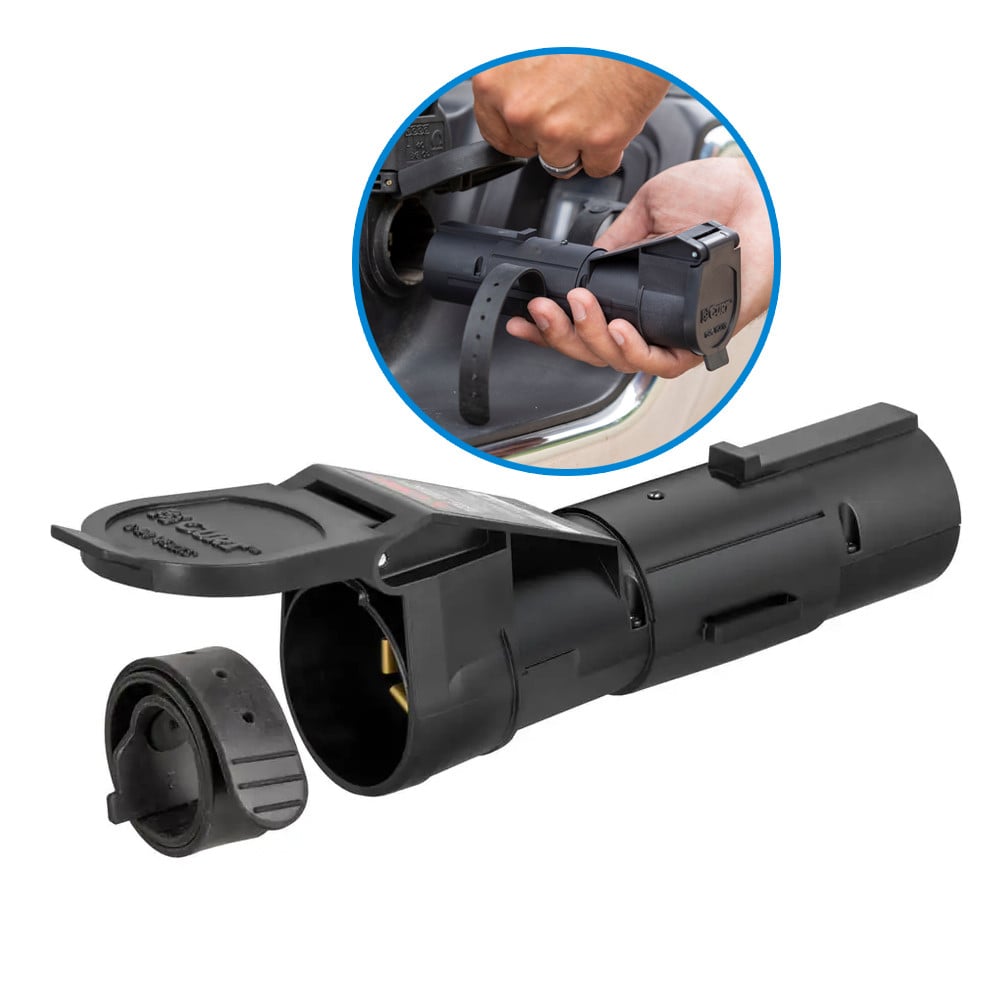
Total for 3 items:
$850.79$1,121.55
No reviews have been added for this product.