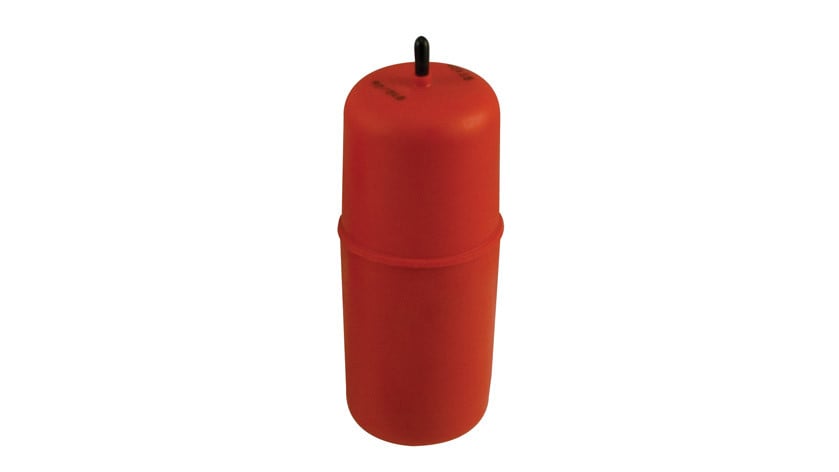
Air Lift AIR LIFT 1000 81260Air LiftOriginal price was $117.99. Current price is $92.60.In Stock
View productOur in-house experts typically reply within one business day.

Air Lift
Verify Fitment
Select your vehicle to confirm this part fits.

Always the correct part
We know our products
Quality Products
Free Shipping!
Always the correct part
We know our products
Quality Products
Free Shipping!
MN-762_60824_60825.pdf
AD-938 LS user guide.pdf
AD-985-ALC-Warranty- Flyer.pdf
Air Lift 1000
Coil Spring
Rear
Drill Req.

Air Lift adjustable air helper springs level your load, and give your truck, van, or SUV a safer, more comfortable ride. Air springs are easy to install inside the existing coil spring with common mechanic's tools. Just add air when towing or hauling a heavy load, and reduce air pressure when unloaded, they are fully adjustable for a great ride. Air Lift air springs eliminate sag, sway, and bottoming out. They are made with rugged, durable components for long, reliable service. Air Lift 1000 kits fit many popular customer vehicles with coil springs. They're designed to: add support to rear springs on many popular SUVs, replace OEM front air springs on P-30 motor homes, provide front end support for snowplows, winches, etc., improve muscle car traction for drag racing, and improve ride and handling for full-size vans and trucks with front coil springs. Air adjustable with quick connecting, easy-to-use air fittings, Air Lift 1000 air helper springs have a typical max pressure of 35 PSI on cars and SUVs, and 90 PSI on motorhomes. They also have up to 1000 pounds of leveling capacity, right up to the manufacturer's recommended Gross Vehicle Weight Rating. Air Lift 1000 kits also come standard with a limited lifetime warranty and an exclusive 60 day ride satisfaction guarantee.
Air Lift Company has developed dependable air spring suspension products since our inception in 1949. Our original product, a rubber air spring inserted into a car’s factory coil spring, was created and patented in 1950. We’ve come a long way since 1949 and are proud to be a dedicated suspension specialist company.
Today, Air Lift load support products are sold worldwide and are engineered to fit over 540 vehicles. Our extensive product line offers air helper springs for trucks, RVs, SUVs, CUVs, and vans, as well as the most technologically advanced on-board air compressor systems for on-the-go air spring control.
Air Lift leads the industry in no-drill applications – kits that bolt onto your vehicle’s frame, speeding the installation process. Our teams work constantly to bring innovative products to you and upgrade existing products with the latest technology.
All of our efforts are spent ensuring your safety and comfort by designing, engineering, and manufacturing the highest quality suspension products. We are a family-owned business based in Lansing, Michigan, and make your family and cargo’s safety our top priority.
Experts available to answer your questions
Call 888-634-9494Limited Lifetime
1 compatible vehicles
| Year | Make & Model | Notes |
|---|---|---|
| 2011 - 2026 | Dodge Durango | Does not fit Durango Heat or RT models |
Yes, the Air Lift AIR LIFT 1000 60824 (Part #BBCG60824) is designed to fit the 2011-2026 Dodge Durango.
The Air Lift AIR LIFT 1000 60824 (Part #BBCG60824) fits 2011-2026 Dodge Durango models. The 2026 model year is the last year covered by this part number. For newer models, check for an updated version.
The Air Lift AIR LIFT 1000 60824 (Part #BBCG60824) fits the following vehicles: 2011-2026 Dodge Durango. Always verify your specific year, make, and model before ordering.
The Air Lift AIR LIFT 1000 60824 (Part #BBCG60824) Refer to the included instructions for installation details. Basic hand tools are typically all you need.
The Air Lift 1000 kit fits 2011 and newer Dodge Durango models with AWD only. It does NOT fit Durango HEAT or R/T applications. If your vehicle is a 2WD Durango, HEAT, or R/T model, this kit is not compatible.
The Air Lift 1000 kit fits 2011 and newer Jeep Grand Cherokee models in both 2WD and 4WD configurations. However, it does NOT fit vehicles equipped with Quadra-Lift suspension or SRT-8 models. Confirm your vehicle does not have these systems before purchasing.
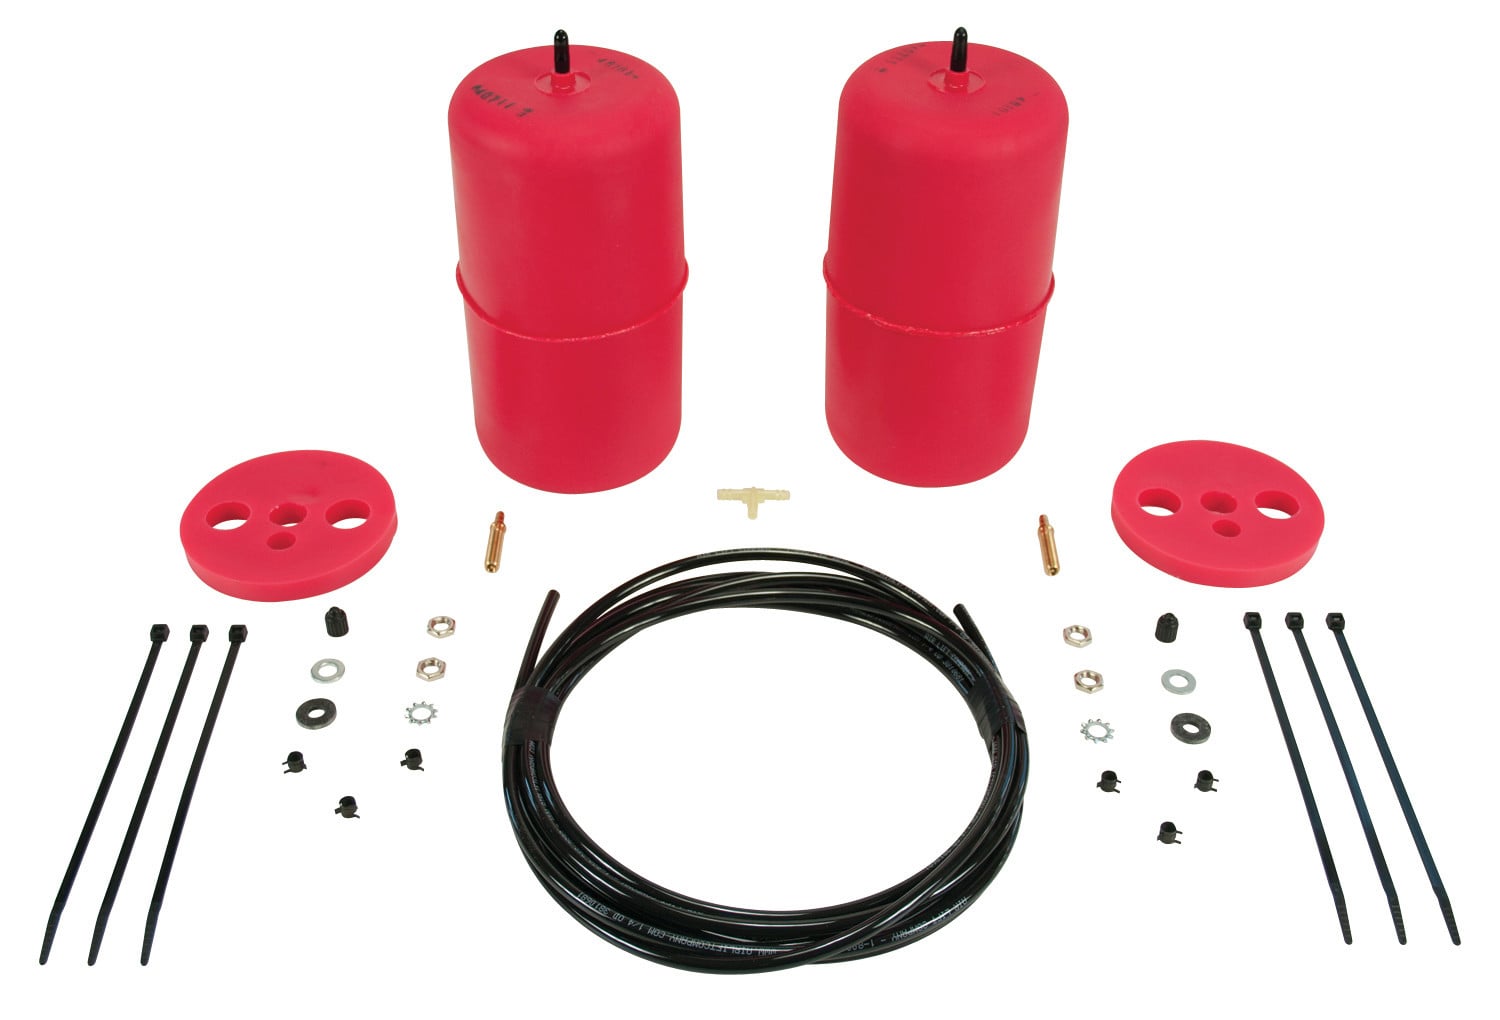
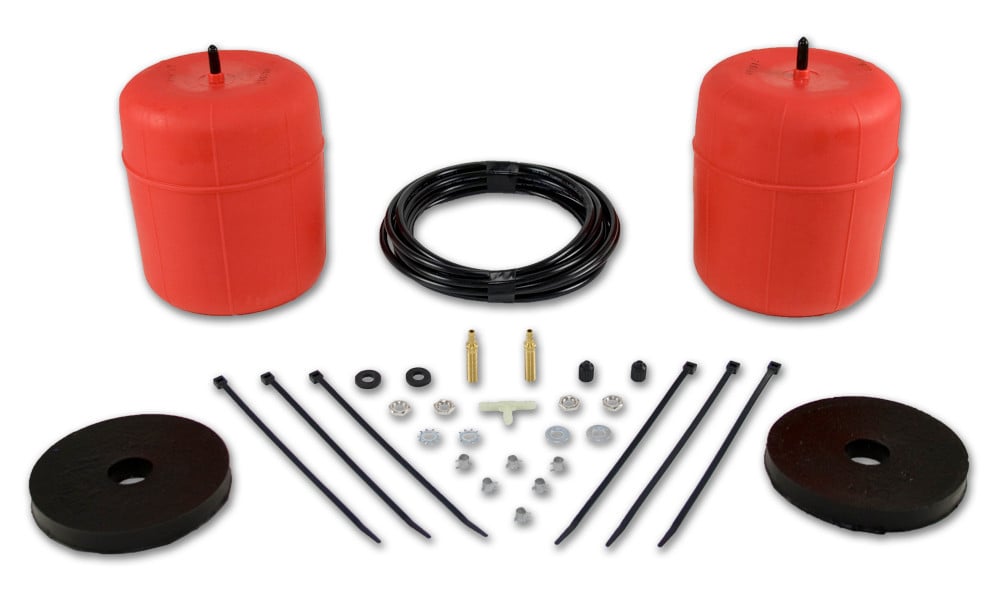
Kit 60824 includes two 46161 air springs. Kit 60825 includes two 46129 air springs. Both kits include: 2 protectors (spacers), 15 feet of air line, 6 zip ties, 6 uni clamps, 2 M8 stainless steel flat washers, 2 stainless steel star washers, 2 valve caps, 4 5/16" hex nuts, 2 rubber washers, 1 tee, and 2 valves. The difference between kits is the air spring model used.
Required tools are: hoist or floor jack, 2 safety stands, tire spoon, safety glasses, air compressor or compressed air source, spray bottle with dish soap/water solution, box cutter or knife, hack saw blade or equivalent, and rat tail file. A rotary tool may be used as an alternative to the rat tail file for smoothing edges.
The manual does not explicitly require shock absorber removal. However, it states 'Attach shock absorbers if removed earlier in the installation,' indicating they may need to be removed if they obstruct access to the coil springs or air spring installation area. Consult the manual's figures or contact Air Lift customer service at (800) 248-0892 if you are unsure whether removal is necessary for your vehicle.
Yes. You must drill a 5/16" (8 mm) hole in the vehicle body or bumper to mount the inflation valve. The location can be in the gas cap well, trunk, rear bumper, fender flange, or behind the license plate, provided the valve is protected and accessible with an air hose.
Yes, two modifications are required. First, trim the rubber diaphragm (cover) on the lower spring seat using a box cutter or knife to create a 1" (25 mm) hole in the center. Second, use a hack saw blade to cut out the cross ribs from the lower spring retainer to create access to the cylinder barb. Smooth any sharp edges with a rat tail file or rotary tool. These modifications are permanent but necessary for air line routing.
Cut a 1" (25 mm) hole in the center of the rubber diaphragm covering the lower spring seat. Use a box cutter or knife and cut just enough to create this opening; do not enlarge it further.
First, remove the plastic cap from the barbed stem and exhaust air from the air spring by rolling it toward the stem. Replace the cap to hold it flat, then fold the air spring into a 'hot dog bun shape.' Insert the flattened end into the coil spring through the lowest opening with the stem at the bottom. Push the spring up by hand or with a blunt instrument such as a tire spoon. Once fully inside the coil, remove the cap and allow the air spring to assume its 'as molded' shape. Then push it to the top of the coil spring.
After pushing the air spring to the top of the coil spring, insert the protector on the bottom between the lower spring seat and the air spring. The protector is part 09447 and there are 2 included in the kit (one for each side).
Use a sharp utility knife to make a clean, square cut on the air line. Do NOT use wire cutters or scissors, as they may flatten or crimp the line and cause leaks around the O-ring seal. To attach: slide an air line clamp onto the line, push the line over the barbed stem covering all barbs, then use pliers to compress the clamp ears and slide it forward until it fully covers the barbed section.
A tee air line installation is recommended for most applications. Use dual air lines only if the weight in the vehicle varies significantly from one side to the other and unequal pressures are needed to level the load or compensate for axle torque transfer in racing applications. Both routing methods are detailed in the manual.
The maximum inflation pressure is 30 PSI (2 BAR). Never inflate beyond this pressure. The minimum recommended pressure for normal operation is 5 PSI (0.34 BAR). The actual pressure needed depends on load and vehicle weight; refer to the Maintenance and Use Guidelines in the included User Guide.
Maintain at least 8" (203 mm) clearance between the air line and the exhaust system to prevent the air line from melting. This applies to both tee and dual air line routing.
Ensure at least 2–3" (51–76 mm) clearance between the tail pipe and the air spring. If necessary, loosen clamps and rotate or move the air line to obtain additional clearance. This check is performed after raising the axle or lowering the body until the air springs lightly touch the upper spring seat and lower spacers.
Maintain at least 6" (152 mm) clearance from heat sources to both the air springs and air lines. If a heat shield is included in the kit, install it. If there is no heat shield but one is required, contact Air Lift customer service at (800) 248-0892.
Inflate the air springs to 20 PSI (1.4 BAR) and spray a solution of liquid dish soap and water to all valve cores, fittings, and connections. Look for bubbles indicating leaks. Alternatively, if the system develops a leak, use the soapy water solution to check all air line connections and the inflation valve core before deflating and removing the air spring. All leaks must be eliminated before road testing.
Inflate the air springs to 30 PSI (2 BAR) and verify at least 1/2" (13 mm) clearance from anything that might rub against each sleeve. Check the tire, brakes, frame, shock absorbers, and brake cables. Also verify at least 2–3" (51–76 mm) clearance from the tail pipe and at least 6" (152 mm) from heat sources. After the 10-mile road test, recheck clearance to ensure nothing has shifted.
Check air pressure weekly. After initial installation, recheck air pressure after 24 hours. A 2–4 PSI (0.14–0.28 BAR) loss after initial installation is normal. If pressure has dropped more than 5 PSI (0.34 BAR) after 24 hours, retest all connections for leaks.
Use a soapy water solution to check all air line connections and the inflation valve core to locate the leak. Spray the solution on all connections and look for bubbles. Once the leak is identified and repaired, retest with the soapy water solution before returning the vehicle to service. If pressure loss exceeds 5 PSI after 24 hours, the system requires retesting for leaks.
Do not exceed the maximum gross vehicle weight rating (GVWR) or payload rating as indicated by the vehicle manufacturer. The air springs support additional load but do not change the vehicle's GVWR. Exceeding the GVWR can result in damage to the vehicle and unsafe operation.
Route the air line along the cross member and either the lower control arm or the upper spring seat to the air spring. Insert the air line through the spring seat and spacers. Leave sufficient air line slack to prevent any strain on the fitting during axle motions. Secure the line with uni clamps as it is routed.
Select a location for the inflation valve in the gas cap well, trunk, rear bumper, fender flange, or behind the license plate. The valve must be protected and accessible with an air hose. For dual air line systems, valves can be located in the rocker panel flange or rear bumper. Ensure the location allows easy access for inflation.
Drill a 5/16" (8 mm) hole in the selected location on the vehicle body or bumper. Insert the valve stem through the hole from the inside. On the outside, place the flat washer, then the star washer, then the rubber washer (which serves as a weather seal). Secure with the hex nut. Attach the air line to the valve fitting using the uni clamp method: slide the clamp onto the line, push the line over the barbed fitting covering all barbs, then use pliers to compress and slide the clamp forward until it fully covers the barbed section.
Raise the axle or lower the body until the air springs just touch the top and bottom spring seats. At this point, inflate the air springs to 20 PSI (1.4 BAR) and test for leaks. After leak testing, lower the vehicle to the ground. Then, after 24 hours, recheck air pressure and perform the final clearance and leak tests before road testing.
The kit fits 2011+ Dodge Durango AWD (not HEAT or R/T) and 2011+ Jeep Grand Cherokee 2WD/4WD (not Quadra-Lift or SRT-8). Confirm your model and options before purchasing.
Yes. You must drill a 5/16" hole for the inflation valve, trim a 1" hole in the lower spring seat rubber diaphragm, and cut out cross ribs from the lower spring retainer using a hack saw blade.
Never exceed 30 PSI (2 BAR). Minimum recommended pressure is 5 PSI (0.34 BAR). Actual pressure needed depends on load.
Maintain at least 8" from the exhaust, 2–3" from the tail pipe, 6" from heat sources, and 1/2" from tires, brakes, frame, and shock absorbers.
Inflate to 20 PSI and spray soapy water on all valve cores, fittings, and connections. Look for bubbles. A 2–4 PSI loss after 24 hours is normal; loss over 5 PSI requires retesting.
Check weekly. Recheck after 24 hours of initial installation. A 2–4 PSI loss is normal; over 5 PSI indicates a leak requiring repair.
A 2–4 PSI loss after initial installation is normal. If pressure has dropped more than 5 PSI (0.34 BAR) after 24 hours, the system has a leak. Retest all valve cores, fittings, and air line connections using a soapy water solution to locate and identify the leak source. Repair the leak and retest before returning the vehicle to service.
The air line may have been cut with wire cutters or scissors instead of a sharp utility knife. These tools flatten or crimp the air line, preventing a proper seal around the O-ring inside the elbow fitting. Always use a sharp utility knife to make a clean, square cut on the air line. If a leak is suspected at a fitting, check the cut end of the line and replace the line segment if it is damaged.
The air line is too close to the exhaust system or another heat source. Maintain at least 8" (203 mm) clearance from the exhaust system and at least 6" (152 mm) from other heat sources. Loosen the air line clamps, reroute the line away from the heat source, and resecure the clamps. If a heat shield is included in the kit, install it. If heat damage is severe, replace the affected air line section.
Inflate the air springs to 30 PSI (2 BAR) and verify clearance. At least 1/2" (13 mm) clearance is required from tires, brakes, frame, shock absorbers, and brake cables. If clearance is insufficient, loosen the air line clamps and reposition the air spring or air line routing. Recheck clearance after repositioning. If repositioning does not resolve the issue, contact Air Lift customer service at (800) 248-0892.
On Sale Today
Original price was $206.99. Current price is $149.99.You save $57.00 (28%)
Free Shipping
Ships free on all orders
 Authorized Dealer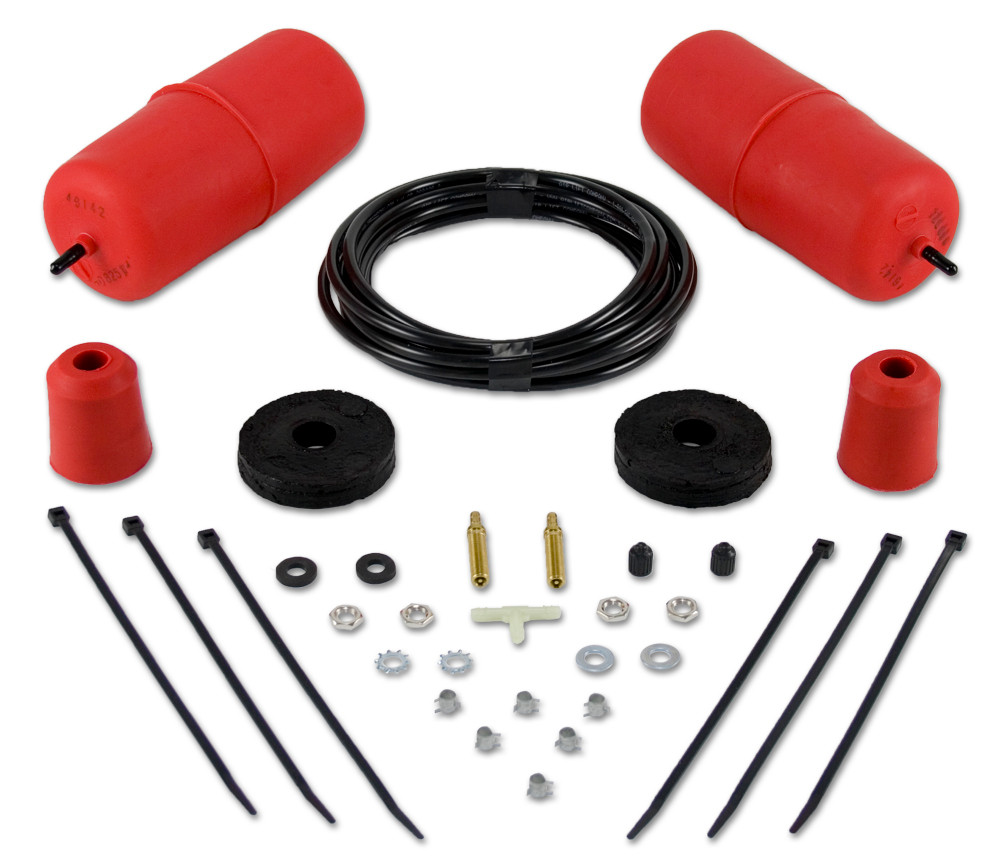


Quick Ship
In stock and ready to ship — order now!
FREE ShippingFREE SHIPPING
Estimated delivery Thu, Oct 22 - Sun, Oct 25
Order before 2 PM EST Monday–Friday for same-day processing
Guaranteed safe & secure checkout
No reviews have been added for this product.