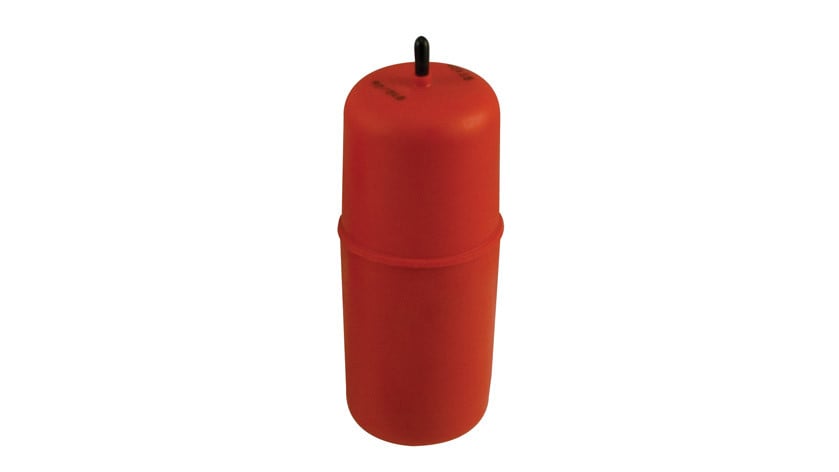
Air Lift AIR LIFT 1000 81260Air LiftOriginal price was $117.99. Current price is $92.60.In Stock
View productOur in-house experts typically reply within one business day.

Air Lift


Always the correct part
We know our products
Quality Products
Free Shipping!
Always the correct part
We know our products
Quality Products
Free Shipping!
AD-938 LS user guide.pdf
MN-583(60808).pdf
AD-985-ALC-Warranty- Flyer.pdf
Air Lift 1000
Coil Spring
Rear
No Drill

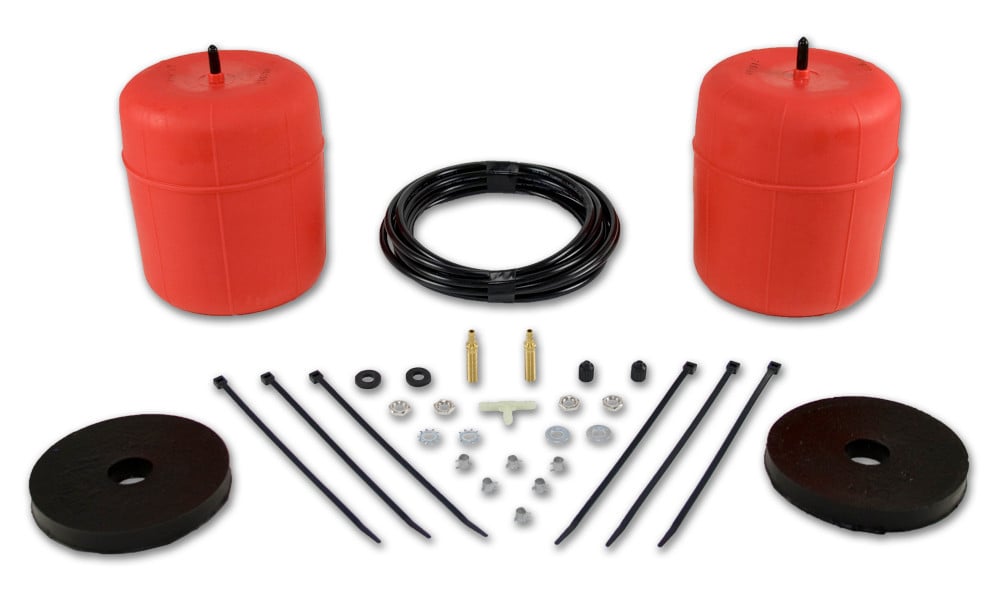
Air Lift adjustable air helper springs level your load, and give your truck, van, or SUV a safer, more comfortable ride. Air springs are easy to install inside the existing coil spring with common mechanic's tools. Just add air when towing or hauling a heavy load, and reduce air pressure when unloaded, they are fully adjustable for a great ride. Air Lift air springs eliminate sag, sway, and bottoming out. They are made with rugged, durable components for long, reliable service. Air Lift 1000 kits fit many popular customer vehicles with coil springs. They're designed to: add support to rear springs on many popular SUVs, replace OEM front air springs on P-30 motor homes, provide front end support for snowplows, winches, etc., improve muscle car traction for drag racing, and improve ride and handling for full-size vans and trucks with front coil springs. Air adjustable with quick connecting, easy-to-use air fittings, Air Lift 1000 air helper springs have a typical max pressure of 35 PSI on cars and SUVs, and 90 PSI on motorhomes. They also have up to 1000 pounds of leveling capacity, right up to the manufacturer's recommended Gross Vehicle Weight Rating. Air Lift 1000 kits also come standard with a limited lifetime warranty and an exclusive 60 day ride satisfaction guarantee.
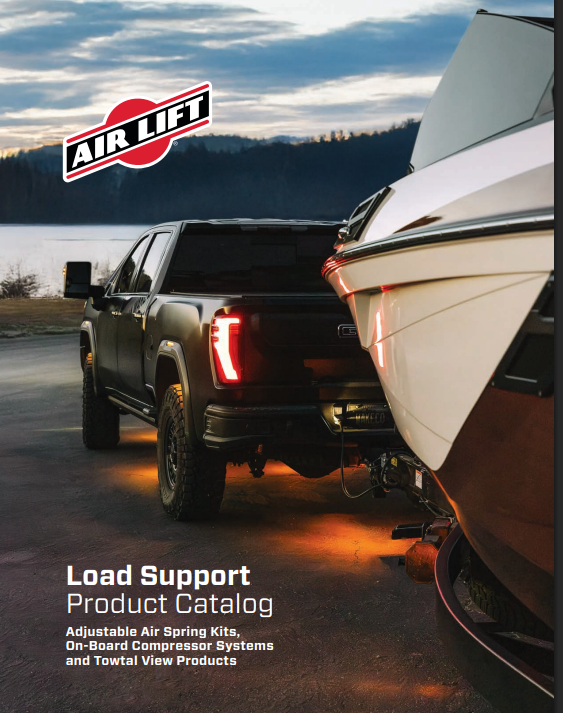
Air Lift Company has developed dependable air spring suspension products since our inception in 1949. Our original product, a rubber air spring inserted into a car’s factory coil spring, was created and patented in 1950. We’ve come a long way since 1949 and are proud to be a dedicated suspension specialist company.
Today, Air Lift load support products are sold worldwide and are engineered to fit over 540 vehicles. Our extensive product line offers air helper springs for trucks, RVs, SUVs, CUVs, and vans, as well as the most technologically advanced on-board air compressor systems for on-the-go air spring control.
Air Lift leads the industry in no-drill applications – kits that bolt onto your vehicle’s frame, speeding the installation process. Our teams work constantly to bring innovative products to you and upgrade existing products with the latest technology.
All of our efforts are spent ensuring your safety and comfort by designing, engineering, and manufacturing the highest quality suspension products. We are a family-owned business based in Lansing, Michigan, and make your family and cargo’s safety our top priority.
Experts available to answer your questions
Call 888-634-9494Limited Lifetime
Yes, the Air Lift AIR LIFT 1000 60808 (Part #BBCG60808) is designed to fit the 2007-2009 Chrysler Aspen.
The Air Lift AIR LIFT 1000 60808 (Part #BBCG60808) fits 2007-2009 Chrysler Aspen models. The 2009 model year is the last year covered by this part number. For newer models, check for an updated version.
The Air Lift AIR LIFT 1000 60808 (Part #BBCG60808) fits the following vehicles: 2007-2009 Chrysler Aspen; 2004-2009 Dodge Durango. Always verify your specific year, make, and model before ordering.
The Air Lift AIR LIFT 1000 60808 (Part #BBCG60808) Refer to the included instructions for installation details. Basic hand tools are typically all you need.
The kit includes air cylinders, air line with clamps, a tee or dual air line routing option, inflation valves, heat shields, and mounting hardware. Specific component quantities are not detailed in the manual, so contact Air Lift technical support at 1-800-248-0892 ext. 2 for a complete parts list.
The manual does not specify vehicle makes, models, years, or body styles. Contact Air Lift technical support at 1-800-248-0892 ext. 2 to confirm compatibility with your specific vehicle before purchasing.
The kit is designed for vehicles with coil springs, but the manual does not specify compatibility with all coil spring suspension types or vehicle configurations. Consult Air Lift technical support at 1-800-248-0892 ext. 2 to verify fitment for your specific vehicle.
Lower or raise the vehicle body until the suspension is fully extended, then support the frame with jack stands. Do not inflate the air cylinders before reading the maintenance and operation section on the last page of the manual.
Air cylinders ship in a flattened "as molded" shape. Remove the plastic cap from the barbed stem, push the cylinder to evacuate air, and roll it up toward the valve stem. Replace the cap to maintain the flattened shape. Insert the flattened cylinder into the coil spring through the lowest opening with the stem at the top. Push it up by hand or with a blunt instrument such as a spoon-type tire iron. When fully inside the coil, remove the cap and allow the cylinder to resume its natural shape. Push it to the bottom of the coil and insert the protector on top.
Tee air line installation is recommended for most vehicles. Use dual air line installation if weight in the vehicle varies significantly from one side to the other, as it allows you to level the vehicle from side to side independently.
Slide an air line clamp onto the air line. Push the air line over the barbed fitting until all barbs are covered. Using pliers, slide the air line clamp forward until it fully covers the barbed section. Repeat this procedure for each connection point: both legs of the tee, both cylinder stems, and the inflation valve fitting.
Route the air line along the cross member and upper spring seat to reach both left and right air cylinders. For tee configuration, route the remaining air line along the frame to the desired inflation valve location. For dual configuration, route each air line along the frame or under the fender panel to separate inflation valve locations. Attach the air line to the chassis using plastic straps or wire. Leave sufficient slack to prevent strain during axle motions.
Select a location in the gas cap well, trunk, rear bumper, fender flange, or behind the license plate. Ensure the valve will be protected and accessible with an air hose. Drill a 5/16" hole for the inflation valve and mount it as illustrated in Figure 6, with the rubber washer positioned for outside weather seal.
Yes. You must drill a 5/16" hole to mount the inflation valve. The location depends on your chosen mounting point: gas cap well, trunk, rear bumper, fender flange, or behind the license plate.
Check that exhaust clearance is 2-3 inches from the air cylinder. Attach radiator clamps loosely around the exhaust pipe nearest to the air spring. Bend both heat shield tabs out at a 90° angle to form an "L" shape. Position the heat shield and insert the tabs beneath the two radiator clamps, then tighten the clamps. Bend the heat shield to form it around the tail pipe, maintaining a "dead air" space of 1/2" to 1" between the tail pipe and the heat shield. Install a heat shield on both sides of the cylinder/spring. Ensure installation does not interfere with moving parts, gas lines, or other components.
Always maintain at least 5 psi air pressure to prevent chafing or coil pinch. Failure to maintain minimum pressure will void the warranty.
The maximum air pressure is 35 psi. Do not exceed this pressure or the vehicle manufacturer's maximum gross vehicle weight rating.
Check the air pressure weekly. Always maintain at least 5 psi to prevent chafing or coil pinch.
Use a soapy water solution to check all air line connections and the valve core before removing the cylinder. This will help you identify the source of the leak.
Inflate your air springs to 35 psi before adding payload. This allows the air cylinder to properly mesh with the coil spring. After the vehicle is loaded, adjust the air pressure downward to level the vehicle and for ride comfort. When carrying payload, increase tire inflation pressure by 2 psi above normal (not to exceed tire manufacturer's maximum) for each 100 lbs. of additional load on the axle.
No. Do not exceed the vehicle manufacturer's maximum gross vehicle weight rating. Air springs support the suspension but do not change the vehicle's weight capacity limits.
For tee air line configuration, keep the air line at least 12 inches from the exhaust system to prevent melting. For dual air line configuration, keep the air line at least 8 inches from the exhaust system. The heat shield installation also requires maintaining 2-3 inches of clearance between the exhaust pipe and the air cylinder.
Do not cut the air line longer than 90 inches in a dual air line configuration.
The kit fits vehicles with coil spring suspensions. Contact Air Lift technical support at 1-800-248-0892 ext. 2 to confirm compatibility with your specific make, model, and year before purchasing.
You will need pliers, a drill with a 5/16" bit, jack stands, and a blunt instrument such as a spoon-type tire iron. The manual does not specify additional tools required.
Minimum pressure is 5 psi (required to prevent chafing or coil pinch and maintain warranty). Maximum pressure is 35 psi. Inflate to 35 psi before loading, then adjust downward for ride comfort after loading.
Tee configuration is recommended for most vehicles. Use dual configuration if weight varies significantly from side to side, as it allows independent leveling of left and right sides.
Keep air line at least 12 inches from the exhaust system in tee configuration, or 8 inches in dual configuration, to prevent melting. Maintain 2-3 inches of clearance between the exhaust pipe and the air cylinder.
Check air pressure weekly and maintain at least 5 psi minimum. If you suspect a leak, use soapy water to check all air line connections and the valve core before removing the cylinder.
Use a soapy water solution to check all air line connections and the valve core. This will help you identify where the leak is occurring before you remove the cylinder.
Chafing or coil pinch occurs when air pressure falls below the minimum of 5 psi. Always maintain at least 5 psi air pressure to prevent this condition. Failure to maintain minimum pressure will void the warranty.
On Sale Today
Original price was $206.99. Current price is $149.99.You save $57.00 (28%)
Free Shipping
Ships free on all orders
 Authorized Dealer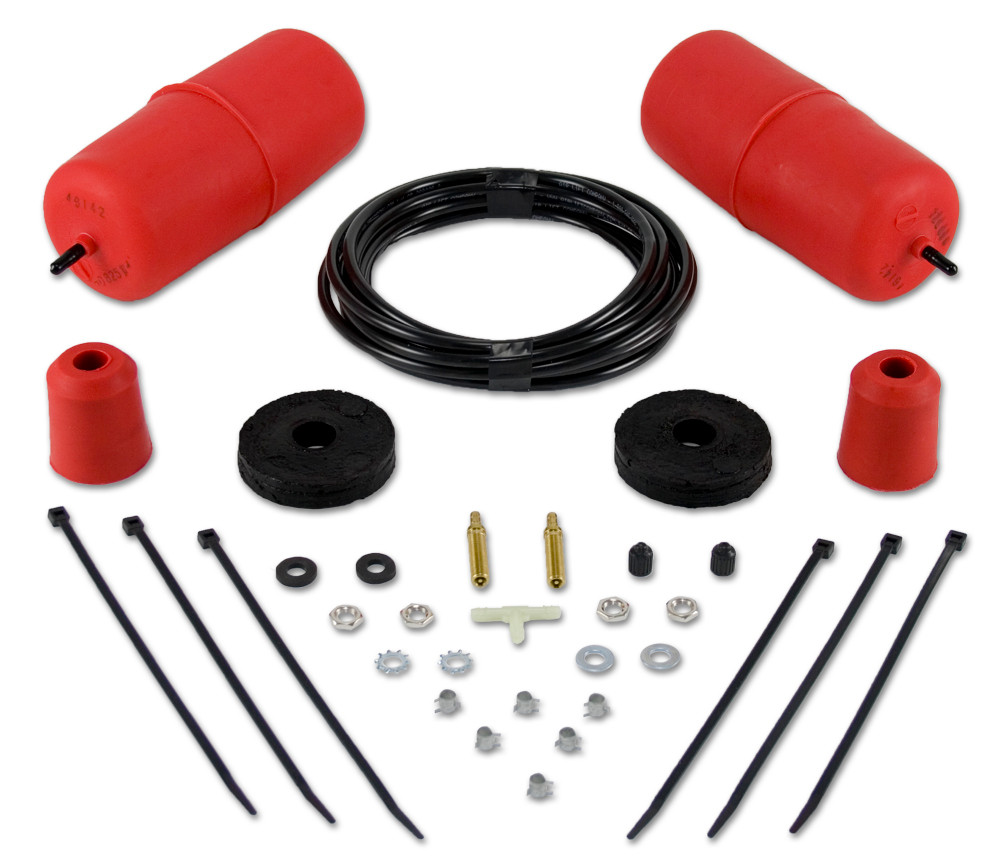


Quick Ship
In stock and ready to ship — order now!
FREE ShippingFREE SHIPPING
Estimated delivery Sun, Oct 25 - Wed, Oct 28
Order before 2 PM EST Monday–Friday for same-day processing
Guaranteed safe & secure checkout
No reviews have been added for this product.