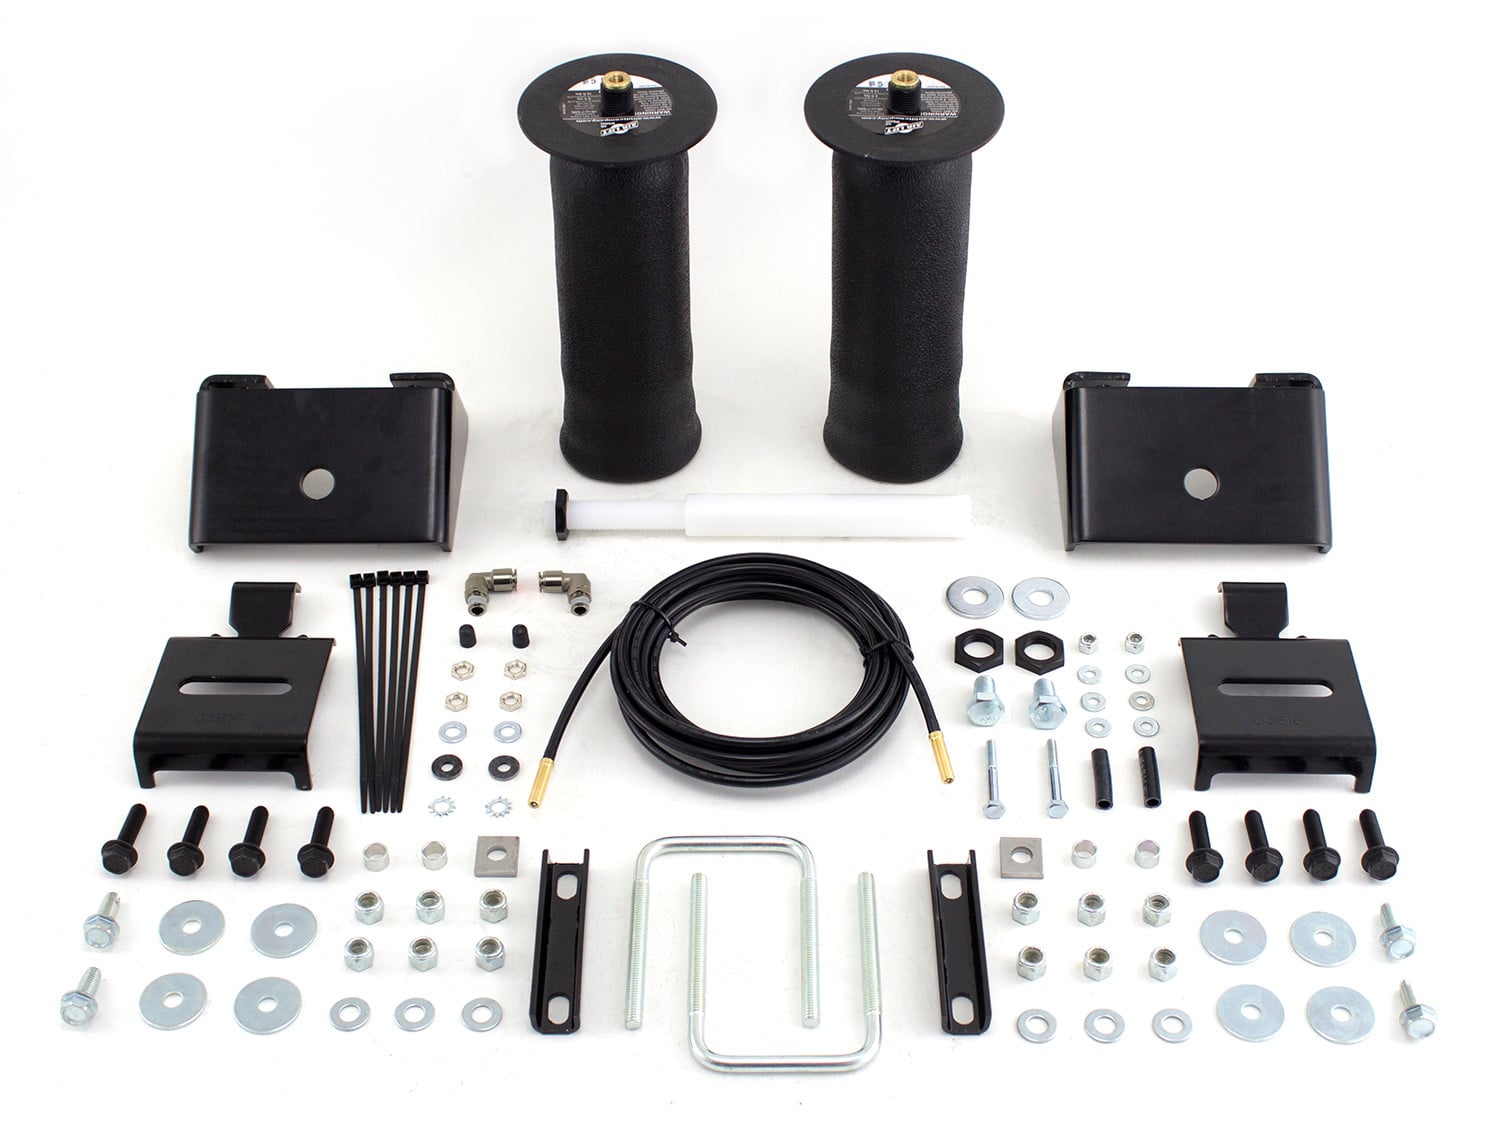
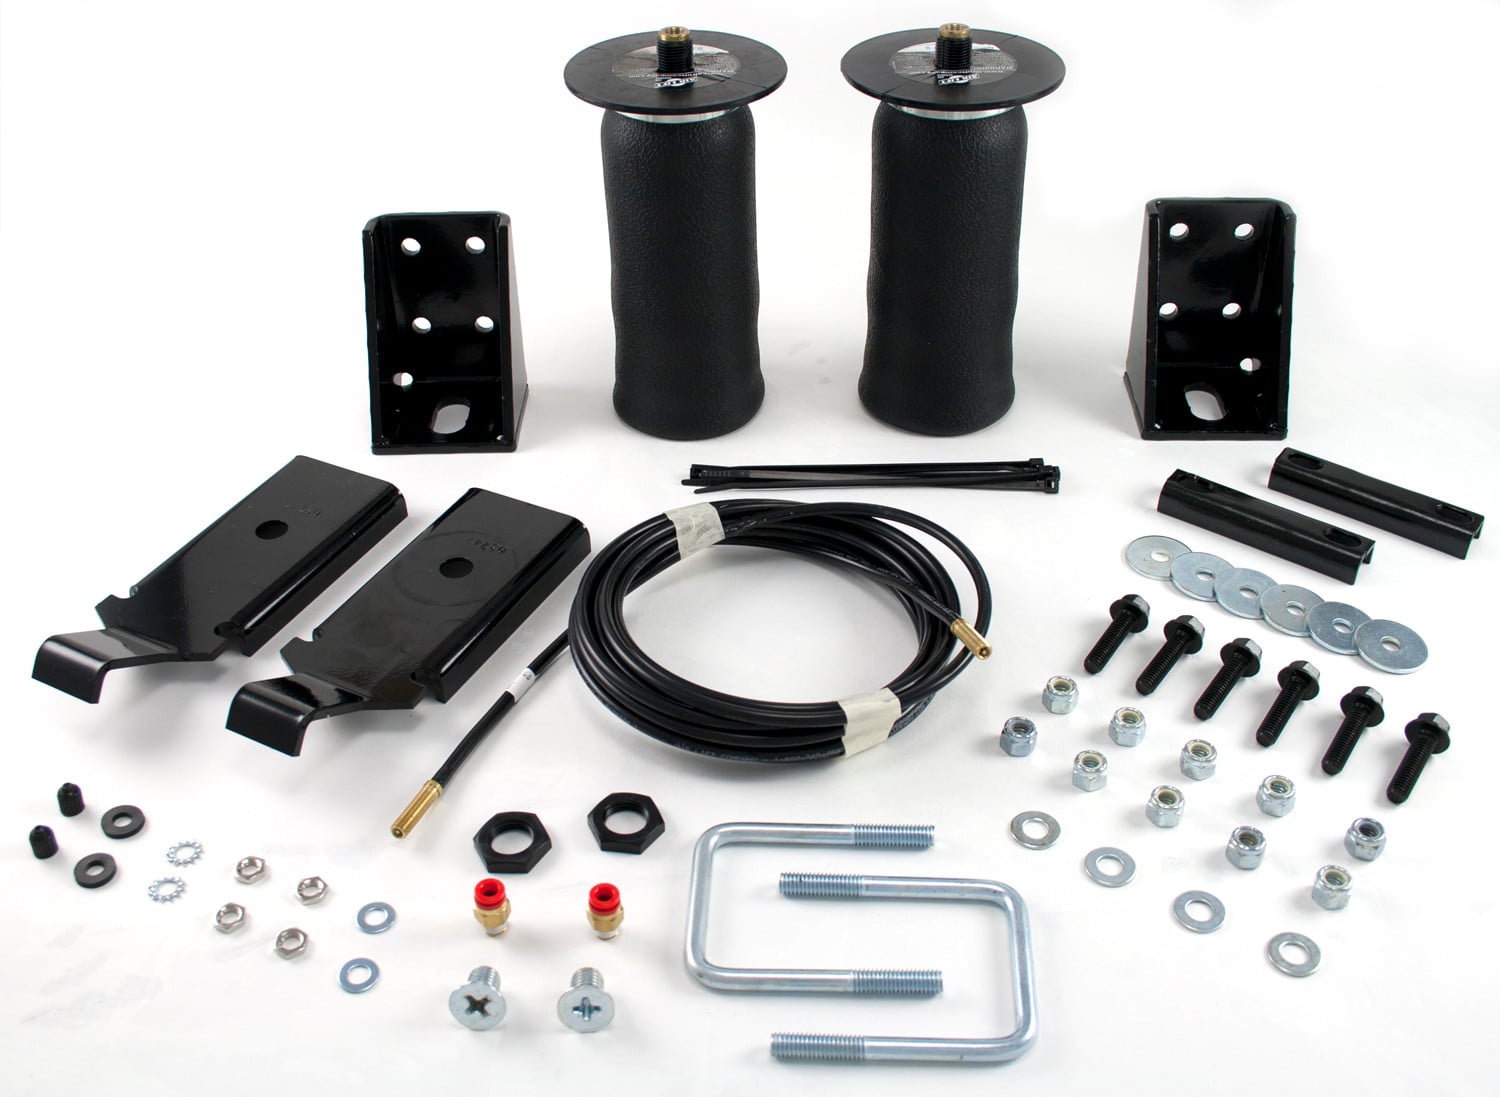
Air Lift RIDE CONTROL KIT 59501Air LiftOriginal price was $590.99. Current price is $428.99.In Stock
View productOur in-house experts typically reply within one business day.

Air Lift
Verify Fitment
Select your vehicle to confirm this part fits.
2005 - 2015 Nissan Xterra
Confirmed to Fit

Always the correct part
We know our products
Quality Products
Free Shipping!
Always the correct part
We know our products
Quality Products
Free Shipping!
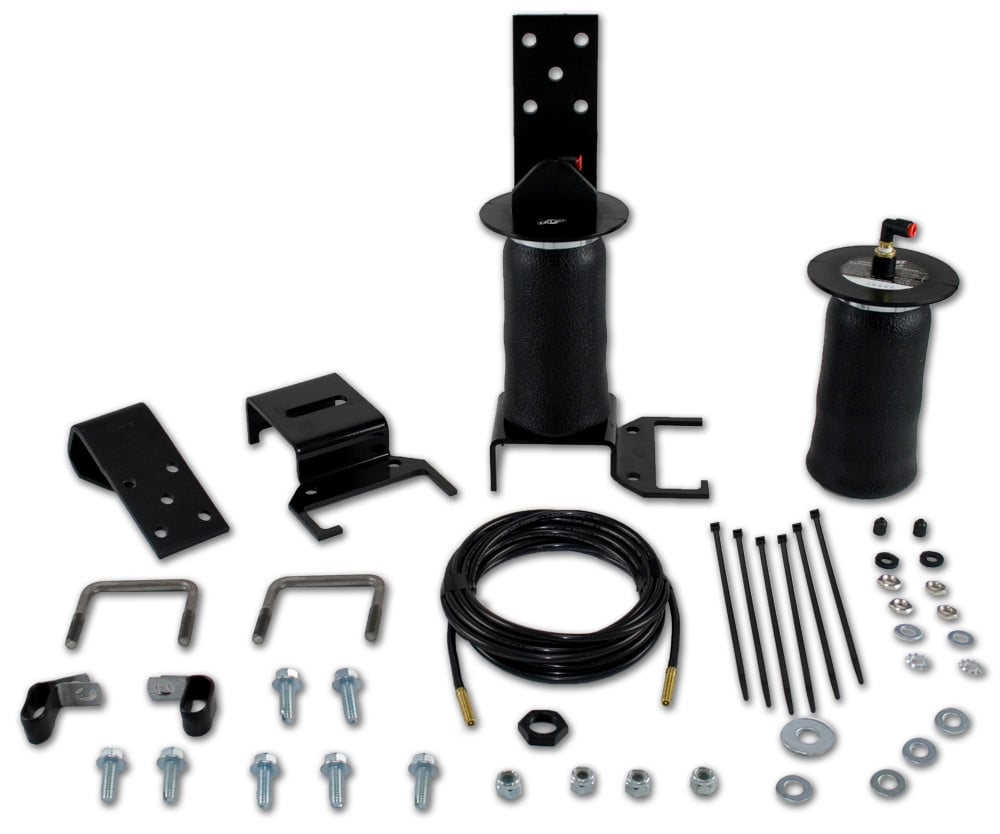
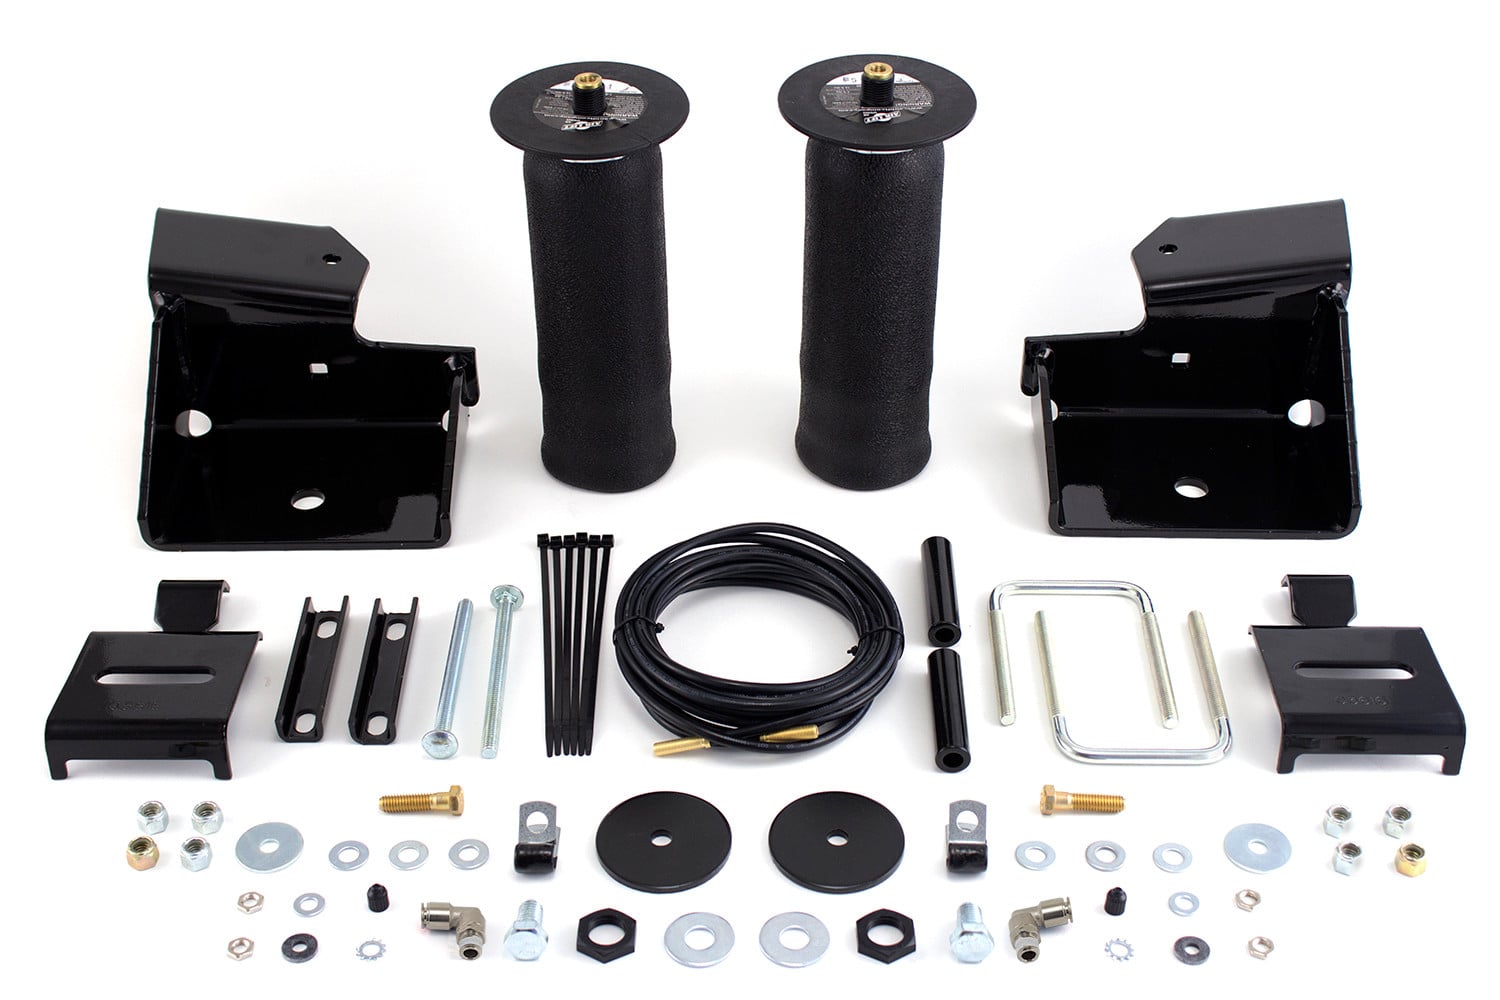
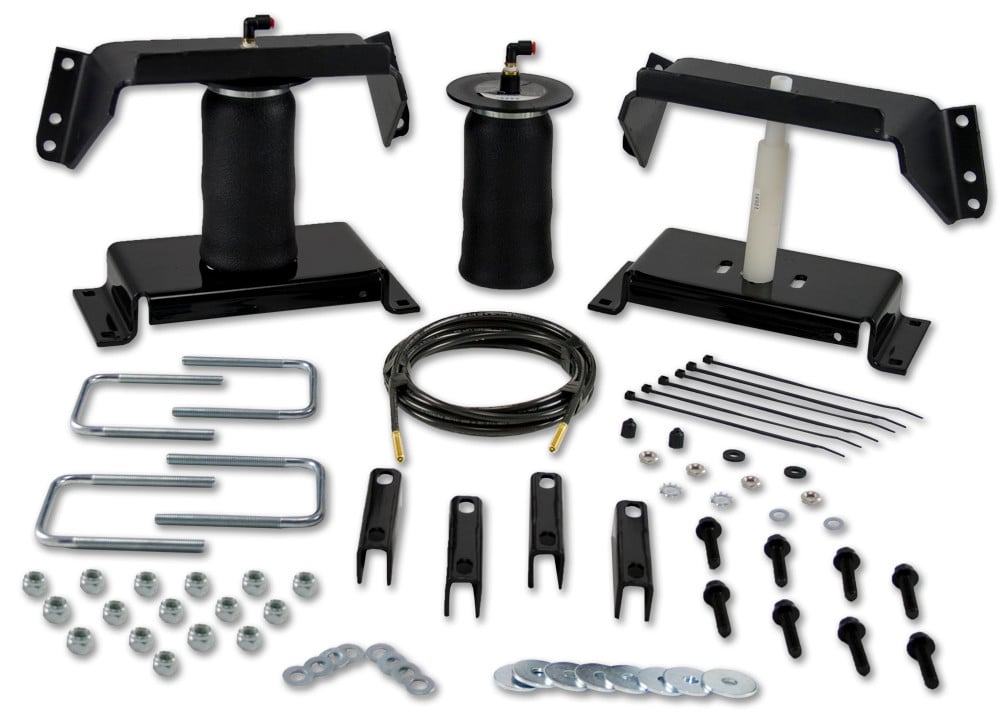
Air Lift RideControl air helper springs are air-adjustable from 5 to 100 PSI and have up to 2,000 pounds of leveling capacity, right up to the manufacturer's recommended Gross Vehicle Weight Rating.

RideControl provides more safety, stability and ride comfort. The kit fits many popular vehicles with leaf springs, including half-ton and mini pickups, full-size and mini vans, and SUVs. Both front and rear applications are available for these vehicles. Each kit includes everything you need, and is easily installed in two hours or less. End caps are made of an ultra-strong nylon composite that is as strong as steel, but weighs less and is corrosion-proof. Air Lift RideControl adjustable air springs work with your existing leaf spring suspension. Just add air when towing or hauling a heavy load, and reduce air pressure when unloaded, the air bags are fully adjustable for a great ride. Air Lift air springs eliminate sag, sway, and bottoming out. Each kit includes everything you need, and is easily installed in two hours or less. End caps are made of an ultra-strong nylon composite that is as strong as steel, but weighs less than steel and is also corrosion-proof. These rugged, durable components mean that you get reliable service from the springs for the lifetime of the vehicle. Air Lift RideControl air helper springs are air-adjustable from 5 to 100 PSI and have up to 2,000 pounds of leveling capacity, right up to the manufacturer's recommended Gross Vehicle Weight Rating. They also come with a limited lifetime warranty and an exclusive 60-day ride satisfaction guarantee.
Air Lift Company has developed dependable air spring suspension products since our inception in 1949. Our original product, a rubber air spring inserted into a car’s factory coil spring, was created and patented in 1950. We’ve come a long way since 1949 and are proud to be a dedicated suspension specialist company.
Today, Air Lift load support products are sold worldwide and are engineered to fit over 540 vehicles. Our extensive product line offers air helper springs for trucks, RVs, SUVs, CUVs, and vans, as well as the most technologically advanced on-board air compressor systems for on-the-go air spring control.
Air Lift leads the industry in no-drill applications – kits that bolt onto your vehicle’s frame, speeding the installation process. Our teams work constantly to bring innovative products to you and upgrade existing products with the latest technology.
All of our efforts are spent ensuring your safety and comfort by designing, engineering, and manufacturing the highest quality suspension products. We are a family-owned business based in Lansing, Michigan, and make your family and cargo’s safety our top priority.
Experts available to answer your questions
Call 888-634-9494Limited Lifetime
1 compatible vehicles
| Year | Make & Model | Notes |
|---|---|---|
| 2005 - 2015 | Nissan Xterra | — |
Yes, the Air Lift RIDE CONTROL KIT 59562 (Part #BBCG59562) is designed to fit the 2005-2015 Nissan Xterra.
The Air Lift RIDE CONTROL KIT 59562 (Part #BBCG59562) fits the following vehicles: 2005-2015 Nissan Xterra. Always verify your specific year, make, and model before ordering.
The Air Lift RIDE CONTROL KIT 59562 (Part #BBCG59562) fits 2005-2015 Nissan Xterra models. The 2015 model year is the last year covered by this part number. For newer models, check for an updated version.
The Air Lift RIDE CONTROL KIT 59562 (Part #BBCG59562) Refer to the included instructions for installation details. Basic hand tools are typically all you need.
The Air Lift MN-640 is a rear air spring assembly designed to provide load assistance to your vehicle's rear suspension. It uses compressed air to help support additional payload and maintain proper ride height when the vehicle is loaded. The assembly includes an air spring sleeve, brackets, air lines, inflation valves, and all necessary hardware for installation on leaf spring suspensions.
If your vehicle is equipped with a rear brake proportioning valve, Air Lift recommends that you check with your dealer before installing this product, as load assist products could affect brake performance. If your vehicle does not have a rear brake proportioning valve or is equipped with an anti-lock type brake system, installation will have no effect on brake system performance.
The manual does not specify which suspension types are compatible. The installation instructions are written for leaf spring suspensions, as the assembly is mounted to the leaf spring behind the axle. Contact Air Lift technical support at 1-800-248-0892 ext. 2 to confirm compatibility with your specific vehicle suspension type.
Required tools include: a 7/16" open end wrench (for tightening the swivel air fitting), a jack or hoist to raise the vehicle, a torque wrench (to tighten bolts to specified values), a drill with a 5/16" drill bit, a tube cutter or sharp knife (to cut air line), and an air compressor (to inflate and test the system). A center punch is also needed to mark drilling locations.
The manual does not mention battery disconnection. However, the manual does caution that you must not drill into the frame until any and all hydraulic, fuel, or electrical lines in the area to be drilled have been moved or shielded. Consult your vehicle's service manual or contact Air Lift technical support at 1-800-248-0892 ext. 2 for guidance specific to your vehicle.
No. The installation instructions require you to jack up the rear of the vehicle or raise it on a hoist and remove the tires before setting the assembly onto the leaf spring.
Before installing the assembly, raise or lower the frame to its original ride height when the vehicle is in an unloaded condition. This ensures the air spring is positioned correctly relative to the suspension and brackets.
Yes. Drilling is required in two locations: (1) three 5/16" holes in the frame for the upper bracket mounting, and (2) one 5/16" hole in the rear bumper area or rocker panel flange for the inflation valve. Before drilling the frame, you must move or shield any hydraulic, fuel, or electrical lines in the area to prevent damage.
Yes. On the driver-side, you must remove a plastic plug (jounce bumper) from the frame in order to attach the upper bracket. This plug is located in a pre-drilled hole on the frame rail.
On most models, the bracket's "hook" or "finger" may not hook around the U-bolt. In this case, you must bend the post of the U-bolt into the spring and bend the finger down so it locks around the U-bolt. This prevents the lower bracket from moving on the leaf spring. See Figure 3 in the manual for the correct bending technique.
Torque the U-bolt, flat washers, and locknuts to 16 ft/lbs.
Attach the upper bracket using the self-tapping frame bolts and tighten to 15 ft/lbs. Do not over tighten.
Tighten the lower mounting bolt to 10 ft/lbs. Do not over tighten.
Tighten the nylon nut hand-tight to 4 ft/lbs to secure the bracket.
Install the swivel air fitting and tighten finger tight plus two turns into the air spring. Use a 7/16" open end wrench tightening on the metal hex nut only. Do not overtighten.
The maximum air pressure is 100 p.s.i. Do not inflate beyond 100 p.s.i. Improper use or over inflation may cause the assembly to burst, causing property damage or severe personal injury.
The minimum air pressure is 10 p.s.i. Always maintain at least 10 p.s.i. air pressure. Failure to maintain correct minimum pressure will void the warranty.
The air spring diameter grows to 5.1" at maximum inflation. You must check to be sure there is clearance all around the air spring when fully inflated to prevent rubbing against other components.
The manual does not describe any electrical connections. The system is purely pneumatic (air-based) and operates through manual inflation valves. No wiring or electrical components are mentioned in the installation instructions.
Inflate your air springs to 60 p.s.i. before adding the payload. After the vehicle is loaded, adjust your air pressure to level the vehicle. The actual pressure needed depends on the load and your vehicle's Gross Vehicle Weight Rating (GVWR), which may be less than 100 p.s.i.
No. For your safety and to prevent possible damage to your vehicle, do not exceed the maximum load recommended by the vehicle manufacturer. Although the air springs are rated at a maximum inflation pressure of 100 p.s.i., the air pressure actually needed is dependent on the load and Gross Vehicle Weight Rating (GVWR). Check your vehicle owner's manual and do not exceed the maximum loads listed for your vehicle.
If it becomes necessary to raise the vehicle by the frame, make sure the system is at minimum pressure (10 p.s.i.) to reduce the tension on suspension and brake components. After the vehicle is lowered, check to see that the air spring rolls back down over the bottom piston. If the sleeve fails to roll back down over the piston, add air pressure until the sleeve "pops" back over the piston (do not exceed 100 p.s.i.).
When inflating your air springs, add pressure in small quantities and check the pressure frequently during inflation. The sleeves require much less air volume than a tire and therefore inflate much faster. This careful approach prevents over-pressurization and potential damage.
If the air spring is misaligned or not inflated during assembly, it can cause side load wear and reduce the lifespan of the component. During the finishing stage, you must center the sleeve so that it is in line with the upper and lower bracket and has a symmetrical cushion of air around the lower base of the sleeve. This is accomplished by pressing all around the air spring and tapping it inboard or outboard for proper alignment.
After installation, inflate to 30 p.s.i. and check all fittings and valve core for leaks using a liquid solution of 1/5 dish soap to 4/5 water mixed in a spray bottle. Recheck air pressure after 24 hours. A 2–4 p.s.i. loss after initial installation is normal. If pressure has dropped more than 5 lbs, retest for leaks with the soapy water solution.
Use a soapy water solution to check for leaks. Mix 1/5 dish soap to 4/5 water in a spray bottle and apply it to all air line connections, fittings, and the inflation valve core. Bubbles will form at any leak location. This test should be performed at 30 p.s.i. after initial installation and whenever you suspect a leak.
Check pressure weekly. Always maintain at least 10 p.s.i. air pressure. Failure to maintain correct minimum pressure will void the warranty.
If you develop an air leak, use a soapy water solution to check all air line connections and the inflation valve core before removing the sleeve. This will help you identify the exact location of the leak. If the leak is at a connection, you may be able to tighten the fitting. If the leak is at the valve core, the core may need to be replaced.
Yes. A 2–4 p.s.i. loss after initial installation is normal. However, if pressure has dropped more than 5 lbs after 24 hours, retest for leaks with a soapy water solution to identify and fix the leak source.
The MN-640 is designed for leaf spring suspensions. If your vehicle has a rear brake proportioning valve, check with your dealer before installing. Contact Air Lift at 1-800-248-0892 ext. 2 to confirm fitment for your specific vehicle.
U-bolt: 16 ft/lbs; upper bracket frame bolts: 15 ft/lbs; lower mounting bolt: 10 ft/lbs; nylon nut: 4 ft/lbs. Do not over tighten any fasteners.
Minimum: 10 p.s.i. (must always be maintained). Maximum: 100 p.s.i. (do not exceed). Inflate to 60 p.s.i. before loading, then adjust to level the vehicle.
Inflate to 30 p.s.i. and spray all fittings, connections, and the valve core with a soapy water solution (1/5 dish soap to 4/5 water). Bubbles indicate a leak. Recheck pressure after 24 hours; a 2–4 p.s.i. loss is normal, but more than 5 lbs indicates a leak that needs repair.
Check air pressure weekly and always maintain at least 10 p.s.i. Use soapy water to test for leaks if pressure drops more than 5 p.s.i. in 24 hours. Failure to maintain minimum pressure voids the warranty.
If the sleeve fails to roll back down over the piston after the vehicle is lowered, add air pressure until the sleeve "pops" back over the piston. Do not exceed 100 p.s.i. This typically occurs when the system pressure is too low to allow the spring to return to its normal position.
A loss of more than 5 p.s.i. in 24 hours indicates an air leak. Use a soapy water solution (1/5 dish soap to 4/5 water) to check all air line connections, fittings, and the inflation valve core. Spray the solution on each connection and look for bubbles, which indicate the leak location. Tighten loose connections or replace the valve core if necessary.
Rubbing against another component indicates misalignment or improper inflation. This will void the warranty. During installation, you must center the sleeve so that it is in line with the upper and lower bracket with a symmetrical cushion of air around the lower base. Press all around the air spring and tap it inboard or outboard for proper alignment. Ensure the air spring diameter (5.1" at maximum inflation) has clearance all around.
First, verify that you are not exceeding your vehicle manufacturer's maximum load recommendations. The air pressure needed depends on the load and your vehicle's Gross Vehicle Weight Rating (GVWR). Check your vehicle owner's manual for maximum load limits. If the load is within limits, ensure the air spring is properly aligned with a symmetrical cushion of air around the lower base, and verify there are no leaks using a soapy water solution.
The lower bracket is moving because the bracket's "hook" or "finger" is not properly locked around the U-bolt. On most models, you must bend the post of the U-bolt into the spring and bend the finger down so it locks around the U-bolt. This prevents the lower bracket from moving. Ensure the U-bolt is torqued to 16 ft/lbs and the bracket is tight and flat to the roll plate on both sides.
On Sale Today
Original price was $590.99. Current price is $428.99.You save $162.00 (27%)
Free Shipping
Ships free on all orders
 Authorized Dealer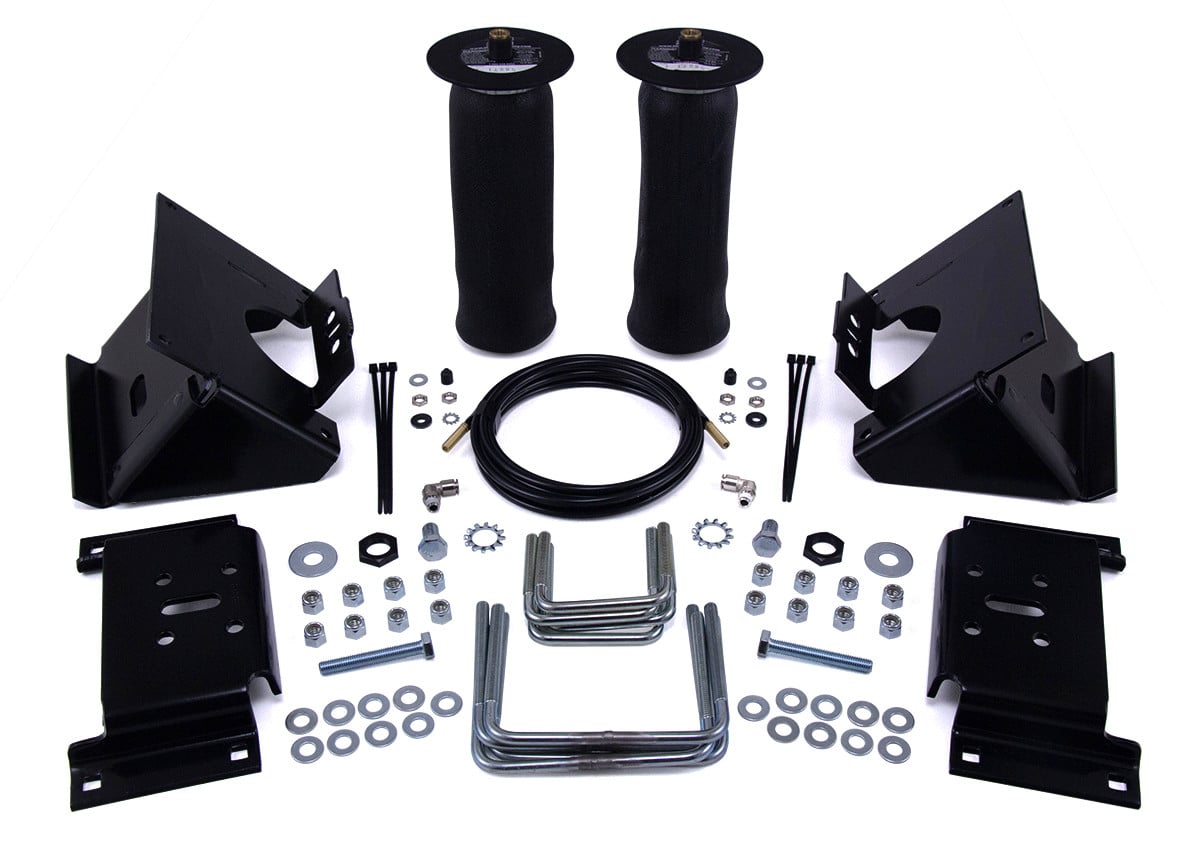
Quick Ship
In stock and ready to ship — order now!
FREE ShippingFREE SHIPPING
Estimated delivery Sat, Sep 26 - Tue, Sep 29
Order before 2 PM EST Monday–Friday for same-day processing
Guaranteed safe & secure checkout
No reviews have been added for this product.