
ARIES 2082058 TrailChaser Black Aluminum Front Bumper with LED Lights and Winch Mount, Select Jeep Wrangler JKARIESOriginal price was $958.95. Current price is $544.00.Out of Stock
View productOur in-house experts typically reply within one business day.

ARIES
This bumper is winch-ready, but the winch is sold separately. Pick one rated for your vehicle — check the bumper’s winch capacity and mounting bolt pattern in the specs.





Always the correct part
We know our products
Quality Products
Free Shipping!
Always the correct part
We know our products
Quality Products
Free Shipping!
Includes center section #2081001, corners #2081205, brush guard #2081101 and mounting hardware
Models with factory steel front bumper will require the purchase of aftermarket fog lights (not included)

Warranty: Limited Lifetime Warranty (Five-Year Finish, One-Year Parts)
Finish: TEXTURED BLACK POWDER COAT
Material: Blank
Bumper Location: Front
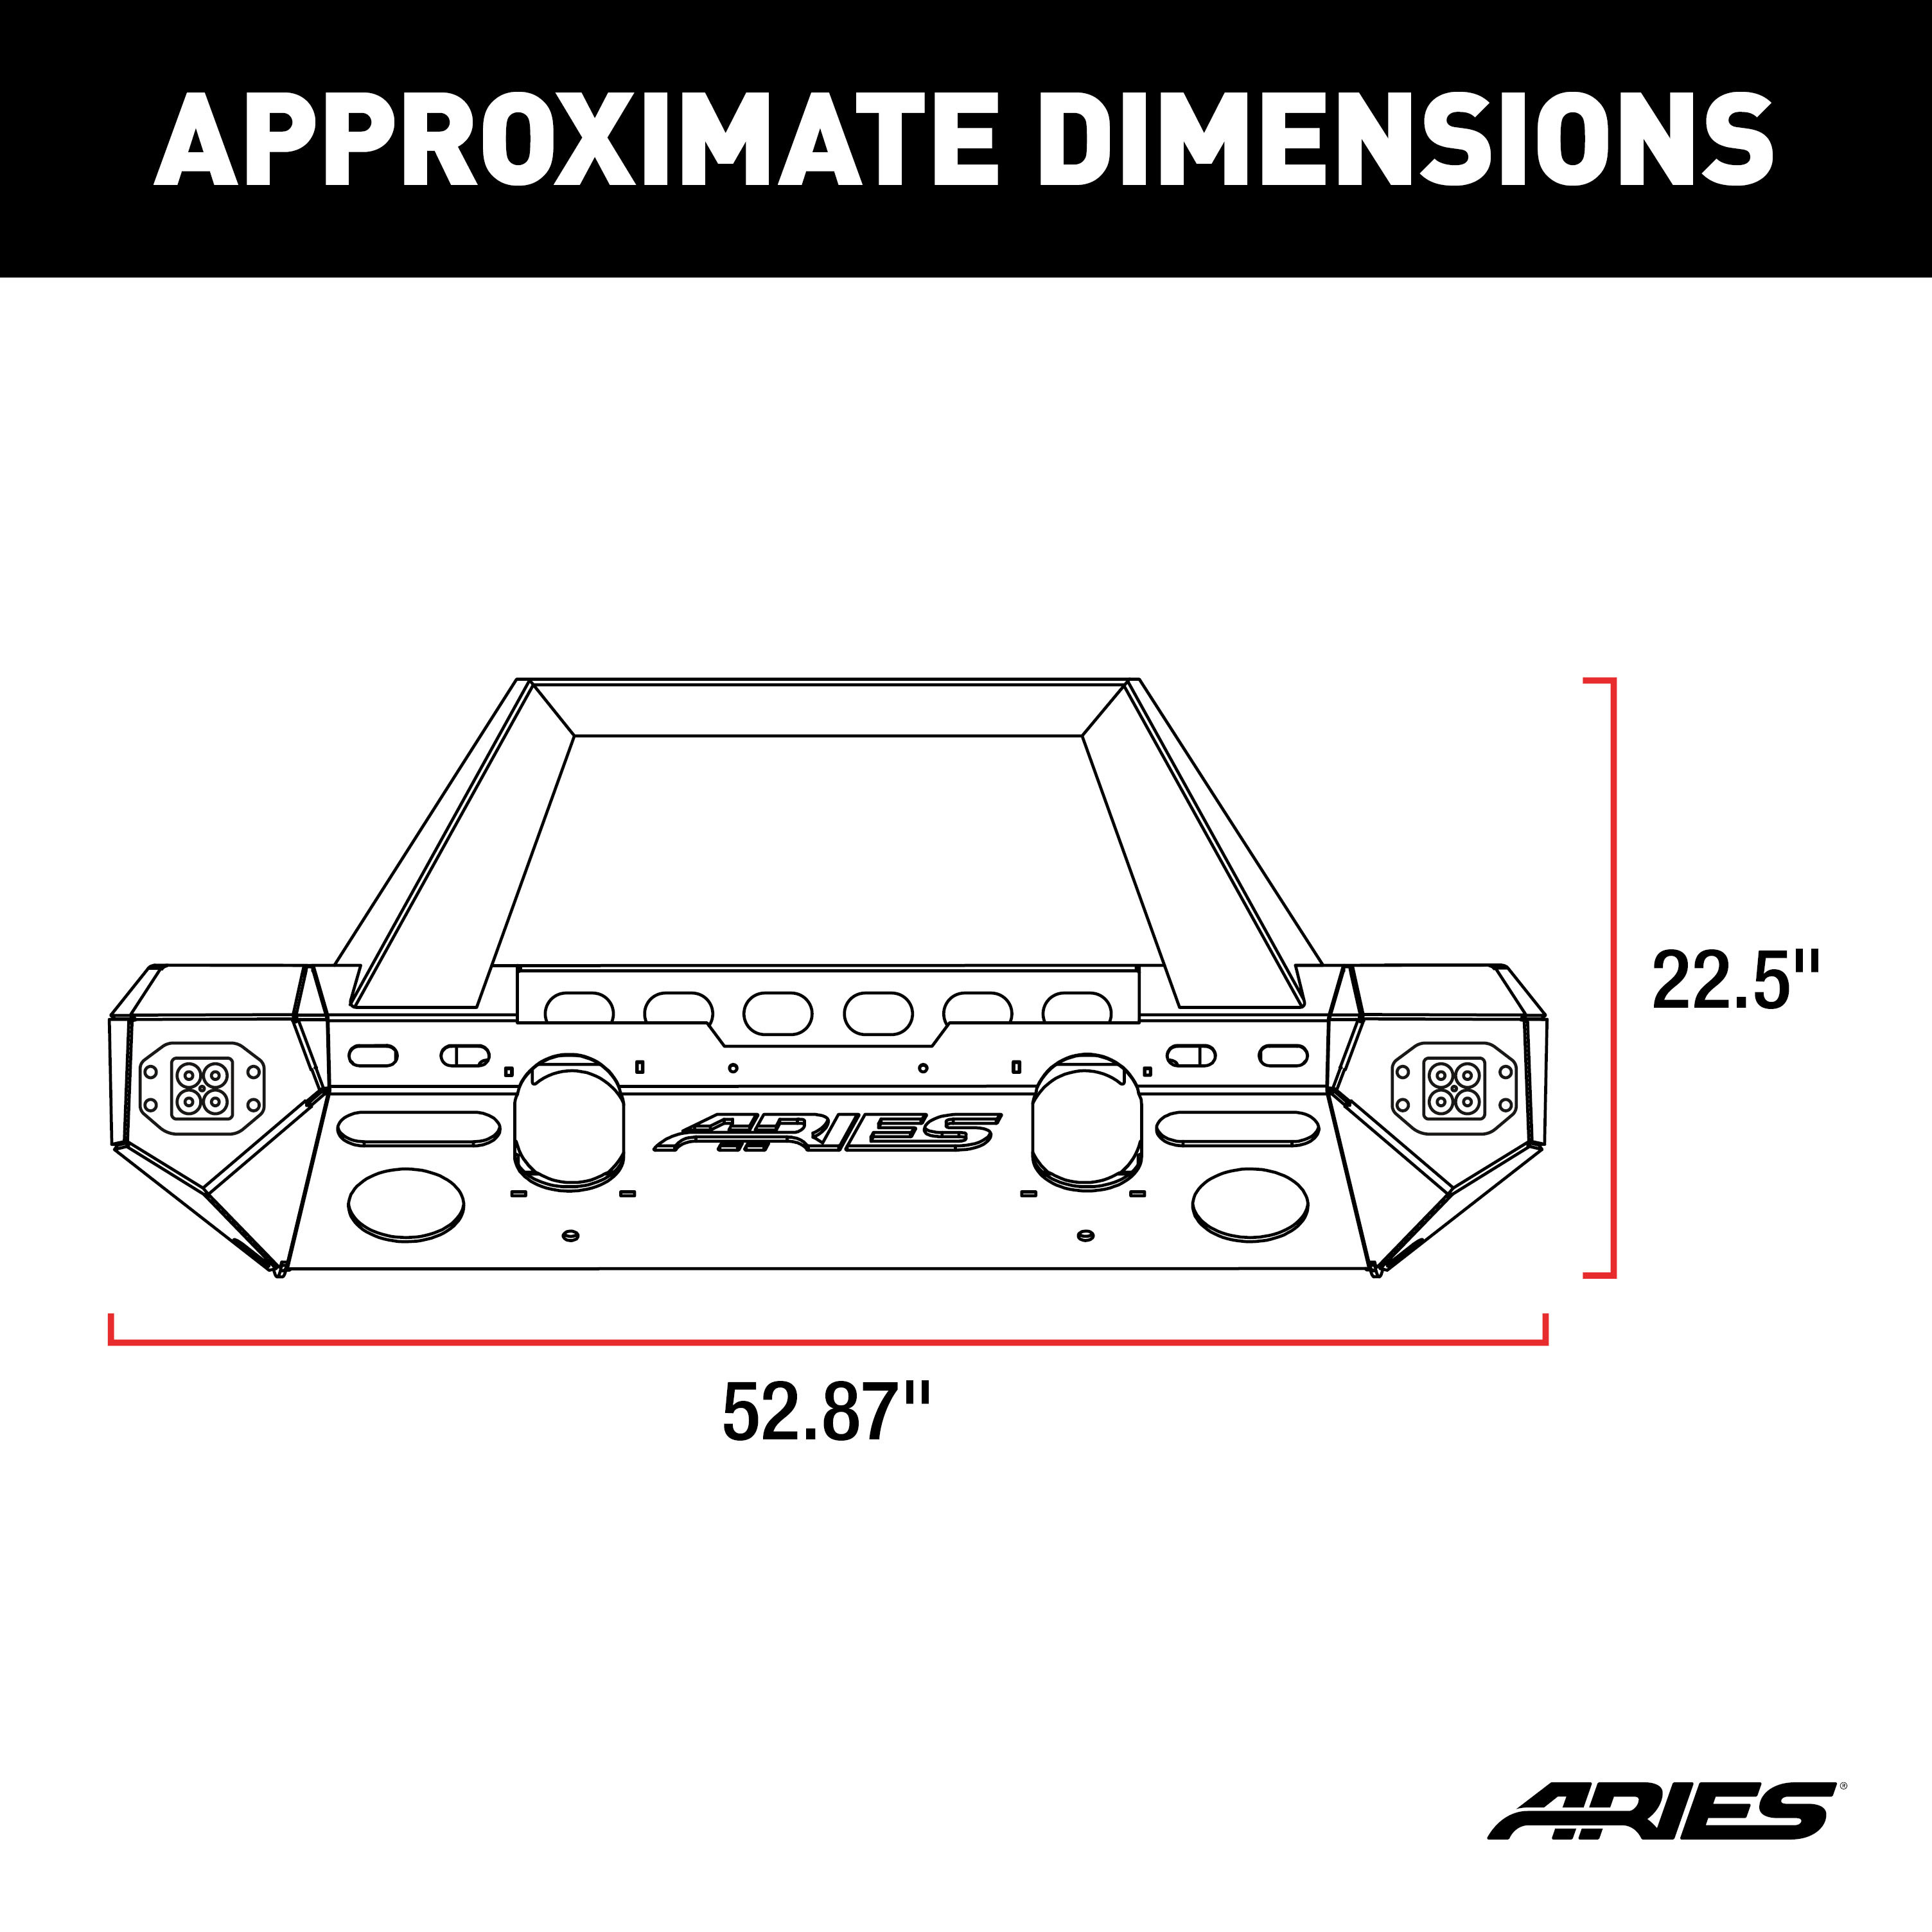
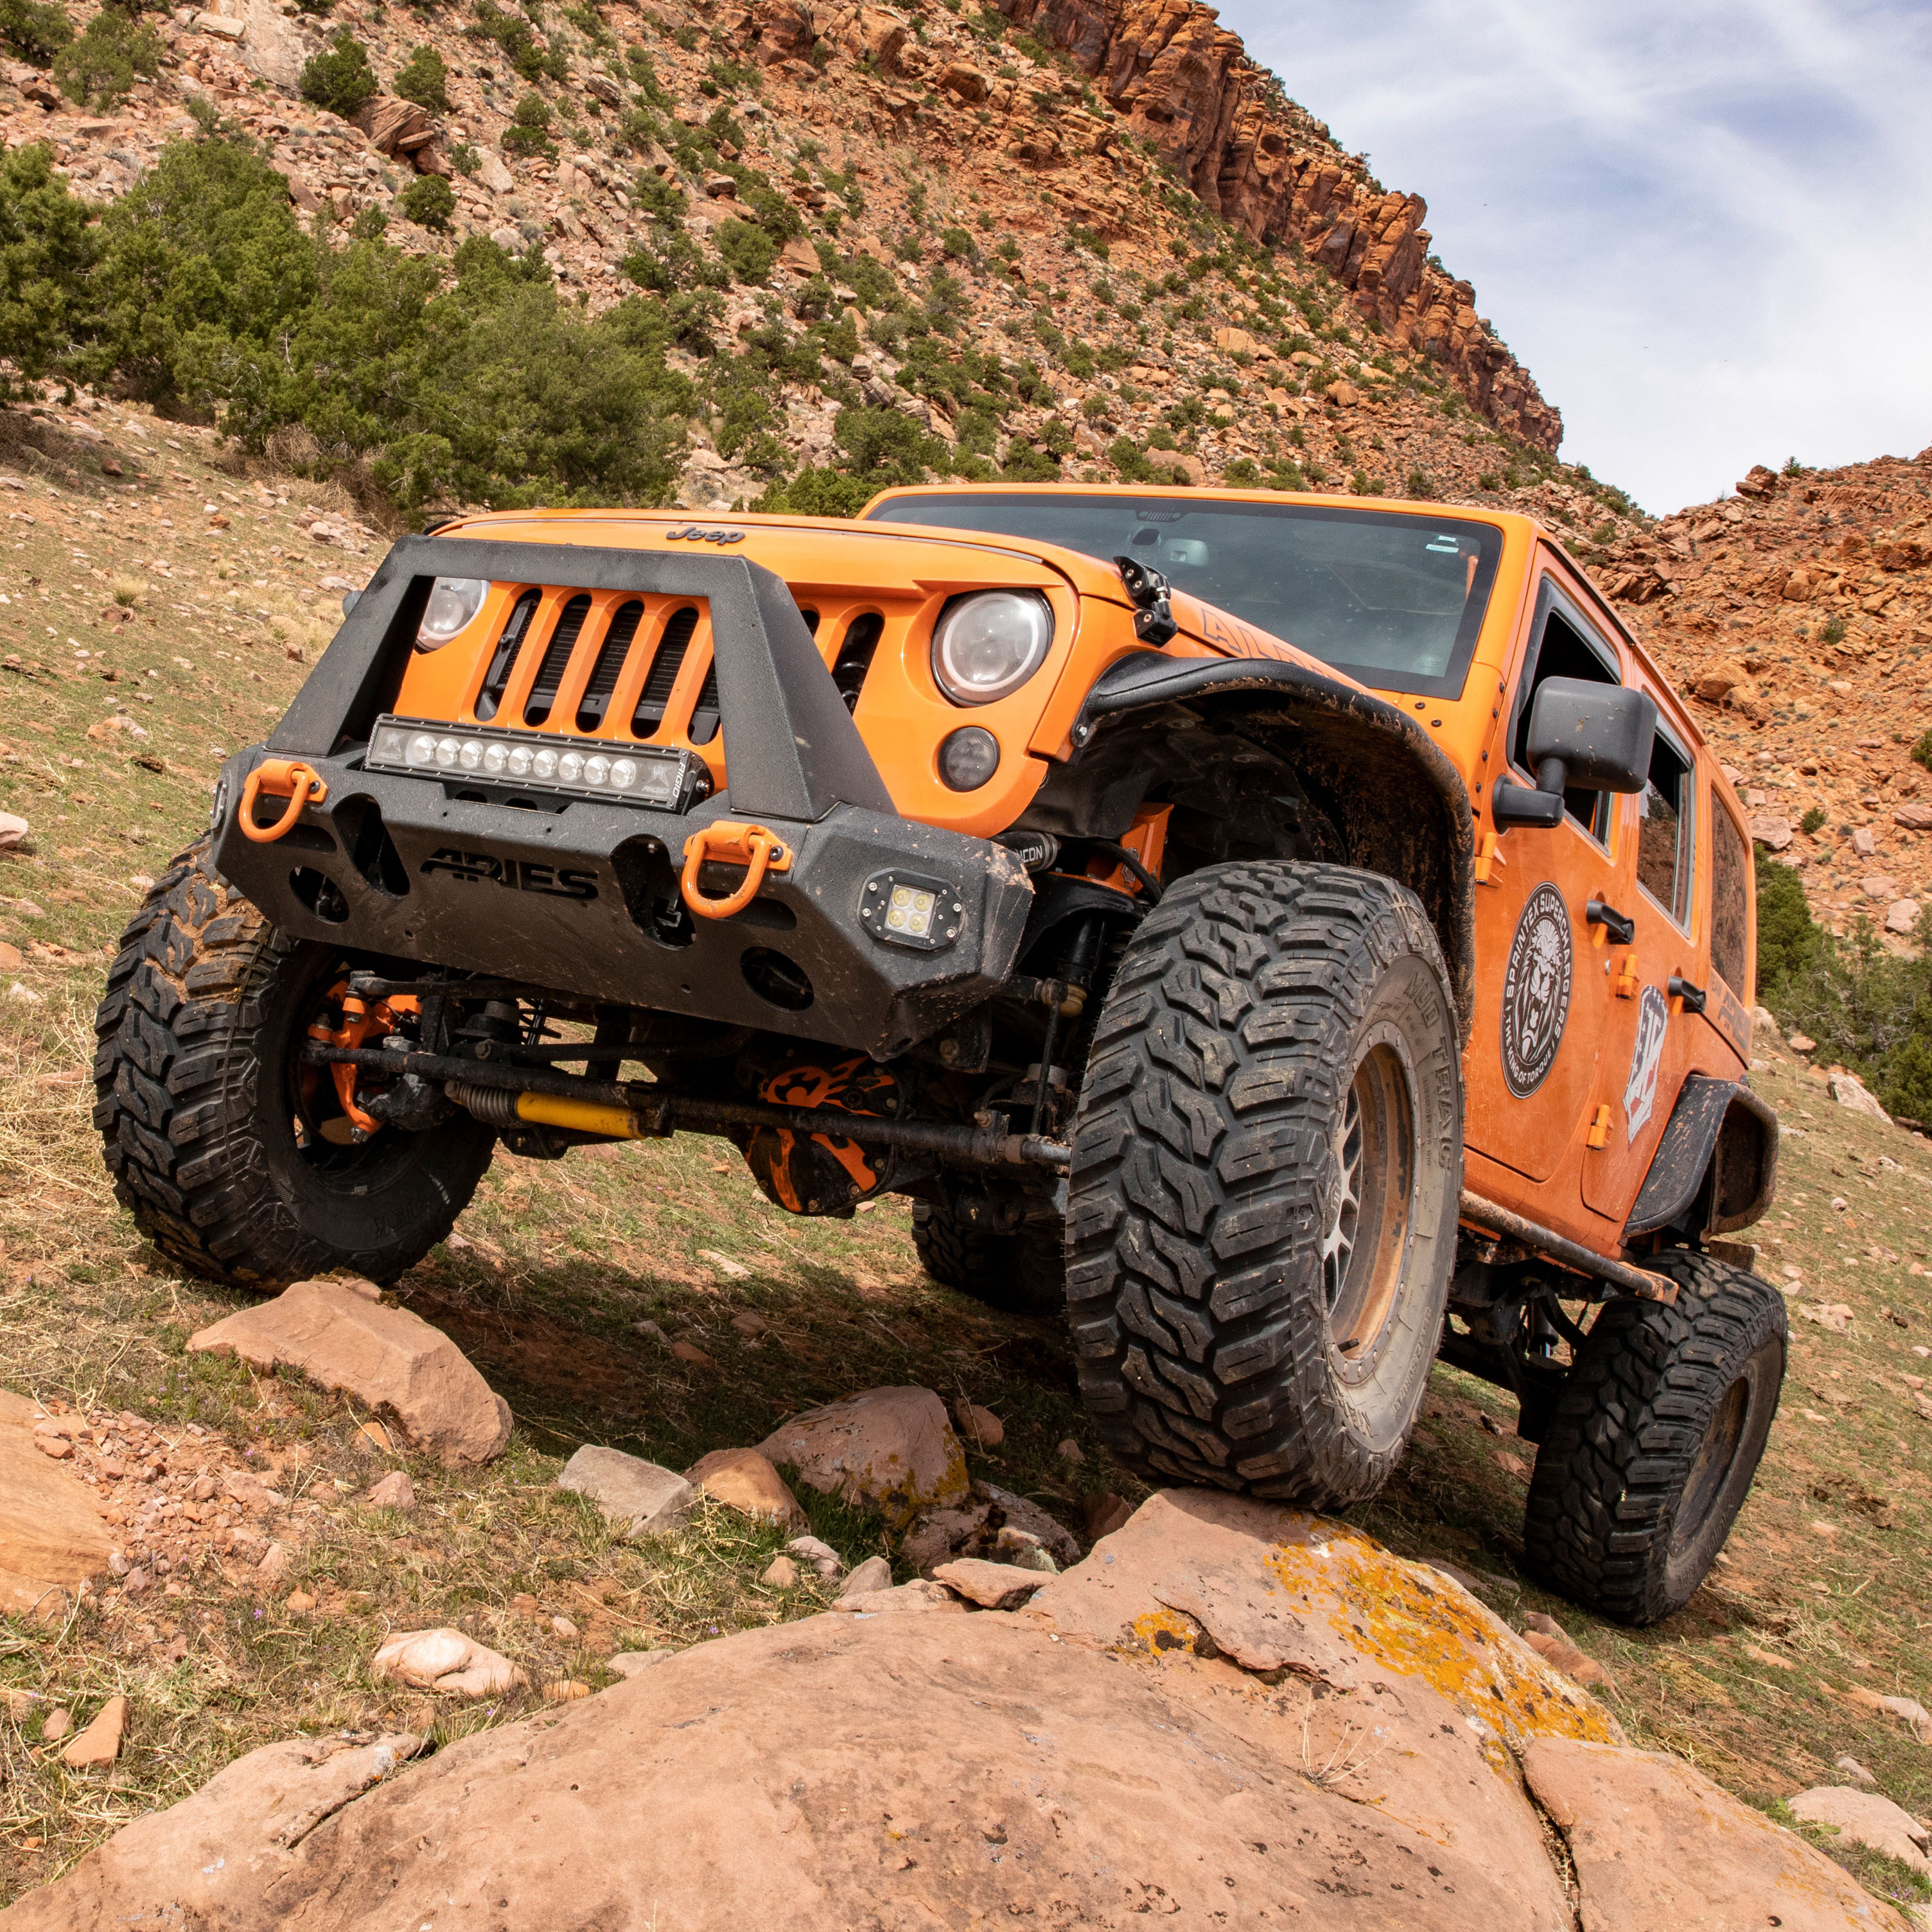
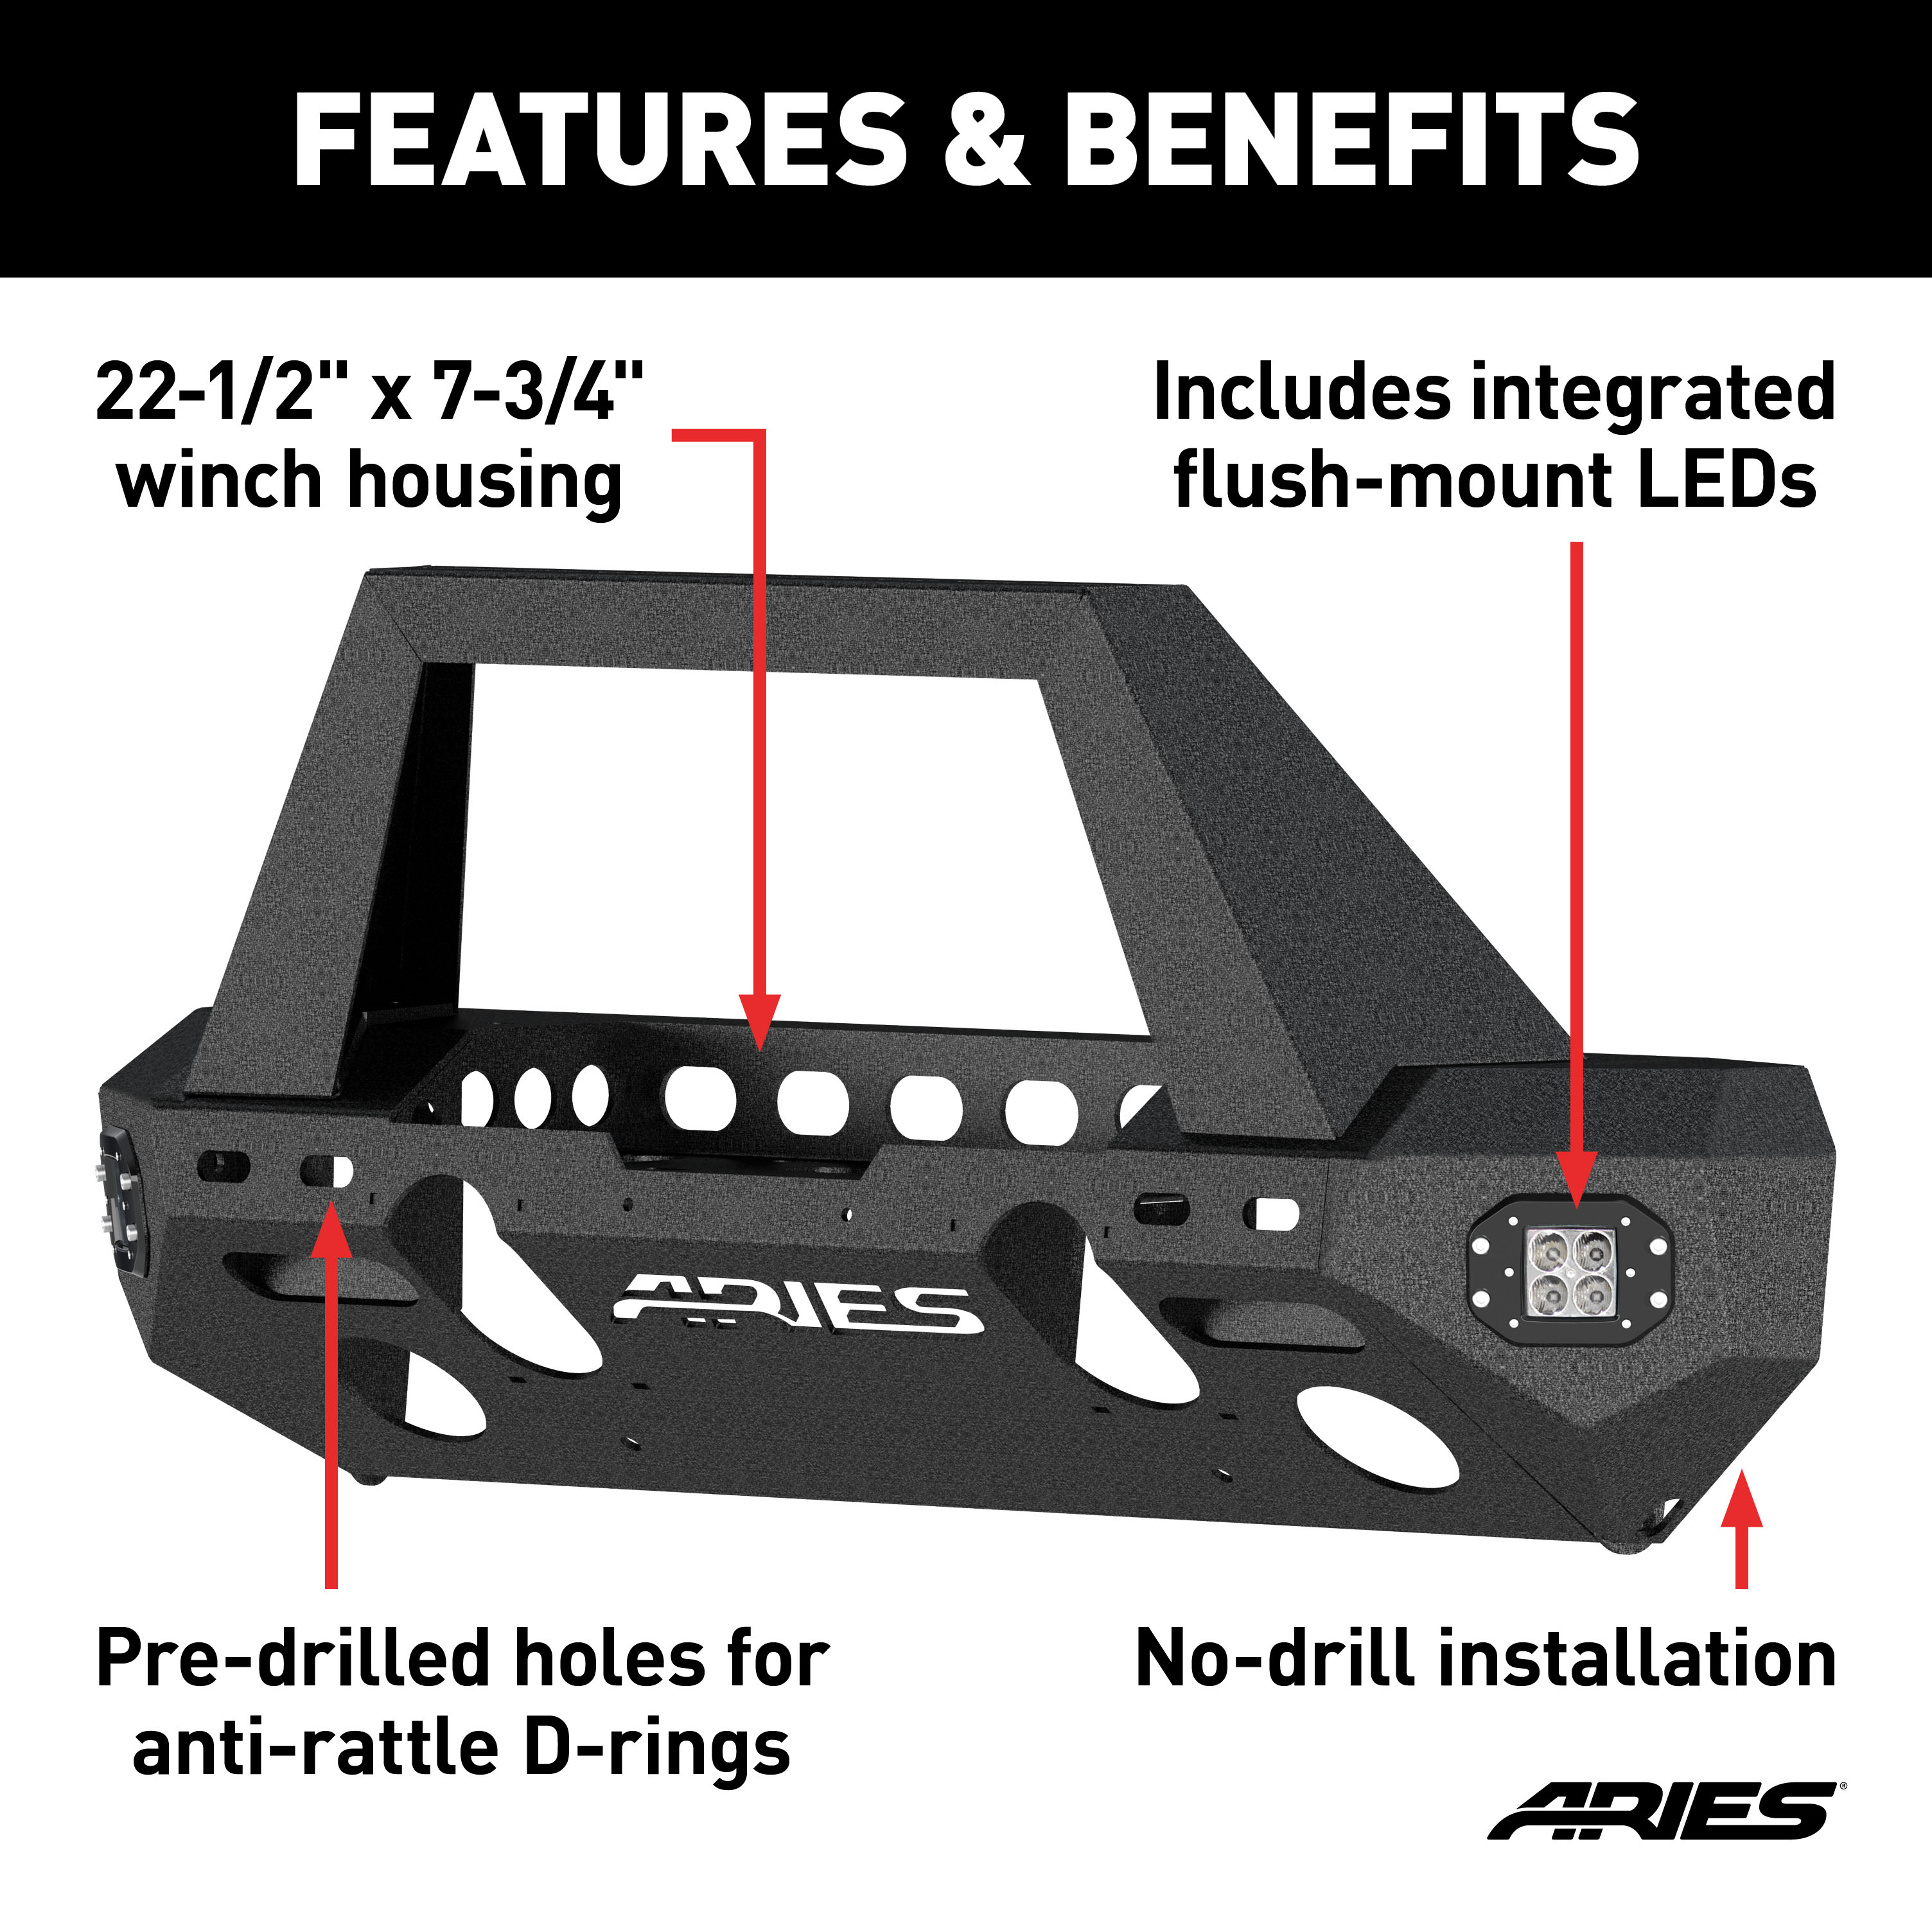
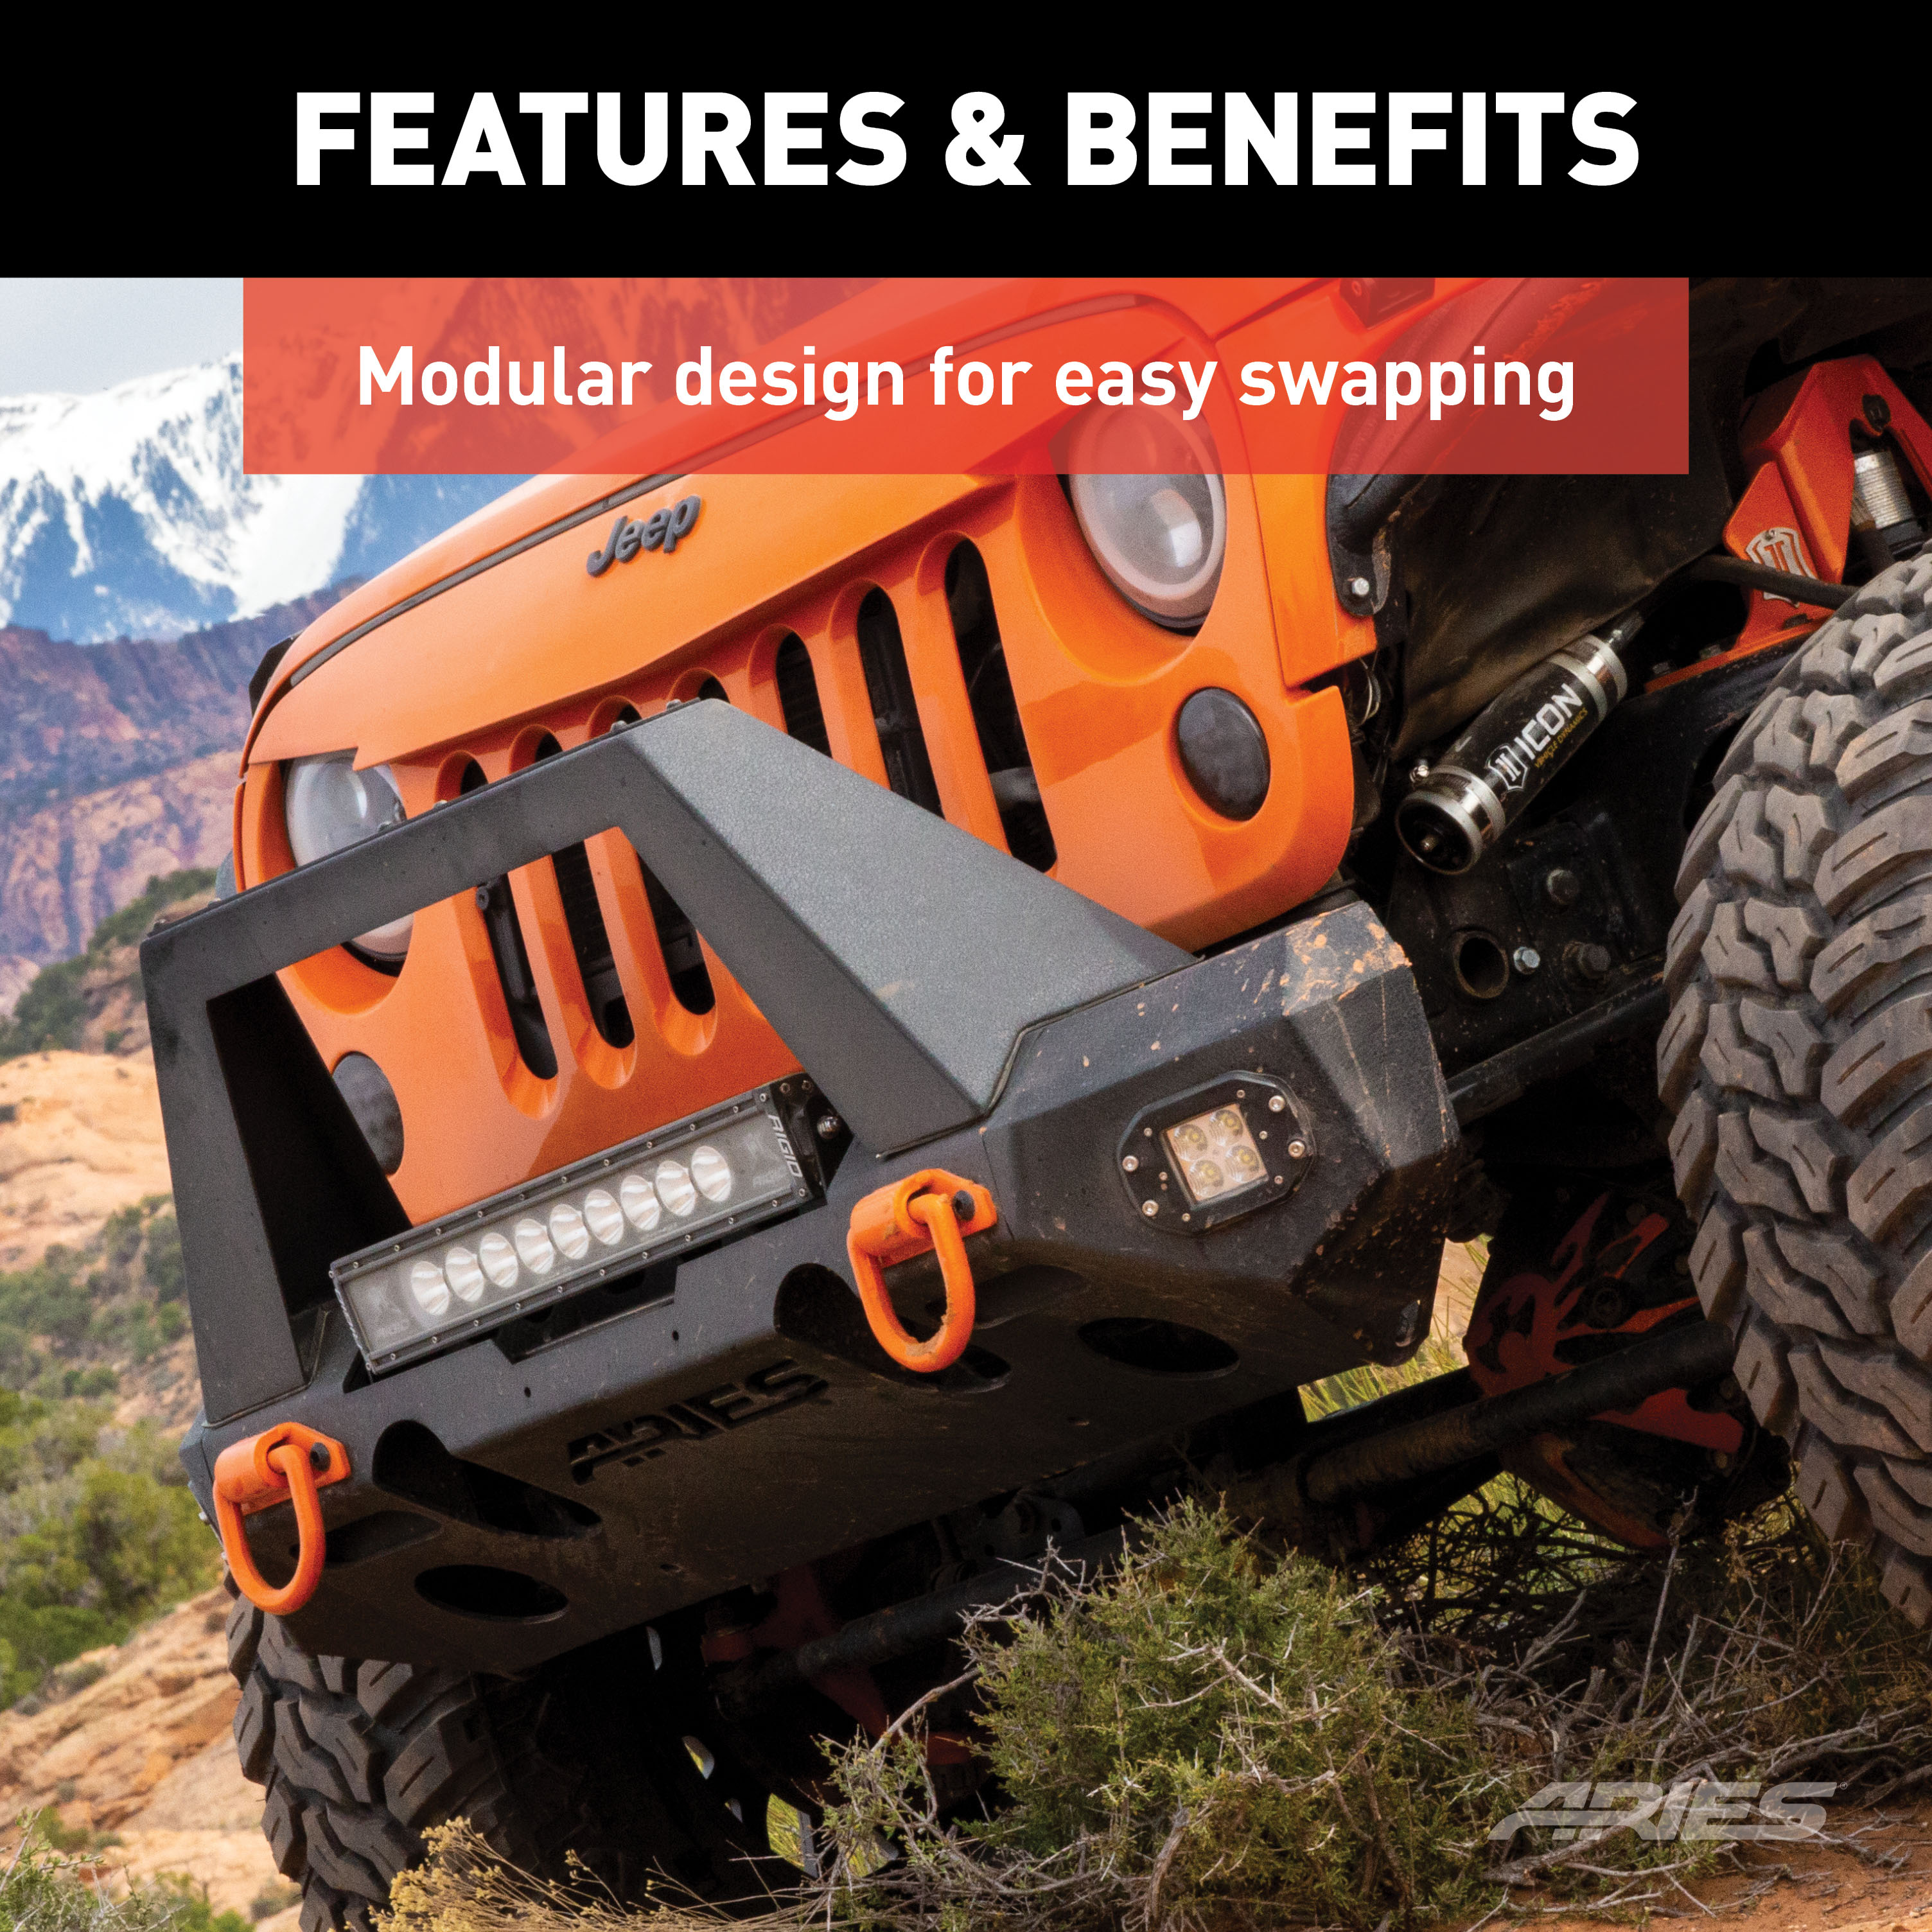
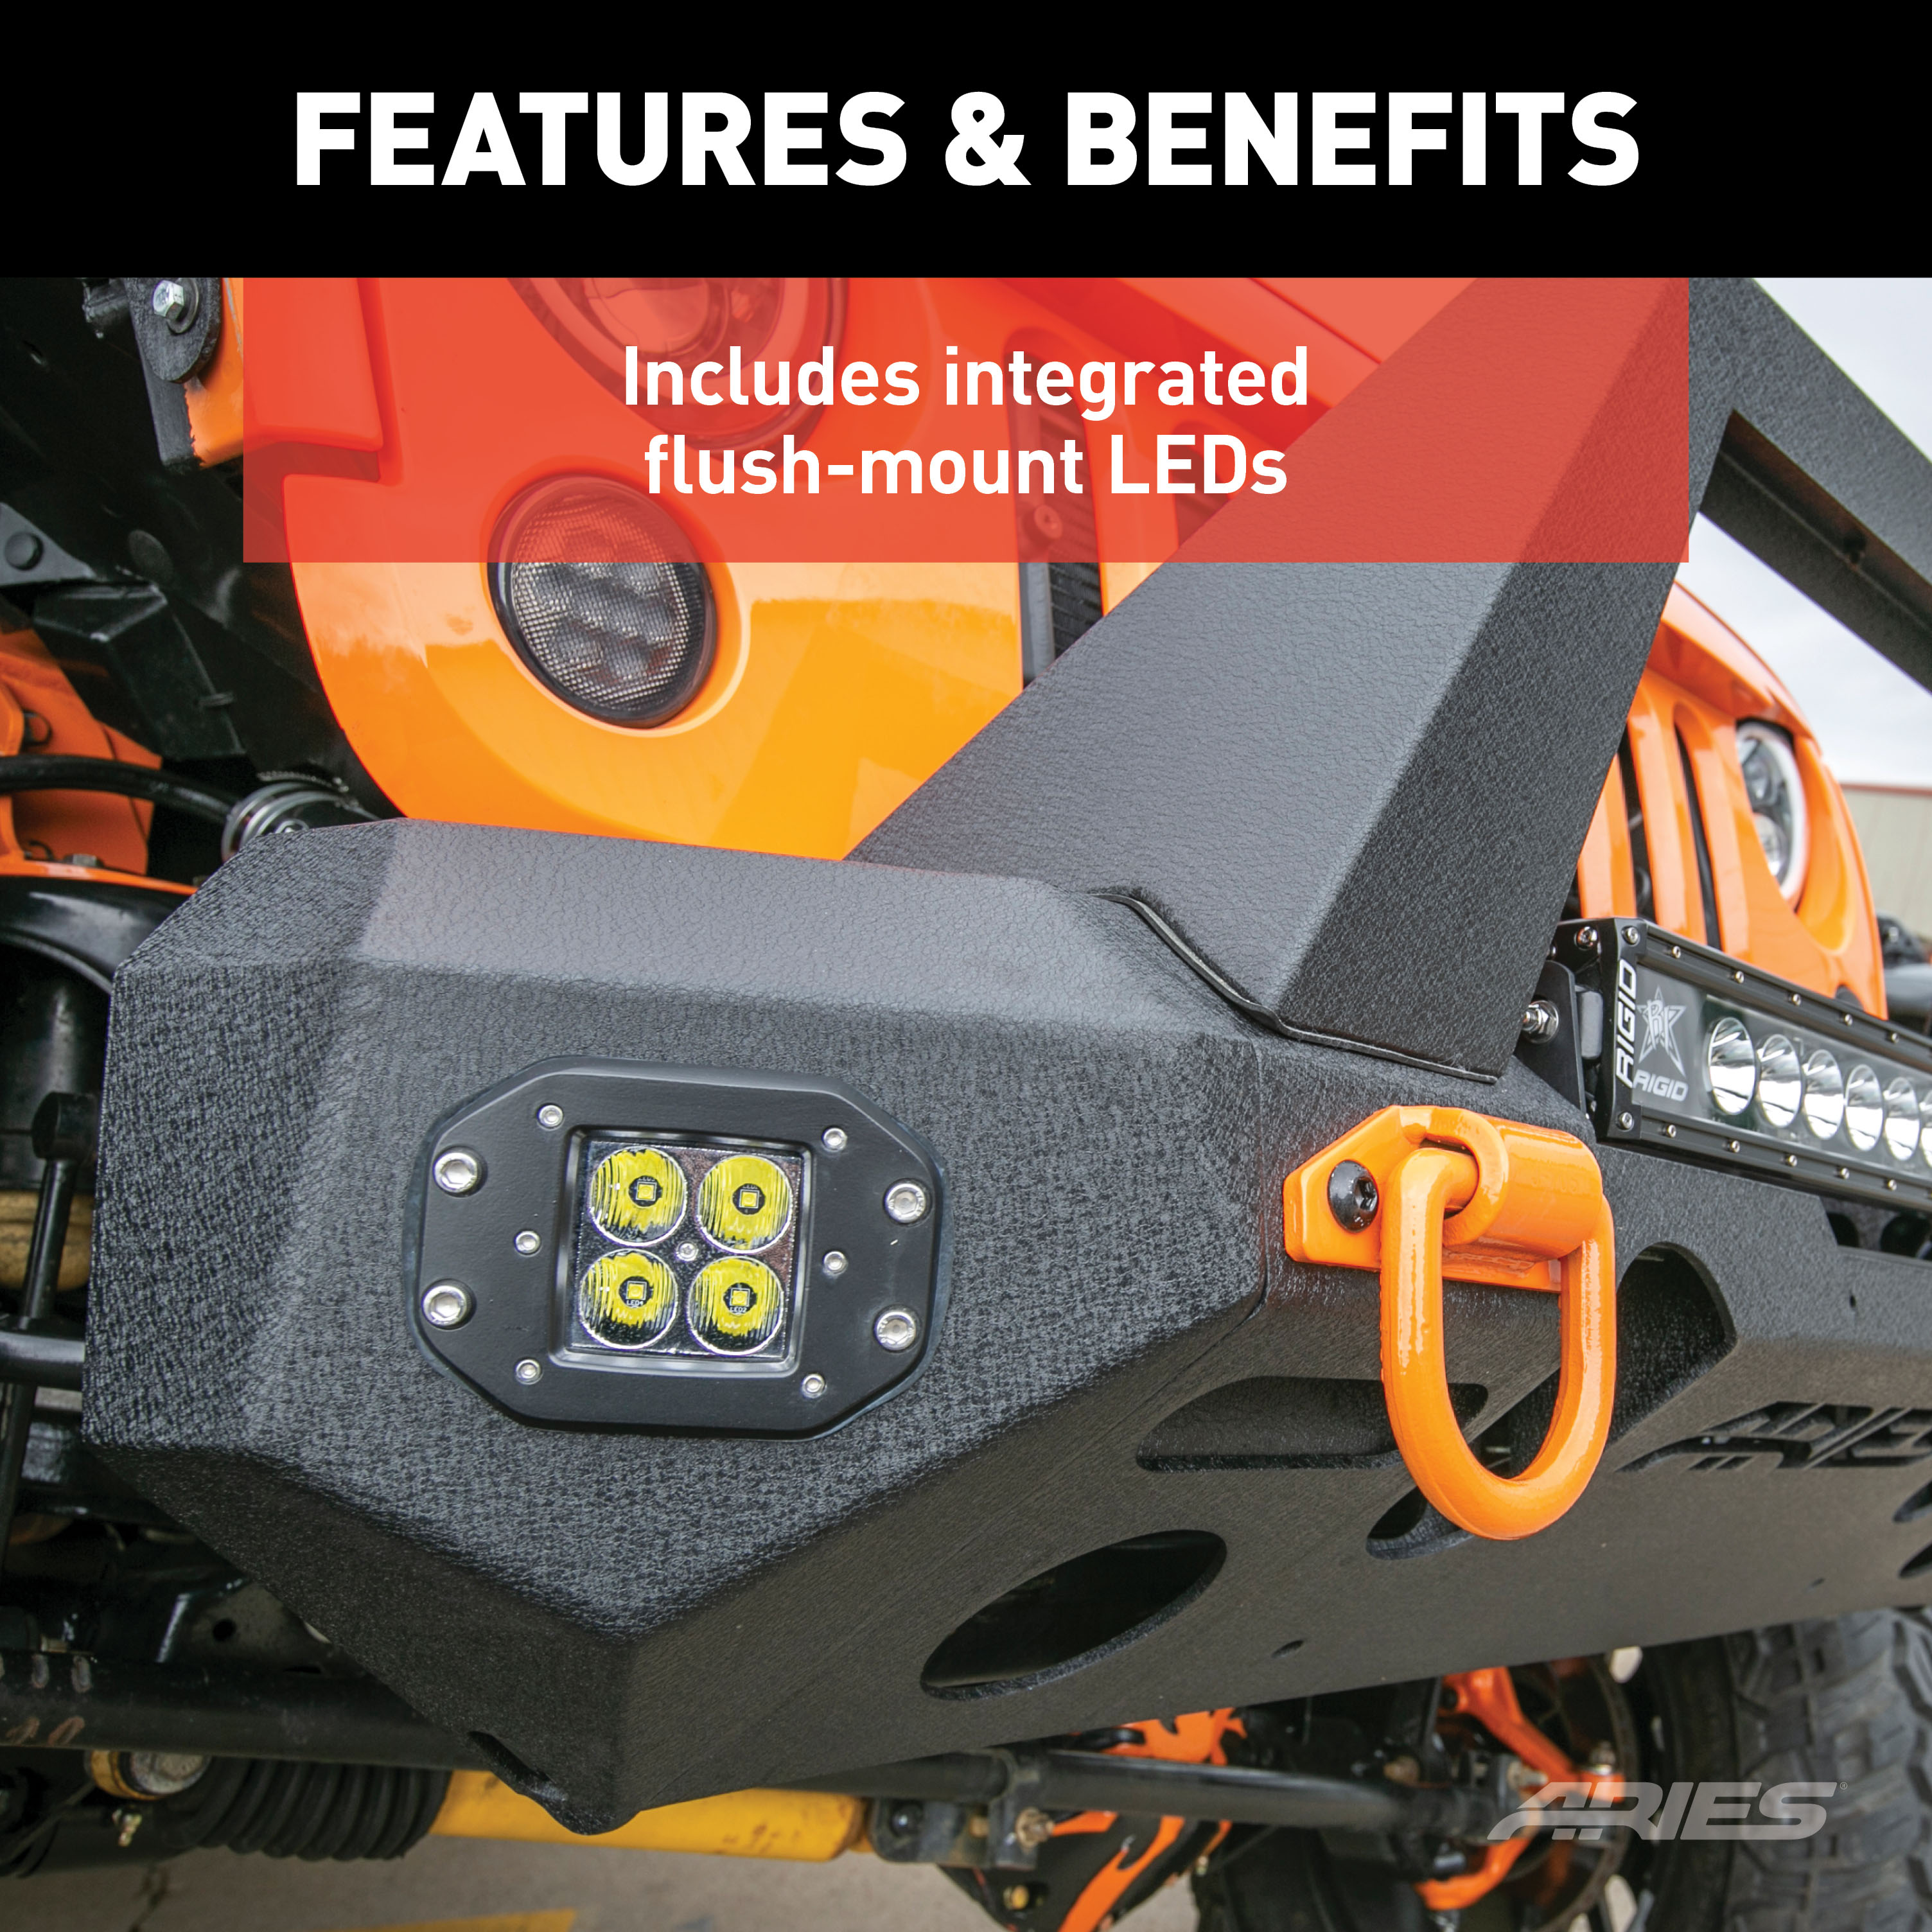
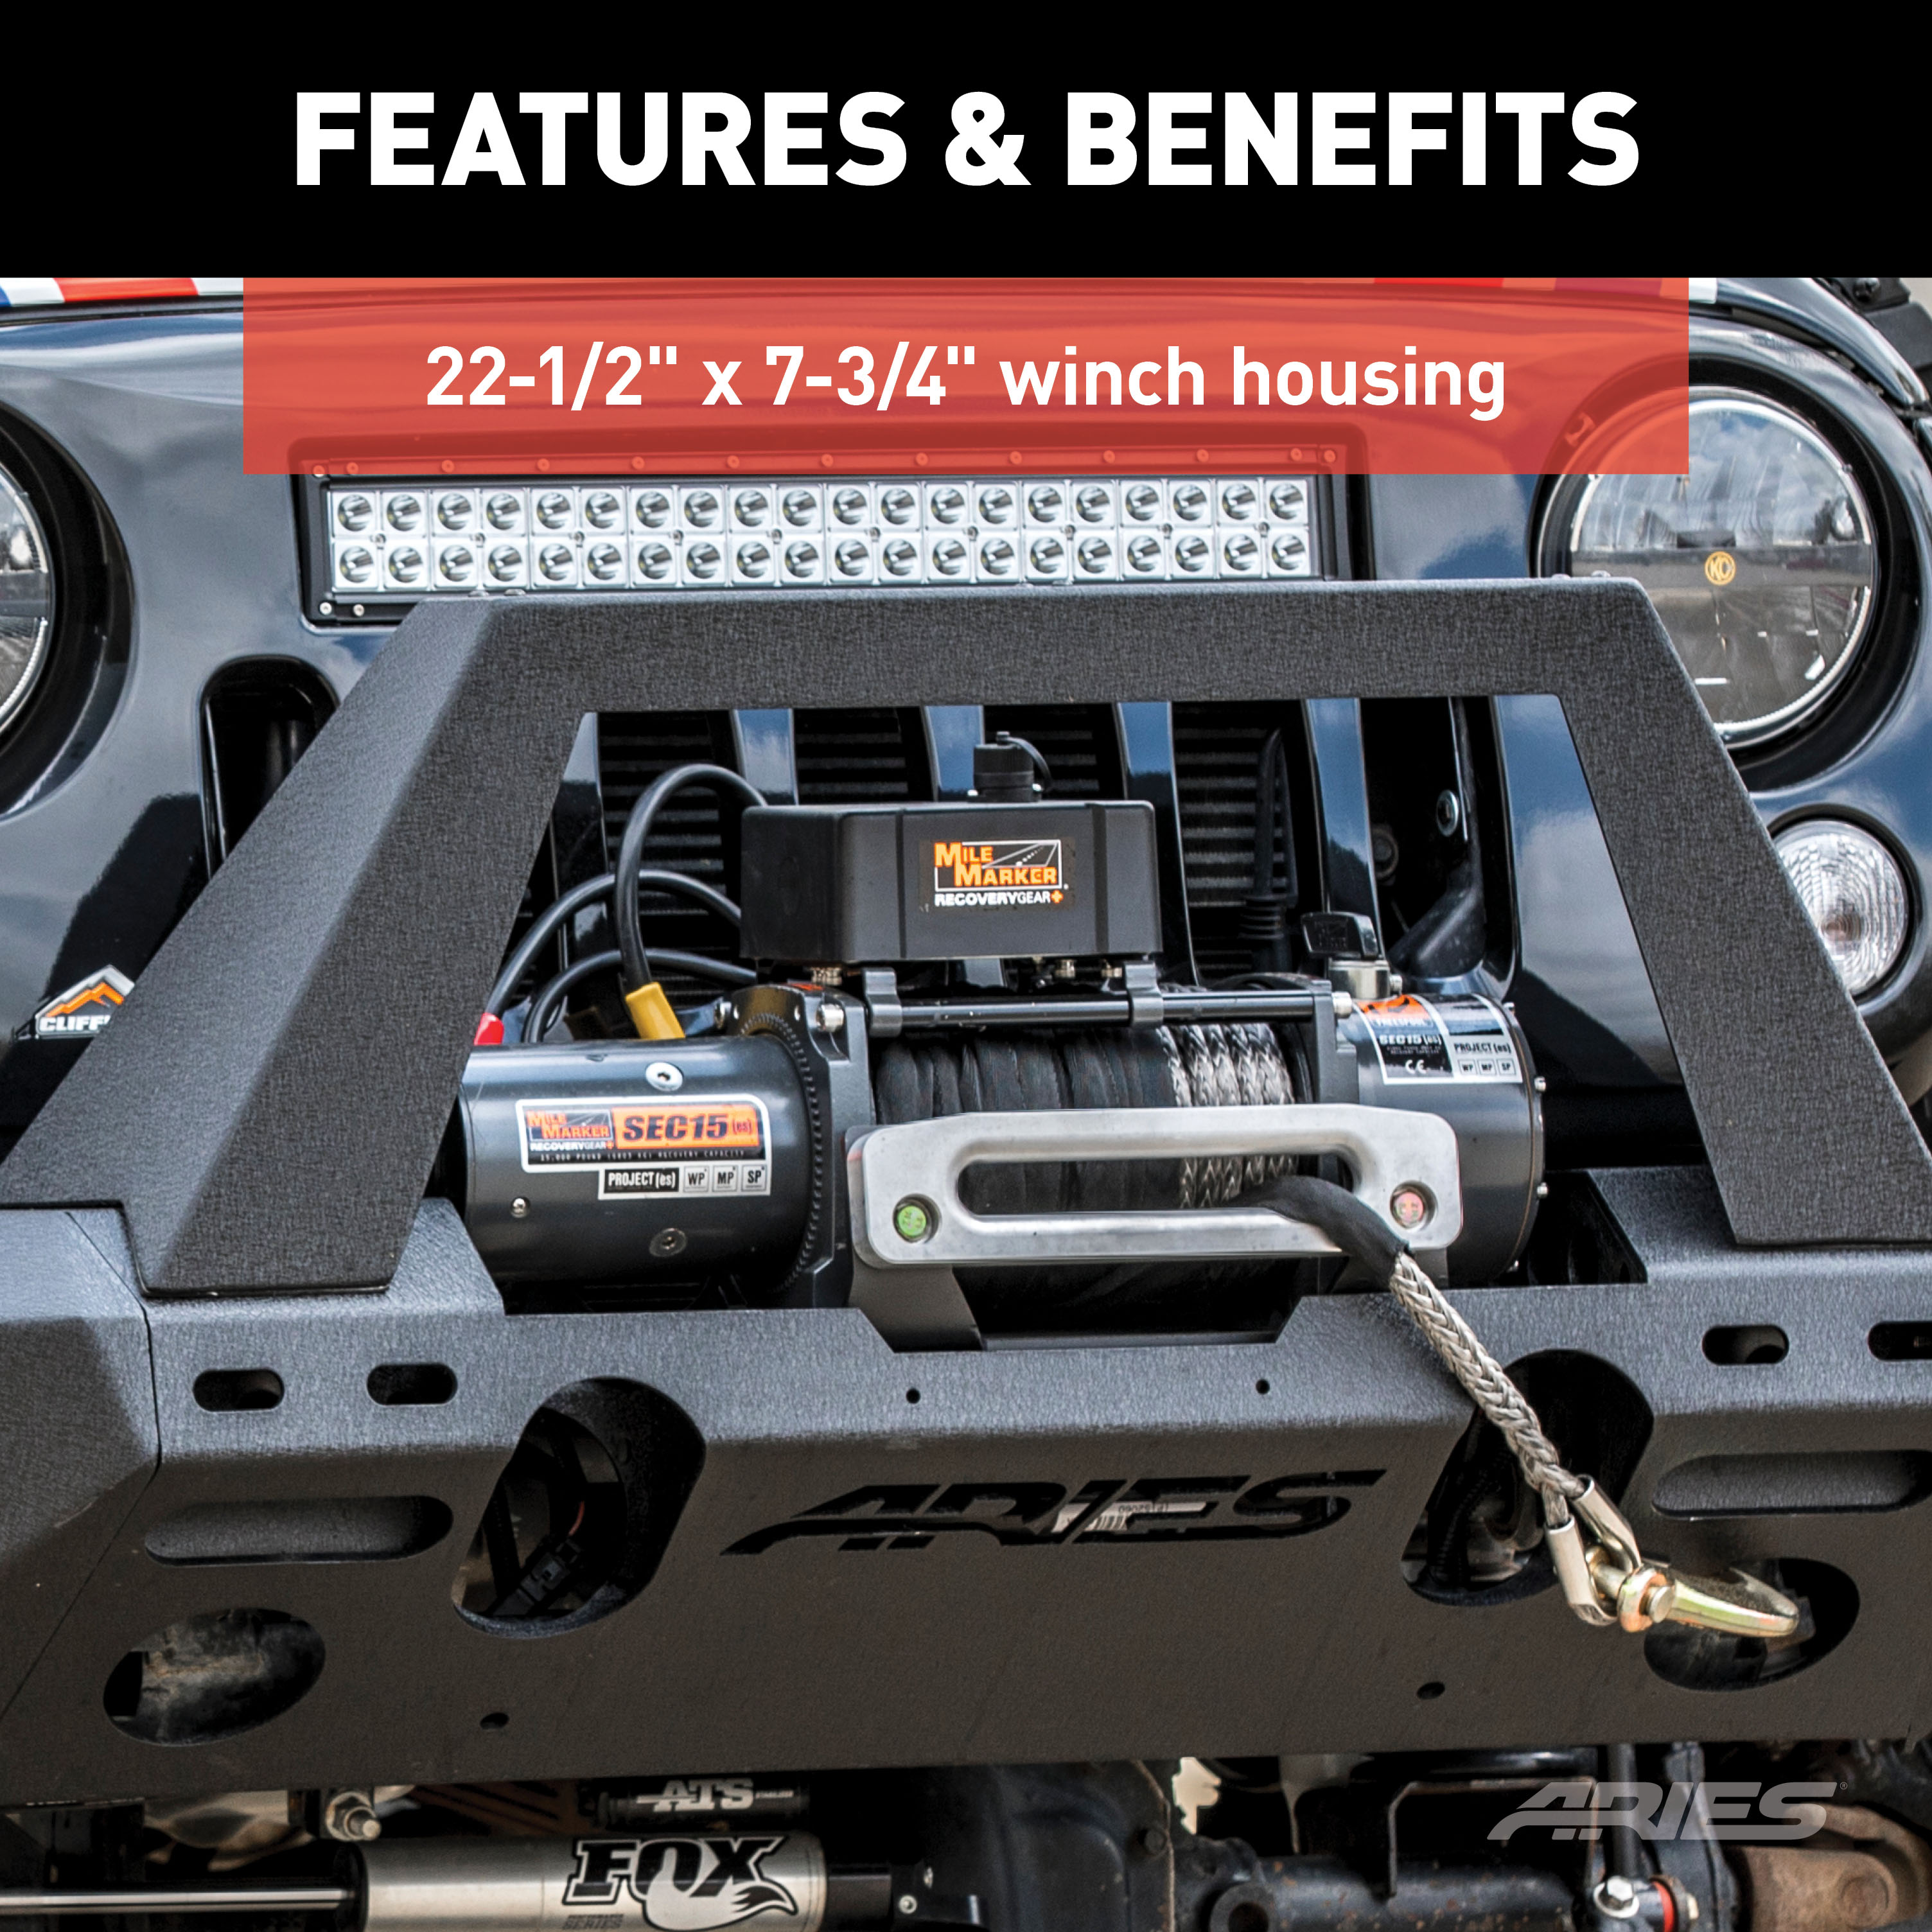
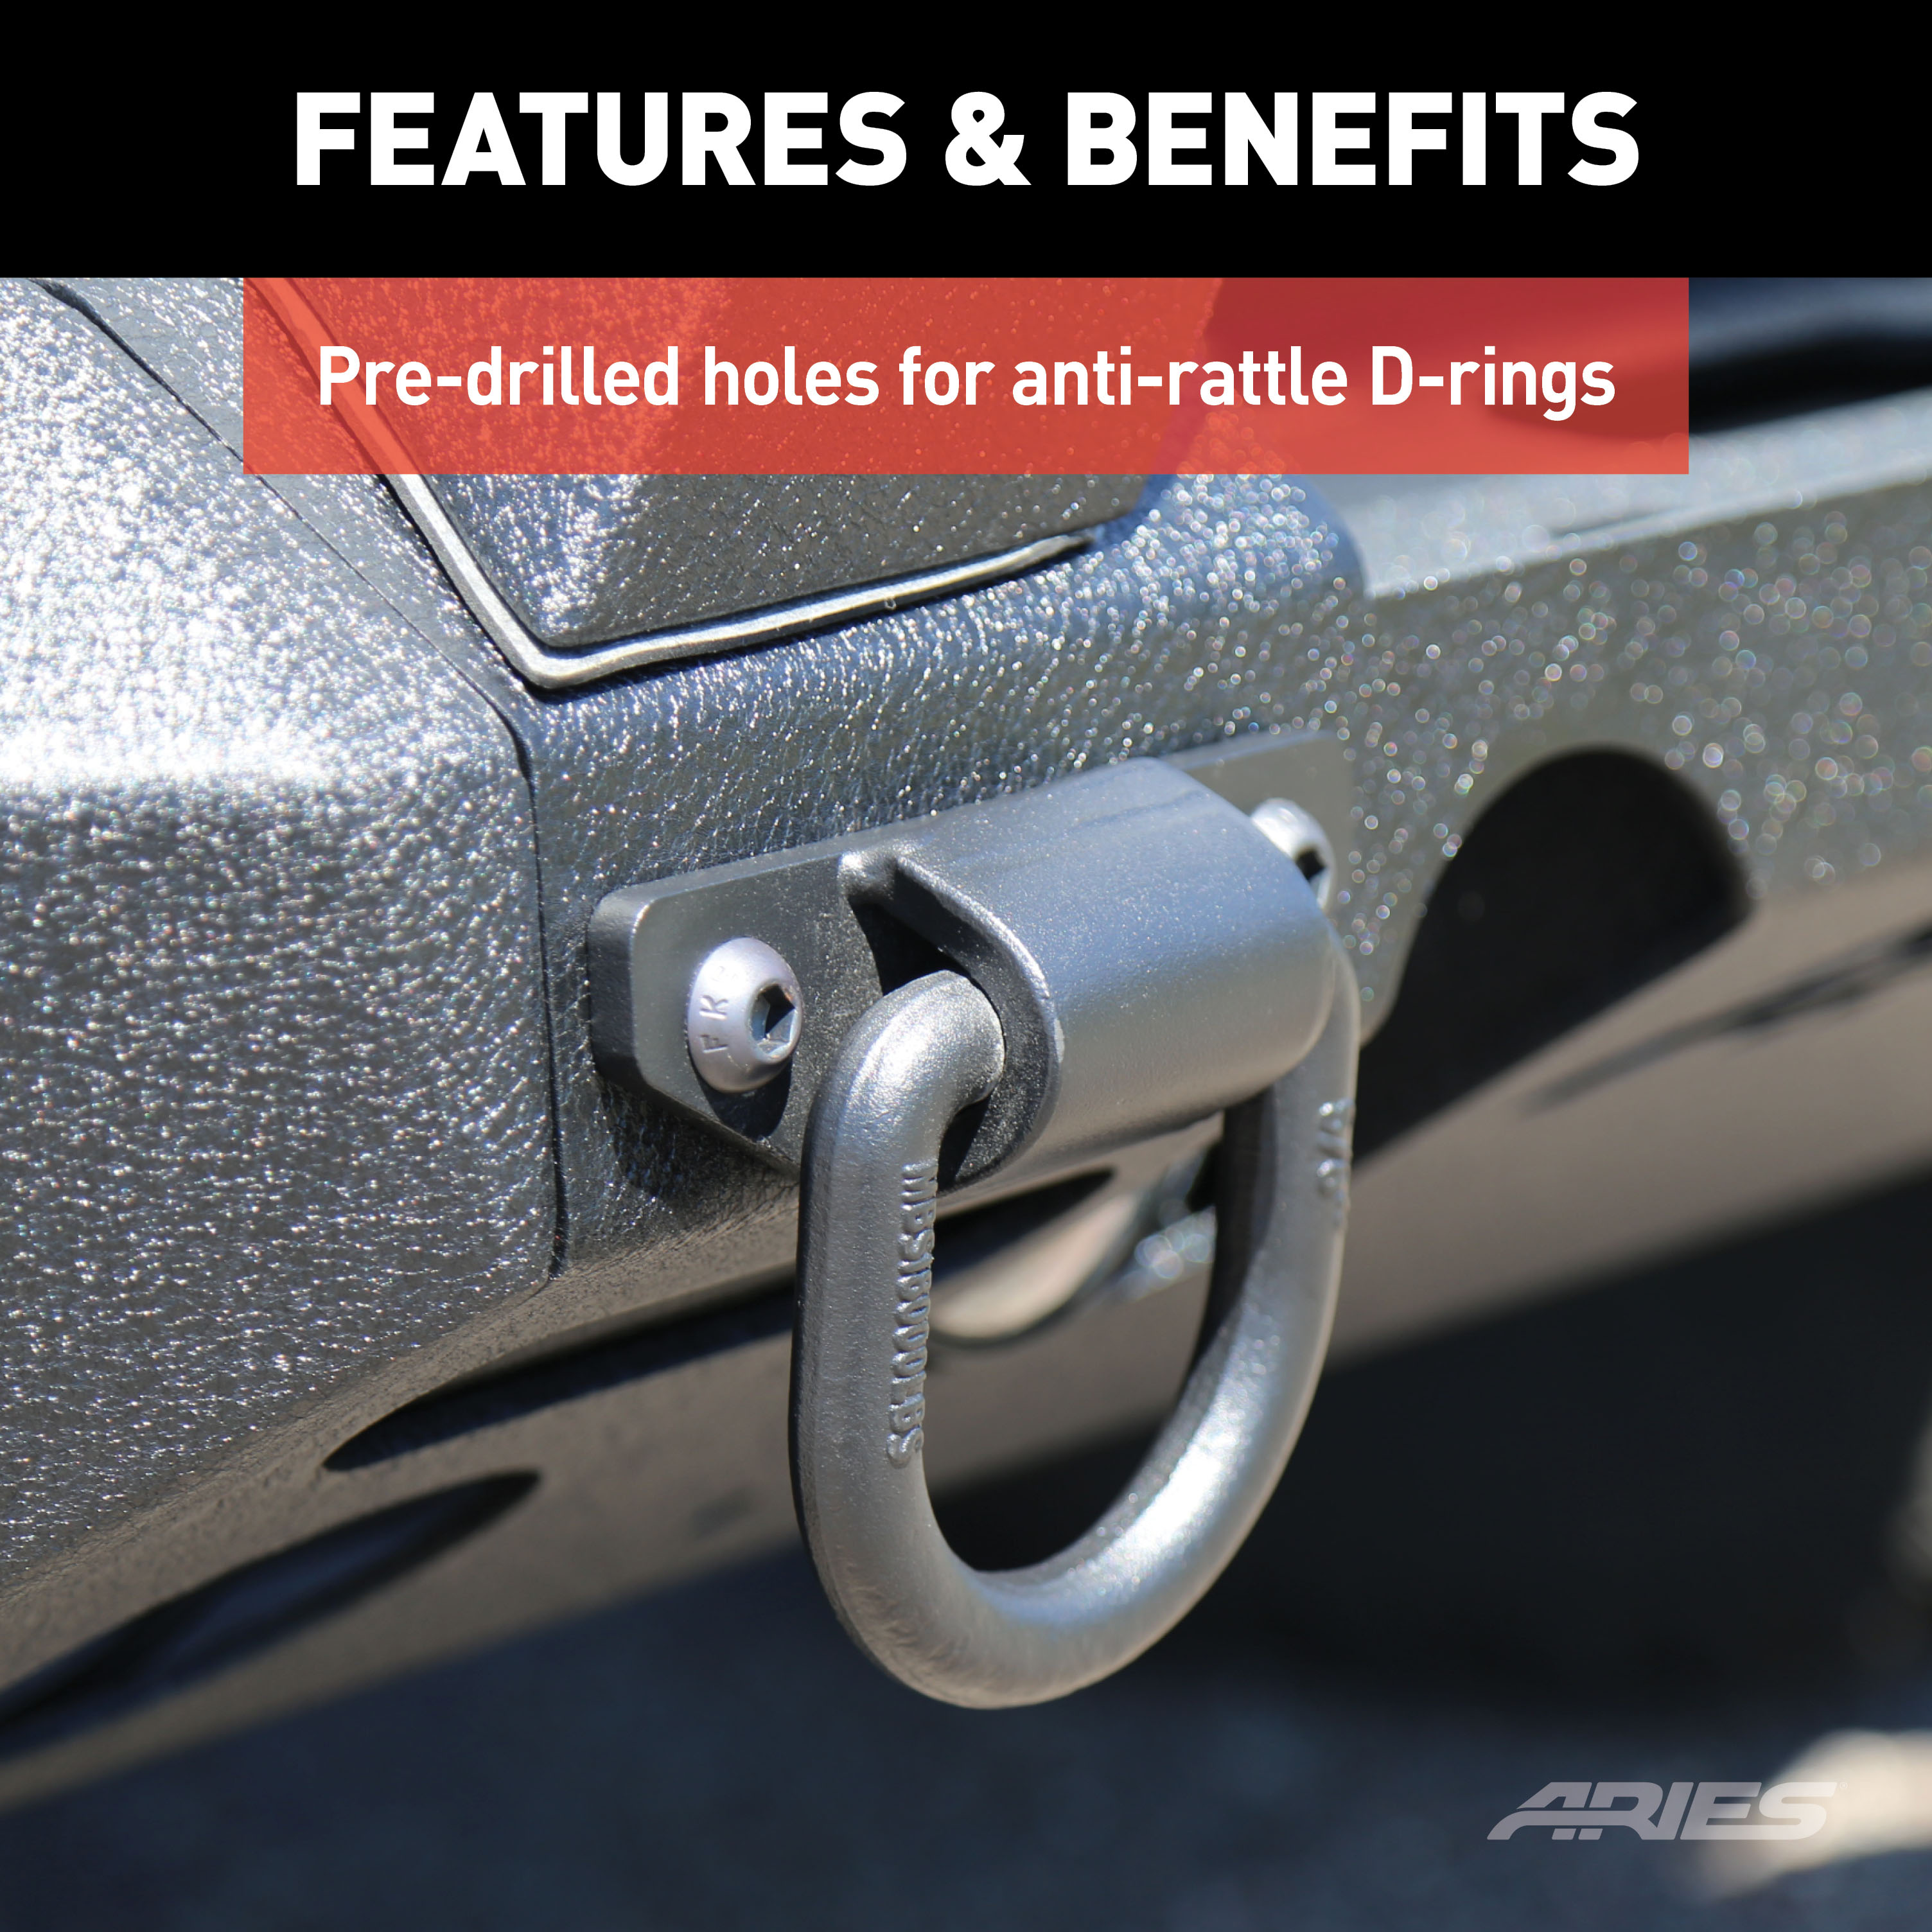
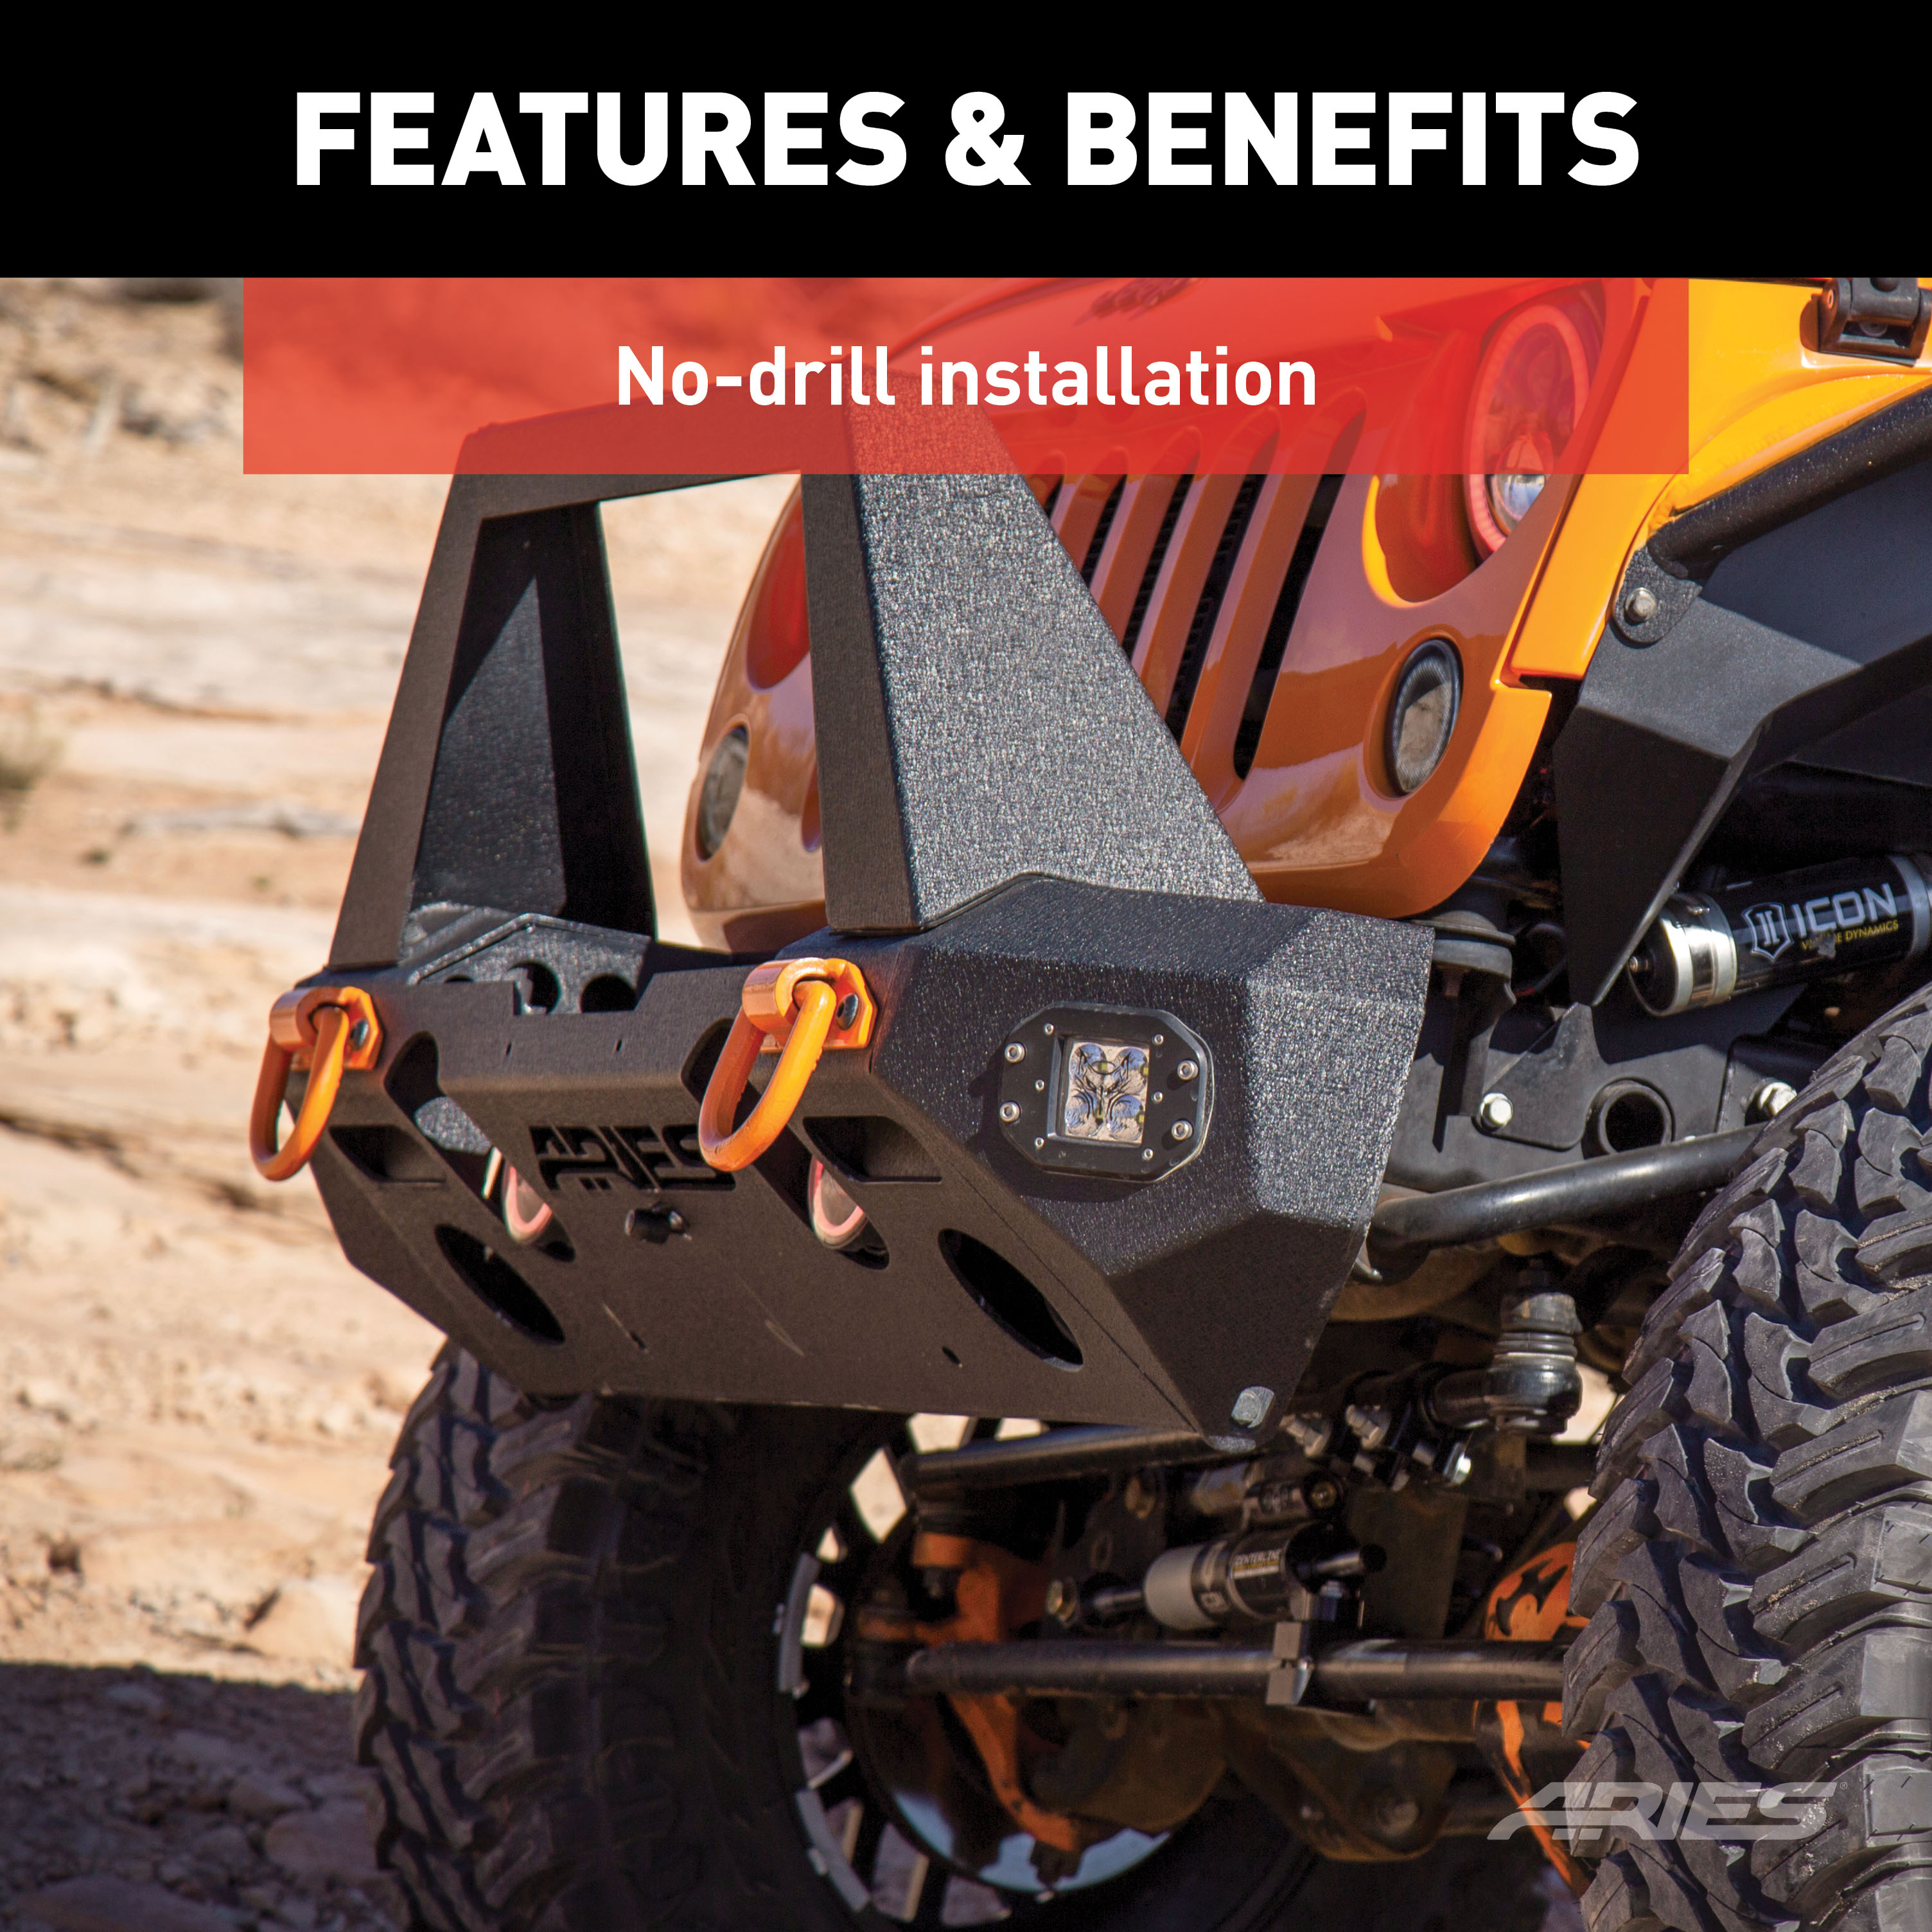
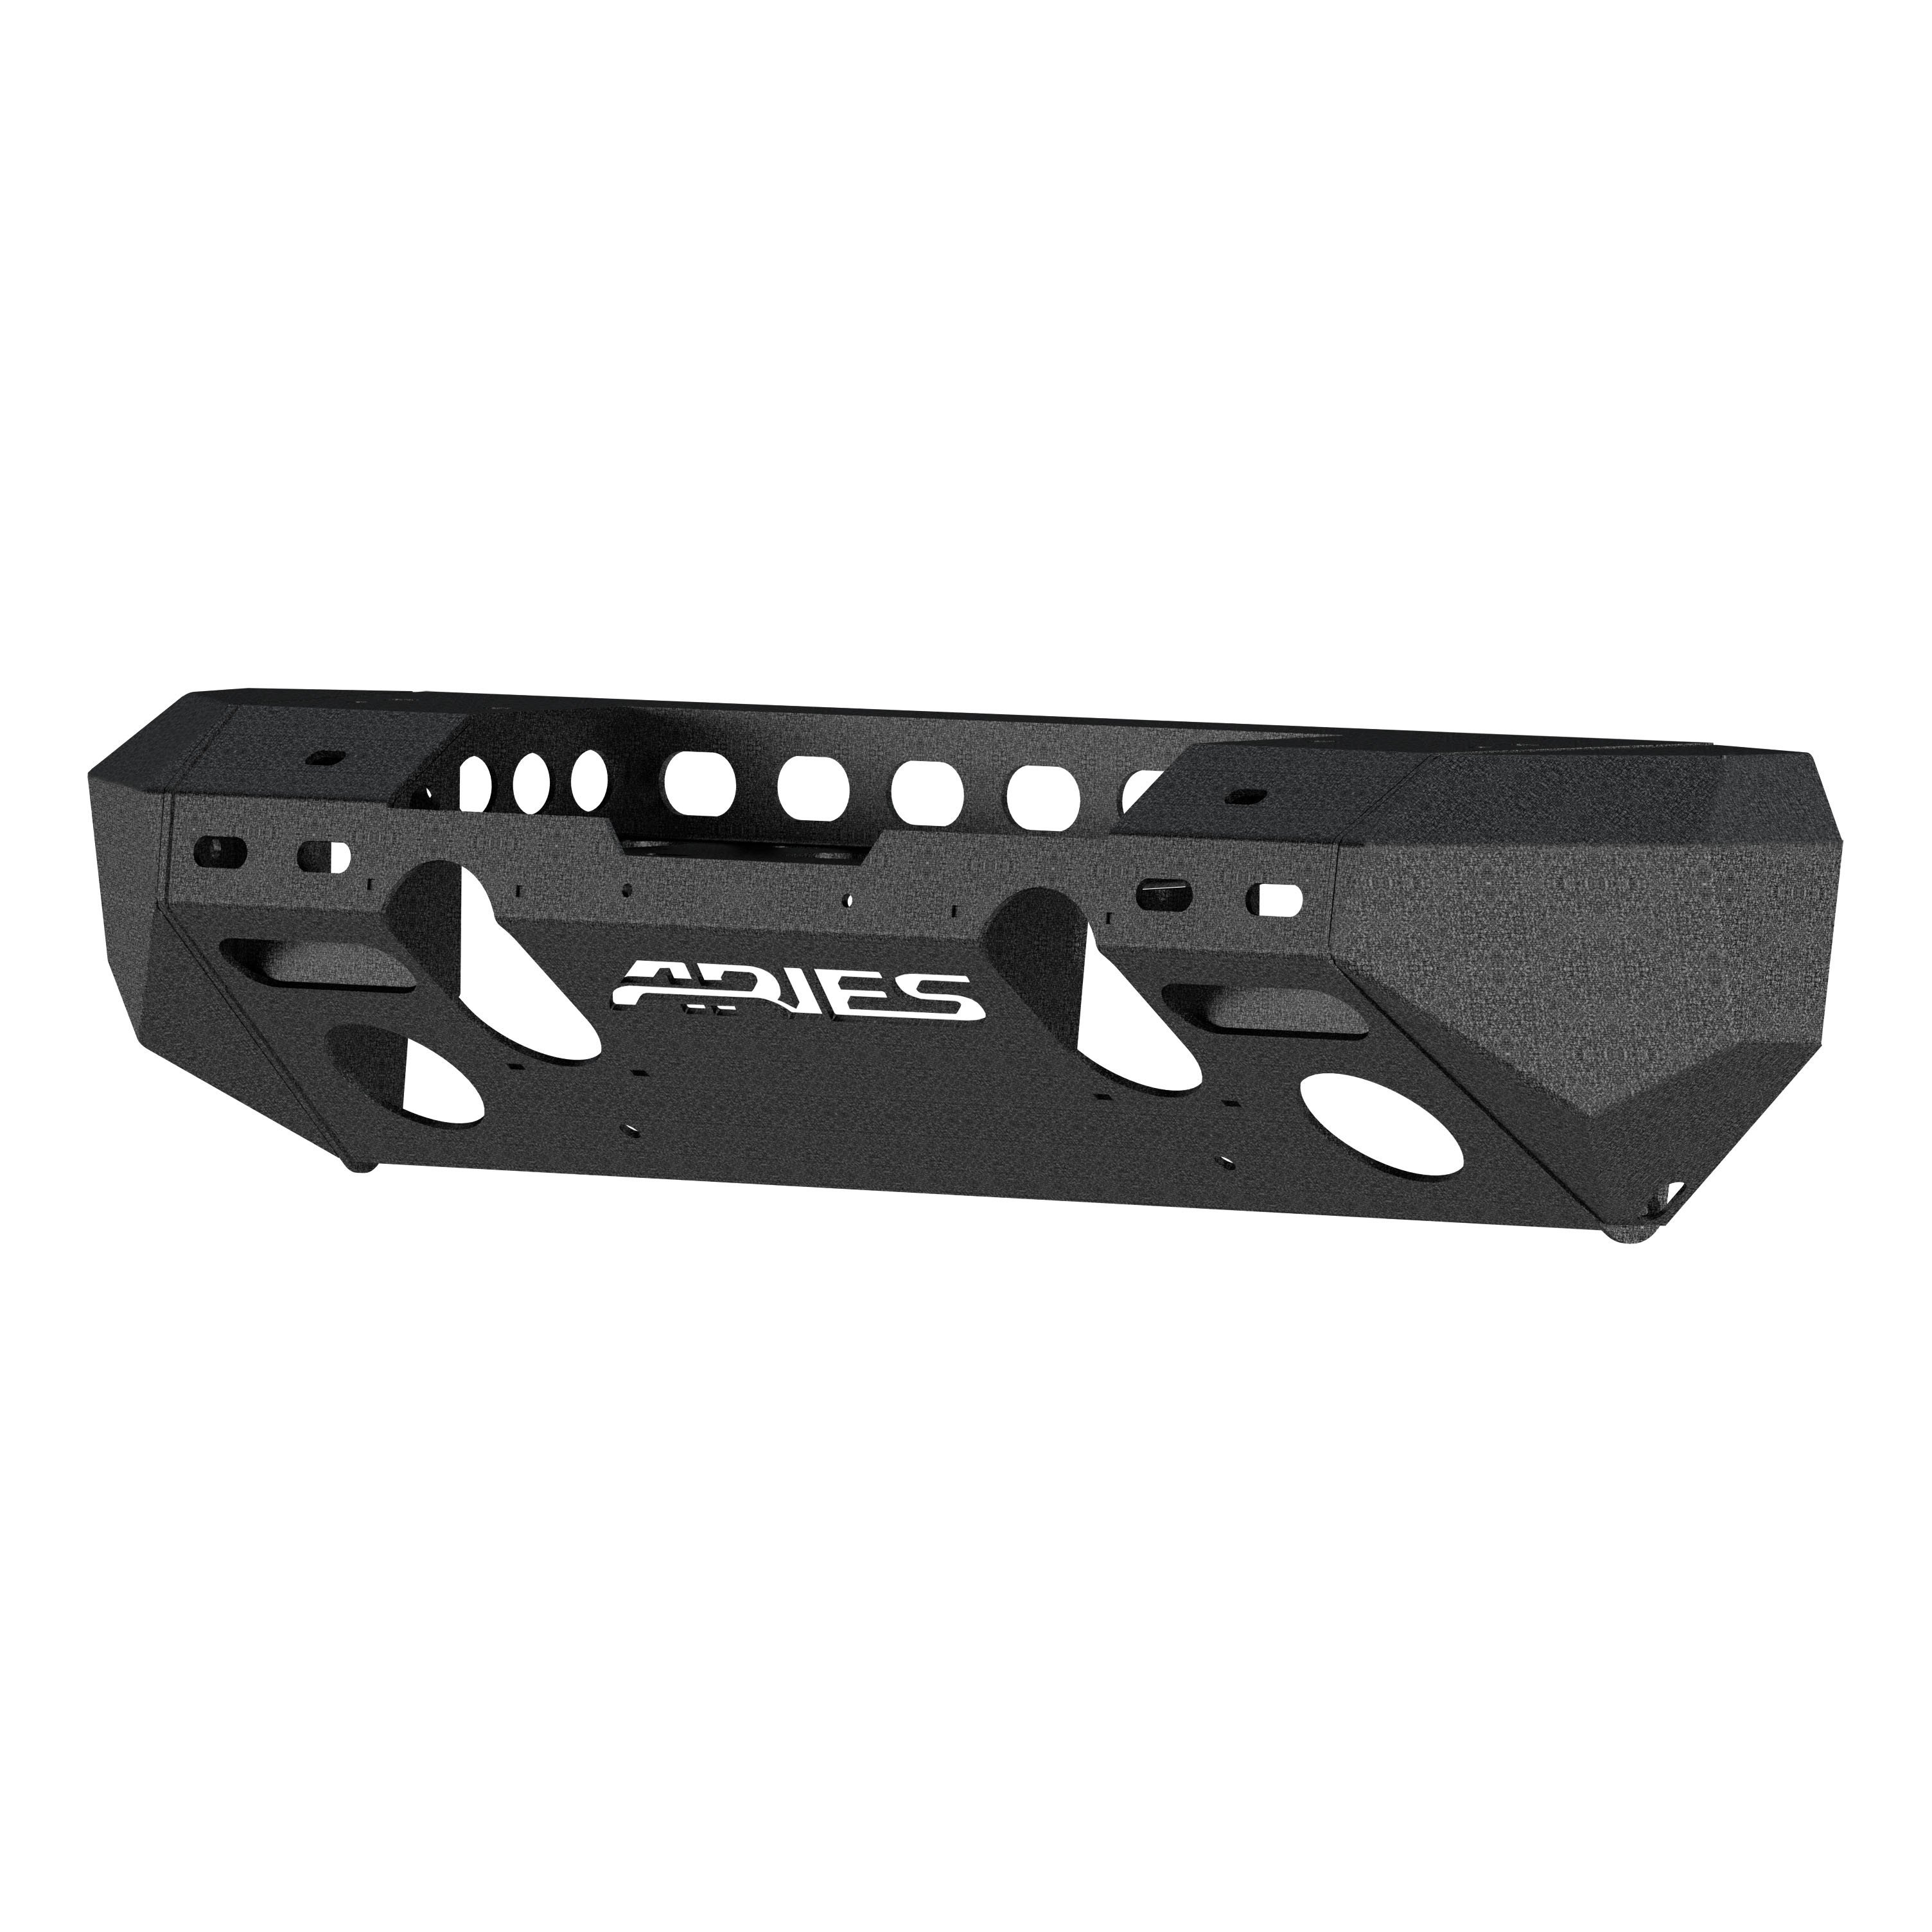
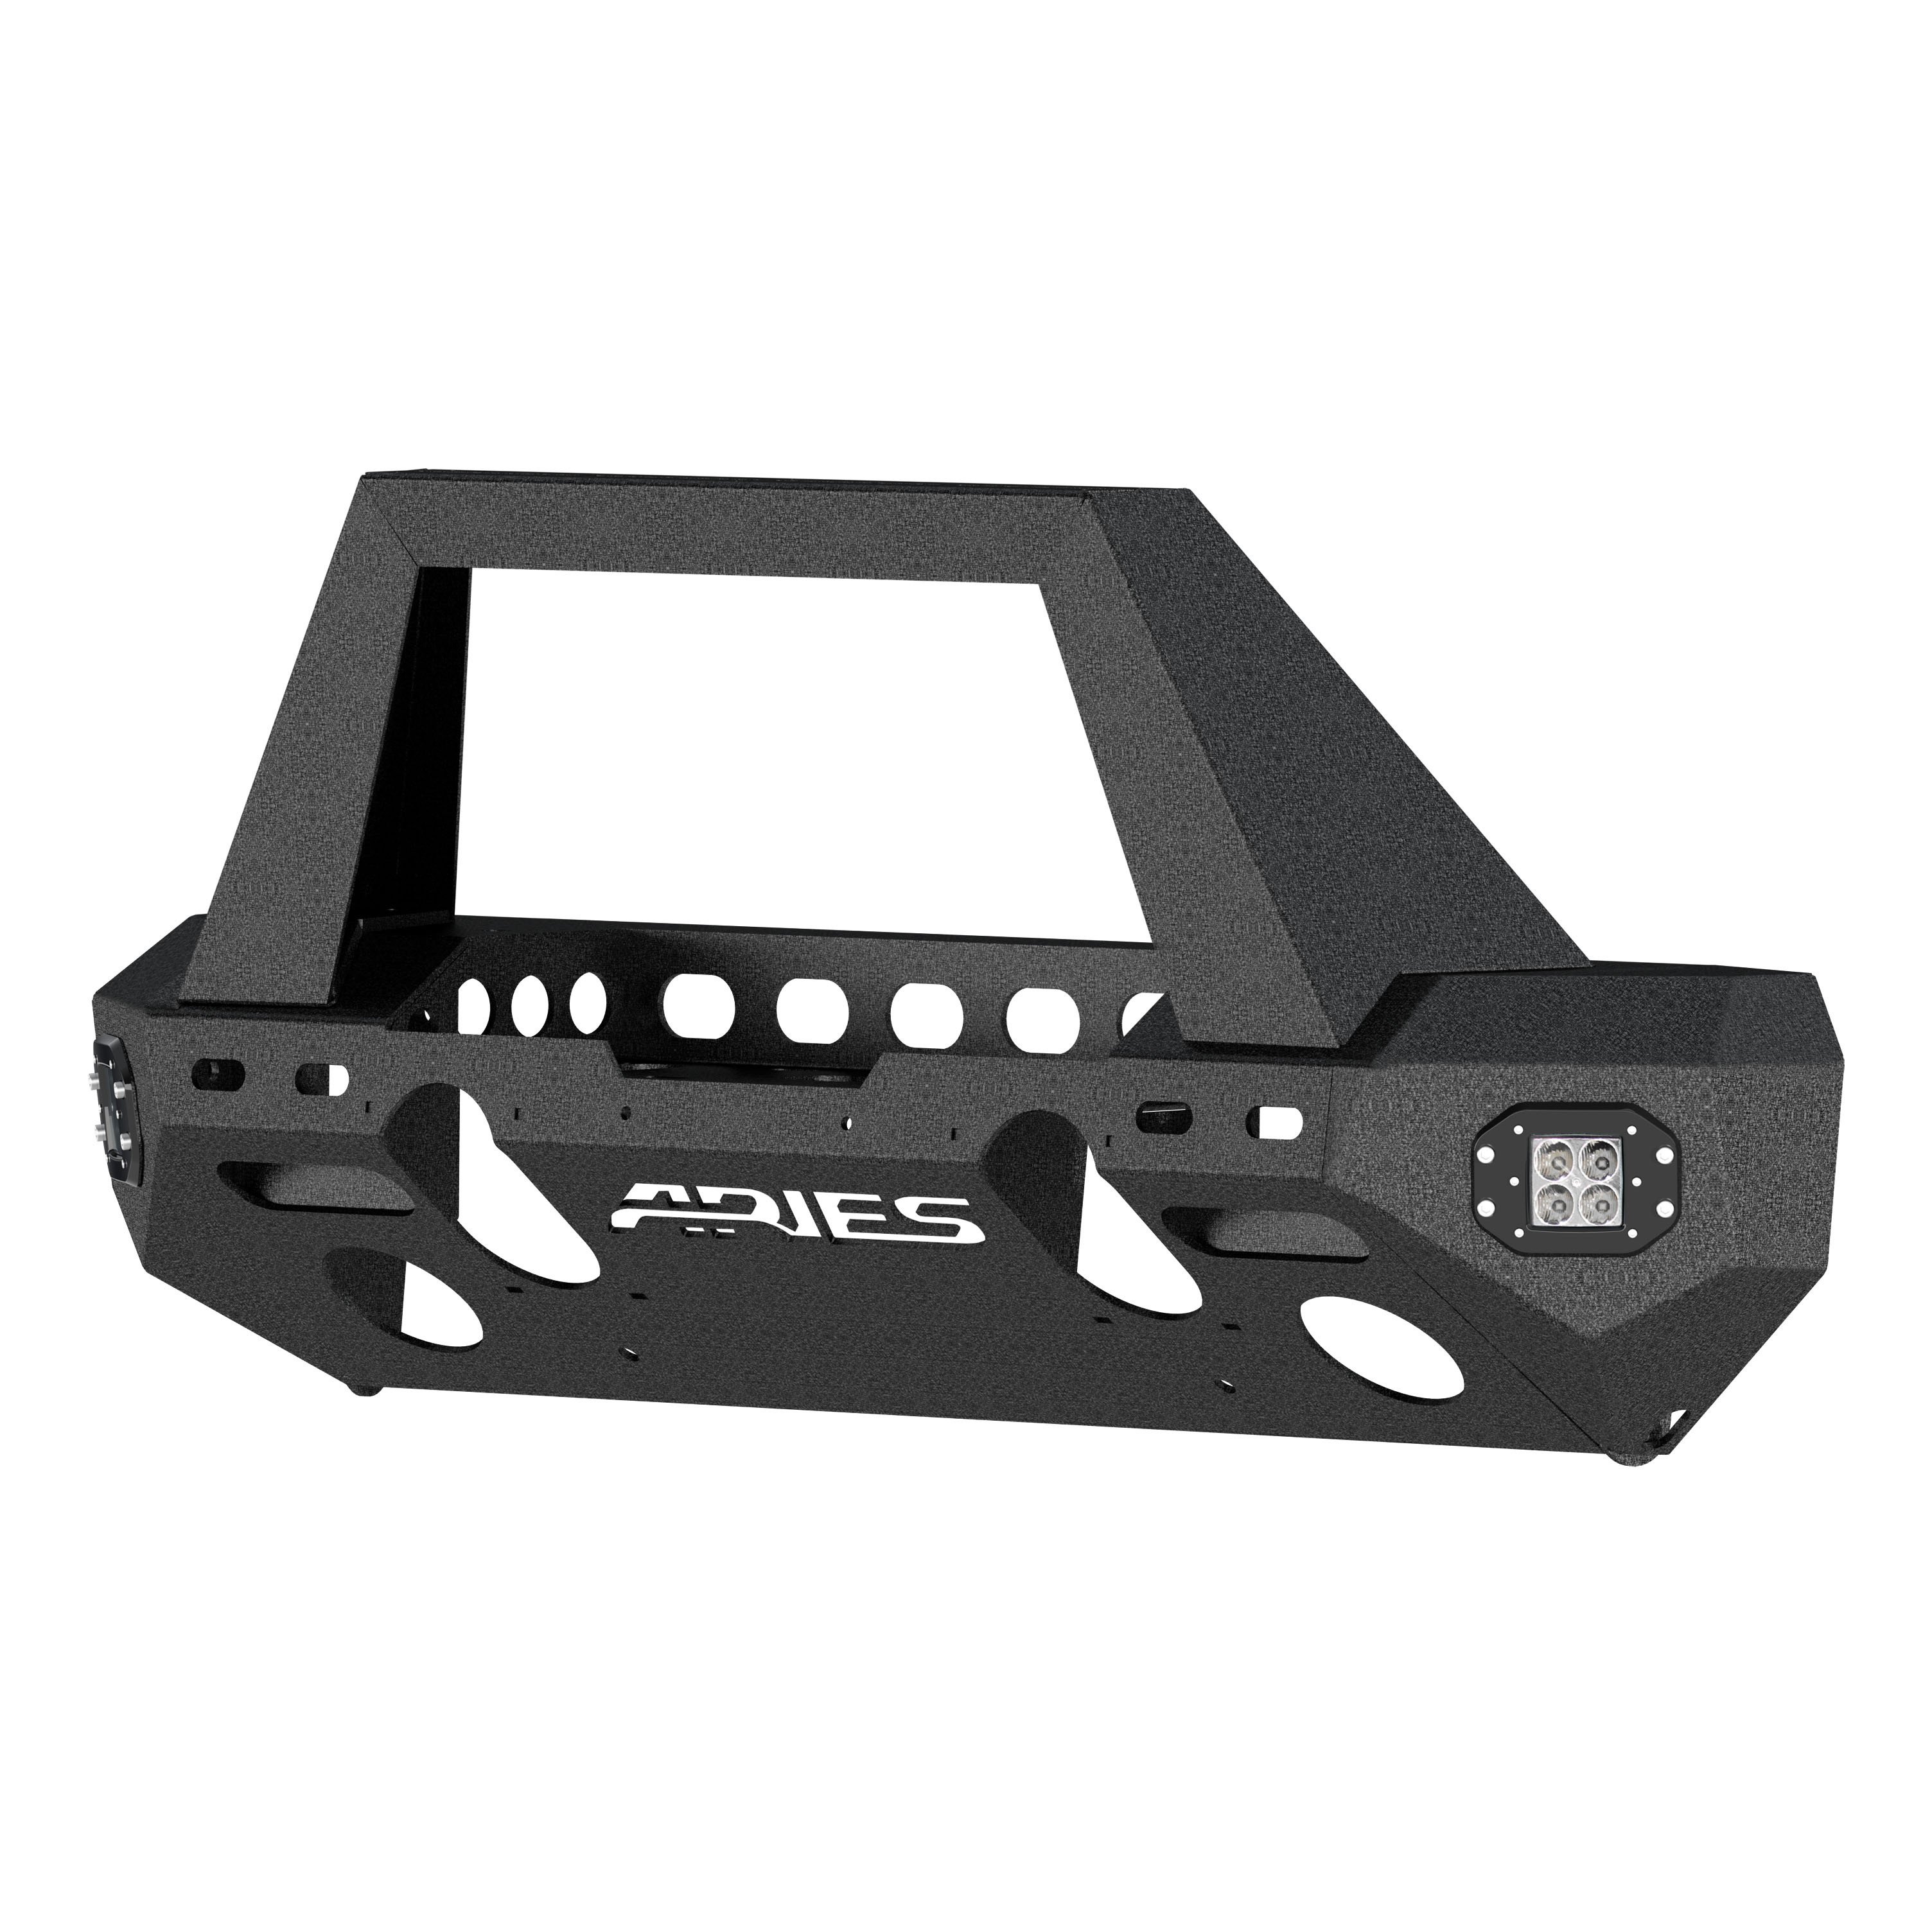
The ARIES TrailChaser Jeep bumper is unlike any other bumper for the Jeep Wrangler JK because it features a modular design. With a variety of options to choose from, you can select the perfect configuration to match the style of your Jeep Wrangler. All TrailChaser bumpers are also compatible with a variety of accessories, including LED lights, D-rings, tow hooks and a winch. This particular TrailChaser bumper comes with a center section, angular center brush guard and corner end caps with flush-mount LED lights. It is constructed from T6 aluminum alloy to be strong, lightweight and rust-free, and has a unique, textured black powder coat finish for maximum corrosion resistance. It is also available in high-strength, powder-coated steel. The bumper center section features a standard 22-1/2" x 7-3/4" winch housing and is compatible with the ARIES winch adapter #2072100 for larger winches. It provides cutouts for lights and has pre-drilled holes for D-rings #2081300 and tow hooks #15600TW. The bumper corners offer a professional finishing touch with their integrated, flush-mount LED lights. The 2" square work lights put out 2,200 lumens each and feature a flood beam pattern. They are made with grade-A LED chips, rust-free aluminum construction, an IP68-standard breather and dual heat sinks. They are also thoroughly tested and come with a waterproof wiring harness for easy installation. The stinger-style angular brush guard of this bumper not only adds an aggressive look to your Jeep JK, but it also features a slotted channel to mount additional LED lights. All ARIES TrailChaser bumpers install using pre-existing factory mounting points for fast, easy installation with no drilling require d.

Explore ARIES products at TowUniverse for top-tier grille guards, side bars, nerf bars, headache racks, and more. Upgrade your vehicle with ARIES today!
ARIES is a fast-paced marketer and innovator of truck, Jeep, SUV and CUV accessories. From automotive enthusiasts to professional builders, our products are built for the champions of individualism, innovation and attitude.
We offer the perfect combination of unique style and durable construction, specializing in custom-fit grille guards, bull bars, side bars and running boards, as well as Jeep Wrangler and Jeep Gladiator accessories.
ARIES products are made vehicle-specific for a custom fit, and they are available for a wide variety of makes and models sold in North America.
Experts available to answer your questions
Call 888-634-9494Limited Lifetime Warranty (Five-Year Finish, One-Year Parts)
The manual confirms the TrailChaser™ bumper is designed for Jeep vehicles, with specific reference to 2012 models and later requiring vacuum pump relocation. However, the manual does not provide a complete list of compatible Jeep models, body styles, cab configurations, or model years. Contact ARIES Automotive at 877-287-8634 or consult a fitment database to confirm compatibility with your specific Jeep.
The TrailChaser™ bumper is available in both aluminum and steel versions. All components are finished with a textured black powder coat. Aluminum part numbers include 2082046, 2082047, 2082054, 2082055, 2082058, 2082059, and corresponding steel versions are 2082043, 2082042, 2082050, 2082051, 2082056, 2082057. The choice between aluminum and steel affects the specific part numbers for the center section, side extensions, and guard components.
No. LED work lights are included only with certain kit configurations. Kits 2082020 and 2082030 include LED lights; kits 2082023, 2082032, 2082044, 2082057, 2082052, and 2082048 do not include LED lights. Kits with LED lights use side extensions part numbers 2081205 (aluminum) or 2081200 (steel). If your kit includes LED lights, they are model #1501250 and require M6 socket cap screws, flat washers, and nylock nuts for attachment.
Two brush guard styles are available: Angular (part numbers 2081101 aluminum, 2081100 steel) and Round (part numbers 2081254 aluminum, 2081250 steel for center and sides; 2081255 aluminum, 2081252 steel for center only). Some kits include guards pre-installed, while others do not. Kits 2082020, 2082030, 2082043, and 2082056 include guards. Kits 2082023, 2082032, 2082044, 2082057, 2082052, and 2082048 do not include guards. Corner side extensions (2081205, 2081200, 2081207, 2081206) are not compatible with round guards.
Required tools include: ratchet, socket set, socket extension, box wrench set, Phillips screwdriver, flathead screwdriver, Allen wrench set, cut-off tool, and level. Specific socket sizes needed are 7mm, 10mm, 16mm, and 18mm. The manual rates installation difficulty as Moderate.
Yes. Complete factory bumper removal is required before installing the TrailChaser™ bumper. The removal process involves: removing four plastic push pins holding the air dam, disconnecting fog light wiring harnesses, removing frame cover fasteners with a Phillips screwdriver, removing four nuts (18mm socket) holding the bumper frame bolts on each side, and carefully lifting the bumper from the frame. The stock fog lights must be removed and transferred to the new bumper.
Yes. The manual indicates that help is required to lift the bumper into place over the pre-mounted bolts in the factory bumper mount locations (Step 4 of Bumper Install). At minimum, two people are recommended for safe handling of the bumper assembly.
You will need a flat work surface to assemble the bumper components (center section, side extensions, and brush guards) before final installation on the vehicle. A level is required to check that the bumper is level on the vehicle before final tightening of all hardware.
Yes. For 2012 Jeep models and later, the front post bracket must be removed using a cut-off tool to allow clearance for the winch receiver plate. This is a permanent modification to the factory bracket and is required before the new bumper can be installed.
Yes, but only for 2012 Jeep models and later. The vacuum pump on the driver side must be relocated to accommodate the new bumper. Using a 10mm socket, loosen the rear bolt and fully remove the front bolt, then swing the vacuum pump toward the rear of the vehicle. Snug the rear bolt but do not fully tighten at this stage. The vacuum pump is reattached later by placing the threaded bolt through a tab on the bumper and securing with an M6 nylock nut.
Torque specifications are: M6 bolt = 7 ft-lbs, M8 bolt = 16 ft-lbs, M10 bolt = 33 ft-lbs, M12 bolt = 58 ft-lbs. Use these specifications unless otherwise noted in the installation instructions. The manual emphasizes using the correct torque settings to help prevent damage to the product or vehicle.
Assembly sequence depends on your kit configuration: (1) If your kit includes LED lights, first attach the LED work lights (#1501250) to the side extensions using M6 socket cap screws, flat washers, and nylock nuts. (2) Attach side extensions to the center section using M10 hex bolts, lock washers, and flat washers—snug but do not fully tighten initially. (3) Check that bumper corners match up and adjust if necessary. (4) Attach the appropriate brush guard (Angular or Round) using the specified fasteners. (5) Install fog lights into the bumper using M4 socket cap screws. (6) Install the complete assembly on the vehicle.
Side extensions attach using three M10 hex bolts per side. Insert each bolt with a lock washer and flat washer, then secure with a second flat washer and hex nut. Initially snug the hardware but do not fully tighten. After both extensions are loosely installed, check that the bumper corners match up and adjust if necessary. Then fully tighten all hardware using a 16mm socket and wrench. Torque M10 bolts to 33 ft-lbs.
LED work lights (model #1501250) are installed before attaching the side extensions to the center section. Place the side extension on a flat work surface, insert the rubber gasket and LED light into place, then secure the four LED light attachment points with an M6 socket cap screw, flat washer, and nylock nut at each point. Tighten all hardware with an Allen wrench. Repeat for the second side extension and light. Then proceed to attach the side extensions to the center section.
The Angular brush guard (2081101 aluminum or 2081100 steel) attaches in two stages: (1) First, place the cover plate on top of the brush guard and insert an M6 button head cap screw with flat washer at each of the six attachment points, securing with nylock nuts. Tighten with an Allen wrench. (2) Then place the center section on a flat work surface, lift the brush guard into place, and insert an M10 hex bolt with lock washer and flat washer at each of the four attachment points, securing with a second flat washer and hex nut. Tighten with a 16mm socket and wrench.
Round brush guard installation depends on your kit: (1) If installing side brush guards, attach the two side guards with M10 hex bolts, lock washers, and flat washers, then align and fully tighten with a 16mm socket. (2) Finalize the installation by attaching the center brush guard with two M10 hex bolts, lock washers, and flat washers. Ensure the guard(s) are aligned properly and fully tighten with a 16mm socket. If your kit includes center guard only, skip the side guard step and proceed directly to attaching the center guard.
Insert the stock fog lights (removed from the factory bumper) into the new bumper. Each light has three attachment points. At each point, insert an M4 socket cap screw with a flat washer and secure with a flat washer and nylock nut. Tighten with a 7mm socket and the provided 3mm Allen wrench. Repeat for the other light. After the bumper is installed on the vehicle, reattach the fog light wiring harnesses to the bumper.
After completing all component assembly and relocating the vacuum pump (2012+ models) and removing the front post bracket: (1) With help, lift the bumper into place over the pre-mounted 12mm bolts in the factory bumper mount locations. (2) Insert M12 hex bolts with flat washers behind the bumper bracket and secure with flat and lock washers and hex nuts. Depending on the Jeep year, there may be as few as two mounting points to as many as three per side. (3) Snug all hardware but do not fully tighten. (4) Reattach the fog lights and wiring harness. (5) Reattach the vacuum pump by placing the threaded bolt through the tab on the bumper and securing with an M6 nylock nut. (6) Check that the bumper is level using a level tool, adjust if necessary, and fully tighten all hardware.
After installation, use a level to check that the bumper is level. Adjust if necessary and fully tighten all hardware. Periodic inspections should be performed after installation to ensure all mounting hardware remains tight. The manual recommends regular maintenance including waxing to protect the product finish.
To protect the product, wax after installing and perform regular waxing to add a protective layer over the finish. Do not use any type of polish or wax that may contain abrasives, as these could damage the finish. For polished, gloss, and other smooth finishes, polish may be used to clear small scratches and scuffs. Mild automotive detergent may be used to clean the product. Do not use dish detergent, abrasive cleaners, abrasive pads, wire brushes, or other similar products that may damage the finish.
Periodic inspections should be performed after installation to ensure all mounting hardware remains tight. The manual does not specify an exact inspection interval, but recommends checking hardware tightness as part of regular vehicle maintenance.
The TrailChaser™ is designed for Jeep vehicles, with specific reference to 2012 models and later. The manual does not provide a complete compatibility list. Contact ARIES Automotive at 877-287-8634 to confirm fitment for your specific Jeep model and year.
You will need: ratchet, socket set (7mm, 10mm, 16mm, 18mm), socket extension, box wrench set, Phillips and flathead screwdrivers, Allen wrench set, cut-off tool, and level. Installation is rated as Moderate difficulty.
Yes, for 2012 and later Jeep models. The front post bracket must be removed using a cut-off tool to allow clearance for the winch receiver plate.
Yes, for 2012 and later Jeep models. The driver-side vacuum pump must be moved to accommodate the new bumper using a 10mm socket.
M12 bolts are torqued to 58 ft-lbs. Other specifications: M6 = 7 ft-lbs, M8 = 16 ft-lbs, M10 = 33 ft-lbs.
Wax after installation and regularly thereafter. Use only mild automotive detergent and non-abrasive wax. Do not use abrasive cleaners, pads, wire brushes, or dish detergent.
On Sale Today
Original price was $1,127.95. Current price is $640.00.You save $487.95 (43%)
Free Shipping
Ships free on all orders
 Authorized Dealer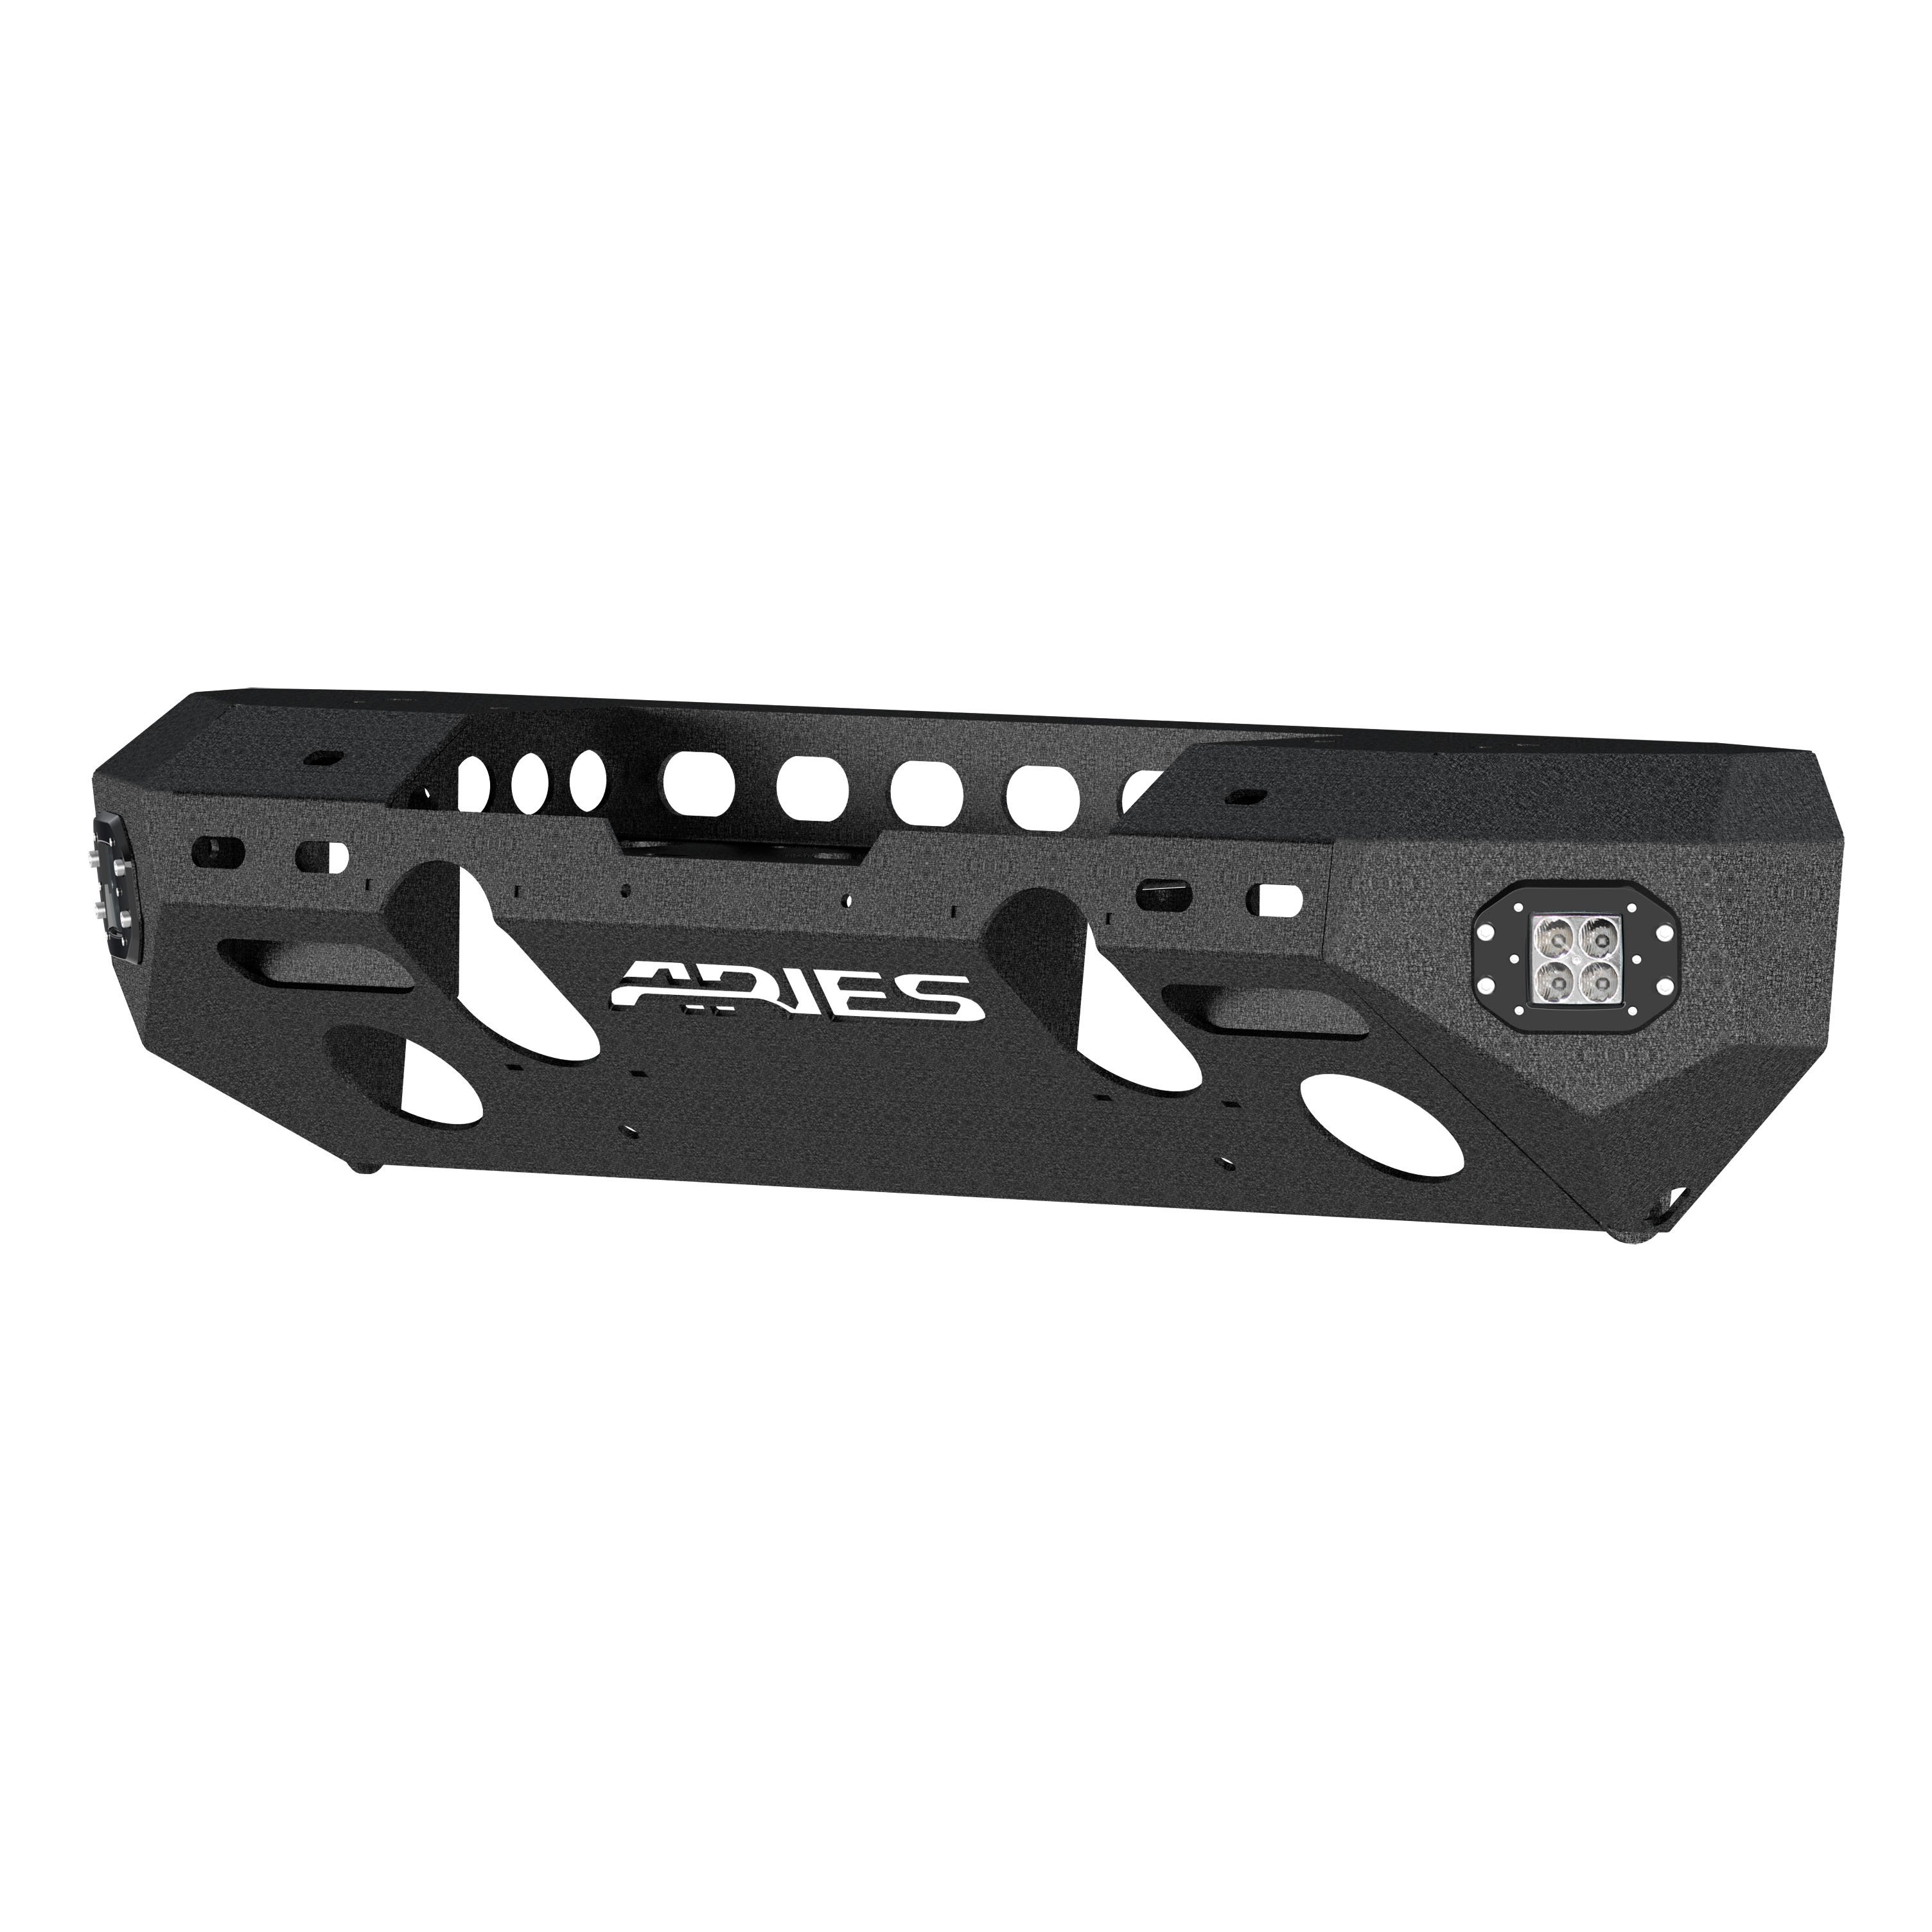

Shipping from Lancaster, TXFREE SHIPPING
Estimated delivery Thu, Sep 17 - Sat, Sep 19
Order before 2 PM EST Monday–Friday for same-day processing
Guaranteed safe & secure checkout
No reviews have been added for this product.