
ARIES 205039 3-Inch Round Black Steel Nerf Bars, No-Drill, Fits Select Dodge, Ram 1500, 2500, 3500ARIESOriginal price was $366.95. Current price is $208.00.In Stock
View productOur in-house experts typically reply within one business day.

ARIES
Verify Fitment
Select your vehicle to confirm this part fits.



Always the correct part
We know our products
Quality Products
Free Shipping!
Always the correct part
We know our products
Quality Products
Free Shipping!
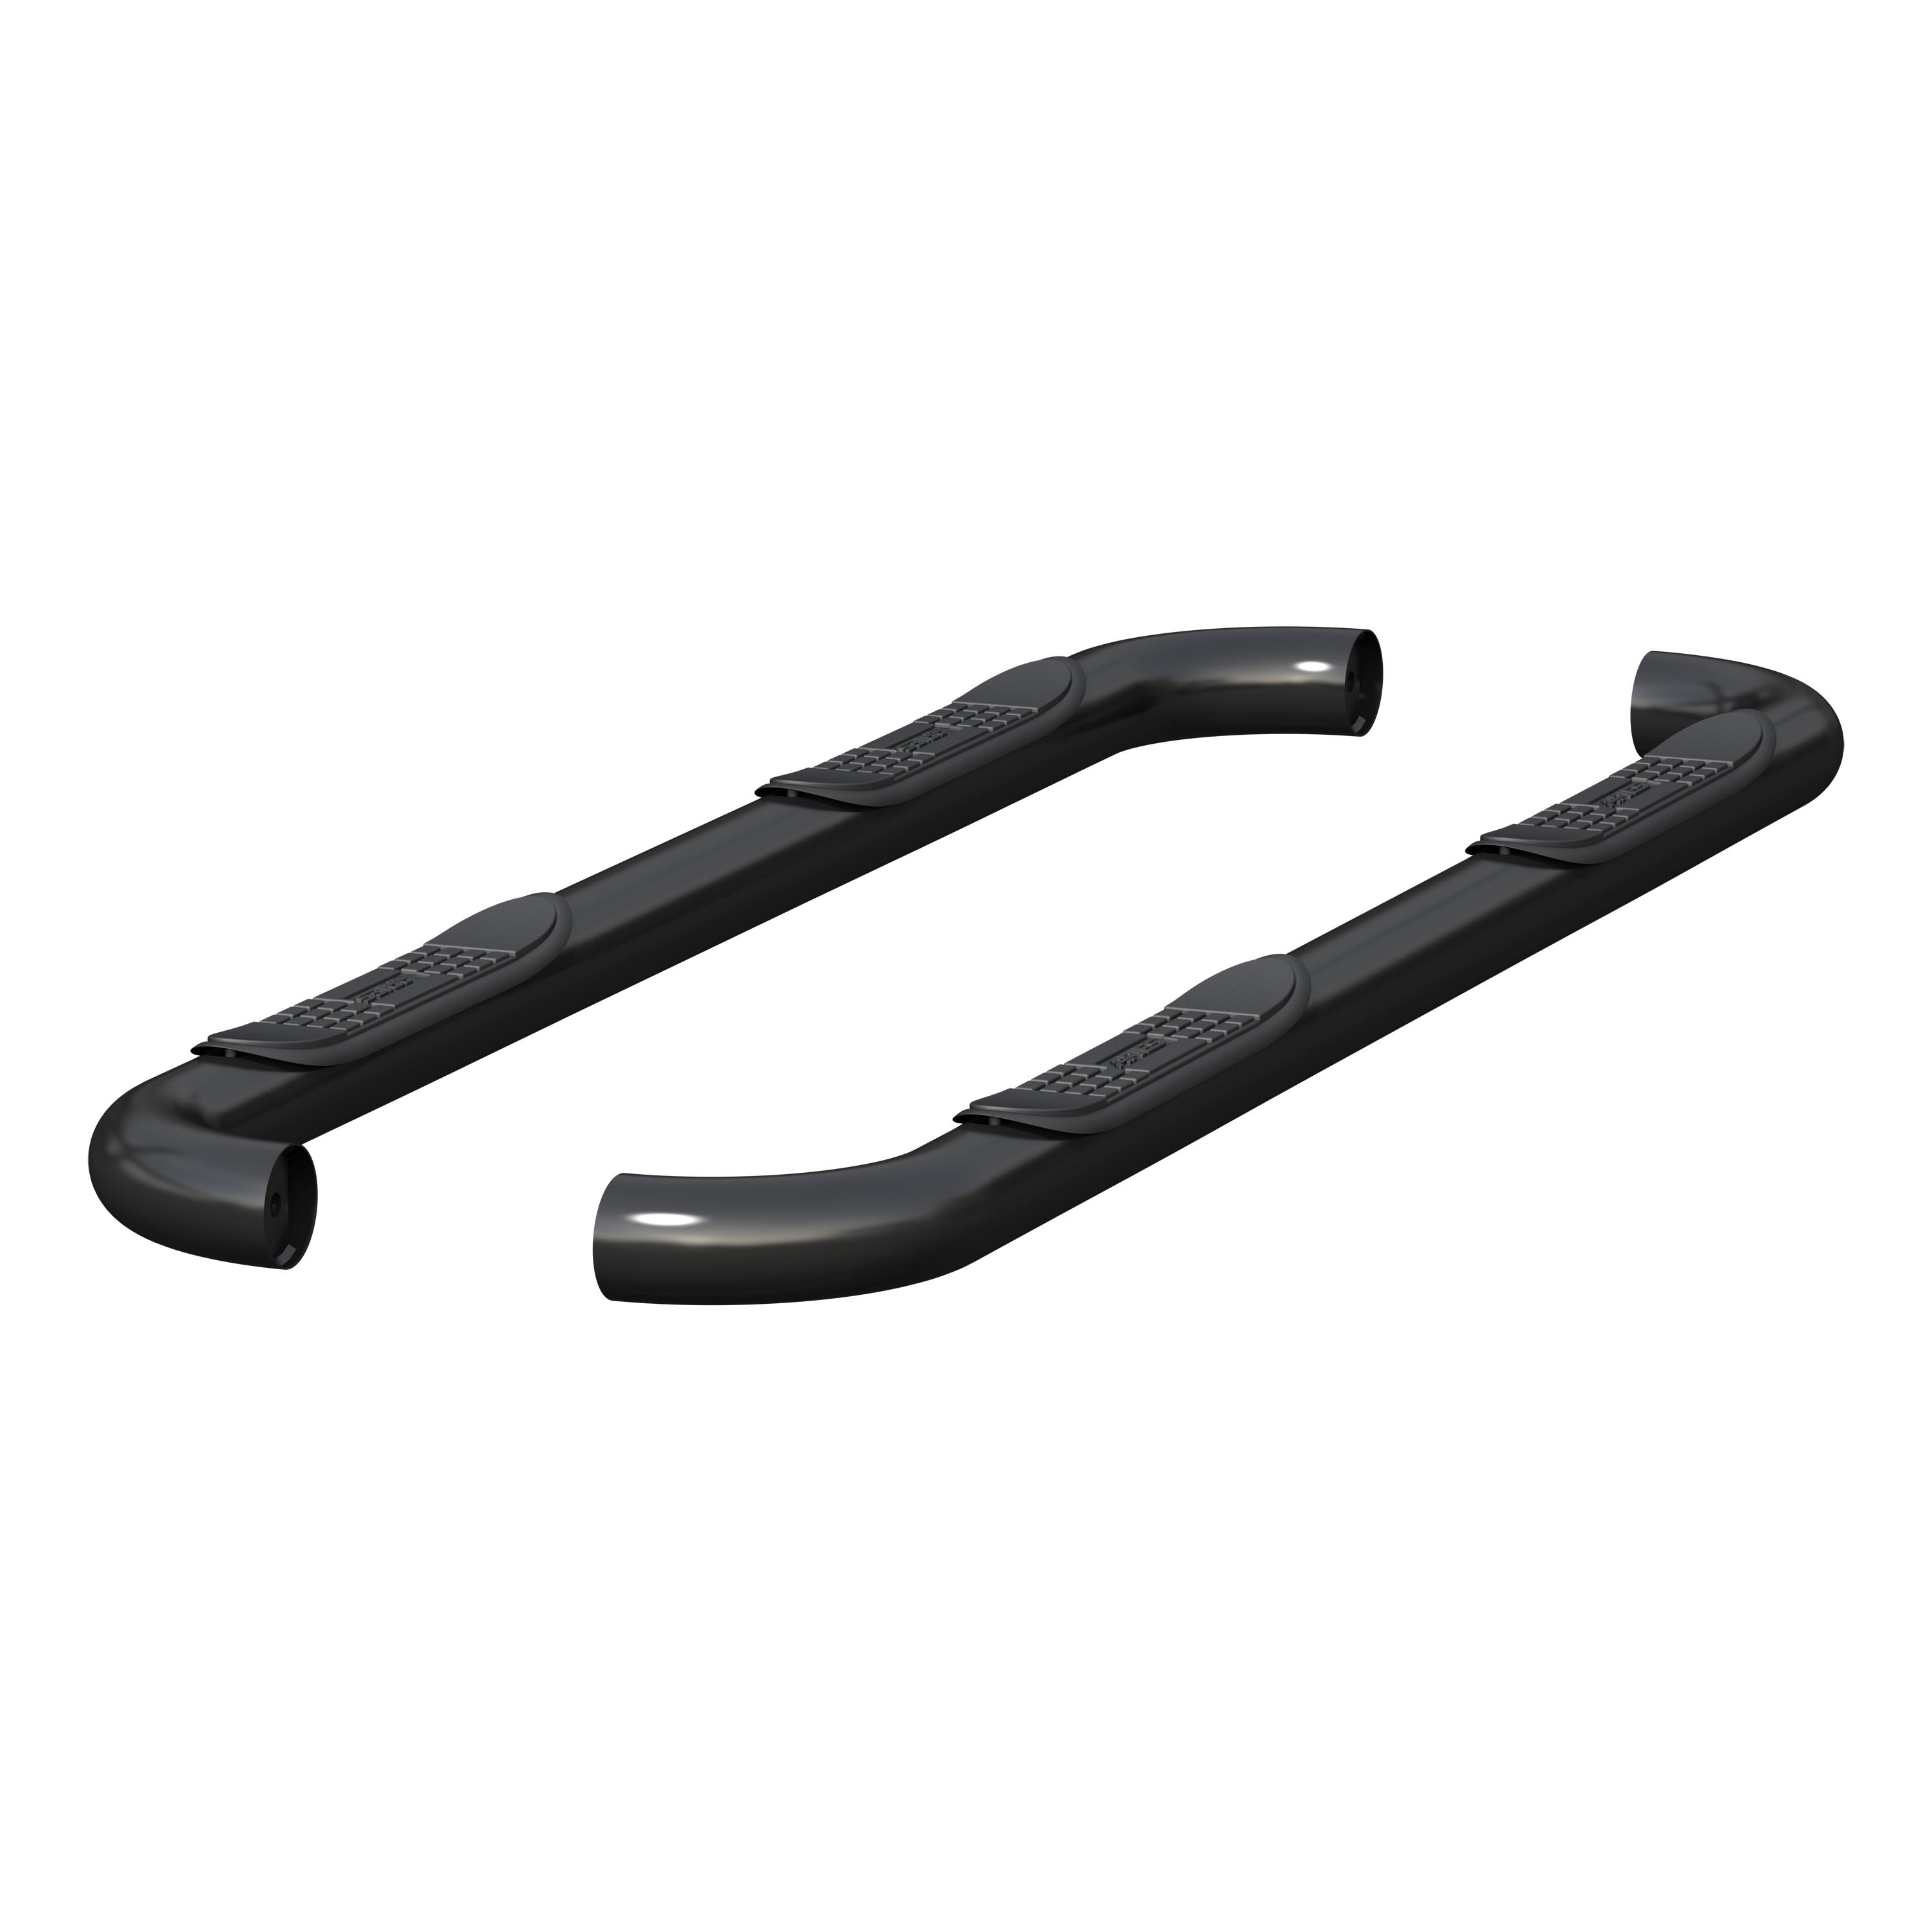
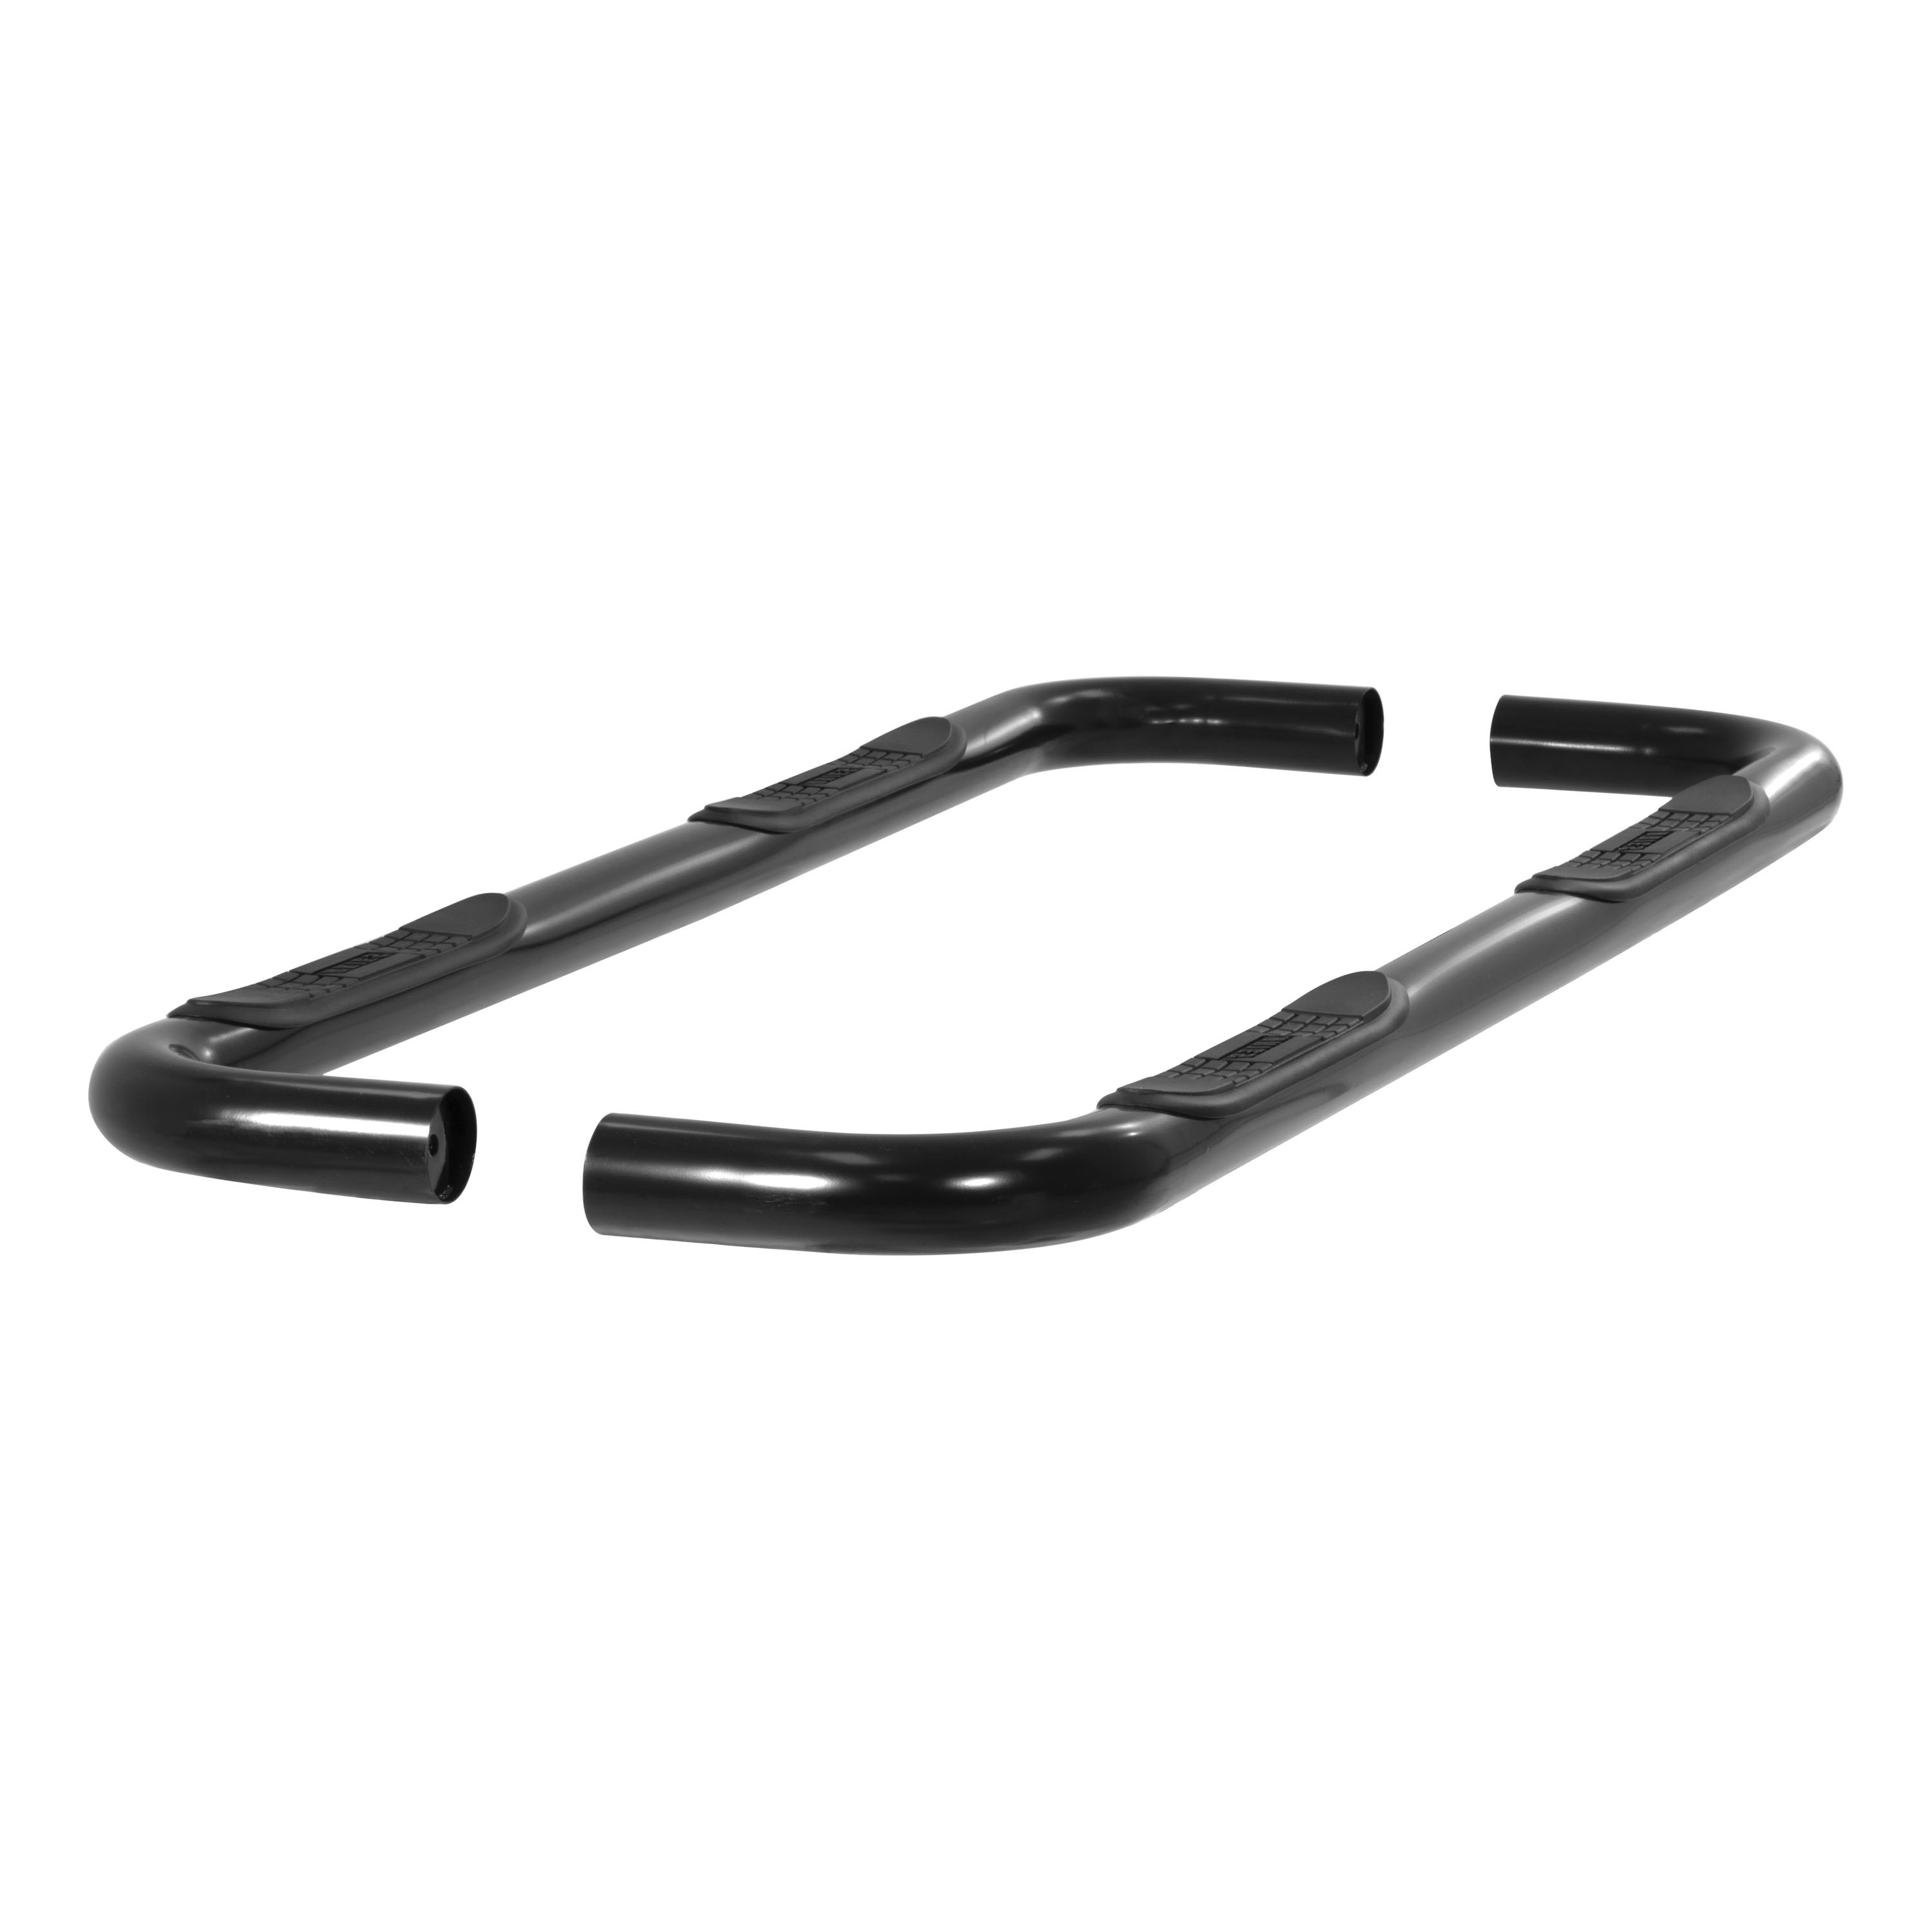
Includes one pair of side bars and mounting hardware

Finish: SEMI-GLOSS BLACK POWDER COAT
Material: Stainless Steel
Side Component Type: Board and Bracket
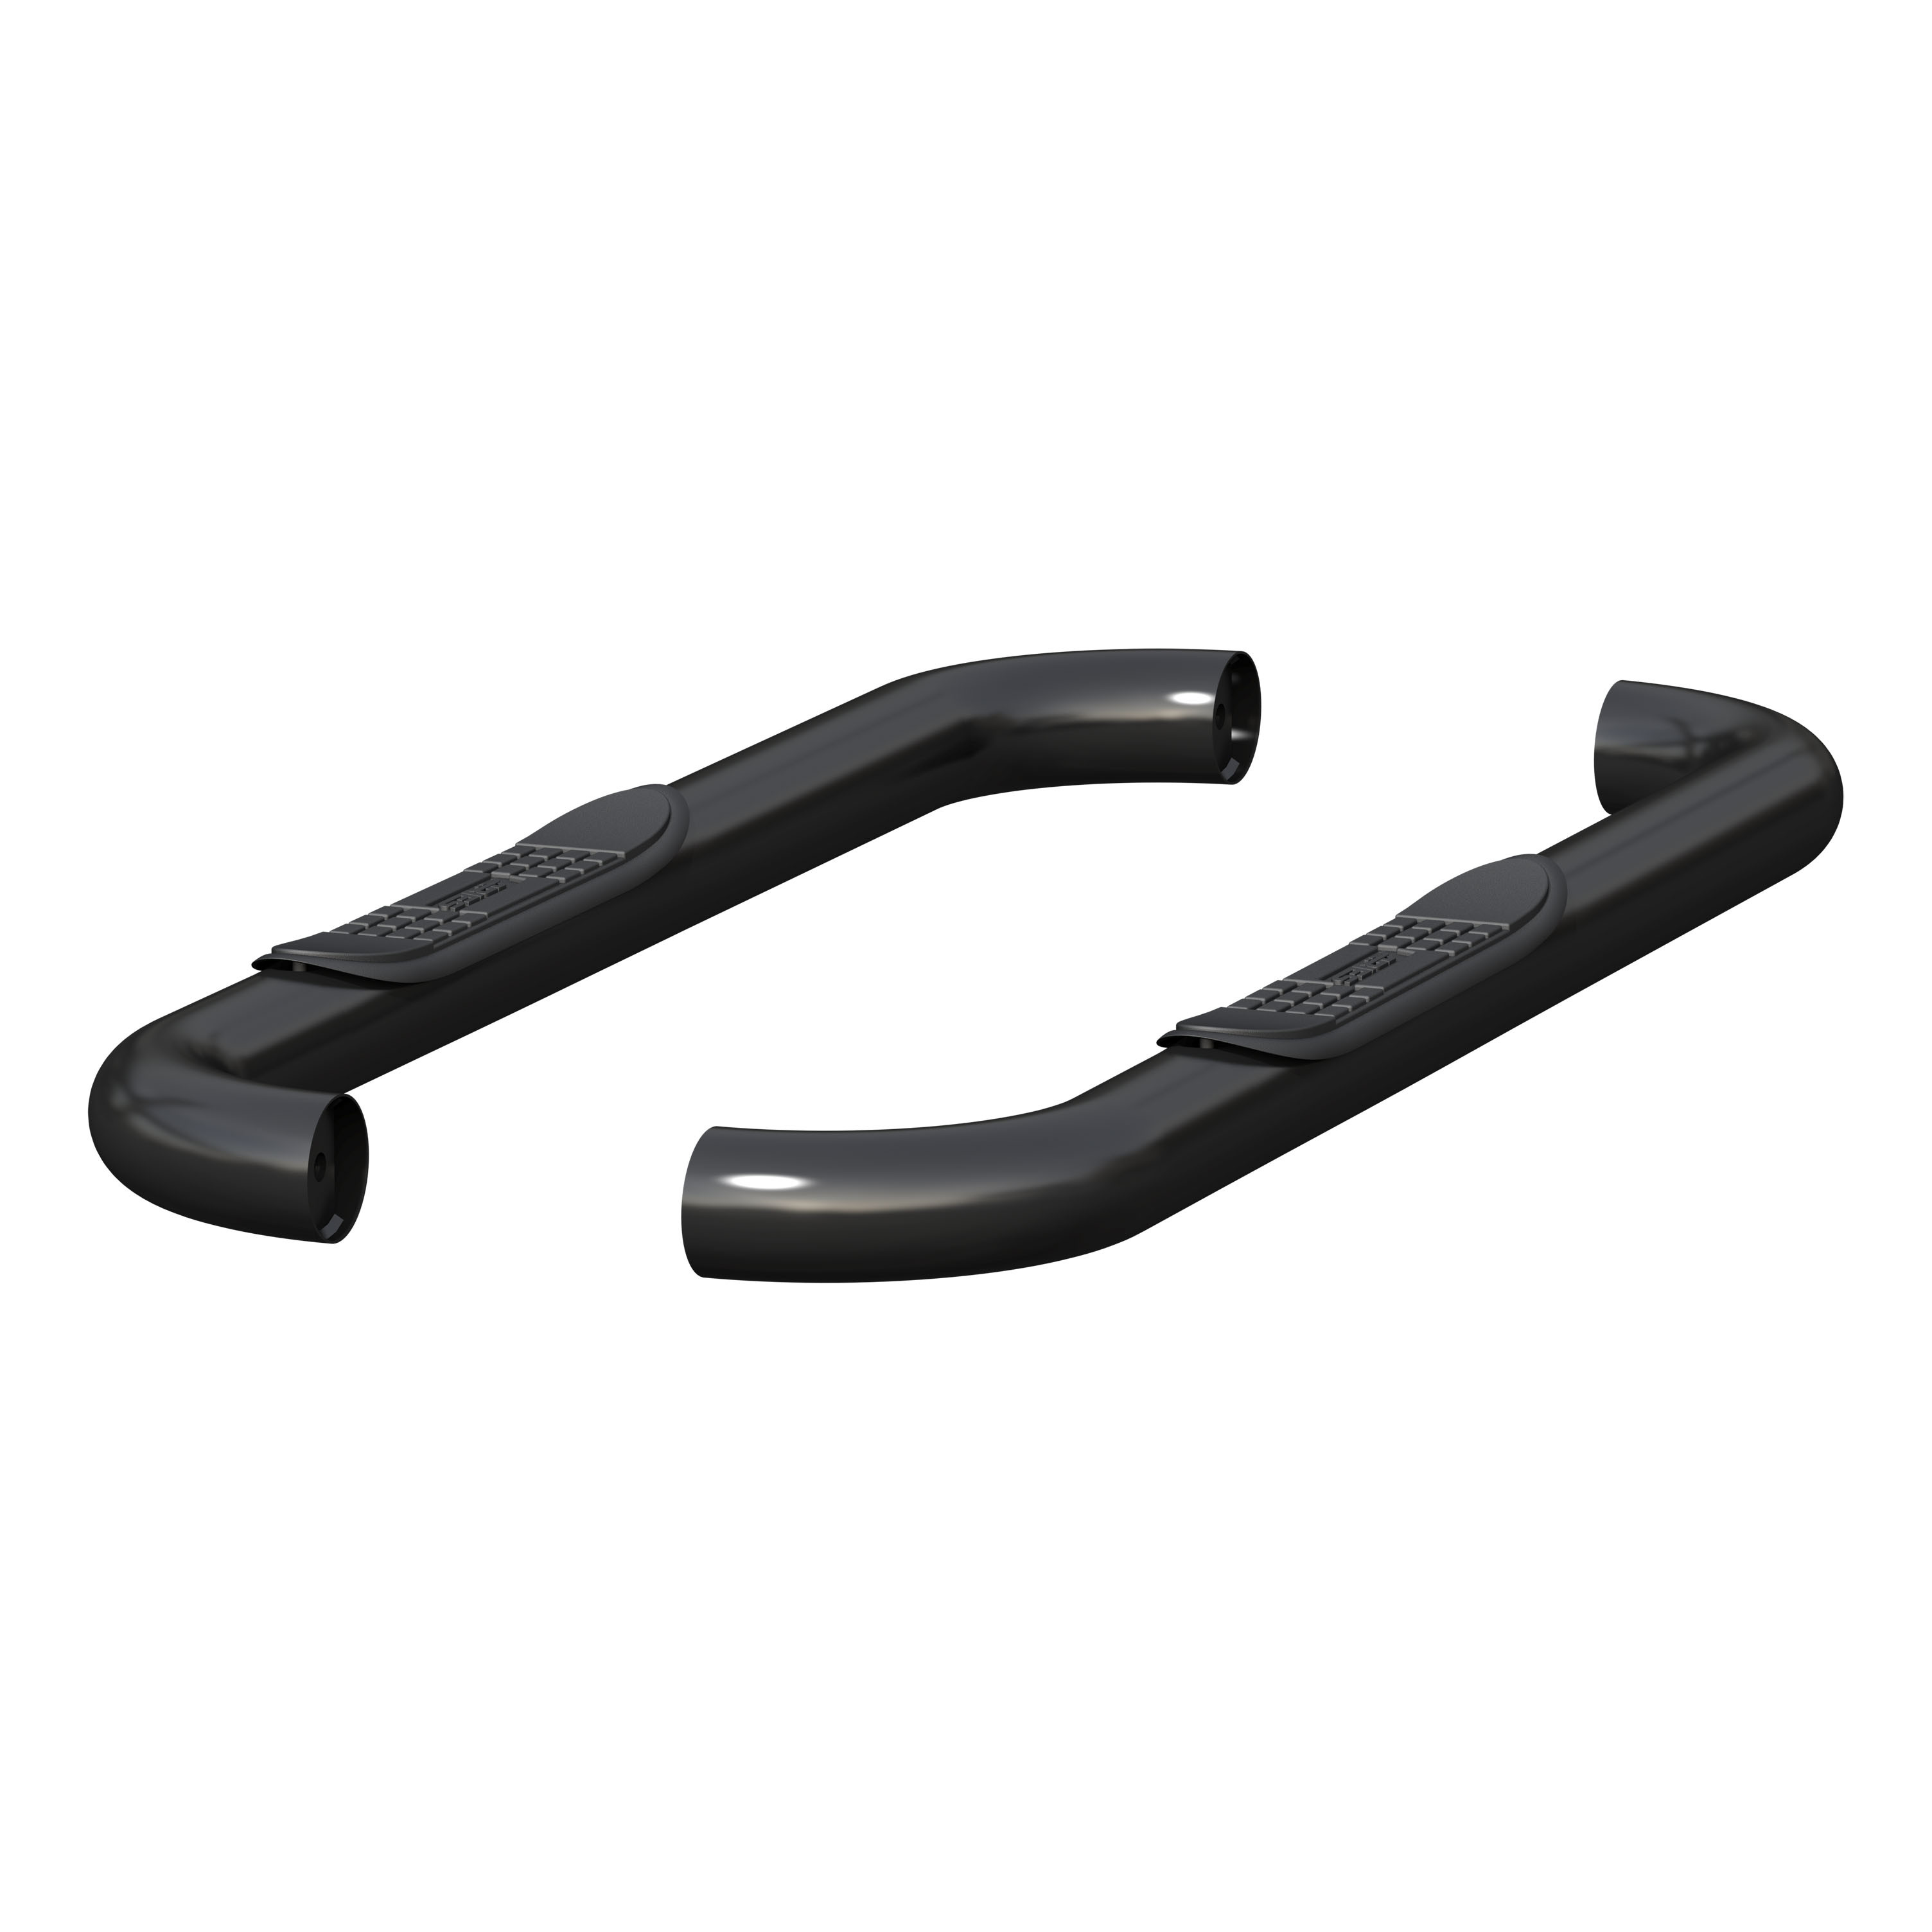
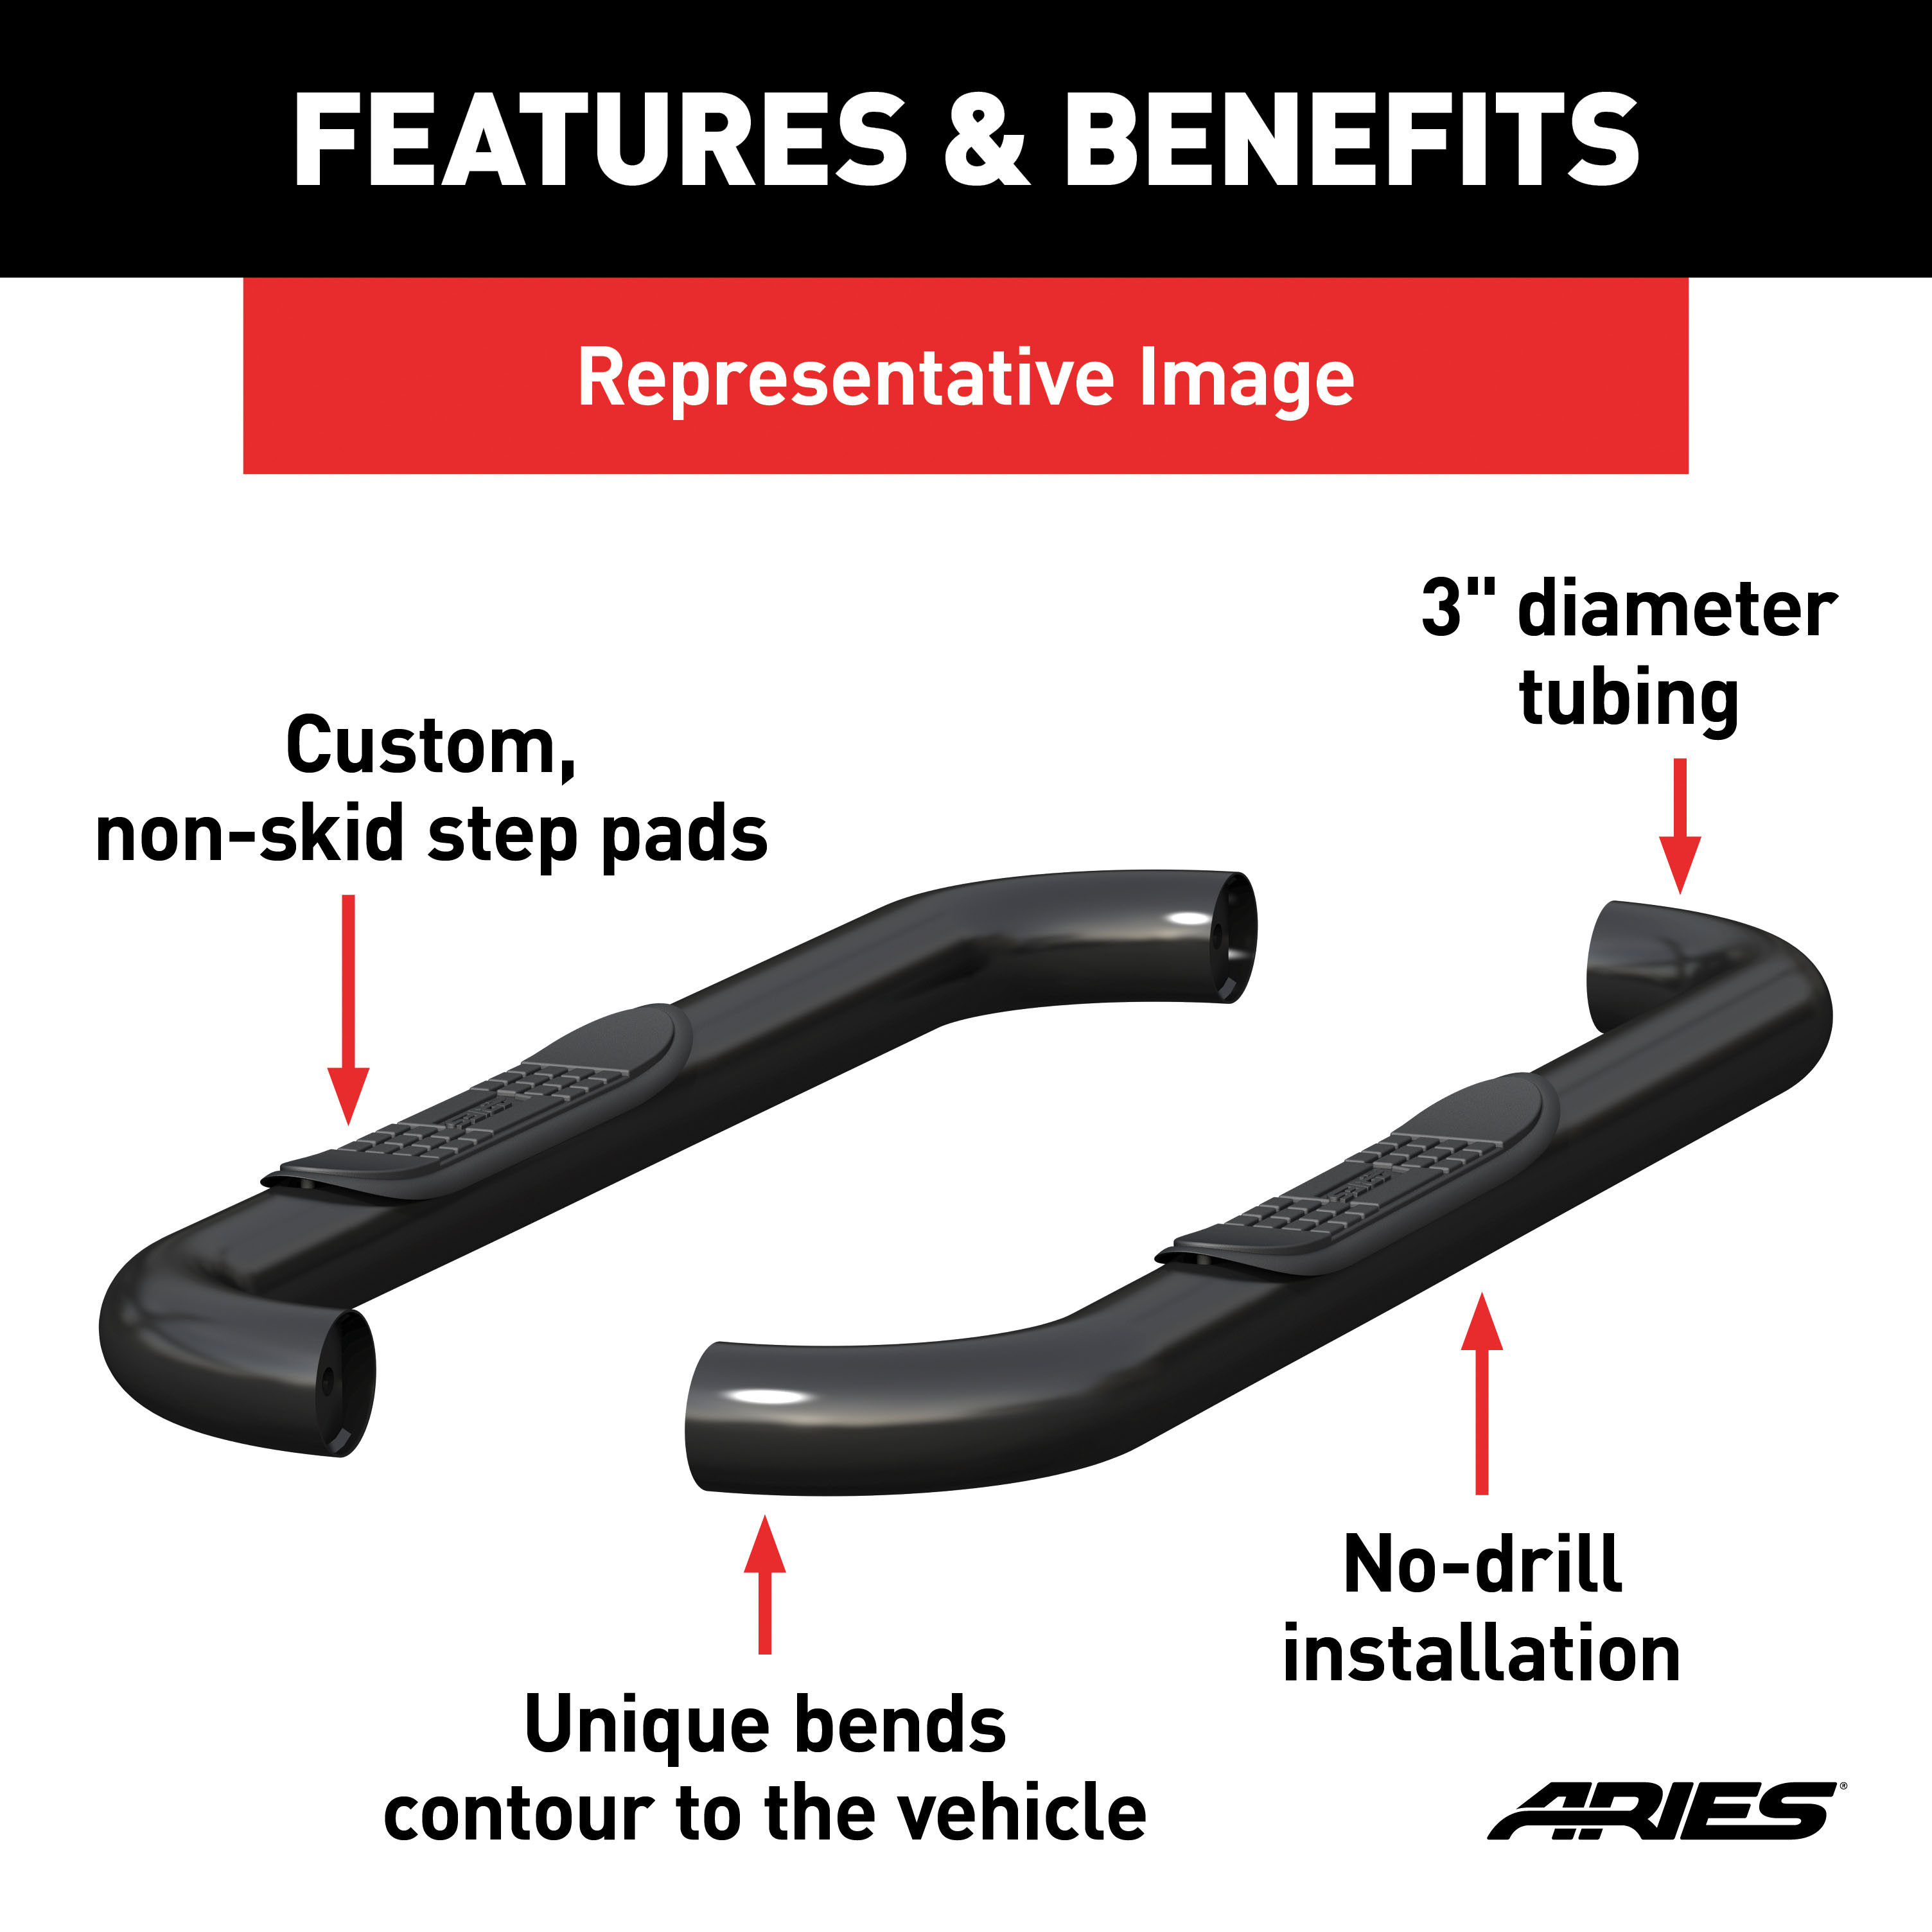
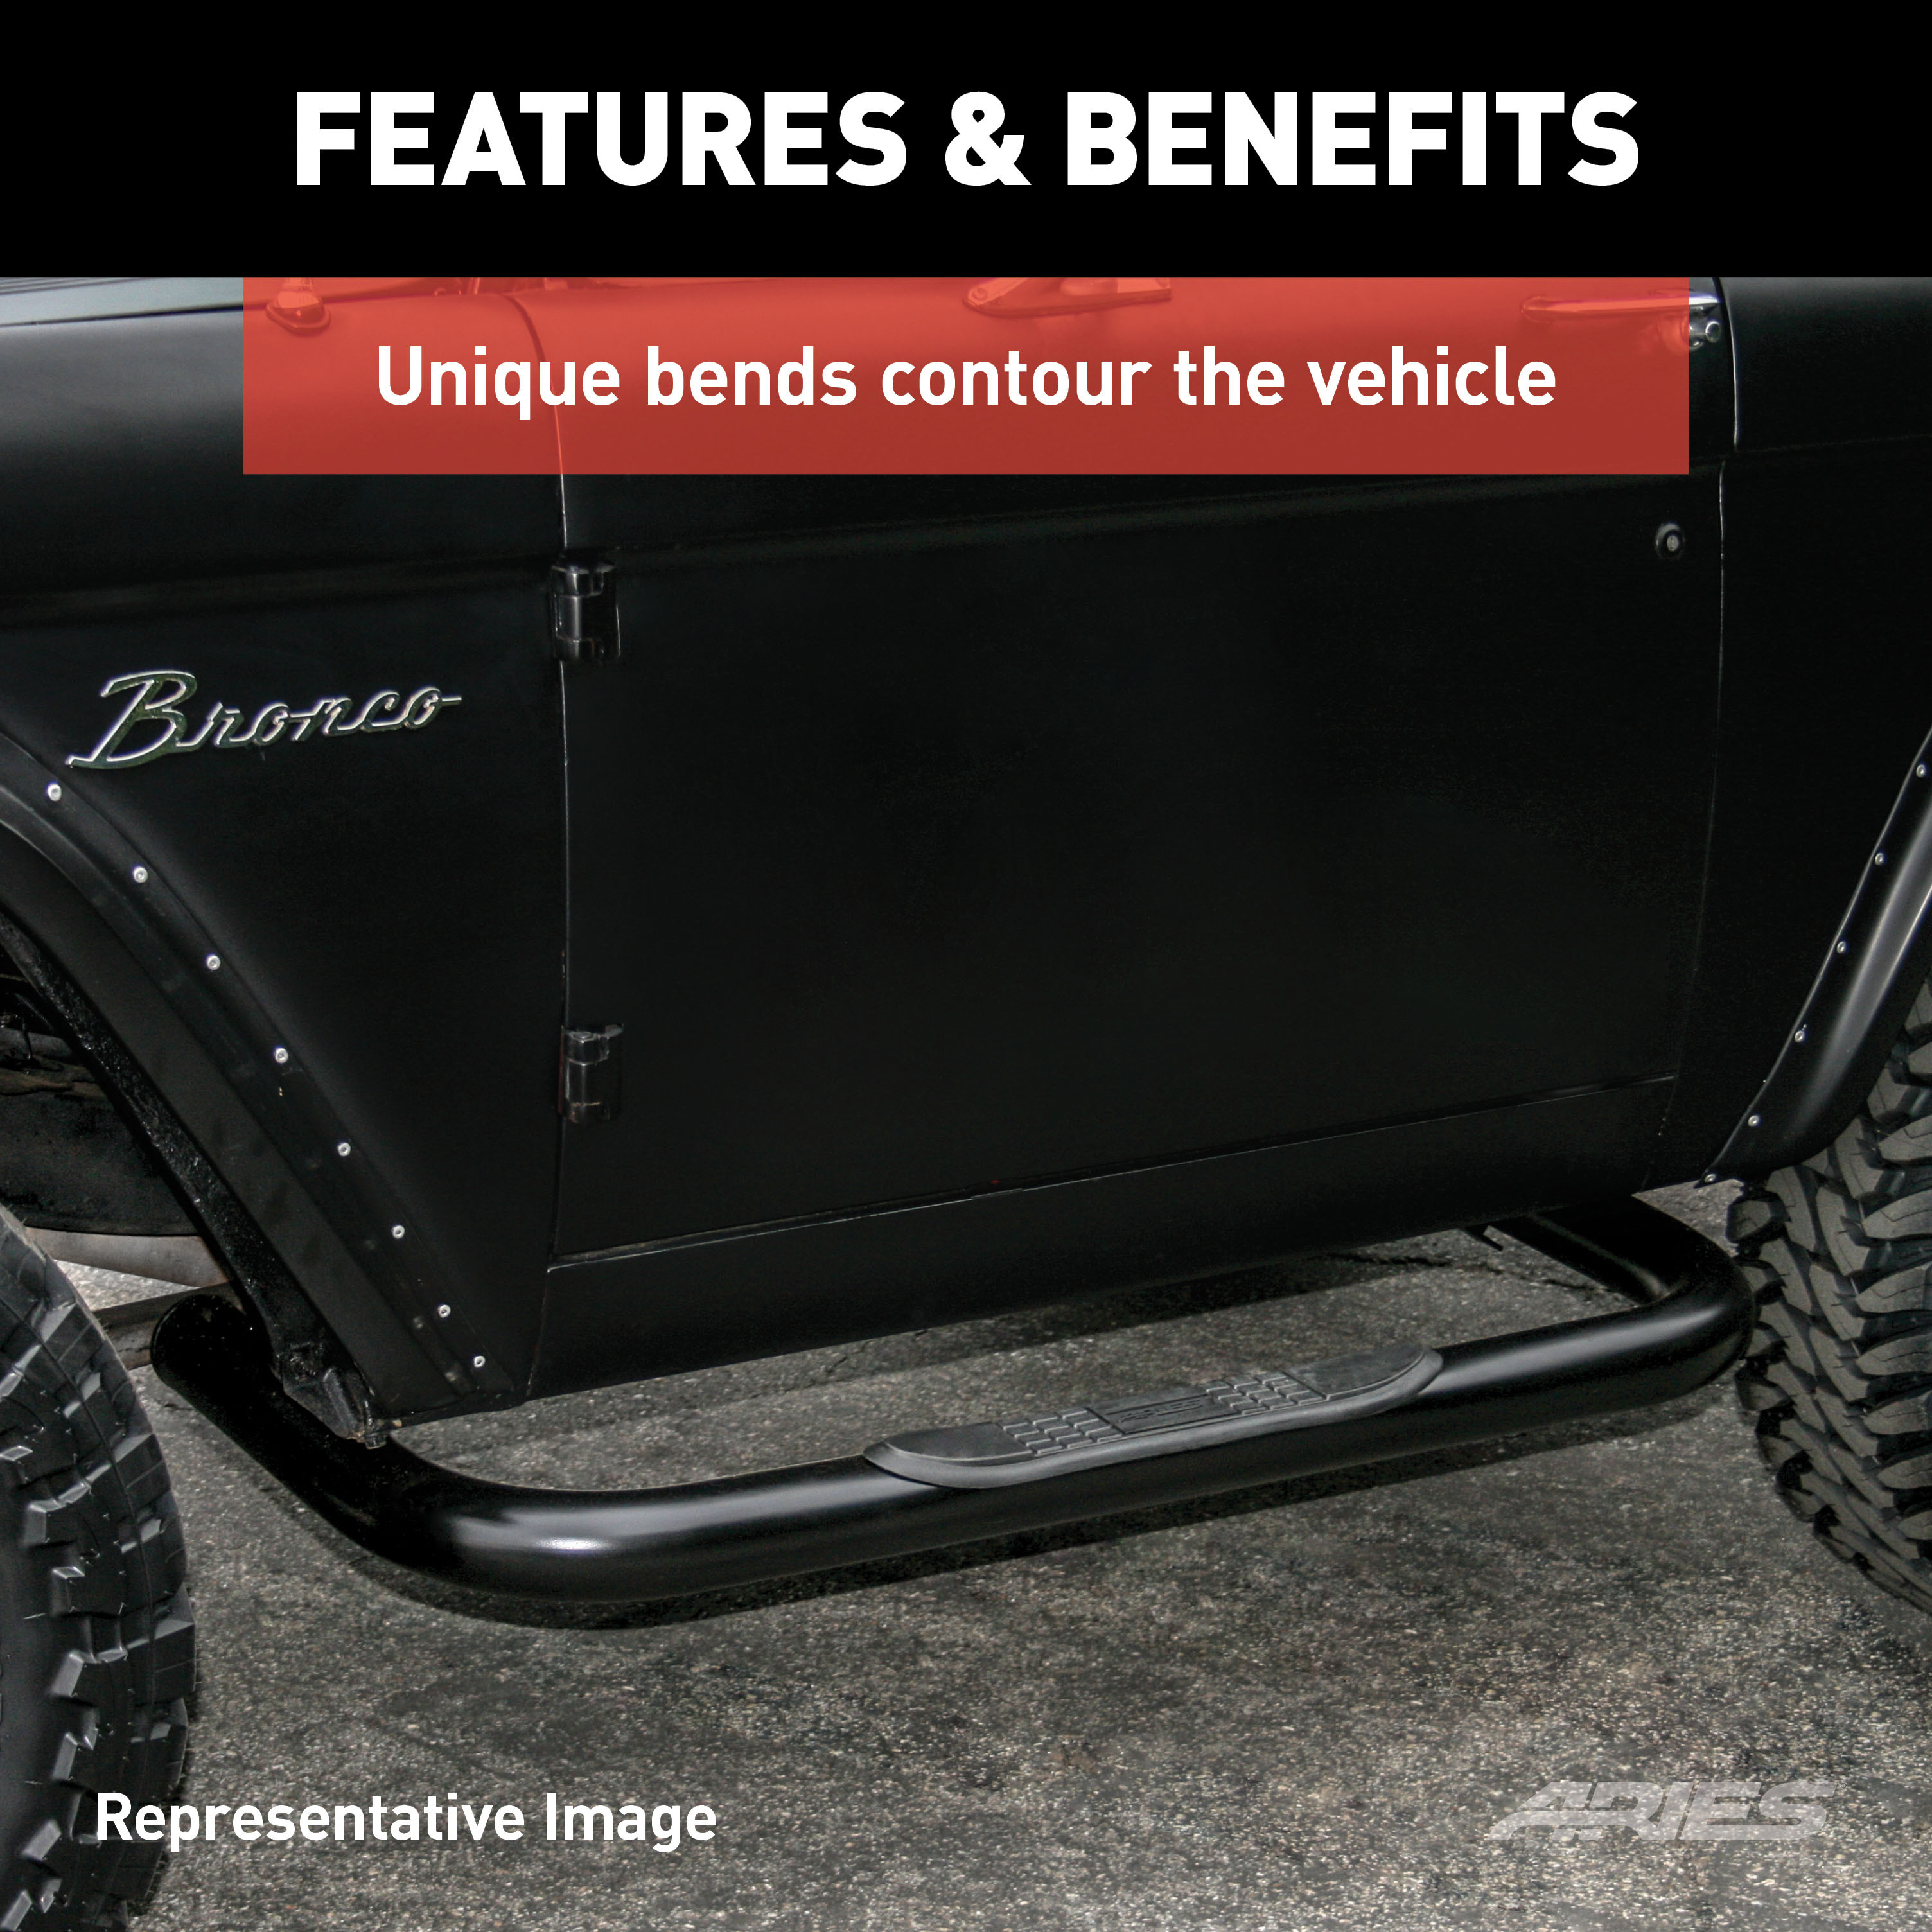
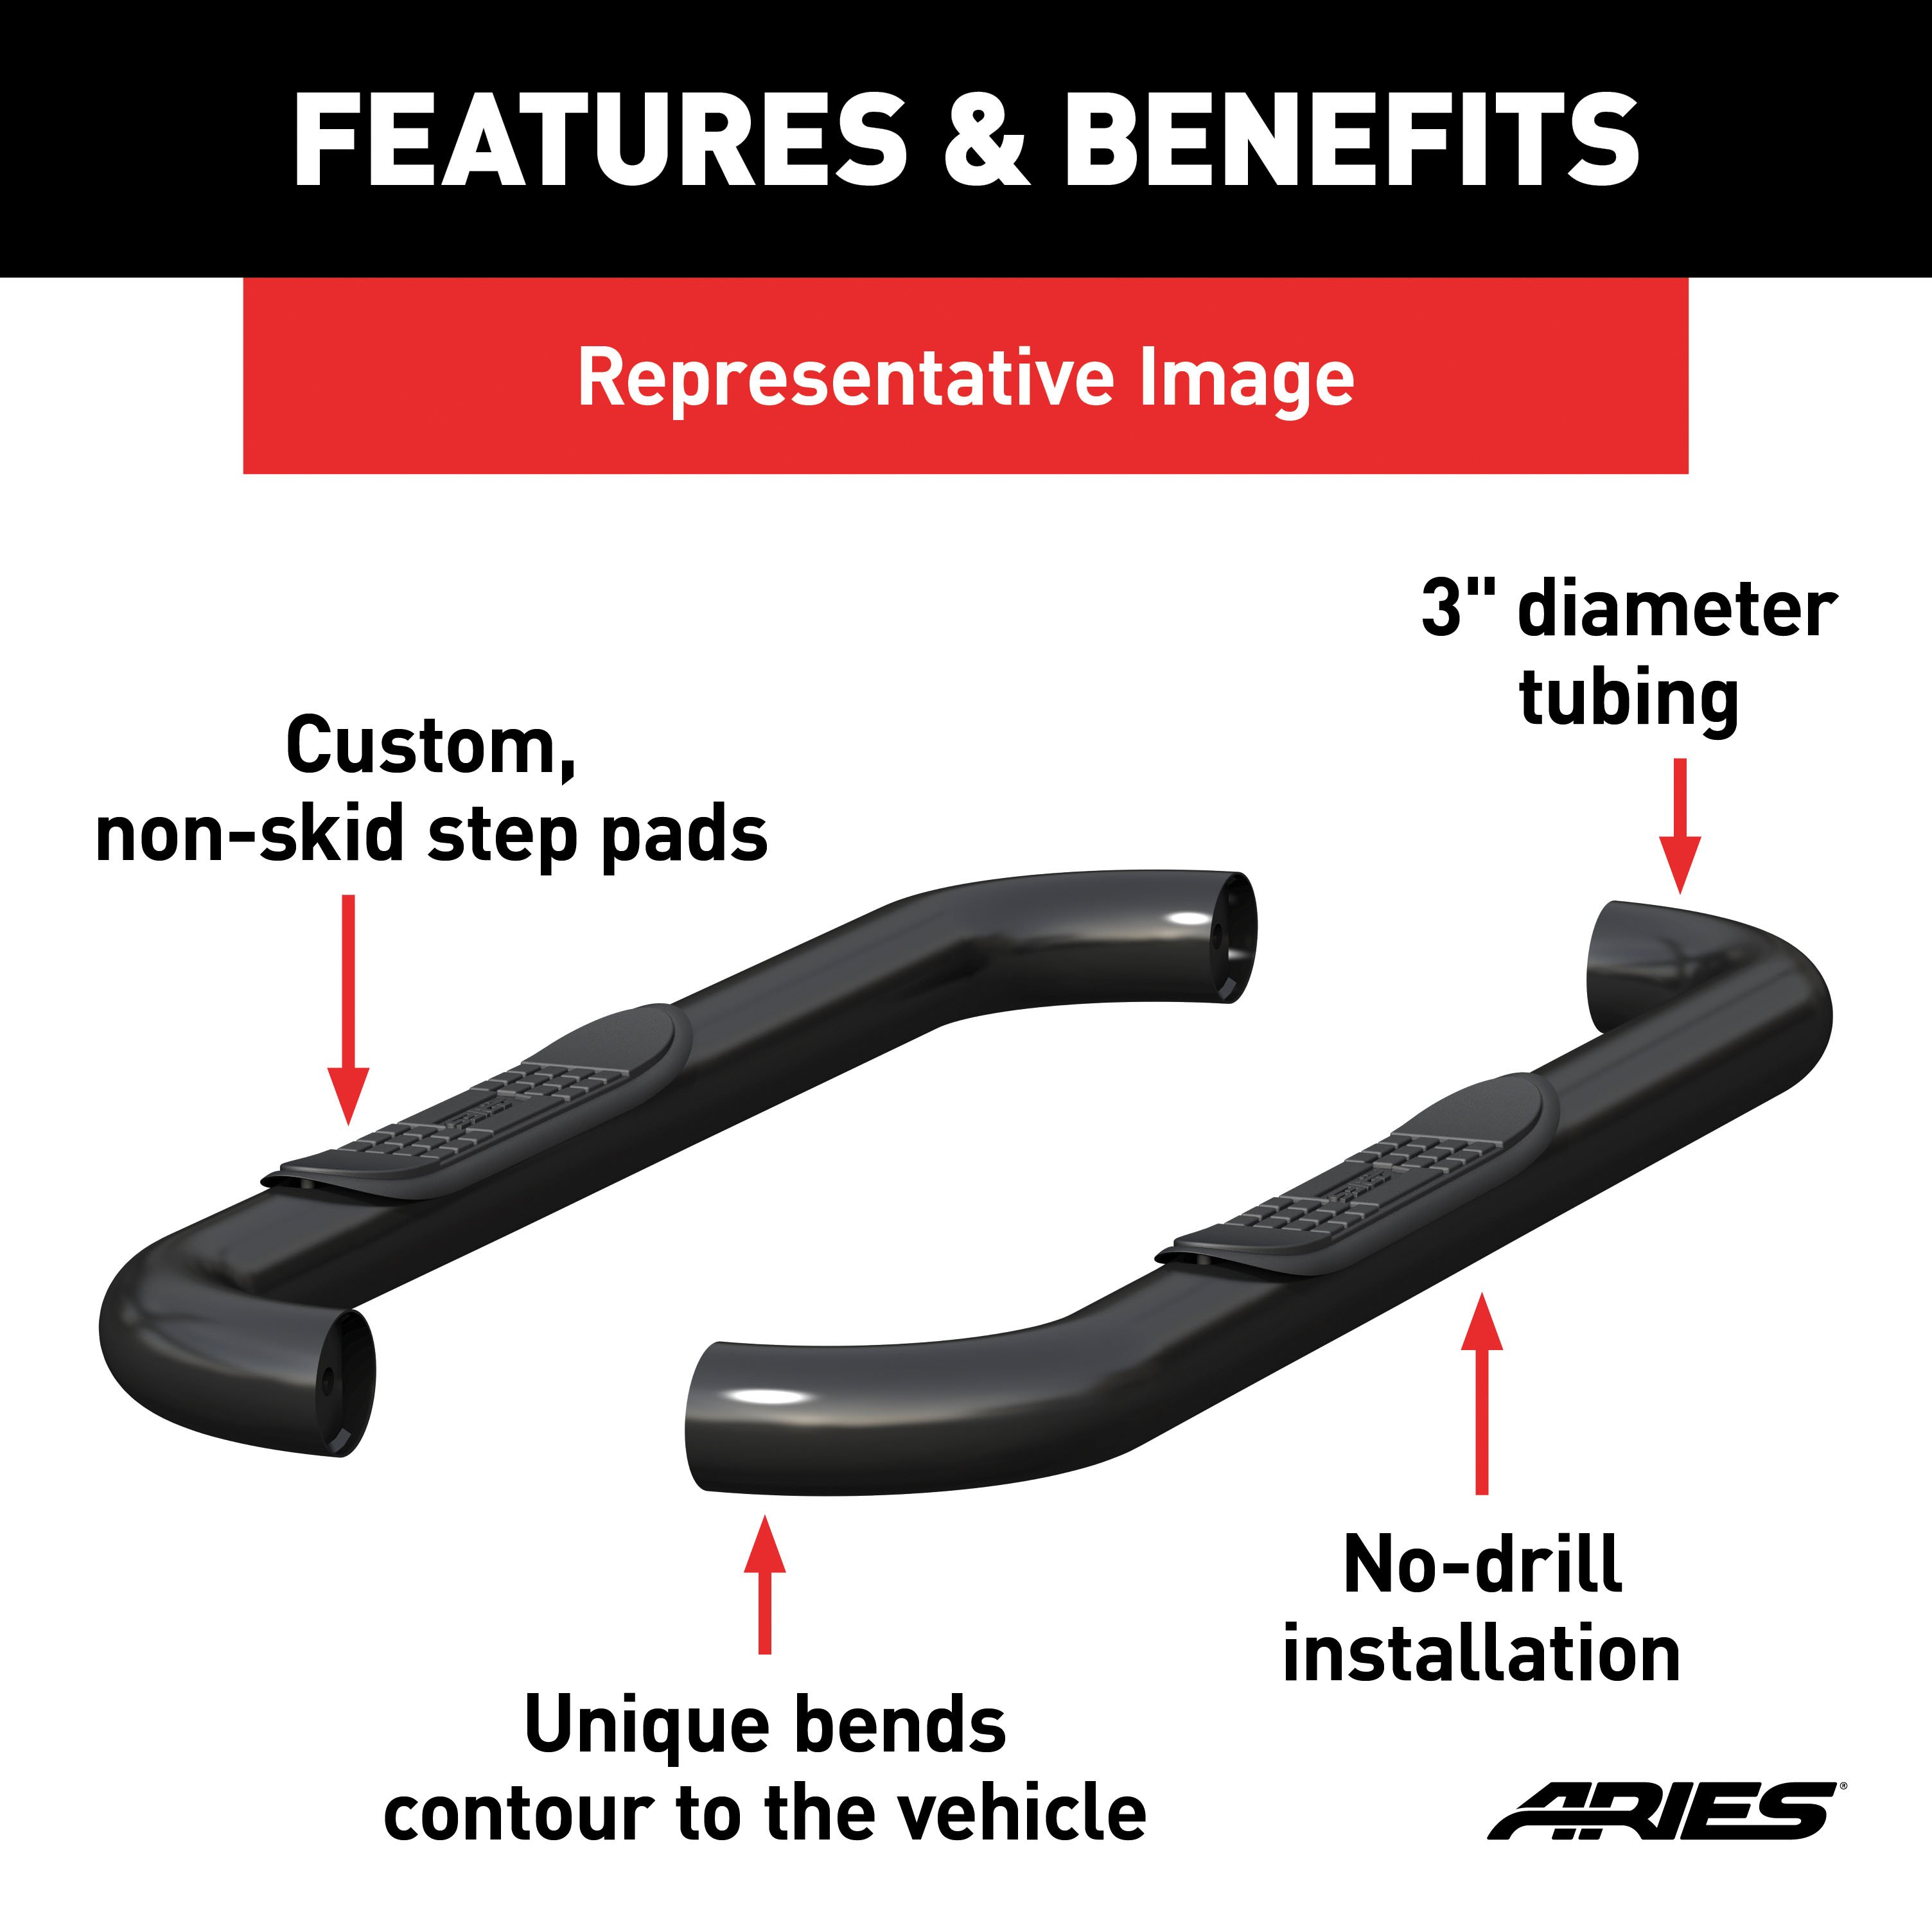
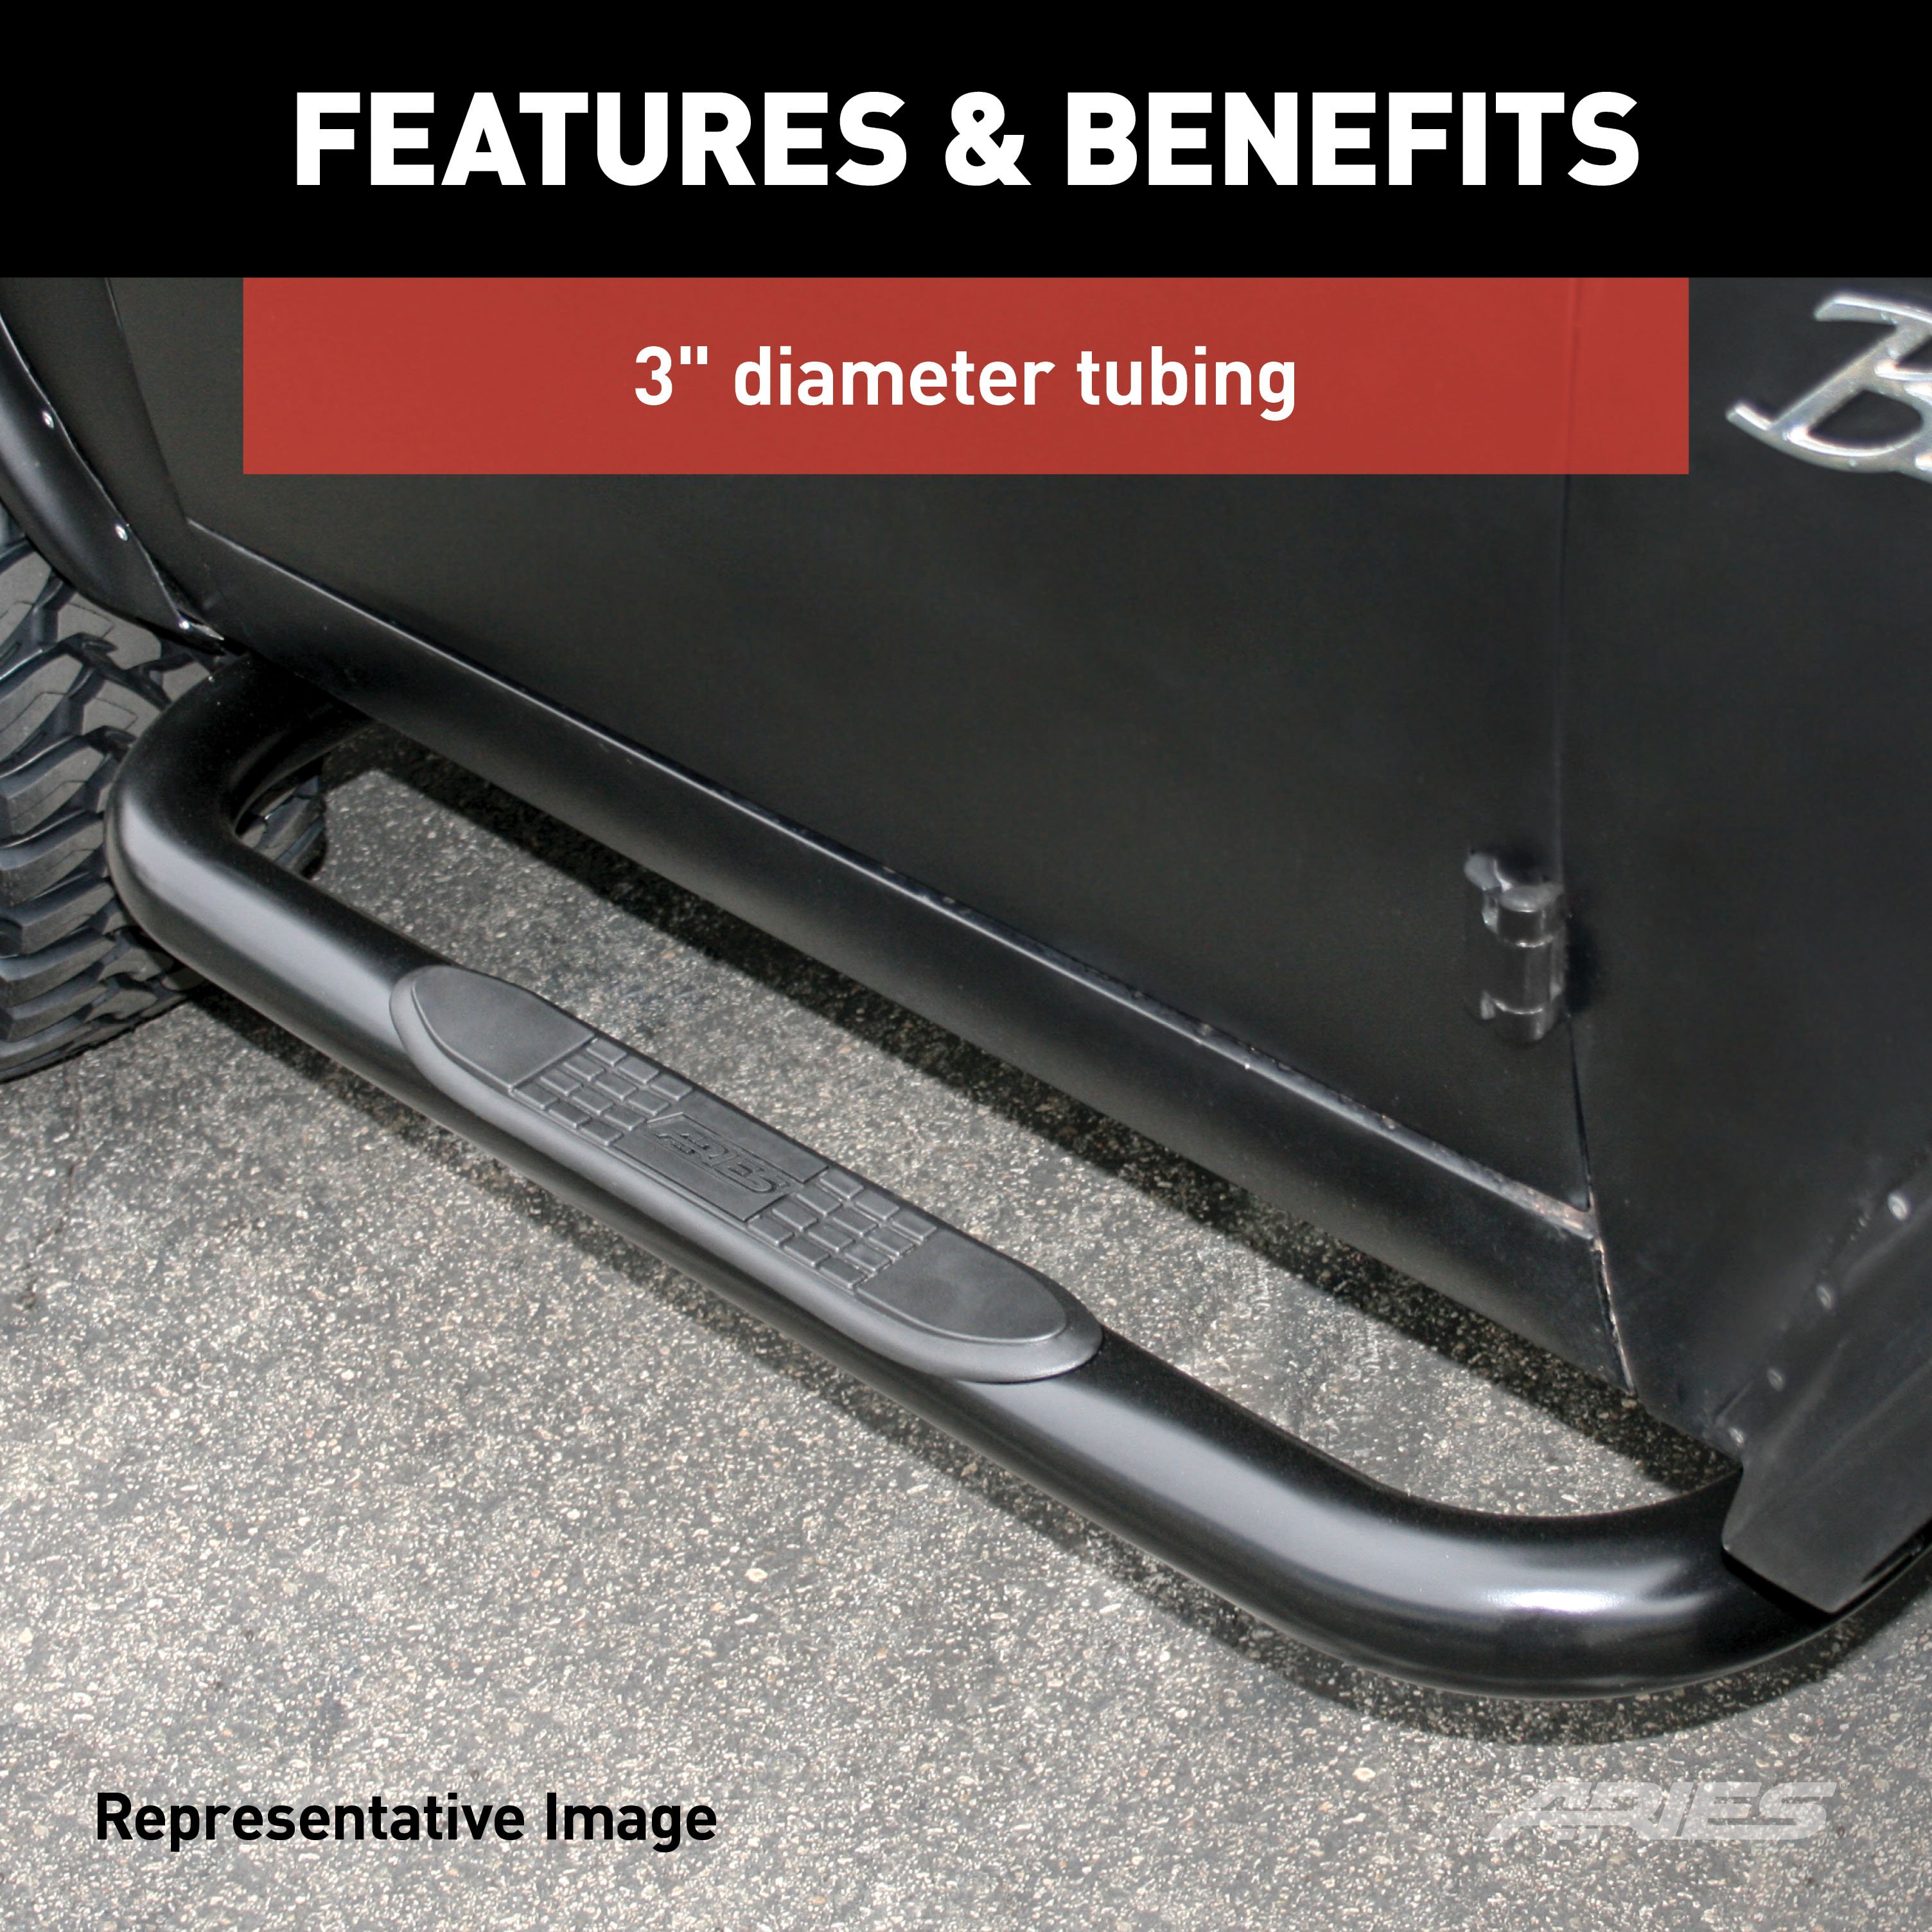
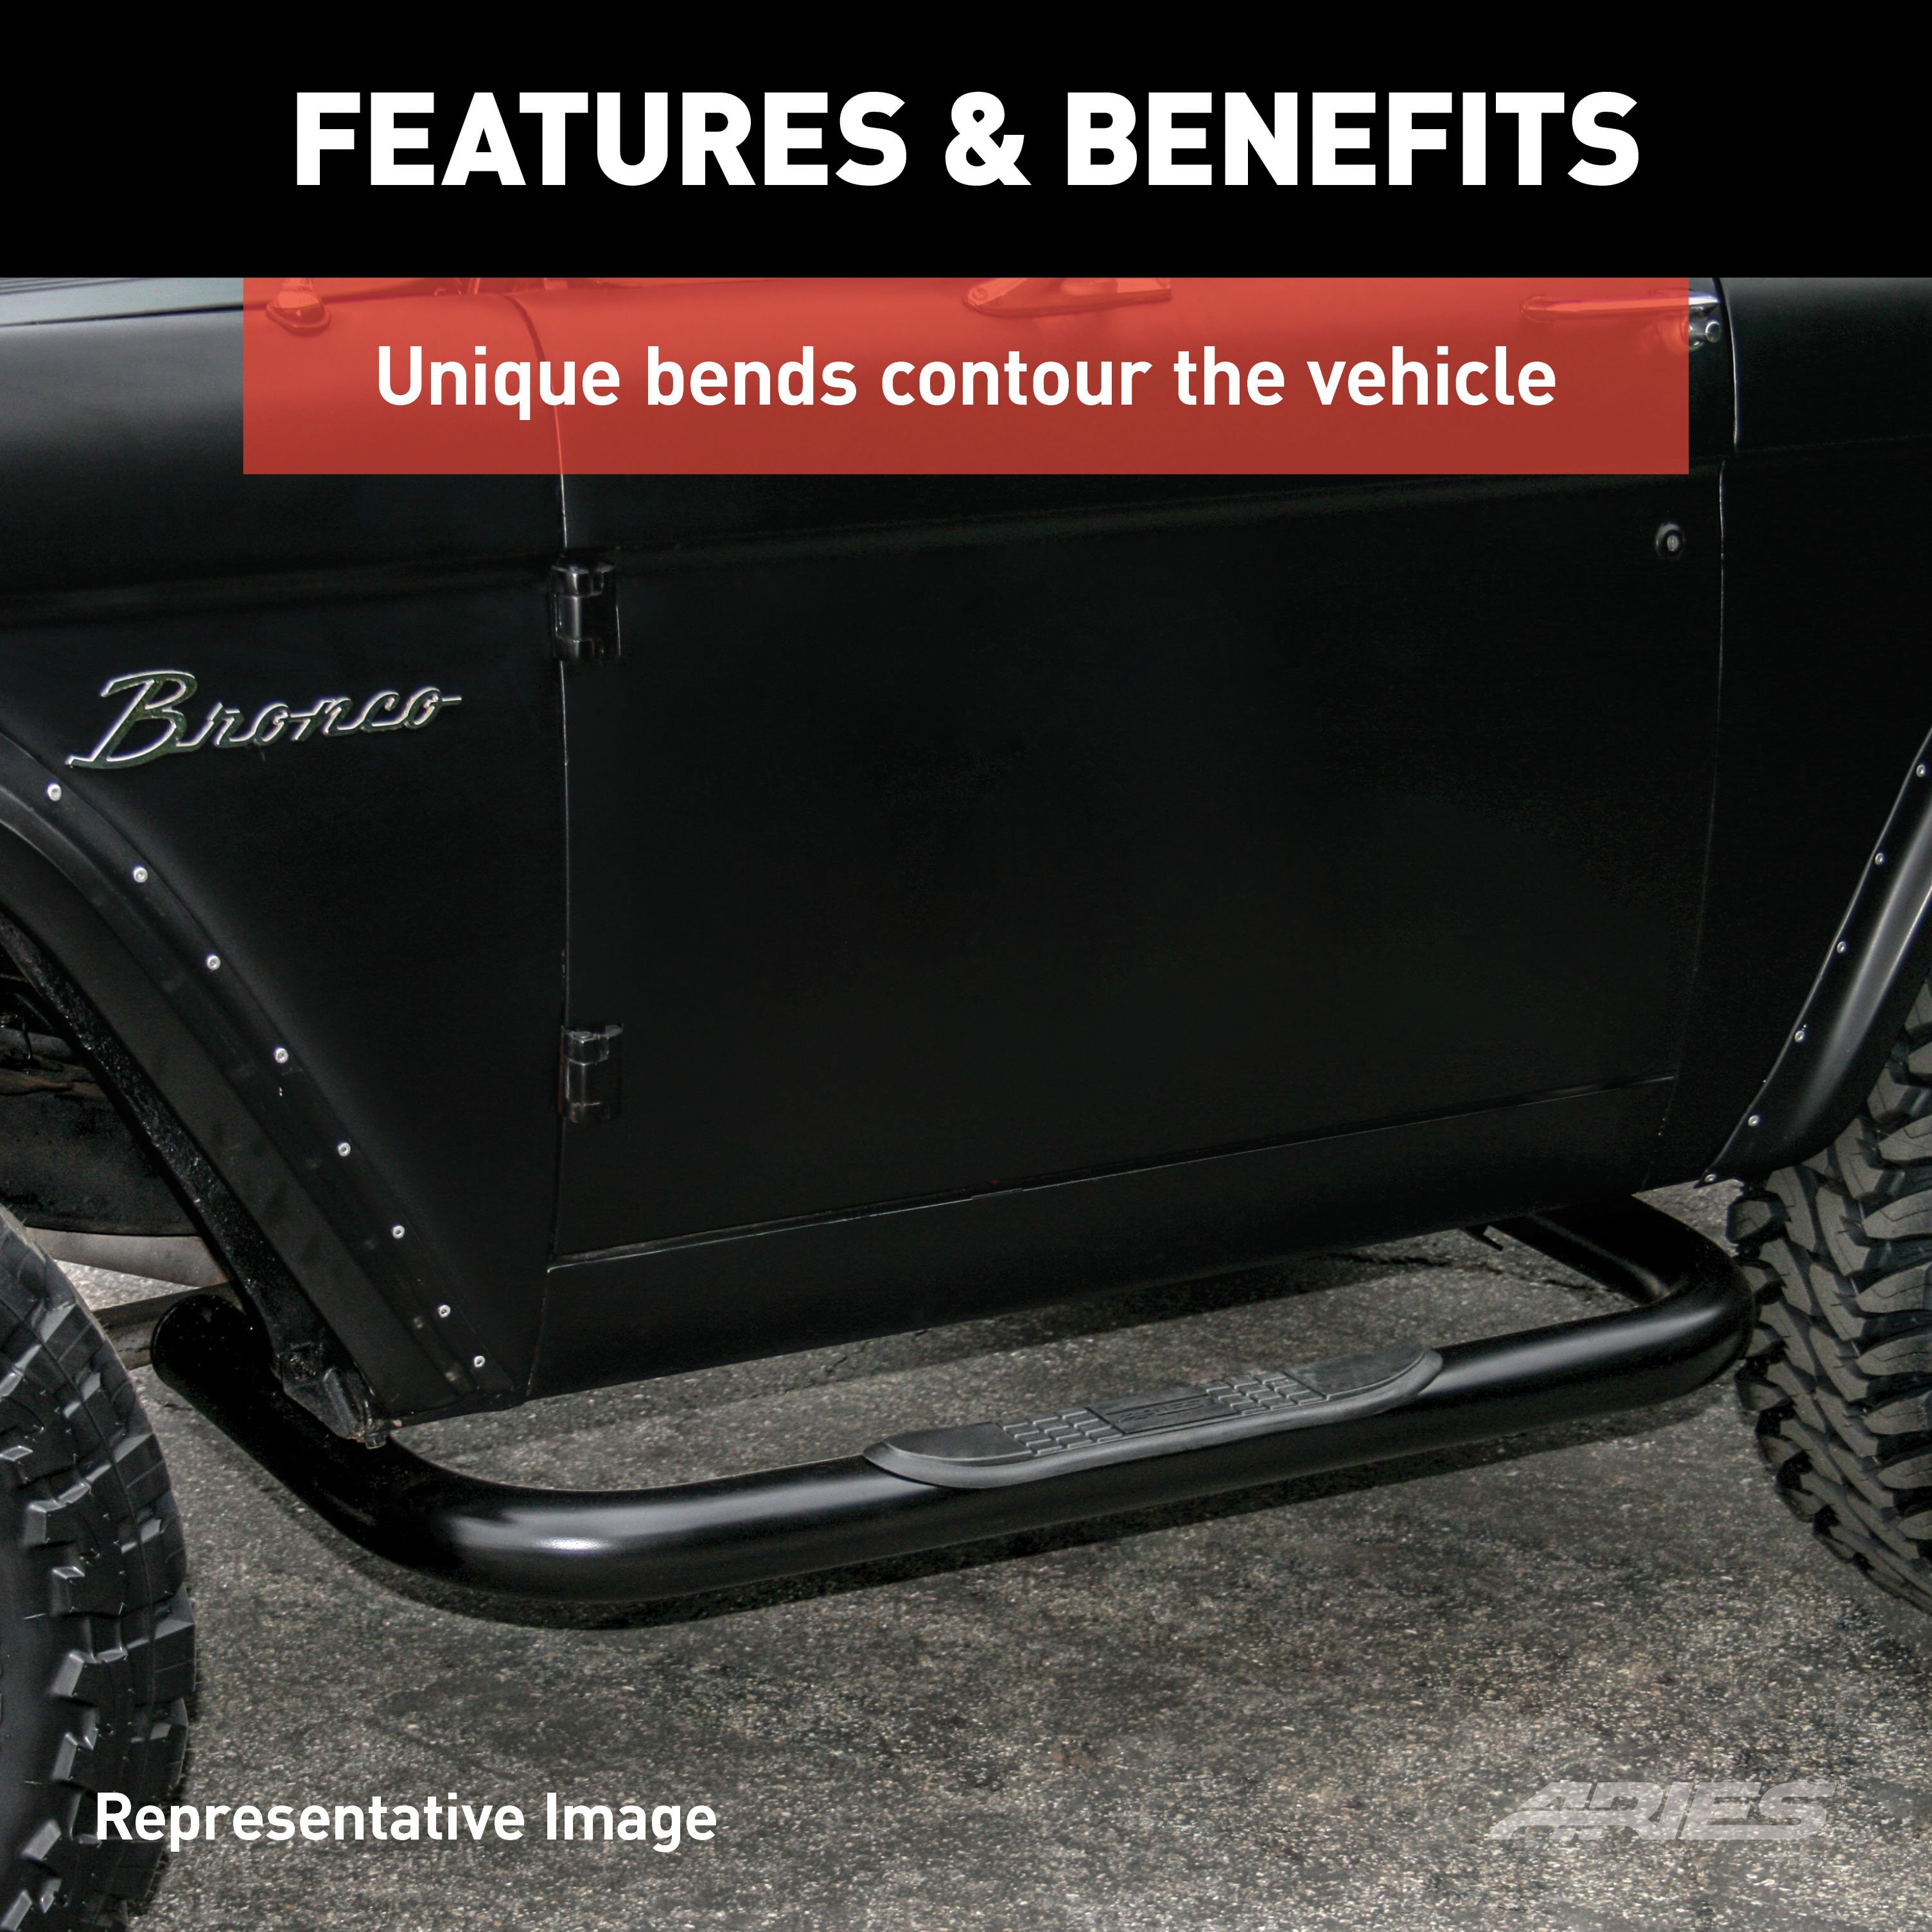
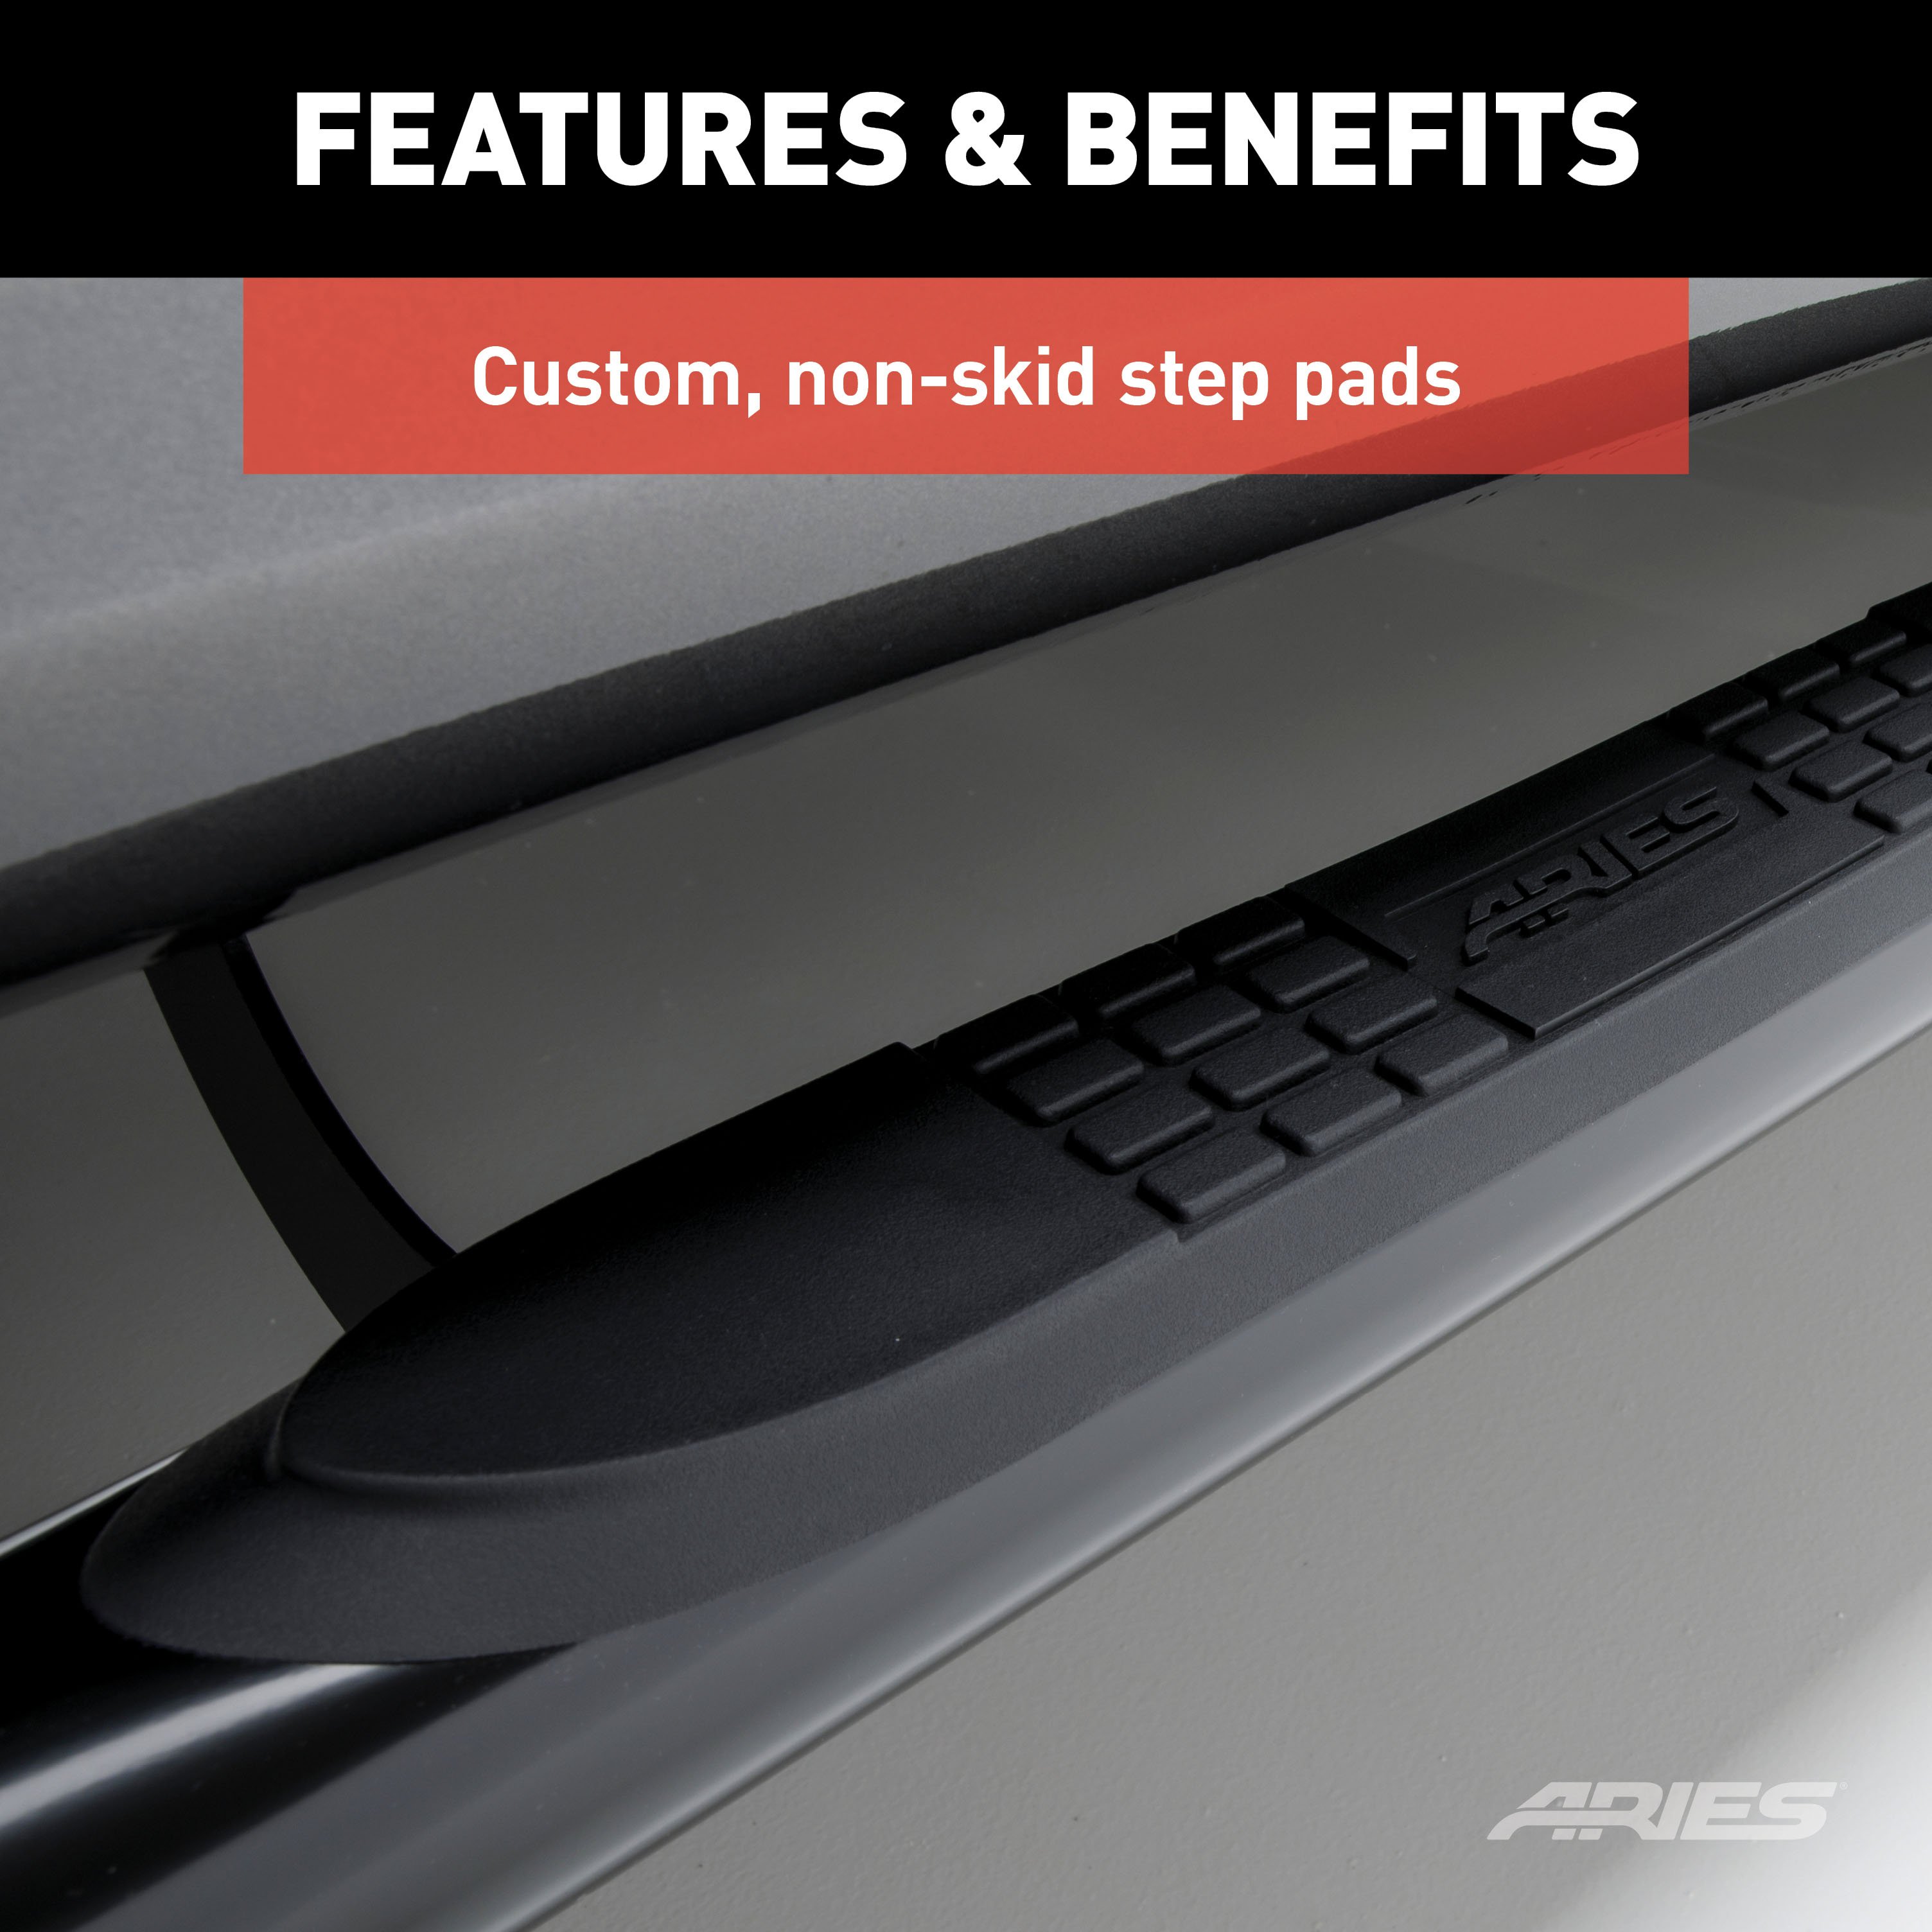
ARIES 3" round side bars are a reliable and budget-friendly option for side steps on your truck. This set of nerf bars offers solid rust resistance, a custom fit and a no-drill installation. Constructed from stainless steel, these 3" side bars are perfect for work or play, easily withstanding dirt, water, mud, sand, snow and road salt and maintaining dependable corrosion resistance even offroad. They also come with a durable semi-gloss black powder coat finish that greater enhances rust resistance, and helps keep the nerf bars looking clean in spite of minor scuffs and scratches. 3" diameter, heavy-wall tubing is used to construct the steps, providing excellent strength and rigidity for safe, comfortable entry and exit. These 3" round nerf bars also feature non-skid step pads to further enhance safety. The step pads are textured to increase traction, and they are custom-placed to match the door layout for a convenient step up right where you need it. To ensure the best fit and appearance on your truck, every set of 3" side bars is made vehicle-specific. This means the steps are bent to a specific contour to complement the shape of the vehicle's rocker panels. It also makes for a much easier installation compared to any universal nerf bars or running boards. These particular 3" nerf bars are designed to fit specific years of the Ram 1500, 2500 or 3500 and Dodge Ram 1500, Ram 2500 or Ram 3500 (see application info to verify fitment). ARIES side bars use heavy-duty, vehicle-specific brackets that mount using pre-existing factory holes to completely eliminate drilling from the installation process. This speeds up the install and helps avoid unnecessary modification to your vehicle. It also promotes a stronger, more rigid step for sure footing every time you climb into your truck.

Explore ARIES products at TowUniverse for top-tier grille guards, side bars, nerf bars, headache racks, and more. Upgrade your vehicle with ARIES today!
ARIES is a fast-paced marketer and innovator of truck, Jeep, SUV and CUV accessories. From automotive enthusiasts to professional builders, our products are built for the champions of individualism, innovation and attitude.
We offer the perfect combination of unique style and durable construction, specializing in custom-fit grille guards, bull bars, side bars and running boards, as well as Jeep Wrangler and Jeep Gladiator accessories.
ARIES products are made vehicle-specific for a custom fit, and they are available for a wide variety of makes and models sold in North America.
Experts available to answer your questions
Call 888-634-9494Refer to Warranty PDF
7 compatible vehicles
| Year | Make & Model | Style | Notes |
|---|---|---|---|
| 2009 - 2010 | Dodge Ram 1500 | Standard Cab Pickup · 2-Door | — |
| 2009 - 2010 | Dodge Ram 2500 | Standard Cab Pickup · 2-Door | — |
| 2009 - 2010 | Dodge Ram 3500 | Standard Cab Pickup · 2-Door | — |
| 2011 - 2018 | Ram 1500 | Standard Cab Pickup · 2-Door | — |
| 2019 - 2023 | Ram 1500 Classic | Standard Cab Pickup | — |
| 2011 - 2027 | Ram 2500 | Standard Cab Pickup · 2-Door | — |
| 2011 - 2024, 2026 - 2027 | Ram 3500 | Standard Cab Pickup · 2-Door | — |
The kit includes 1 driver-side bar, 1 passenger-side bar, 2 front mounting brackets, 2 rear mounting brackets, and all required fasteners: M8 bolt plates (2), M8 hex bolts (5), M8 flat washers (7), M8 lock washers (7), M8 hex nuts (2), M8 plastic retainers (2), M10 hex bolts (4), M10 flat washers (4), M10 lock washers (4), M12 bolt/nut plates (4), M12 hex bolts (4), M12 flat washers (4 x 32mm and 4 standard), M12 lock washers (8), M12 hex nuts (4), and M12 plastic retainers (4).
Yes. The installation process differs depending on whether your vehicle has factory threaded inserts. Vehicles from 2015 and newer typically have factory inserts and use M8 factory inserts for the bottom mounting positions. Vehicles from 2015 and older without factory inserts require M10 bolt plates at the bottom mounting positions. The manual provides separate installation steps (3A for 2015 and newer, 3B for 2015 and older) and different hardware configurations for rear bracket installation depending on your vehicle's year and insert availability.
You will need a torque wrench, 13mm socket, 16mm socket, 18mm socket, utility knife, and a level. The utility knife is used to remove tape plugs from the mounting holes, and the level is used to adjust and level the side bars during installation.
The manual does not describe removal of factory components. Installation begins by locating mounting locations underneath the vehicle and removing tape plugs from the holes using a utility knife. No other factory component removal is mentioned in the installation instructions.
Installation follows this sequence: (1) Locate driver-side mounting locations and remove tape plugs; (2) Insert M8 and M12 bolt plates with plastic retainers; (3) Secure driver-side front bracket (snug but do not fully tighten); (4) Install driver-side rear bracket; (5) Attach driver-side bar to brackets (snug but do not fully tighten); (6) Adjust and level the driver-side bar; (7) Repeat steps 2–6 for the passenger side. The manual recommends tightening all brackets to the vehicle first, then tightening the side bar connections.
Snugging the hardware allows you to adjust and level the side bars before final tightening. Step 6 instructs you to adjust and level the side bar with it in position. The manual recommends tightening all brackets to the vehicle first, followed by the side bar connections, which ensures proper alignment before final torque is applied.
2015 and newer vehicles with factory threaded inserts use M8 factory inserts for bottom mounting positions and do not use the M10 nut on the M12 bolt plate. 2015 and older vehicles without factory inserts require M10 bolt plates and M10 hex bolts at bottom mounting positions. Step 3A covers 2015 and newer installation; Step 3B covers 2015 and older. Rear bracket installation (Step 4) and passenger-side front bracket installation (Step 8) also differ by vehicle year.
First, insert an M8 bolt plate into the hole closest to the front and secure with a plastic retainer. Insert an M12 bolt/nut plate into the remaining hole and secure with a plastic retainer. Place the bracket on the vehicle and secure the left side with an M12 flat washer, M12 lock washer, and M12 hex nut on the M12 bolt plate, plus two M8 hex bolts, two M8 flat washers, and two M8 lock washers on the bottom. Secure the right side with an M8 flat washer, M8 lock washer, and M8 hex nut. Snug all hardware but do not fully tighten. Note: The M10 nut on the M12 bolt plate is not used on vehicles with threaded inserts.
Install the bracket as described in Step 3A, but use the M10 nut on the M12 bolt plate. Align the M10 nut with one of the bottom holes in the rocker panel and secure with an M10 hex bolt, lock washer, and nut.
Insert an M12 bolt/nut plate into the slot in the rocker panel and secure the M12 stud with a plastic retainer. Place the rear bracket in position. Secure the top with a flat washer, lock washer, and nut. For the bottom: on 2015 and newer models with M8 factory inserts, use one M8 hex bolt, lock washer, and flat washer. On 2015 and older models without M8 factory inserts, rotate the bolt plate to position the nut behind the lower mounting position and secure with an M10 hex bolt, flat washer, and lock washer.
Place the side bar onto the brackets and align the mounting holes with the holes in the brackets on the vehicle. Attach using two M10 hex bolts, two M10 lock washers, and two M10 flat washers. Snug the hardware but do not fully tighten until after you have adjusted and leveled the side bar.
Insert an M12 bolt/nut plate into the body panel and secure with a plastic retainer. Insert an M8 bolt plate into the remaining top slot on the rocker panel and secure with a plastic retainer. Place the bracket on the vehicle and secure the top front location with an M8 flat washer, lock washer, and nut. Secure the top rear location with an M12 flat washer, lock washer, and nut. For the bottom: on 2015 and newer models with M8 factory inserts, use one M8 hex bolt, lock washer, and flat washer. On 2015 and older models without M8 factory inserts, rotate the bolt plate to position the nut behind the lower mounting position and secure with an M10 hex bolt, flat washer, and lock washer.
M8 bolts: 7 ft.-lbs. M10 bolts: not specified in the torque table. M12 bolts: 16 ft.-lbs. (standard) or 28 ft.-lbs. (where otherwise noted). The manual states 'Use above torque setting unless otherwise noted' but does not specify which M12 applications use 16 ft.-lbs. versus 28 ft.-lbs. Refer to the torque table on page 2 of the manual for the complete specification list.
Periodic inspections should be performed to ensure all mounting hardware remains tight. To protect the product, wax after installing and regularly thereafter to add a protective layer over the finish. Do not use any polish or wax containing abrasives, dish detergent, abrasive cleaners, abrasive pads, or wire brushes, as these may damage the finish. Mild automotive detergent may be used to clean the product. For polished, gloss, and other smooth finishes, polish may be used to clear small scratches and scuffs.
Wax the side bars after installation and regularly thereafter to protect the finish. Use only mild automotive detergent for cleaning. Do not use dish detergent, abrasive cleaners, abrasive pads, or wire brushes. For polished, gloss, and other smooth finishes, polish may be used to clear small scratches and scuffs. Do not use any polish or wax containing abrasives, as these may damage the finish.
ARIES 215039 side bars fit vehicles from 2015 and newer with factory threaded inserts and vehicles from 2015 and older without factory inserts. Installation steps differ by vehicle year. Consult the manual or contact ARIES Automotive at 877.287.8634 or ARIESAUTOMOTIVE.COM to confirm fitment for your specific vehicle.
You will need a torque wrench, 13mm, 16mm, and 18mm sockets, a utility knife, and a level.
No drilling is required. Installation uses existing mounting locations. You will remove tape plugs from the holes using a utility knife and insert bolt plates with plastic retainers.
M8 bolts: 7 ft.-lbs. M12 bolts: 16 ft.-lbs. (standard) or 28 ft.-lbs. (where otherwise noted). Refer to the torque table on page 2 for complete specifications.
On Sale Today
Original price was $408.95. Current price is $232.00.You save $176.95 (43%)
Free Shipping
Ships free on all orders
 Authorized Dealer

Quick Ship
In stock and ready to ship — order now!
Shipping from Lancaster, TXFREE SHIPPING
Estimated delivery Thu, Oct 15 - Sat, Oct 17
Order before 2 PM EST Monday–Friday for same-day processing
Guaranteed safe & secure checkout
No reviews have been added for this product.