Ask a Question About This Product
Our in-house experts typically reply within one business day.
Our in-house experts typically reply within one business day.

ARIES
Verify Fitment
Select your vehicle to confirm this part fits.
2015 - 2020 Ford F-150
Confirmed to Fit






Always the correct part
We know our products
Quality Products
Free Shipping!
Always the correct part
We know our products
Quality Products
Free Shipping!
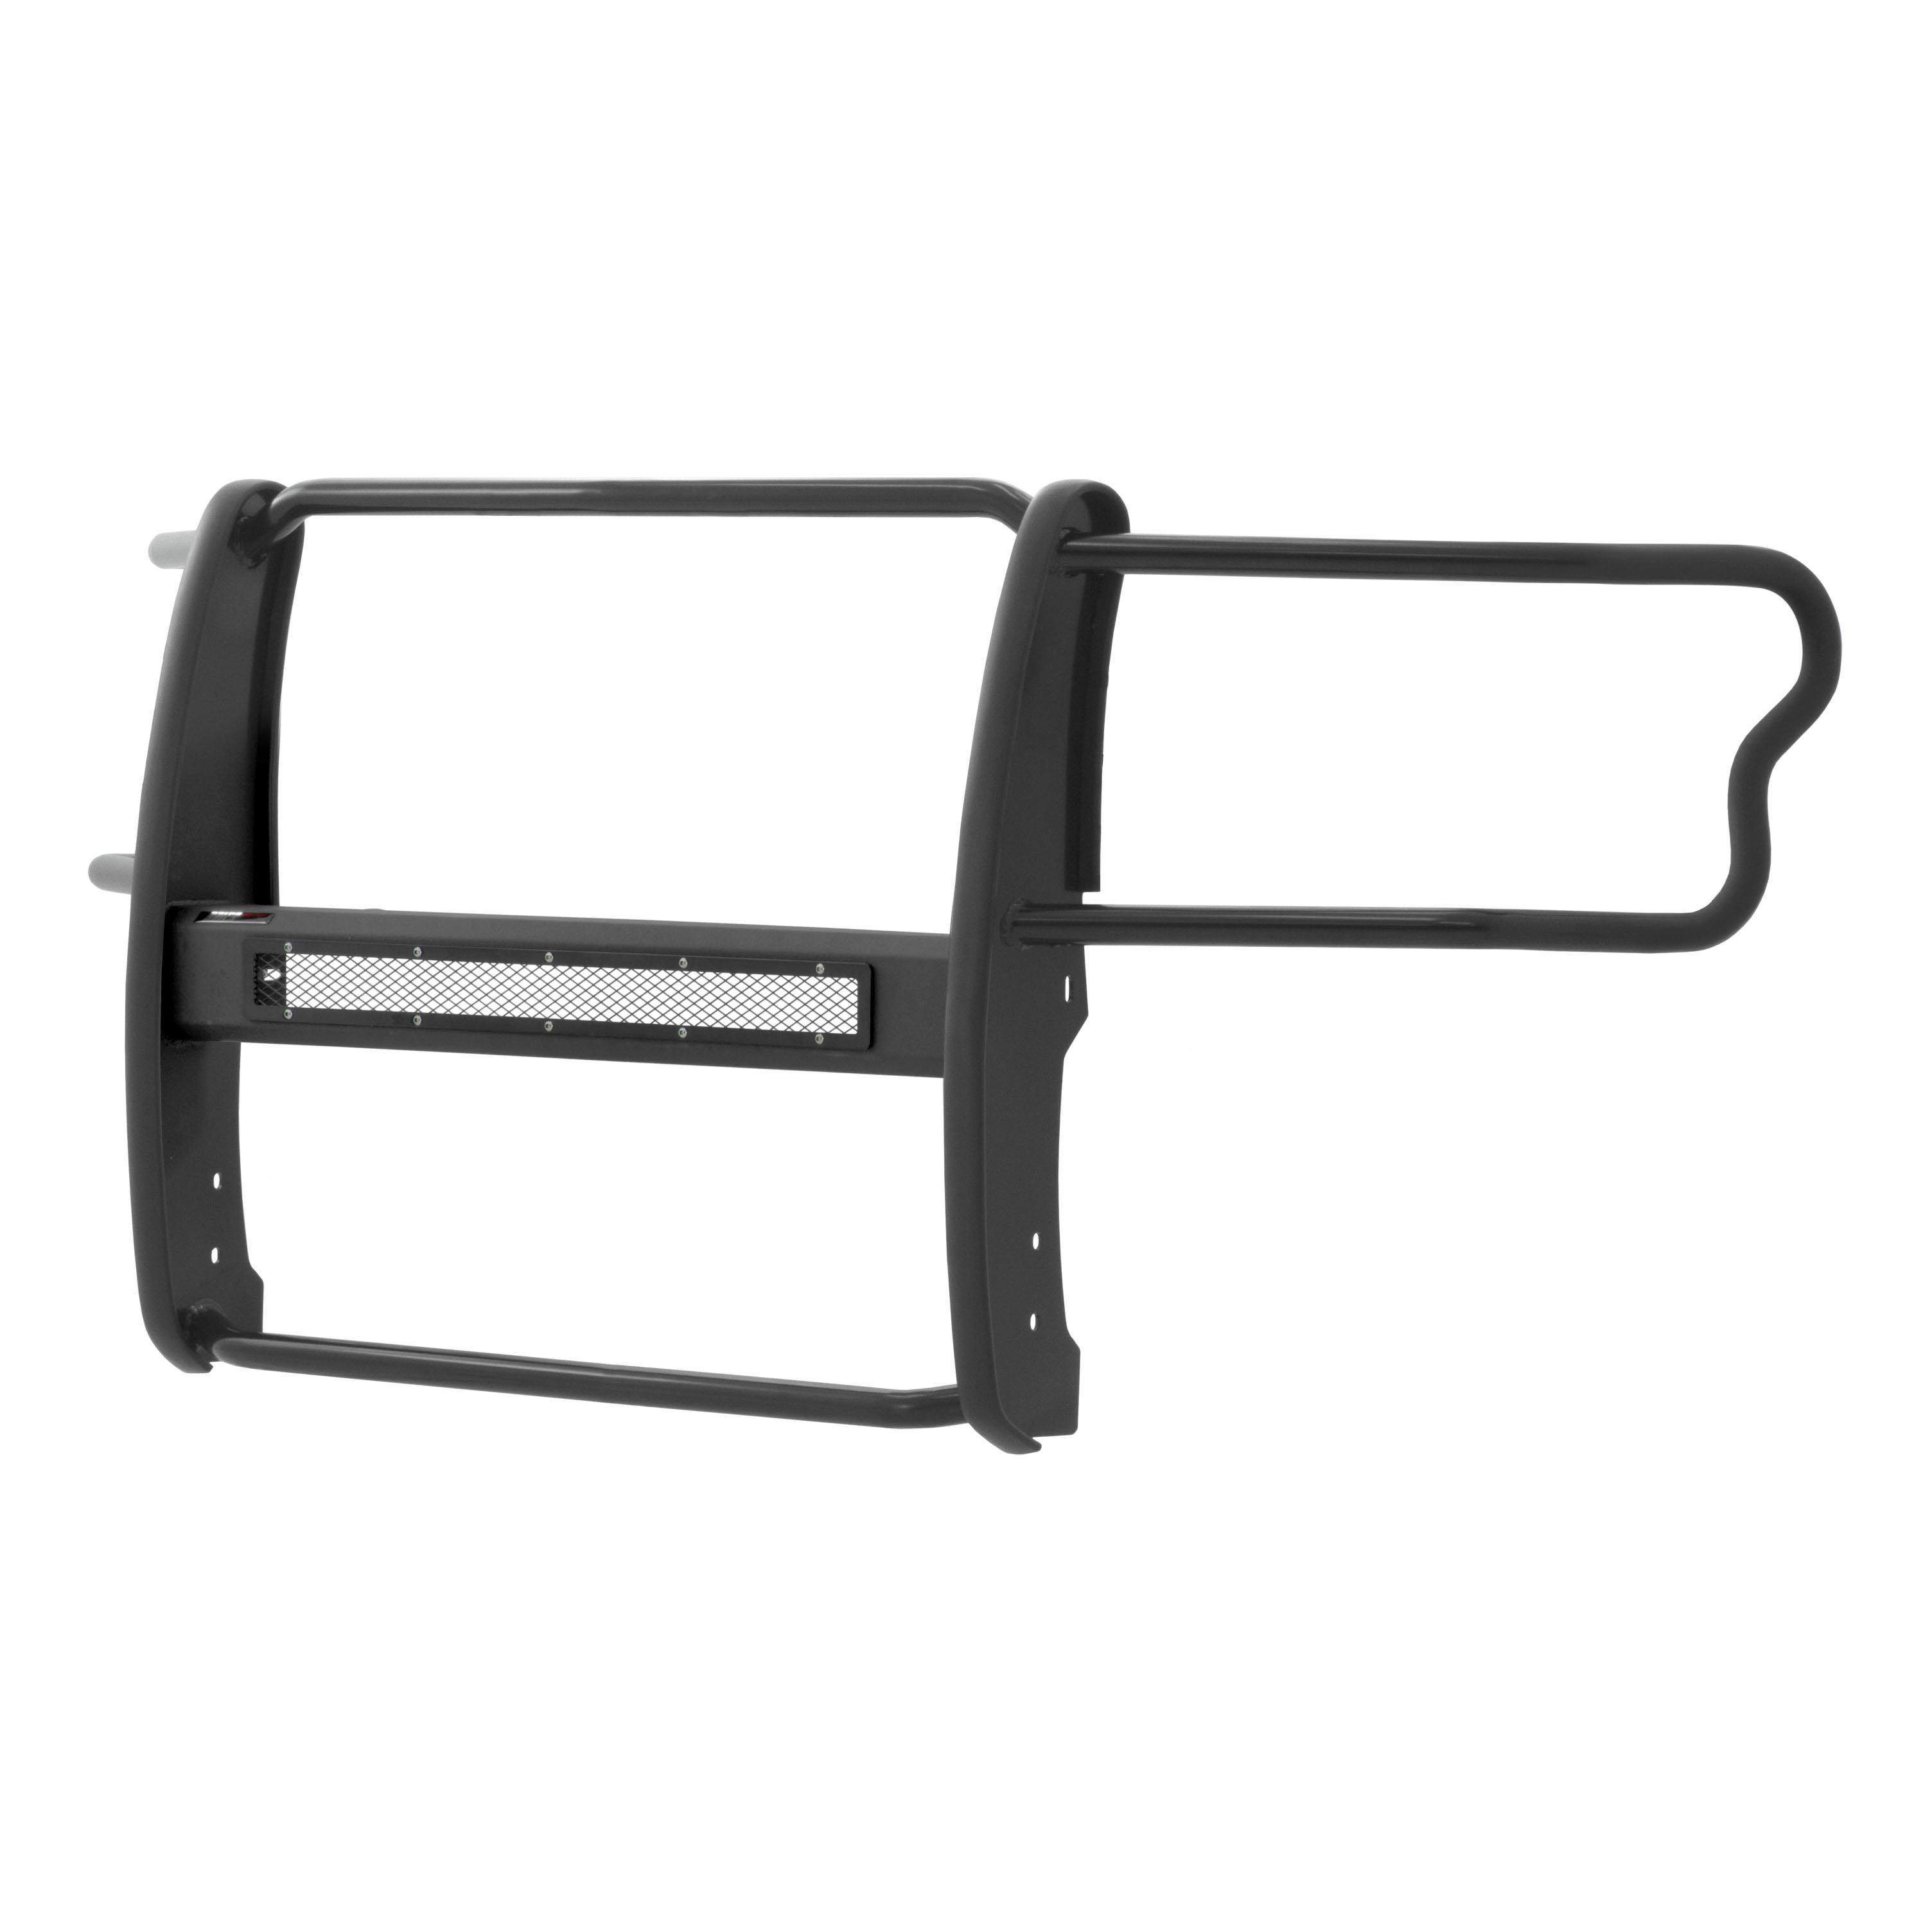
Includes Pro Series grille guard #P3066, mounting hardware, 30" LED light bar #1501264 and black mesh cover plate #PC30MB
Patent# US9108581B2
Grille guard may interfere with forward-facing cameras or sensors

Warranty: Limited Lifetime Warranty (Three-Year Finish, One-Year Parts)
Finish: TEXTURED BLACK POWDER COAT
Material: Blank
Color: Black
Light - Beam Type: Combo
Light - Configuration: Single-row
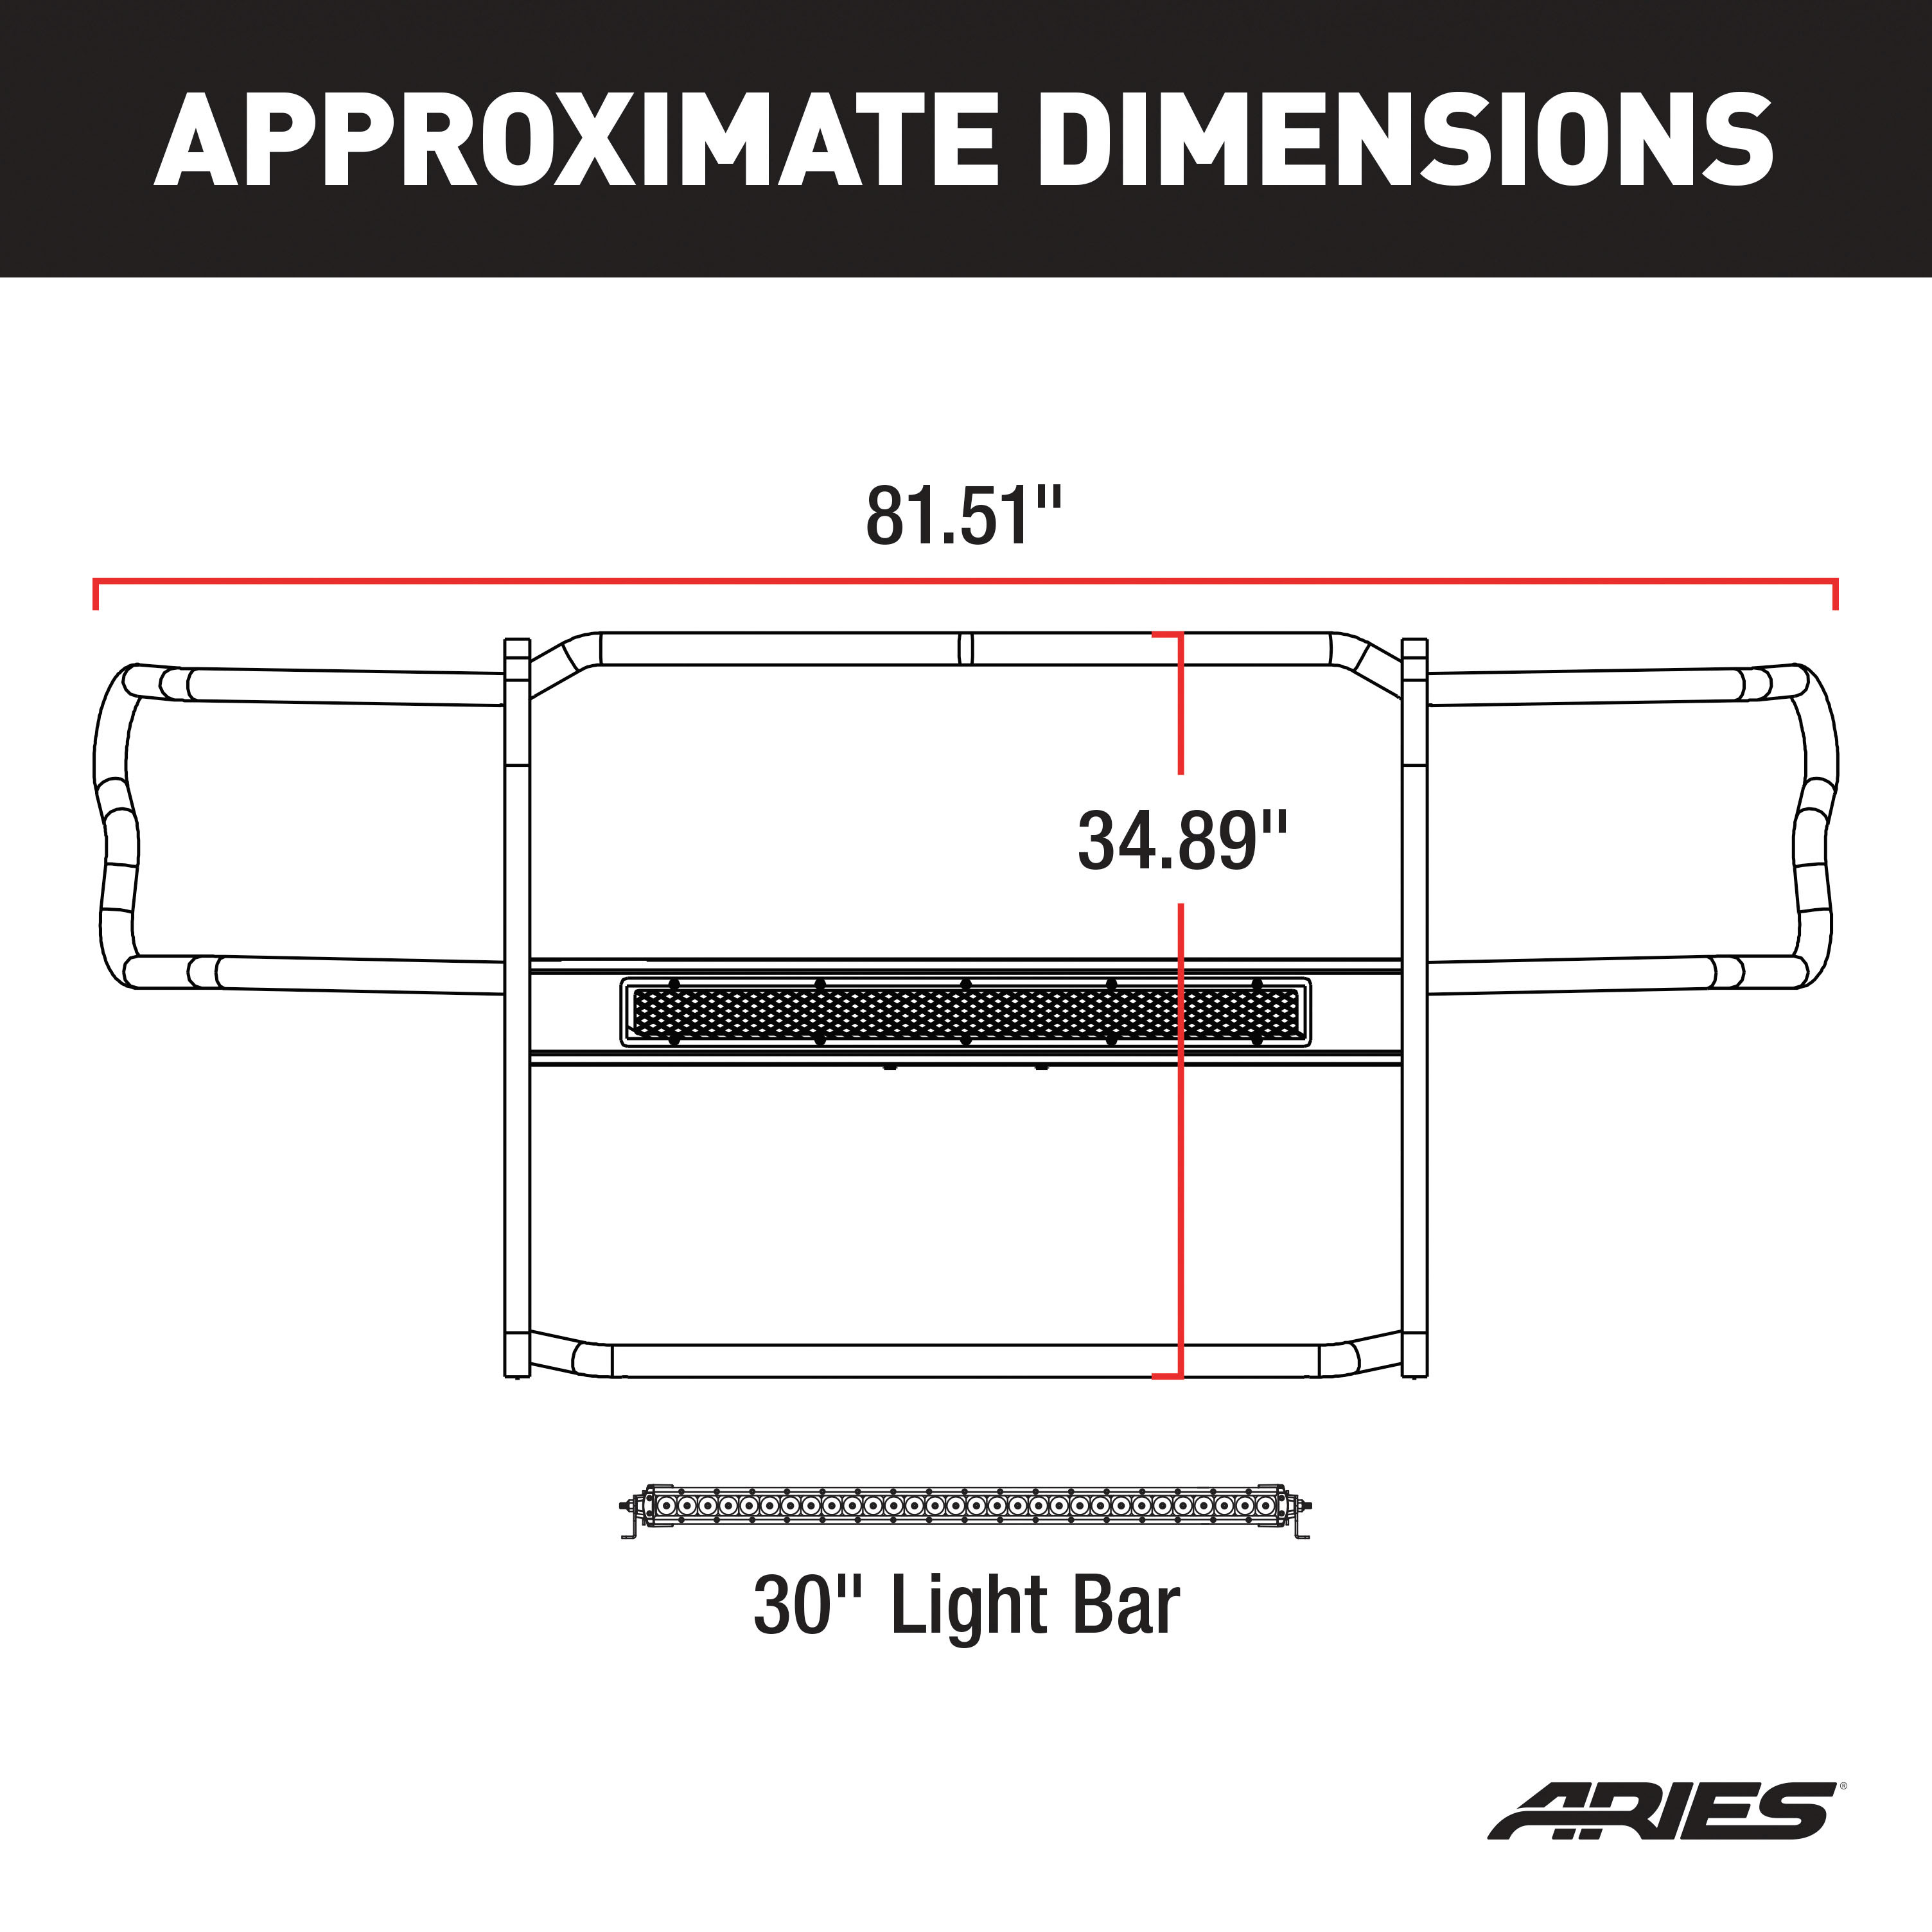
Light - Light Size: 30 IN
Light - Light Type: Light Bar
Light - Lumens: 14,800
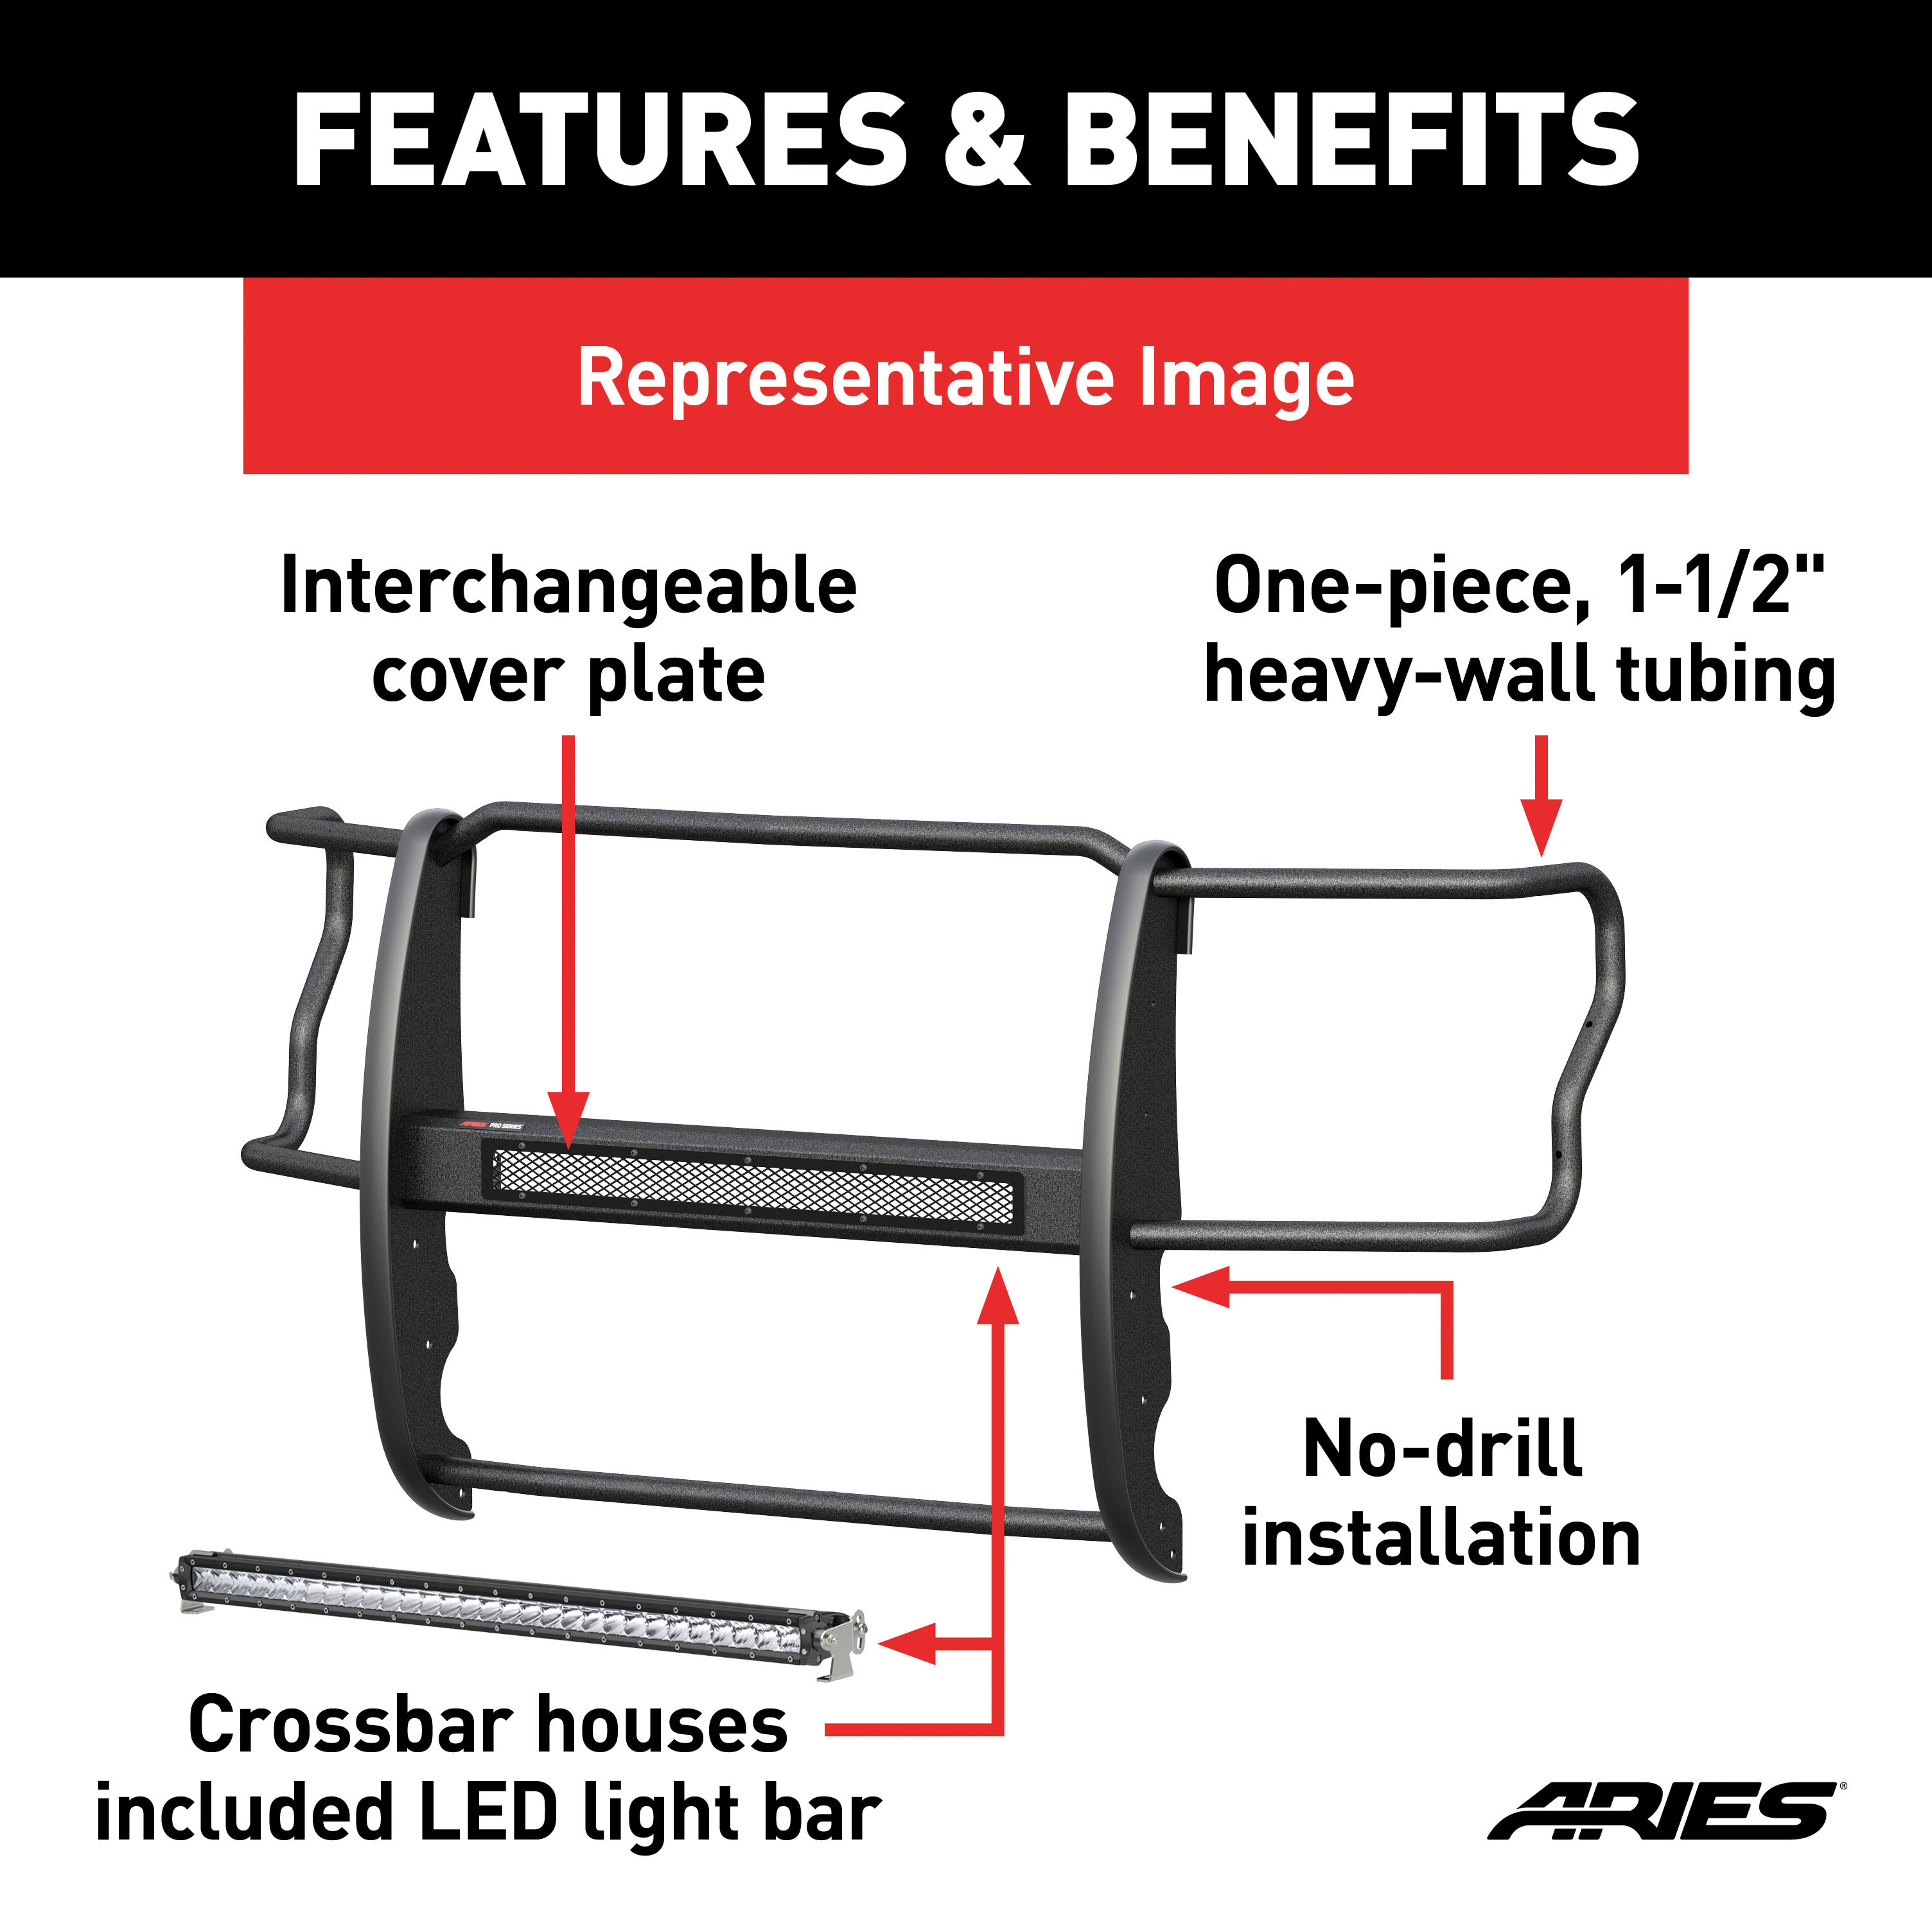
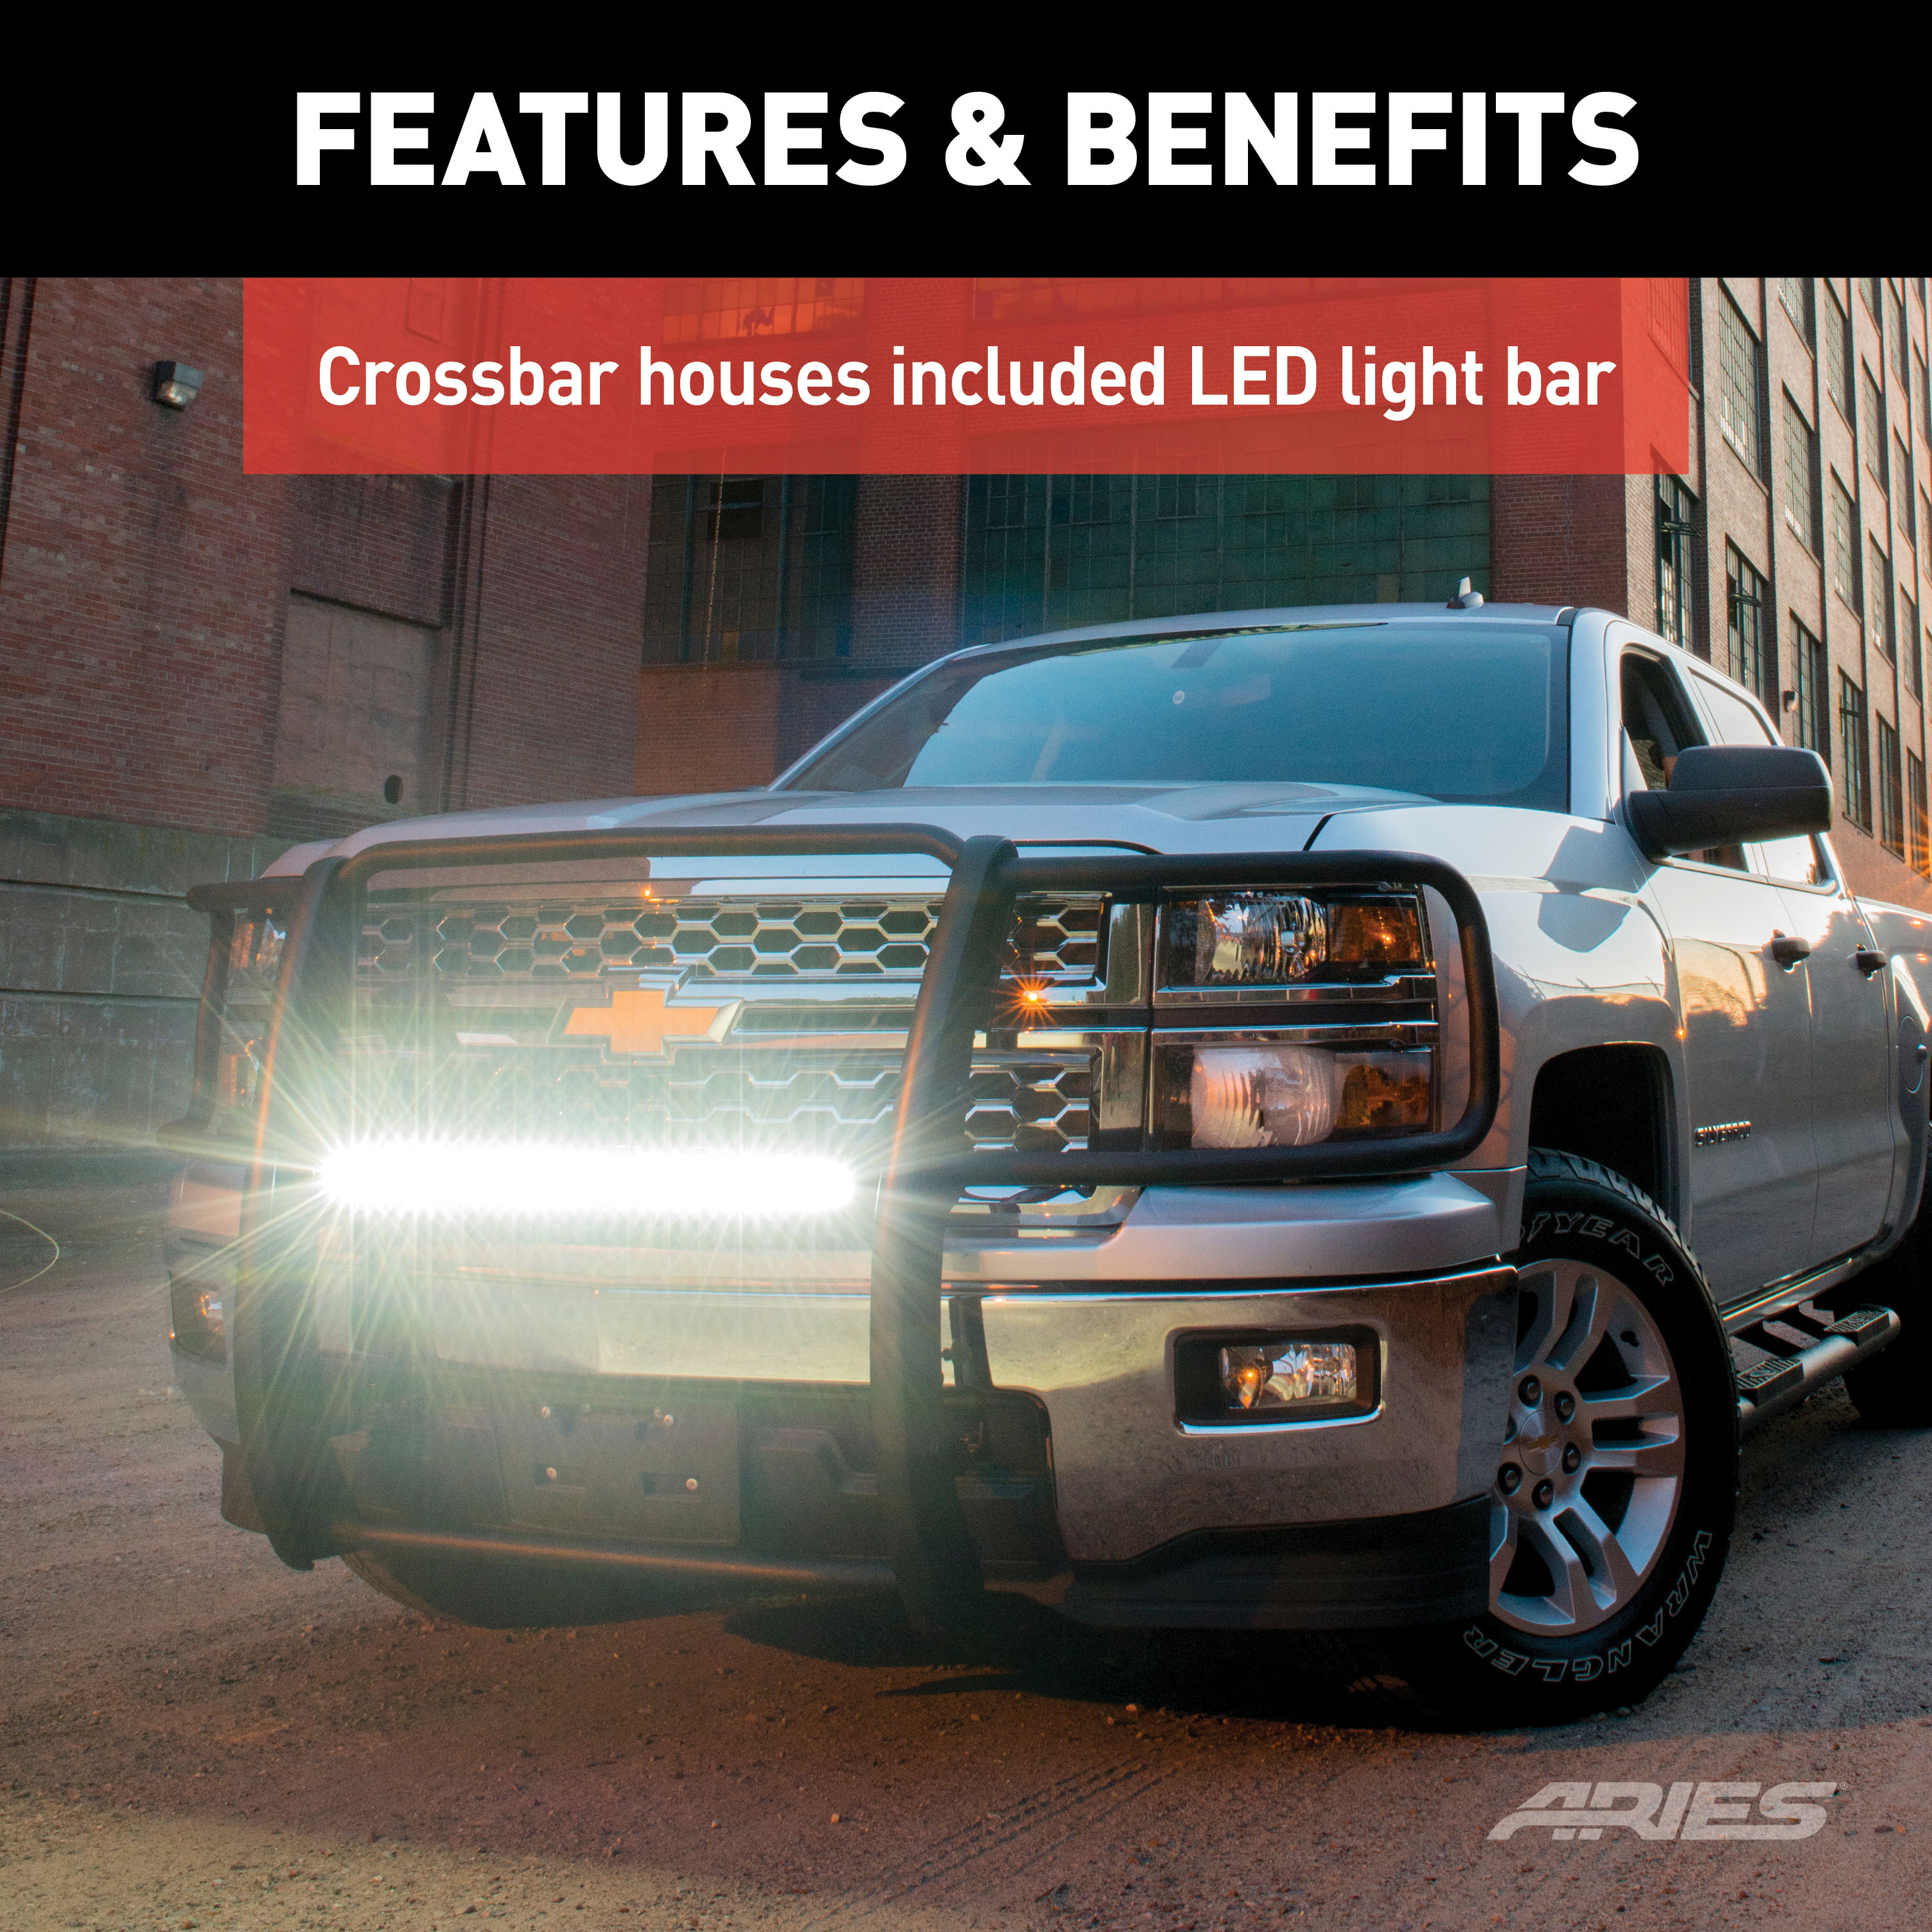
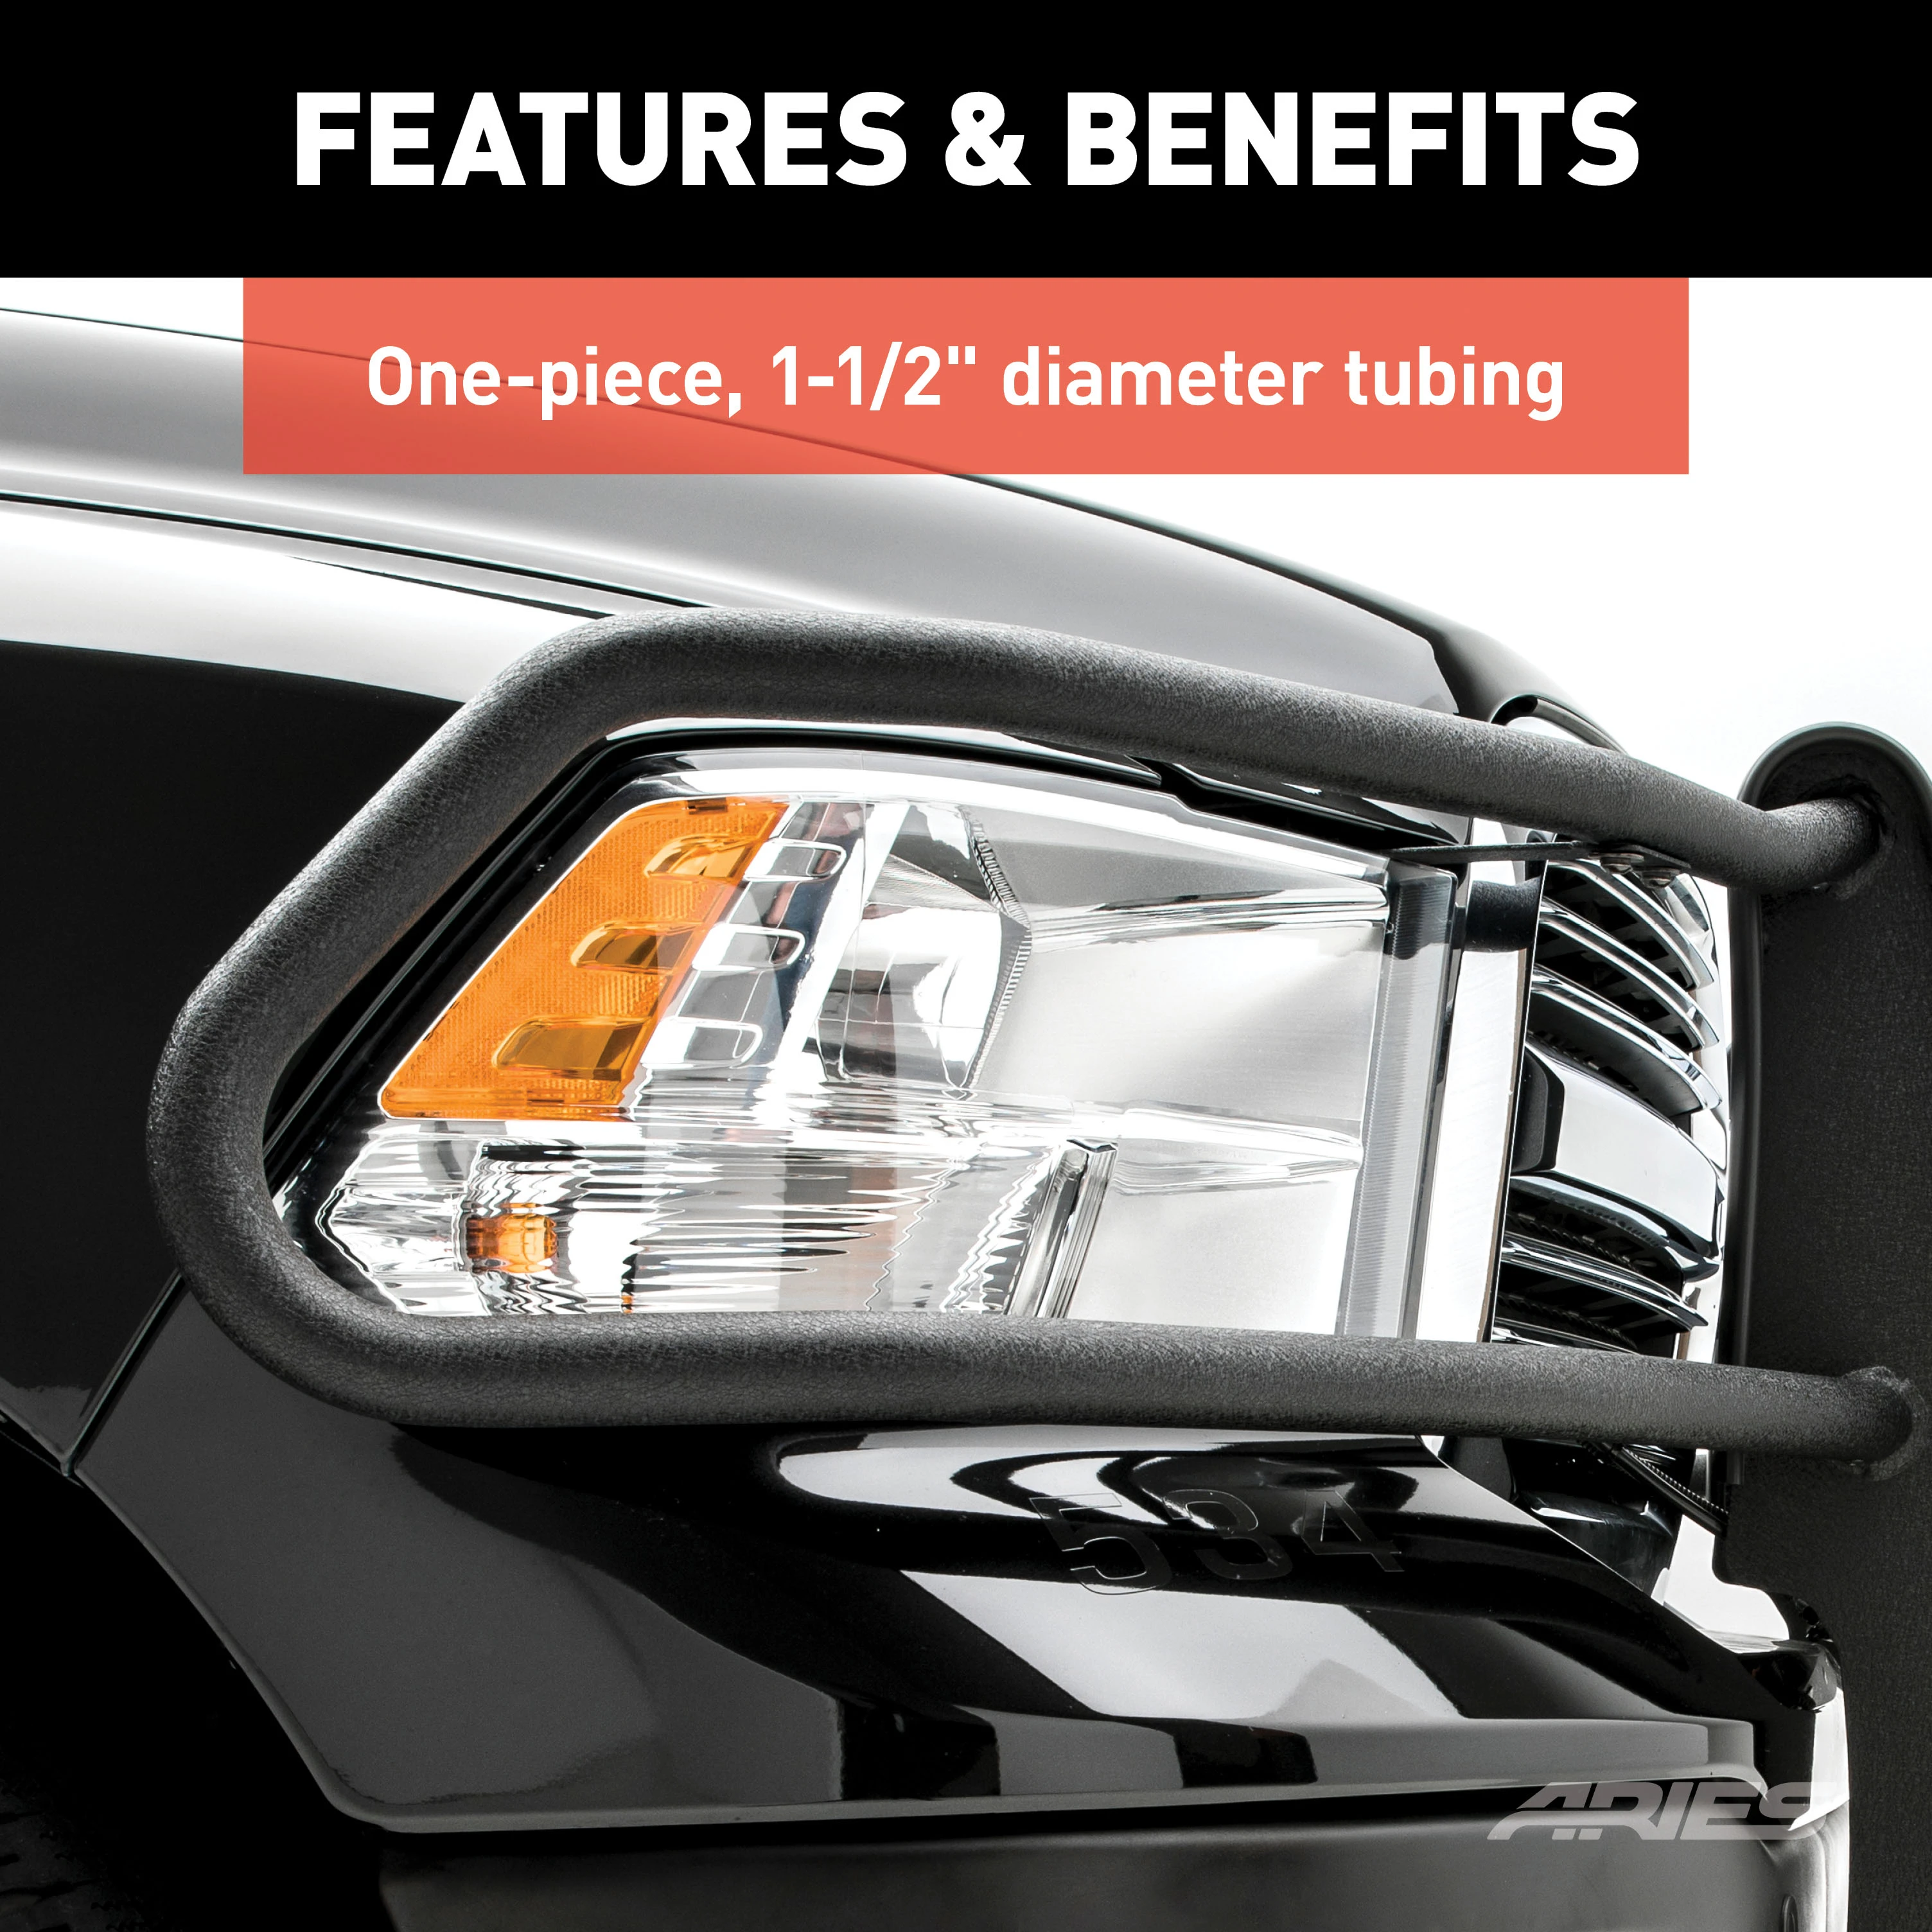
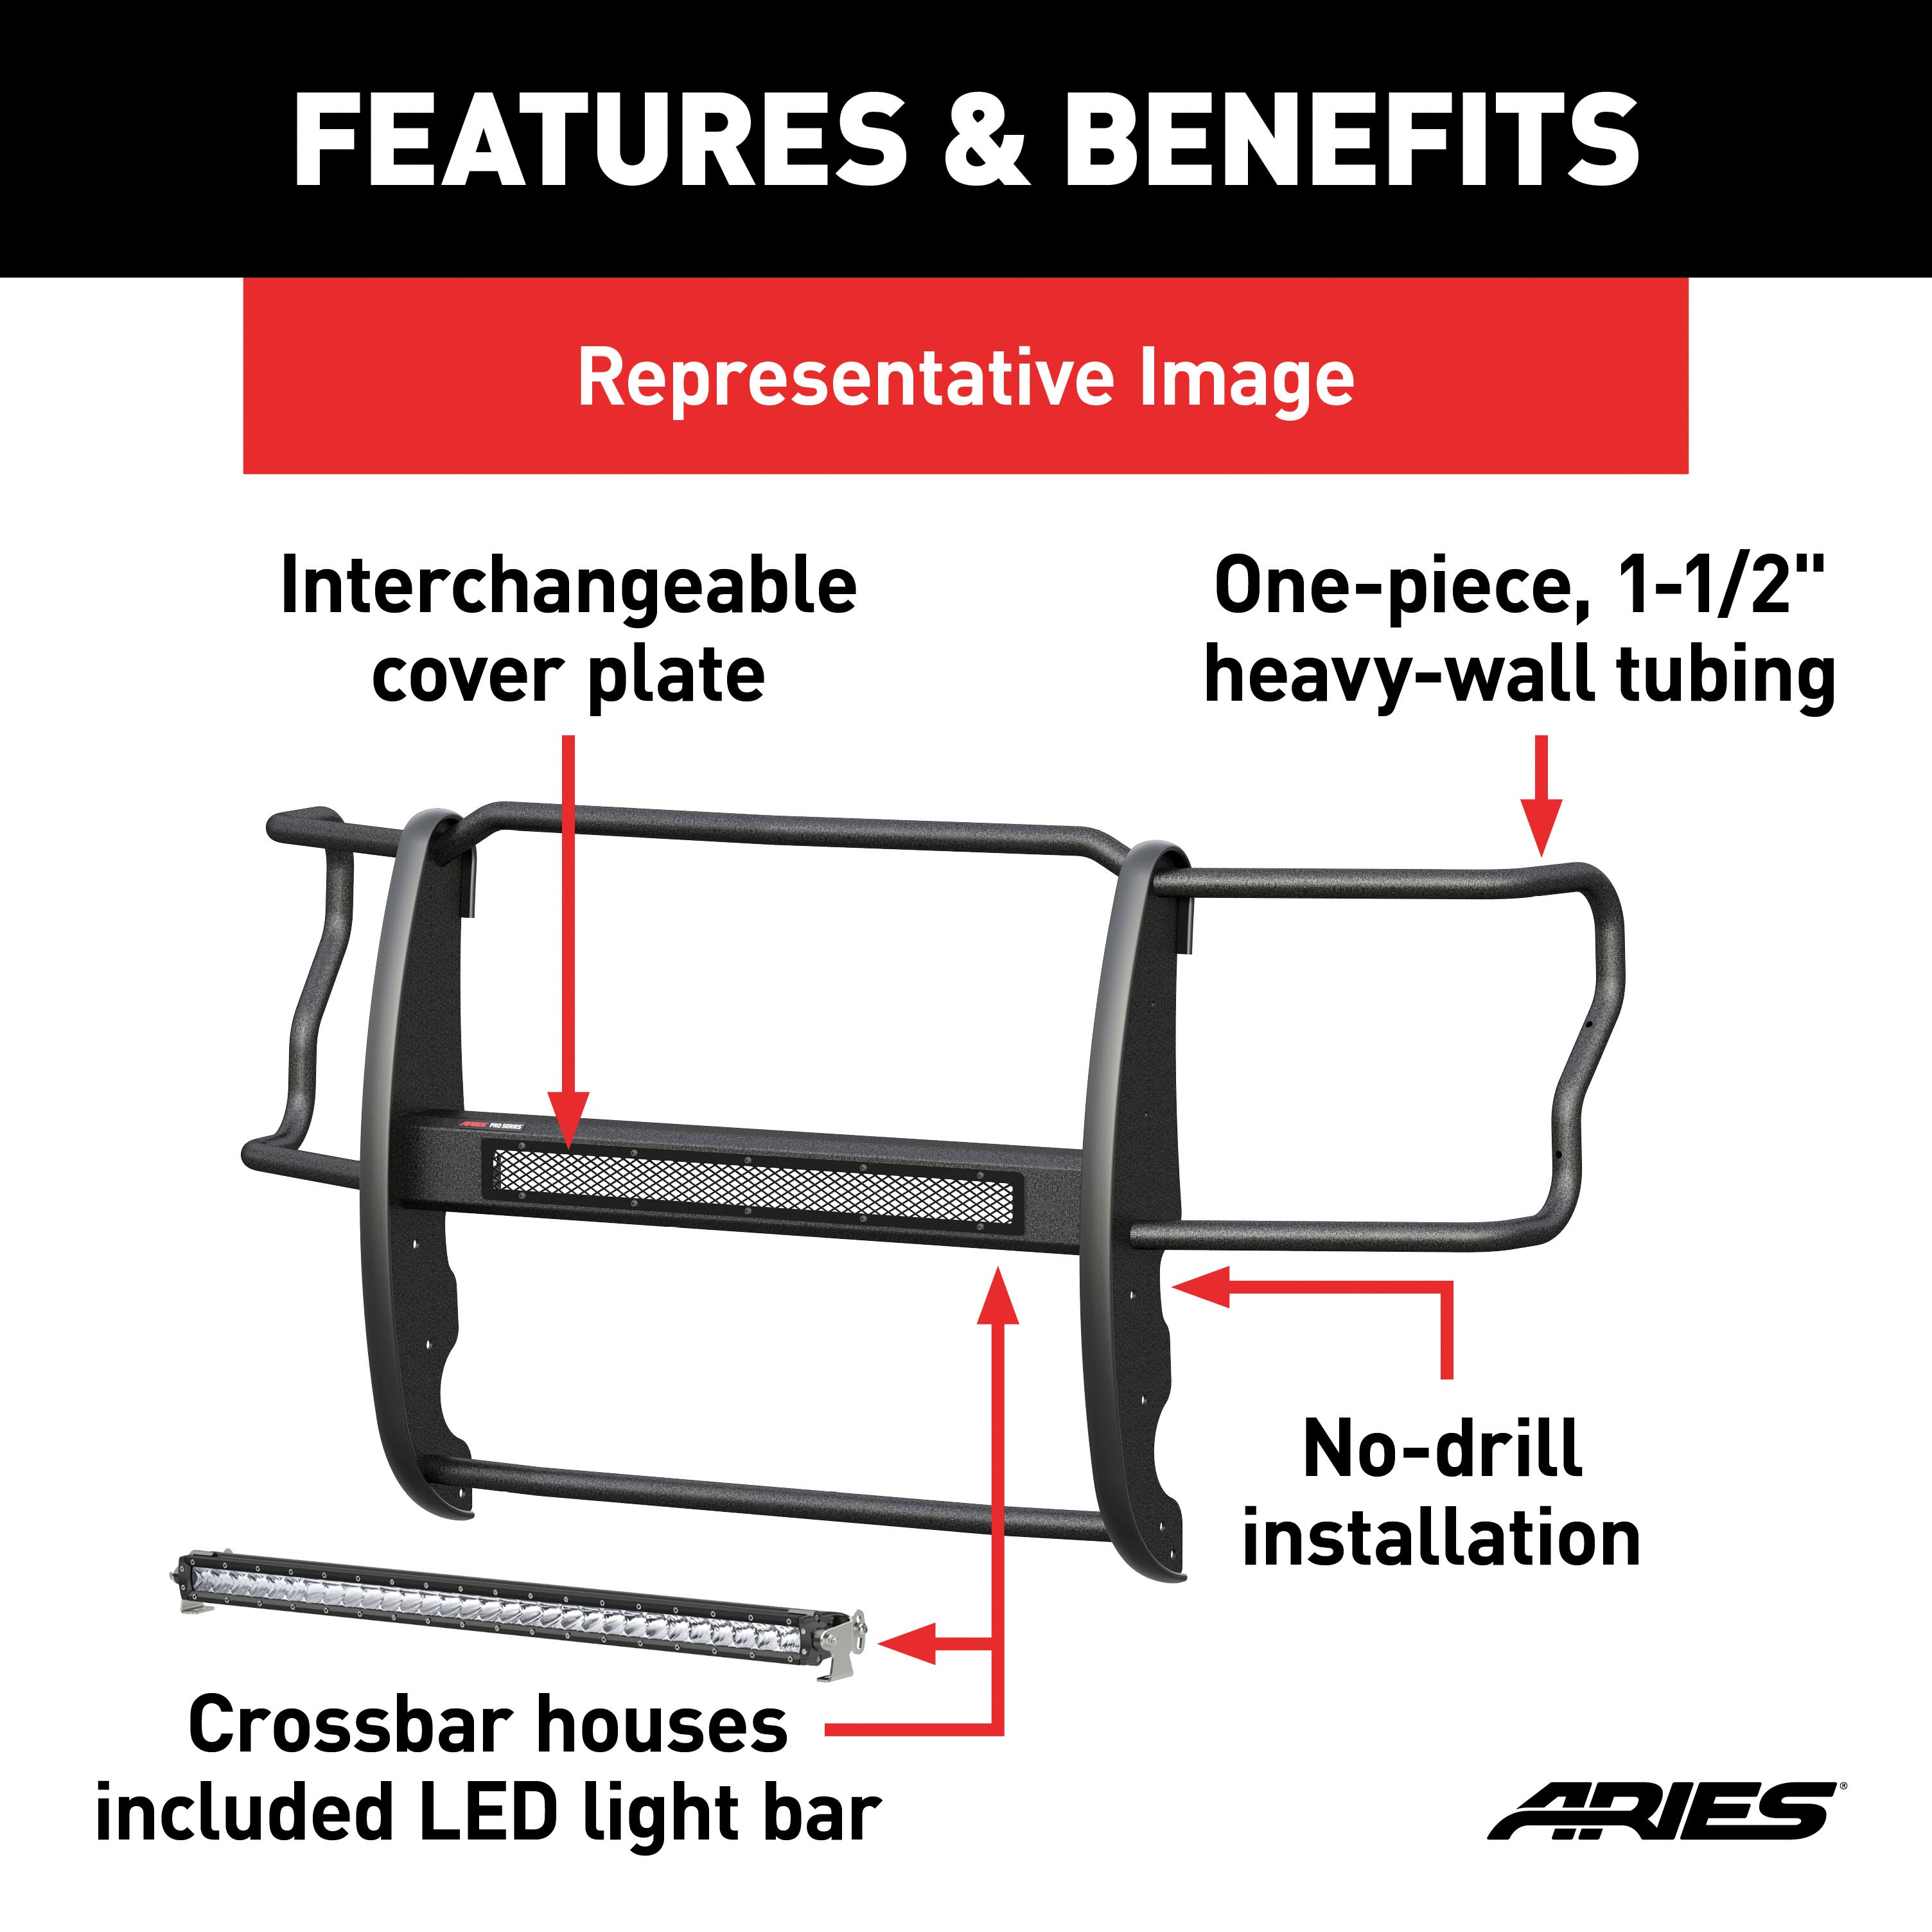
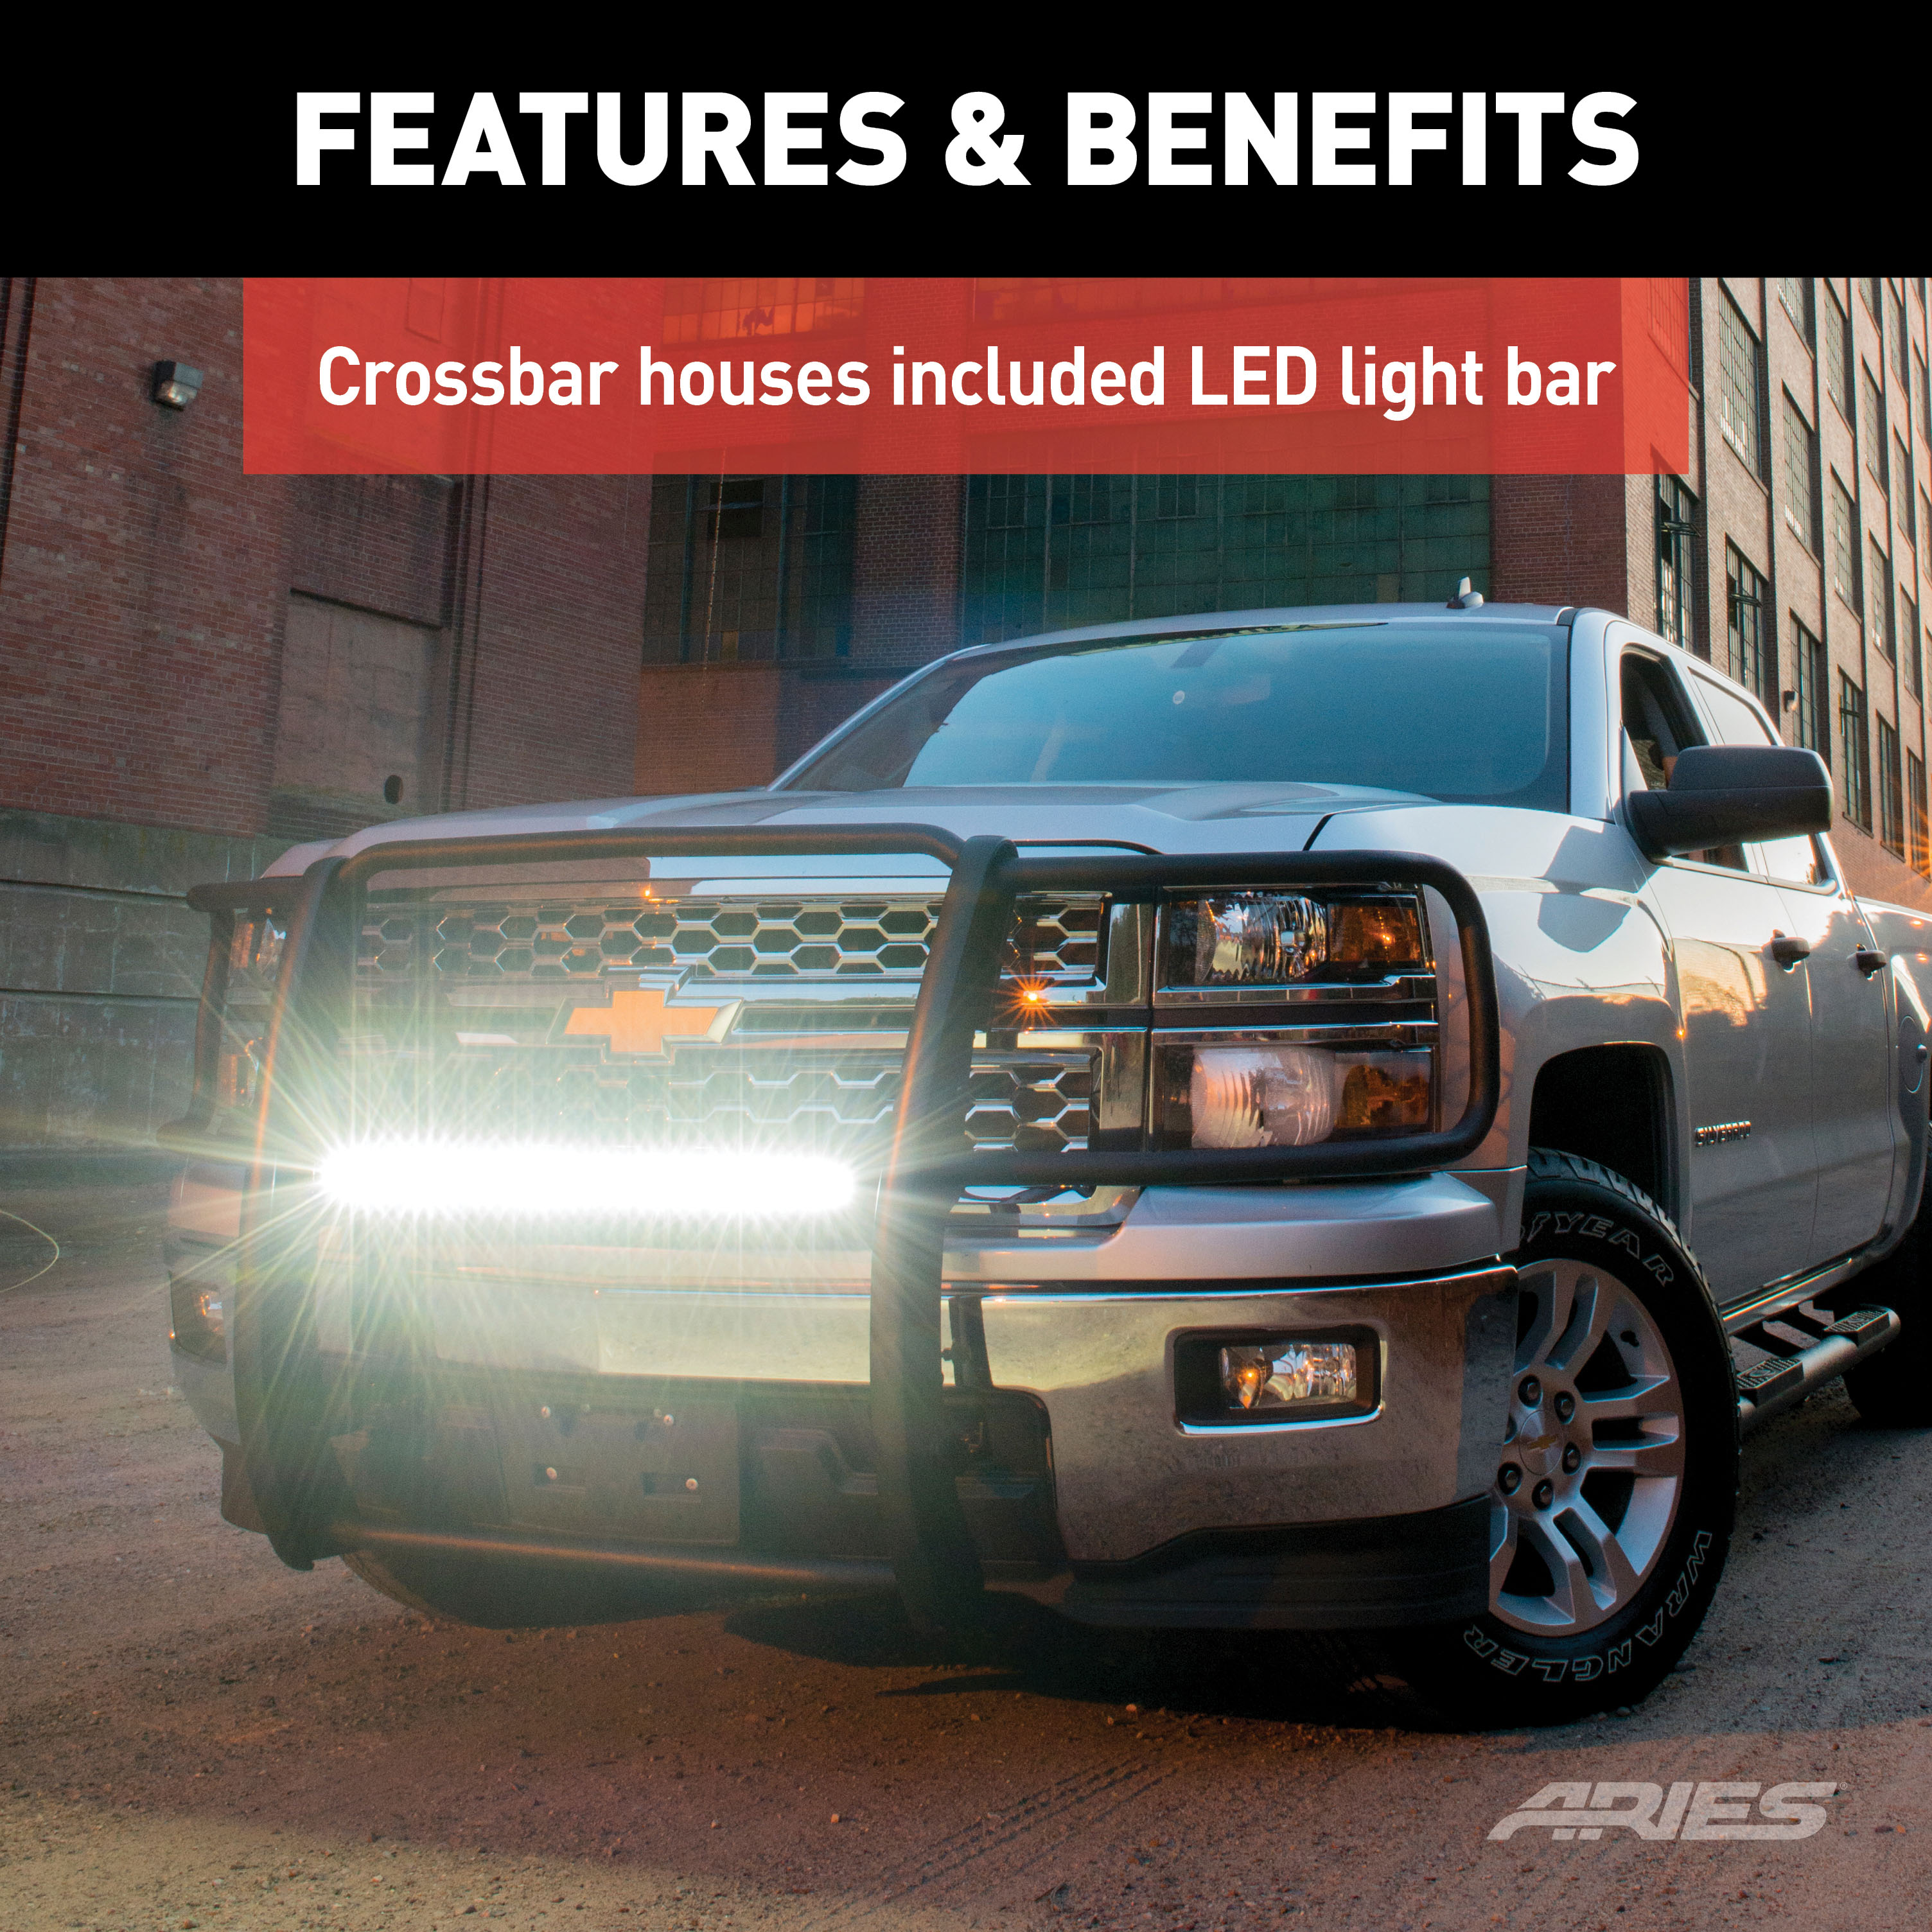
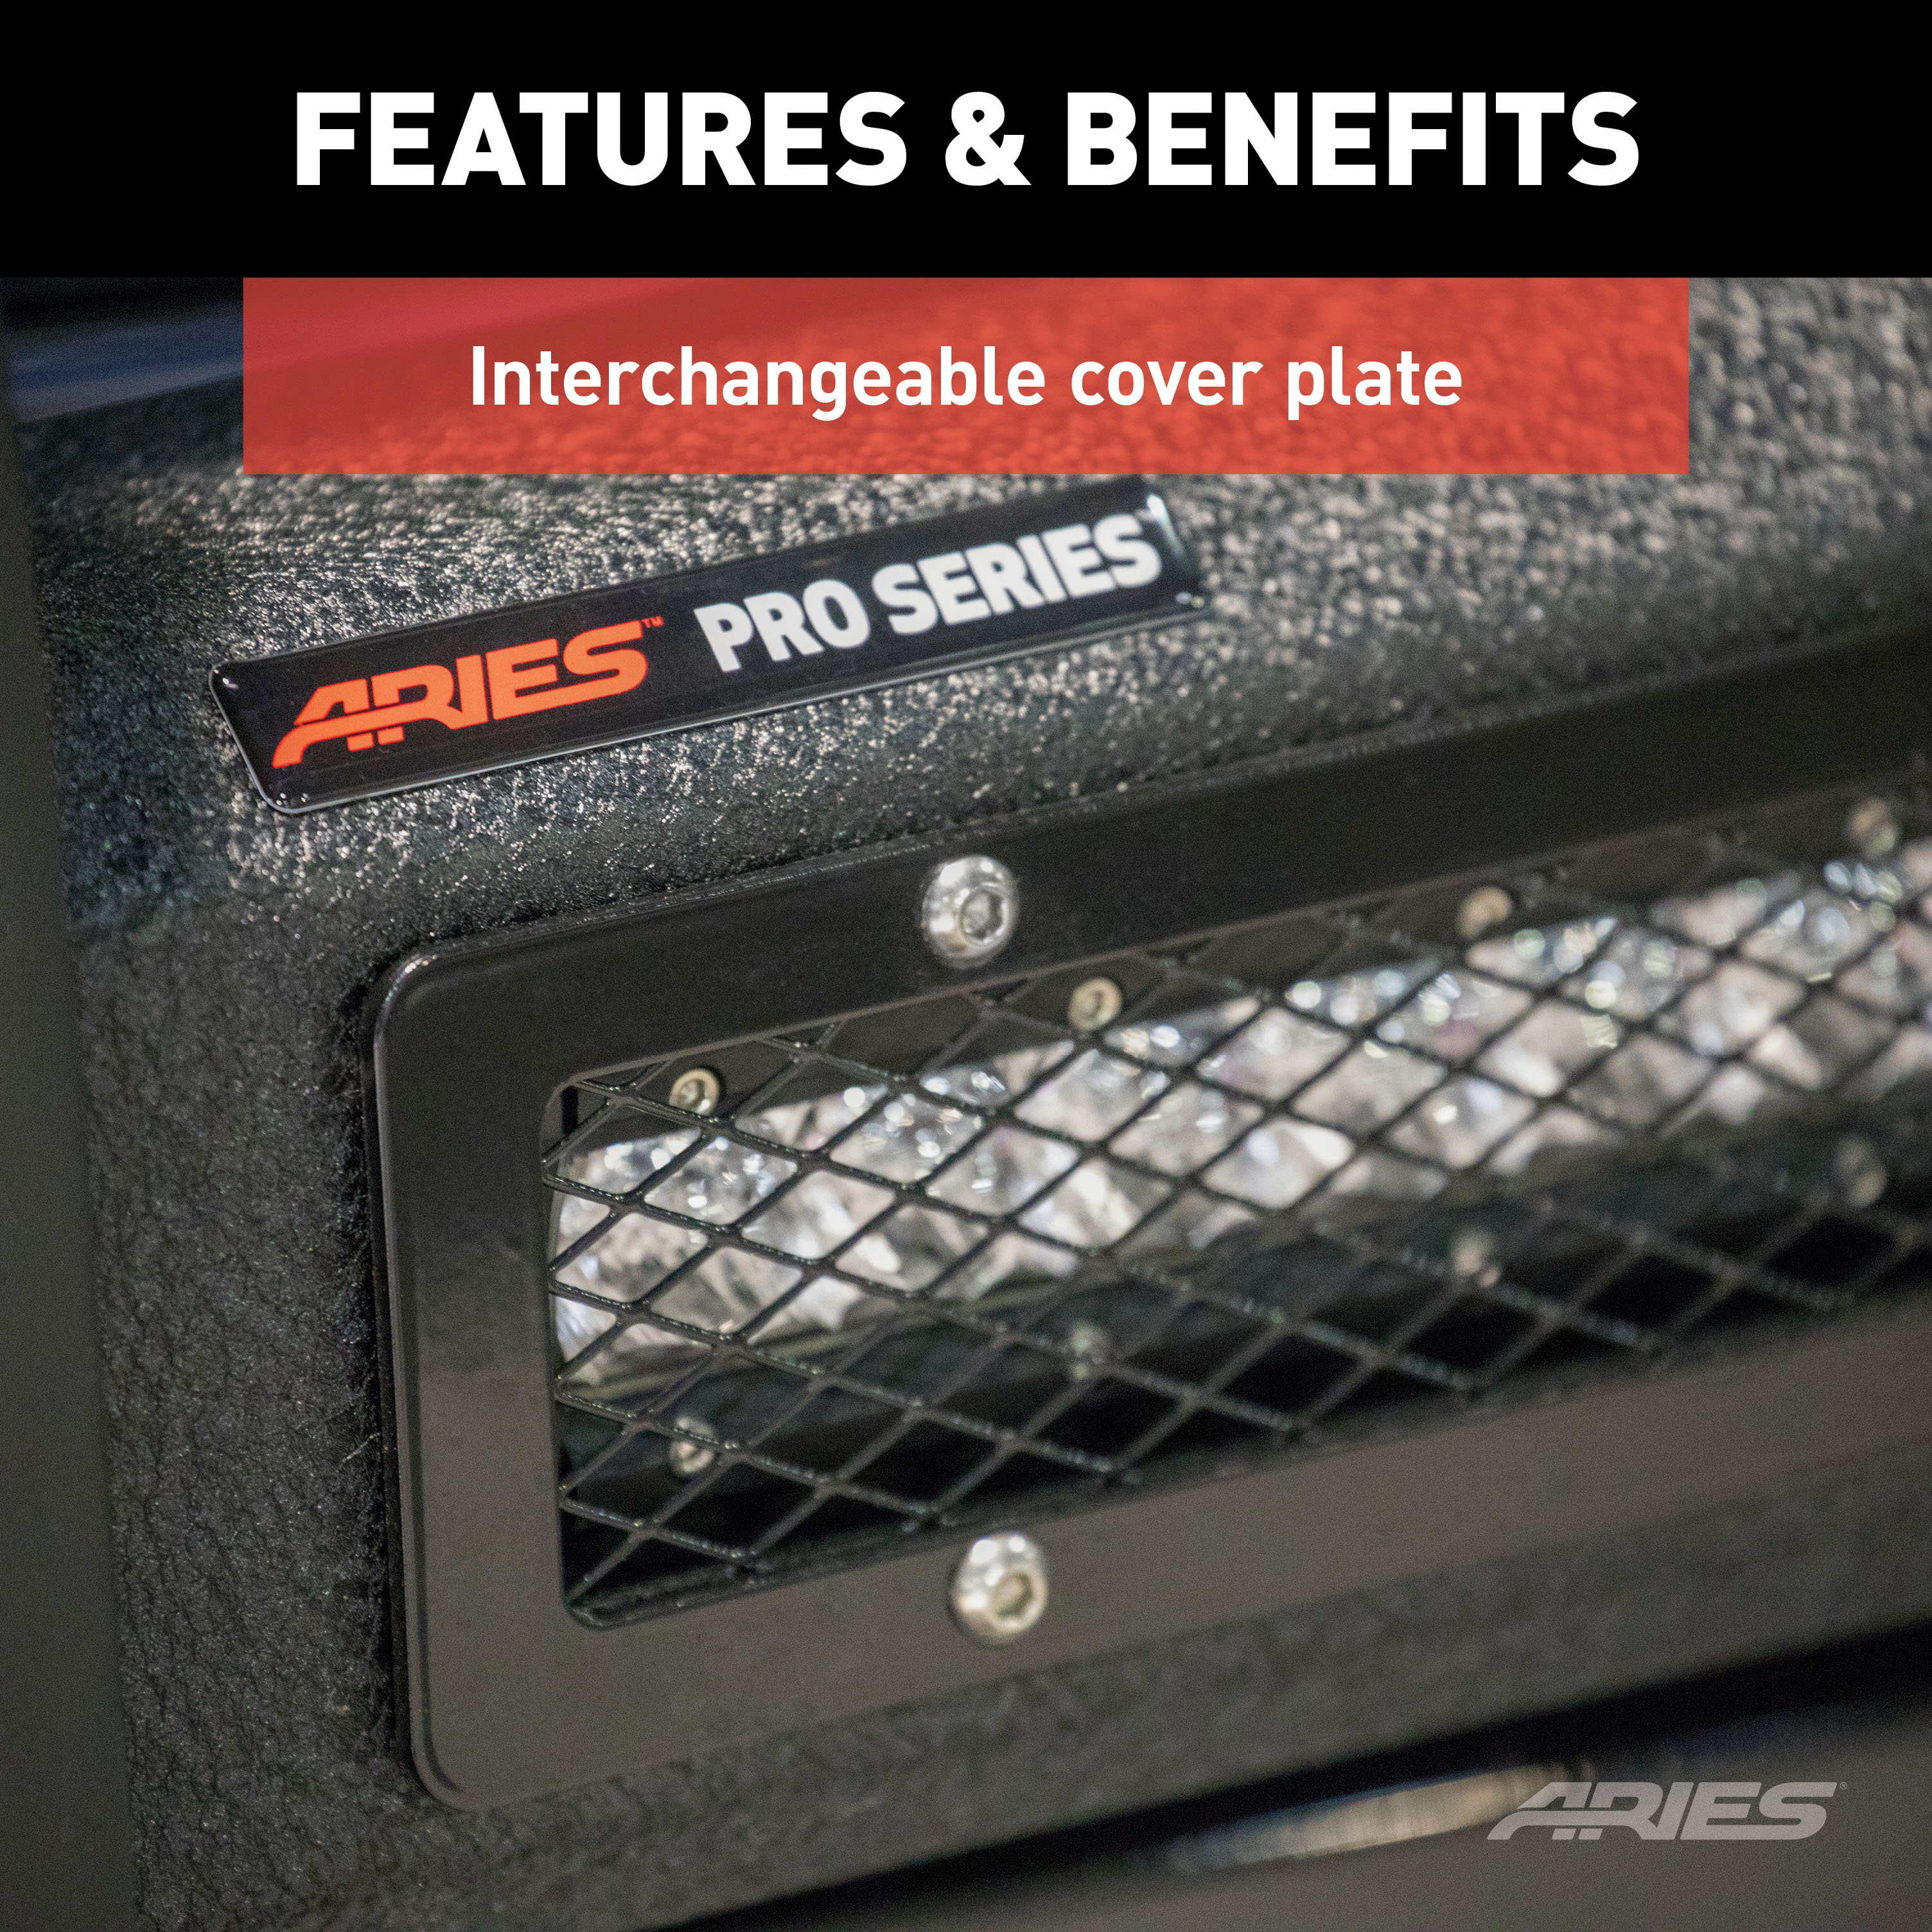
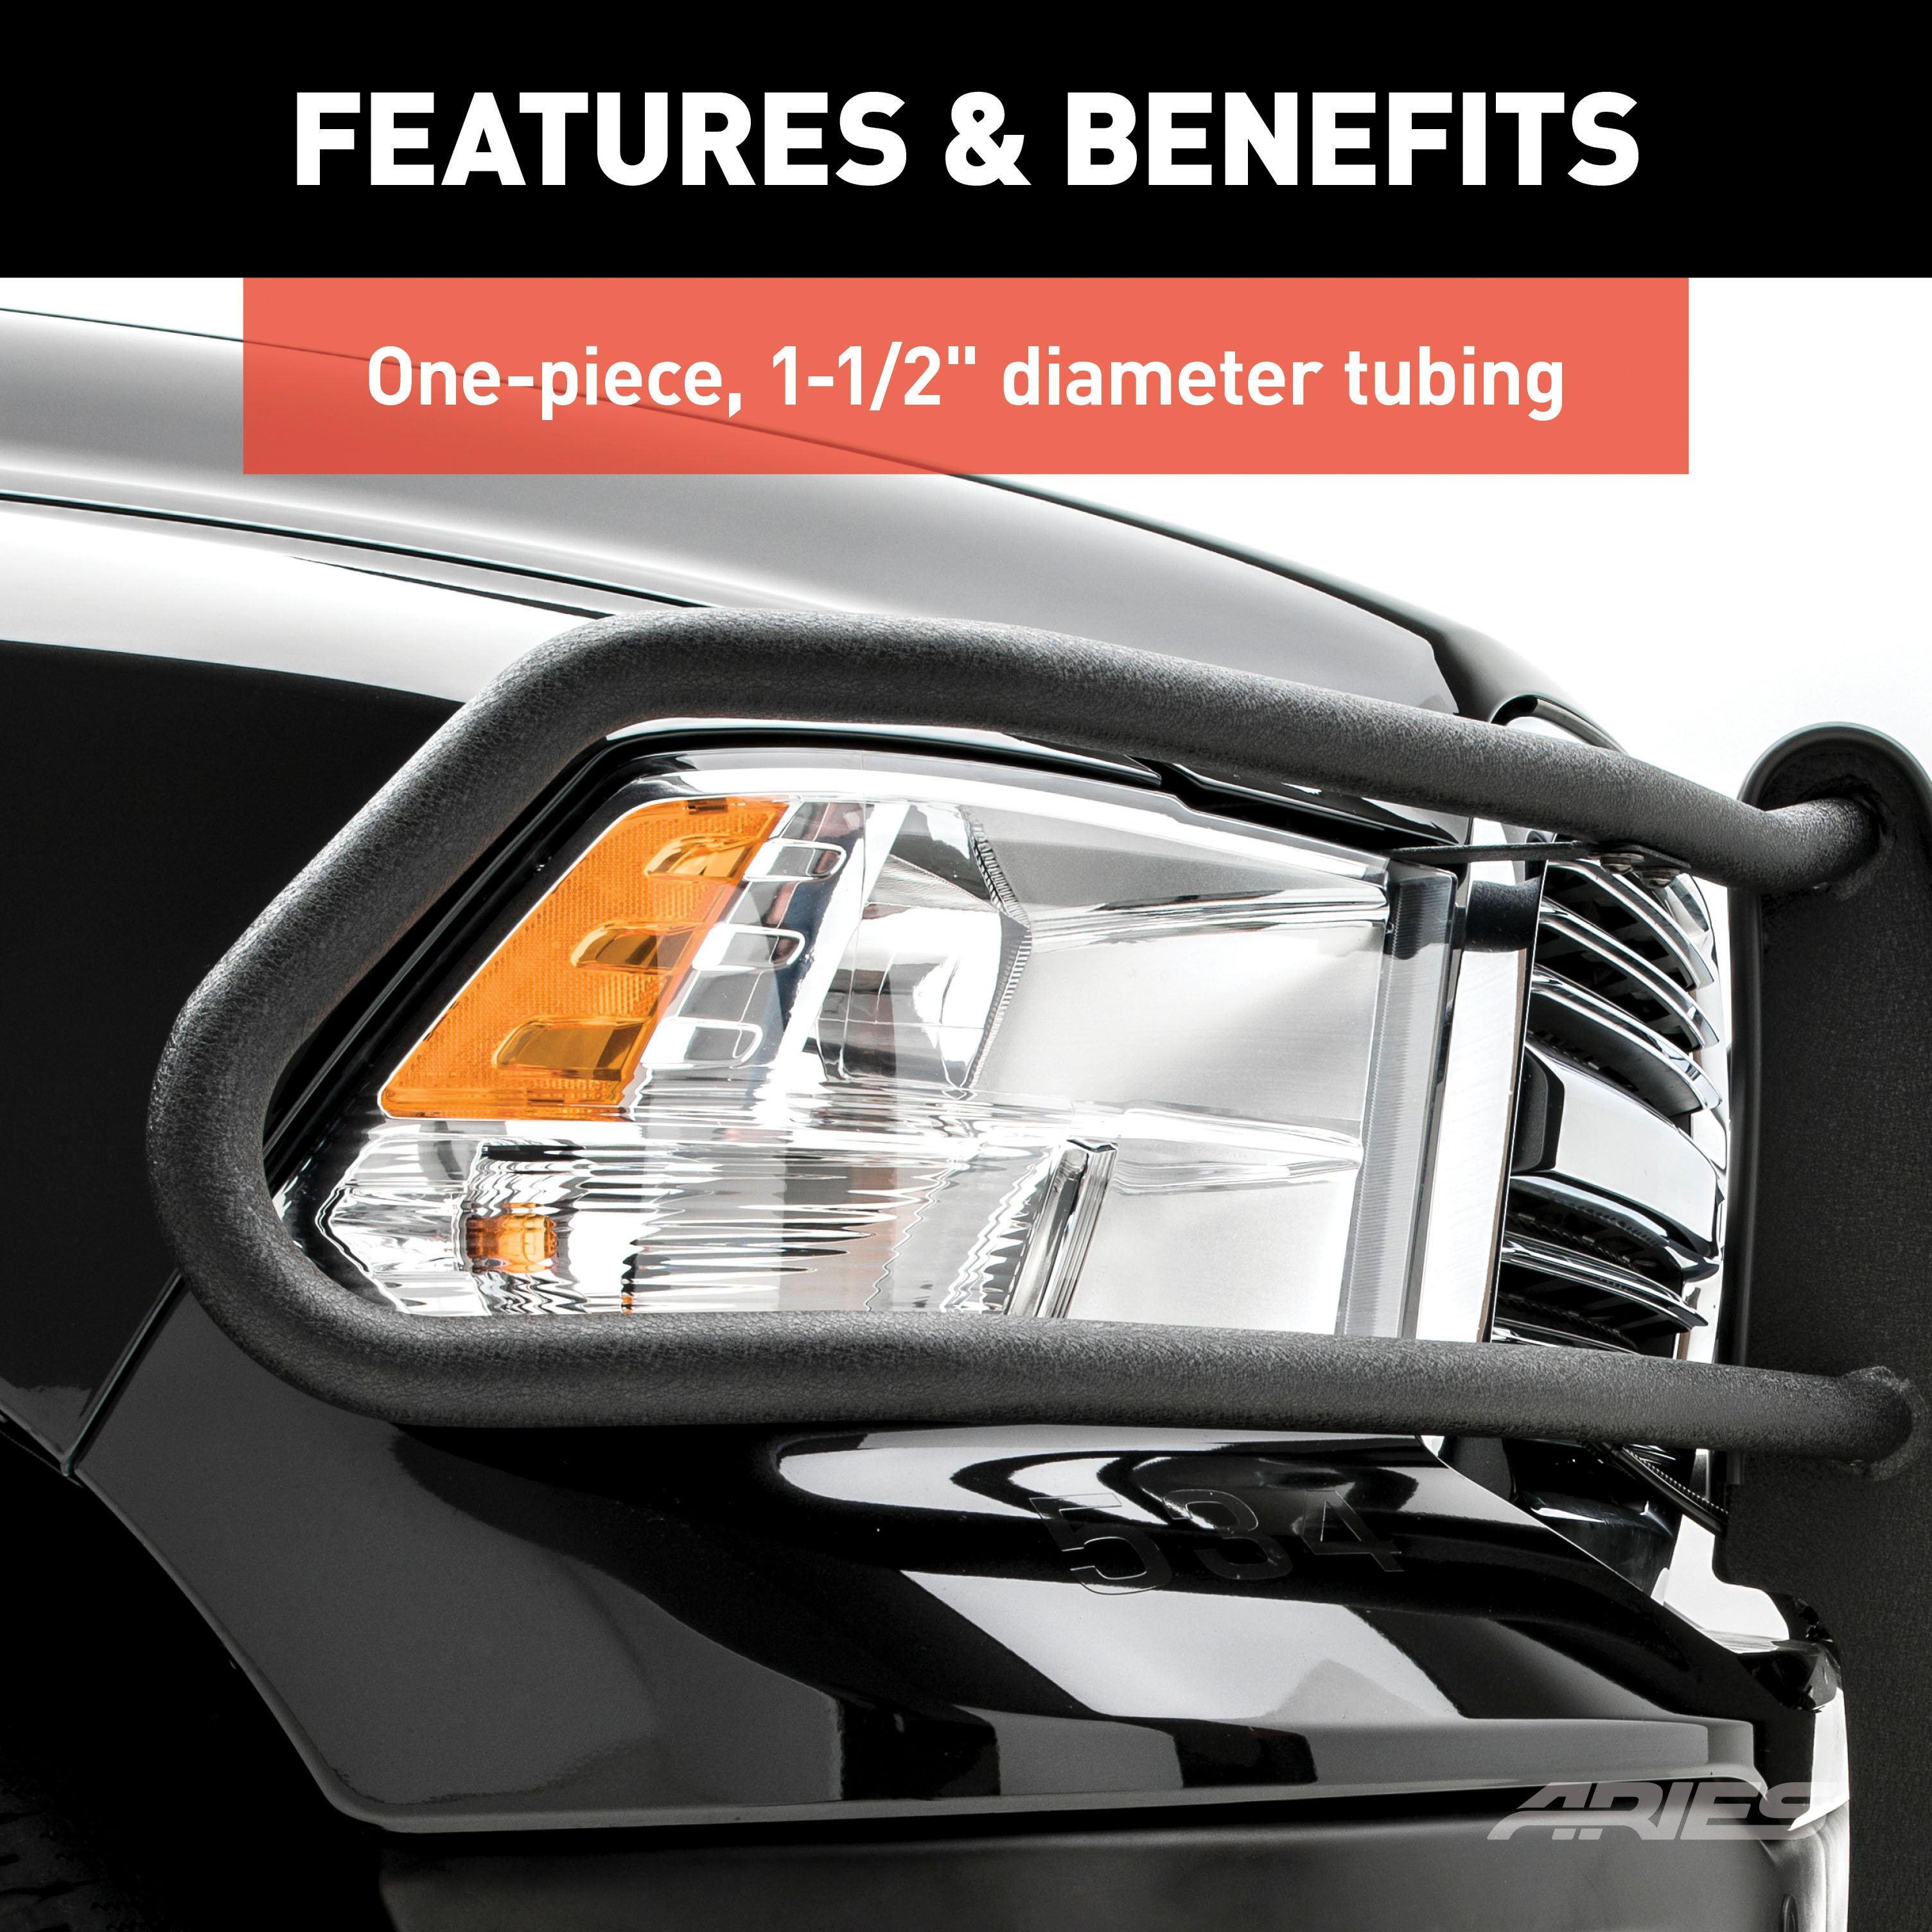
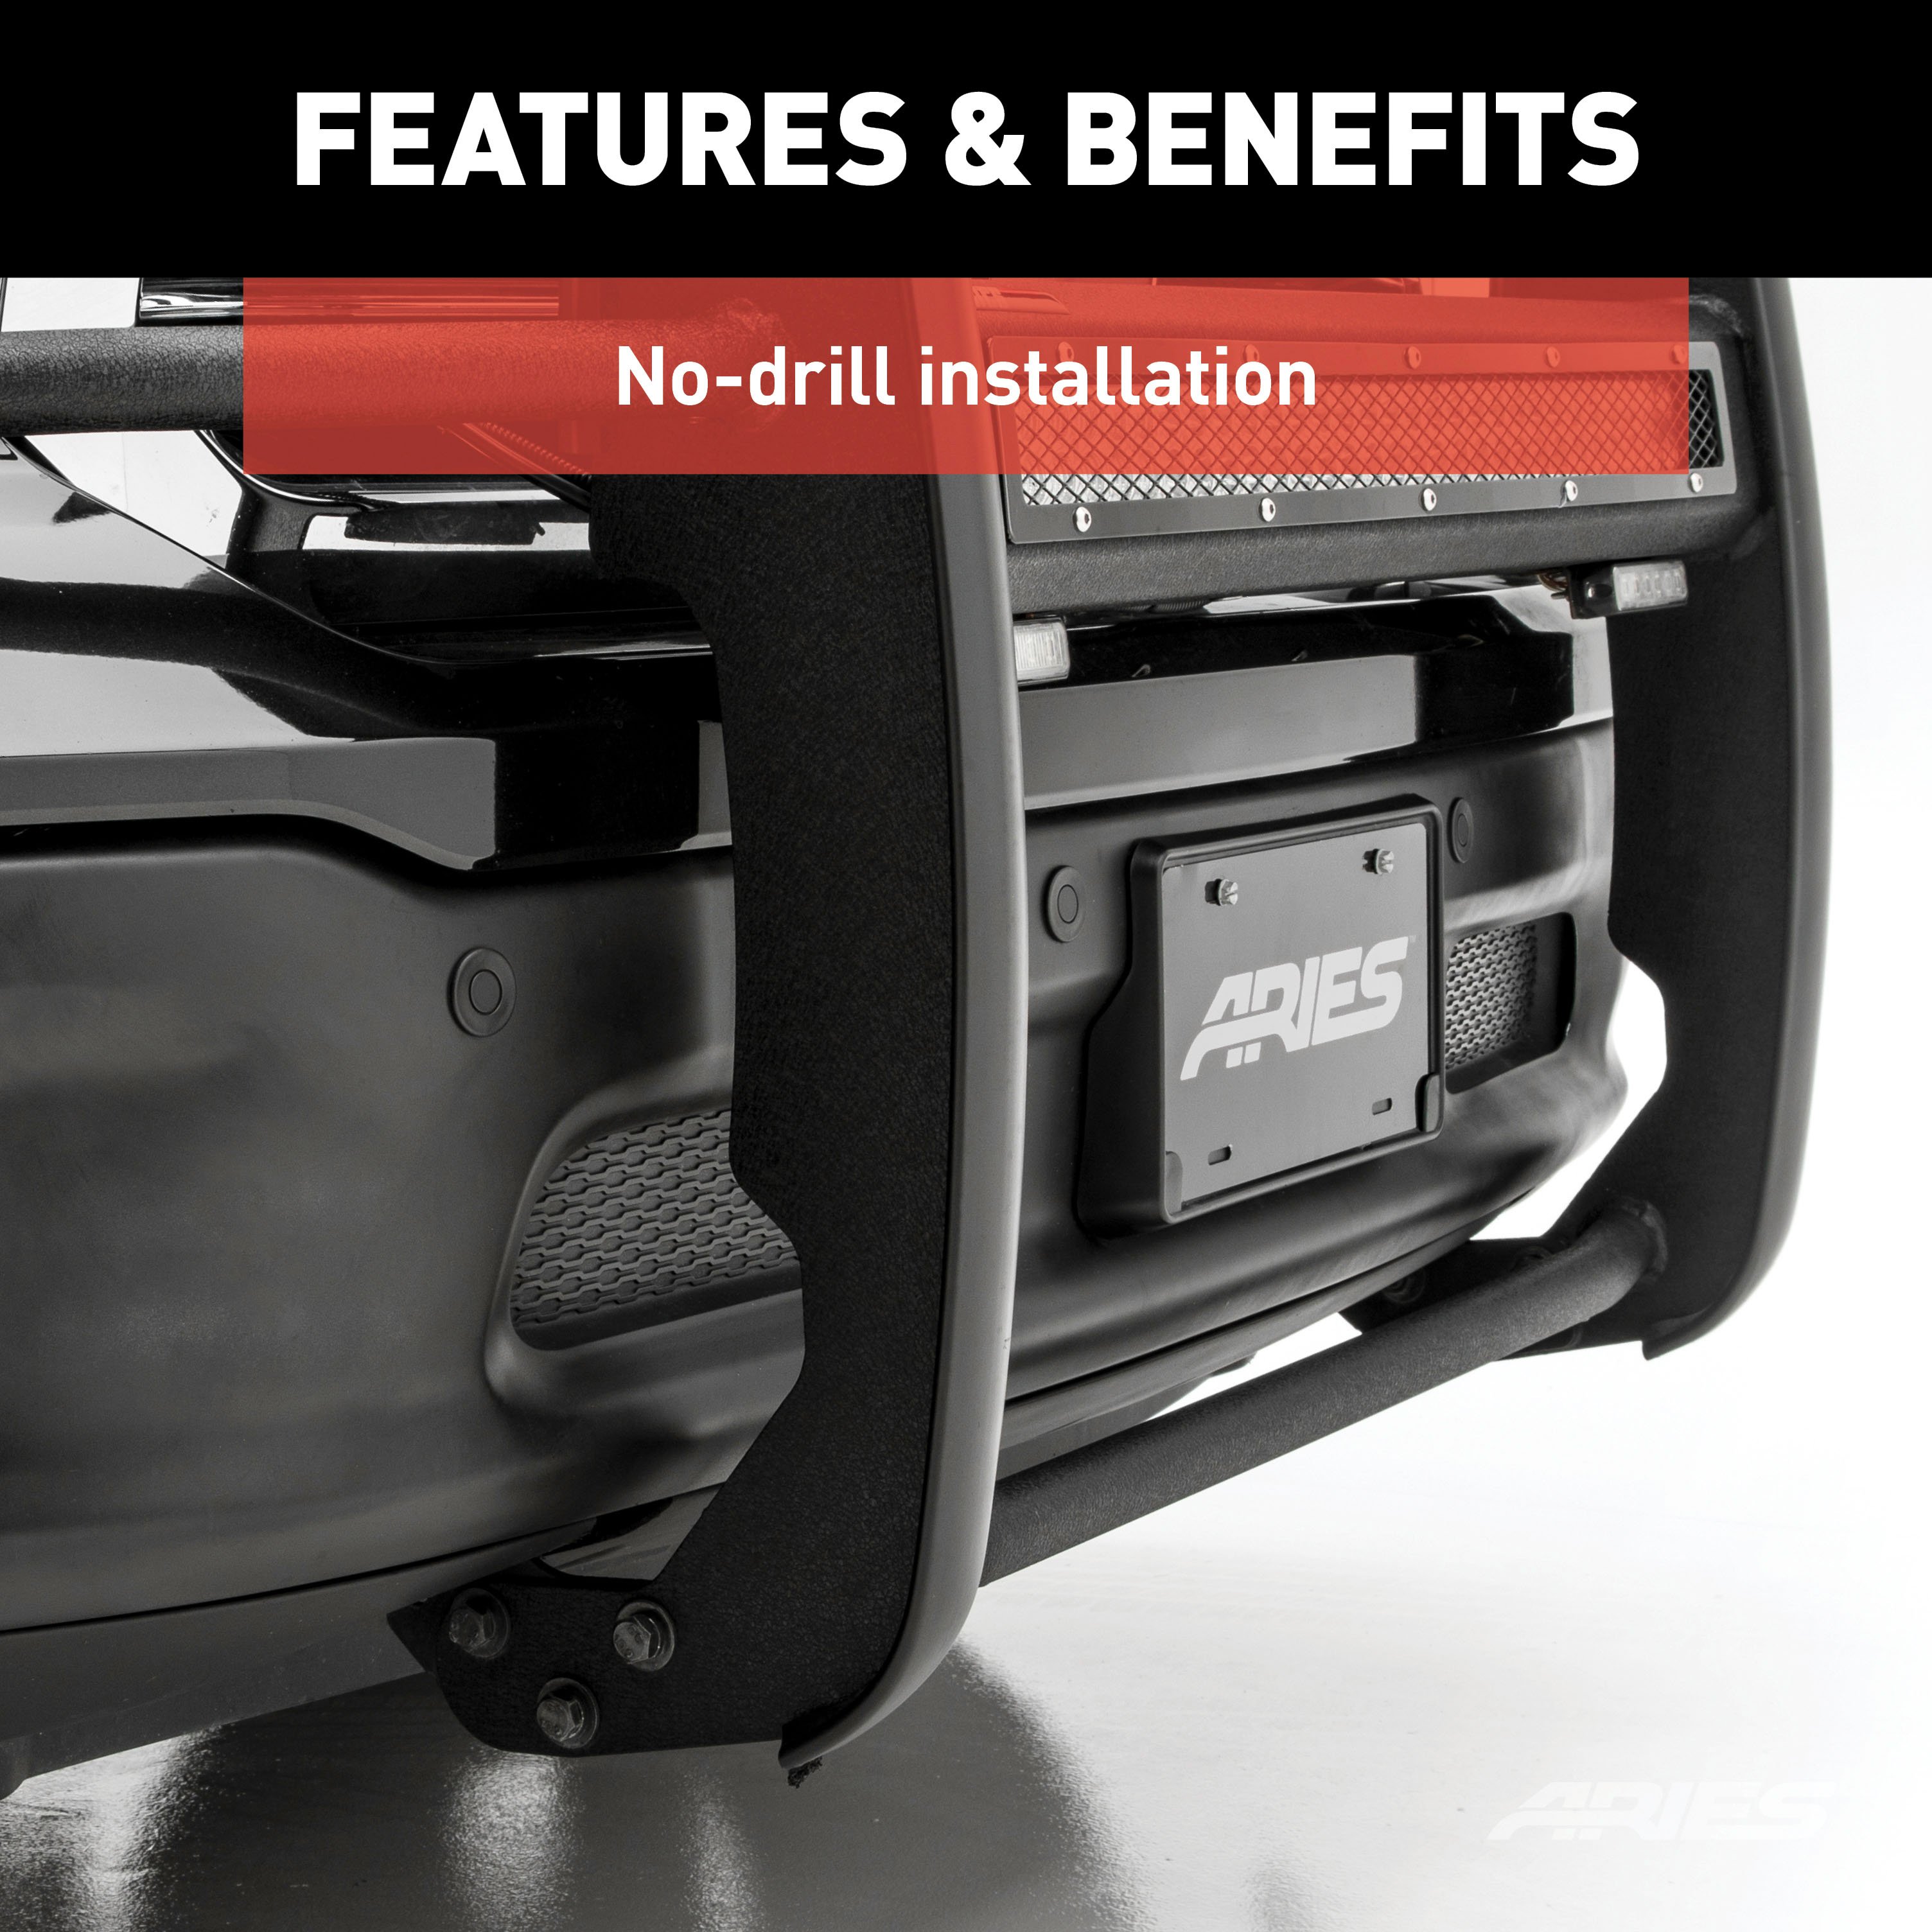
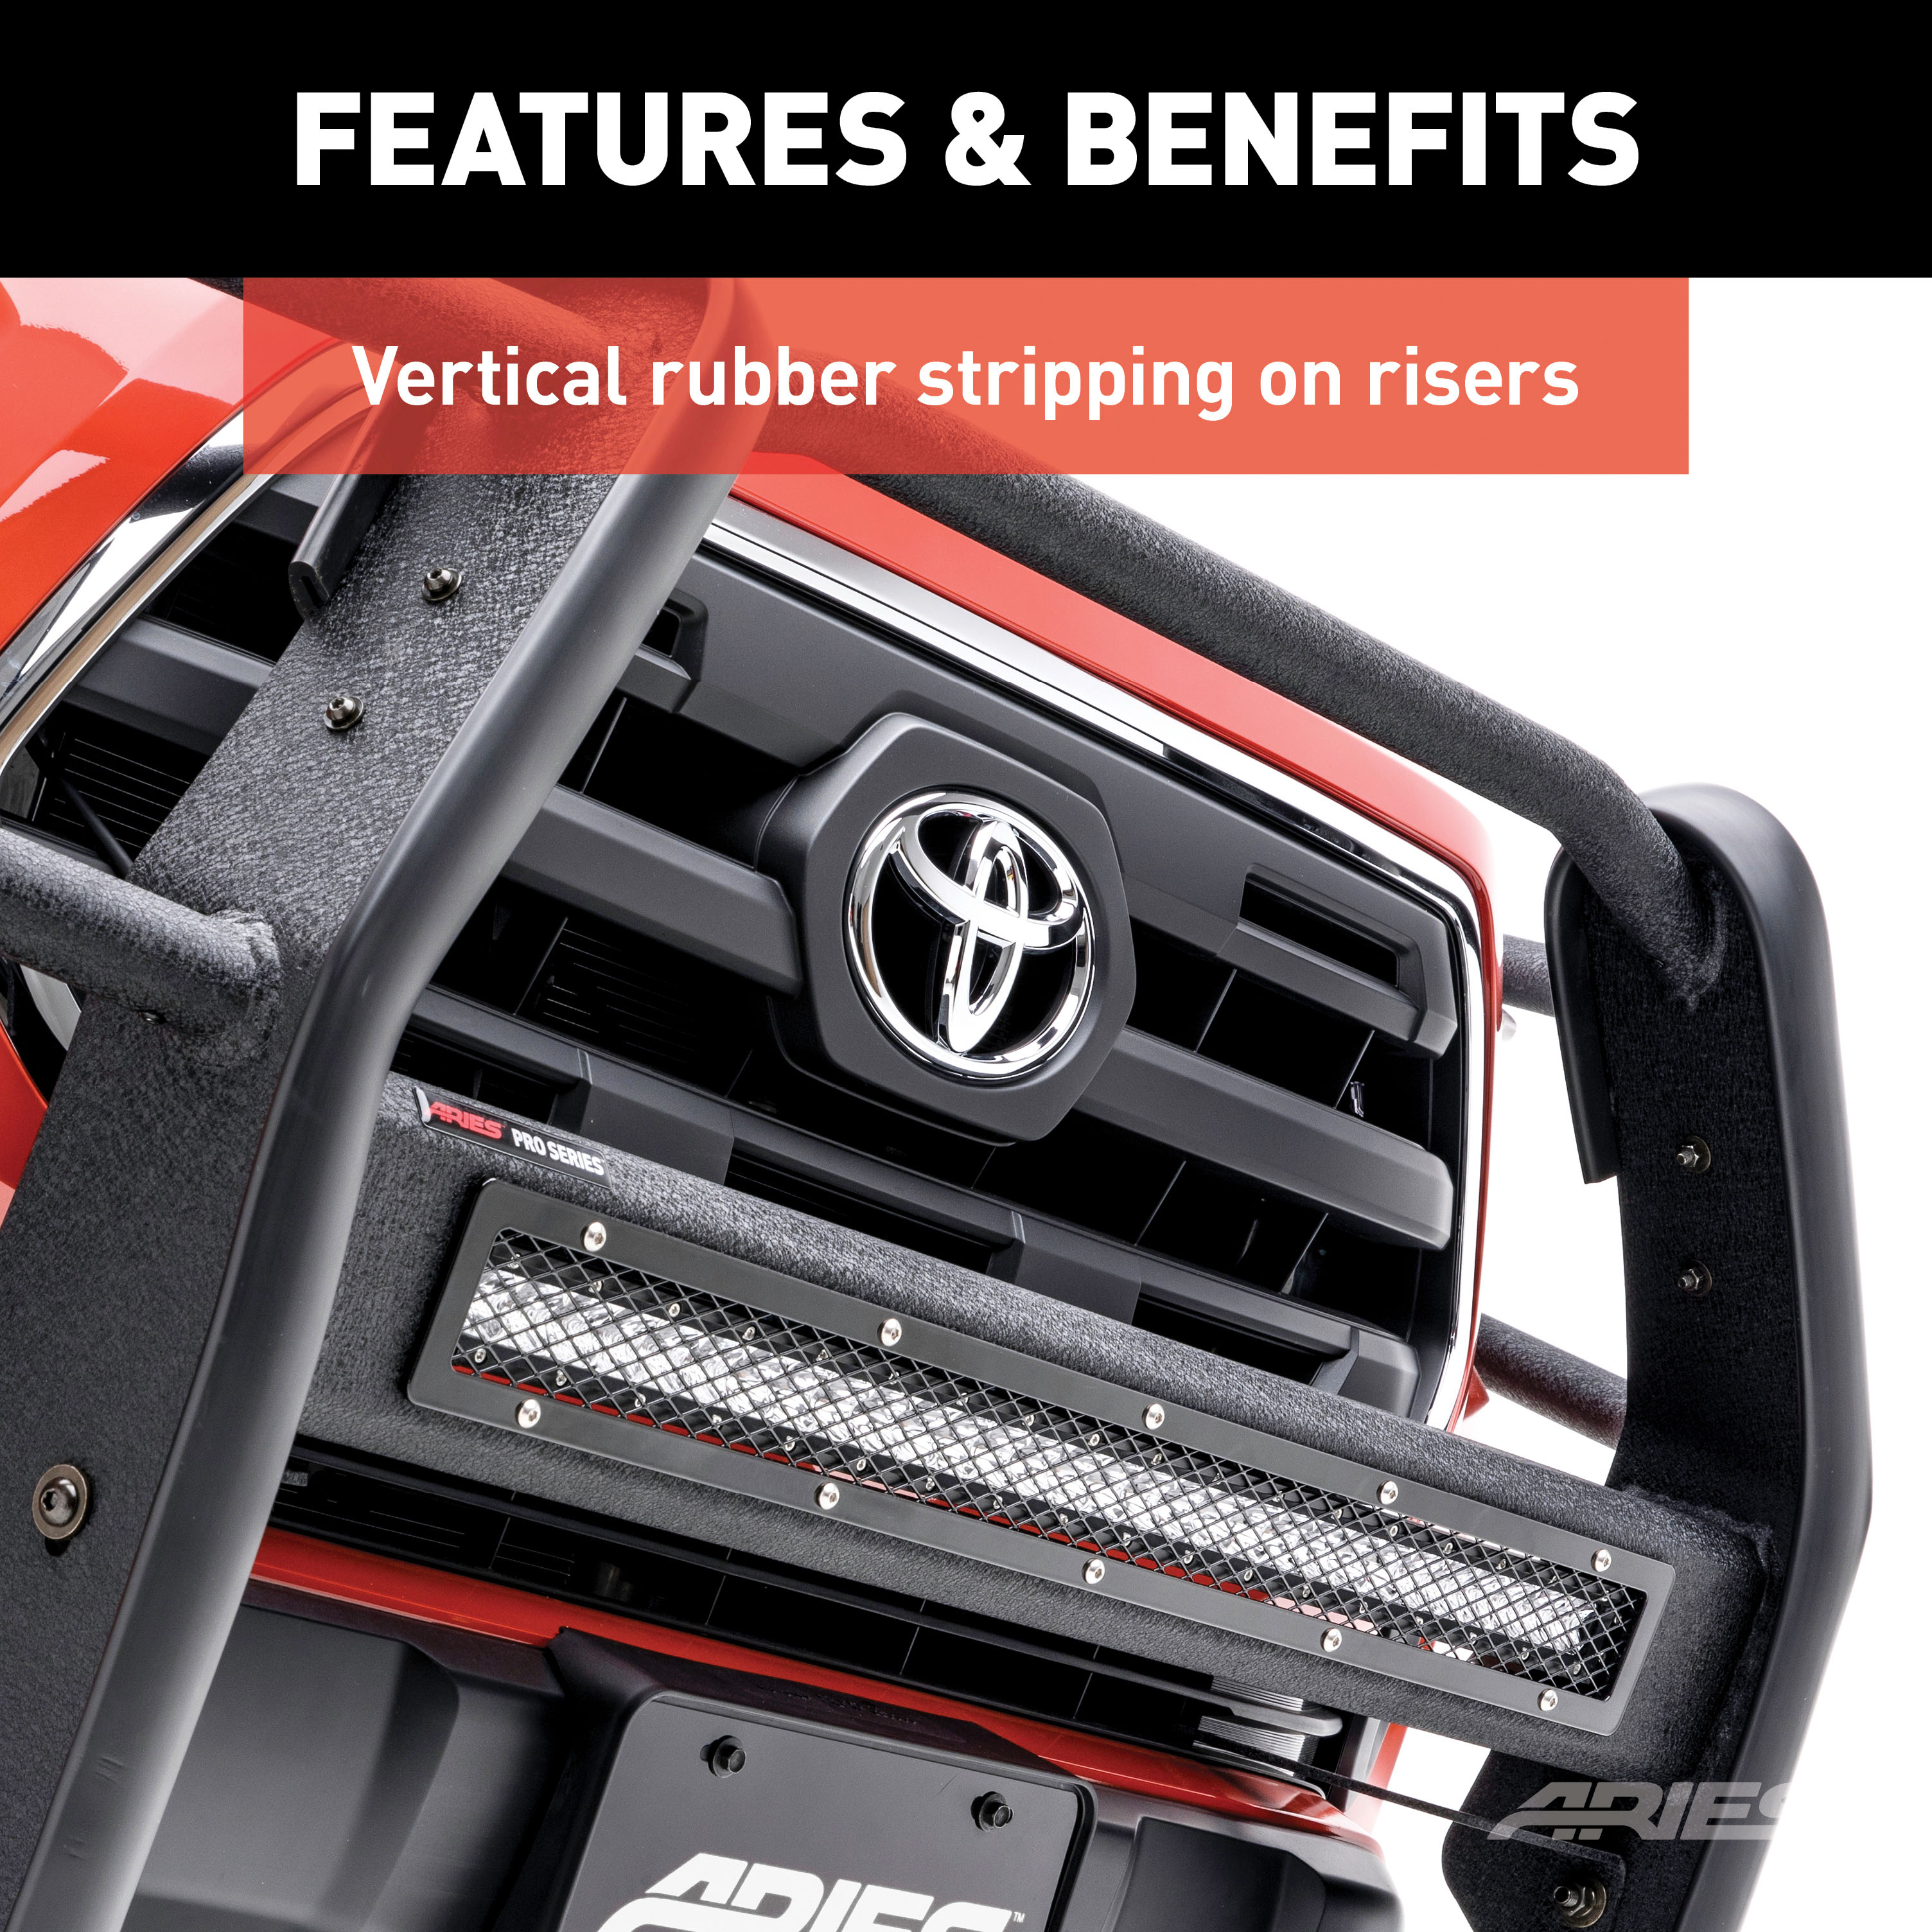
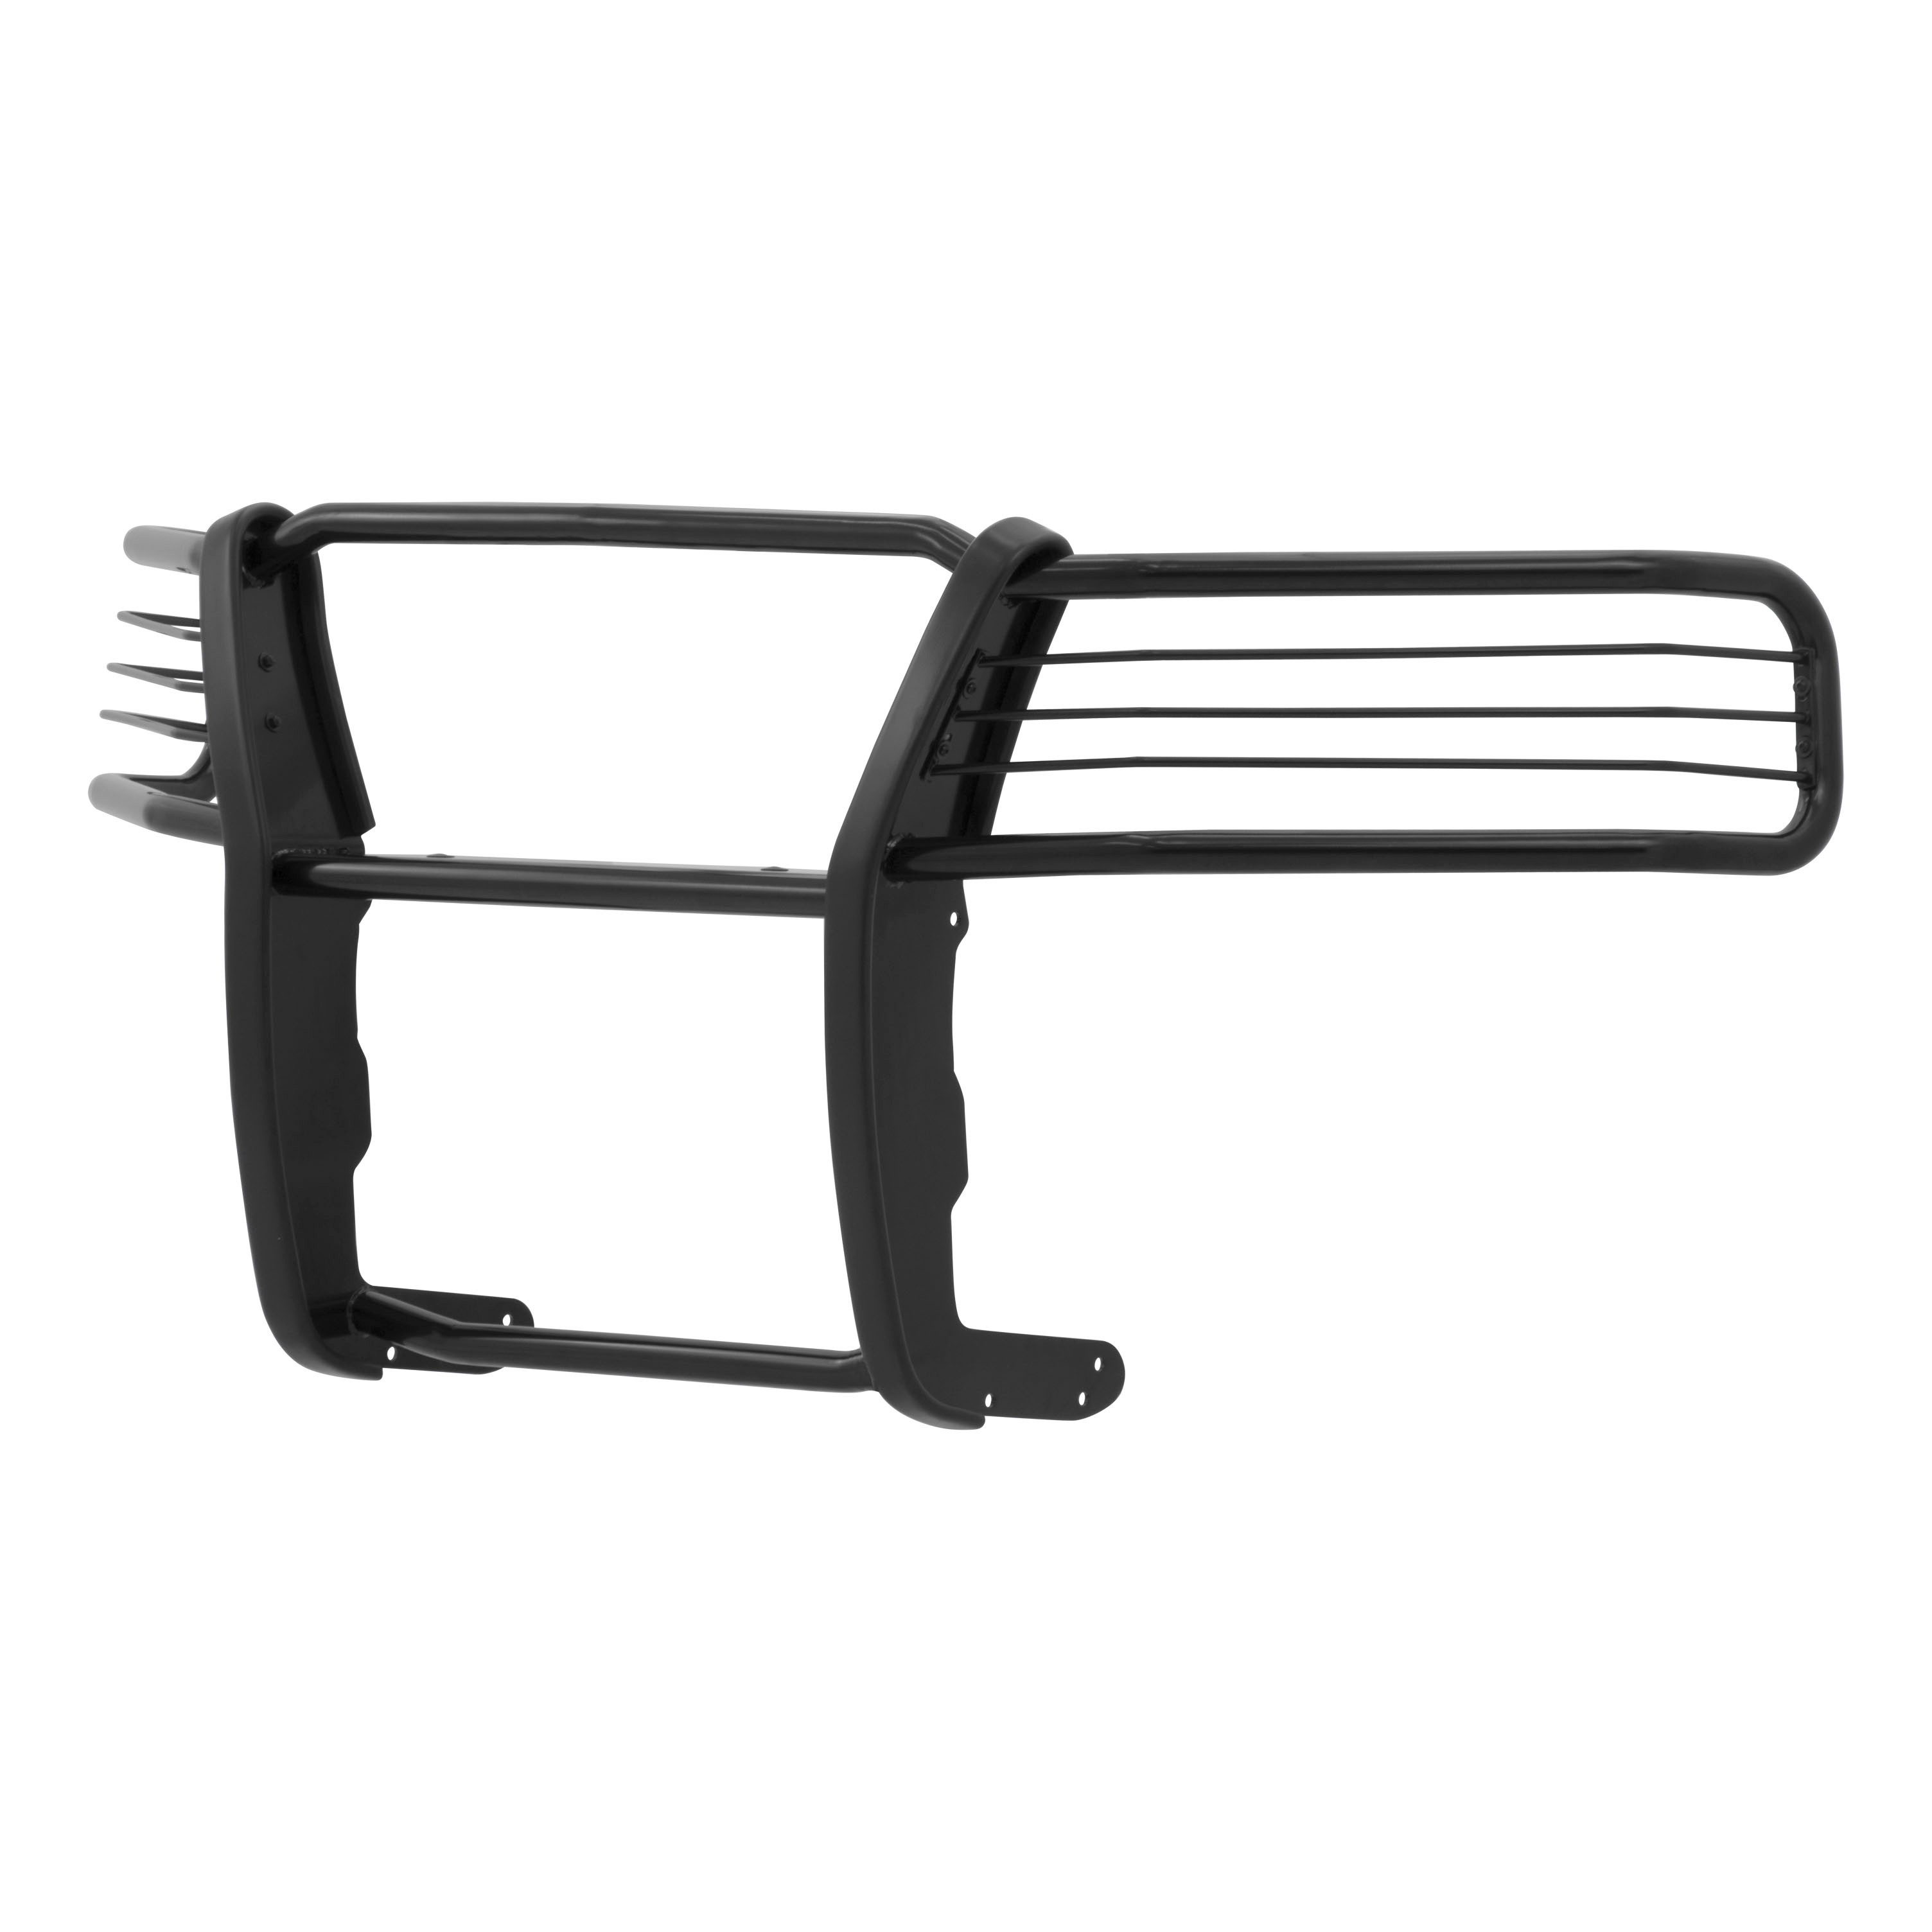
The ARIES Pro Series grille guard is unlike any other grille guard or brush guard on the road today because of its patented center crossbar. The ARIES Pro Series grille guard has a unique center crossbar that houses an LED light bar, allowing you to truly set your truck apart from all others. Rather than using a set of light clips or forcing you to drill holes into the frame, the aerodynamic crossbar of the Pro Series grille guard is the light bar housing itself. It uses a 30" slotted channel bracket to mount the included 30" LED light bar #1501264. The bracket can also accept other single-row light bars (some 30" light bars may not fit). The crossbar mount can also articulate, allowing you to position the light beam at any angle you prefer. Integrating the channel mount into the crossbar housing also keeps the light bar protected from the elements. To further stylize your truck, the Pro Series grille guard also comes with an interchangeable grille guard cover plate. Included with each grille guard is a black mesh cover plate that easily bolts on and provides added security for your aftermarket lights. The mesh cover plate can be swapped out with other cover plate options, including five different styles and two finishes. Solid construction should be an essential feature of any grille guard, and the Pro Series grille guard is more than qualified. It has a one-piece design of 1/4" thick welded plates and 1-1/2" mandrel-bent carbon steel tubing. We also finish each Pro Series grille guard in a highly durable, dual-layer E-coat and textured black powder coat, giving it resilience to rust and scratches. This unique finish also helps hide minor scratches and grime to maintain a clean look. ARIES Pro Series grille guards are made vehicle-specific for seamless integration with the factory bumper and an easy, no-drill installation. This grille guard fits select mode l years of the Ford F-150 (see application info to verify fitment).

Explore ARIES products at TowUniverse for top-tier grille guards, side bars, nerf bars, headache racks, and more. Upgrade your vehicle with ARIES today!
ARIES is a fast-paced marketer and innovator of truck, Jeep, SUV and CUV accessories. From automotive enthusiasts to professional builders, our products are built for the champions of individualism, innovation and attitude.
We offer the perfect combination of unique style and durable construction, specializing in custom-fit grille guards, bull bars, side bars and running boards, as well as Jeep Wrangler and Jeep Gladiator accessories.
ARIES products are made vehicle-specific for a custom fit, and they are available for a wide variety of makes and models sold in North America.
Experts available to answer your questions
Call 888-634-9494Limited Lifetime Warranty (Three-Year Finish, One-Year Parts)
1 compatible vehicles
| Year | Make & Model | Notes |
|---|---|---|
| 2015 - 2020 | Ford F-150 | — |

On Sale Today
You save $762.96 (42%)
Free Shipping
Ships free on all orders
 Authorized Dealer
Quick Ship
In stock and ready to ship — order now!
Shipping from Lancaster, TXFREE SHIPPING
Estimated delivery Thu, Oct 15 - Sat, Oct 17
Order before 2 PM EST Monday–Friday for same-day processing
Guaranteed safe & secure checkout
The ARIES 2170012 Pro Series Black Steel Grille Guard with Light Bar, Select Ford F-150 (Part #BBDR2170012) fits 2015-2020 Ford F-150 models. The 2020 model year is the last year covered by this part number. For newer models, check for an updated version.
Yes, the ARIES 2170012 Pro Series Black Steel Grille Guard with Light Bar, Select Ford F-150 (Part #BBDR2170012) is designed to fit the 2015-2020 Ford F-150.
The ARIES 2170012 Pro Series Black Steel Grille Guard with Light Bar, Select Ford F-150 (Part #BBDR2170012) fits the following vehicles: 2015-2020 Ford F-150. Always verify your specific year, make, and model before ordering.
The ARIES 2170012 Pro Series Black Steel Grille Guard with Light Bar, Select Ford F-150 (Part #BBDR2170012) Refer to the included instructions for installation details. Basic hand tools are typically all you need.
Yes. The P3066 is designed to work with vehicles equipped with factory tow hooks. The driver-side and passenger-side frame mounting brackets insert between the tow hook and the frame, and the factory tow hook bolts are reused to secure the bracket in place.
Yes. Vehicles without factory tow hooks use a different mounting method. Double nut plates (12mm) are inserted into the frame ends, and the frame brackets are attached to the bottom of the frame using 12mm hex bolts, lock washers and flat washers. Cutting of the air dam and splash guard is required.
It may be necessary to remove or relocate the front license plate and license plate bracket on models equipped with Ecoboost engines. The manual recommends checking this before installation and making adjustments as needed.
The P3066 includes: 2 hex bolts 8-1.25mm x 40mm, 4 hex bolts 8-1.25mm x 30mm, 4 nylock nuts 8-1.25mm, 4 hex bolts 10-1.5mm x 30mm, 4 nylock nuts 10-1.5mm, 2 double nut plates 12-1.75mm, 4 hex bolts 12-1.75mm x 35mm, 2 clip-on nuts 8mm, 4 lock washers 8mm, 8 flat washers 8mm x 22mm OD x 2mm, 8 flat washers 10mm x 24mm OD x 2.2mm, 4 lock washers 12mm, and 4 flat washers 12mm x 32mm OD x 3mm.
Yes, assistance is recommended for installation. Step 7 specifically states 'With assistance, position the grille guard on the outside of the frame brackets,' indicating that at least two people are needed to properly position and secure the grille guard.
The manual states that proper tools will improve the quality of installation and reduce the time required, but does not provide a specific tool list. Standard tools for working with hex bolts, nylock nuts, lock washers and flat washers would be needed, such as wrenches or sockets in 8mm, 10mm and 12mm sizes.
Cutting is required on vehicles without factory tow hooks. The air dam and plastic splash guard must be removed initially. After the lower brackets are secured to the frame, the splash guard must be held up to the base brackets and trim locations traced. Material is then removed using a sharp knife or cut wheel to allow the brackets to fit through the guard. Do not cut through the front or back edge of the splash guard.
The installation sequence is: (1) Install frame brackets at the bottom of the frame (Step 1A or 1B depending on tow hooks); (2) Remove the center bumper bolt and install top brackets (Steps 2–3); (3) Attach LED support flange and light (Steps 4–6); (4) Position the grille guard with assistance and attach to frame brackets (Step 7); (5) Center the grille guard and tighten lower frame bracket bolts (Step 8); (6) For non-tow-hook vehicles, cut and reinstall splash guard (Step 8); (7) Align and attach top brackets to grille guard (Step 9); (8) Tighten all hardware (Step 10).
No. The manual states 'Grille removed for clarity only. Removal of the grille is not required.' The top brackets insert into the space between the top of the bumper and the bottom of the grille without removing the grille.
Release the clips attaching the plastic bumper pads to the steel bumper and temporarily remove them. You may also need to temporarily release clips and move the rubber cover to access the bumper bolts when locating the center bumper bolt in Step 2. These components can be reinstalled after the grille guard is secured.
Hardware should be snugged but not fully tightened during the initial installation steps (Steps 1A, 1B, 3, 6, 7). Full tightening occurs in two stages: first, the four 12mm hex bolts attaching the frame brackets to the bottom of the frame are fully tightened after the grille guard is centered (Step 8); then, all remaining hardware is tightened after the grille guard is aligned (Step 10).
After positioning the grille guard on the frame brackets with assistance (Step 7), visually center it on the vehicle. Once properly adjusted, fully tighten the four 12mm hex bolts attaching the frame brackets to the bottom of the frame and/or tow hook (Step 8). This secures the lower brackets and allows you to proceed with aligning the top brackets.
Yes, on vehicles with factory tow hooks. Step 1A requires removing the driver-side tow hook and plastic trim between the tow hook and splash guard. The tow hook is then reattached without the trim using the factory bolts after the frame bracket is inserted between the tow hook and frame. The same process is repeated on the passenger side.
No. The manual states 'Plastic trim will not be reinstalled.' The trim between the tow hook and splash guard is removed and discarded during the installation process.
The LED support flange is a component that holds the LED light bar. It is attached to the LED light with mounting hardware (Step 4), then 8mm clip-on nuts are placed into the slotted holes on either side of the flange (Step 5). The flange is then set into the center flange of the grille guard and attached with two 8mm hex bolts, two 8mm flat washers and two 8mm lock washers on each side (Step 6).
Periodic inspection of all hardware is required to ensure that all bolts, nuts and washers remain secure and tight. The manual recommends performing these inspections regularly and states 'Remember to do periodic inspections to make sure that all hardware is secure and tight.'
The installation difficulty level is rated as Moderate. The manual recommends that assistance be obtained and that proper tools be used to improve the quality of installation and reduce the time required.
The 1501264 LED light bar includes: 1 LED light bar (10 inch), 1 left mounting bracket, 1 right mounting bracket, 1 wiring harness, 2 security screws M6-1.0 x 25mm, 2 rubber spacers M6, 2 flat washers M6, 2 hex head cap screws M8-1.25 x 18mm, 2 flat washers M8, 2 nylock nuts M8-1.25mm, 1 security screw L-wrench, and 1 pre-installed 15-amp fuse.
Mount the LED light bar in the desired location with a rubber spacer between the mounting surface and each bracket. Use the included mounting brackets, security screws M6-1.0 x 25mm, rubber spacers M6, and flat washers M6 for attachment.
Connect the red fused wire with the ring terminal to the positive (+) battery post. Connect the black wire ring terminal to the negative (-) battery post or other suitable vehicle grounding point. The wiring harness male plug connects to the female socket on the LED light, and the blue, red and black spade connectors reconnect to the switch.
If the light bar is being used with a 24V system, the relay will need to be replaced with a 24V unit. The kit comes with a standard relay; contact the manufacturer or your supplier for the correct 24V relay replacement.
Disconnect the supplied switch from the wiring harness and install it in the desired location. Once the LED light bar is mounted, reconnect the blue, red and black spade connectors to the switch according to the wiring diagram provided in the manual.
Improper electrical installation may damage electronic components, resulting in personal injury, property or equipment damage. Damage caused by incorrect installation is not covered by warranty. Installation should only be performed by qualified personnel with a solid understanding of electrical systems.
Periodic inspection of all wires and connections should be performed to ensure there is no visible damage or loose connections. Secure all wires with zip ties away from moving parts to avoid damage.
After mounting the relay and securing all wires with zip ties, test the light to ensure proper function. Activate the switch to verify that the LED light bar illuminates correctly.
Yes. The P3066 fits both. Vehicles with tow hooks use the factory bolts to secure the frame brackets; vehicles without tow hooks use 12mm double nut plates inserted into the frame ends.
Cutting is required only on vehicles without factory tow hooks. The splash guard must be trimmed to allow the frame brackets to fit through. Use a sharp knife or cut wheel; do not cut the front or back edge.
Yes, assistance is recommended. Step 7 requires at least two people to position the grille guard on the frame brackets.
It may be necessary to remove or relocate the front license plate and bracket on Ecoboost engine models. Check before installation and adjust as needed.
Replace the included relay with a 24V relay. The kit comes with a standard relay; obtain the correct 24V unit from the manufacturer.
Connect the red fused wire ring terminal to the positive (+) battery post and the black wire ring terminal to the negative (-) battery post or suitable grounding point. Route the wiring harness to the light and connect the spade connectors to the switch.
Only qualified personnel with a solid understanding of electrical systems should perform the installation. Improper installation may damage electronic components and cause personal injury or property damage, and is not covered by warranty.
Perform periodic inspections to ensure all hardware is secure and tight. For the 1501264 LED light bar, also inspect all wires and connections for visible damage or loose connections.
The grille guard can be adjusted before final tightening. After positioning it on the frame brackets (Step 7), visually center it on the vehicle. Once properly adjusted, fully tighten the four 12mm hex bolts attaching the frame brackets to the bottom of the frame and/or tow hook (Step 8). If misalignment persists, loosen the top bracket fasteners and realign using the holes in the grille guard uprights before final tightening (Step 9).
The splash guard must be trimmed to allow the brackets to fit. Hold the splash guard up to the base brackets and trace the trim locations. Use a sharp knife or cut wheel to remove the material. Do not cut through the front or back edge of the splash guard. Reinstall the splash guard and remount the grille guard to the lower brackets.
Verify the following: (1) The red fused wire ring terminal is securely connected to the positive (+) battery post; (2) The black wire ring terminal is securely connected to the negative (-) battery post or suitable grounding point; (3) The male plug on the wiring harness is fully inserted into the female socket on the LED light; (4) The blue, red and black spade connectors are properly reconnected to the switch; (5) The 15-amp fuse is intact and properly installed in the relay; (6) All wiring connections are free of visible damage. If the issue persists, consult a qualified electrical technician.
The relay included with the kit is designed for standard voltage systems. For 24V systems, the relay must be replaced with a 24V unit. Obtain the correct 24V relay from the manufacturer and install it in place of the standard relay.


No reviews have been added for this product.