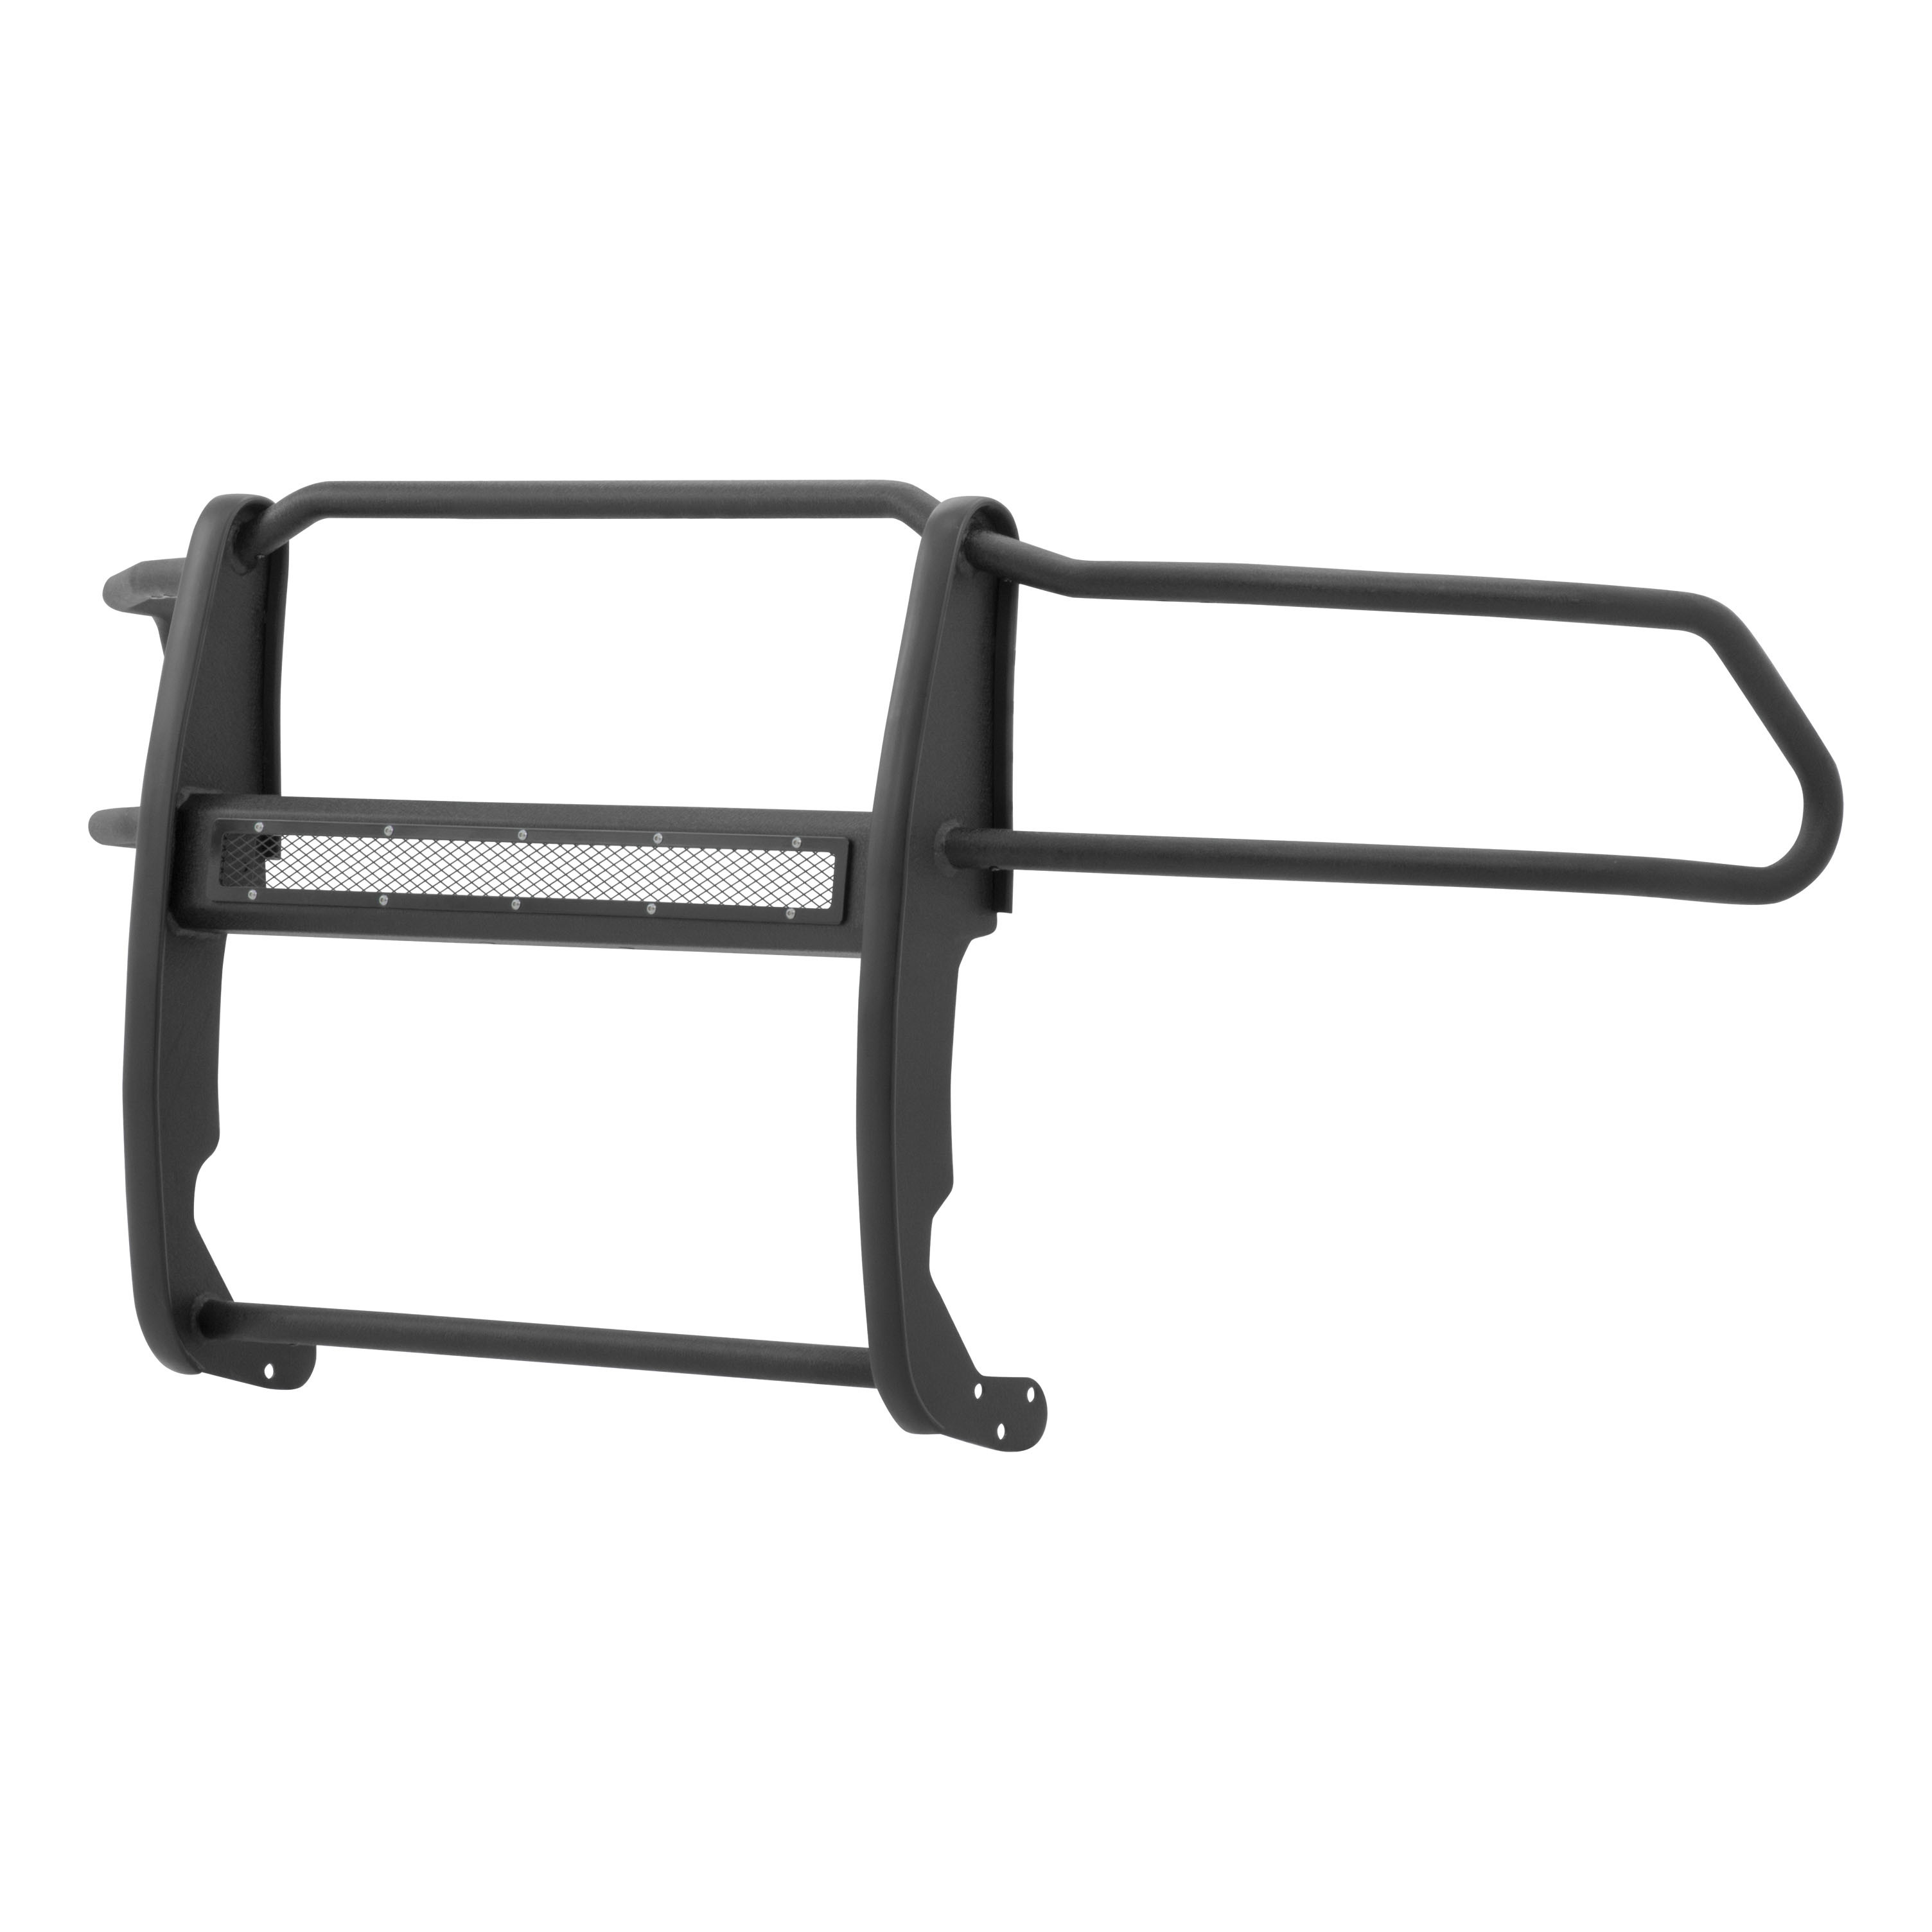
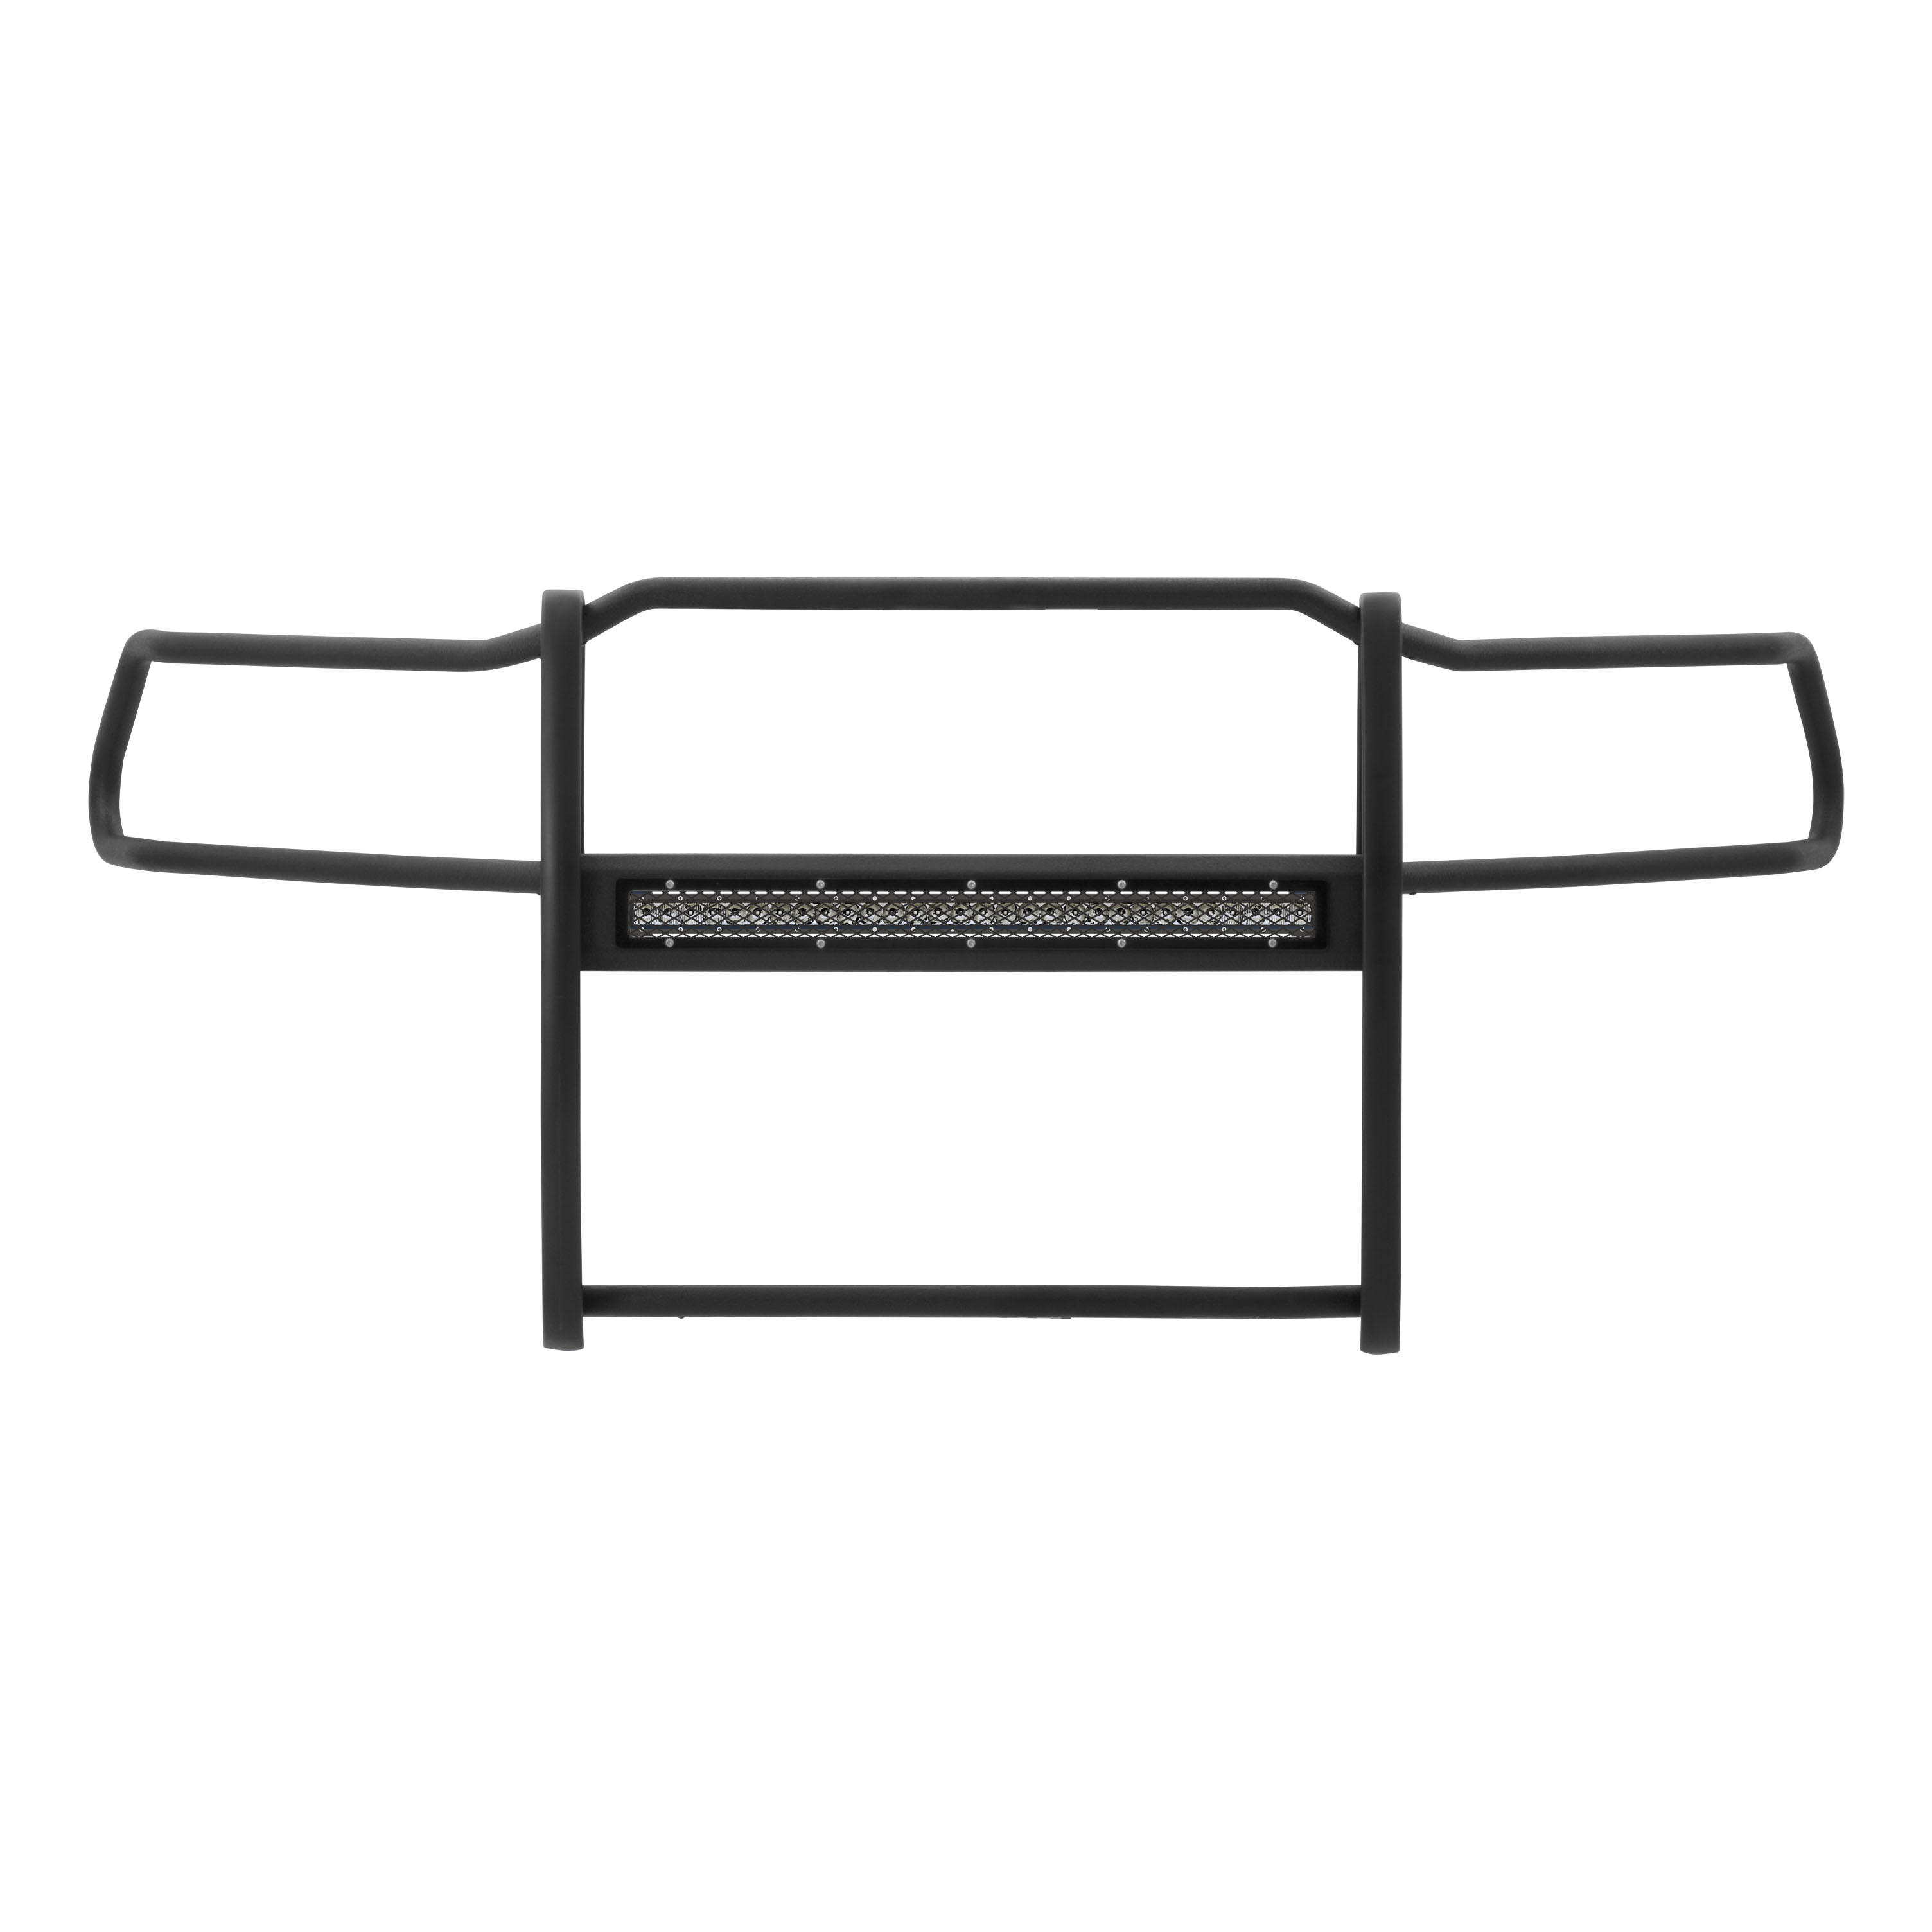
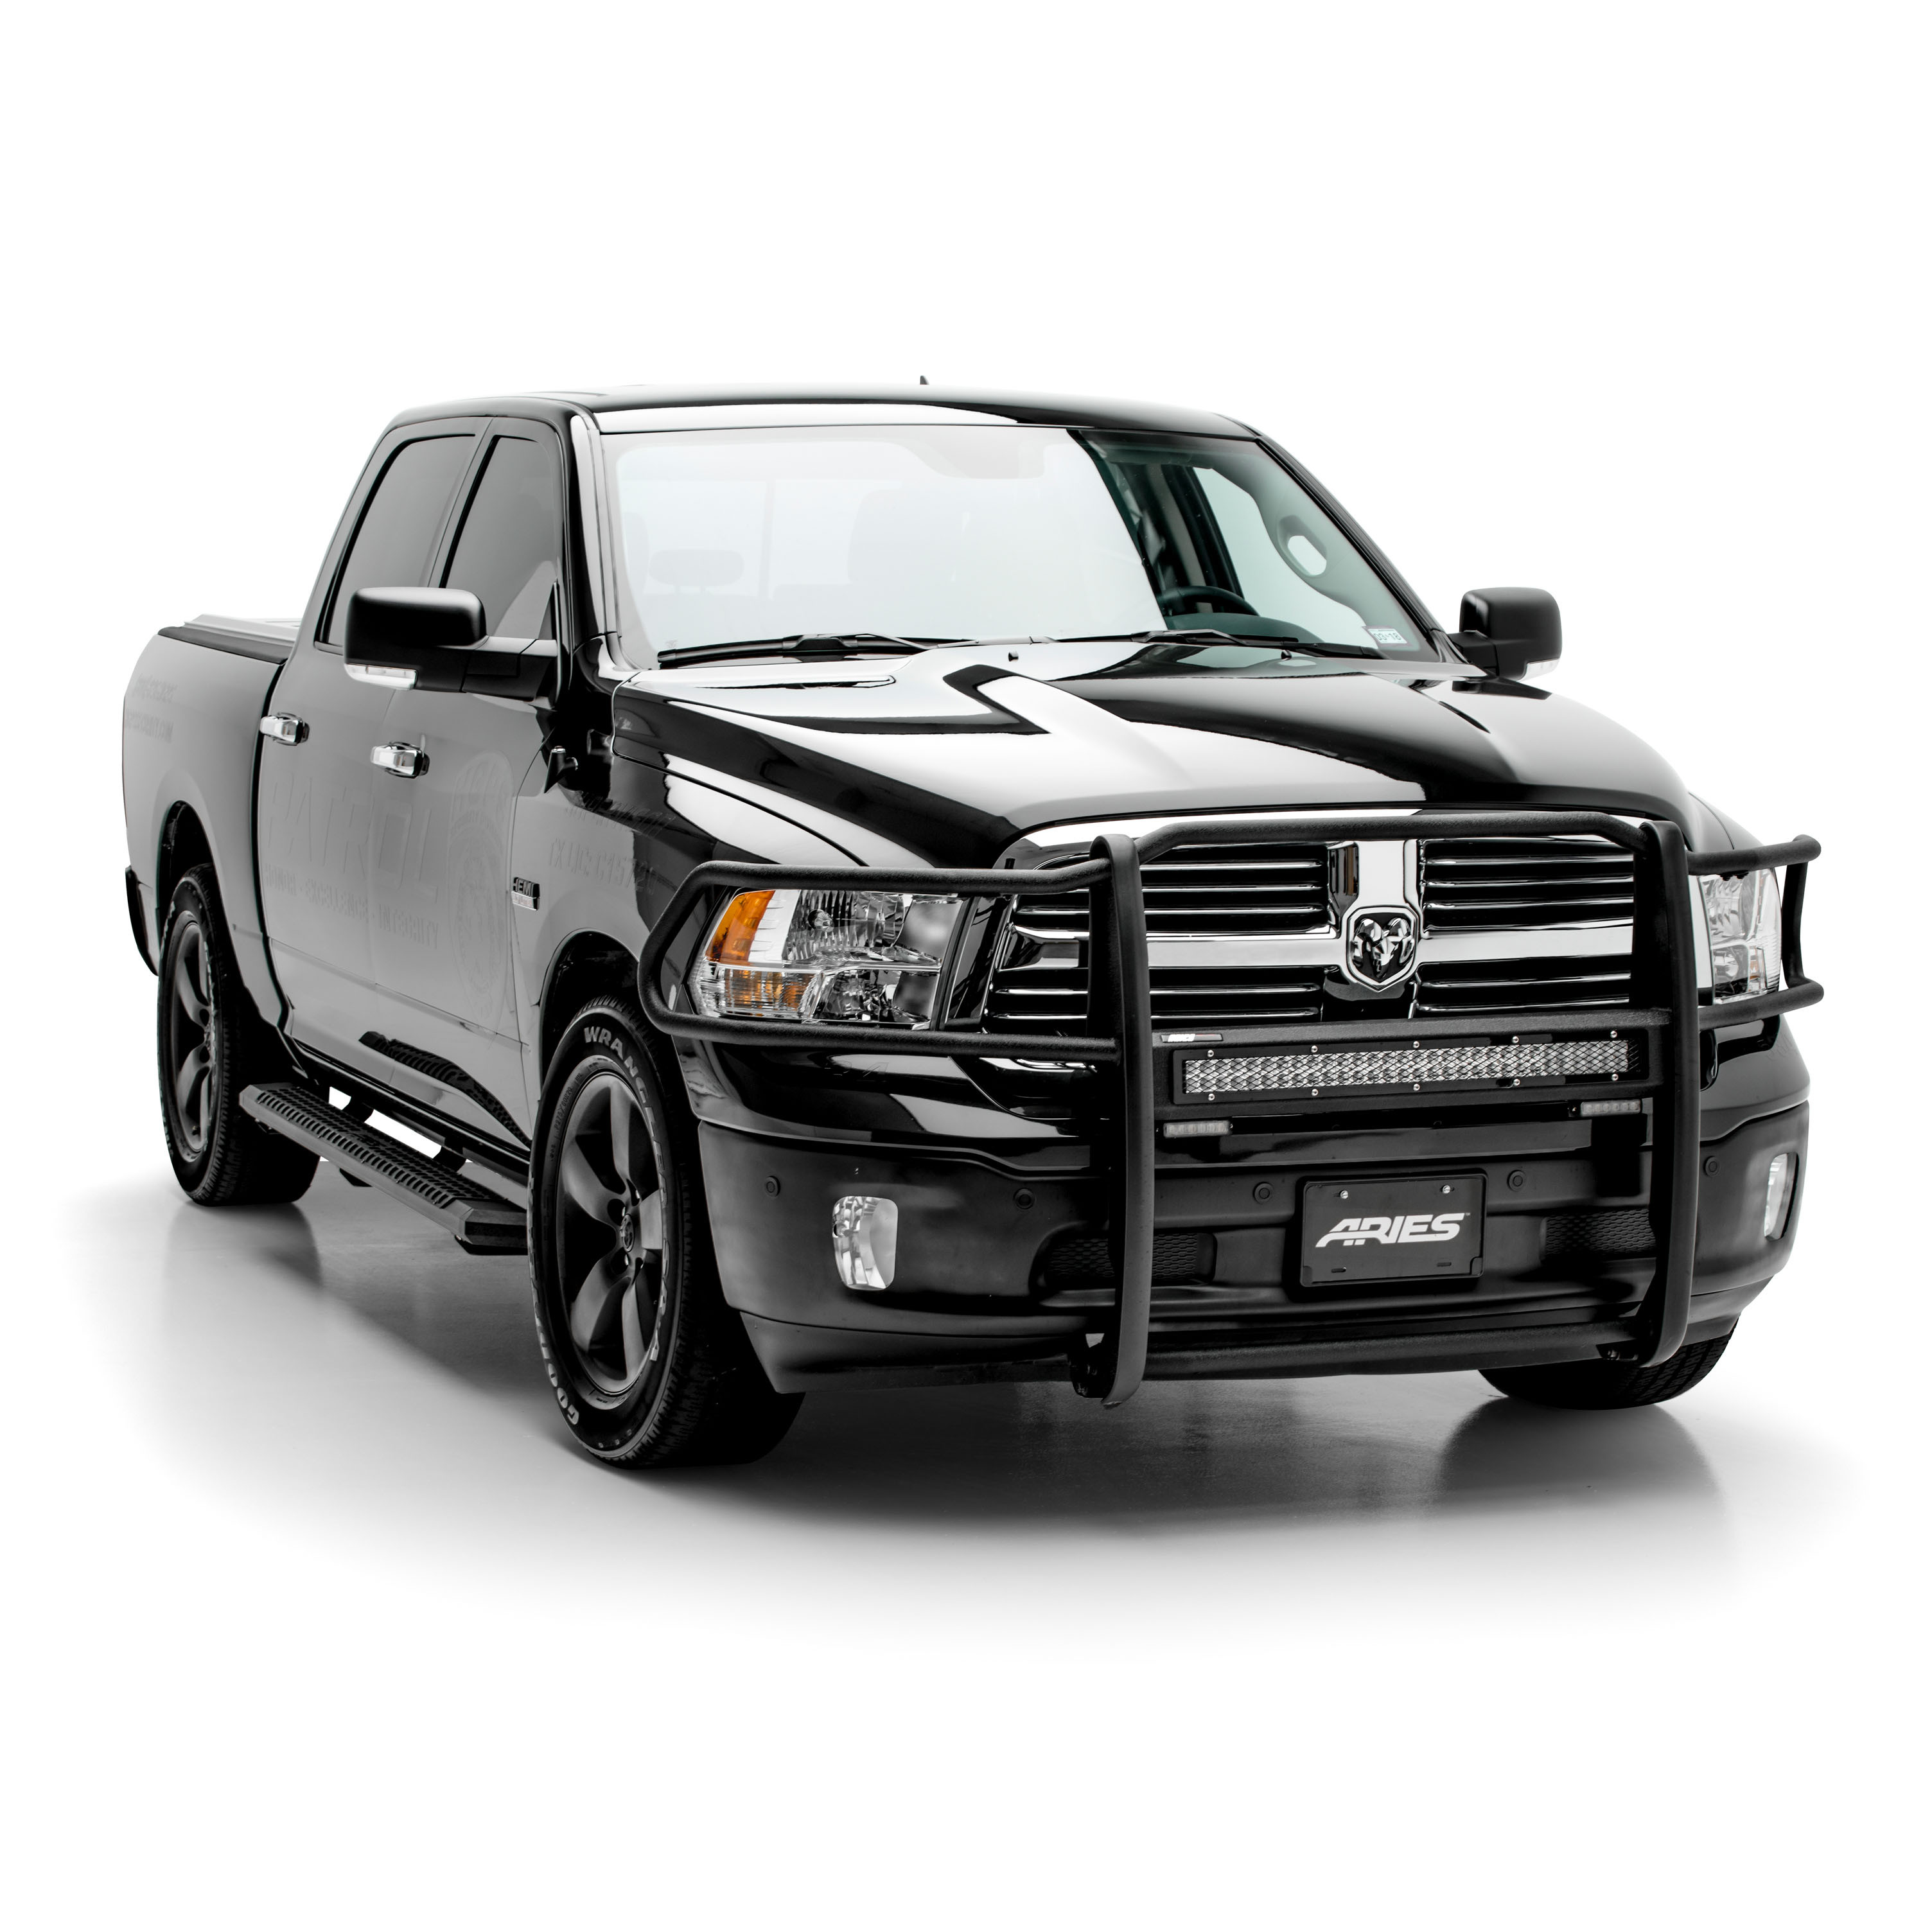
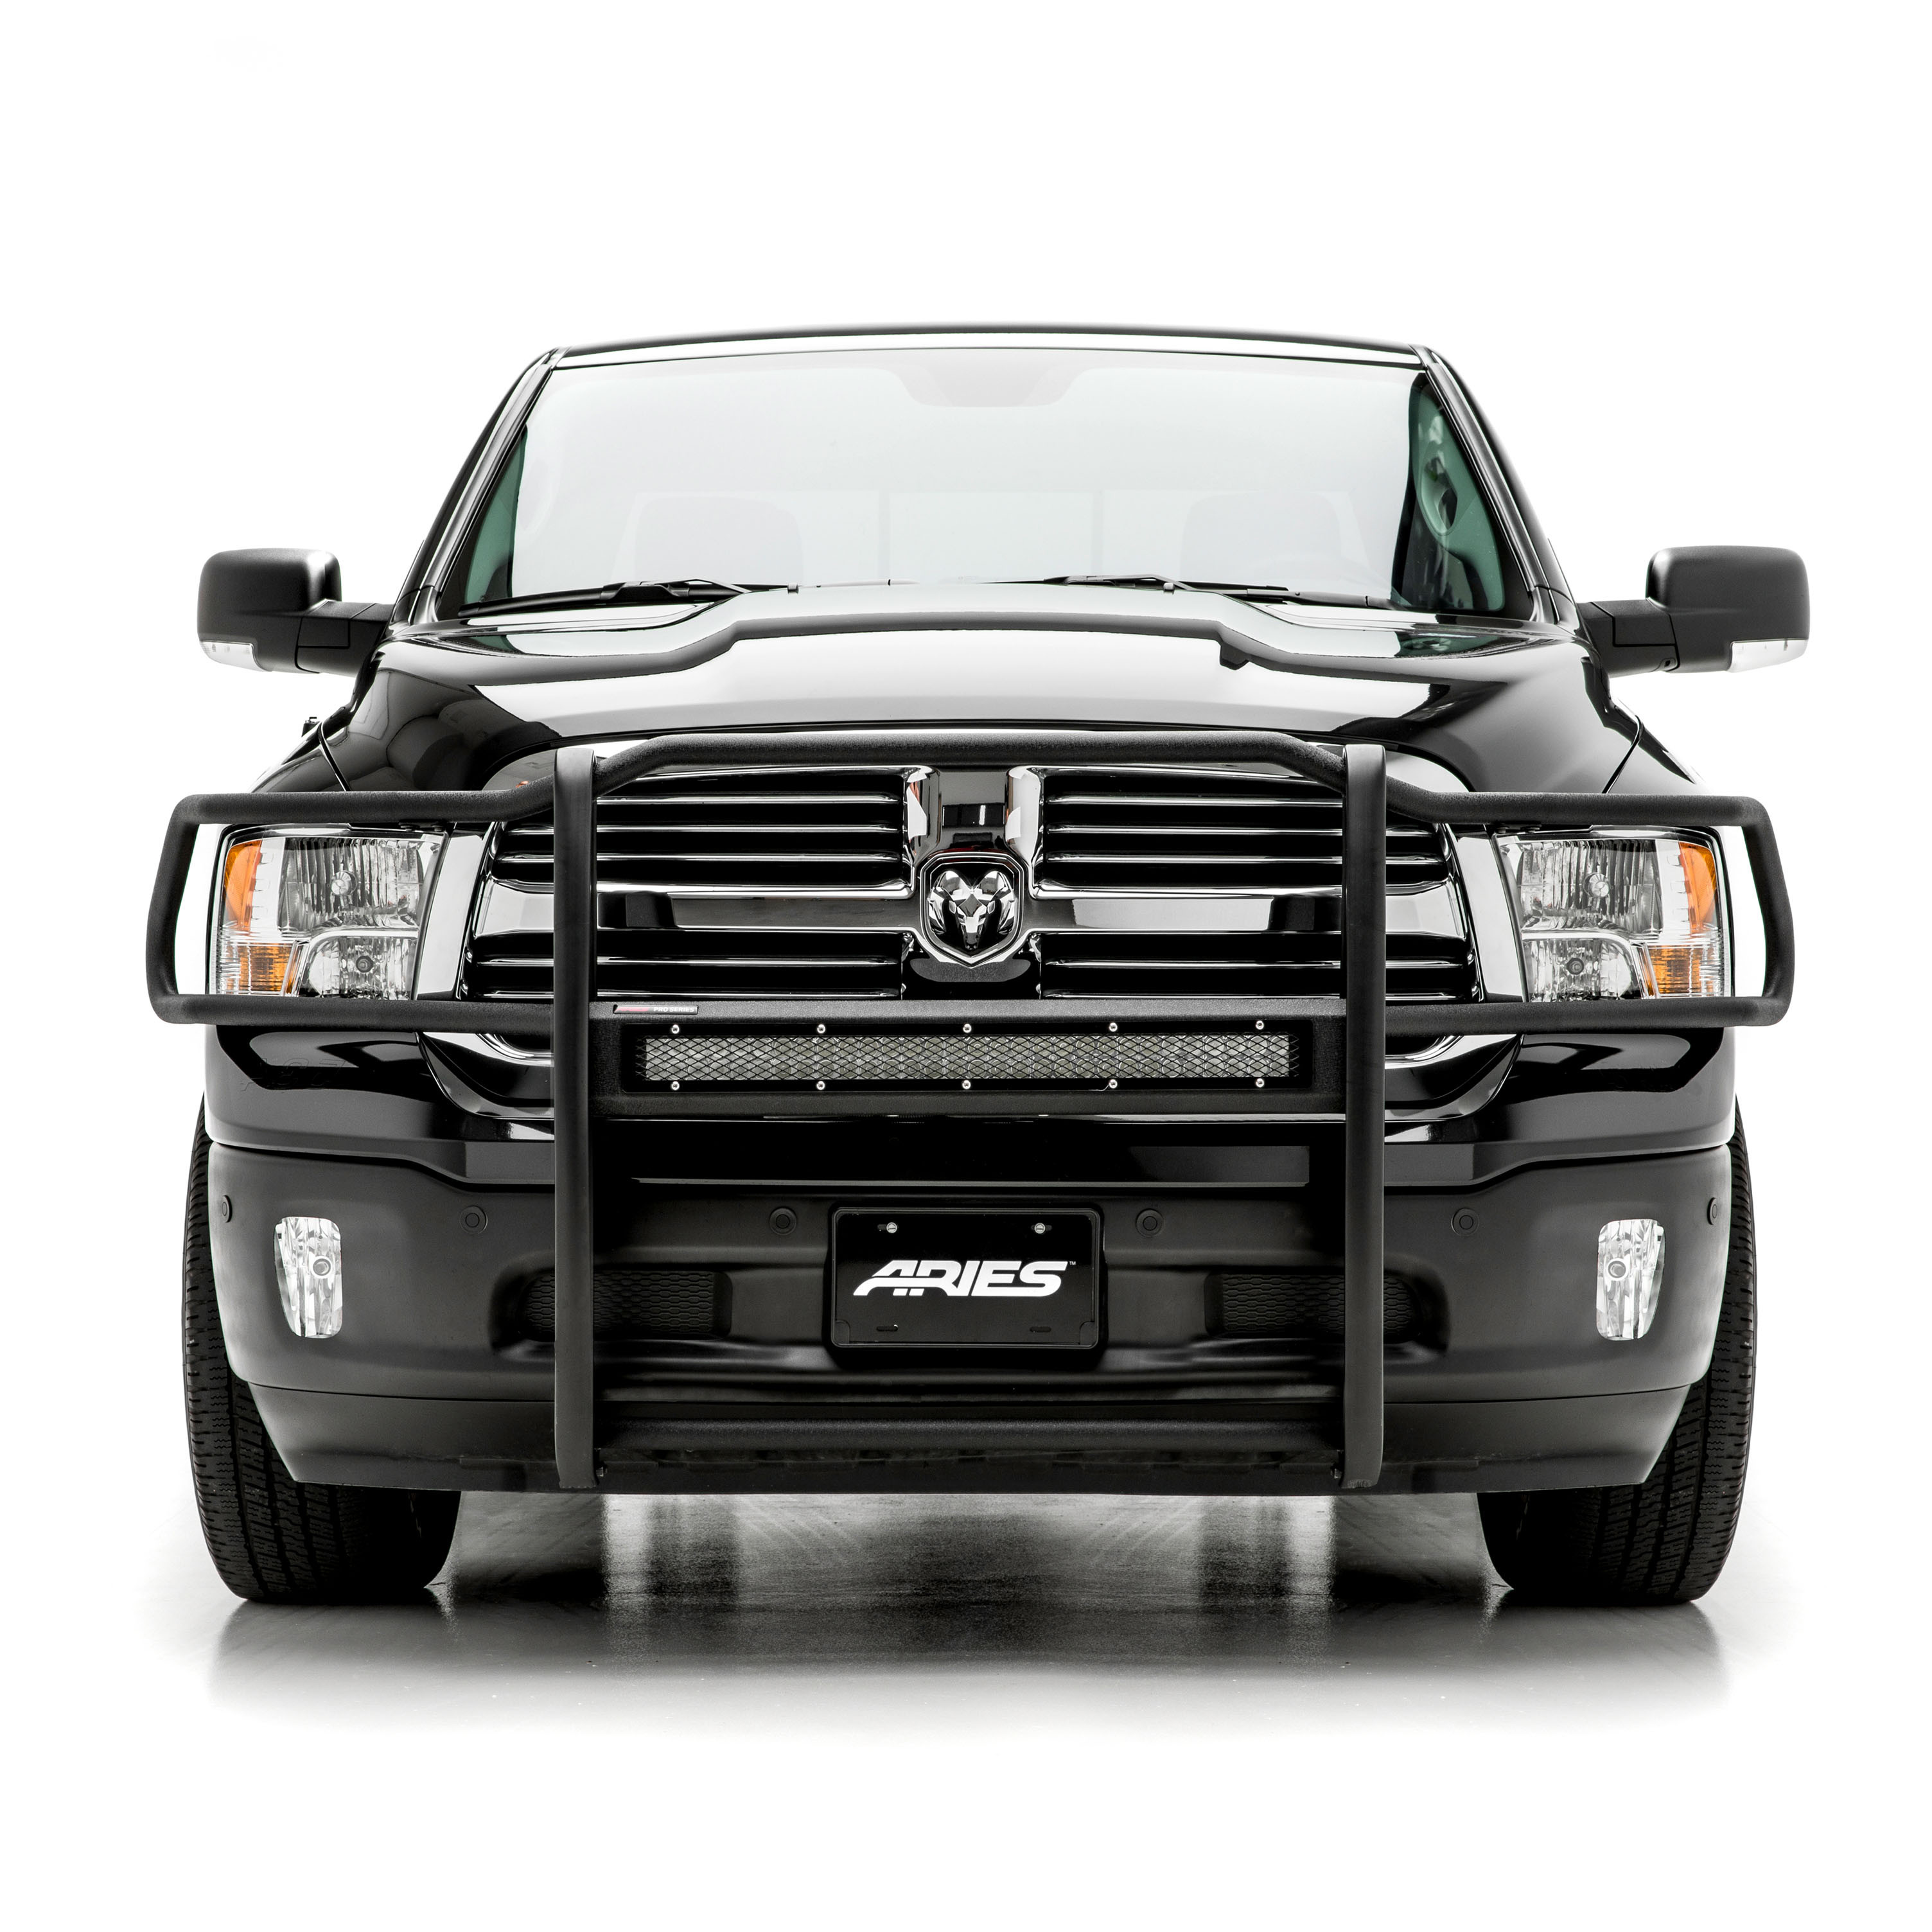
ARIES Pro Series Black Steel Grille Guard, Select Dodge, Ram 1500 Grille GuardARIESOriginal price was $1,127.95. Current price is $670.00.In Stock
View productOur in-house experts typically reply within one business day.

ARIES
Verify Fitment
Select your vehicle to confirm this part fits.
2009 - 2010 Dodge Ram 1500
Confirmed to Fit
2011 - 2018 Ram 1500
Confirmed to Fit
2019 - 2024 Ram 1500 Classic
Confirmed to Fit





Always the correct part
We know our products
Quality Products
Free Shipping!
Always the correct part
We know our products
Quality Products
Free Shipping!
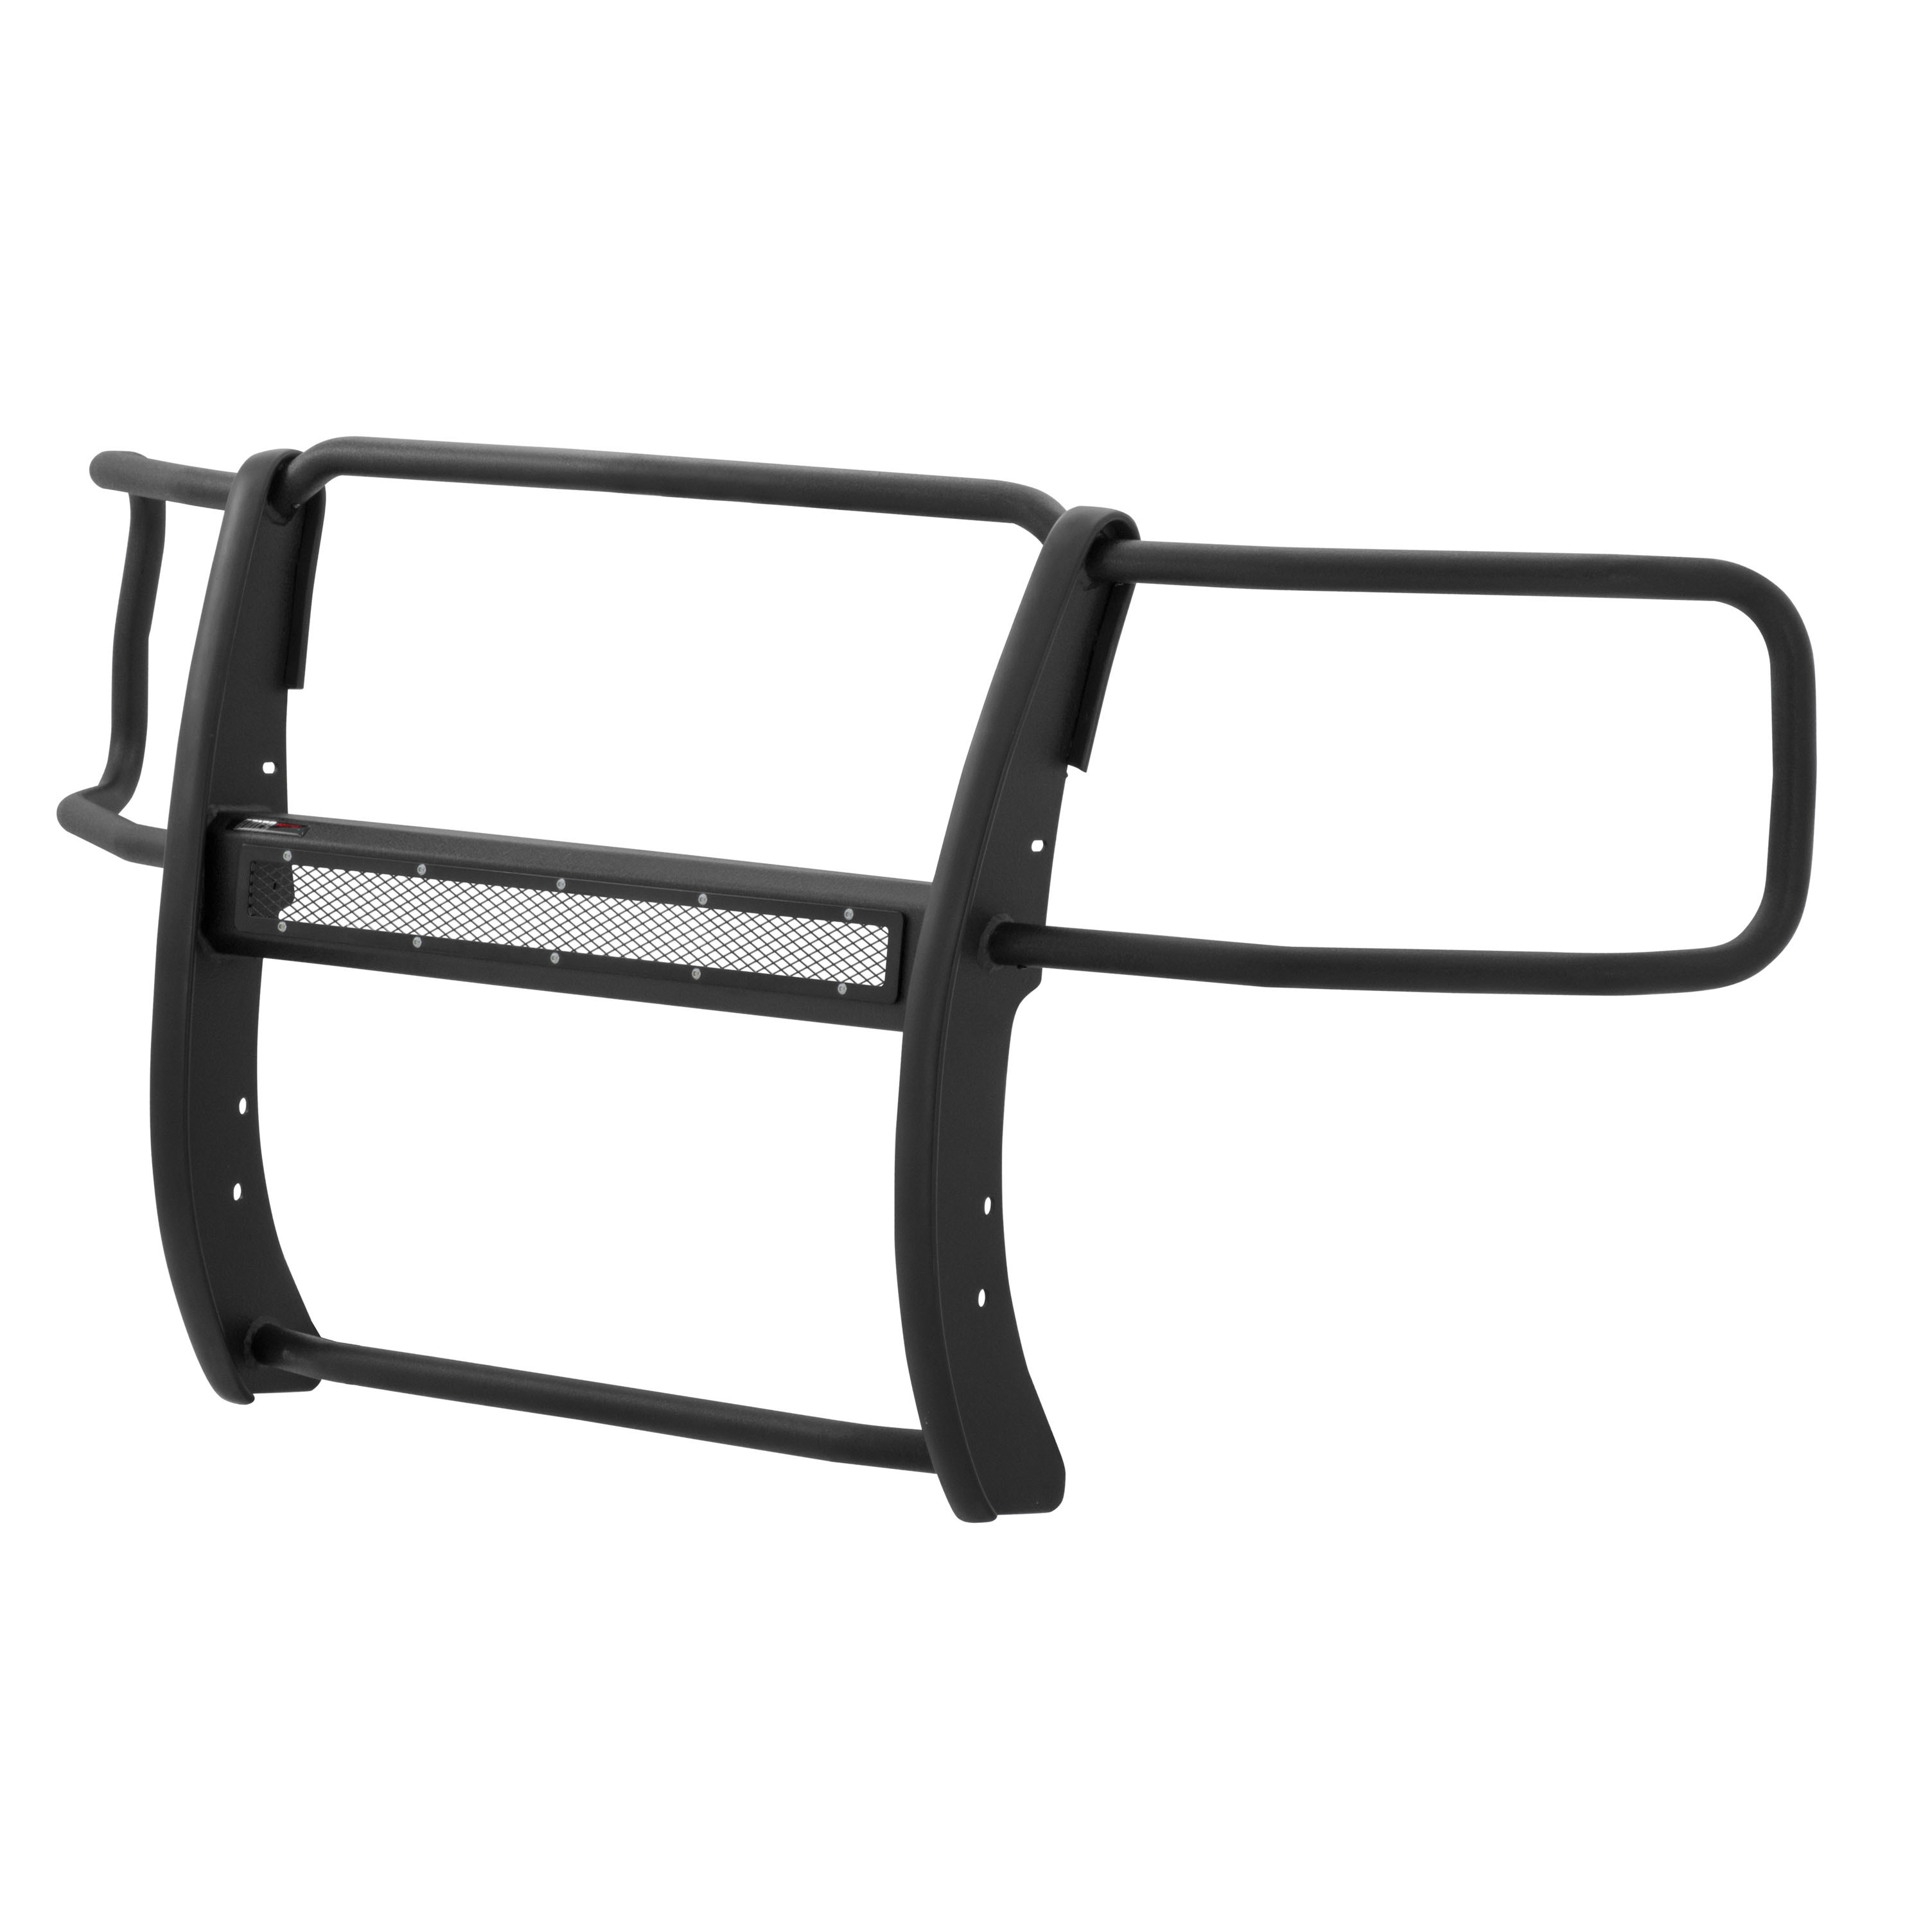
Includes Pro Series grille guard #P5058, mounting hardware, 30" LED light bar #1501264 and black mesh cover plate #PC30MB
Patent# US9108581B2
Grille guard may interfere with forward-facing cameras or sensors

Warranty: Limited Lifetime Warranty (Three-Year Finish, One-Year Parts)
Finish: TEXTURED BLACK POWDER COAT
Material: Blank
Color: Black
Light - Beam Type: Combo
Light - Configuration: Single-row
Light - Light Size: 30 IN
Light - Light Type: Light Bar
Light - Lumens: 14,800
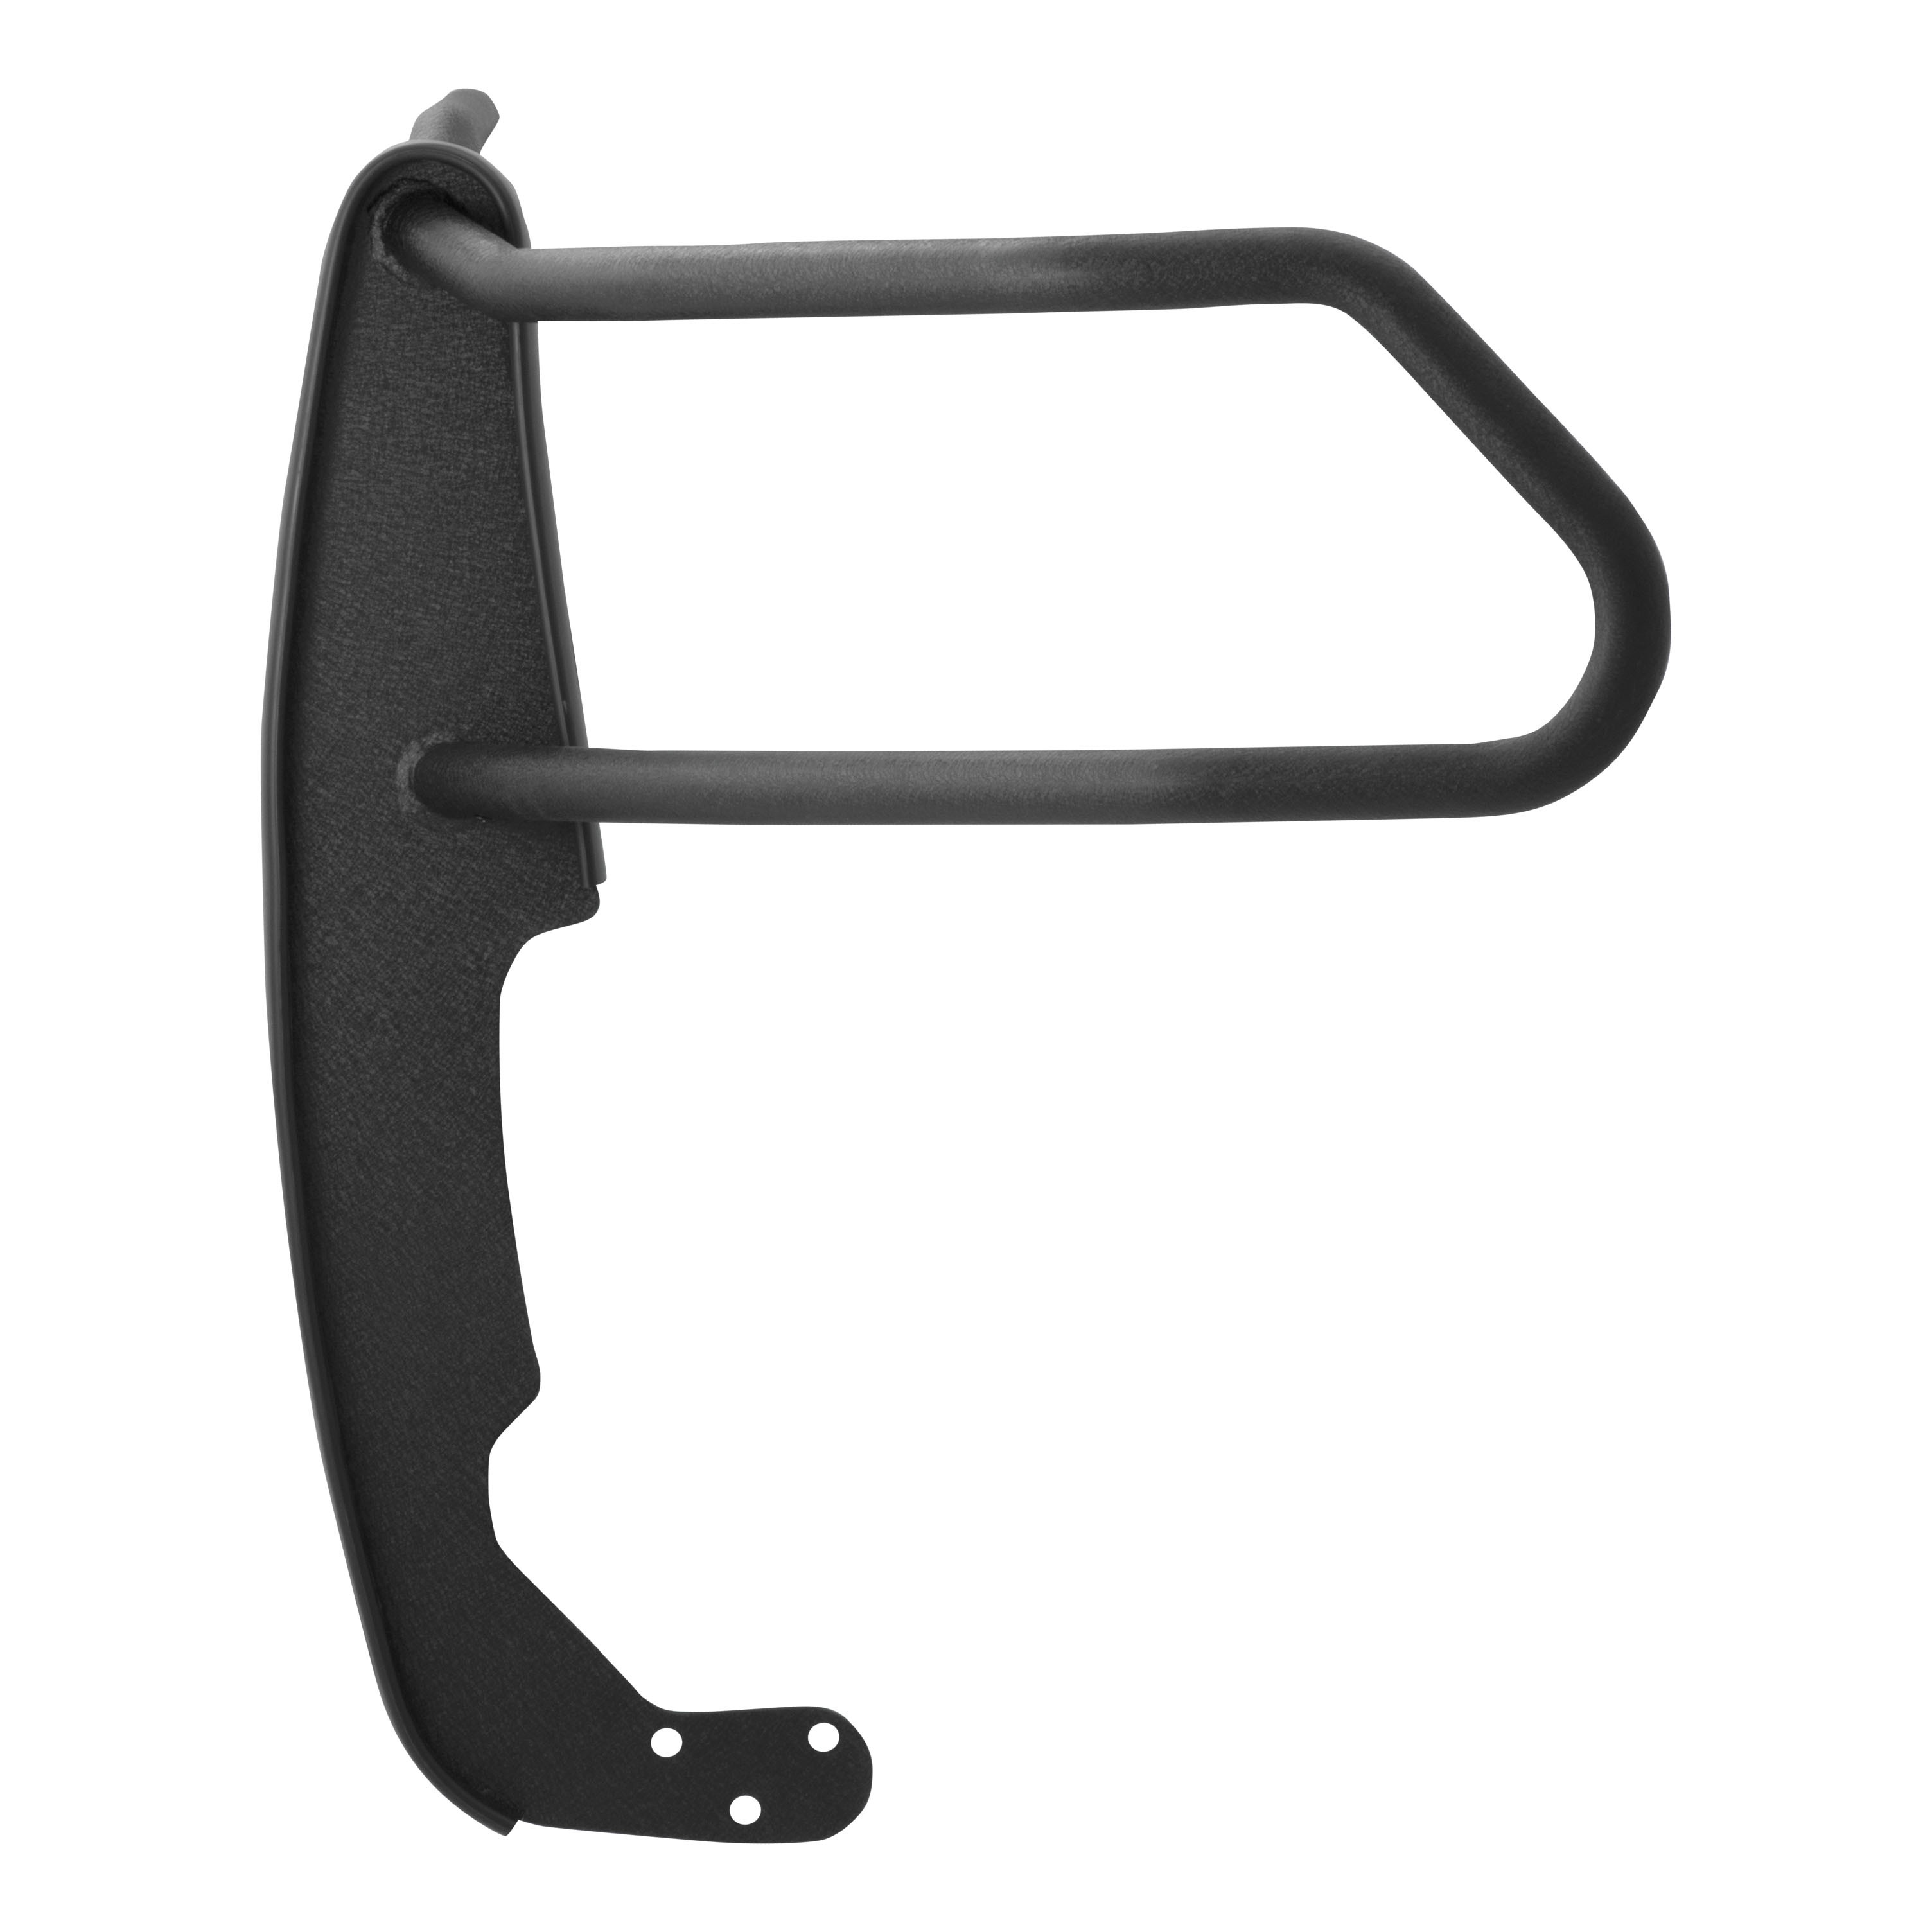
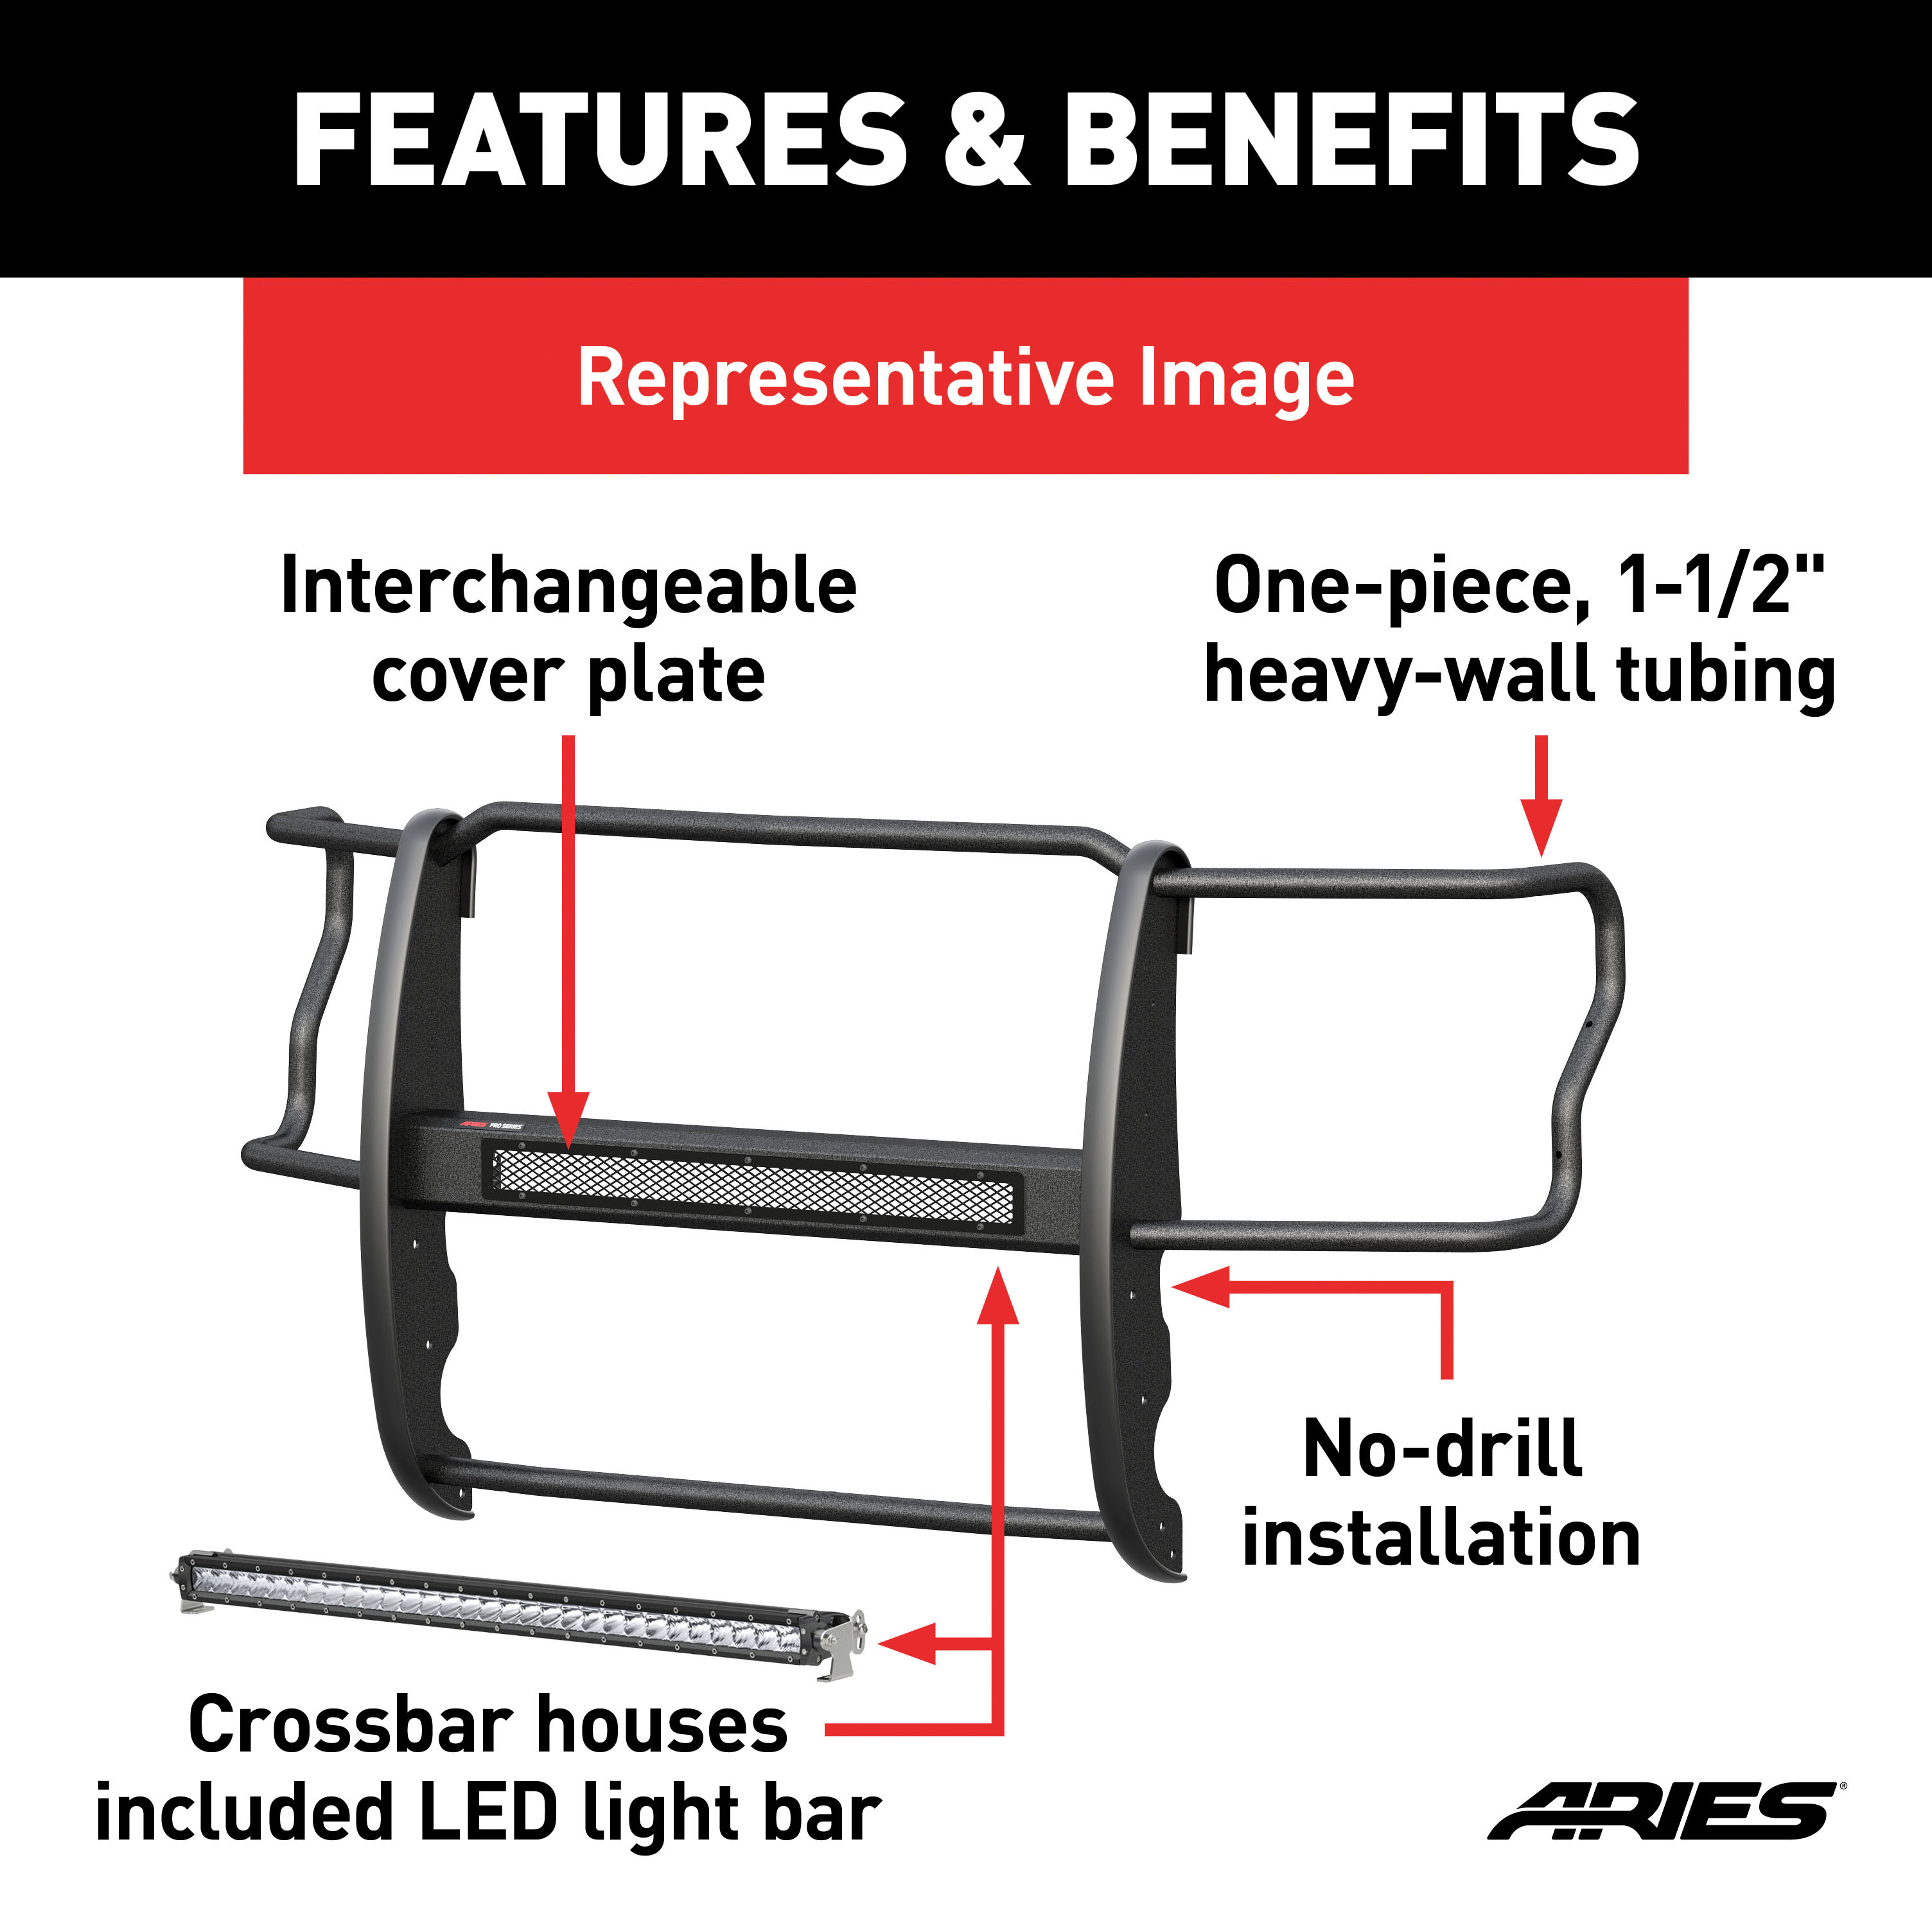
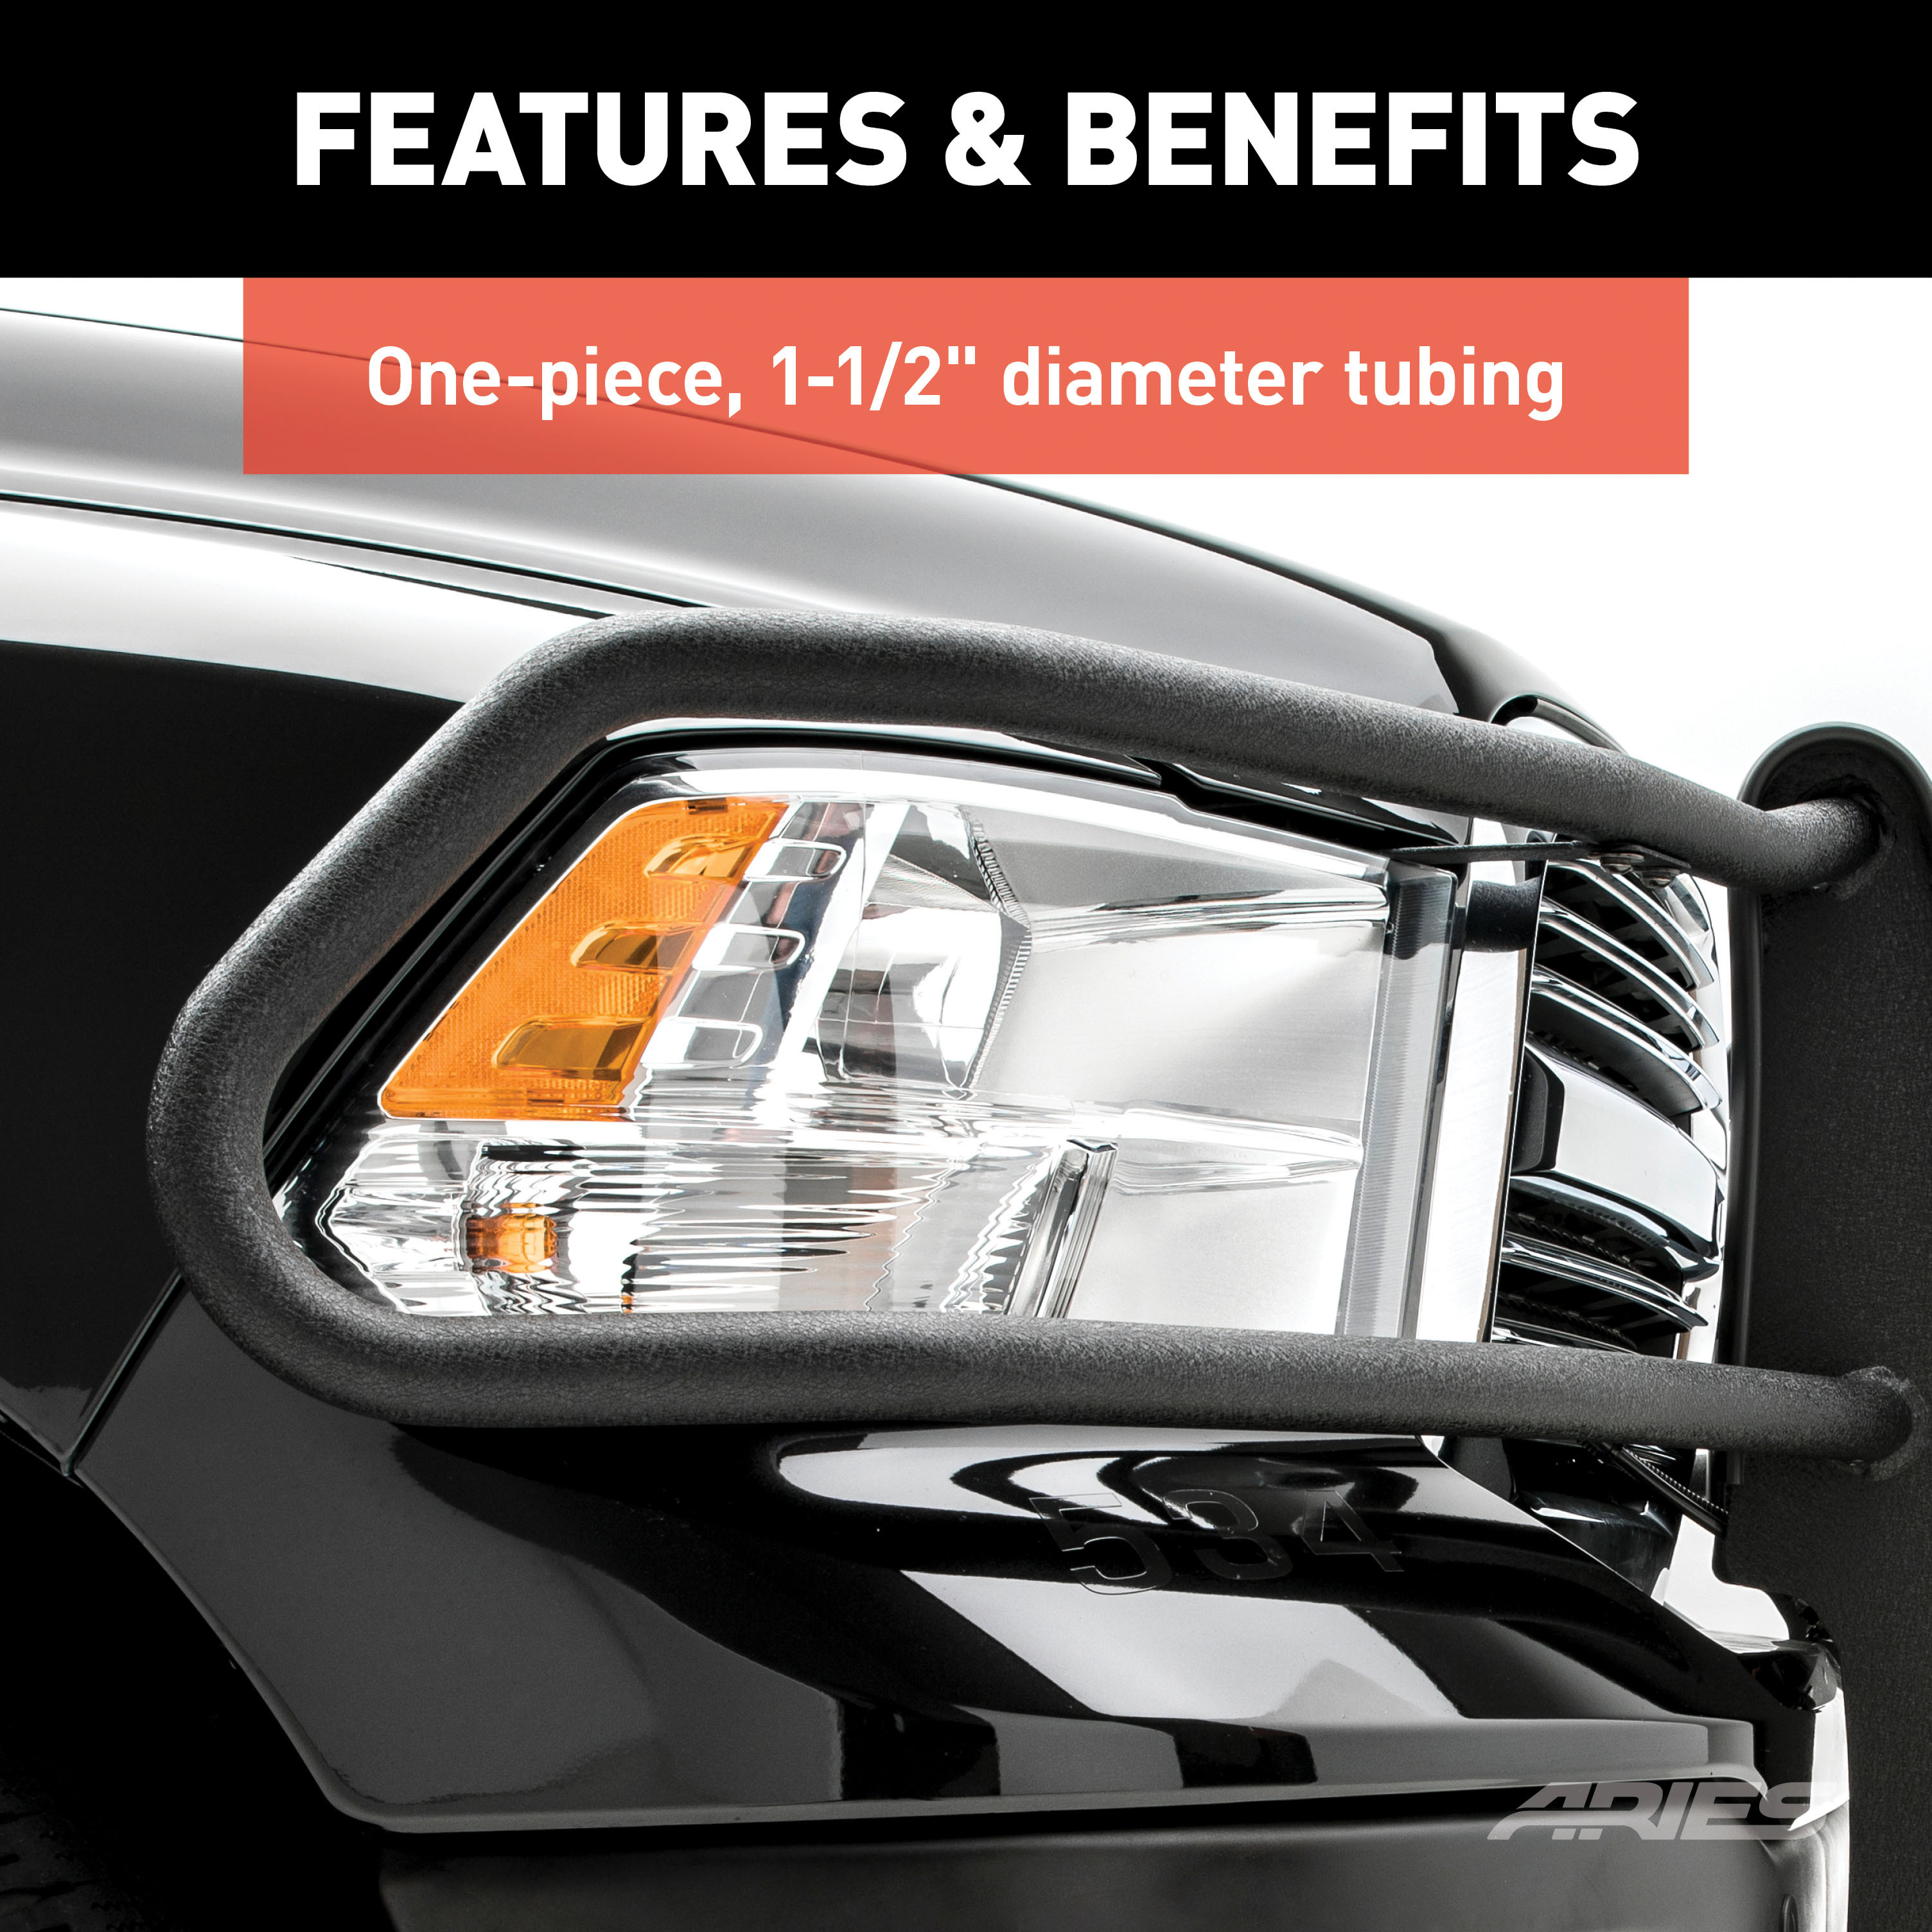
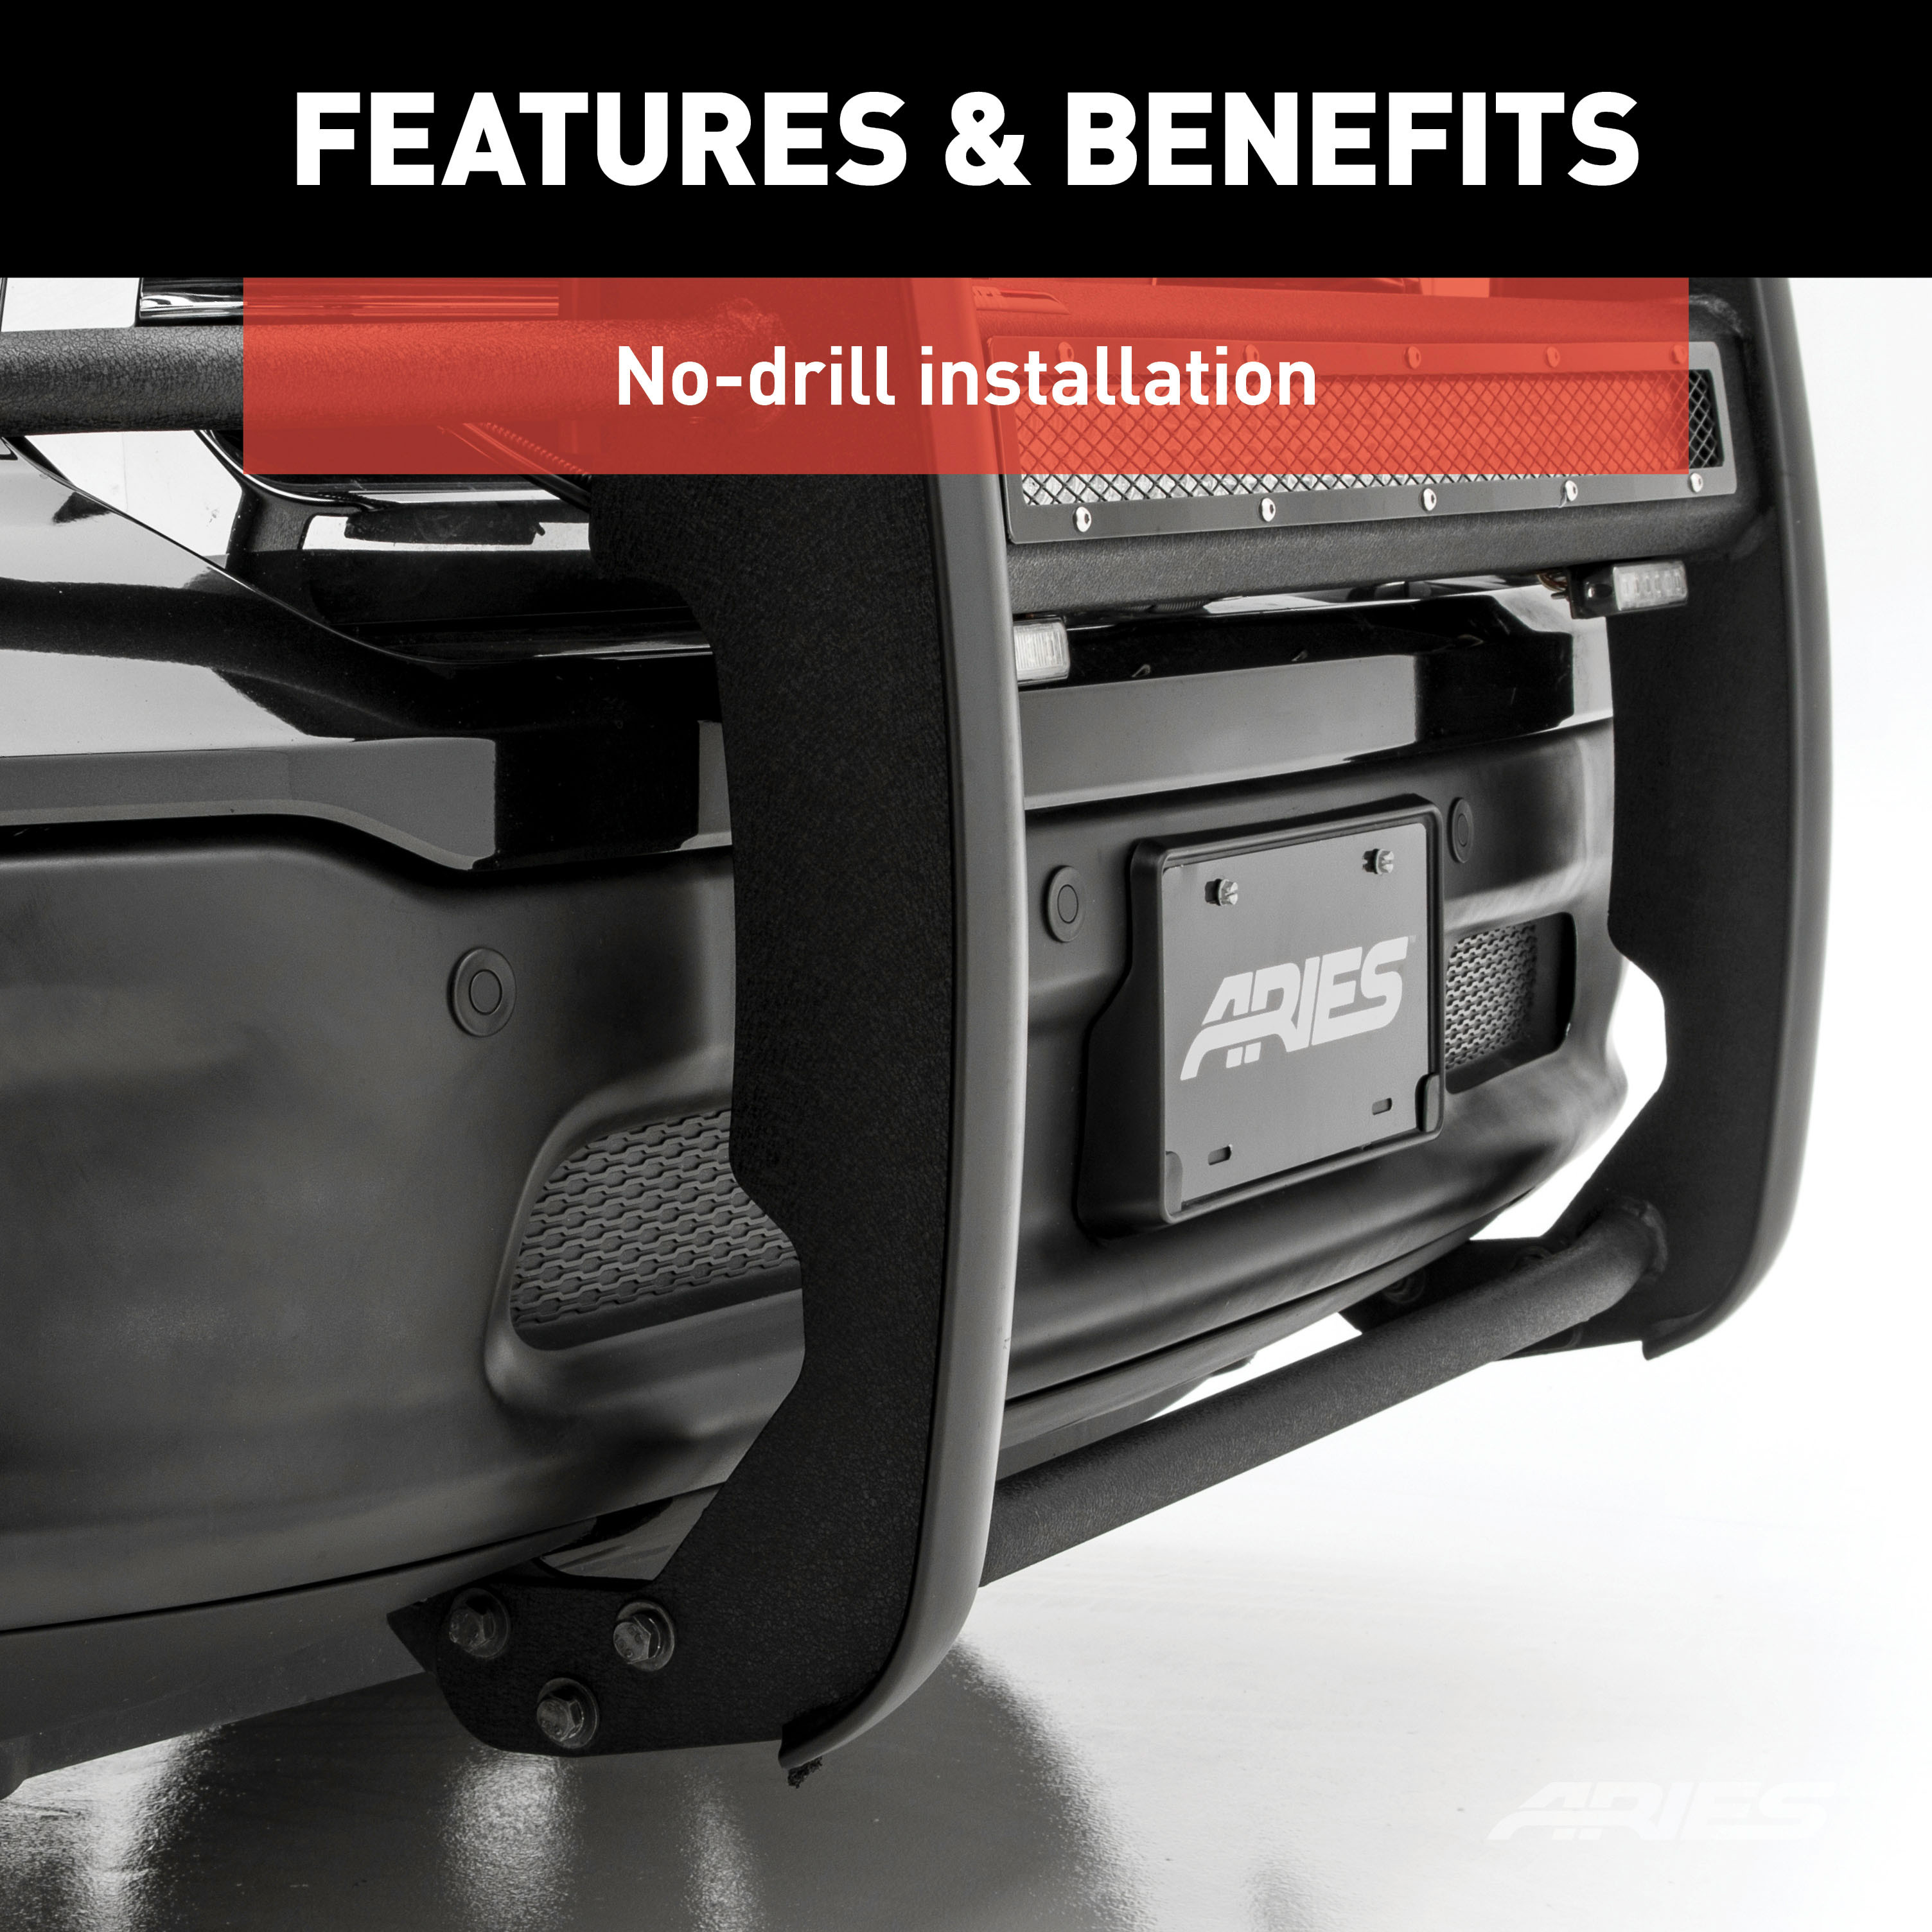
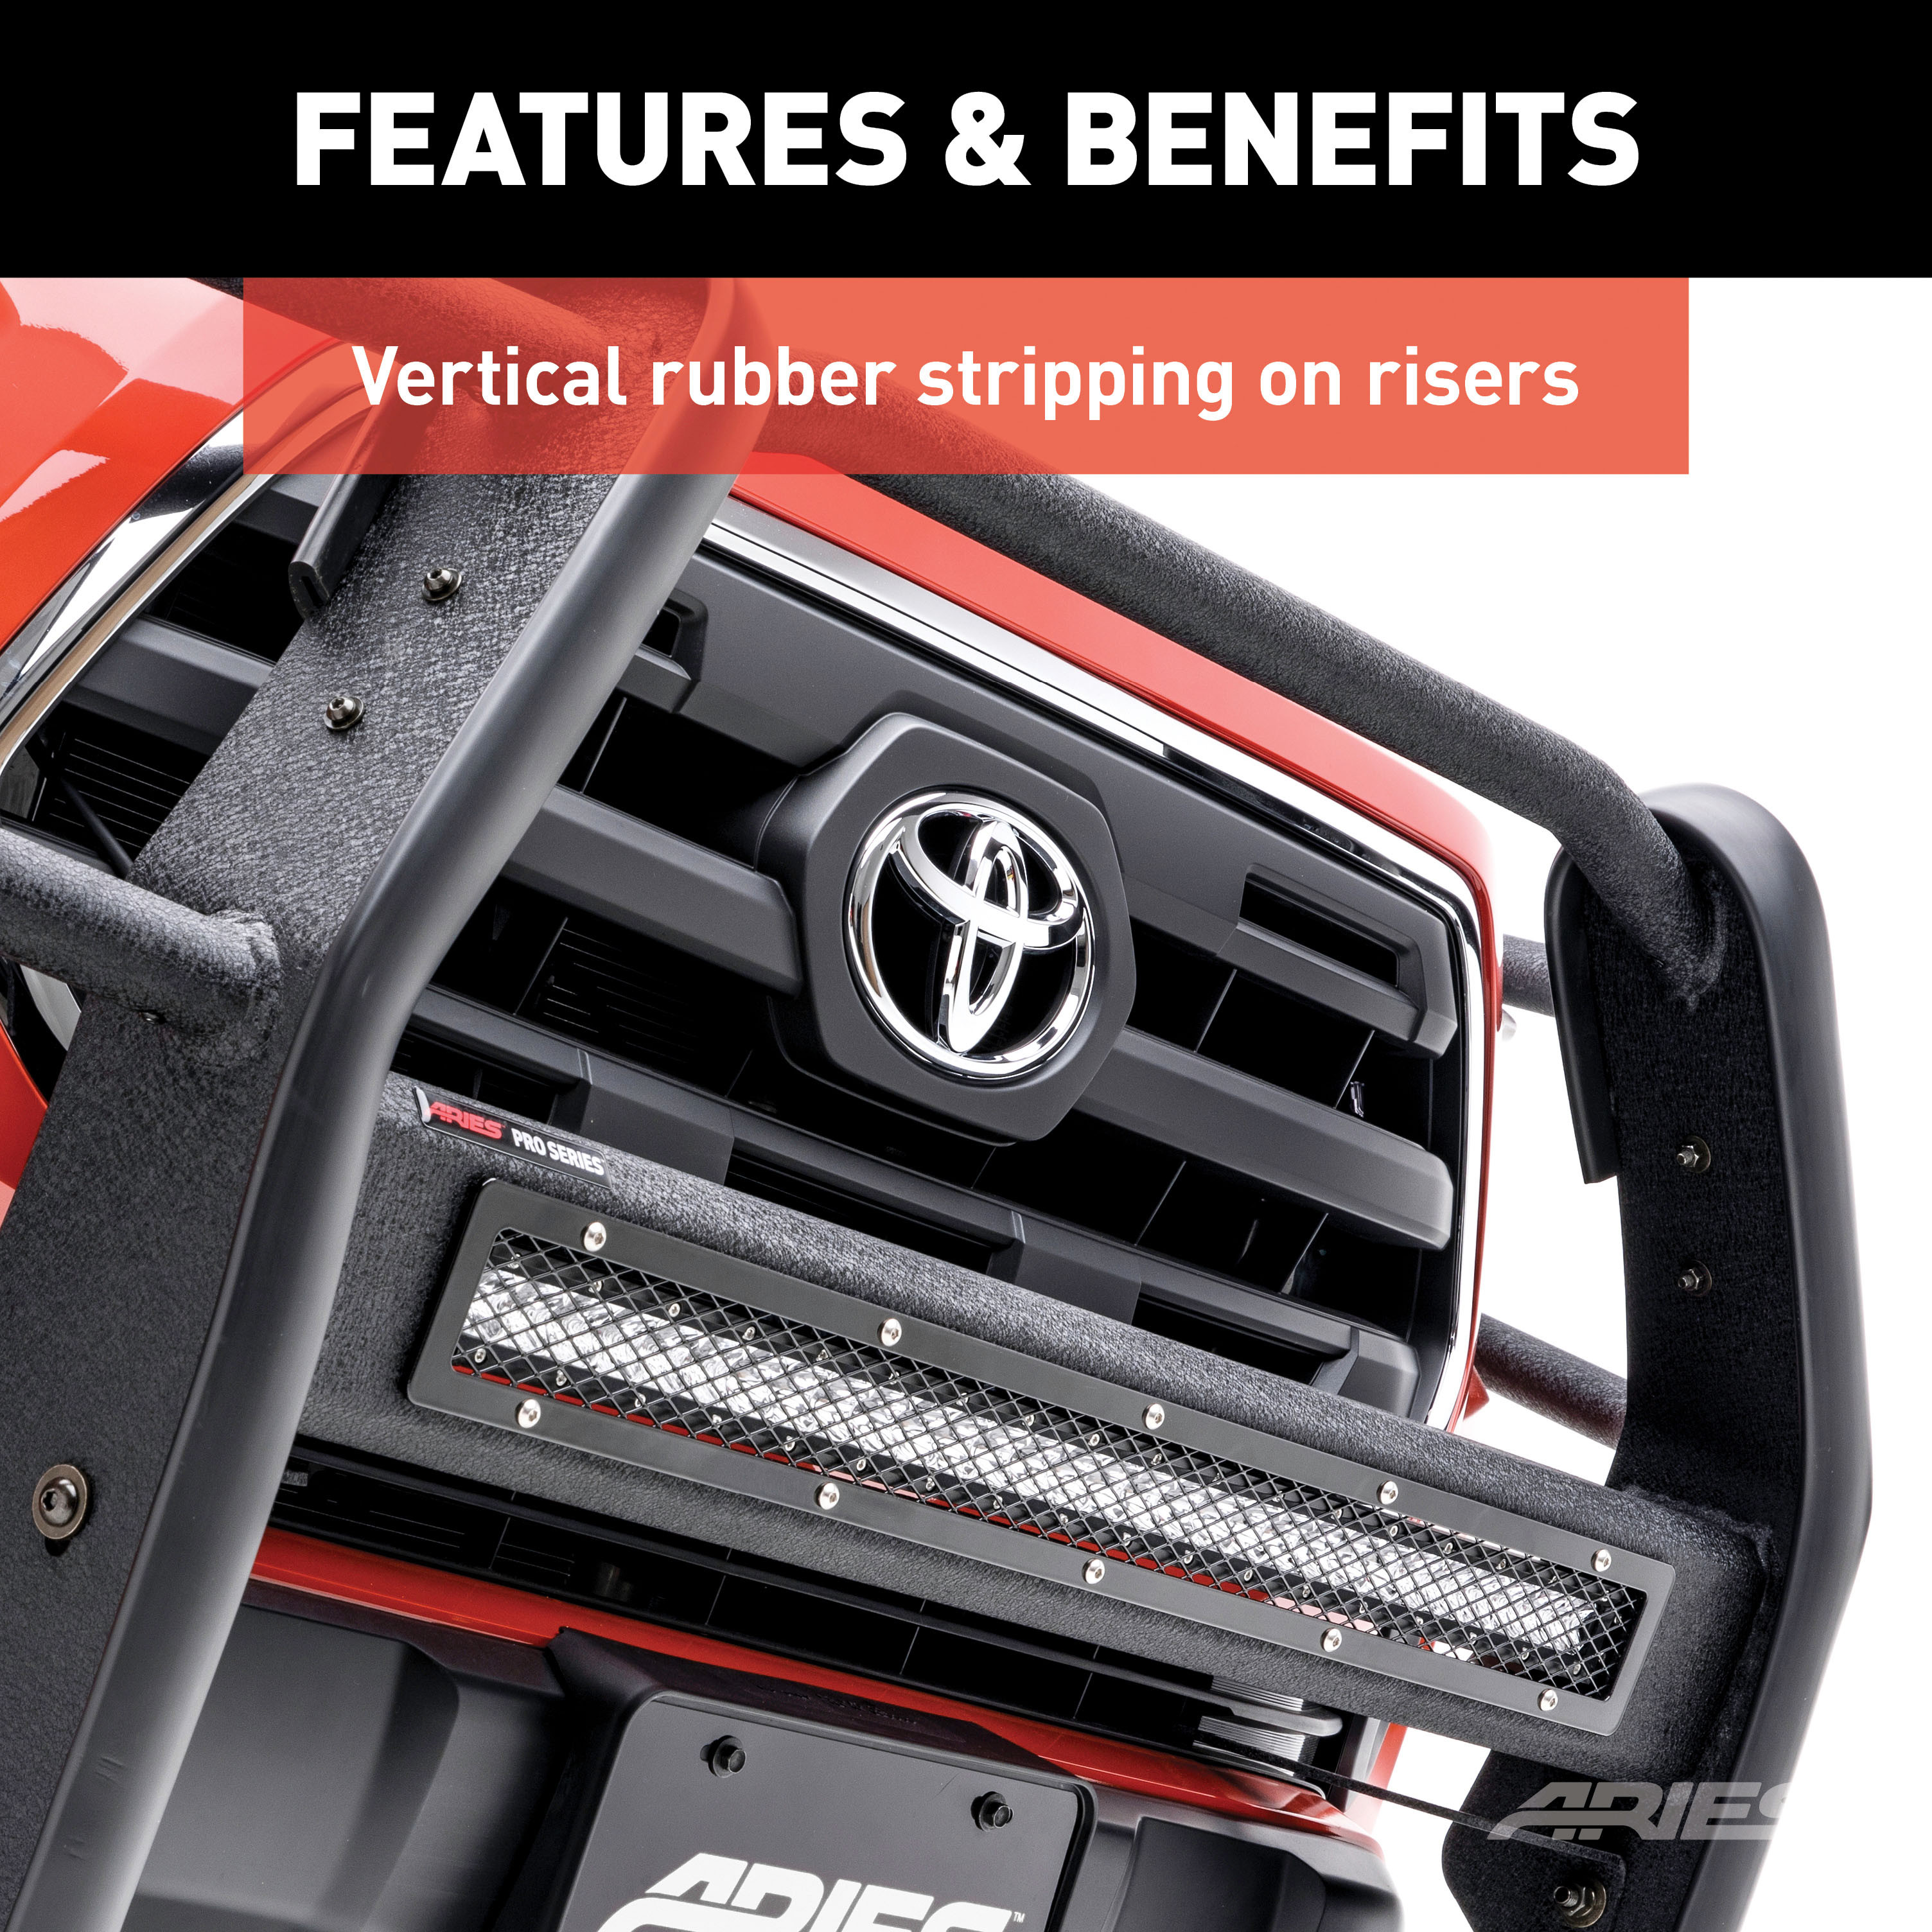
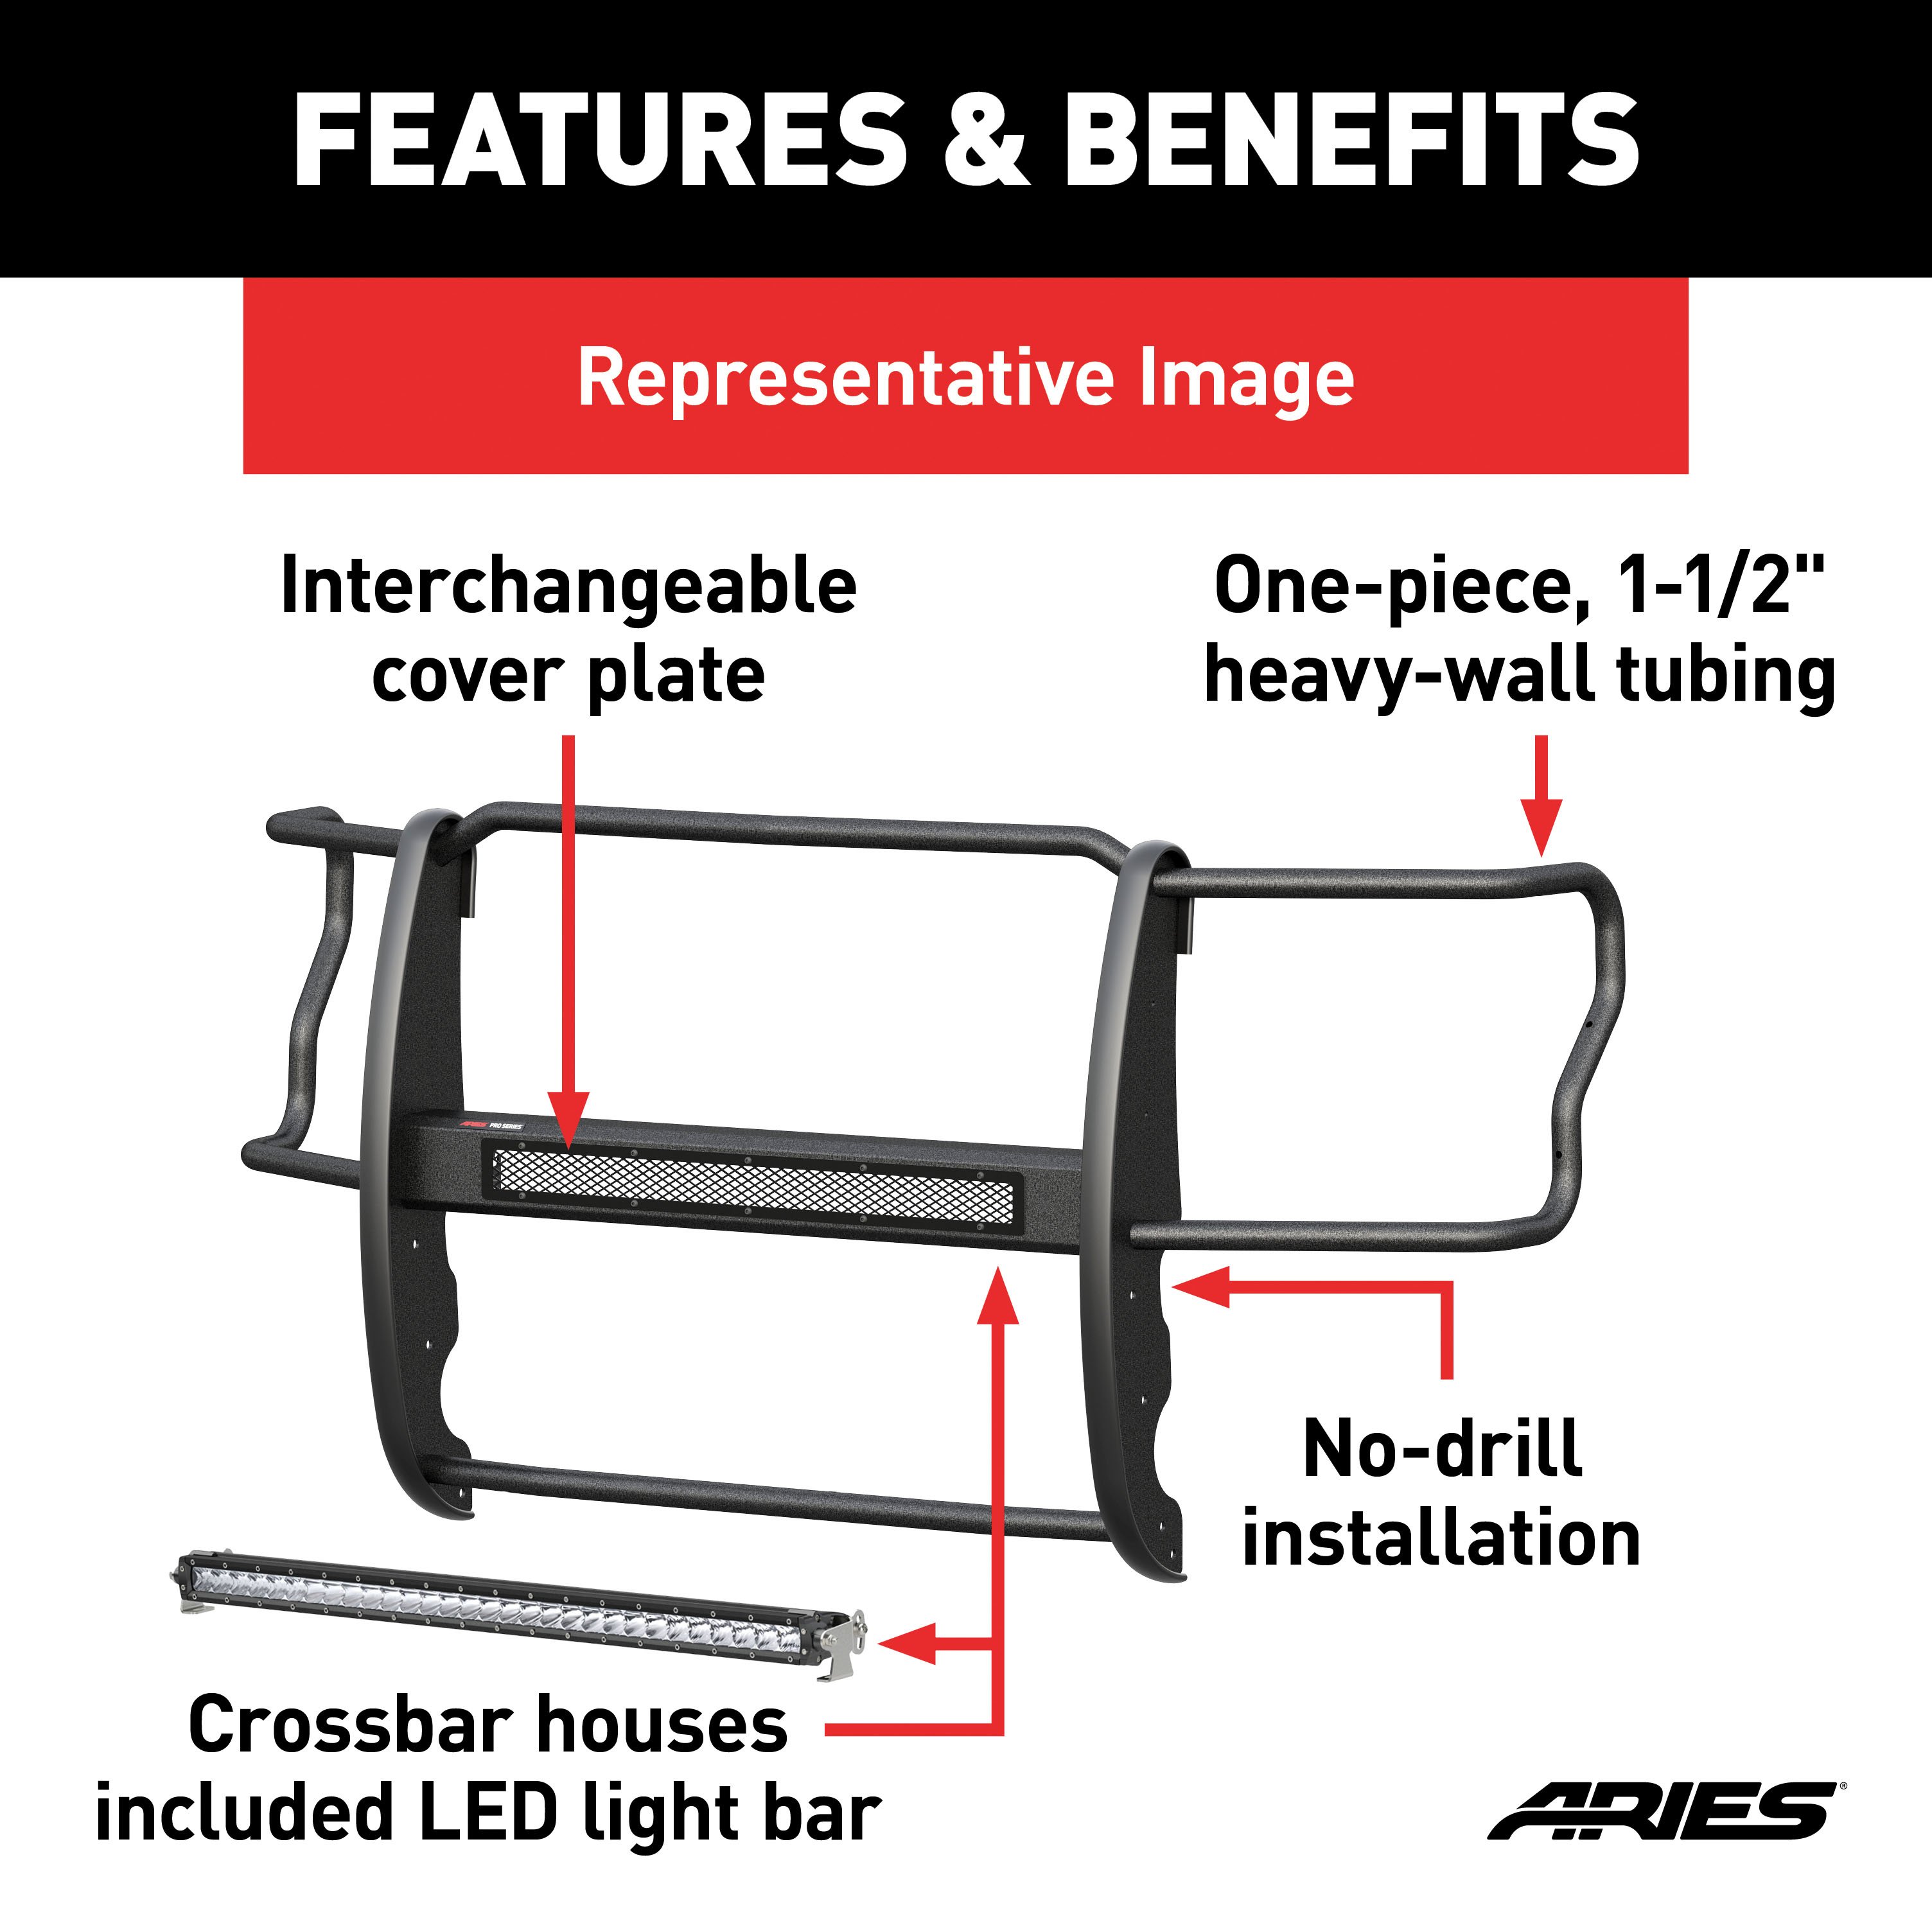
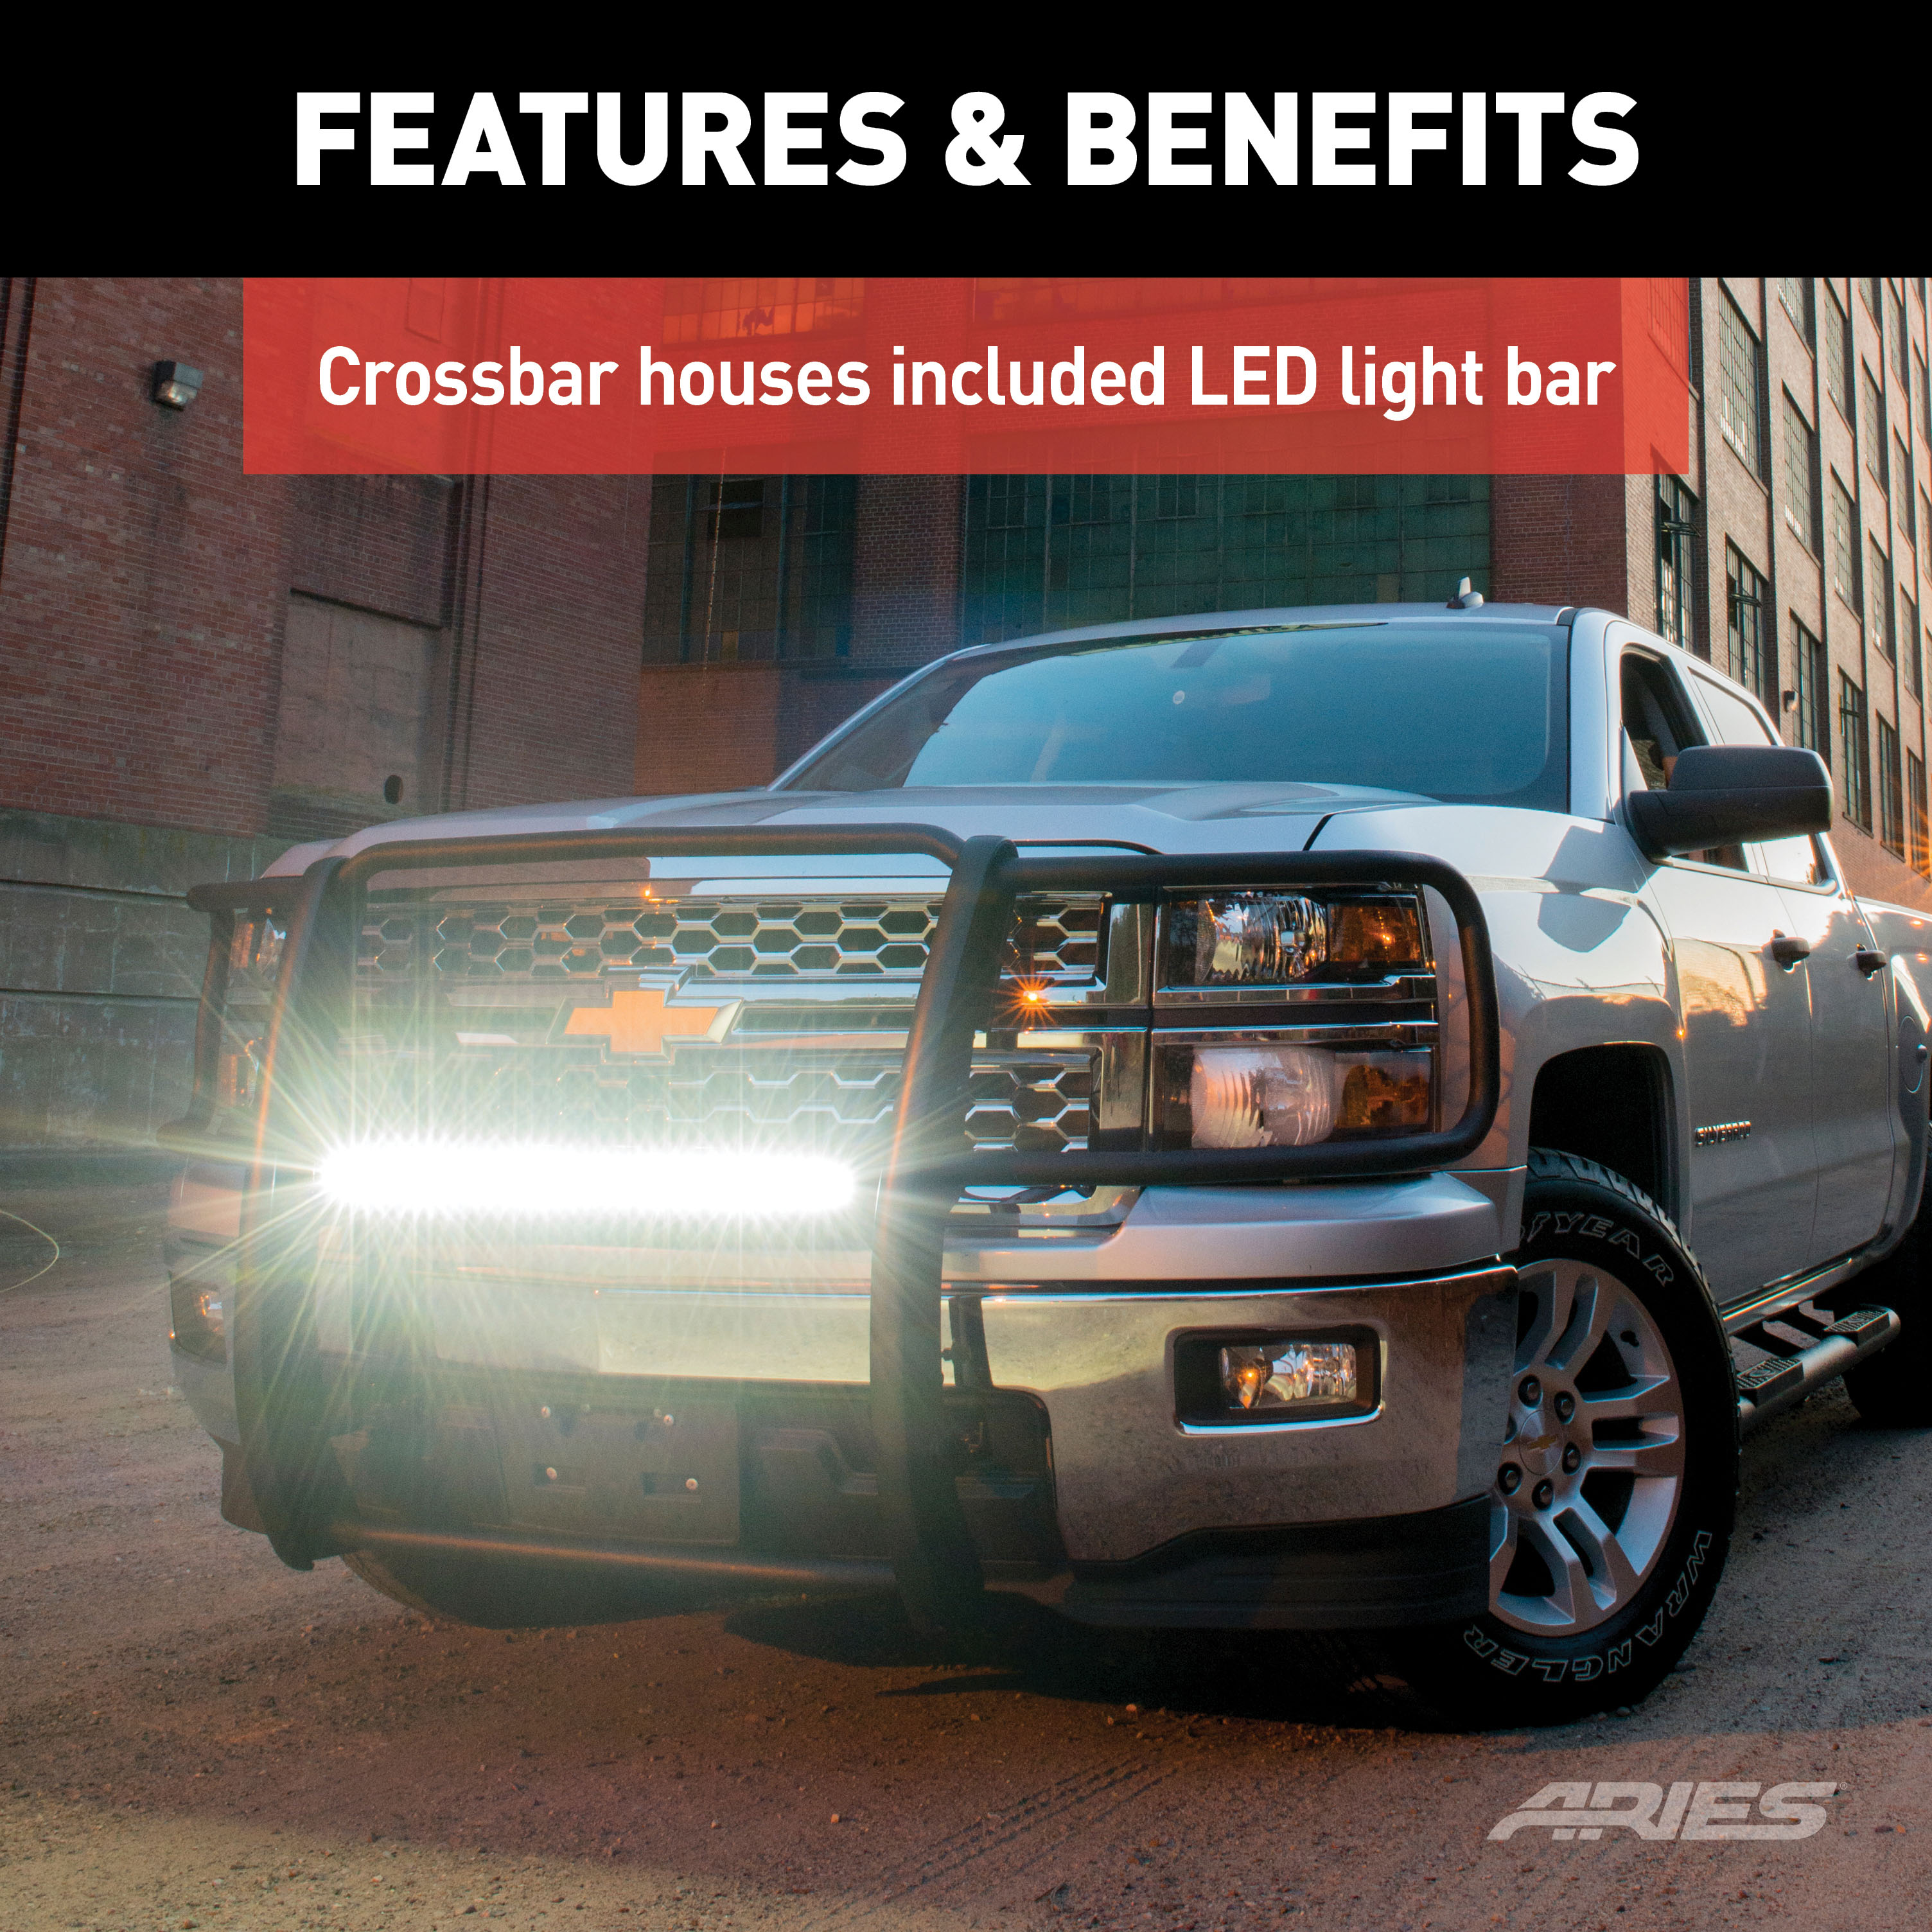
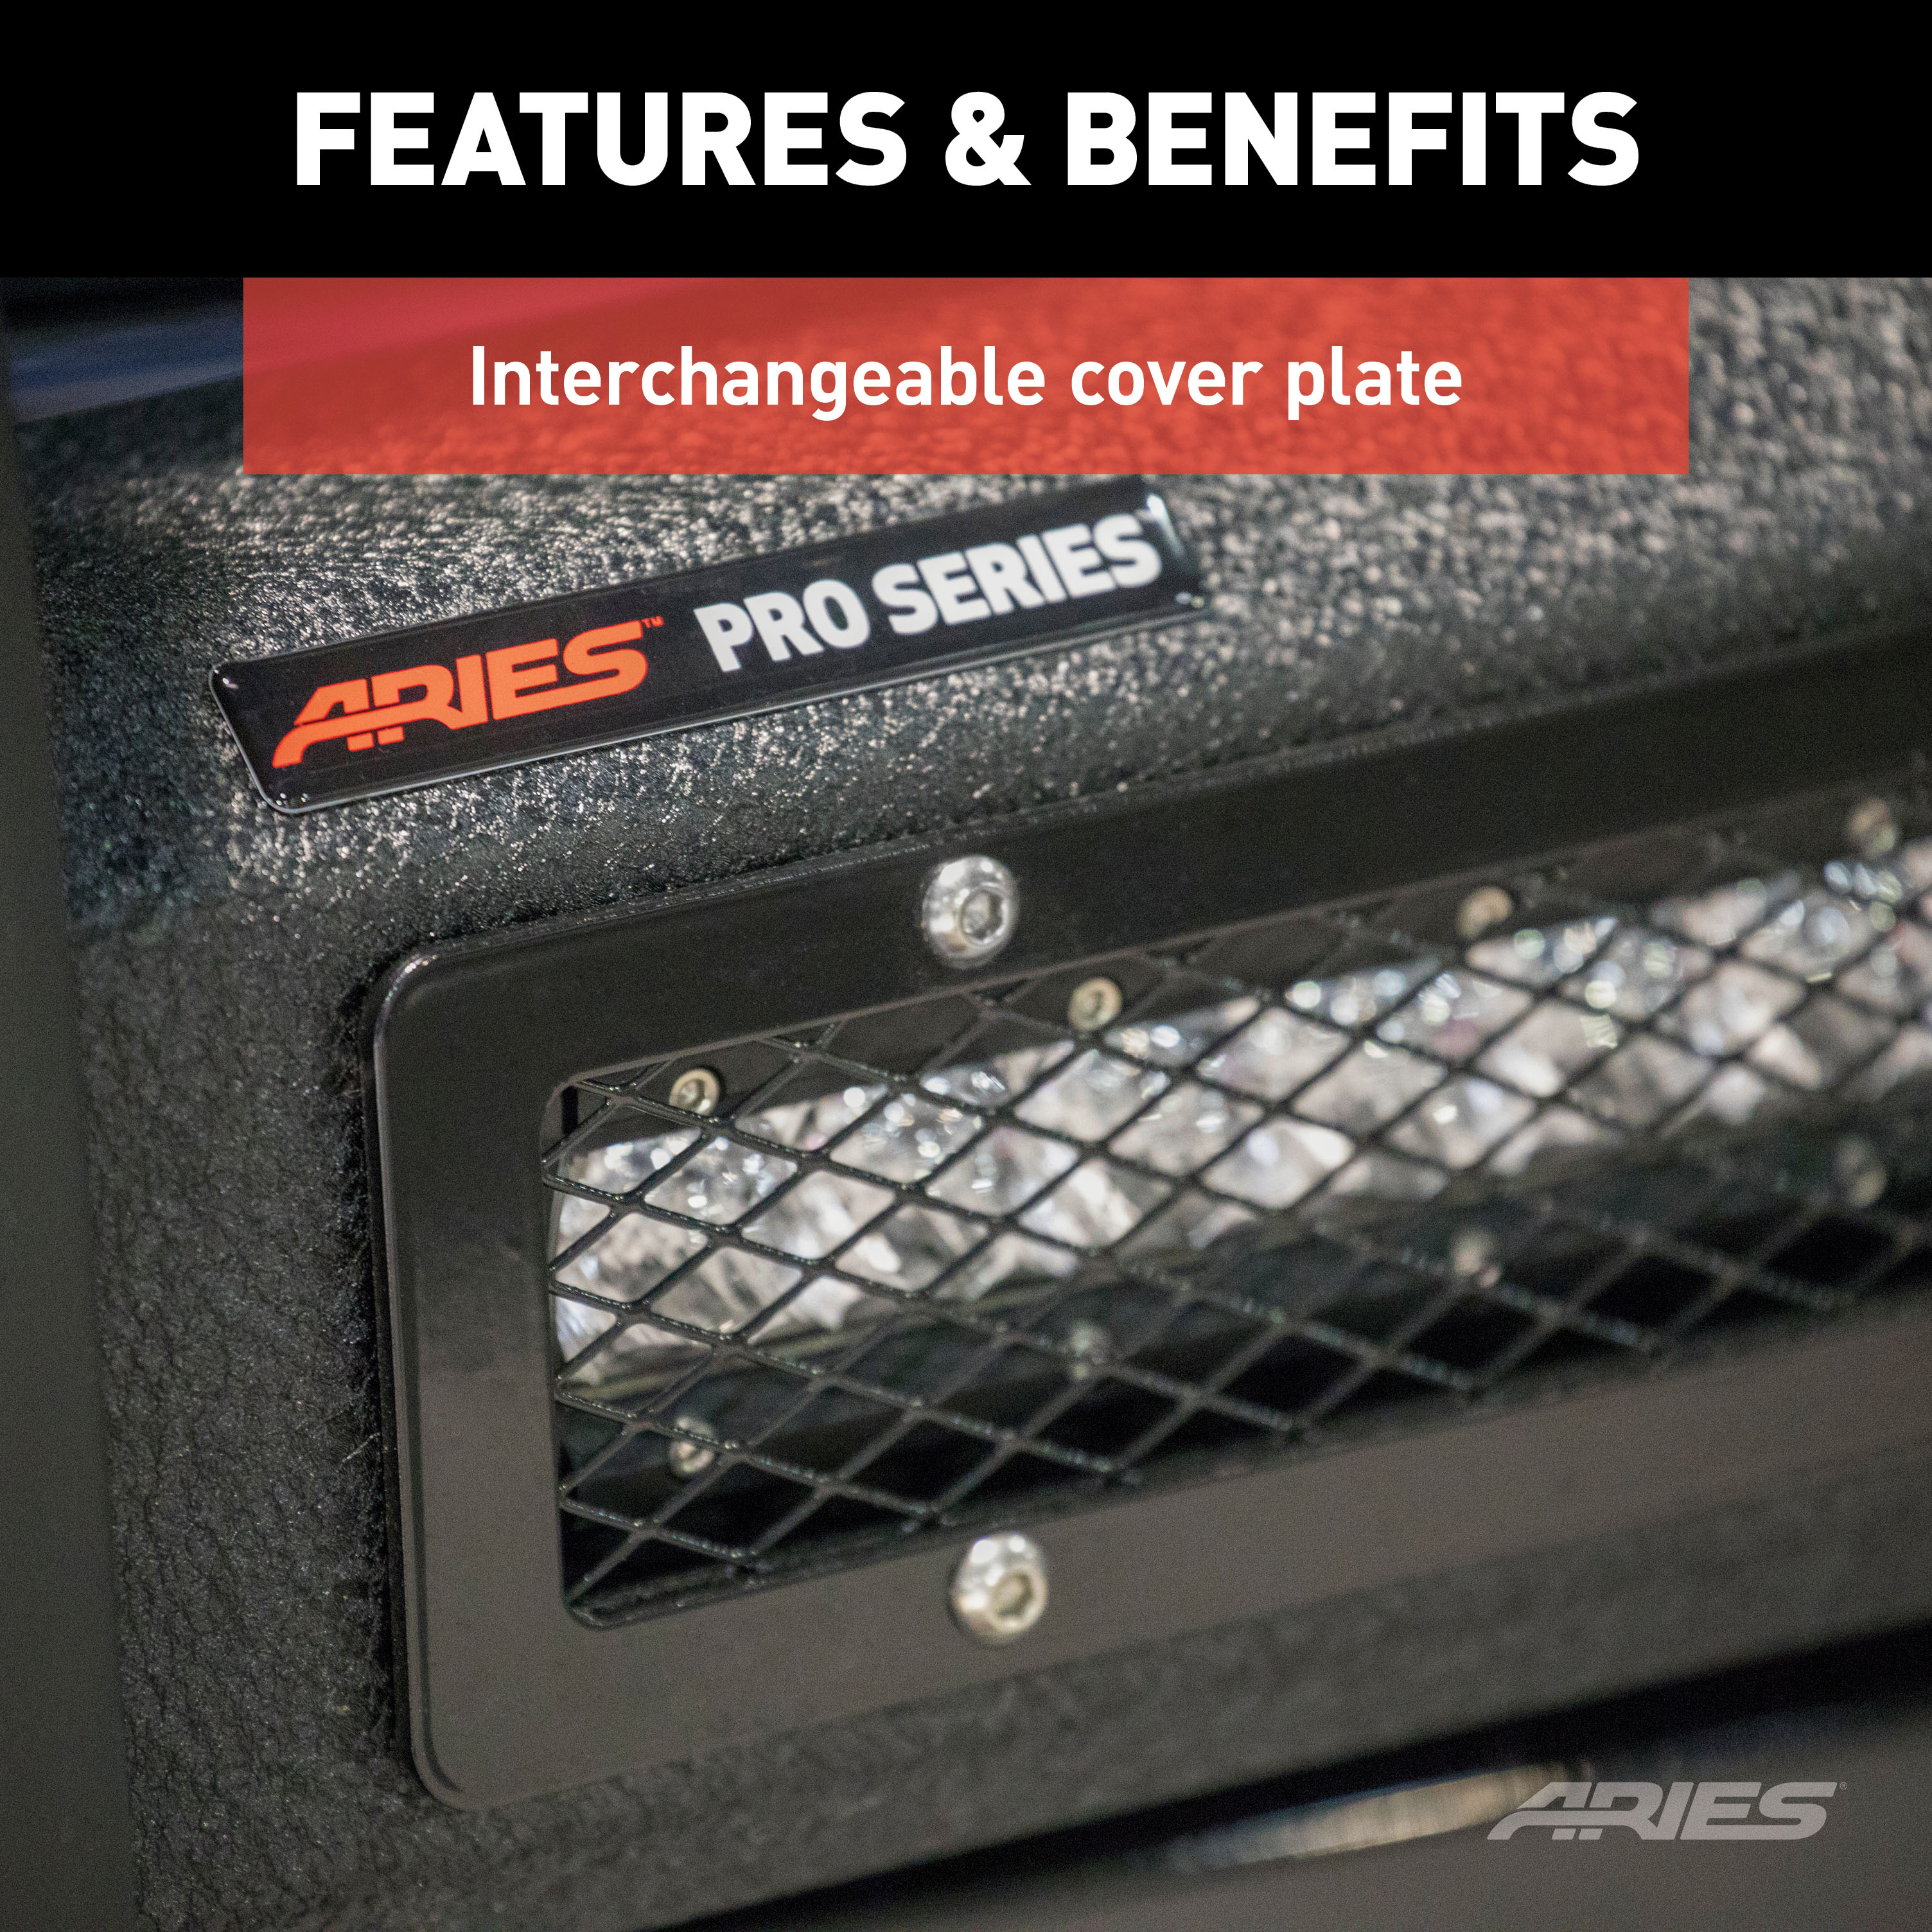
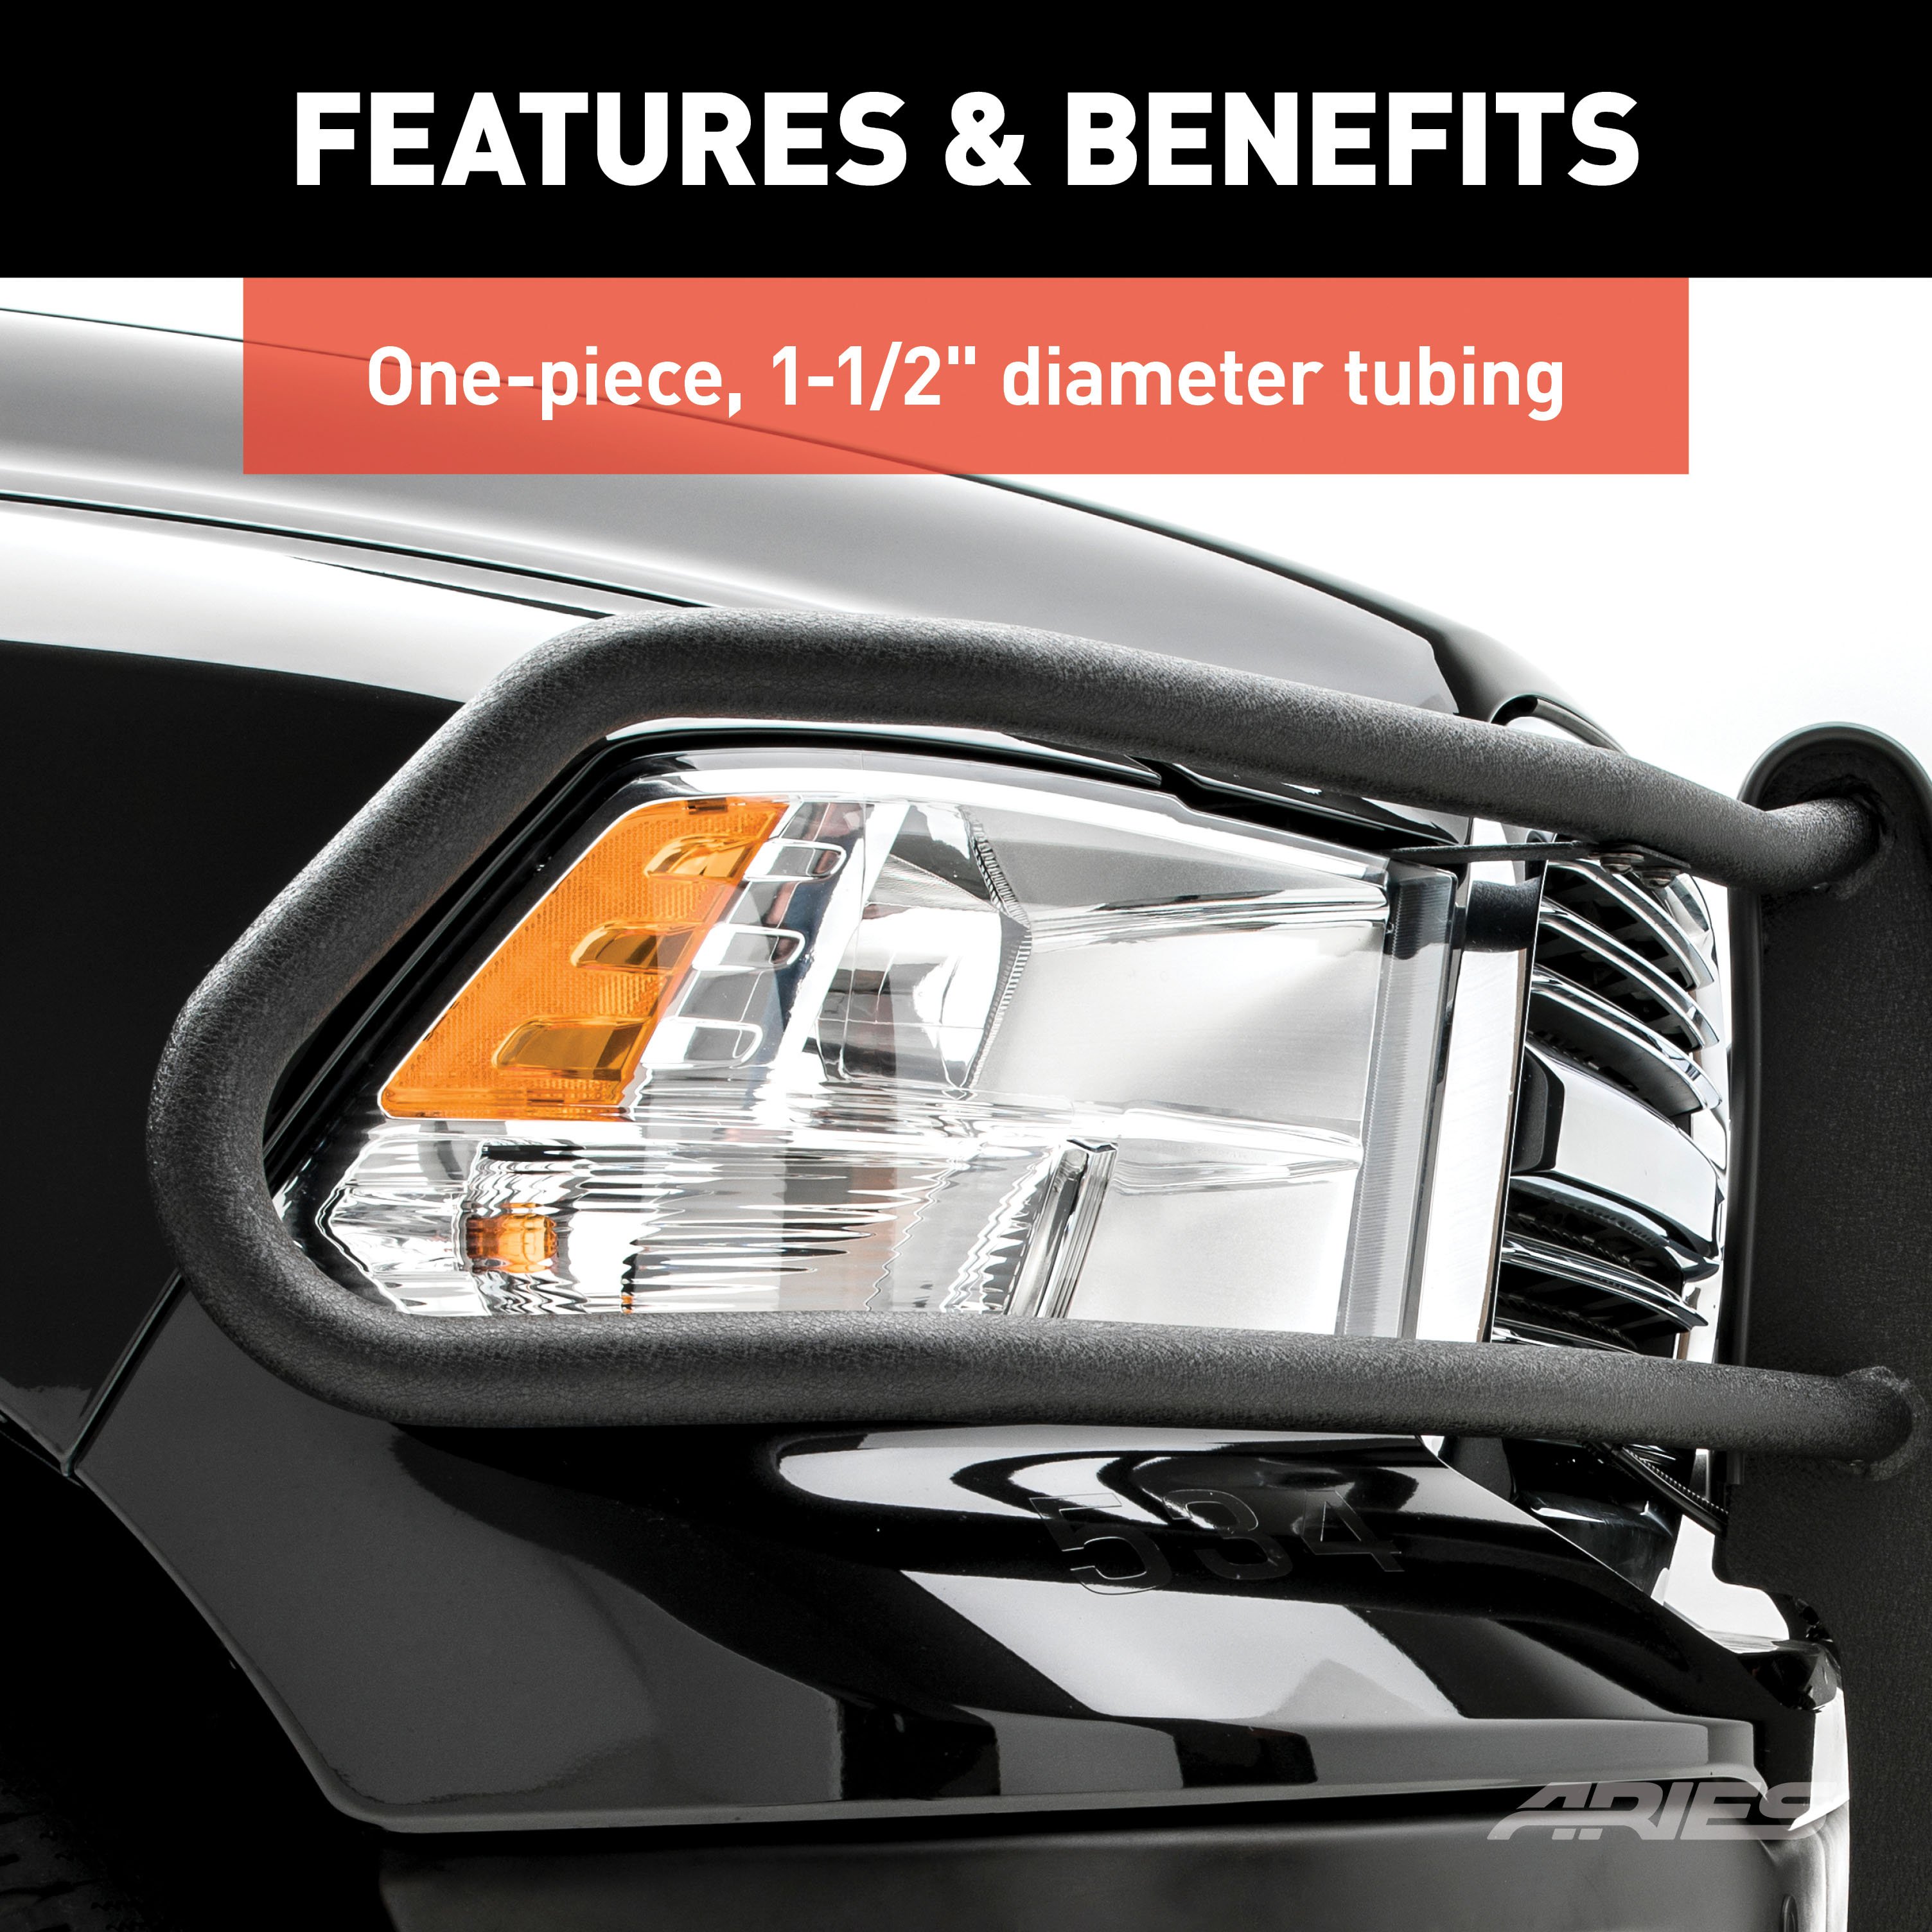
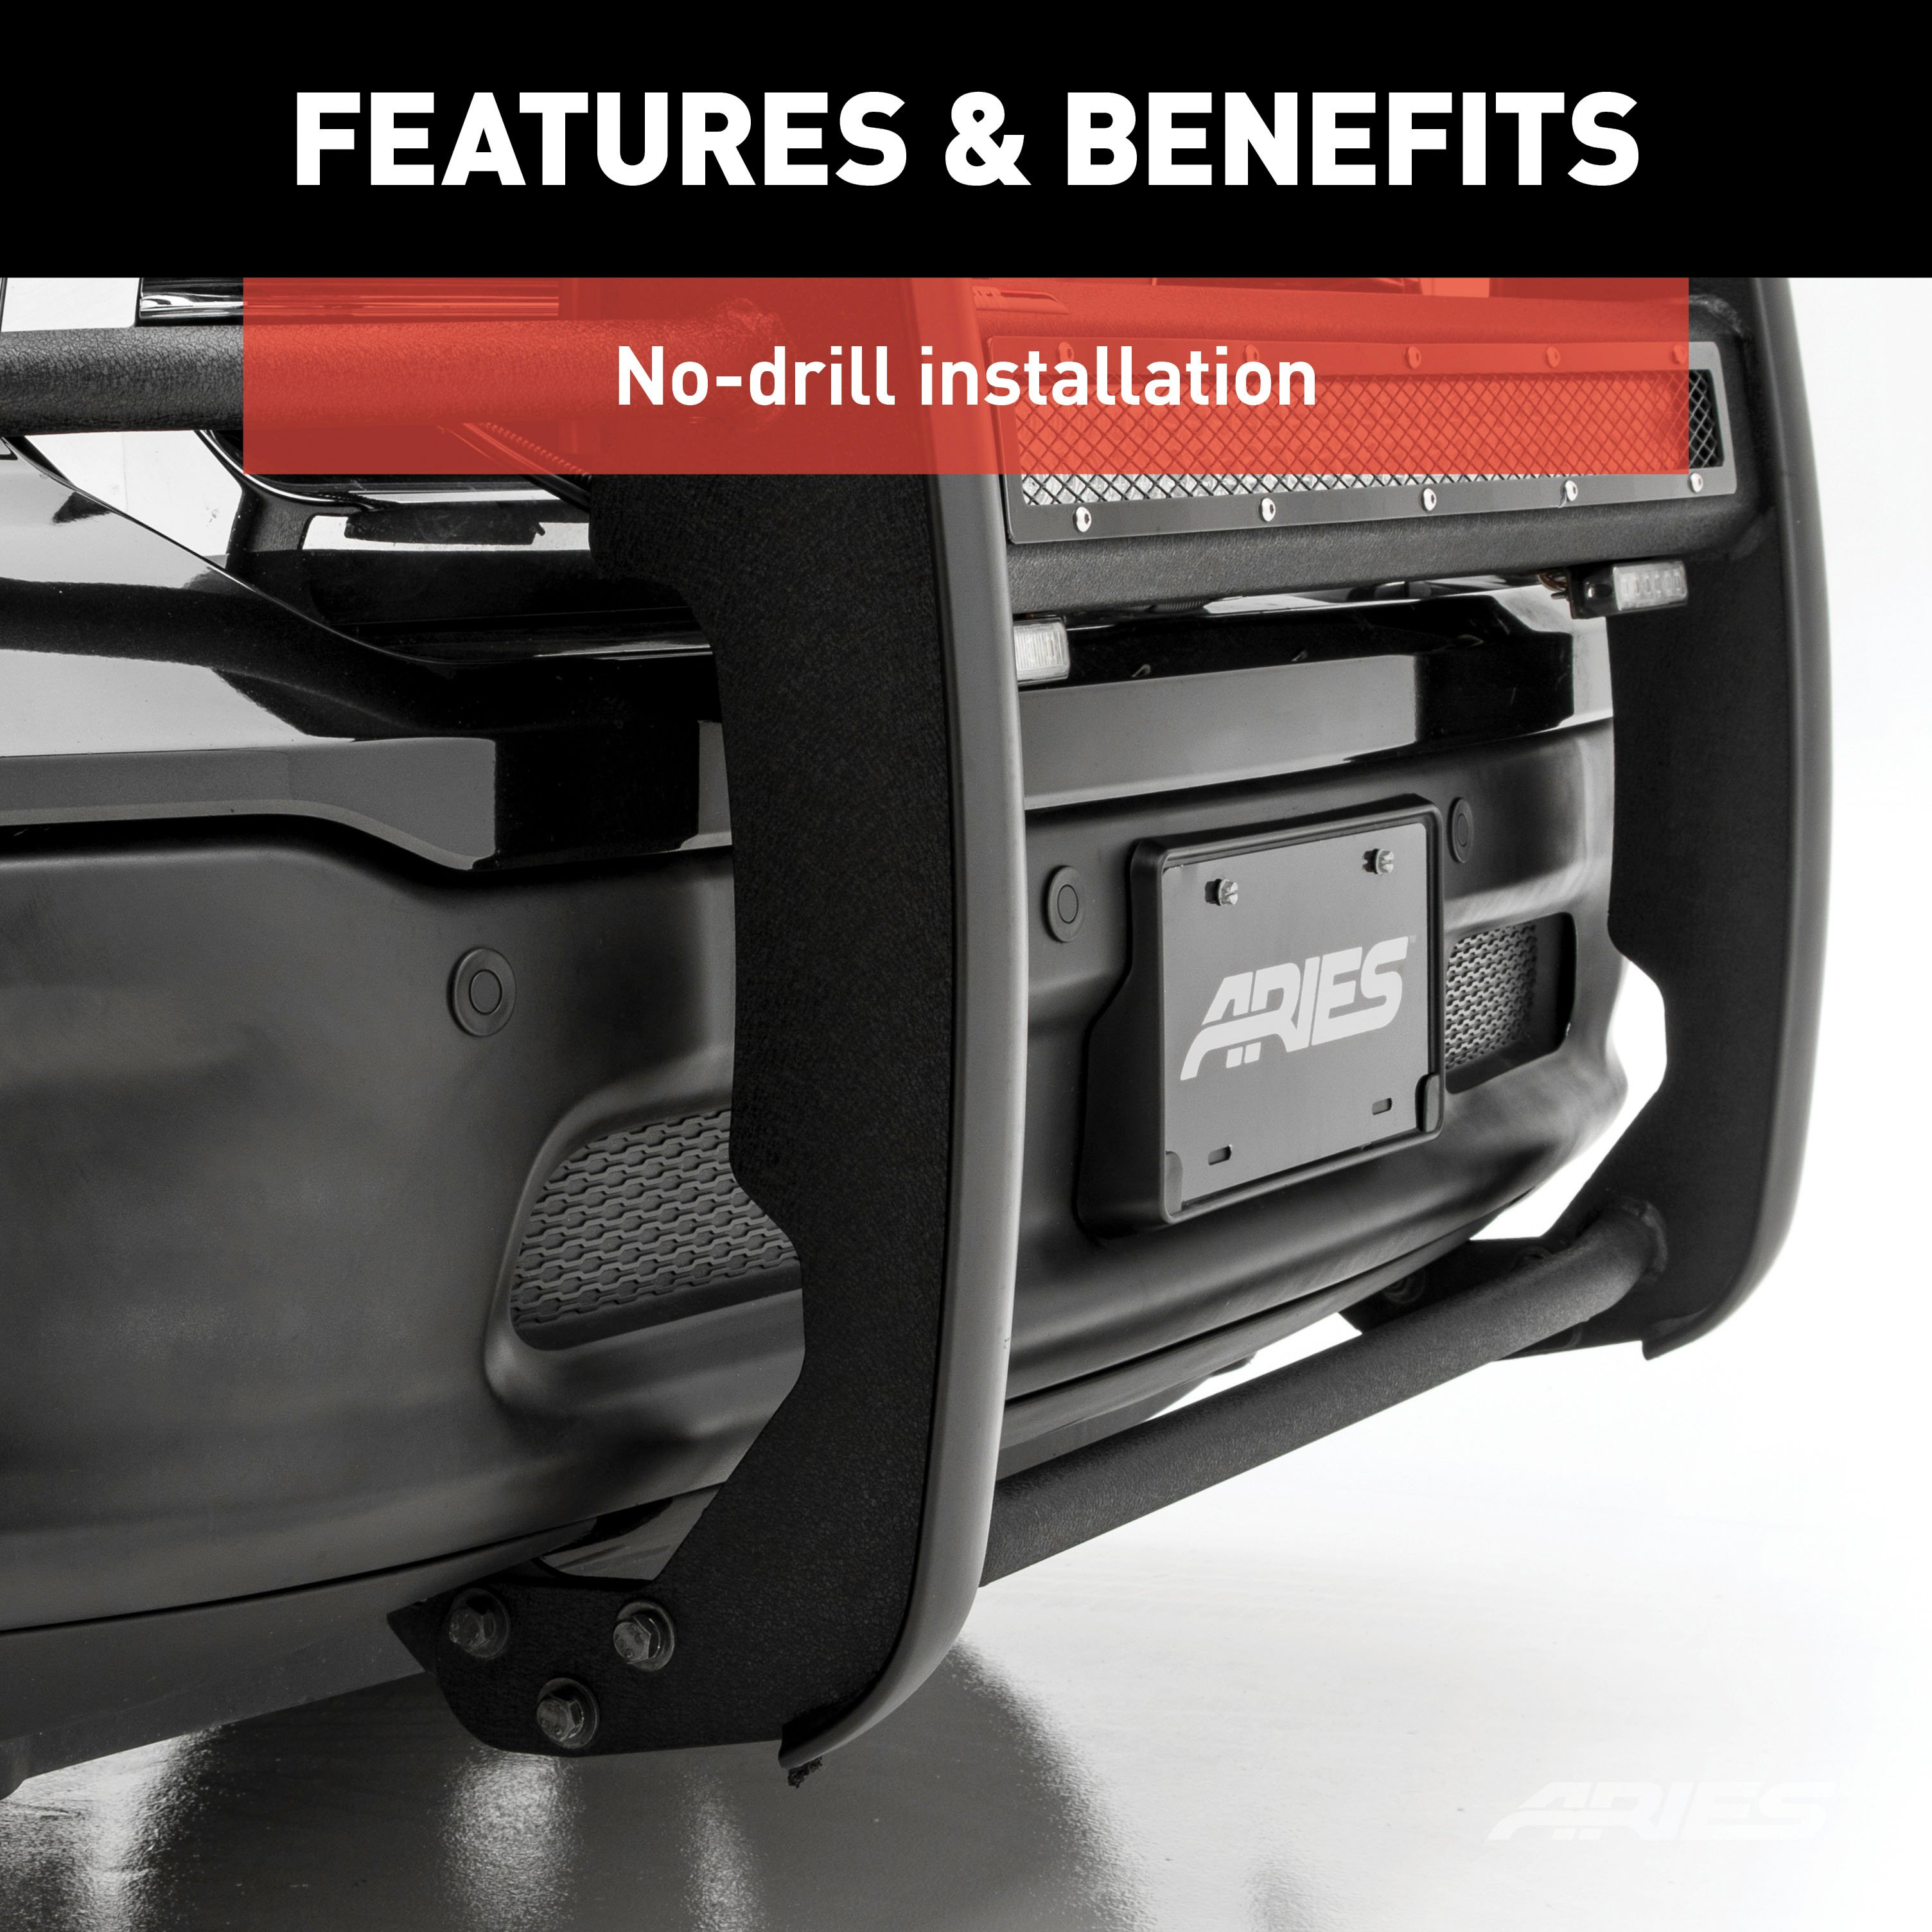
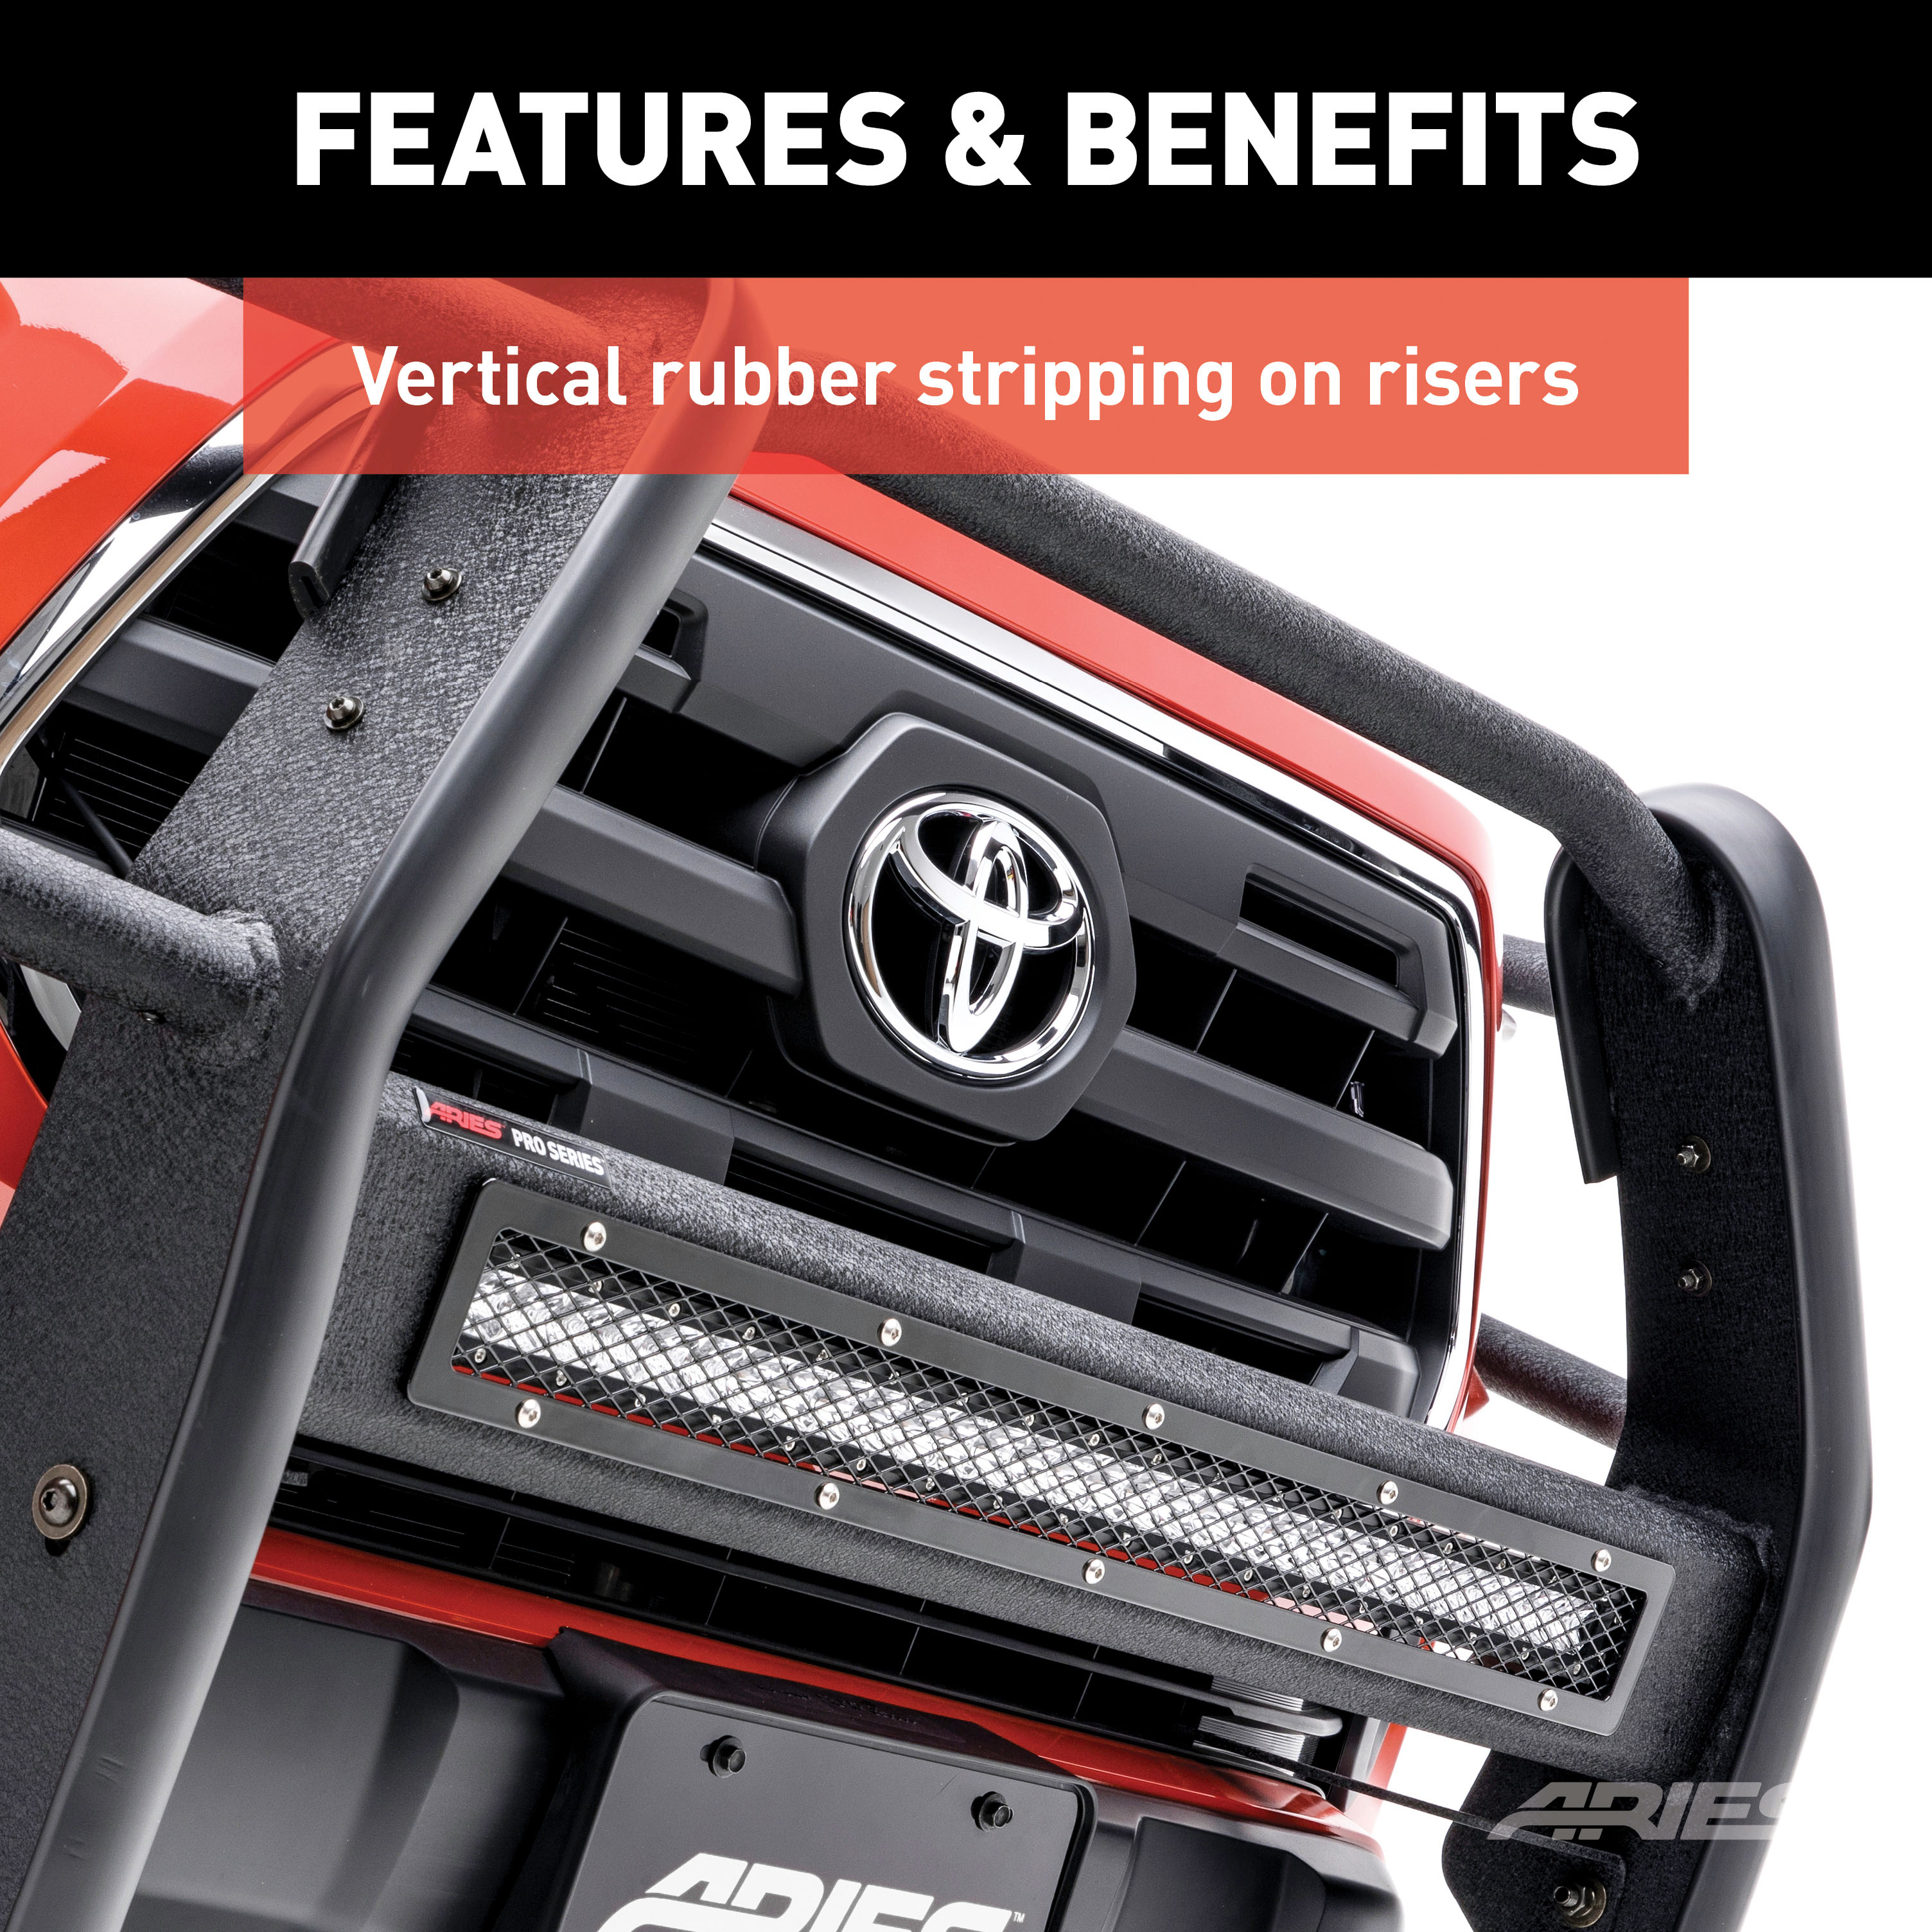
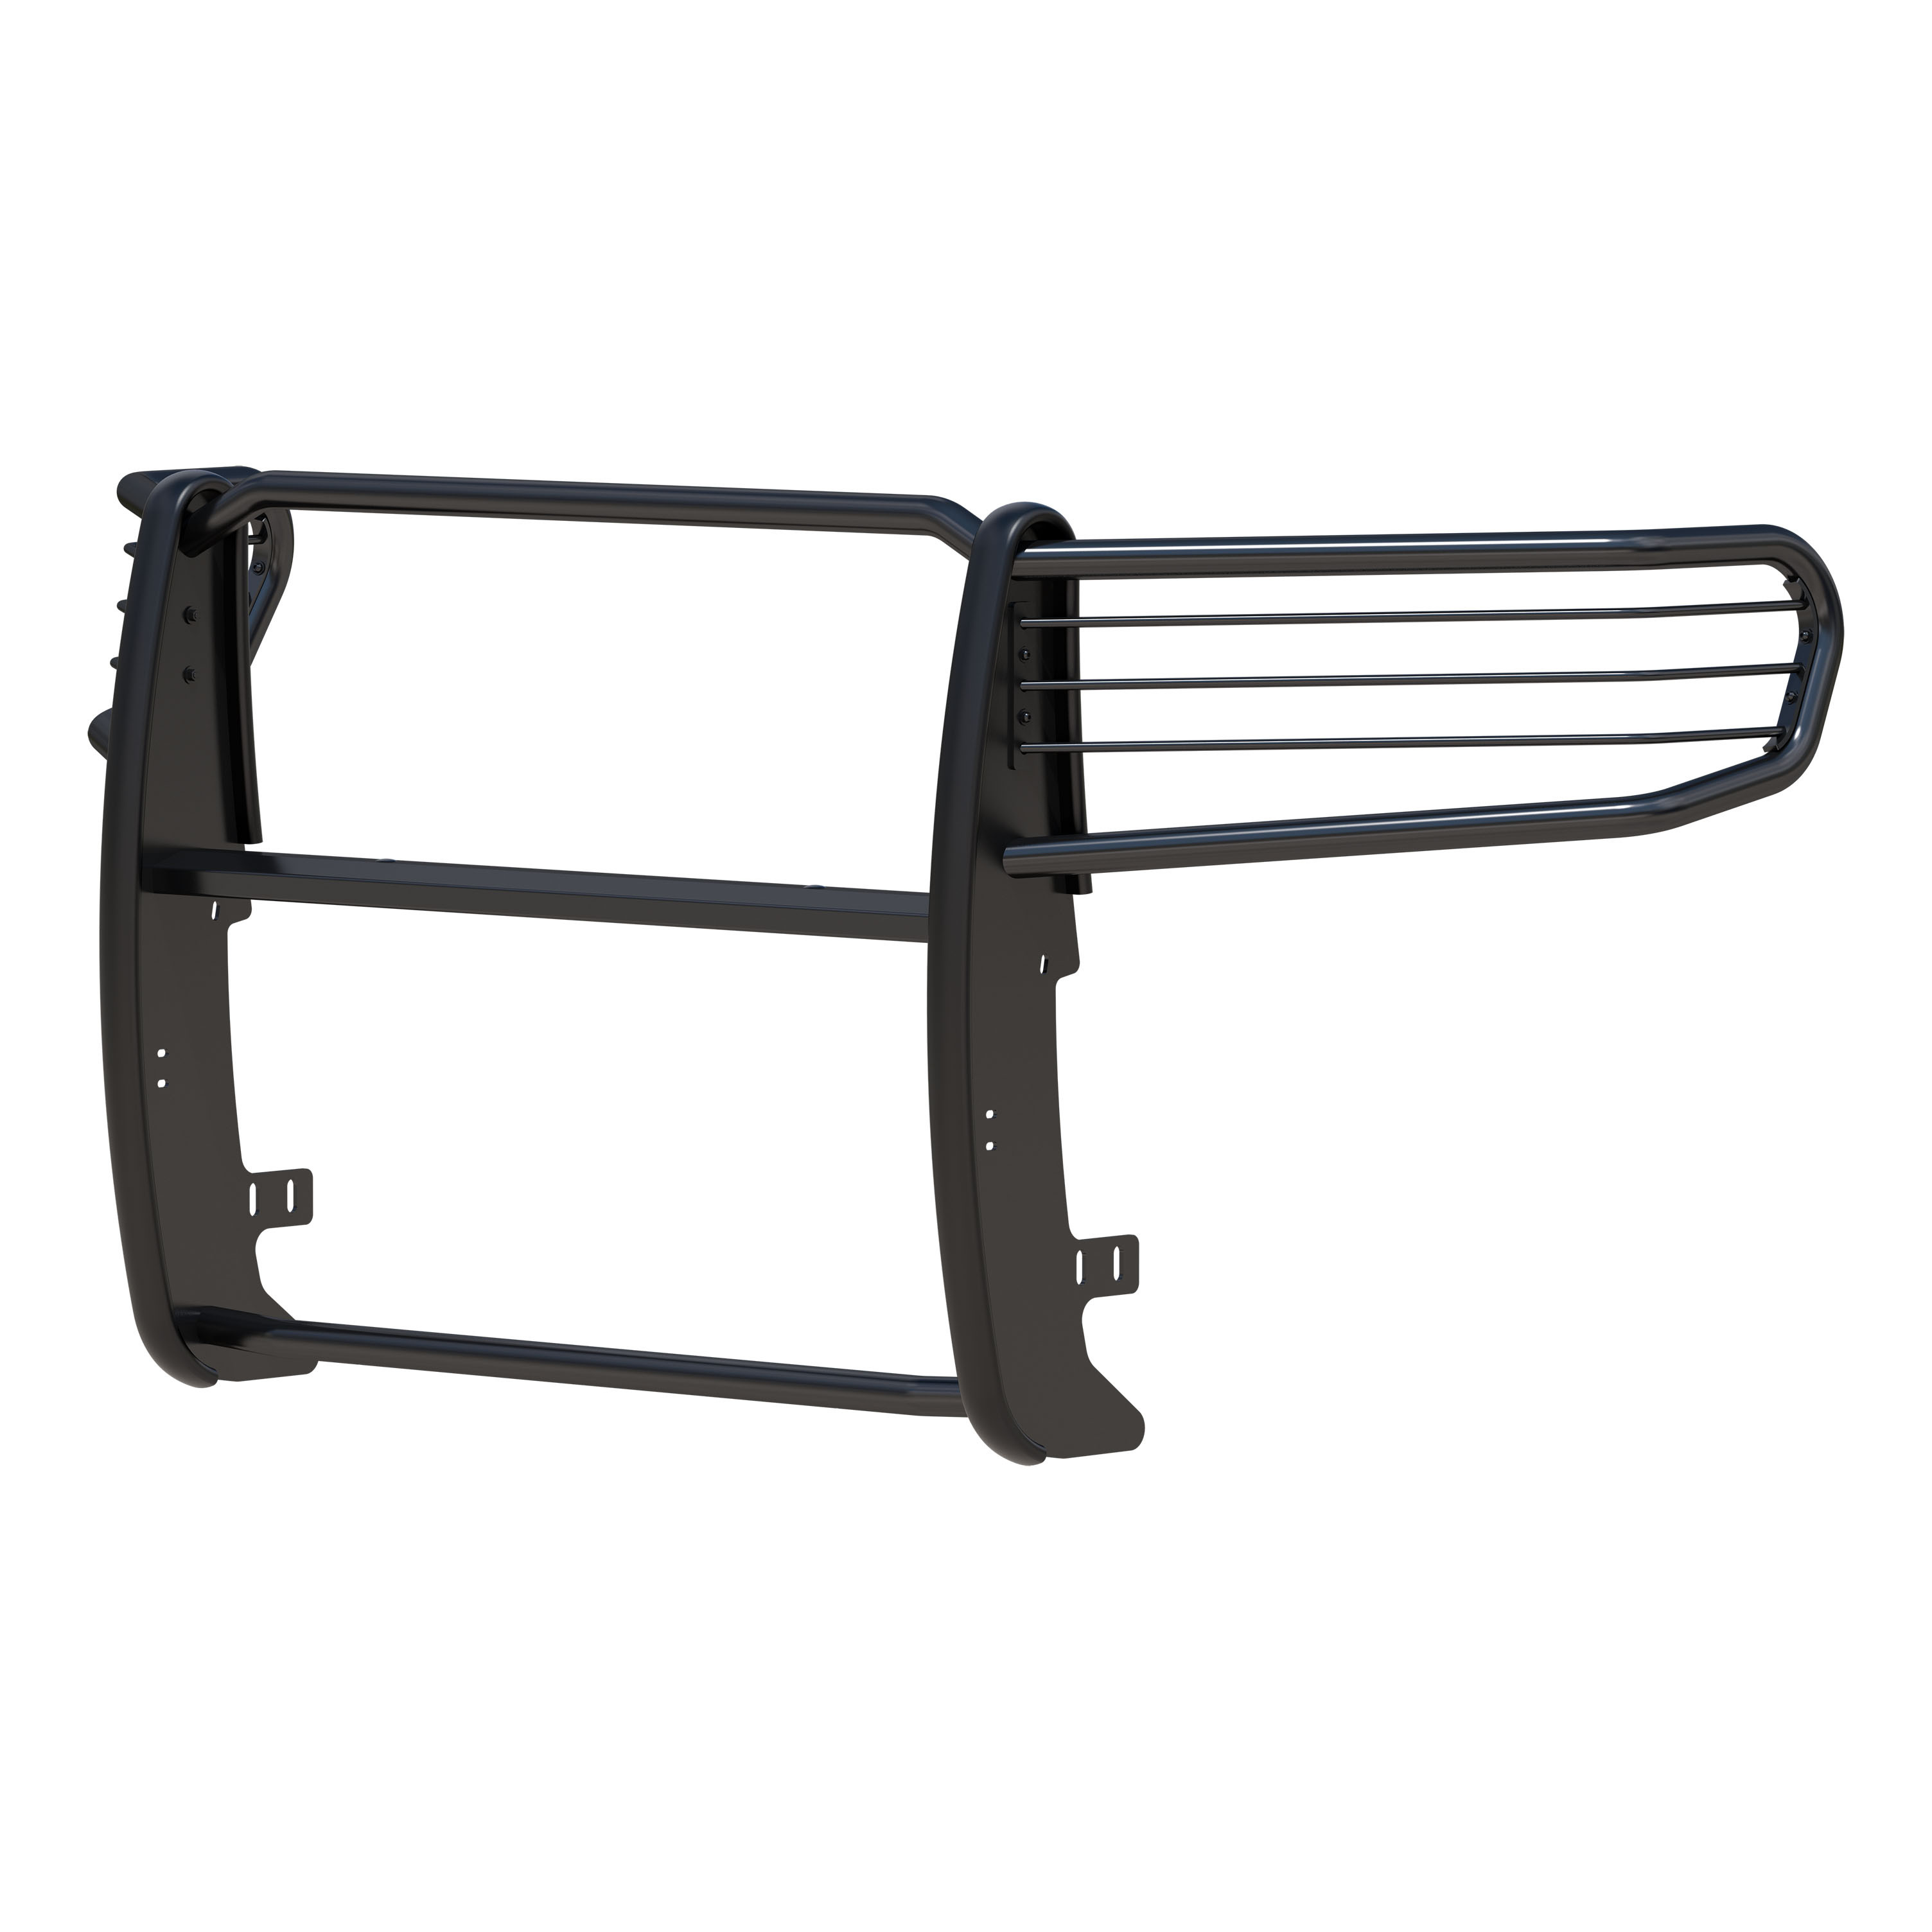
The ARIES Pro Series grille guard is unlike any other grille guard or brush guard on the road today because of its patented center crossbar. The ARIES Pro Series grille guard has a unique center crossbar that houses an LED light bar, allowing you to truly set your truck apart from all others. Rather than using a set of light clips or forcing you to drill holes into the frame, the aerodynamic crossbar of the Pro Series grille guard is the light bar housing itself. It uses a 30" slotted channel bracket to mount the included 30" LED light bar #1501264. The bracket can also accept other single-row light bars (some 30" light bars may not fit). The crossbar mount can also articulate, allowing you to position the light beam at any angle you prefer. Integrating the channel mount into the crossbar housing also keeps the light bar protected from the elements. To further stylize your truck, the Pro Series grille guard also comes with an interchangeable grille guard cover plate. Included with each grille guard is a black mesh cover plate that easily bolts on and provides added security for your aftermarket lights. The mesh cover plate can be swapped out with other cover plate options, including five different styles and two finishes. Solid construction should be an essential feature of any grille guard, and the Pro Series grille guard is more than qualified. It has a one-piece design of 1/4" thick welded plates and 1-1/2" mandrel-bent carbon steel tubing. We also finish each Pro Series grille guard in a highly durable, dual-layer E-coat and textured black powder coat, giving it resilience to rust and scratches. This unique finish also helps hide minor scratches and grime to maintain a clean look. ARIES Pro Series grille guards are made vehicle-specific for seamless integration with the factory bumper and an easy, no-drill installation. This grille guard fits select model years of the Ram 1500, Ram 1500 Classic and Dodge Ram 1500 (see application info to verify fitment).

Explore ARIES products at TowUniverse for top-tier grille guards, side bars, nerf bars, headache racks, and more. Upgrade your vehicle with ARIES today!
ARIES is a fast-paced marketer and innovator of truck, Jeep, SUV and CUV accessories. From automotive enthusiasts to professional builders, our products are built for the champions of individualism, innovation and attitude.
We offer the perfect combination of unique style and durable construction, specializing in custom-fit grille guards, bull bars, side bars and running boards, as well as Jeep Wrangler and Jeep Gladiator accessories.
ARIES products are made vehicle-specific for a custom fit, and they are available for a wide variety of makes and models sold in North America.
Experts available to answer your questions
Call 888-634-9494Limited Lifetime Warranty (Three-Year Finish, One-Year Parts)
3 compatible vehicles
| Year | Make & Model | Notes |
|---|---|---|
| 2009 - 2010 | Dodge Ram 1500 | — |
| 2011 - 2018 | Ram 1500 | — |
| 2019 - 2024 | Ram 1500 Classic | — |
Yes, the ARIES 2170028 Pro Series Black Steel Grille Guard with Light Bar, Select Dodge, Ram 1500 (Part #BBDR2170028) is designed to fit the 2009-2010 Dodge Ram 1500.
The ARIES 2170028 Pro Series Black Steel Grille Guard with Light Bar, Select Dodge, Ram 1500 (Part #BBDR2170028) fits 2009-2010 Dodge Ram 1500 models. The 2024 model year is the last year covered by this part number. For newer models, check for an updated version.
The ARIES 2170028 Pro Series Black Steel Grille Guard with Light Bar, Select Dodge, Ram 1500 (Part #BBDR2170028) fits the following vehicles: 2009-2010 Dodge Ram 1500; 2011-2018 Ram 1500; 2019-2024 Ram 1500 Classic. Always verify your specific year, make, and model before ordering.
The ARIES 2170028 Pro Series Black Steel Grille Guard with Light Bar, Select Dodge, Ram 1500 (Part #BBDR2170028) Refer to the included instructions for installation details. Basic hand tools are typically all you need.
The kit includes: 1 grille guard, 2 upper frame mounting brackets, 1 driver/left and 1 passenger/right lower frame mounting bracket, 1 driver/left and 1 passenger/right upper support bracket, 1 driver/left and 1 passenger/right lower support bracket, 1 support flange, 2 8mm nut clips, 1 wrench, 8 12mm x 35mm hex bolts, 12 12mm hex nuts, 22 12mm x 32mm OD x 3mm flat washers, 14 12mm lock washers, 4 8mm x 20mm button head Allen bolts, 4 8mm x 22mm OD x 2mm flat washers, 4 8mm lock washers, 2 5mm x 15mm button head Allen bolts, 2 5mm nylon lock nuts, 4 5mm x 10mm OD x 1mm flat washers, 2 12-1.5mm x 30mm special fine thread hex bolts (for non-tow hook models only), 2 8mm nut clips, 2 8mm hex bolts, and 2 8mm flat washers.
Yes, the P5058 fits both 2009-13 Dodge Ram 1500 models with and without tow hooks. However, the installation procedure differs between the two versions. Models without tow hooks use upper frame mounting brackets and 12-1.5mm x 30mm special fine thread hex bolts to attach to the frame. Models with tow hooks hang the lower mounting bracket from the tow hook mounting studs and attach the support bracket to the rear tow hook bolt. The manual provides separate detailed instructions for each configuration.
Yes, the P5058 is designed for both 2WD and 4WD 2009-13 Dodge Ram 1500 models.
No, the LED light is sold separately. The P5058 kit includes a support flange designed to mount an LED light, but you must purchase the LED light independently. The manual states that LED manufacturers have different mounting styles and brackets, so you will need to attach your chosen LED light to the support flange according to the LED manufacturer's instructions.
Yes, you must remove the plastic splash guard from the underside of the front bumper. The splash guard is typically attached with hex bolts and two-piece plastic push-in clips, or with rivets at the corners. Remove all hex bolts first, then locate and pry out the clips using a small flat blade screwdriver by pushing up on the center pin. If rivets are present, use wire cutters to remove them. After installation of the grille guard, you will reinstall the splash guard with a slot cut to clear the support brackets.
Yes, cutting is required. You must cut an approximately 1/2" wide by 4" long slot in the splash guard to clear the support brackets. The manual notes that the slot size is an estimate and may vary due to different factory designs. Additional cutting may be required on vehicles equipped with tow hooks. To maintain splash guard integrity, do not cut the slot larger than necessary, do not cut through the front or back edges, and make several small cuts first while checking fit often.
Yes, assistance is recommended. The manual explicitly states "Assistance is Recommended" in the initial instructions, and Step 8 specifies "With assistance, hold the Grille Guard up to the outside of the Mounting Brackets" when bolting the grille guard to the brackets.
The kit includes 1 wrench. Additional tools needed are: a small flat blade screwdriver (to remove plastic push-in clips from the splash guard), wire cutters (to remove rivets if present on the splash guard), and tools to cut the splash guard slot (such as a saw or rotary tool). Socket wrenches or hex key sets will be needed to install the various bolts and nuts, though specific socket sizes are not detailed in the manual.
The installation sequence is: 1) Remove splash guard from bumper; 2) Determine if truck has tow hooks; 3) Install lower mounting brackets (driver and passenger sides) using appropriate method for tow hook or non-tow hook models; 4) Install lower support brackets; 5) Install top brackets at the headlight opening; 6) Attach grille guard to mounting brackets; 7) Attach top brackets to headlight guard tube; 8) Check hood clearance; 9) Center and level grille guard; 10) Tighten only lower frame mounting bracket hardware; 11) Remove grille guard; 12) Cut splash guard slot; 13) Reinstall splash guard; 14) Reinstall and tighten all grille guard hardware.
First, attach your LED light to the support flange using the LED manufacturer's mounting hardware and brackets. Insert the two 8mm nut clips into the slotted holes on either side of the support flange. Lay the grille guard face down on cardboard or a blanket to protect the finish. Place the support flange with LED attached into the center flange of the grille guard. Attach each side of the support flange to the inner brackets using 2 8mm hex bolts, 2 8mm flat washers, and 2 8mm lock washers per side. Snug but do not tighten at this time.
1) Remove the hex nuts from the two lower factory bumper bolts. 2) Select one upper frame bracket and the driver side lower mounting bracket. Bolt them together with 2 12mm flat washers, 2 12mm lock washers, and 2 12mm hex nuts. Snug but do not tighten. 3) Insert the assembled bracket up from behind the bumper and align the holes with the bumper bolts. Attach using the factory hex nuts, snugged but not tightened. 4) Install the driver side lower support bracket with the bent end toward the front. Bolt it to the inside of the lower mounting bracket using the top round hole with 1 12mm x 35mm hex bolt, 2 12mm flat washers, 1 12mm lock washer, and 1 12mm hex nut. 5) Attach the flat end of the support bracket to the frame with 1 12-1.5mm x 30mm special fine thread hex bolt, 1 12mm flat washer, and 1 12mm lock washer. Snug but do not tighten. 6) Repeat for the passenger side. Note: The frame hole is fine thread; only use the 12-1.5mm x 30mm bolt provided.
1) Remove the 2 hex nuts holding the front of the tow hook to the back of the bumper. 2) Select the driver side lower mounting bracket and hang it from the tow hook mounting studs using the factory hex nuts. Do not tighten. 3) Bolt the flat end of the driver side support bracket to the inside of the lower mounting bracket using the second round hole from the top with 1 12mm x 35mm hex bolt, 2 12mm flat washers, 1 12mm lock washer, and 1 12mm hex nut. 4) Attach the bent end of the support bracket to the rear tow hook bolt by loosening the rear mounting bolt, inserting the slotted end under the head of the factory bolt. 5) Snug but do not tighten all hardware. 6) Repeat for the passenger side.
1) Open the hood and locate the driver side inner headlight mounting screw. 2) Remove the factory hex bolt. 3) Insert the driver side top bracket between the radiator support and the headlight housing. 4) Reinstall the factory hex bolt and snug but do not tighten. 5) Repeat for the passenger side top bracket. 6) Once the grille guard is in position, line up each top bracket with the 2 threaded inserts in the bottom of the headlight guard tube. 7) Bolt each bracket to the inserts with 2 8mm x 20mm button head Allen bolts, 2 8mm x 22mm x 1.5mm flat washers, and 2 8mm lock washers. Do not tighten at this time.
With assistance, hold the grille guard up to the outside of the mounting brackets. Bolt the grille guard to the brackets with 6 12mm x 35mm hex bolts, 12 12mm flat washers, 6 12mm lock washers, and 6 12mm hex nuts. Do not tighten the hardware at this time. After the grille guard is properly aligned and centered, tighten only the hardware securing the lower frame mounting brackets to the truck. Do not tighten the hardware on the grille guard itself until after the splash guard has been cut and reinstalled.
After installing the top brackets, slowly close the hood to check for clearance between the hood and the top brackets. Adjust the brackets as necessary, then snug but do not tighten the hardware. This check must be performed before final tightening to ensure the hood operates properly.
1) Hold the splash guard up to the bumper cover and align it with the mounting points. 2) Mark the location of the mounting brackets onto the back of the splash guard. 3) Cut an approximately 1/2" wide by 4" long slot in the splash guard as marked. The manual notes this size is an estimate and may vary due to different factory designs. Additional cutting may be required on tow hook-equipped vehicles. 4) To maintain splash guard integrity, do not cut the slot larger than necessary. Do not cut through the front or back edges of the cover. 5) Make several small cuts first and check the fit often for a clean installation.
Check the fit of the splash guard with the cut slot around the support brackets. Reinstall the splash guard using the factory hardware. If the splash guard originally had rivets at the corners, replace them with the supplied 5mm x 15mm button head Allen bolts, 2 5mm flat washers per bolt, and 5mm nylon lock nuts. After the splash guard is reinstalled, re-install, level, and adjust the grille guard as described in the installation steps, then tighten all hardware.
The support flange is attached to the inner brackets inside the center flange of the grille guard using 2 8mm hex bolts, 2 8mm flat washers, and 2 8mm lock washers per side (4 bolts total). These fasteners should be snugged but not fully tightened until final assembly.
Use the 12-1.5mm x 30mm special fine thread hex bolt provided in the kit, along with 1 12mm flat washer and 1 12mm lock washer. The manual emphasizes that the hole in the bottom of the frame is fine thread and only the 12-1.5mm x 30mm hex bolt provided should be used. Do not substitute with standard coarse thread bolts.
Each top bracket is attached to the 2 threaded inserts in the bottom of the headlight guard tube using 2 8mm x 20mm button head Allen bolts, 2 8mm x 22mm OD x 1.5mm flat washers, and 2 8mm lock washers per bracket.
The grille guard is attached to the mounting brackets using 6 12mm x 35mm hex bolts, 12 12mm flat washers (2 per bolt), 6 12mm lock washers, and 6 12mm hex nuts. These fasteners should not be tightened until the grille guard is properly aligned and centered, and only after the lower frame mounting brackets have been tightened.
Perform periodic inspections of the installation to ensure all hardware is secure and tight. To protect your investment, wax the product after installing. Regular waxing is recommended to add a protective layer over the finish. Do not use any type of polish or wax that may contain abrasives, as these could damage the finish.
Yes. Do not cut the splash guard slot larger than necessary to maintain its integrity. Do not cut through the front or back edges of the splash guard cover. Make several small cuts first and check fit often for a clean installation. Additionally, do not use polish or wax containing abrasives on the grille guard finish, as these can cause damage.
The 1501264 is a 10" LED light bar designed to mount on vehicles. It includes a wiring harness, mounting brackets (left and right), a relay, a switch, mounting hardware (M6 and M8 fasteners with washers and lock nuts), and a 15-amp fuse (pre-installed). The light bar is intended to be mounted with rubber spacers between the mounting surface and brackets to isolate vibration.
The light bar can be used with 24V systems, but the relay must be replaced with a 24V unit. The kit comes with a relay suitable for standard 12V systems.
1) Mount the LED light bar in the desired location with a rubber spacer between the mounting surface and each bracket. 2) Disconnect the supplied switch from the wiring harness and install it in the desired location. 3) Route the wiring harness to the light and insert the male plug on the harness into the female socket on the LED light. Reconnect the blue, red, and black spade connectors to the switch according to the wiring diagram. 4) Connect the red fused wire with ring terminal to the positive (+) battery post. Connect the black wire ring terminal to the negative (-) battery post or other suitable vehicle grounding point. 5) Mount the provided relay to the vehicle and secure all wires with zip ties away from moving parts. 6) Test the light to ensure proper function.
The wiring harness has blue, red, and black spade connectors that connect to the switch. The red fused wire with ring terminal connects to the positive (+) battery post. The black wire ring terminal connects to the negative (-) battery post or other suitable vehicle grounding point. Refer to the wiring diagram included in the manual for the specific switch connections.
Improper electrical installation may damage electronic components, resulting in personal injury, property, or equipment damage. Damage caused by incorrect installation is not covered by warranty. Installation should only be performed by qualified personnel with a solid understanding of electrical systems. Periodic inspection of all wires and connections should be performed to ensure there is no visible damage or loose connections. All wires should be secured with zip ties away from moving parts to avoid damage.
Periodic inspection of all wires and connections should be performed to ensure there is no visible damage or loose connections. All wires should be secured with zip ties away from moving parts to prevent damage.
Yes, the P5058 grille guard fits 2009-13 Dodge Ram 1500 in both 2WD and 4WD configurations, and works with or without factory tow hooks. Installation procedures differ slightly between tow hook and non-tow hook models.
No, the LED light is sold separately. The kit includes a support flange to mount your chosen LED light, but you must purchase the light independently and attach it according to the LED manufacturer's instructions.
Yes, you must cut an approximately 1/2" wide by 4" long slot in the plastic splash guard to clear the support brackets. The exact size may vary by vehicle. Do not cut through the front or back edges of the splash guard.
Yes, assistance is recommended. The manual specifically states assistance is needed when holding the grille guard up to the mounting brackets during installation.
The kit includes a wrench. You will also need a small flat blade screwdriver (to remove plastic clips), wire cutters (for rivets), and tools to cut the splash guard slot. Socket wrenches or hex keys will be needed for the various bolts.
Use only the 12-1.5mm x 30mm special fine thread hex bolt provided in the kit (the frame hole is fine thread). Include 1 12mm flat washer and 1 12mm lock washer. Do not substitute with standard bolts.
Tighten only the hardware securing the lower frame mounting brackets to the truck after the grille guard is centered and level. Do not tighten the hardware on the grille guard itself until after the splash guard has been cut and reinstalled. Final tightening of all hardware occurs in the last step.
Perform periodic inspections to ensure all hardware is secure and tight. Wax the product after installation and regularly thereafter to protect the finish. Do not use polish or wax containing abrasives, as these can damage the finish.
Connect the red fused wire ring terminal to the positive (+) battery post and the black wire ring terminal to the negative (-) battery post or suitable grounding point. Connect the blue, red, and black spade connectors from the wiring harness to the switch according to the wiring diagram. Secure all wires with zip ties away from moving parts.
The light bar uses a 15-amp fuse, which is pre-installed in the wiring harness.
Slowly close the hood to check for clearance between the hood and the top brackets. If there is interference, adjust the top brackets as necessary before snugging the hardware. The manual specifically requires this check before final tightening to ensure proper hood operation.
Stand back from the vehicle and check that the grille guard is centered and level. Adjust the mounting brackets as necessary to achieve proper alignment before tightening the hardware. Only tighten the hardware securing the lower frame mounting brackets to the truck once proper alignment is achieved.
Make additional small cuts to enlarge the slot as needed. The manual notes that the initial 1/2" by 4" estimate may vary due to different factory designs and that additional cutting may be required on tow hook-equipped vehicles. Check the fit frequently as you cut to avoid removing more material than necessary.
First, verify that all wire connections are secure: the red fused wire ring terminal should be connected to the positive (+) battery post, the black wire ring terminal to the negative (-) battery post or suitable grounding point, and the blue, red, and black spade connectors should be properly connected to the switch according to the wiring diagram. Check that the 15-amp fuse is intact. Ensure the relay is properly mounted and connected. If the light still does not function, consult the LED light manufacturer's instructions or contact qualified electrical personnel.
The relay supplied with the kit is designed for 12V systems. If your vehicle has a 24V electrical system, you must replace the relay with a 24V unit before installation. Using a 12V relay on a 24V system will cause the light to malfunction.
On Sale Today
Original price was $1,832.95. Current price is $1,069.99.You save $762.96 (42%)
Free Shipping
Ships free on all orders
 Authorized Dealer

Quick Ship
In stock and ready to ship — order now!
Shipping from Lancaster, TXFREE SHIPPING
Estimated delivery Thu, Oct 15 - Sat, Oct 17
Order before 2 PM EST Monday–Friday for same-day processing
Guaranteed safe & secure checkout
No reviews have been added for this product.