

Blue Ox Gooseneck Hitch Gooseneck Trailer Hitch DH2400Blue OxOriginal price was $699.99. Current price is $505.50.Out of Stock
View productOur in-house experts typically reply within one business day.

Blue Ox
Verify Fitment
Select your vehicle to confirm this part fits.
2009 - 2010 Dodge Ram 1500
Confirmed to Fit

Always the correct part
We know our products
Quality Products
Free Shipping!
Always the correct part
We know our products
Quality Products
Free Shipping!

{'feature': 'High Towing Capacity', 'description': 'With a 30,000 lb. Gross Towing Weight and 7,500 lb. Tongue Weight capacity, this hitch is capable of hauling heavy loads.
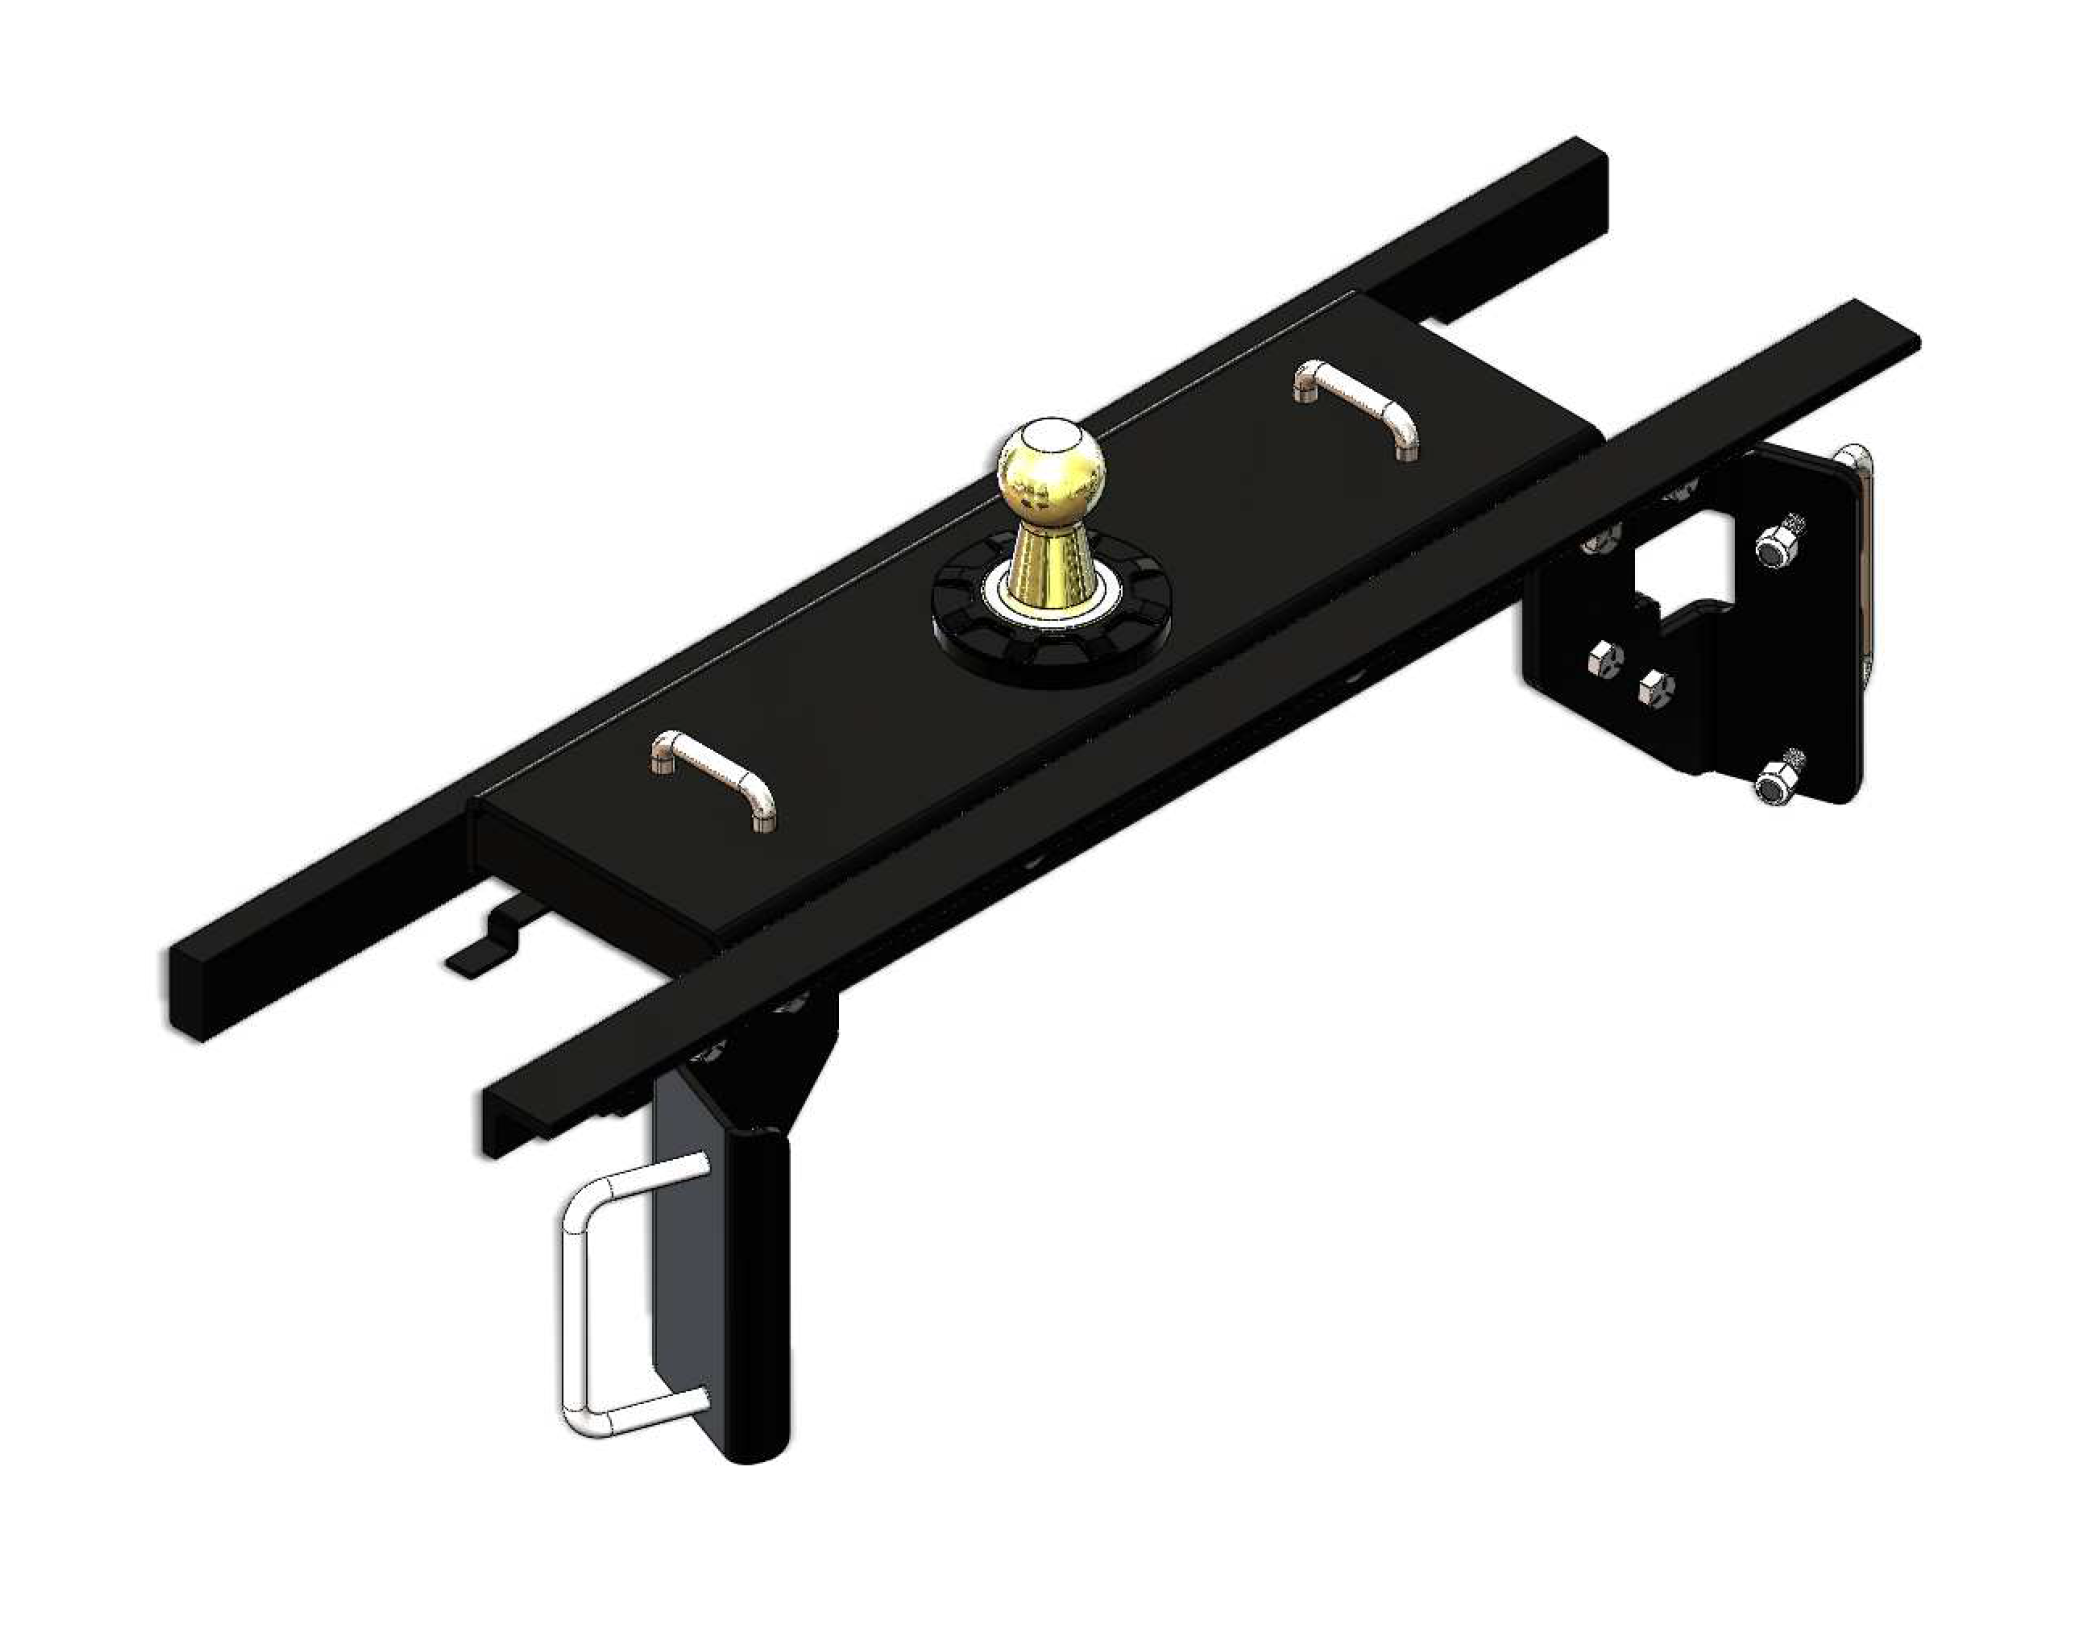
Finish: Powder Coat
1768: 30000
Tongue Weight: 7,500 lbs.
726: No
1775: Yes
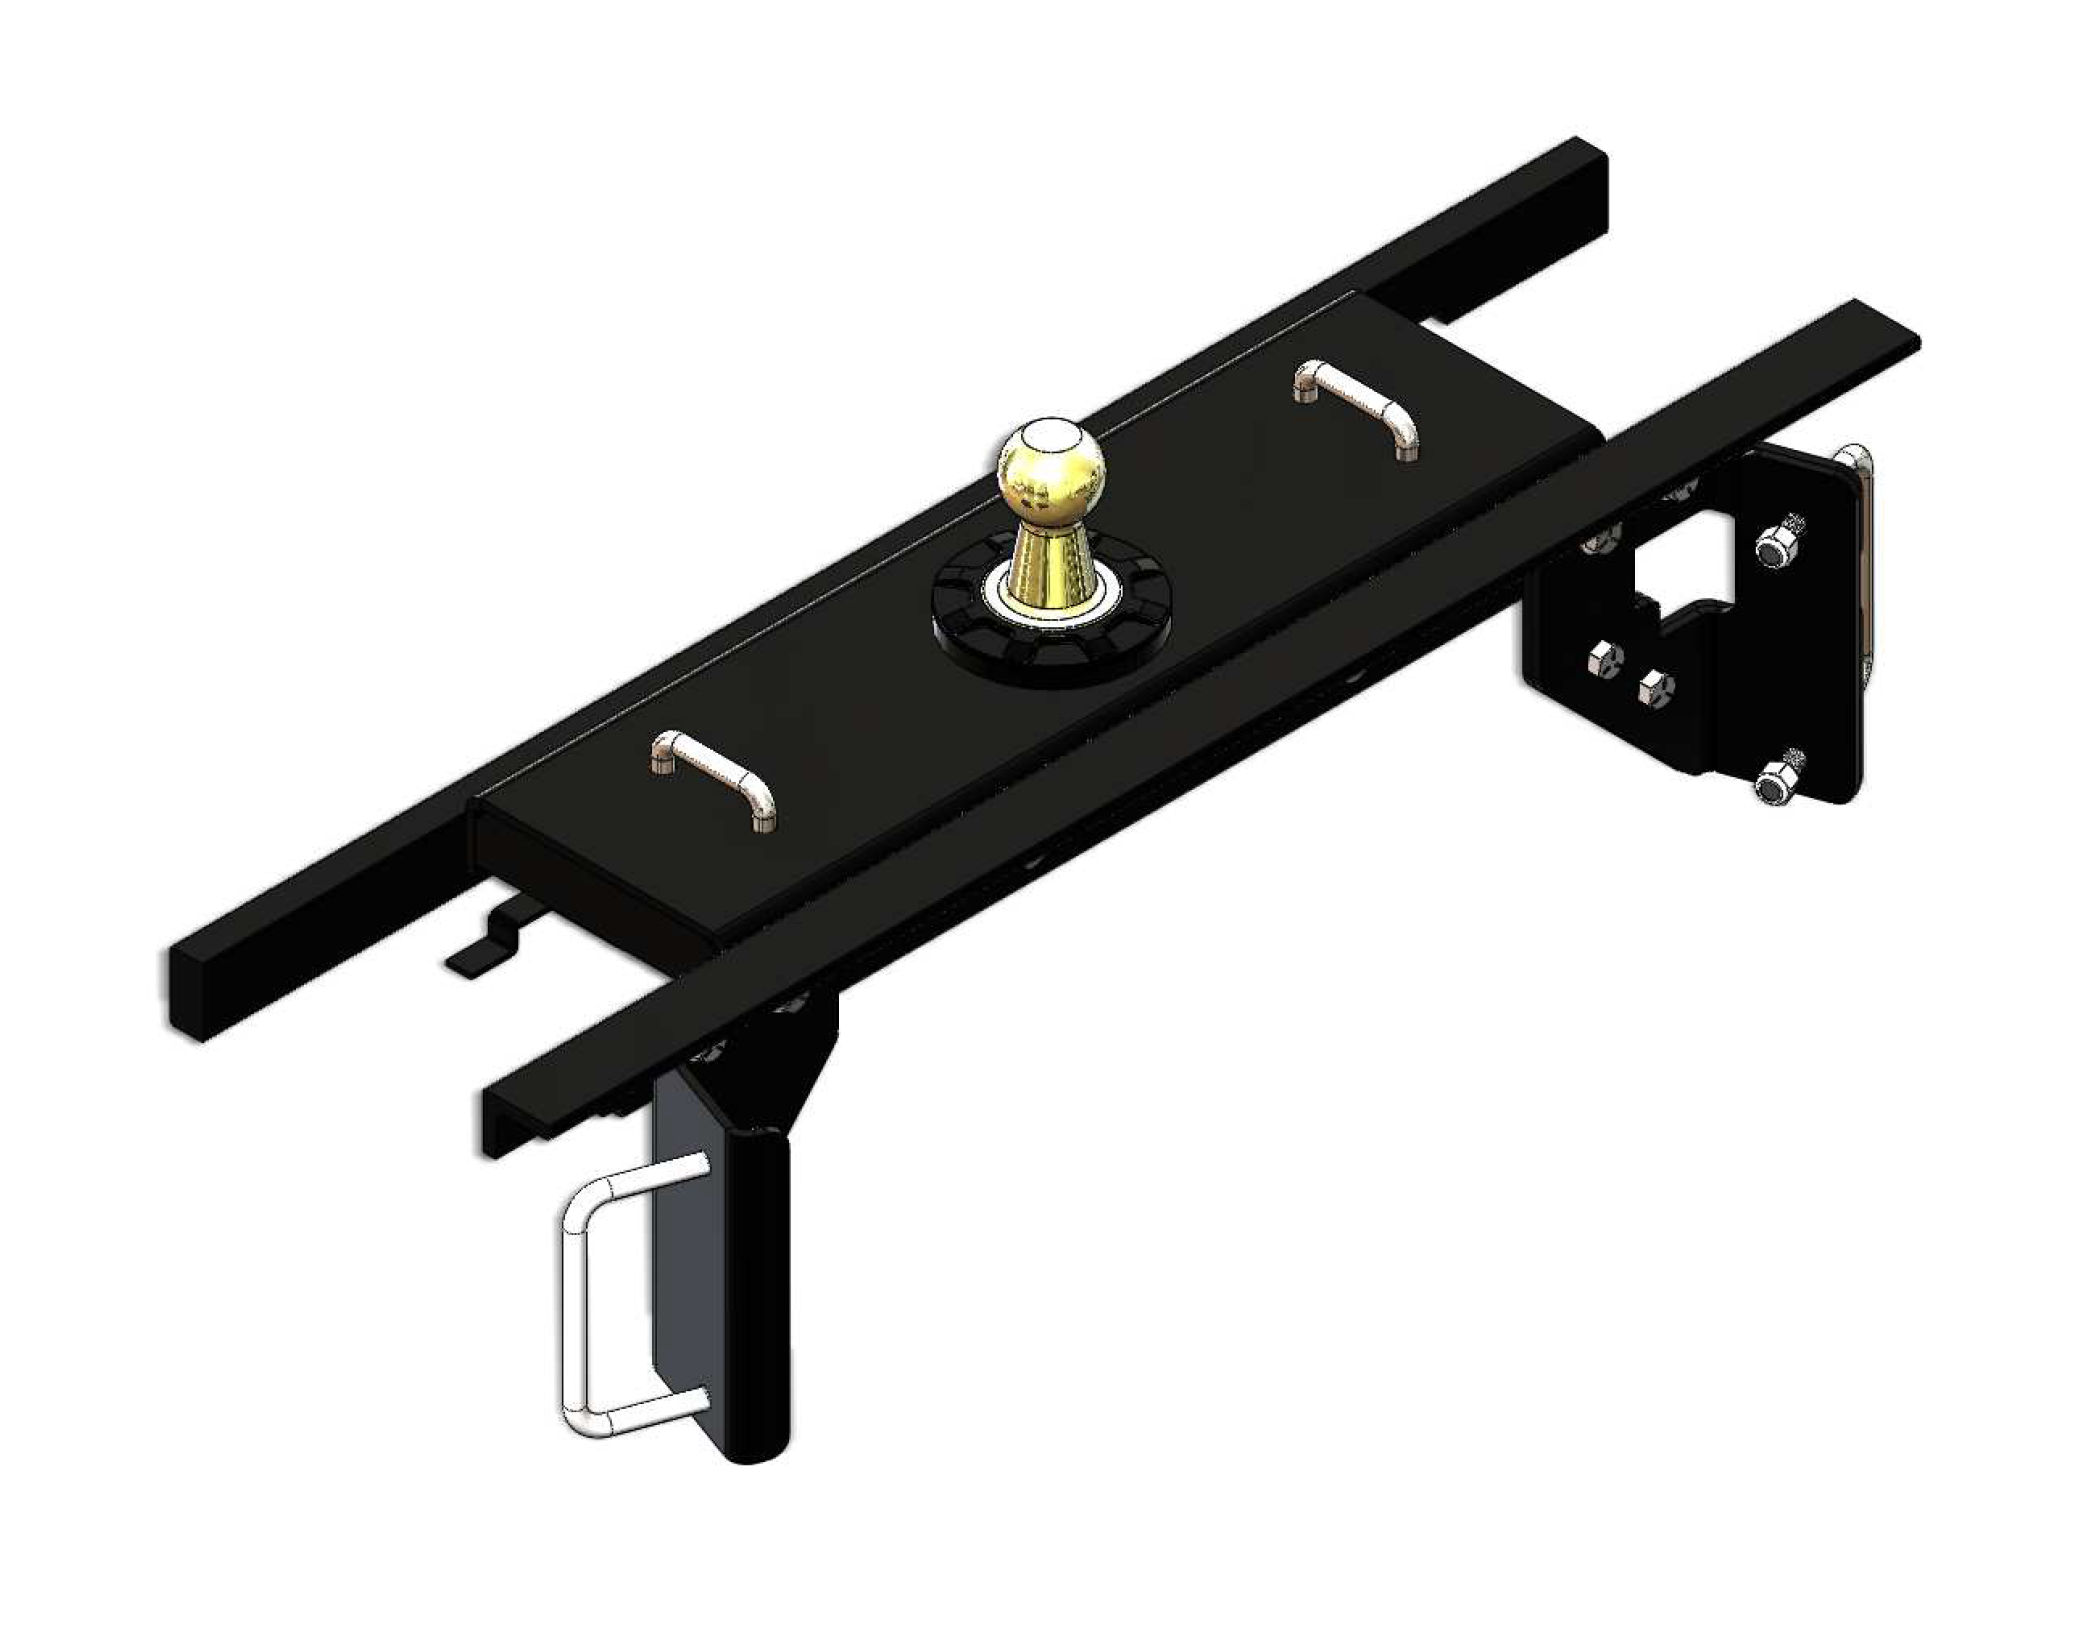
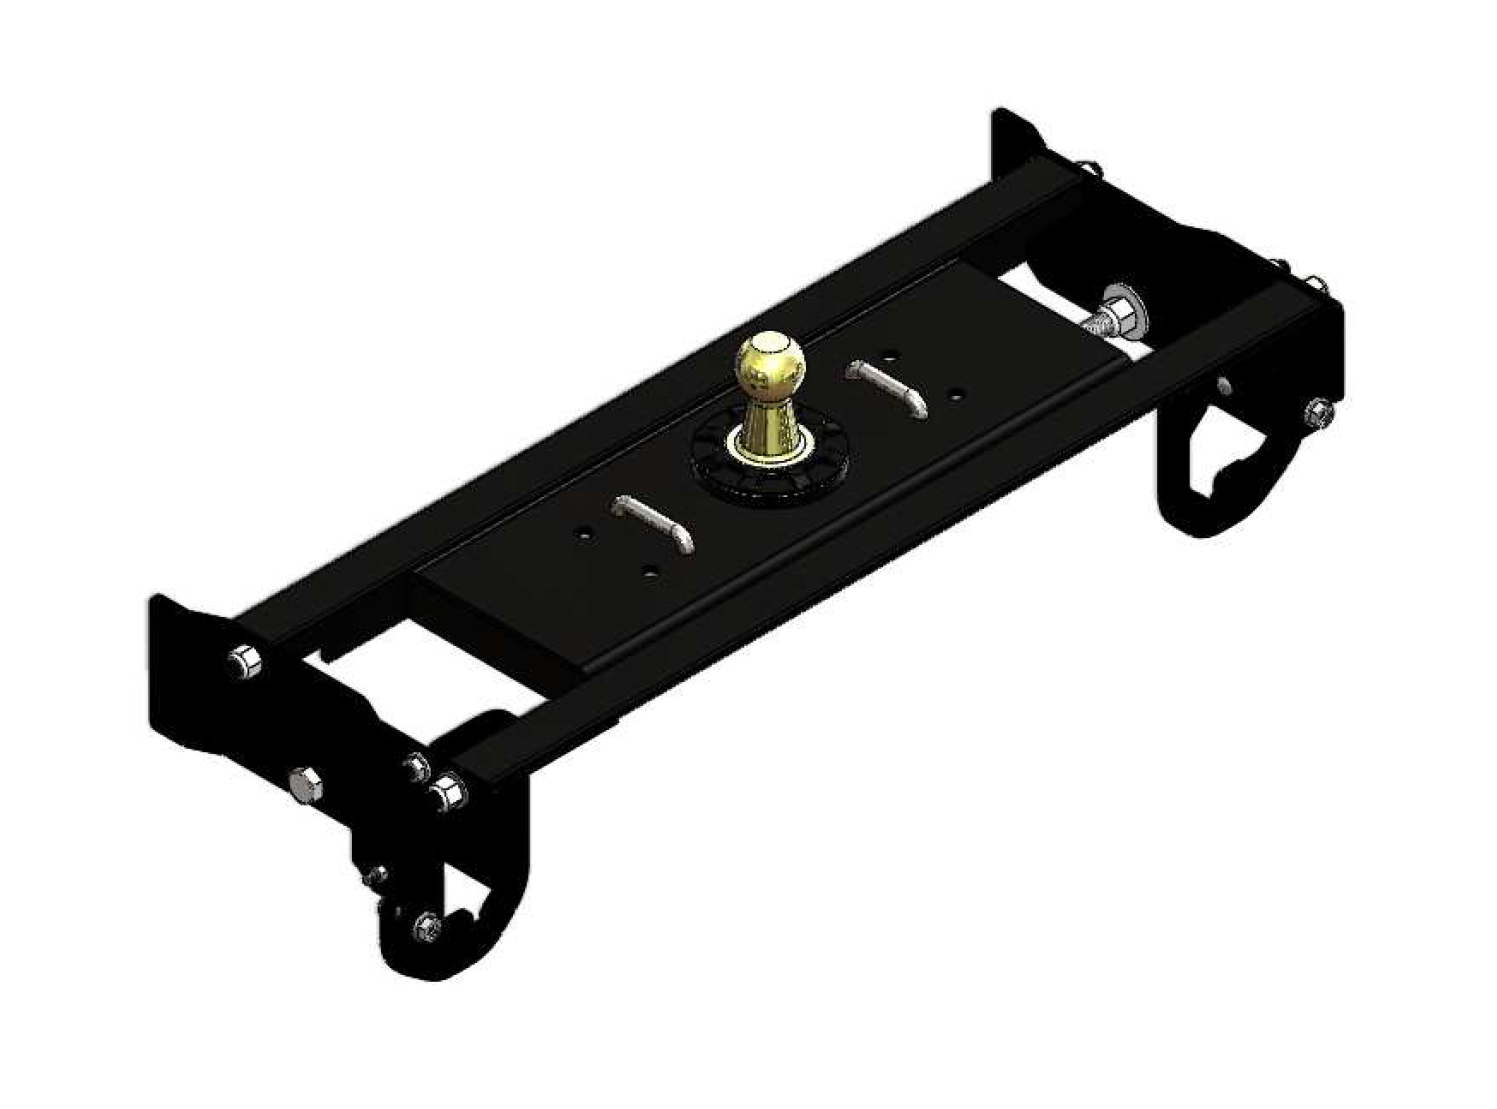
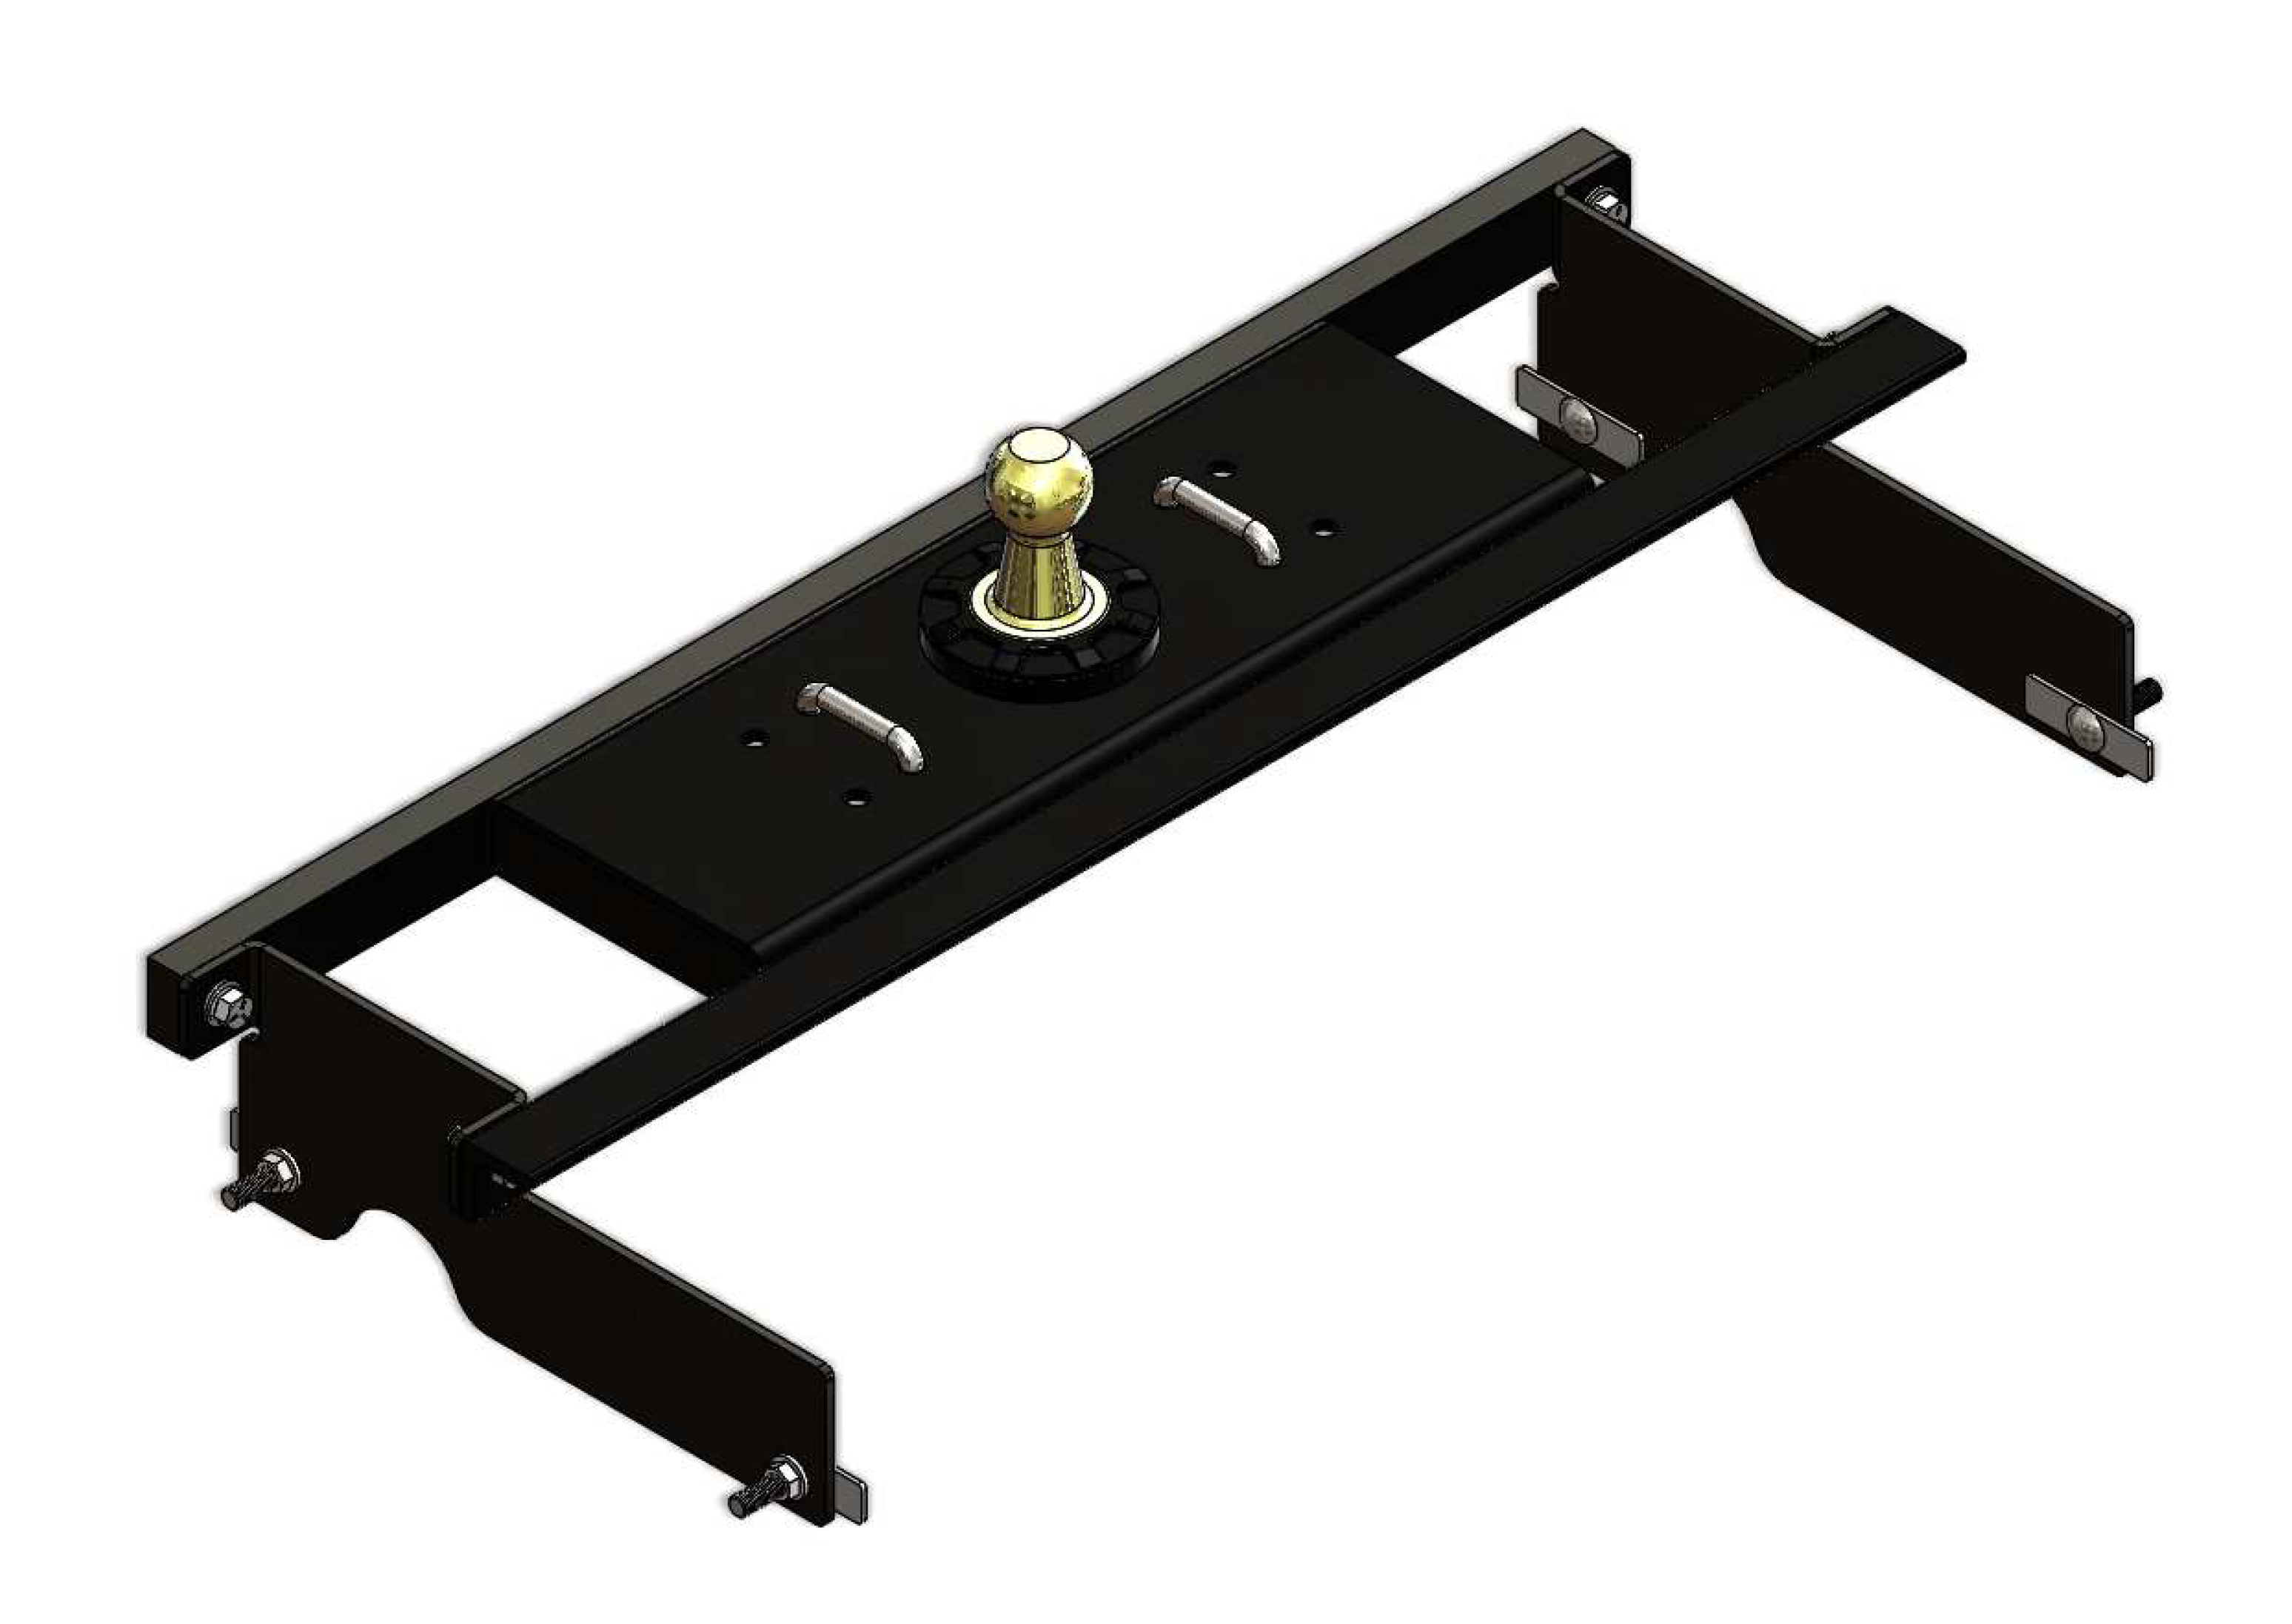
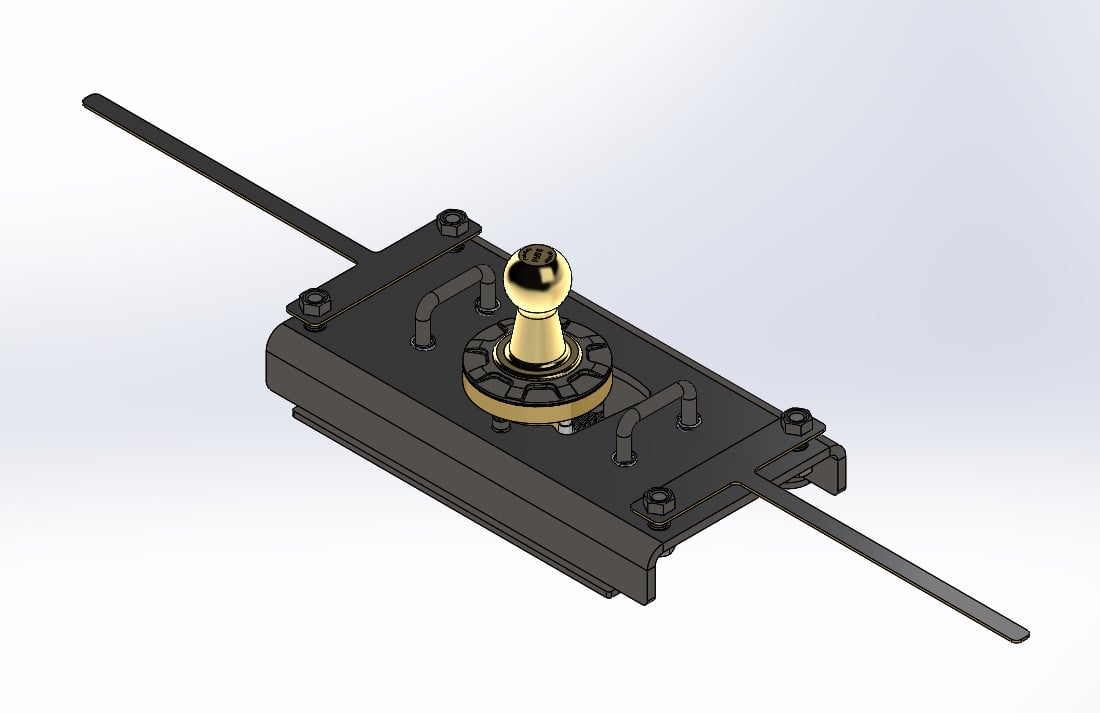
The Blue Ox DH2100 Diamond Hitch, also known as GooseneckTrlrHtch, is a robust and reliable towing solution that is designed to handle heavy-duty applications. With a Gross Towing Weight of 30,000 lbs and a Tongue Weight capacity of 7,500 lbs, it is perfect for towing everything from horses or livestock, race cars, antique cars, RVs, to supplies. It features an under-bed mounting system that allows full usage of the truck bed when the hitch ball is inverted. The hitch installs easily with no need to remove the truck bed and requires minimal drilling into the truck frame. No drilling is required on Dodge hydraframe. The hitch comes complete with mounting bolts, brackets, instructions, and chain loops. It is finished with a durable Powder Coat finish for added durability and protection against rust and corrosion.

Blue Ox is known internationally for recreational and commercial towing products, manufacturing in Pender, Nebraska since 1925. The line covers tow bars and vehicle-specific baseplates for flat towing behind a motorhome, sway control and weight distributing hitches, supplemental braking accessories and towing wiring, backed by patented designs and long-standing customer service.
Blue Ox has manufactured since 1925 and is recognised internationally for towing products and customer service. The company operates from Pender, Nebraska, where it grew out of Automatic Manufacturing Co., a business that started with cattle oilers and developed into agricultural equipment, tractor accessories and trailer towing hardware. That agricultural engineering heritage still shows in how the towing products are built, and the company holds patents across weight distribution, fifth wheel and tow bar designs.
Flat towing is the discipline Blue Ox is best known for. Towing a car with all four wheels on the ground behind a motorhome demands a system that stays rigid under braking, articulates properly over uneven ground, and connects to the towed vehicle at points strong enough to take the load. Blue Ox tow bars handle the first two, with self-aligning arms that latch under tension and release without a struggle when the load is off them. Vehicle-specific baseplates handle the third, engineered per make and model to tie into structural mounting points behind the fascia.
The wider flat towing range covers supplemental braking systems, safety cables and the accessories that make a complete legal setup, along with baseplate wiring and dinghy towing harnesses that pass lighting signals to the towed vehicle without back-feeding its electrical system.
For conventional trailer towing, Blue Ox weight distributing hitches with integrated sway control transfer tongue load onto the tow vehicle's front axle and resist the yaw that crosswinds and passing trucks induce.
The company describes its foundation as customer service, designing around what owners actually ask for, and it runs an RV park adjacent to the factory where customers can stay. Sister operations at the same Nebraska site include Automatic grain roller mills and MAD-RAMPS pivoting ramp systems.
Experts available to answer your questions
Call 888-634-94943 Years
3 compatible vehicles
| Year | Make & Model | Notes |
|---|---|---|
| 2009 - 2010 | Dodge Ram 1500 | [Available While Supplies Last Not For Use w/Air Suspension |
| 2017 - 2018 | Ram 1500 | [Available While Supplies Last |
| 2011 - 2016 | Ram 1500 | [Available While Supplies Last Not For Use w/Air Suspension |
The Blue Ox Gooseneck Hitch Gooseneck Trailer Hitch DH2100 (Part #FDRWDH2100) fits the following vehicles: 2009-2010 Dodge Ram 1500; 2011-2018 Ram 1500. Always verify your specific year, make, and model before ordering.
The Blue Ox Gooseneck Hitch Gooseneck Trailer Hitch DH2100 (Part #FDRWDH2100) fits 2009-2010 Dodge Ram 1500 models. The 2018 model year is the last year covered by this part number. For newer models, check for an updated version.
Yes, the Blue Ox Gooseneck Hitch Gooseneck Trailer Hitch DH2100 (Part #FDRWDH2100) is designed to fit the 2009-2010 Dodge Ram 1500.
The Blue Ox Gooseneck Hitch Gooseneck Trailer Hitch DH2100 (Part #FDRWDH2100) Refer to the included instructions for installation details. Basic hand tools are typically all you need.
The DH2100 is designed for 2009-18 Ram 1500 trucks with Short, Standard, and Long Box beds. The installation location varies by bed length: measure 41-7/16" from the rear for an 8' bed, or 39-7/16" for a 5'-7" or 6'-4" bed. If your truck has a bed liner installed, you must account for the liner thickness when measuring the ball location.
The DH2100 is rated for a maximum Gross Towing Weight of 30,000 lbs and a maximum Tongue Weight of 7,500 lbs. However, you must not exceed your vehicle's manufacturer towing capacity. Refer to your Ram 1500 owner's manual for the specific limits that apply to your truck.
Required tools are: torque wrench, drill, tape measure, 5" hole saw, 3/4" socket, 3/4" wrench, 1/2" drill bit, and center punch. You will also need Loctite Red to apply to all bolts before tightening. A reciprocating saw may be needed for trimming, and silicone spray is recommended to ease exhaust hanger removal.
Yes. The first step is to remove the spare tire using the jack handle as described in your vehicle owner's manual. This is necessary to access the truck bed for drilling the hitch hole.
Yes. You must drill a 5" hole through the truck bed at a measured location (41-7/16" from the rear for an 8' bed, or 39-7/16" for a 5'-7" or 6'-4" bed), centered between the wheel wells. Later, you must also drill two 19/32" holes through the bed on both sides of the center section near the ball. The manual recommends using a board while drilling to prevent bit wobbling and deburring the holes so the hitch sits tight.
Yes. The exhaust hangers must be removed and reinstalled as part of the installation. Slide the hangers out of the rubber insulators. The manual notes that using silicone spray on the hangers eases removal. The exhaust is temporarily dropped to allow the hitch components to be positioned, then the hangers are reinstalled after the hitch is secured.
The wiring harness must be unsnapped from the backside of the cross member and moved toward the back of the truck during installation. After the hitch is installed, the wiring harness is reattached using cable ties that are provided. The manual warns not to clamp the hitch over any wiring or brake lines.
The vent tube must be unclipped and left hanging loosely during hitch installation. After the hitch is installed, the vent tube is relocated by placing it between the frame and brake lines, bringing it up over the frame rail, and clipping it to the frame.
The manual provides torque charts for Grade 5, Grade 8, Grade 8.8, and Grade 10.9 bolts. For example, a 1/2" Grade 5 bolt torques to 78 ft-lbs, and a 1/2" Grade 8 bolt torques to 119 ft-lbs. A 5/8" Grade 5 bolt torques to 154 ft-lbs, and a 5/8" Grade 8 bolt torques to 230 ft-lbs. However, the manual does not specify which grade applies to each bolt in the assembly sequence. Consult the parts list and torque charts to match each bolt to its correct grade and torque value.
Yes. The manual requires that you use Loctite Red on all bolts before tightening them. This is a critical step to prevent bolts from loosening over time.
The DH2100 kit includes: 2 × 5/8"-11 hex bolt plates (5" long), 1 hitch ball, center section, DS plate, DS support plate, PS plate, back support plate, back cross member, front cross member, 6 × 1/2"-13 × 1-1/2" hex head bolts (Grade 5), 2 × 1/2"-13 × 3-3/4" × 2-1/2" U-bolts, 6 × 1/2"-13 × 2" hex head bolts (Grade 5), 2 × 1/2"-13 × 5-1/2" × 4-1/4" U-bolts, 8 × 1/2"-13 hex flange lock nuts, 2 × 5/8"-11 hex flange lock nuts, 8 × 1/2"-13 hex nylon lock nuts, 18 × 1/2" flat washers, 4 × 1/2" lock washers, 4 compression springs (0.049" dia × 0.60" × 2"), and 1 ball housing plug.
The installation sequence is: (1) remove spare tire; (2) drill 5" hole in bed at measured location; (3) drop exhaust; (4) unsnap wiring harness; (5) unclip vent tube; (6) position front angle and back support flat; (7) install center section; (8) insert front angle bolts and back support flat bolts (do not fully tighten); (9) attach back support plate to cross member; (10) place support plate on frame side and install U-bolt (finger tighten); (11) reattach wiring harness; (12) relocate vent tube; (13) verify all parts and tighten all bolts; (14) check top collar rotation; (15) drill two 19/32" holes and install U-bolts with washers and springs.
The vehicle must be securely blocked and brakes set before beginning to work underneath. Do not use any open flame under the truck bed to cut or weld—there is extreme danger of explosion or fire. Do not clamp the hitch over any wiring or brake lines. When using power drills, be aware of the dangers of torque and drill bit length. When using a reciprocating saw, be aware of objects behind the cutting surface. Use good quality paint to spray cut edges of the frame to prevent rusting.
Always ensure the hitch ball is locked into the hitch prior to towing. Always load the trailer slightly tongue-heavy; do not pull a trailer that is lighter on the tongue end. Trailer brakes are required. Do not exceed the hitch weight ratings (30,000 lbs GTW, 7,500 lbs tongue weight) or your vehicle manufacturer's towing capacity. Failure to follow these guidelines could result in damage to your vehicle, personal injury, or death.
Periodically clean any dirt or debris from the ball and ball housing. Moderately lubricate them with white lithium grease or equivalent grease. If the hitch is in an accident, it must be replaced and not used again, as an accident can cause unseen damage. Do not use the hitch if it is damaged or missing parts.
To install the ball: (1) rotate the locking collar to release the latch pawl; (2) align the ball with the collar and drop the ball into the hitch; (3) release the locking collar; (4) pull up on the ball to ensure it is locked into the housing. Before towing, always verify the ball is locked.
To remove the ball: (1) rotate the locking collar to release the latch pawl; (2) pull straight up on the ball to remove it from the hitch.
To store the ball: (1) rotate the locking collar to release the latch pawl; (2) align the ball with the collar and drop the ball into the hitch; (3) release the locking collar. A ball housing plug is included with the hitch and can be used to cover the socket when the ball is removed.
If a bed liner is installed, you must account for the bed liner thickness when measuring the ball location in the truck bed. Measure from the rear forward the specified distance (41-7/16" for an 8' bed or 39-7/16" for a 5'-7" or 6'-4" bed), but compensate for the liner thickness so the hitch ball is positioned correctly.
When installing the center section, the offset of the ball housing in the center section should be oriented towards the front of the vehicle. This ensures the hitch ball is positioned correctly for towing.
You must check that the top collar can rotate freely and that the truck bed is not rubbing against it. If the bed is rubbing or the collar cannot rotate freely, you must drop the center section and remove any obstructions. This ensures the hitch will function properly and the bed will not be damaged.
When installing the 1/2"-13 U-bolts with washers and springs, tighten the lock nuts until the washers are touching the spring without compressing it. Do not over-tighten, as this will compress the spring and affect the hitch function.
The manual mentions that when inverting the ball, you must ensure proper clearance between the ball and the truck's differential and driveline. Failure to do so may result in damage. A plug is included with the hitch that can be used to cover the socket when the ball is removed.
Yes, the DH2100 fits 2009-18 Ram 1500 trucks with Short, Standard, and Long Box beds. Installation location varies by bed length: 41-7/16" from the rear for an 8' bed, or 39-7/16" for a 5'-7" or 6'-4" bed. If you have a bed liner, account for its thickness when measuring.
You need: torque wrench, drill, tape measure, 5" hole saw, 3/4" socket and wrench, 1/2" drill bit, center punch, and Loctite Red. A reciprocating saw and silicone spray are also recommended.
The manual provides torque charts for Grade 5, Grade 8, Grade 8.8, and Grade 10.9 bolts. For example, 1/2" Grade 5 bolts torque to 78 ft-lbs, and 5/8" Grade 5 bolts torque to 154 ft-lbs. Match each bolt to its grade using the parts list and torque charts.
The DH2100 is rated for 30,000 lbs GTW and 7,500 lbs tongue weight. However, do not exceed your Ram 1500's manufacturer towing capacity. Trailer brakes are required, and the trailer must be loaded slightly tongue-heavy.
Always ensure the hitch ball is locked into the hitch before towing. Verify the trailer is loaded slightly tongue-heavy. Do not exceed the hitch or vehicle weight ratings. If the hitch is damaged or has been in an accident, do not use it.
Use a board while drilling to decrease the chances of the bit wobbling out of position. The manual specifically recommends this technique to ensure the hole is drilled accurately.
The hole in the truck bed may have burrs or rough edges. The manual recommends deburring the 5" hole so the hitch will sit tight against the bed. Use a deburring tool or file to smooth the edges of the hole.
Apply silicone spray to the hangers before attempting to remove them. The manual notes that using silicone spray on the hangers eases removal from the rubber insulators.
Drop the center section and remove any obstructions that are causing the bed to rub. The manual requires that you check the rotation of the top collar to ensure the bed is not rubbing against it and that it can rotate freely. If necessary, adjust the position of the center section or remove any interfering components.
Ensure you are following the correct installation procedure: (1) rotate the locking collar to release the latch pawl; (2) align the ball with the collar and drop it into the hitch; (3) release the locking collar; (4) pull up on the ball to verify it is locked. If the ball still does not lock, the locking collar or latch pawl may be damaged and the hitch should be inspected or replaced.
No. If the hitch is in an accident, it must be replaced and not used again. An accident can cause unseen damage, and using it again could result in more damage or serious injury. Do not use the hitch if it is damaged or missing parts.
On Sale Today
Original price was $699.99. Current price is $505.50.You save $194.49 (28%)
Free Shipping
Ships free on all orders
 Authorized Dealer
FREE ShippingFREE SHIPPING
Estimated delivery Thu, Sep 17 - Sun, Sep 20
Order before 2 PM EST Monday–Friday for same-day processing
Guaranteed safe & secure checkout
No reviews have been added for this product.