
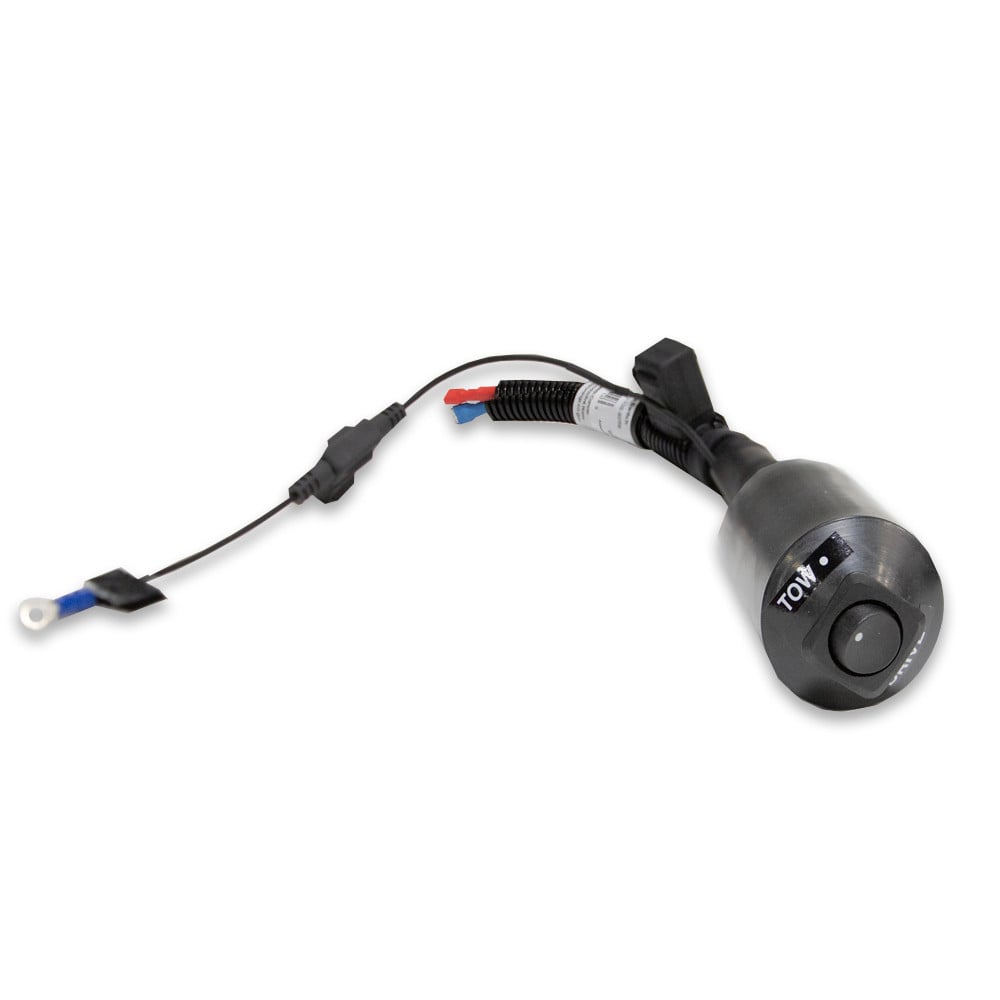
BlueOx Switch, Fuse Bypass, High Current BX88274Blue OxOriginal price was $699.99. Current price is $296.00.In Stock
View productOur in-house experts typically reply within one business day.

Blue Ox

Always the correct part
We know our products
Quality Products
Free Shipping!
Always the correct part
We know our products
Quality Products
Free Shipping!

{'feature': 'Convenient Fuse Bypass', 'description': "Save time and efforts as there's no need to constantly pull out fuses when towing. Just flip a switch to disconnect your fuse."}
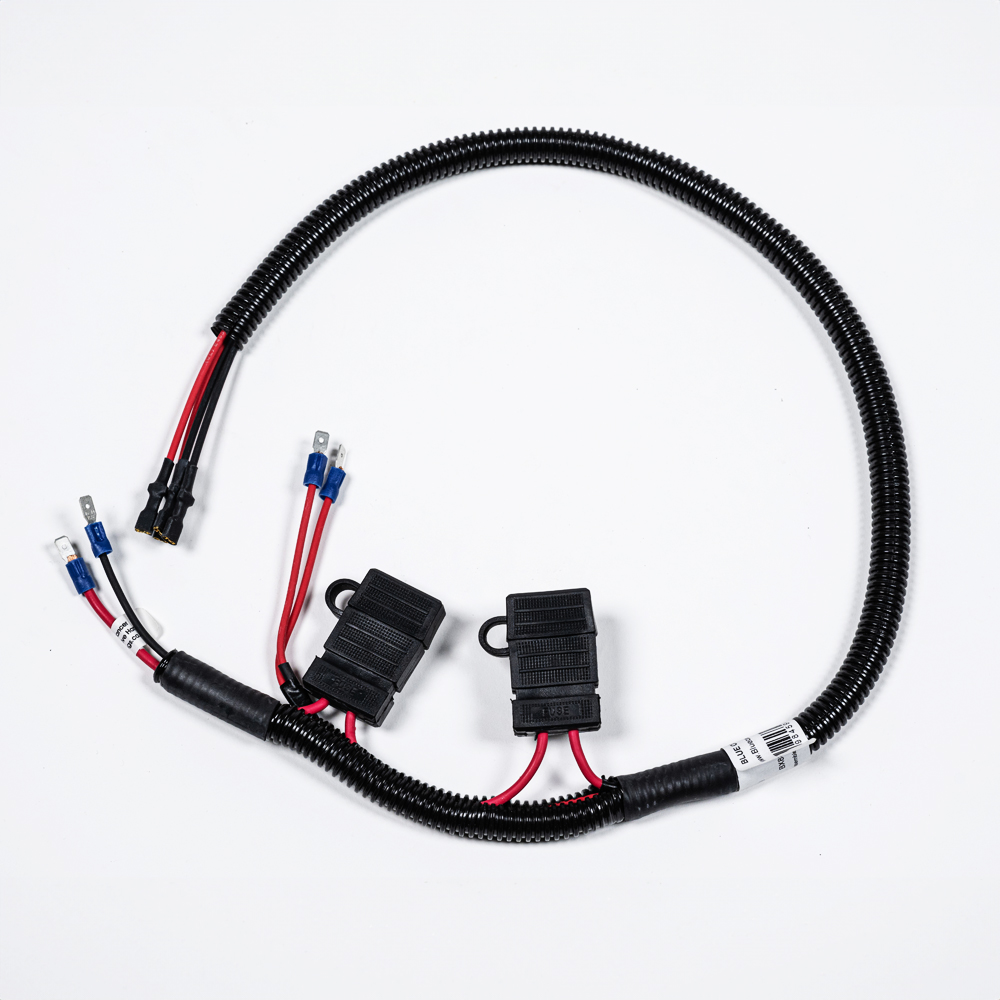
Installation Required Yes/No: Yes
On/Off Switch Included: Yes
Mounting Hardware Included Yes/No: Yes
Color: Black
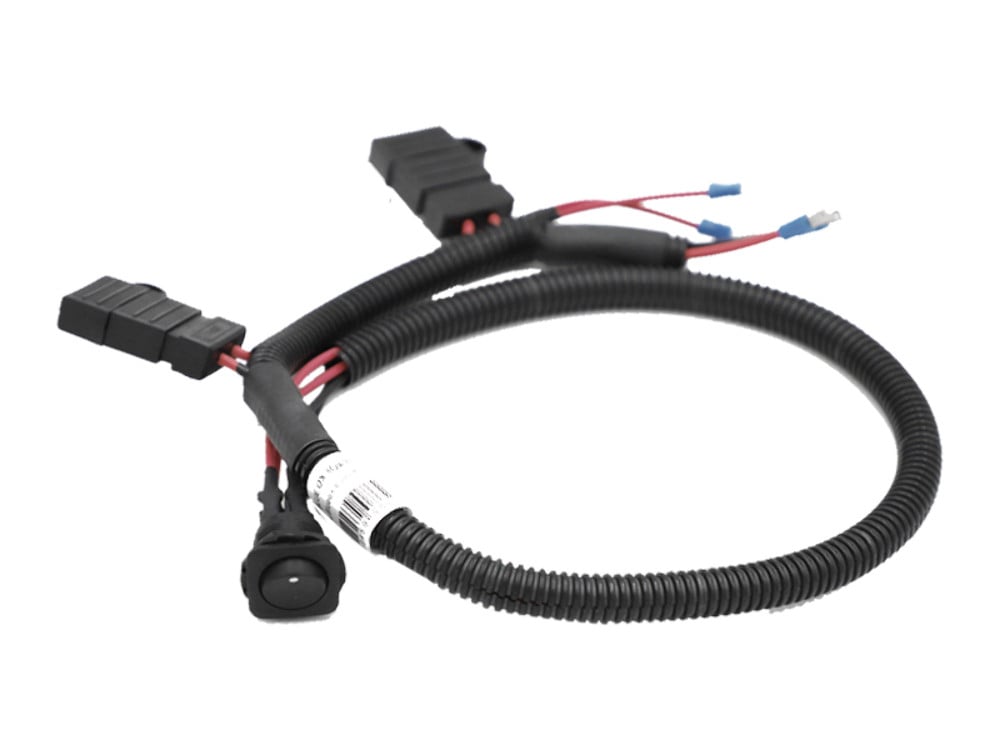
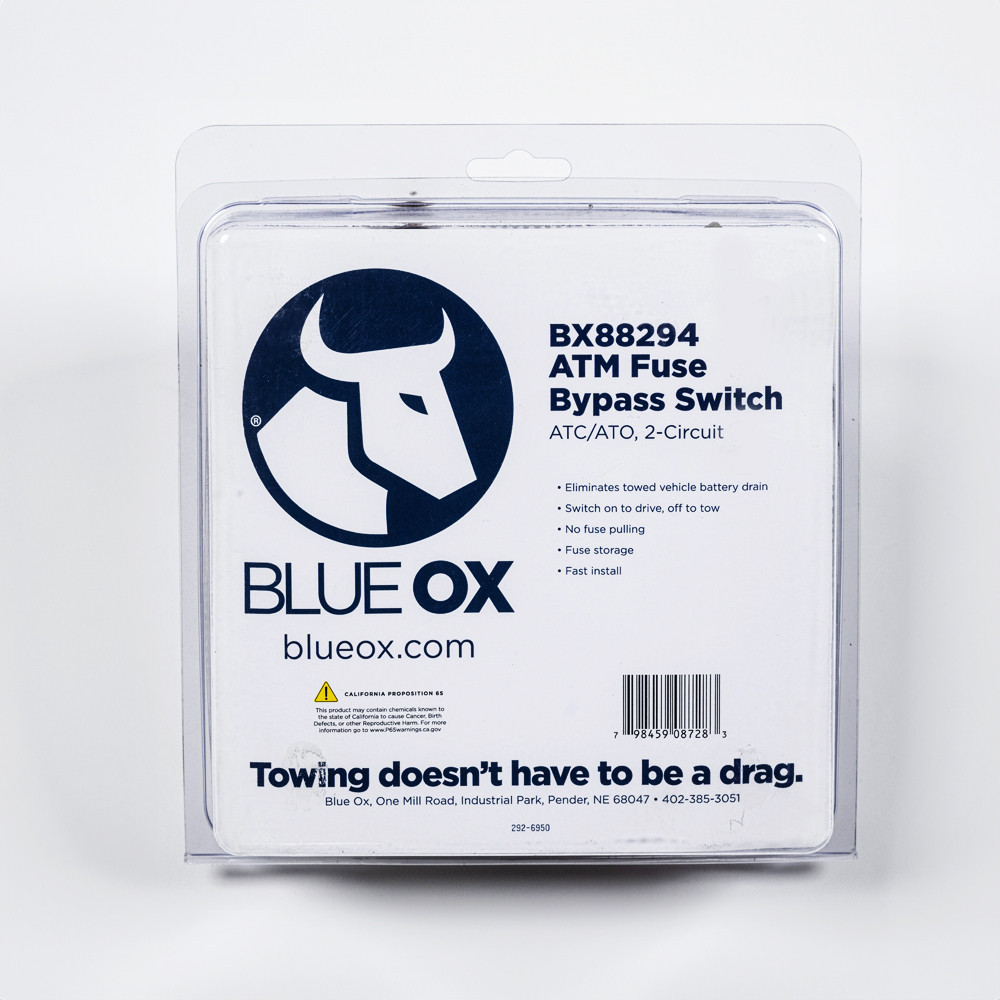
The Blue Ox BX88294 Fuse Bypass is designed to provide a hassle-free solution to the tedious task of pulling fuses each time you tow. It offers a convenient switch mechanism that allows for easy disconnection of your fuse with just a flip. Available in four different models, this switch is an efficient and safe alternative to the repetitive removal and re-installation of the fuse when switching between towed and driving modes. The BX88294 comes in a sleek black color and requires installation, but don't worry - it comes with all the necessary mounting hardware included.

Blue Ox is known internationally for recreational and commercial towing products, manufacturing in Pender, Nebraska since 1925. The line covers tow bars and vehicle-specific baseplates for flat towing behind a motorhome, sway control and weight distributing hitches, supplemental braking accessories and towing wiring, backed by patented designs and long-standing customer service.
Blue Ox has manufactured since 1925 and is recognised internationally for towing products and customer service. The company operates from Pender, Nebraska, where it grew out of Automatic Manufacturing Co., a business that started with cattle oilers and developed into agricultural equipment, tractor accessories and trailer towing hardware. That agricultural engineering heritage still shows in how the towing products are built, and the company holds patents across weight distribution, fifth wheel and tow bar designs.
Flat towing is the discipline Blue Ox is best known for. Towing a car with all four wheels on the ground behind a motorhome demands a system that stays rigid under braking, articulates properly over uneven ground, and connects to the towed vehicle at points strong enough to take the load. Blue Ox tow bars handle the first two, with self-aligning arms that latch under tension and release without a struggle when the load is off them. Vehicle-specific baseplates handle the third, engineered per make and model to tie into structural mounting points behind the fascia.
The wider flat towing range covers supplemental braking systems, safety cables and the accessories that make a complete legal setup, along with baseplate wiring and dinghy towing harnesses that pass lighting signals to the towed vehicle without back-feeding its electrical system.
For conventional trailer towing, Blue Ox weight distributing hitches with integrated sway control transfer tongue load onto the tow vehicle's front axle and resist the yaw that crosswinds and passing trucks induce.
The company describes its foundation as customer service, designing around what owners actually ask for, and it runs an RV park adjacent to the factory where customers can stay. Sister operations at the same Nebraska site include Automatic grain roller mills and MAD-RAMPS pivoting ramp systems.
Experts available to answer your questions
Call 888-634-94941 Year
The BX88294 is a 2 Circuit ATC/ATO Fuse ByPass Switch designed to control two ATC/ATO blade fuses found in the wiring located under the passenger rear floor area in the battery compartment. It allows you to switch between two positions: depressing the button upward puts the fuses in the ON position (for driving the towed vehicle), and depressing it downward puts the fuses in the OFF position (for towing).
The BX88294 is designed for RV towing applications and works with vehicles that have ATC/ATO blade fuses in the wiring under the passenger rear floor area in the battery compartment. Before purchasing, consult your vehicle's Owner's Manual to confirm which fuses must be removed and their location, and verify that the silver pins on the Fuse ByPass Switch wires match the pin sizes on the fuses you are required to remove. You must have the correct fuse wire ends for your specific fuse holder.
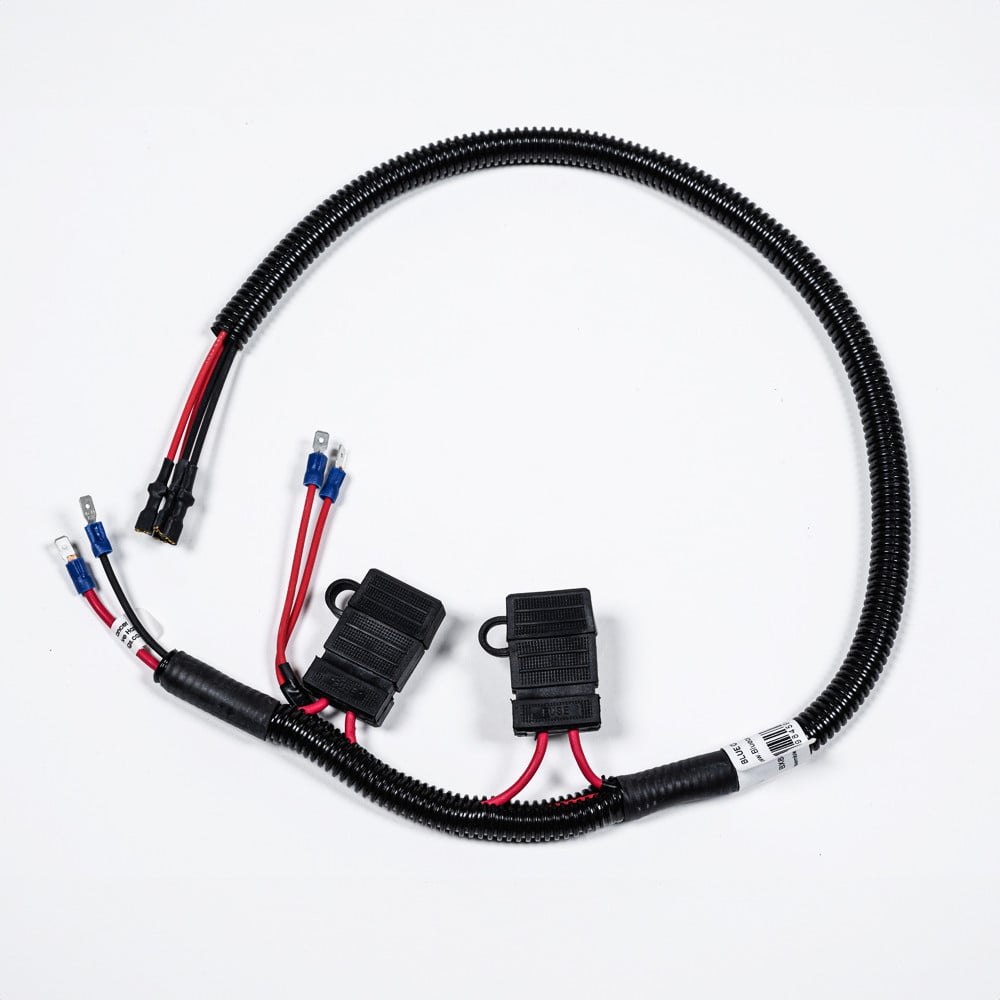
The BX88294 is designed to control two ATC/ATO blade fuses. NEVER install a fuse with more than a 20 amp rating in the Fuse ByPass Switch harness. You must ALWAYS match the amperage of the fuse in the harness to the fuse removed from the fuse panel. Confirm that the silver pins on the Fuse ByPass Switch wires match the pin sizes on the fuses in your vehicle.
You will need a T20 Torx screwdriver to loosen the battery compartment cover screw, and a flat power auger to drill a ¾" diameter hole in the plastic console panel. No other specialized tools are mentioned in the installation instructions.
The switch is designed to be mounted in the upper rear of the floor console beside the power outlet. If the vehicle is equipped with optional audio/video connections, the switch should be mounted below these connectors on the rear panel of the console. The wiring will flow down behind the console rear panel, then feed under the floor carpet to the under-floor battery compartment.
Place the switch in the drilled hole with the four terminals at the bottom and the blank space on the rear of the switch at the top. When the switch is in the OFF position, the bottom of the switch button is depressed.
Re-attach the wires to the switch by sliding the connectors over the terminals. Keep the connections in pairs on each side of the rear divider bar of the switch. Do not reinstall the rear panel until you have tested the operation of the switch.
One of the two sets of wires is longer than the other. The longer pair should be installed into the GM fuse holder farthest away by inserting each terminal into the fuse holder connector one at a time. The shorter pair fits the closer fuse holder. Press in on the pins until fully seated. The black wires are connected to the lower fuse holder and the red wires are connected to the upper fuse holder.
Yes. You must drill a ¾" diameter hole in the plastic console panel using a flat power auger. Select a location typically in the middle of the power outlet panel. Avoid drilling into or damaging any nearby wiring. Ensure that you can reach the back of the switch to install the mounting nut and to reattach the wires.
If the vehicle has optional audio/video connectors and you choose to mount the switch on the rear panel below these connectors, you will need to remove a small portion of the sound deadening material to clear a space for the switch.
Install the mounting nut with the serrated side towards the panel and hand tighten it. Ensure that you can reach the back of the switch to install the mounting nut and to reattach the wires.
Install the fuses into the appropriate fuse holders on the Fuse ByPass Switch harness after you have connected the wires to the fuse holders in the battery box. Do not connect the wiring to the fuse holders until the switch has been mounted and the wires have been fed through from the battery compartment.
When the switch button is depressed in the upper direction, the fuses are ON. This is the "Driving the towed" position. When the button is depressed in the opposite direction (downward), the fuses are OFF; this is the position for "Towing".
Test the switch by depressing the button upward to confirm the fuses turn ON (Driving the towed position), and depressing it downward to confirm the fuses turn OFF (Towing position). Confirm that the switch operation matches this description. Do not reinstall the rear panel until you have tested the operation of the switch.
Consult the Owner's Manual for the towed vehicle to determine which fuse(s) must be removed from the fuse panel and their location. Confirm that the silver pins on the Fuse ByPass Switch wires match the pin sizes on the fuses you are required to remove. You must have the correct fuse wire ends for the fuse holder in your tow vehicle. Most vehicles will require another Fuse ByPass Switch to be installed under the hood.
REMOVE any fuse from the Fuse ByPass Switch harness before beginning installation. Locate the two fuses which will be taped onto the red battery cable in the battery compartment and remove them, noting which fuse fits in which holder if they are not the same color and rating.
Remove the battery compartment cover using a T20 Torx to loosen (but do not remove) the screw, then lift the side where the screw is and pull the cover towards the outside of the car. You may find that removing the plastic floor panels closer to the rear seat in this area will allow easier removal of the cover. Those panels are in sections and can be carefully pried up to give the required access.
Remove the rear panel of the console using your fingers at the bottom and sides where the side panels meet the rear panel and carefully pull out the panel. The rear panel is attached by push pins near the top and bottom on the side panels. The upper corners also have tabs that fit under the top section of the console. Gently pry until the rear panel comes loose and disengage the upper tabs to remove it completely.
Remove the bezel surrounding the power outlet by prying it out carefully by gripping around the edges and pulling straight back until the retaining clips release.
Remove the four wires from the switch by carefully and firmly pulling on each connector one at a time. Note that the wiring is in two pairs.
Feed the switch end of the wire under the carpet from the battery compartment so that it exits under the console where the carpet has an opening. Carefully pull the wiring through the opening to provide enough length to make the connections to the switch. Do not connect the wiring to the fuse holders until the switch has been mounted and the wires have been fed through.
Reinstall the rear panel of the console by pushing the retainers back into their locations. Ensure that the upper tabs fit under the top before fully locking the panel in place. Reinstall the bezel around the power outlet (and A/V connections), ensuring the tabs on the bottom are inserted into the rear panel before pressing the upper portion into the clips. Ensure that all removed panels are properly reinstalled and the battery cover is slid back under the center portion of the car floor, then tighten the retaining screw. Reinstall the rear floor panels.
The BX88294 works with RVs that have ATC/ATO blade fuses under the passenger rear floor area. Consult your vehicle's Owner's Manual to confirm the fuse type and location, and verify that the silver pins on the switch wires match your fuse holder pins.
You need a T20 Torx screwdriver and a flat power auger to drill a ¾" hole. No other specialized tools are required.
Yes, you must drill a ¾" diameter hole in the plastic console panel using a flat power auger. Avoid drilling into nearby wiring.
NEVER install a fuse with more than a 20 amp rating in the Fuse ByPass Switch harness. Always match the amperage of the fuse in the harness to the fuse removed from the fuse panel.
Press the button upward to turn fuses ON (driving the towed vehicle), or downward to turn fuses OFF (towing position).
Test the switch by pressing the button upward to confirm fuses turn ON, and downward to confirm they turn OFF. Do not reinstall the rear panel until the switch operation is confirmed.
Check three things: (1) Ensure that the pins are fully seated in the correct position in the Fuse Panel and are not touching each other. (2) Make sure that the wiring is properly connected to the back of the switch. (3) Ensure that there is a fuse (and it is not blown) in the Fuse ByPass harness and that the fuse is properly installed in the fuse holder in the harness.
On Sale Today
Original price was $699.99. Current price is $110.59.You save $589.40 (84%)
Free Shipping
Ships free on all orders
 Authorized Dealer


Quick Ship
In stock and ready to ship — order now!
FREE ShippingFREE SHIPPING
Estimated delivery Mon, Sep 28 - Thu, Oct 1
Order before 2 PM EST Monday–Friday for same-day processing
Guaranteed safe & secure checkout
No reviews have been added for this product.