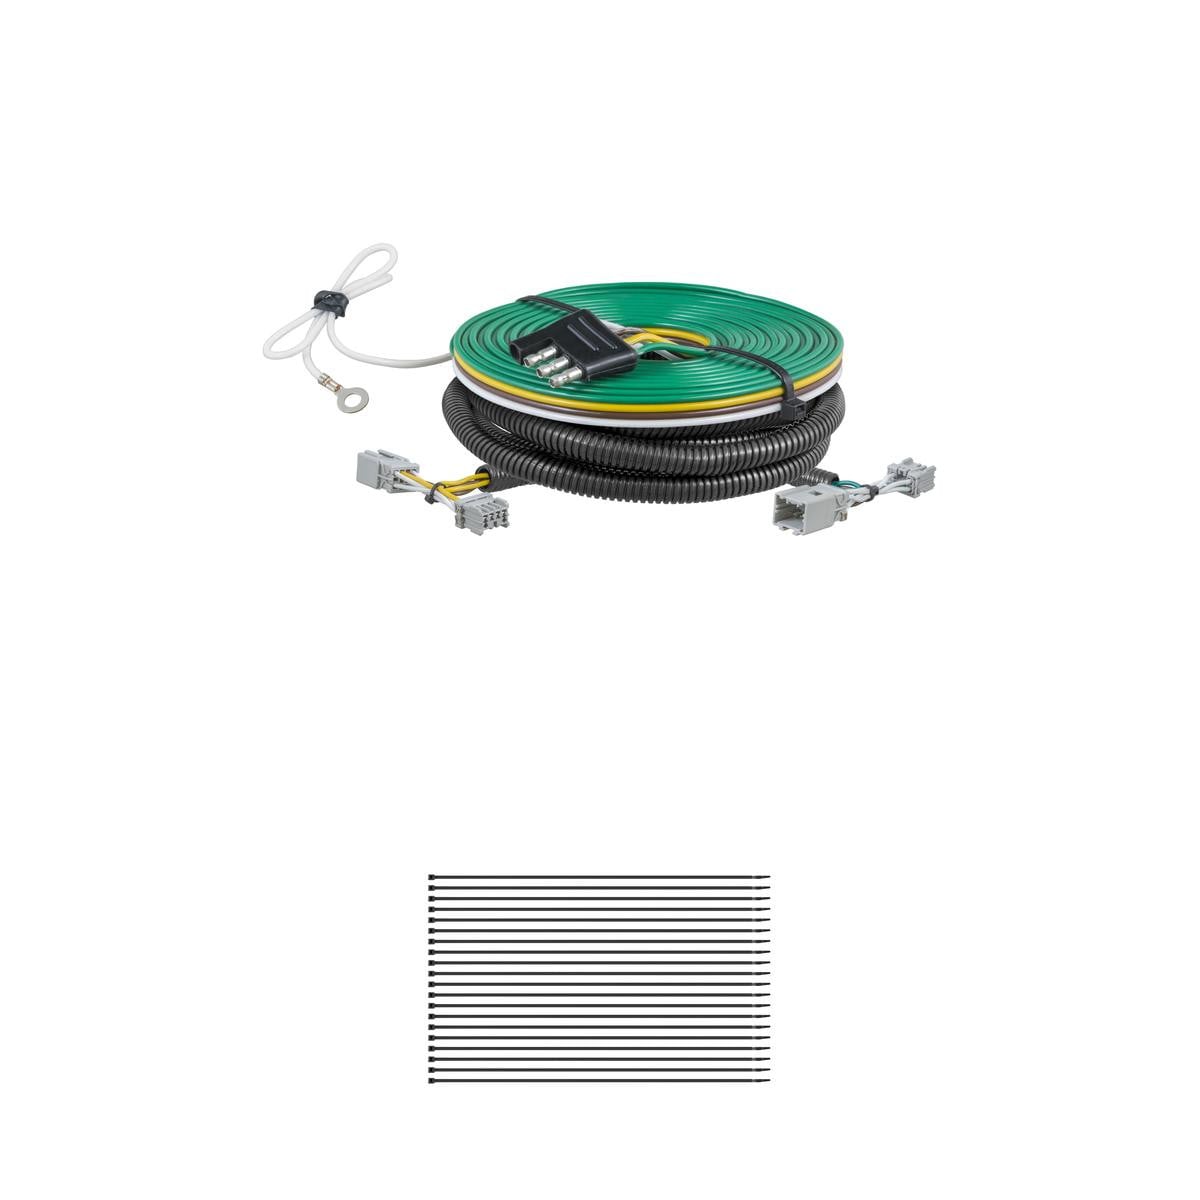
CURT 58949 Custom Towed-Vehicle RV Wiring Harness for Dinghy Towing, Fits Select Honda CR-VCURTOriginal price was $120.95. Current price is $99.94.In Stock
View productOur in-house experts typically reply within one business day.

CURT
Verify Fitment
Select your vehicle to confirm this part fits.
2007 - 2011 Honda CR-V
Confirmed to Fit



Always the correct part
We know our products
Quality Products
Free Shipping!
Always the correct part
We know our products
Quality Products
Free Shipping!
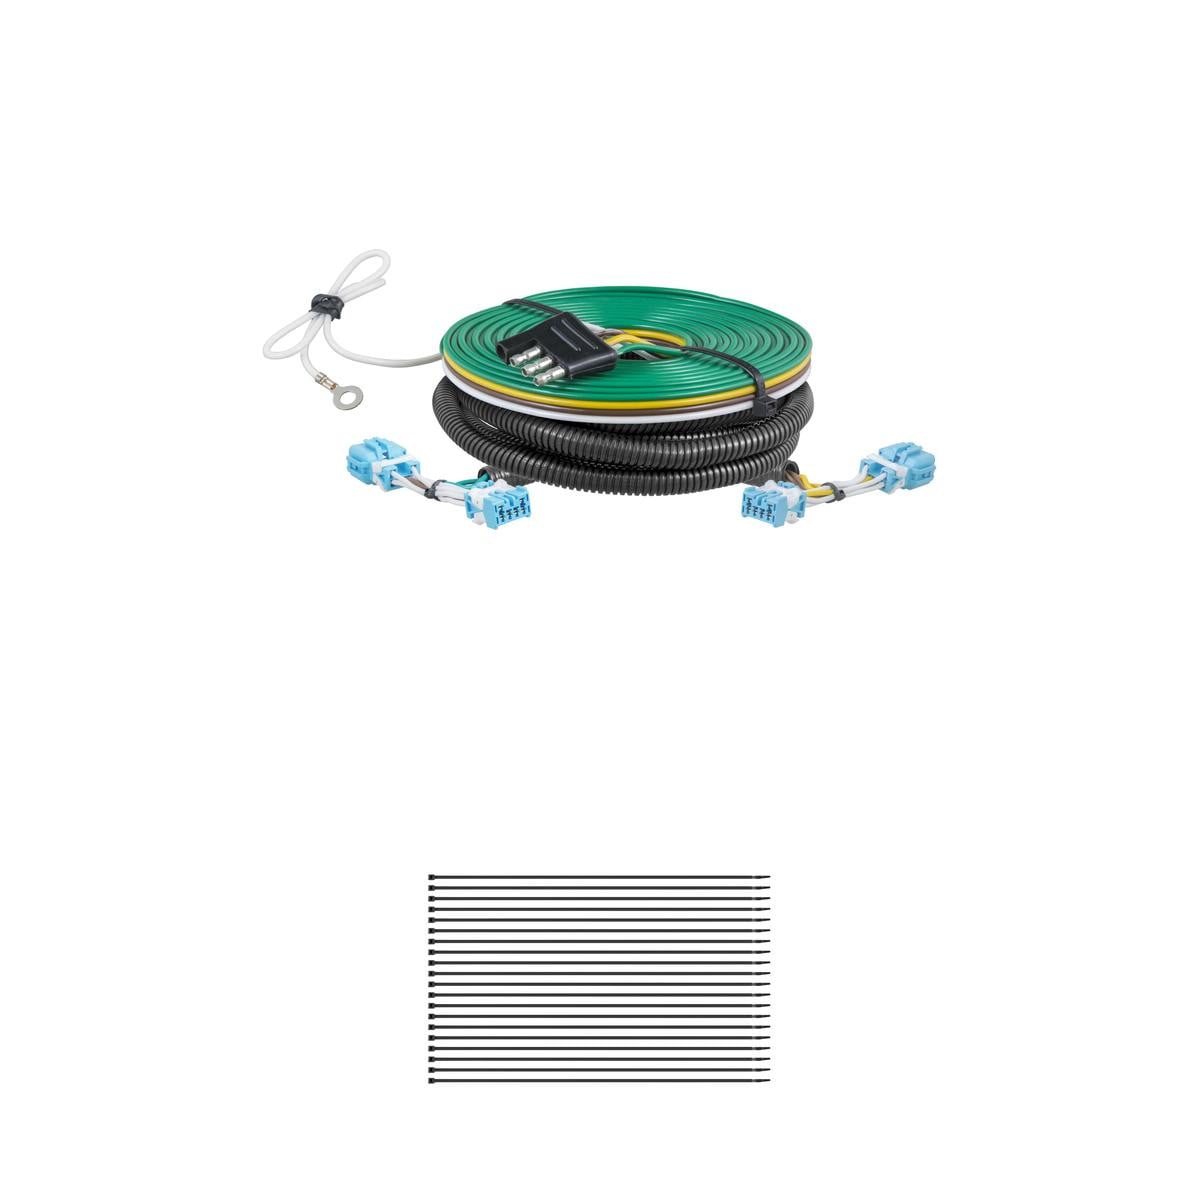
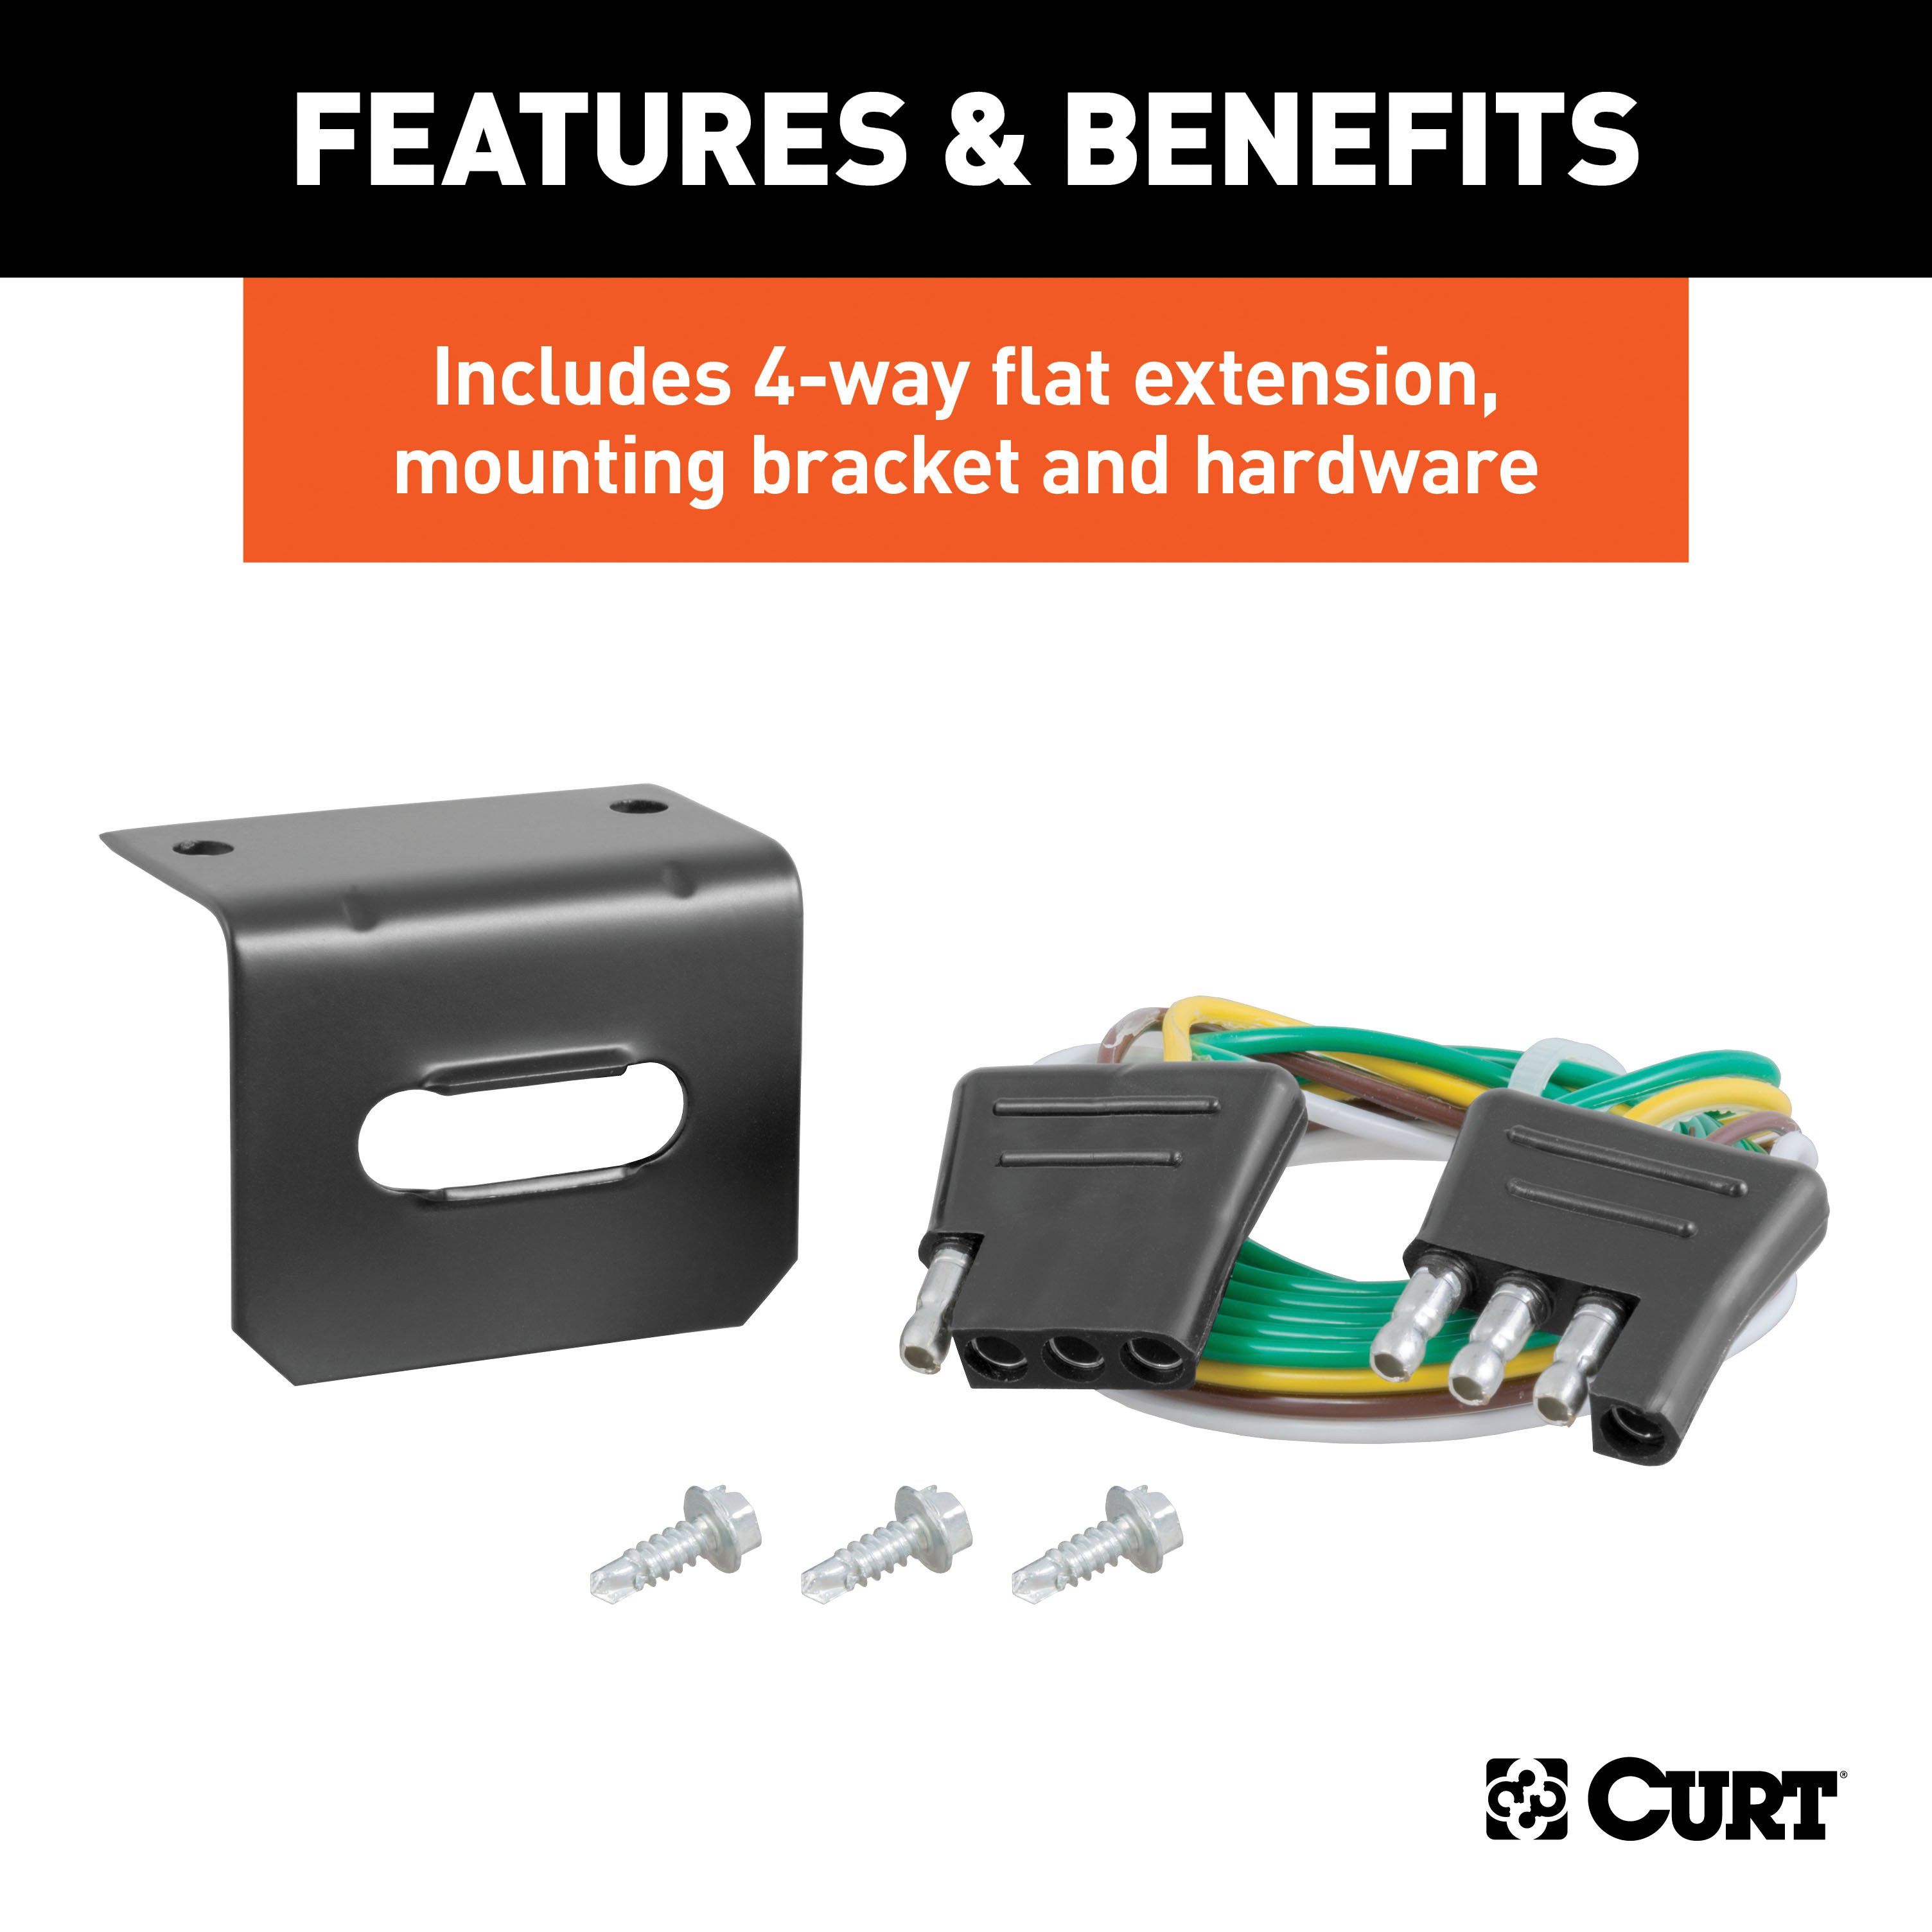
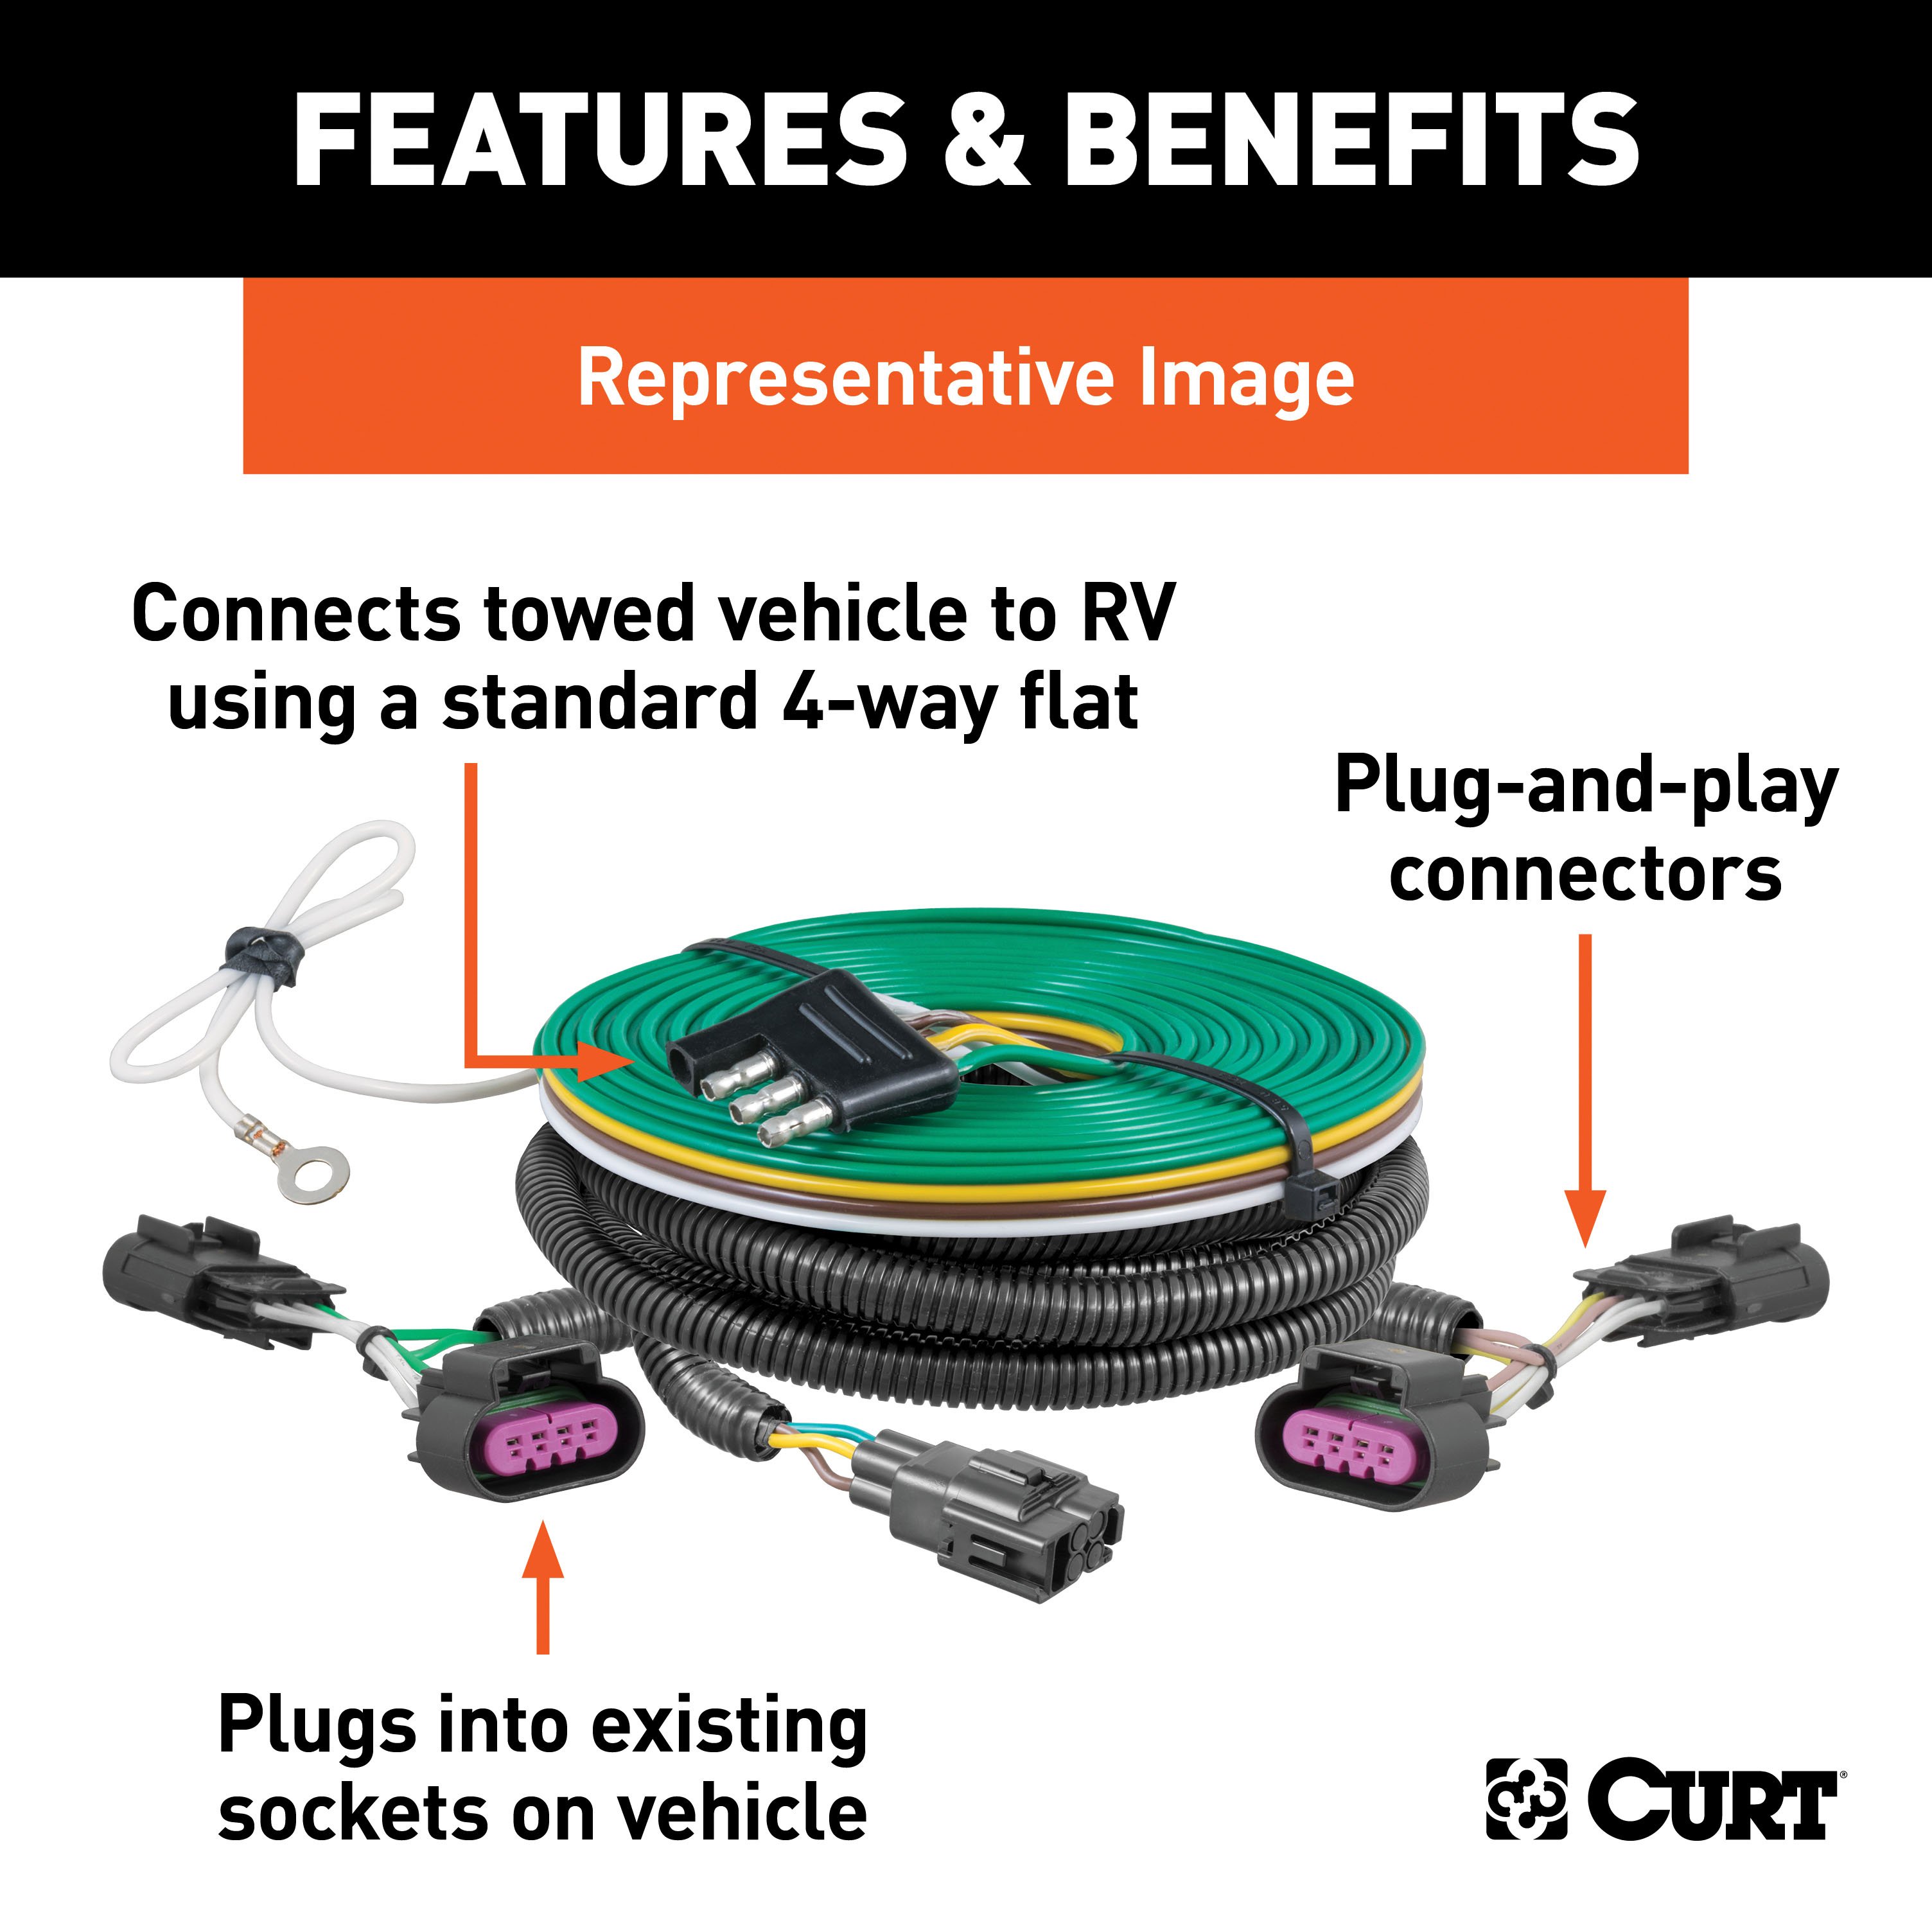
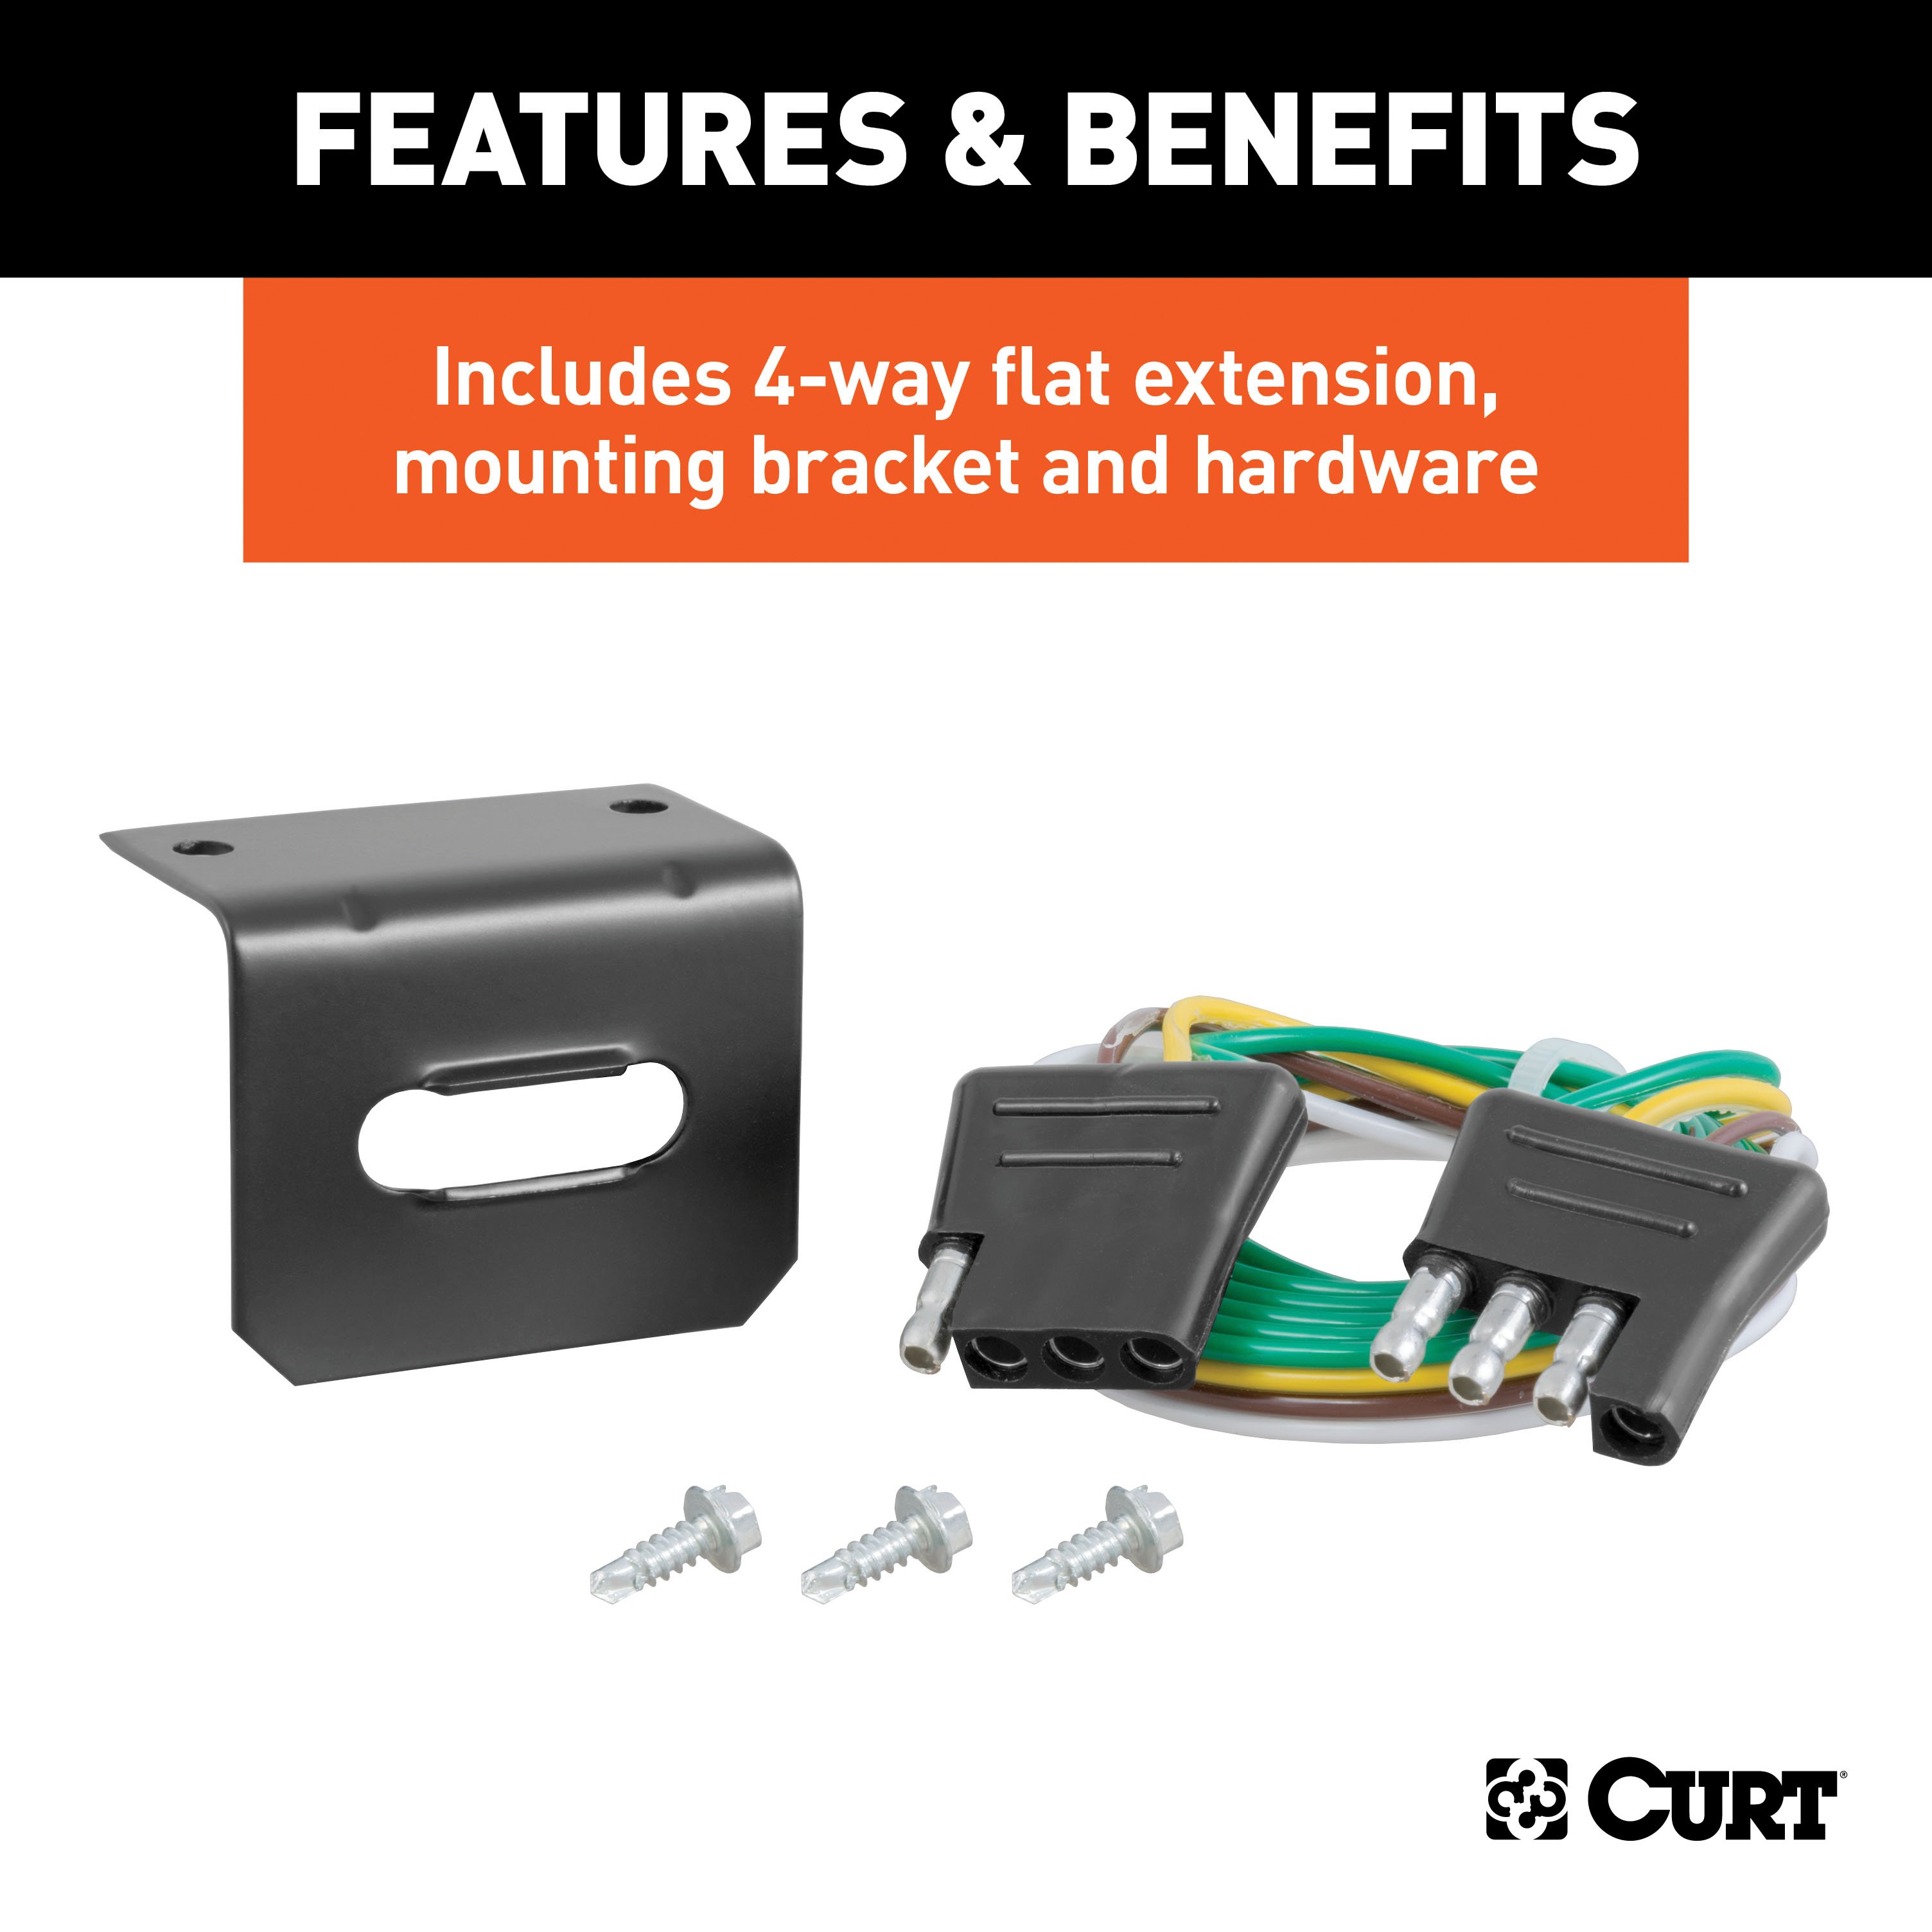
Includes harness, 4-flat extension, mounting bracket and hardware

Includes harness, 4-flat extension, mounting bracket and hardware

Warranty: One-Year Limited Warranty
Installation Difficulty: Advanced
Installation Time Exact (Minutes): 90
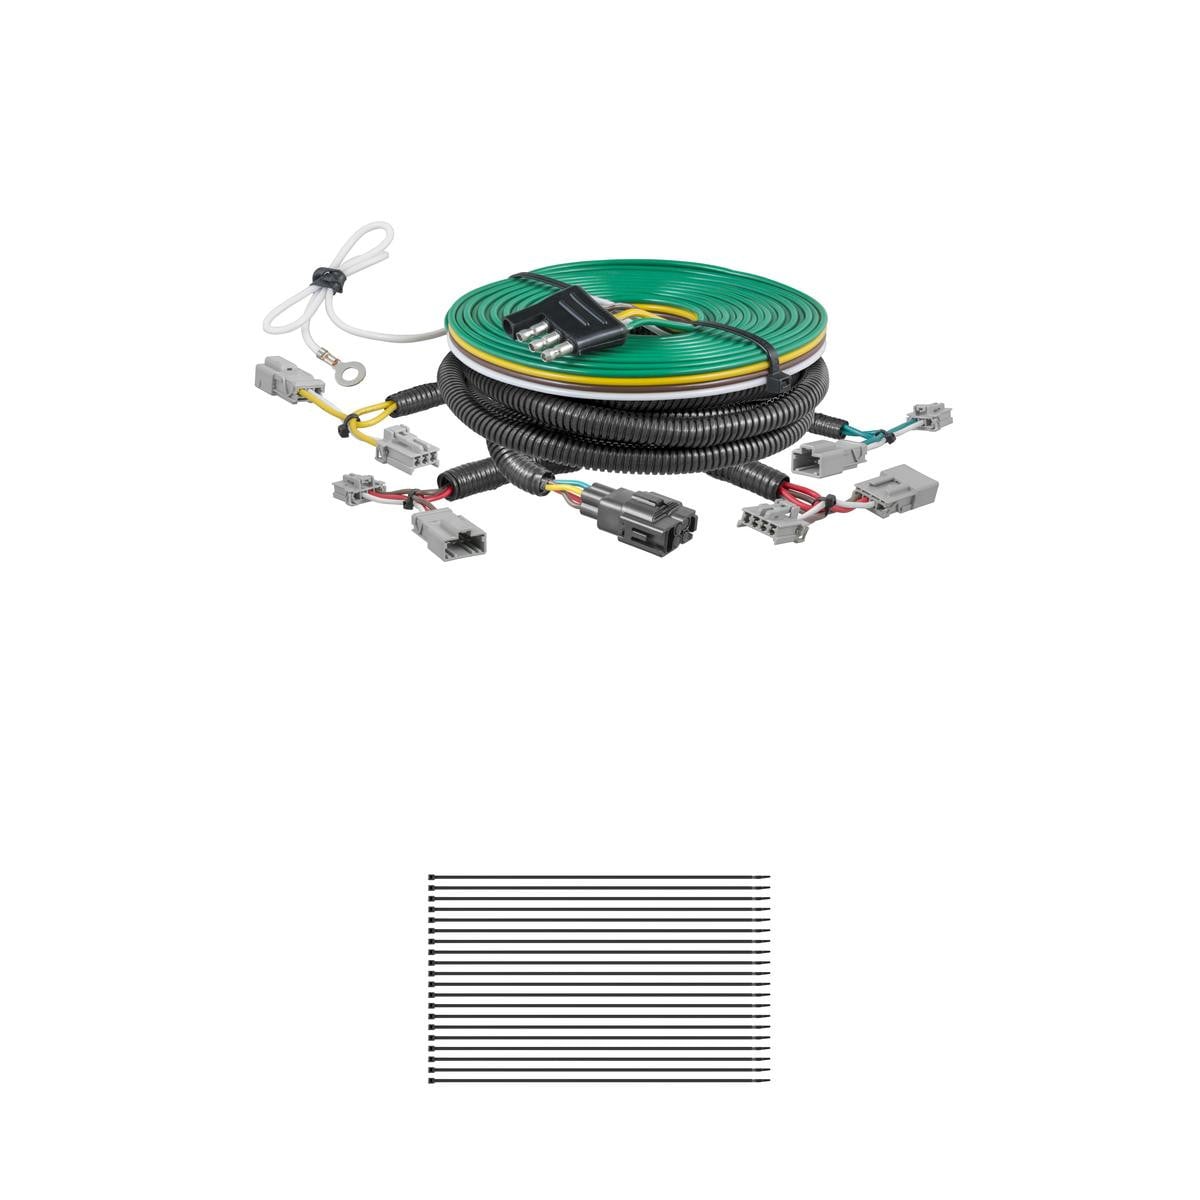
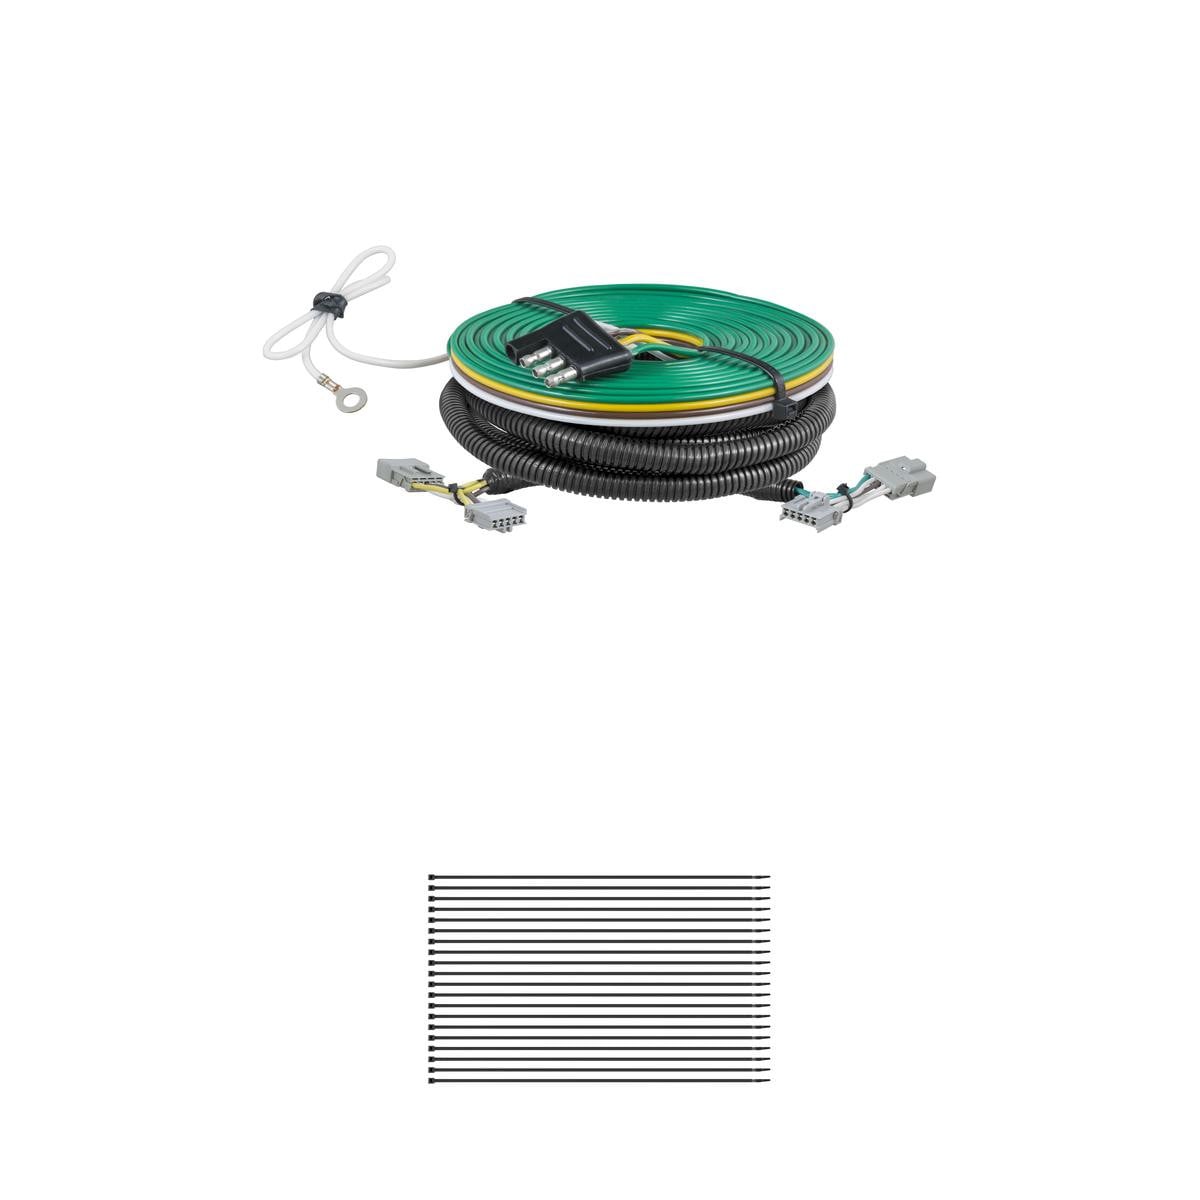
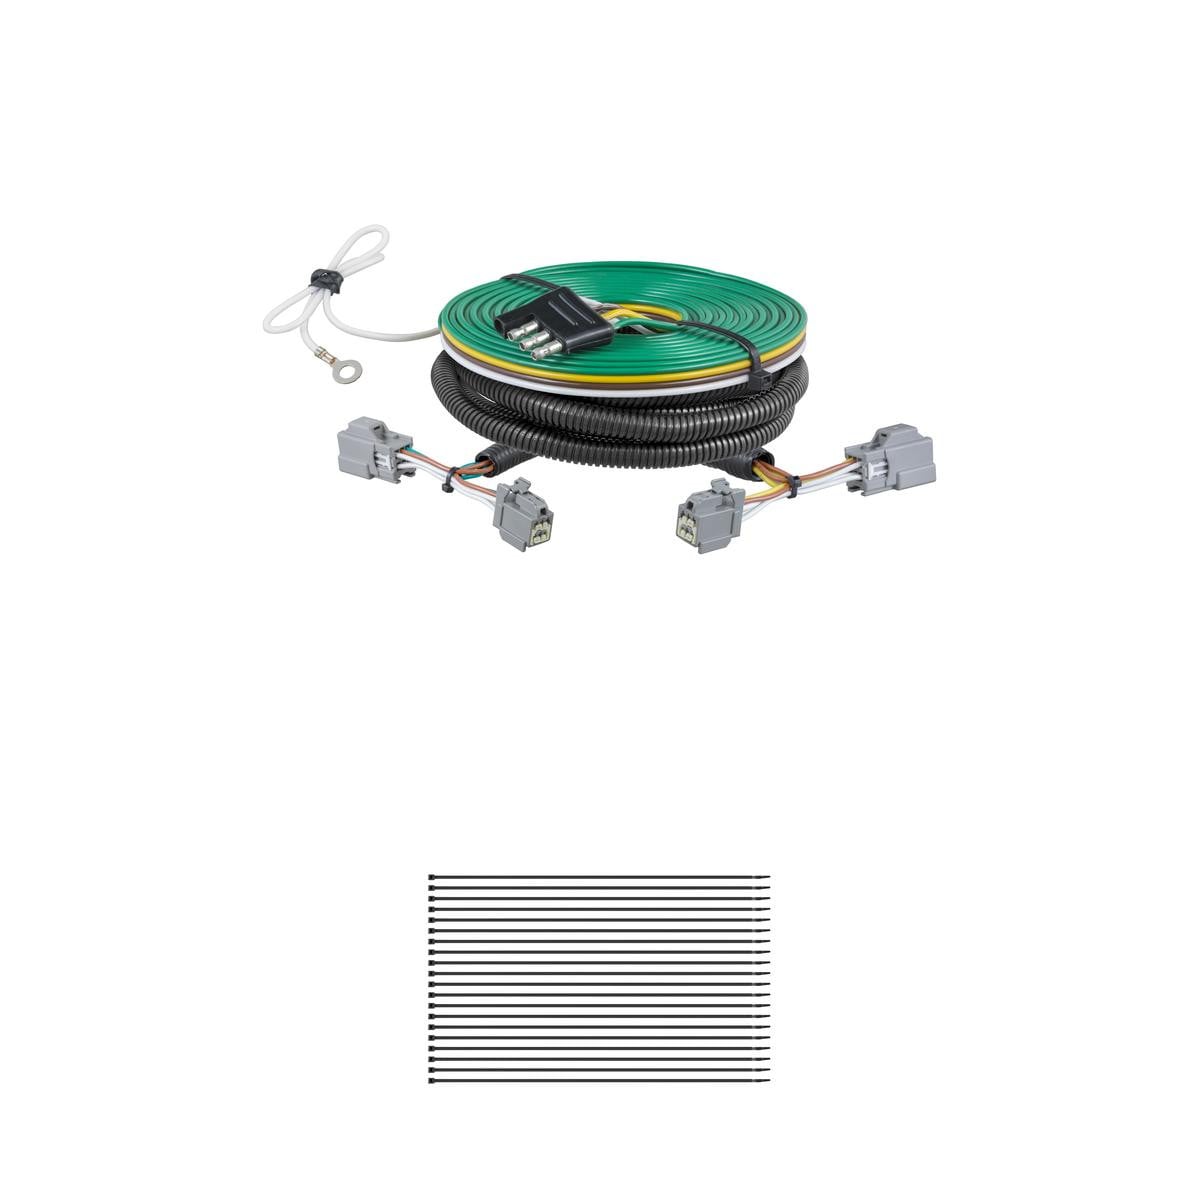
Towing your vehicle behind your RV is a great way to experience more of the adventure on your cross-country excursions. Whether you're towing a compact car or a full-size truck, CURT has the perfect solution to help you Bring It! CURT towed-vehicle RV harnesses are a vehicle-specific, plug-and-play solution to wiring your vehicle for dinghy towing. They use original-equipment-compatible connectors to plug into your vehicle's wiring system without any cutting, splicing or soldering required. They provide a standard 4-way flat connector to plug into the RV socket and synchronize the vehicle's tail lights, turn signals and brake lights with the RV's. Because each towed-vehicle RV harness has a vehicle-specific design, installation is fast and easy. This particular RV dinghy towing wiring harness is designed for specific years of the Honda CR-V. CURT RV harnesses are also built to provide long-lasting operation. They feature integrated block diodes that protect the vehicle's circuits from the RV signals. They isolate the sensitive vehicle electronics, keeping them from overheating and short circuiting. Every CURT towed-vehicle RV harness comes ready to install with all necessary hardware included. They also come with a 4-way flat extension to provide plenty of length to plug into the RV socket, as well as a connector mounting bracket to mount the connector on the vehicle.

CURT offers a variety of high-quality trailer hitches and accessories for select vehicle models. Find the perfect fit for your towing needs at TowUniverse.
CURT, a Lippert brand, offers a complete line of towing products and is the leading manufacturer of custom-fit trailer hitches. We offer the broadest selection of custom-fit hitches, and each one is designed, welded, and coated in Wisconsin.
CURT is also a leader in flat towing products, as well as 5th wheel, gooseneck, and weight distribution hitches, ball mounts, electrical components, cargo solutions, and other towing accessories.
For everything from passenger cars and vans to full-size pickups and SUVs, CURT is 'The First Name in Towing Products®.'

Experts available to answer your questions
Call 888-634-9494Rediscover "Us" Time | Tested. Proven. Safe. Towing Products
1 compatible vehicles
| Year | Make & Model | Notes |
|---|---|---|
| 2007 - 2011 | Honda CR-V | — |
The CURT 58901 Custom Towed-Vehicle RV Wiring Harness for Dinghy Towing, Fits Select Honda CR-V (Part #BKDK58901) fits the following vehicles: 2007-2011 Honda CR-V. Always verify your specific year, make, and model before ordering.
The CURT 58901 Custom Towed-Vehicle RV Wiring Harness for Dinghy Towing, Fits Select Honda CR-V (Part #BKDK58901) fits 2007-2011 Honda CR-V models. The 2011 model year is the last year covered by this part number. For newer models, check for an updated version.
Yes, the CURT 58901 Custom Towed-Vehicle RV Wiring Harness for Dinghy Towing, Fits Select Honda CR-V (Part #BKDK58901) is designed to fit the 2007-2011 Honda CR-V.
The CURT 58901 Custom Towed-Vehicle RV Wiring Harness for Dinghy Towing, Fits Select Honda CR-V (Part #BKDK58901) Refer to the included instructions for installation details. Basic hand tools are typically all you need.
The CURT 58901 is a taillight wiring harness designed for SUVs and vans. It connects your vehicle's taillight wiring to a 4-flat connector, allowing you to power trailer lights. The harness includes yellow and green wire ends for driver and passenger side connections, a ring terminal for vehicle ground, and a 4-flat connector for the trailer.
The CURT 58901 is designed for SUVs and vans with rear taillight wiring accessible via driver and passenger side panels. The manual shows wiring locations S3 and S4 (behind driver and passenger side rear access panels) as the primary connection points. Check your vehicle's tailgate access and side panel configuration against the representative vehicle diagram in the manual. For specific vehicle compatibility, contact CURT or consult your vehicle owner's manual.
You will need: a ratchet, 10mm socket, fishwire, trim panel removal tool, Phillips screwdriver, and utility knife. A drill with a 3/32" bit is also required to mount the 4-flat bracket. Proper tools will improve installation quality and reduce installation time.
The manual references included parts but does not provide a detailed list. Based on the installation steps, the harness includes: RV harness with yellow and green wire ends, ring terminal for ground connection, 4-flat connector, 4-flat bracket with two screws, cable ties, and a 4-flat dust cover. For a complete parts list, refer to the product packaging or contact CURT.
The manual states 'If it was disconnected at the beginning of the installation, reconnect the negative battery terminal' in Step 13, but does not explicitly require battery disconnection. As a safety precaution when working with vehicle electrical systems, disconnecting the negative battery terminal is recommended. Consult your vehicle owner's manual for specific guidance.
Open the vehicle tailgate and remove all trunk floor coverings. Using a 10mm socket, remove the two cargo tie downs securing the threshold plate. Push the centers of the two push pins to remove them, then remove and set aside the threshold plate. Read all instructions thoroughly before beginning.
Remove the plastic side panel on the driver side to locate the taillight wiring harness connectors. Using a Phillips screwdriver, remove the driver-side taillight. Separate the blue connectors and gently pull the taillight rearward, taking care not to damage the locking tabs. Insert the RV harness end with the yellow wire between the separated connectors, ensuring they are fully inserted with locking tabs in place. At this point there is only one connection on the driver side.
Remove the plastic side panel on the passenger side to locate the taillight wiring harness connectors. Route the RV harness end with the green wire down to the bottom of the side wall panel along the rear of the vehicle and up behind the passenger-side panel. Insert the harness end with the green wire between the separated connectors, ensuring they are fully inserted with locking tabs in place.
Locate the vehicle ground rings (typically near the rear of the vehicle). Using a 10mm socket, remove the bolt securing the vehicle ground rings. Place the RV harness ring terminal on the bolt with the vehicle ground rings and secure the bolt. This completes the ground connection for the harness.
Cut the cable ties on the 4-flat end of the RV harness. Route the 4-flat and connector ends with the green wire through the opening behind the taillight, pushing the grommet back into the hole around the 4-flat wire. If necessary, make a slit in the grommet and reseat it, using grommet sealant to seal the cut and around all wires. Route the 4-flat wire underneath the vehicle above and around the suspension, securing with provided cable ties. Continue routing toward the front of the vehicle along the side frame rail, securing with cable ties. From the front of the wheel well, route a fishwire up and over to the bottom right of the wheel well (removing plastic clips if necessary). Attach the 4-flat to the fishwire and pull it to the front of the wheel well, then reinstall all removed clips.
Inside the vehicle on the driver side, insert the connector from the taillight into the other side of the RV harness. This completes the interior wiring connection and allows the harness to receive signal from the vehicle's taillight circuit.
Yes. You must drill two 3/32" holes in the vehicle frame behind the driver-side taillight to mount the 4-flat bracket. Use the bracket as a template to mark the hole locations. Take care not to drill through the vehicle body or any exposed surface. A drill with a 3/32" bit is required.
It may be necessary to make a slit in the grommet to accommodate the 4-flat wire routing. If you do make a slit, reseat the grommet and use grommet sealant to seal the cut in the grommet and around all wires to prevent water intrusion and corrosion.
Signal circuits: 7.5 amps per side. Tail/Running circuits: 7.5 amps total. Do not exceed the product rating or your tow vehicle's lamp load rating, whichever is lower. Check your vehicle owner's manual or contact the vehicle manufacturer for your vehicle's specific lamp load rating.
Drill two 3/32" holes in the vehicle frame behind the driver-side taillight. Use the 4-flat bracket as a template to mark the hole locations before drilling.
Avoid areas that contain moving parts or could cut, pinch or burn the wires when routing the 4-flat harness to the front of the vehicle. Failure to follow these warnings may cause property damage, personal injury or loss of life. Secure excess wire so it is not drooping or dangling, but not so tight that it causes unnecessary strain that could lead to breakage over time.
Take care not to drill through the vehicle body or any exposed surface. Use the bracket as a template to mark hole locations accurately before drilling.
Reinstall all items removed during installation. If the negative battery terminal was disconnected, reconnect it. Install the provided 4-flat dust cover to help prevent corrosion. Test for proper function by using a test light or connecting a properly equipped tow vehicle. Ensure all wires are secured without excessive strain and that no wires are drooping or dangling.
Perform periodic inspection of all wires and connections to ensure there is no visible damage or loose connections. Install the provided 4-flat dust cover to help prevent corrosion. Check connections regularly, especially after towing, to ensure they remain secure.
The CURT 58901 is designed for SUVs and vans with rear taillight wiring accessible via driver and passenger side panels (locations S3 and S4). Verify your vehicle matches the representative vehicle diagram in the manual.
Yes, you must drill two 3/32" holes in the vehicle frame behind the driver-side taillight to mount the 4-flat bracket. Take care not to drill through the vehicle body or exposed surfaces.
Avoid routing wires through areas with moving parts or sharp edges that could cut or pinch them. Do not drill through the vehicle body. Secure excess wire without excessive strain. Failure to follow warnings may cause property damage, personal injury or loss of life.
Test for proper function by using a test light or connecting a properly equipped tow vehicle. Ensure all wires are secure and the 4-flat dust cover is installed to prevent corrosion.
Perform periodic inspection of all wires and connections for visible damage or loose connections. Keep the 4-flat dust cover installed to prevent corrosion.
On Sale Today
Original price was $110.95. Current price is $92.44.You save $18.51 (17%)
Free Shipping
Ships free on all orders
 Authorized Dealer
Quick Ship
In stock and ready to ship — order now!
Shipping from Lancaster, TXFREE SHIPPING
Estimated delivery Thu, Oct 1 - Sat, Oct 3
Order before 2 PM EST Monday–Friday for same-day processing
Guaranteed safe & secure checkout
No reviews have been added for this product.