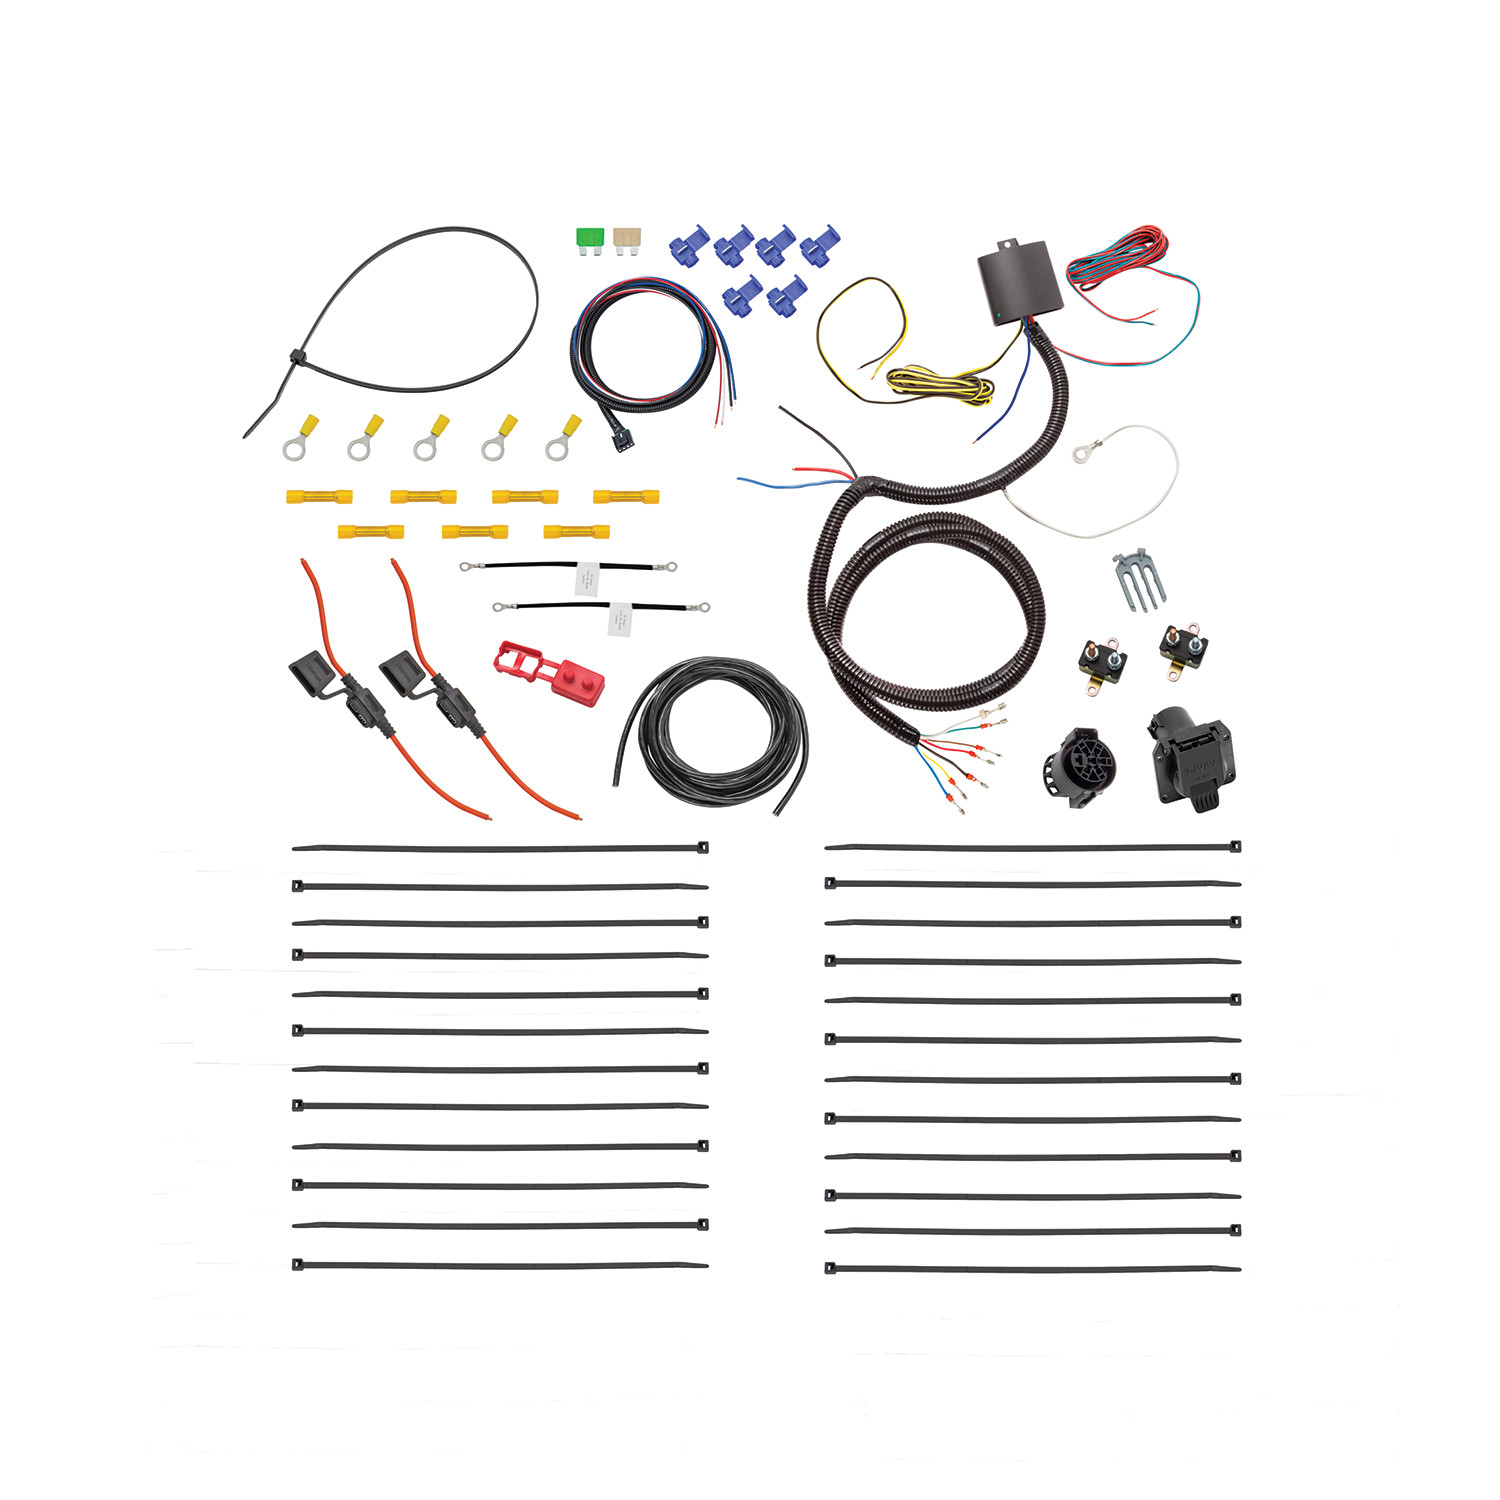
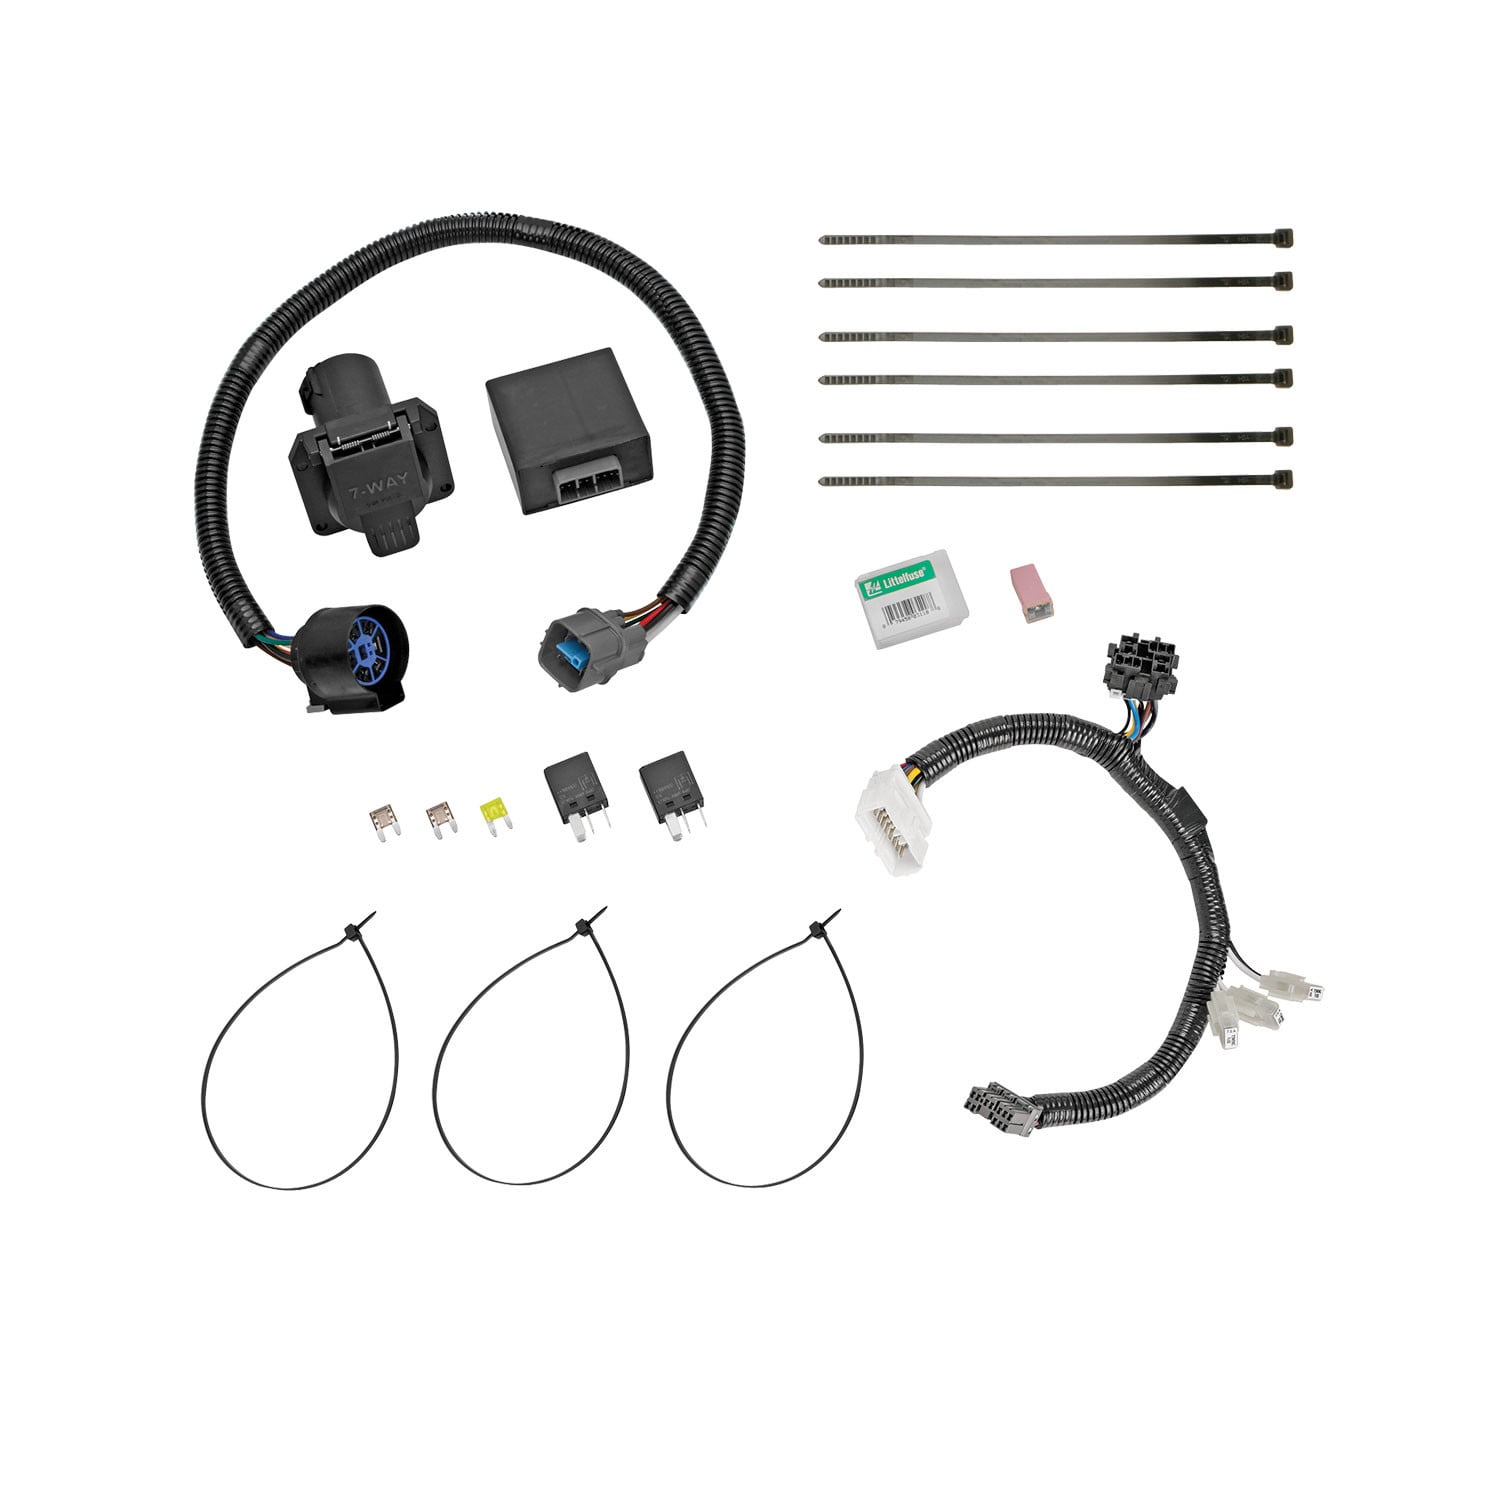
Tekonsha Tow Harness, 7-Way, w/ModuLite HD Protector w/Backup and Brake Control HarnessTekonshaOriginal price was $278.75. Current price is $210.84.Out of Stock
View productOur in-house experts typically reply within one business day.

CURT

Always the correct part
We know our products
Quality Products
Free Shipping!
Always the correct part
We know our products
Quality Products
Free Shipping!
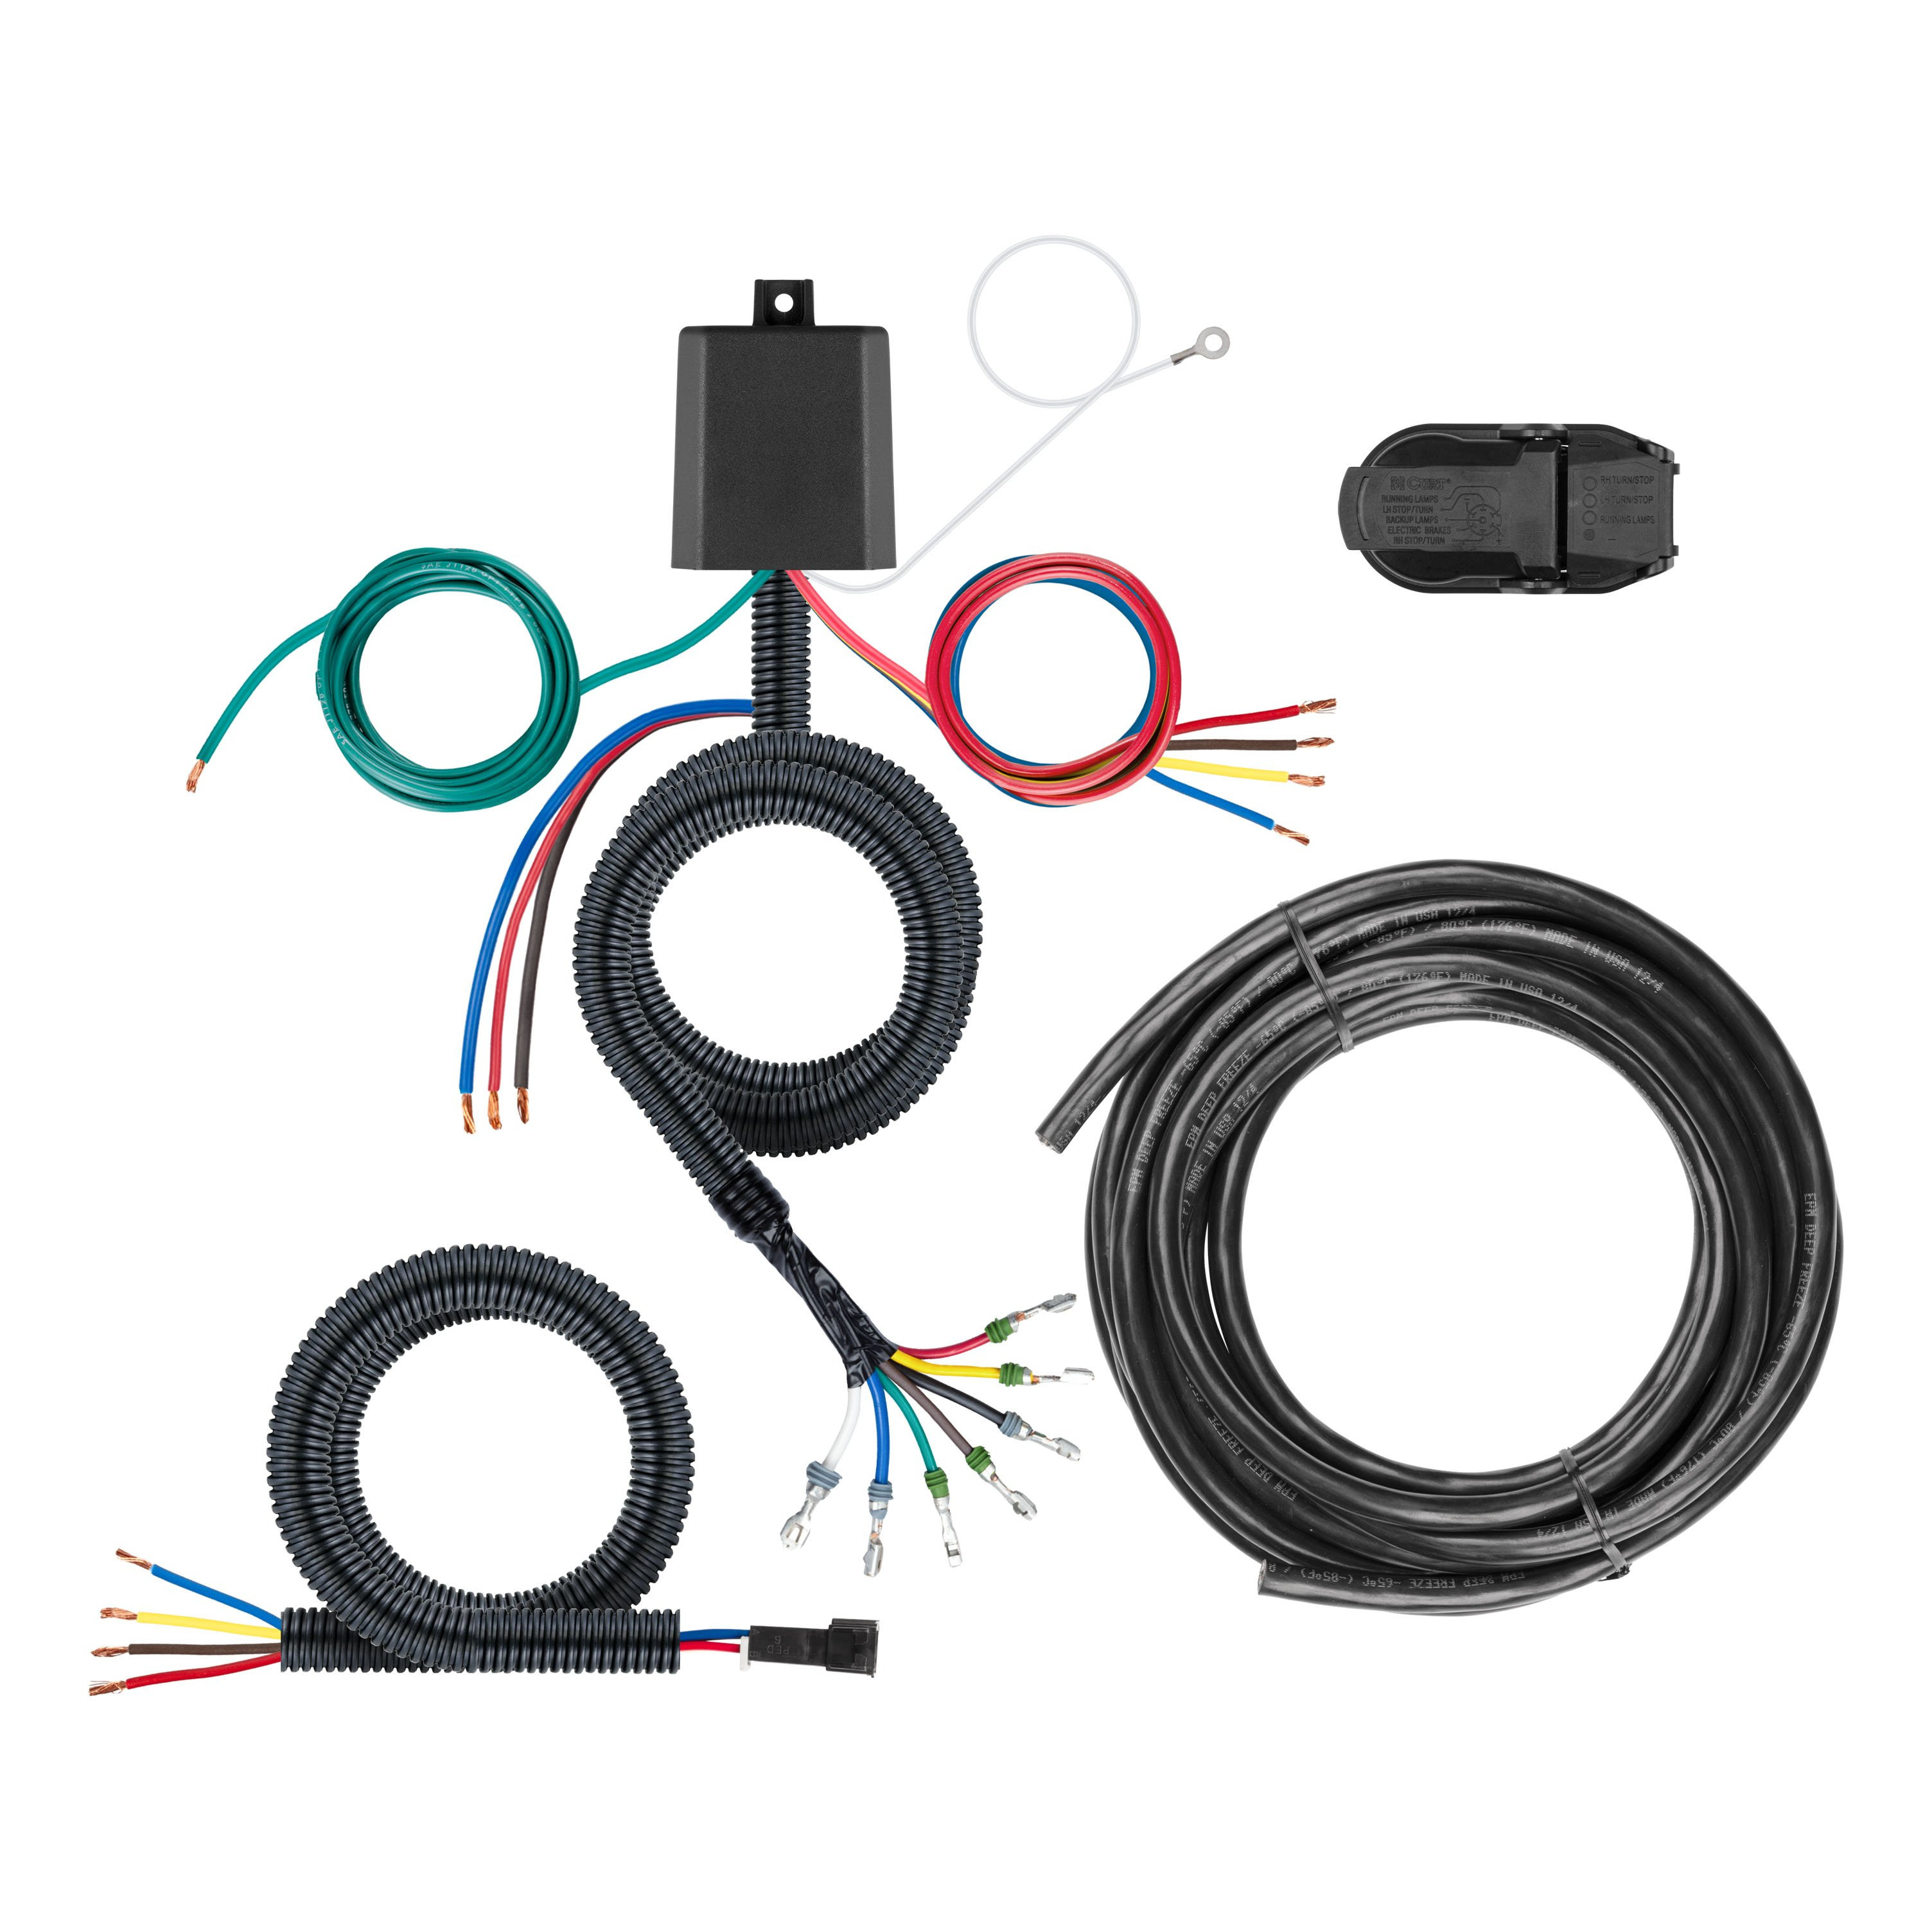
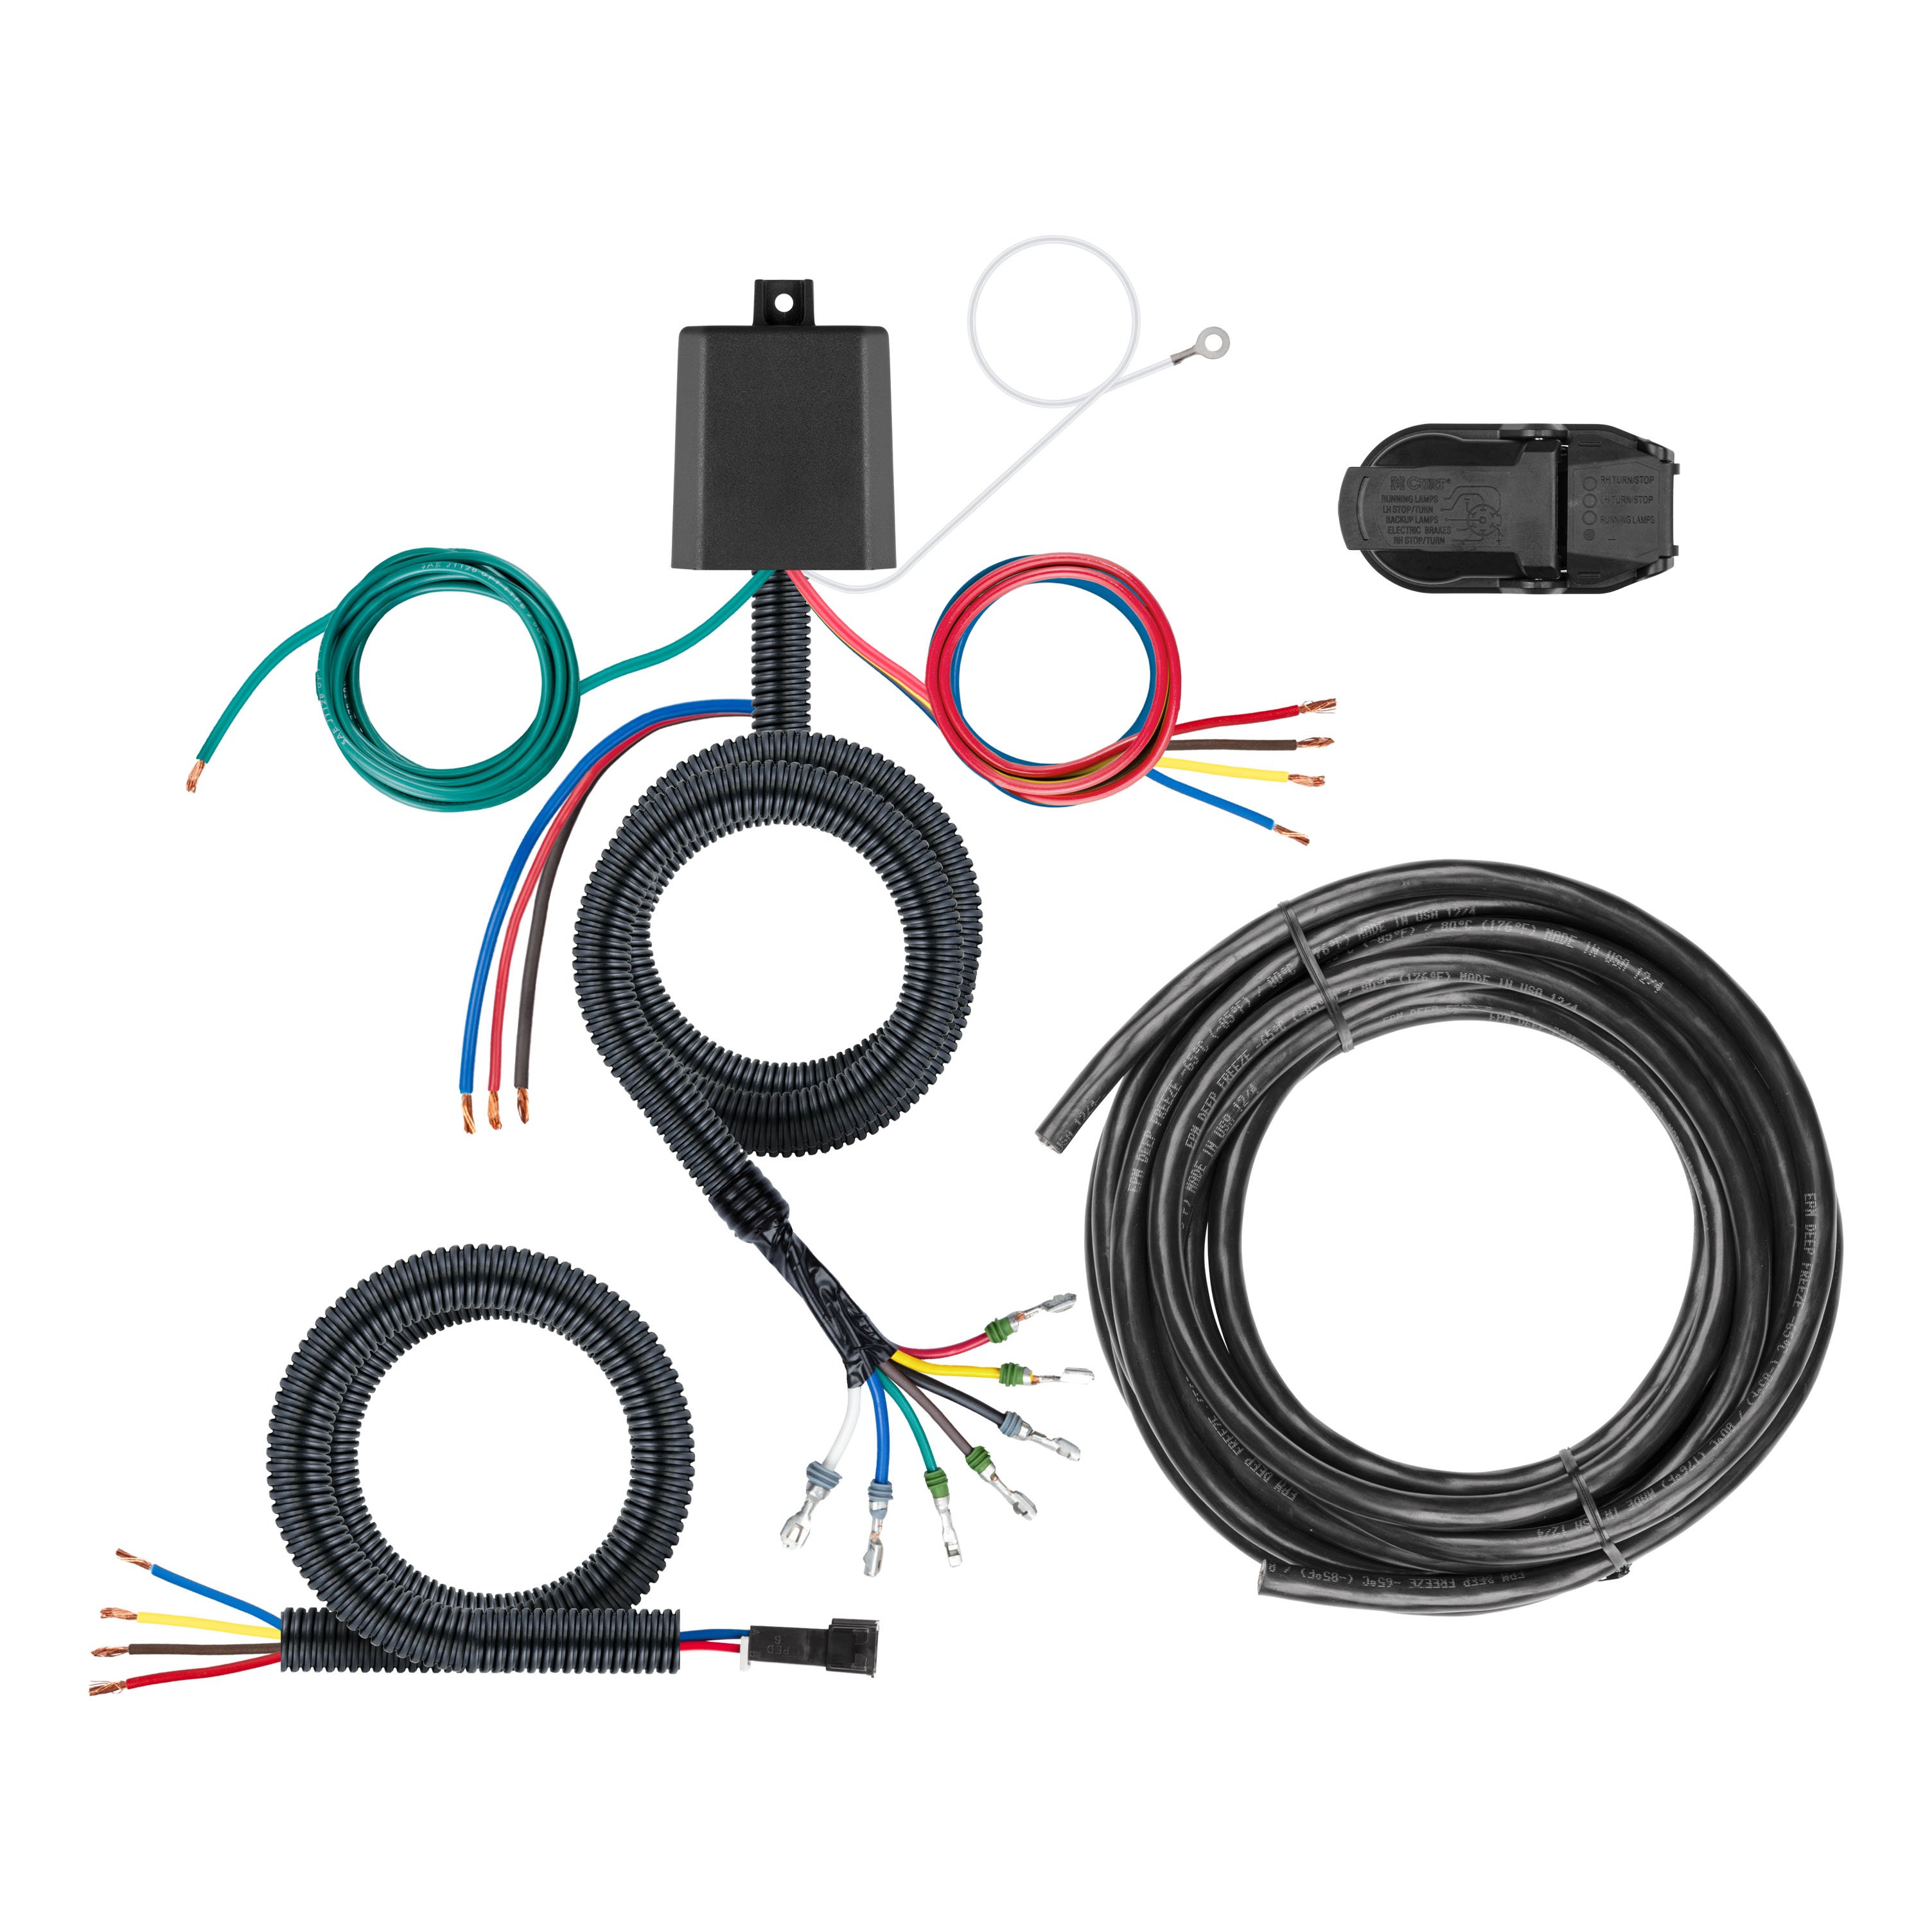
Includes everything you need for a fully functional 7-way and 4-flat combination
Allows for fully functional 7-way (tail lights, left/right turn, brake, reverse, electric brakes, and 12V +)

Hardware kit included
Finish: Blank
Material: THERMOPLASTIC RUBBER
Warranty: One-Year Limited Warranty
Upgrade your towing experience with the Universal 7-Way Custom Towing Harness, complete with an HD converter module and backup and brake control harness. This all-in-one solution features both 7-way and 4-flat connectors, powering your tail lights, turn signals, brake lights, reverse lights, electric brakes, and 12V accessories. Say goodbye to complicated wiring and installation headaches—this plug-and-play system includes everything you need for a quick and easy setup. Designed with safety in mind, the harness includes built-in short circuit and overload protection on all circuits, including reverse. It’s fully compatible with standard U.S. trailer connectors and works seamlessly with all CURT brake controllers. A dedicated brake controller wire connects to the cold side stop signal, offering precise braking and improved control on the road. Whether you're towing a camper, boat, or any other trailer, this harness ensures a secure and reliable connection every time. Get the job done faster and smarter with a hassle-free installation and the peace of mind that comes with superior safety features.

CURT offers a variety of high-quality trailer hitches and accessories for select vehicle models. Find the perfect fit for your towing needs at TowUniverse.
CURT, a Lippert brand, offers a complete line of towing products and is the leading manufacturer of custom-fit trailer hitches. We offer the broadest selection of custom-fit hitches, and each one is designed, welded, and coated in Wisconsin.
CURT is also a leader in flat towing products, as well as 5th wheel, gooseneck, and weight distribution hitches, ball mounts, electrical components, cargo solutions, and other towing accessories.
For everything from passenger cars and vans to full-size pickups and SUVs, CURT is 'The First Name in Towing Products®.'

Experts available to answer your questions
Call 888-634-9494One-year Limited
Rediscover "Us" Time | Tested. Proven. Safe. Towing Products
Part 59004 is a Curt Manufacturing tow harness power module with a 7-way connector and brake control harness. It converts your vehicle's taillight signals to a 7-way USCAR connector for towing trailers with electric brakes. The module processes your vehicle's stop, turn, tail, and reverse signals and outputs them to the 7-way connector, while the brake control harness integrates with a Curt brake control unit to manage trailer brake power.
Part 59004 is designed for SUVs, vans, passenger cars, and trucks. The manual provides wiring location guides for each vehicle type (S for SUVs/vans, P for passenger cars, T for trucks) to help you locate taillight connectors and routing paths specific to your vehicle configuration.
No. The brake control harness connector is designed to work with Curt brake control units only. You will need to use a compatible Curt brake controller with this harness.
You will need: test light, Phillips screwdriver, wire crimpers, drill, wire cutters, 3/32" drill bit, wire strippers, heat gun, and utility knife. A multimeter or voltmeter is also helpful for testing vehicle wiring types and verifying connections.
The kit includes: 20-amp and 30-amp fuse holders, 30-amp fuses for brake control and 7-way charge, 20-amp fuse for module power, wire taps (blue, for 16–18-gauge wire), heat shrinkable butt connectors, ring terminals, cable ties, double-sided tape, a 3/32" ground screw, and a white ground wire with ring terminal. The 7-way USCAR connector bracket is not included and must be sourced separately.
Yes. You must disconnect the vehicle's negative battery cable before beginning installation and isolate it to prevent metal items from creating a ground. Reconnect the negative cable only after all wiring is complete and verified.
With the vehicle running and all lights off, use a multimeter (set to DC volts) or test light to probe the taillight connectors. Wires carrying less than two volts (or not illuminating a test light) are not used. Then activate each light circuit one at a time (tail, brake, left turn, right turn) and probe the remaining wires to identify which wires carry which signals. The manual provides a chart showing the four wiring types: two-wire, three-wire, PWM-ST (combined stop/tail), and PWM-ST (combined stop/turn/tail).
Mount the lighting module on the driver's side in the rear of the vehicle using double-sided tape or zip ties. If mounting externally, the epoxy side of the module must face down to prevent water intrusion. Locate a suitable grounding point near the module, such as an existing screw with nut in the vehicle frame, or drill a 3/32" pilot hole for the provided ground screw. The area should be free of rust, debris, and paint.
Route the 7-way harness containing the 7 taped wires behind the rear bumper or fascia and over bumper support brackets toward the mounting location. Avoid routing to areas where wires can be pinched. Remove the tape from the 7 wires and insert each wire into the correct cavity of the USCAR 7-way connector per the insertion detail (black 12-gauge to 12-volt cavity, white 12-gauge to ground cavity, blue 12-gauge to trailer brakes cavity, red 14-gauge to left turn/stop cavity, brown 14-gauge to right turn cavity, green 14-gauge to tail cavity, yellow 14-gauge to reverse cavity). Insert terminals until you hear a click, then insert the secondary lock. Do not force terminals.
Starting on the driver's side, route the body harness (red, black, blue wires) along the frame toward the front of the vehicle and into the engine compartment. Route carefully to avoid the vehicle's exhaust, heat shields, fuel tank, rotating driveline components, or any other points that can cut or break wire insulation. The black 12-gauge wire connects to the positive battery terminal via a 30-amp fuse holder (7-way charge 30 amp). The red 12-gauge wire connects to the positive battery terminal via a 20-amp fuse holder (module 20 amp). Both fuse holders should be connected without fuses initially.
Determine a suitable mounting point in the vehicle's interior for the brake control harness. Route the white, blue, and black wires through an existing grommet in the firewall into the engine compartment (you may need to create a small hole in the grommet). Connect the black wire to the positive battery post via a 30-amp fuse holder (Brake Control) using a heat shrinkable butt connector. Ensure the 30-amp fuse is removed before connecting to the battery. Connect the blue wire (electric brake output) to the body harness blue wire in the engine compartment using a heat shrinkable butt connector. Connect the red wire to the brake pedal switch or suitable alternative using the supplied wire tap. Secure the brake control harness connector near the desired brake control mounting location.
Yes, drilling is required. You must drill a 3/32" pilot hole for the ground screw near the lighting module. Before drilling, check for miscellaneous items hidden behind or under any surface to avoid damage and personal injury. The area should be free of rust, debris, and paint. You may also need to create a small hole in the firewall grommet to pass the brake control harness wires through.
The module power connection uses a 20-amp fuse holder (module 20 amp). The battery connection must be fuse-protected with a maximum of 20 amps. Exceeding this rating can cause loss of warranty, overheating, and potential damage.
The 7-way charge connection uses a 30-amp fuse holder (7-way charge 30 amp). This fuse protects the black 12-gauge power wire that connects to the positive battery terminal.
The brake control connection uses a 30-amp fuse holder (Brake Control). The 30-amp fuse must be removed before connecting the brake control harness black wire to the battery, and should remain removed until the installation is complete and tested.
The module uses 14-gauge wires for turn/stop/reverse/tail outputs (red, yellow, green, brown), 12-gauge wires for power and ground outputs (black, white, blue), and 16-gauge wires for vehicle inputs (red, yellow, green, blue, brown). The body harness uses 12-gauge wires (red, black, blue). The provided blue wire taps are for 16–18-gauge wire only.
The 7-way USCAR connector uses: black 12-gauge for 12-volt power, white 12-gauge for ground, blue 12-gauge for trailer brakes, red 14-gauge for left turn/stop, brown 14-gauge for right turn, green 14-gauge for tail, and yellow 14-gauge for reverse. Each wire must be inserted into the correct cavity and locked with a click before the secondary lock is inserted.
After crimping the butt connector to the wire, use a heat gun or lighter to apply heat to the connector, working from the inside to the outer edge until the tubing recovers and the adhesive flows. Allow the connector to cool before inspecting the splice and checking integrity. Ensure there are no bare wires exposed after heat shrinking.
Do not exceed the product rating or the tow vehicle lamp load rating, whichever is lower. Exceeding the product rating can cause loss of warranty, overheating, and potential damage.
Do not lay tools across the positive battery terminal (typically marked with red covers or a red '+' symbol), as this can cause a ground short leading to sparks and electrical shocks. Disconnect the negative battery cable before installation and isolate it to prevent metal items from creating a ground. Do not reconnect the negative cable until all wiring is complete and verified.
After harness installation, evaluate and verify the installation with a test light or by connecting a properly wired trailer. Use a test light to probe each wire one at a time to confirm proper function. Check that all lights (tail, brake, turn signals, reverse) operate correctly on the 7-way connector.
After installation, verify that all T-connector ends, 7-way wire insertions, and USCAR socket are fully inserted and locked. Ensure all fuses are fully inserted and not blown. Check that all wires are pinned out per the 7-way USCAR wire insertion detail. Verify that ring terminals are in full contact with the vehicle's chassis ground. Secure the harness with cable ties provided, being careful to avoid areas that would cut, melt, or contact moving parts. Replace all coverings, grommets, or other components that were removed. Seal any altered grommets with silicone.
Periodic inspection of all wires and connections should be performed to ensure there is no visible damage or loose connections. Check that all fuses remain fully inserted and not blown, and that ring terminals remain in full contact with the vehicle's chassis.
Yes. The brake control harness is included with part 59004, but the brake control unit itself is not included. You must purchase a compatible Curt brake control unit separately. The brake control harness connector is designed to work with Curt brake control units only.
Yes. The 7-way connector bracket is not included with part 59004 and must be sourced separately. You will need to determine a suitable mounting location underneath the vehicle and mount the bracket before inserting the 7-way socket.
Part 59004 fits SUVs, vans, passenger cars, and trucks. The manual provides wiring location guides for each type. Compatibility depends on your vehicle's taillight connector type (two-wire, three-wire, or PWM-ST). Consult the wiring location guide for your vehicle type to confirm fitment.
You must purchase a Curt brake control unit (not included) and a 7-way connector bracket (not included). You may also need silicone sealant to seal altered firewall grommets.
Module power: 20-amp fuse. 7-way charge: 30-amp fuse. Brake control: 30-amp fuse. The battery connection must be fuse-protected with a maximum of 20 amps.
Yes. Disconnect the vehicle's negative battery cable before installation and isolate it to prevent metal items from creating a ground. Reconnect only after all wiring is complete and verified.
Installation is rated as Difficult. The difficulty level is based on time and effort involved and may vary depending on installer expertise, vehicle condition, and proper tools and equipment.
1. Ensure T-connector ends, 7-way wire insertion, and USCAR socket are fully inserted and locked in place. 2. Ensure all fuses are fully inserted and not blown. 3. Ensure wires are pinned out per the 7-way USCAR wire insertion detail. 4. Remove the Tow Harness Power Module 20-amp fuse for 10 seconds and repeat test. 5. Check chassis grounds and ensure ring terminals are in full contact with the vehicle's chassis.
1. Start vehicle and turn all functions off (tail, brake, turn, hazards). 2. Remove the Tow Harness Power Module 20-amp fuse for 10 seconds and repeat test. 3. Ensure fuses are fully inserted into fuse holders with no breaks. 4. Ensure the fuse holder is connected properly to the positive post of the battery. Remove the 20-amp fuse for 10 seconds and repeat test. 5. Ensure module power is connected to the positive battery post. Using a tester or multimeter, check for voltage on either side of the heat shrinkable butt connector near the module. 6. Remove the Tow Harness Power Module 20-amp fuse for 10 seconds and repeat test.
Free Shipping
Ships free on all orders
 Authorized Dealer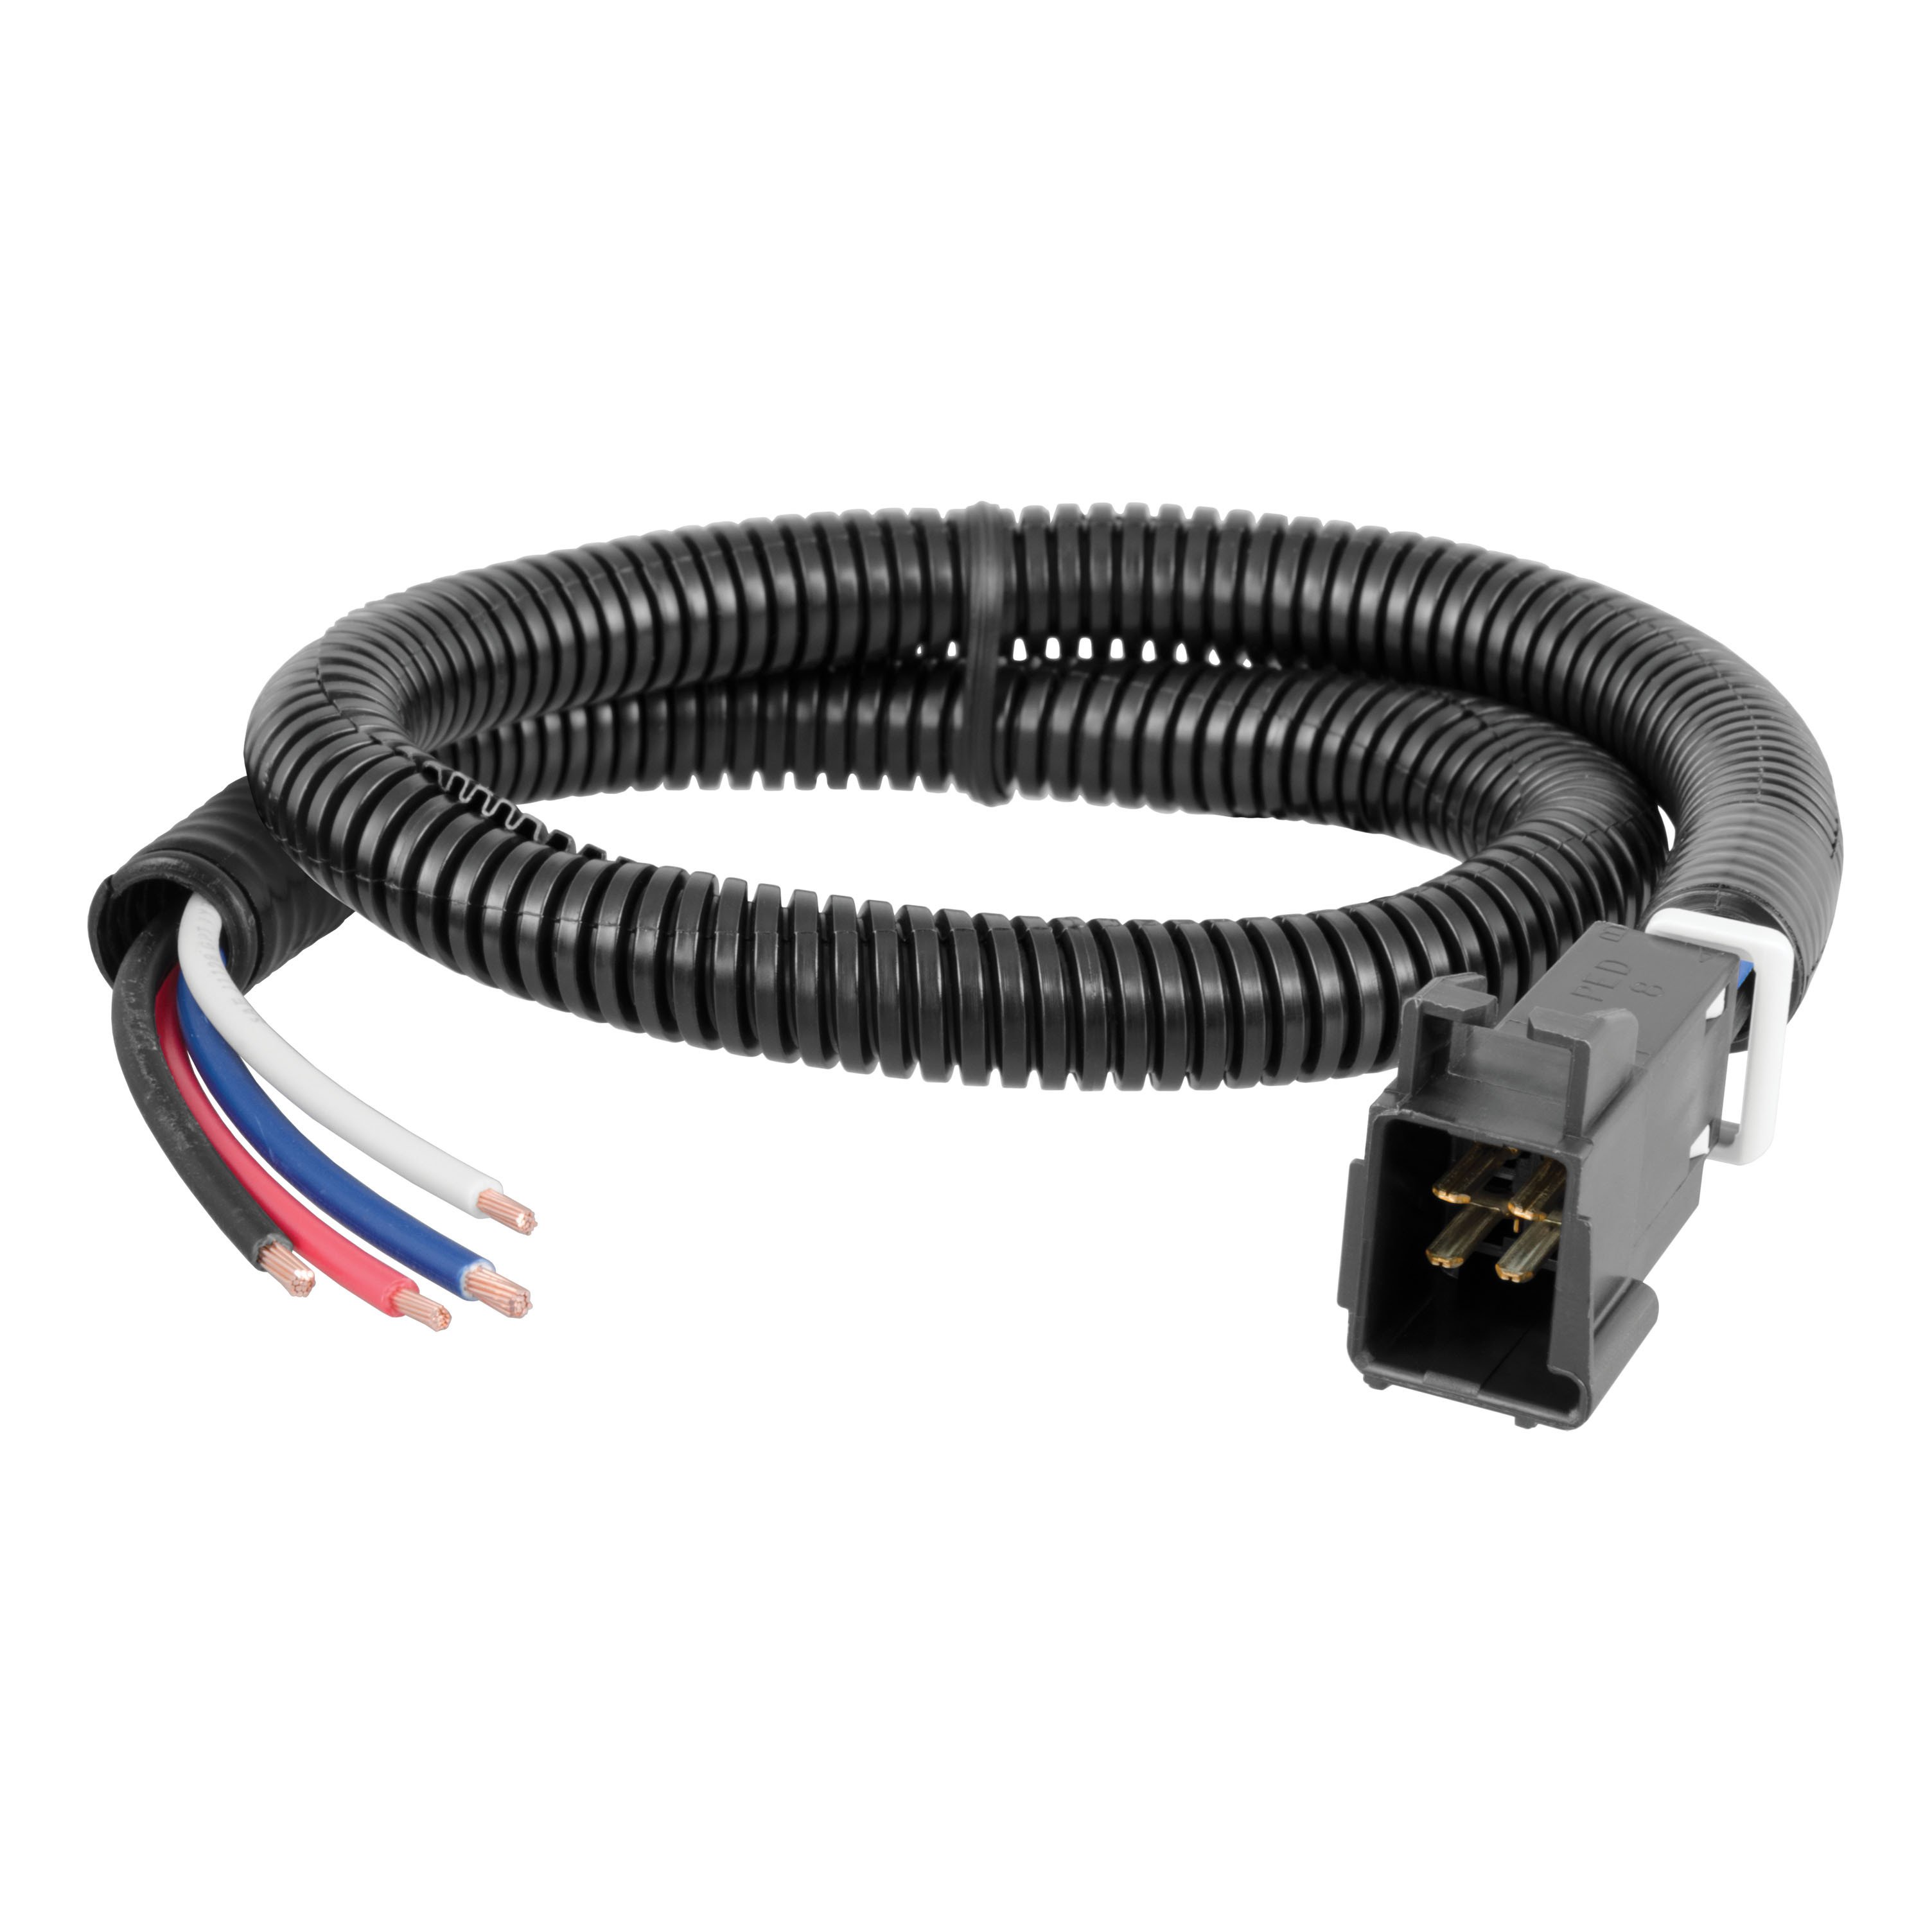


Quick Ship
In stock and ready to ship — order now!
Shipping from Eau Claire, WIFREE SHIPPING
Estimated delivery Mon, Oct 12 - Wed, Oct 14
Order before 2 PM EST Monday–Friday for same-day processing
Guaranteed safe & secure checkout
No reviews have been added for this product.