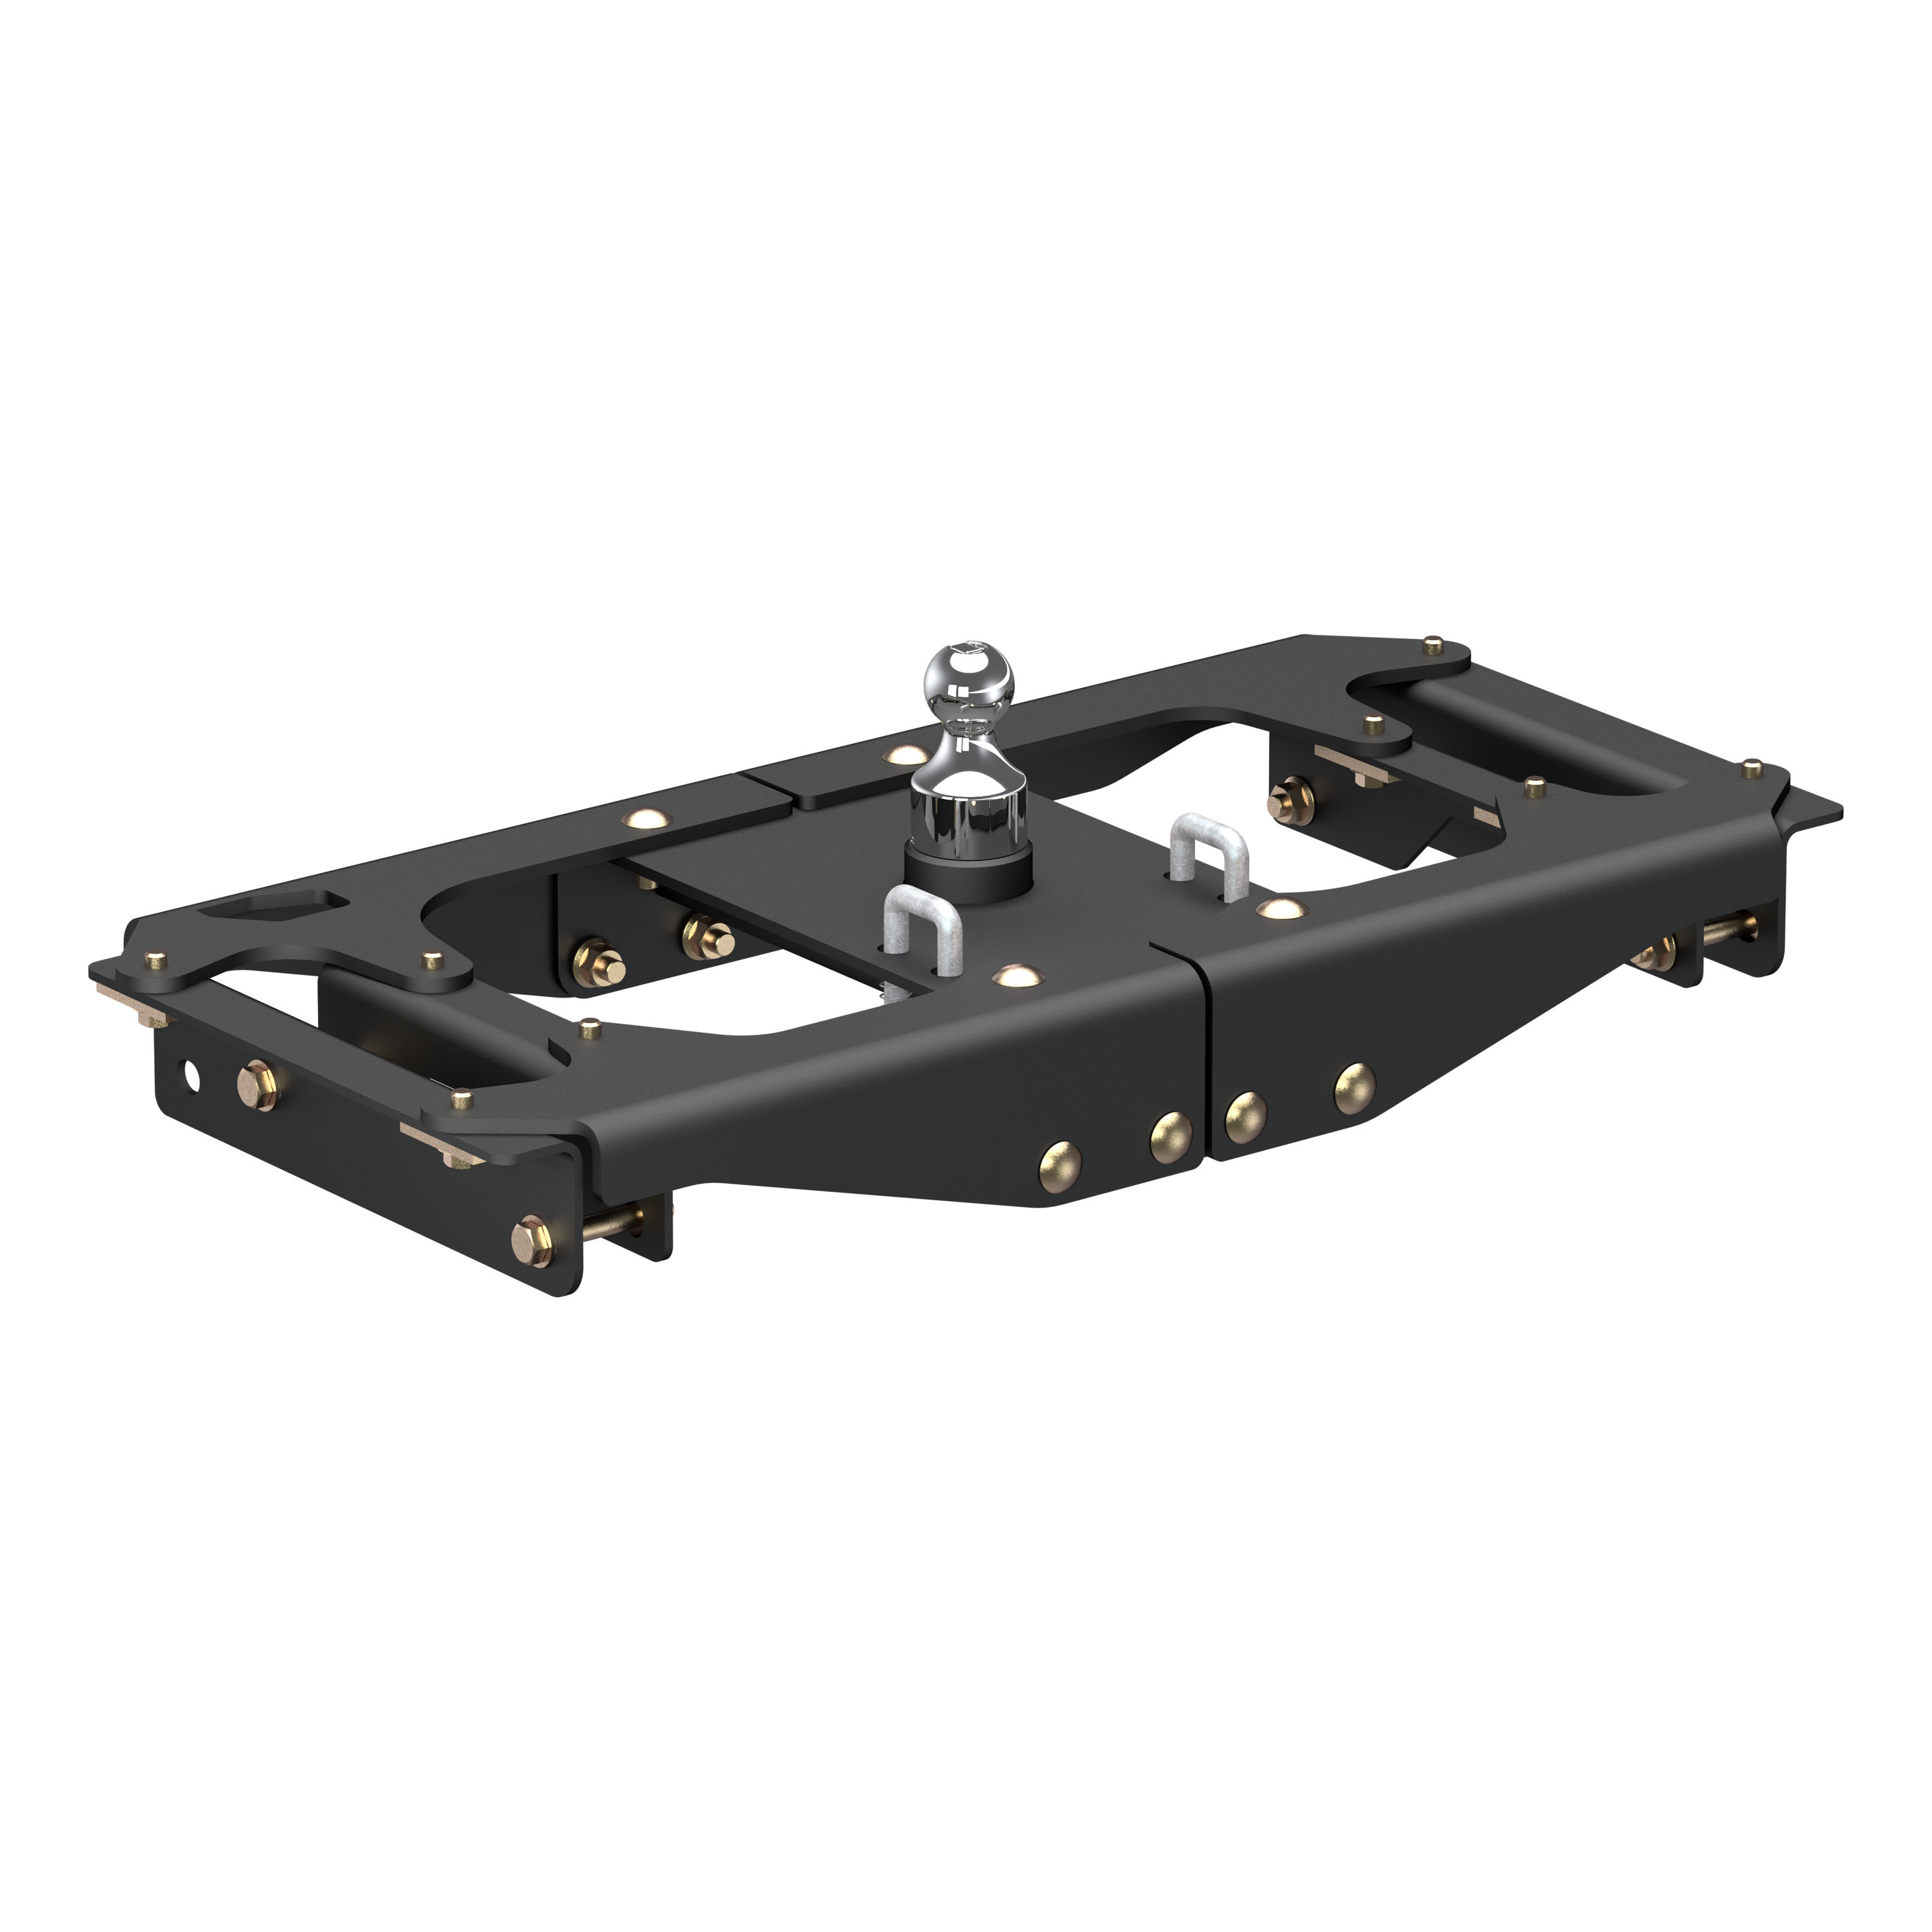
CURT OEM-Style Gooseneck Hitch, Select Ford F-250, F-350, F-450 Super Duty Gooseneck Trailer Hitch Mount KitCURTOriginal price was $901.95. Current price is $678.50.Out of Stock
View productOur in-house experts typically reply within one business day.

Husky Towing
Verify Fitment
Select your vehicle to confirm this part fits.
2017 - 2022 Ford F-250 Super Duty
Confirmed to Fit




Always the correct part
We know our products
Quality Products
Free Shipping!
Always the correct part
We know our products
Quality Products
Free Shipping!
Free Shipping
Ships free on all orders
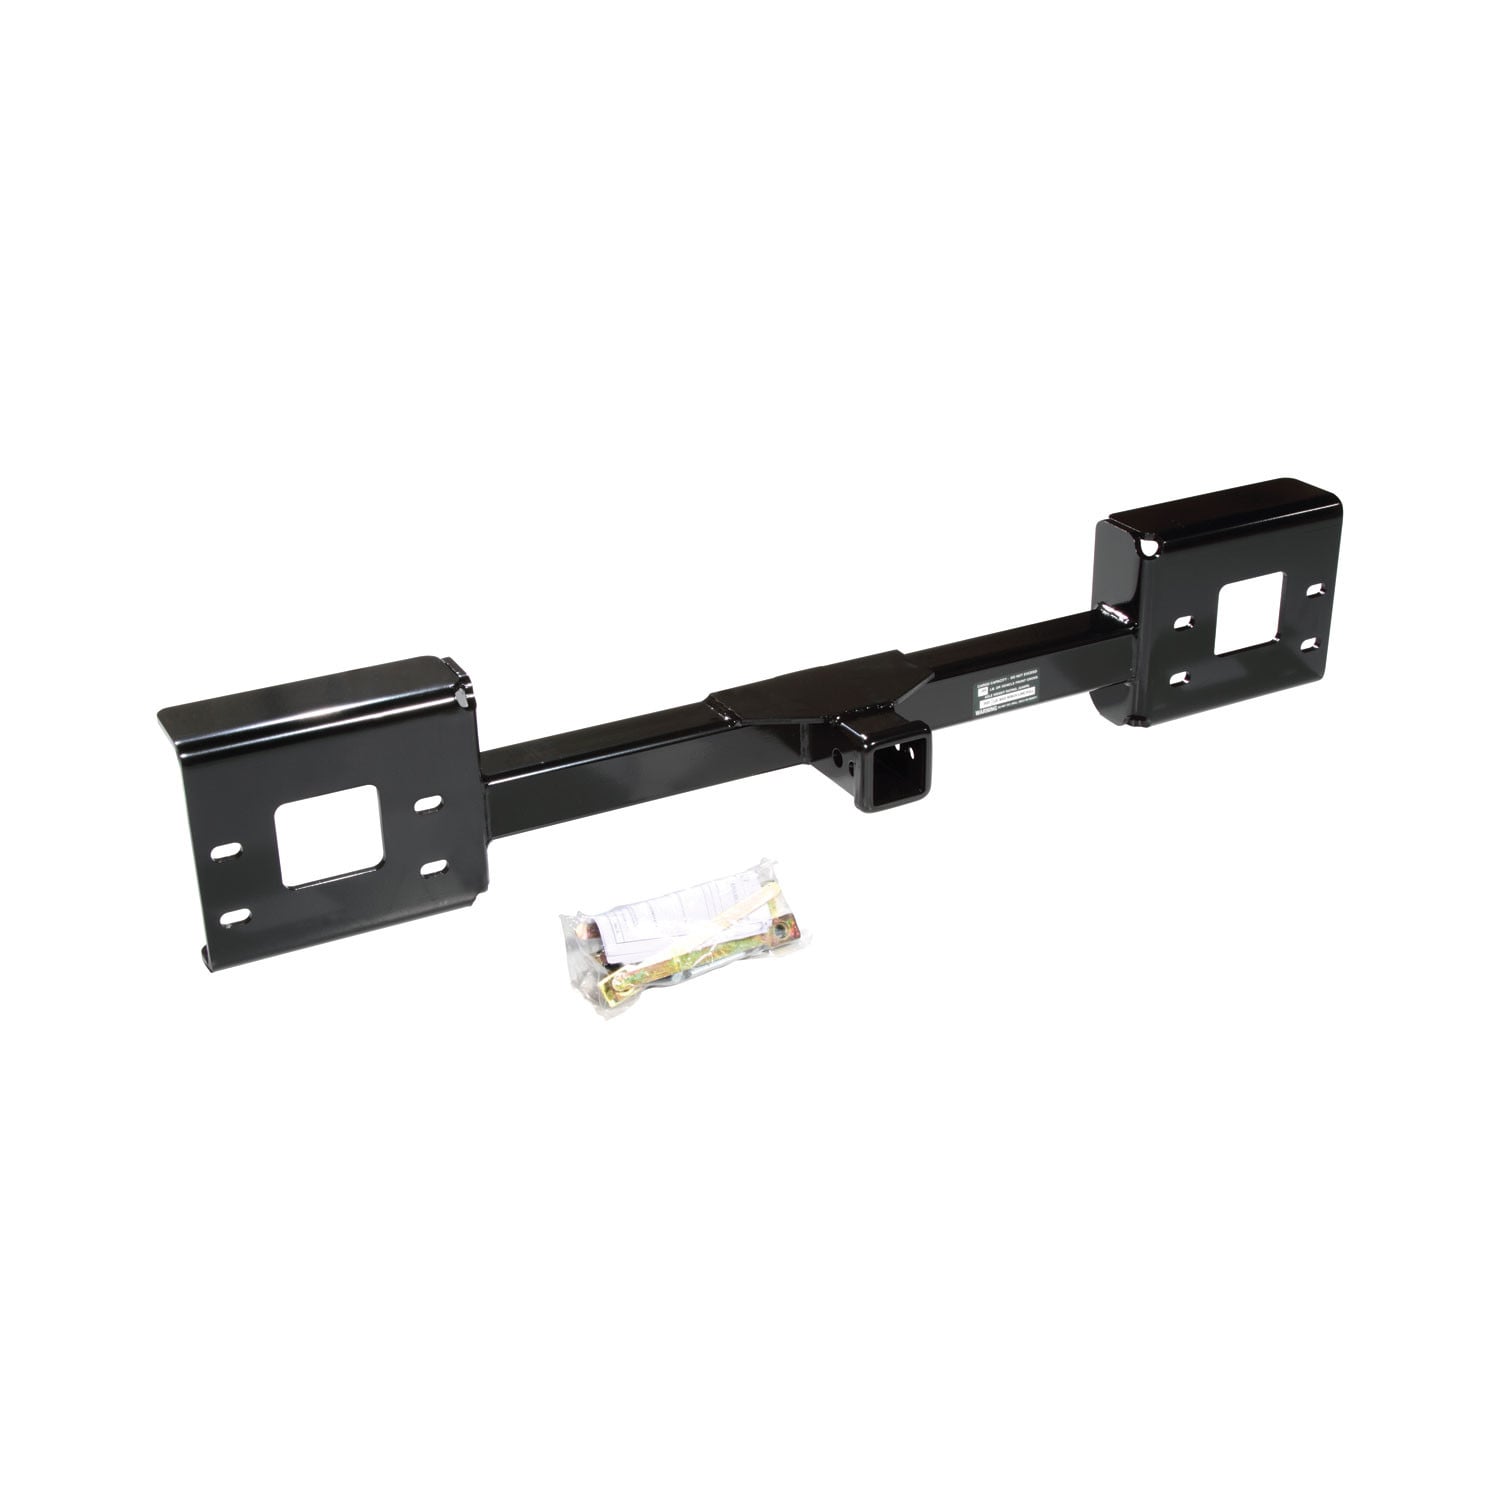
 Authorized Dealer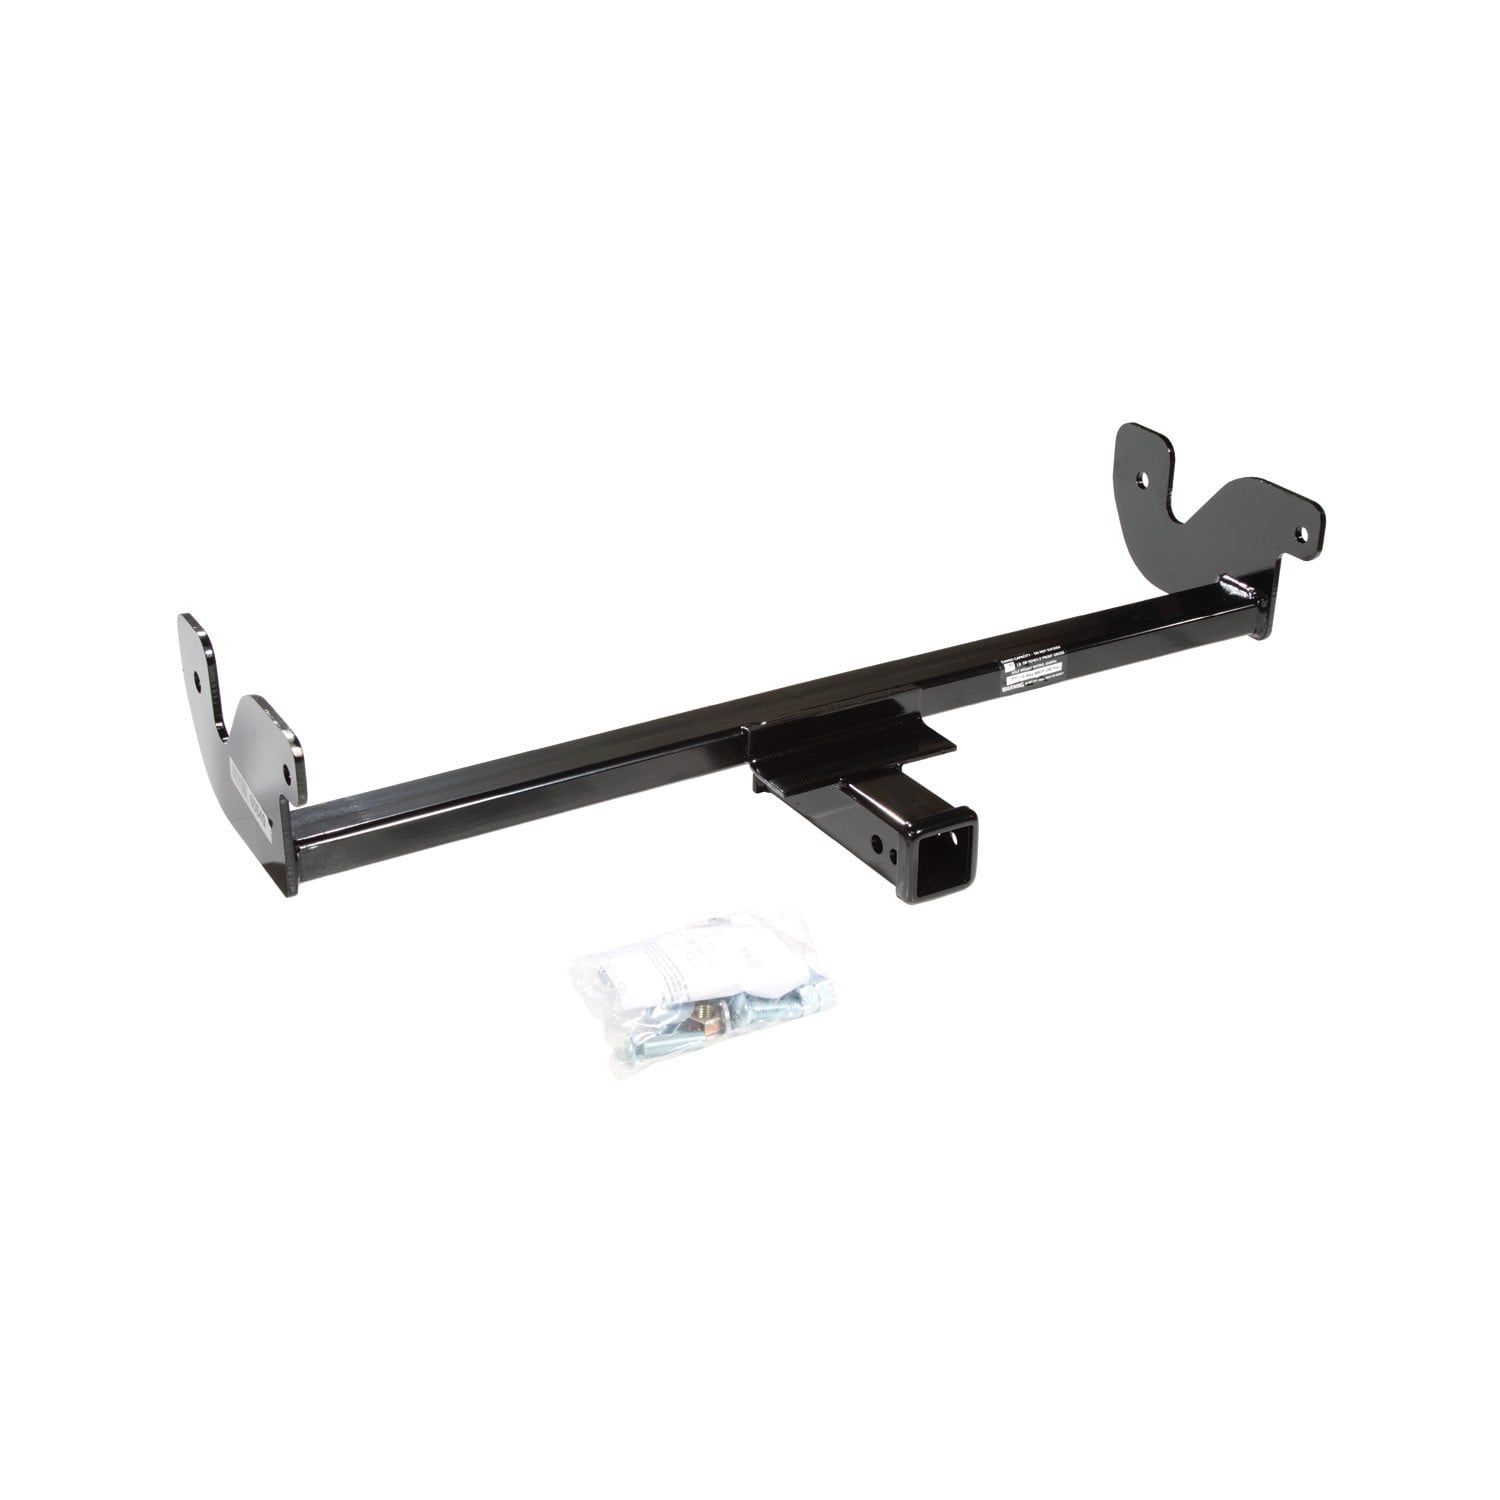
Quick Ship
In stock and ready to ship — order now!
FREE ShippingFREE SHIPPING
Estimated delivery Fri, Oct 16 - Mon, Oct 19
Order before 2 PM EST Monday–Friday for same-day processing
Guaranteed safe & secure checkout
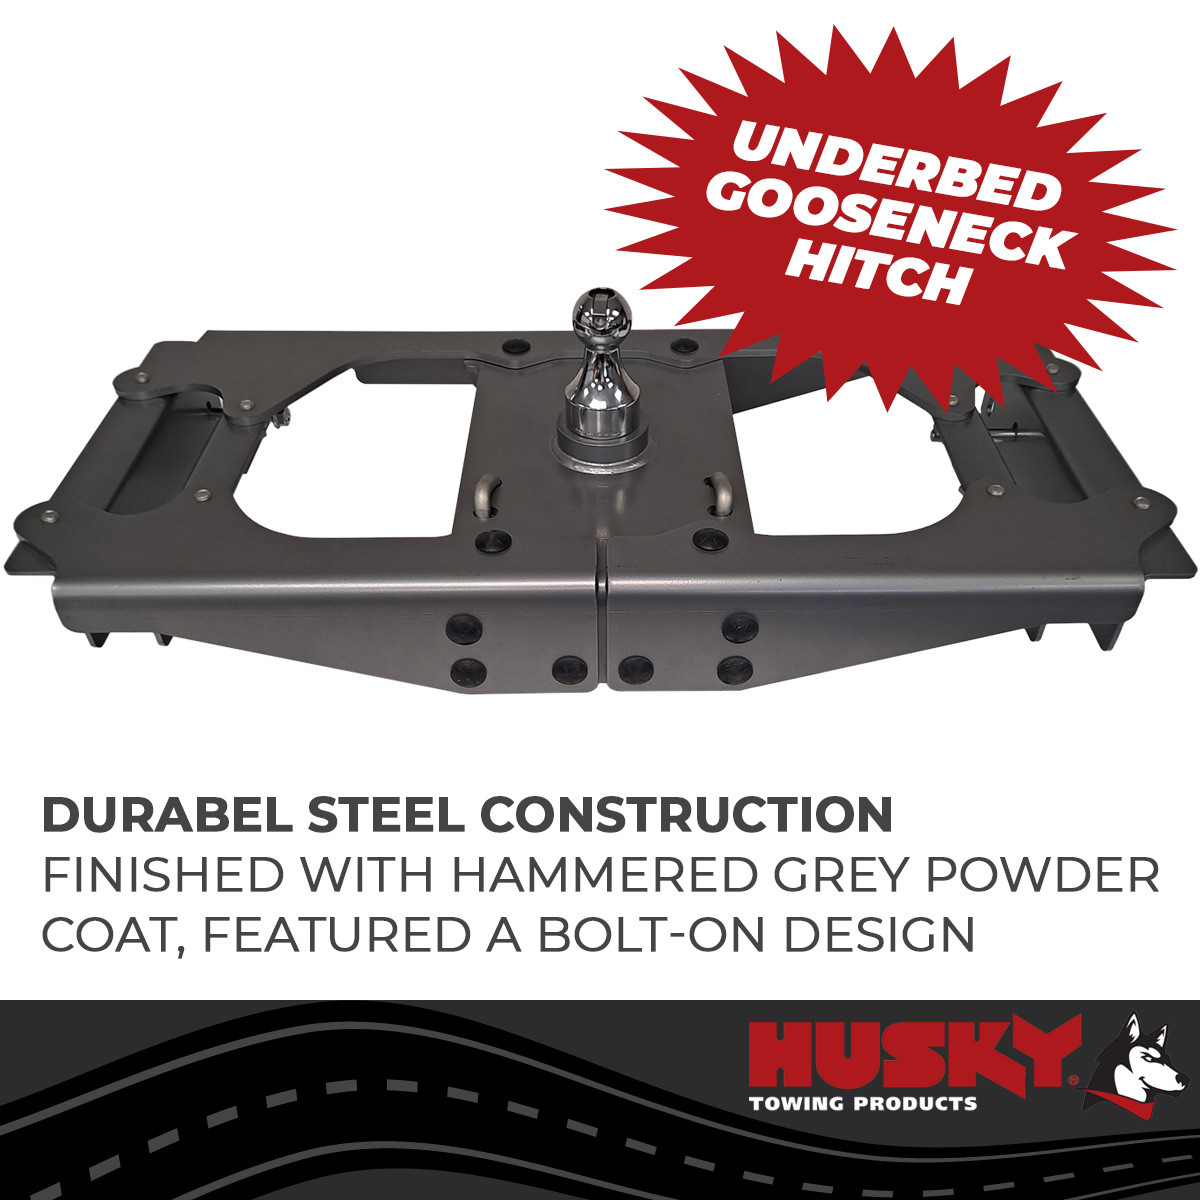
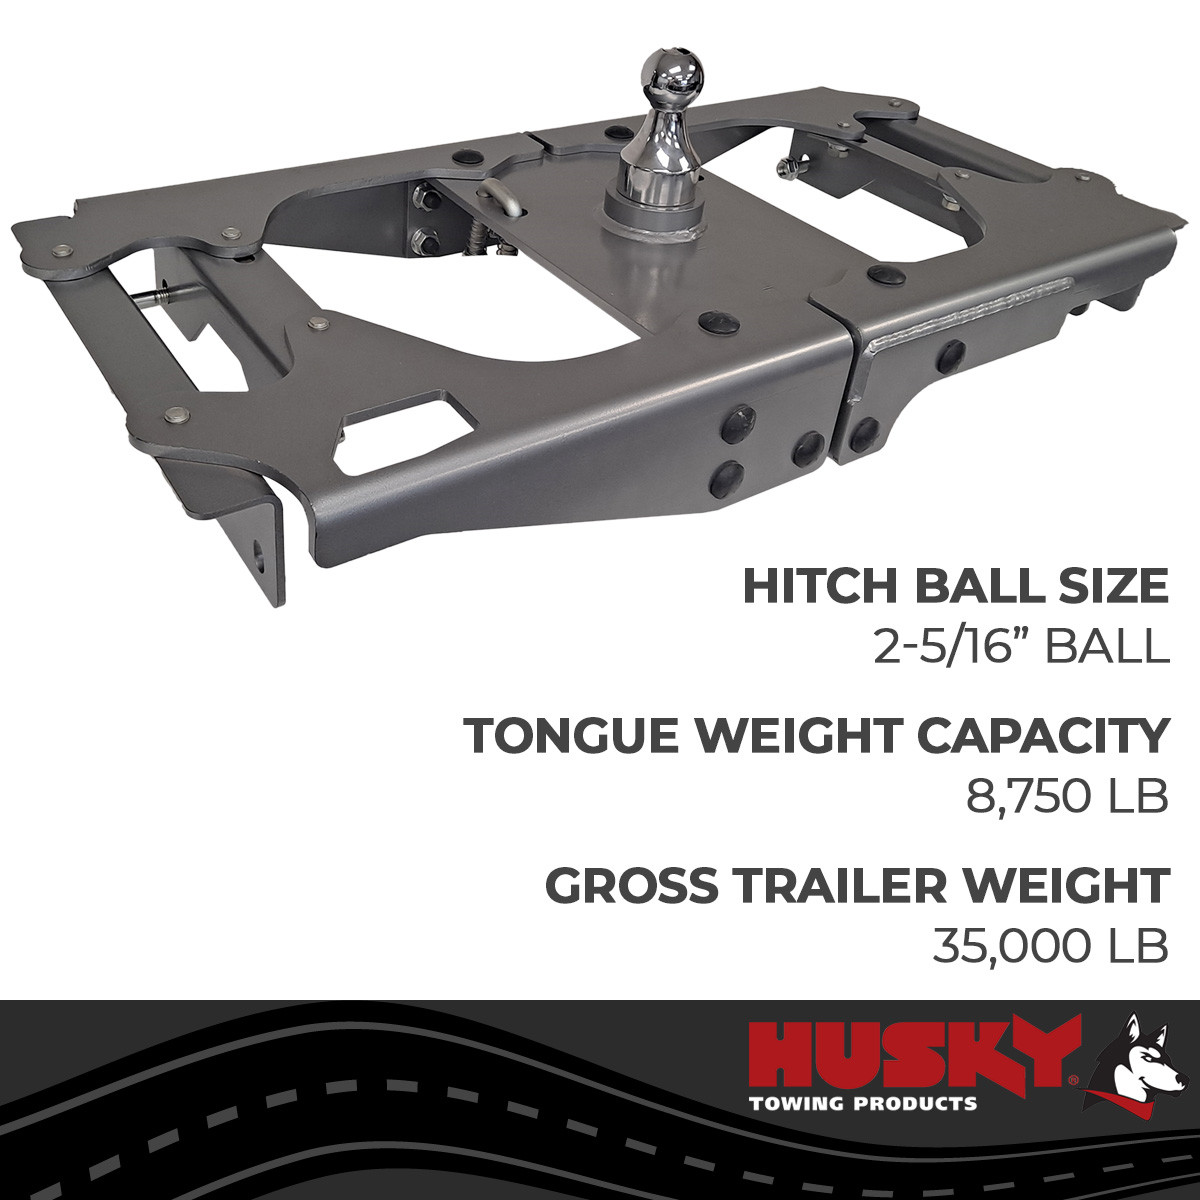
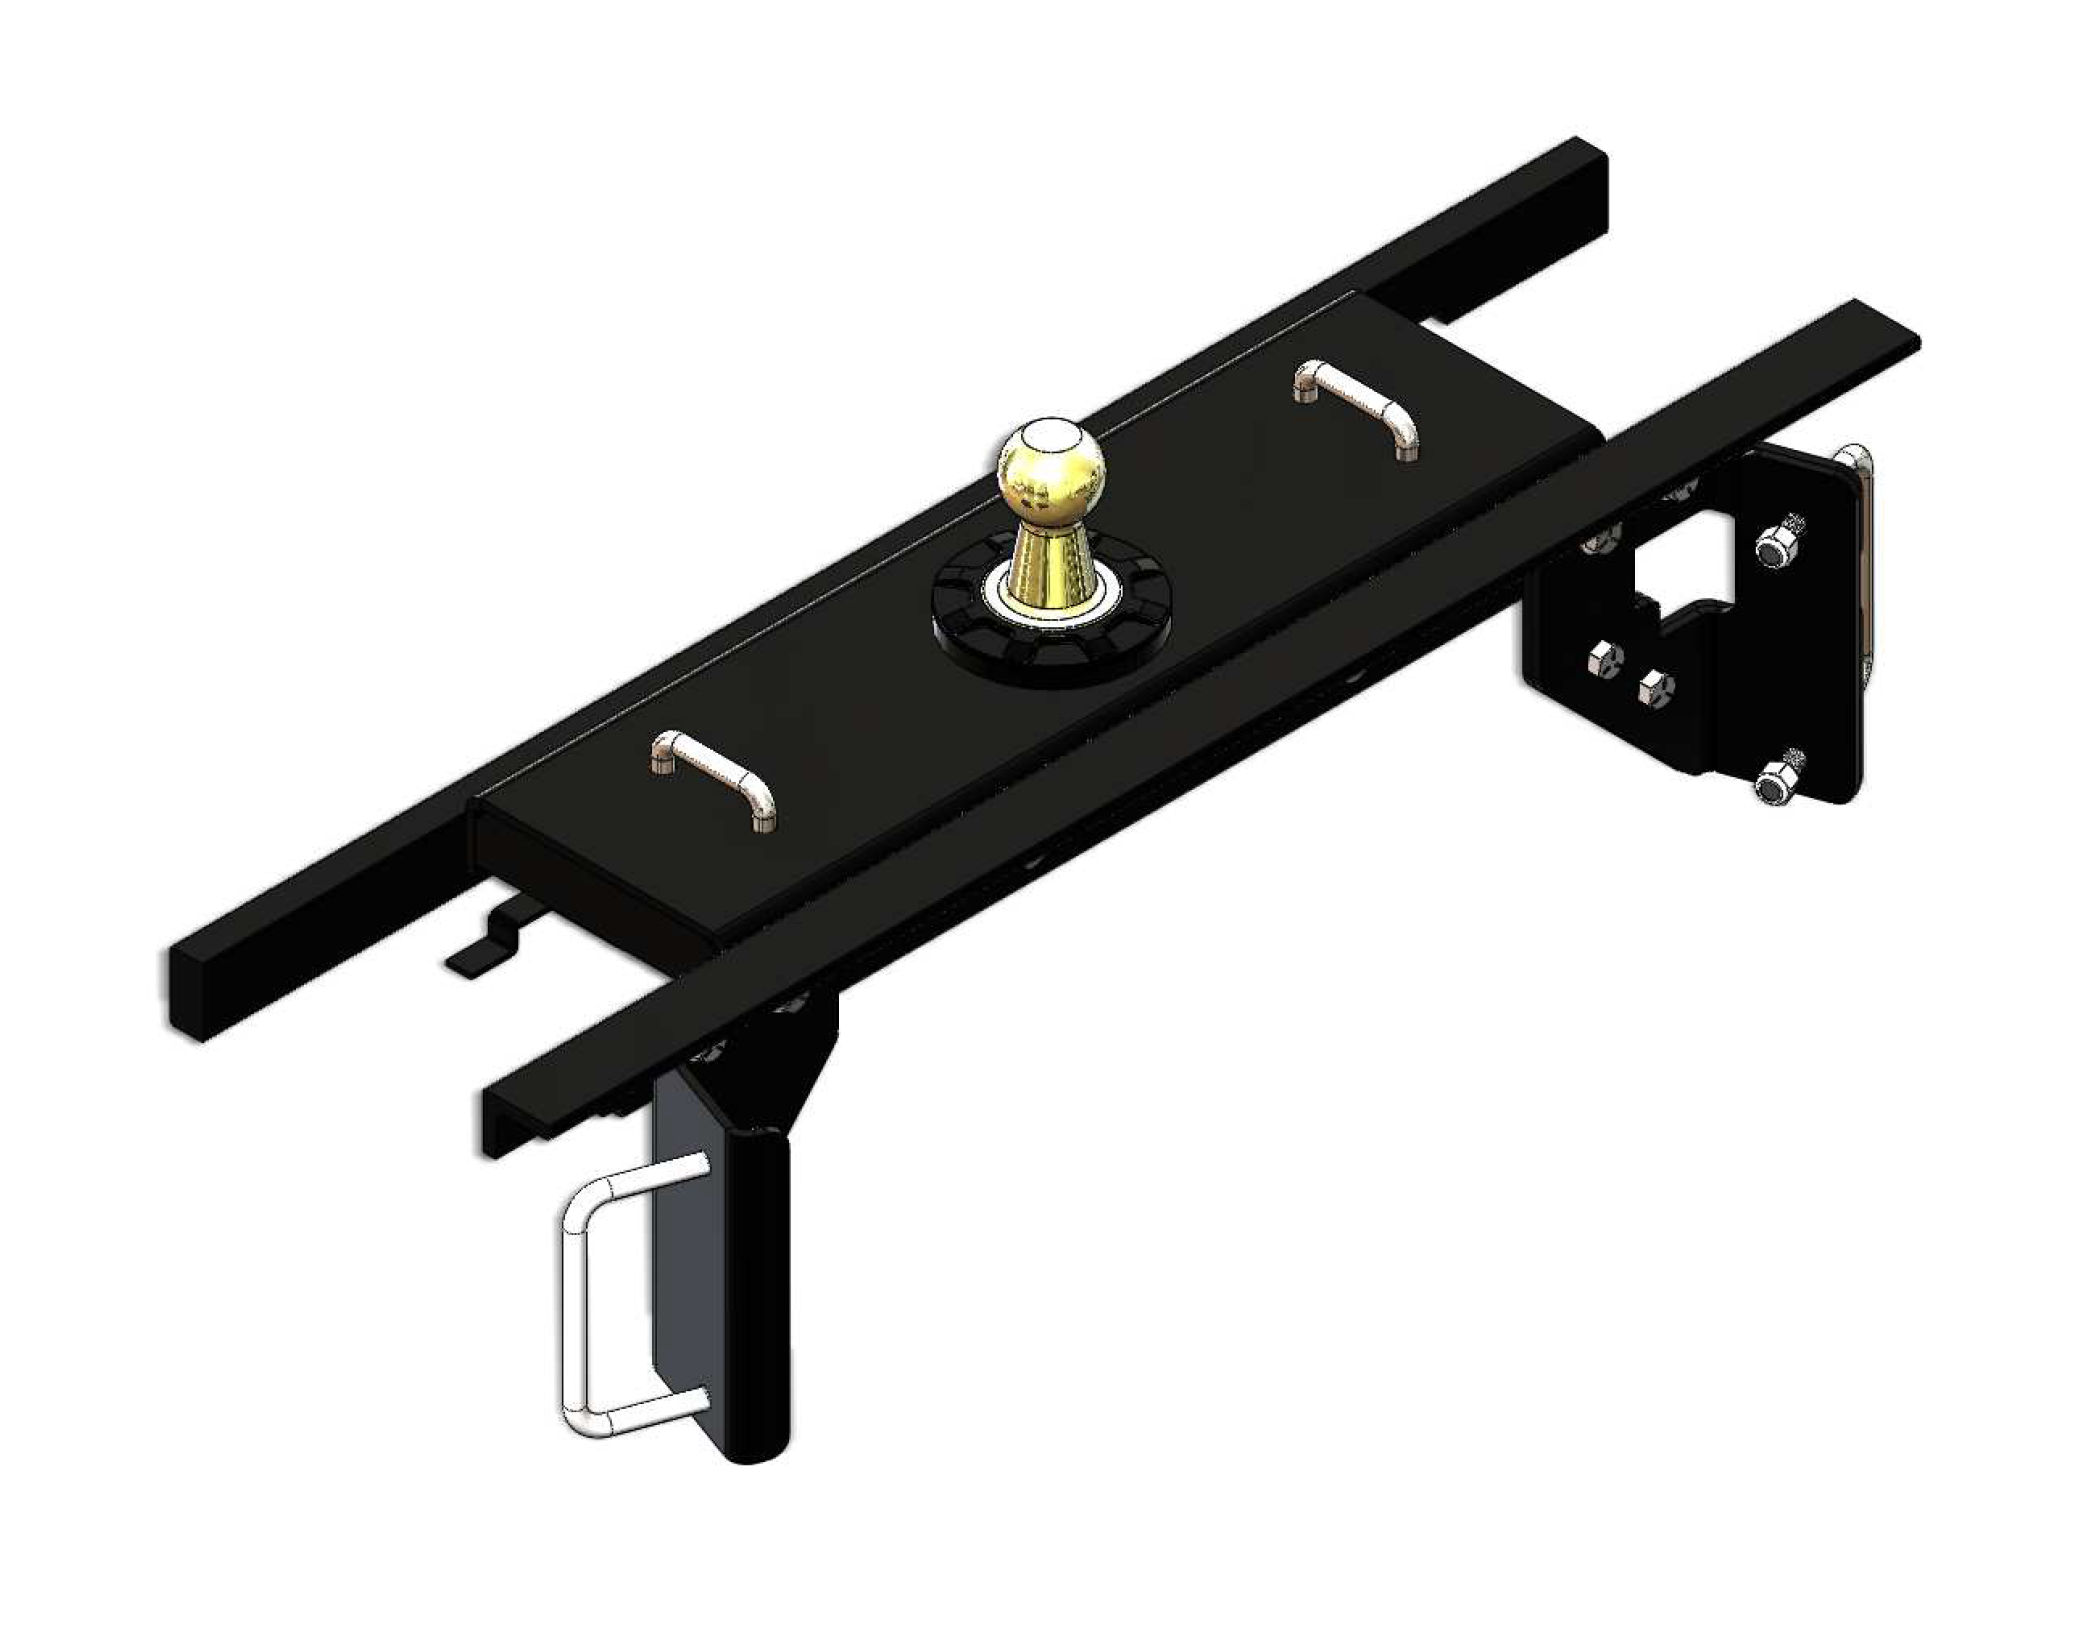
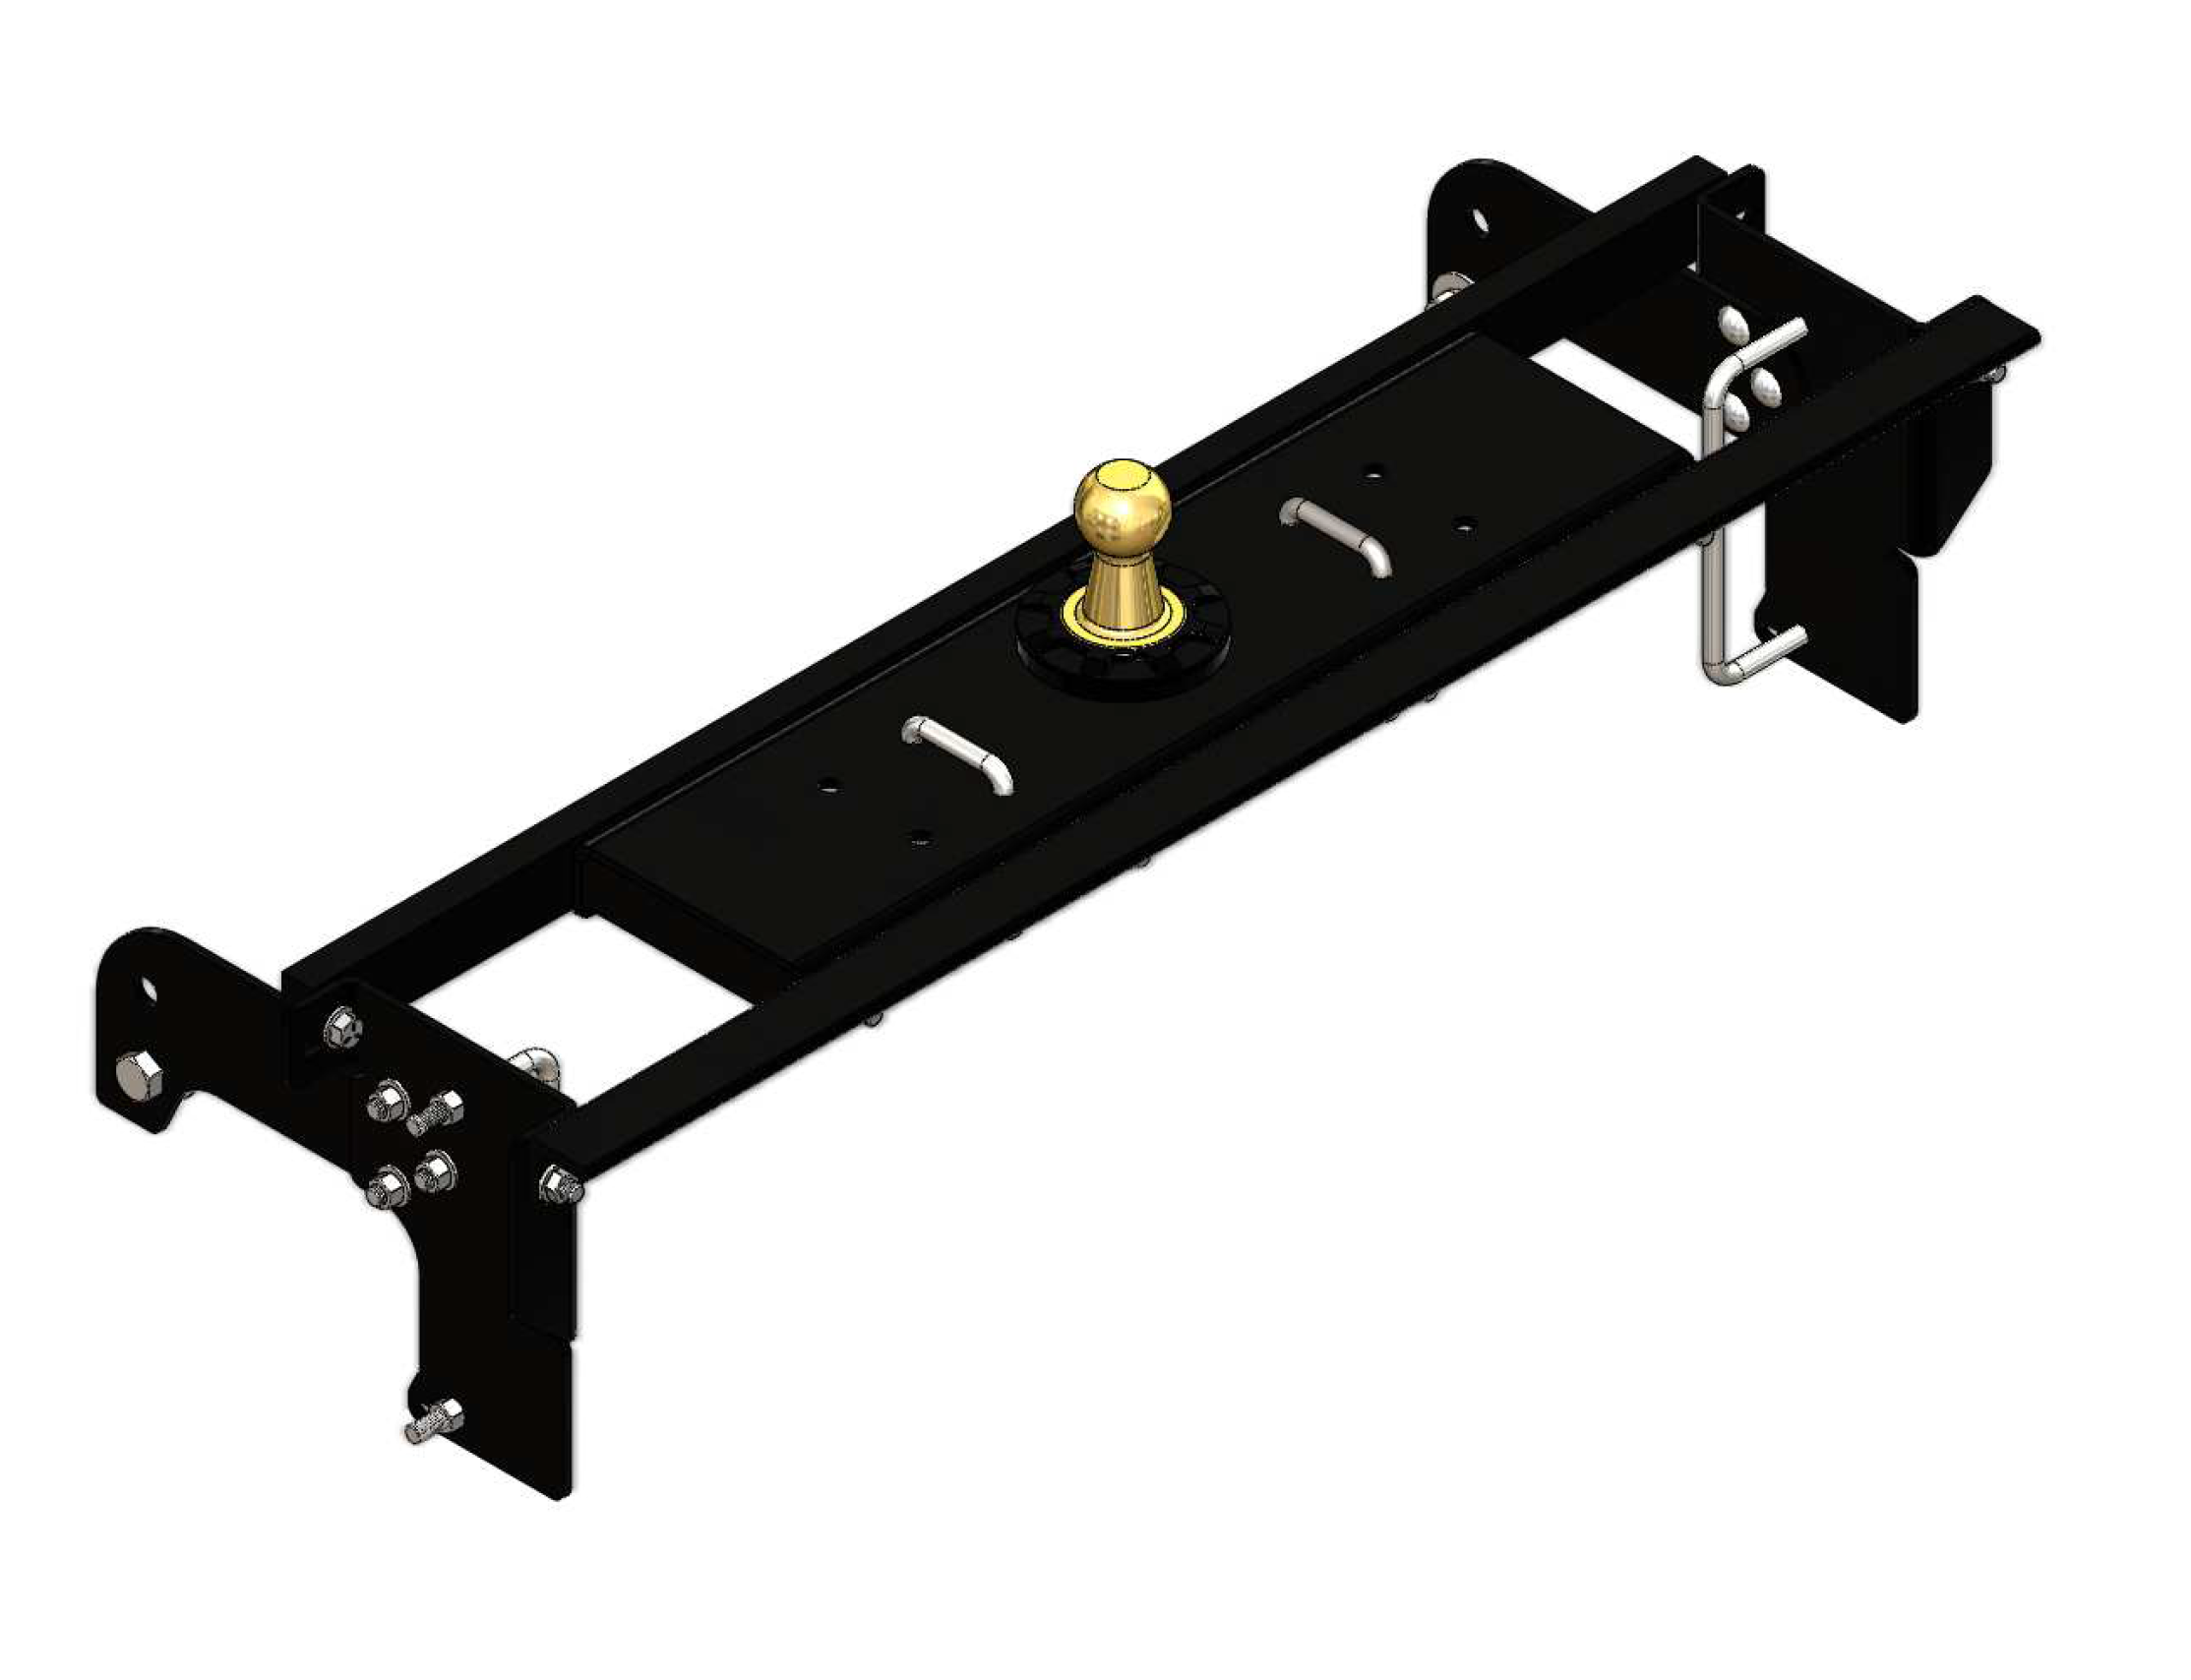
Husky Towing offers a vehicle specific underbed gooseneck hitch for trucks without the OEM prep package. The center section bolts directly to the factory crossmember without the need for additional mounting rails and only requires drilling for safety chain loops and center cup hole. Hitch includes 2 5/16 Inch Gooseneck Ball rated at 35K and is removable to allow for full bed access.
| Installation Position | Under-Bed |
| Gross Trailer Weight | 35000 Pound |
| Gross Tongue Weight | 8750 Pound |
| Hitch Mount Fixed | No |
| Hitch Ball Size | 2-5/16 Inch |
| Includes Hardware | Yes |
| Welding Required | No |
| Accepts Safety Chain | Yes |
| Color/ Finish | Gray Powder Coated |
| Material | Steel |
| Includes Hitch Ball | Yes |
| Hitch Ball Material | Steel |
| Includes Hitch Ball Cover | No |
| Drilling Required | Yes |
| Estimated Install Time (Hours) | 3 |
Experts available to answer your questions
Call 888-634-94946 compatible vehicles
| Year | Make & Model | Style | Notes |
|---|---|---|---|
| 2017 - 2022 | Ford F-250 Super Duty | — | — |
| 2017 - 2022 | Ford F-350 Super Duty | Crew Cab Pickup | — |
| 2017 - 2022 | Ford F-350 Super Duty | Extended Cab Pickup | — |
| 2017 - 2022 | Ford F-350 Super Duty | Standard Cab Pickup | — |
| 2017 - 2022 | Ford F-450 Super Duty | Crew Cab Pickup | — |
| 2019 - 2022 | Ford F-450 Super Duty | Standard Cab Pickup | — |
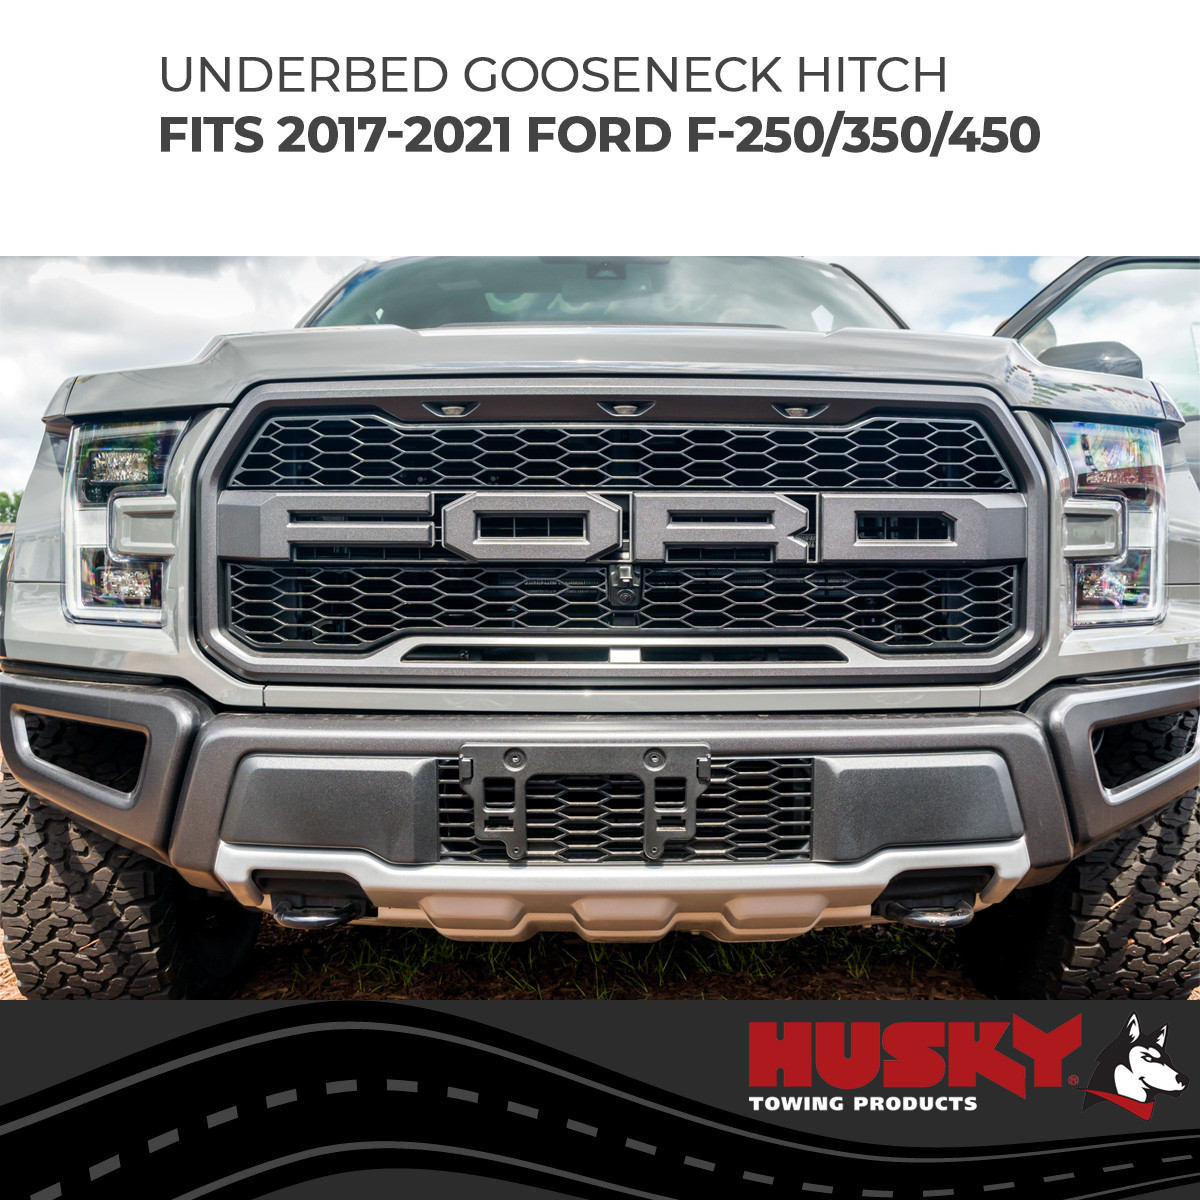
The Husky Ford Super Duty Gooseneck Hitch (34201) 34201 (Part #HHVW34201) fits the following vehicles: 2017-2022 Ford F-250 Super Duty; 2017-2022 Ford F-350 Super Duty; 2017-2022 Ford F-450 Super Duty. Always verify your specific year, make, and model before ordering.
Yes, the Husky Ford Super Duty Gooseneck Hitch (34201) 34201 (Part #HHVW34201) is designed to fit the 2017-2022 Ford F-250 Super Duty.
The Husky Ford Super Duty Gooseneck Hitch (34201) 34201 (Part #HHVW34201) fits 2017-2022 Ford F-250 Super Duty models. The 2022 model year is the last year covered by this part number. For newer models, check for an updated version.
The Husky Ford Super Duty Gooseneck Hitch (34201) 34201 (Part #HHVW34201) Refer to the included instructions for installation details. Basic hand tools are typically all you need.
Yes, the P/N 34201 is designed for Ford F250, F350, and F450 trucks. However, the hitch is limited to the vehicle's tow rating as stated in the vehicle owner's manual. Always verify your specific truck's towing capacity before installation.
The hitch is rated for 35,000 LB gross towing weight and 8,750 LB tongue weight. However, the product is limited to the tow vehicle's tow rating as stated in the vehicle owner's manual, so you must not exceed your truck's rated capacity.
Required tools: eye protection, hearing protection, hand drill, 3/16" and 21/32" drill bits, 3-1/4" metal hole saw, ½" drive ratchet with 15/16" socket, 15/16" wrench, 15/16" box end wrench, torque wrench capable of 250 ft.-lb., and metal hand file.
Yes. The truck must be raised high enough to place jack stands under the rear axle tubes on each side to provide maximum room for installation. The truck must be properly blocked and restrained to prevent it from falling.
Yes. A 3-1/4" diameter hole must be cut from inside the truck bed through the bed bottom using the factory dimple as the center. Additionally, four 3/16" pilot holes and four 21/32" diameter holes must be drilled for safety chain loops. All holes must be deburred with a hand file.
Yes. An extra set of hands is required to install the center section into place on the four vertical carriage bolts during step 12 of the installation process.
All fasteners are torqued to 230 ft.-lb. This includes the four 5/8-11 X 4.0" Grade 8 hex head bolts through the frame, the eight vertical 5/8-11 X 1.25" Grade 8 hex head bolts, the four vertical carriage bolts, and the eleven horizontal carriage bolts. Safety chain loop U-bolts are tightened until three threads are visible from the bottom of the nylon lock nut.
Never exceed the towing capacity of your tow vehicle as stated in your vehicle owner's manual. The hitch is rated for 35,000 LB gross towing weight and 8,750 LB tongue weight, but your truck's tow rating is the limiting factor.
The hitch should be checked yearly for loose fasteners or defects throughout the life of the installation.
The kit includes: one center section, two driver's side and passenger's side rear crossbraces, two front crossbraces, two outer frame plates, two inner frame plates, carriage bolt spacers, lock washers, hex head bolts, serrated lock nuts, carriage bolts, safety chain loop U-bolts, flat washers, compression springs, nylon lock nuts, a 35K 2-5/16" hitch ball, and a rubber plug. All hardware is Grade 8 unless otherwise specified.
Yes. If your truck comes with an inner frame plate already welded to the frame, simply discard the corresponding inner frame plate (DS Inner Frame Plate #7 or PS Inner Frame Plate #8) from the kit and proceed with installation using the outer frame plate.
Removing the spare tire, spare tire heat shield, and the rearmost portion of the exhaust system is not necessary for hitch installation but will make the installation easier. If you remove the exhaust, use caution around hot exhaust systems. These components must be reinstalled after installation is complete.
A 3-1/4" diameter hole must be cut from inside the truck bed through the bed bottom. Use the factory dimple as the center for the pilot hole. After cutting, remove excess metal and deburr the perimeter of the hole with a hand file.
Four holes are drilled for safety chain loops. First, drill four 3/16" diameter pilot holes vertically from the bottom of the truck through the heat shield and bed bottom. Then finish drilling through the heat shield and bed bottom using a 21/32" diameter drill bit, keeping the drill perpendicular to the bed bottom. Deburr all holes with a hand file.
Installation sequence: (1) Install outer and inner frame plates on driver's side with 5/8-11 X 4.0" bolts and serrated lock nuts, hand-tightened. (2) Repeat on passenger's side. (3) Install driver's side front and rear crossbraces with 5/8-11 X 1.25" hex head bolts, hand-tightened. (4) Install passenger's side front and rear crossbraces, hand-tightened. (5) Install four vertical carriage bolts through crossbraces. (6) Install center section on vertical bolts with serrated lock nuts, hand-tightened. (7) Install remaining eleven horizontal carriage bolts and lock nuts, hand-tightened. (8) Tighten all fasteners in the sequence specified in steps 14-21.
All fasteners are initially hand-tightened only during assembly (steps 5-13). Full tightening occurs after all components are loosely assembled, in this order: (1) Tighten the four vertical 5/8-11 X 1.25" hex head bolts on the outside of each frame rail until crossbraces sit flush and lock washers are compressed, without torquing to specification. (2) Tighten the four vertical bolts on the inside of each frame rail. (3) Tighten the four vertical carriage bolt lock nuts. (4) Tighten the eleven horizontal carriage bolt lock nuts. (5) Finally, torque all fasteners to 230 ft.-lb. in the sequence specified in steps 18-21.
Before tightening the four vertical 5/8-11 X 1.25" hex head bolts on the outside of each frame rail, verify that the hitchball bore in the center section is being drawn up centered to the hole cut in the bed bottom and that the center section is square to the bed support channels. Once these bolts are tightened, moving the hitch kit to be centered with the hole in the bed bottom and square to the bed support channels will not be possible.
After drilling and deburing the four safety chain loop holes, drop the safety chain loop U-bolts (#15) down through the holes from the top side of the truck bed. From the bottom of the hitch, install in this order: flat washer (#16), spring (#17), flat washer (#16), then nylon lock nut (#18). Tighten until three threads of the U-bolt are visible from the bottom of the nylon lock nut. Repeat for all four safety chain loops.
After all fasteners are fully torqued to 230 ft.-lb., install the hitch ball (#19) into the center section (#1) ball cup. When the hitch is not in use, install the rubber plug (#20) included with the kit to prevent collection of debris inside the hitch ball cup.
The four 5/8-11 X 4.0" Grade 8 hex head bolts that pass through the frame are torqued to 230 ft.-lb. Torque the bolt head, not the lock nut. If the nut spins, place a 15/16" wrench on it to hold it steady.
The eight vertical 5/8-11 X 1.25" Grade 8 hex head bolts that are threaded into each crossbrace are torqued to 230 ft.-lb.
The four 5/8-11 Grade 8 serrated lock nuts on the four vertically positioned 5/8-11 Grade 8 carriage bolts passing through the center section and each crossbrace are torqued to 230 ft.-lb.
The eleven 5/8-11 Grade 8 serrated lock nuts on the eleven horizontally positioned 5/8-11 Grade 8 carriage bolts passing through the center section and each crossbrace are torqued to 230 ft.-lb.
Check for obstructions before drilling. Failure to do so could result in damaged fuel lines, brake lines, structural members, or other components. It is ultimately the responsibility of the installer to prevent damage due to installation. Always measure the truck and trailer before installing the hitch to ensure there is clearance at the cab and at the bumper to allow for turns.
Special care should be taken to ensure interference between the tow vehicle and trailer does not occur. Any rear window accessories such as headache racks, toolboxes, fuel transfer tanks, or other equipment may need to be removed to accommodate the configuration of the trailer and tow vehicle. This must be done to prevent both trailer and tow vehicle damage.
If the truck is raised, ensure that the truck is properly blocked and restrained to prevent it from falling. Failure to do so may result in the truck suddenly falling, causing death or serious injury.
Only use Grade 8 hardware supplied with the P/N 34201 underbed gooseneck hitch kit. All nuts and bolts are Grade 8 unless otherwise specified on the parts list. Do not substitute with other hardware.
The underbed gooseneck hitch kit should be checked yearly for loose fasteners or defects throughout the life of the hitch installation. When the hitch is not in use, install the rubber plug included with the kit into the hitch ball cup to prevent collection of debris.
The P/N 34201 is covered by a 10-year limited warranty from the date of retail purchase for the original purchaser. The warranty covers manufacturing and material defects. For commercial use, the warranty is limited to 90 days from the date of purchase. The warranty does not cover normal wear and tear, improper installation, misapplication, alteration, abuse, neglect, overloading, misuse, or damage from accidents. Proof of purchase is required for warranty claims.
No. Only use Grade 8 hardware supplied with the P/N 34201 kit. The manual does not indicate that any factory fasteners should be reused. All nuts and bolts must be Grade 8 unless otherwise specified on the parts list.
The estimated installation time is 2 to 3 hours.
Yes. The passenger's side front crossbrace (#4) has a cutout designed to provide clearance to the passenger's side shock mount.
The 5/8" carriage bolt spacers (#9) are installed on the 5/8-11 X 1.25" Grade 8 hex head bolts (#11) before sliding the bolts through the front and rear slots in the inner and outer frame plates. They help position the bolts correctly during assembly.
No reviews have been added for this product.