
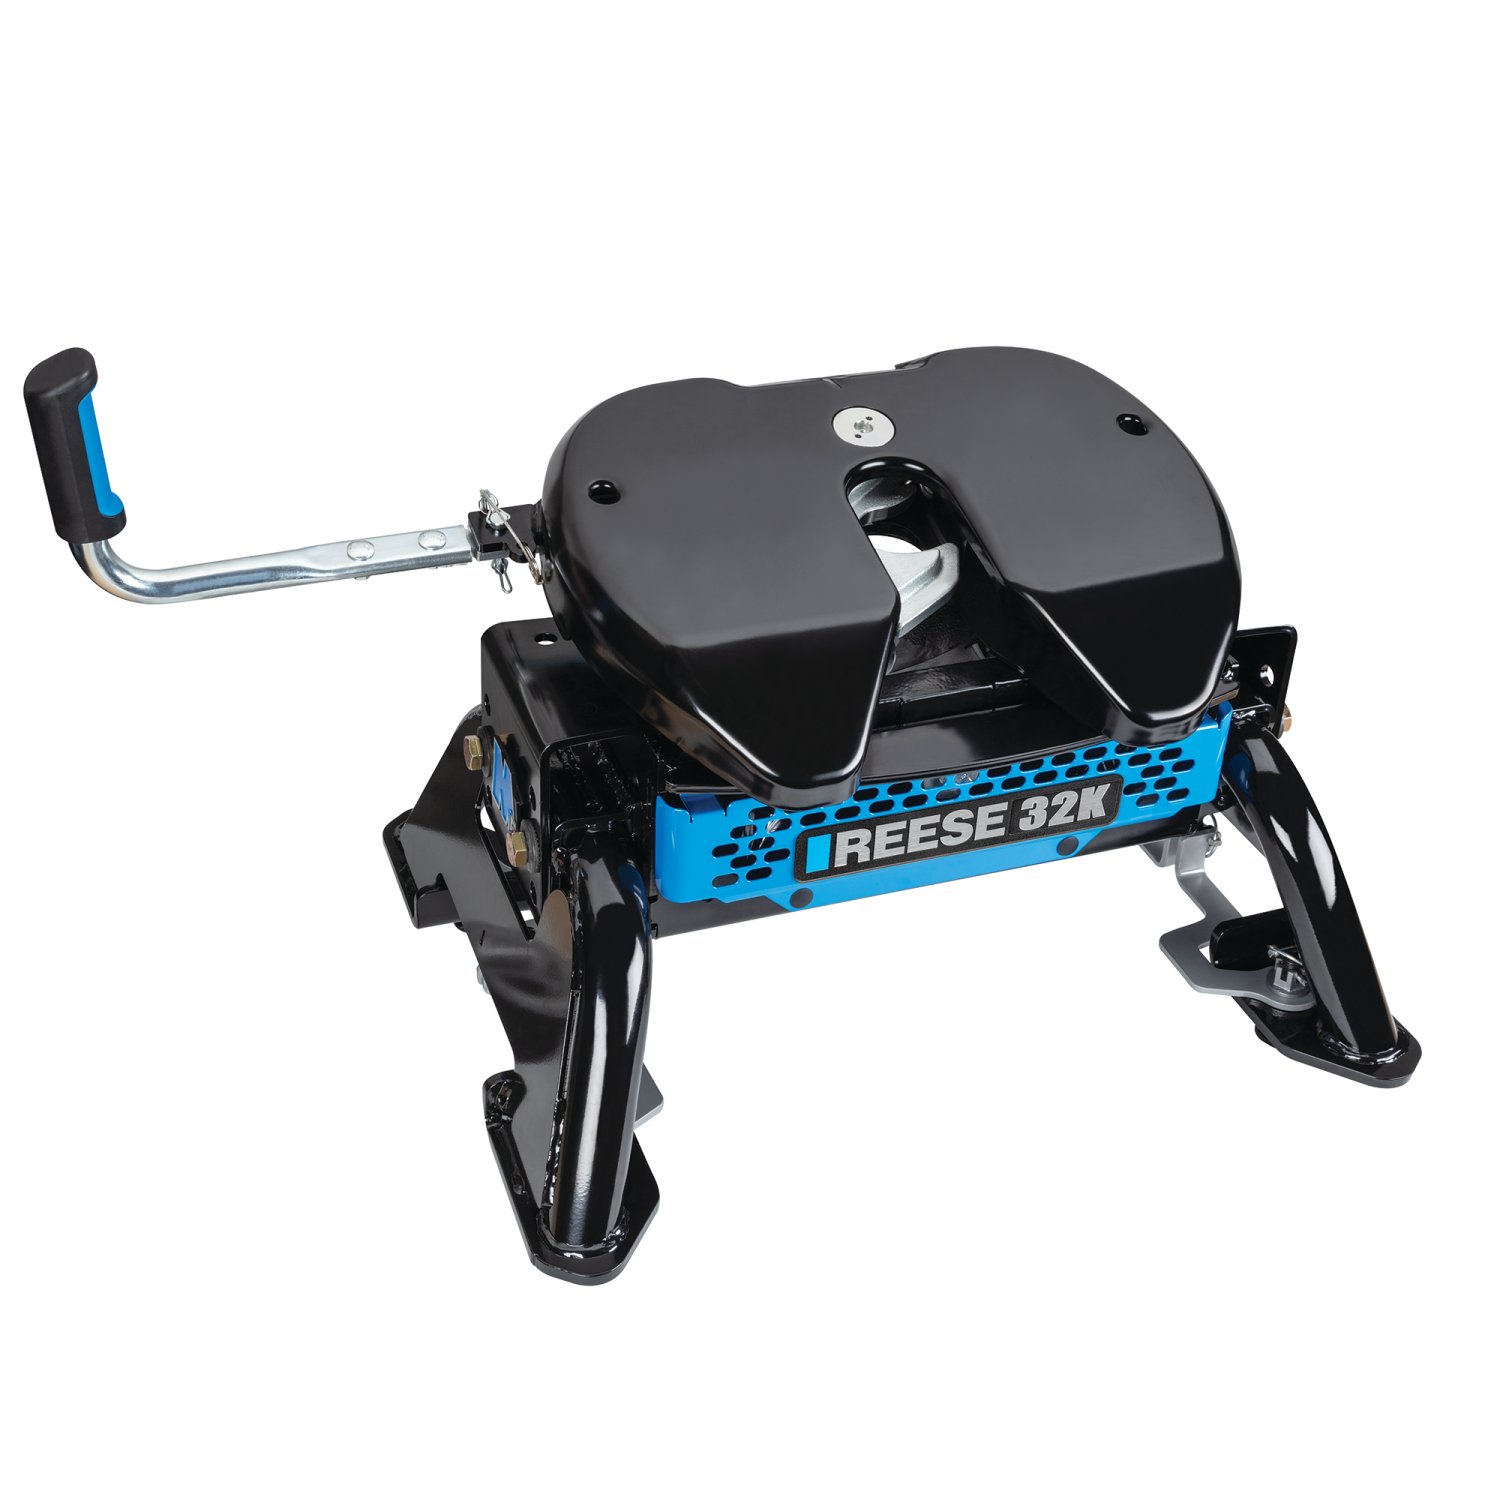
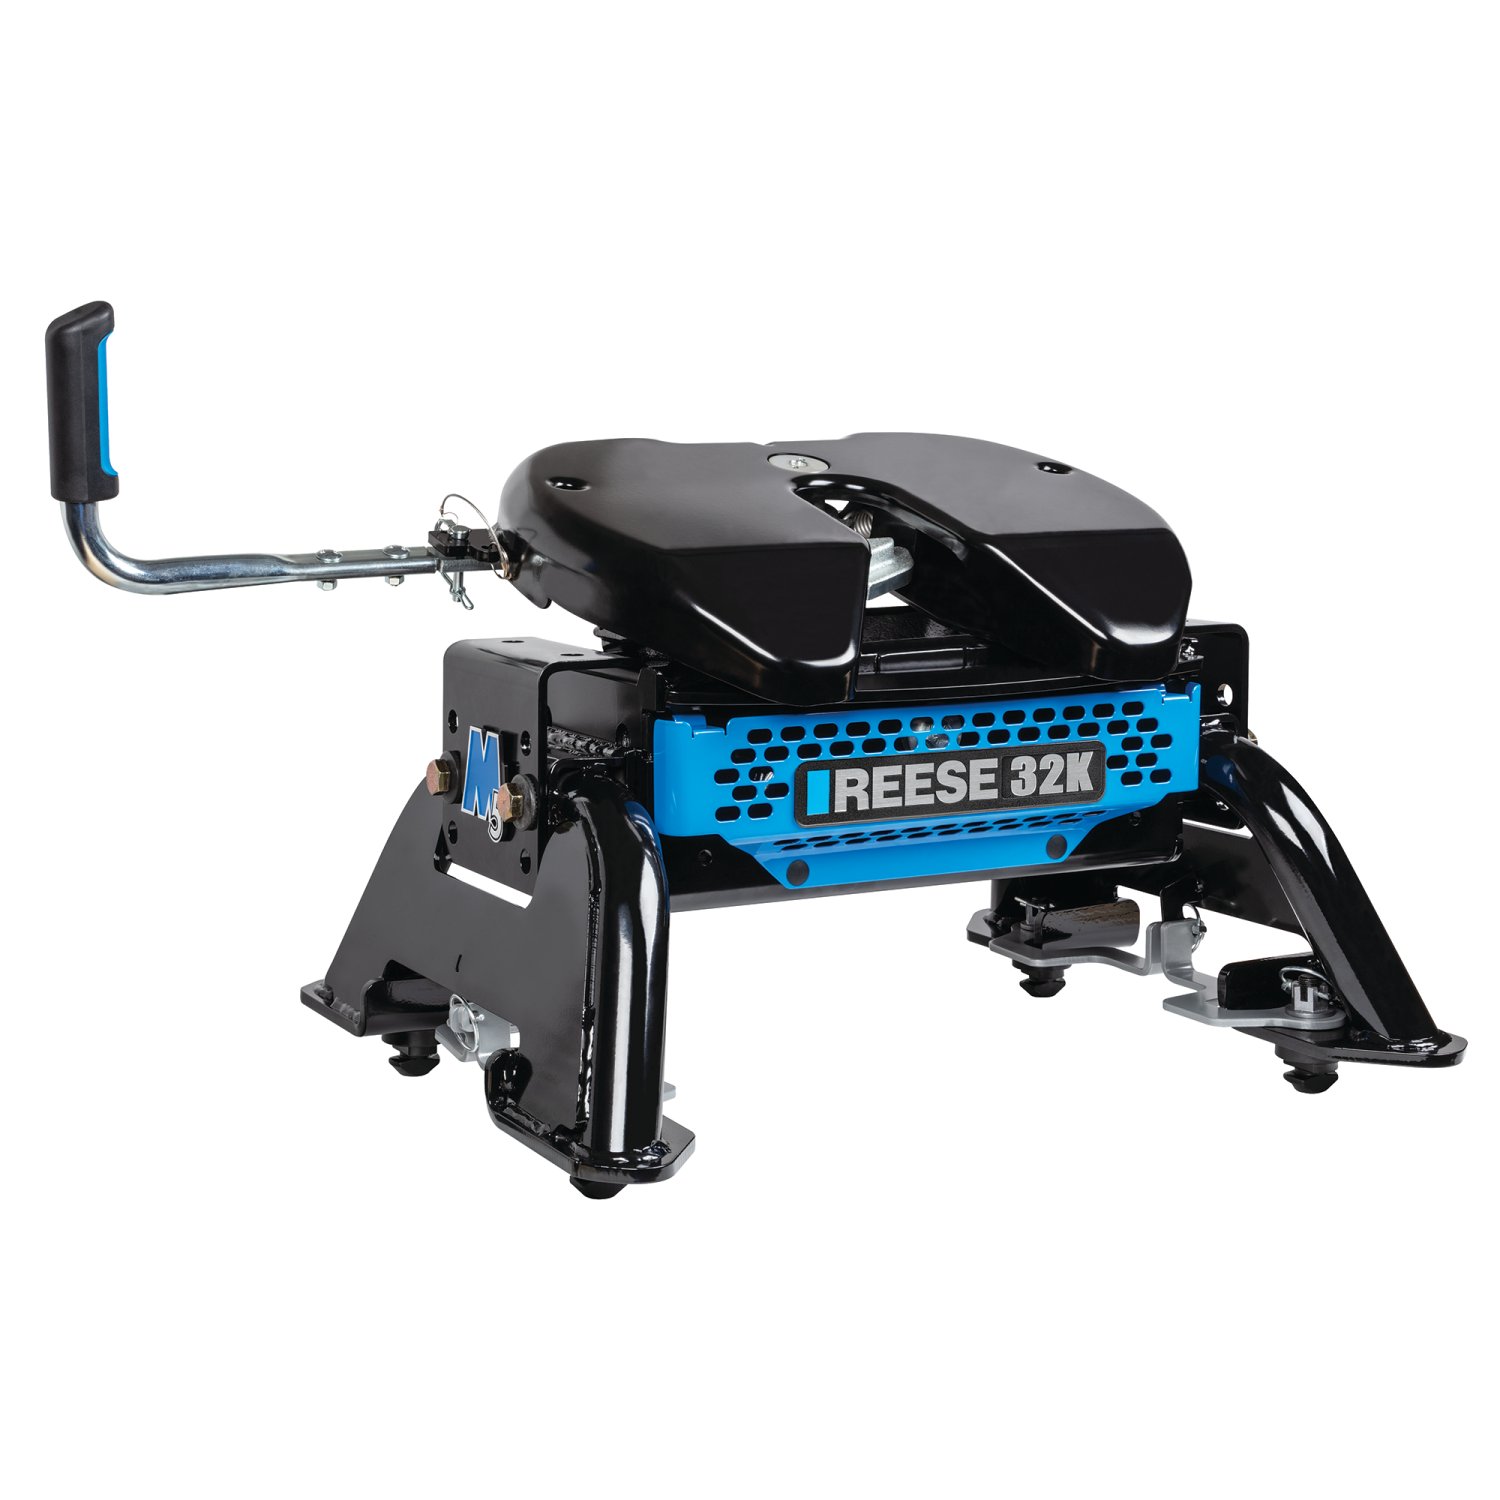
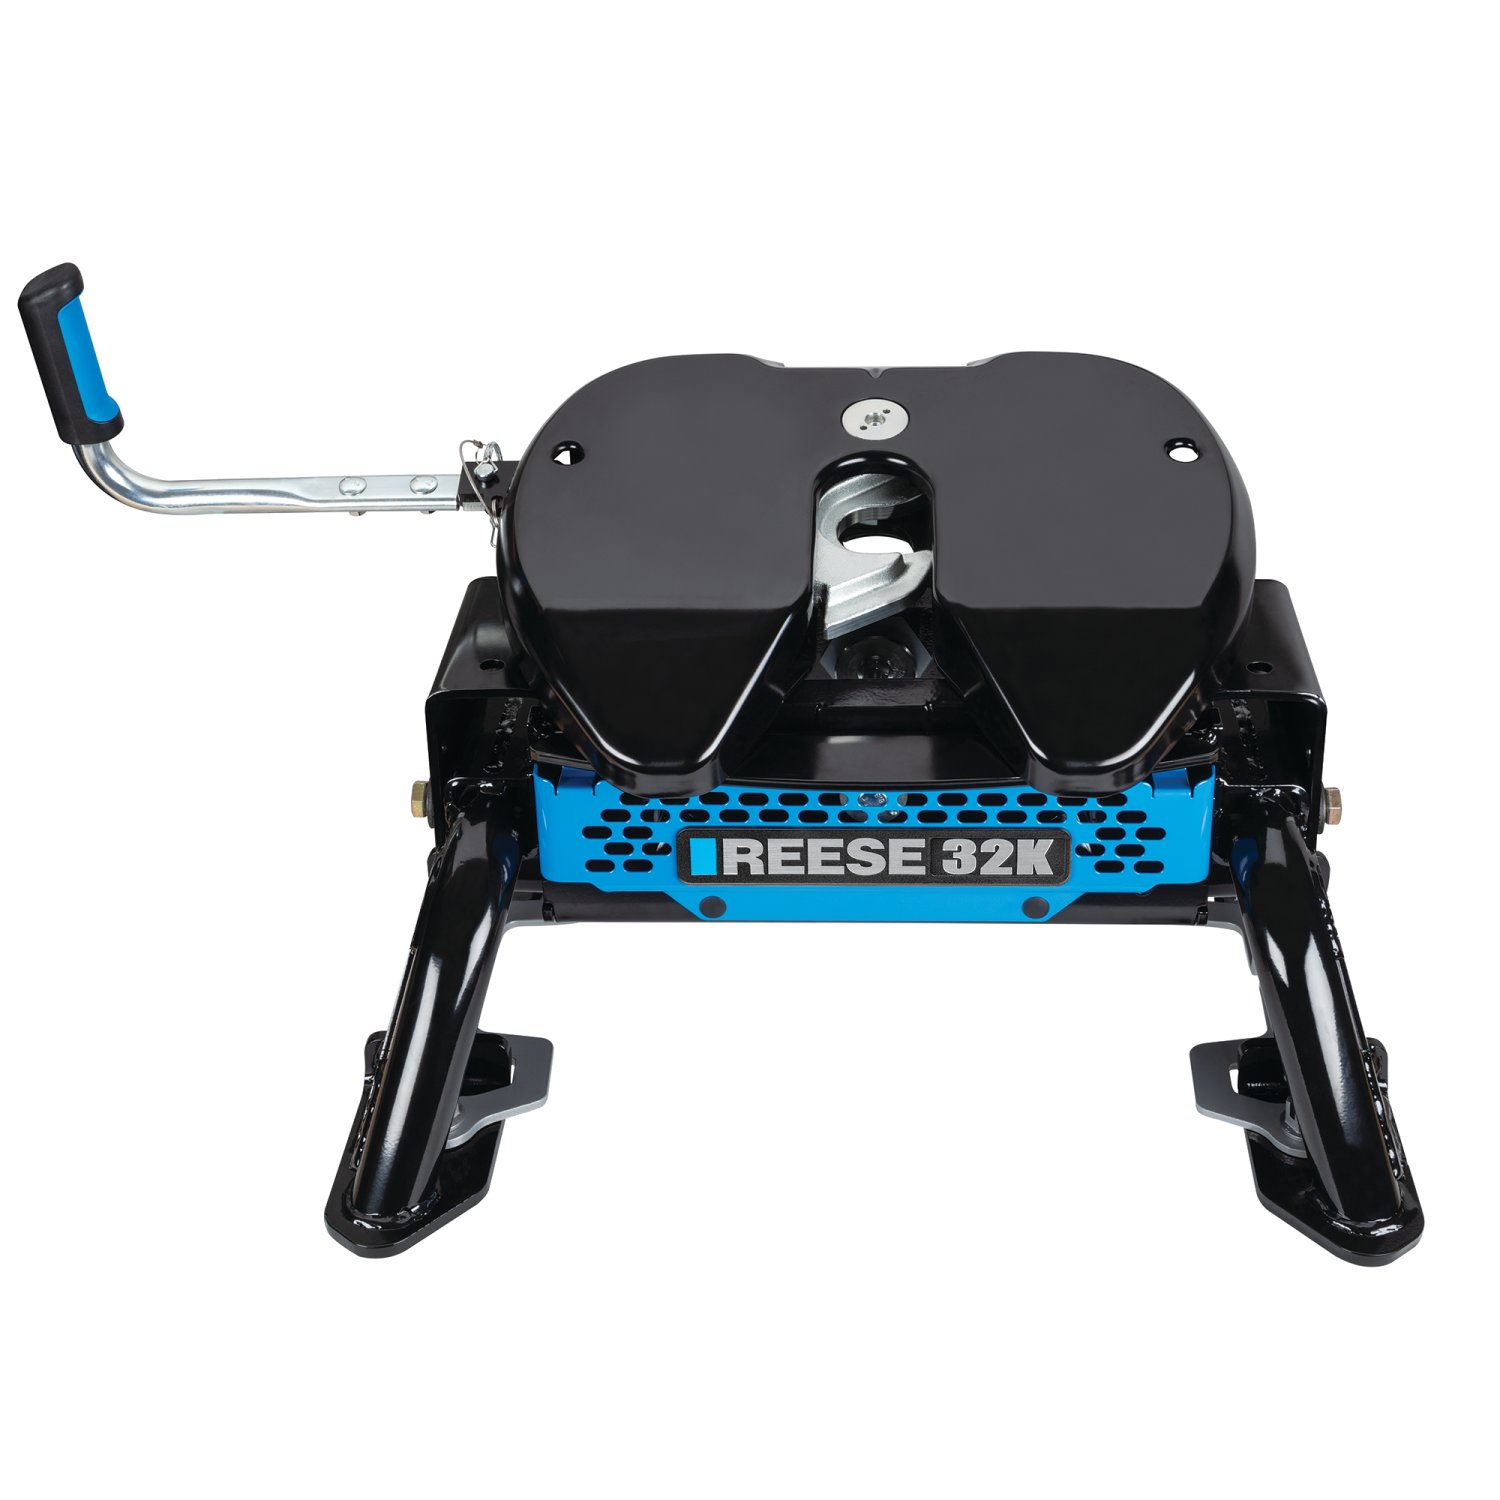
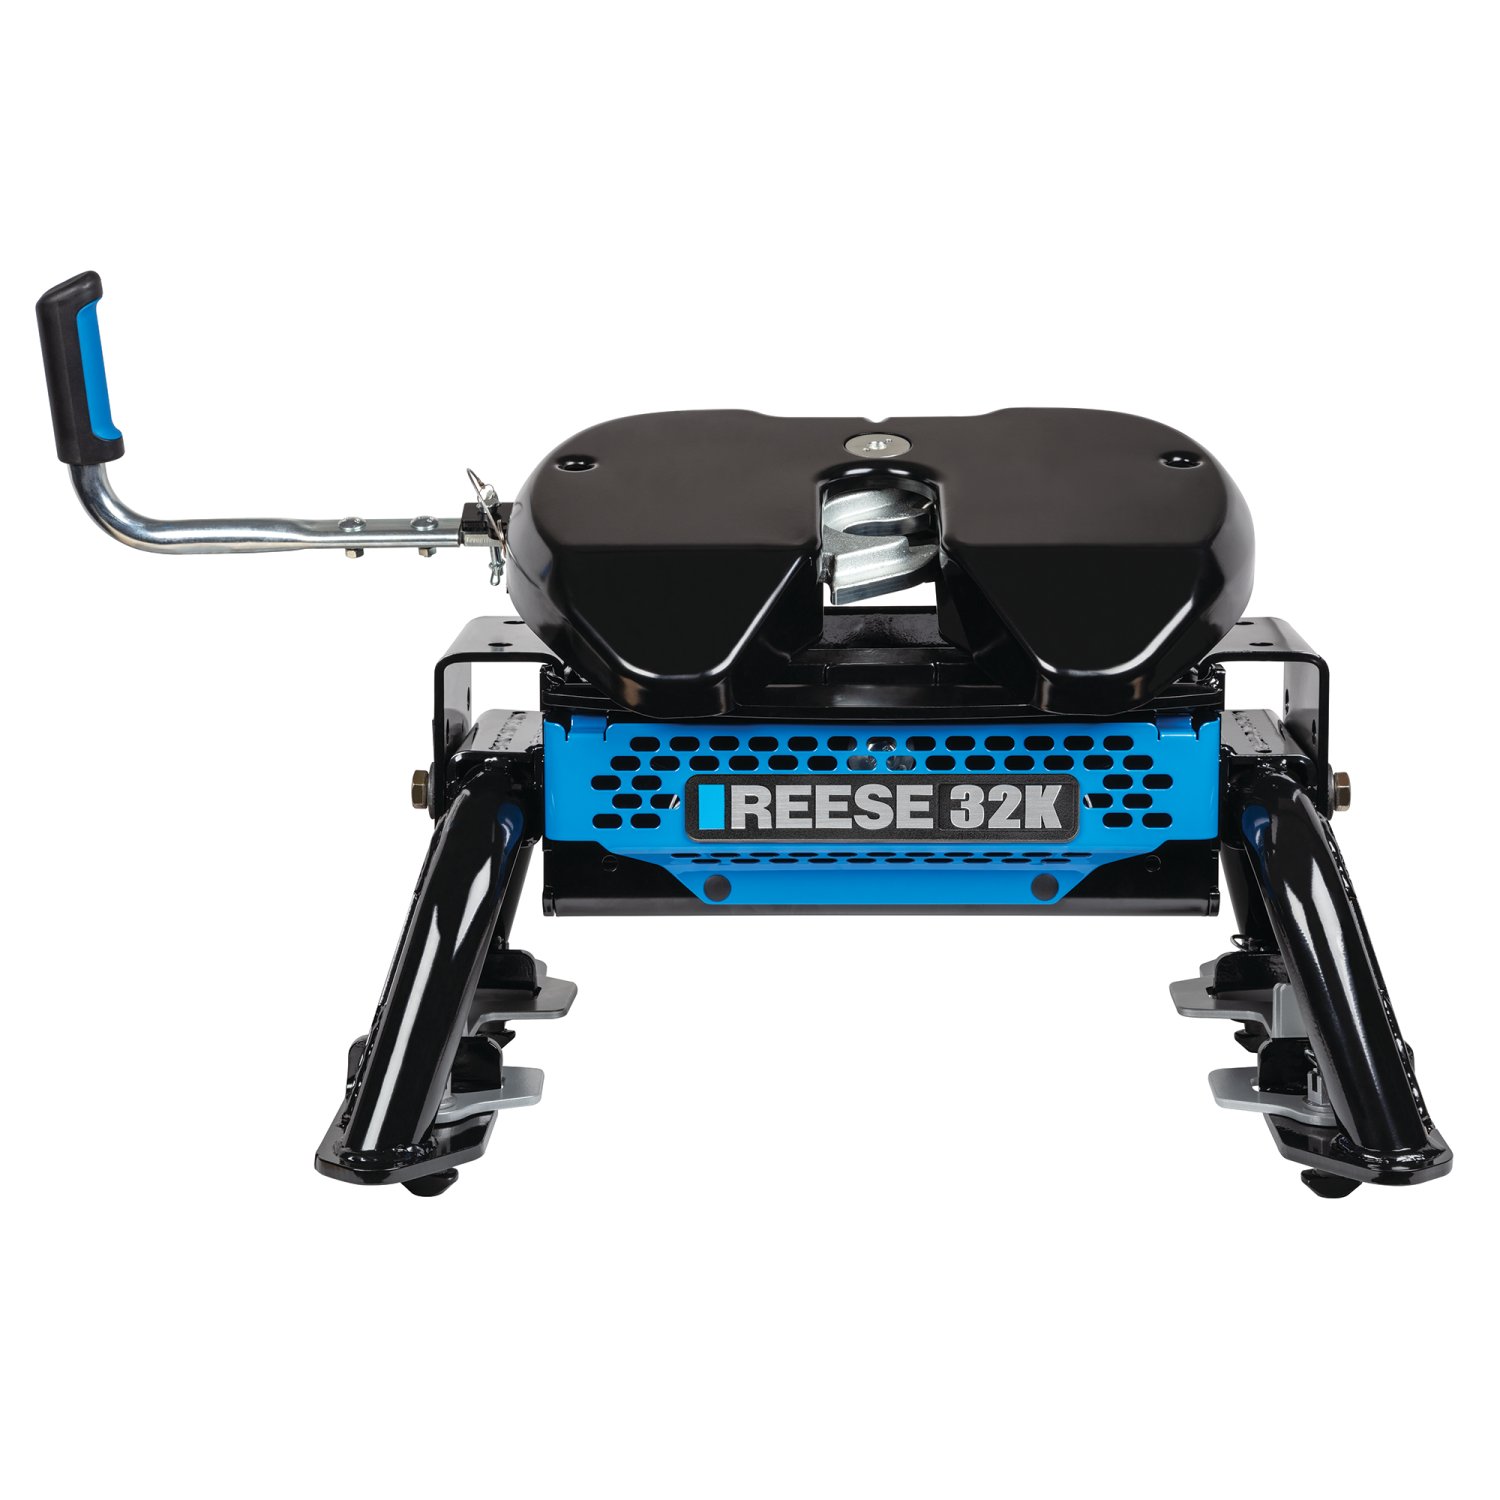
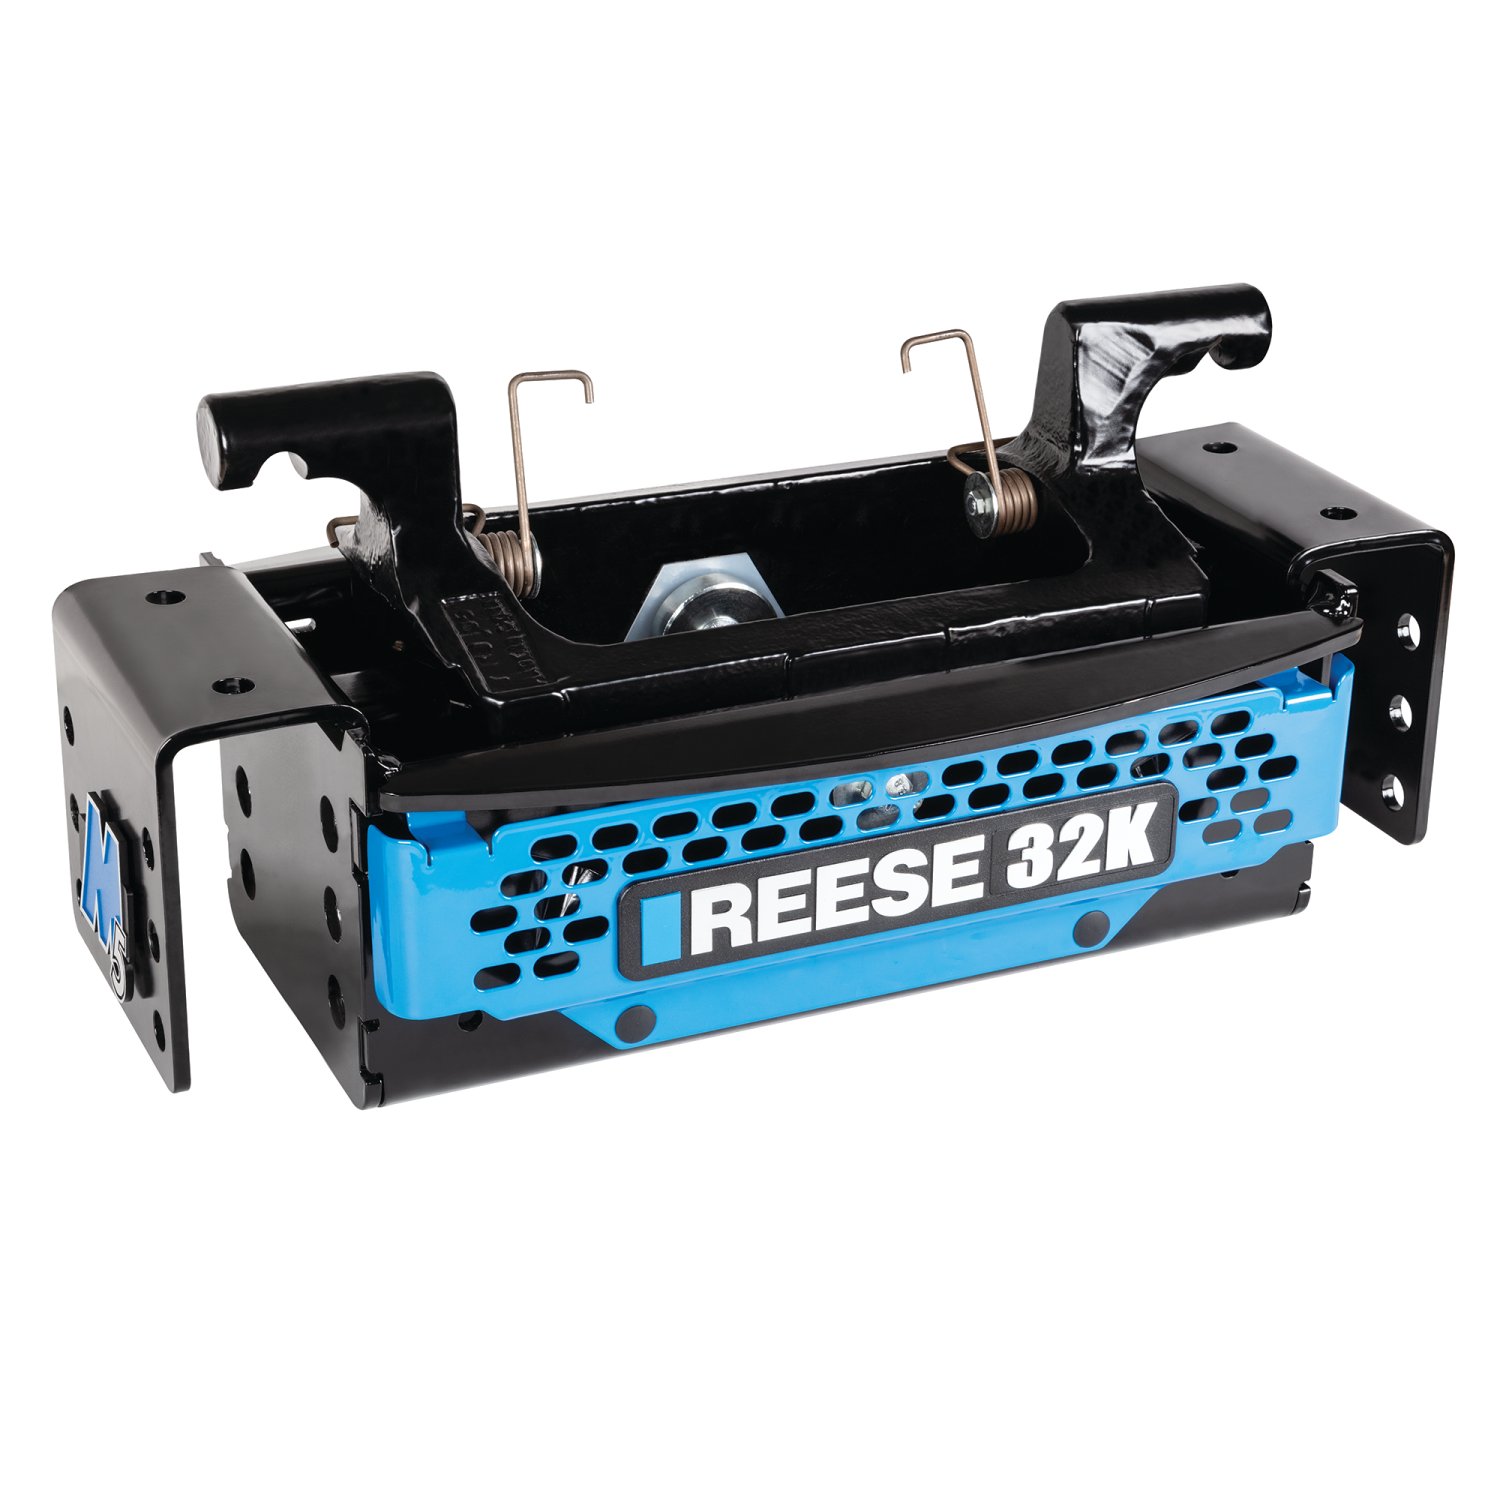
Reese M5 Fifth Wheel Hitch 32,000 lbs. Capacity, FordReeseOriginal price was $1,943.75. Current price is $1,611.85.Out of Stock
View productOur in-house experts typically reply within one business day.

Reese
Verify Fitment
Select your vehicle to confirm this part fits.
2020 - 2024 Chevrolet Silverado 2500 HD
Confirmed to Fit
2020 - 2024 Chevrolet Silverado 3500 HD
Confirmed to Fit
2020 - 2024 GMC Sierra 2500 HD
Confirmed to Fit
2020 - 2024 GMC Sierra 3500 HD
Confirmed to Fit




Always the correct part
We know our products
Quality Products
Free Shipping!
Always the correct part
We know our products
Quality Products
Free Shipping!
Free Shipping
Ships free on all orders
 Authorized Dealer
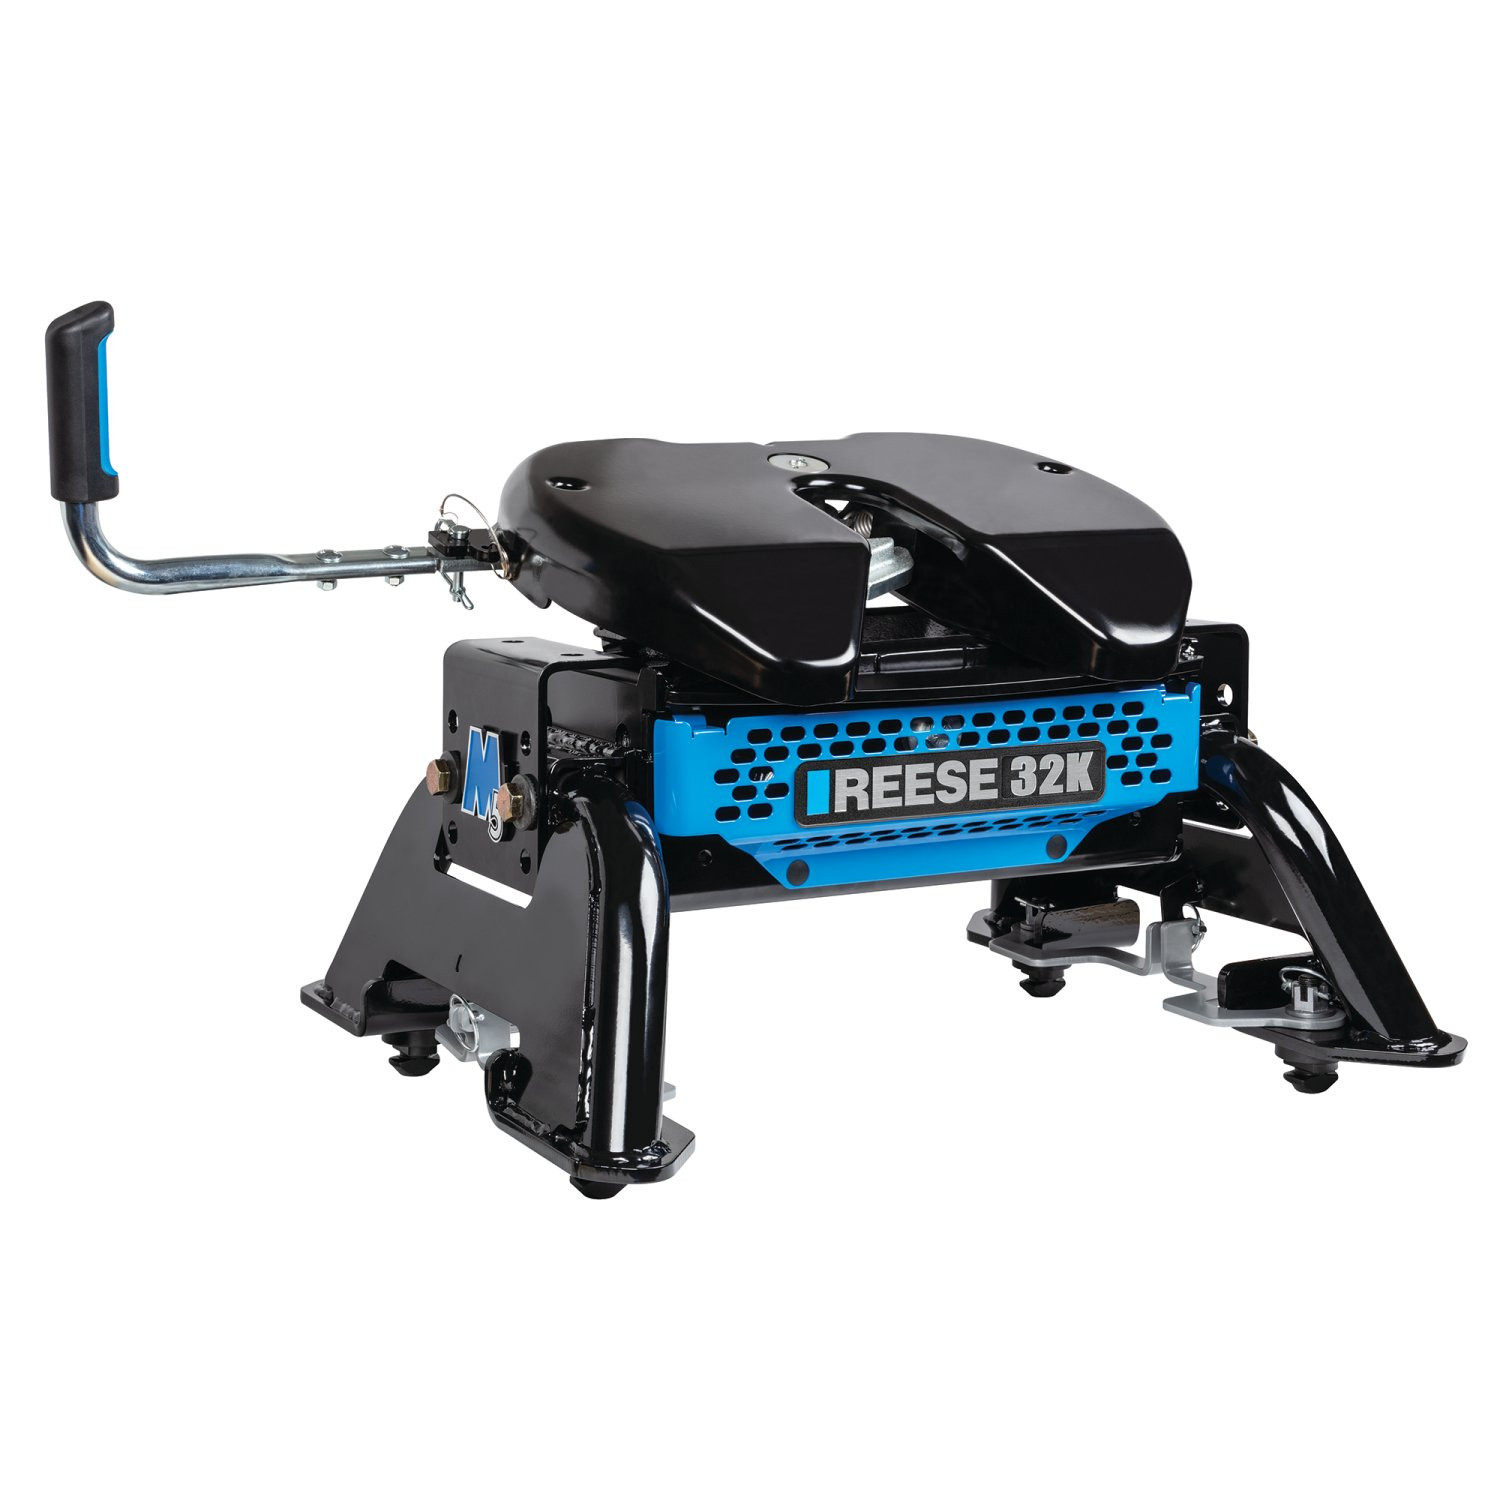
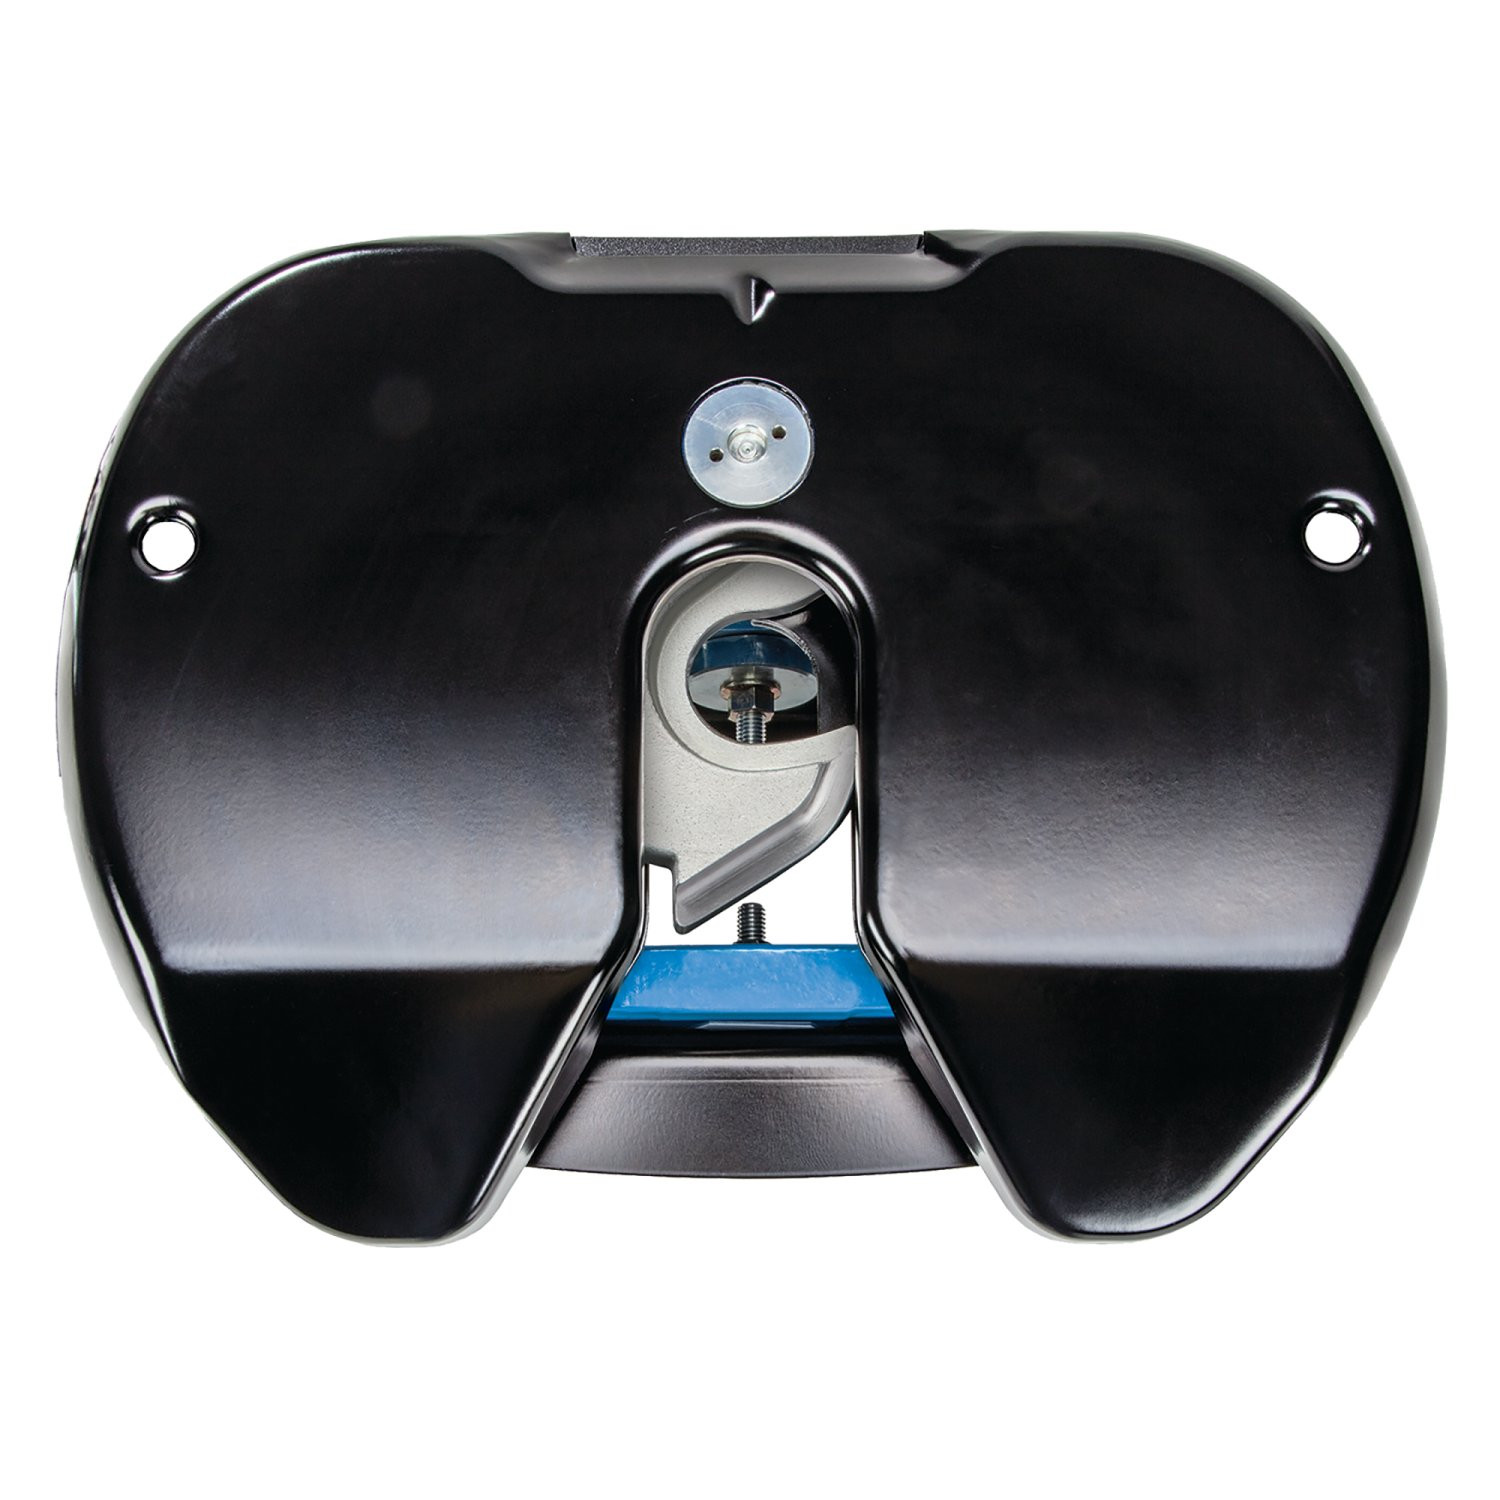
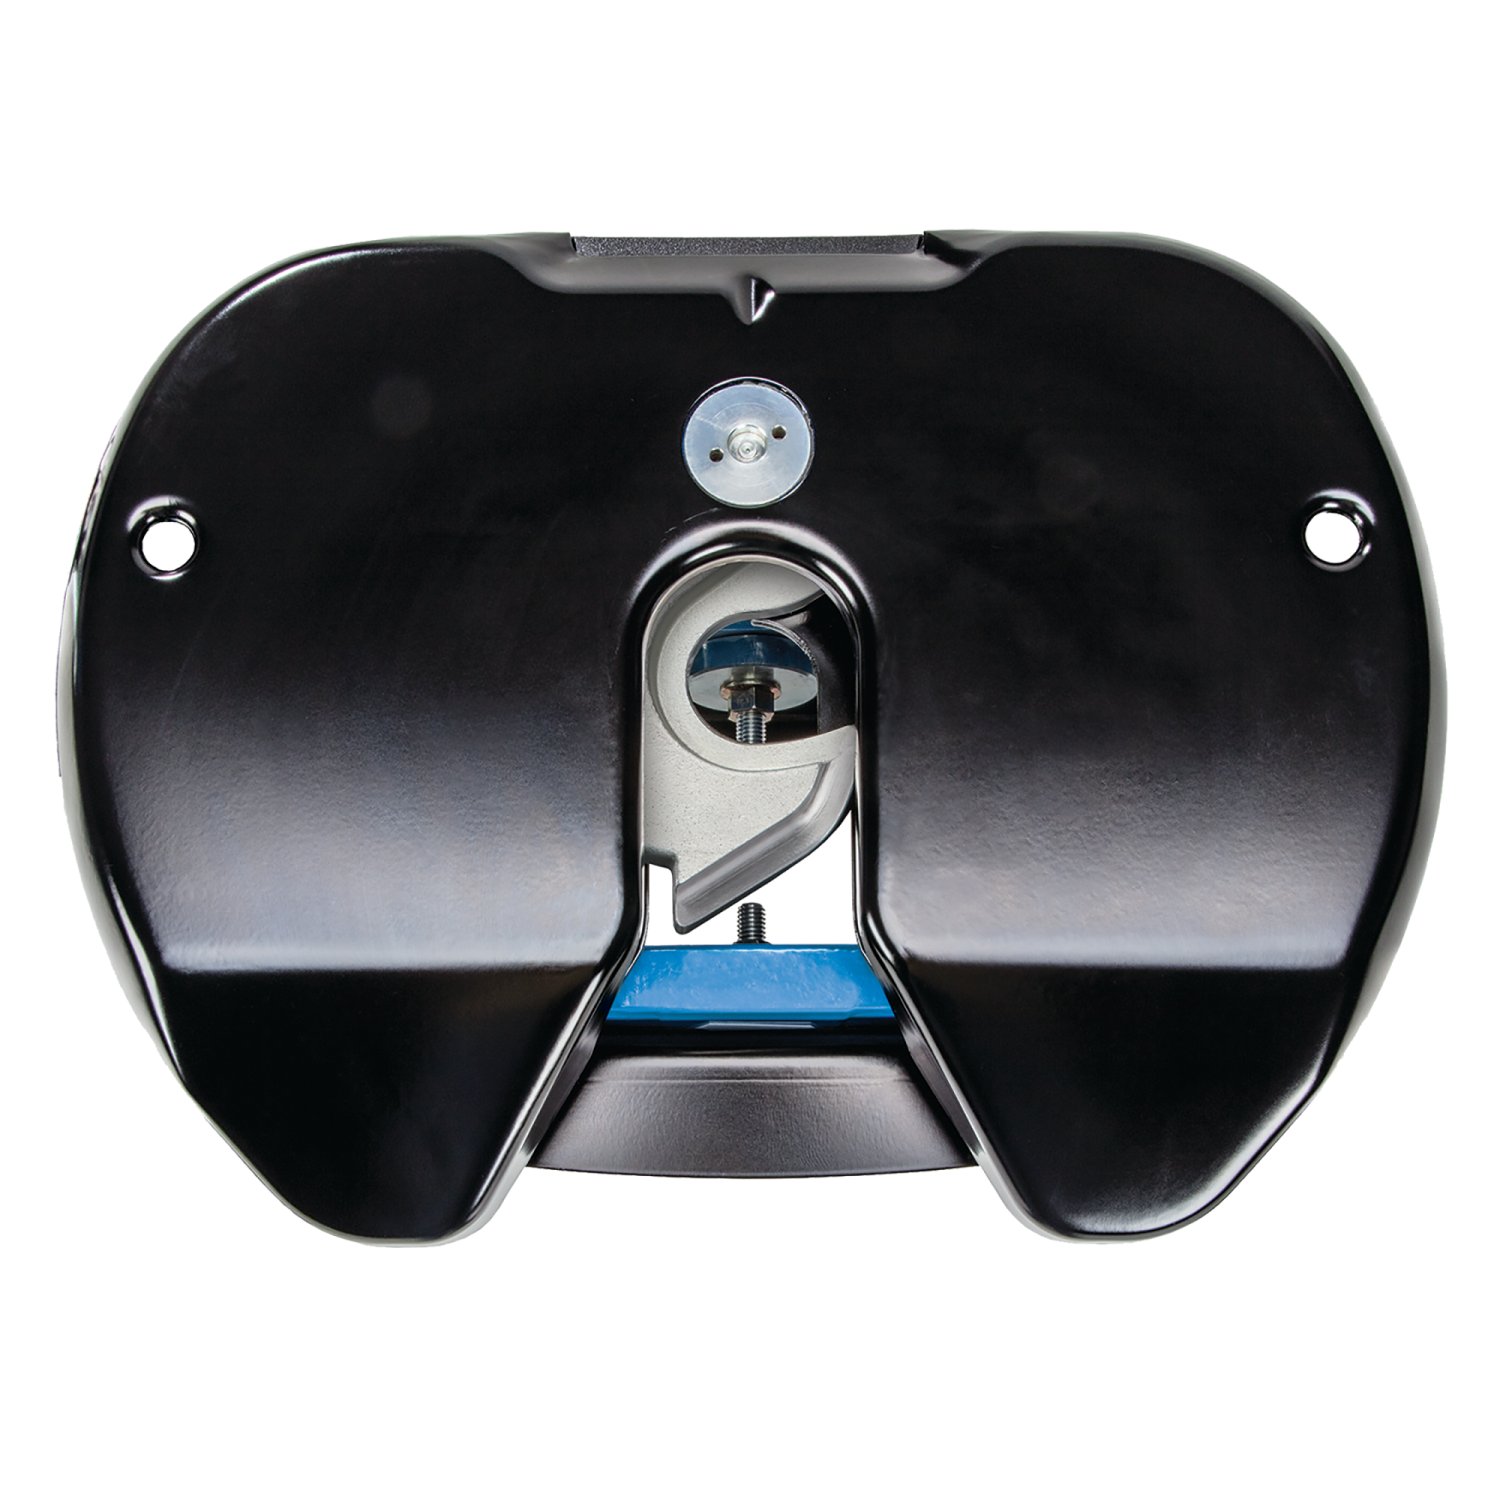
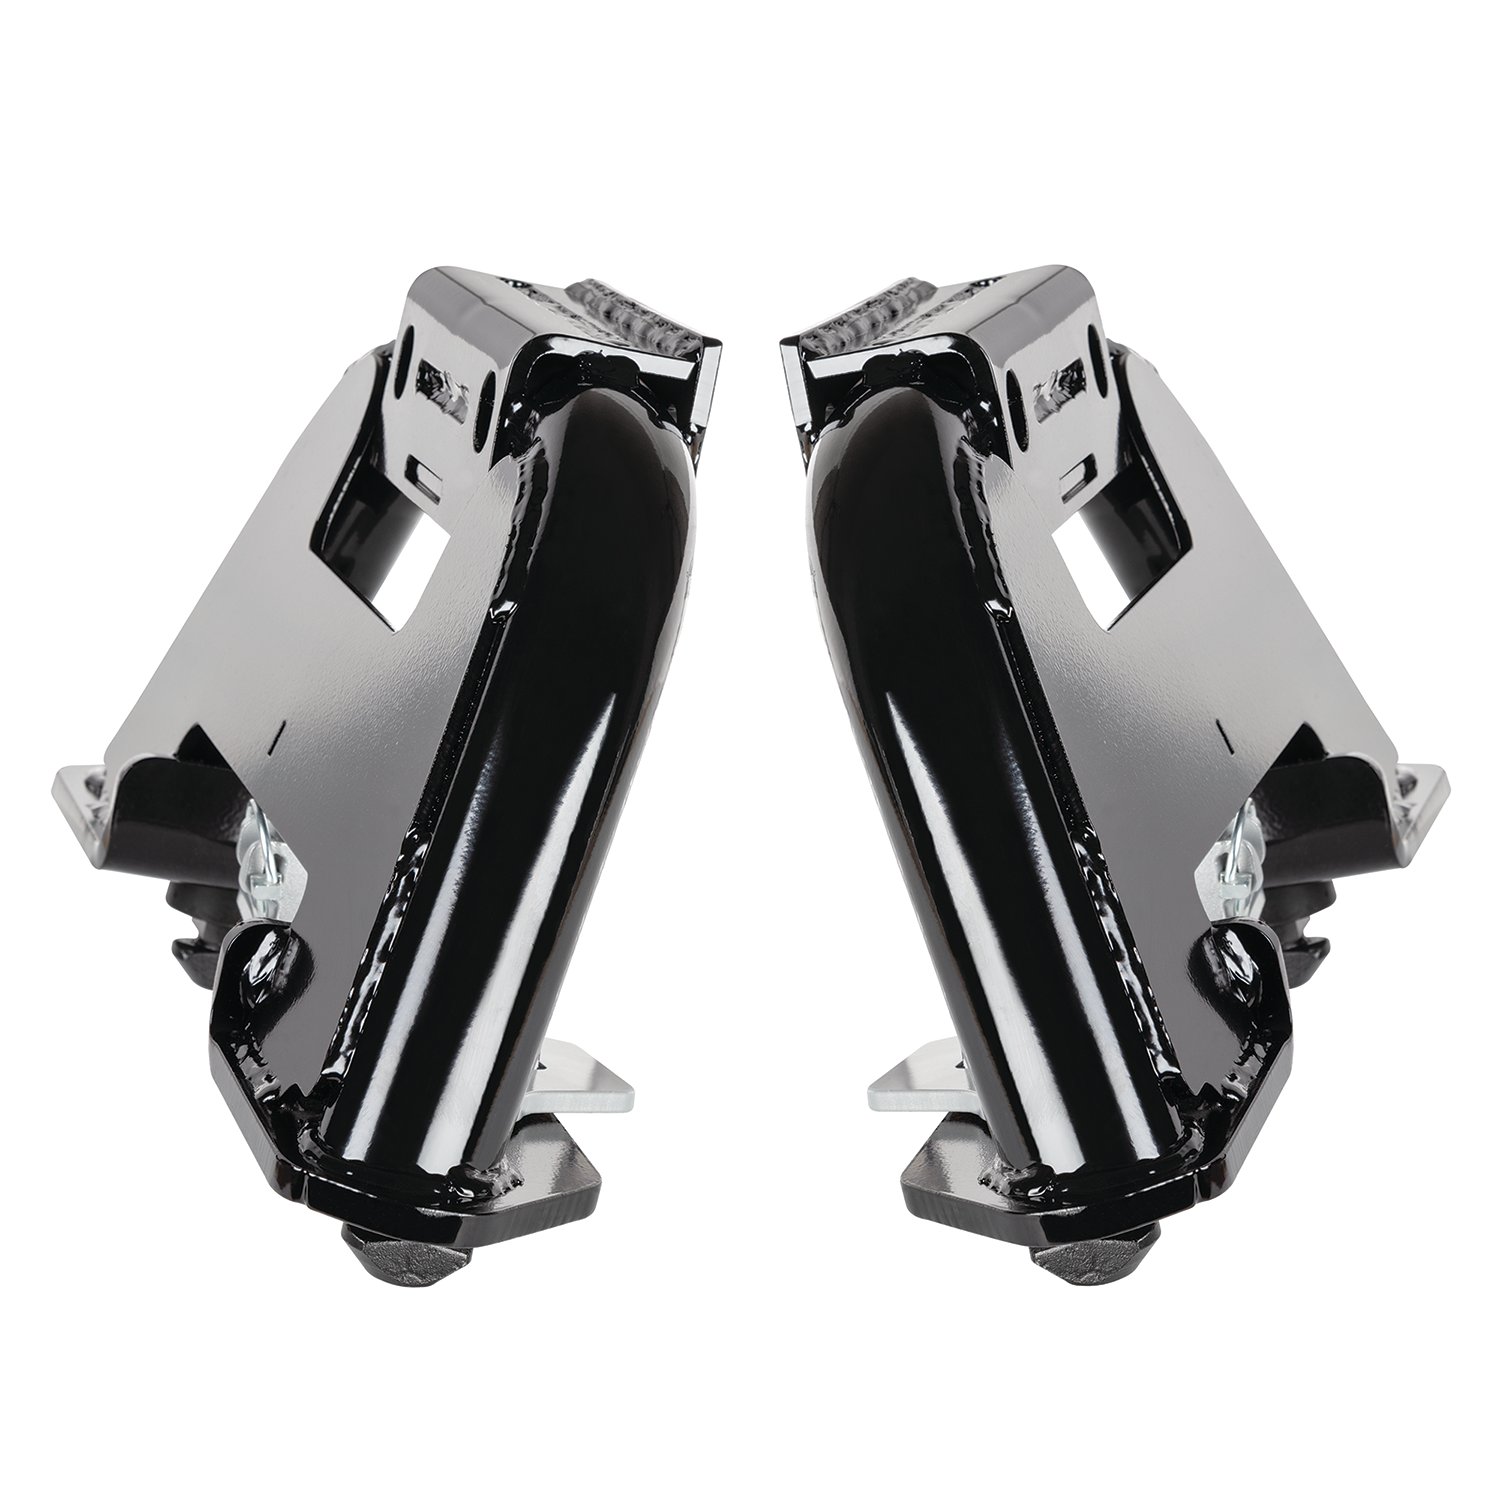
The name you know and the brand you trust brings you the latest in fifth wheel towing: the REESE M5. Whether youre a novice or youve been towing for years, REESE has the hitch you need to connect your truck and trailer safely and securely. Designed with state-of-the-art equipment by top-of-the-line engineers, REESEs complete line of M5 fifth wheel hitches is built to last! Featuring a three-part modular design, with wider stance legs, tighter tolerances, and the industrys best shock absorption system! Plus, an exclusive Talon Jaw that is always ready to receive, gripping the pin to eliminate lateral chucking and reduce sway and noise.
The REESE M5 fifth wheel hitch line combines the latest in technology, rugged endurance, and a sleek design for a quick hook-up and strong performance while on the road, with a clear tow/no tow indicator so you know when your connection is secure, and an ergonomic, easy-reach handle that requires less force to operate. When youre done towing, REESEs fifth wheel hitches are easy to remove, giving you access to the bed of your truck in no time. So tow with the confidence that only REESE can provide and make the journey as enjoyable as the destination.
| BRAND: | REESE |
| PART NUMBER: | 30944 |
| WARRANTY: | LIMITED LIFETIME WARRANTY |
| WEIGHT: | 188.45 LBS |
| CAPACITY: | 32,000 LBS. |
| PIN WEIGHT CAPACITY: | 6,400 LBS. |
| GROSS TOWING WEIGHT: | 32,000 LBS. |
| BASE LENGTH: | 27.34 IN. |
| BASE WIDTH: | 22.13 IN. |
| BASE HEIGHT: | 4.71 IN. |
| VERTICAL ADJUSTMENT: | 14 IN. TO 18 IN. |
| WELDING REQUIRED: | NO |
| LOCKABLE: | YES |
| WIRING HARNESS INCLUDED: | NO |
| JAW TYPE: | SINGLE |
| FORE AND AFT PIVOT: | 15 DEGREE |
| DRILLING REQUIRED: | NO |
| MOUNTING HARDWARE INCLUDED: | NO |
| MOUNTING HOLE QUANTITY: | 4 |
| HITCH TYPE: | STATIONARY |
| MATERIAL: | STEEL |
| SIDE TO SIDE PIVOT: | 15 DEGREES |
| BOLT GRADE: | SAE 8 |
| COLOR: | BLACK/BLUE |
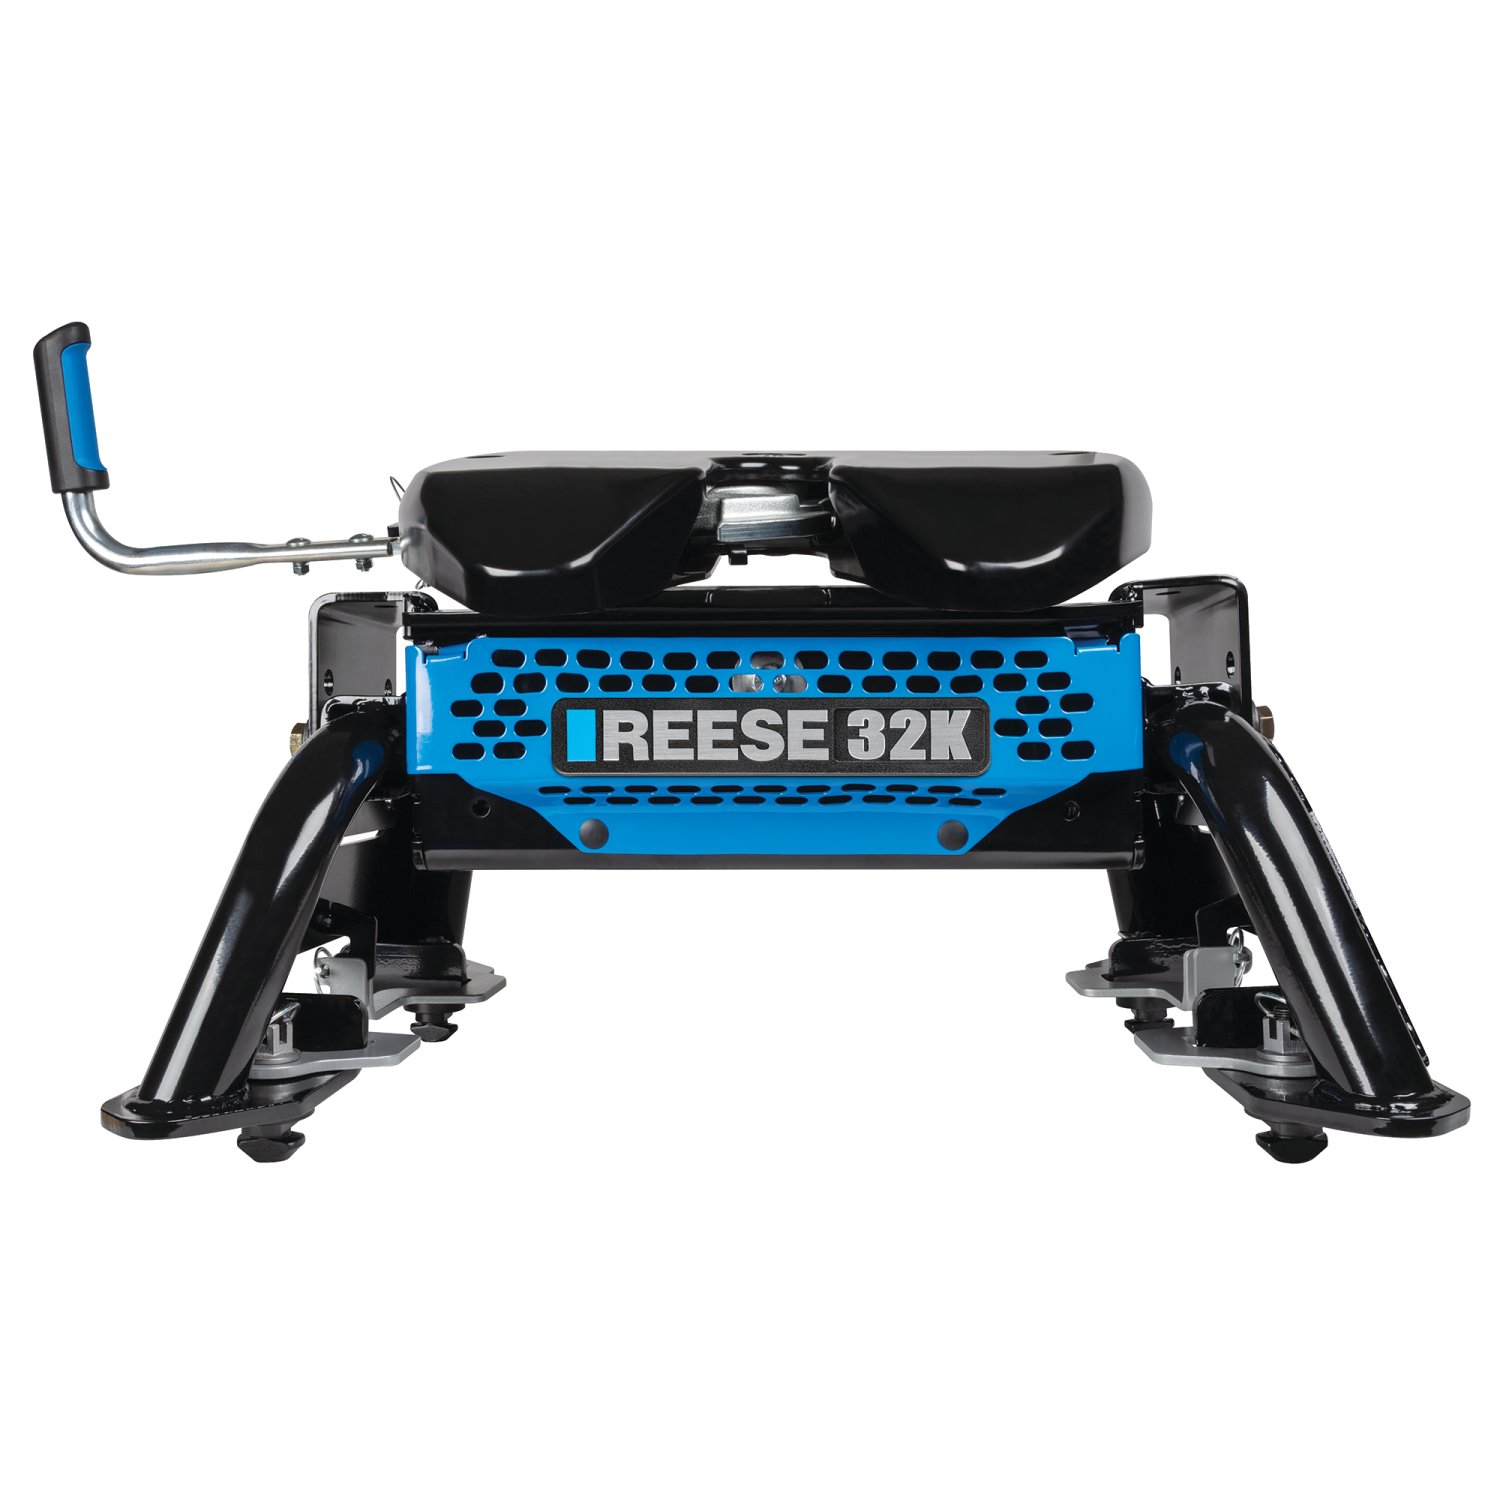
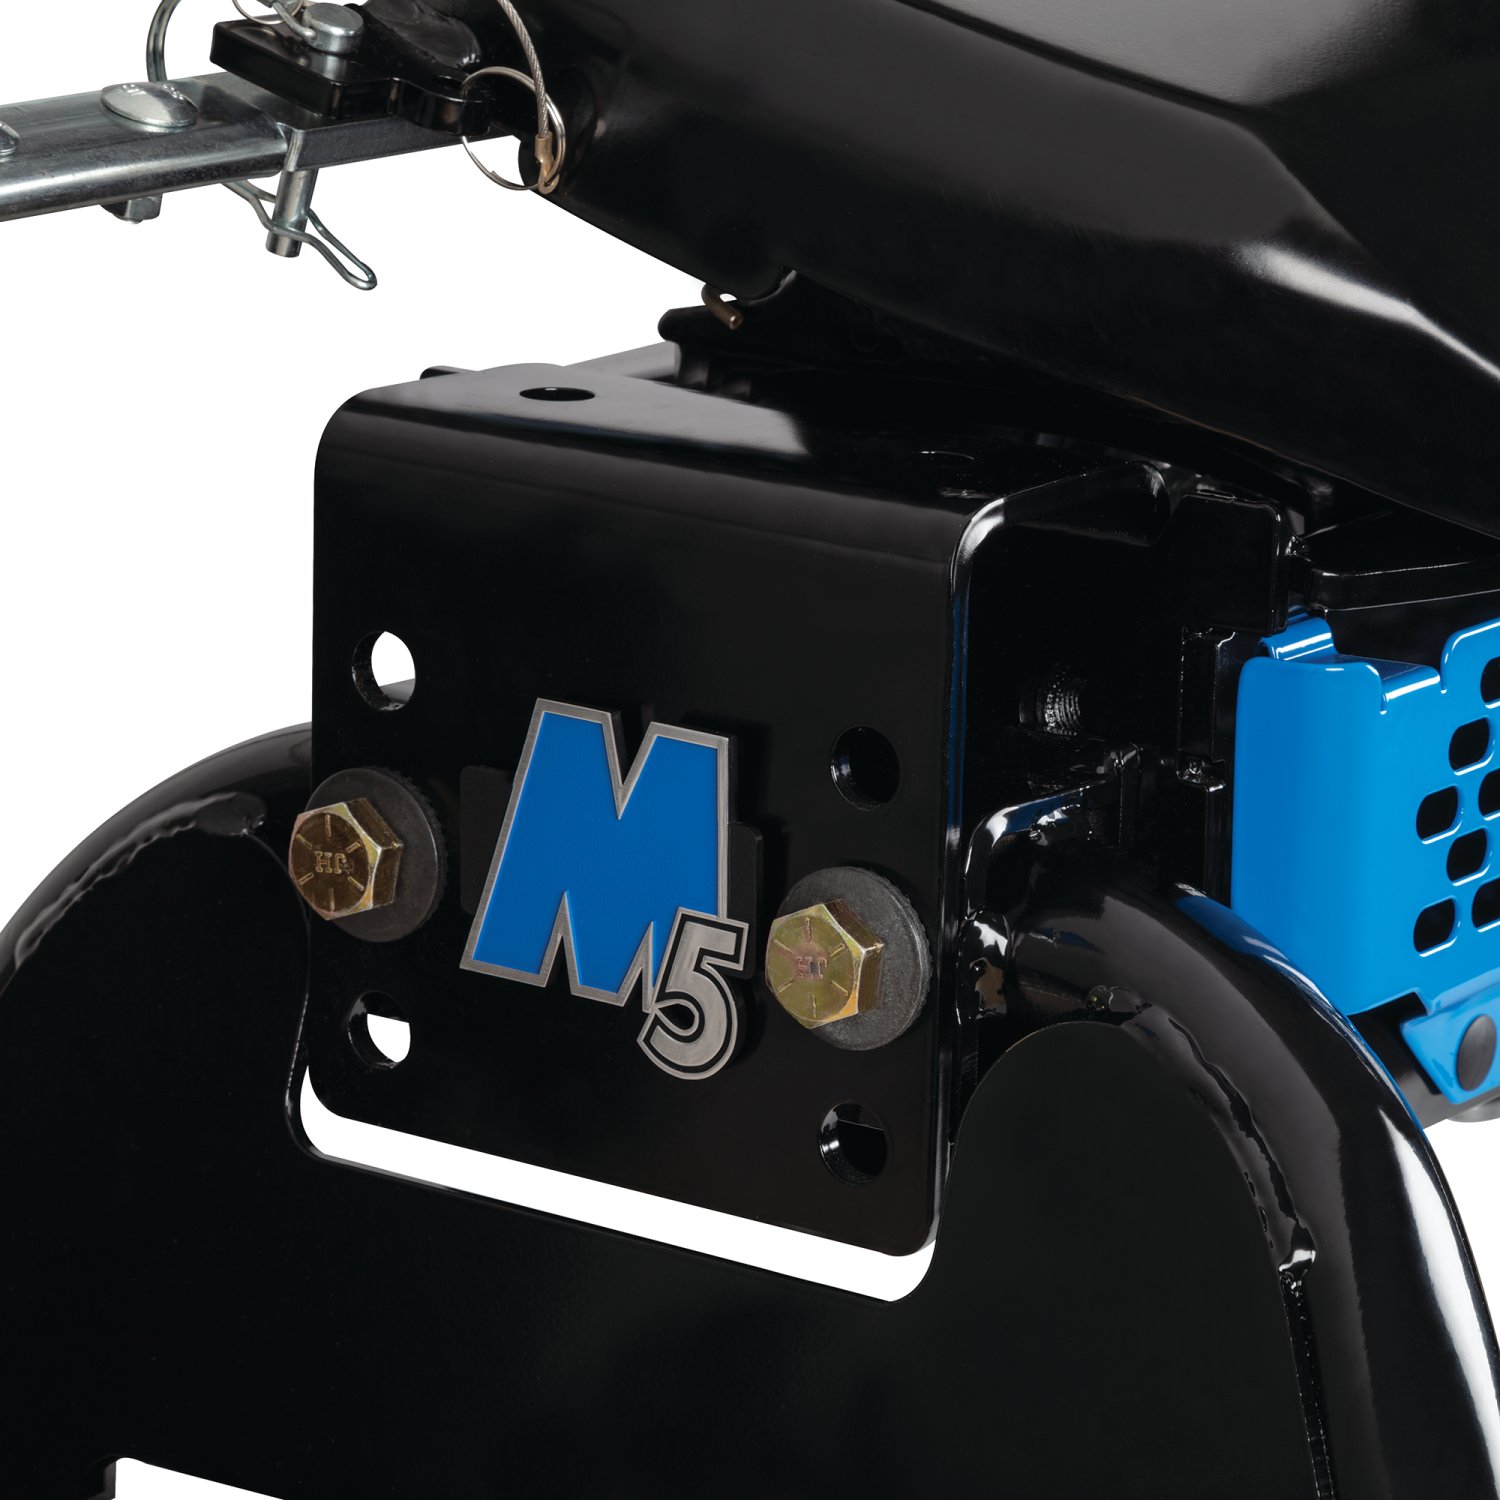
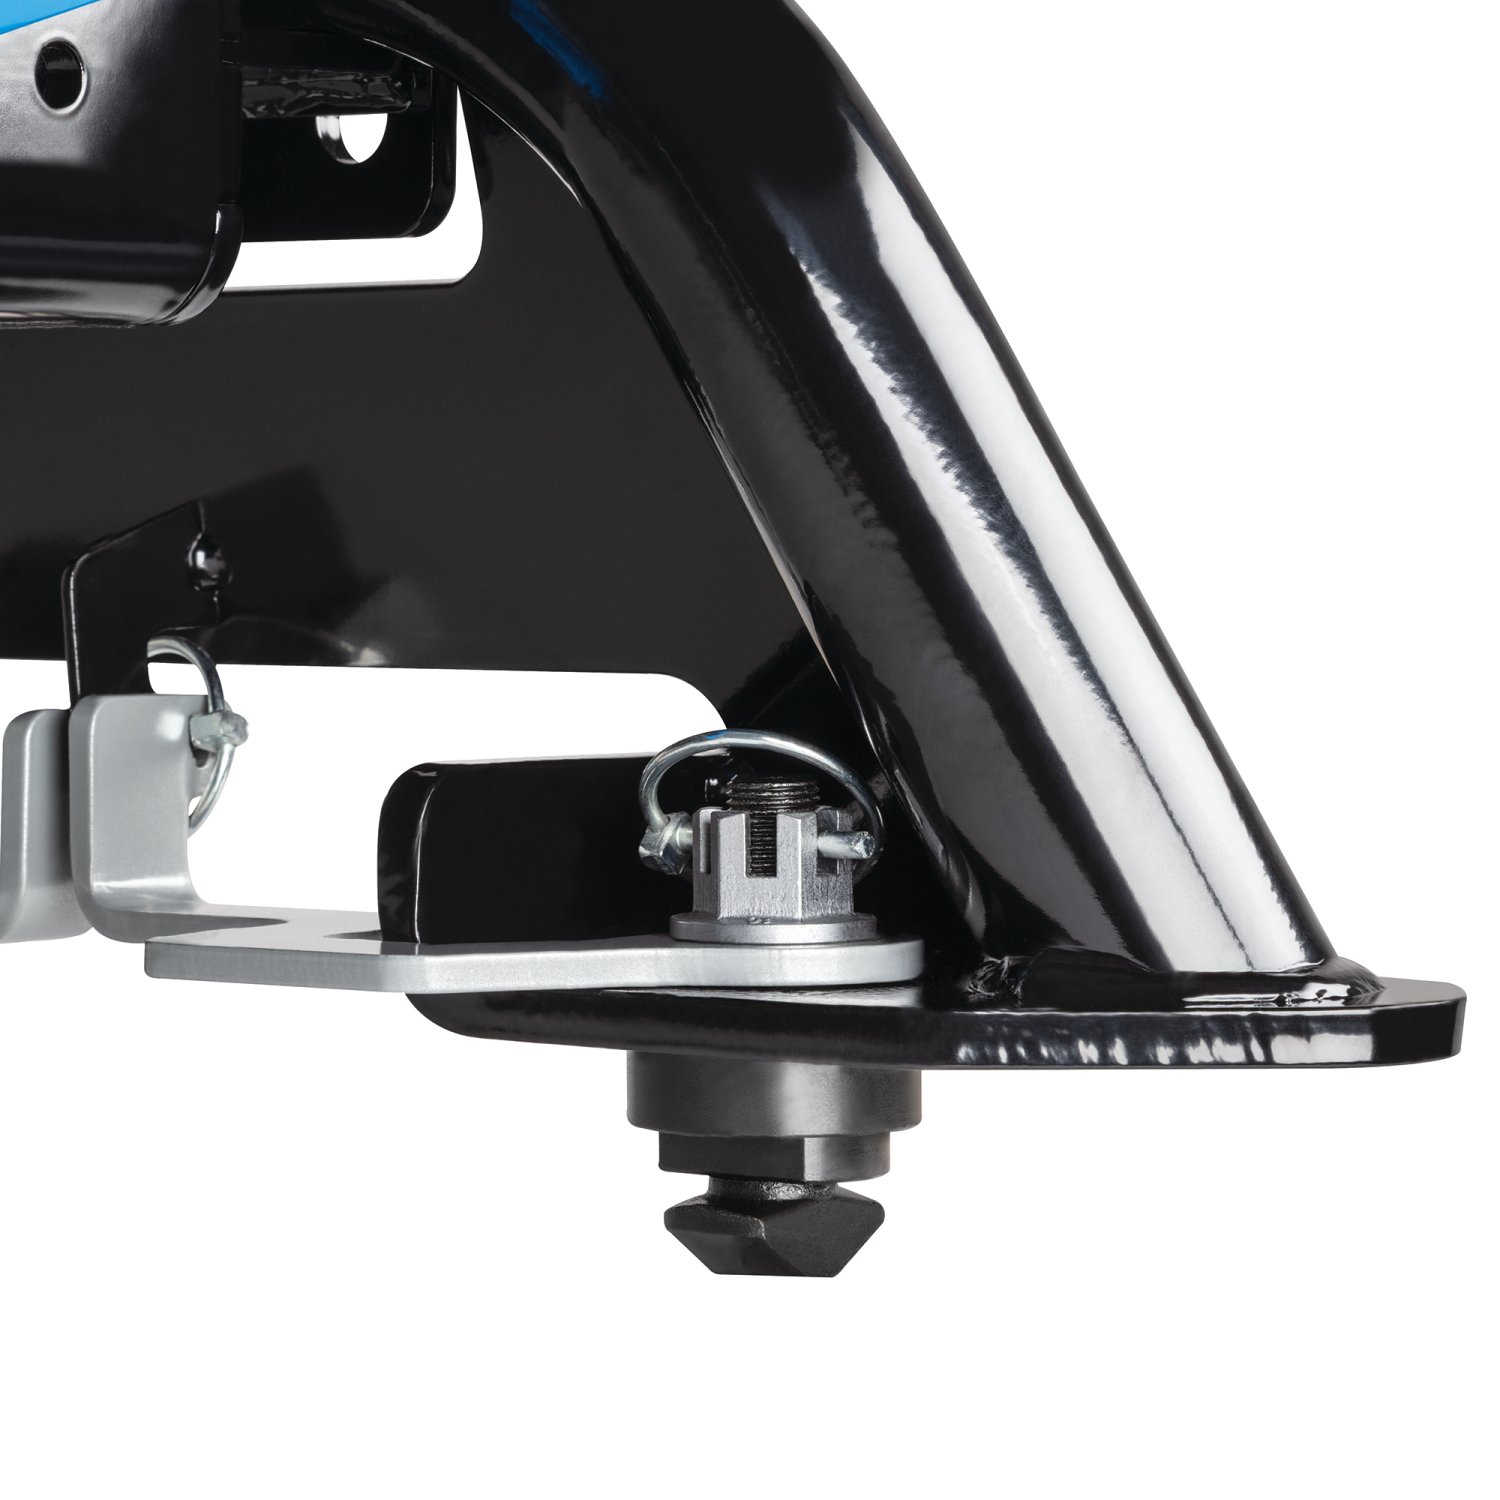

Reese has designed towing equipment since 1952 and remains a benchmark for heavy-duty towing. The line covers fifth wheel hitches such as the modular M5, gooseneck couplers including the Goose Box, air-ride and short-bed pin boxes, weight distribution systems with active sway control, and the accessories that connect them, all built to exceed published industry standards.
Reese has been pioneering towing performance since 1952, when Margaret Reese asked her husband TJ to stop travel trailers rocking every time somebody walked through them. His answer, the first pair of stabilising jacks, was simple and effective enough to change the RV industry. From that starting point Reese grew into a designer and manufacturer of complete towing systems, and today it anchors the heavy-duty end of the Horizon Global towing portfolio.
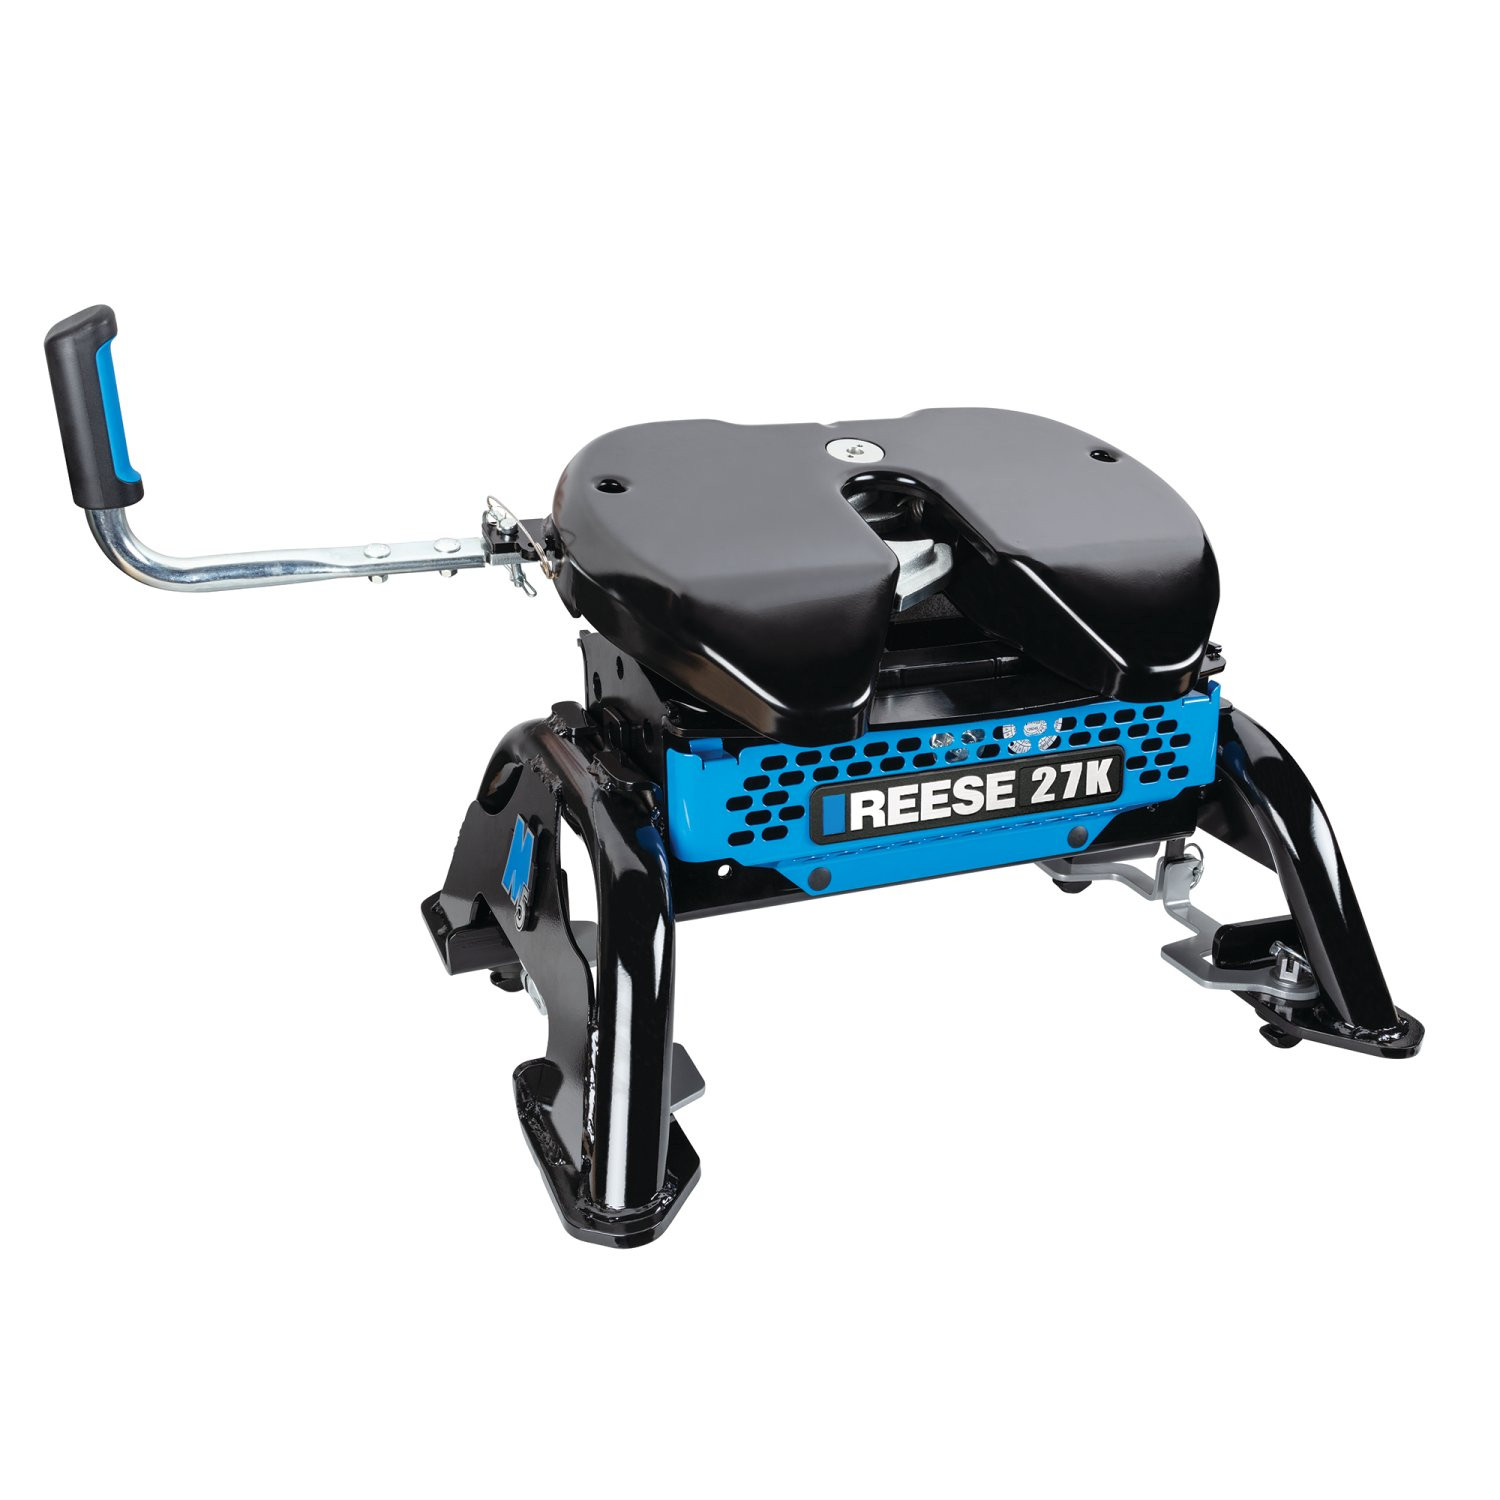
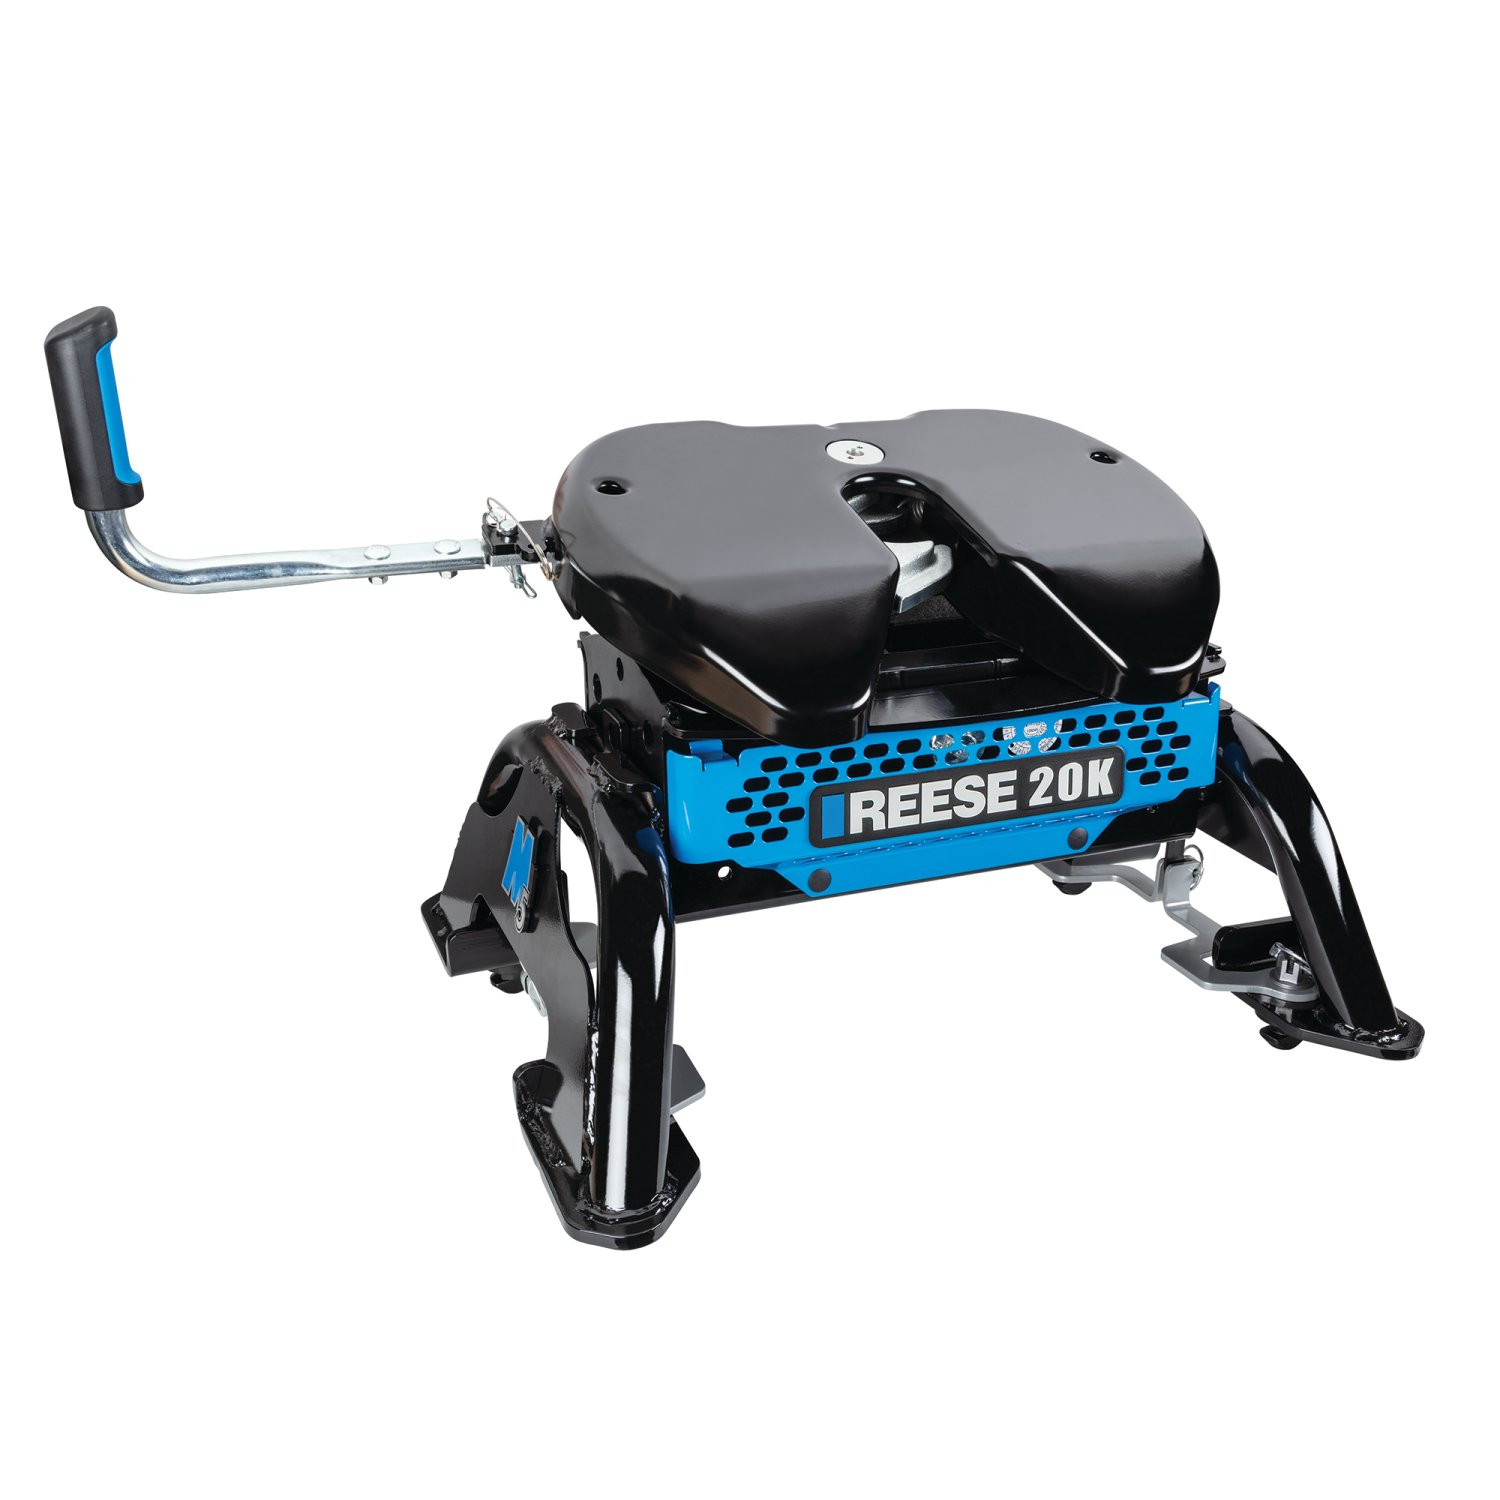
Fifth wheel towing is where the brand's engineering is most visible. The M5 fifth wheel hitch uses a modular design that breaks into manageable sections for assembly, with a wider stance, tighter tolerances and a shock absorption system aimed at the jolts that travel up through a truck bed. For owners who would rather tow from a gooseneck coupler and keep the bed clear, the Goose Box 20K replaces the trailer's king pin with a gooseneck connection carrying its own air-ride cushioning.
Pin boxes are a Reese speciality. The 5th Airborne uses air-ride technology to dampen road shock and reduce the chucking motion that makes fifth wheel towing tiring, while the Sidewinder was designed for short-bed pickups, pivoting the connection point so the trailer can turn sharply without the front cap meeting the cab.
For conventional towing, Reese weight distribution systems restore load to the tow vehicle's front axle and control sway. The Pro Round Bar distributes weight evenly while damping sway, and the Pro Dual Cam II uses active cam-based sway control that works harder the stronger the sway force becomes. Complete kits pair bars, head and shank to a rated tongue weight, and dedicated sway control kits can be added to existing setups. The products suit RV owners, horse and livestock haulers and anyone towing near the upper end of a vehicle's rating.
Experts available to answer your questions
Call 888-634-9494Lifetime
4 compatible vehicles
| Year | Make & Model | Notes |
|---|---|---|
| 2020 - 2024 | Chevrolet Silverado 2500 HD | Fifth Wheel Trailer Hitch: 32K 32,000/6,750 lbs. when used with a Weight Distribution Kit (tongue weight/gross trailer weight) Drilling Required Install Time is 0 minutes With Factory HD Towing Option Rated 32k Capacity |
| 2020 - 2024 | Chevrolet Silverado 3500 HD | Fifth Wheel Trailer Hitch: 32K 32,000/6,750 lbs. when used with a Weight Distribution Kit (tongue weight/gross trailer weight) Drilling Required Install Time is 0 minutes With Factory HD Towing Option Rated 32k Capacity |
| 2020 - 2024 | GMC Sierra 2500 HD | Fifth Wheel Trailer Hitch: 32K 32,000/6,750 lbs. when used with a Weight Distribution Kit (tongue weight/gross trailer weight) Drilling Required Install Time is 0 minutes With Factory HD Towing Option Rated 32k Capacity |
| 2020 - 2024 | GMC Sierra 3500 HD | Fifth Wheel Trailer Hitch: 32K 32,000/6,750 lbs. when used with a Weight Distribution Kit (tongue weight/gross trailer weight) Drilling Required Install Time is 0 minutes With Factory HD Towing Option Rated 32k Capacity |


FREE ShippingFREE SHIPPING
Estimated delivery Tue, Sep 22 - Fri, Sep 25
Order before 2 PM EST Monday–Friday for same-day processing
Guaranteed safe & secure checkout
The Reese M5 Fifth Wheel Hitch 32,000 lbs. Capacity, GM (Part #RE30944) fits the following vehicles: 2020-2024 Chevrolet Silverado 2500 HD; 2020-2024 Chevrolet Silverado 3500 HD; 2020-2024 GMC Sierra 2500 HD; 2020-2024 GMC Sierra 3500 HD. Always verify your specific year, make, and model before ordering.
The Reese M5 Fifth Wheel Hitch 32,000 lbs. Capacity, GM (Part #RE30944) fits 2020-2024 Chevrolet Silverado 2500 HD models. The 2024 model year is the last year covered by this part number. For newer models, check for an updated version.
Yes, the Reese M5 Fifth Wheel Hitch 32,000 lbs. Capacity, GM (Part #RE30944) is designed to fit the 2020-2024 Chevrolet Silverado 2500 HD.
The Reese M5 Fifth Wheel Hitch 32,000 lbs. Capacity, GM (Part #RE30944) Drilling is required for installation. Basic hand tools are typically all you need.
The M5 Head is a 5th wheel hitch head unit that couples to a trailer's kingpin. It is the upper component that receives and locks the trailer pin box. The head includes a handle that moves between ready-to-receive, locked, and unhitching positions, with an indicator that shows red or green to confirm the coupling status. It is sold separately and must be paired with a center section and mounting legs for complete installation.
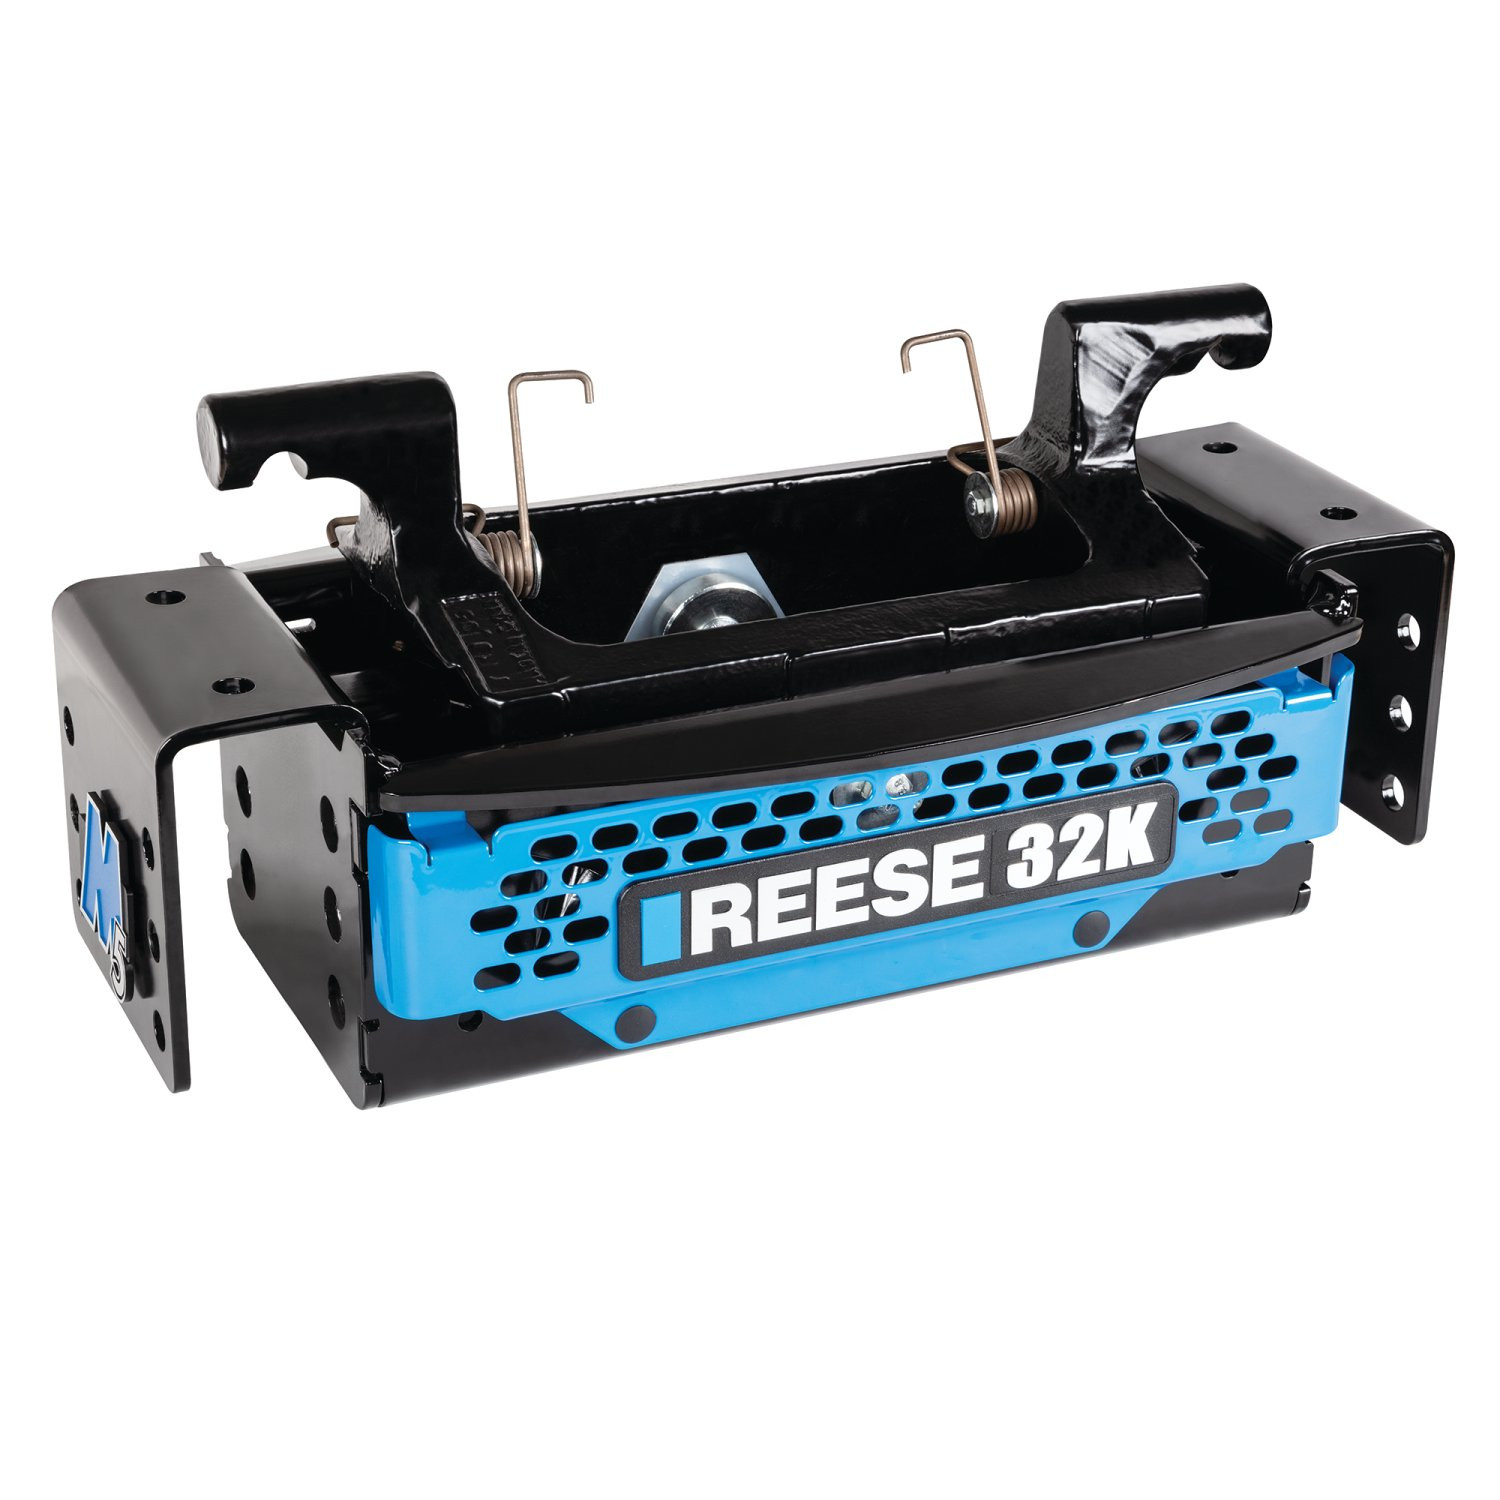
The M5 Center Section is the structural component that connects the head unit to the mounting legs. It provides 4" of vertical adjustment to set the correct 5th wheel height and can be rotated 180 degrees to increase the gap between the trailer and truck cab by 1-1/2". The center section is sold separately and is required for complete hitch assembly.
The hitch is rated for 32,000 lbs total capacity with a maximum pin weight of 6,400 lbs.
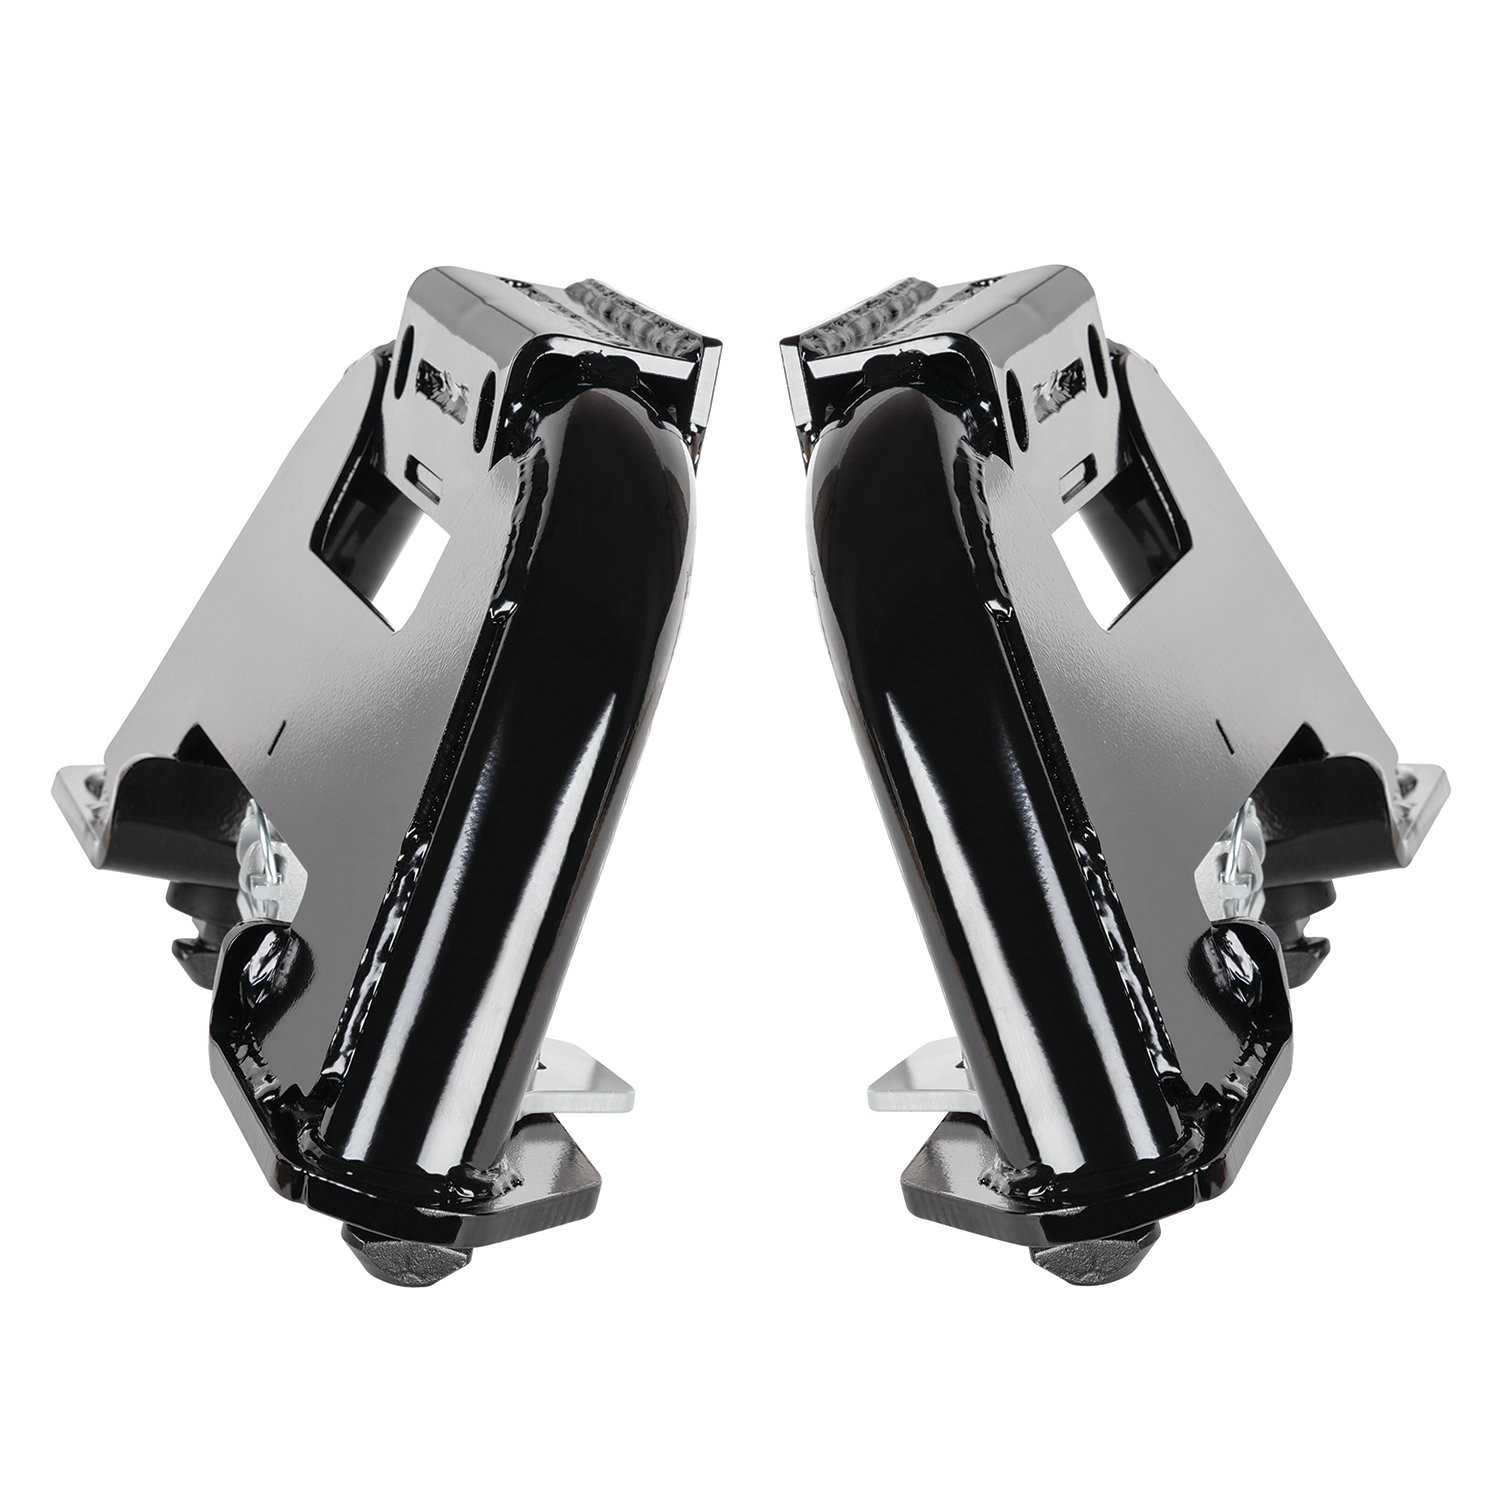
The M5 GM Leg is designed for GM vehicles. The manual shows GM as the application. The leg assembly instructions note that the center section can be rotated on all vehicles except RAM vehicles, which suggests compatibility may vary. Consult the leg installation instructions for your specific vehicle or contact the manufacturer for fitment confirmation.
A minimum of 6" clearance must be maintained between the truck bed rail and the bottom of the trailer. The center section has 4" of vertical adjustment across 3 possible attachment locations to achieve this clearance. Proper height adjustment is critical and must be set before hitching.
The M5 Head (30892) can be installed with M5 mounting legs and center section. The manual indicates legs are sold separately and the center section is sold separately. The head requires attachment to a center section for proper operation.
An M13 wrench is required to tighten the handle assembly carriage bolts, lock washers, and nuts. Lithium grease is also needed for lubrication before installation.
Required tools include: M13 and M24 sockets and wrenches, a torque wrench, and lithium grease. The fastener kit 30892F is also required.
Required tools include a 15/16" wrench, pliers, and a torque wrench. The leg comes pre-assembled and adjusted.
The head assembly includes: 2 M8 carriage bolts, 2 M8 lock washers, 2 M8 nuts, 2 ½" pull pins, and 2 spring clips. Additional bolts and washers (item 6) are supplied with the leg unit, not the head.
The leg assembly includes: 4 bolts (5/8-11 x 4.25" GR8), 4 conical washers (5/8"), 4 nuts (5/8-11), 4 T-pin locking handles, 2 lynch pins, 4 castle nuts, 8 cotter pins, 4 T-pins, and 4 T-bushings.
Yes. Before installing the head on the center section, apply grease to: (A) the skid plate surface to provide a lubricated surface for trailer attachment; (B) the 5th wheel jaw and/or kingpin on the trailer; (C) via the grease fitting on top of the unit using a grease needle; and (D) spray white lithium grease on internal mechanisms and rotate the handle a few times to distribute. The head comes pre-greased. Plastic lube plates (REESE 5th Wheel Lube Plate #83001 recommended) can be used to avoid messy grease, but must not exceed 3/16" in thickness.
The bottom of the pin box should be aligned with the top of the skid plate ramp, plus or minus 1 inch. This is the contact zone. Proper height is critical for safe coupling and must be verified before each hitching procedure.
Slide the tube over the bar as shown in the manual, then securely tighten with M8 carriage bolts, M8 lock washers, and M8 nuts using an M13 wrench. The handle should be snug when complete.
1. Apply grease per the maintenance instructions (page 3 or 10). 2. Place the head unit on top of the center section, avoiding pinch points. 3. Insert the pull pin as shown in the manual and secure with spring clips on both sides. 4. Inspect through the sight holes on top of the head pan to confirm clips are assembled correctly.
1. Determine which center section mounting holes to use to ensure minimum 6" clearance between truck bed rail and trailer bottom. Legs must be attached at the same height on both sides. 2. Using 4 bolts (5/8" hex head), conical washers (teeth side toward hitch), and 5/8" nuts, attach the legs to the center section, inserting bolts from outside through the leg bolt hole into the inside of the center section. 3. Finger tighten fasteners initially until final adjustments are made.
1. Remove the 2 lynch pins. 2. Position the legs over the pucks with handles in the OPEN position. 3. Once the unit is placed in the pucks, rotate the handles back to the CLOSED position. 4. Insert the lynch pins back into the leg to prevent handles from opening during operation.
Due to variations in truck underbeds, some handles may be loose and rattle, or too tight to lock. If a handle appears loose or cannot close fully: 1. Remove the cotter pin. 2. Adjust the castle nut by hand to a position where the handle does not rattle or is able to close. 3. Once adjustment is satisfactory, re-insert the cotter pin and bend the end with pliers to hold in place. Additional cotter pins are provided in the hardware kit.
Each 5/8" hex-head bolt that connects the center section to the legs must be tightened to 210 ft-lb of torque. This must be done after the T-pin handles are locked and T-pins are securely held in the underbed structure.
When the head springs are installed on the other side during the added clearance procedure, they should be tightened to 7-8 ft-lbs. The springs should be pointing up towards the truck cab and will flex freely when properly installed.
The M5 Head has three positions: (1) Ready-to-Receive: handle is pulled out fully until an audible click is heard, holes do not align for bail pin, handle is easily movable toward cab and returns to default position, indicator shows RED. This position is used when delivered, when hitch is not in use, when coupling to trailer, and after uncoupling. (2) Locked: handle is in a position where holes align for bail pin insertion, indicator shows only GREEN. This position is when coupled to trailer. (3) Unhitching: handle is pulled out fully until click is heard, then rotated toward cab, indicator shows RED. This position is when unhitching the trailer.
1. Ensure truck and trailer are in position to couple: lower tailgate if necessary, place blocks/chocks firmly against trailer wheels, verify pin box is at correct height (bottom of pin box aligned with top of skid plate ramp ±1 inch), and pull handle out fully until audible click is heard to confirm ready-to-receive position. 2. Back truck slowly into trailer so kingpin and 5th wheel funnel align. When indicator turns completely green, the kingpin is securely held. 3. Perform pull test: with trailer wheels blocked, landing gears on ground, and trailer brake on, ensure no one is between truck and trailer, then try to pull trailer slowly forward. If properly hitched, proceed; if not, repeat steps 1-3. 4. Insert bail pin into lock hole. 5. Connect electrical and breakaway switch cables. 6. Raise tailgate if necessary and remove chocks/blocks and lift trailer jacks.
If fully backed into the trailer and the jaw is not fully latched, the jaw may not close if under compression. Pull the truck slowly forward to remove load on the jaw. The handle will then fully latch.
1. Ensure trailer is secure: place blocks/chocks firmly against trailer wheels and lower trailer jacks firmly to ground. 2. Ensure truck is ready: lower tailgate if necessary and disconnect electrical and breakaway switch cables. 3. Remove bail pin and move handle to unhitching position by pulling out fully until audible click is heard, then rotating handle toward cab. 4. Drive truck slowly away from trailer. Note: If there is tension between truck and trailer, the truck or trailer may shift when the handle is pulled. The handle may start to return to ready-to-receive position, but the trailer will still uncouple.
If the handle will not move to the unhitching position with ease, STOP and DO NOT FORCE THE HANDLE. The jaw may not open if under tension. Slowly reverse the truck to remove load on the jaw before attempting to unhitch the trailer.
As truck and trailer may shift when unhitching, ensure no person or vehicle is in the vicinity of the truck or trailer when unhitching. Additionally, blocks/chocks must be firmly against each trailer wheel to prevent forward or rearward motion, and trailer jacks must be lowered and firmly on the ground.
Under no circumstances do we recommend exceeding the towing vehicle manufacturer's recommended vehicle towing capacity. Failure to follow installation and hitch-up instructions may cause property loss, serious injury, or death.
When placing the head unit on top of the center section, avoid putting any body parts in pinch points. When removing the head during the added clearance procedure, a slight push down on the head will help, but caution must be taken to avoid getting fingers pinched. When re-installing the head, place hands or fingers on either side of the pivot interface to prevent pinching.
After the head indicator turns completely green (indicating the kingpin is securely held), perform the pull test: with trailer wheels still firmly blocked, trailer landing gears firmly on the ground supporting trailer weight, and trailer brake on, ensure no one is between the truck and trailer. Try to pull the trailer slowly forward. If the trailer is properly hitched, it will not separate. If the trailer is not properly hitched, it will separate from the hitch and the truck will move forward—in this case, repeat the hitching steps 1-3.
After tightening the 5/8" hex-head bolts to 210 ft-lb of torque, verify that the hitch is tight to the truck bed by lifting each side of the hitch. This confirms proper installation.
Before any trip, verify that: (1) cotter pins, foot bracket, and castle nut are undamaged and securely locked; (2) lynch pins are securely locked in place with little to no vertical play; and (3) the proper orientation of the lynch pin in relation to the foot is maintained.
Every 1,000 miles, check the 5/8" hex bolts that connect the center section to the legs to ensure they are still torqued to 210 ft-lb of torque.
Before each use, apply grease to the skid plate surface to provide a lubricated surface for attachment to the trailer. Also apply grease to the 5th wheel jaw and/or kingpin on the trailer.
Annually or as required: (1) Apply grease via the grease fitting on top of the unit using a grease needle (head comes pre-greased). (2) Apply spray white lithium grease to internal mechanisms and rotate the handle a few times to distribute the lubricant. (3) Grease the pivot assemblies using a grease gun with a needle adapter. (4) If the head pivots and makes noise when the trailer is not attached, adjust the resistance by tightening the pivot bolt 1/2 turn at a time (maximum 2 full turns). (5) The pivot assembly can be rebuilt if required using a rebuild kit.
Yes. Plastic lube plates can be used to avoid messy grease. The REESE 5th Wheel Lube Plate #83001 is recommended. However, the plate must not exceed 3/16" in thickness to ensure the hitch works properly.
Yes. The center section can be rotated 180 degrees to increase the gap between the trailer front and the truck cab by 1-1/2". The rotation procedure involves removing the head, removing bolts holding the legs to the center section, rotating the center section (or disconnecting feet and rotating the center section and leg assembly on some vehicles), and re-installing. Note: This is not possible with RAM vehicles. The location of the kingpin should be ahead of the truck rear axle and have proper truck cab clearance.
1. Remove the head by pulling spring clips off the head retainer pins and pulling the head retainer pin out (a slight push down on the head helps; avoid pinching fingers). 2. Lift the head off and set aside. 3. Remove bolts holding legs to the center section and rotate the center section (all vehicles), OR disconnect feet from bed and rotate the center section and leg assembly (not possible with RAM vehicles). 4. Reconnect the center section or center section and leg assembly per installation instructions. 5. Remove the logo/rating cover by gently prying the two lower plastic retainers with plastic auto trim tools to avoid scratching paint; the top will pivot and pull away. 6. Re-install on the other side (truck rear) by reversing the above process. 7. Remove head springs by removing the 1/4" bolt (7/16" socket) and flip them from right to left; springs should point up toward truck cab and tighten to 7-8 ft-lbs. 8. Re-apply grease to head and center section interface and re-install the head. 9. Re-install head retainer pins and clips.
The M5 Head requires M5 mounting legs and a center section (sold separately). The M5 GM Leg is designed for GM vehicles. Consult the leg installation instructions for your specific vehicle or contact the manufacturer for fitment confirmation.
You need M13 and M24 sockets and wrenches, a torque wrench, lithium grease, and the fastener kit 30892F.
The maximum pin weight is 6,400 lbs. The hitch is rated for 32,000 lbs total capacity.
When properly coupled, the indicator will be 100% green and the kingpin is securely held by the 5th wheel jaw. Perform a pull test to confirm: with trailer wheels blocked and landing gears on ground, try to pull the trailer slowly forward. If properly hitched, the trailer will not separate.
Every 1,000 miles, check the 5/8" hex bolts connecting the center section to the legs to ensure they are still torqued to 210 ft-lb.
If fully backed into the trailer and the jaw is not fully latched, the jaw may not close if under compression. Pull the truck slowly forward to remove load on the jaw. The handle will then fully latch.
If the handle will not move to the unhitching position with ease, STOP and DO NOT FORCE THE HANDLE. The jaw may not open if under tension. Slowly reverse the truck to remove load on the jaw before attempting to unhitch the trailer.
Due to variations in truck underbeds, some handles may be loose and rattle. To fix: (1) Remove the cotter pin. (2) Adjust the castle nut by hand to a position where the handle does not rattle. (3) Re-insert the cotter pin and bend the end with pliers to hold in place.
Due to variations in truck underbeds, some handles may be too tight to lock. To fix: (1) Remove the cotter pin. (2) Adjust the castle nut by hand to a position where the handle is able to close. (3) Re-insert the cotter pin and bend the end with pliers to hold in place.
The pivot assembly resistance is preset at the factory. If the head pivots and makes noise when the trailer is not attached, adjust the resistance by tightening the pivot bolt 1/2 turn at a time (maximum 2 full turns). See the maintenance section for the location of the pivot bolt and nut.
Sam
The staff was able to quickly assist me with locating the correct product I needed. Shipping was really fast. Item arrived in 2 days. Will be using TowUniverse again!!
May 22, 2023
