

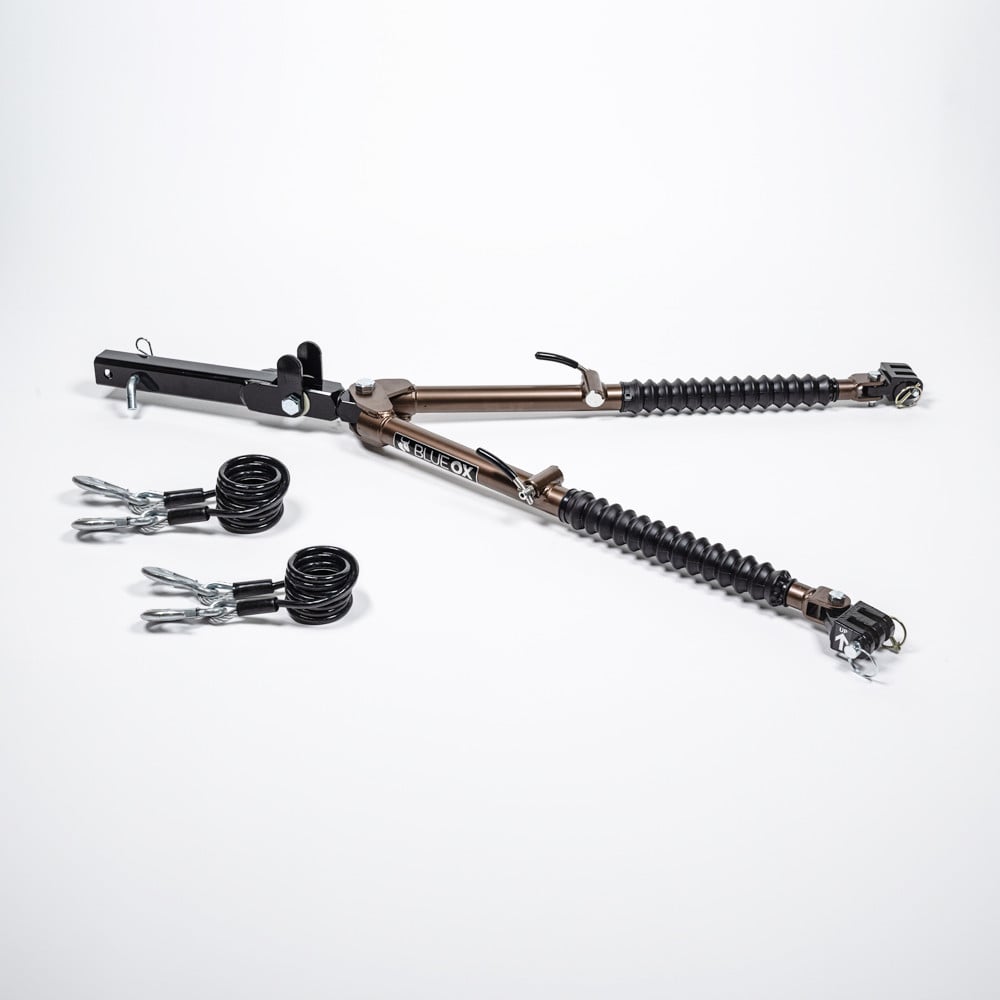
BlueOx Tow Bar Base Plate, Front Mount, RV Flat Towing for Select, CHEVY MALIBUBlue OxOriginal price was $699.99. Current price is $639.00.Out of Stock
View productOur in-house experts typically reply within one business day.

Blue Ox


Always the correct part
We know our products
Quality Products
Free Shipping!
Always the correct part
We know our products
Quality Products
Free Shipping!

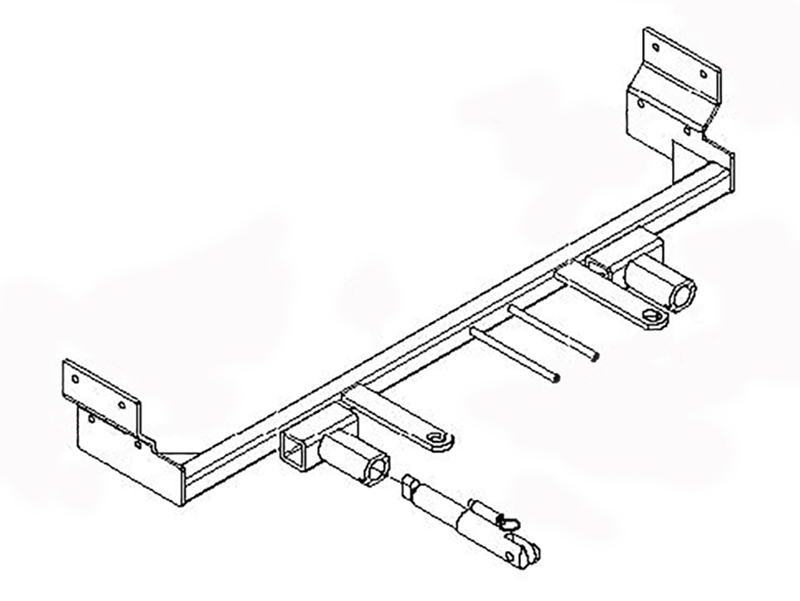
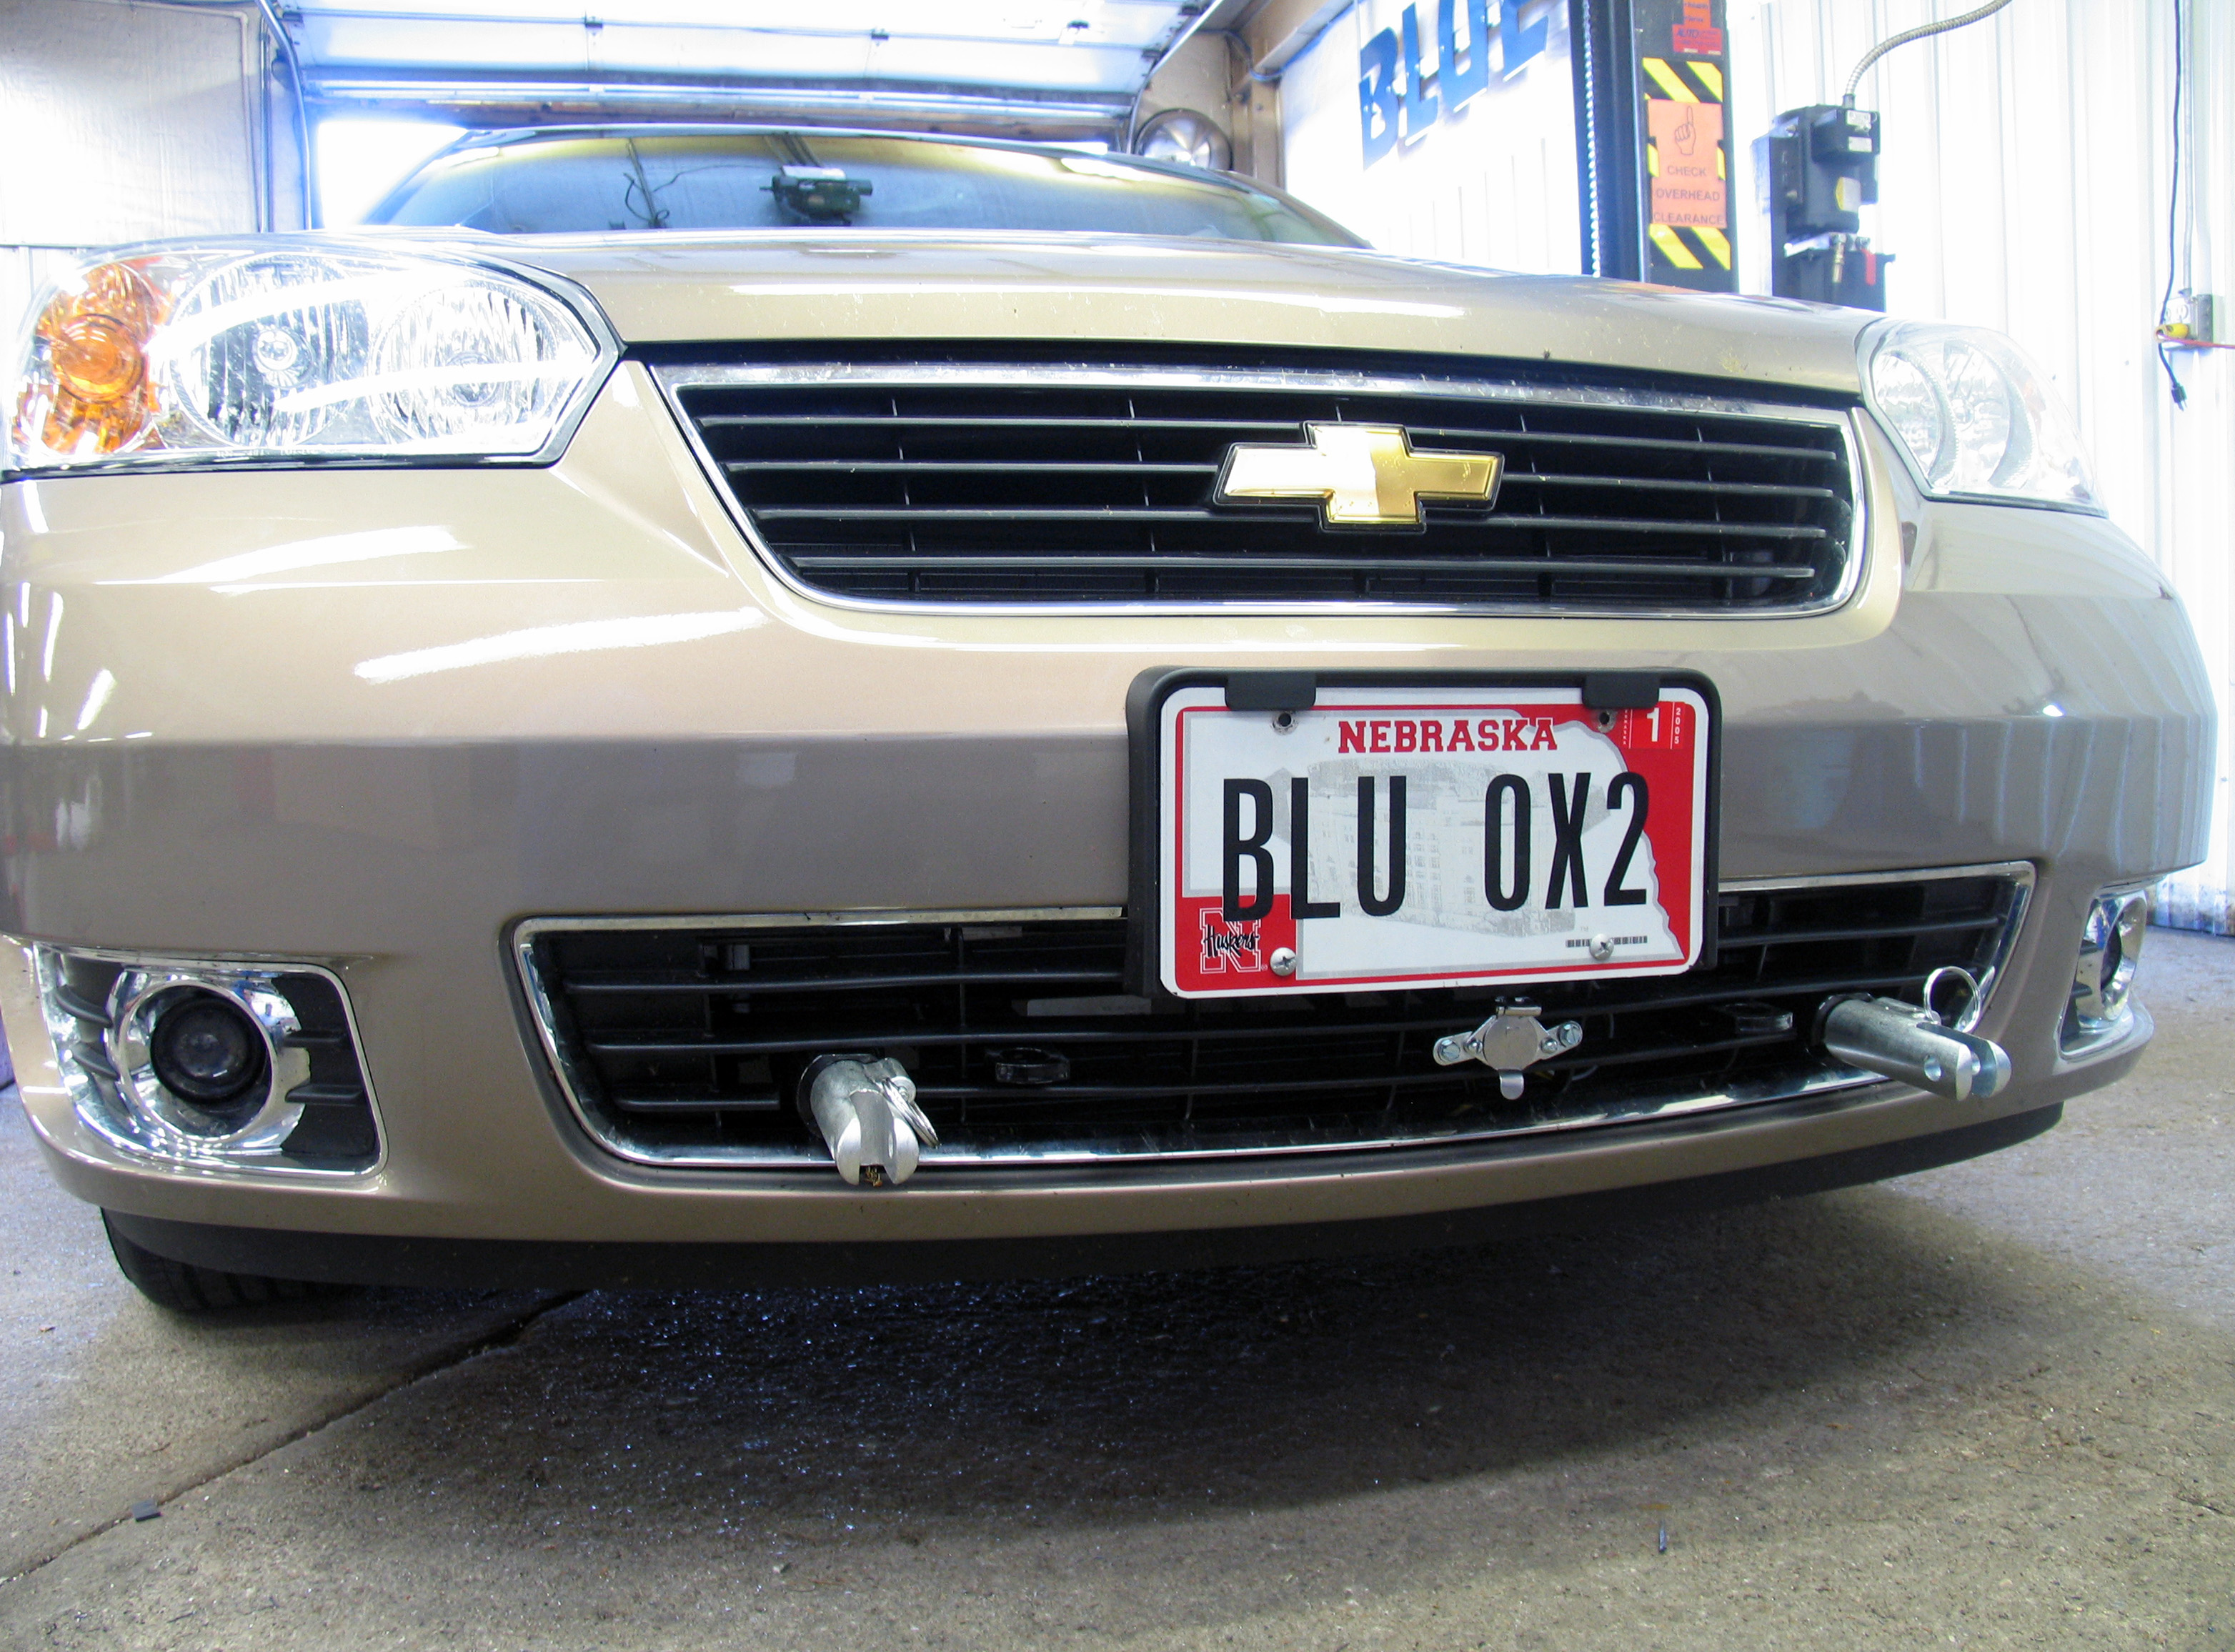
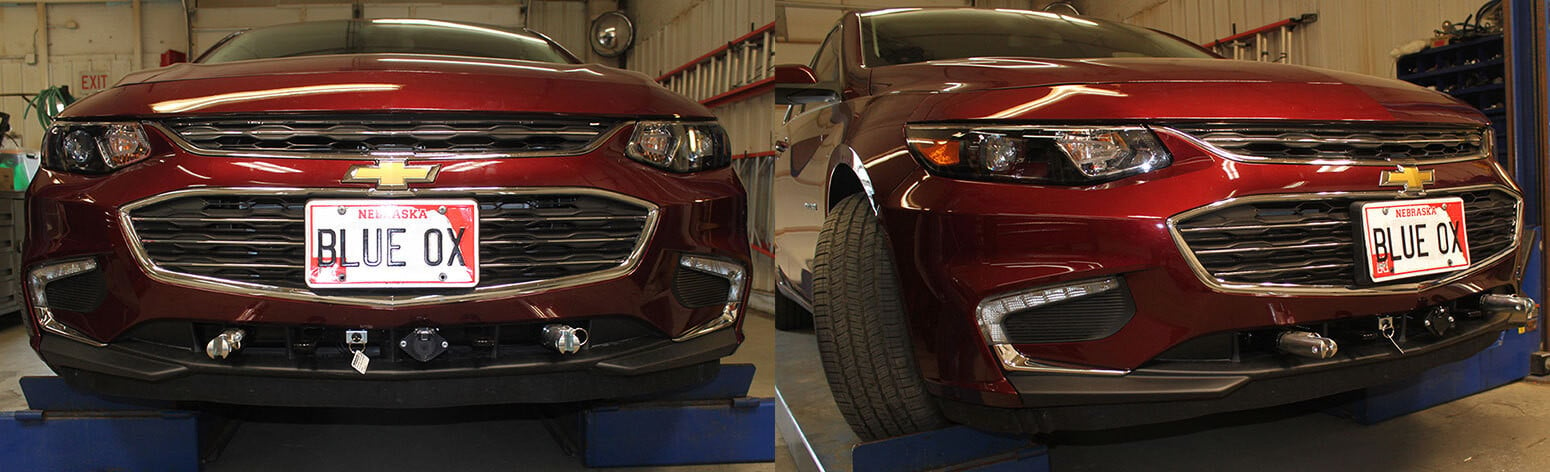
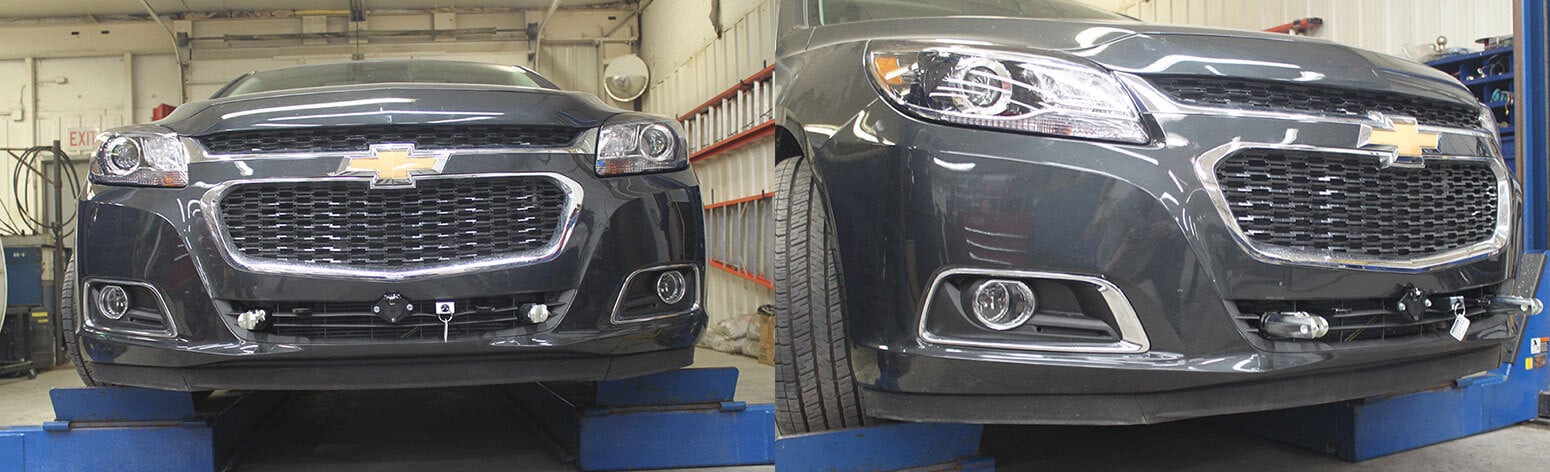
Custom Design: The Blue Ox BX1666 Tow Bar Bracket is specifically designed for each individual vehicle, ensuring a perfect fit and reliable performance.
Material: Steel
Color: Black
Finish: Powder Coat
Mounting Type: Bolt On
Mounting Hardware Included Yes/No: Yes
Experience seamless towing with the Blue Ox BX1666 Tow Bar Bracket. This sturdy, reliable, and custom-made tow bar bracket is designed exclusively for your specific vehicle to ensure a perfect fit. Manufactured from high-quality steel and finished with a durable black powder coat, this tow bar bracket guarantees longevity and resistance to harsh conditions. It comes with all the necessary mounting hardware, making the installation process easy and hassle-free.

Blue Ox is known internationally for recreational and commercial towing products, manufacturing in Pender, Nebraska since 1925. The line covers tow bars and vehicle-specific baseplates for flat towing behind a motorhome, sway control and weight distributing hitches, supplemental braking accessories and towing wiring, backed by patented designs and long-standing customer service.
Blue Ox has manufactured since 1925 and is recognised internationally for towing products and customer service. The company operates from Pender, Nebraska, where it grew out of Automatic Manufacturing Co., a business that started with cattle oilers and developed into agricultural equipment, tractor accessories and trailer towing hardware. That agricultural engineering heritage still shows in how the towing products are built, and the company holds patents across weight distribution, fifth wheel and tow bar designs.
Flat towing is the discipline Blue Ox is best known for. Towing a car with all four wheels on the ground behind a motorhome demands a system that stays rigid under braking, articulates properly over uneven ground, and connects to the towed vehicle at points strong enough to take the load. Blue Ox tow bars handle the first two, with self-aligning arms that latch under tension and release without a struggle when the load is off them. Vehicle-specific baseplates handle the third, engineered per make and model to tie into structural mounting points behind the fascia.
The wider flat towing range covers supplemental braking systems, safety cables and the accessories that make a complete legal setup, along with baseplate wiring and dinghy towing harnesses that pass lighting signals to the towed vehicle without back-feeding its electrical system.
For conventional trailer towing, Blue Ox weight distributing hitches with integrated sway control transfer tongue load onto the tow vehicle's front axle and resist the yaw that crosswinds and passing trucks induce.
The company describes its foundation as customer service, designing around what owners actually ask for, and it runs an RV park adjacent to the factory where customers can stay. Sister operations at the same Nebraska site include Automatic grain roller mills and MAD-RAMPS pivoting ramp systems.
Experts available to answer your questions
Call 888-634-94943 Years
Yes, the BX1666 is designed specifically for 2006-07 Chevrolet Malibu. The attachment tabs are 13" high and 23.5" wide.
No. Due to the design of the removable tabs on the BX1666, the RangeFinder II, Adventurer, and Ambassador tow bars cannot be used with this baseplate.
Most adapters cannot be used with the BX1666. Only the BX8833 and BX88151 adapters are compatible. All other adapters are excluded.
Required tools are: Loctite RED, 7MM socket, 10MM socket, 9/16" socket, 13/32" drill bit, 1/4" drill bit, pliers, Phillips screwdriver, large vise grips, and utility knife.
The kit includes: one baseplate weldment (61-6194), three 3/8" nutplates with wire (61-5208), seven 3/8-16 x 1.5" Grade 5 bolts, seven 3/8" lock washers, four 3/8-16 hex nuts, one 6MM-1 x 30MM Grade 8.8 hex bolt, one 1/4" lock washer, one 1/4" flat washer, two #12-14 x 1" self-drilling screws, two #10-32 x 0.5" slot round-head screws, two #10 lock washers, two #10-32 hex nuts, two 4-way connector adapters (101-5822), two attachment assemblies (62-3469), two 36" Class III baseplate safety cables (226-0046), four 3/8" quicklinks (229-0359), and two cap plugs (290-0437).
The front fascia, headlights, horn bracket, and air baffle must be removed. The air dam must be pulled down to clear the installation area. All removed components are reinstalled after baseplate installation is complete.
The BX8869 Bulb and Socket Wiring Kit is recommended for this vehicle, but the manual does not state it is required. Consult your Blue Ox Dealer for confirmation of whether it is necessary for your specific installation.
Yes. Drilling is required. You will drill three holes into the driver's side frame rail using a 13/32" drill bit, four holes into the passenger's side frame rail using a 13/32" drill bit, and one hole using a 1/4" drill bit for the horn bracket.
Yes. Trimming of the air dam and grille is required. The air dam must be trimmed on both the driver's and passenger's sides using a utility knife to clear the baseplate and allow the attachment tabs to pass through the grille.
On the passenger's side, mark and trim the front portion of the air dam lip diagonally to the bend and down 3 inches around the contour, then mark straight down from the air dam tab 3 inches and horizontally back to the contour and trim. Behind the tab, mark 3 inches down and 2 inches horizontally, then mark upwards following the contour to the top and trim. On the upper rear, make a 1-inch horizontal cut level with the opening next to the air dam and trim vertically. On the driver's side, cut horizontally approximately 1 inch from the top of the air dam from front to back, and behind the tab cut down 3 inches, then horizontally toward the rear approximately 2 inches, then upwards to the top following the contour.
Yes. The air dam trimming is permanent. The manual notes that dimensional variations between vehicles can be considerable and minor adjustments may include filing holes, bending electrical rods, or bending end plates to compensate for manufacturer tolerances.
3/8" Grade 5 bolts must be torqued to 33 foot-pounds according to the torque chart on page 1 of these instructions.
The manual does not provide a specific torque value for the 6MM-1 x 30MM Grade 8.8 hex bolt (part 201-0655) used to secure the horn bracket. Consult the torque chart for 6MM Grade 8.8 bolts (8 foot-pounds) or contact Blue Ox Customer Care at (402) 385-3051 or (888) 425-5382 for confirmation.
Yes. Loctite RED must be used on all bolts before tightening. The manual emphasizes this requirement in Step 14 and in the General Information section.
The attachment tab height is 13 inches and the width is 23.5 inches.
1. Remove four Phillips pushpins from the black plastic cover on top of the fascia. 2. Remove two metric bolts from each headlight assembly using a 10MM socket, pull forward, and disconnect electrical connections. 3. Just forward of the front tire, remove three Christmas tree pushpins and one Phillips pushpin from the wheel well cover on both sides. 4. Remove two metric bolts from underneath the fascia corners using a 7MM socket, plus two Christmas tree pushpins and two additional pushpins on both sides. 5. Remove three metric bolts underneath the fascia using a 7MM socket. 6. Remove two pushpins from the fascia tabs on both sides. 7. Remove one metric bolt from the corner of the fascia just forward of the front tires inside the headlight assembly on both sides using a 10MM socket. 8. Remove one metric bolt from the driver's side horn bracket using a 10MM socket and disconnect the horn. 9. Remove two pushpins from the passenger's side air baffle. 10. Remove one pushpin from the lower plastic on the bottom rib of the frame rail on both sides. 11. Remove one pushpin from the passenger's side of the air dam and pull the air dam down.
On the driver's side, align the baseplate so the upper back hole aligns with the existing horn bracket hole and clamp in place with vise grips. Using the baseplate as a template, drill three holes into the frame rail with a 13/32" drill bit. Insert two 3/8-16 x 1.5" hex bolts with 3/8" lock washers and 3/8-16 hex nuts into the bottom two holes. Guide a 3/8" nutplate up through the opening in the bottom of the frame rail and align it with the upper front bolt hole, then install a 3/8-16 x 1.5" hex bolt and 3/8" lock washer to the nutplate. Repeat the process on the passenger's side, drilling four corner holes and one additional 1/4" hole for the horn bracket.
Straighten the tab of the horn bracket using pliers—there is no longer a hole for inserting this tab. Secure the horn bracket using a 6MM-1 x 30MM hex bolt with a 1/4" lock washer and 1/4" flat washer, tightened with a 10MM socket.
Using a utility knife, trim the grille style so that the attachment tab is able to come through the grille. The exact trimming pattern depends on the grille design and should be done carefully to allow tab passage.
Reinstall the headlight assemblies and reconnect electrical cables. Then reinstall the fascia, inserting all bolts and pushpins. Ensure all electrical connections are plugged in properly and functioning before installing the fascia.
Permanent baseplate safety cables are strongly recommended when towing a vehicle with a tow bar. The BX1666 kit includes two 36" Class III baseplate safety cables (part 226-0046) and four 3/8" quicklinks (part 229-0359). The cables must be connected from the baseplate to the frame rail or cross member of the vehicle's frame and must not be mounted against wires, hoses, or brake lines. These cables are to be used in conjunction with, and not as a replacement for, legally required safety cables attaching the towed vehicle to the towing vehicle.
If the baseplate is in an accident, it must be replaced. Do not reuse it. An accident can cause unseen damage, and using it again could result in more damage or serious injury. Do not use the baseplate if it is damaged or missing parts.
Before each towing trip, inspect all towing equipment for cracked welds, missing or worn parts, and loose bolts. Use Loctite RED on all bolts and tighten to the recommended specifications. Ensure all electrical connections are plugged in properly and functioning.
Yes. Remove the attachment tabs when not in use, if applicable.
No. Even though bolts may exist in factory holes, do not assume they are adequate for baseplate mounting. Always use the hardware supplied in the hardware kit and existing hardware specified in the Baseplate Installation Instructions. Using only factory hardware could result in baseplate failure.
No. Use only genuine factory replacement parts on your baseplate. Do not substitute homemade or non-typical parts. If a bolt is lost or needs replacement, use a replacement bolt of the same grade (in most cases Grade 5). Failing to follow these instructions will void the manufacturer's warranty. Replacement parts may be ordered through your nearest Blue Ox Dealer or Distributor, or by calling (402) 385-3051.
Yes. Blue Ox towing products and accessories are intended to be installed by Blue Ox Dealers who are familiar with the products and have the equipment necessary and knowledge to do fit work. Blue Ox Dealers can be found at www.blueox.us or by contacting Customer Care at (402) 385-3051 or toll free (888) 425-5382.
Yes. Confirm the towability and pre-towing procedures for your vehicle with the owner's manual or contact the vehicle's manufacturer for specific towing procedures.
Yes. Ensure that your product is registered online at www.blueox.com. It is crucial to register your product so that you may be alerted of product offerings, updates, upgrades, maintenance and safety bulletins, and/or recalls.
Yes, the BX1666 is designed specifically for 2006-07 Chevrolet Malibu with 13" high and 23.5" wide attachment tabs.
No. These tow bars cannot be used with the BX1666 due to its removable tab design. Only BX8833 and BX88151 adapters are compatible.
Yes. You must drill three holes on the driver's side and four on the passenger's side using a 13/32" drill bit, plus one 1/4" hole for the horn bracket. Trimming of the air dam and grille is also required.
Required tools: Loctite RED, 7MM socket, 10MM socket, 9/16" socket, 13/32" drill bit, 1/4" drill bit, pliers, Phillips screwdriver, large vise grips, and utility knife.
Torque 3/8" Grade 5 bolts to 33 foot-pounds. Use Loctite RED on all bolts before tightening.
Yes. Two 36" Class III safety cables and four 3/8" quicklinks are included. They are strongly recommended and must be connected from the baseplate to the frame rail or cross member.
The front fascia, headlights, horn bracket, and air baffle must be removed. The air dam must be pulled down. All components are reinstalled after baseplate installation.
No. Always use the hardware supplied in the kit. Factory bolts may not be adequate for baseplate mounting.
The manual notes that dimensional variations between otherwise identical vehicles can be considerable. Minor adjustments may be necessary to compensate for manufacturer tolerances. These adjustments may include filing a hole slightly, bending electrical rods, or bending end plates. Ensure the baseplate is properly clamped with vise grips before drilling to maintain alignment.
Tighten all loose bolts to the recommended torque specifications: 3/8" Grade 5 bolts to 33 foot-pounds. Apply Loctite RED to the bolts before tightening. Inspect all towing equipment for loose bolts before each towing trip.
Do not use the baseplate if it is damaged or missing parts. If the baseplate is in an accident, it must be replaced. Do not reuse it. An accident can cause unseen damage, and using it again could result in more damage or serious injury. Contact your Blue Ox Dealer for replacement parts or a replacement baseplate.
On Sale Today
Original price was $699.99. Current price is $609.00.You save $90.99 (13%)
Free Shipping
Ships free on all orders
 Authorized Dealer

FREE ShippingFREE SHIPPING
Estimated delivery Sat, Oct 24 - Tue, Oct 27
Order before 2 PM EST Monday–Friday for same-day processing
Guaranteed safe & secure checkout
Total for 1 item:
$1,160.00
No reviews have been added for this product.